28
Jan 18

Cleaning down

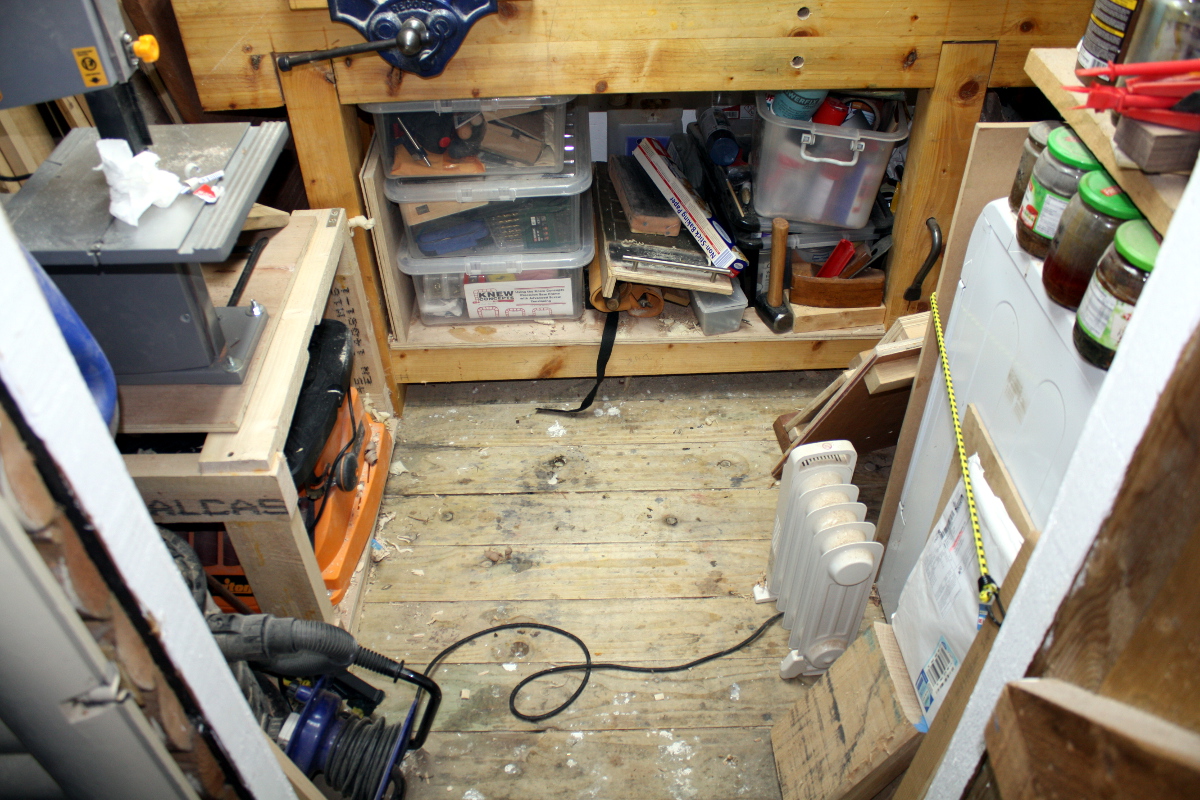
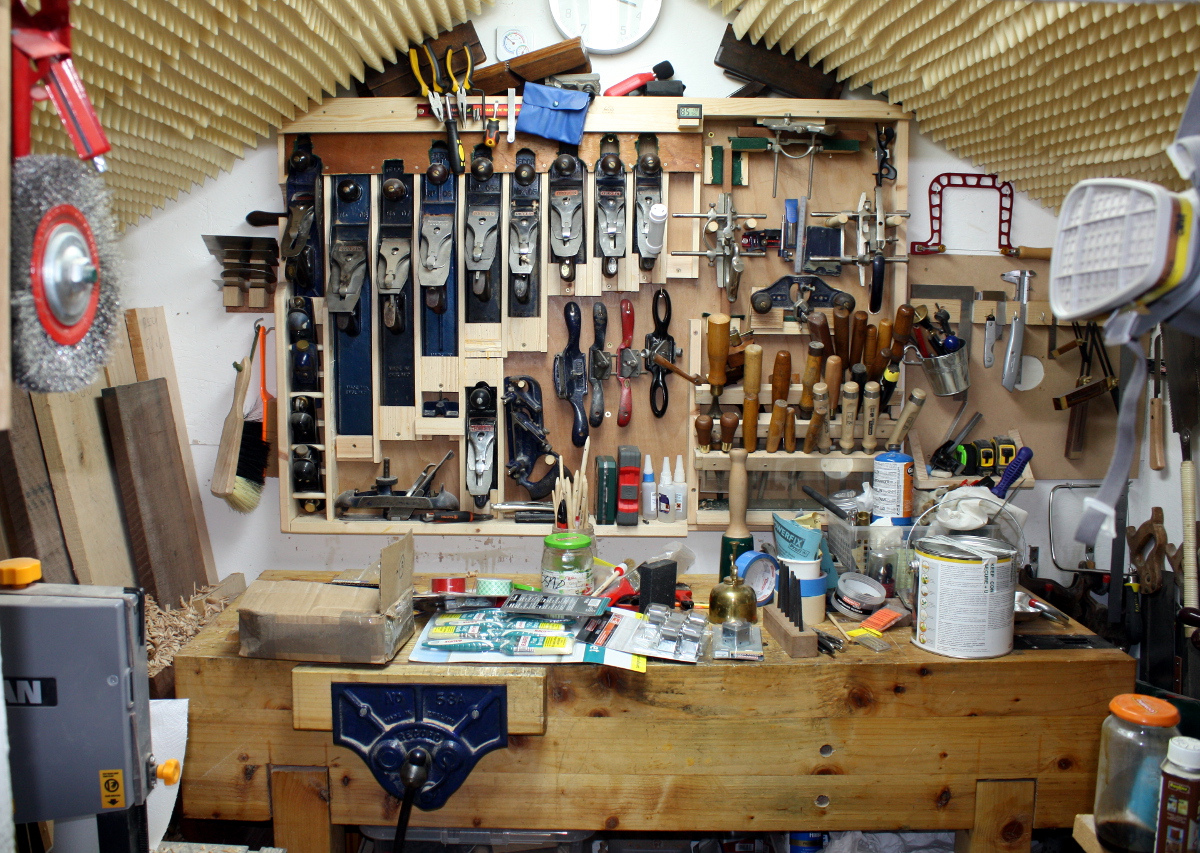
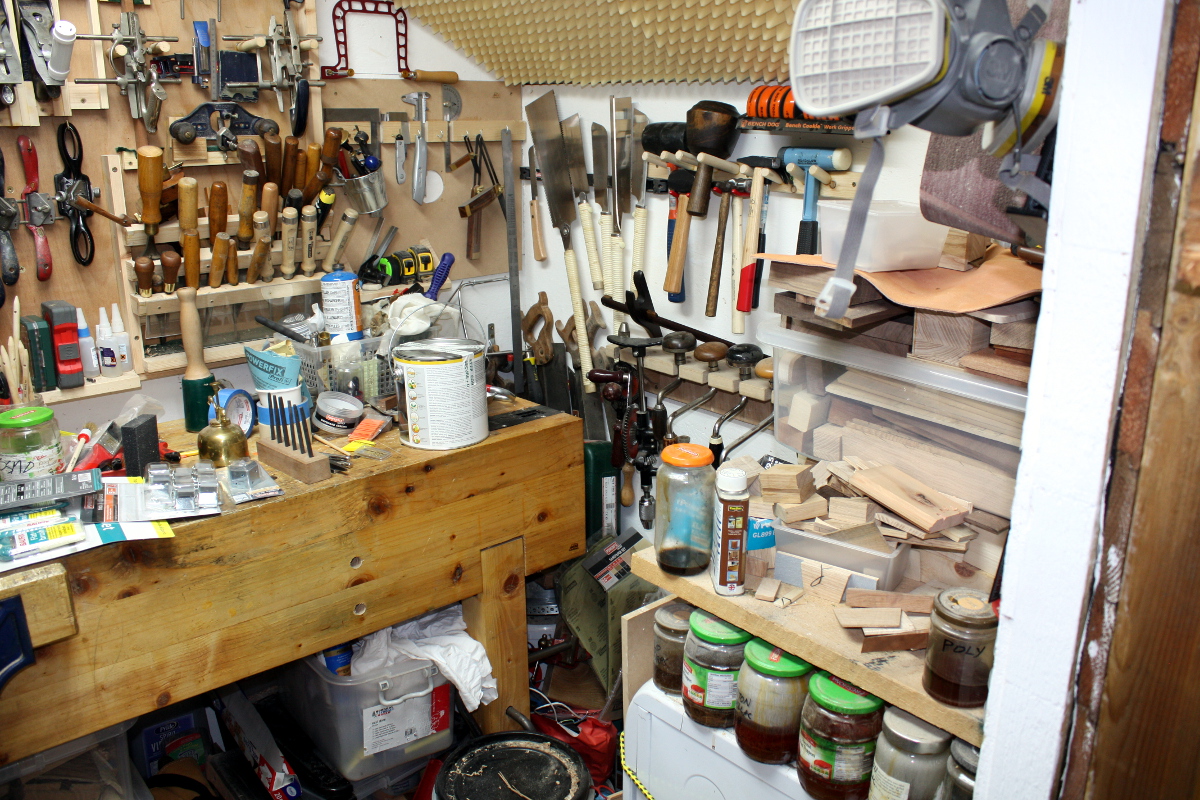
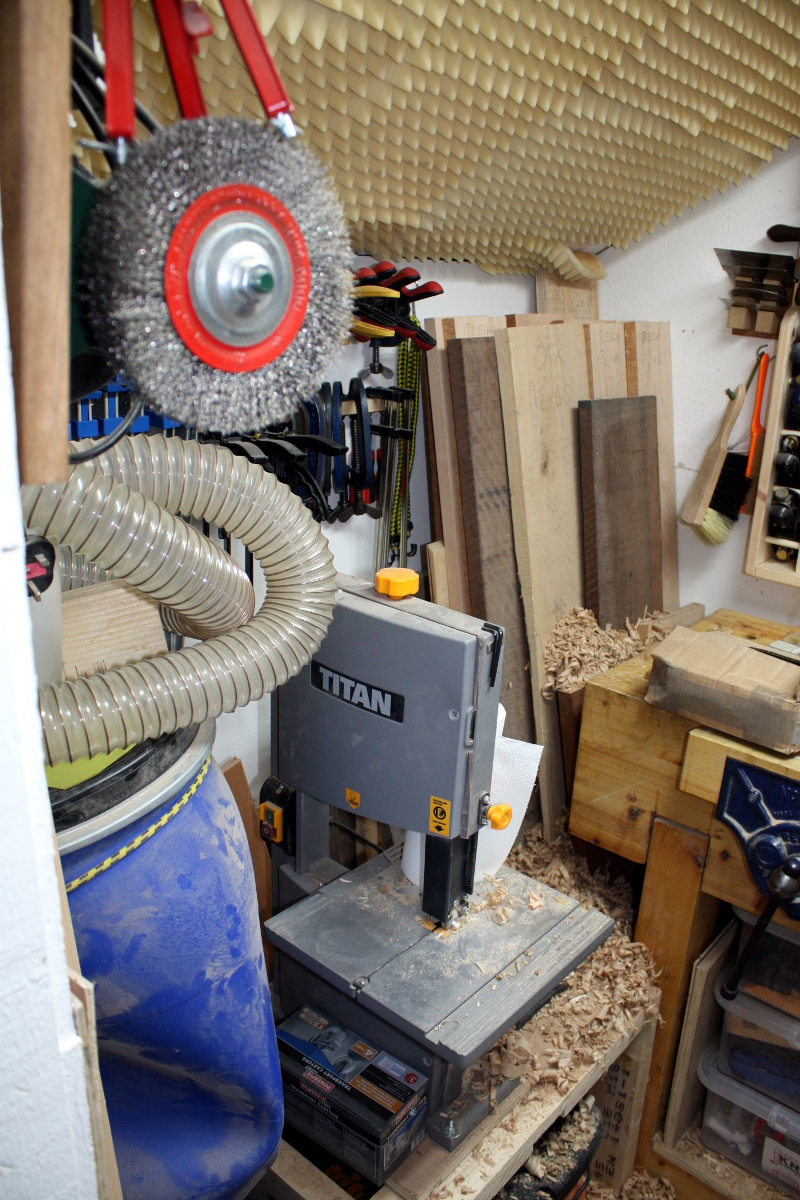
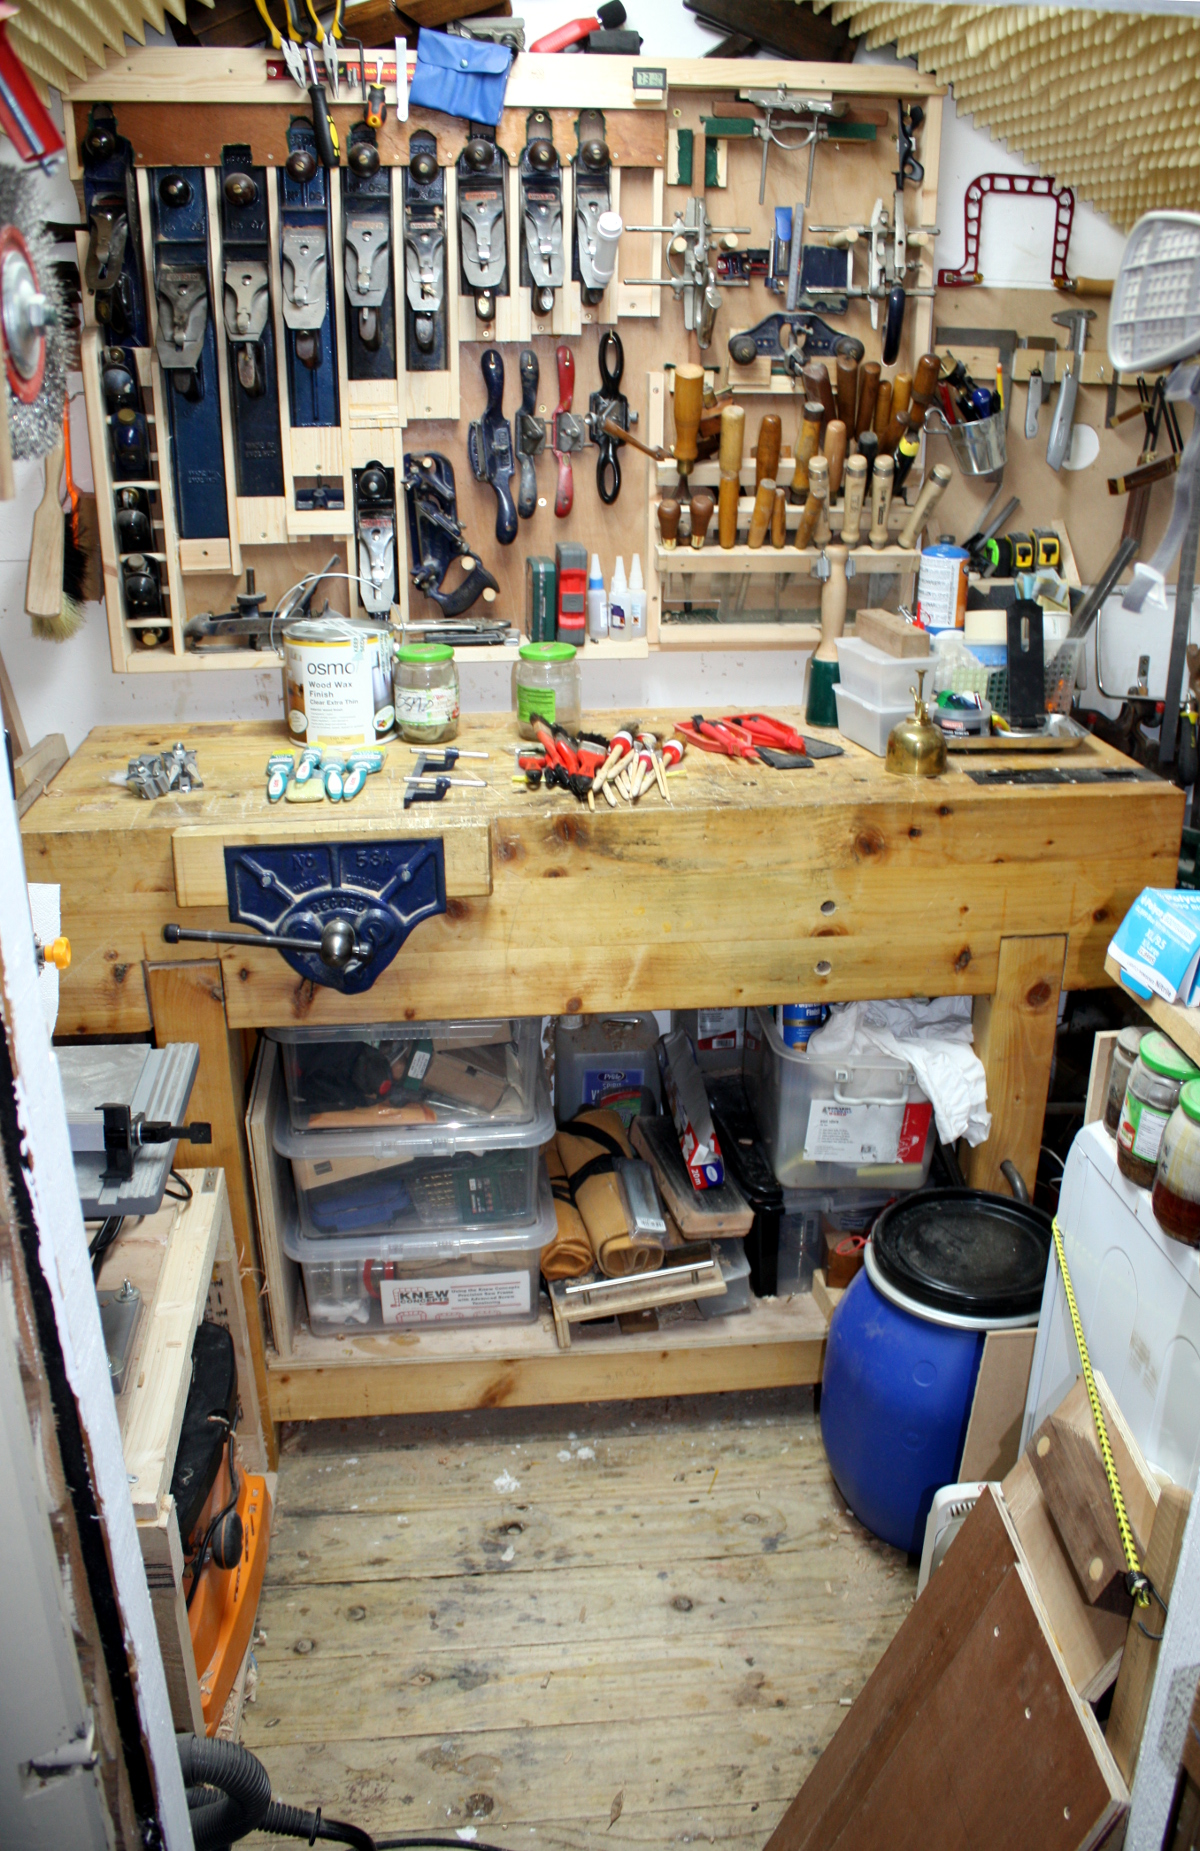
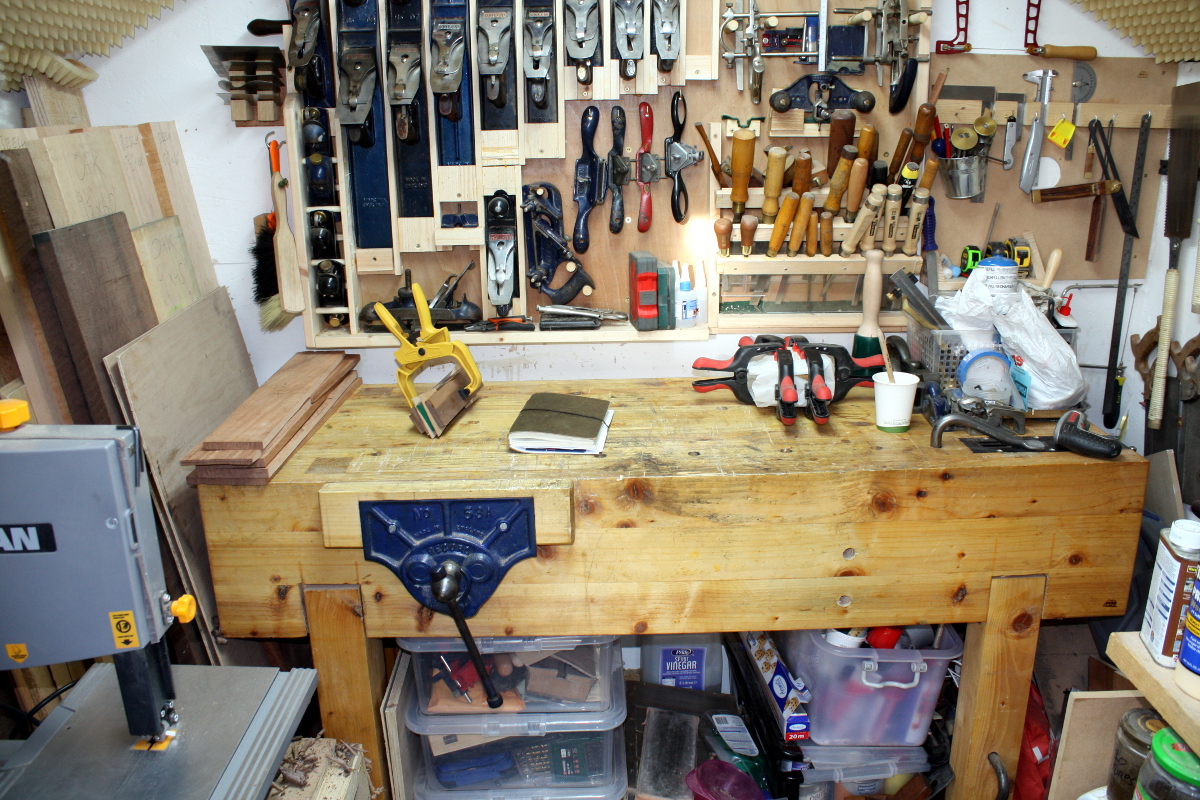
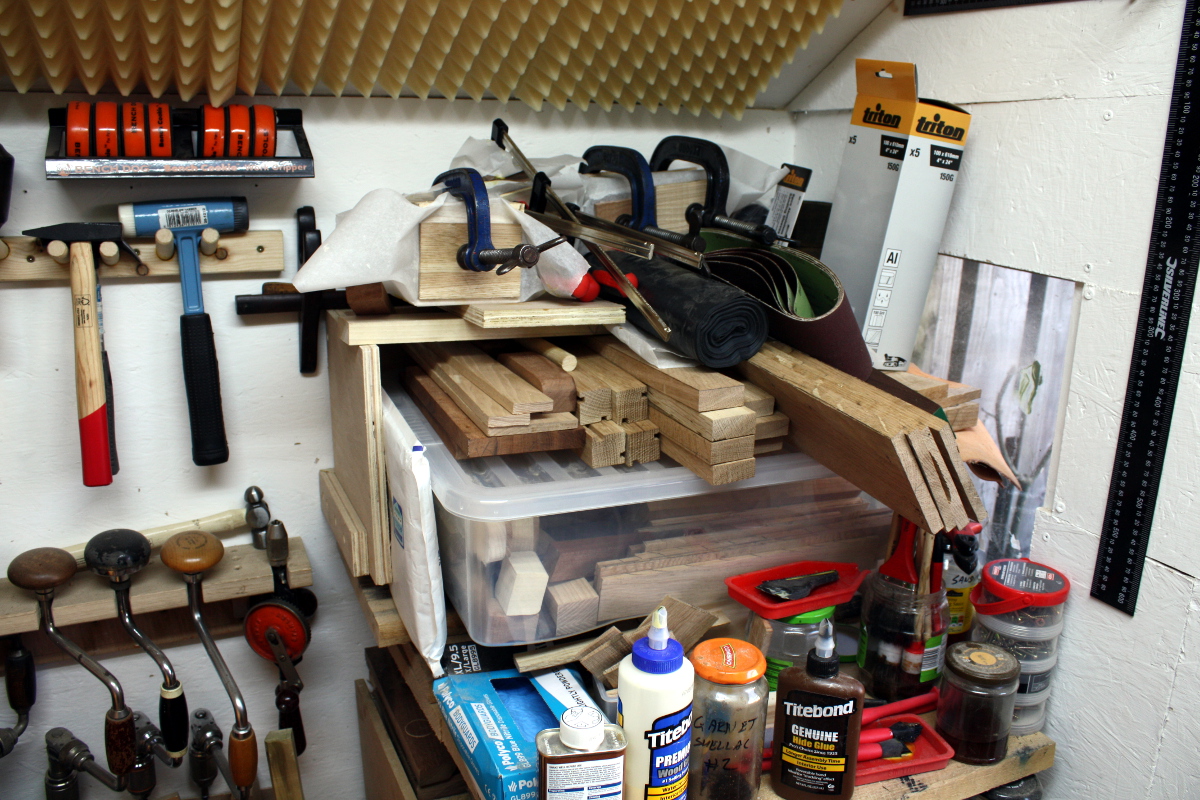
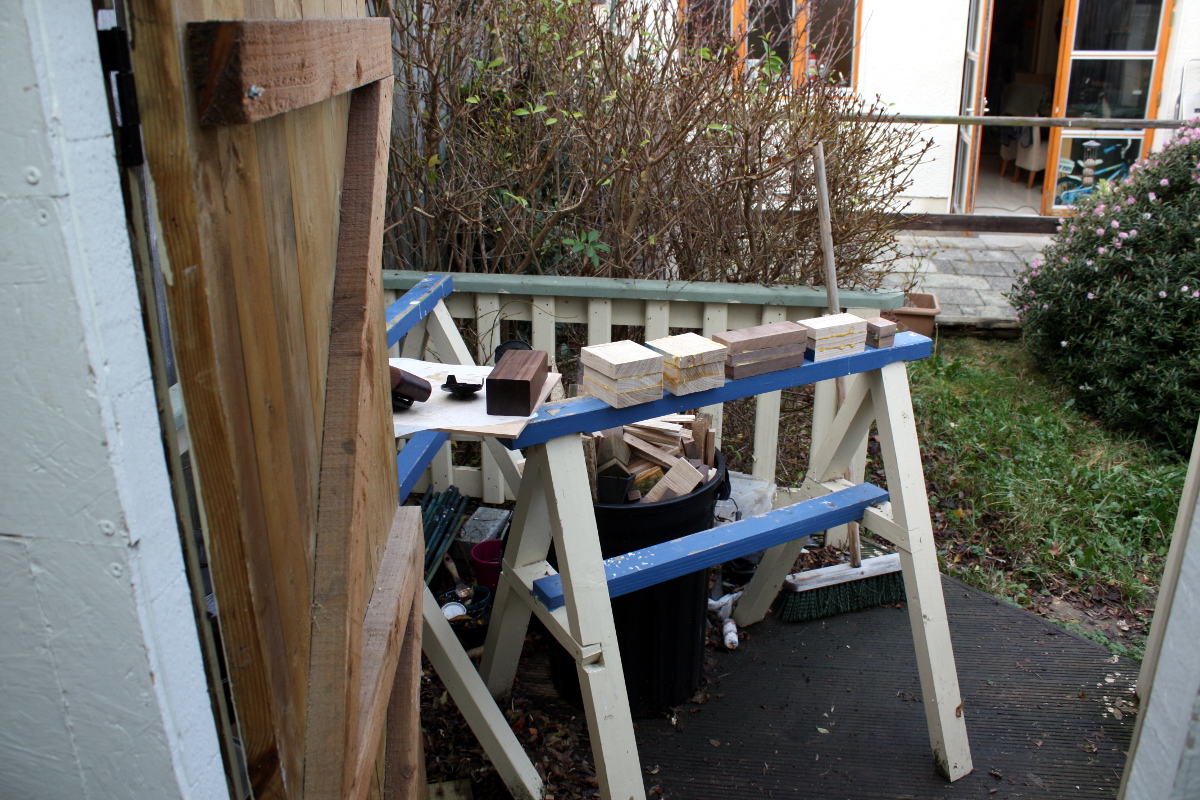
So it’s the usual post-project loss of traction time; I do still have a few half-finished projects to be getting on with, but I thought I’d take a little time first to clean down after the chest, given that it’s left things a tad messy (especially given the pace of work on stuff leading up to xmas). The shed’s a mess, to be honest:


Buying a small bunch of things over the weekend didn’t help, but I was out of Osmo 1101 after the baby blanket chest and having corner mending braces is always useful for shop jigs and the like.

It’ll take a while to get this done; partly the problem is down to putting a litre of stuff in a pint pot sized shed. There just isn’t room for everything *and* all the wood 😀 I also want to replace that blue drum on the dust collector to get some space back, and some more tools need to go up on the walls and all my paintbrushes need to be cleaned (and some may need to be thrown away as too far gone). But at least I made a small start today.


28
Dec 17

Mucking out and mucking about

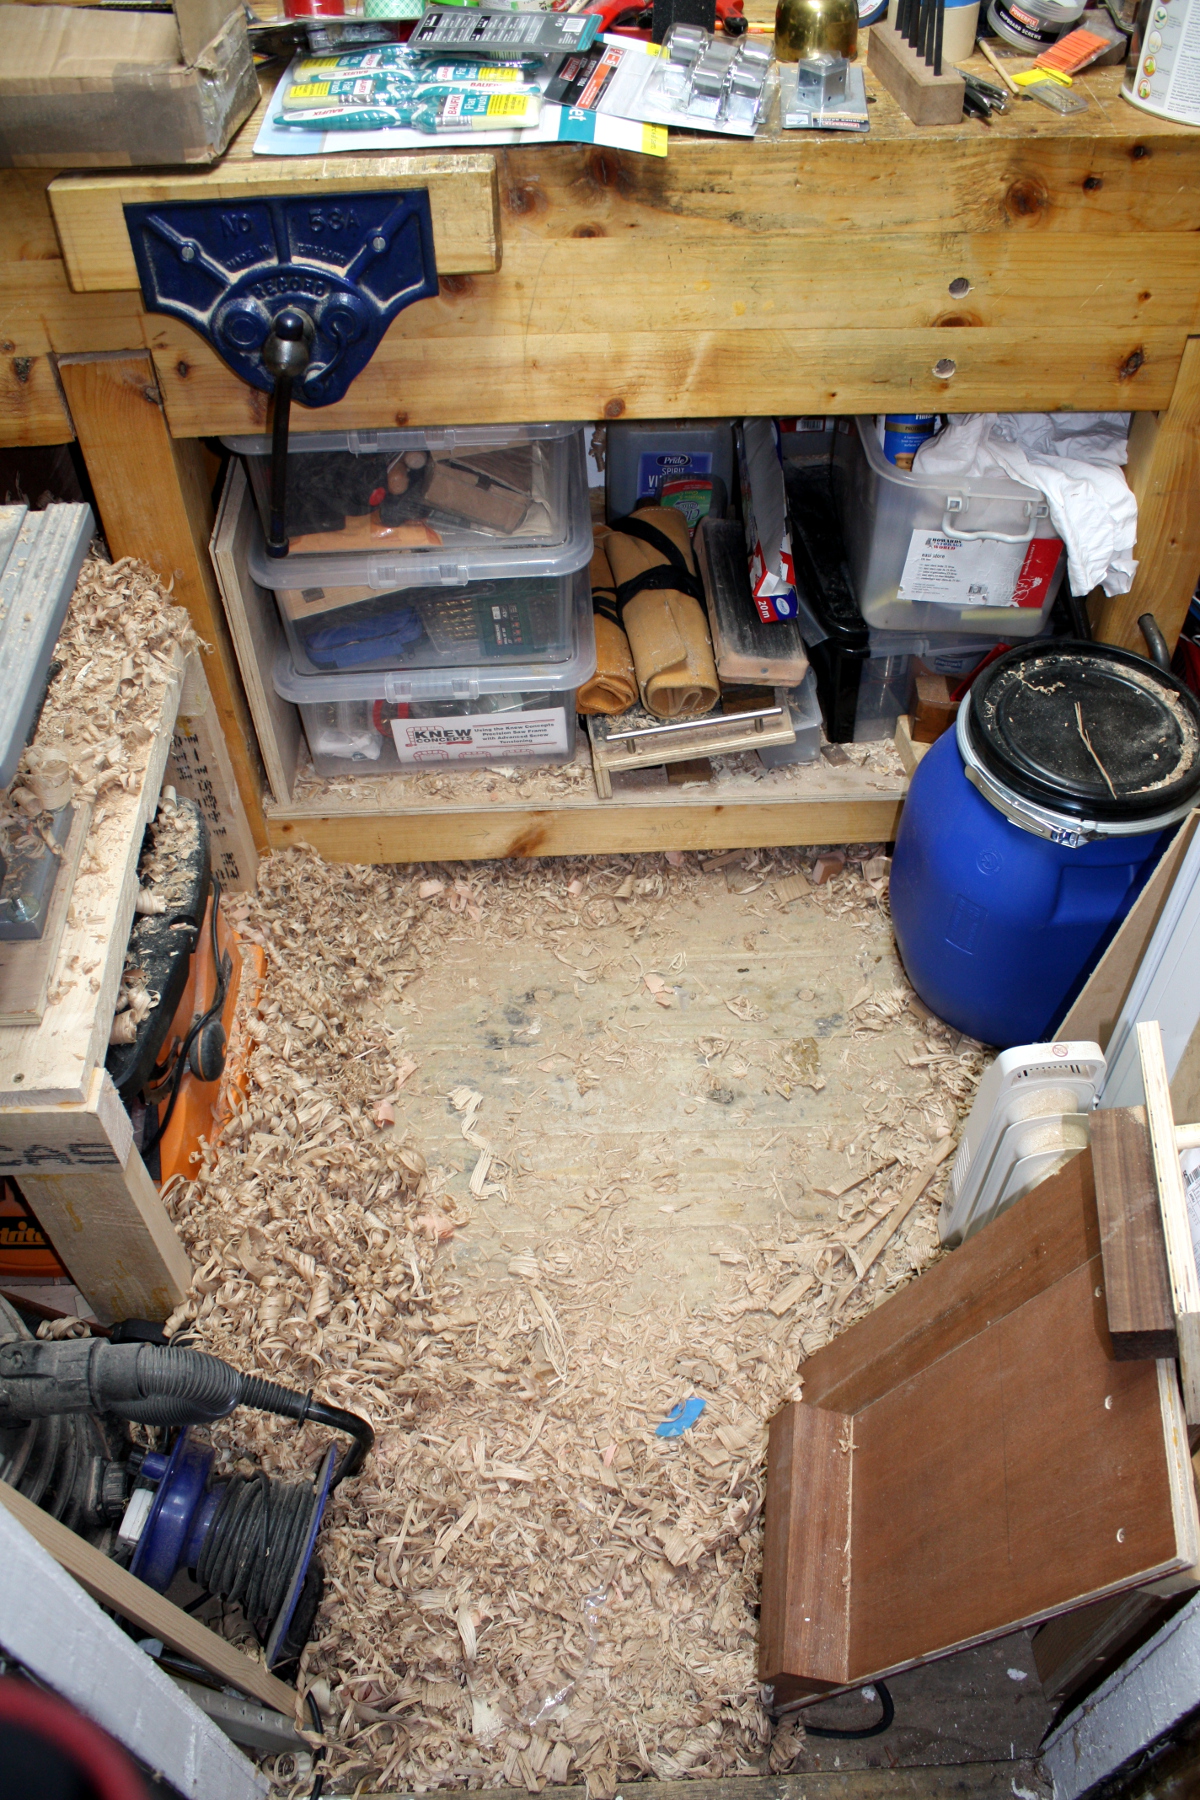
Couple of days out of the shed, mostly spent lying down and paying attention to all the little muscle cells as they turned to me and said “what the feck was all that then?”. Today though was bin day so back out to the shed and spent a half-hour cleaning up all the shavings and using the shop vac to tackle the sawdust.

Before:
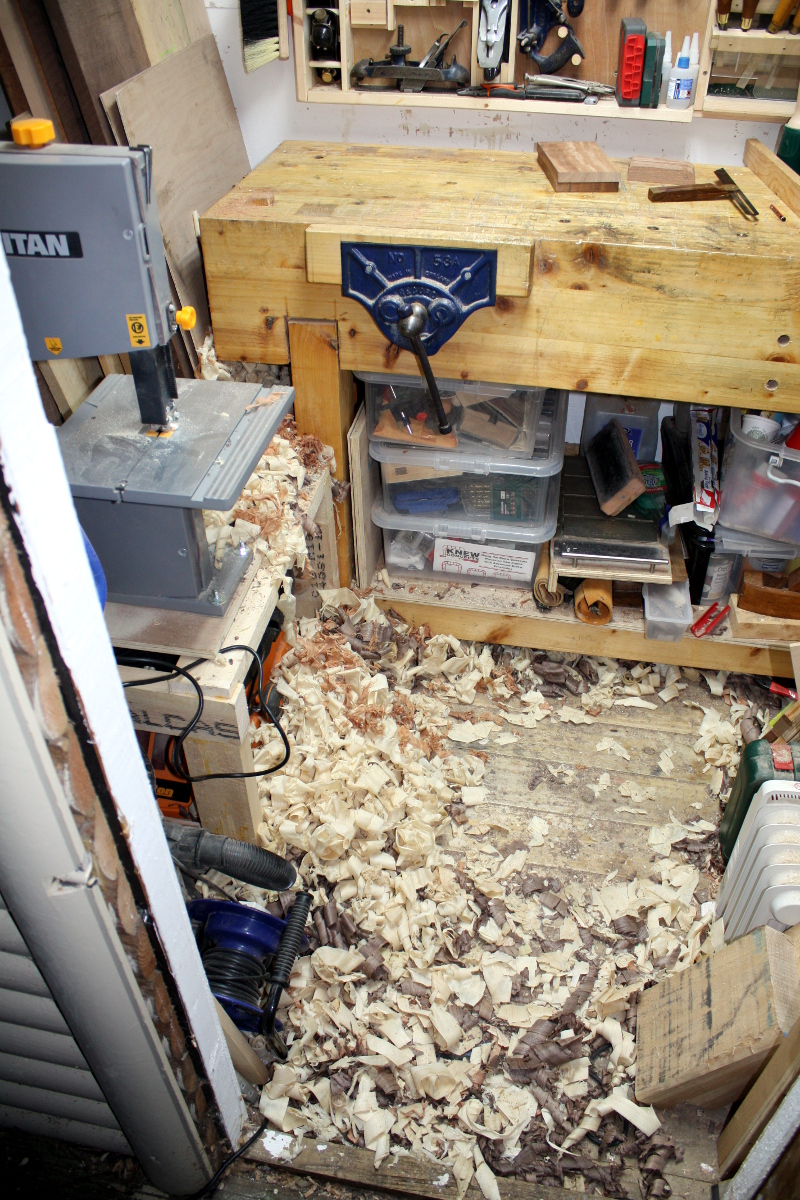
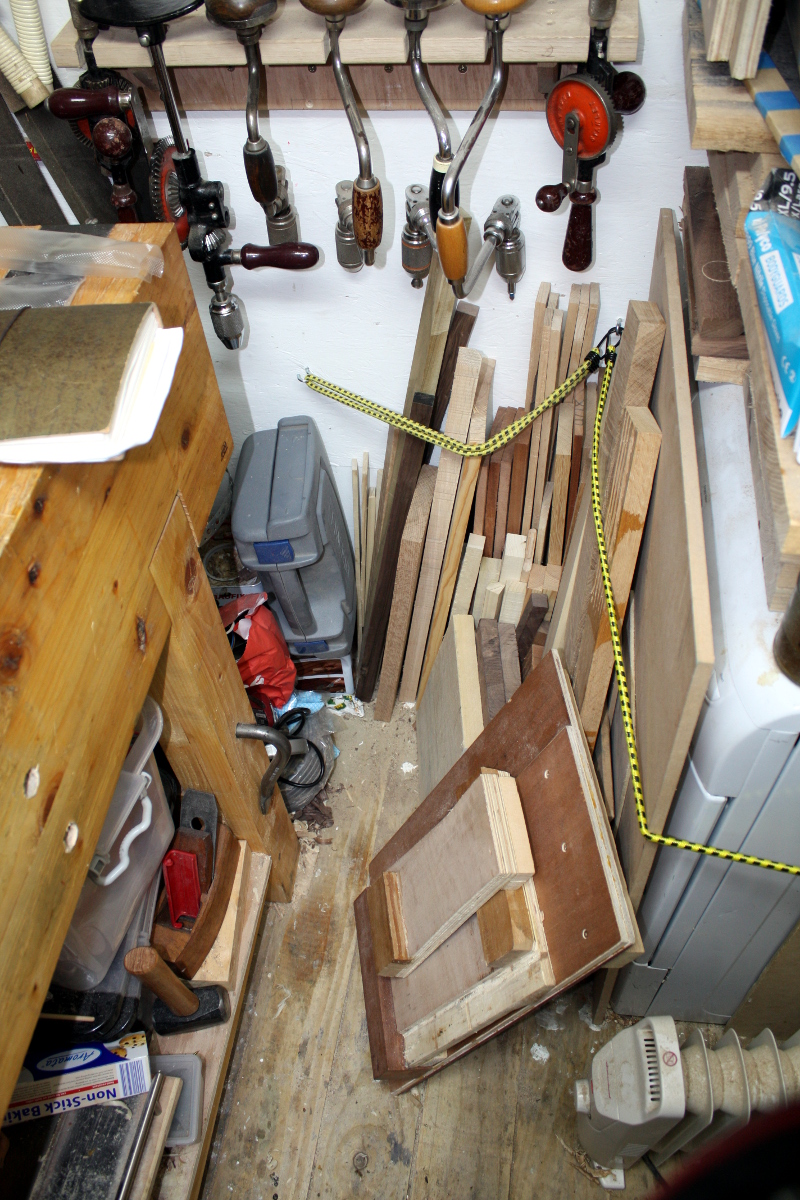
After:And then, having made a clean spot, went and tidied the small section behind the tumbledrier there where I usually wind up standing wishing I’d cleaned that part of the shed.
And then, having cleaned everything up, time to play…
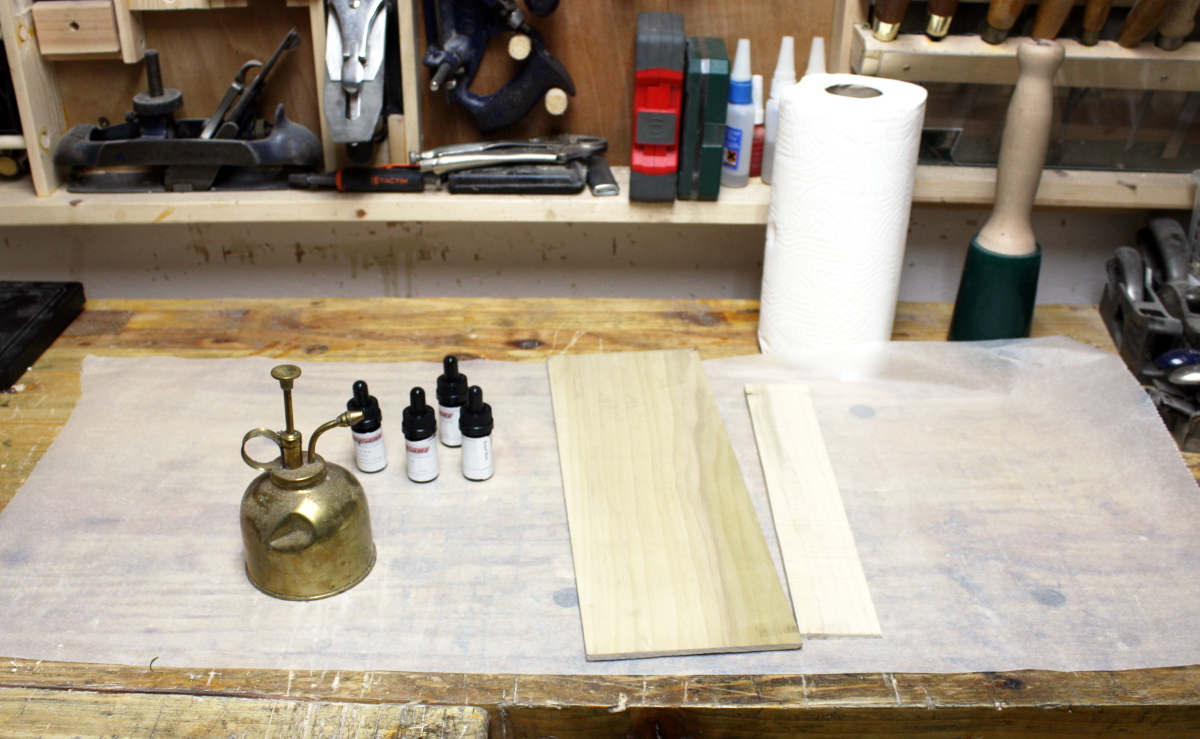
First off, I did want to see what the stains look like and to try to replicate this:
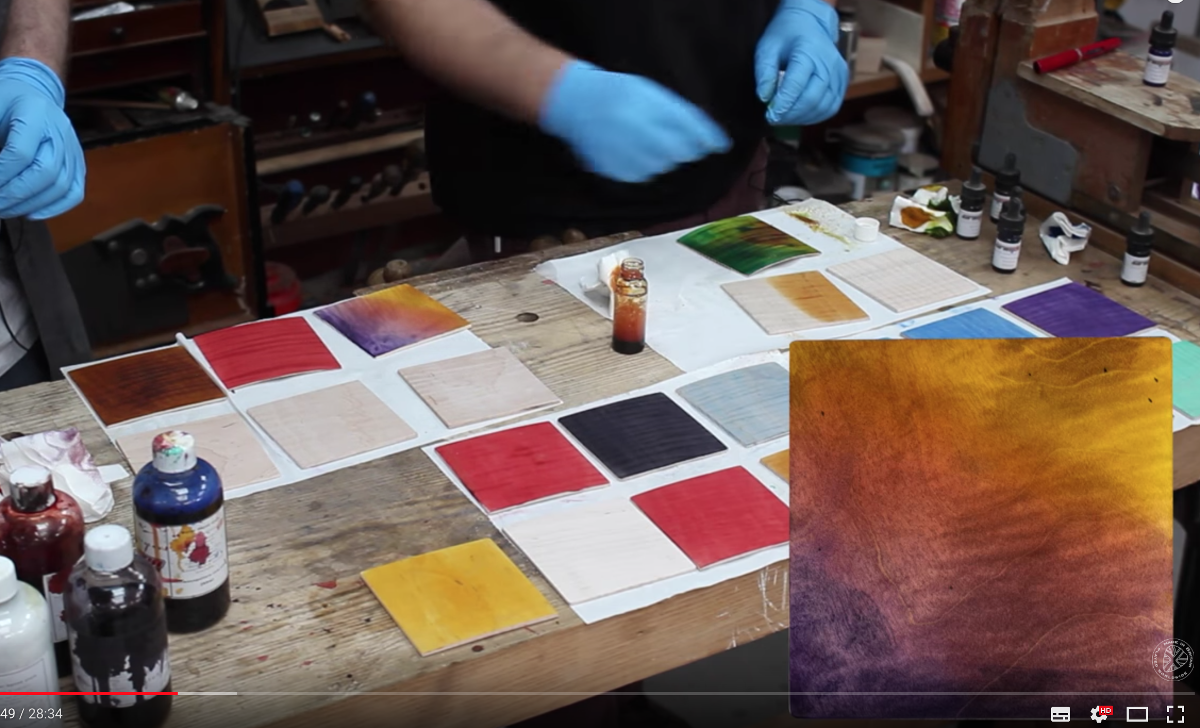
Granted, I don’t have resawn squares of flamed sycamore, I’m mucking about with bits of poplar, but still…
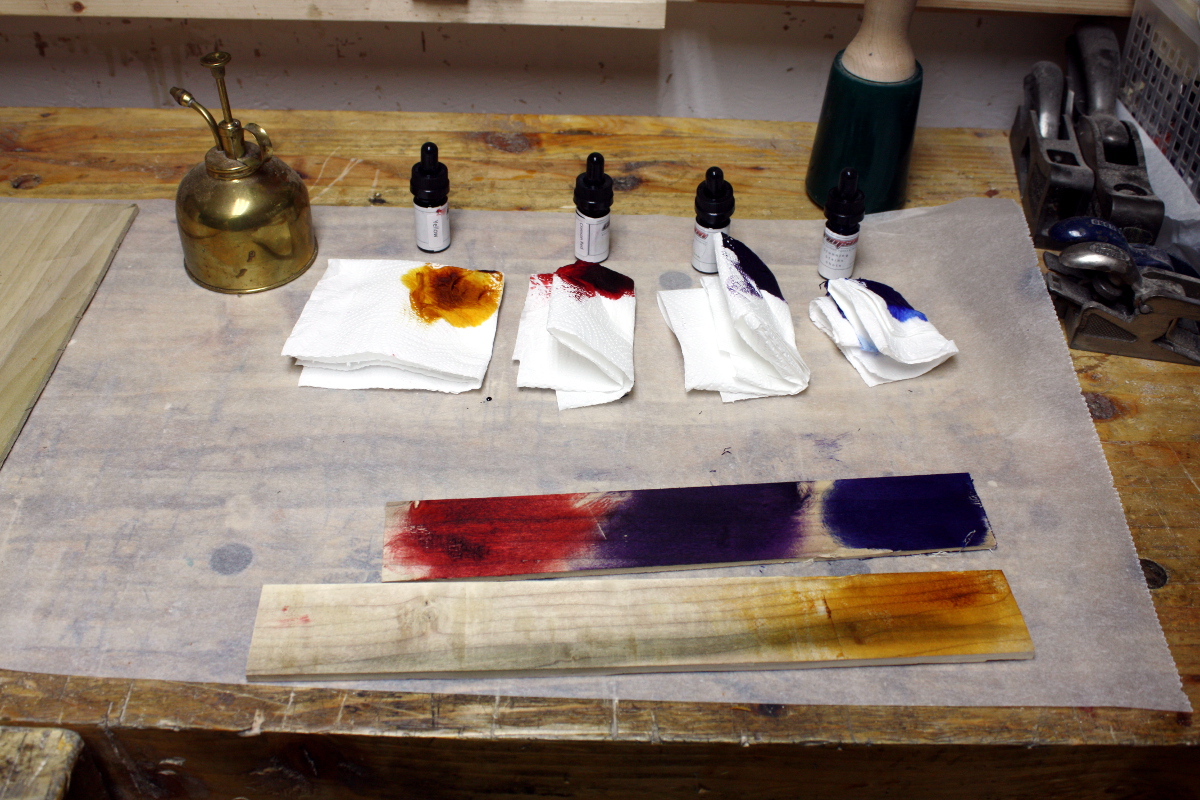
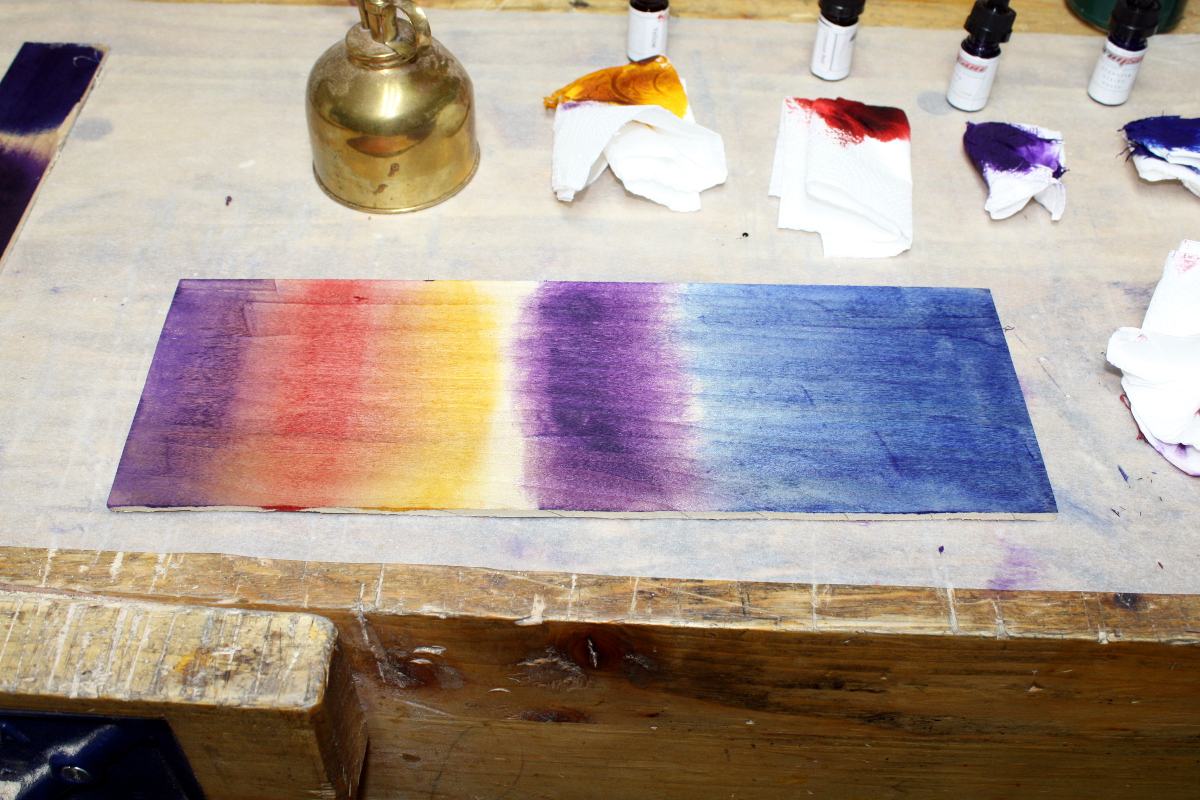
That was a bit of fun. I’ll take a peek tomorrow to see how it reacts to drying, and spray some poly on it to get a look at it under finish (it’s not actually for a project, I’m just experimenting).

Then on to the next thing; I got myself a solstice present of Peter Follansbee’s video on 17th century New England carving (I’m mad, me) and I wanted to try one of the basic v-tool exercise patterns:
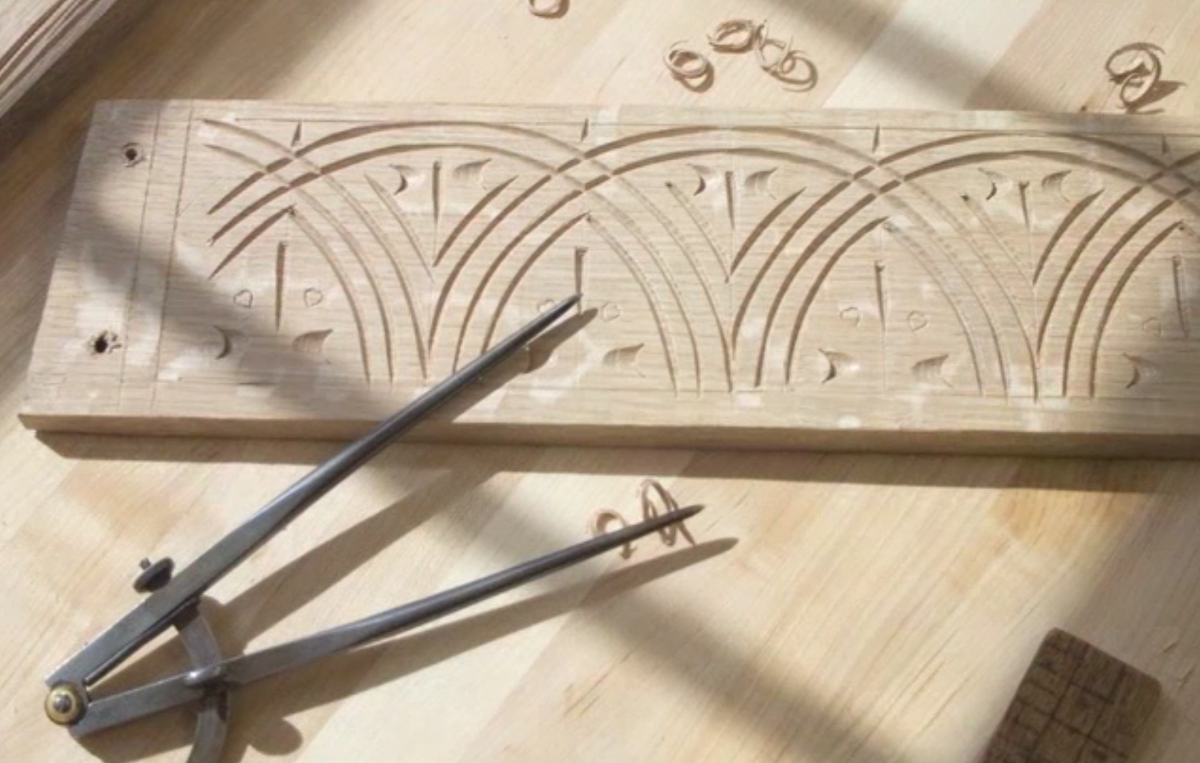
Granted, I don’t have riven green oak or even quarter-sawn oak, I’m mucking about on an offcut from the table build – inch-thick kiln-dried flat-sawn oak. Grand for furniture, not so much for carving. Plus I need to sharpen my v-tool a bit more and I need some new slipstones because apparently you can shave the diamonds off diamond slipstones if you’re not careful when honing a gouge. Doh. And I don’t have all of Follansbee’s kit (which is worse than it sounds since he only uses six gouges and a v-tool…). But I have enough for one or two of the exercises (including this one) so on we go…
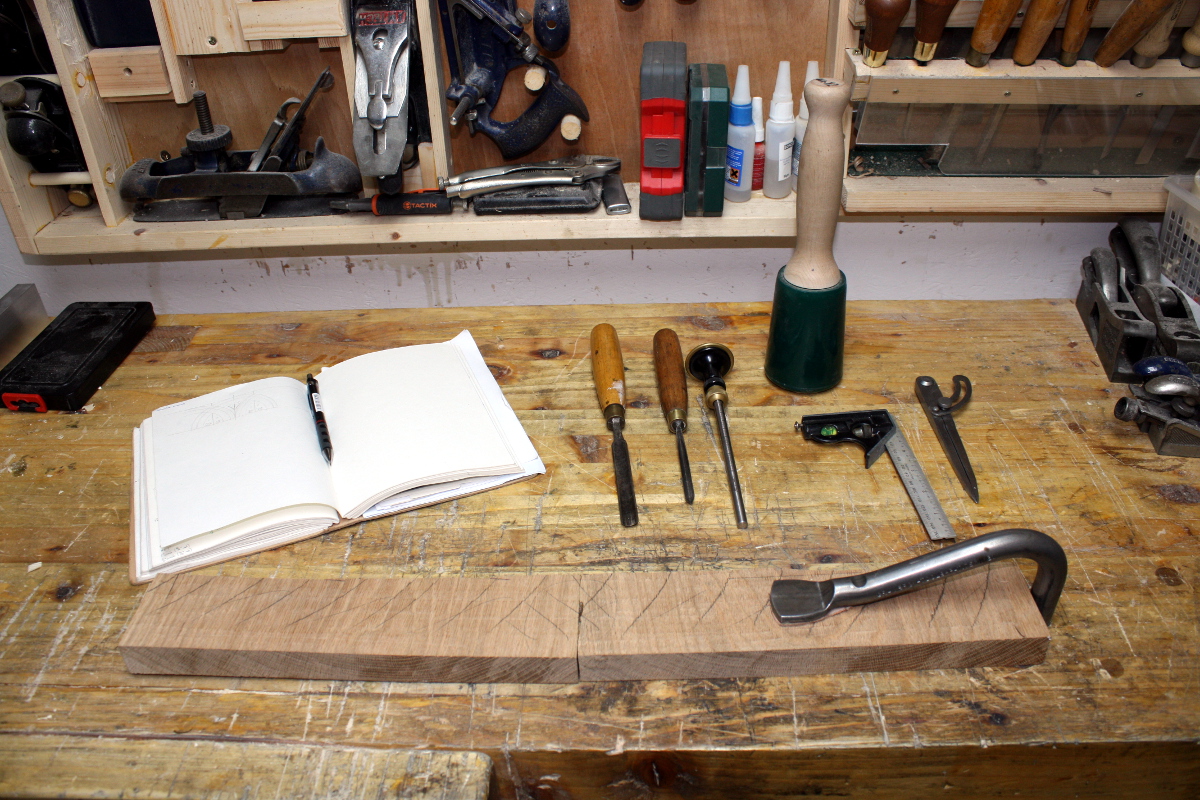
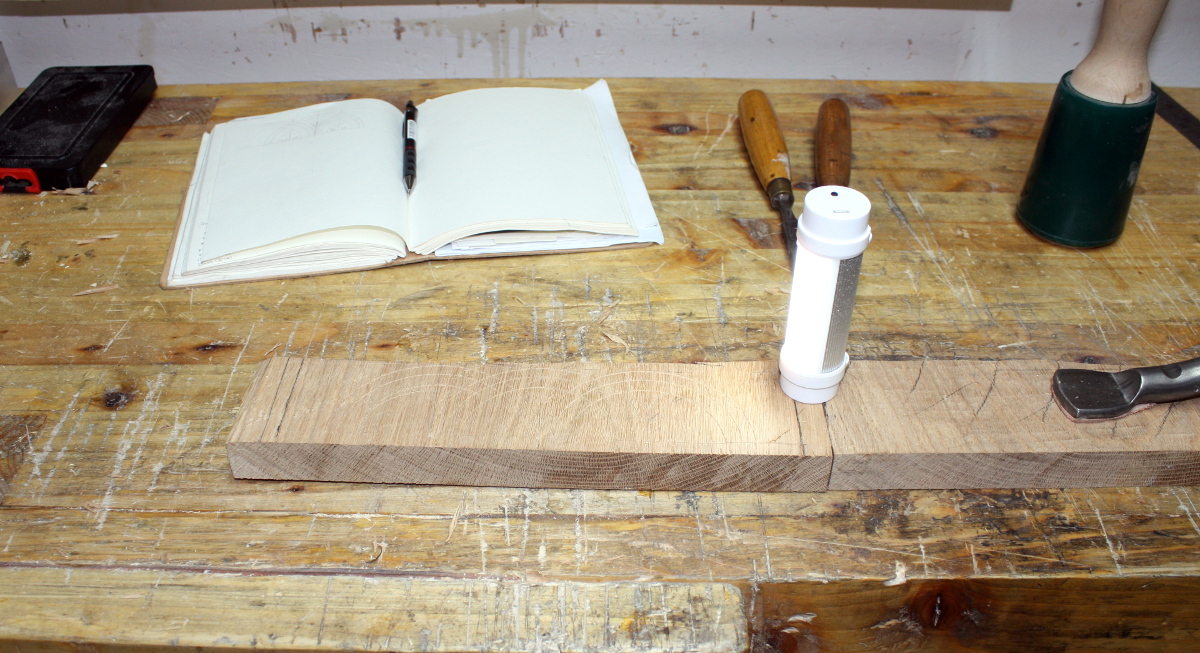
Natty little camping light spotted in a Big Clive video – handy since it has a magnet in one end and for throwing light across a surface with knifed marks it’s pretty useful.

The divider work is straightforward enough…
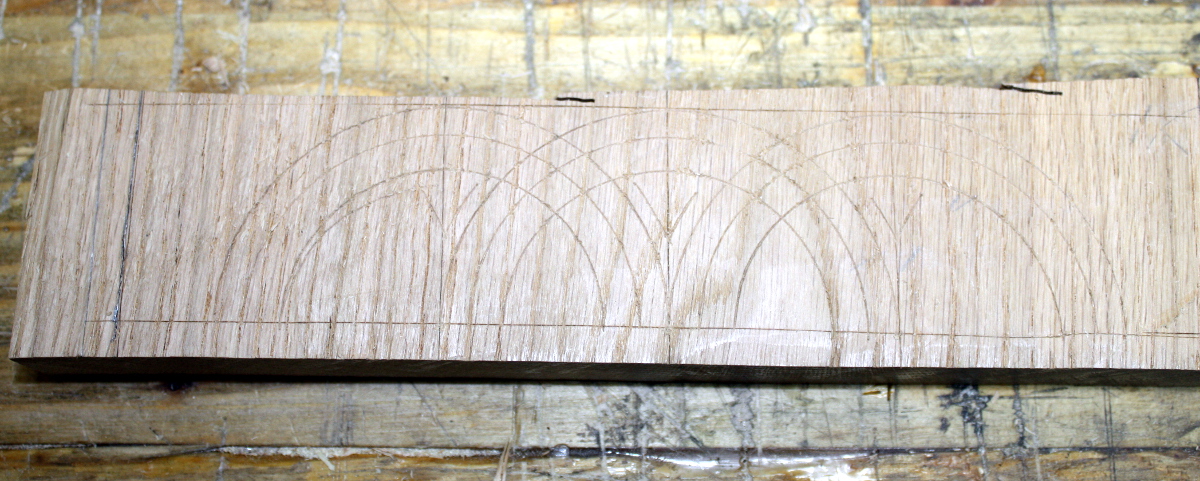
…but there’s a reason Follansbee makes it look easy and it’s twenty-five years of practise…
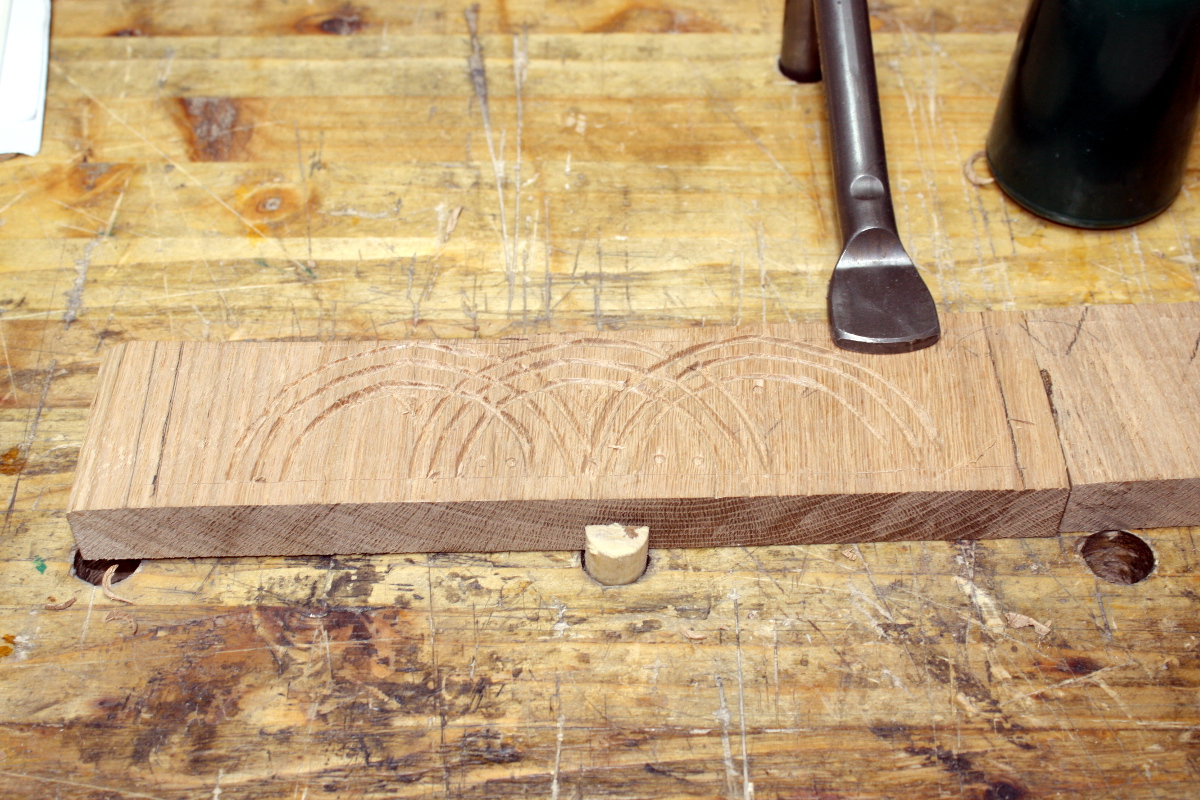
Still have all my fingers and no new leaks, so I’m calling that a win.
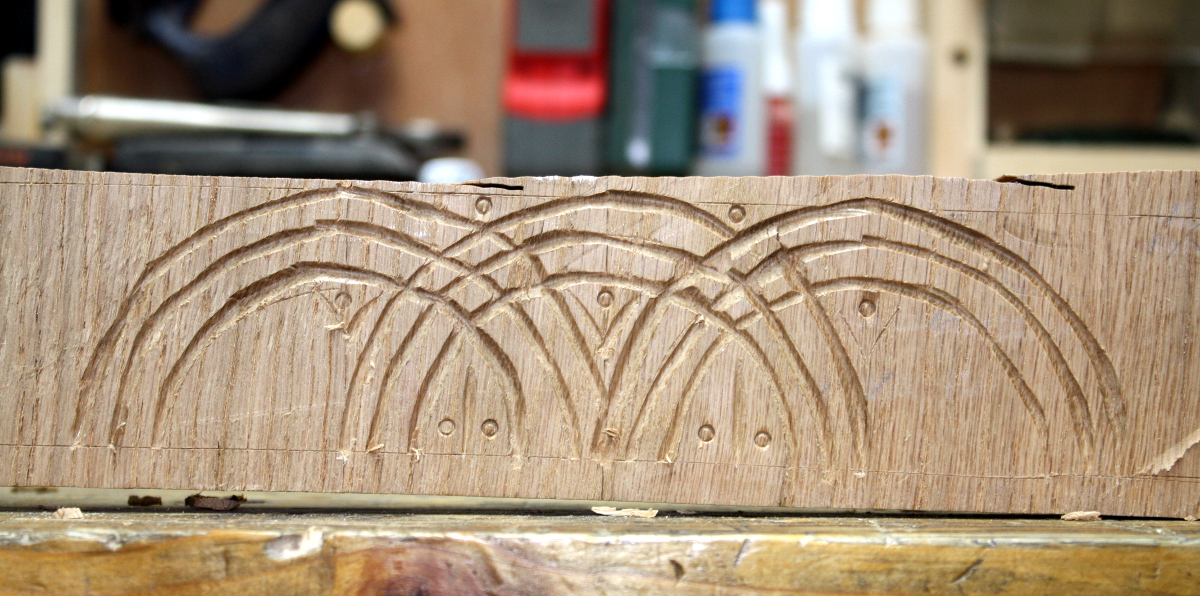
And a bit of BLO to show it better.
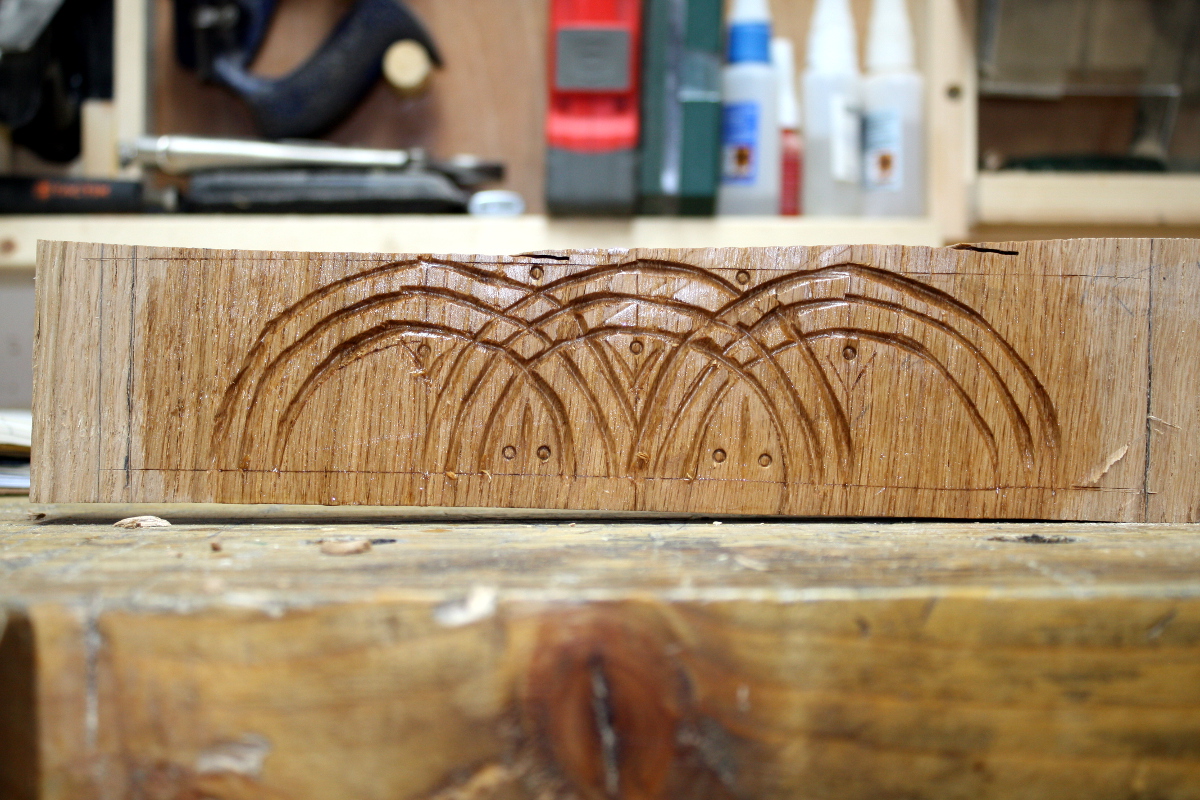
Well. First try. It’ll get better. Or it gets the shovel again.

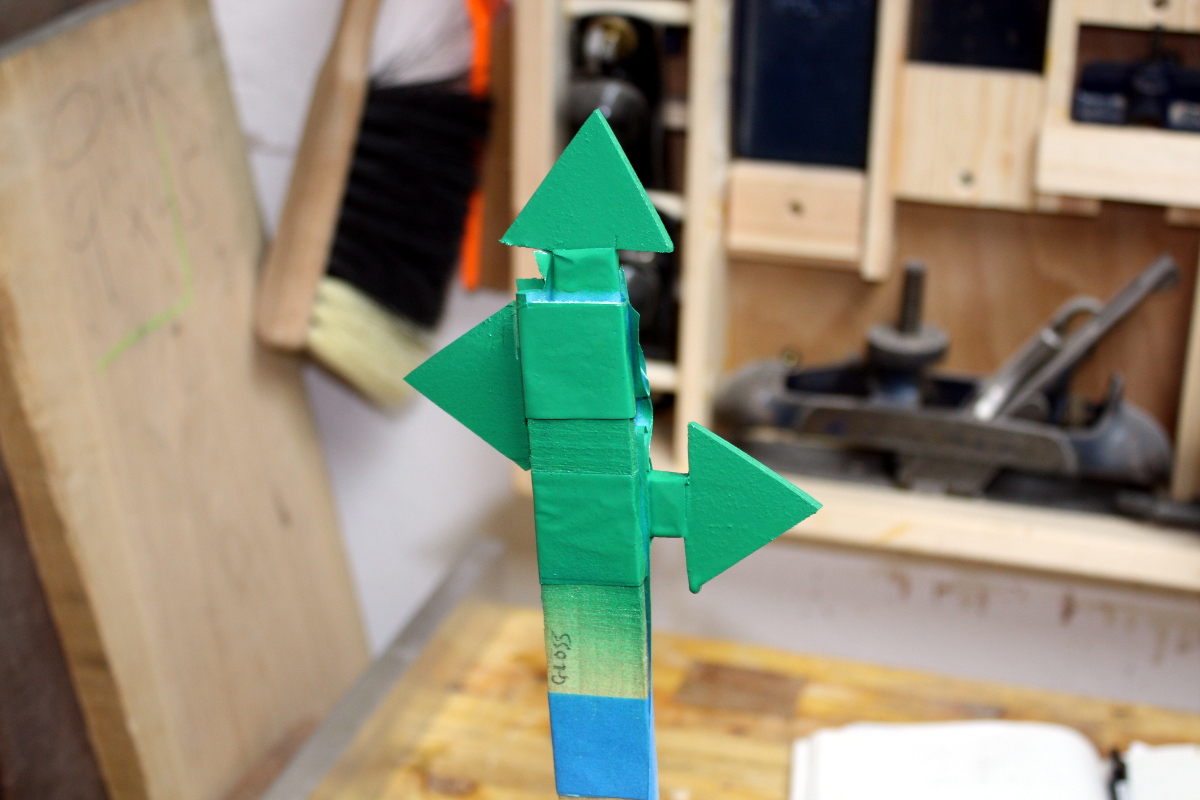
And in the meantime I figured out what I wanted to do with those scraps I couldn’t throw away…

16
Dec 17

Post partum prepping

So, table delivered (yes, the recipient liked it). BTW, if you were wondering, it was a build-along to Richard Maguire’s video series:
In case you were thinking of buying that series, it’s well worth the money.

Today though (and yesterday) was all about cleaning down from the build (and carting away two rubbish bags full of shavings – not being able to burn wood here is a pain) and doing the dozen little jobs that needed doing like sharpening the wooden skew rebate plane I have here; going to use that in a build soon. And every plane had to get a light sanding with fine paper on the tops of the cheeks of their sides for surface rust (the -3C nights came with water vapour condensing on the cast iron) and then a fresh coat of wax. And other small jobs like that which had been backing up. I still have one more of those – building a japanese saw bench hook. I’m using a normal bench hook at the moment but for pull work, it can be a tad awkward because you have to hold the work to the fence. You can use a normal european bench hook if you hook it to the far side of the bench; but I think it’s a bit nicer if you attach the fence to the baseboard and drill through both and glue a dowel through both and down a few inches below the baseboard. The dowels then go in the bench dog holes and that’s your bench hook. Parts are set for that (I’m not sure I have enough dowel stock though) and I’ll get to it probably tomorrow.

The rest of my time has been spent on stock prep. Bit of resawing and flattening and ripping yesterday and prepping some blanks for bandsaw boxes. So walking into the shed today it all looks fine…

…and then you turn to the right to look at the staging area…

Ah. Right. So that’s four more side tables (or at least the raw material rough-cut for them) and then on top of that all the finishing jars and glues and screws and my plastic box of off-cuts. Those are only the bits I could use for things by the way (I’m resisting the packrat urge to keep every scrap of wood I cut off a larger piece on the grounds that There. Is. No. Room. In. Here), so resawn pieces that could be used to make small boxes or chunks that could become bandsaw blanks (not many of those left, I picked through the box on Friday to make up some blanks), or the cores from bandsaw boxes (which can get used for things like feet or drawer pulls or whatever).

Tucked behind the plastic box are the panel gauge and the dovetail alignment board, and on top of the box is where I stash all the component parts of builds in progress (and a lot of sandpaper at the moment because I haven’t found a place for it). So there’s five glued-up blanks, and the component parts for six other projects in the pre-joinery stage.

Blanks drying outside along with a bandsaw box that’s almost ready.

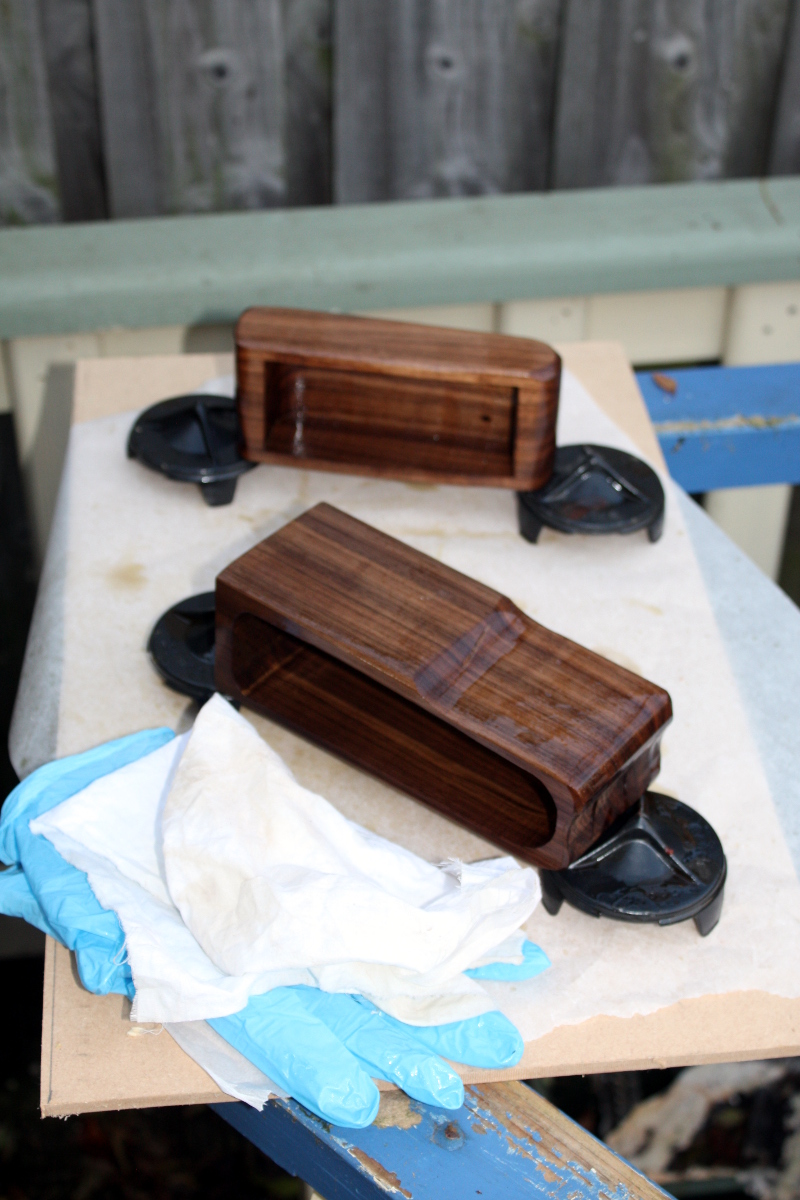
Two coats of danish oil in; going to do a coat or two of shellac yet and attach the hardware (it stands vertically and you use it to hang necklaces) and some felt in various spots. First box made using the new sander. It’s not that it makes it better so much as it makes it easier to do some things because you’re not worried that trying them will immediately remove a finger. More photos later.

And this is a quick test of a Paul Sellers idea for a project to do with the kids:

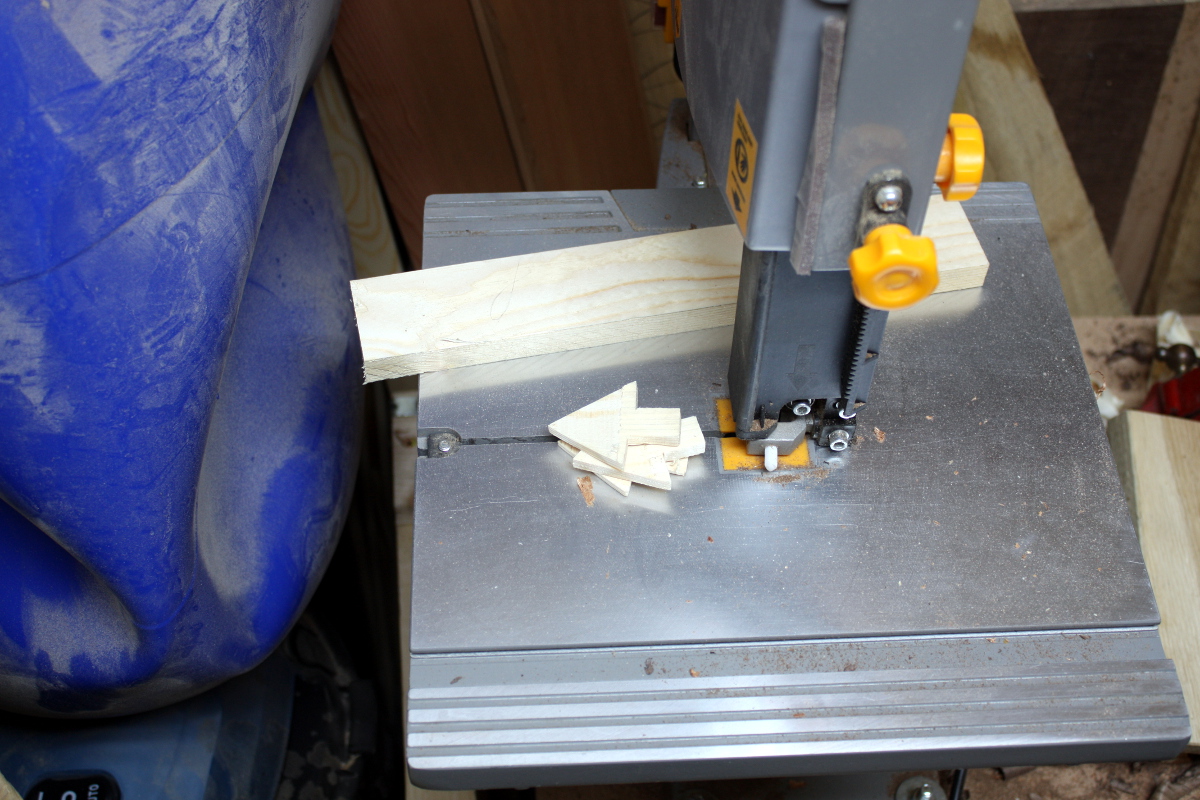
He made his using a razor-sharp chisel; I won’t be doing that with Calum 😀 The project works just fine with saw and bench plane 😀 With a bit of luck, that’ll keep him occupied for the guts of an hour and he can make one for his teacher.

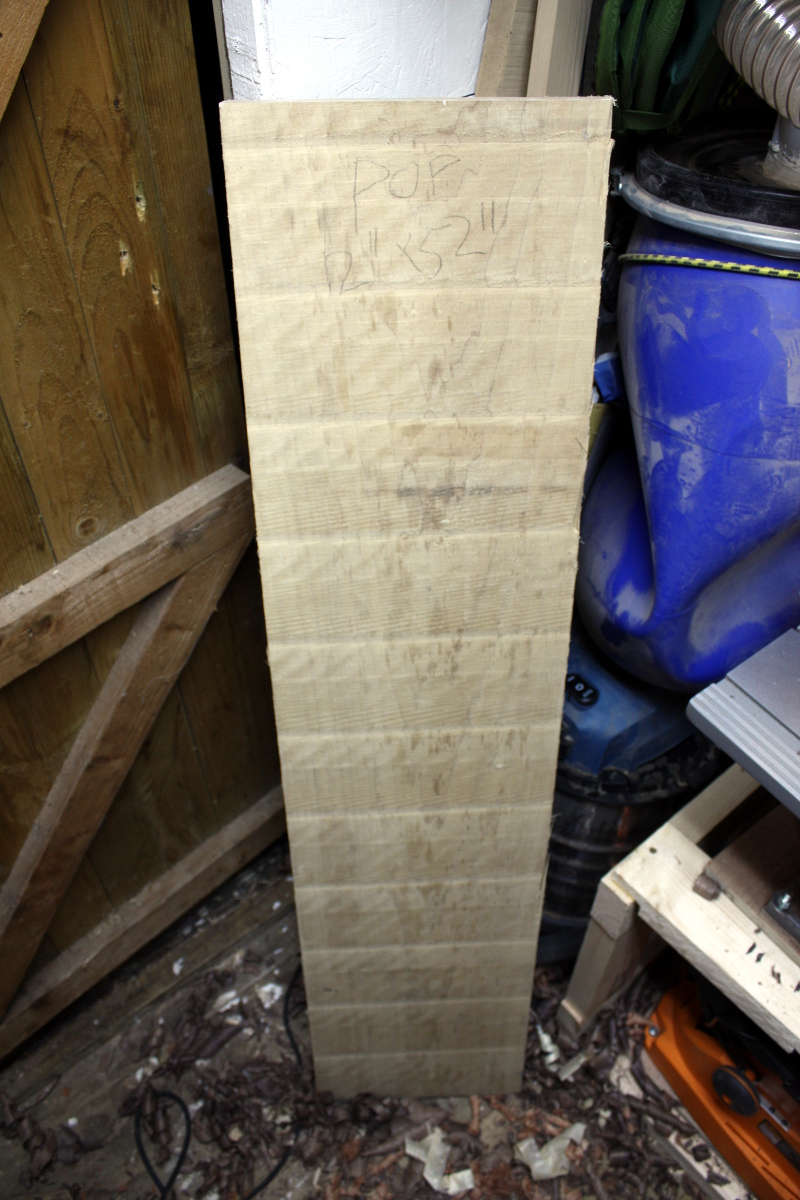
And then I have two more projects to prep for, one in beech and one in poplar. This phase always seems to make me long for a powered planer thicknesser, can’t think why…

Can you tell what it is yet?