01
Jan 19

Well that took longer than expected…

So the last time I worked on the desk wasn’t as far back as October, but I didn’t get a chance to write it up (work has been a tad busy and other stuff has also been eating time). But with xmas dinner done, holidays finally kicked in for me and after collapsing for a few fallow days, I got back out to the shed in the last day or so. And managed to avoid breaking my neck on the decking outside the shed as well (some anti-moss napalm has been deployed and I’ll have to repaint that decking with some sort of high-traction paint before any really cold weather hits I think, and possibly drill a few sneaky drainage holes against standing water).

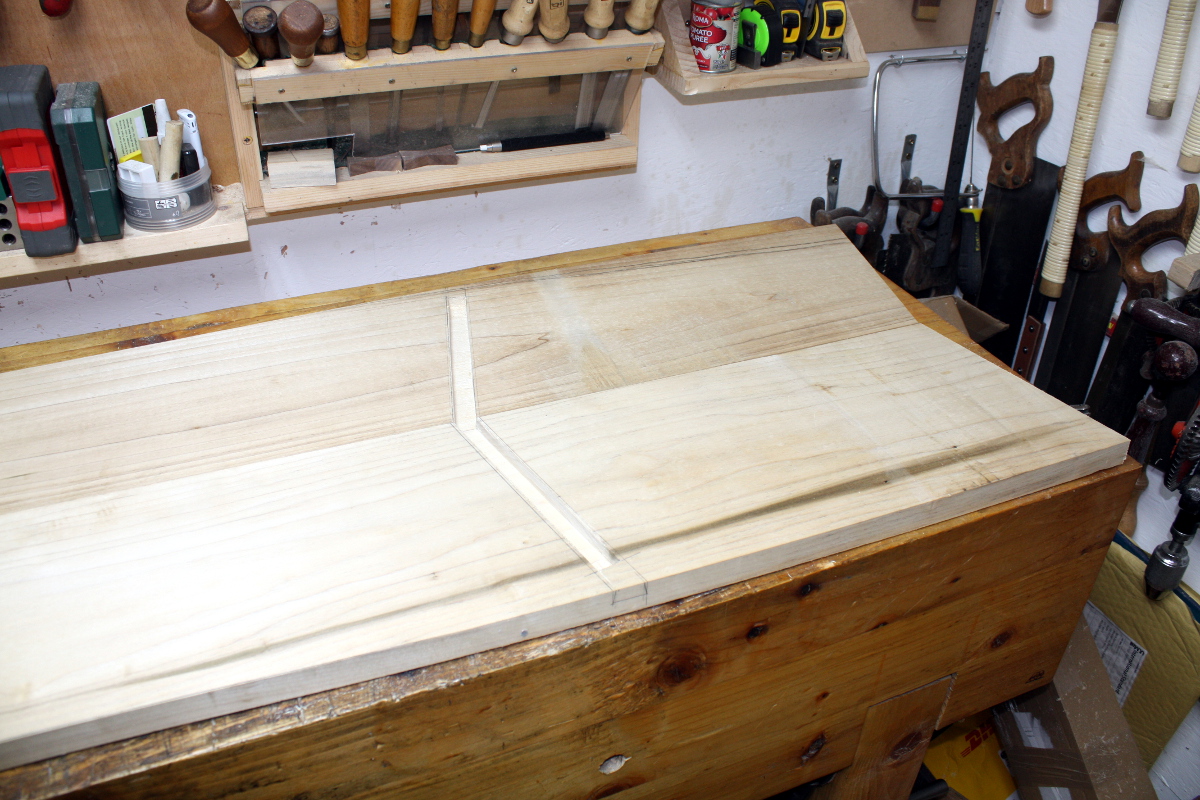
So in previous days, I got the dovetail mortice cut on the sides, using my normal technique for a stopped dado joint, which is to chop a small mortice at the point where the dado stops (so the saw has somewhere to go, though I wonder if a stair saw would solve that). It’s a bit complicated here by the line of the grain not lining up with the dado angle very well, but it wasn’t unmanageable. Then out with the ryoba and very carefully sawing down the edges of the dado. Cutting on the pull here helps a lot, but the japanese saws not really wanting to track on a flat surface doesn’t (western saws I think would be happier as they have thicker plates, but all of mine hate me and won’t work for me at all). So in this case I chopped along the line with a chisel and cut a little knife wall to help guide the saw, then sawed down to depth once the cut was deep enough to let the saw blade track.
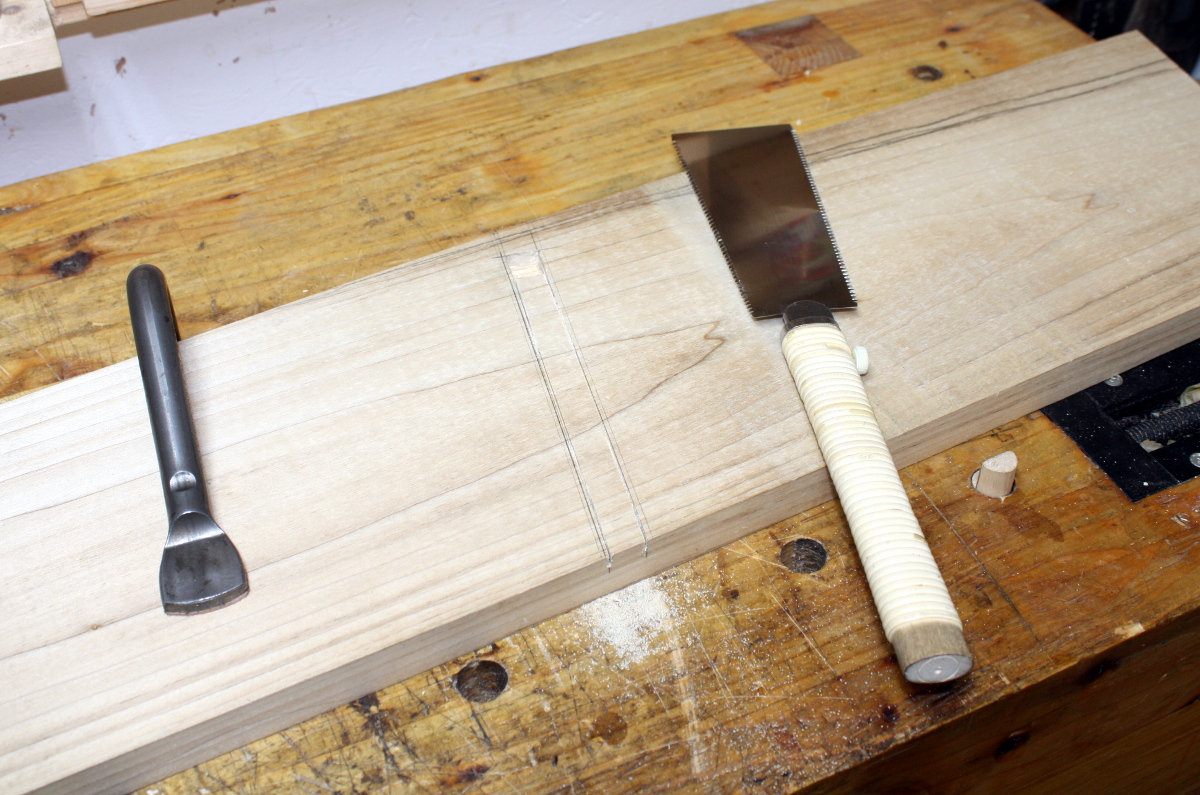
With the edges cut down to depth, out comes the chisel and I hog out the bulk of the waste pretty quickly, then switch to the router for the last one or two millimetres of depth. Not the powered one, the one that actually likes me.
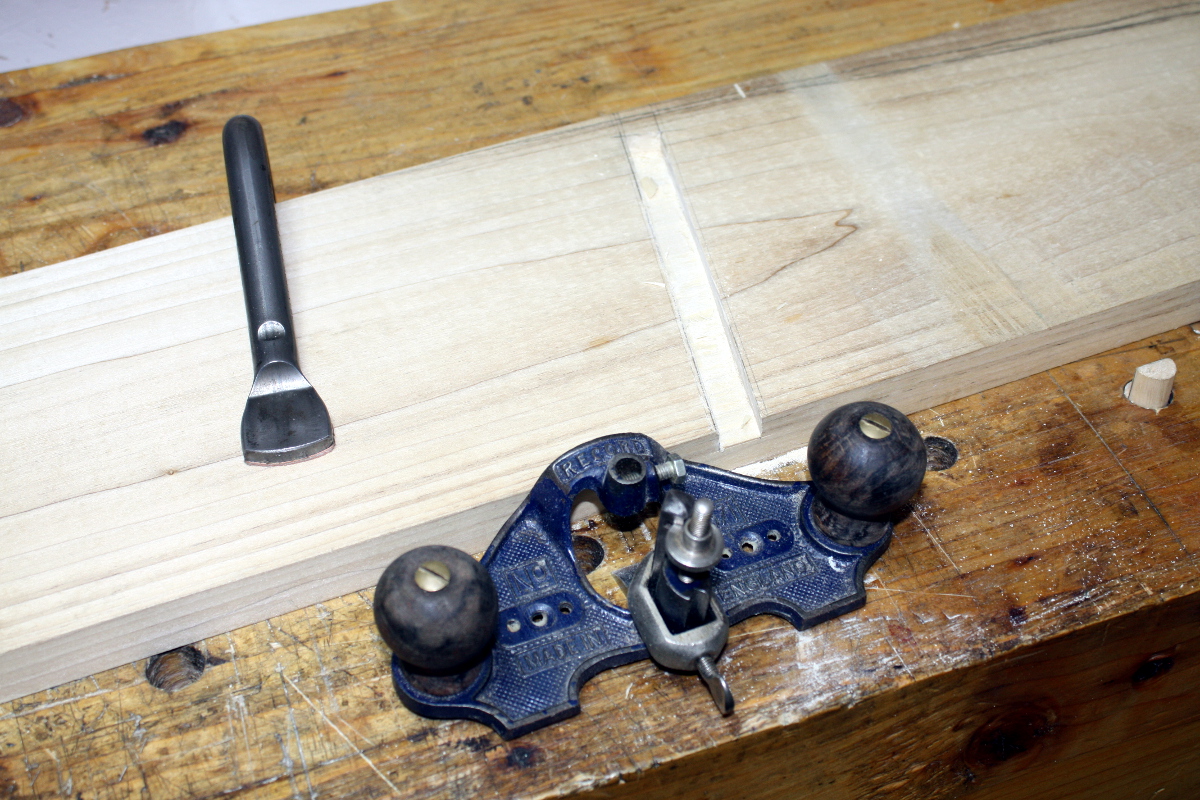
Then just repeat that for the other side, being sure to mirror image rather than carbon copy…
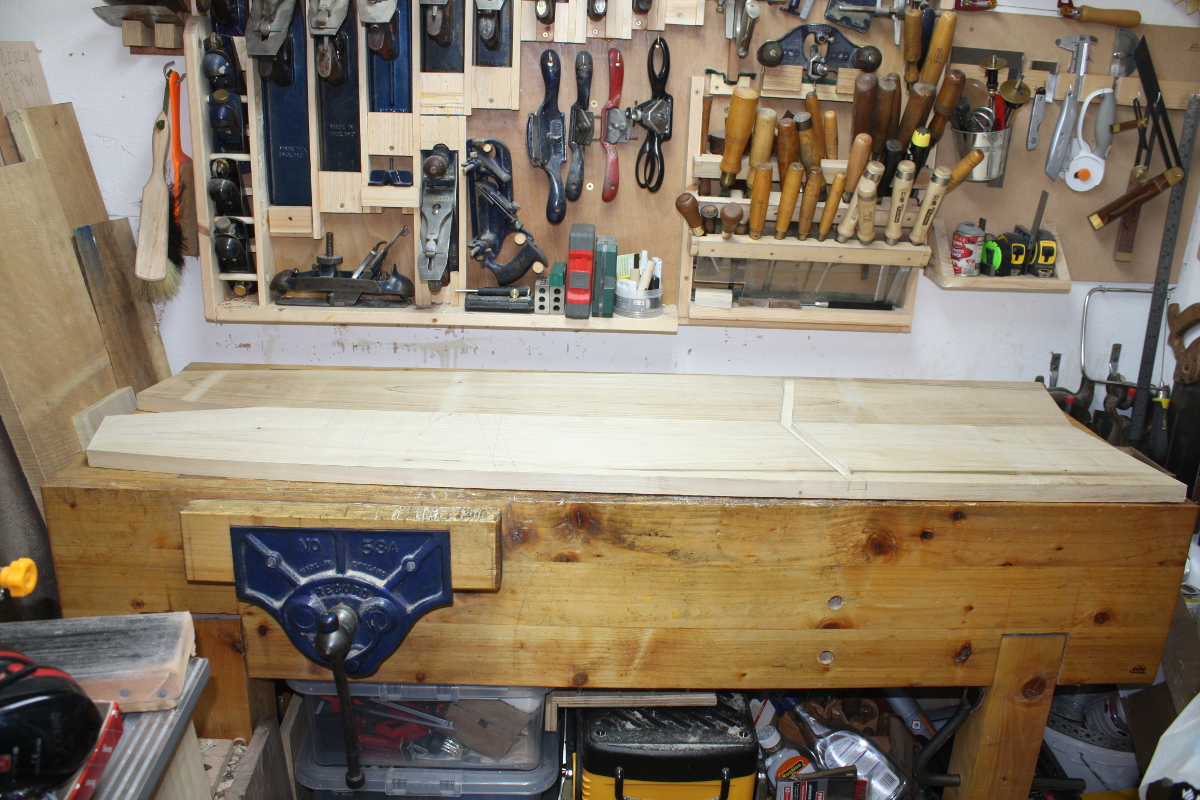
This project is right out at the size limit for my shed by the way, if not well past it…
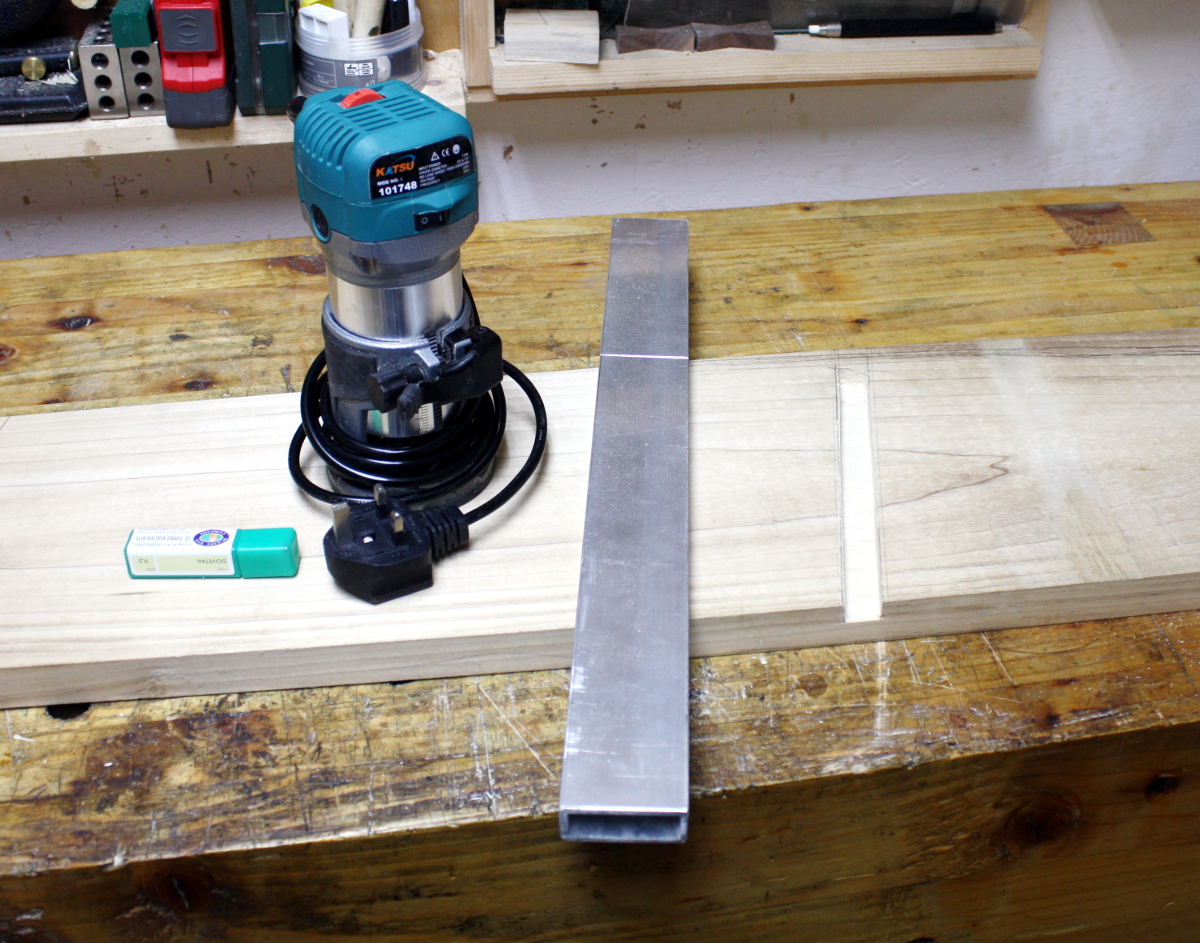
So now I had two dados cut, both of which are as narrow as the minimum width of the dovetail (the bit at the shoulder where the joint is thinnest), so now I had to remove the last bit of waste to form the dovetail. However, after watching some of The Woodwright’s Shop (one of PBS’s gems) I thought I’d just make one side of the dado into a dovetail instead of both. I mean, if it works for Roy

So, I clamp a straightedge in place to both hold the side and give the router something to run against, fit the dovetail bit, don all the PPE, triplecheck where my fingers are, and I fire it up and make the cut.
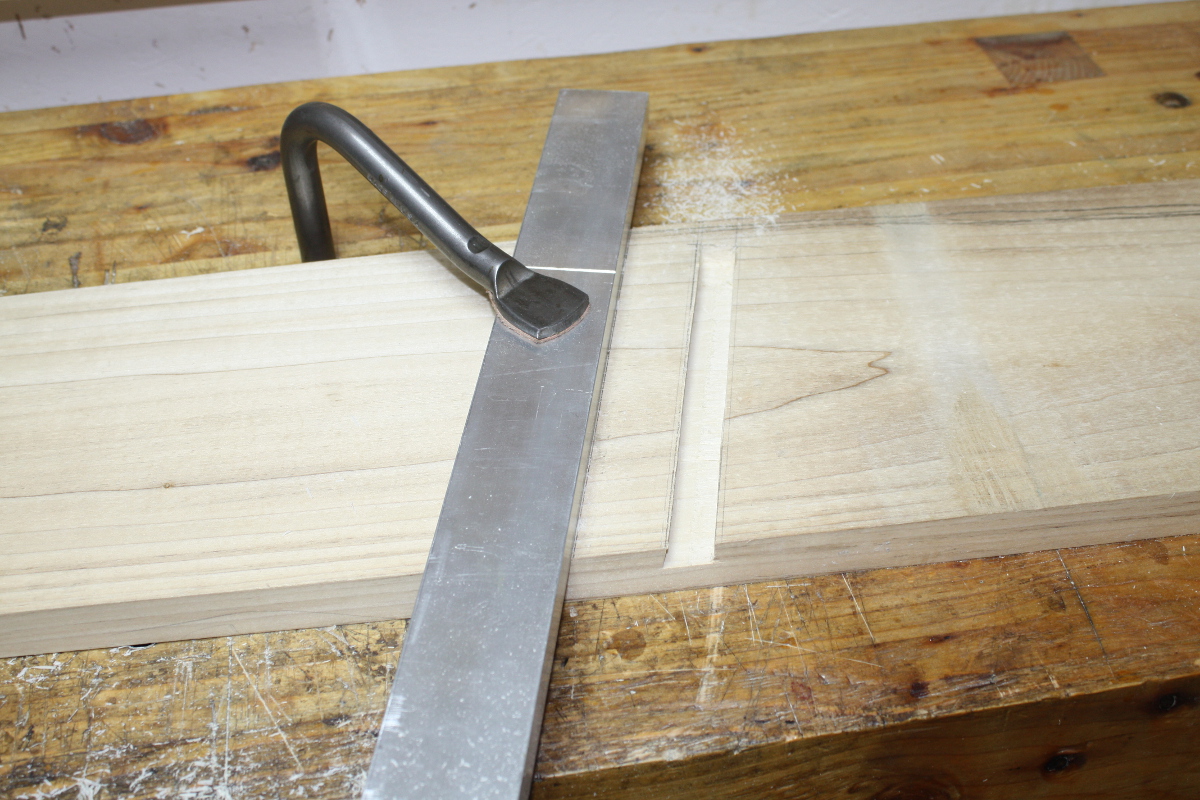
And it didn’t come out too terribly. I mean, it’s not pretty, but there’s a noticeable lack of severed and mangled body parts in the cut, which I’m a fan of.
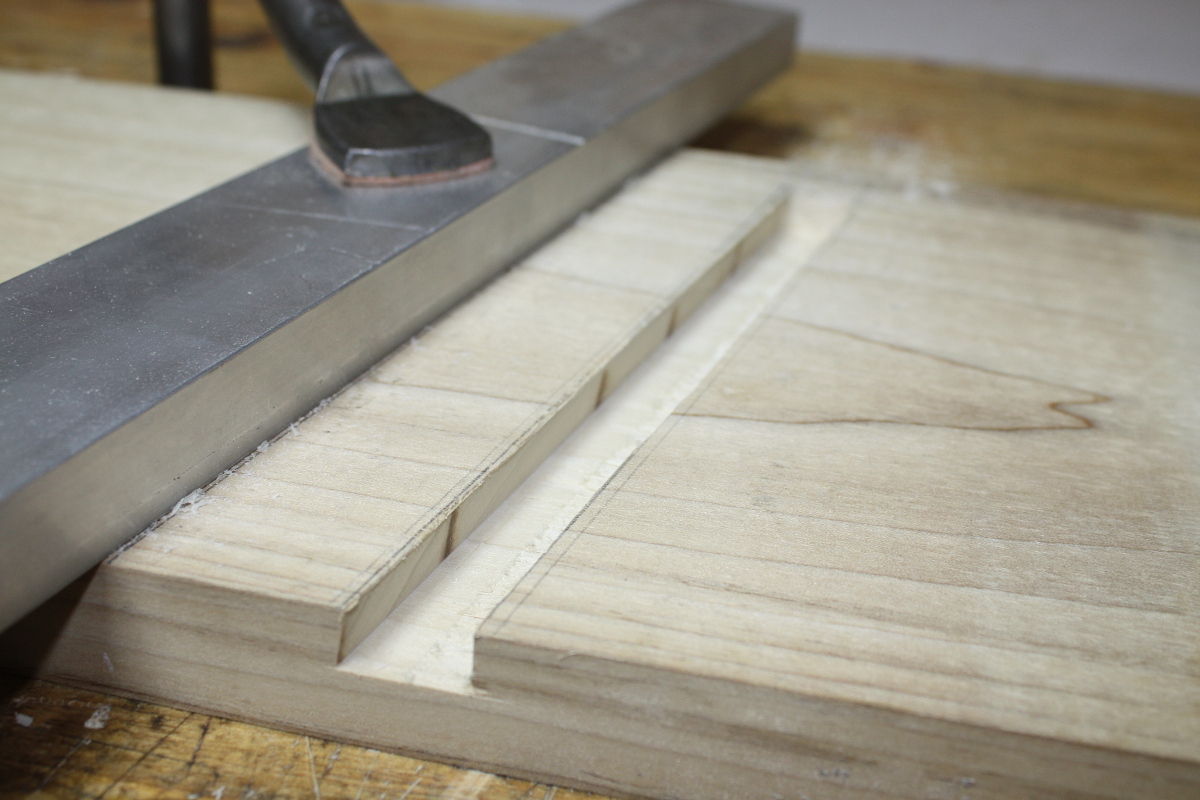
Okay, so just repeat for the other side and…
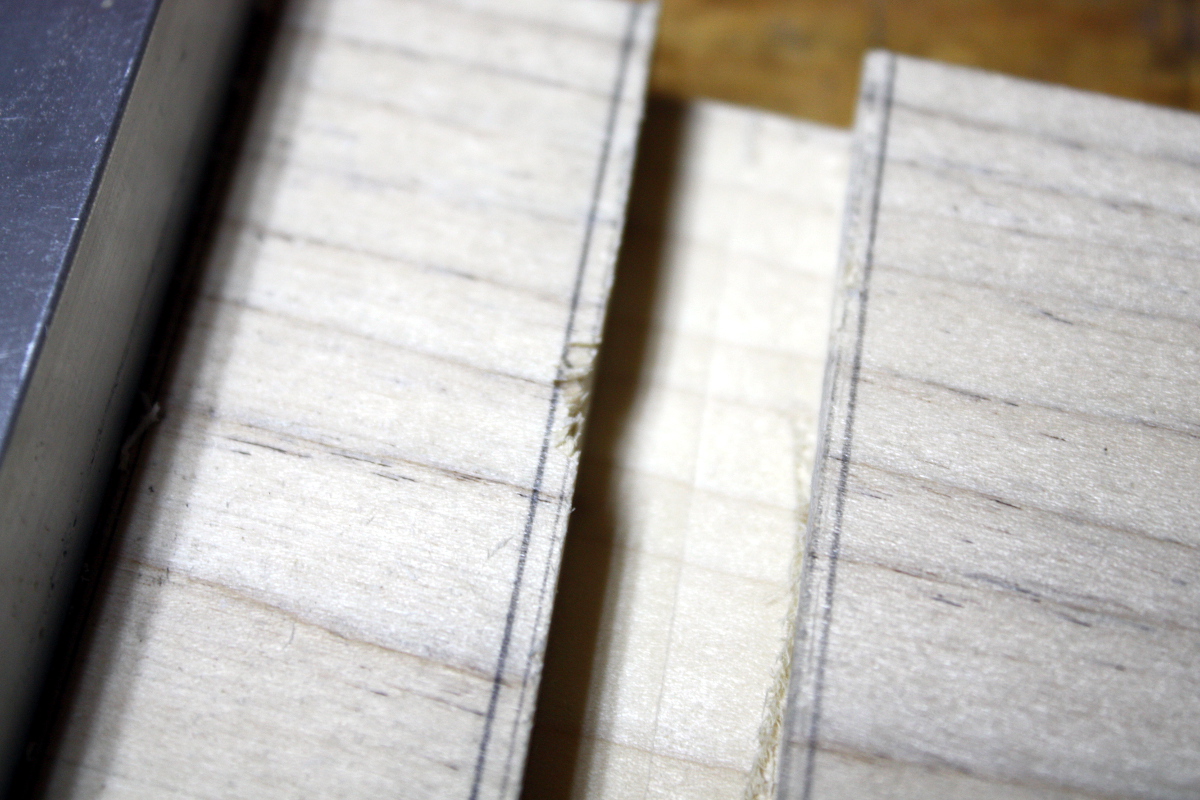
…promptly forget which way the blade is spinning and that this is a mirror not a carbon copy, and that I’m now climb cutting without being ready for it and the fecking thing actually jumps for my face.

Enough with routers, I say. Stupid things. Anyway. It’s done. The joint mortices are cut. And feck setting up a router table to cut the male part of the joint, I’m done with that sodding tool for now. And in fact, that was the last time I got to work in the shed from then until this week, which is when the rest of this all happened.
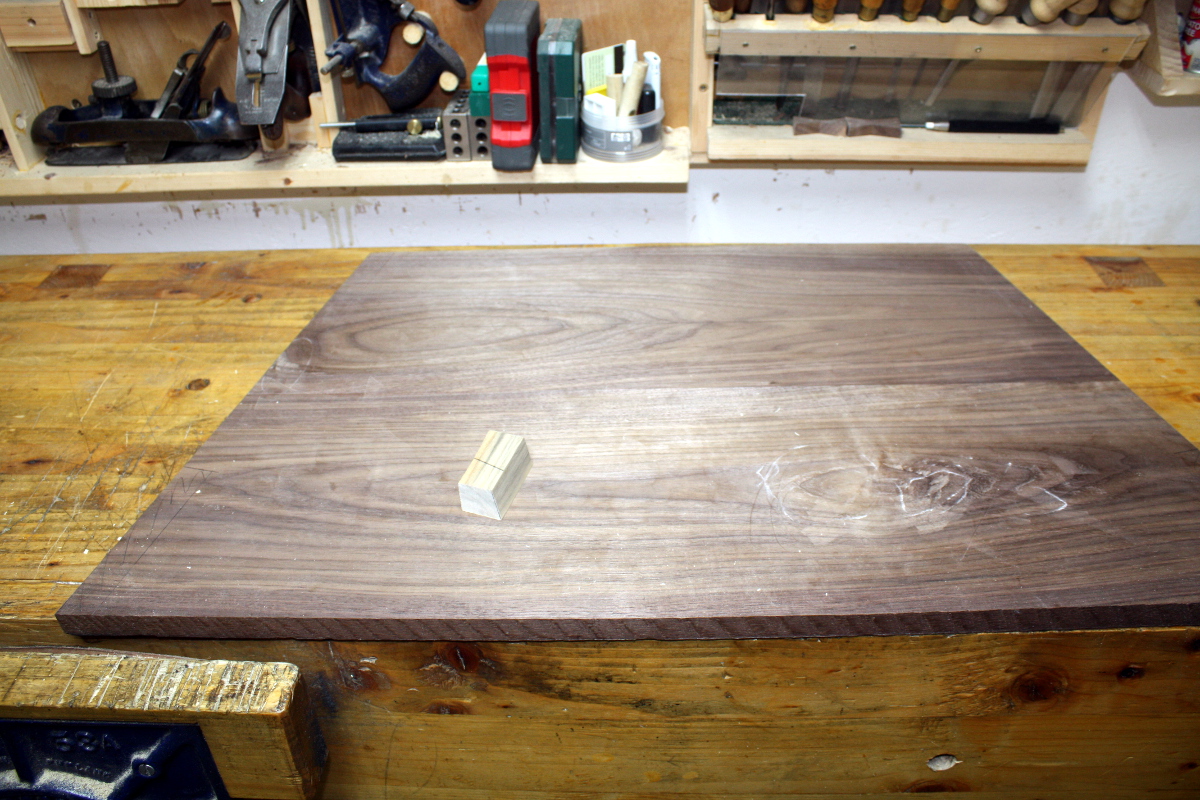
Right, so I have to cut the edges of this now to let it be driven into the sides with the male part of that dovetail joint, but it also has to protrude out the back far enough to almost reach the wall it’s leaning against. So there was a bit of footering about to get measurements and scribe lines and so on, but finally I got that sorted.
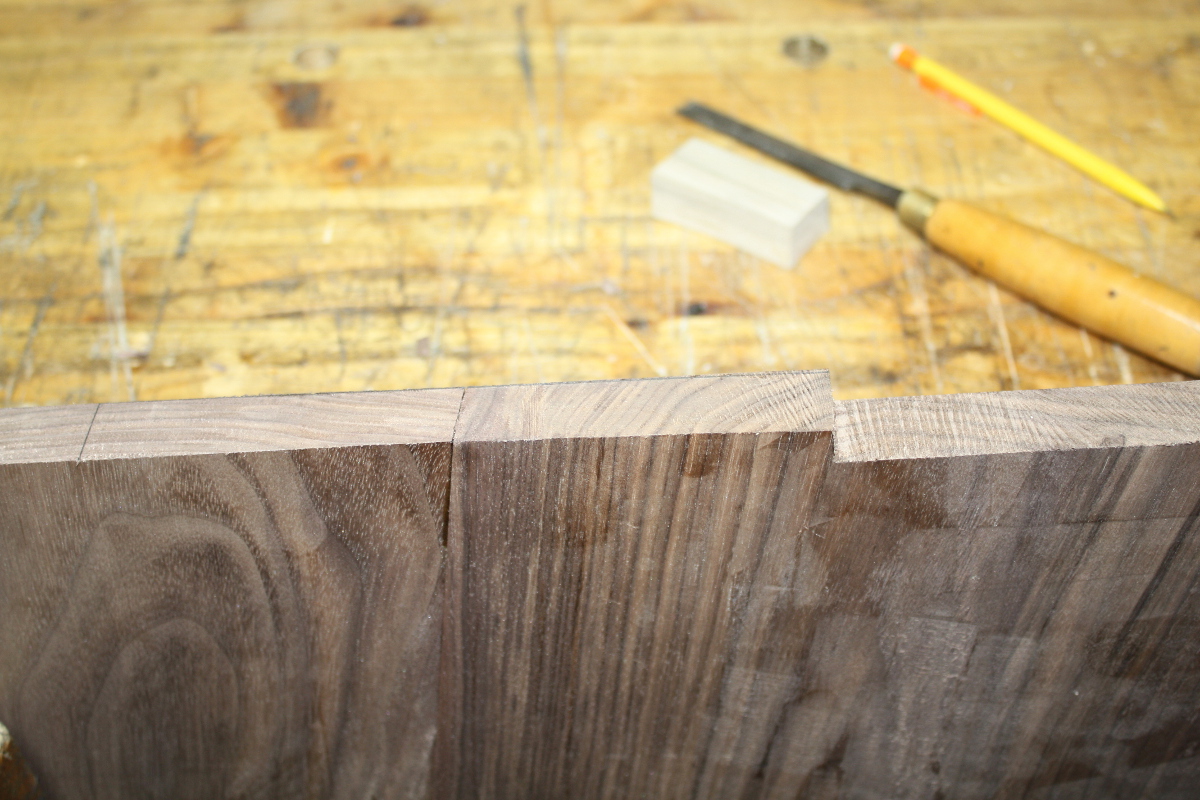
Next up, cutting the dovetail part of the joint. I measured the router bit’s angle, set a bevel to that angle, then planed a scrap offcut from shaping the sides so that its edge matched that angle relative to a face.
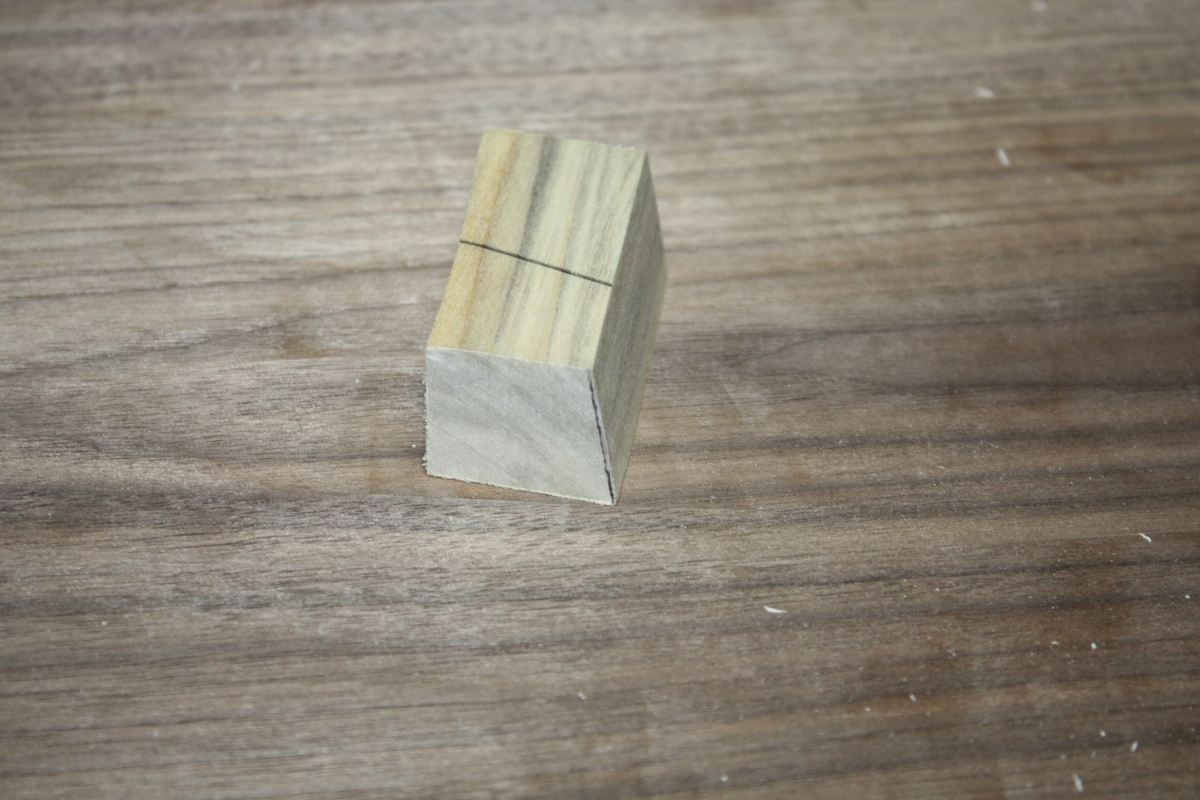
And now I had a paring guide for a chisel. Next I pared out the dovetail along the joint.
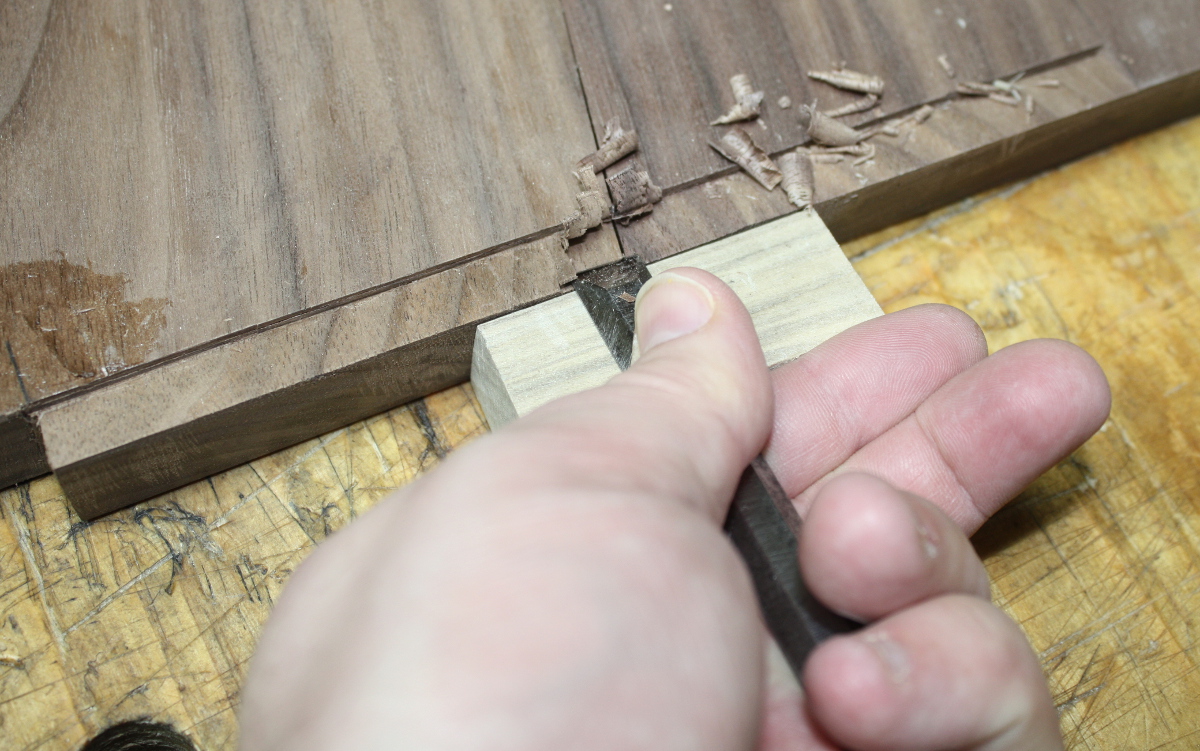
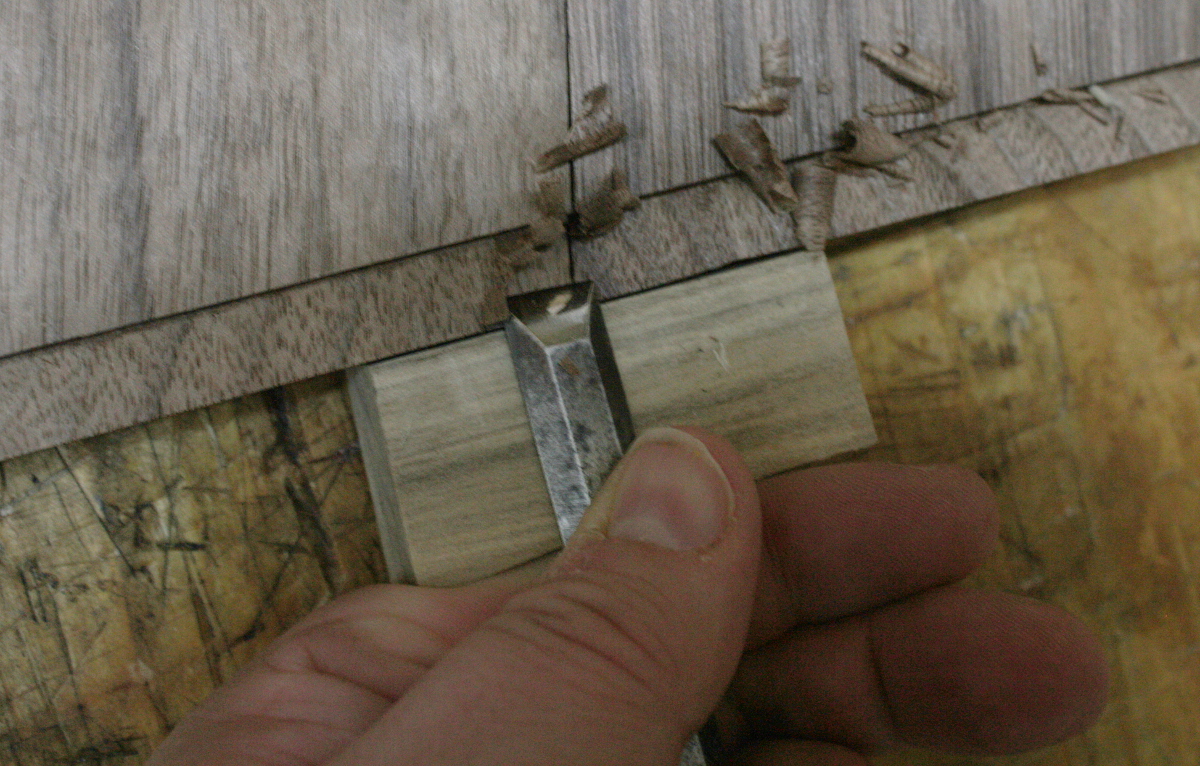
The back end of the paring guide is up off the bench, with pressure from my index finger holding the angled edge flat against the edge of the desk, which puts the face of the paring guide at the right angle; then I slowly pare away, nibbling at the cut on the second pass, which is when I put a shim under one side of the desk so as to angle the board and thus give me a sliding stopped dovetail joint.
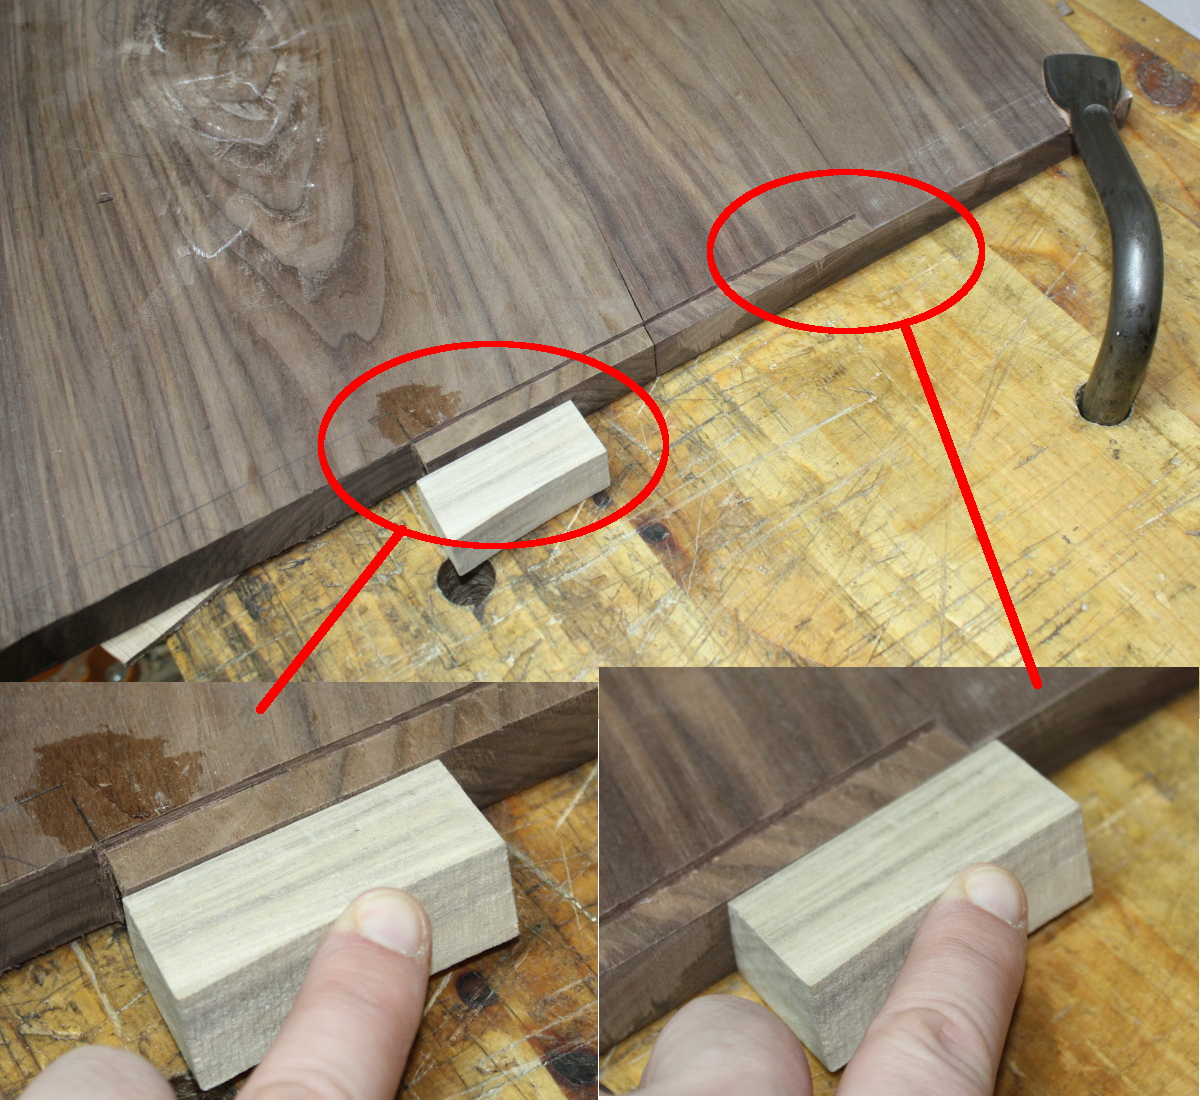
You can see, with the shim under one side (and the other side held down by holdfast), the paring block naturally carves a sliding dovetail shape.
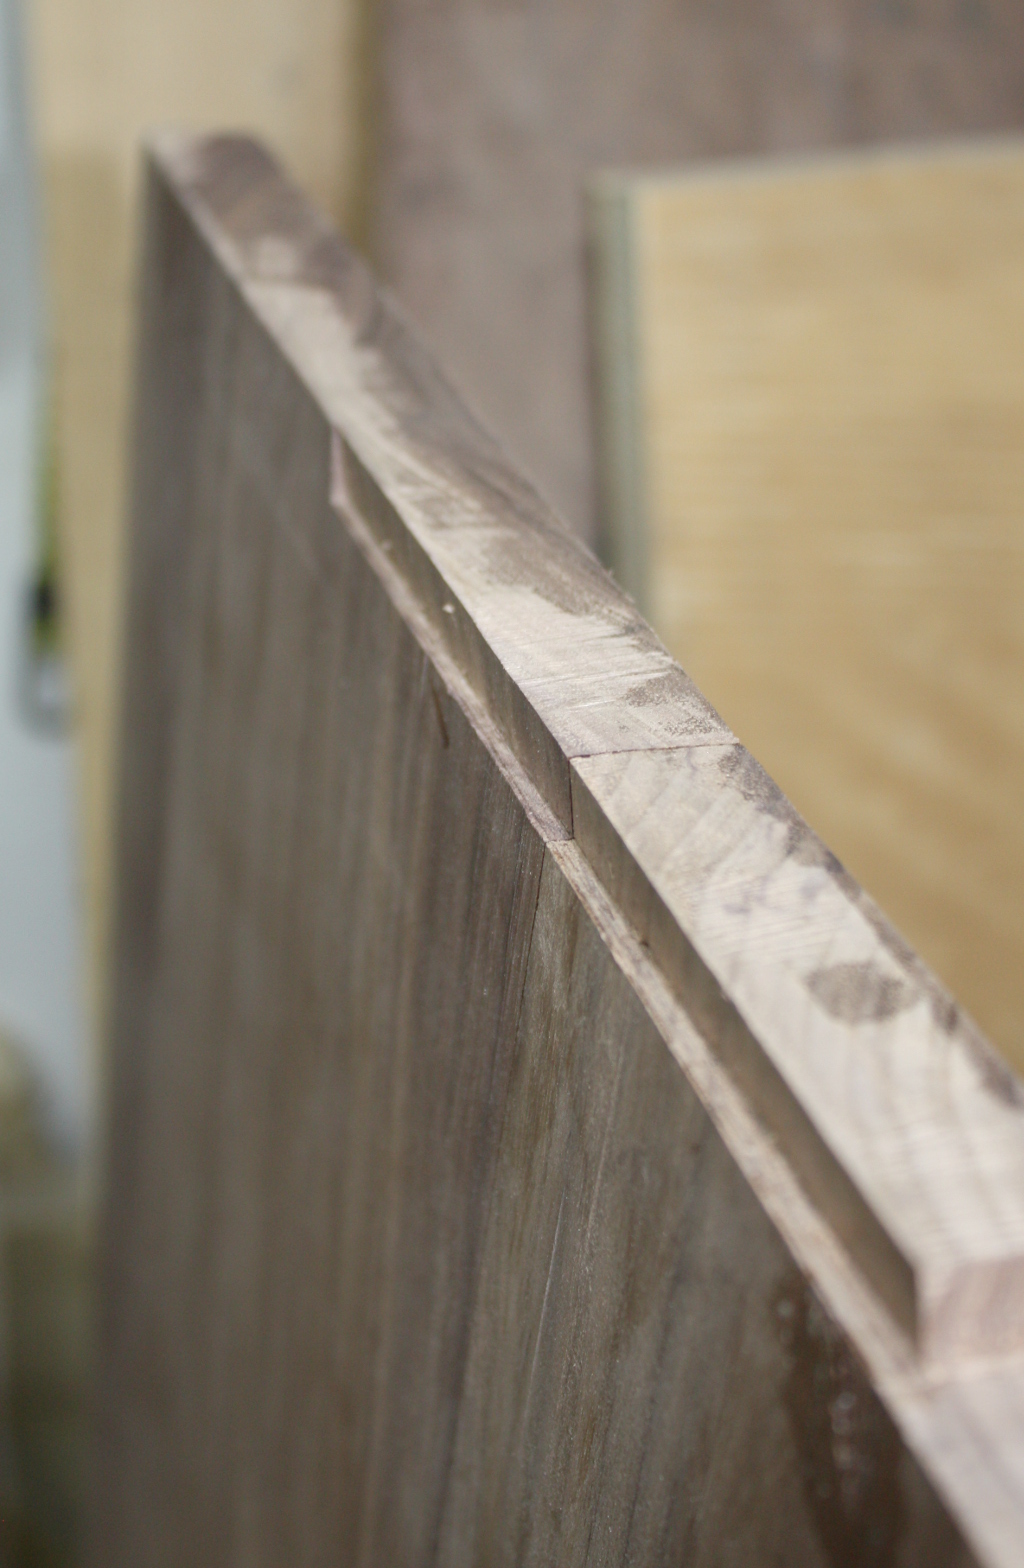
And then I did a test fit and of course it didn’t fit at all 😀 So I trimmed the vertical edge of the dado a few times and eventually got a nice solid fit. And then repeated the process on the other side.

It’s not perfect, I’ve not done this kind of joint before but it works.
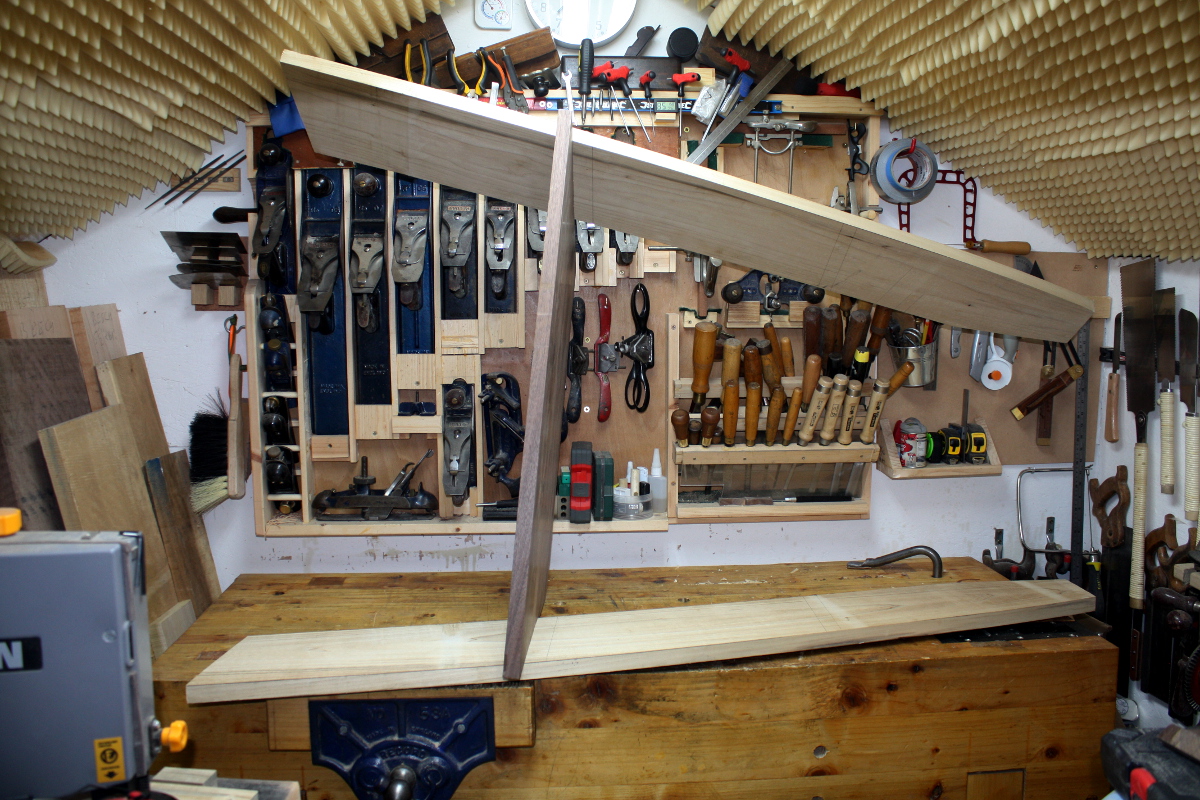
Self-supporting! And also way too big for my shed 🙁
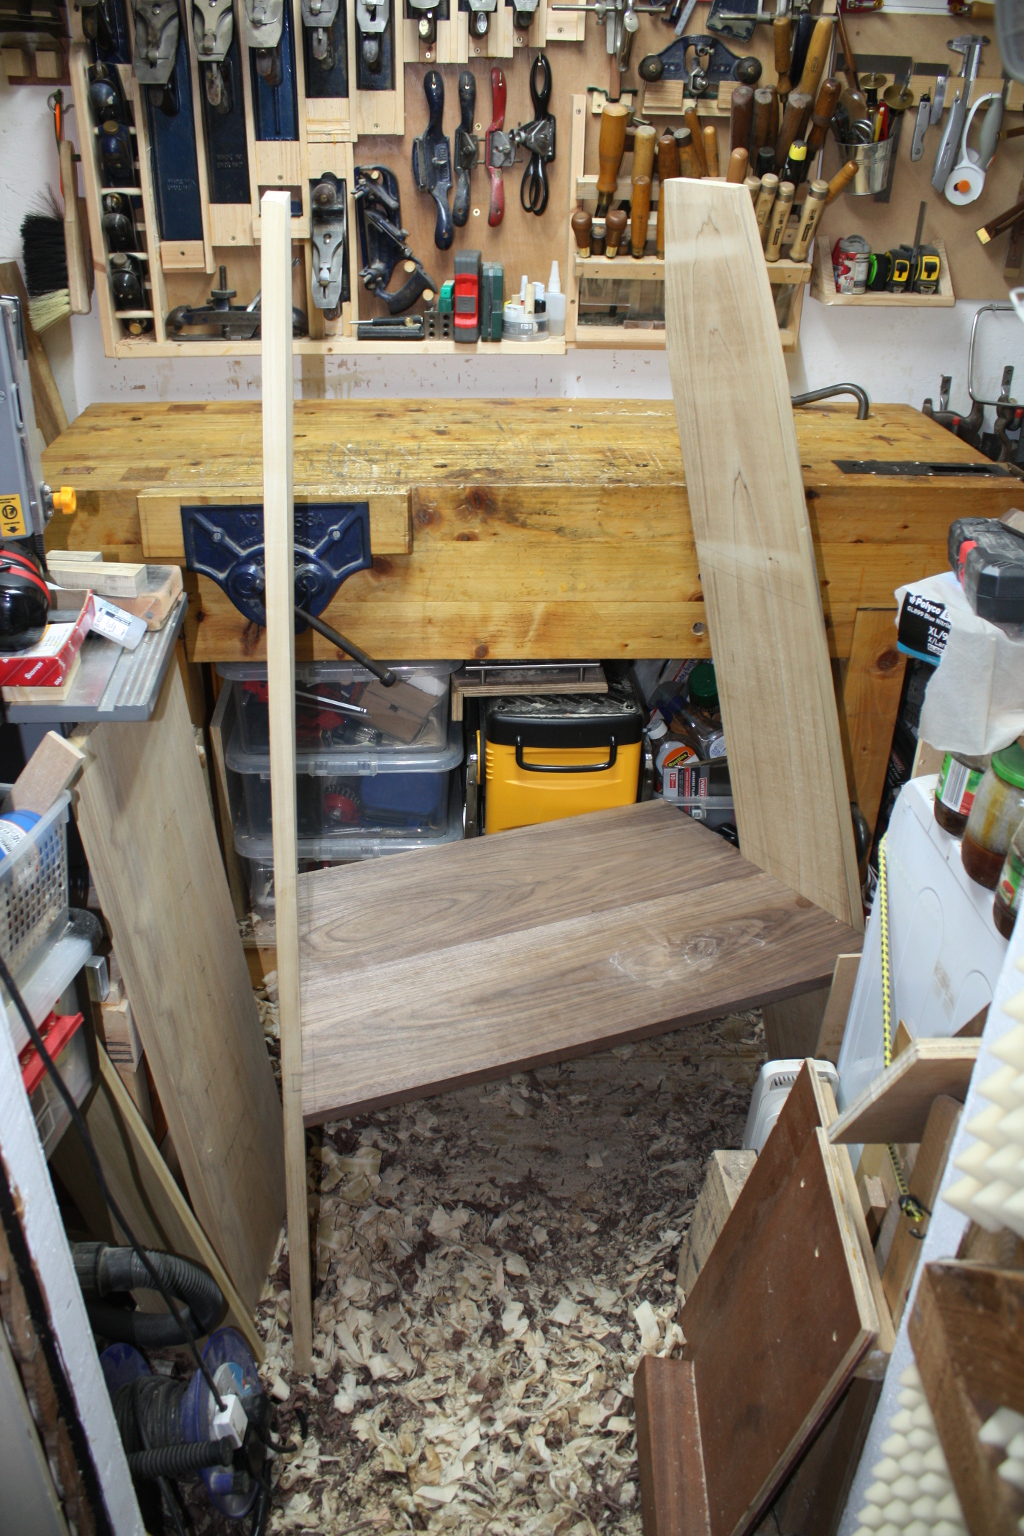
Barely fits. Also, the joints are not yet driven all the way home there. It’s a solid fit, but it’s a little tight still (I have yet to finish plane the sides or the desk and I expect that to loosen things a little). And I have to scribe the angles for the top shelf yet, which will be dovetailed in because I hate myself.
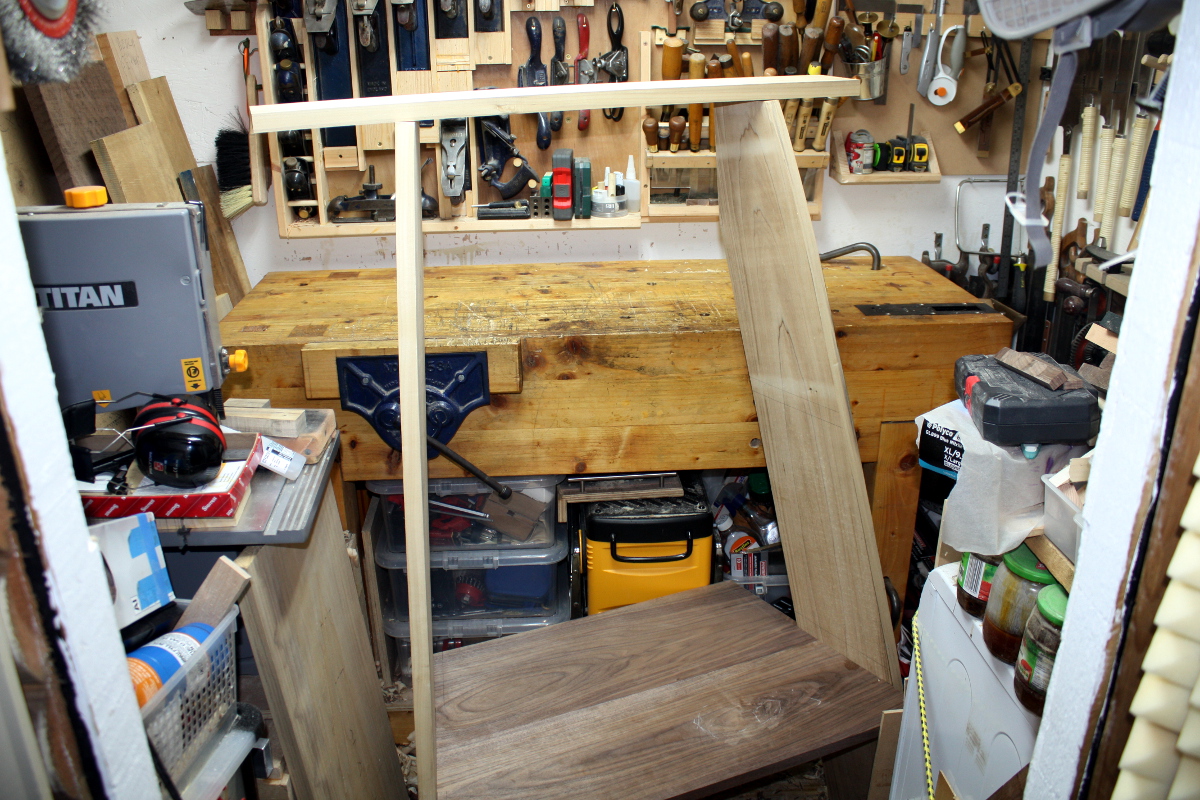
Scribing it won’t be a major hassle. Cutting the dovetails while the joints are loose however, isn’t a great idea because the shoulder to shoulder distance varies as the joints get driven home. I might well cut one side’s dovetails, leave the bevel set for the other side and not cut that until closer to final assembly which will be a tad finicky but less so than trying to cut both and then undoing the joints, I suspect. Or maybe I’m wrong about that.

Either way, I suspect the bigger issue is going to be space to work…
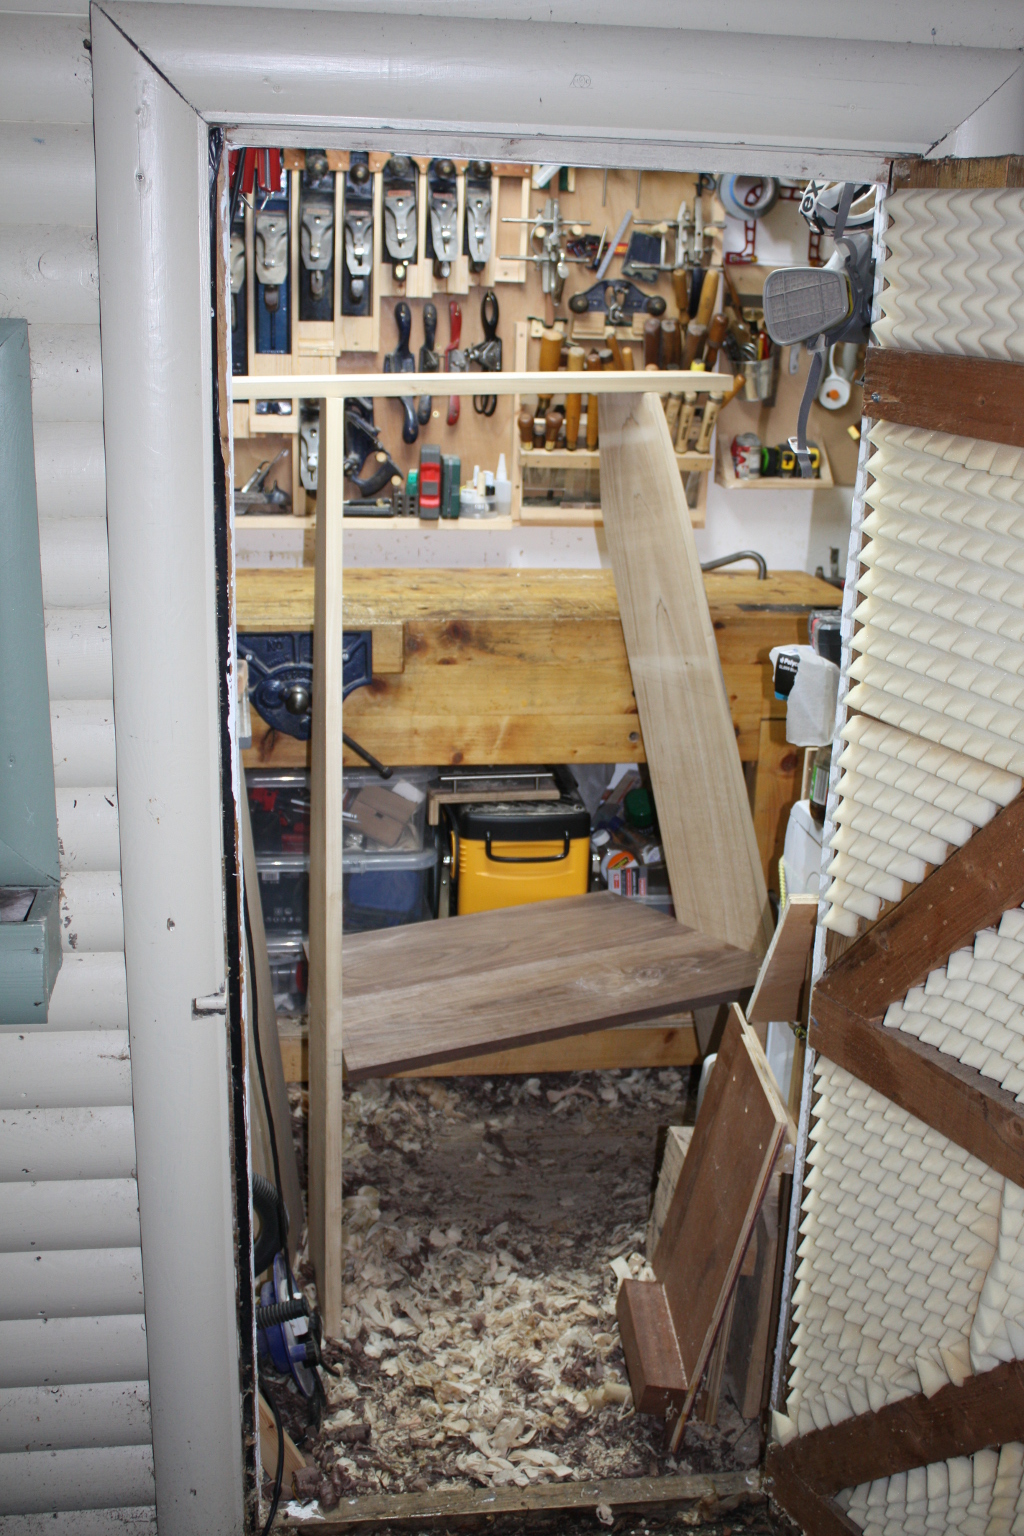
And to think I was pondering putting a lathe in here. I mean, I still am (I got a lot of woodworking gift vouchers for The Carpentry Store over the solstice) but I have no idea how I’d get it in there without freeing up a lot of space (and one of those vouchers was for The Timber Yard so there’s even more timber to go in there soon as well).

I guess I need to make more stuff…

06
Aug 18

Wires and panel

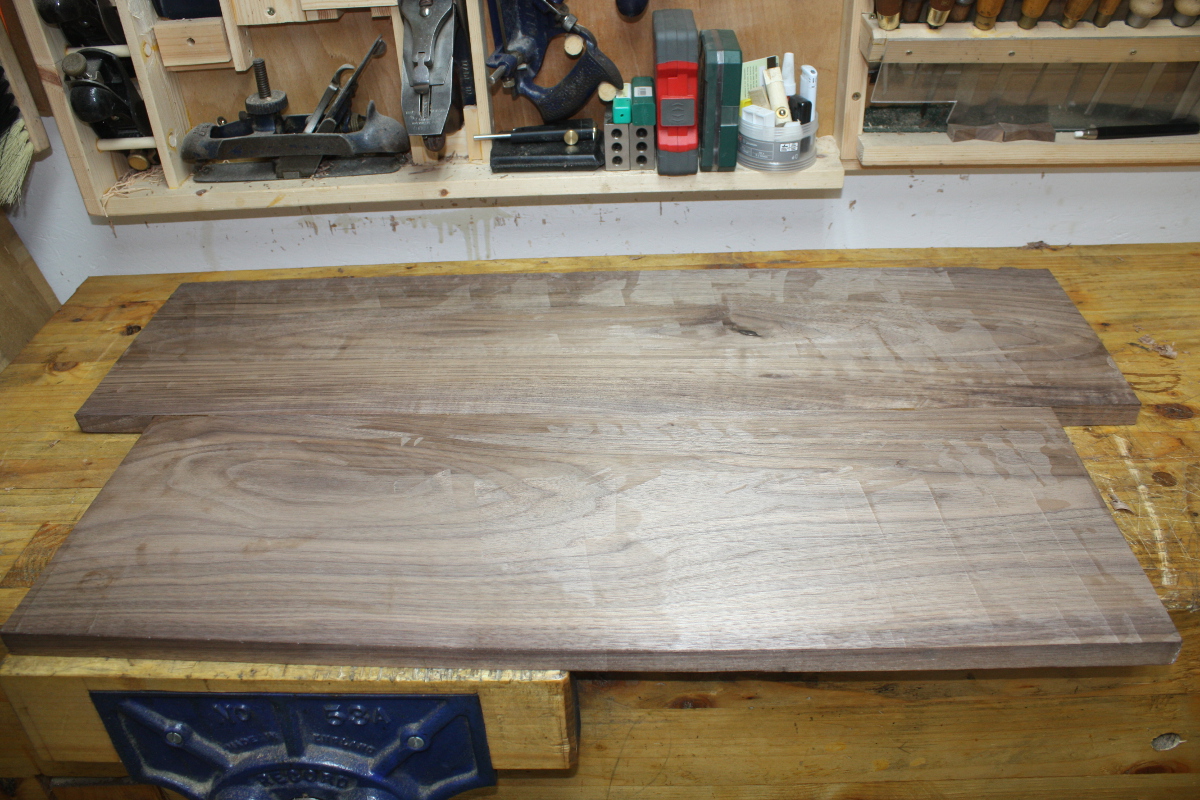
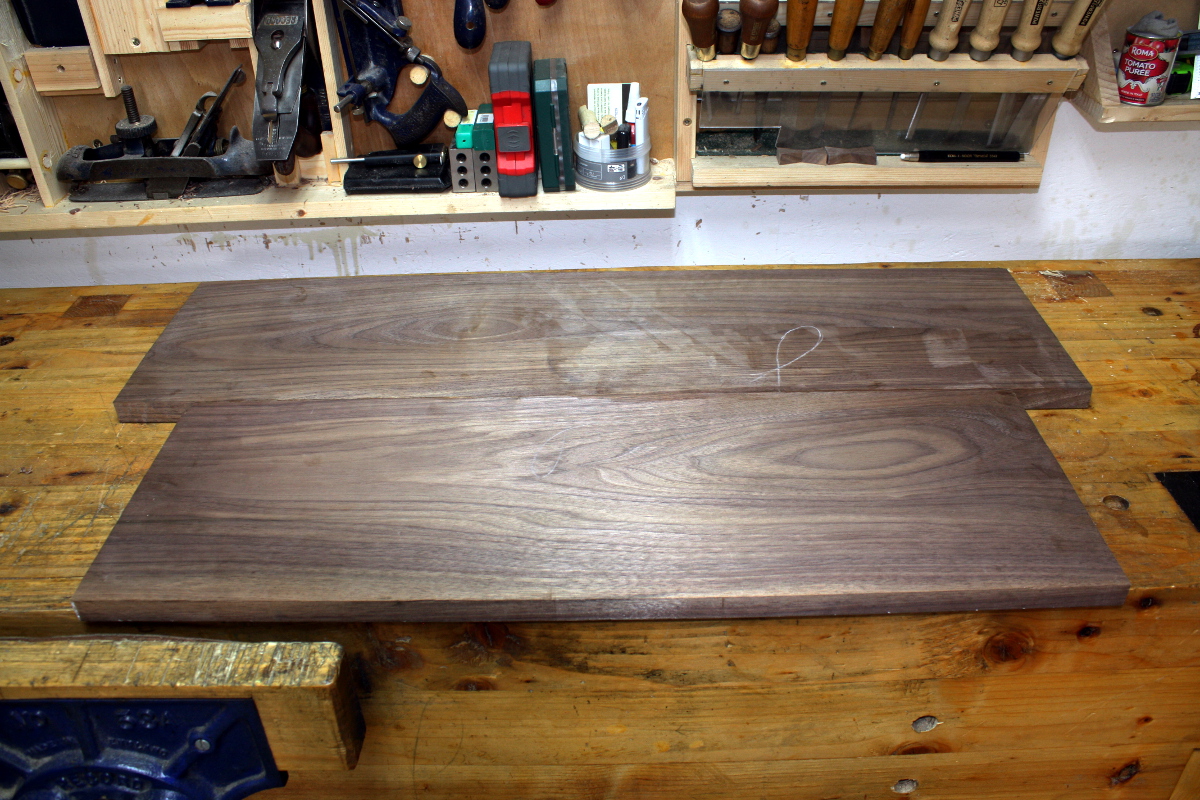
So the walnut panel glueup went as well as I had hoped. The clamps did deform slightly – I need to do that trick of Paul Sellers and stuff them with wood – but the panel came together reasonably well.

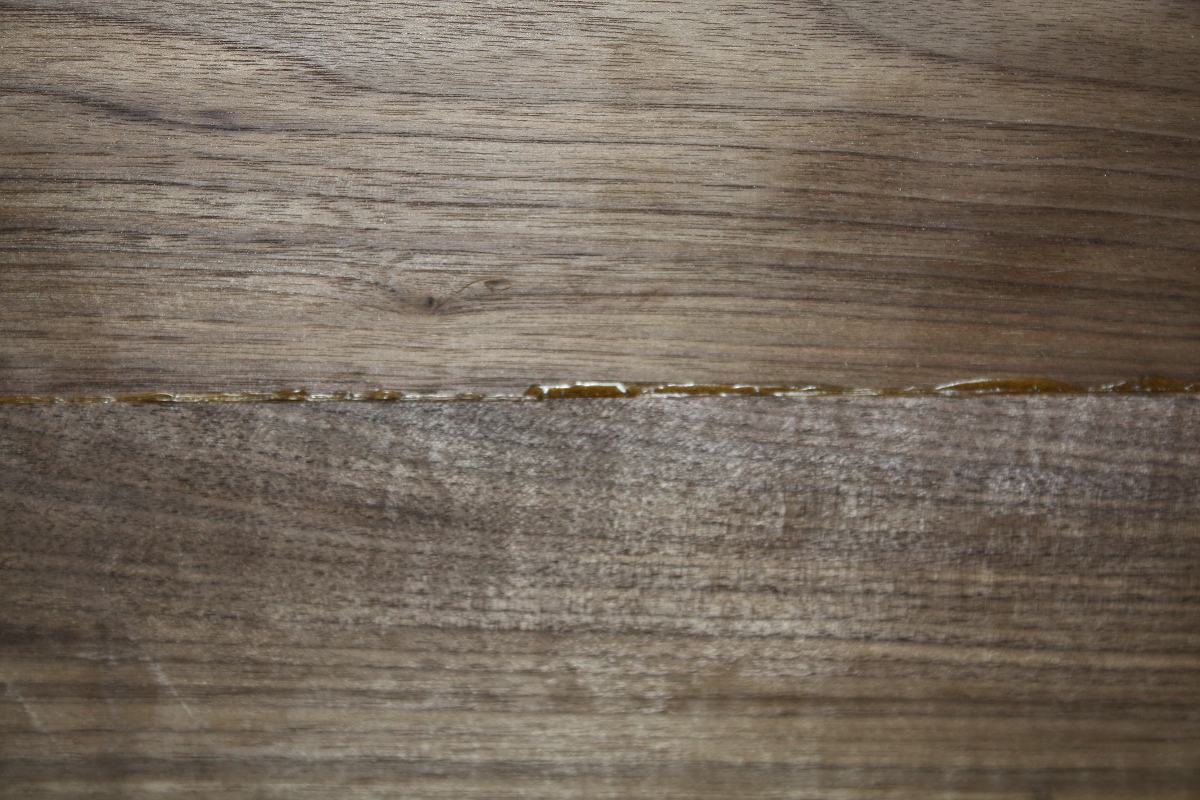
There’s a step in the middle where one of the boards bowed though, of just over a mm, so there was some flattening to do before worrying about the surface much.

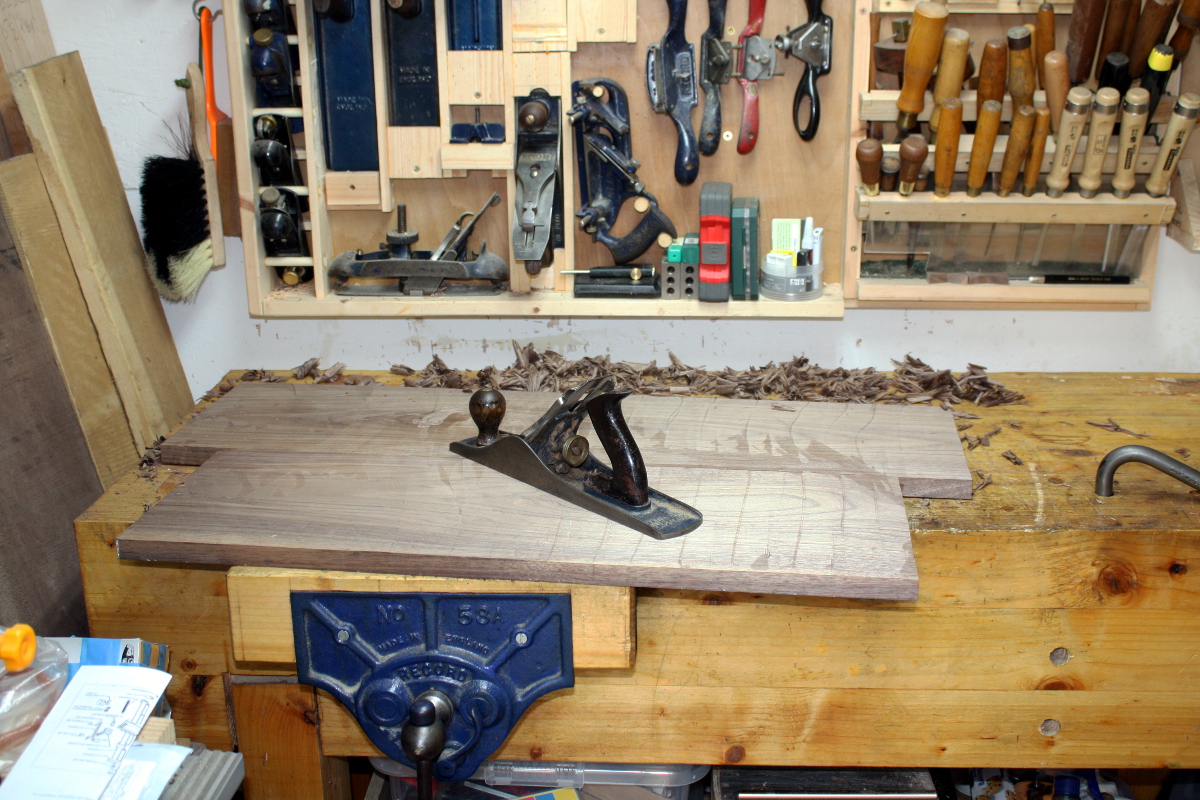
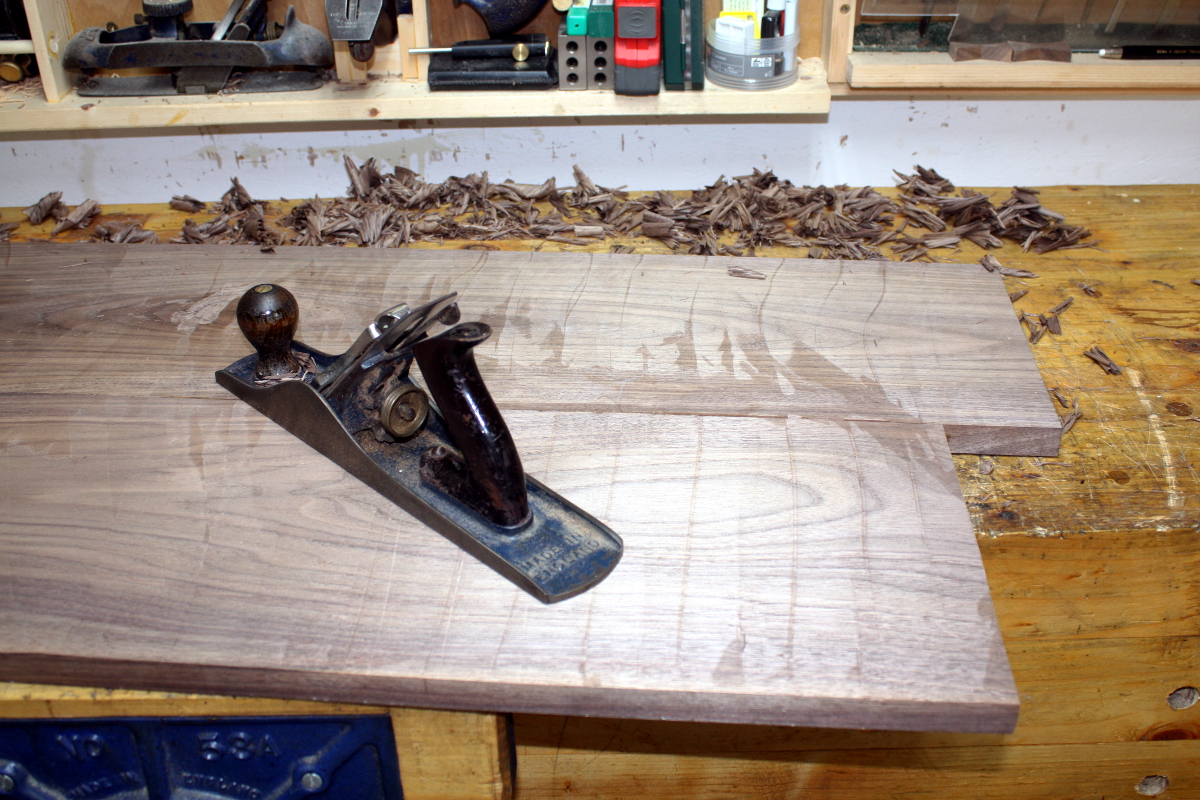
Ugly. Cross-grain planing required, so out with the #05…

At least it’s easy to see where I’m planing…

That proto-knot there in the back caused some issues with tearout that I’ll have to fix later. But the board is flat to the touch now and was smooth again after a few minutes with the #04 1/2

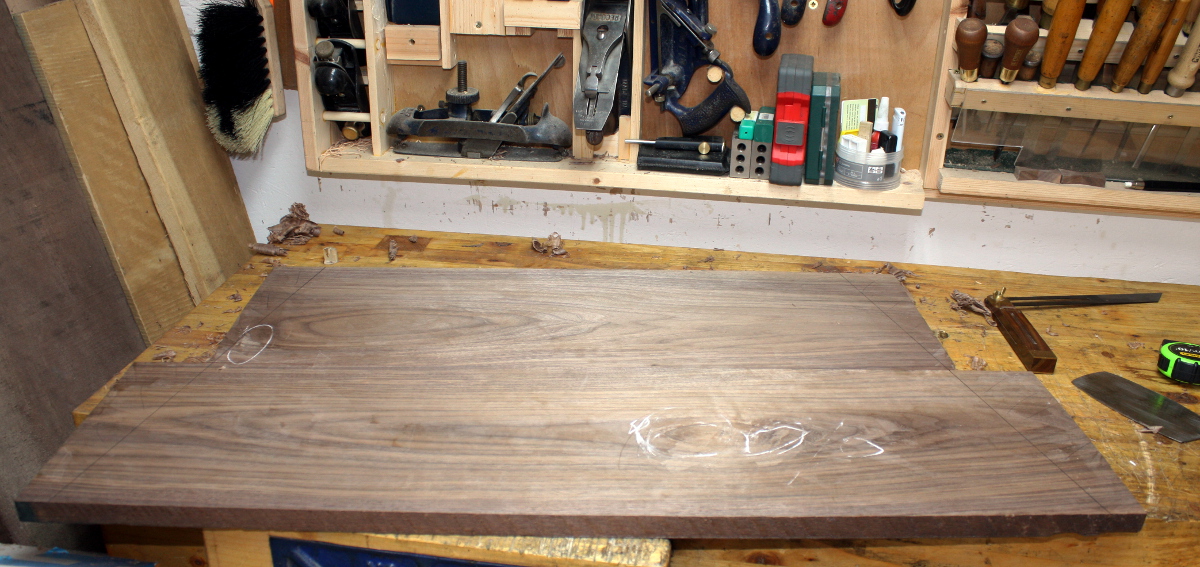
The chalk’s highlighting areas where even the cabinet scraper wasn’t handing the tear-out because actual lumps had been taken out during the cross-grain flattening. There may be epoxy filling required there, or putting in some inlay to hide it or something.

Also, the sides will be slanted, the shape of the desk is trapezoidal, not rectangular because the sides of the shelves splay outwards (and by the same amount as the sides angle back towards the wall by random chance). I haven’t made the cut yet because I have more boards to prep, and while the board is kicking about on the floor of the shed, that extra material is protecting what will become the edge of the desk.

Incidentally, as the desk is only 17″ off the floor and is for a six-year-old and so forth, I’m not too fussed about the underside…

So the scrub plane was used to get rid of that step on this side, and I didn’t really bother taking down the scallops afterwards. I mean, I gave it a few swipes with the #05 so it’s not “textured”, but I won’t be smoothing it with the #04 or scrapers and I might seal that knot but that’s about it for this side.

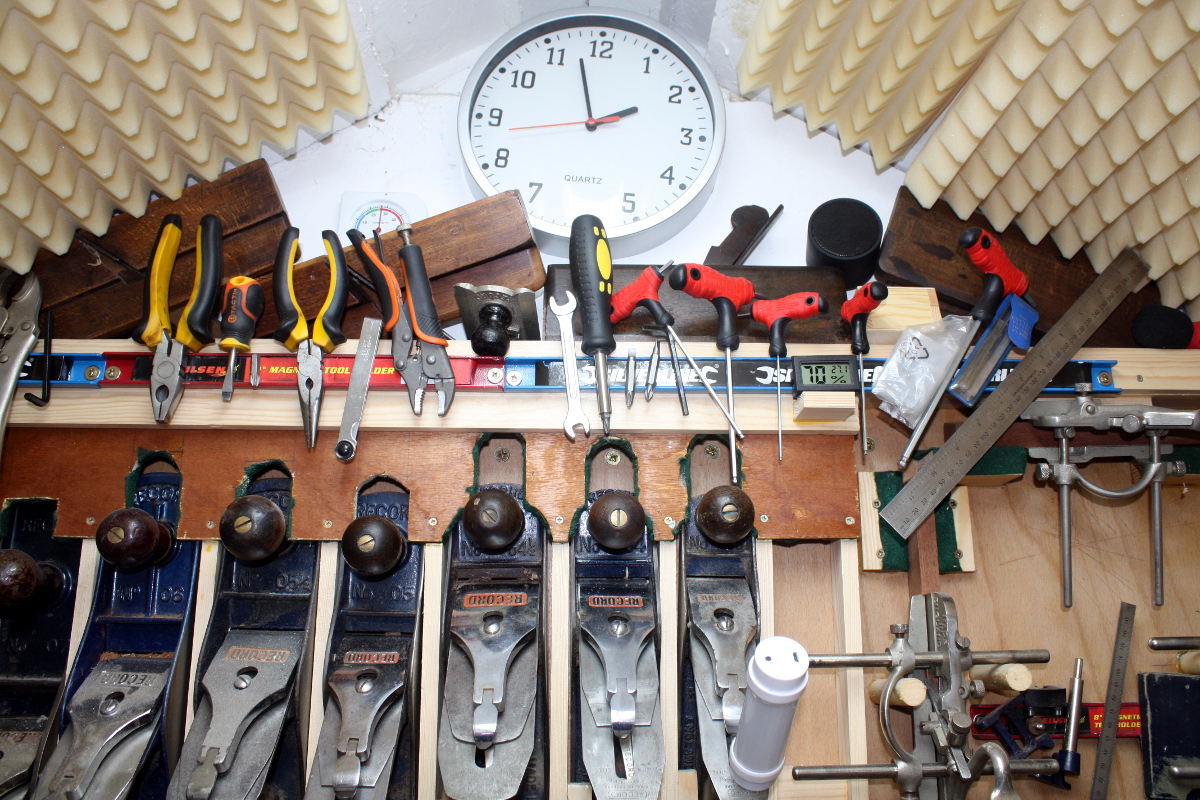
Mind you, despite this lack of worry, I’m still miffed at a certain phillips screwdriver…

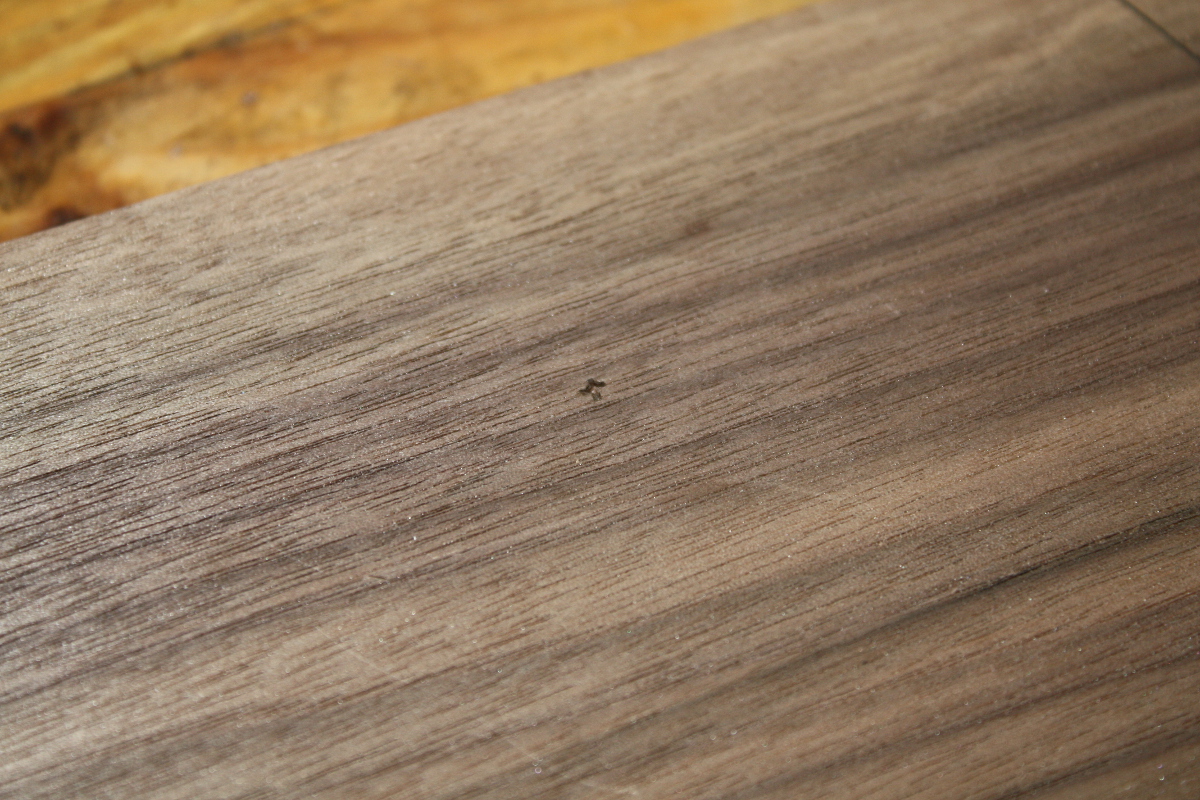
Yeah, that smug looking git right there in the middle. I was putting away the #04 1/2 and the vibration of seating that back home in the till shook it off the magbar and…

Lousy git of a thing. Well, there’s another site that’ll need inlay…


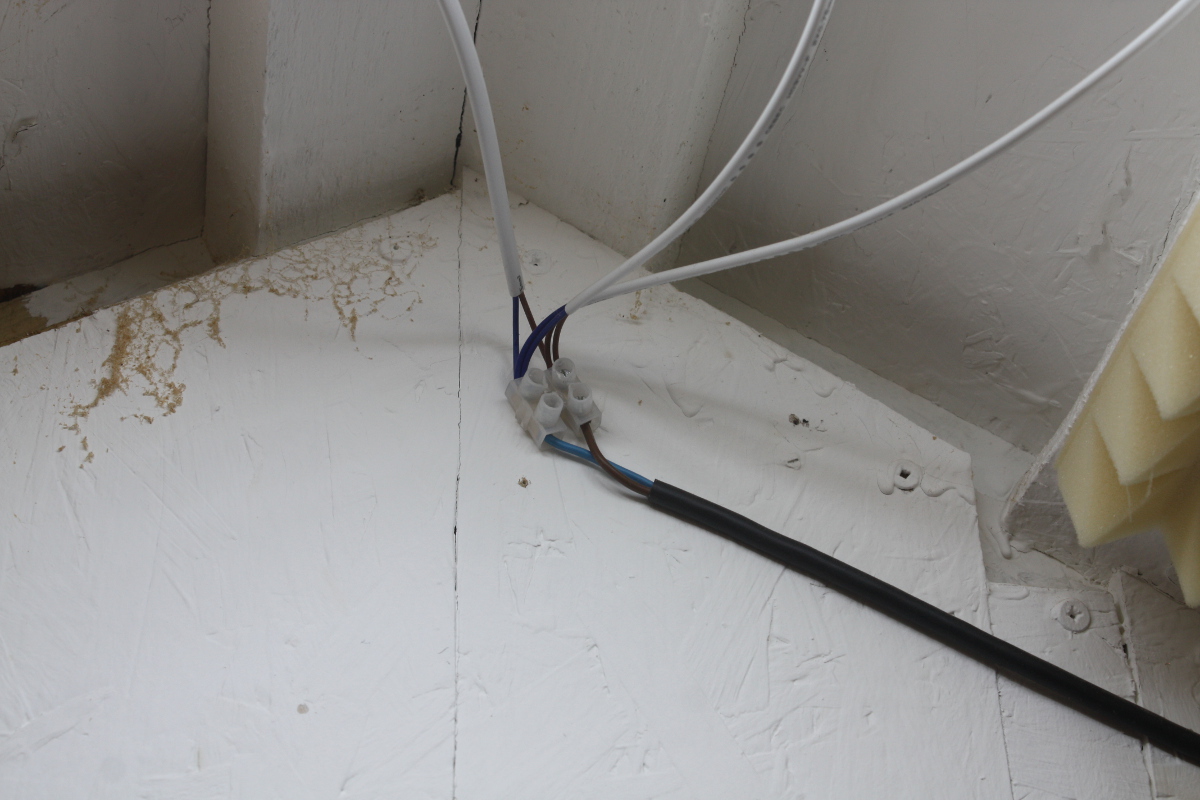
At this point I fixed something small that’s been bugging me for a while. The LED lights I put up in the shed work well, but I hooked them up temporarily while I waited to get the shed properly wired with sockets and such, and I still haven’t gotten to that so all three of them are running into a single cable that plugs into the extension cable that has been running power to the shed as a temporary measure for over two years now…

I mean, for a day or three that’s… well, okay but not great even with cable clips giving the cable some strain relief, but it’s been up for ages because I was busy, so enough already…

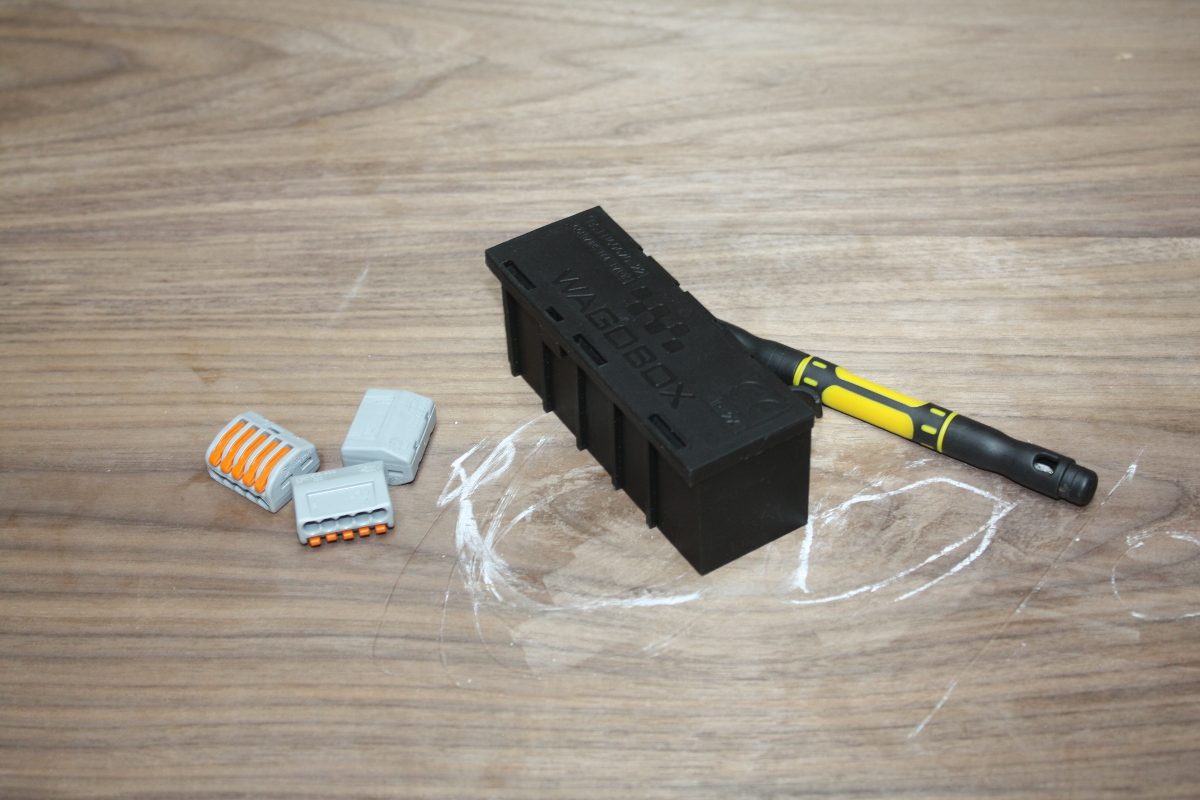
Those are wago terminals and a wagobox to house them. I’d never even heard of these until I saw Big Clive’s video on them

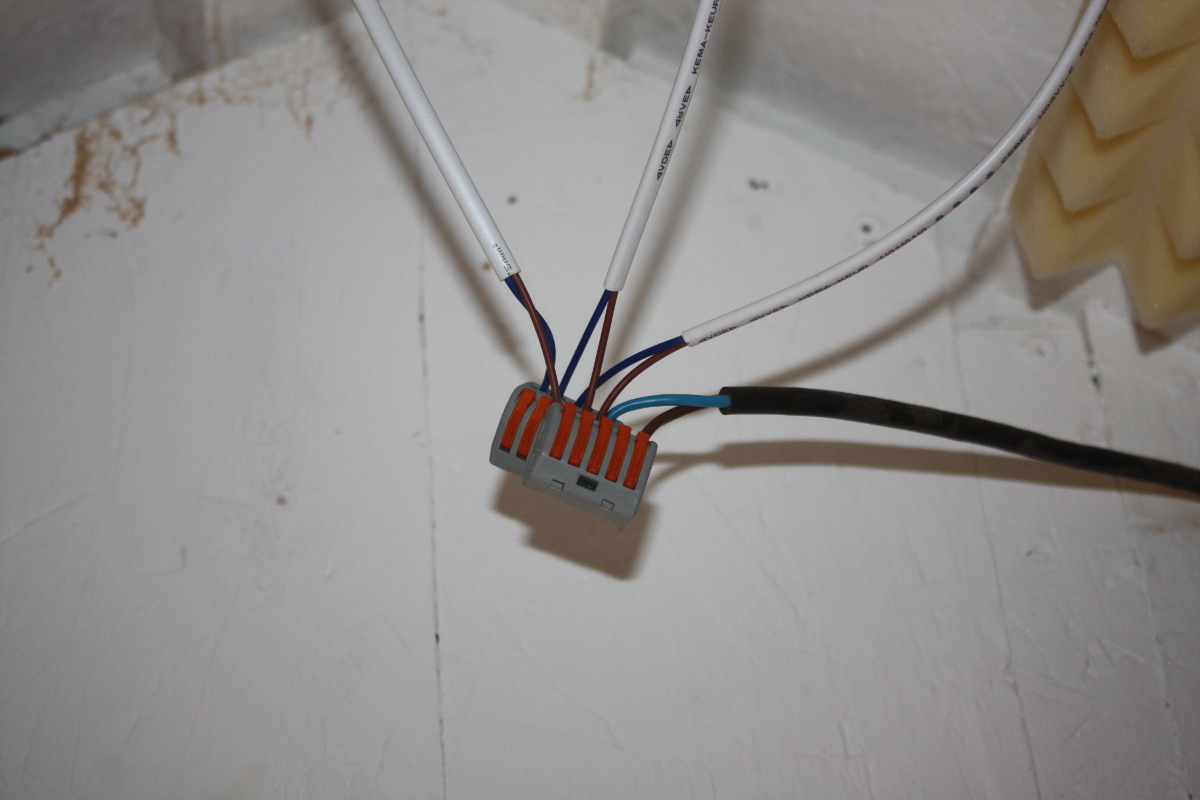
I’m so used to terminal blocks that they seemed like overly expensive gimmicky things to me at first, but after the first time you use them, holy crap they’re great. Those are the reusable version (there’s a permanent version that you can technically reuse but nobody does) because I still want to do this right, but this is so much better than the temporary lash-up I had waiting to fall on my head if I kicked the line by accident and run 240V across my scalp. Which, y’know, is suboptimal. So I undid the terminal block and linked everything up with the wago blocks…

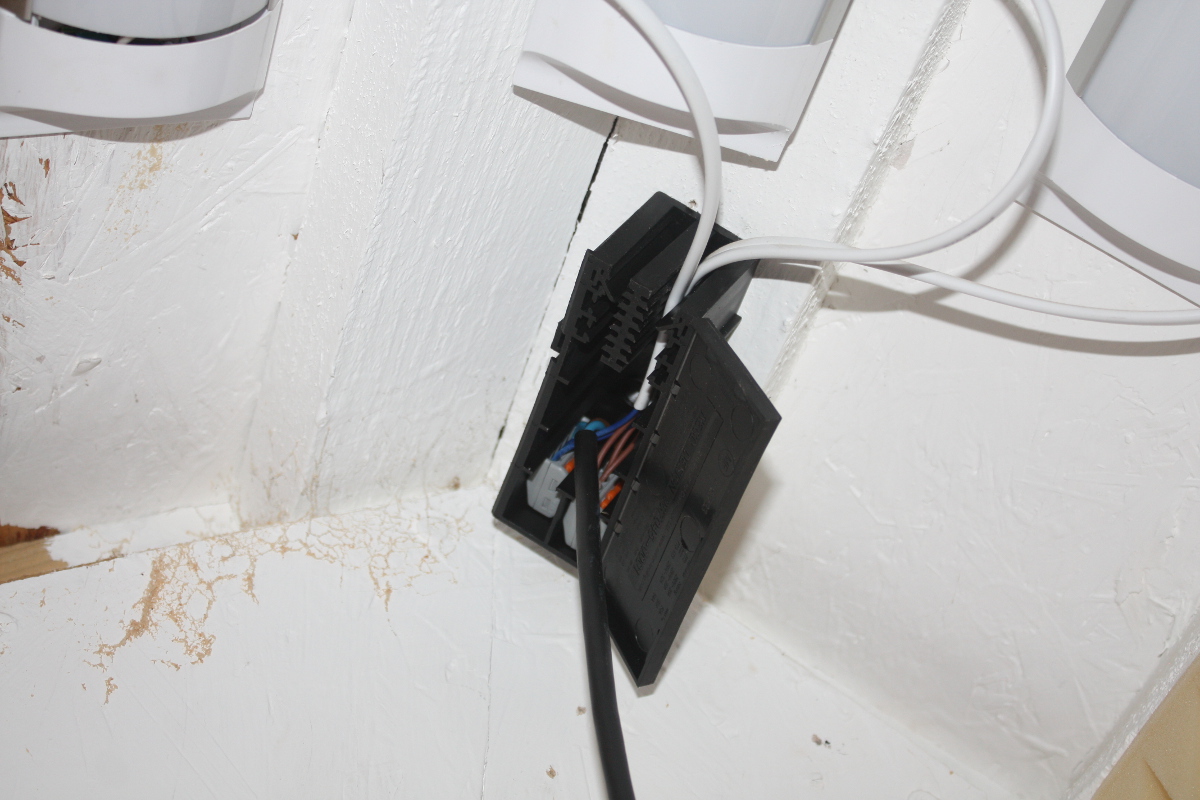
And stuffed those into the wagobox and mounted it…

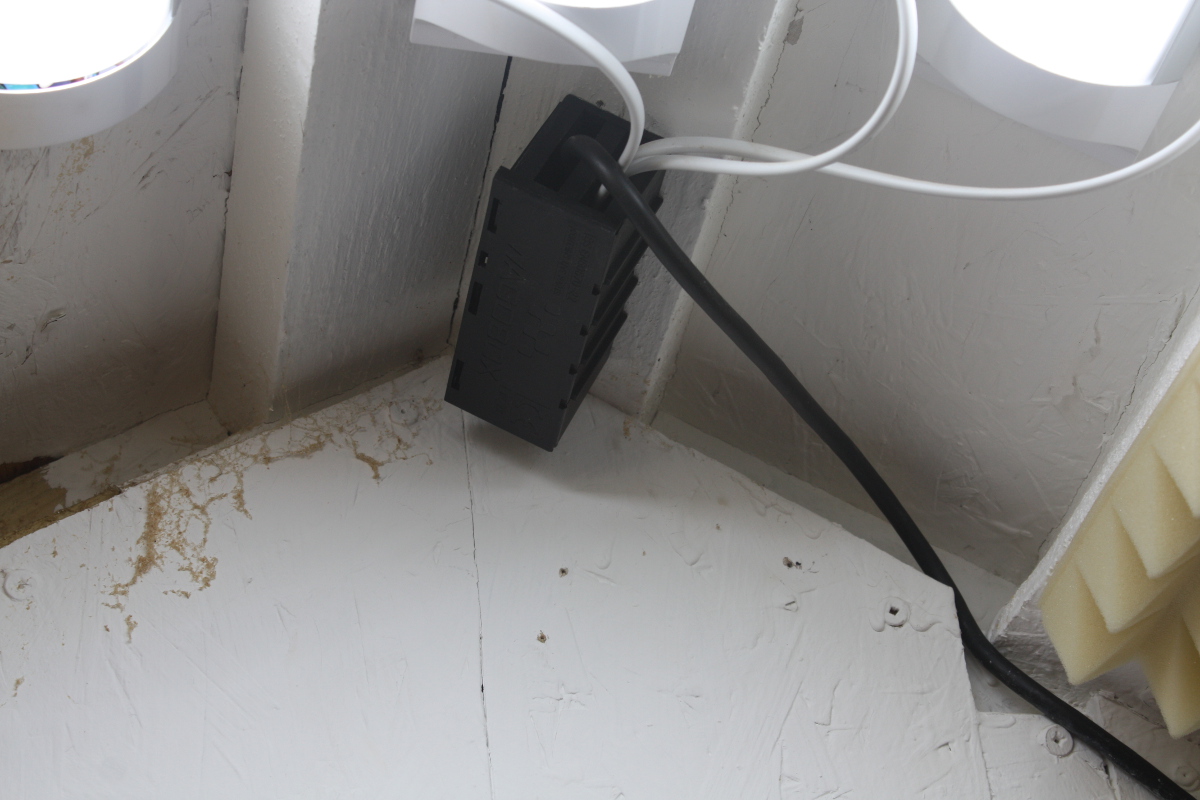
And reran the cable clips and put the cables into the wagobox’s strain relief glands and sealed it all up.

Nice and neat(er) and all working again and no exposed points where you could accidentally grab or poke something and there’s a lot more strain relief on that black mains cable. Much better.

Back to work after the long weekend and a few days’ holidays tomorrow so I’m expecting a long day or two in the office, and then when I get shed time again it’ll be on to the other shelves. Being poplar, they should be both easier working and less pretty than the walnut. Not sure if they have a date with the thicknesser, but if so that’ll be delayed until a Saturday afternoon and I’m not sure how the sides would be done as there’s no way I can run those through the thicknesser inside the shed, there’s just no room; and it’s way too loud to run outside on the decking. They may need to be done by hand with the scrub plane, but at least they’re poplar so it’ll be lighter work.


05
Aug 18

First chips

So it’s a weekend afternoon so if there’s a more civil time to use a planer, it involves taking a day off work. So to the shed!

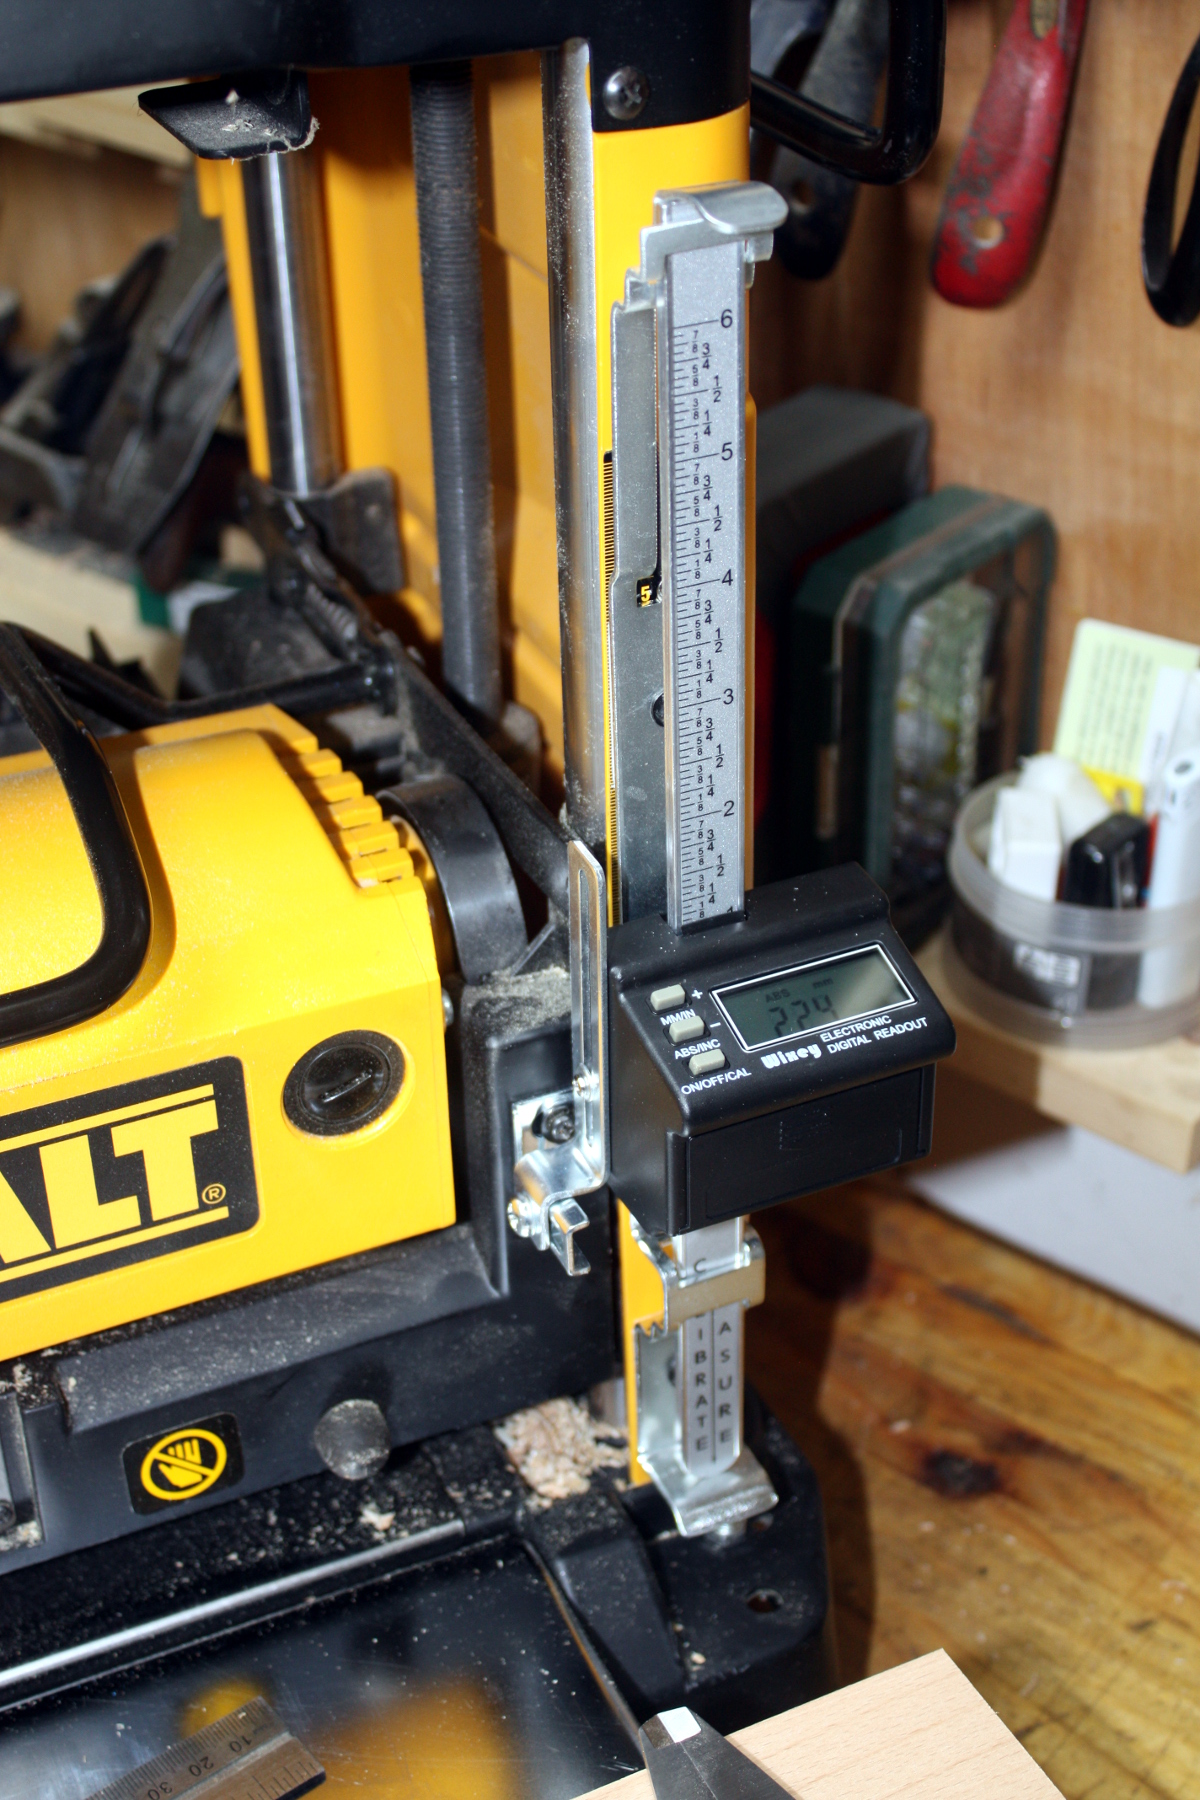
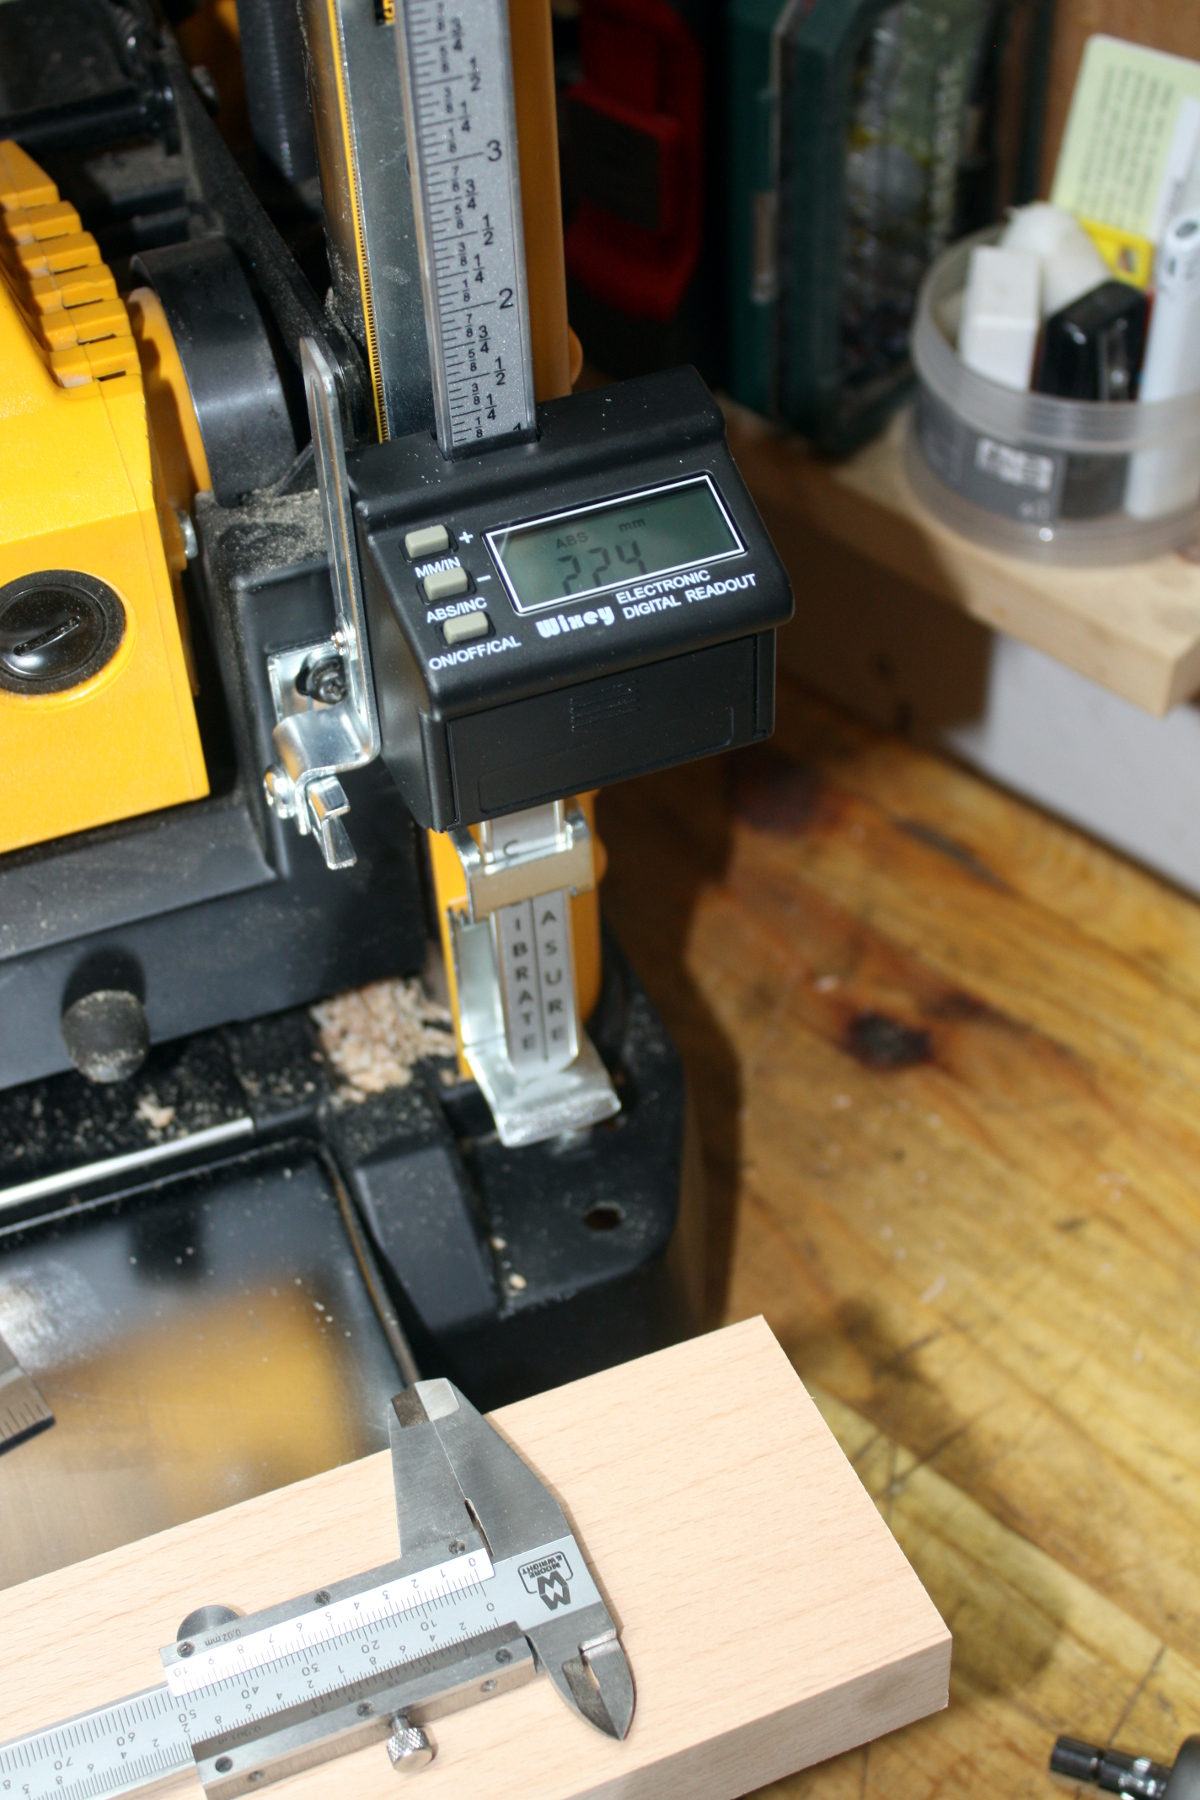
First up, fitted the DRO to the planer. Slightly fiddly, and it does still bind a little so I’m sure it needs tweaking – or I could just remember how this is for roughing work only and how it doesn’t matter all that much and never touch it again 😀

It’s within 0.1mm after a very quick calibration. That’s… rather impressive. Well past my abilities so maybe I really don’t need to do much to this. Have to be careful not to kick the DRO when the machine’s put away mind.

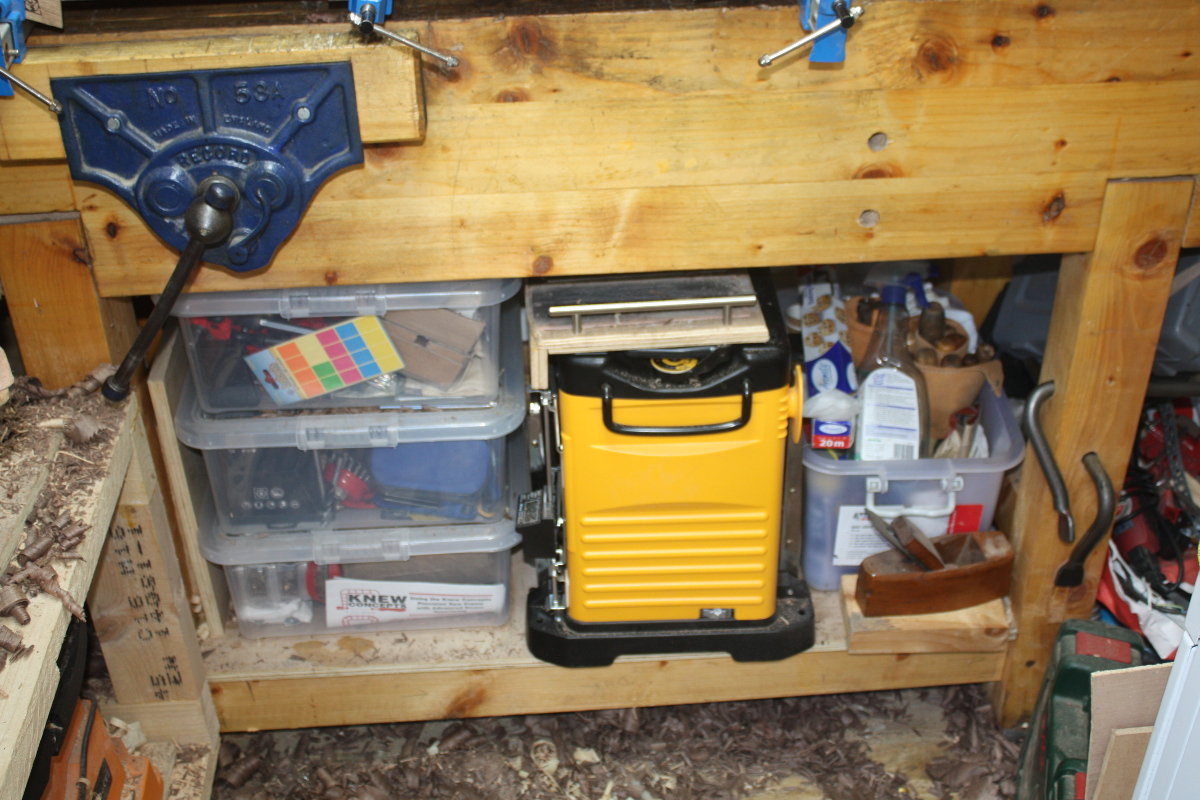
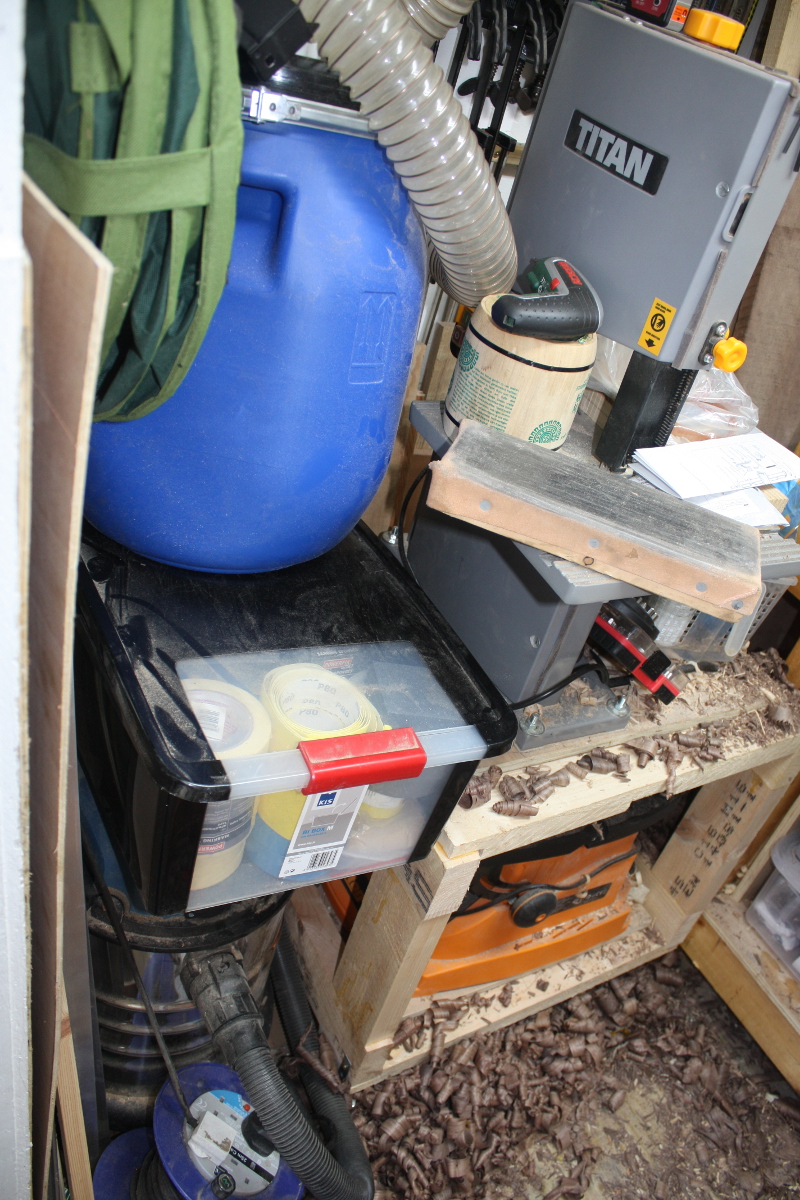
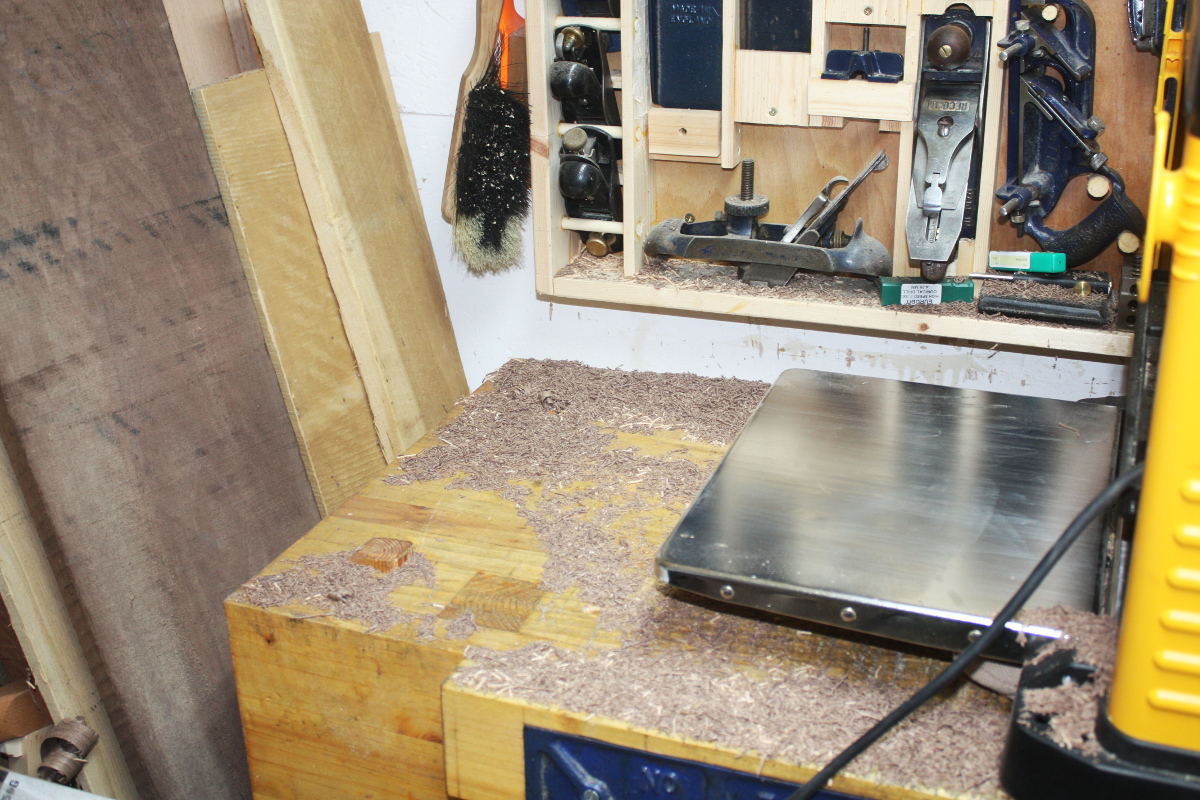
This looks to be where it’s living for now at least – that DRO’s a tad more exposed than I’d like, especially if I’m getting at the tools in the plastic boxes on the left, which is a regular sort of thing (I really could use drawers there but shigata ga nai). Also, the sharpening plates are now riding on top of the thicknesser and an entire crate of finishing stuff is now displaced and living on top of the vacuum cleaner…

It really is getting cramped in here. And no, I have no more wall space left after the latest addition to the wall…

Oh well. On with the project I think. I took the walnut board I was thicknessing last time and fed it through the planer four times, three on one side, one on the other, taking small cuts each time of less than a half-mm.

Hm. Oh yeah. Extraction. 😀

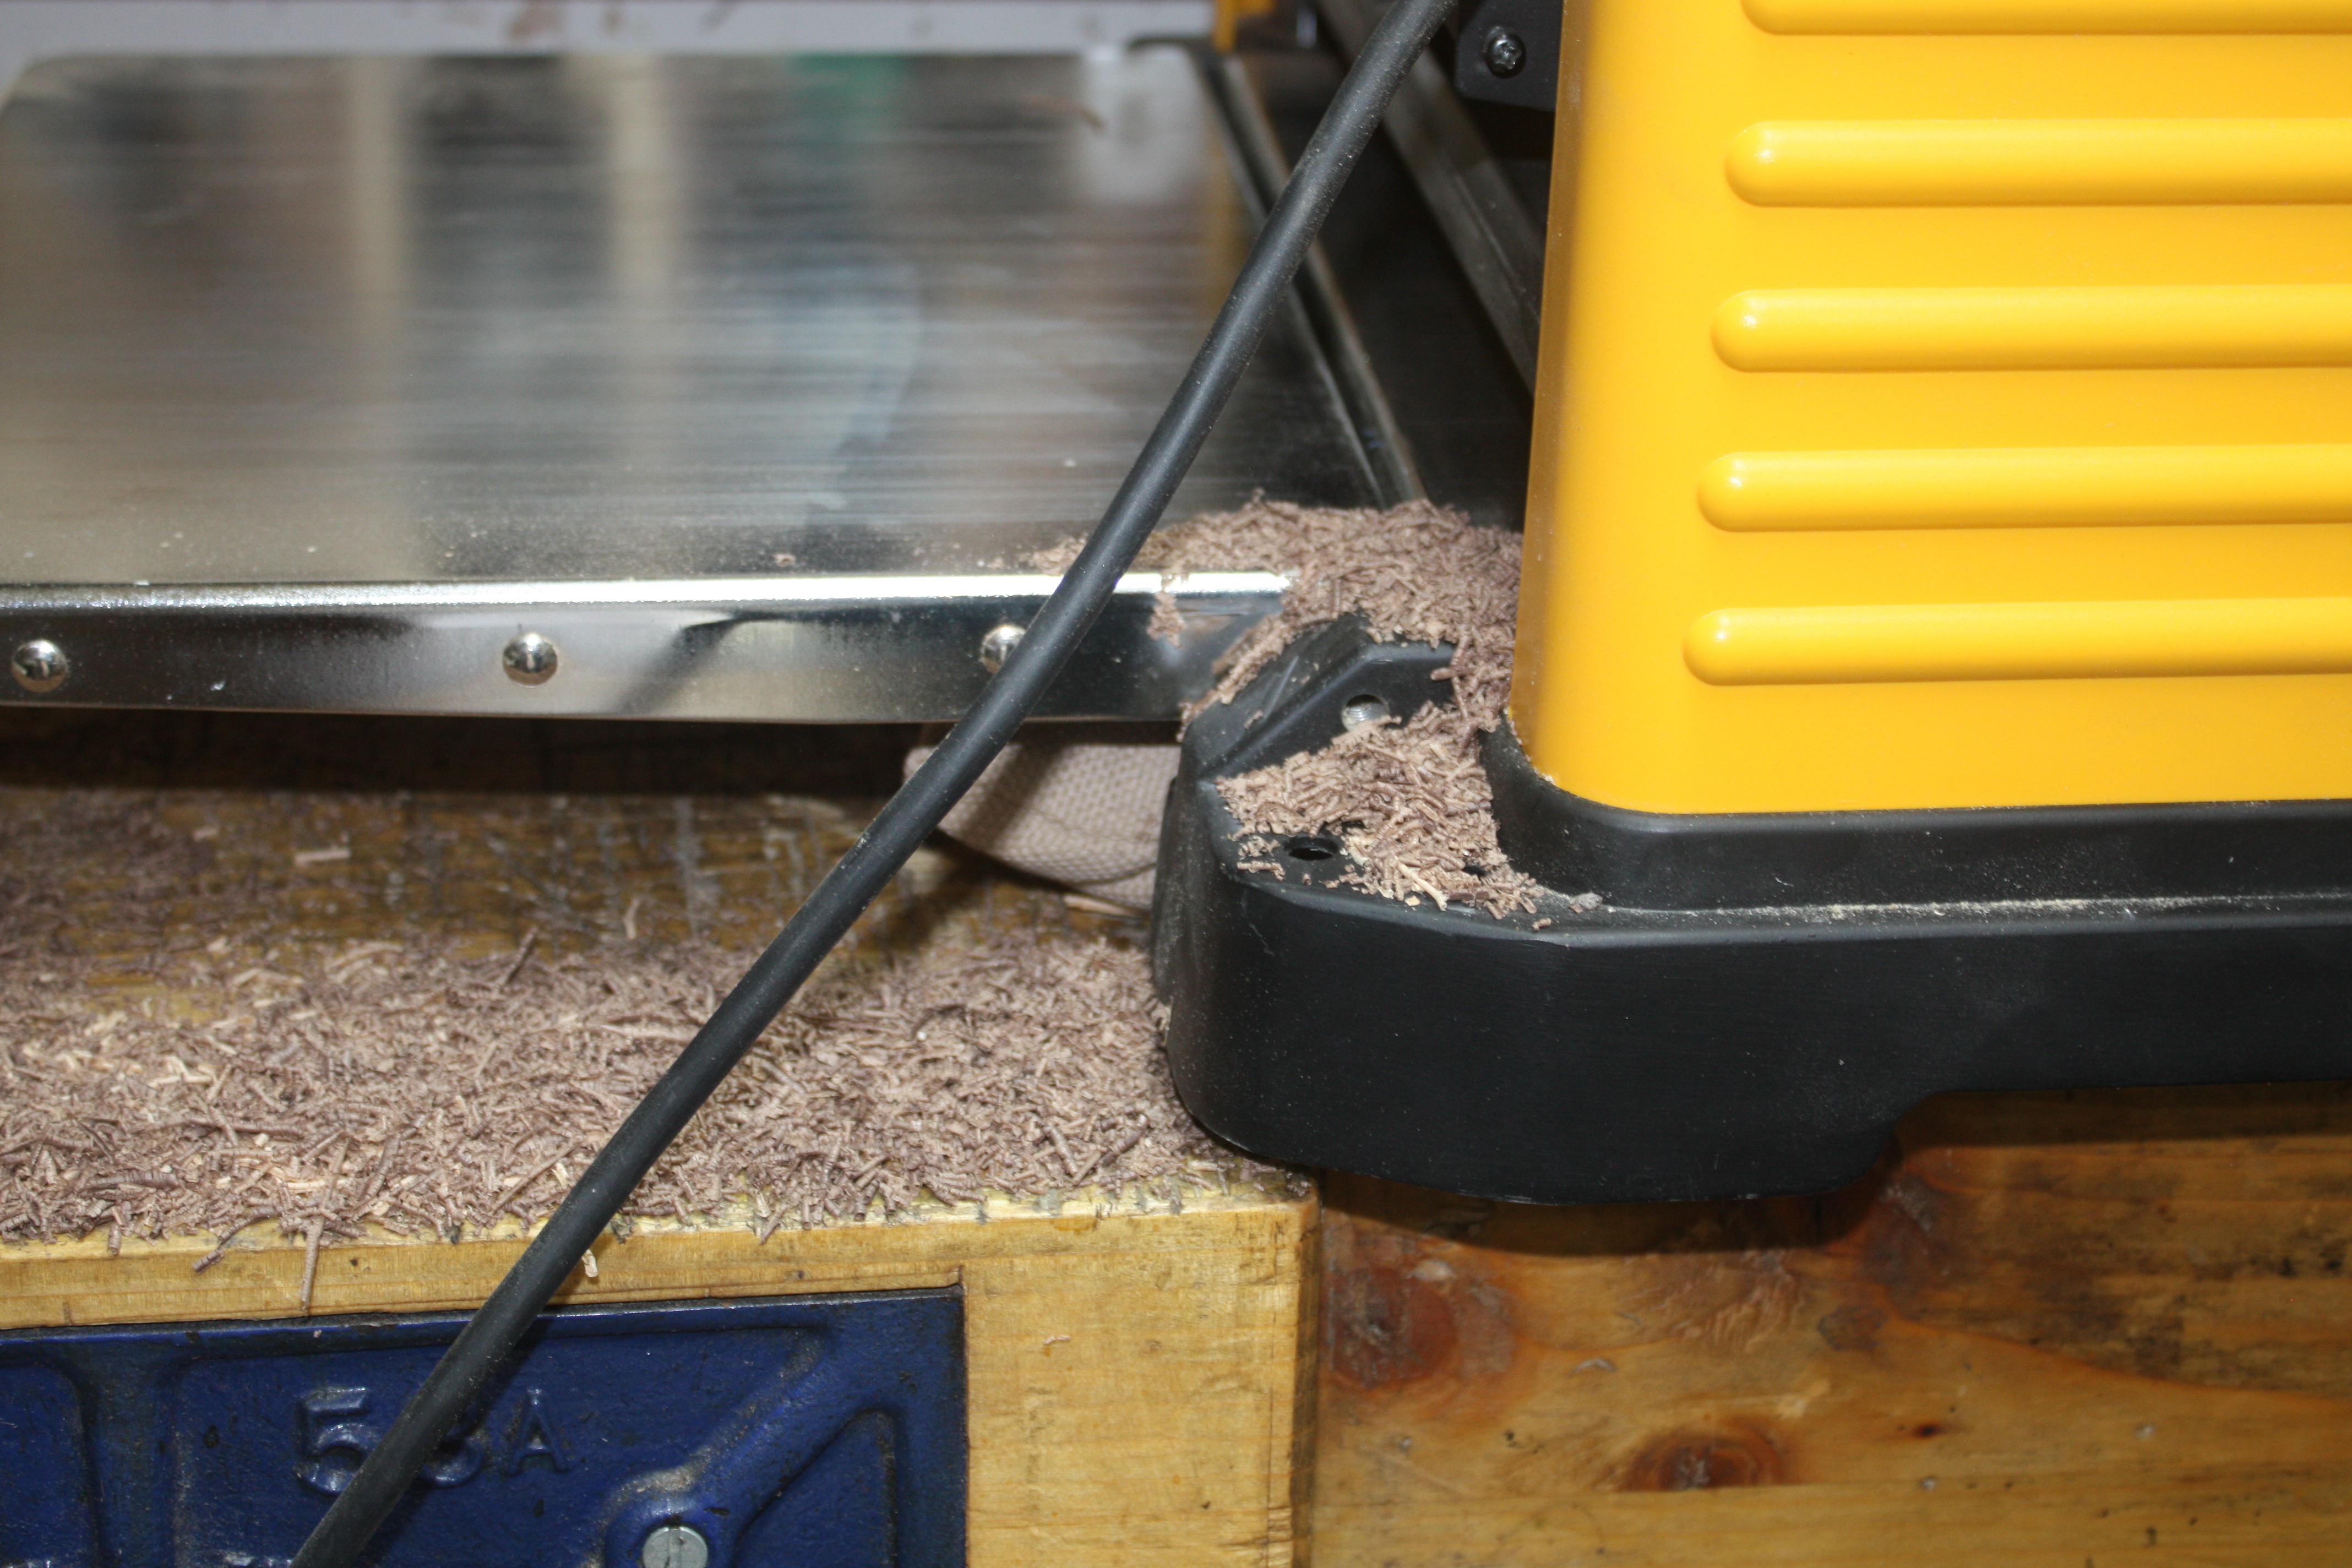
Well, I have a 4-to-2.5-inch reducer in the post and I’ll hook that up to the extraction port when it gets here (and I’ve ordered the bits I need for that mod to do a quick-disconnect on the extraction hood as well). For now, this is manageable – just sweep the cuttings to the floor and then hoover up later.

It’s a shock to see how fast the process is though, not to mention how easy – I mean, you’d be able to keep up with the rate of material removal using a heavy-set scrub plane across the grain if the board was small, but for anything long, this just runs away with it and in terms of effort, it’s not even a comparison. I don’t plan to use it for anything other than roughing, but for taking a quarter-inch off a board in less than an evening’s free time, this thing’s excellent.

The noise is pretty hefty, but I discovered that putting a flat cushion between the thicknesser and the bench did cut down on the really unpleasant bass notes; the thicknesser seemed to have been resonating with the entire shed and the decking outside, which was… sortof impressive? Something to remember for the other machines as well I guess.

Anyway, with the board to rough thickness, out came the #05 and some finish planing was done (the board had bowed slightly in the last week or so because it had been sitting on the bench with one side planed and the other not), and then it was on to edge jointing…

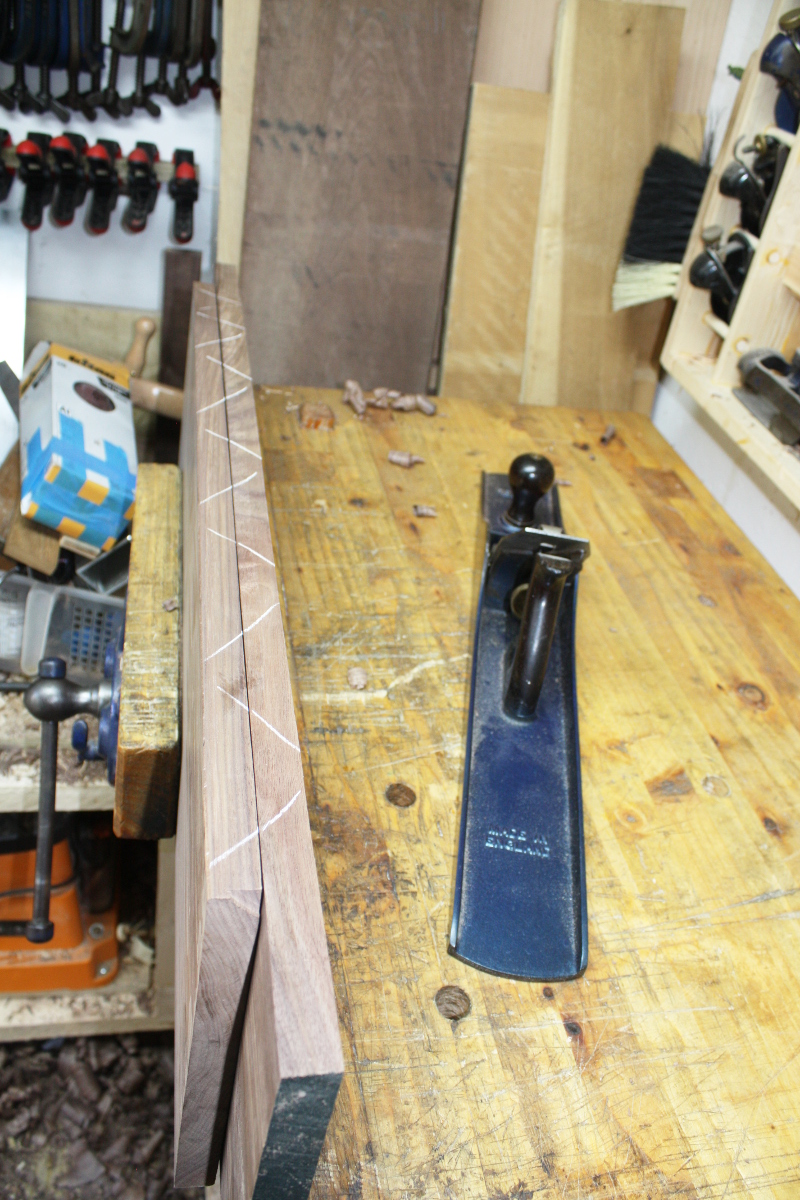
The crosshatching is to watch material removal again. It took a bit of tweaking to get a joint I was okay with, and then a tad more planing of the boards individually to get a nice joint with a spring joint space in it, and then, glue-up…

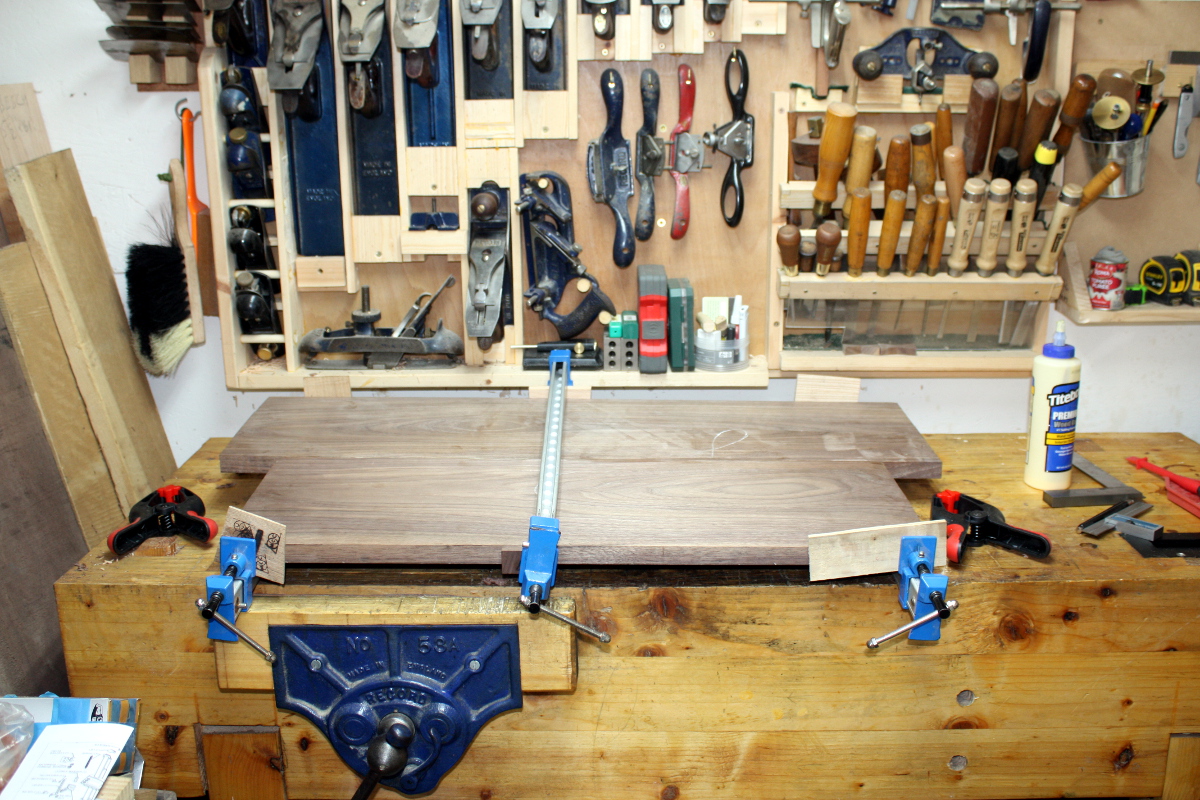
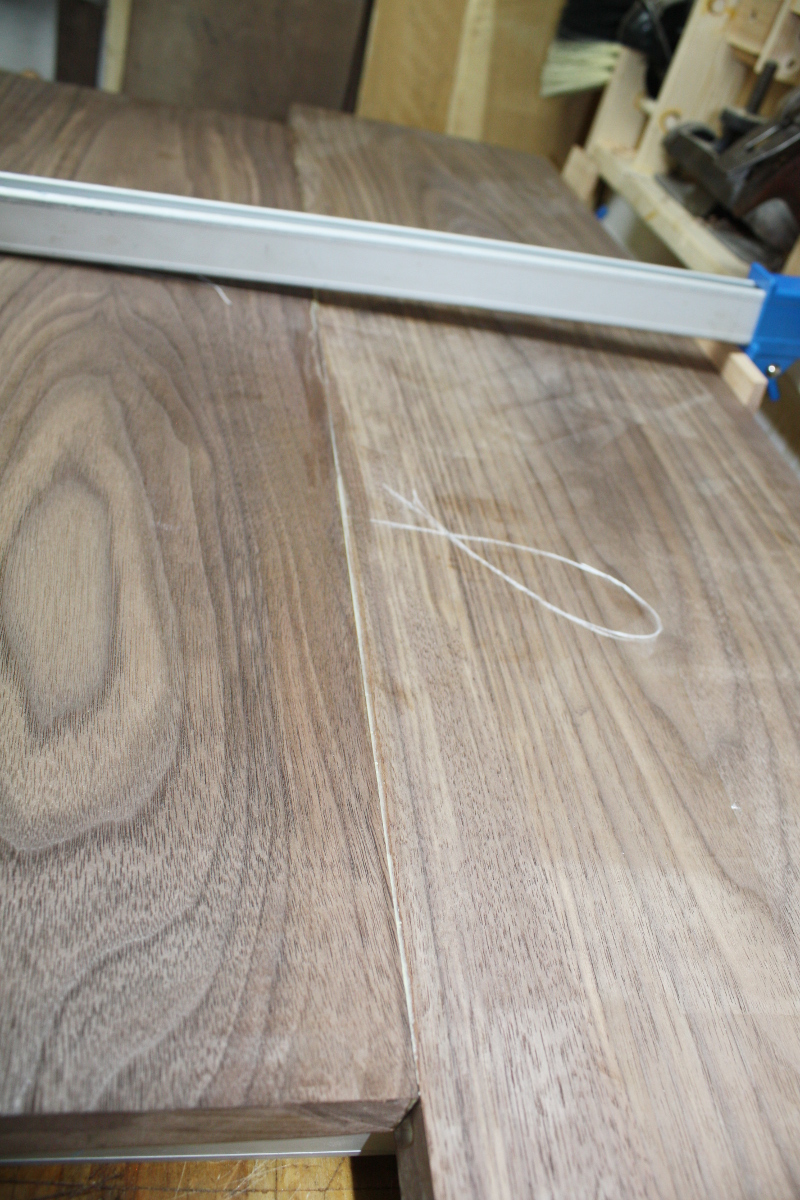
Should be okay in the morning (the panel will have angled sides so those offsets are fine). The joint isn’t bad but the top will need some work with the plane to get a nice flat surface….

There’s almost a half-mm step there in the middle and we’re flush at the corners. Well, I’ve had worse and this is what hand planes are for…