11
Aug 19

Pouring the sea

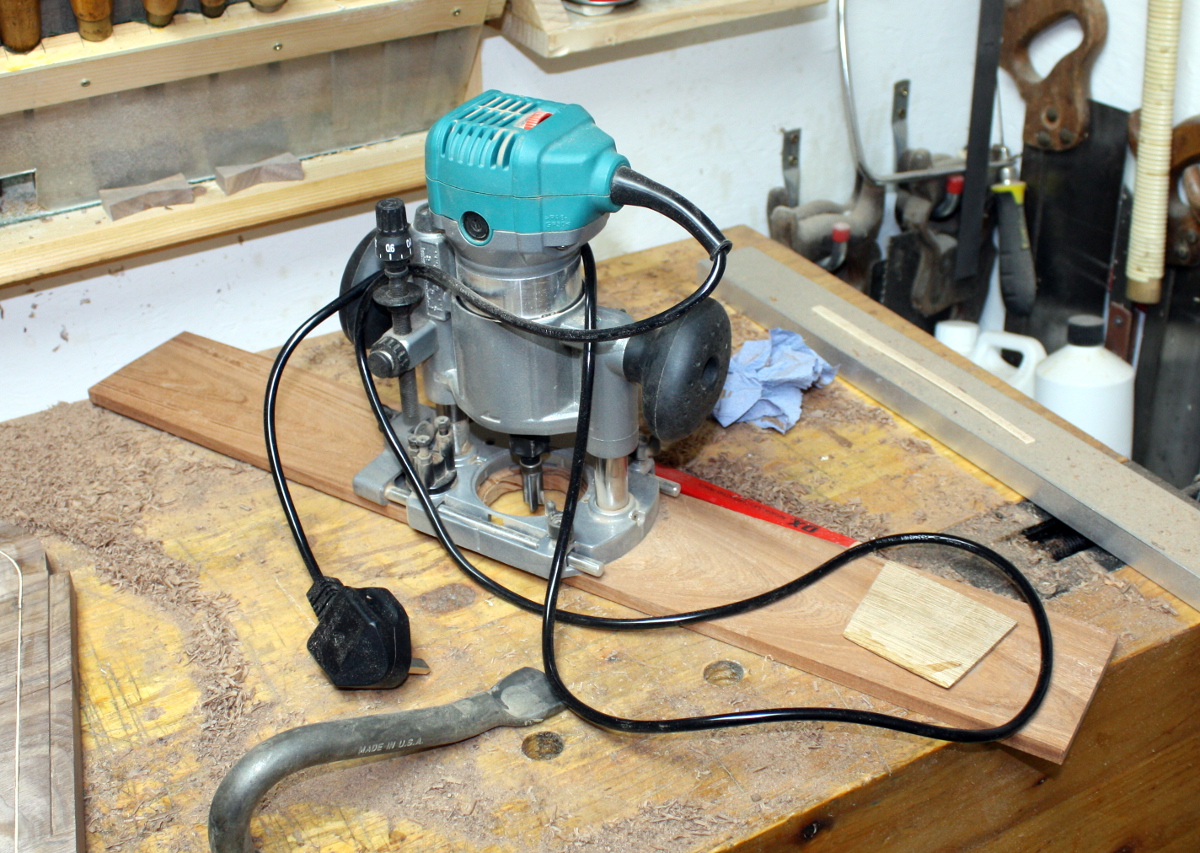
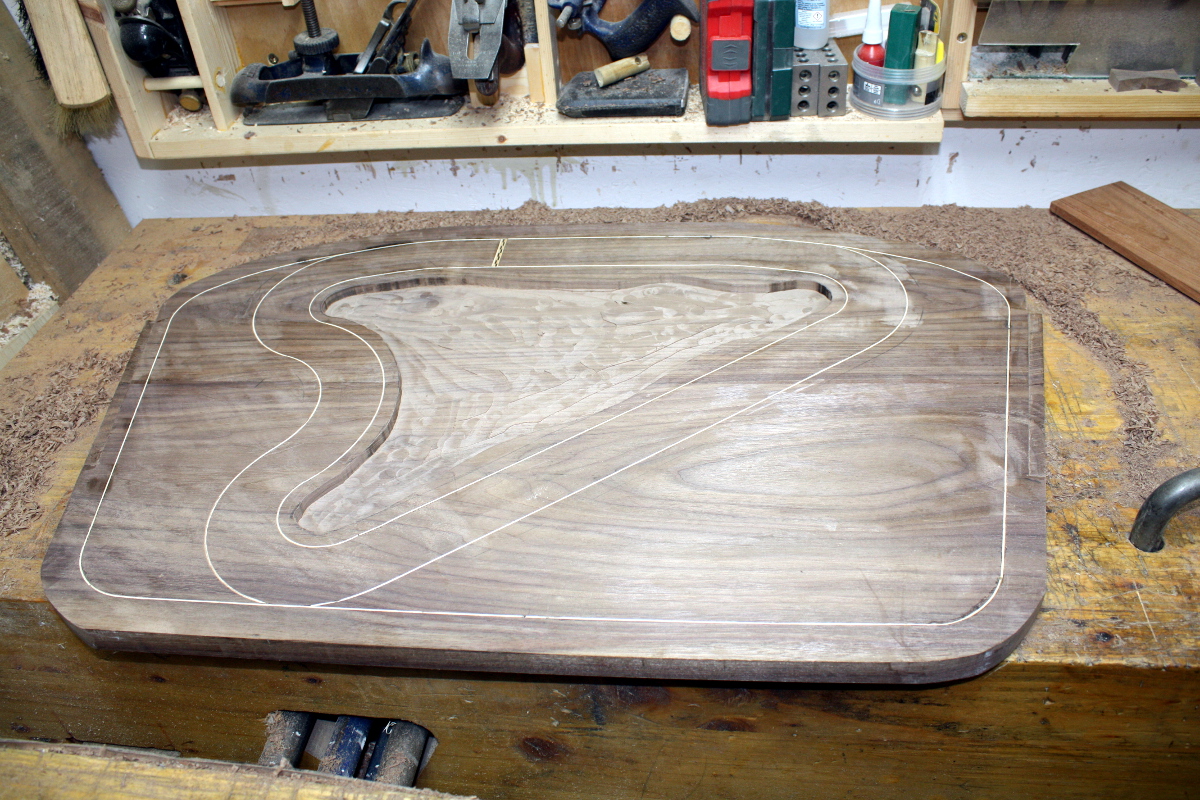
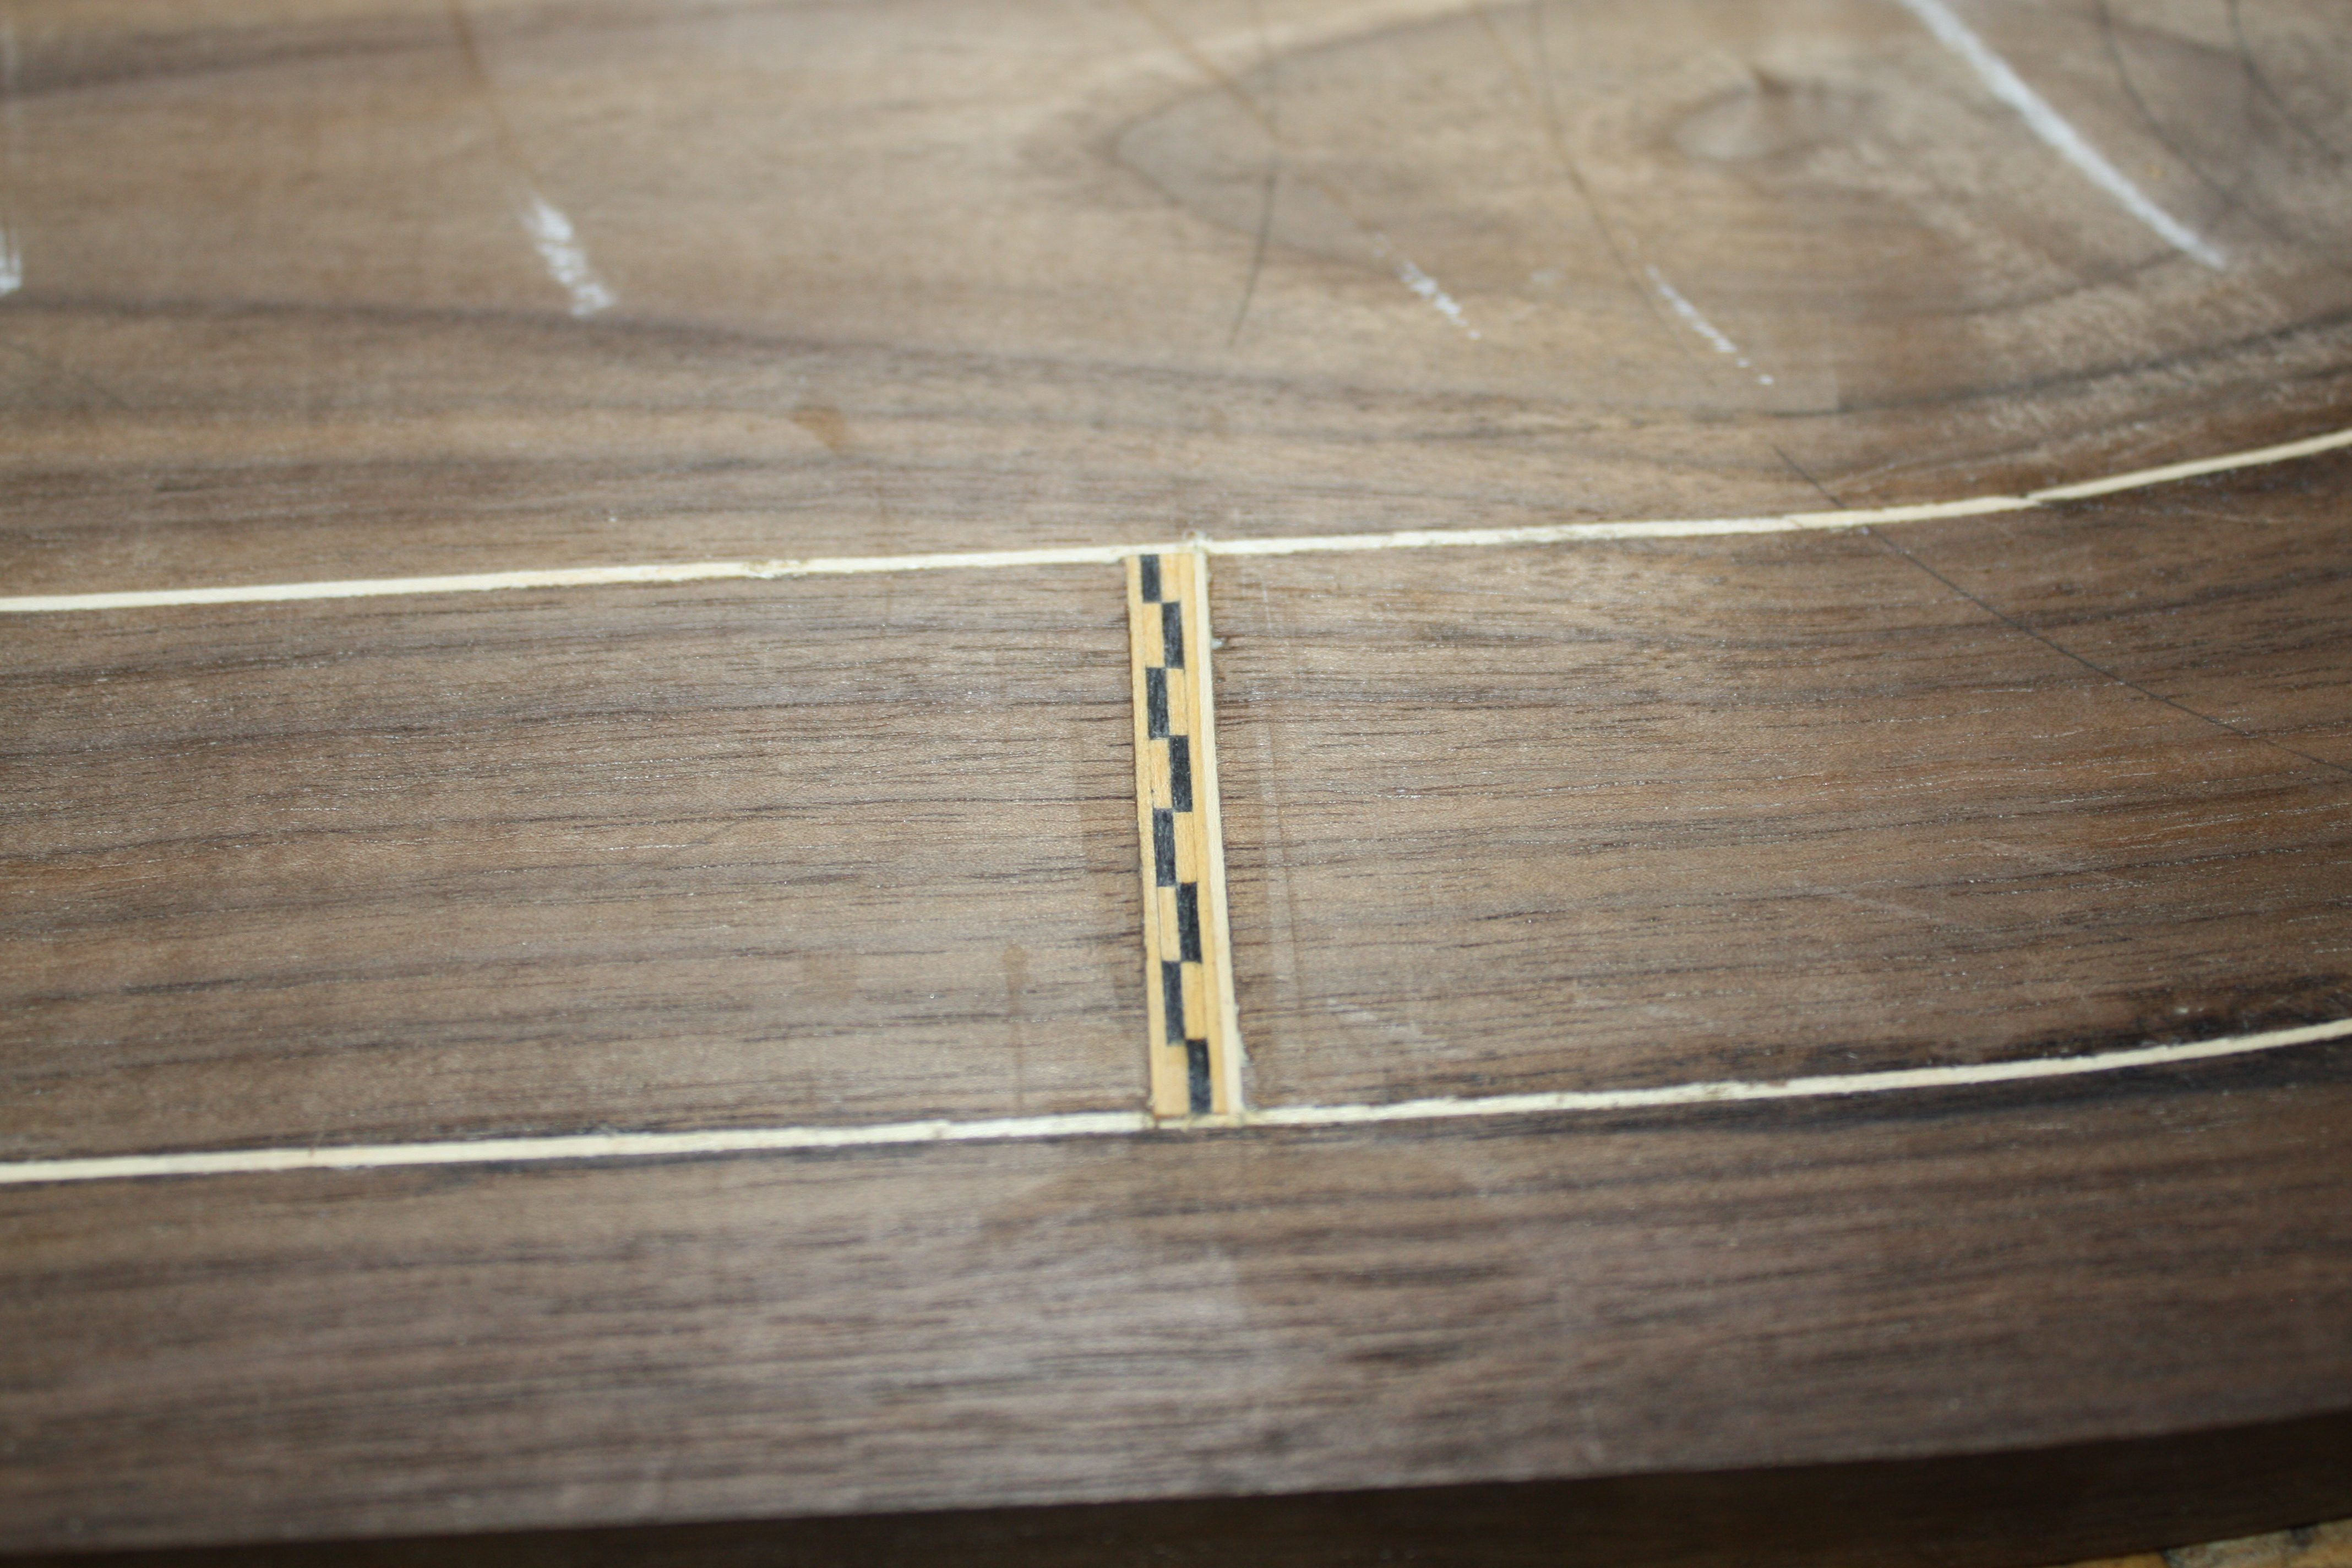
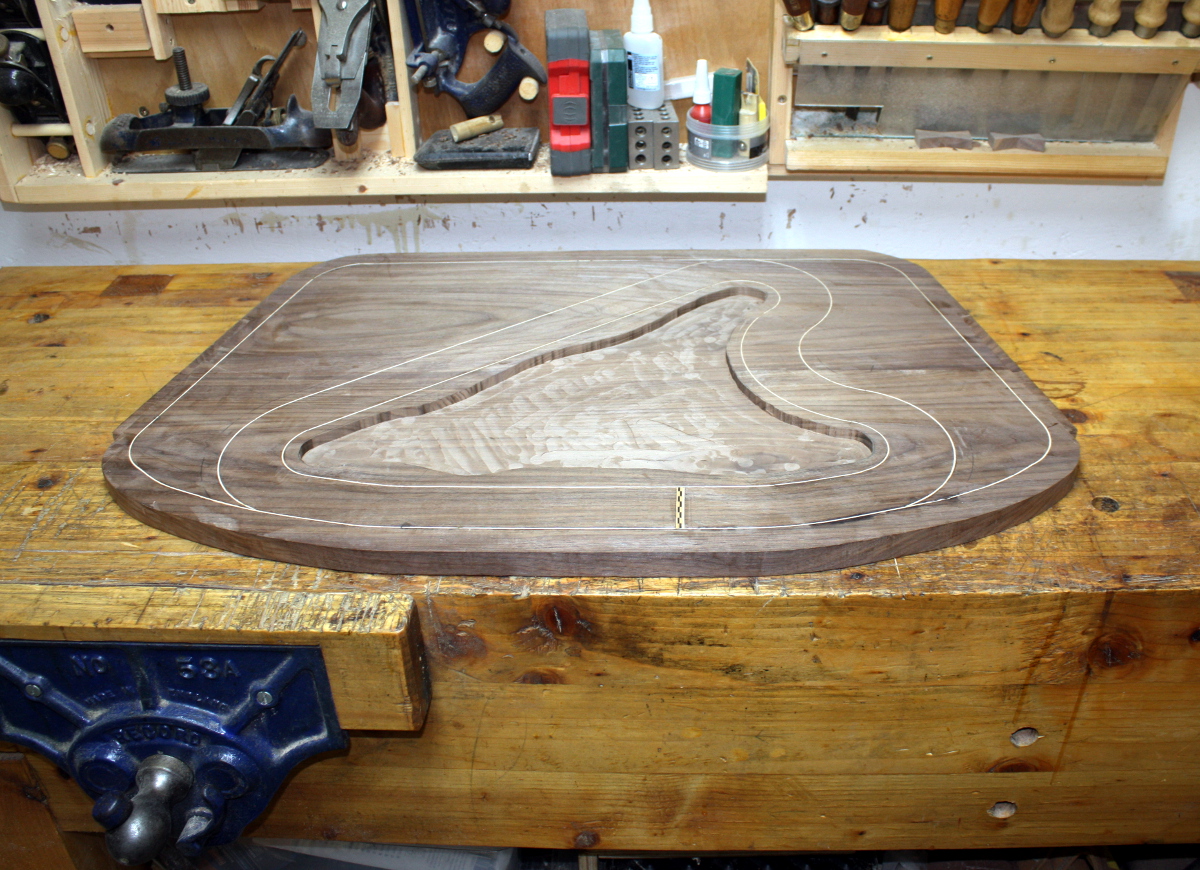
So the next step was to even out the bottom of the sea a bit with the router. That took about five minutes and was mostly making light cuts here and there rather than any systematic grid pattern thing. 

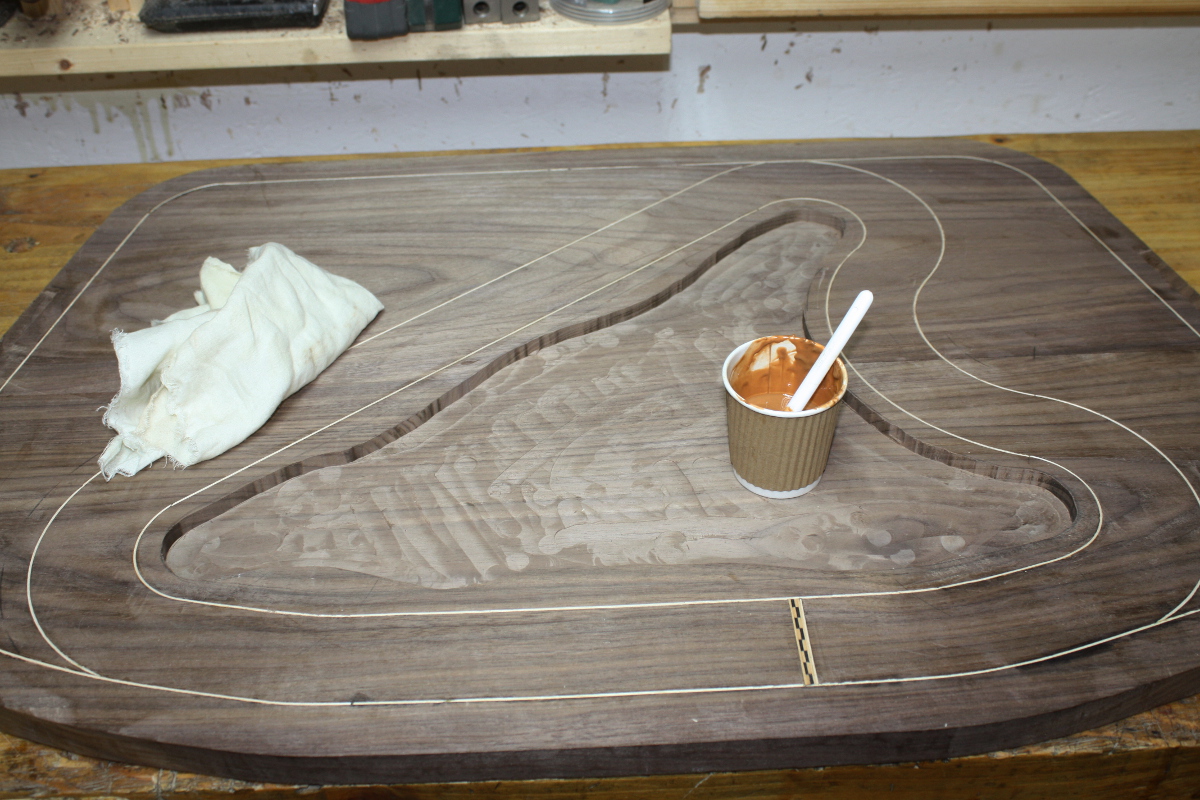
Then time to seal the grain; I don’t really want the resin leeching out through the grain. I mean, it’s walnut, it’s not very porous but still. 

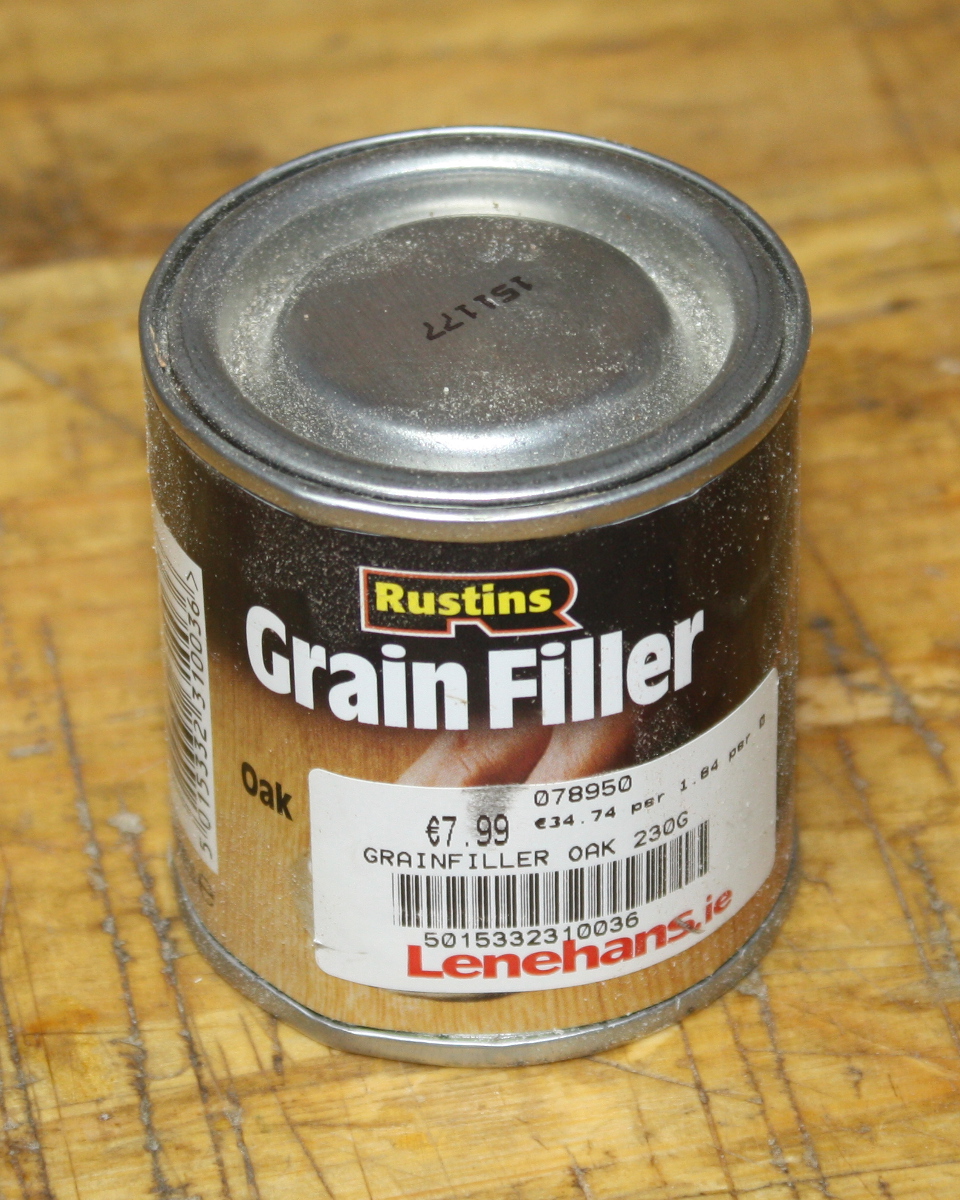
This stuff isn’t wood filler, that kind of putty I use to cover my mistakes, this is much much finer grain material that is supposed to get into the pores and block them up. It’s a pretty thick mix in the tin, almost at a putty consistency, but you dilute it to a thin slurry with white spirit and then rub that into the wood with a rag, and clean it off when you’ve gotten as much in as will go.

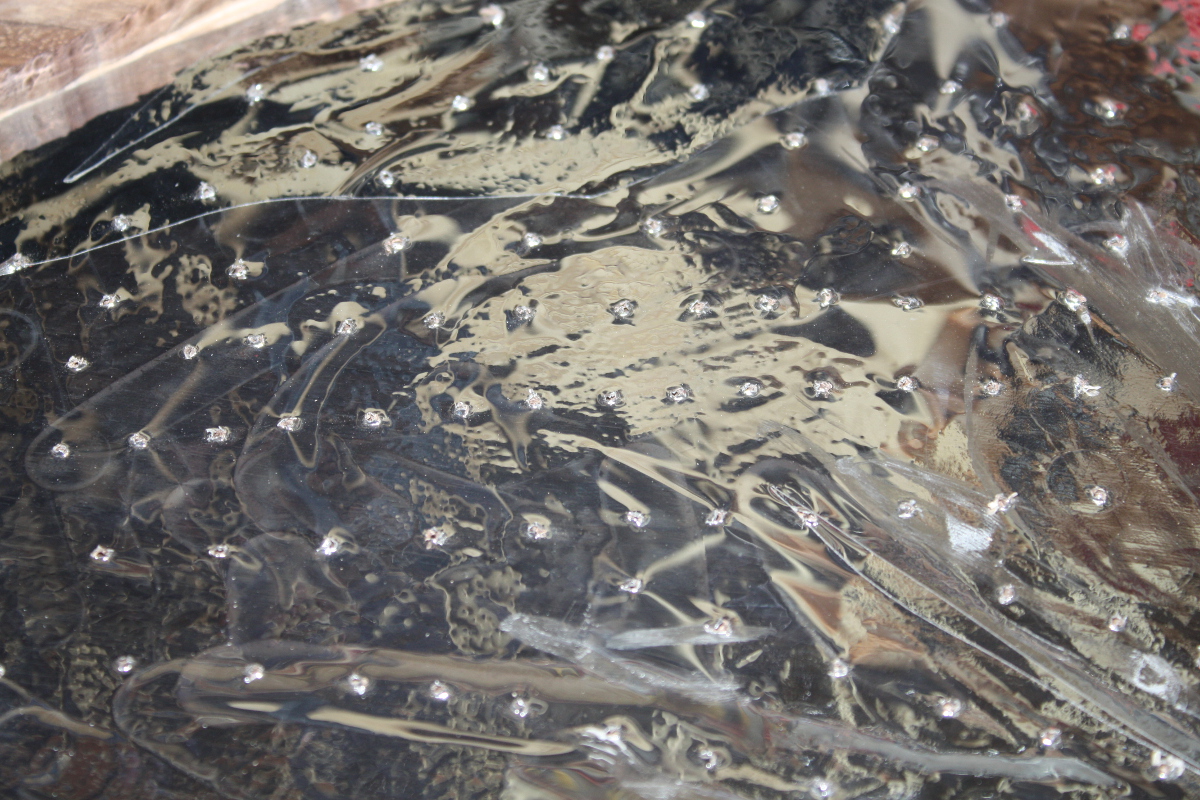
With that done, it has to dry overnight. Oh well. Next morning, out with the reflective window film, and a fiddly job getting it to sit into a very irregular shape…

Looks fine so long as you don’t look too close…

But who’d ever do that? 😀 
Also, that film is self-adhesive on clean surfaces like glass, but forget about it being adhesive enough to stick to wood, especially if there are any irregularities. It’s being held here with a judicious application of CA glue. 
Then I started worrying about the resin adhering to the film and the film not adhering to very much at all…

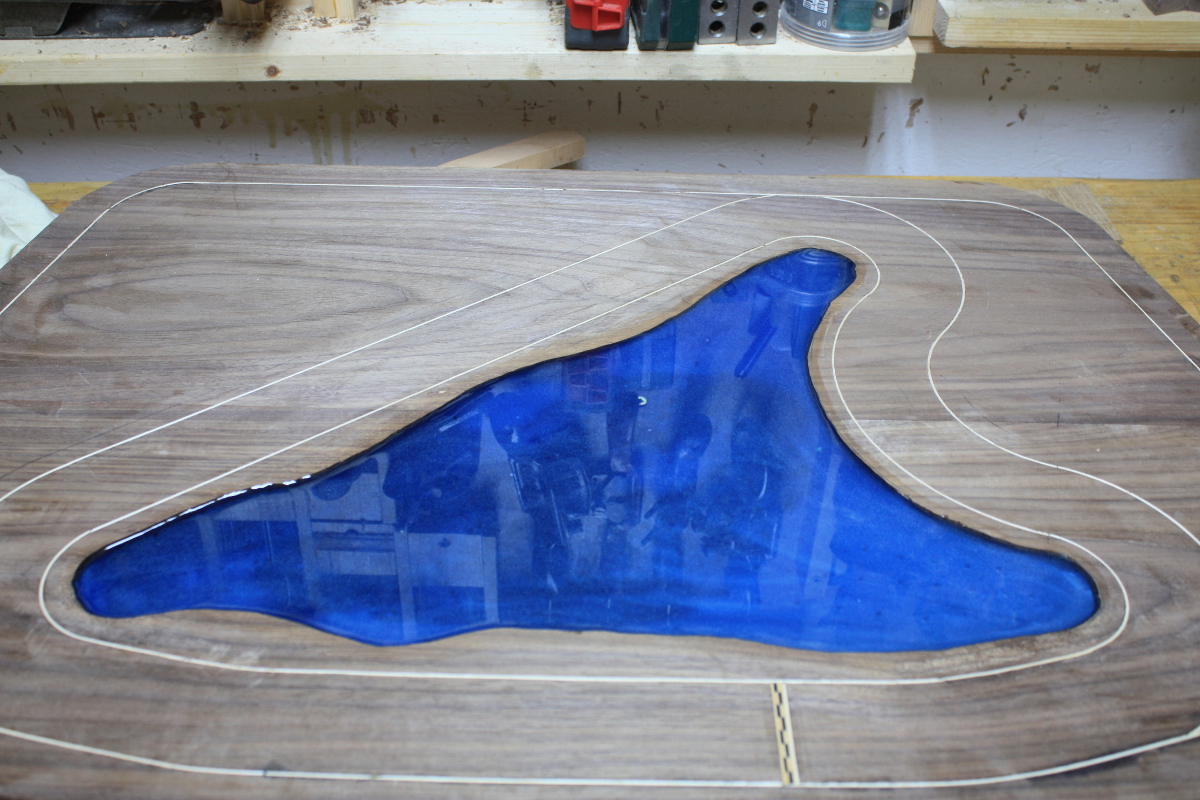
So to let the resin seep into the walnut enough to get a grip, I drilled through the film with a 1.5mm drill bit all across the sea bed.

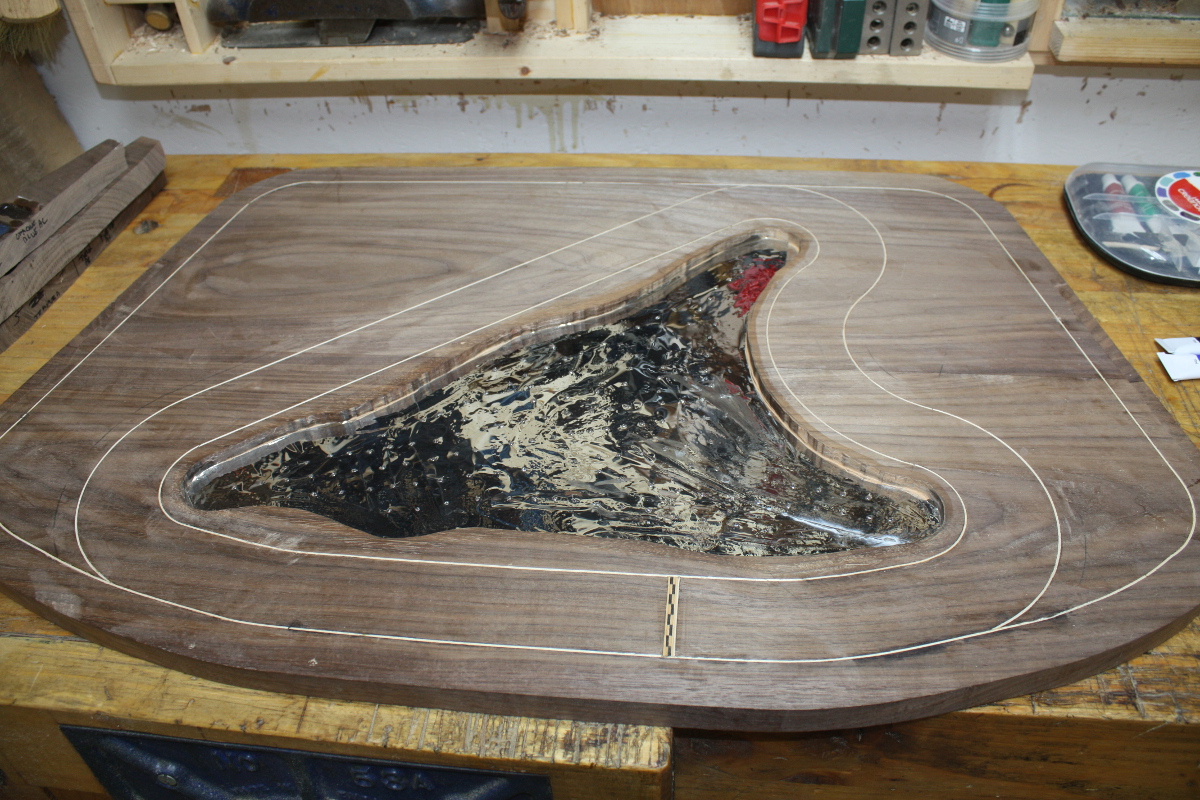
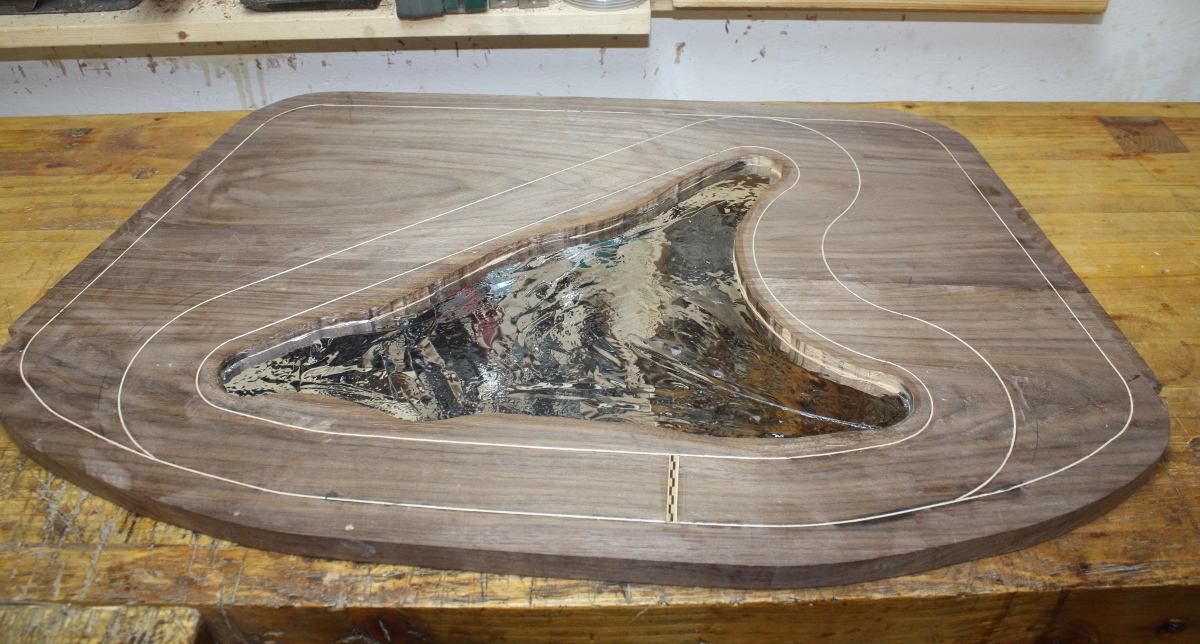
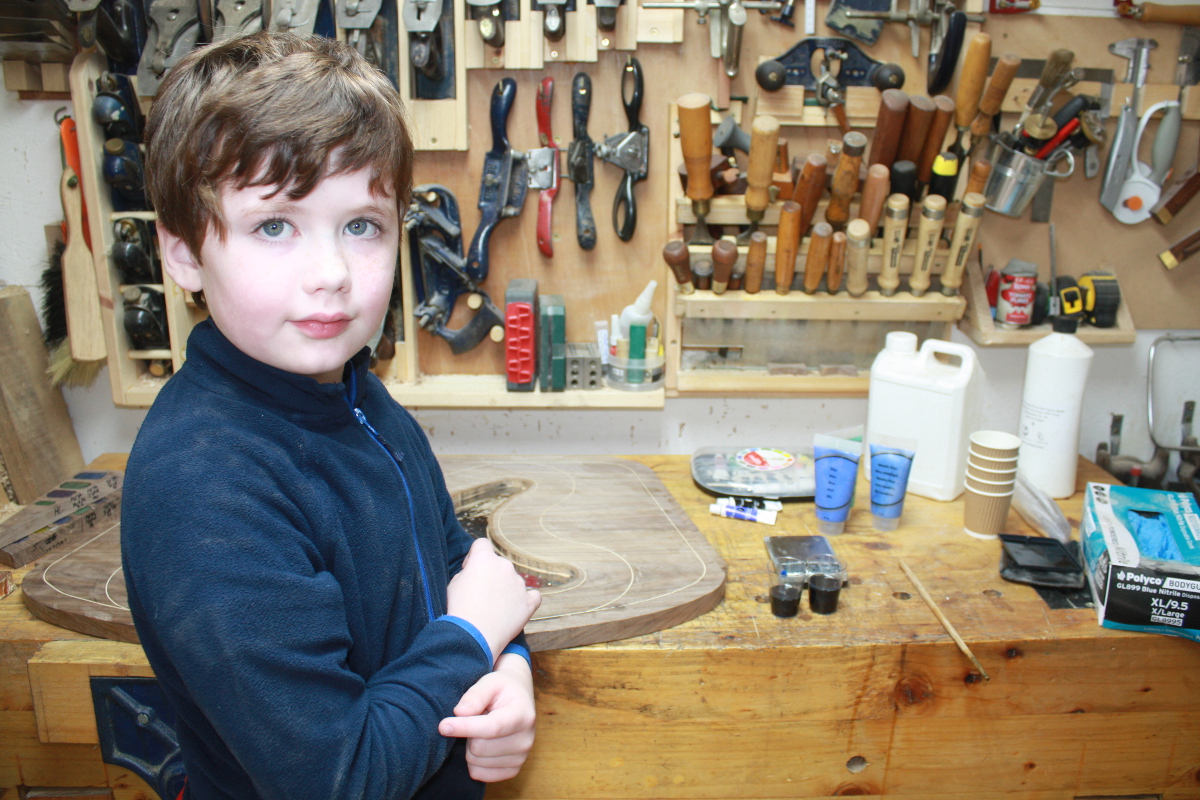
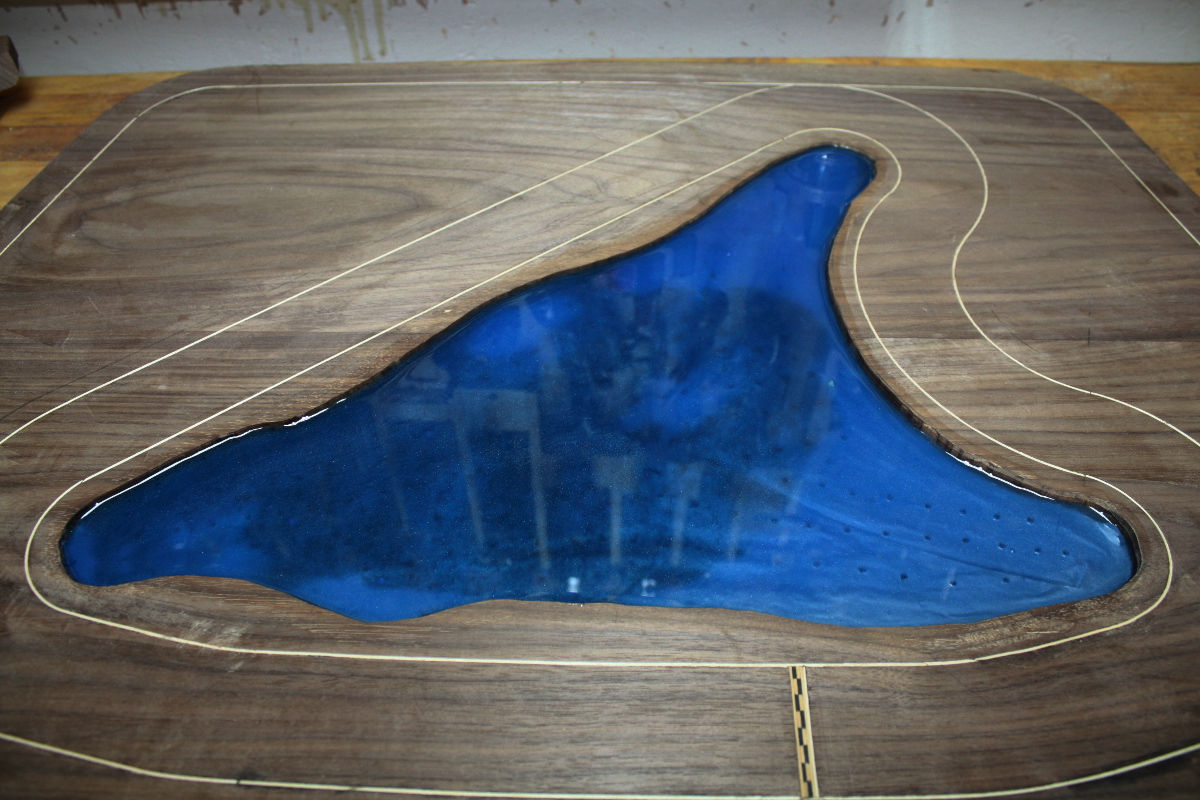
And I figured that was the ready-to-pour state. So I fetched a helper and we mixed up the first layer. Like we’ve been learning in Octonauts, the sea has three layers, starting with the midnight layer which is not only very dark but also hides the holes and gives a nice appearance of depth…

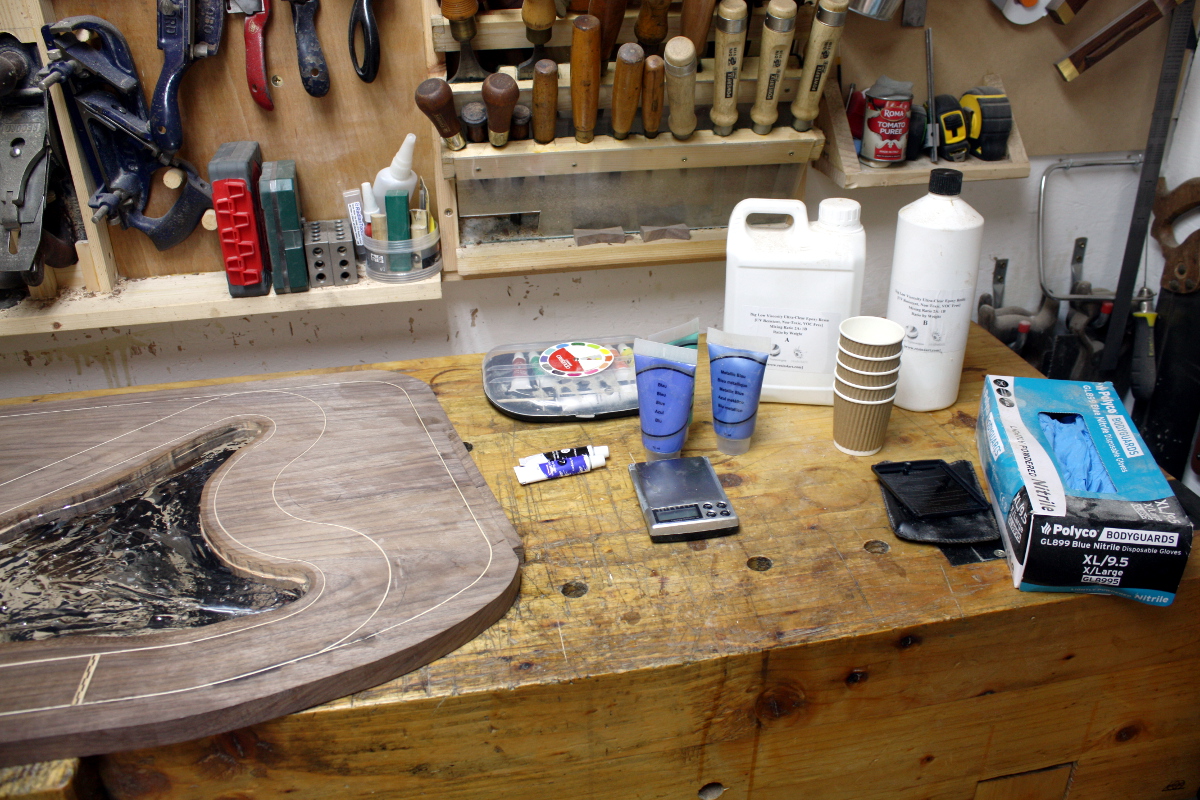
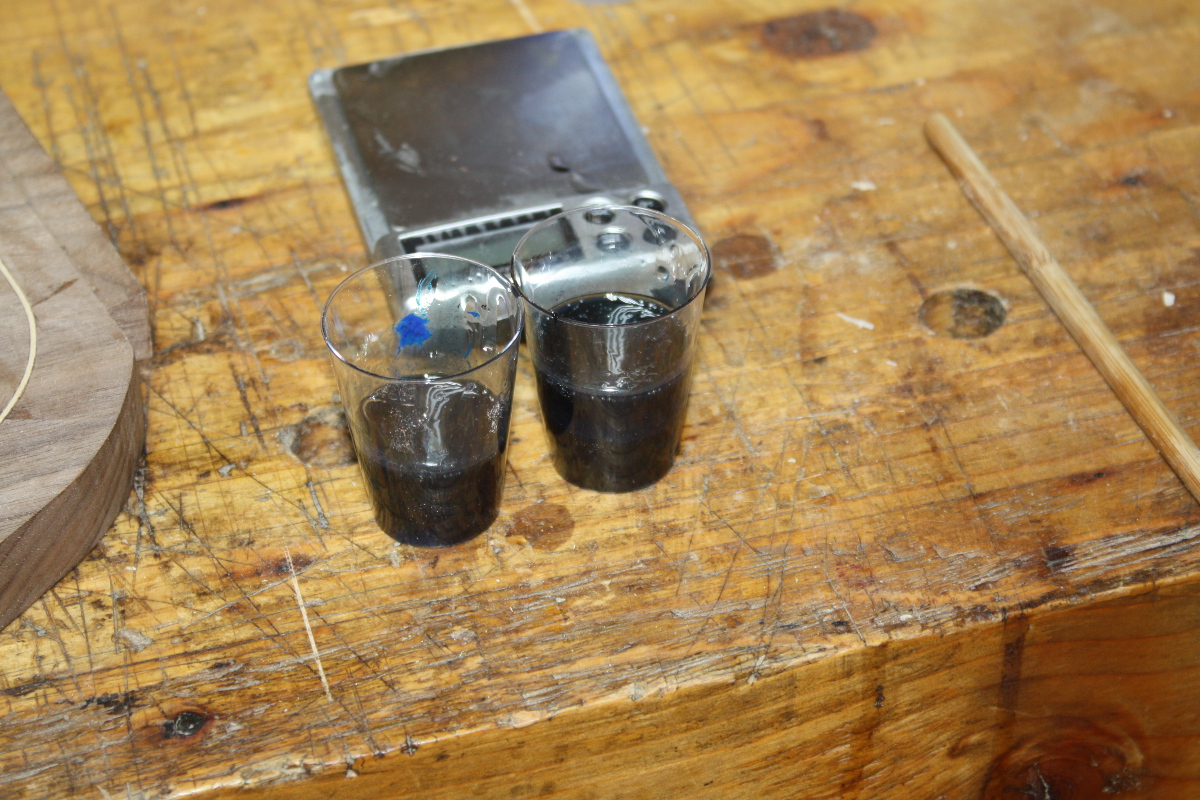
A bit of paint managed to not get mixed in the container so it got mixed on site…

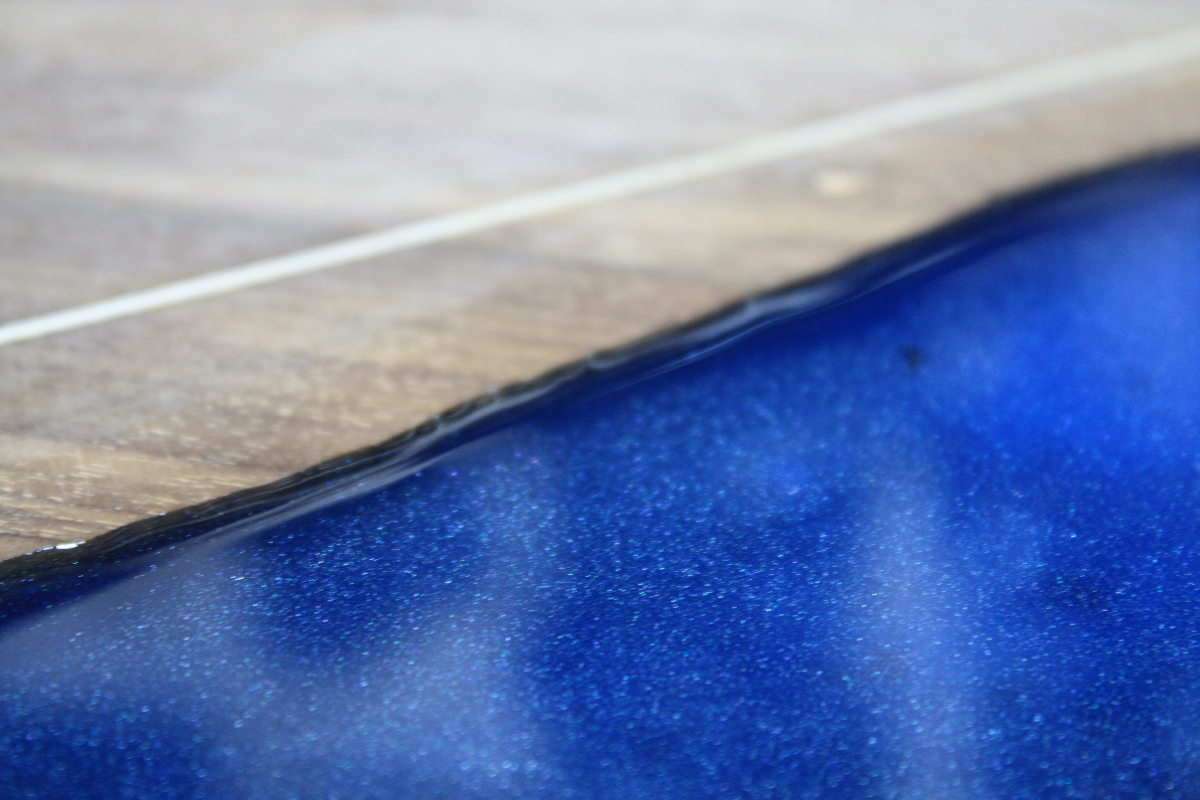
Not too shabby. Left it for an hour, then came back to pour the Twilight Zone…

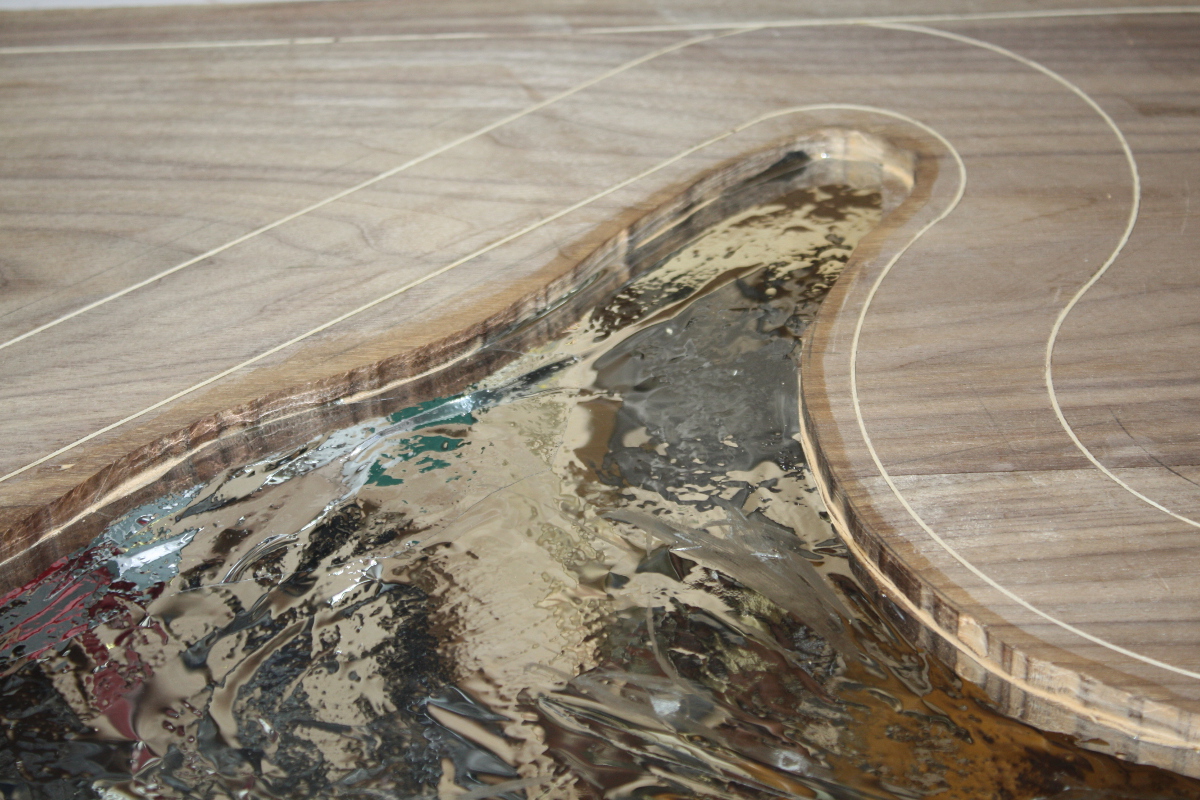
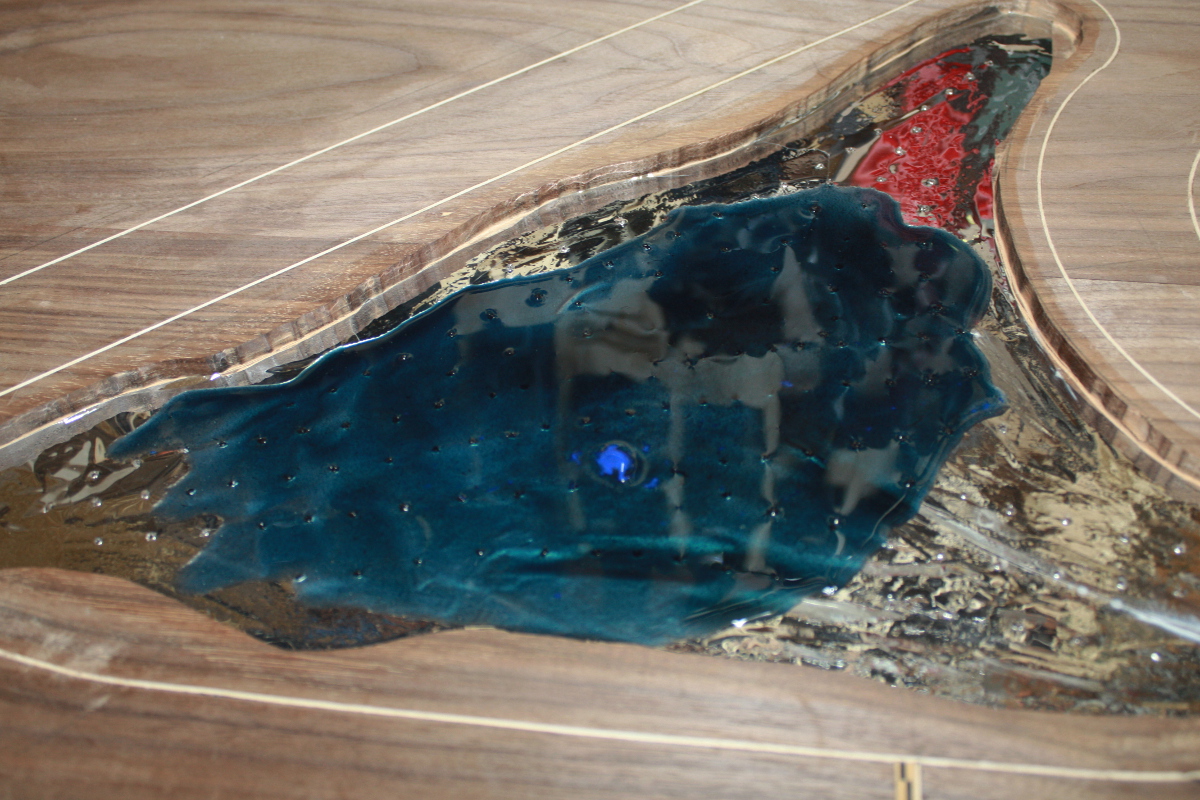
Not too bad, I’m liking how the layering is giving that differing depths look. The last layer was the Sunlight zone but that was after my helper’s bedtime so I had to pour it solo (I want the layers to bind as they set).

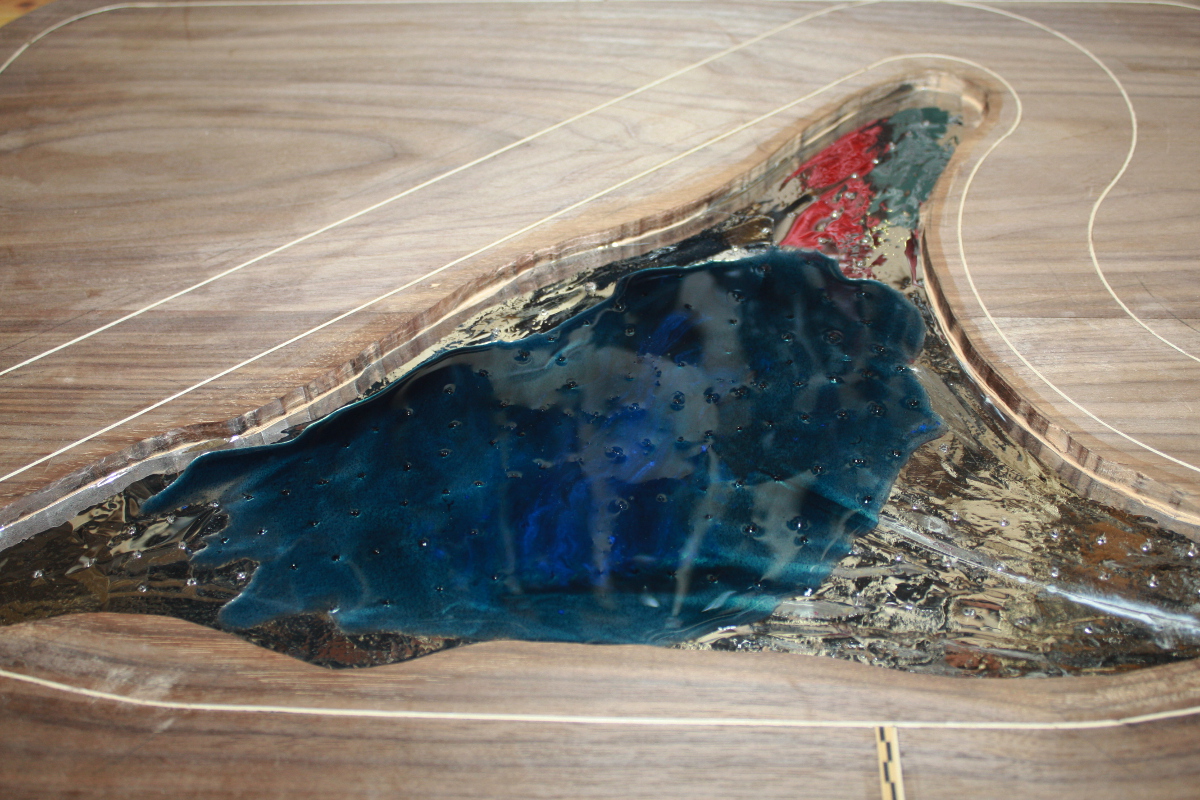
It’s almost deep enough here. One side was flush…

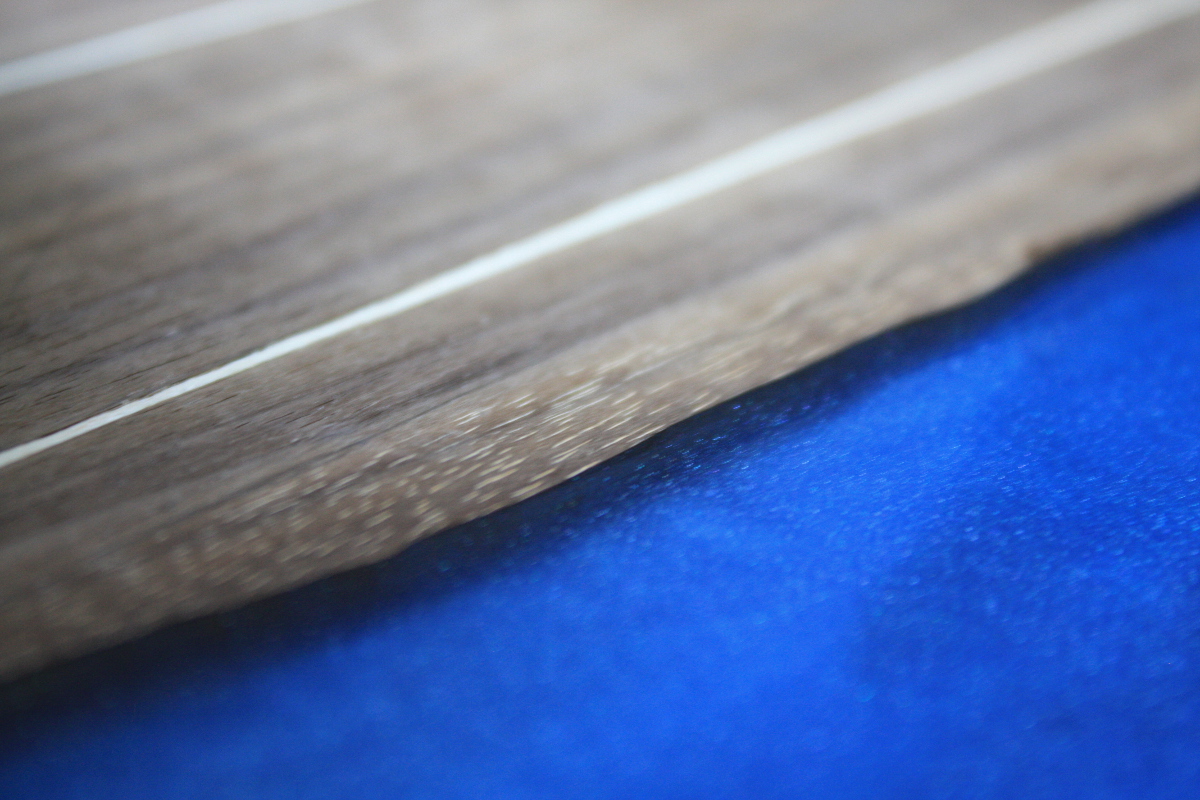
But one side was slightly shallow.

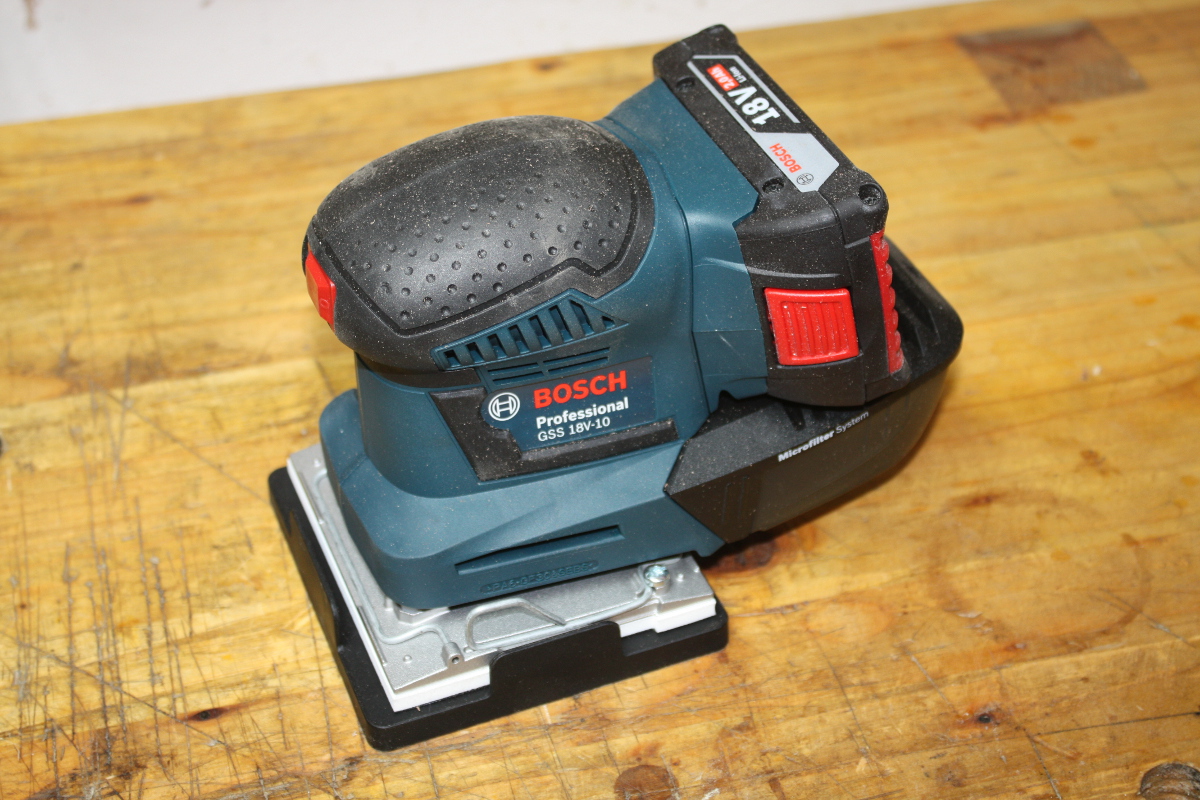
There followed fifteen minutes of tilting the board back and forth as the resin started to cure, to get a more even depth. Final result is even but still not proud of the surface and I want the resin to be slightly proud of the surface so I can use my new toy to take the whole surface to one contiguous plane…

I think the last bit will go down tomorrow evening, and then sanding can happen over the next few days. Once that’s done, that’s the walnut part of the desk done I think. I’ll think about how to decorate the poplar bits or even if they need to be decorated, or if I should just do the final shaping (the edges are all square right now to allow for easier handling but the final shaping will take off all the sharp corners and round everything over). Thinking about stuff. That’s the easiest bit of this hobby 😀


28
Jul 19

Adding the sea

So when the client for the desk likes racing cars and the Titanic, what do you do? You inlay a racetrack with stringing and banding and you add in a piece of the north Atlantic using resin 😀 
Step one: that router base will not let you get an even depth across that wide a hole, so unscrew it (mangling a screw in the process and having to use a left-hand screw removal bit to dig it out) and add on a much wider shop-made wooden base:

I’m willing to bet nobody else is dumb enough to use sapele for something like this (especially since plywood would be a better, flatter choice). 

Step two: strap on the respirator, the goggles, the ear defenders and make sure you’re good and uncomfortable from all the PPE even before you turn on the dust collector and the router and grit your teeth against the entire process and cut down about 8mm into walnut over a good third of the surface area of the desk, staying within the lines. Which takes a good hour to do because (a) this tool terrifies me and (b) everything is sooooooo slow in case it bites, digs in and pulls the bit through several weeks of work in the blink of an eye. Or, y’know, through me.

This still needs another last pass to even the sea bed out, by which time I think it’ll be 9mm down into a 21/22mm thick slab so it should still be stable, especially when the resin goes in. 

Before adding the resin though, I want to seal the bed and the sides with grain filler — not the wood putty type stuff, the much much finer stuff used to seal the pores (usually in oak) to stop finishes (or in this case resin) wicking through the pores in the wood and looking bad. Once that’s done, I’m going to add reflective film on the bottom of the sea bed. I tested this a while ago, if you do this and have a light source overhead, it lightens up the resin really nicely:

I may need to clean up the shed a bit before that though, every time I do any routing the shed looks like a small bomb went off in it and working there gets less pleasant.

Mind you, it can’t be all that bad, it passed the customer’s testing with flying colours…


24
Jul 19

Finish line

Big parcel arrived in the post…

Mind you, it felt light, but still, I think this might be overpacking 😀

Inlay binding. Interesting to watch it being made if you ever get the chance. It’s supposed to be a purely decorative element, and it costs so much less than the shipping that I got a few different bands, but I’m only interested in one…

And the point of this pattern isn’t normal decoration…

Cut to width, knife in lines, chisel and #722 router plane down to depth (the depth being the thickness of the binding), and chisel it just a hair too wide, so add a piece of stringing to close the gap…

Let the glue set and trim to the surface…

And there’s the finish line for the racetrack 😀

I think that’s the last of the stringing for this shelf as well. Next up, route out the central portion, seal the grain with grain filler, stick down reflective film, and pour blue resin…

Meanwhile the DIY is done and the fridge is secure.

And people wonder why MDF gets such a bad rap. Not the best choice in the world for supporting the weight of a full fridge freezer, especially when that’s likely to mean lots of vibration as you open and close the door a lot every day for years, possible liquid leaks, the vibration from the compressor and so on. Surface tops, substrates, I can kindof see the idea there if you need cheap flat surfaces, but this is just a stupid application. I’m surprised it lasted this long. I’ll have to make something better from a proper wood once I get through with the desk.