16
Feb 17

Complaning

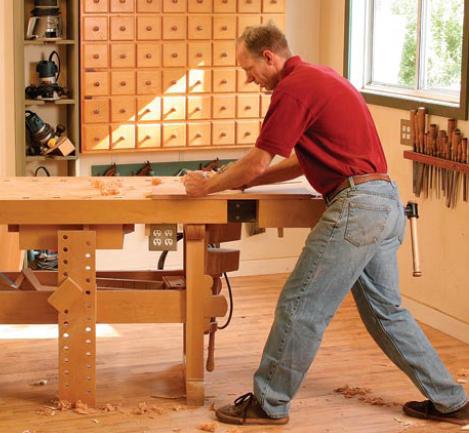
Y’see this happy chap? It’s from startwoodworking.com btw, it’s surprisingly hard to find a good side-on photo of how you use a hand plane. You’ll notice that he’s pushing the hand plane along the wood using his leg muscles more than his arm muscles, by leaning into the plane as he pushes it. This is normal, natural movement that you do any time you push an object that isn’t sliding round like a greased pig in a swimming pool.

Do you see what else he’s go there?

FECKING ROOM TO MOVE.

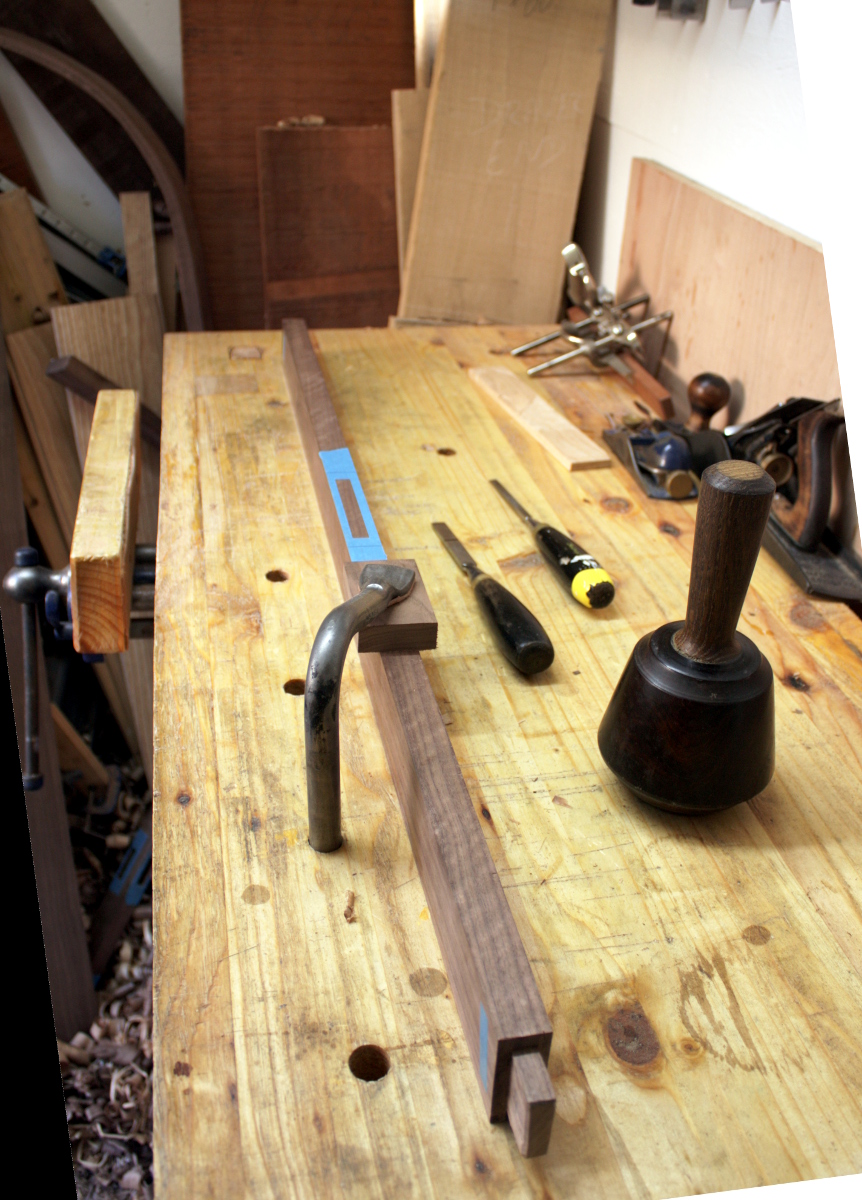
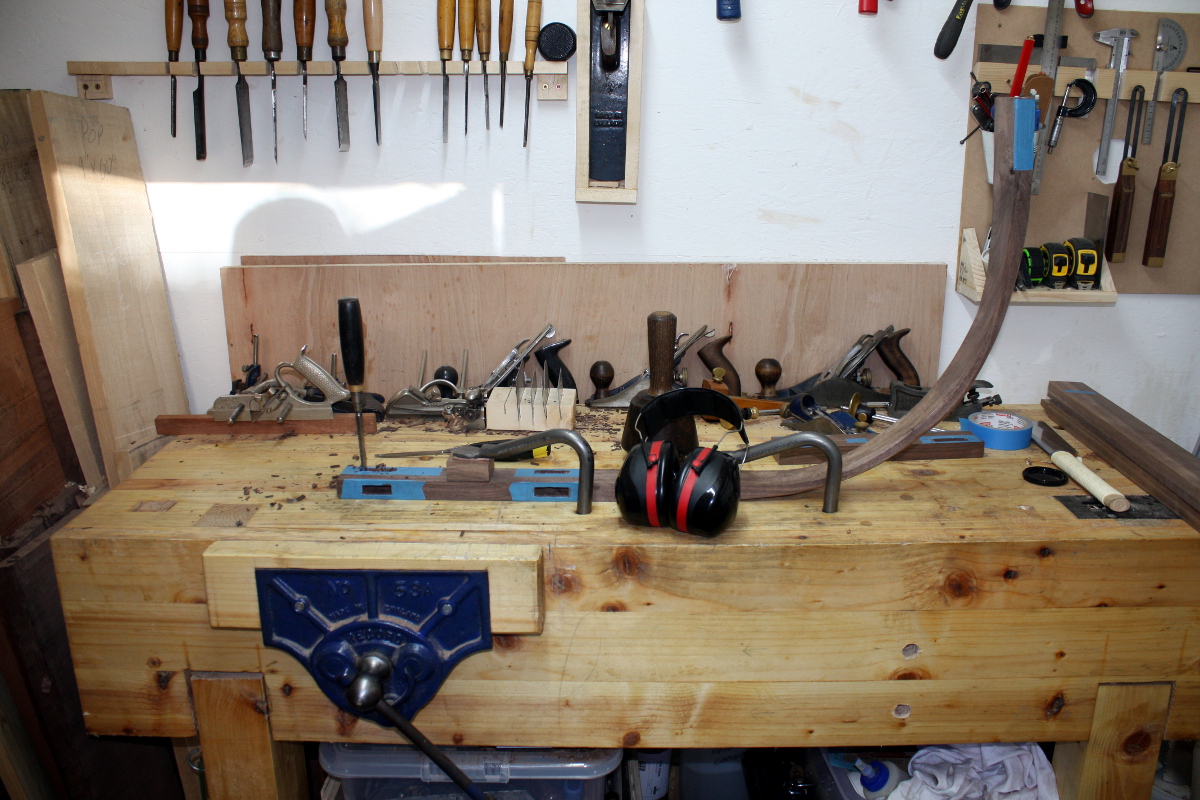
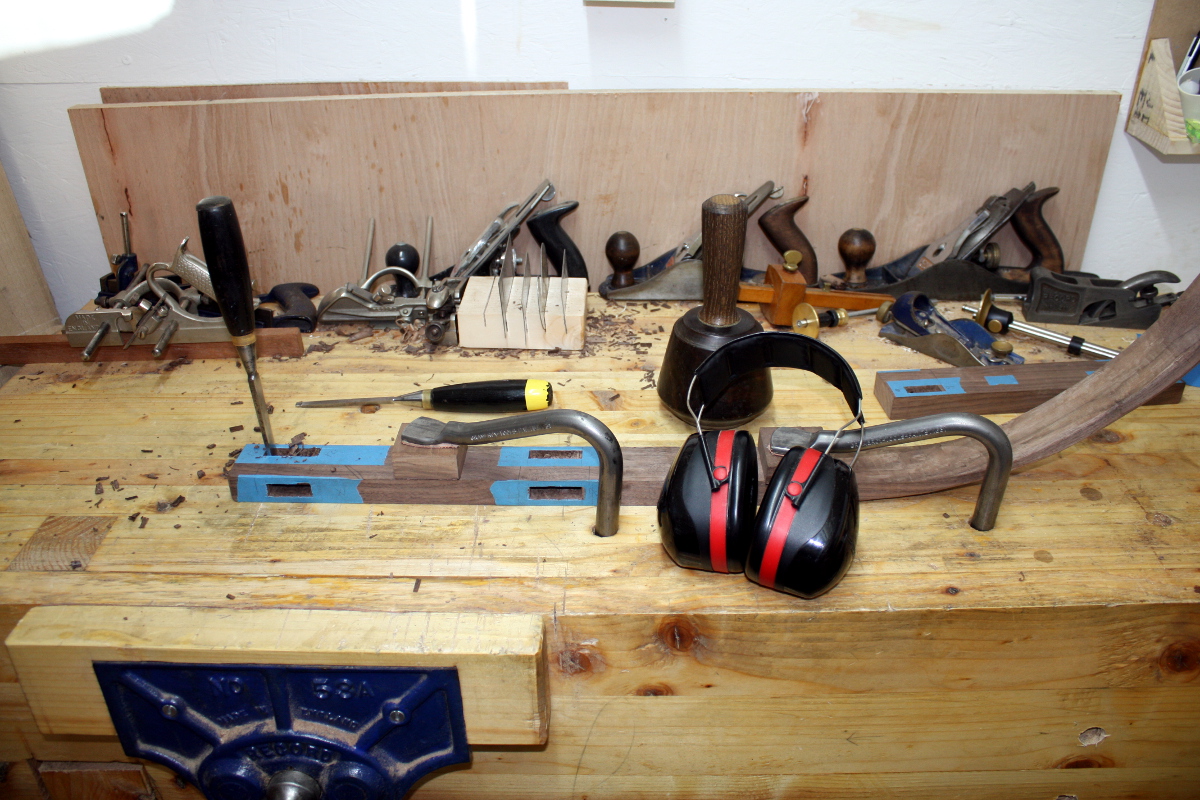
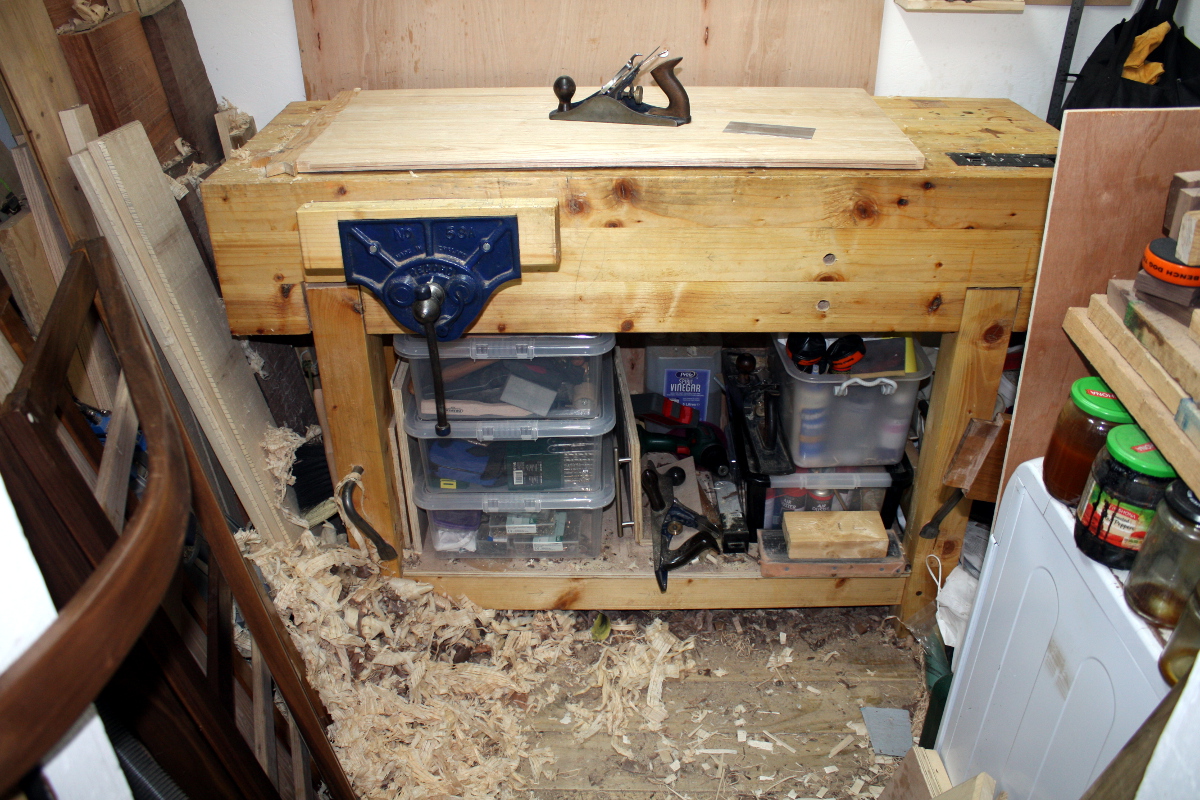
This is the shed at the moment.

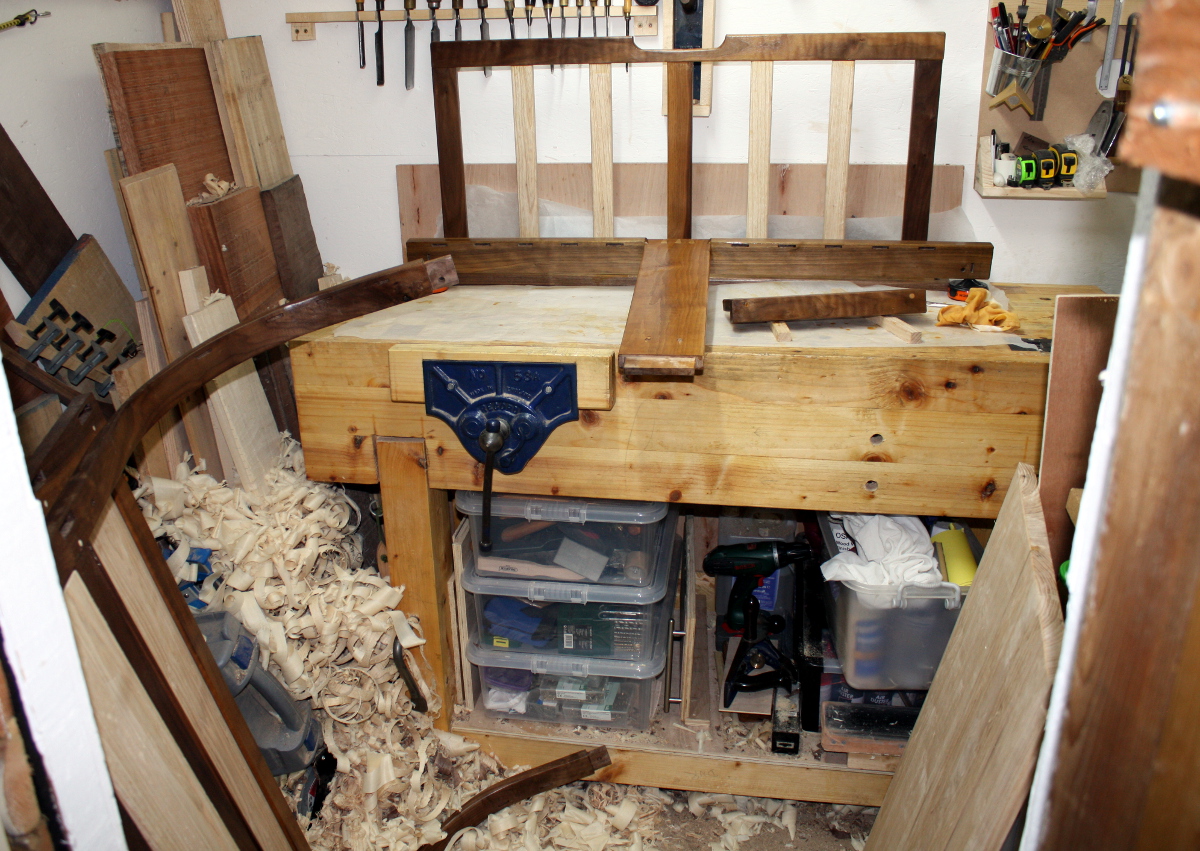
Lean into the plane? I’m doing well if I can reach the shagging thing at the moment.

*sigh*. And I have to thickness drawer sides, which means taking off wood, half a millimetre at a time in a 2cm-wide strip. Over a whole board. Evenly. By about eight millimetres. Gah. See this thing?

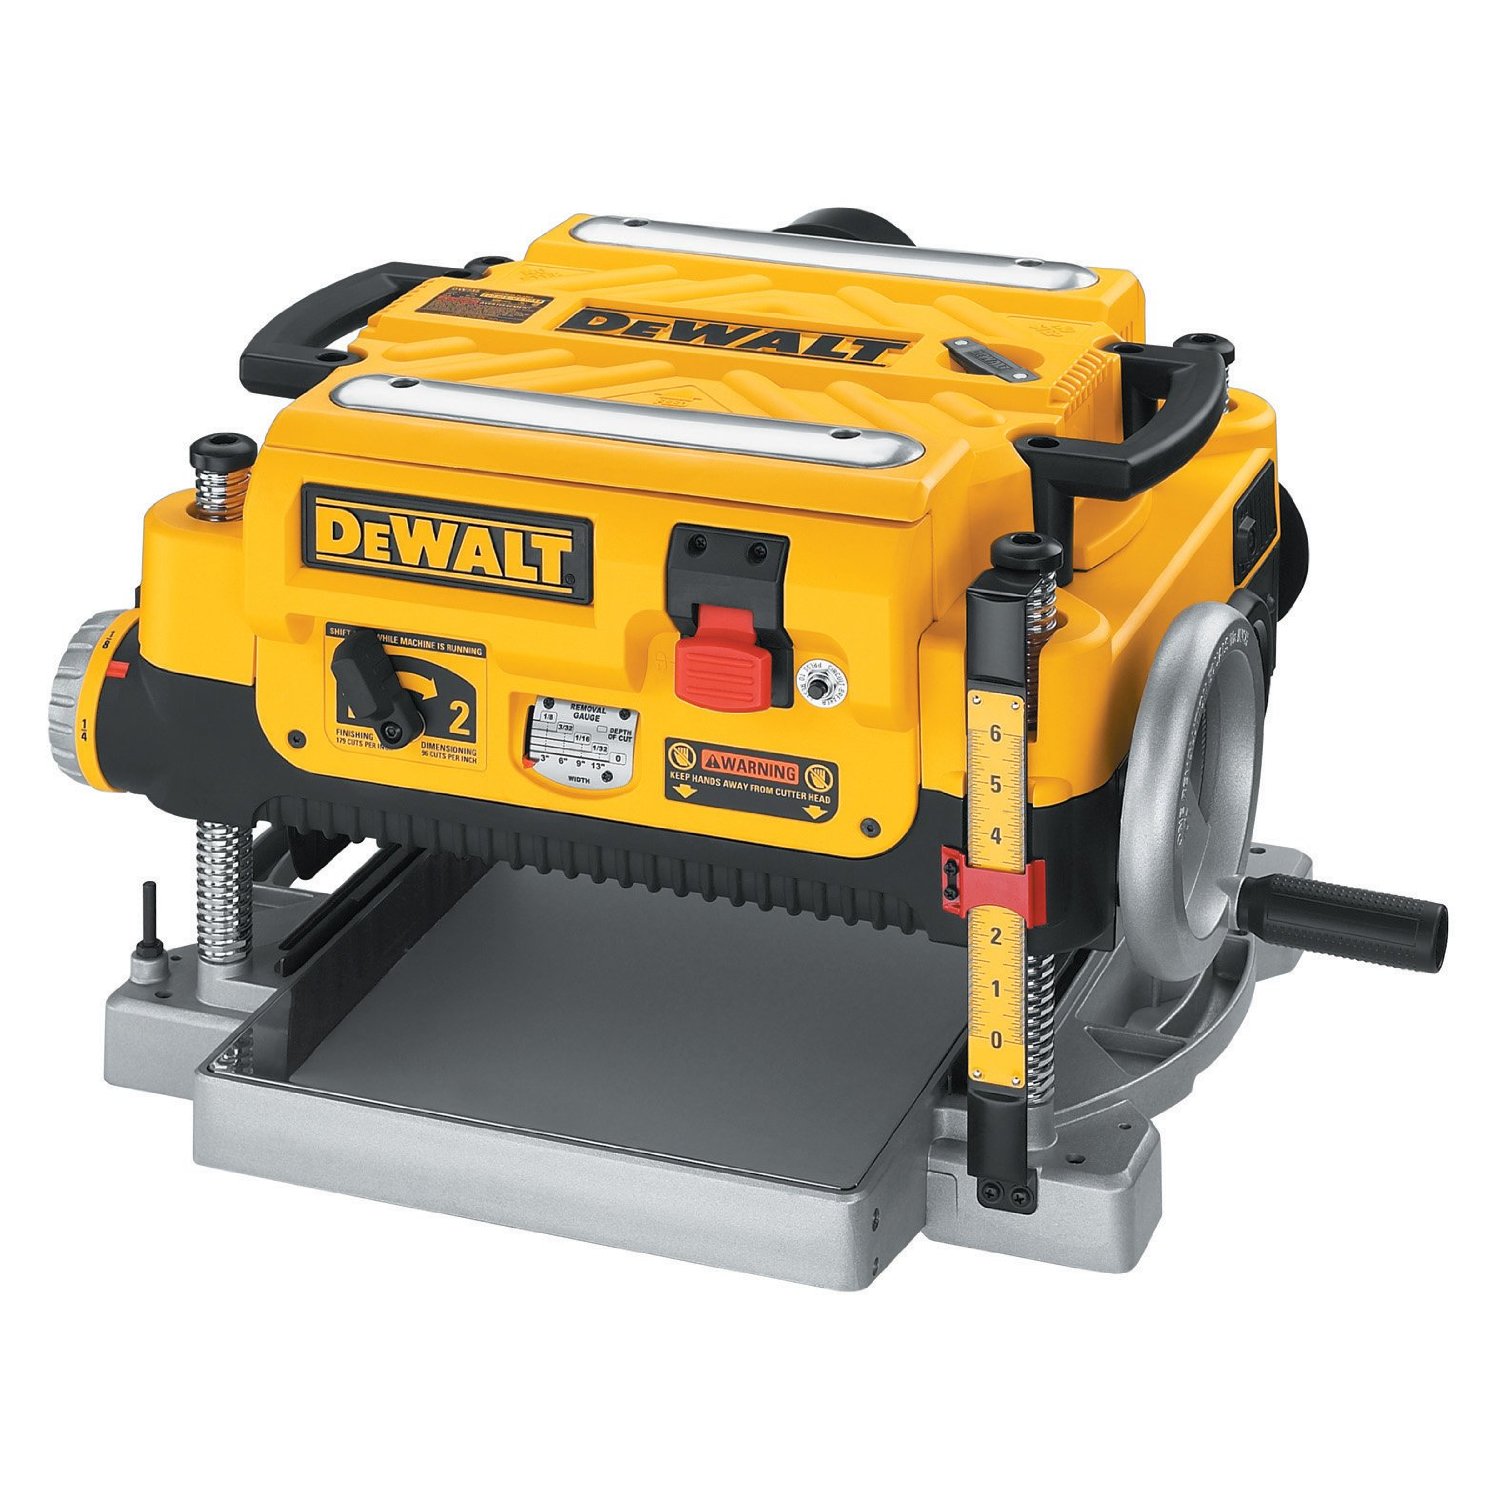
This is a dewalt 735 planer thicknesser. It costs nearly €700 if you’re silly enough to buy it in a shop in Dublin where the prices are usually 50% too high. And if I had the room to store it, I would have bought two of them by now. I mean, finish planing, that’s one thing. It’s awkward, but even on the largest panel in the crib it was doable.

Granted, you need the card scraper in places and it’s a pain having nowhere to stand at times.

But thicknessing, that’s a whole other story. There’s no finesse in that, it’s just lots of pushing through wood and hoping it ends soon. Christopher Schwartz was right, the first power tool you should get is a planer thicknesser. It’s just that they’re also bloody loud. This is not a machine that endears you to the neighbours if you use it at 2200h on a worknight. It’s about as loud as your wife finding you feeding the neighbourhood cat. To the blender.

I mean, ideally, I’d resaw the boards to thickness, but honestly, I’ve had enough of that. The ryoba is just not up to the job if the plank is more than two or three inches wide, and I’m still waiting for saw files to sharpen the western saws I have but so far they’ve just not made the task any easier. A bandsaw might, but (a) where the hell would I put it, and (b) bandsaws that can resaw an eight-inch-wide board are not like bandsaws that are just used for cutting curves; they are not small things. You have to use wider blades for reasons that involve clearing a kerf, physics and metallurgy, and those wider blades need larger wheels in the bandsaw to cope with bending radii, and that leads to a big freestanding monster of a machine.

So basically, I’m stuck inside the limits of the 8’x6′ shed. At least for now. But every so often, it’s helpful to complane (see what I did there?) about it.

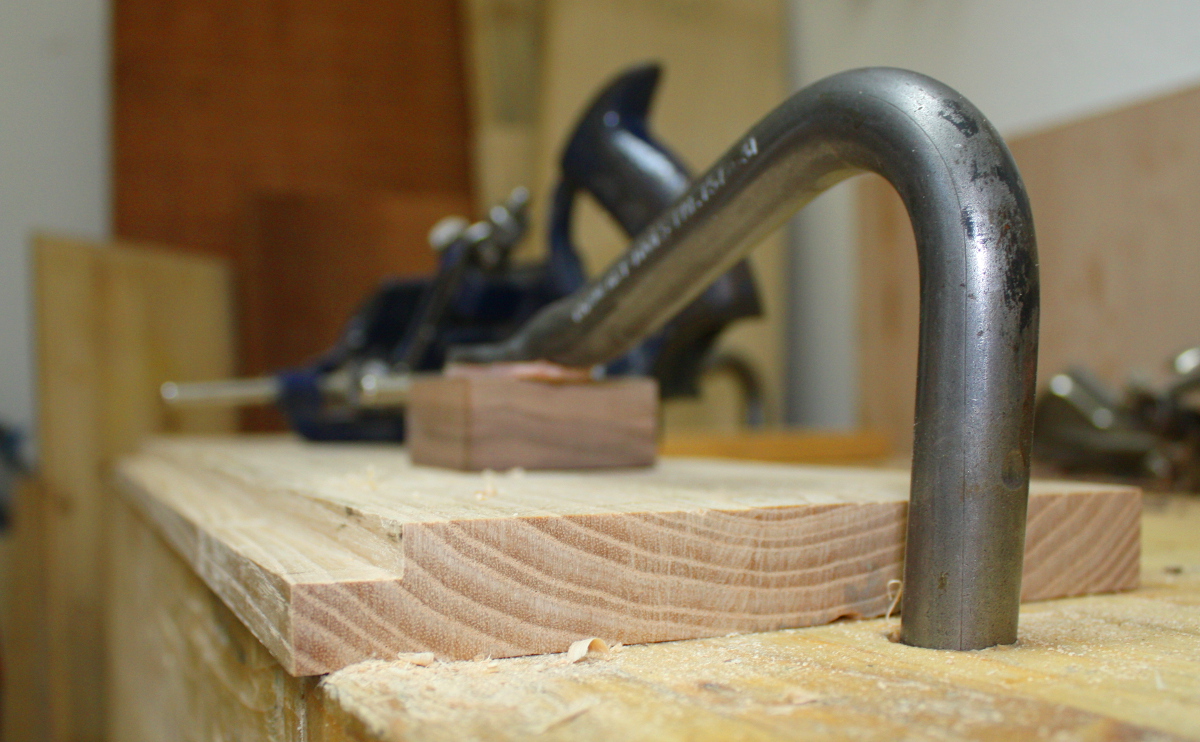
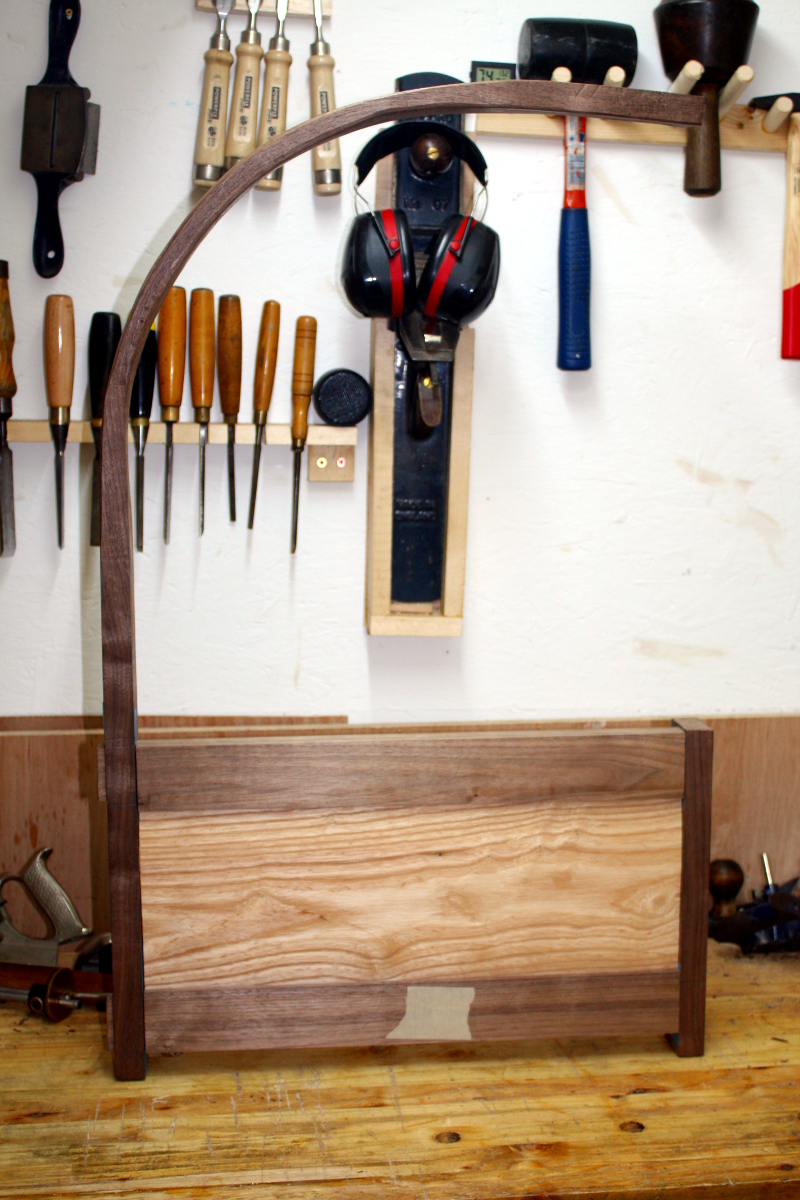
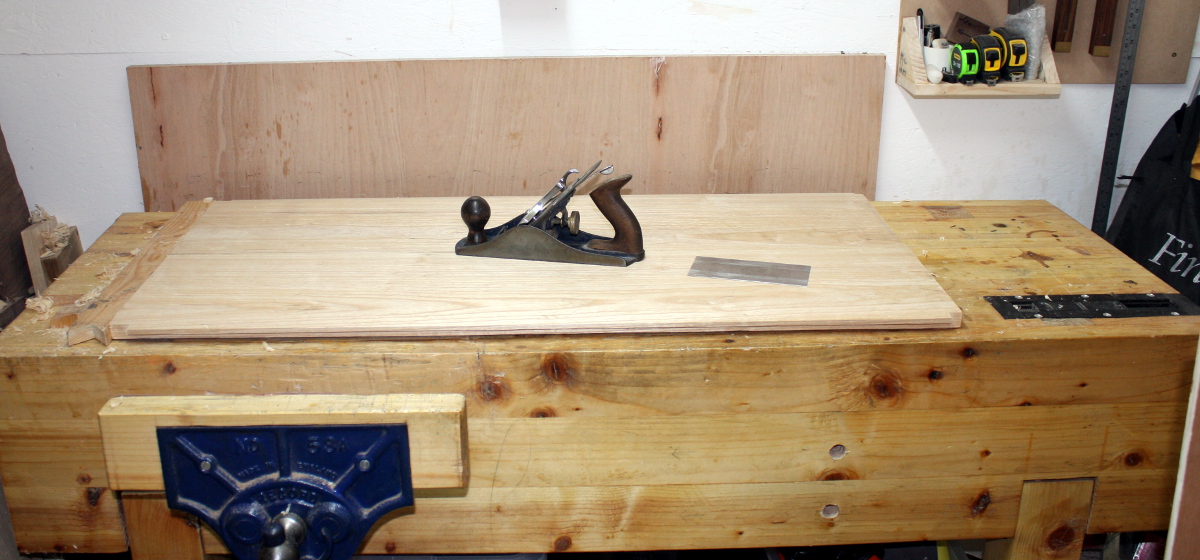
At least the top panel is finish planed and one of the drawer sides is now thicknessed.

And the final coat of shellac is on the mattress platform and on the rear upright.


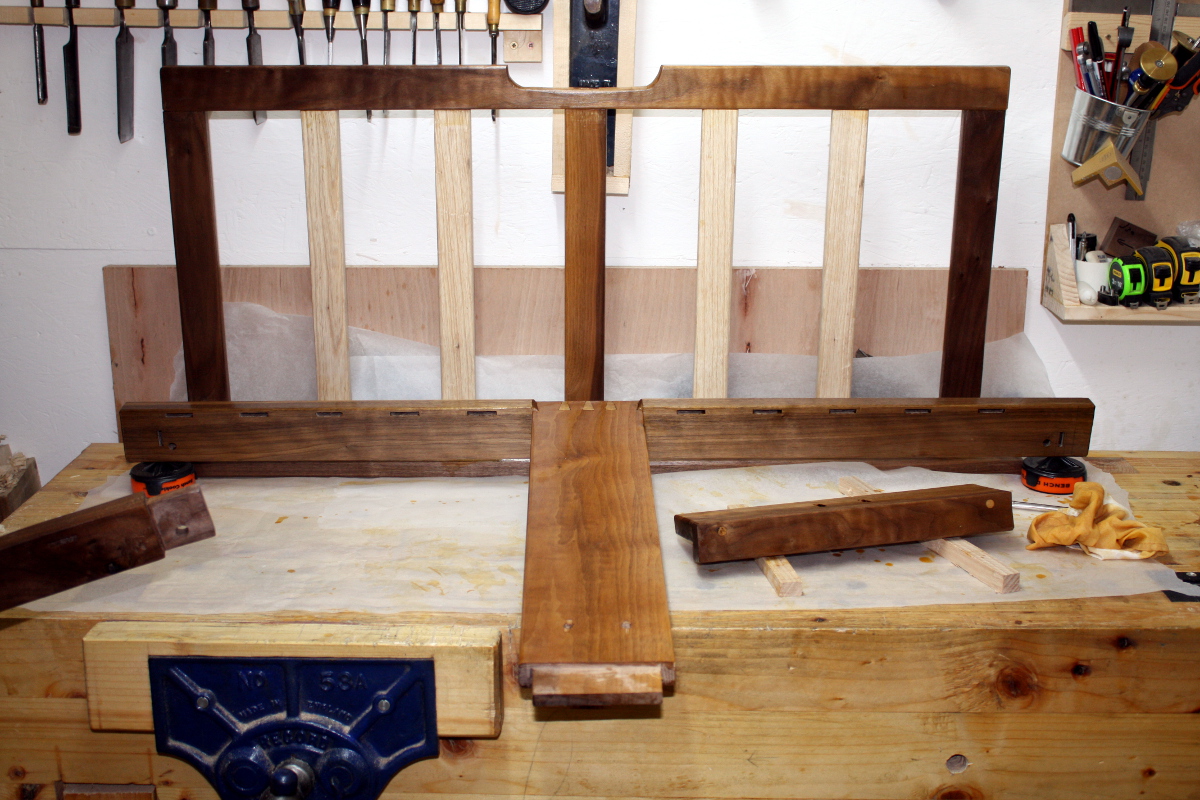
So not a totally wasted hour or two in the shed.

To-Do List (stuff in progress in blue:

  • Finish plane top panel
  • Make a drawer
    • Thickness the boards for the drawer.
    • Cut the drawer front to size.
    • Cut the drawer back and sides to size.
    • Cut dovetails for drawer.
    • Groove drawer with #43 for plywood base.
    • Maybe add runners underneath the drawer?
    • Finish plane drawer front
    • Finish drawer front with shellac.
    • Paint drawer sides with milk paint.
    • Assemble drawer.
  • Assemble and glue-up and drawboring of everything.
  • Finish entire assembly with several coats of Osmo wood wax.
  • Close door of shed, lock it, walk away and never do another project with a deadline ever again.

13
Jan 17

Testing

Last few days have mainly been testing; both in the “new toys and new ideas” sense and in the “three days off from food poisoning and losing ten pounds in the process” sense. Happily, I only have photos from the former.

I did get some work done on the cot before the enforced break set in, the biggest and trickiest of the mortise and tenon joints is now all fettled and the slats have been picked out and I’m working on the spacing for them. But apart from that, it’s been small stuff only.

I was wondering about the exposed end grain bits there will be in the cot and then I saw this approach by Brian Halcombe :

It’s downright pretty. I wondered if I could do that so I sharpened my smallest gouge and dug into a scrap bit of walnut:

Well, the idea works at least. I need a bit more practice, and maybe a slightly narrower gouge (and it needs to be a lot sharper than mine was, I just stropped it, but it needs to go back to the stones properly), but that might be a runner.

Then the new toy arrived…

For anyone who’s not seen one before, it’s a dovetail guide. There’s a magnet inside to hold the saw against the guide so your angles are correct, some low-friction pads over that so the saw can slide freely, and a bit of sandpaper to help keep the guide in place against the wood:

It’s pretty simple to use:

I had a bit of a play when it first arrived, just cutting saw kerfs to see how it handled, and then tried giving it a go for an actual joint. It works as advertised, but there is a point the instructions don’t warn you about, namely, be careful where you put it down on the bench…

…or else you get a ball of magnetised sharp edges and points to deal with 😀

Apart from that, it makes the process much easier.

I made life a bit difficult for myself here though, because the pieces of wood I was using weren’t wide enough for three tails given the size of chisels I have; I wound up cleaning out the waste with the tip of the marking knife in the end because my smallest chisel was over twice the width of the gap between pins. And between that and general fumbling, there were gaps all over the final joint:

But for a first attempt at dovetails, it’s not too bad. Besides, I was having trouble feeling my fingers, it was a bit chilly in the shed:

Eeek. No glue-ups possible at that temperature…


28
Dec 16

In the shed, nobody can hear you scream

So, job one, get the end crossbars in place. Time to chop some mortices with damn near no margin for error at all…

The new mortices for the end panel are within a millimeter of the other mortices for the side panels. In one case, there’s an actual small breakthrough.

But it held and that’s one down. Then on to chopping mortices in the steambent upright, which is equally stressful because if you stuff it up, it’s a lot of repair work.

Awkward to chop too. There was a bit of spokeshave work before this, I figured do that before cutting holes in the thing…

The holdfasts really do make this a lot easier.

Then assembly and fettling…

Ah, feck. Can you see the problem?

Yeah, I’m going to have to rethink how the crossbar at the top attaches here. Poop. The earlier idea of the tenons being on the crossbar and going in from the side probably won’t work. Tenons on the uprights and mortices in the crossbar I suppose.

Then get on with the panel as I can do that now. Squared up the end grain, then marked off the right width, ripped off about 2cm of material to get to final planed width. Took out a rebate with the #778:

And then flip the board over and push it in from the edge a bit and use the jack to plane a small bevel on the panel. Then it’s fitting and fettling and…

Not bad so far. That’s the three side panels done now, leaving only the top panel to be set in place, I’ll wait to get the crossbar idea sorted first, then I’ll rip that panel to width, do the rebates and bevel, and use either the #44 or the #43 to cut a groove for it, bearing in mind that the bars getting that groove already have one groove on the bottom for the side panels and will have mortices for the slats as well. It’ll all be grand when it’s all glued up, but during construction it’s going to be a bit fragile…