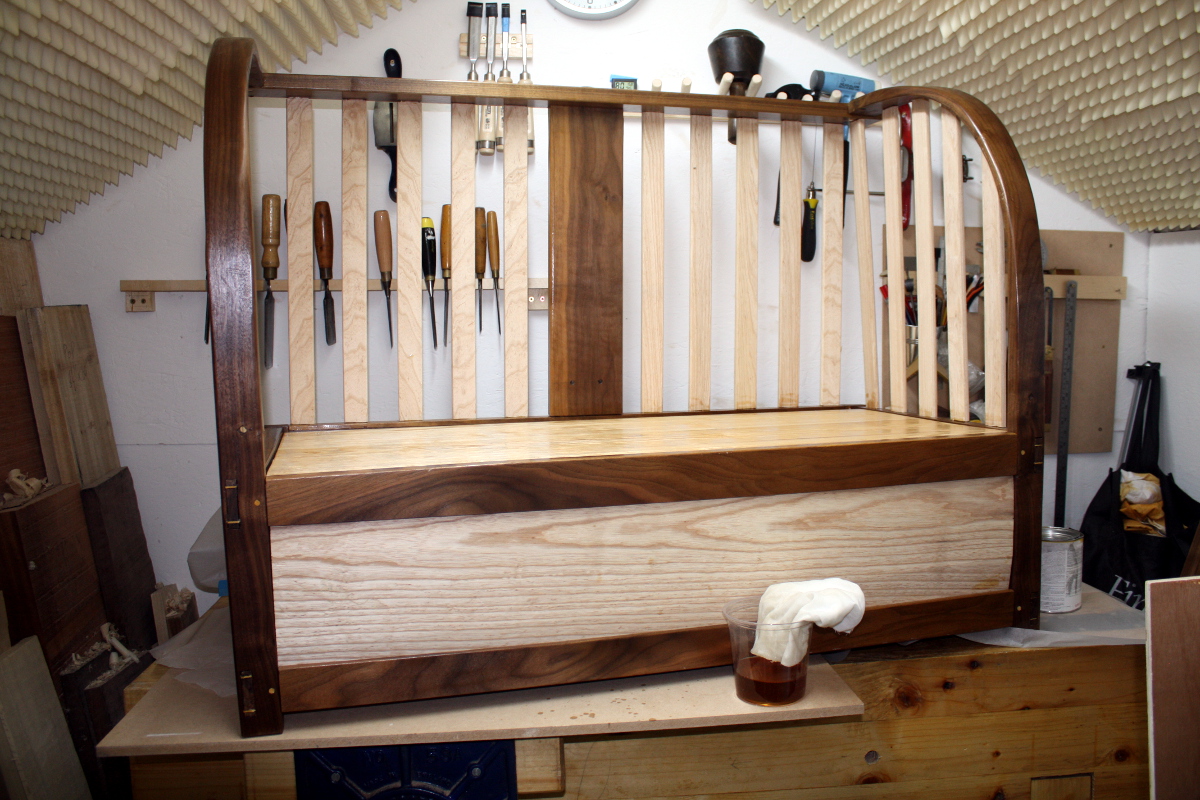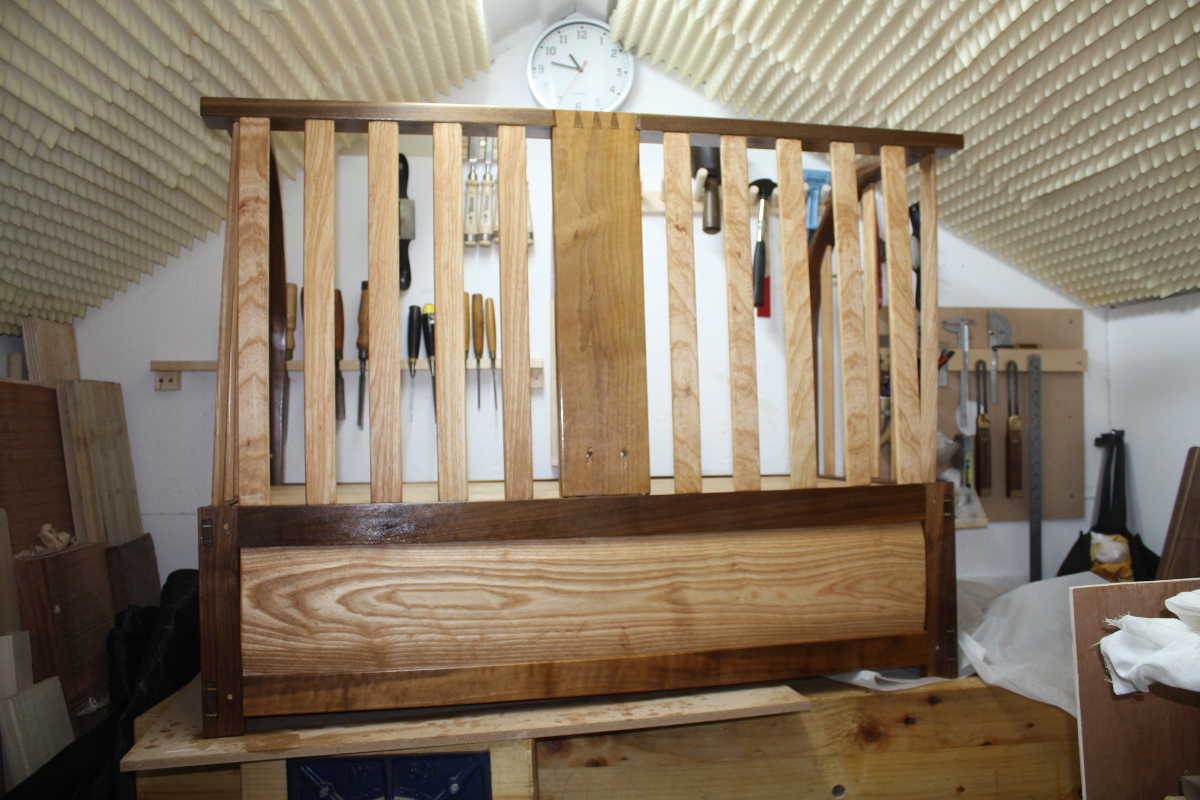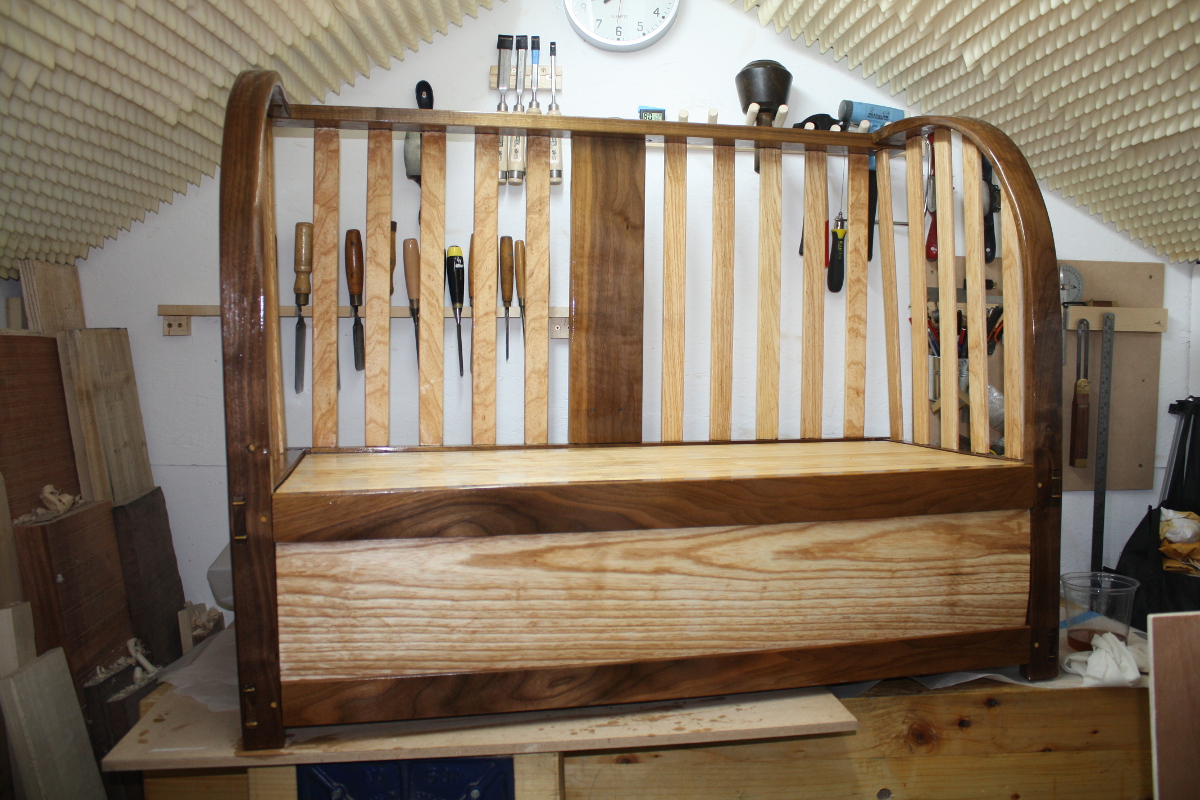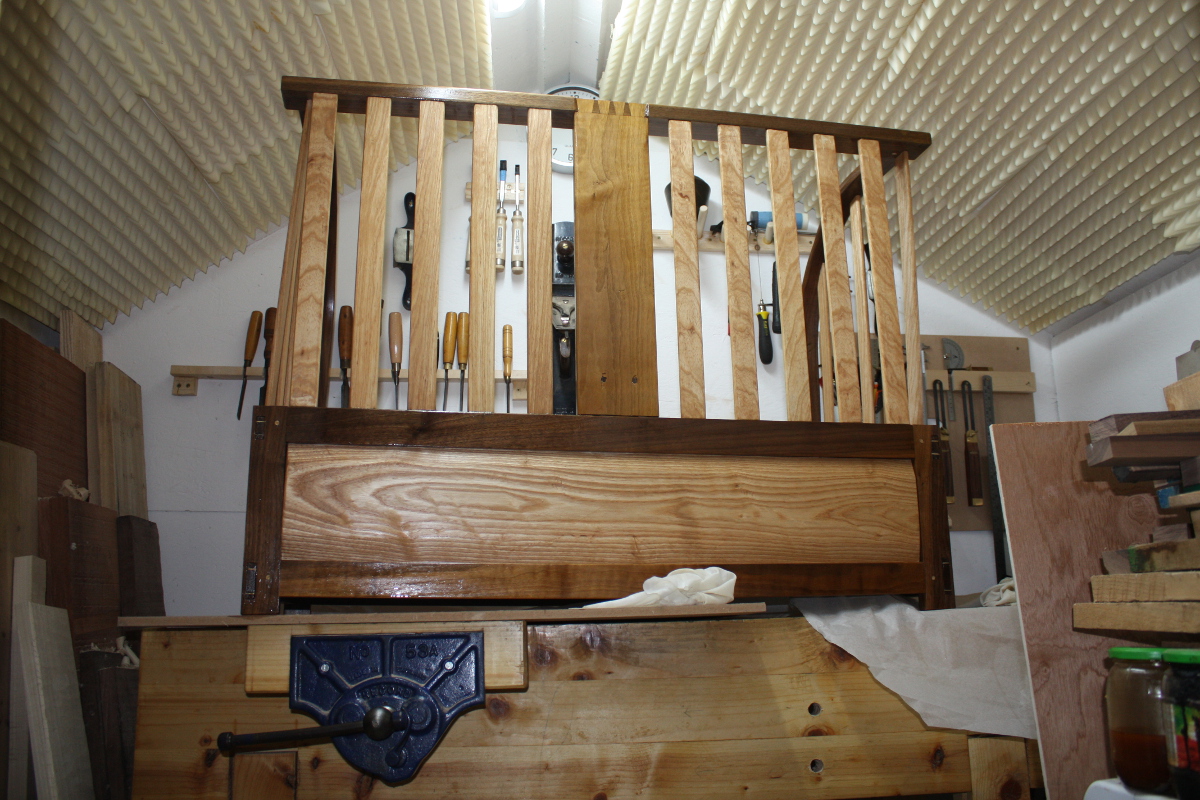
Not been spending much time in the shed since the cot was delivered (and it fits, and Niece fits into it as well so yay!), but I have spent a few minutes on ebay. Or a few more than a few 🙂 There are still a few more things I want based on the fun of making the cot, but I have most of them now and I’m content to wait for decent prices&conditions on ebay. Especially since Brexit is about to take the price of tools on ebay.co.uk and throw them off a cliff…
Butt first…
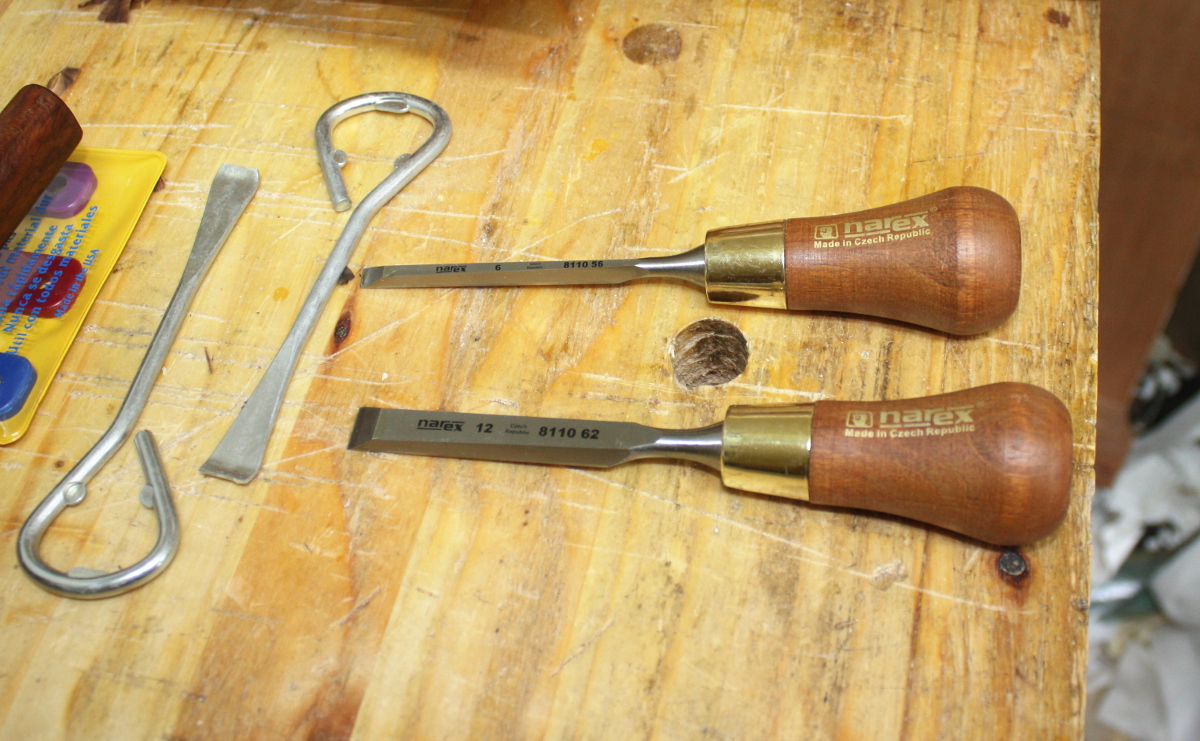
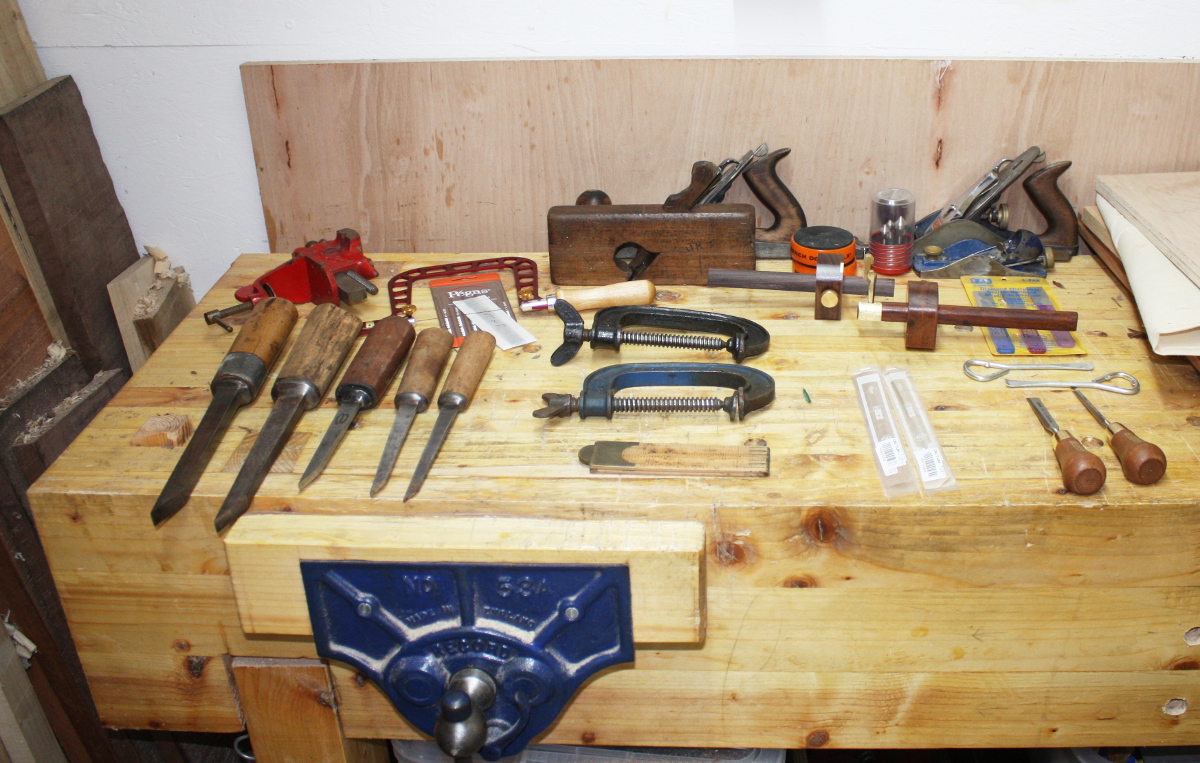
Narex butt chisels. Or “American Pattern Chisels” if you’re (very) British. Basically, shorter blades and handles than the normal bench chisel:
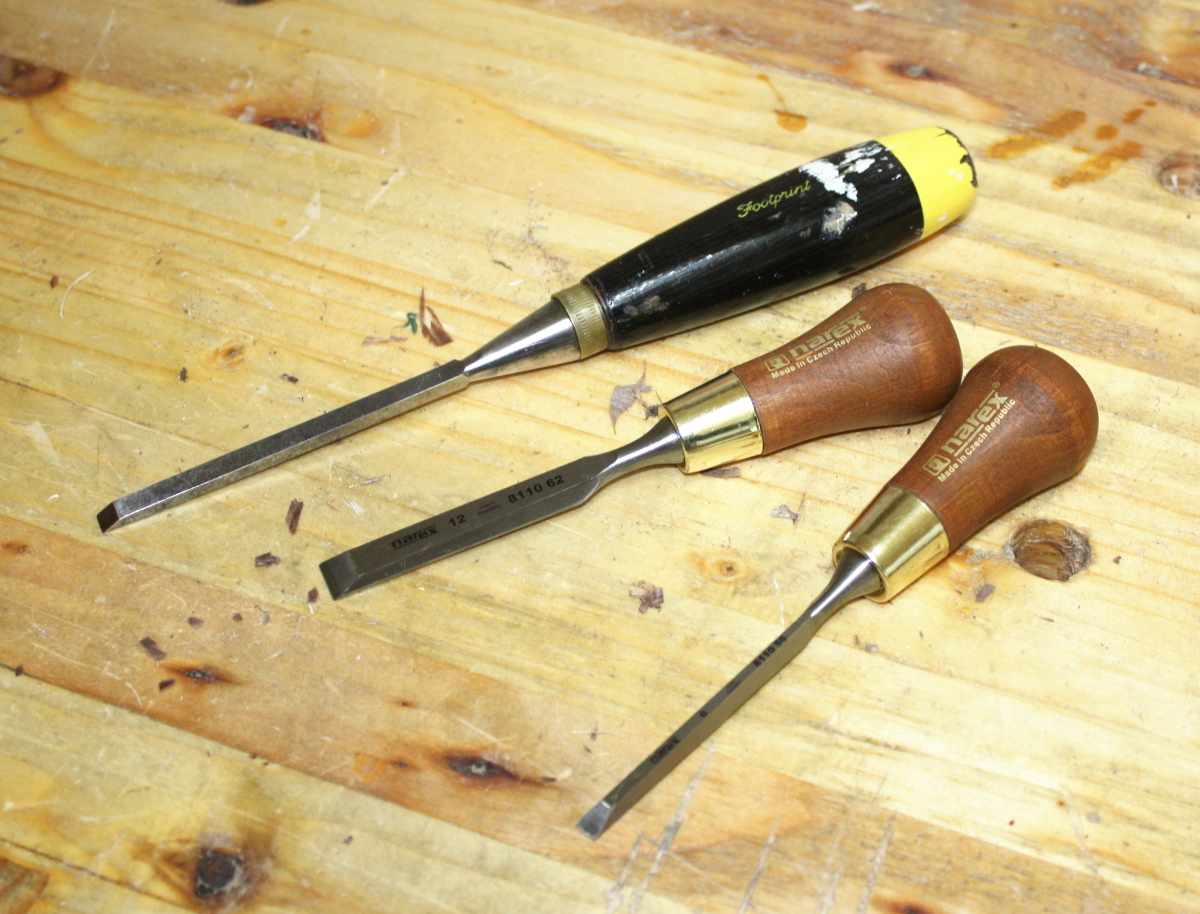
When I was doing the dovetailing of the drawer in the cot, the chisels I had weren’t bad — but they definitely had some room for improvement and I’ve been looking at some Ashley Iles chisels for a while but they’re a wee bit expensive (over a hundred sterling or so for a set of six and there’s a bit of a back order wait because they’re handmade). So before buying those I wanted to try using a few different styles of chisel to get a better idea of what worked best for me; and Richard McGuire’s been an advocate of the smaller butt chisels for this kind of work so I thought I’d try them and there were two Narex chisels on ebay one day for about ten euro each. Narex aren’t the best in the world by a long shot, but they’re kindof the modern equivalent to Footprint I guess; decent working tools. So we’ll see if the style of chisel lives up to expectations over the next few months and then I can decide about whether or not to drop ten times that much on a set of “luxury” dovetail chisels. And I might buy a japanese chisel and an elliptical profile chisel as well if they show up cheaply, just to see if they suit me or if they just annoy me.
(Oh, and those things to the left on the top photo there are combination bottle openers/paint can openers. One will remain a paint can opener to save screwdrivers, and the other will get sharpened at the blade to use to clean the bottom of mortices, as a suggestion from Paul Sellars).
And from chisels for fine paring work to chisels for nailing pigs to walls…
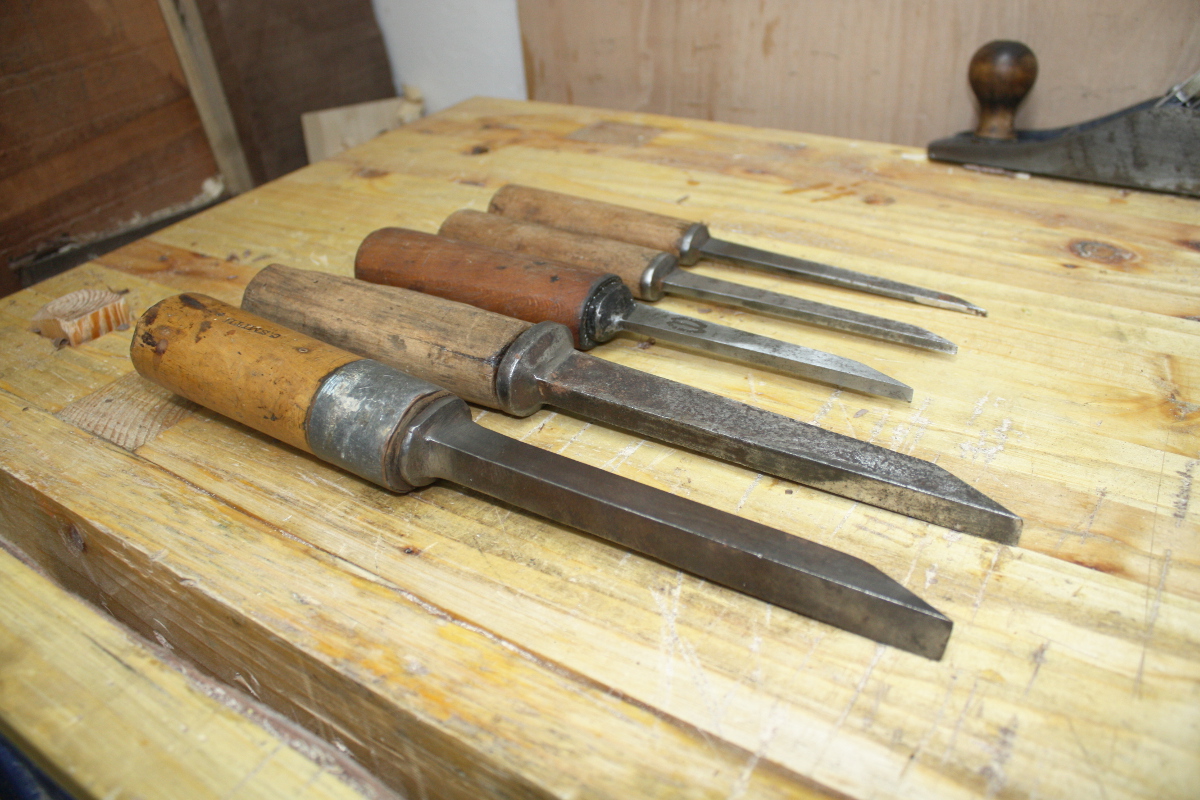
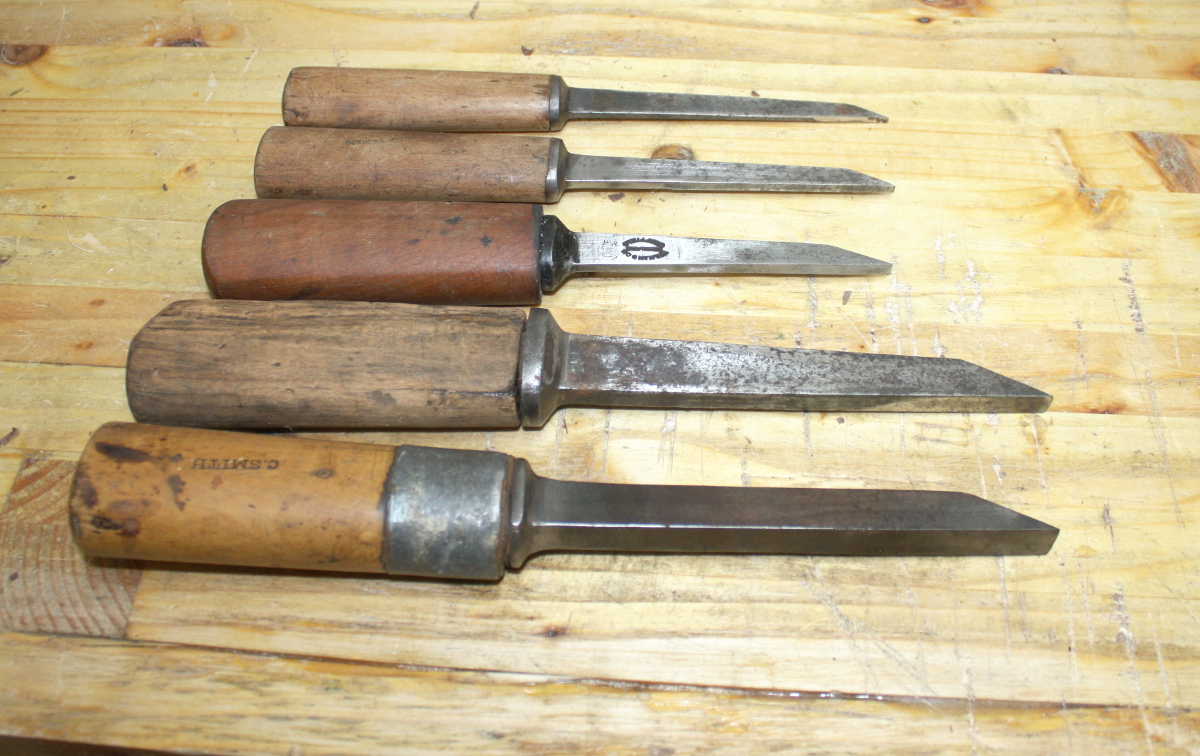
Okay, so here I think I bought a bit more than I could chew. There were fifty-seven hand-cut mortices in the cot and while the ones for the slats were well suited to the firmer chisels I had, I got to thinking a proper morticing chisel would come in handy for anything much larger than a quarter inch or so. And then a few came up in a set on ebay for about twenty euro in total, split between two lots, so I grabbed them. And they’re terrifying. The scale doesn’t come across in the photos, these things are basically sharpened chunks of rebar. I can’t wrap my hand around the three larger ones fully. And the three-eights one has an overly loose (falling off really) handle with some woodworm attack and a split so I need to replace it. But these I think will be living in a box rather than on the wall. Especially the half-inch one. The thing weighs more than my hammer…
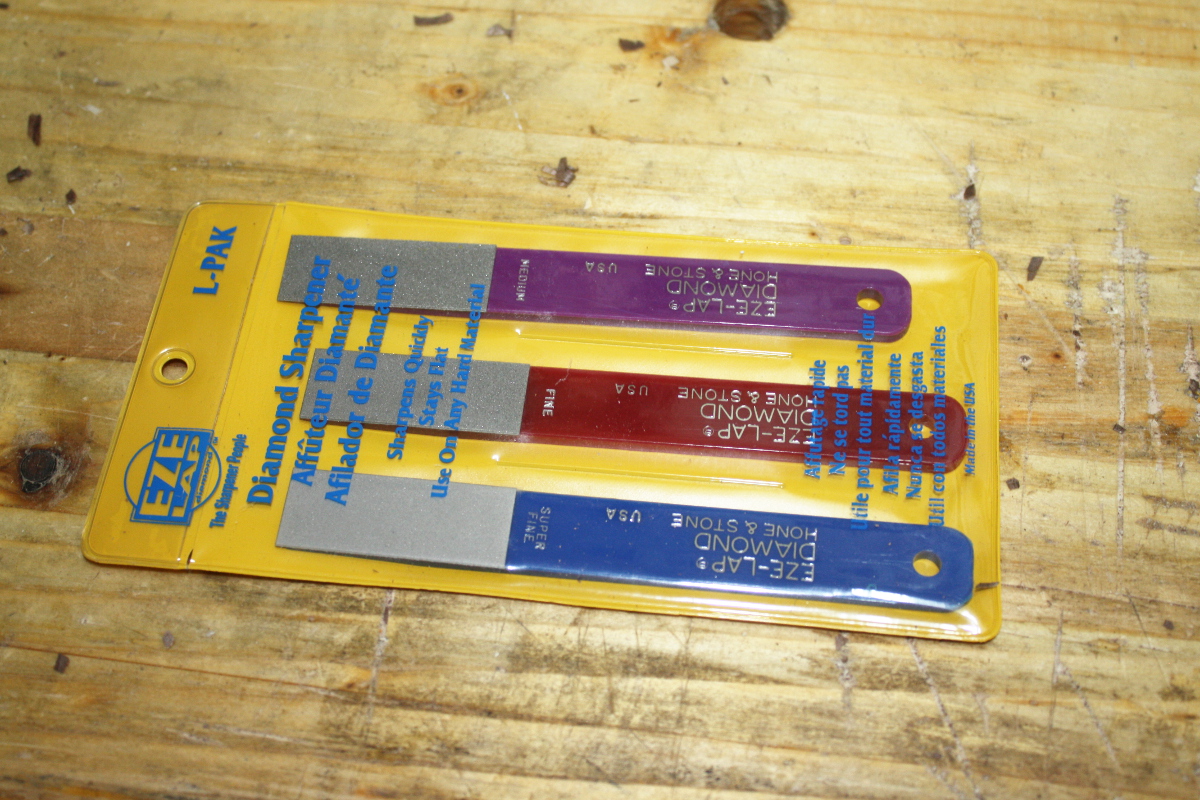
And finally got something to help sharpen my #071 router’s iron…

And something to help sharpen my western pattern saws…
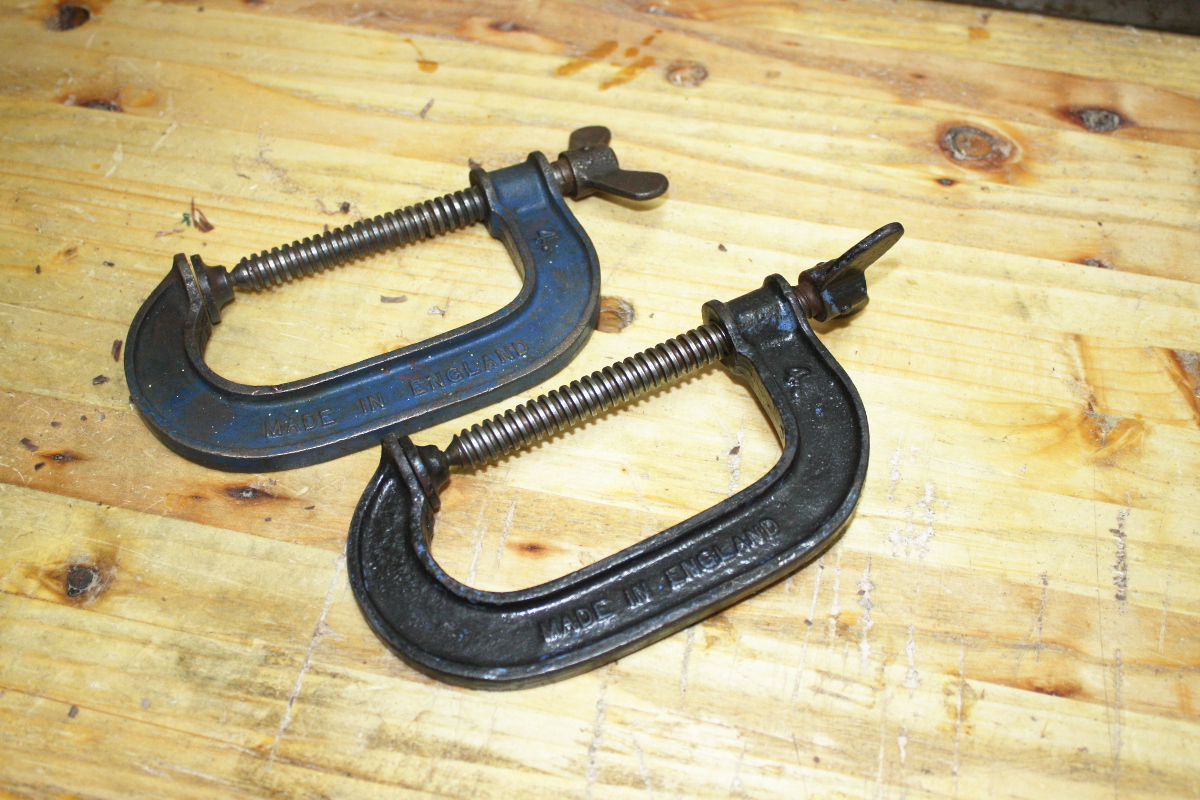
And you can never have enough clamps of course…
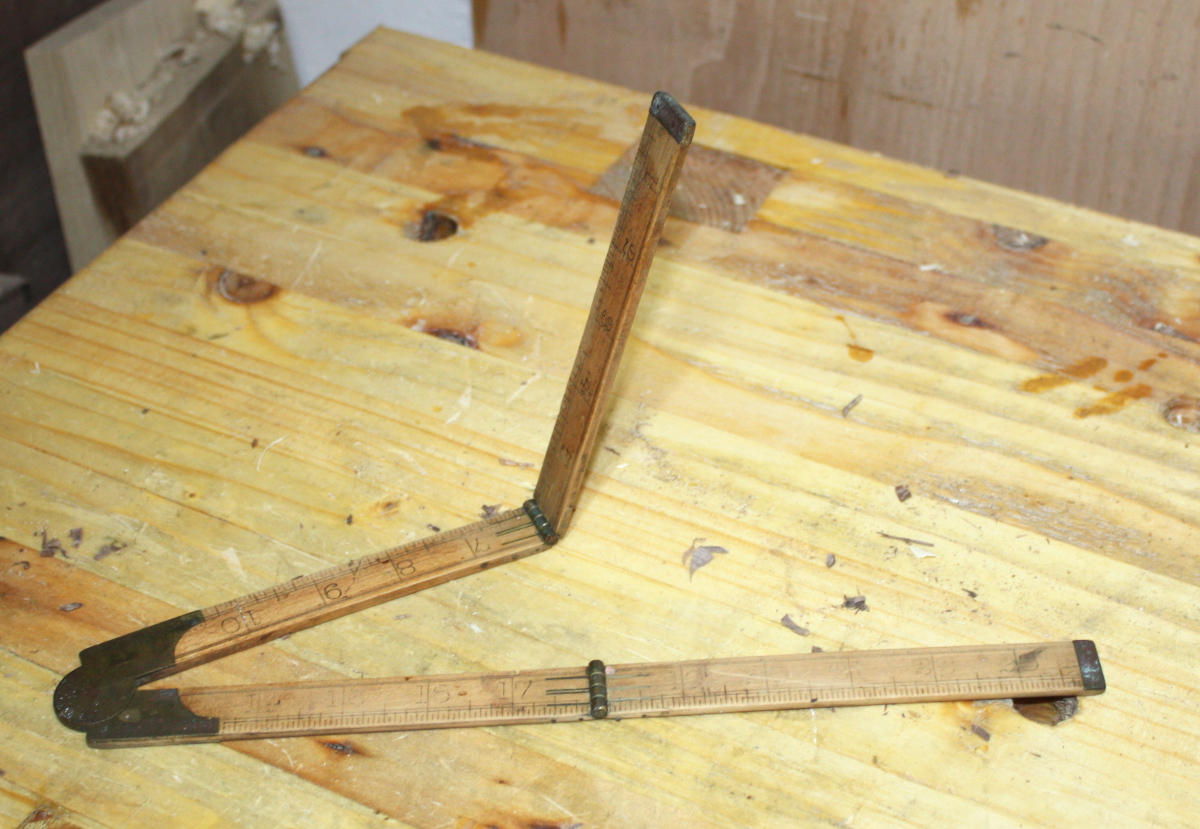
Every schoolkid in Ireland probably remembers these, I know that’s where I first saw them. But the idea here isn’t to use this as a ruler, but as a sector. I’ll sand the markings off it and clean it up a bit, then remark it as a sector, following Christopher Schwarz’s suggestion. When I was marking out the dovetails for the cot, it took an age to get the sizes laid out and it was mainly done through trial and error with dividers; but a sector (which is in effect an analog computer, a bit like an old precursor to slide rules) would let me divide out the board correctly in a few seconds. Allegedly. We’ll see…
(And if it works, I might spend more than two euro including postage for a crappy old ruler and make one that’s less floppy)
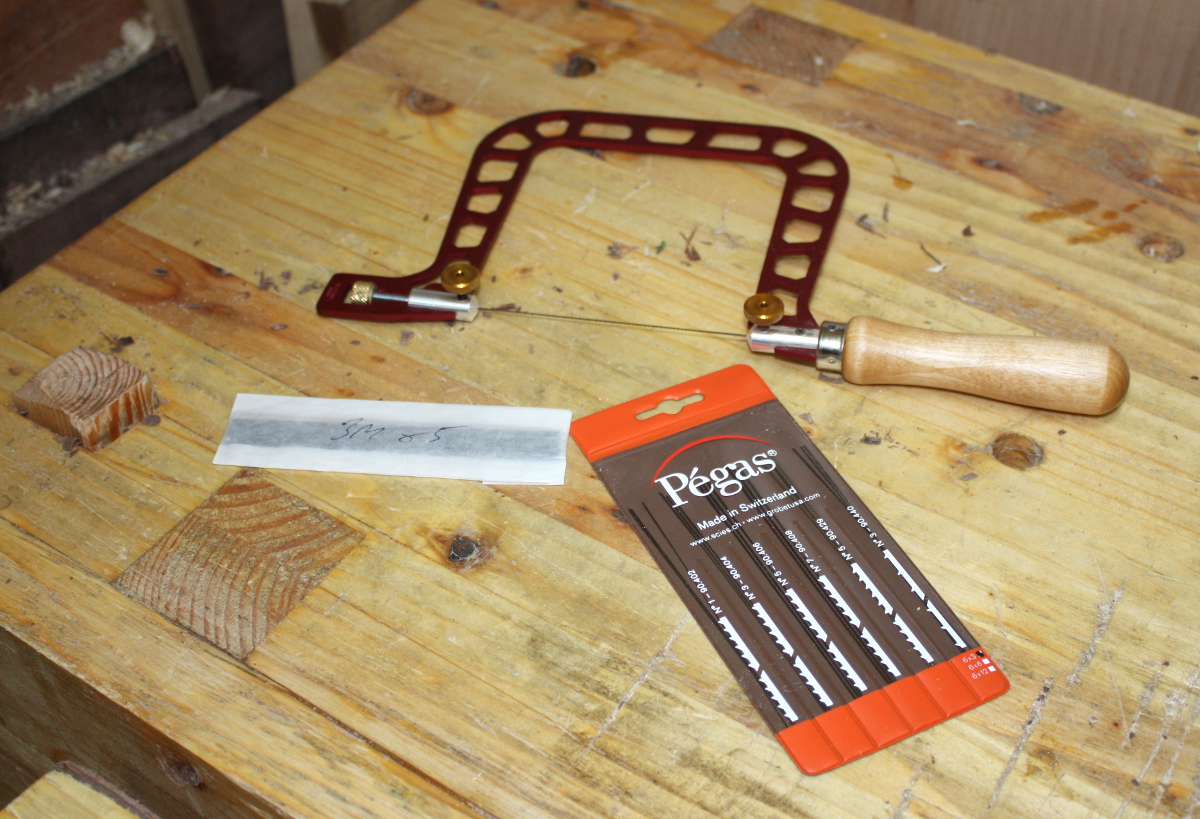
You’ve seen this already, but since we’re mentioning dovetails, and since some new blades arrived today as well…
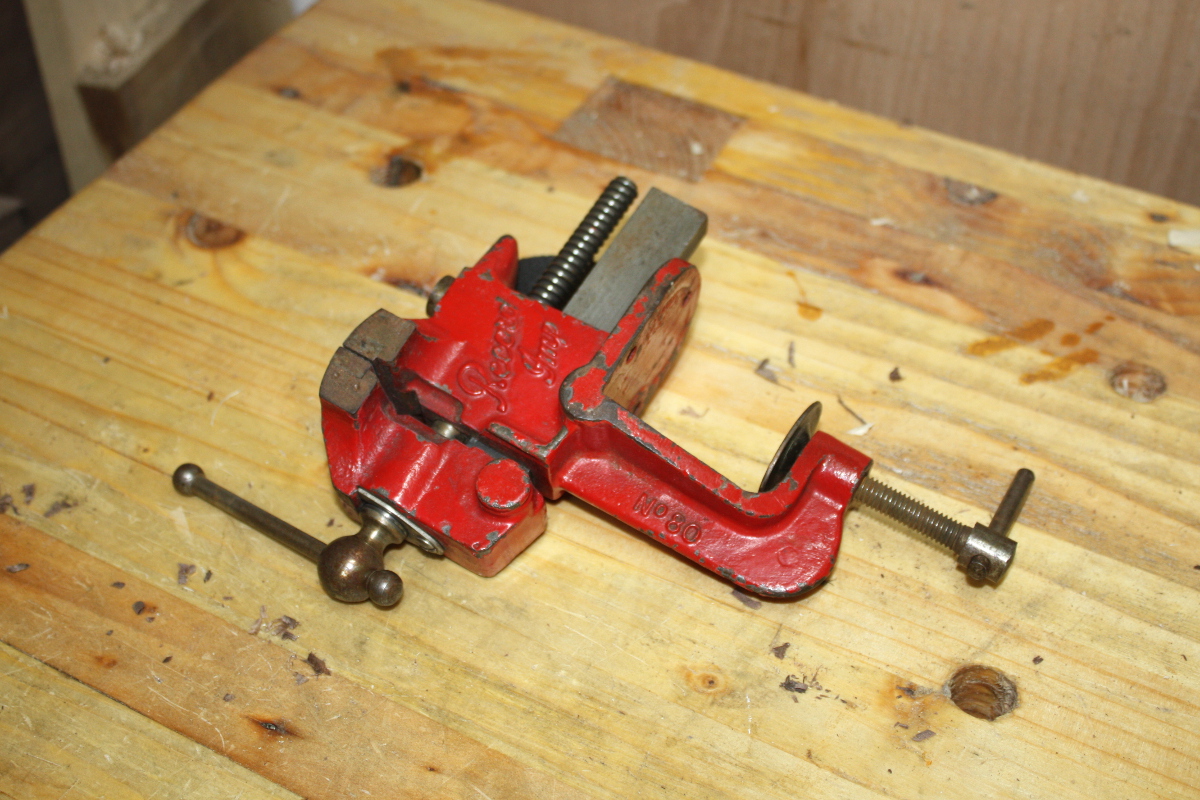
And this one’s a bit out of left field, and more to do with making the cheese press than the cot, specifically repairing it after Calum managed to break it. The Record 53A is a spectacularly good wood vice, but you can’t use it for metalwork really, it’s not designed for it. The Record Imp is a kindof light duty tabletop vice, designed for use for small jobs. Think “Auxilary vice”, something you’d need before you start getting to the larger Record 4 and T5 mechanics and engineers vices, which are enormous behemoths of things. Maybe in a larger shed, but in my one, this is a better fit, especially as it costed €35 instead of €150 😀
Speaking of fit, it doesn’t – the bench top is too thick. So I need to make a board with a batten that it’ll fit and which I can clamp in the 53A or secure with holdfasts, and I can clamp the Imp to that (and bolt it to it as well probably).
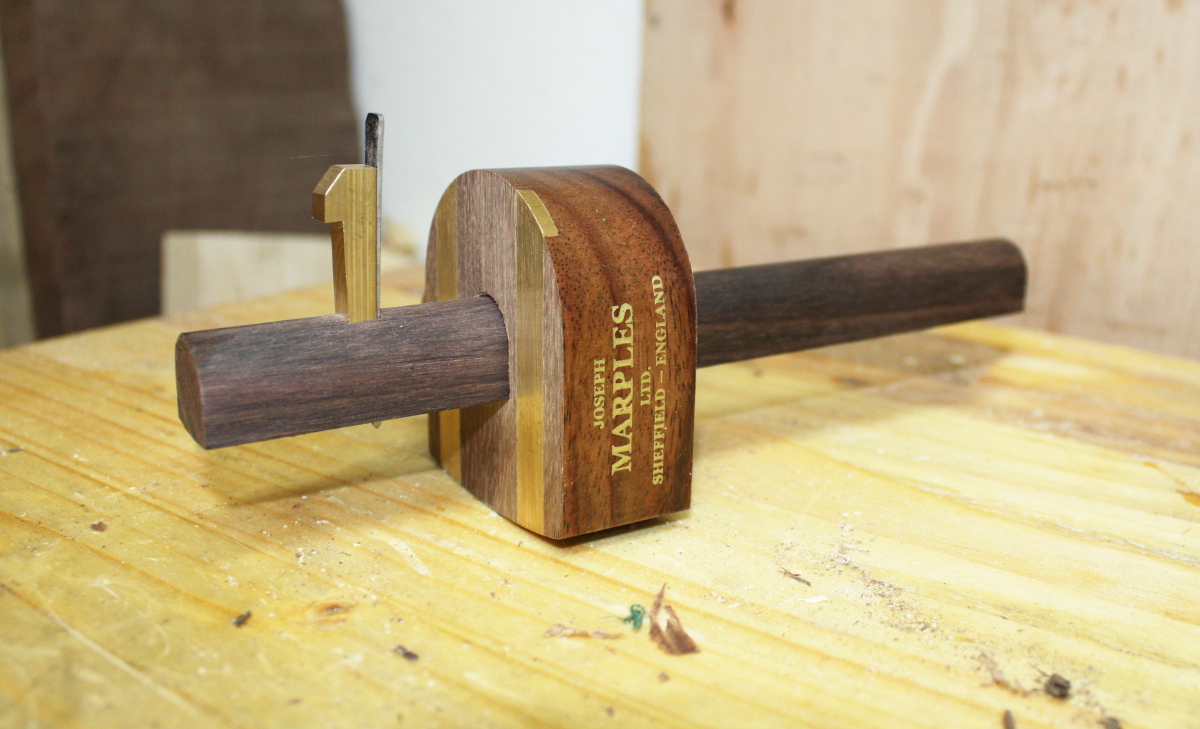
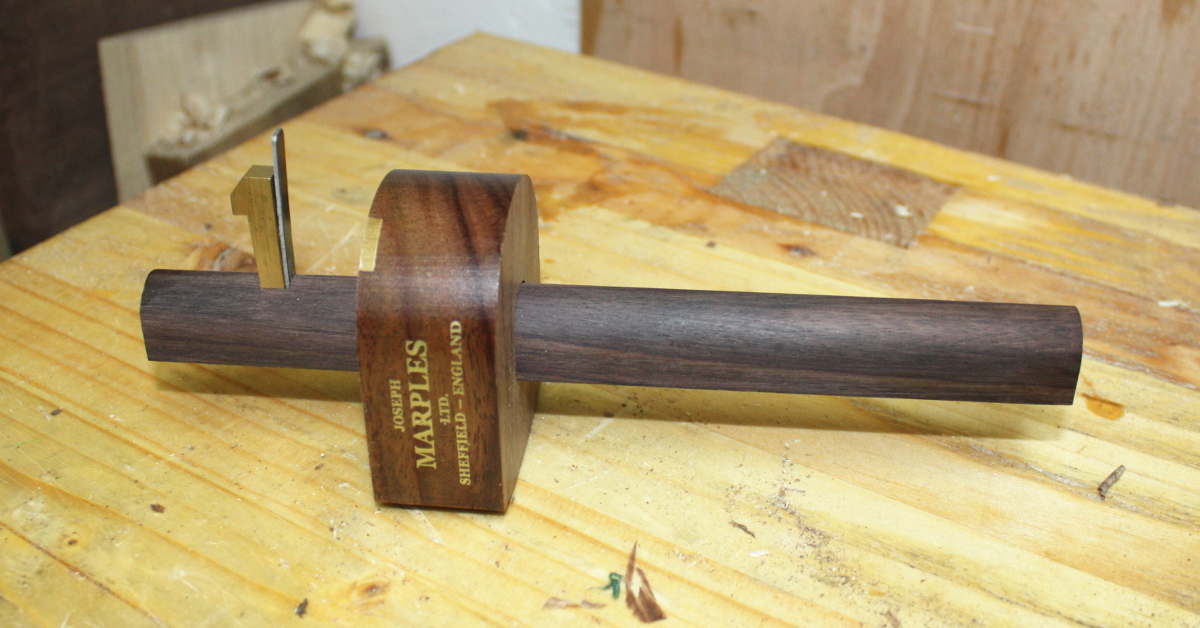
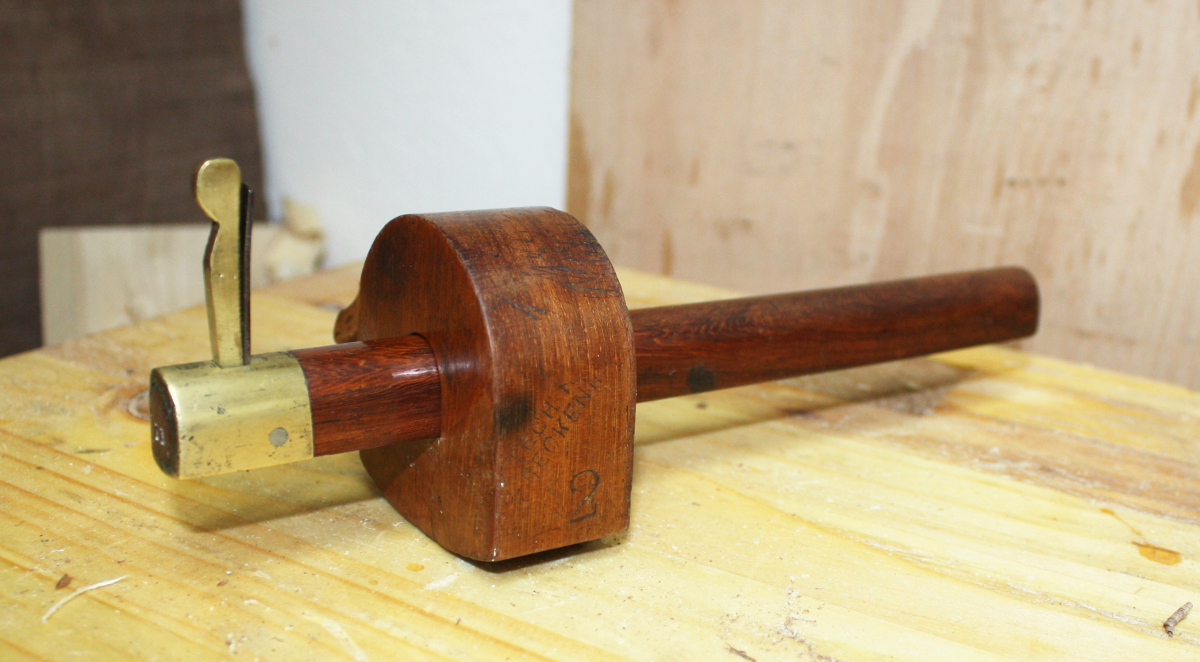
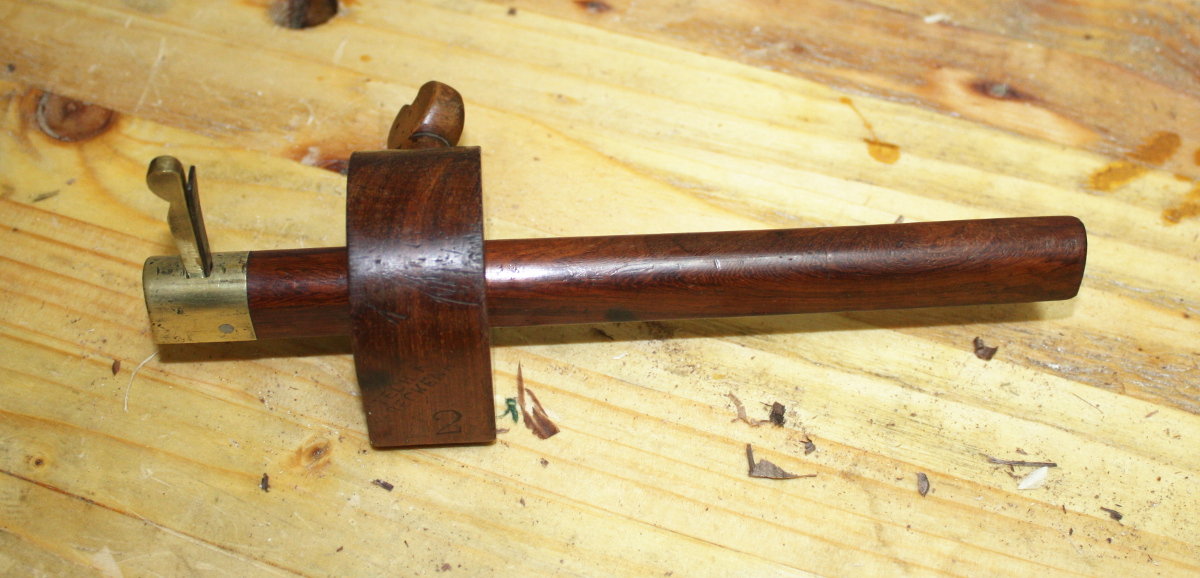
And lastly, two new slitting gauges because I’m sick of having no option but to keep a piece of scrap about to note the settings for my wheel gauge; as a solution it works but you’re always going to get some small errors creeping in. The real solution is to have more gauges, and they’re not hugely expensive (usually you’ll get this kind for somewhere in the €25-35 range and you’ll find them for less if you’re willing to wait – both of these cost me €20). The top one is a new Marples model and it feels just lovely in the hand. I’m wondering if the rosewood will shrink away from the brass in the face; we’ll see. The lower one is an I.Sorby model from somewhere before the 1960s which looks better in the hand than it does in the photos, it’s really in lovely condition. Both are slitting gauges (or cutting gauges? Unless you only think of the lovely japanese versions of these as slitting gauges) with knife blades rather than pins because I’ve used pin style marking gauges and I just don’t like them that much, I much prefer the edges on the wheel gauges. Maybe if I refiled the pin’s heads to a more knife-like profile… but then, I’d have made a slitting gauge then, wouldn’t I? This way I just get what I want from the start 😀
Next up, I have to start getting these things stored. There are a few things to do in the shed over the next while, getting tools up on the wall and doing general shed maintenance stuff and the like, and then I have an idea for the next building project, but I’m waiting on some bits that I’ve ordered (without a lathe, there are some things I can’t make myself).
Like this:
Like Loading...
 That’s a Lee Nielson Boggs Spokeshave (Boggs being the rather accomplished chairmaker who designed it). And if you have approximately twenty times the price I paid for my 151, you can test it to find out 😀