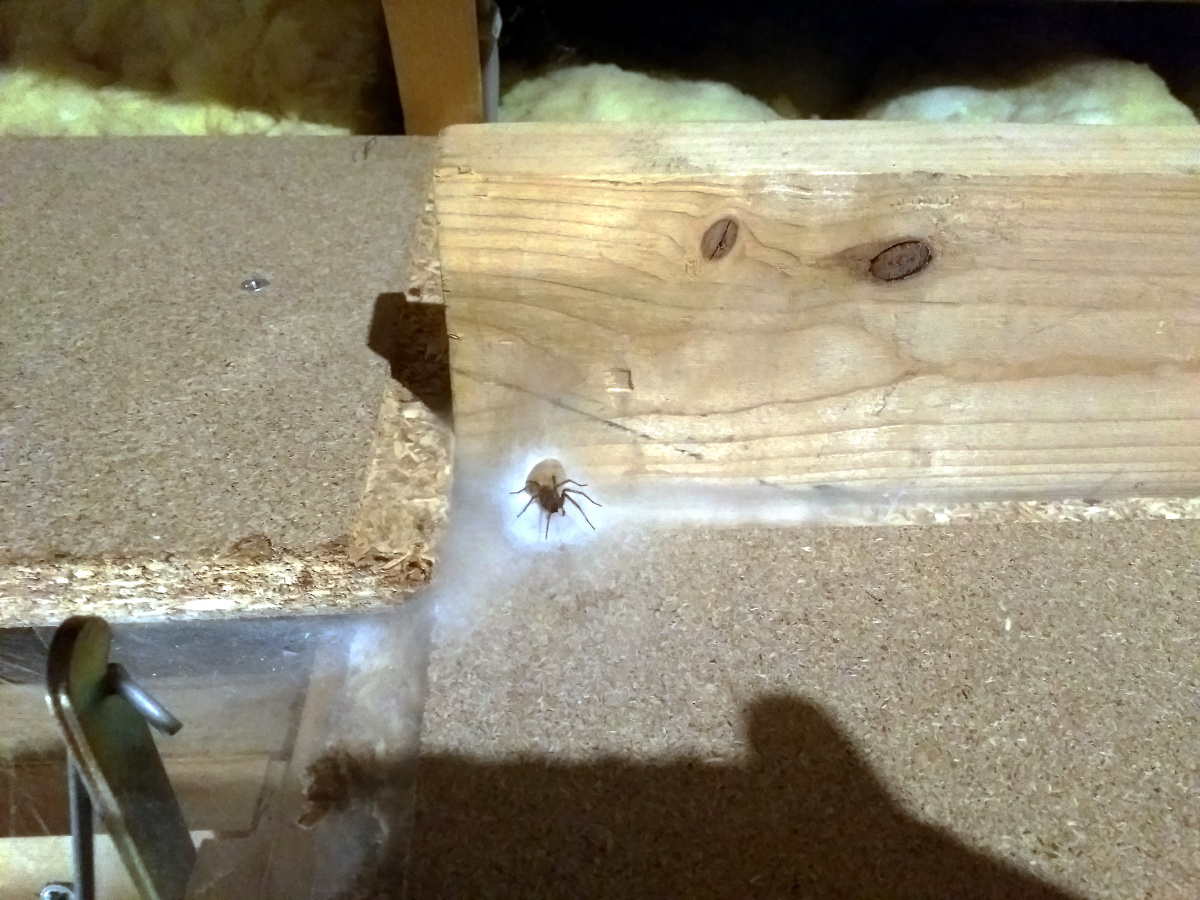
Long gaps between posts are a sure sign of either nothing getting done or a whole lot of stuff happening. In this case something of the latter. Since the last post, I extracted the shop vac, which is now living happily in the attic with Bob, our friendly funnely spider who lives right by where your face emerges from the stairs to the attic and who we met while taking down the xmas decorations this year.
So Bob’s new companion shop vac joined the mitre saw which I have no room for in the shed, and I kicked and prodded the new cart until it fitted into where the vac used to be.
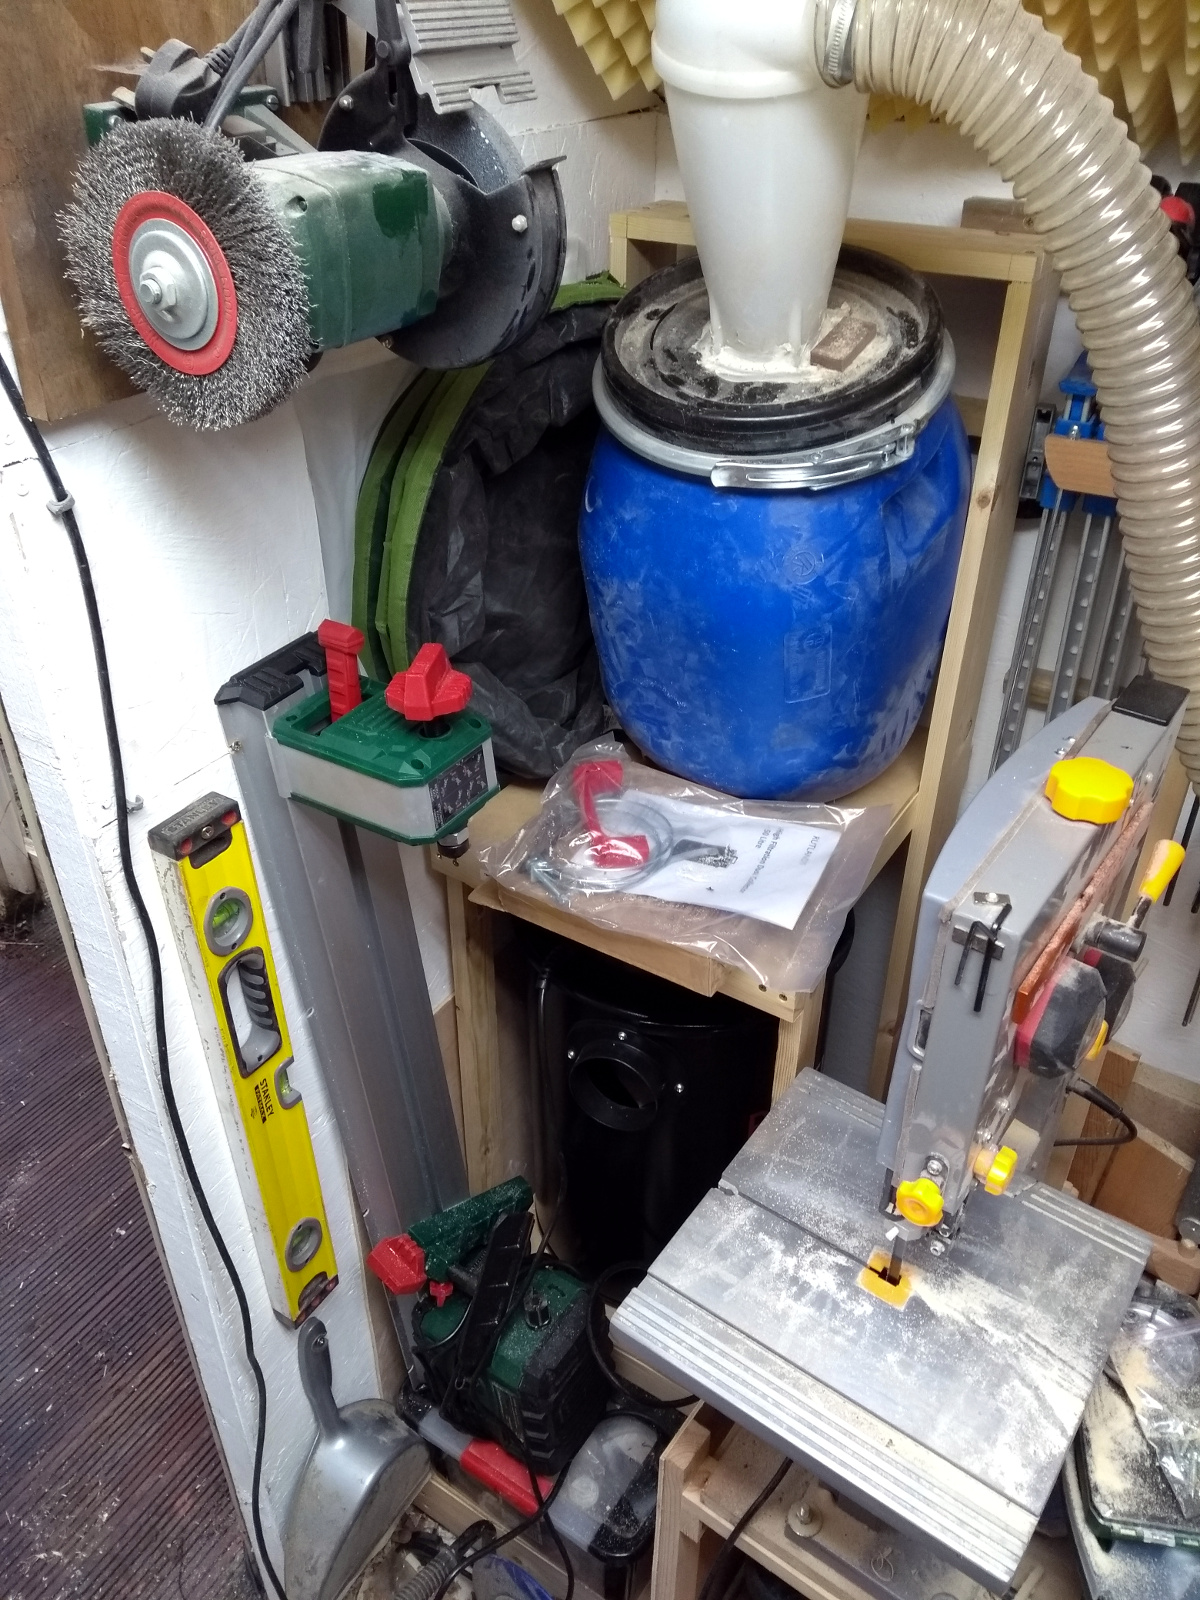
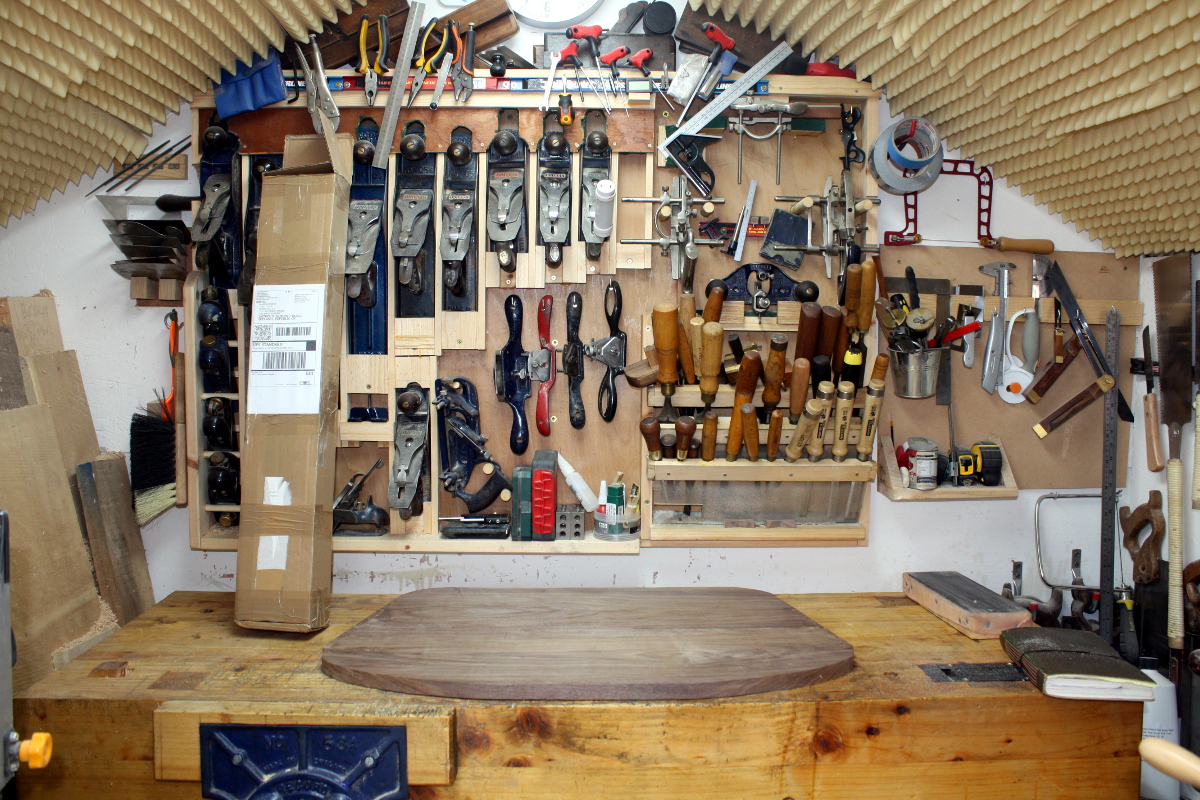
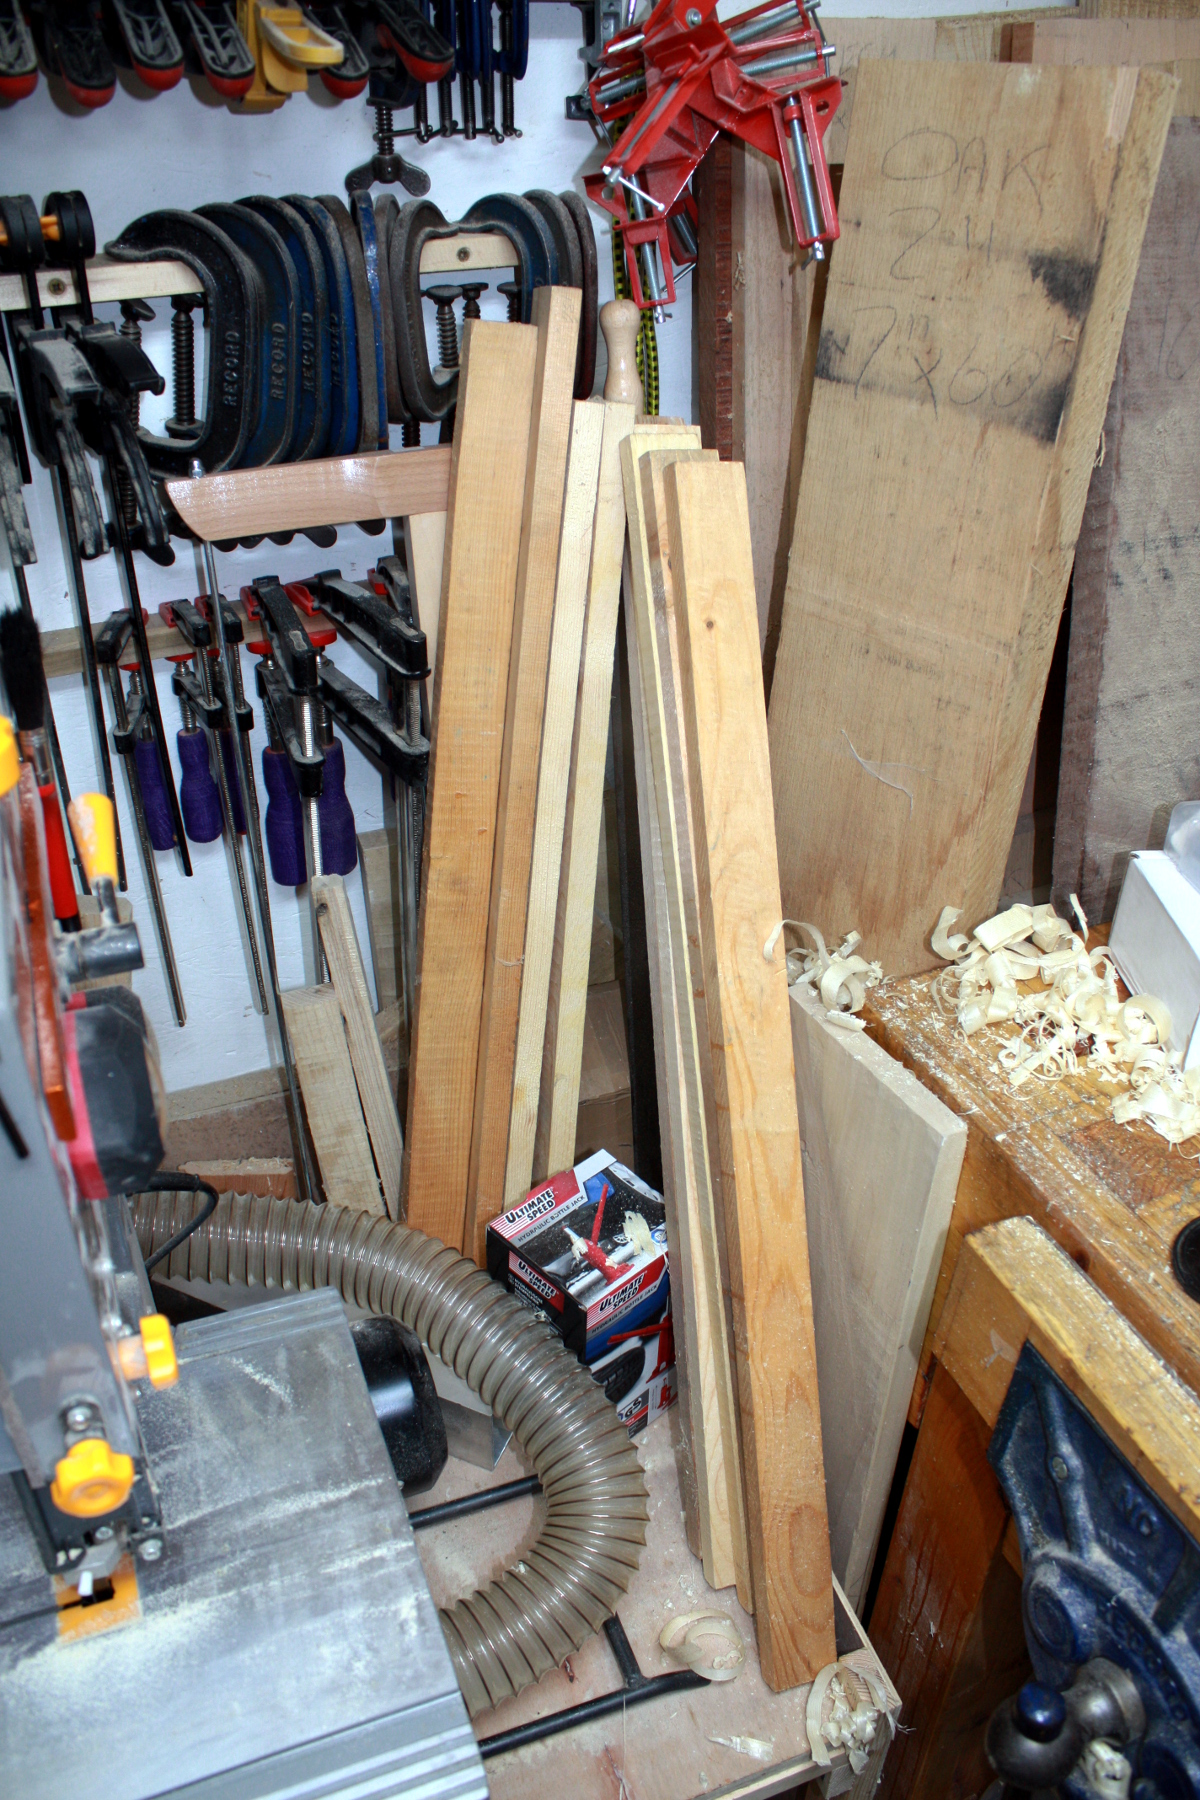
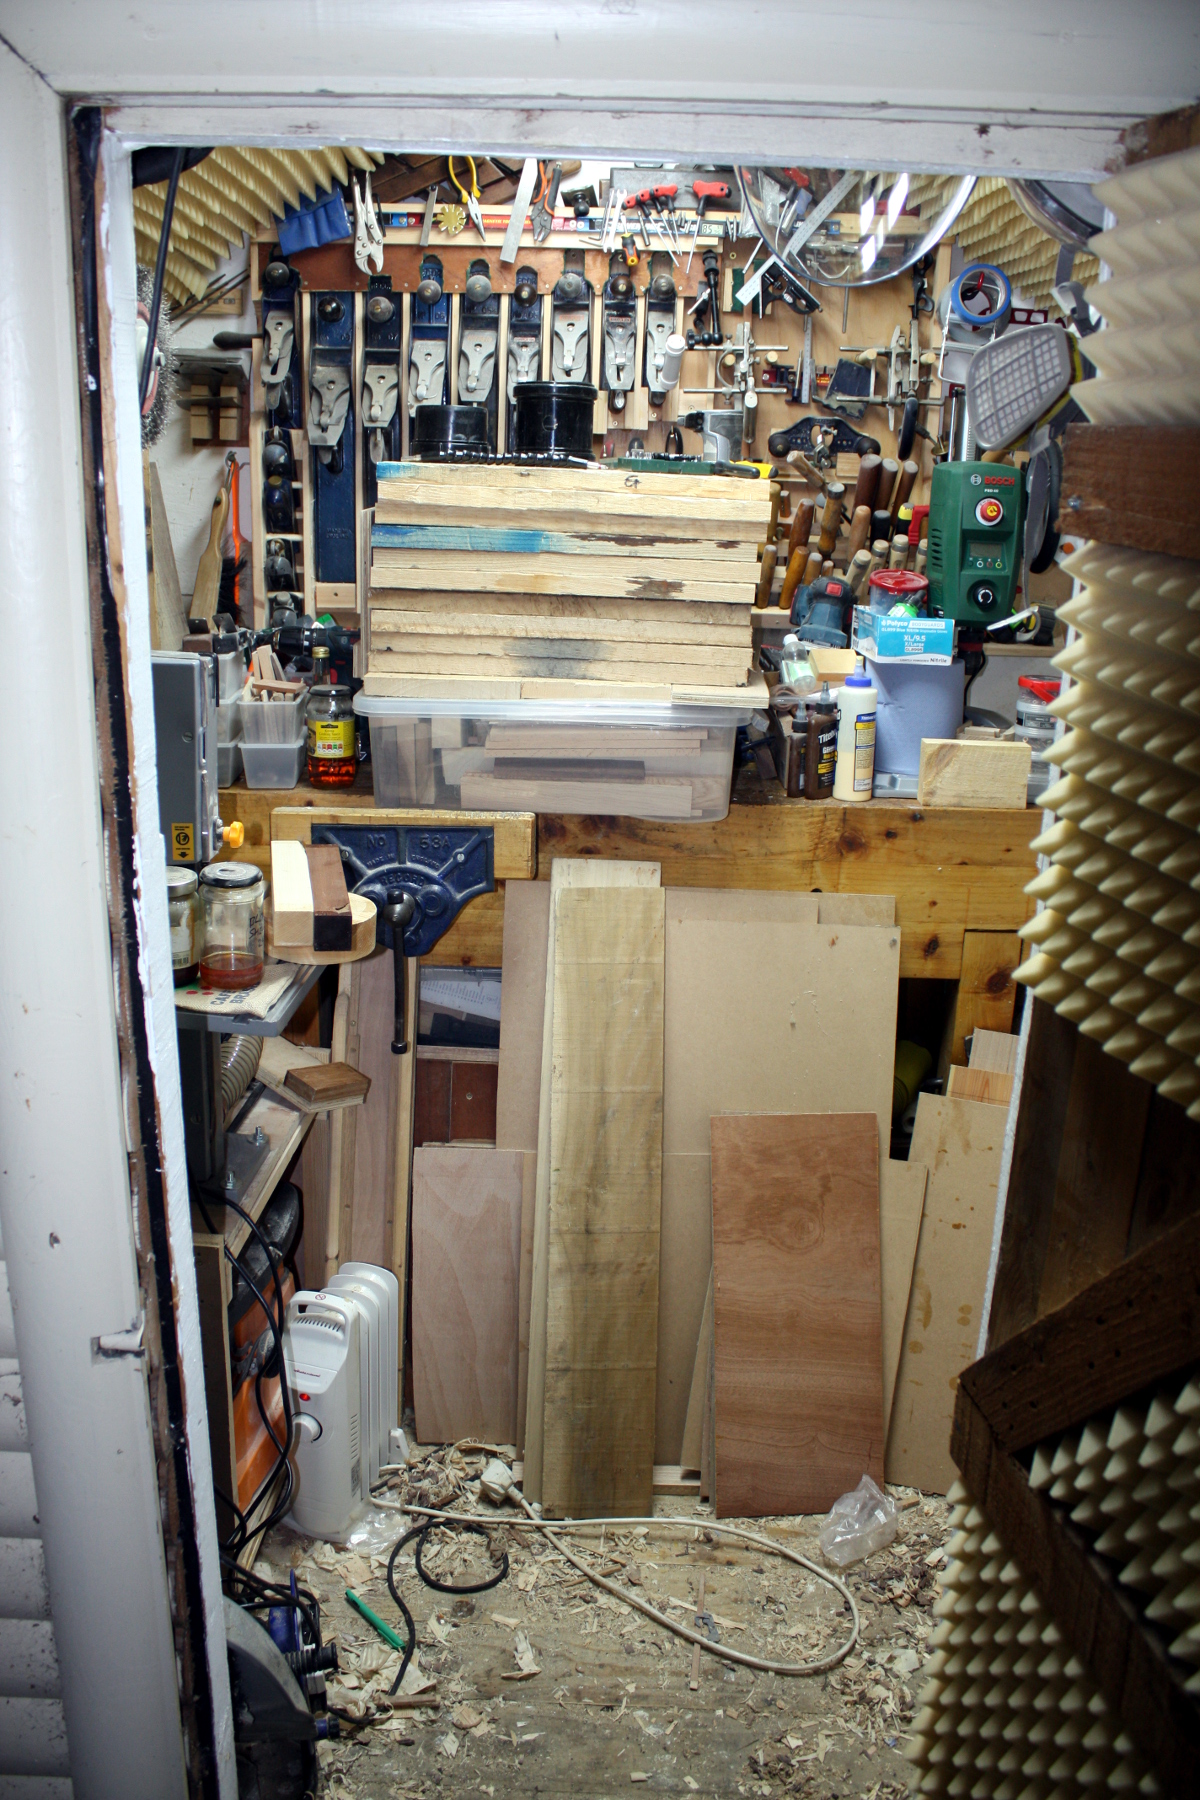
It almost looks tidy if you don’t look too close or turn around…
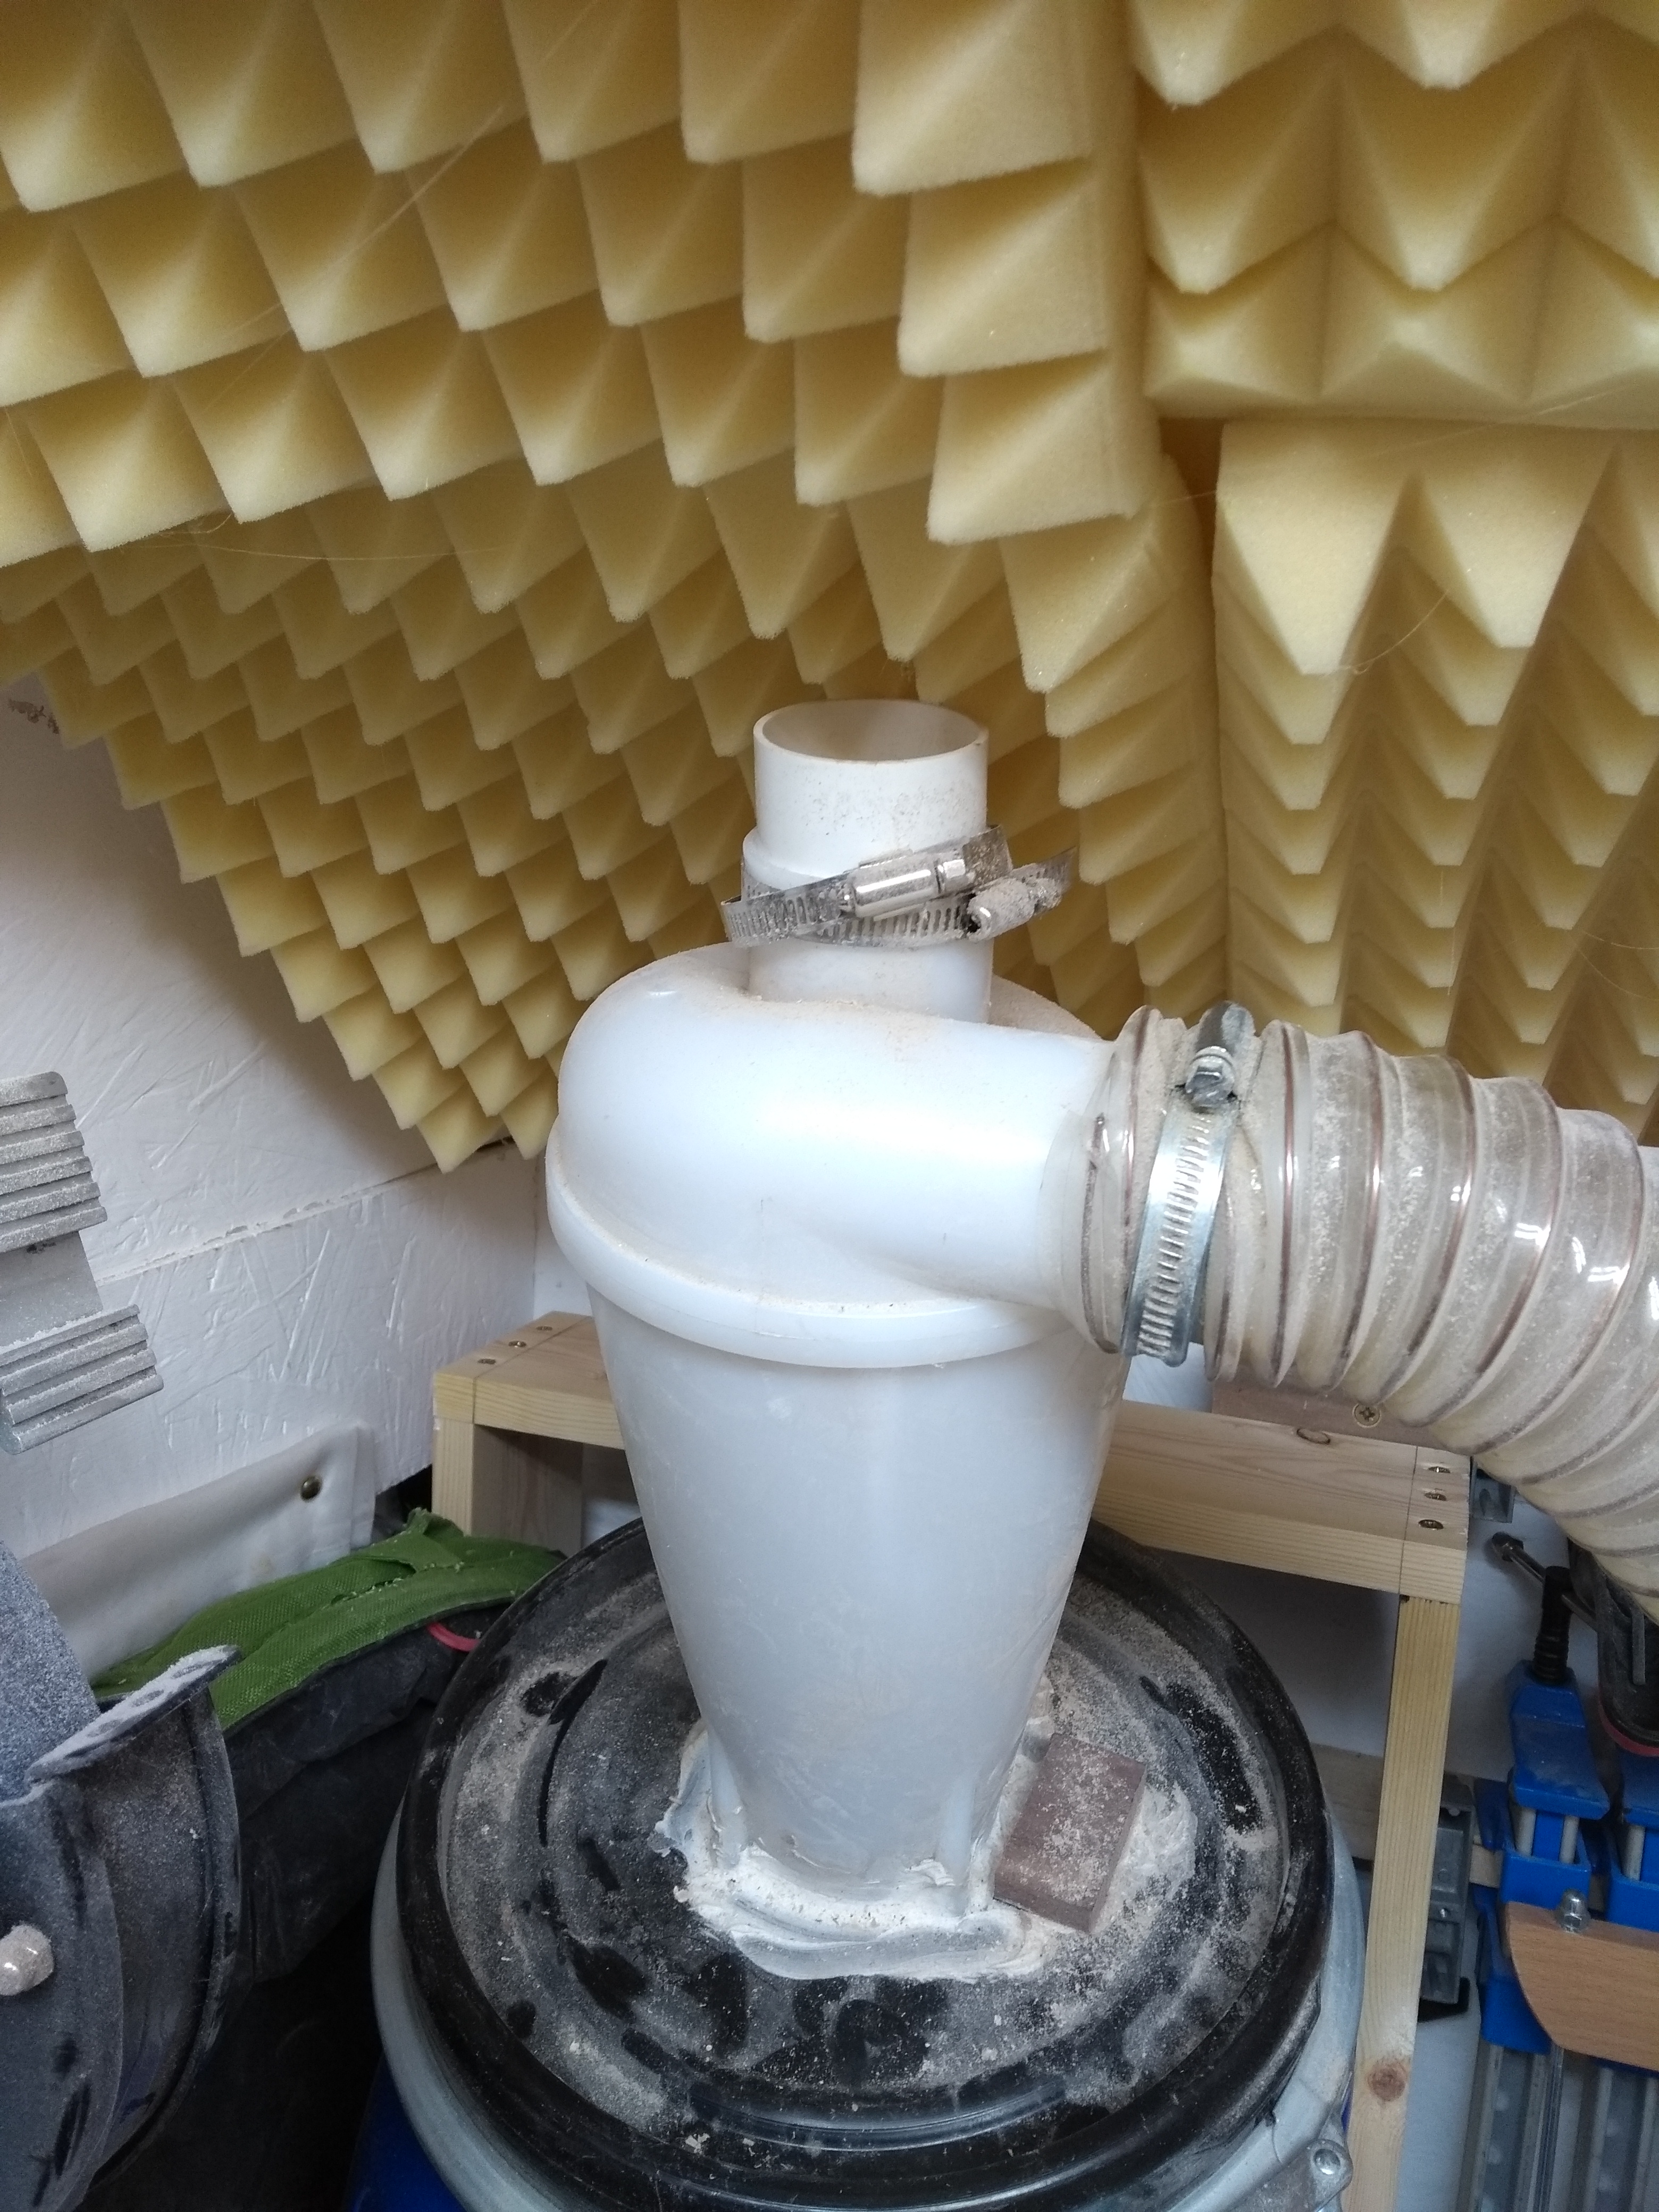
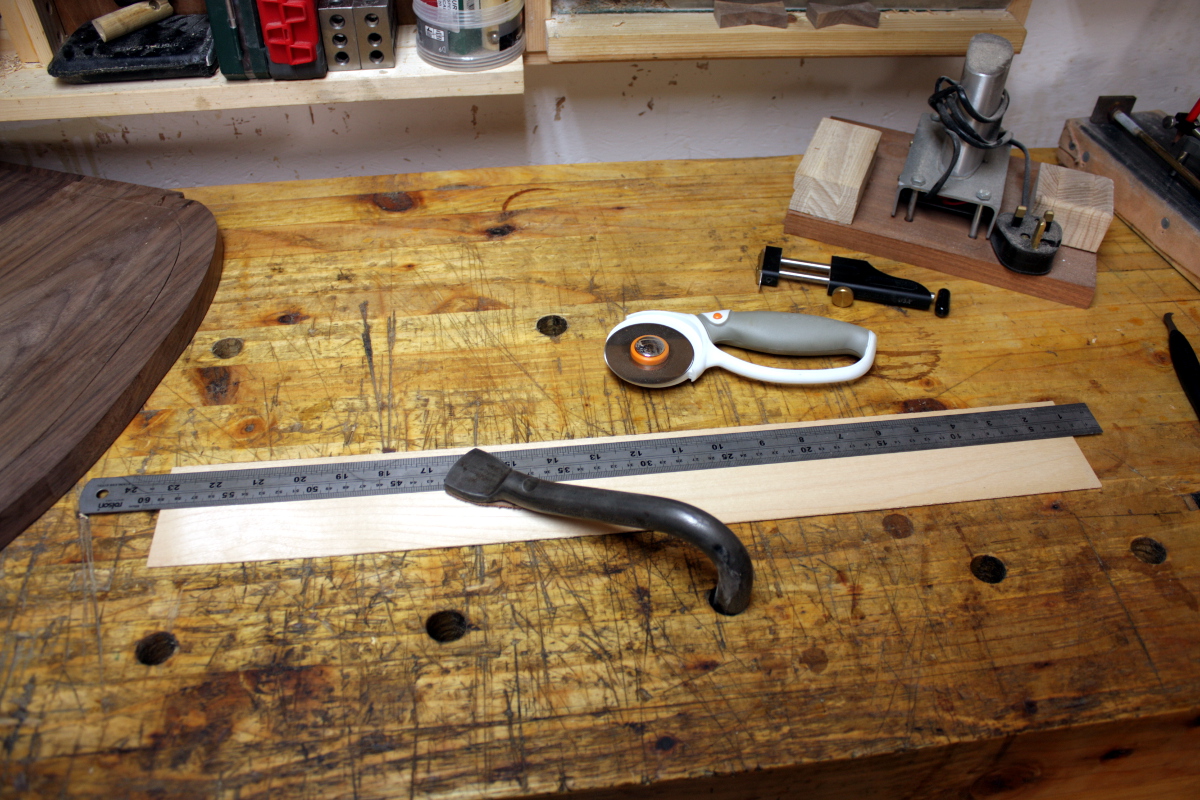
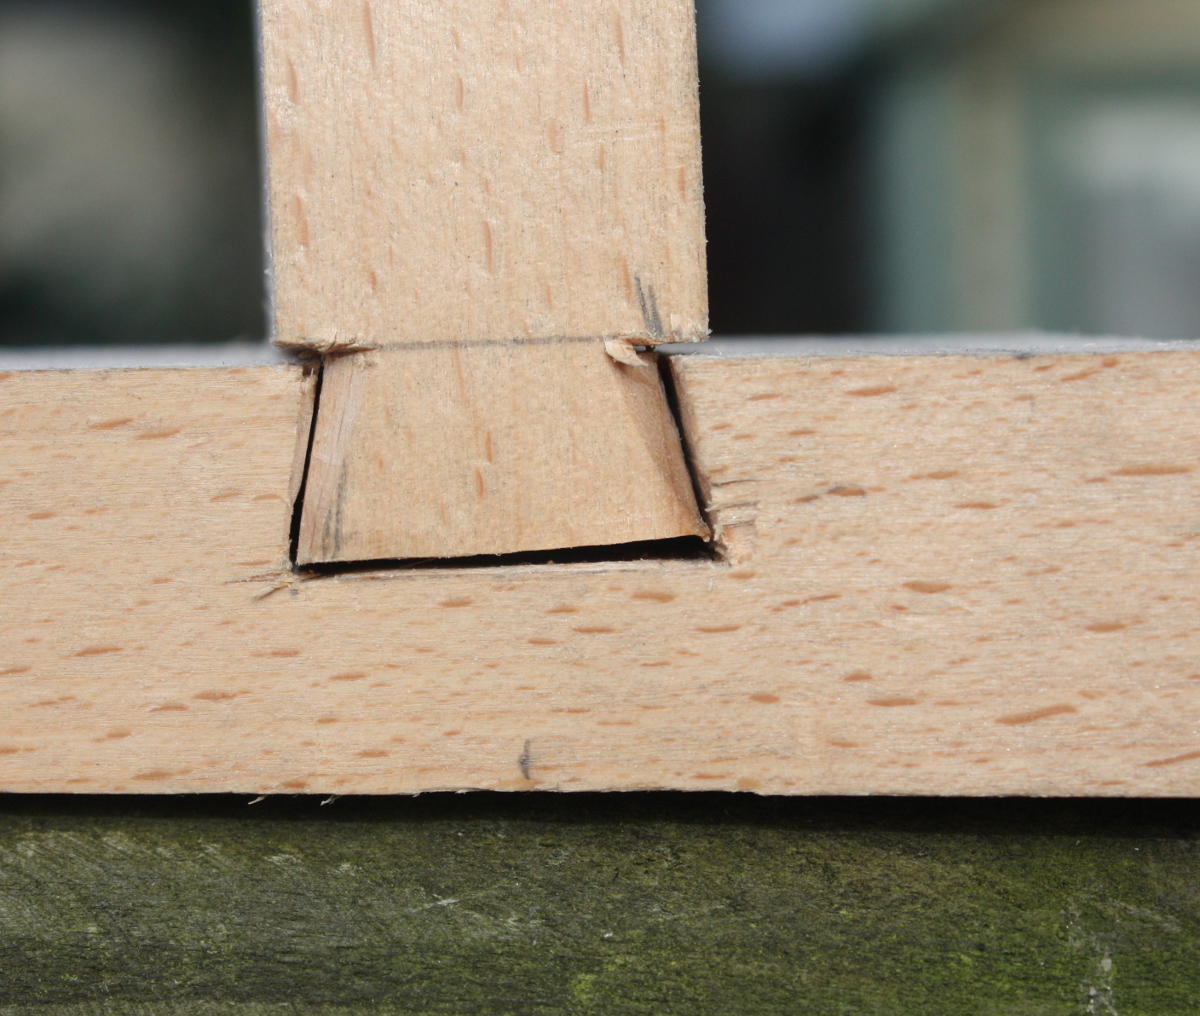
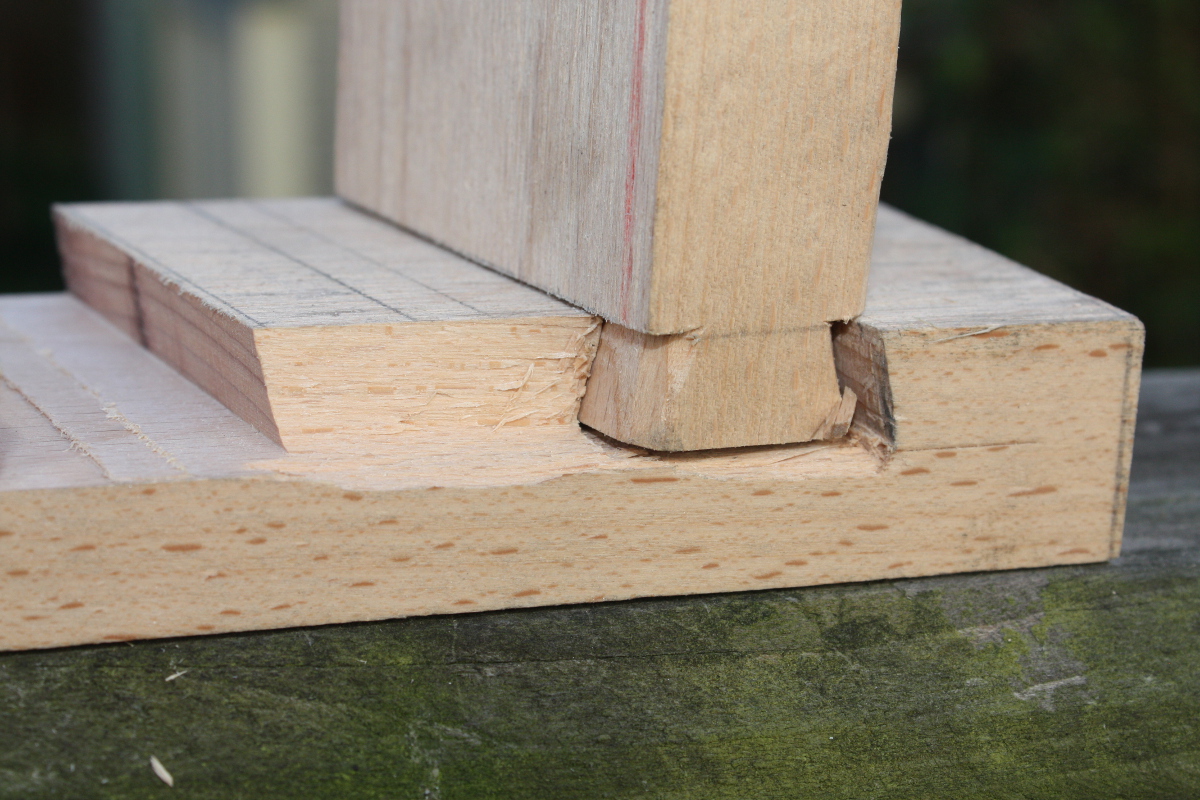
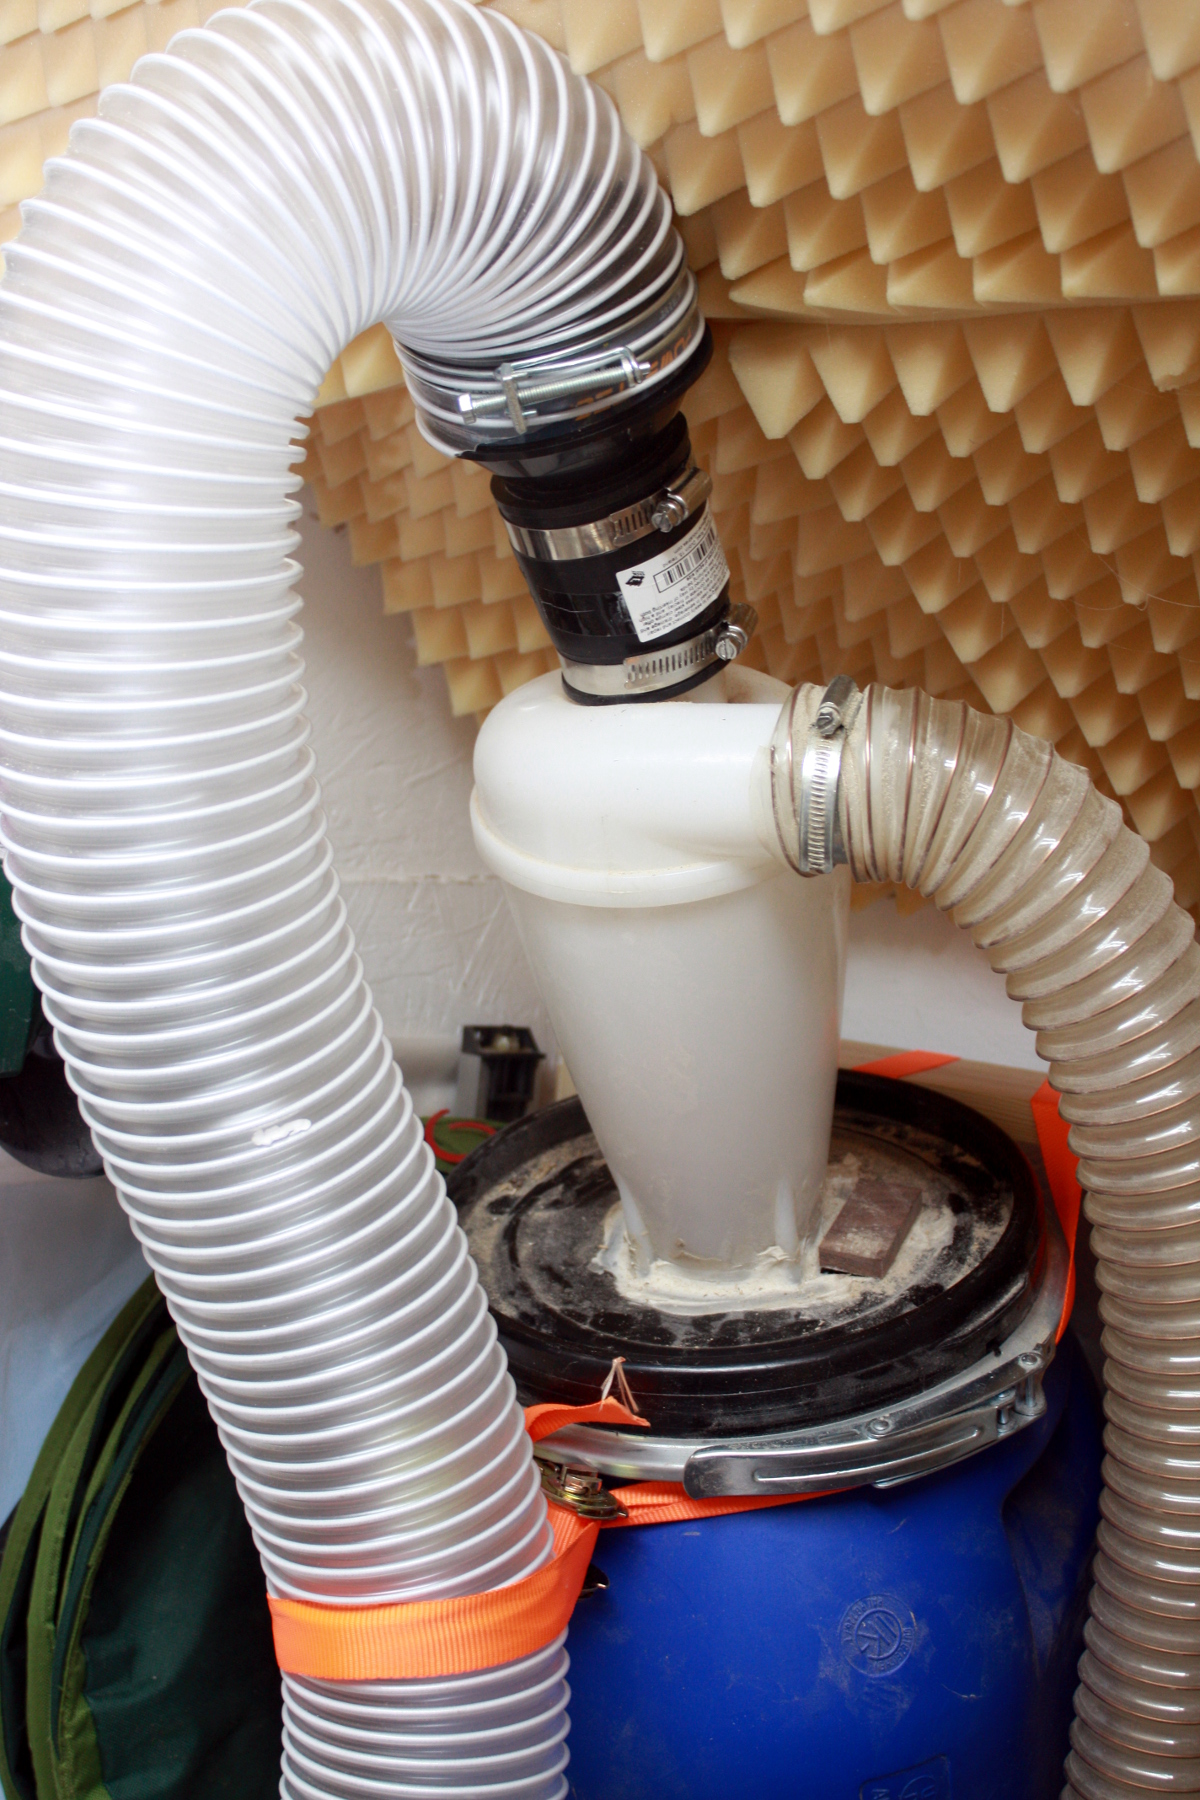
Yeah, that’s why you don’t want to look too close. Even with the dust barrel tilted right over, that’s a real tight fit for a 4″ pipe to get into that 2″ opening because of all the adapters we’ll need.
And that’s why you don’t want to turn round. The problem with tidying up any one corner in the shed is that you have to dump all the rubbish in the other three corners. Ideally, a shed needs to be pentagon shaped so you can have tools in four corners and all the rubbish in the fifth. I was hoping to get more storage into that cart, but I need to build something that can hang off the front and also not foul the 4″ hose first. Still working on that idea.
Also, have I mentioned that I share the shed with a tumble drier? And of course it’s collected a huge amount of crud as it’s a flat surface.
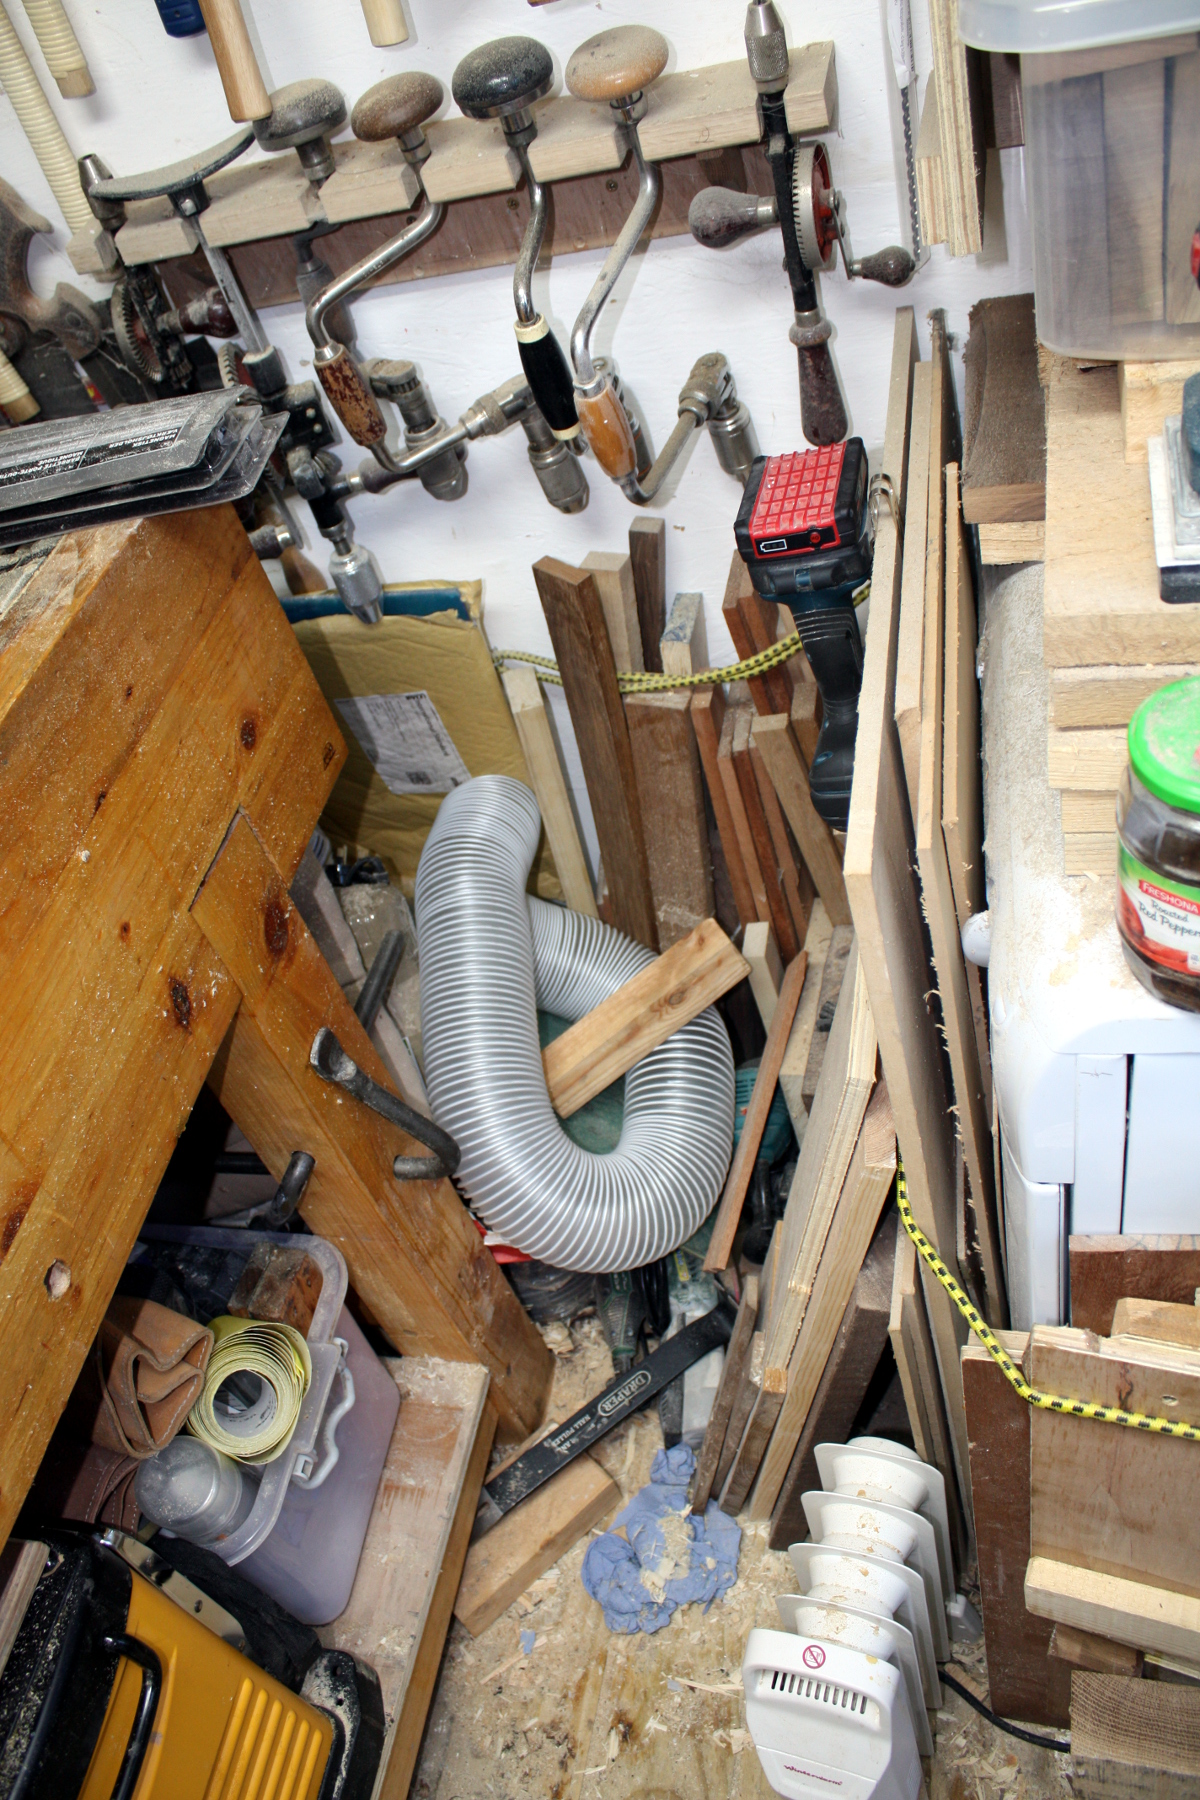
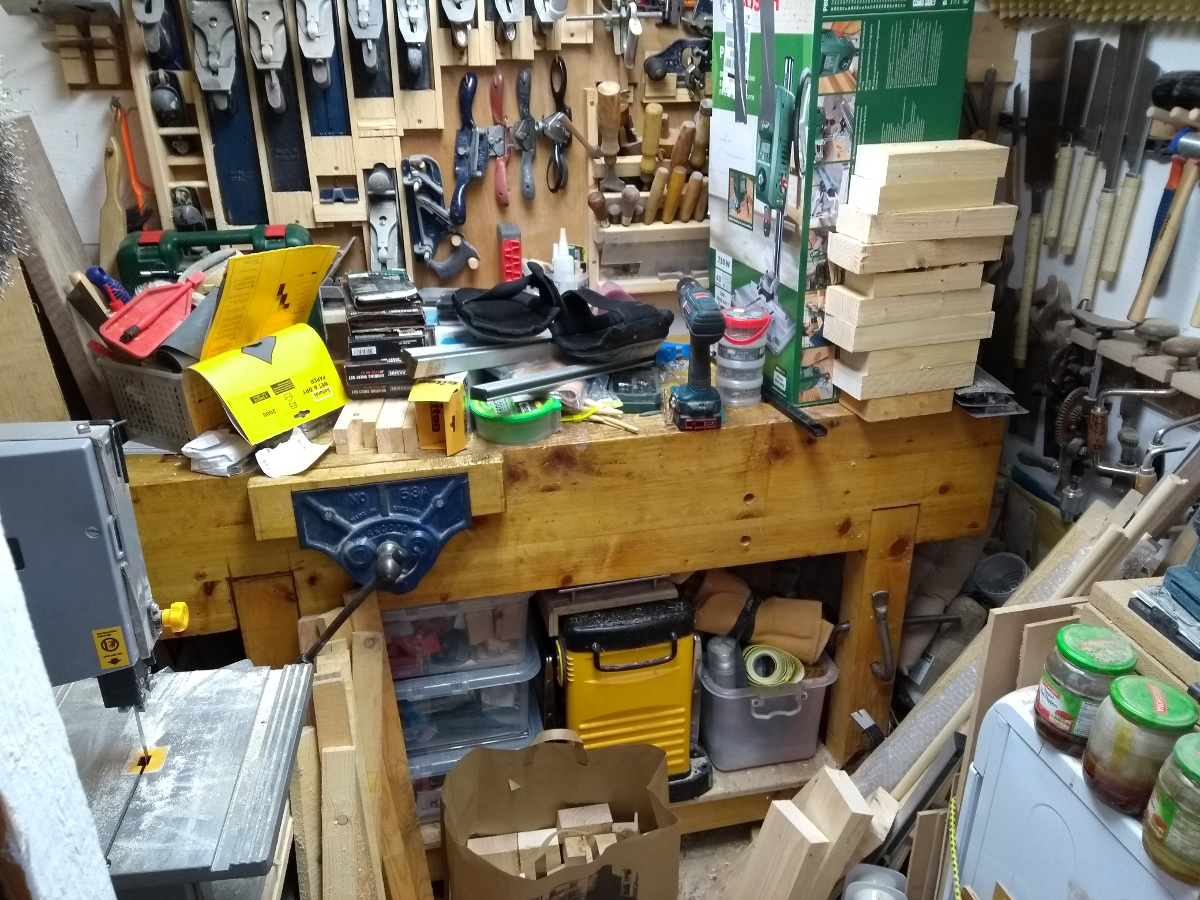
And since the floor is also technically a flat surface…. well, you get the idea. Time to tidy up a bit. Thing is, the eagle-eyed amongst you will have noticed a large green box on the end of the bench hiding behind chunks of 2×4 that I’m hanging on to for use in jigs and the like, and yes, that is a new interloper in the shed.

I honestly couldn’t point to a single thing and say “this is why I bought that” this time round. It came up in a black friday sale at the lowest price I’d ever seen this for, it has good reviews from everyone who used it for the kind of light duty hobbyists put these things through, and it doesn’t involve faffing about with belts and it has a tiny footprint for a pillar drill at 13″ by 13″ by 24″ tall. And yes, I have an idea where it’ll go, but more on that later, for now it’s just taking up a chunk of the bench and I’ve only used it for a few quick holes for putting away some sandpaper I bought off rutlands in the sales…
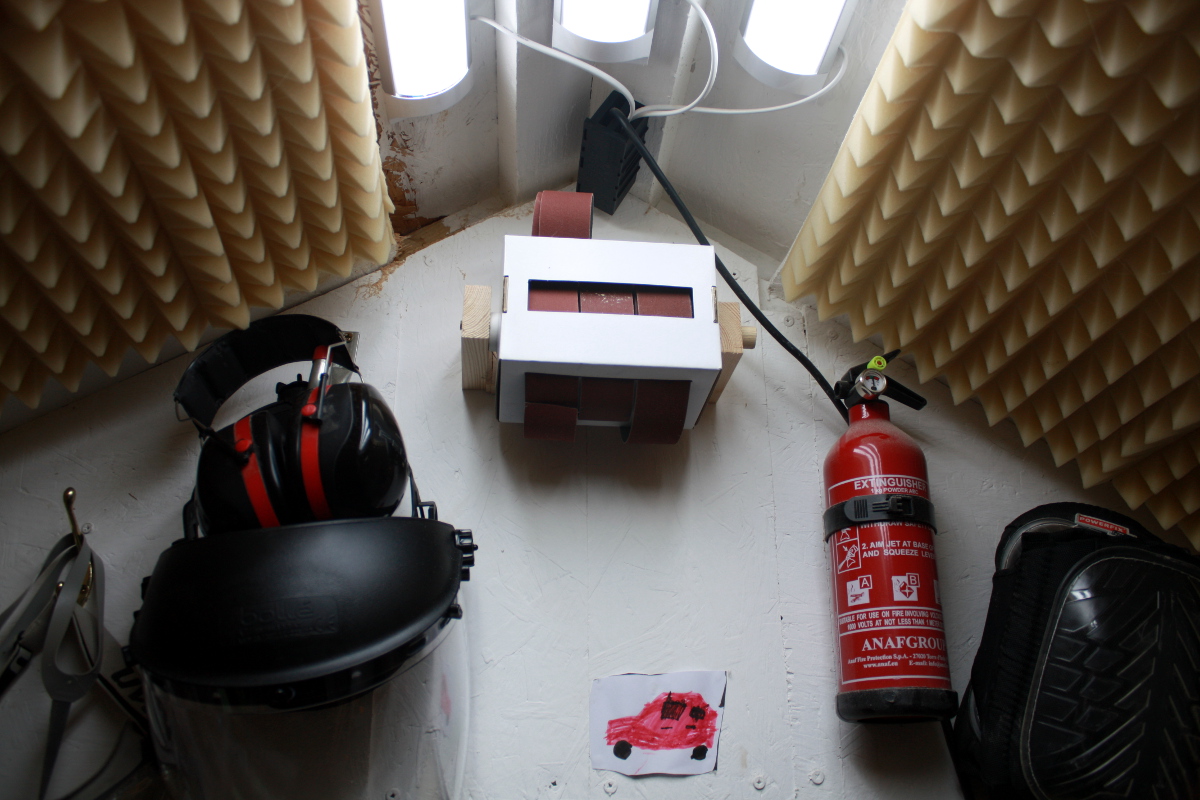
Yes, I’m very clever, I made a toilet roll holder. And yes, that is a faceshield and some custom artwork by the house’s resident Young Artist. It’s titled “the red car Daddy should have bought instead of our one”.

Around this time the annual winter solstice enforced holiday came up. The pillar drill was brought home on one of the last days before my vacation time kicked in. So there was some tree work instead of woodwork, and all of the lights had to be put up (this is what happens when you keep picking up sets of LED lights in the sales every year, your tree emits more light than your house lights). That glass of anejo was well earned, because along with the tree was the cooking…

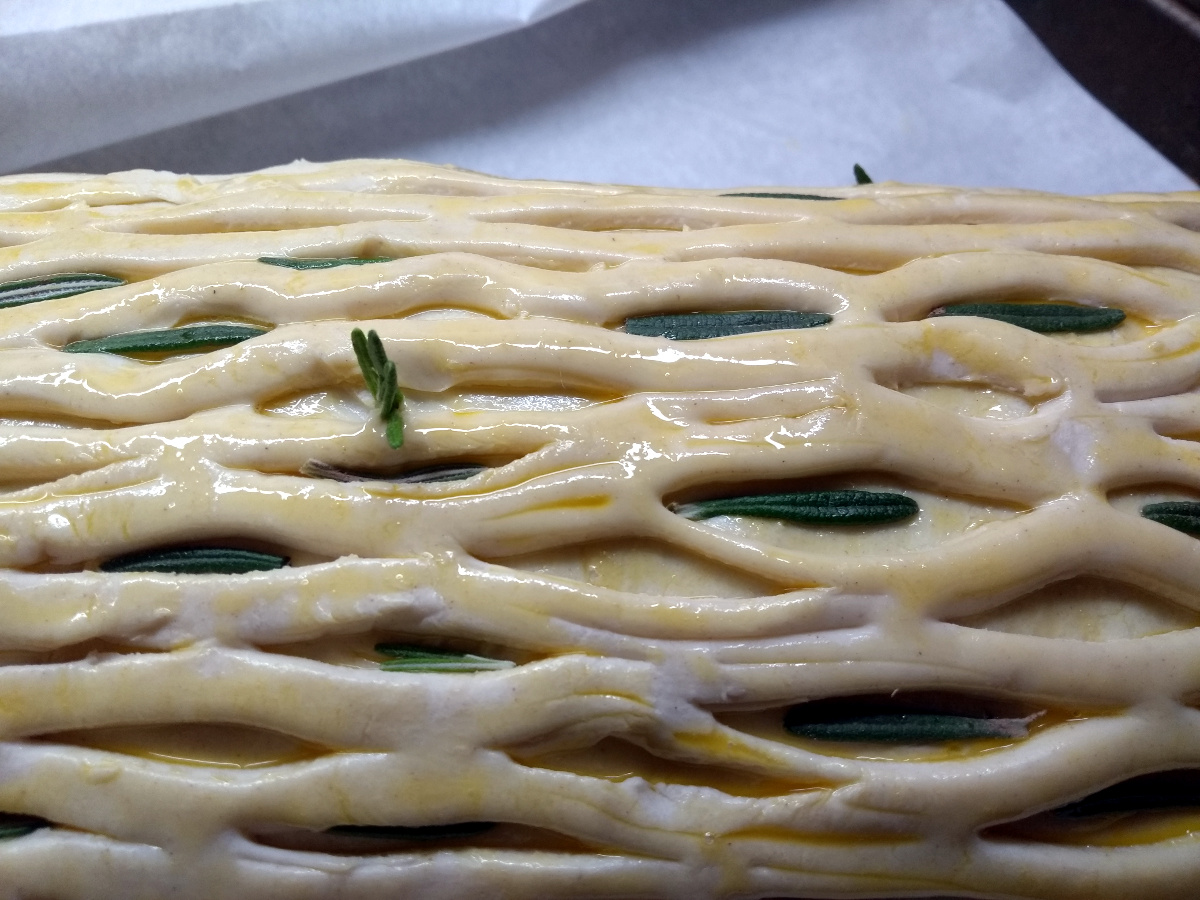
Beef wellington only looks like a faff when you do it right. So here we have the beef which was sous vide’d to just under medium rare, then chilled overnight in the fridge, then seared in the pan and left to cool again and then coated in mustard. Under that is the duxelle mix of mushrooms and shallots, with the mushrooms not blitzed but chopped by hand so it’d be lumpy instead of paste and then cooked for ages until all the water was driven off. You don’t want liquid leaching out of the middle, it makes the dough soggy, so the duxelle has to be dry and still slightly chunky to act as a sponge as the beef will express juices in the final cooking. Then some parma ham to seal in the juice even more and finally two layers of filo dough instead of the traditional crepe to seal it in even more. Then just simply wrap in puff pastry…

…or do some lattice work and put rosemary leaves in the spaces by hand with tweezers.
Yeah, not kidding. I must need my head examined. It was nice though. And of course you need potatoes, but what happens if you mix 50% mashed potato (sans milk or cream please) with 50% savoury choux pastry (like the stuff you make eclairs with but with no sugar and a good pinch of salt) and then deep fry the mix in small dollops from a piping bag?

Pommes dauphine that’s what.

And there were desserts and starters as well. Gravlax and smoked salmon with pickled mustard seeds on guinness bread to start, and pecan pie, gingerbread cake and the above lemon meringue soup as desserts. Yes, soup. What do you mean, your curd sets up?
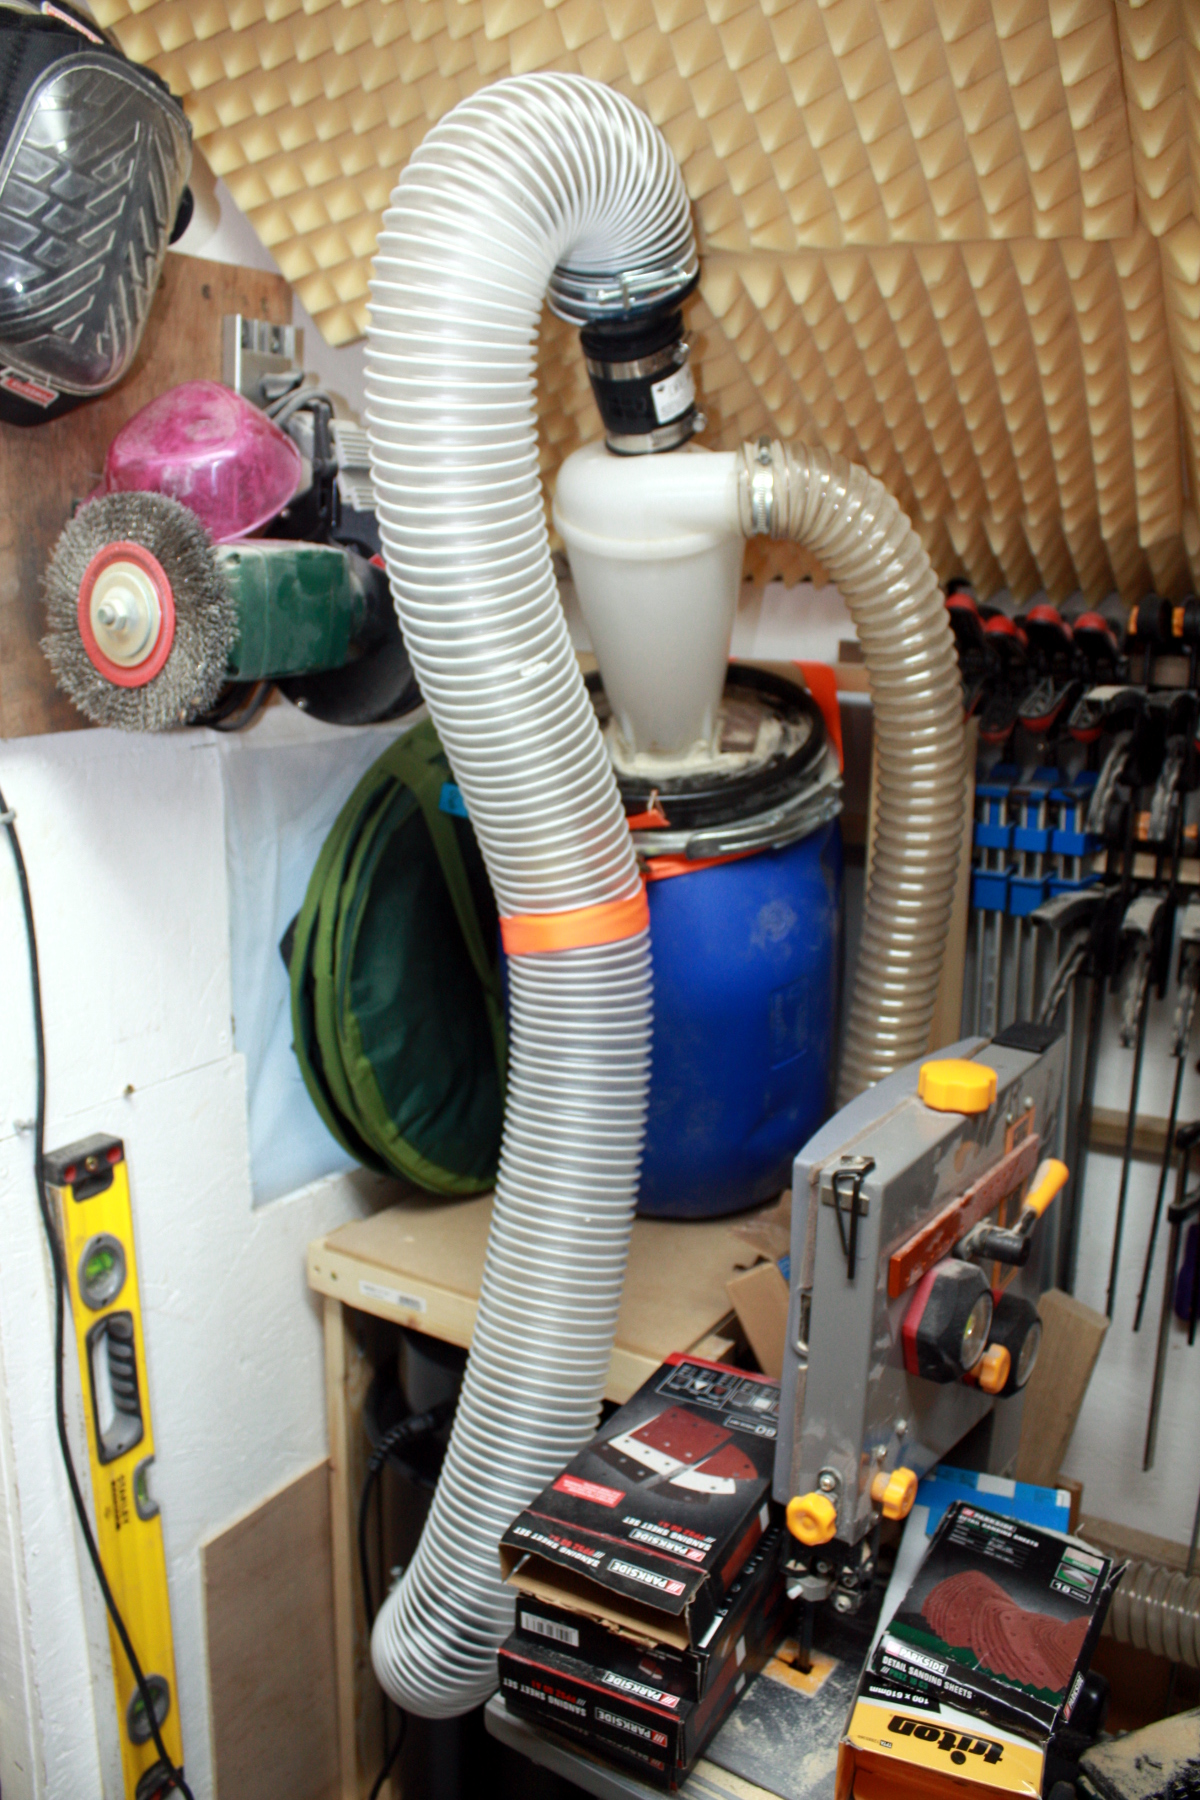
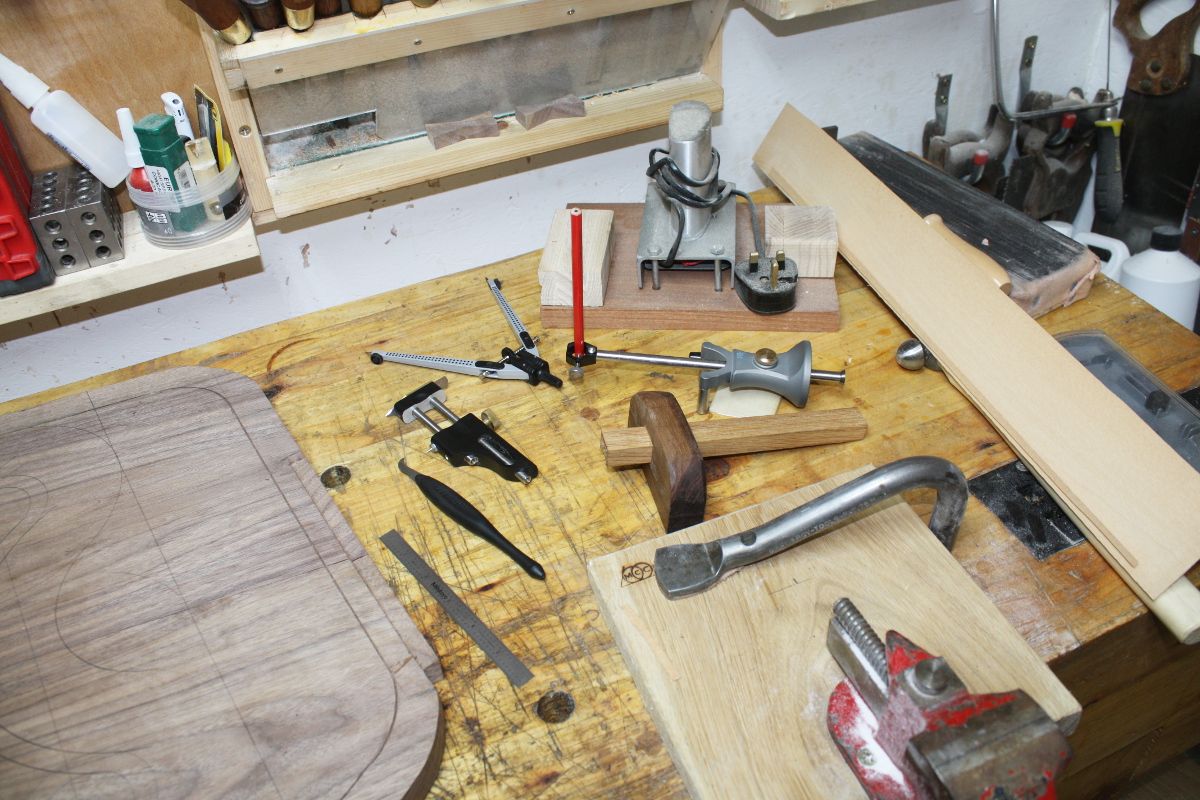
ANYWAY. After a day or two lying on the couch, floor and bed trying to digest several different animals and half a field of vegetables, I got back out to the shed and did a bit of tidying up and assembled the dust collection using all of the adapters in the plumbing section of woodies. You’ll note the dust barrel is over at a 15-20 degree angle and is held there with a tie-down ratchet and a slightly cut down strap (this ratchet now belongs to this cart, but it was a cheap lidl job so no worries). And I tested the dust extractor and holy crap. It lifted the dust off the floorboards, had a go at the dirt under the shed and damn near ate the floorboard as well. This thing is industrial. I think it might actually cope with the thicknesser. It damn near cleaned all the dust off the outside of the bandsaw from the inside when I used that for the next odd job to do in the shed which I thought would tidy stuff up.
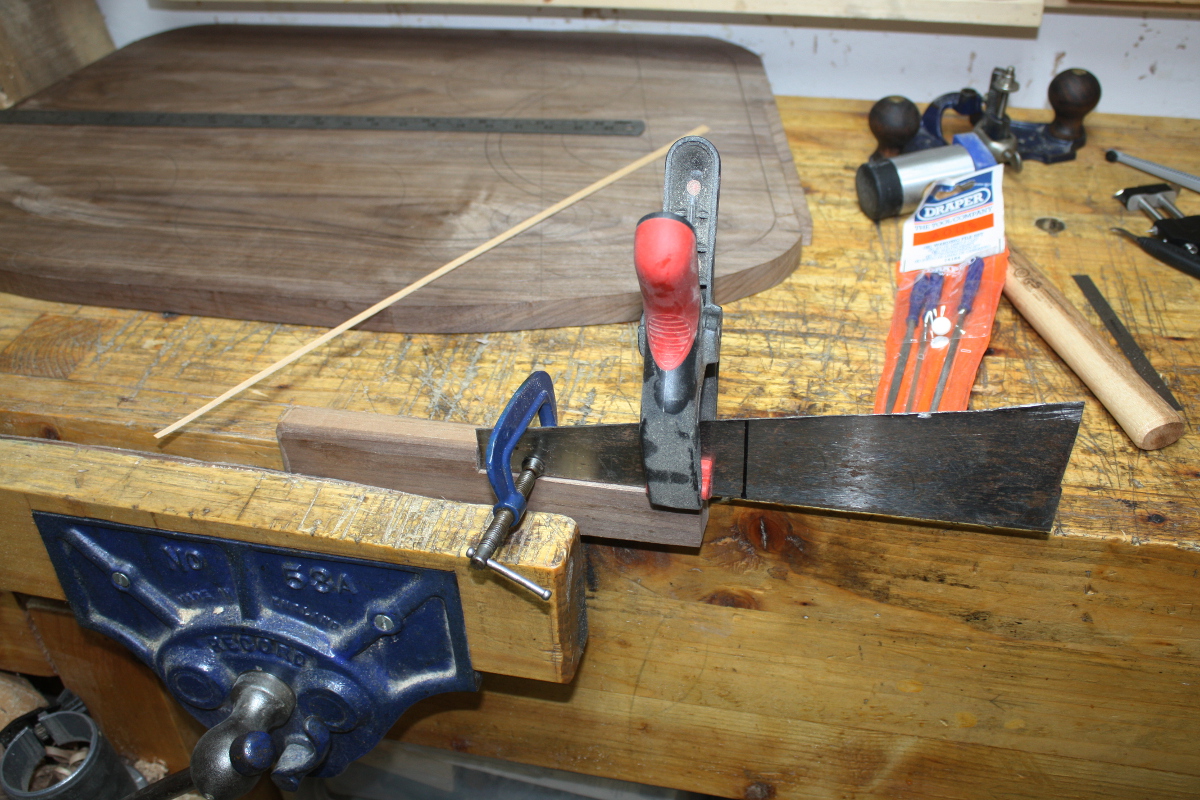
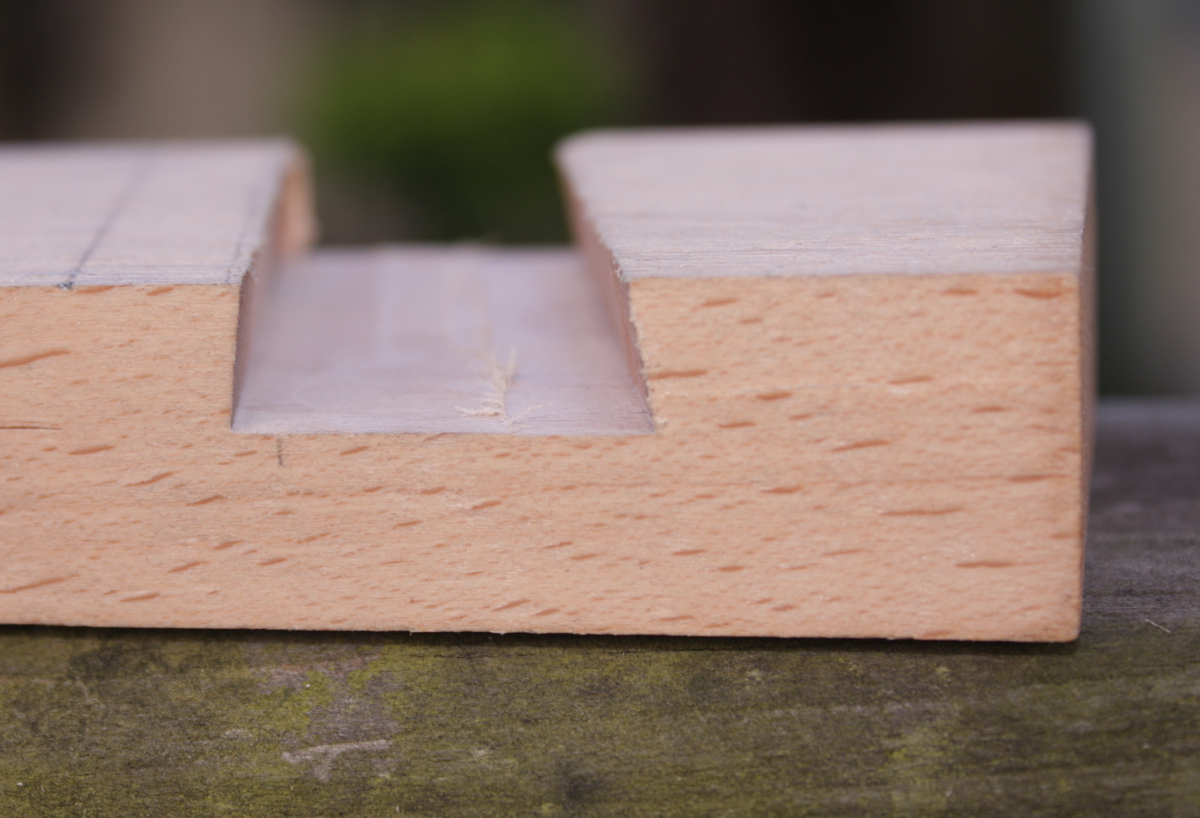
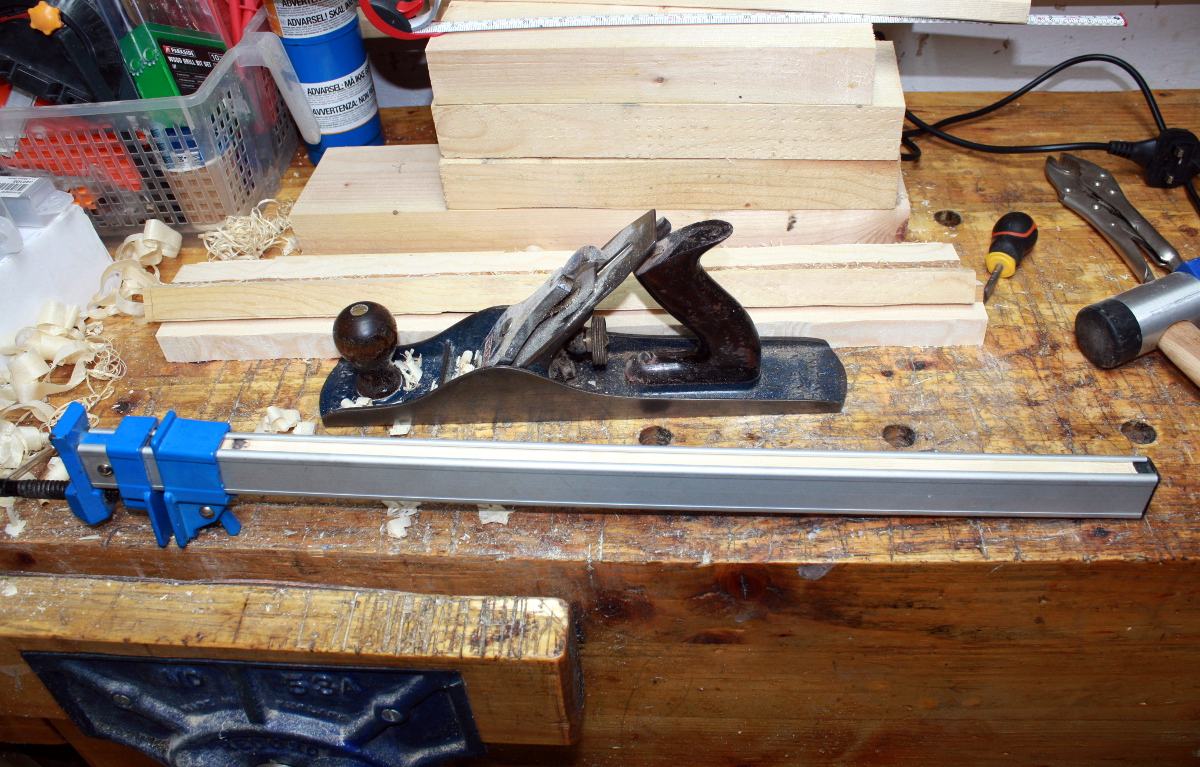
So a lot of the little metre lengths of 19mmx40mm whitewood that’s been laying about the place since I built the workbench have found their ways into jigs, but the last few I actually have had a plan for since building the bench and that was to put them into the lightweight aluminium sash clamps I have to beef them up, an idea I first saw in a Paul Sellers video (and then in about six other youtube channels over the subsequent week or two as everyone independently thought up the idea. The gig economy at work, sadly. Hard to blame them really).
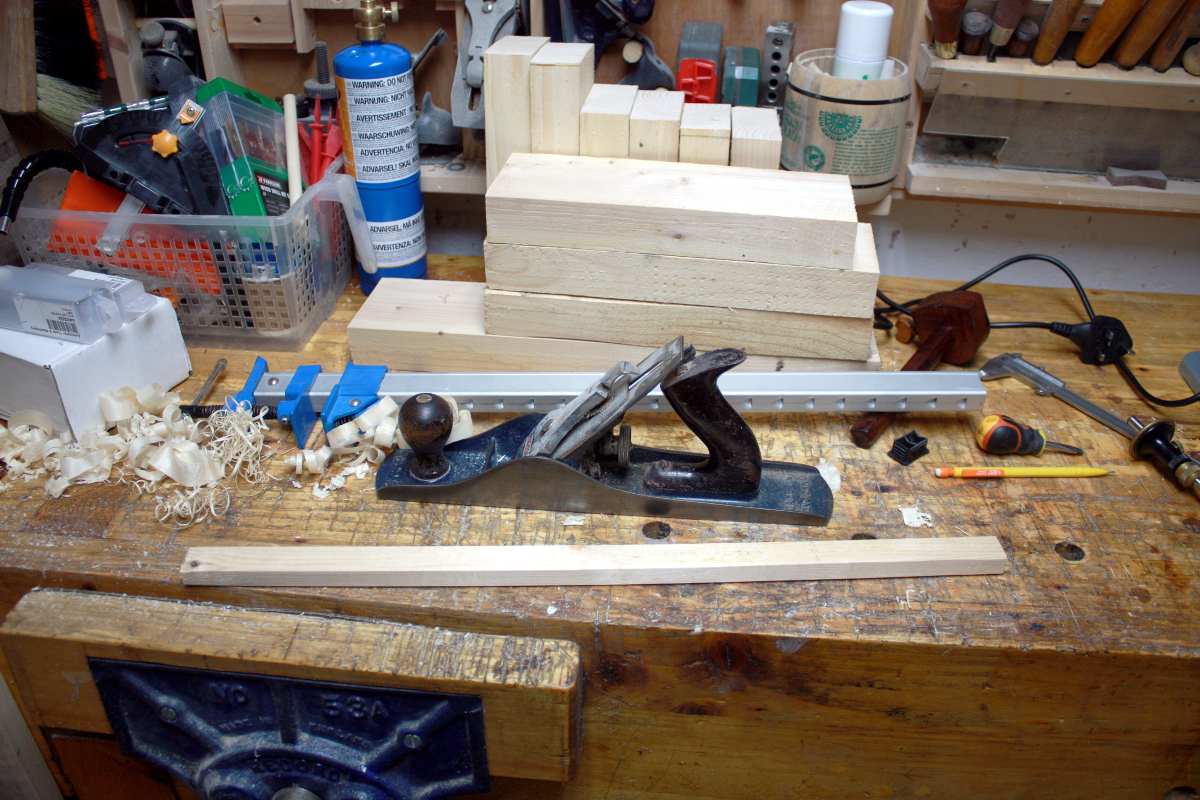
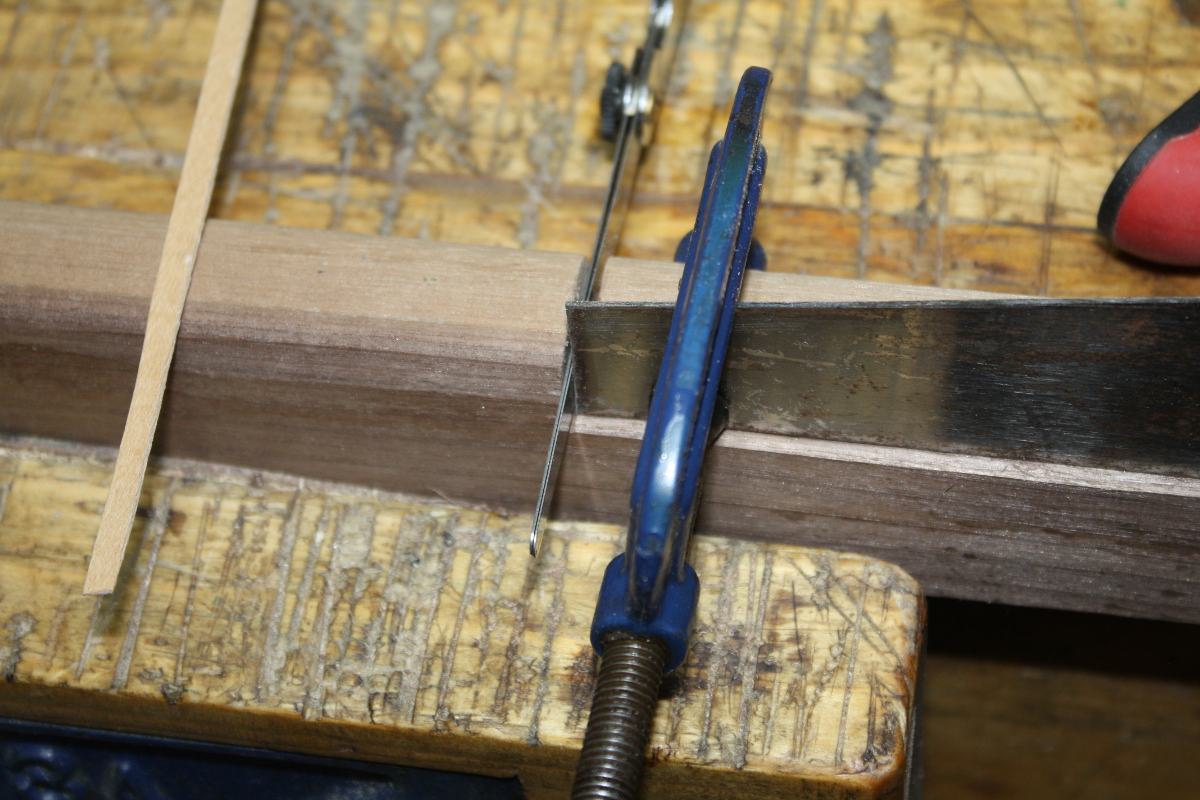
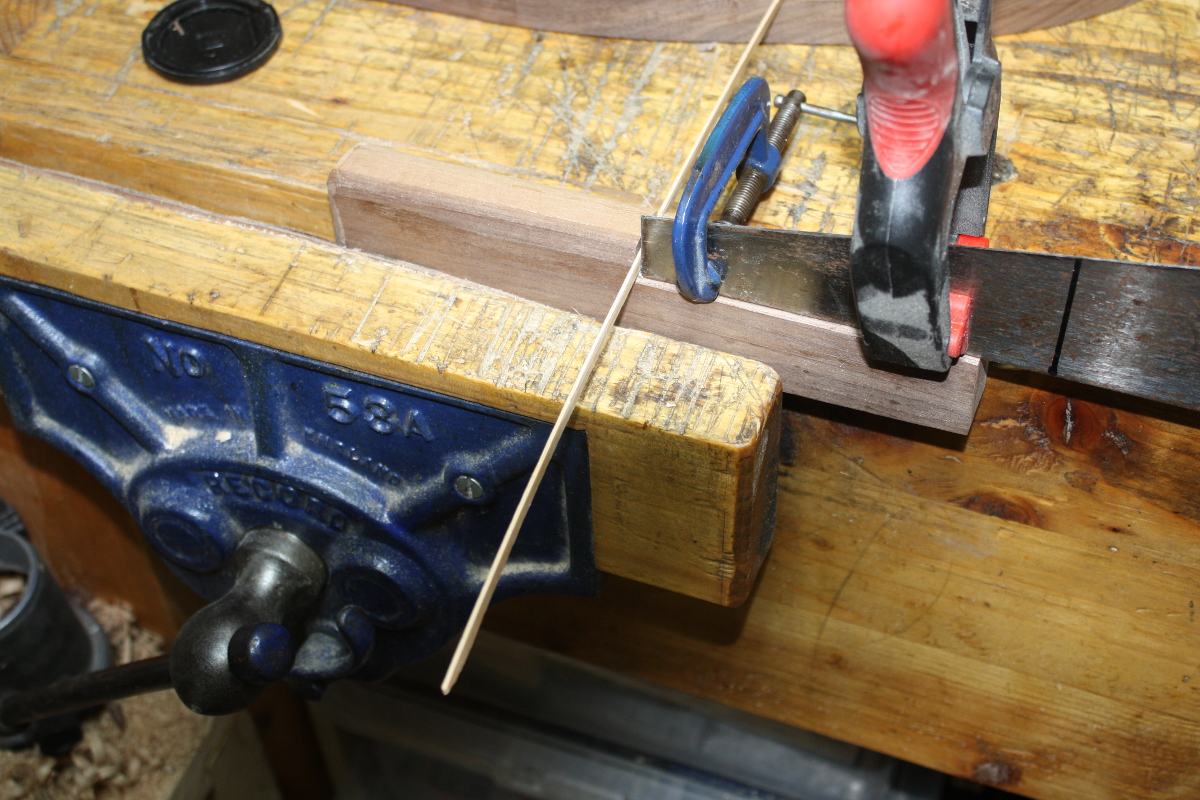
Ripped down on the bandsaw, then planed to the right thickness and depth, and tapped home.

Took a bit of fiddling so I got it right with one, then used that as a rough template for the other seven. Offcuts went into the sack for transport to the parent’s house – I’ve finally found a way to get rid of waste wood, it goes in the fire and the recycling center can stick that in their “we charge you for a full carload even if you have just one bag of shavings that could go straight into the compost heap” policy and smoke it in front of Greta Thunberg. Sometime you’d think this country is run by incompetent jobsworths who never think policies through and the rest of the time you wouldn’t be that naively optimistic.
One down, seven more lined up behind it (and now done). But now I’ve cleared some room, so of course what I should do is take the birthday and xmas gift vouchers I keep getting for The Carpentry Store and which have been building up over the last three or four years and drive out to Naas, just to have a look…
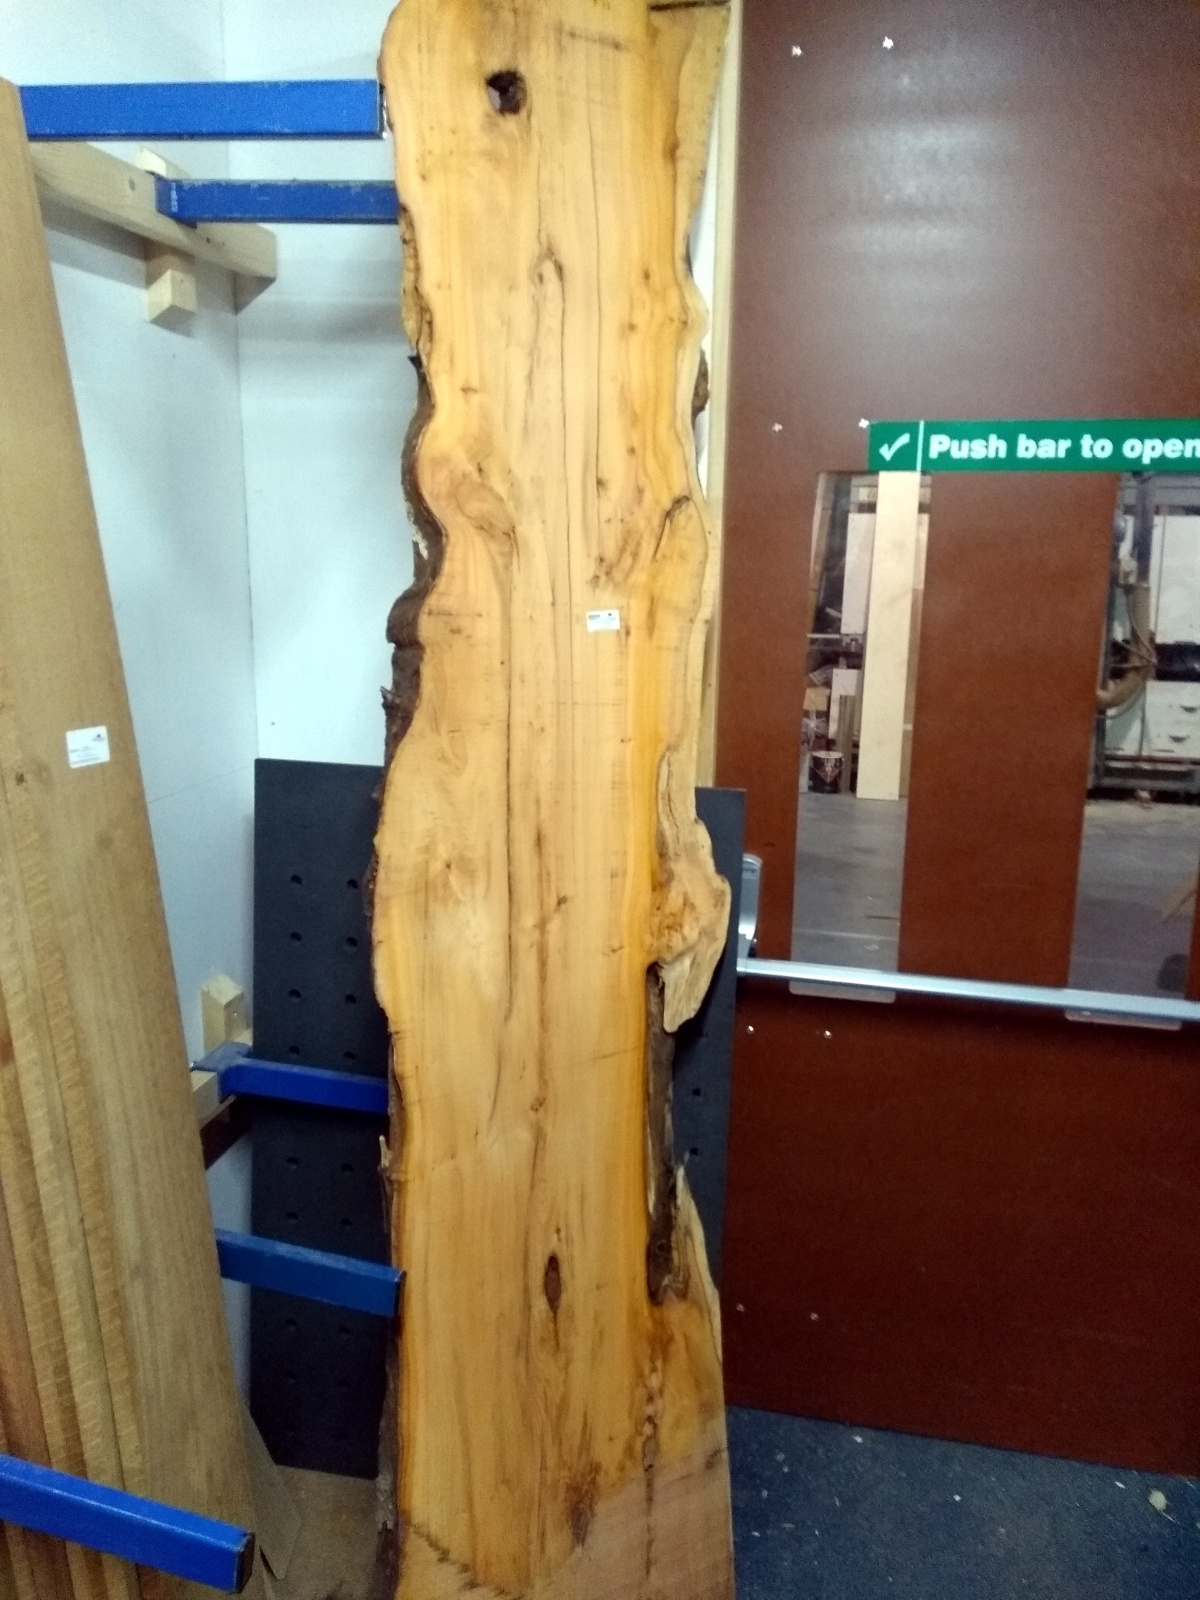
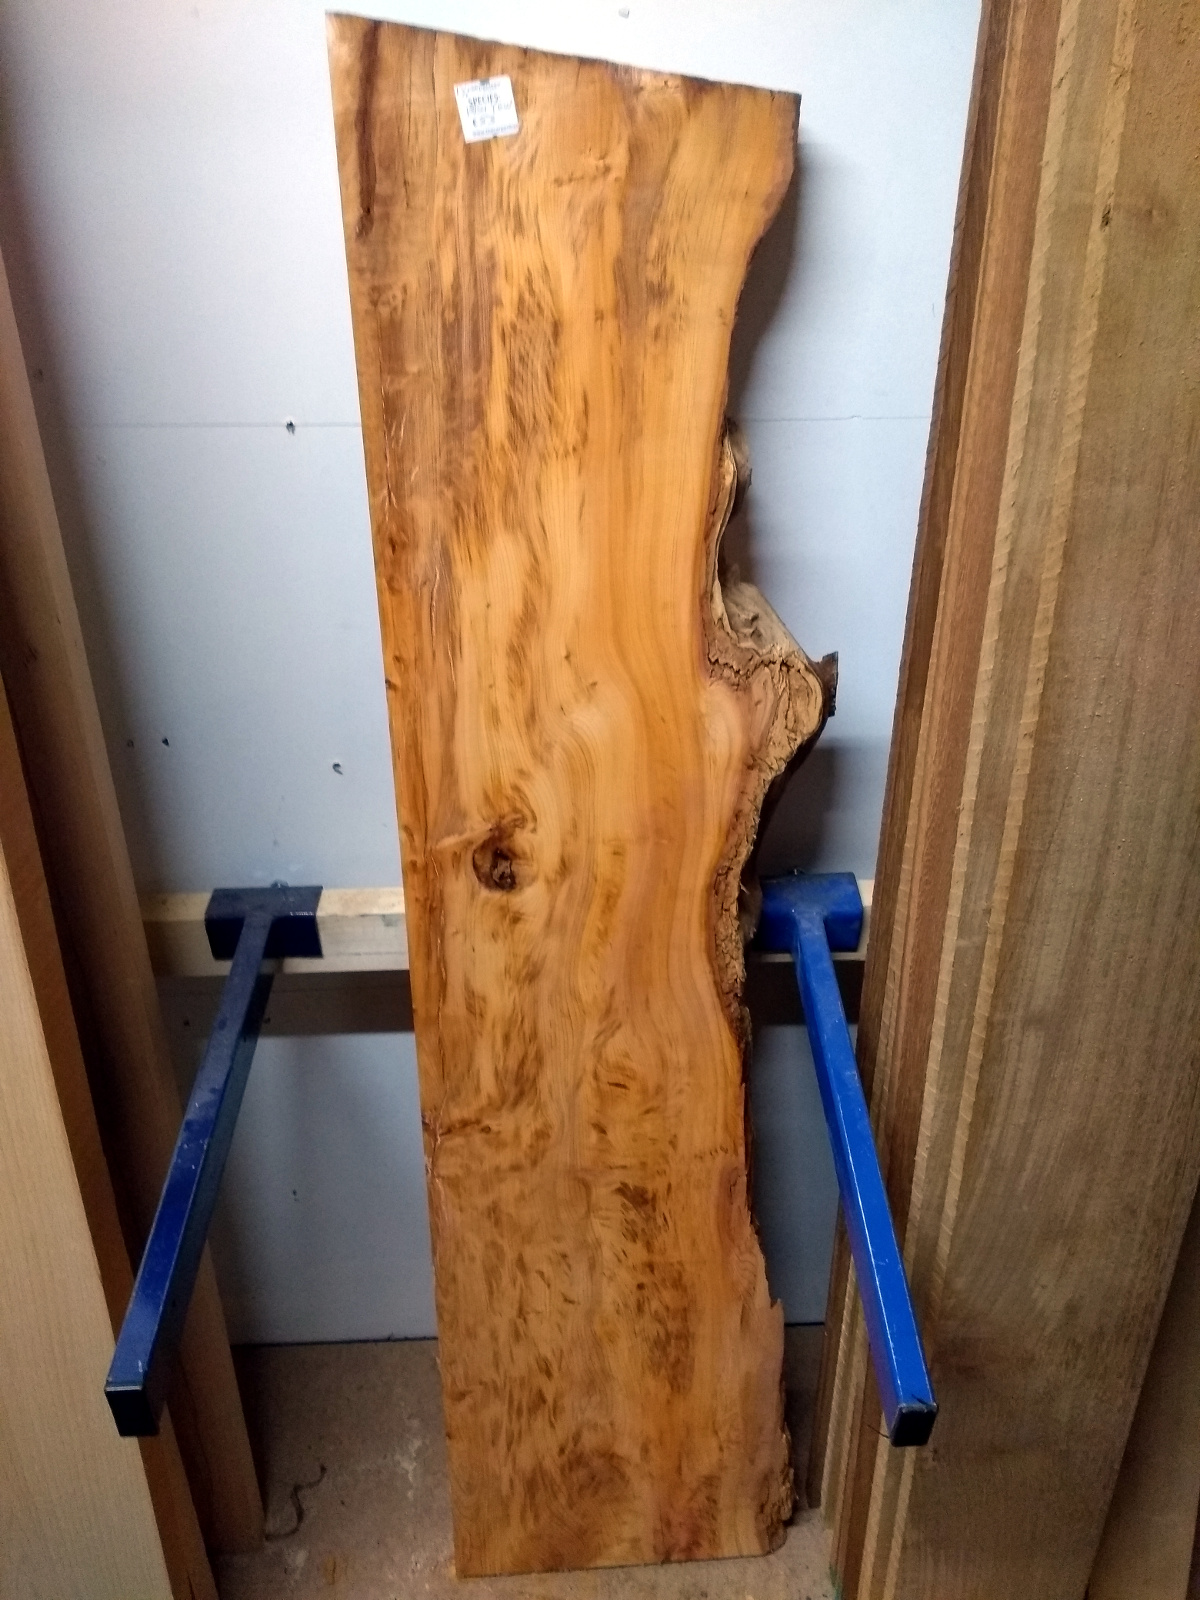
Sooo many toys and so much fun material to play with, it’s a good thing I was just lookin…
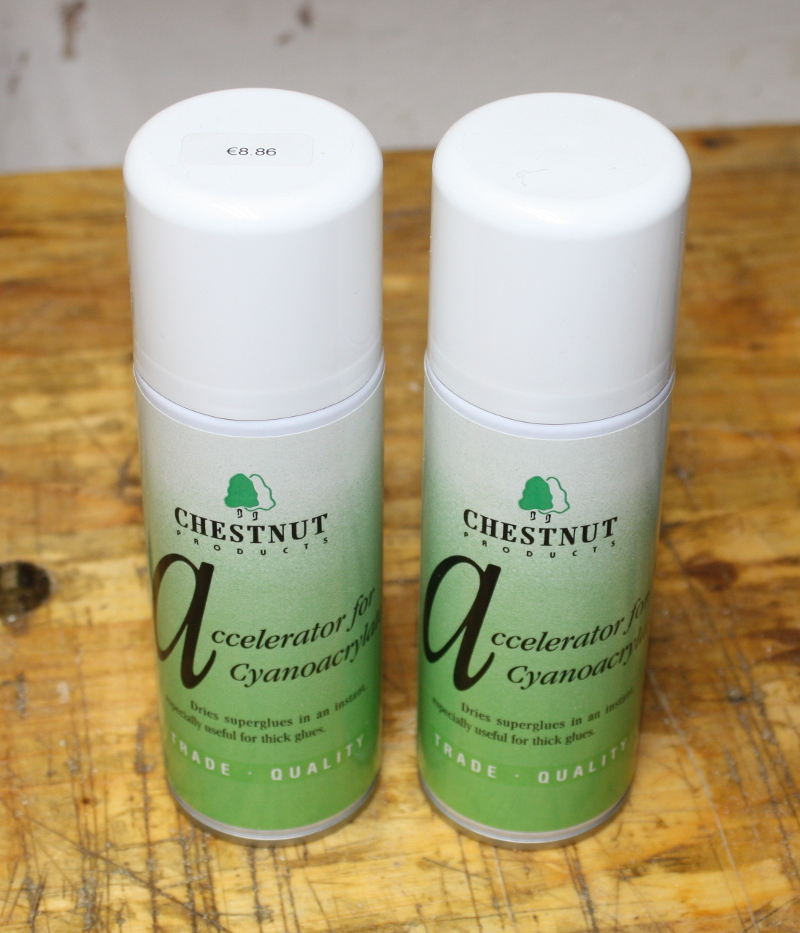
Now, to be fair, I’ve been trying to find this stuff here for ages for the masking tape trick and nobody wants to ship aerosol cans or any other pressurised container anymore so it’s not that bad…
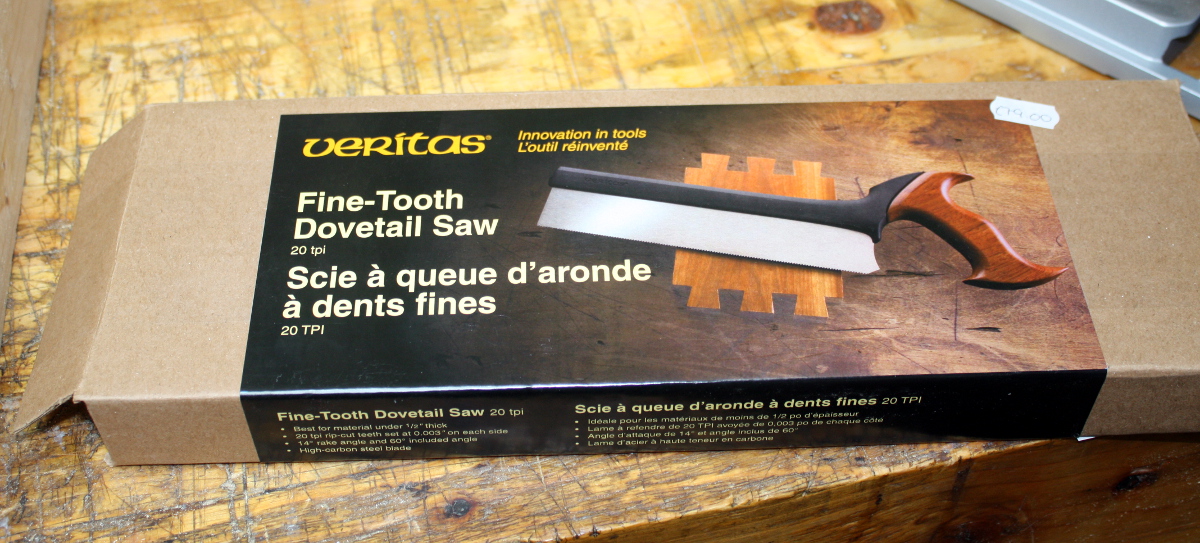
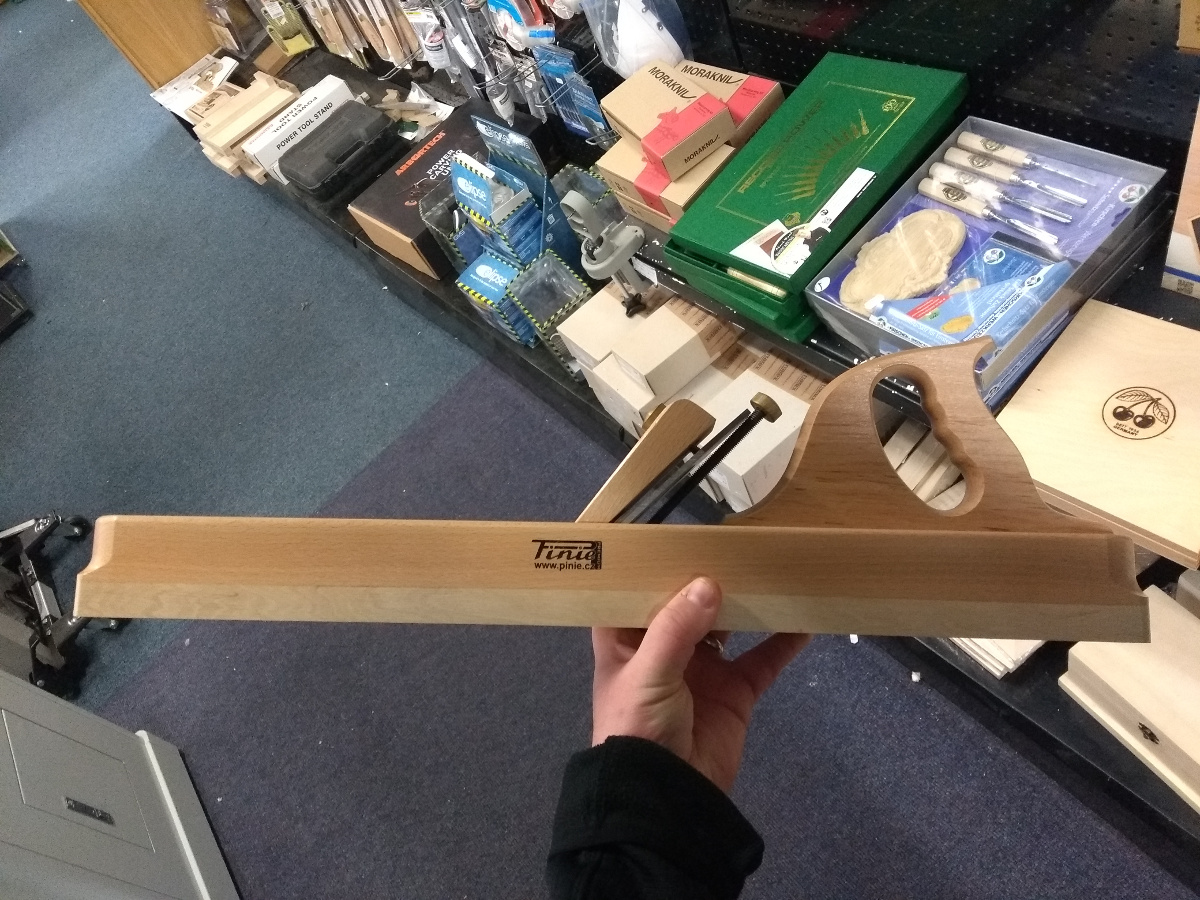
And in my defence here, I have some western saws but they’re all quite old and not sharp and while I finally have the kit to sharpen them, unless I have a decent one already how will I know what they should be like?
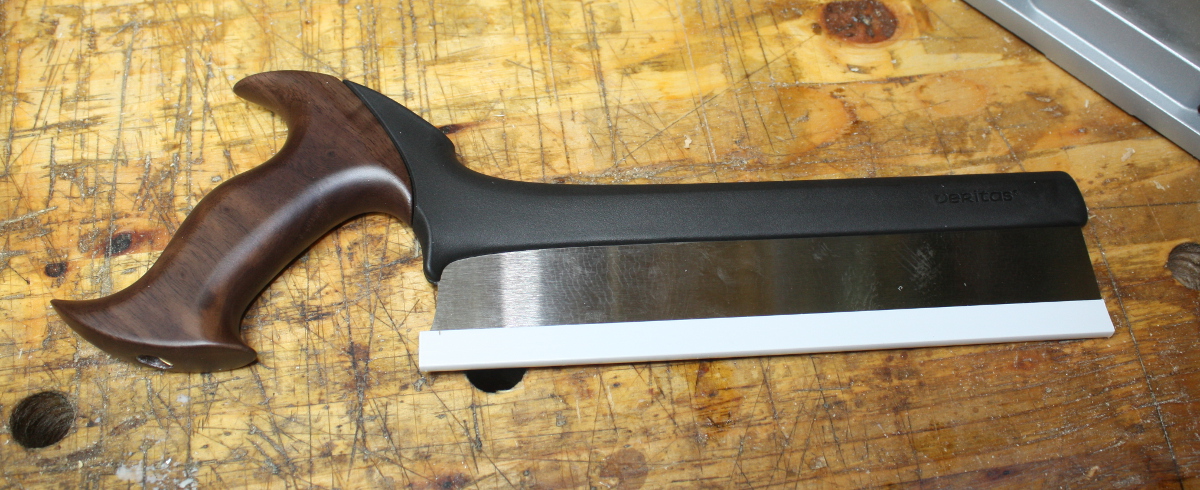
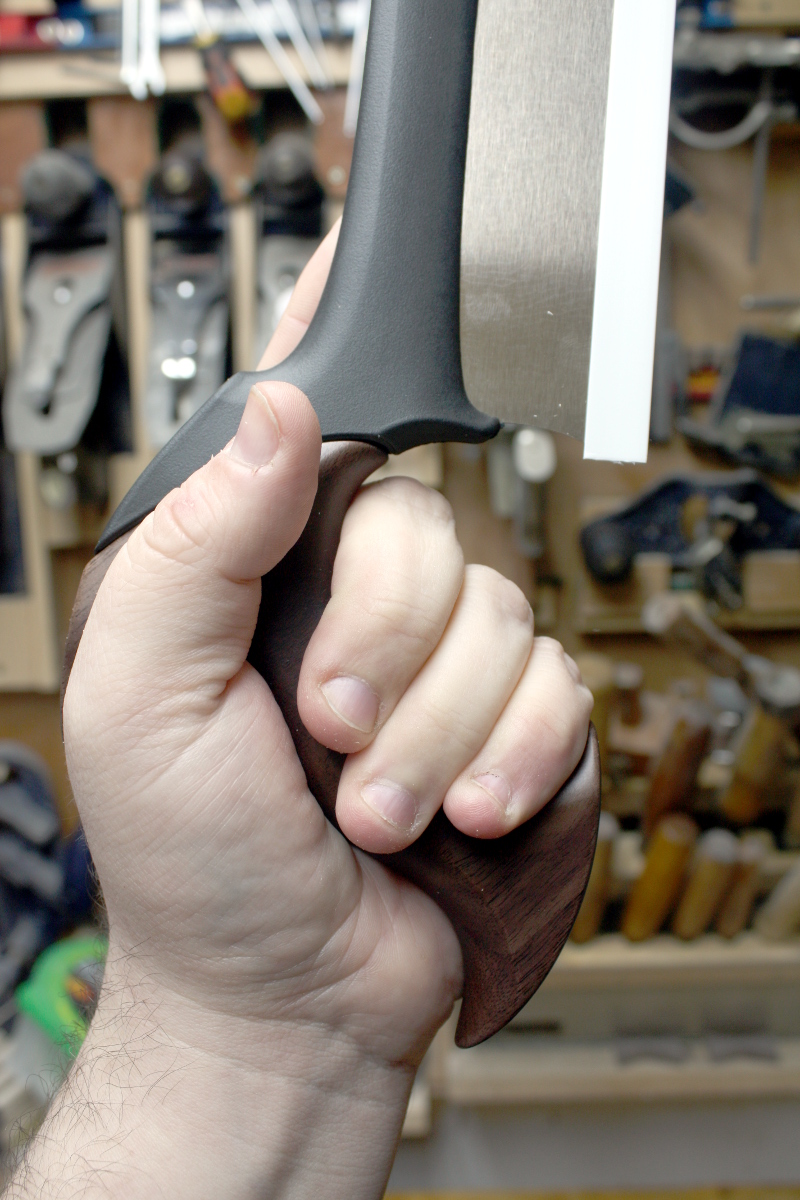
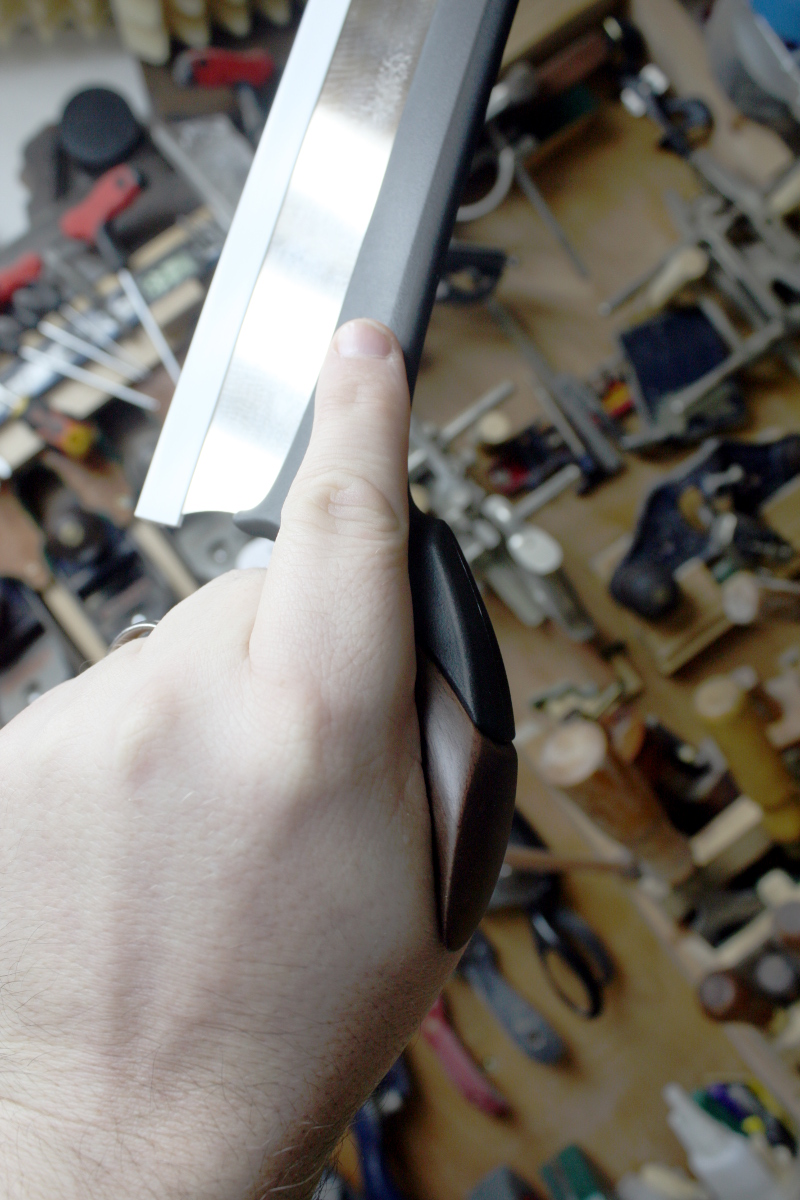
Also, it’s very nice and it was a gift voucher and also, I’ve had things fit my hand this well before but I had to have a licence to own them and they came with sights and ammunition…
And it’s small and it’ll go on a magnet rack on the wall and it’ll be grand, it’s not like I got anything too larg…
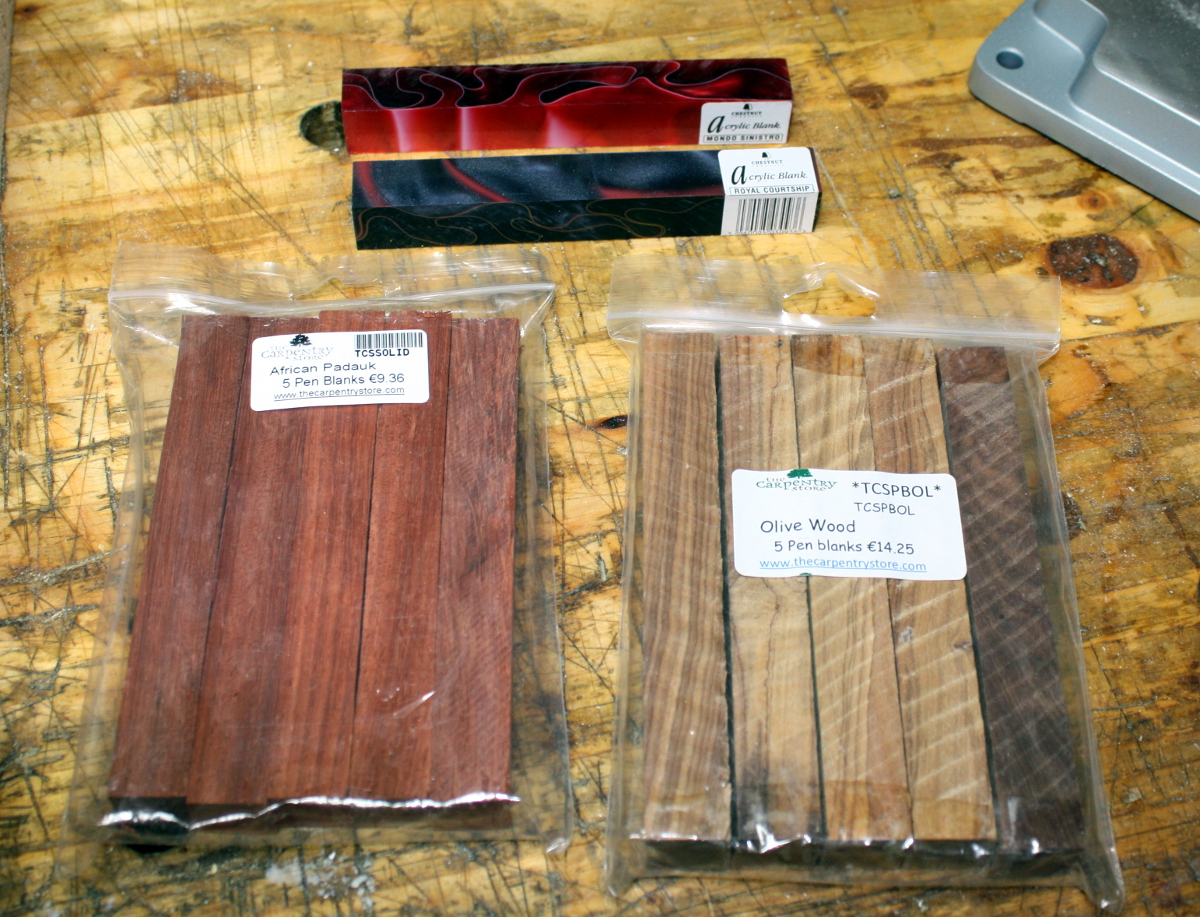
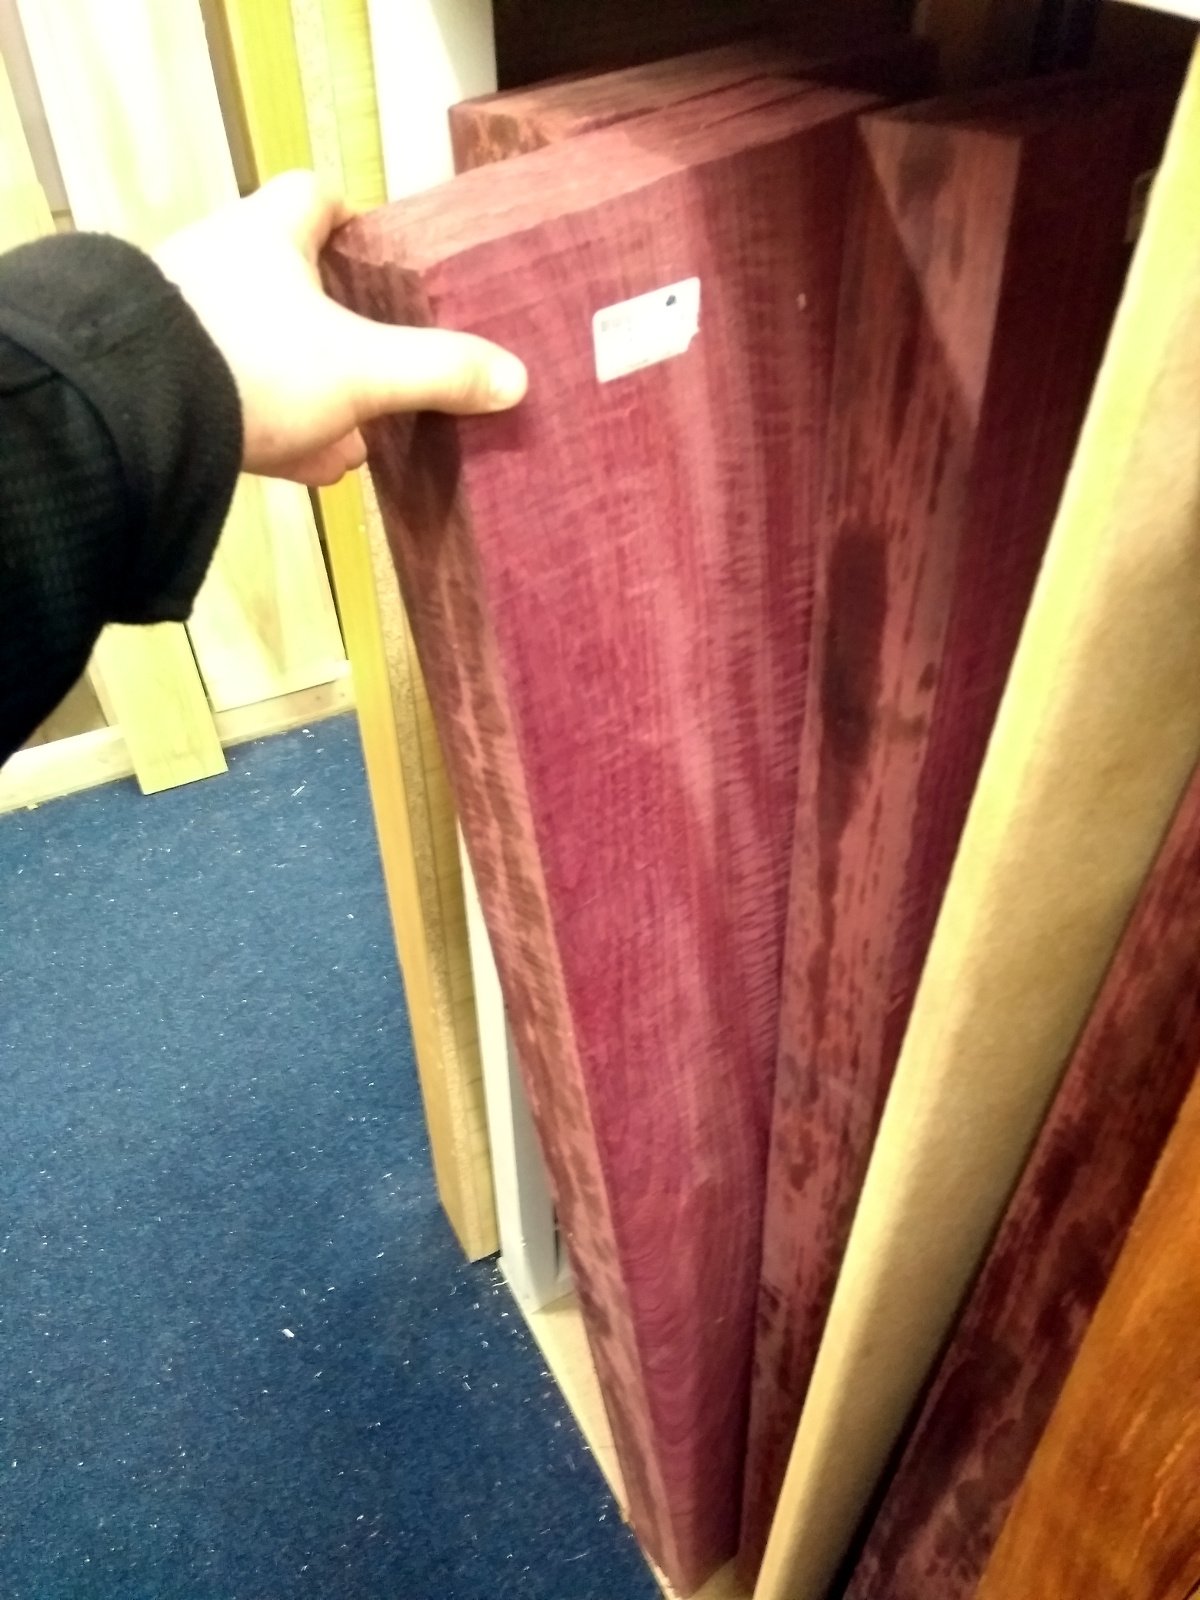
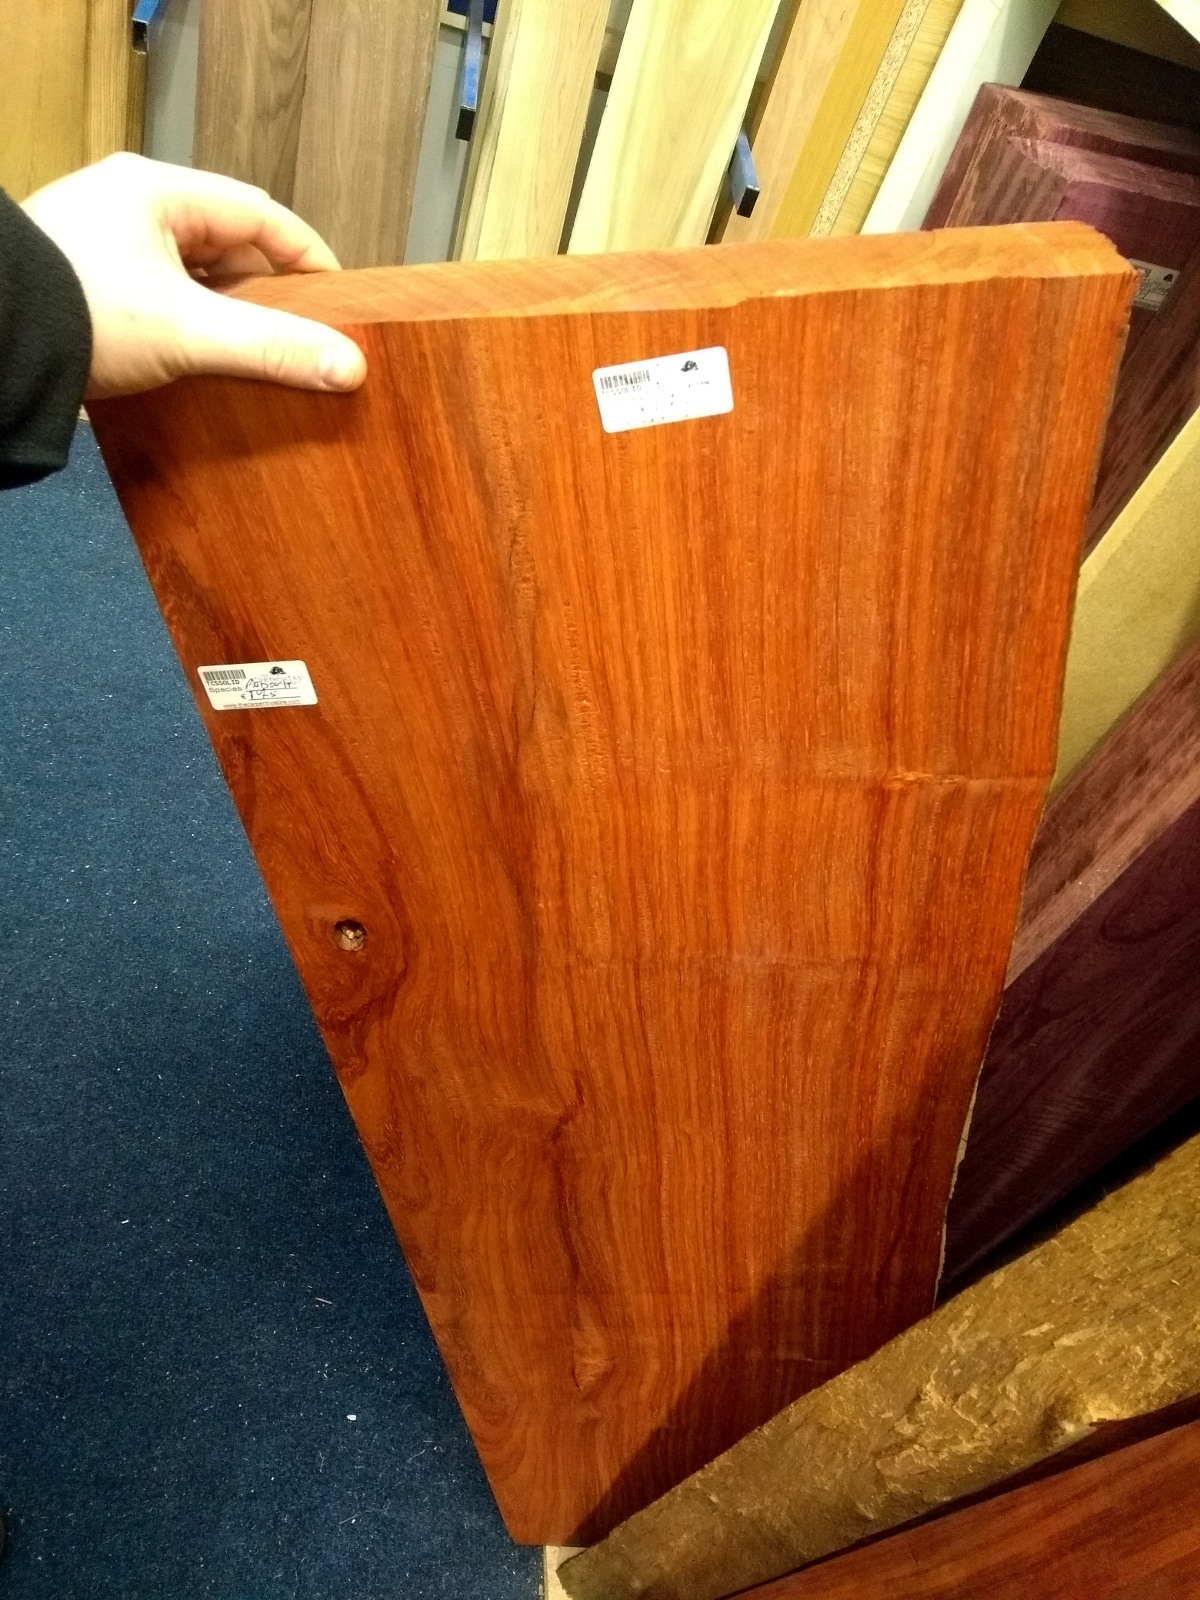
I mean, okay, yeah, but they’re small and come on, they’re pretty and you want to know what that lidl lathe can do with real hardwood or resin, don’t you?
See? Small. And useful, and it’ll hang up on the wall (on a magnet, for this is magnetic brass, none of that nonmagnetic muck for me). Just little small things, that’s all.
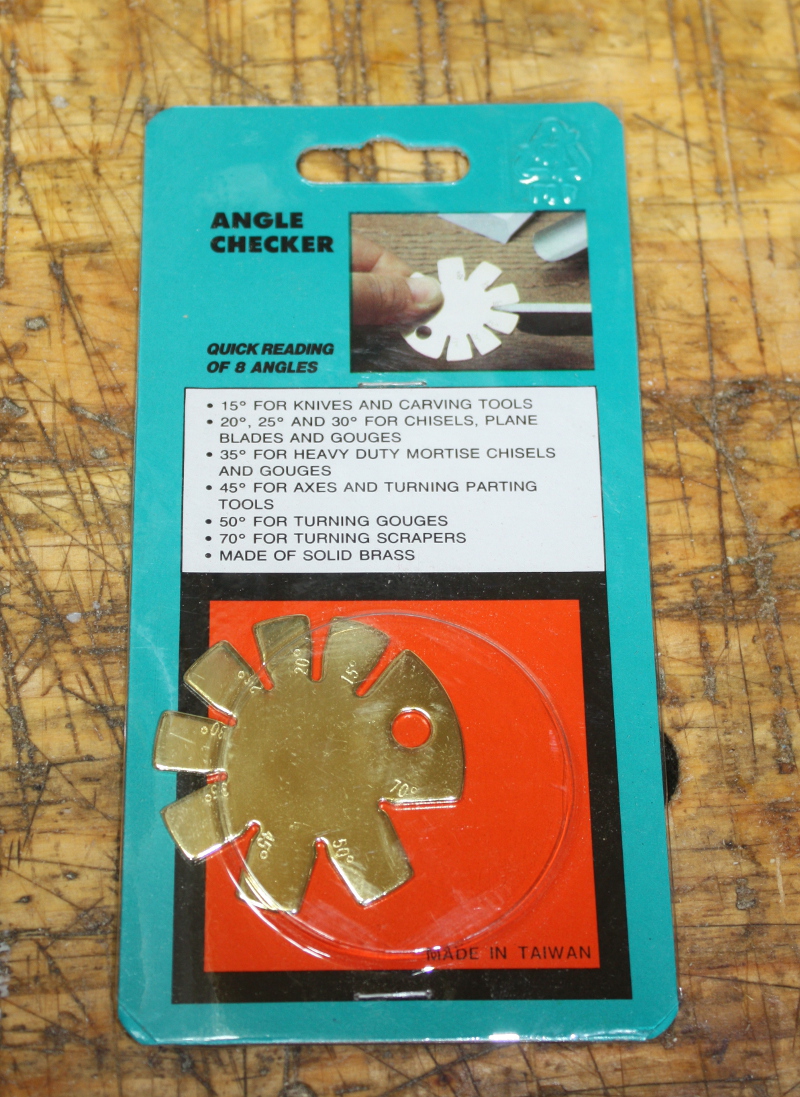
Look, technically they’re still small things…
Um. Okay. So I know what you’re thinking and you’re probably right.
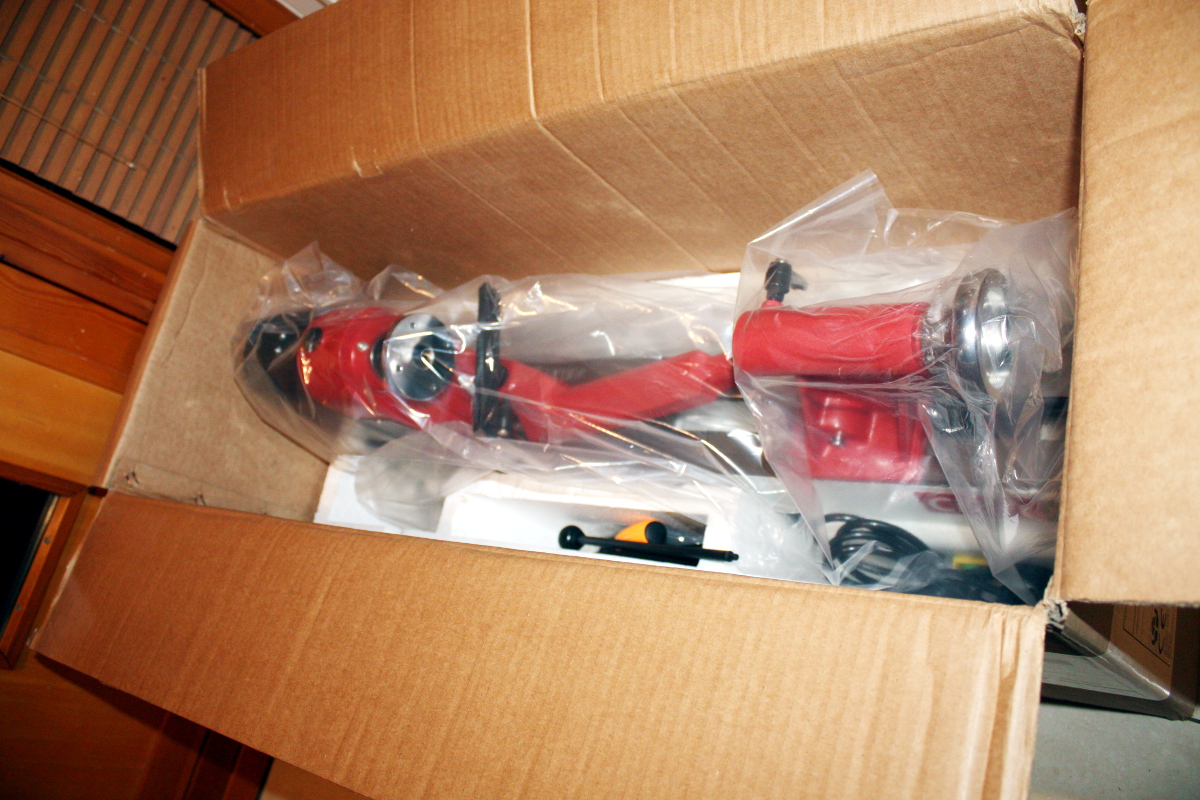
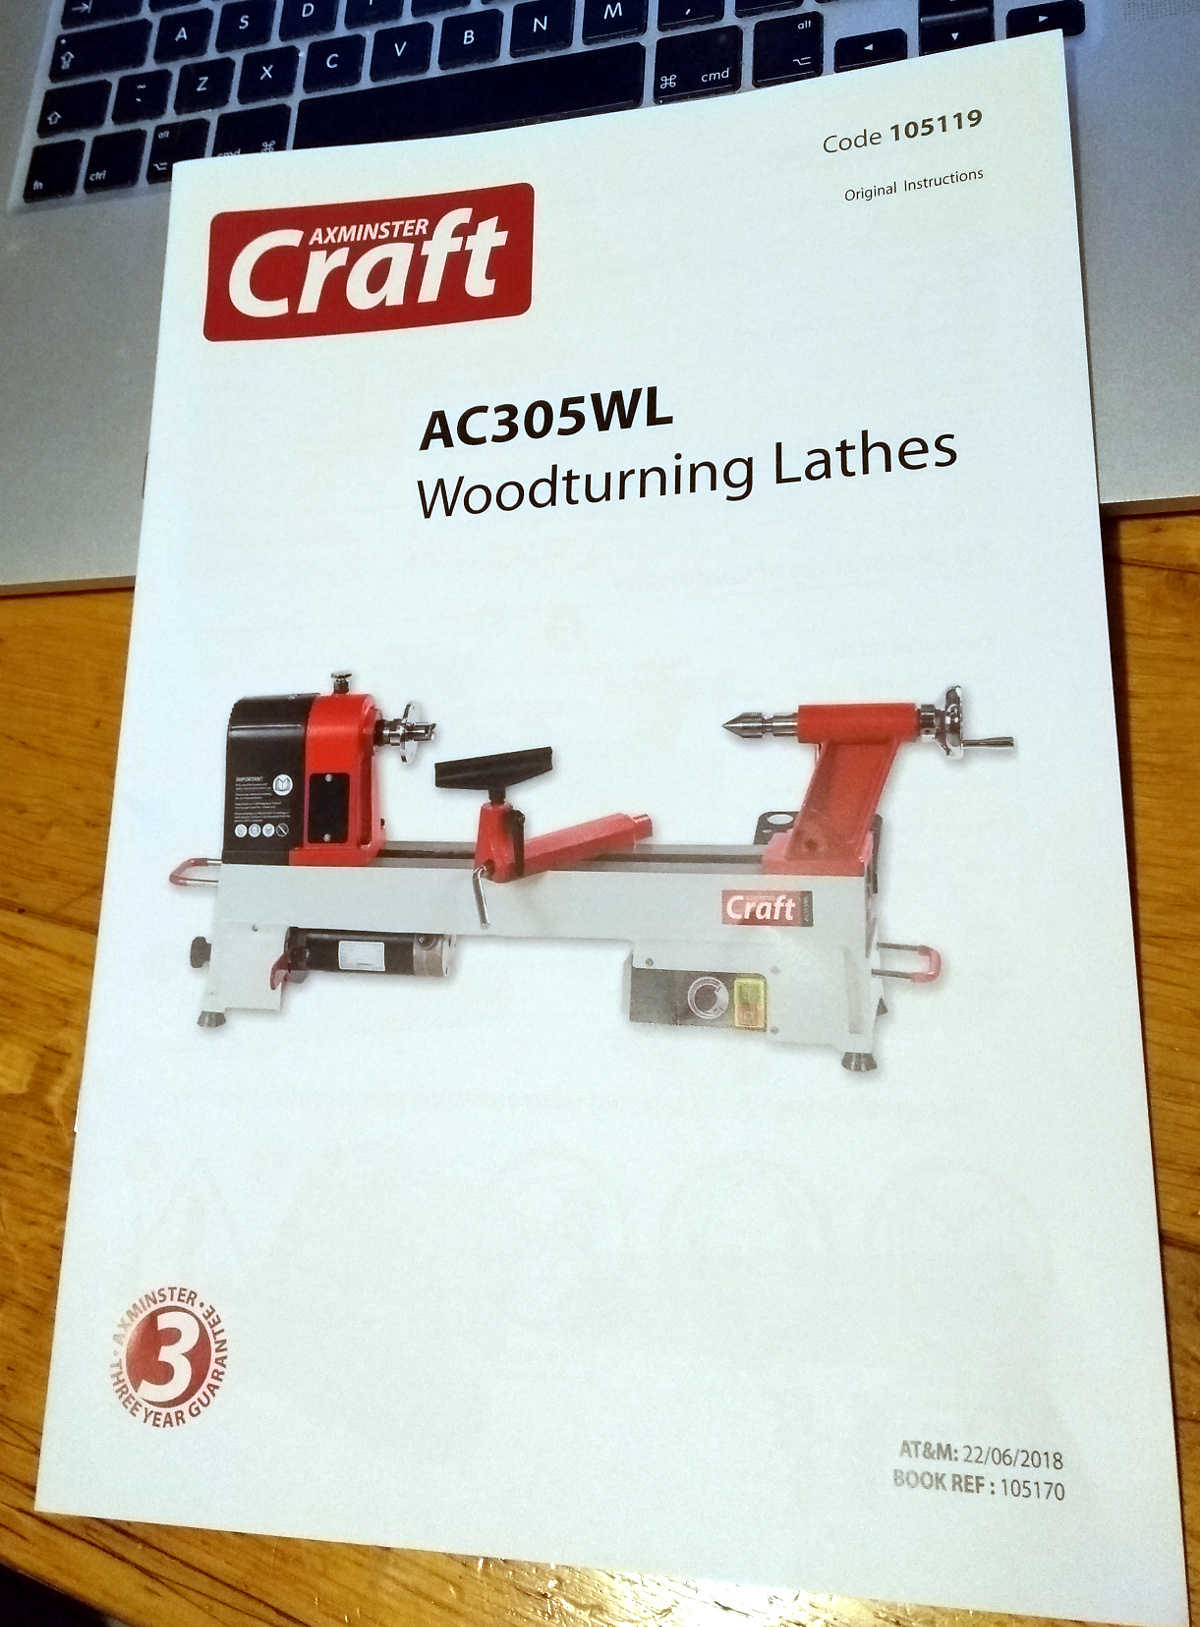
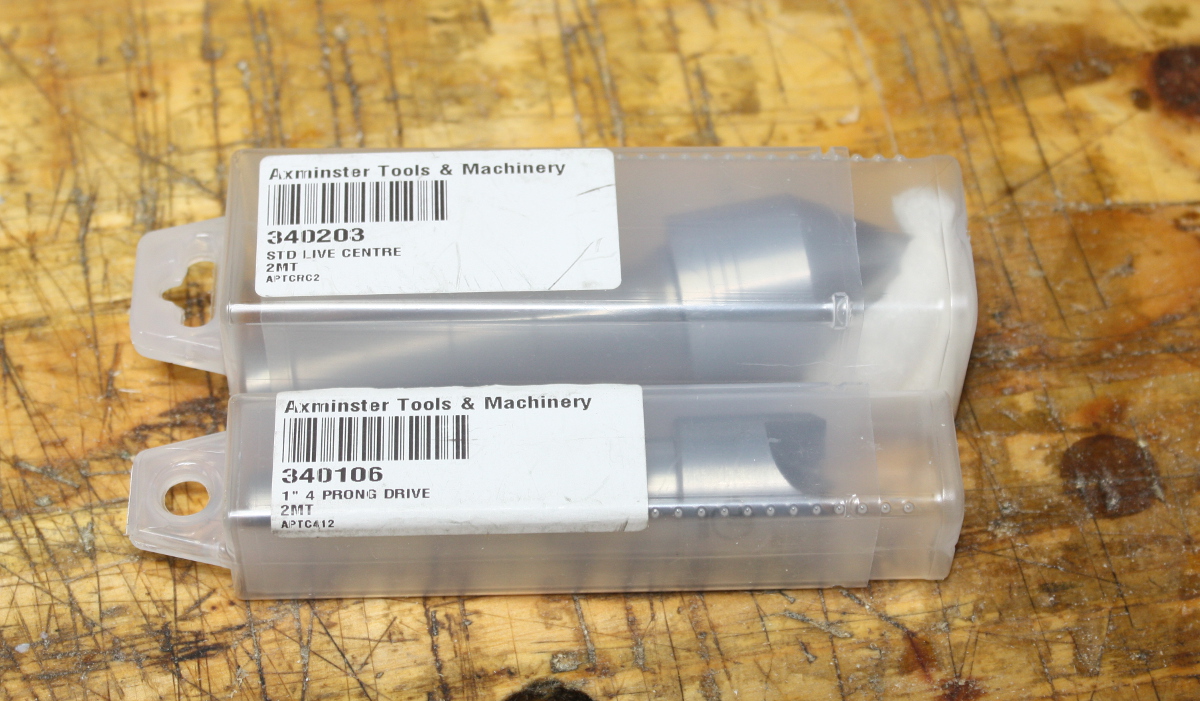
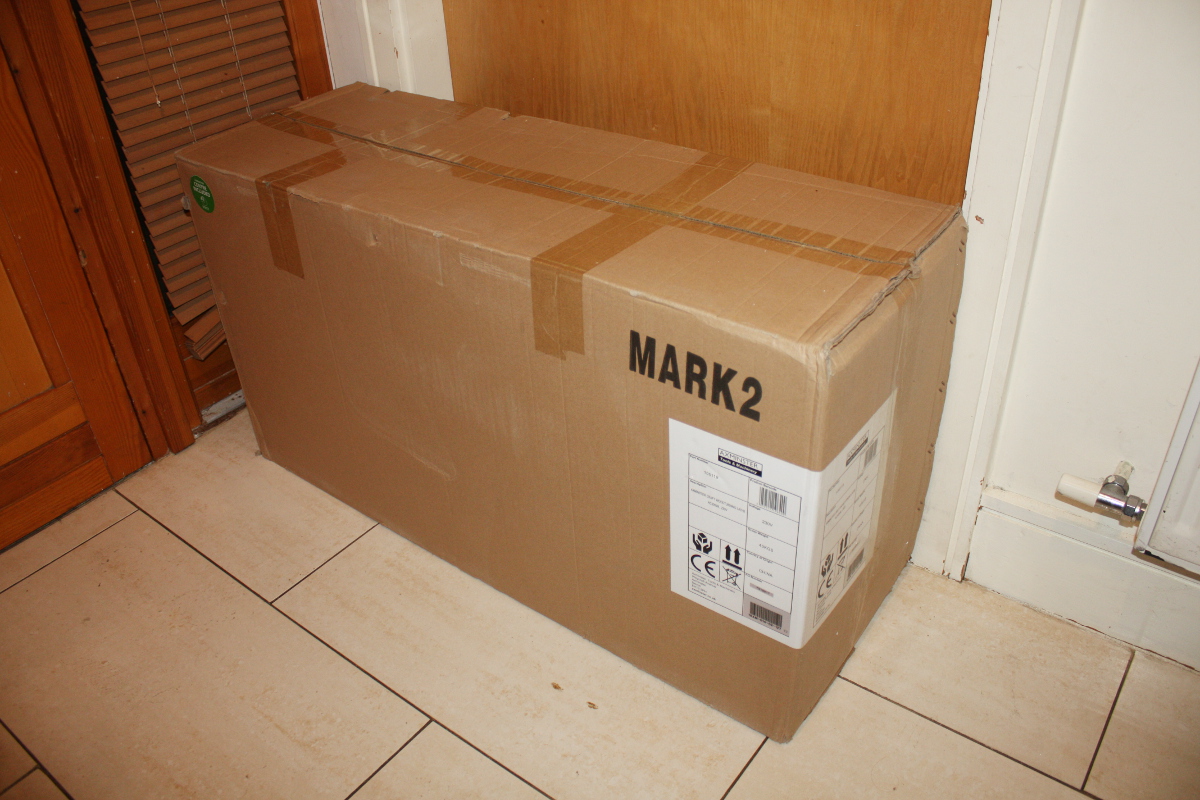
….yeah. So maybe I shouldn’t walk round a tool shop with a lot of gift vouchers. Herself got me a woodturning course for xmas that starts in a few weeks, so it’ll live in the box for a while yet because this one really could do you some mischief, but it’s a decent solid beginner’s lathe and yes, yes, I know, there’s no room, but I Have A Plan dammit…
So about that tumble drier I was sharing space with. Well, it was long dead, and nobody wanted it anymore, so it went to the recycling center, who took AN ENTIRE TUMBLEDRIER FOR FREE but oh no, a bag of wood shavings is far too much to cope with…
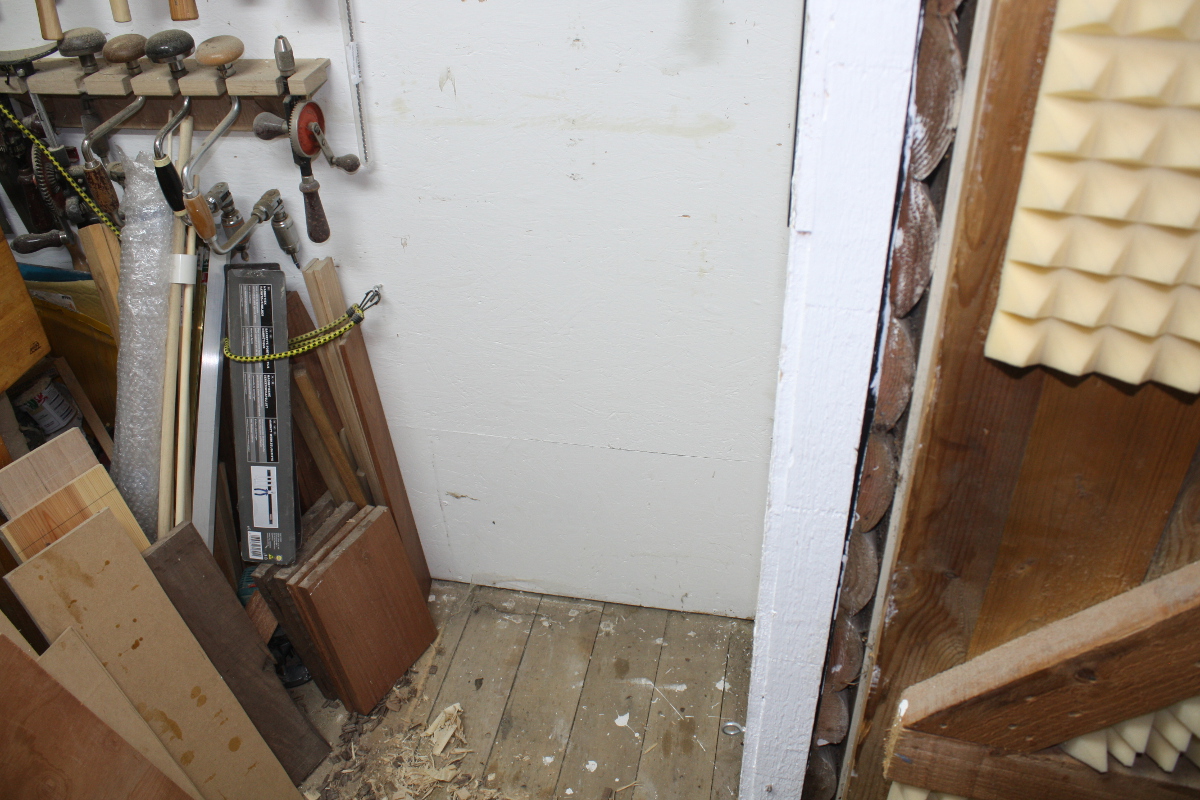
Ah, right, yeah, the stuff that was on top of the tumble drier. Okay, let’s put it in the precious empty floor space for now…
Don’t you be making faces at me, you’re not there for long, I’m using up a chunk of the beech and poplar that’s taking up room in the far corner in order to make a lathe stand that won’t take up all of the space the tumble drier is no longer using up, and then I can put the lathe there and all this stuff can go in the far corner where there’s some room and under the lathe stand along with the pillar drill to make more space and weigh down the stand, and all will be right with the world.

Er. Yeah. Well. Er.
Look — good tequila, 3am on new year’s day and a 30% off sale on banggood.com aren’t the wisest mix, okay? Besides, look, it has actual uses for the shed. I mean, look at this nonsense:
I mean, come on, that’s daft. How many fittings? I damn near had to drill into the ceiling for this for pete’s sake. With the 3D printer I could just print off a cyclone that had a 4″ port right there. Or an adapter that fitted both the 4″ hose and the 2″ port perfectly and had a 180 degree bend as the hose is coming up from below. And there are lots of things like that you could do with one.
See? Now all I have to do is… oh, crap, I have to tidy up the lab to make space for the printer first.
…sigh…
Right. I guess I get to go visit Bob again so. Good think I bought that faceshield I guess…