19
Jan 20

Lathe stand

Slow week for the shed, not much time spent there. The lathe stand is the thing at the moment, have to get that built so I can get the lathe out of the hallway, and start to tidy the shed back up again. So the plan is to make something that is a bit minimalist instead of overbuilding the carp out of it. Most of the designs I came across were basically an inverted T with the lathe mounted on top and all the weight available piled on the bottom in the form of sandbags, bricks, concrete and so on, which is okay, but if I do that I won’t have room to get into the shed afterwards and it’d still be tippy even if I bolted the thing to the floor because I’m a bit taller than the average 1930s person and so the centers of the lathe should be 47″ above the floor.

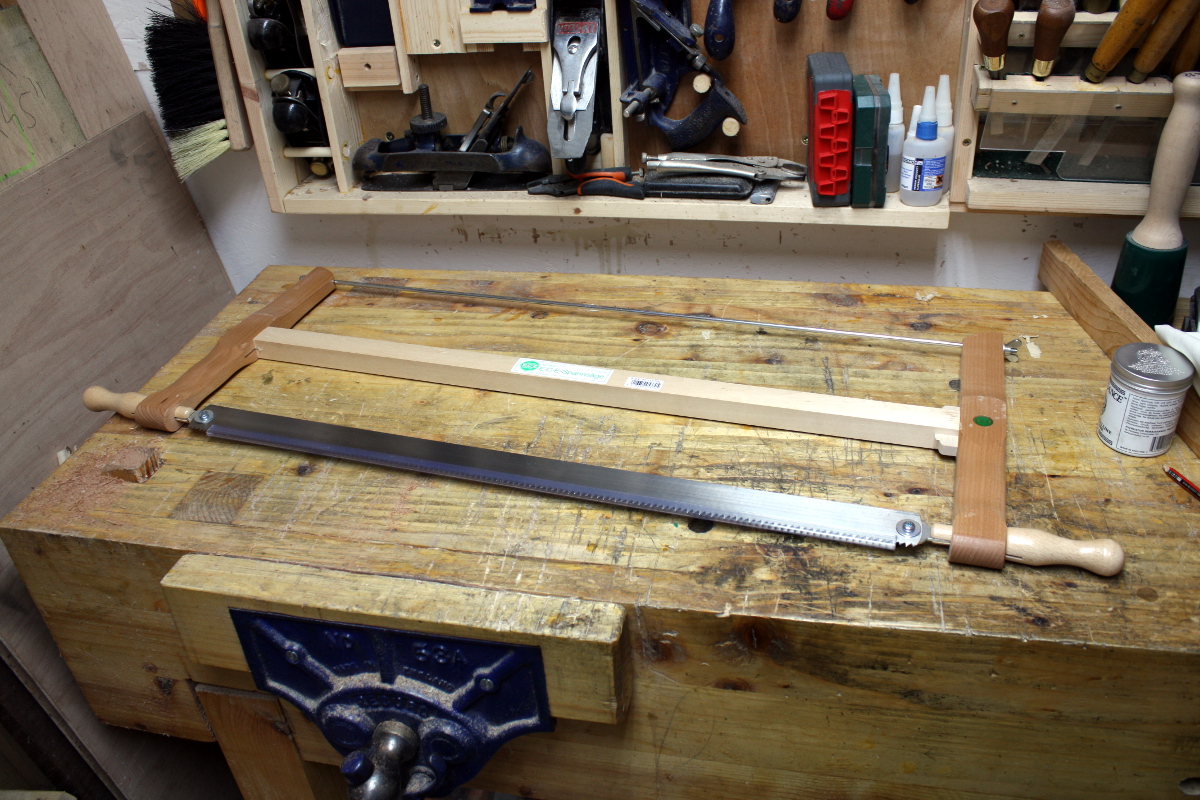
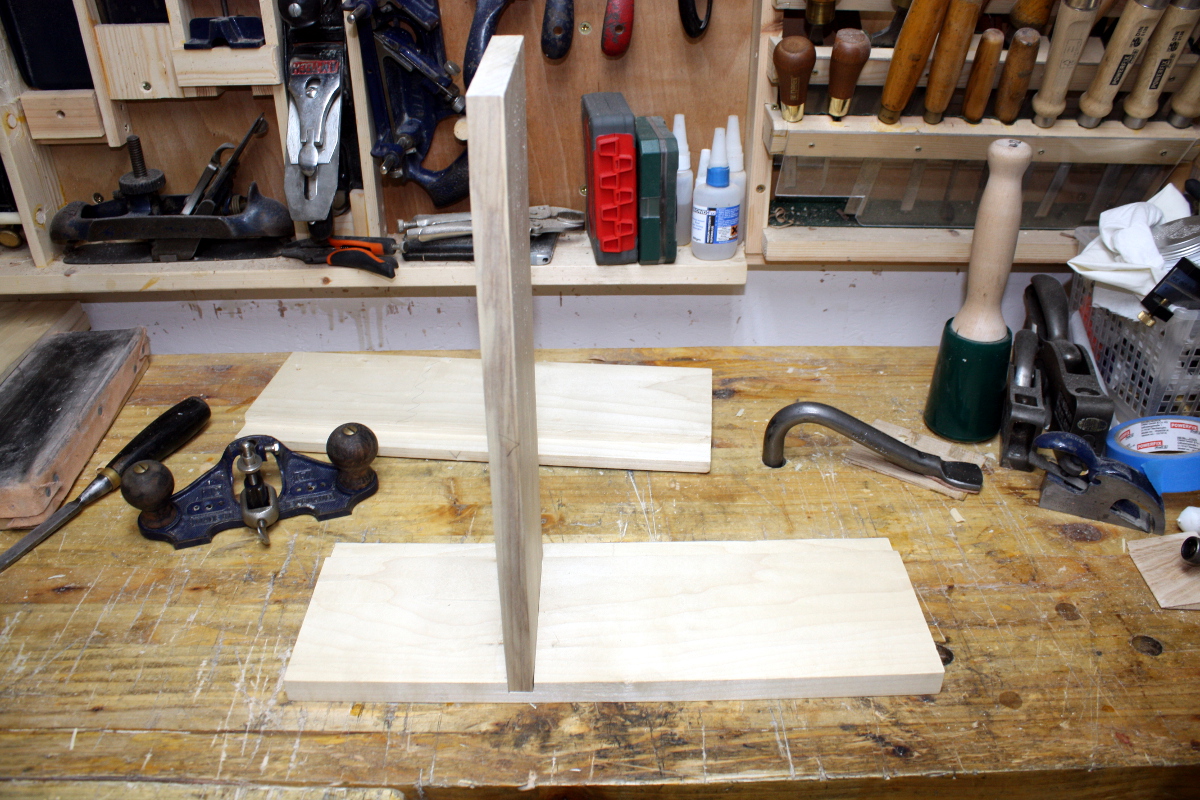
So instead I’m going to build what will effectively be a tall sawhorse following Paul Seller’s plans:

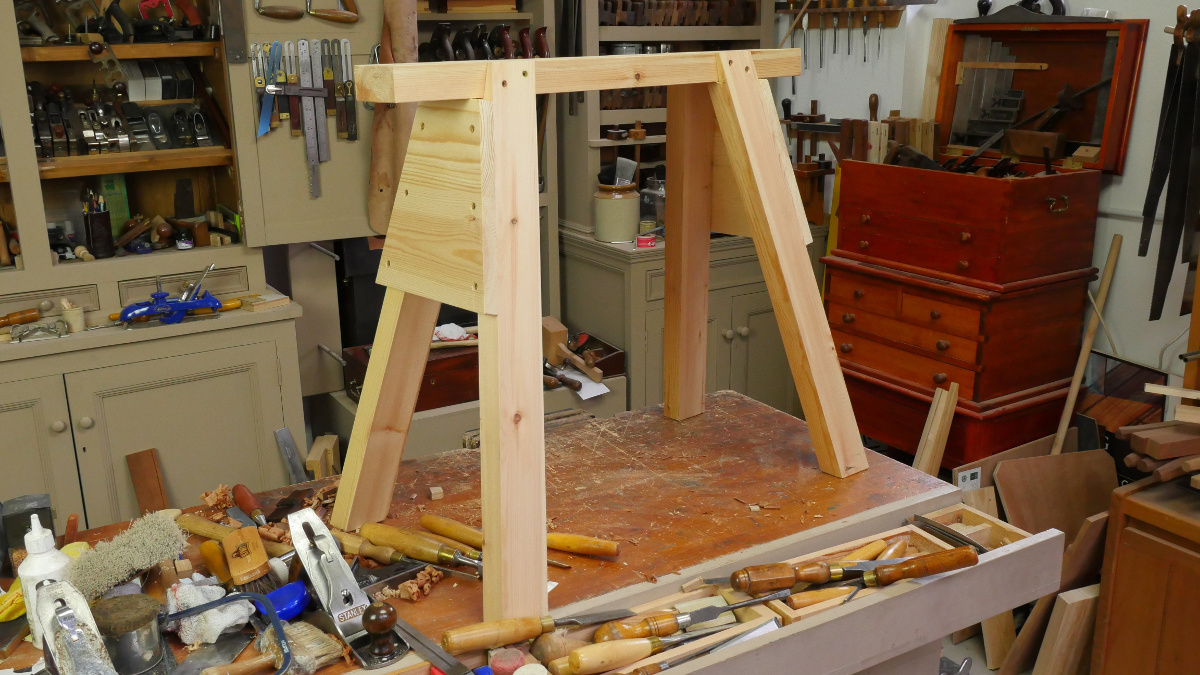
Since the tops of the legs get a birdsmouth cut in them, the weight of the lathe goes down via compression into the legs and since they’re both spayed and raked, they resist vibration via geometry. I’ll also have the legs standing on some 19mm thick boards that will tie the front legs to the back legs and the two back legs together (the two front legs won’t be so I can stand closer to the lathe), and there will be an inch-thick board on top of the whole affair that the lathe bolts to and I’ll try to let the legs come up above the crossbar to mortice-and-tenon into that board to lock it all together.

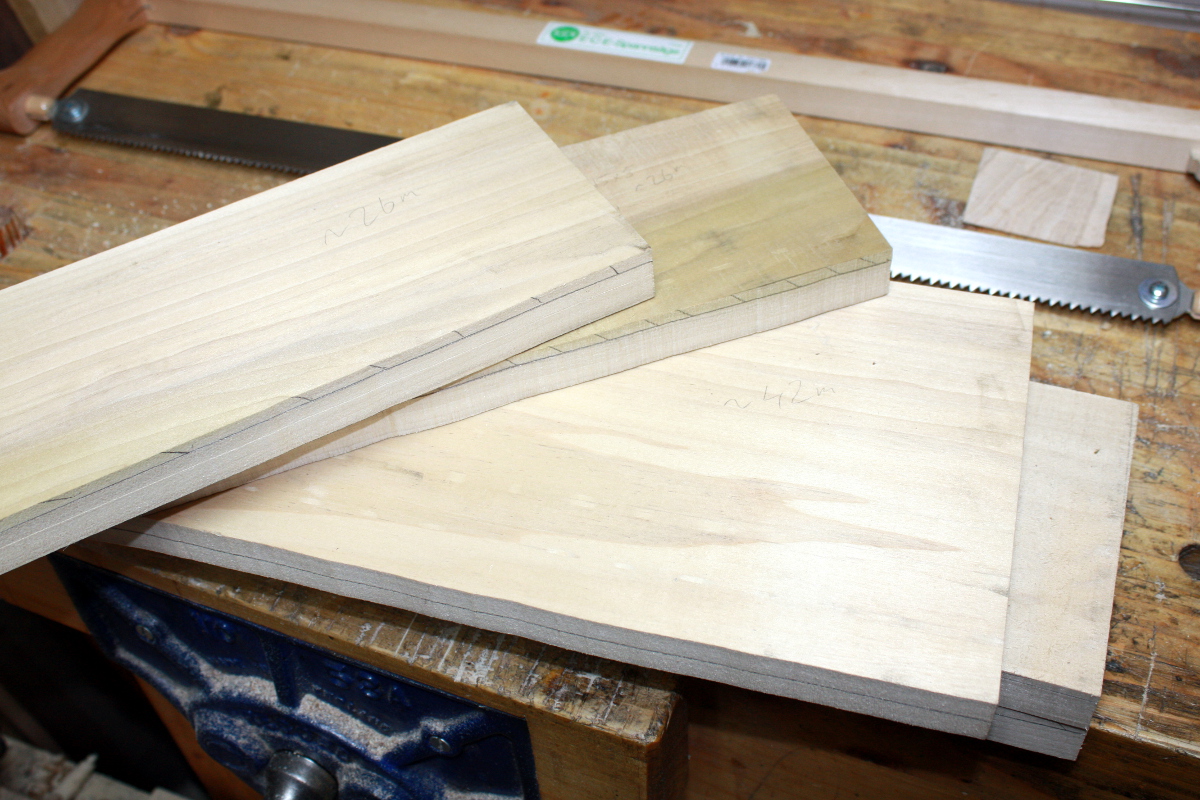
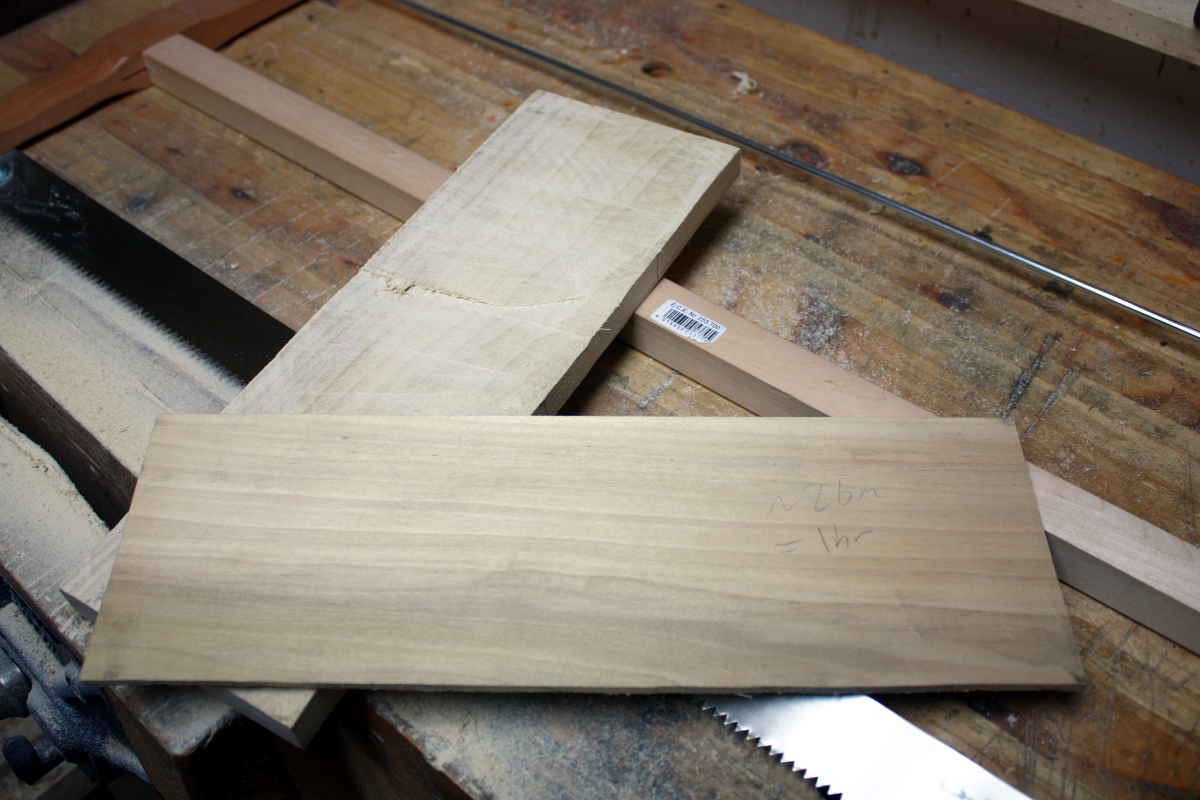
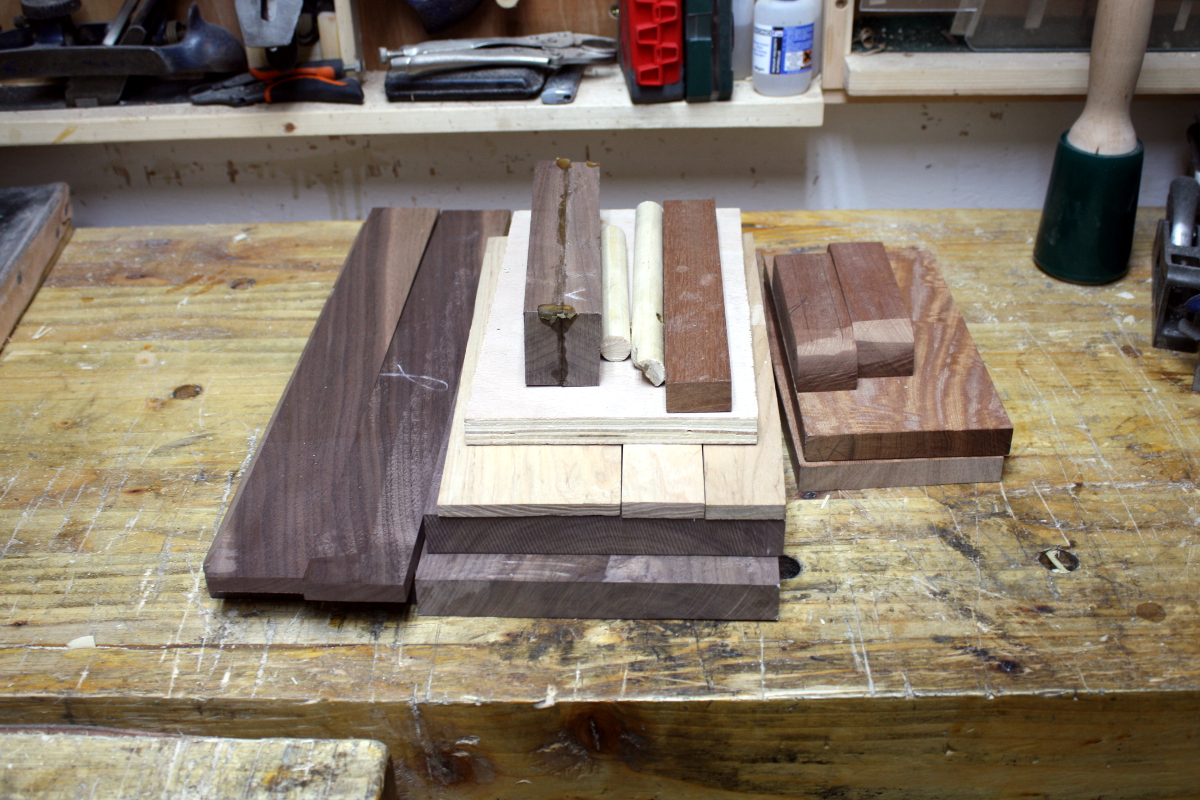
Since I’m trying to get space in the shed, I’m using whatever material I have to hand, which means laminating inch-thick beech for the legs…

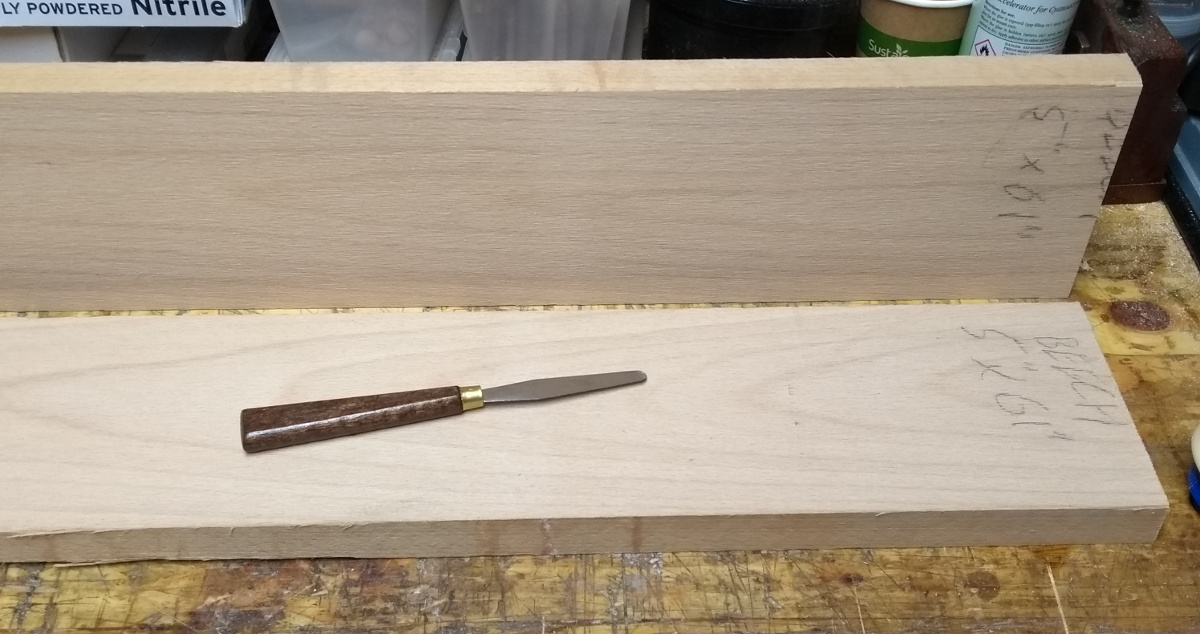
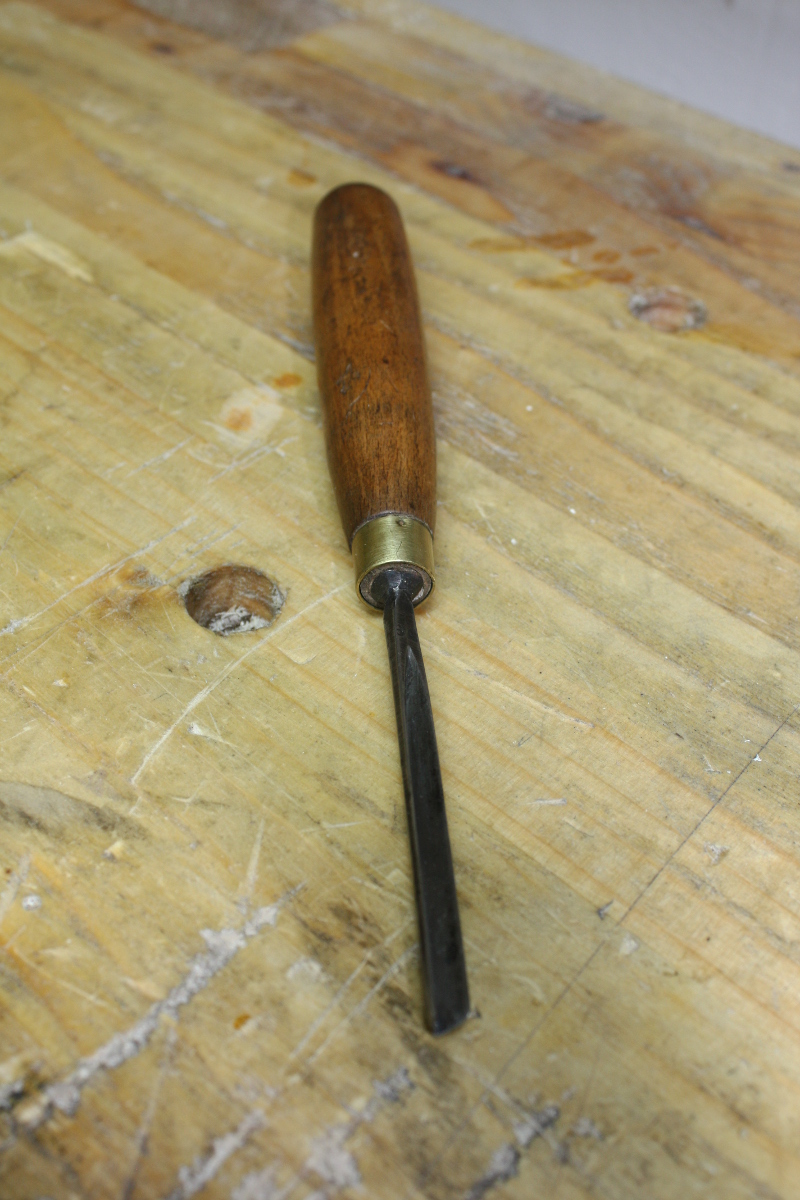
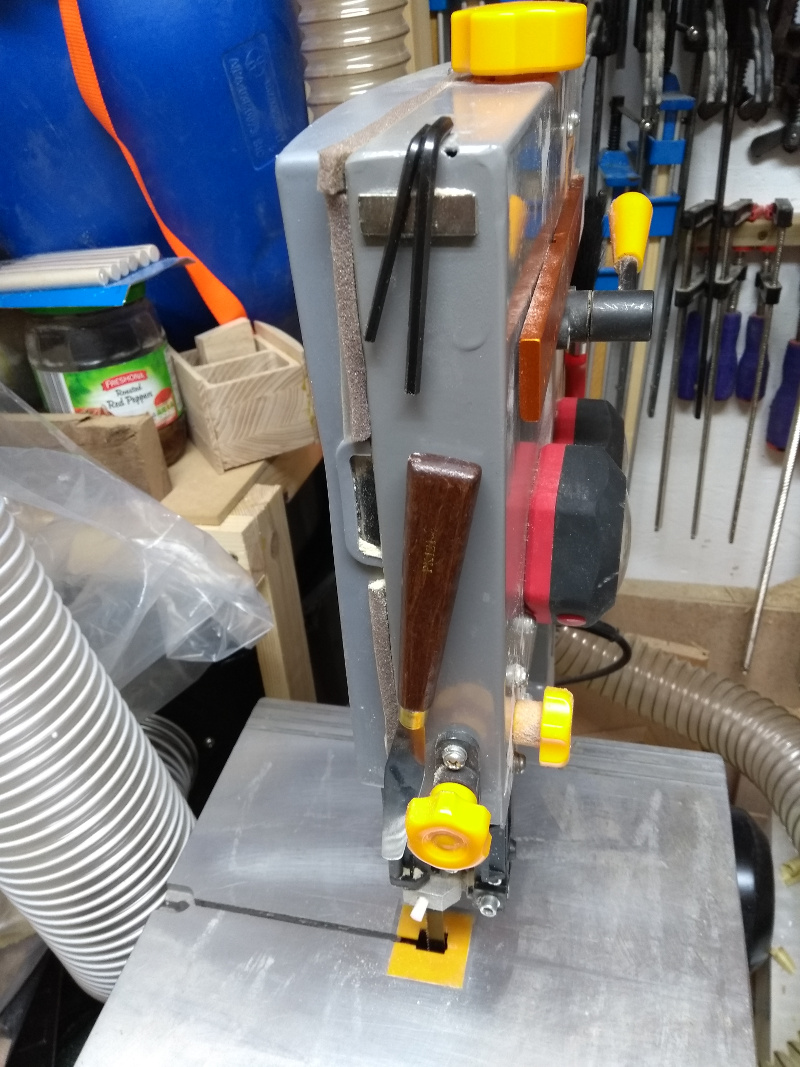
New toy idea here, that’s a #4 artist’s pallette knife, the blade is a bit flexible. Trying it as a glue spreader. It’s quite good, though this entire face was a big large for it really. Also, drill small hole in the handle, fill with superglue and a neodymium magnet and you can stick it on any old surface…

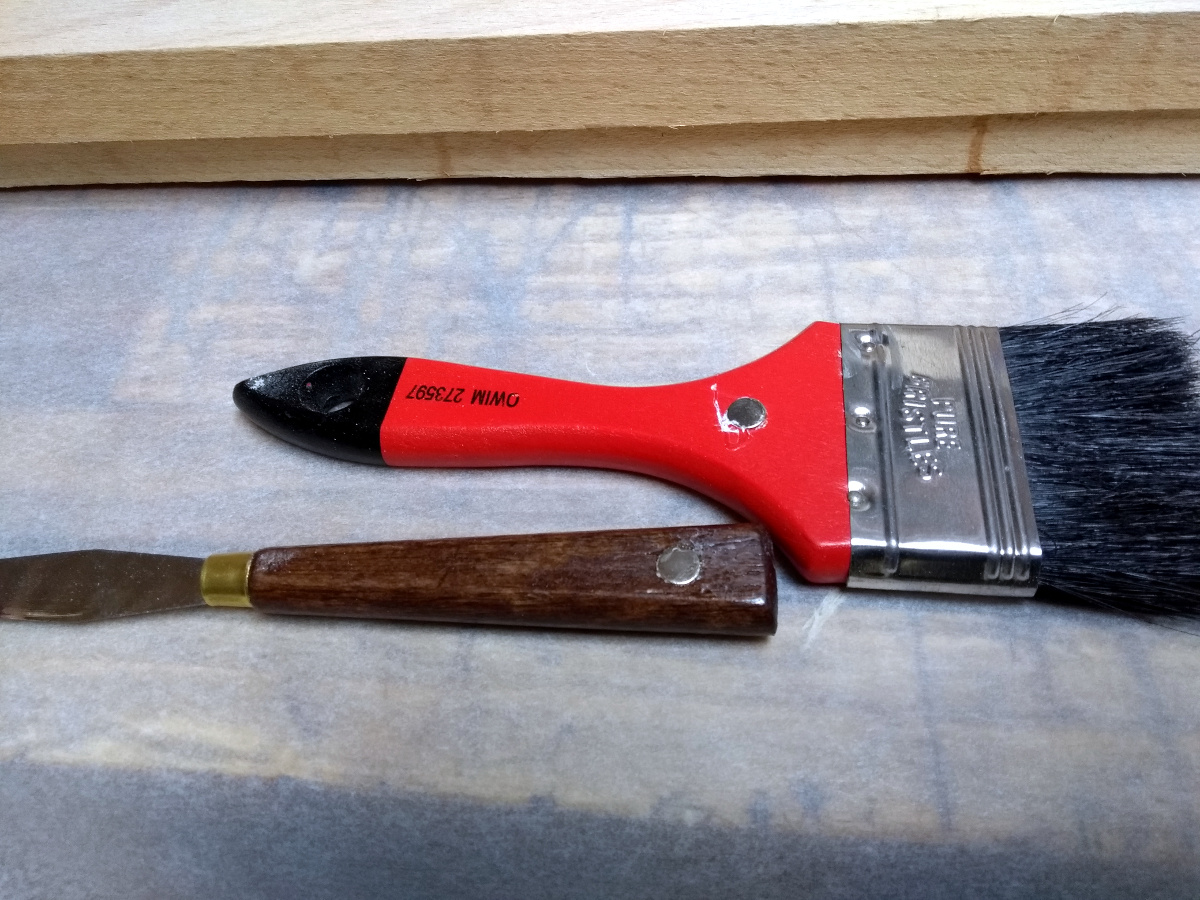
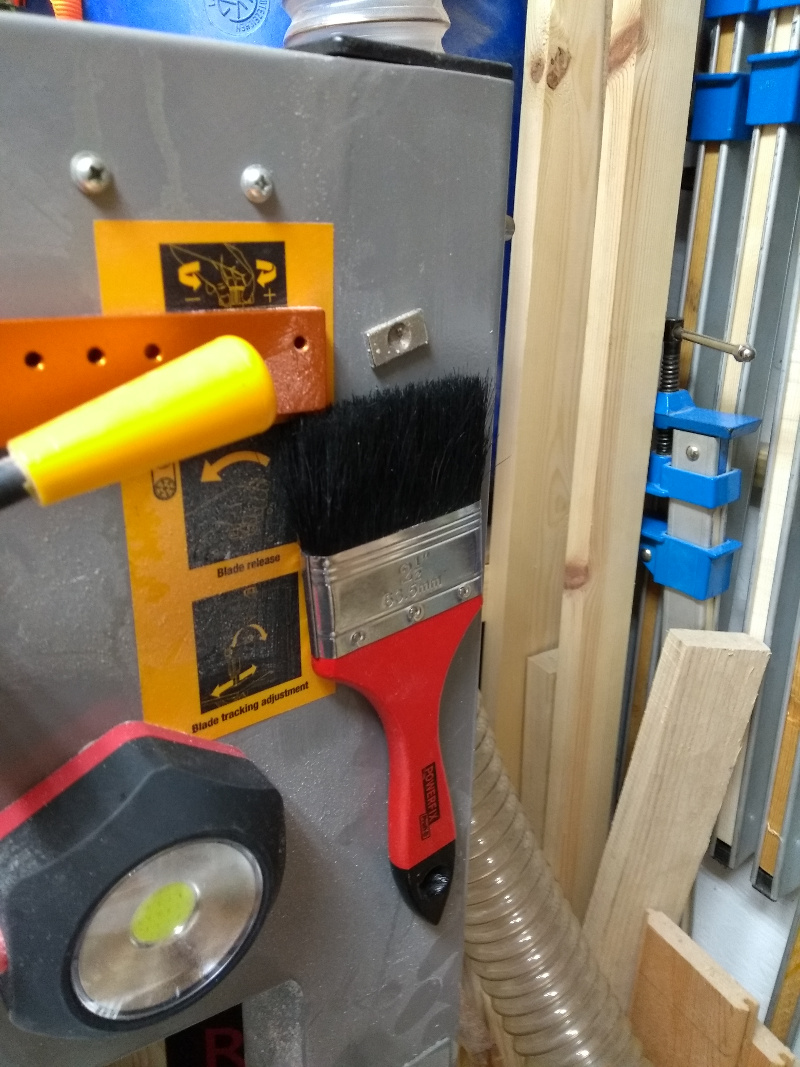
Works for paintbrushes too. Handy for places where you can’t screw a magnet bar to the wall.
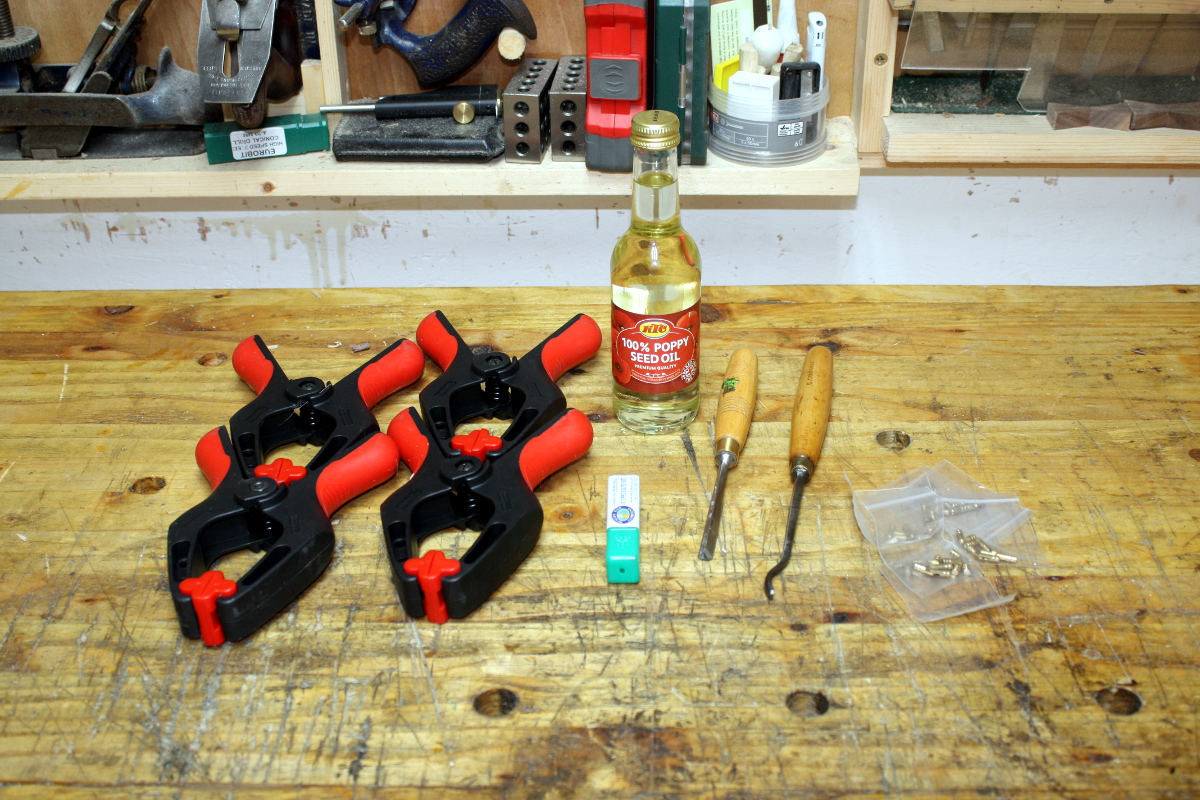
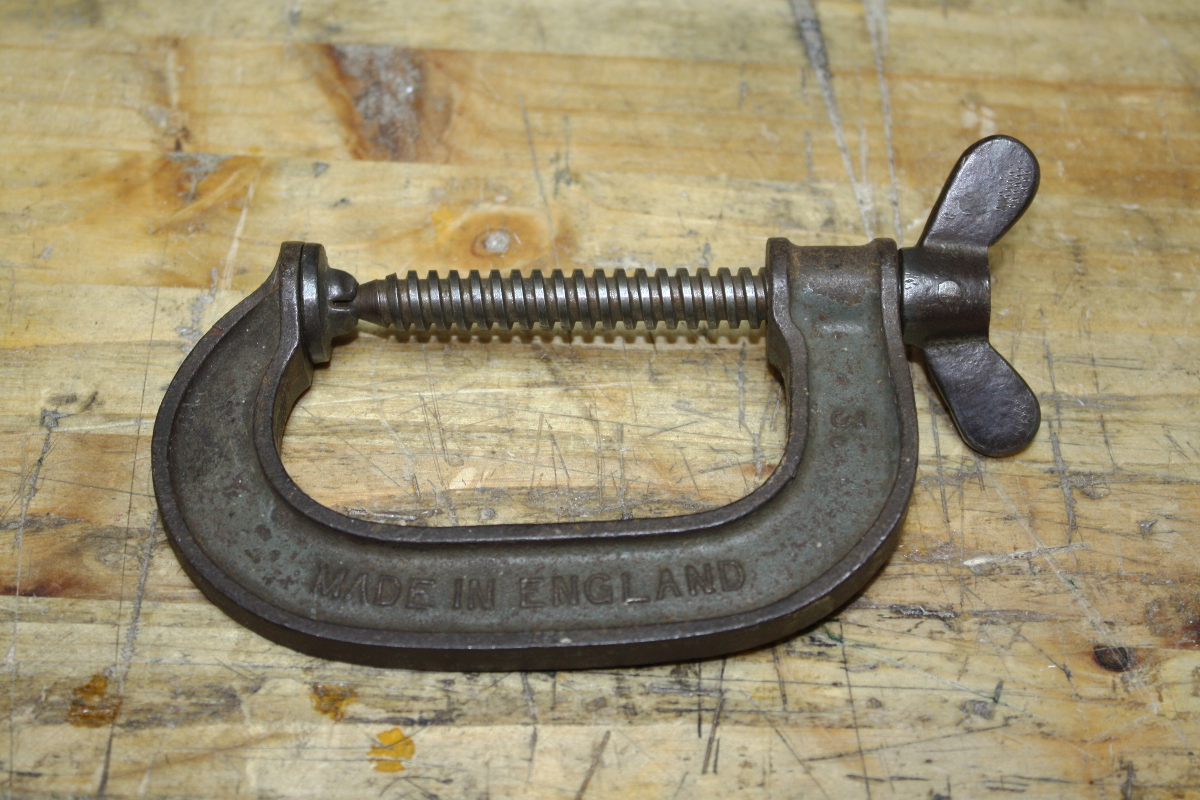
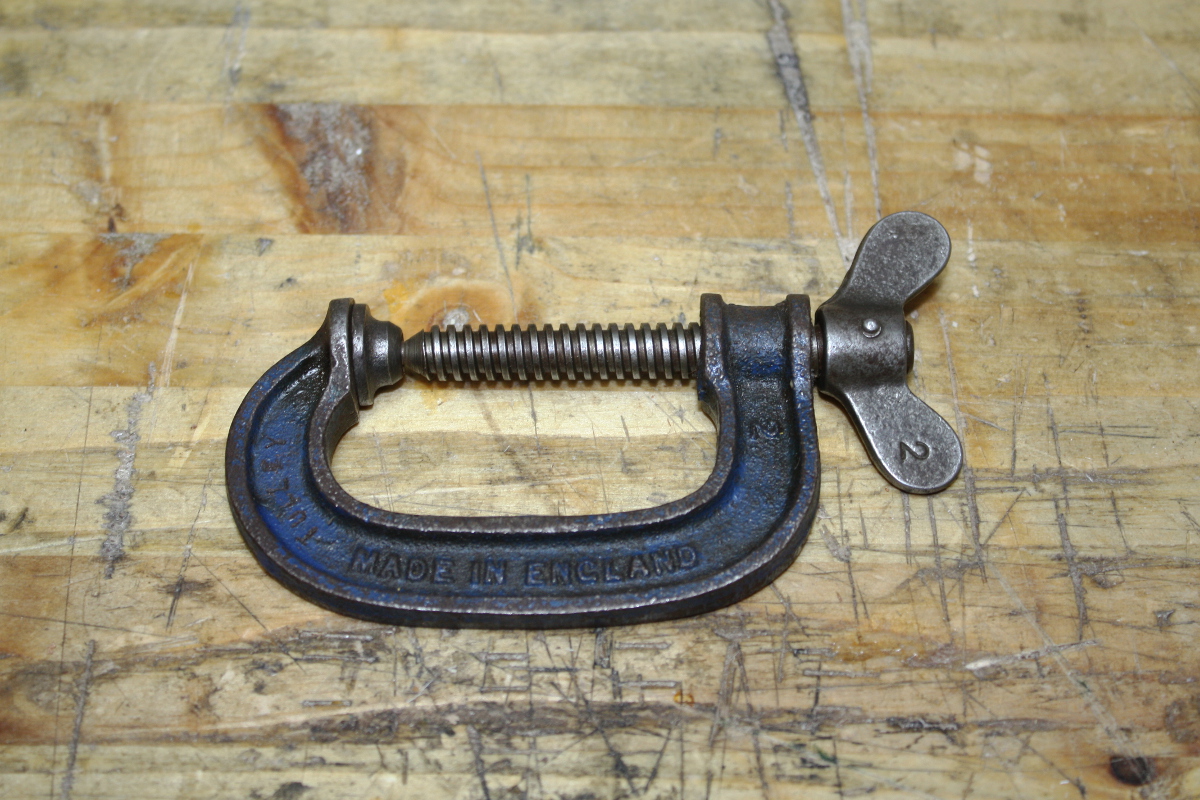
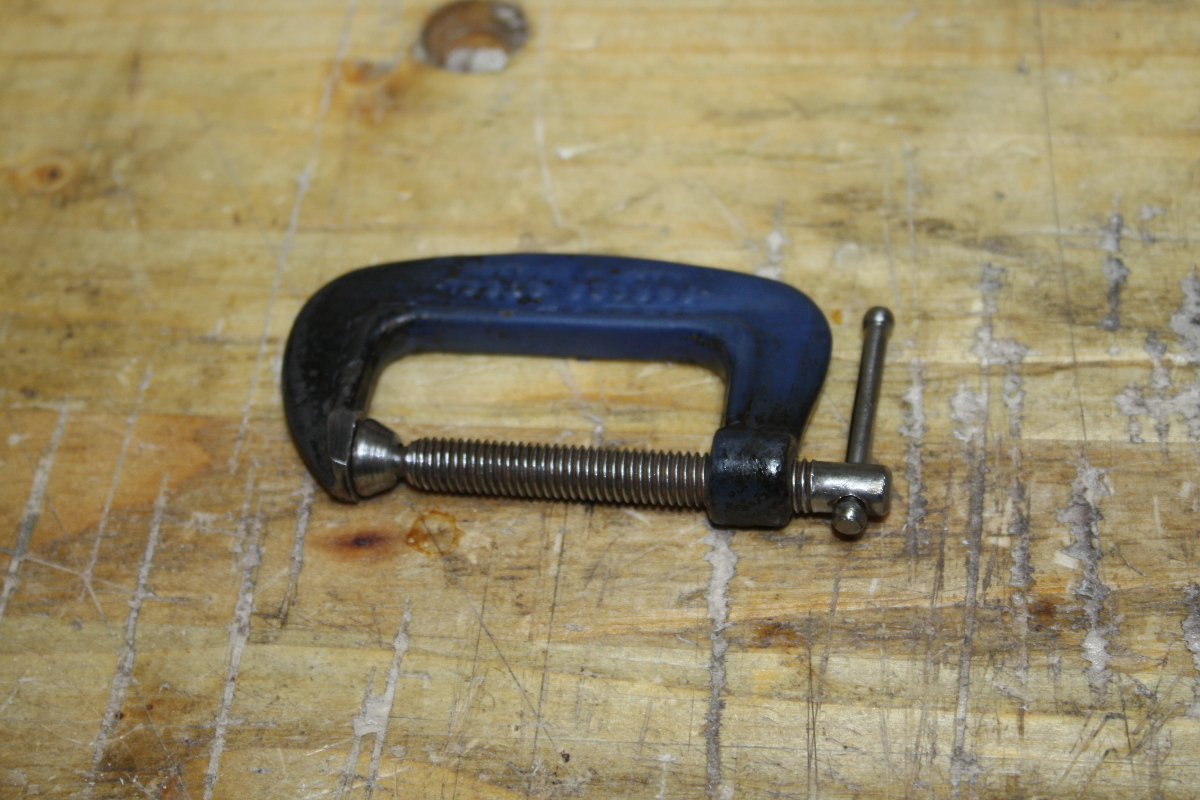
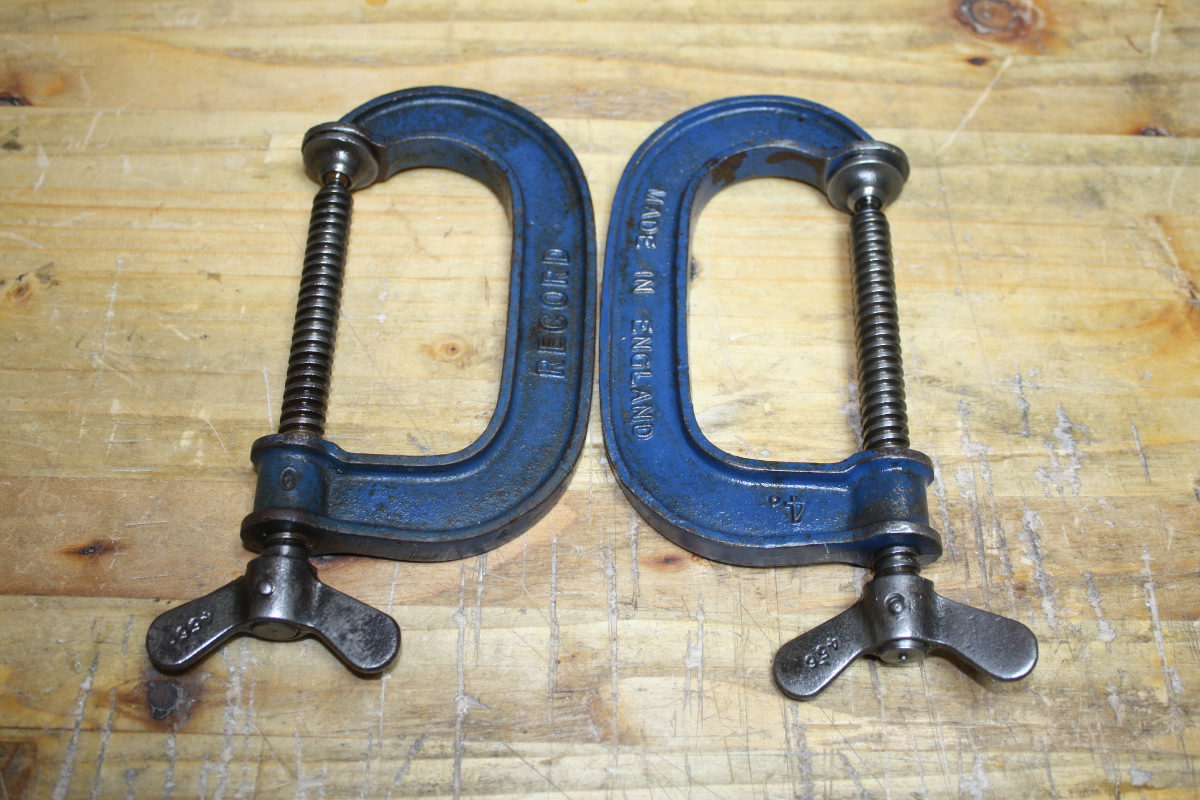
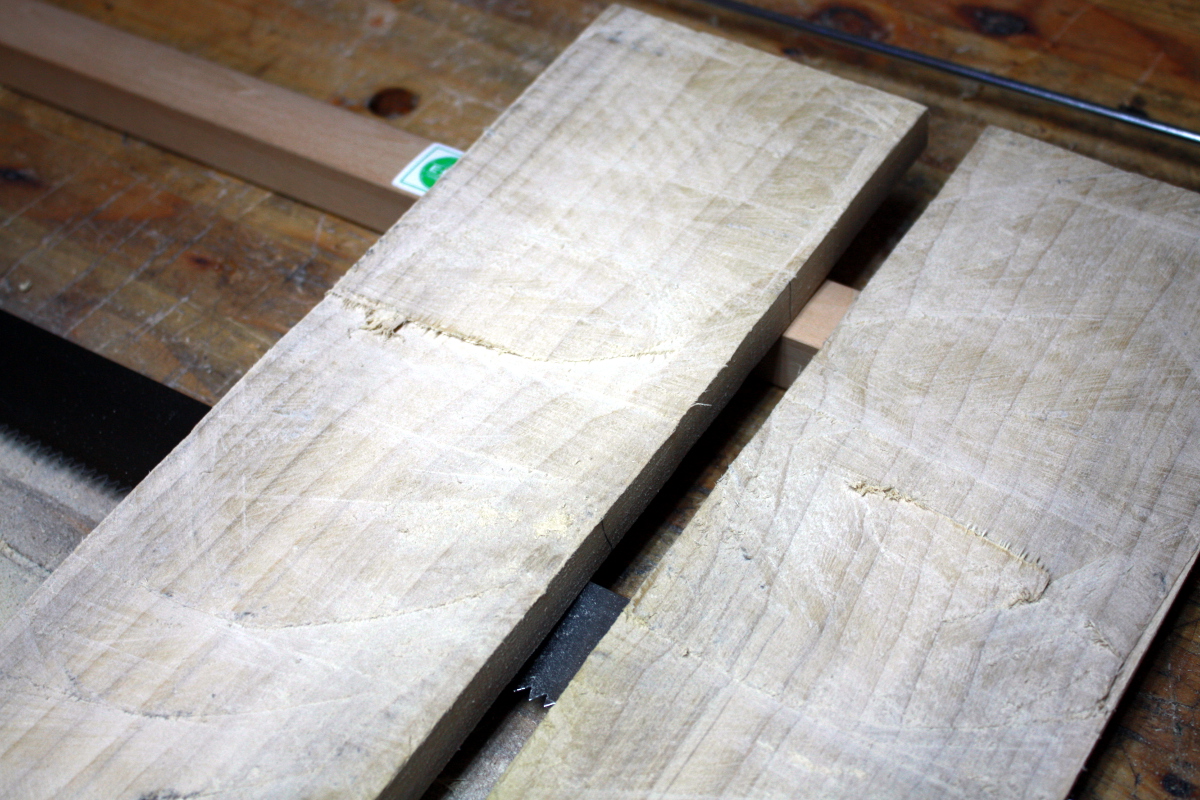
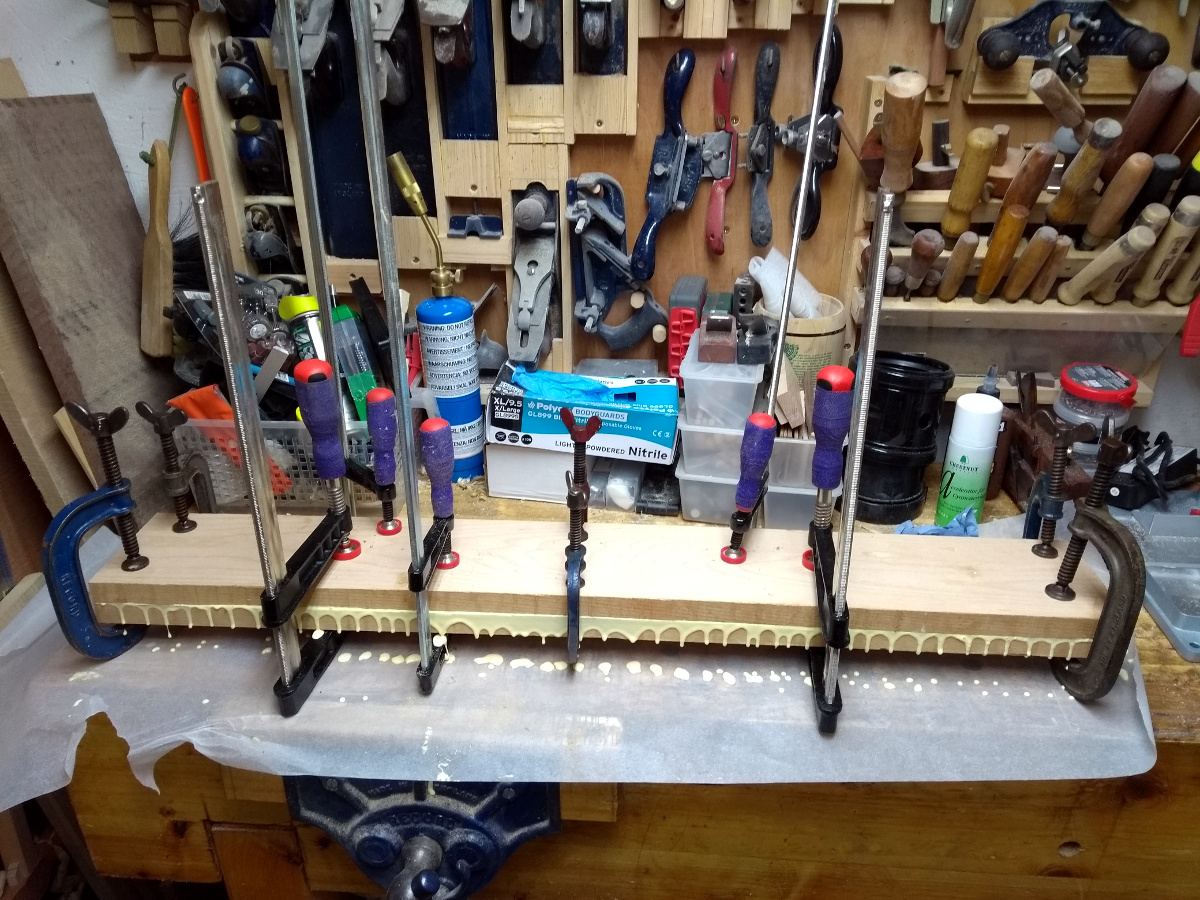
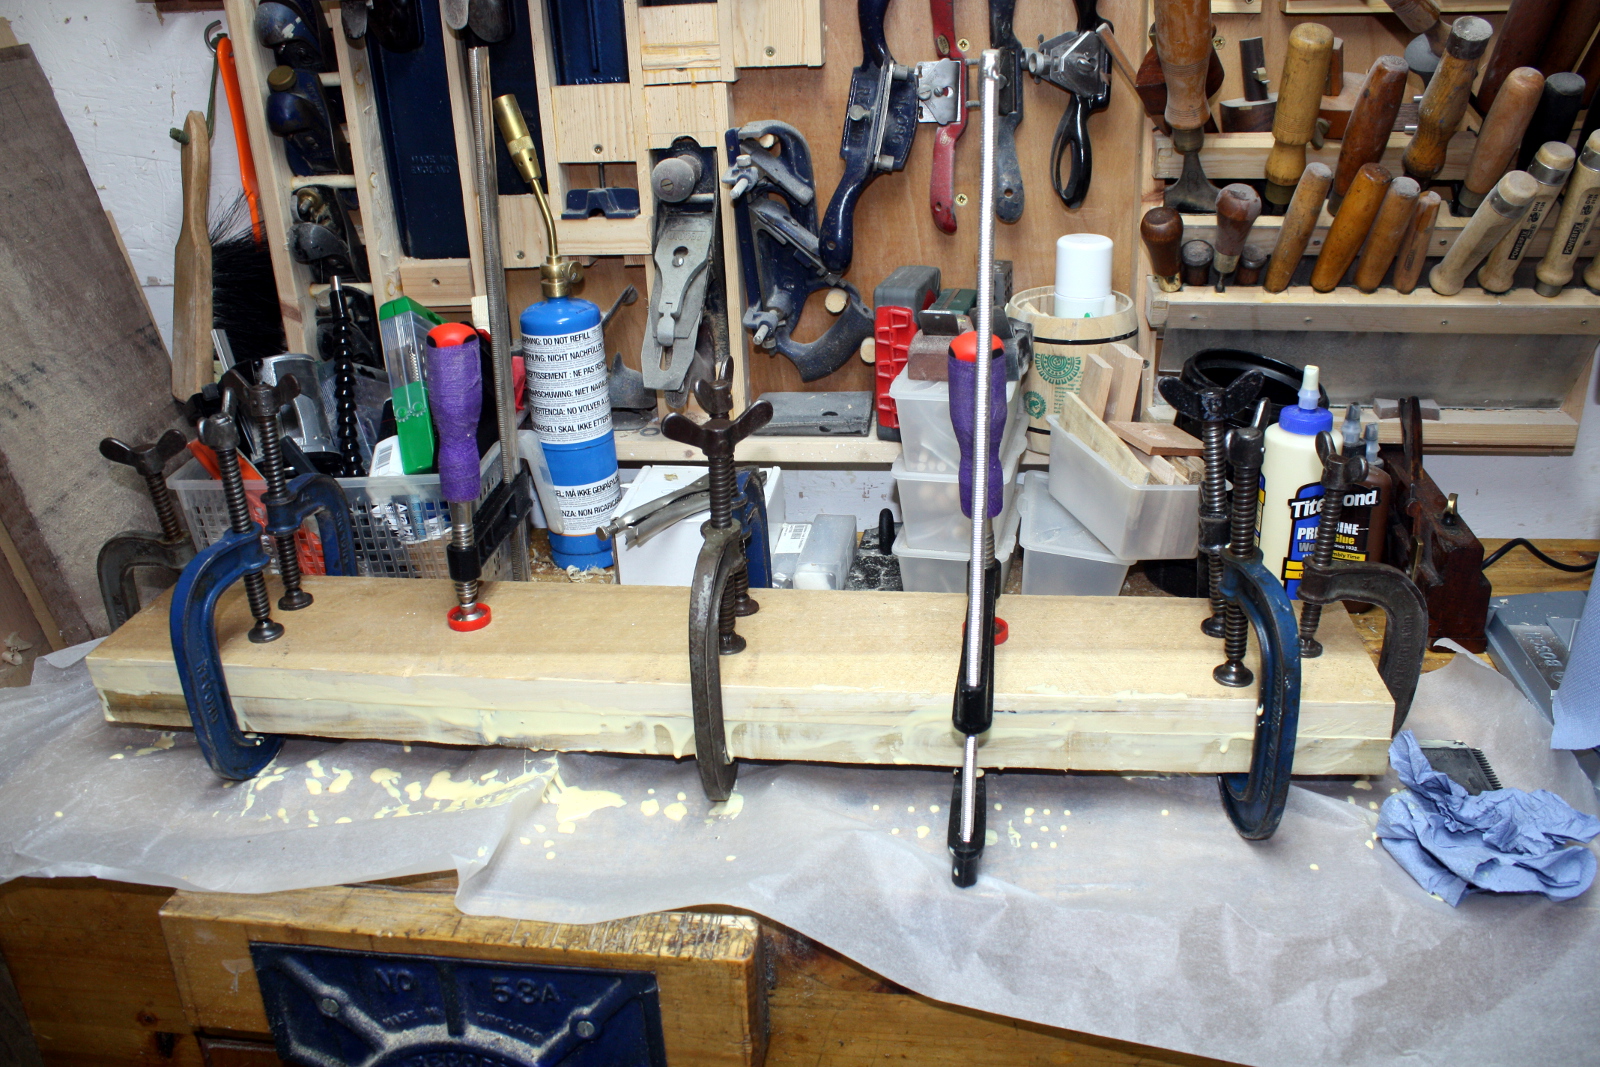
Anyway, on with the glue-up and out with all of the clamps.

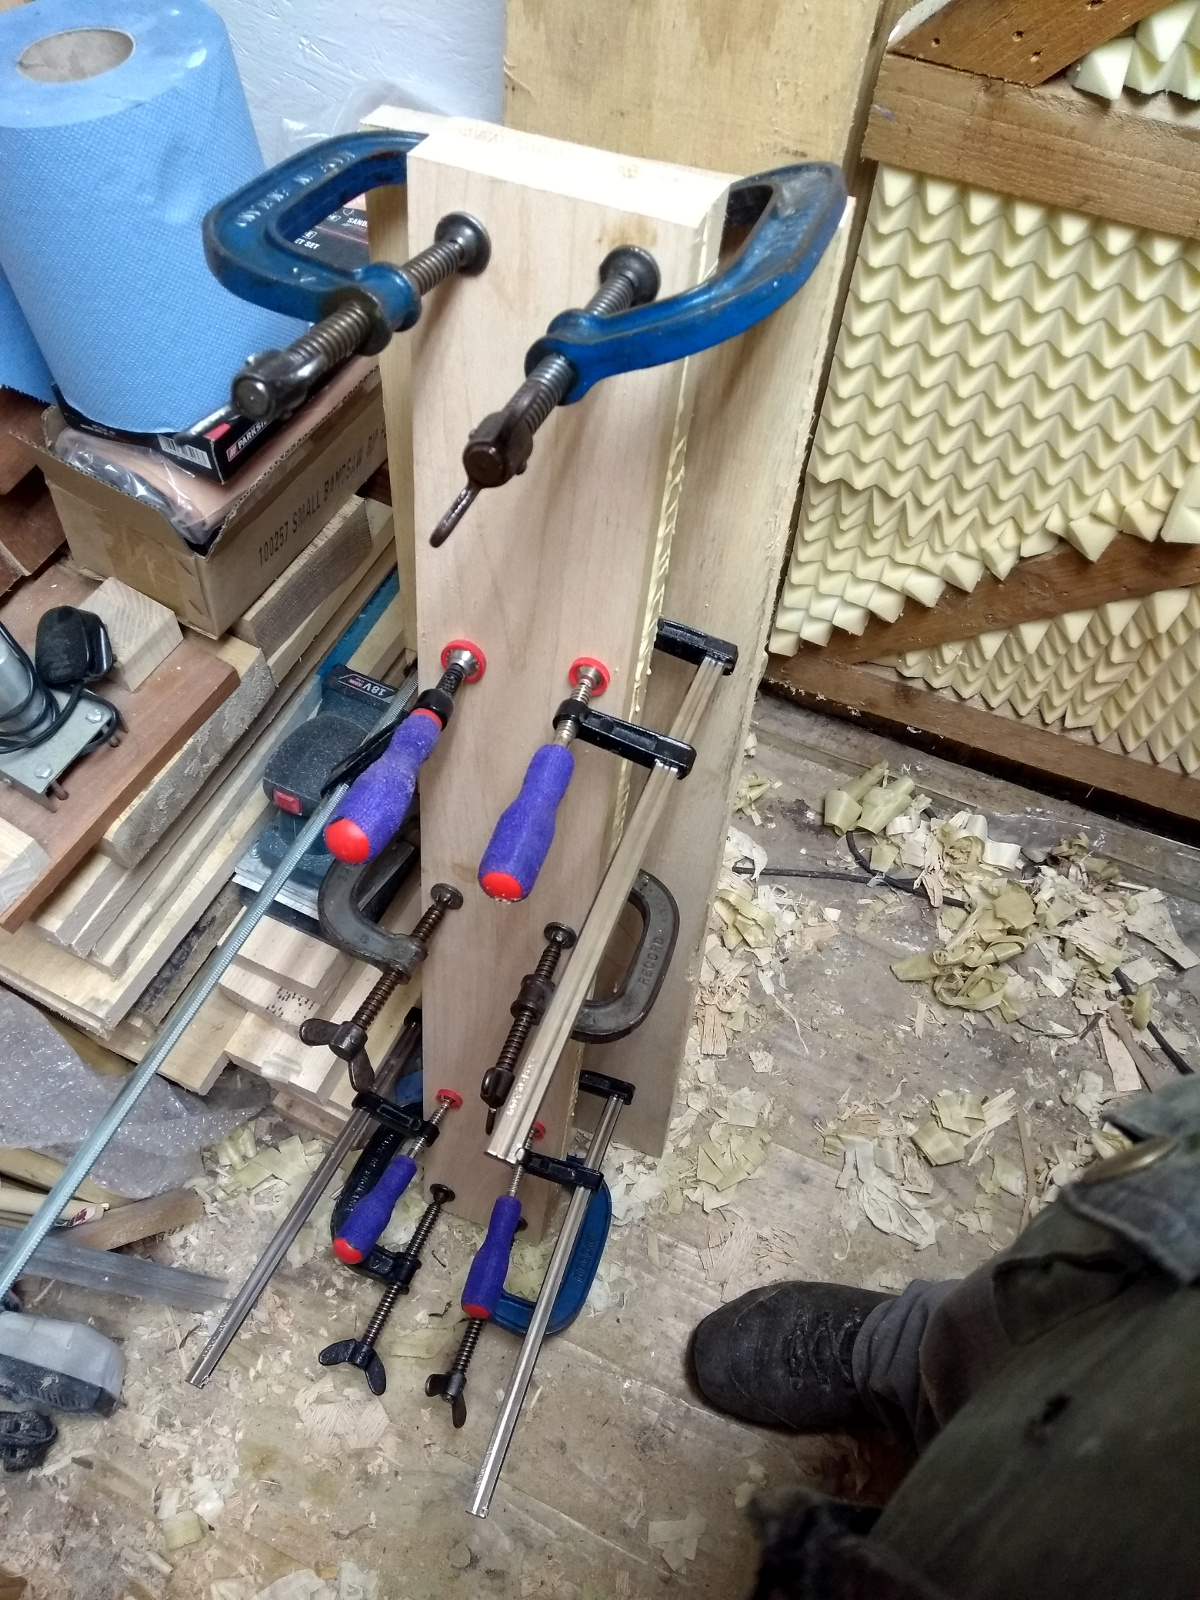
Getting good squeezeout here.

The purple hockeystick grip tape on the handles of those F-clamps was a good idea it turns out, it helps quite a bit. I’d done the glue-up for the crossbar earlier in the week from some 38″x6″ poplar boards that were about 5/4″ thick.

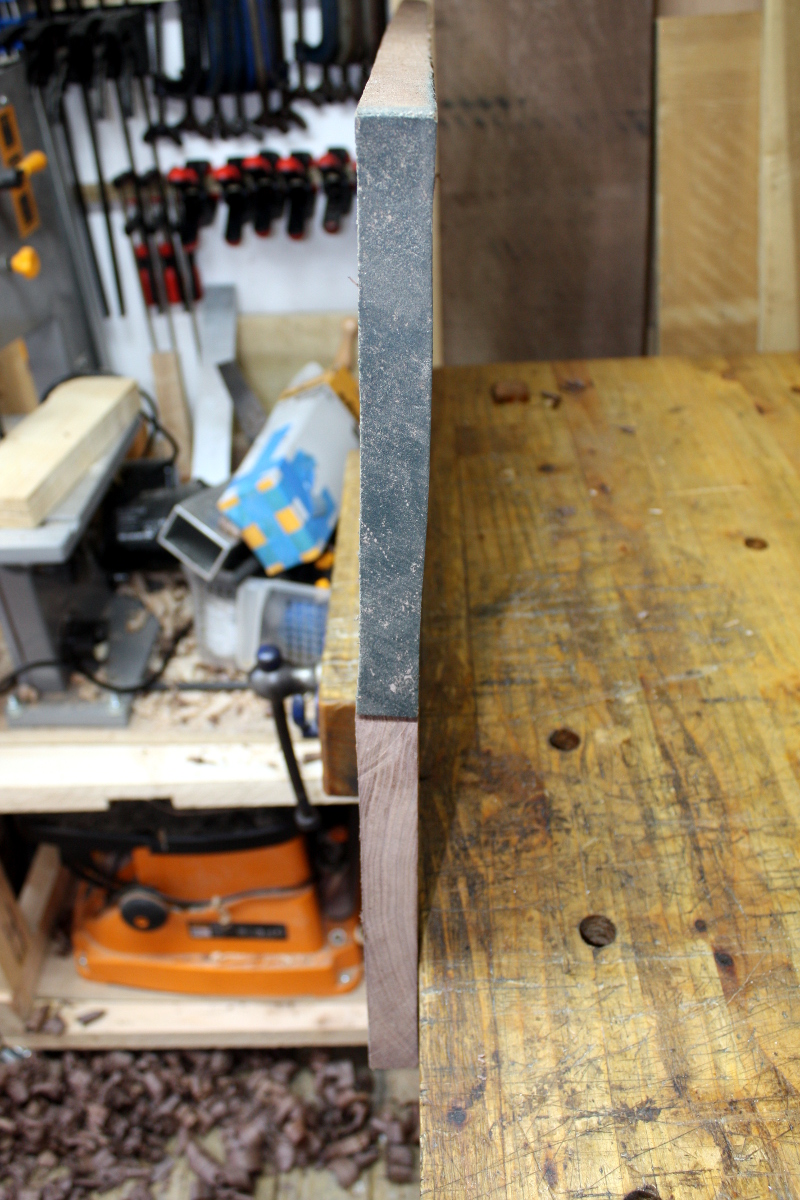
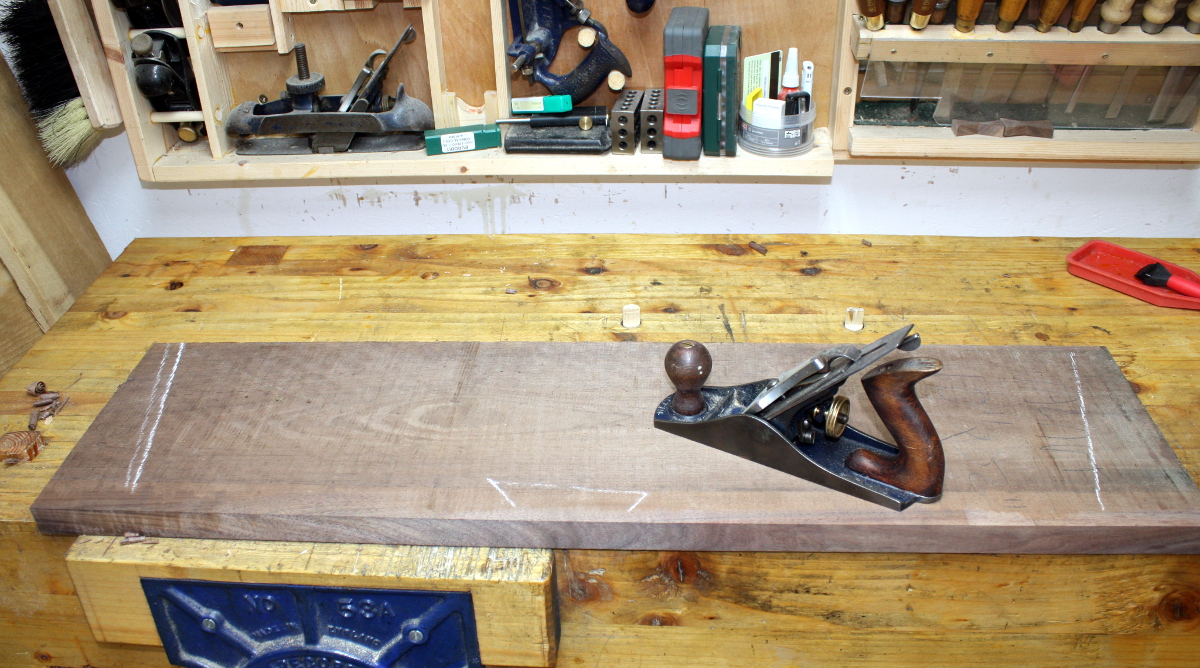
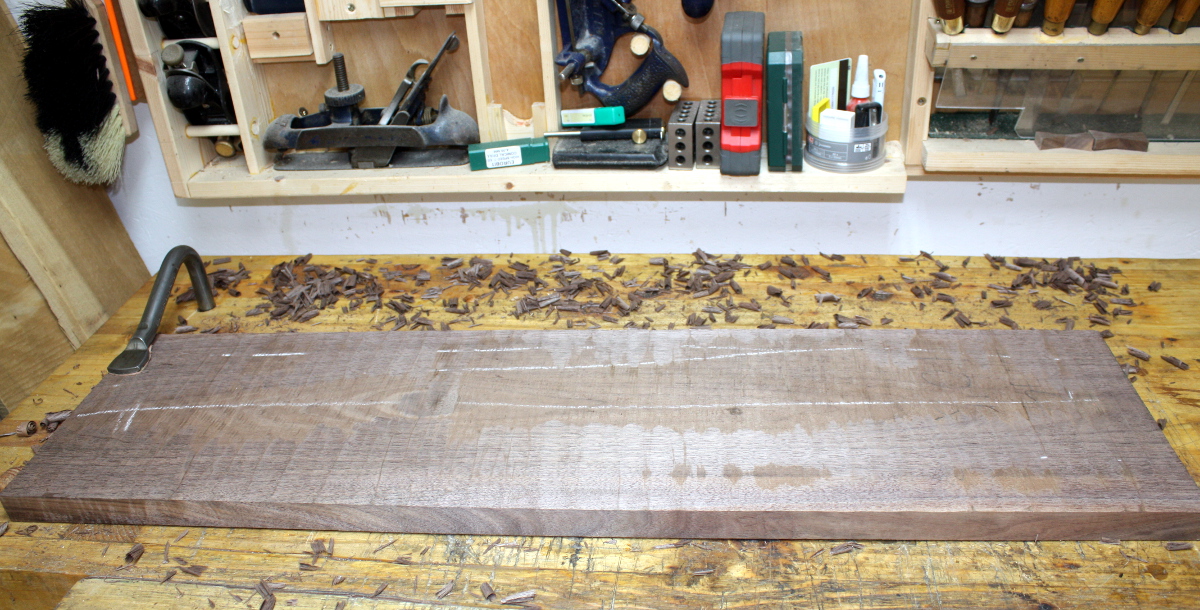
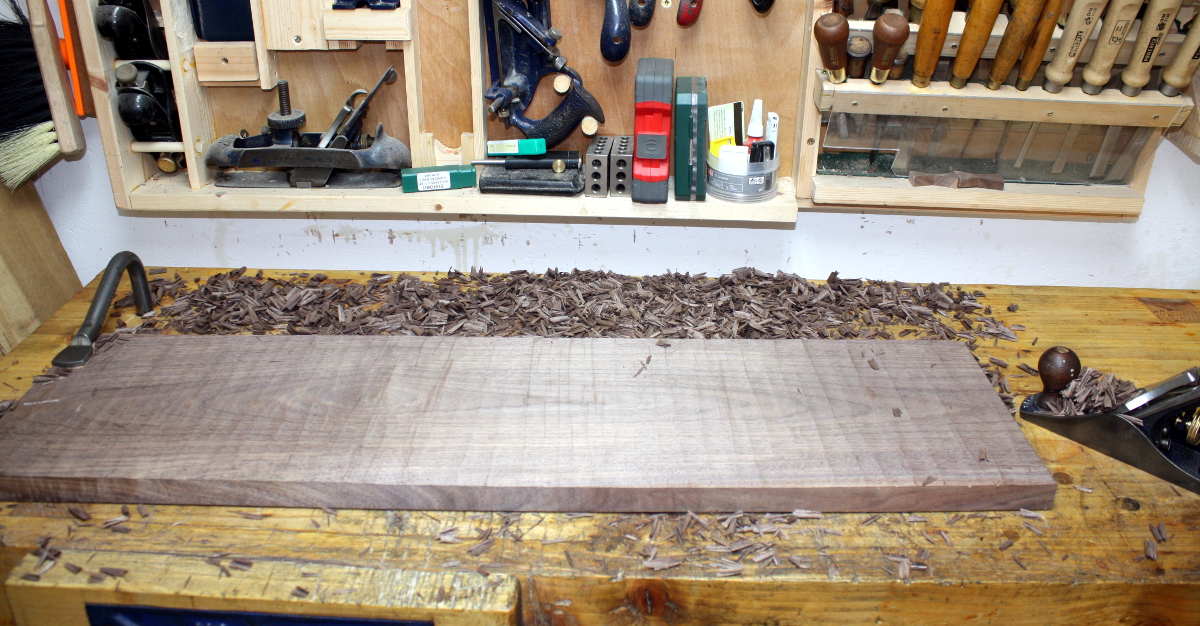
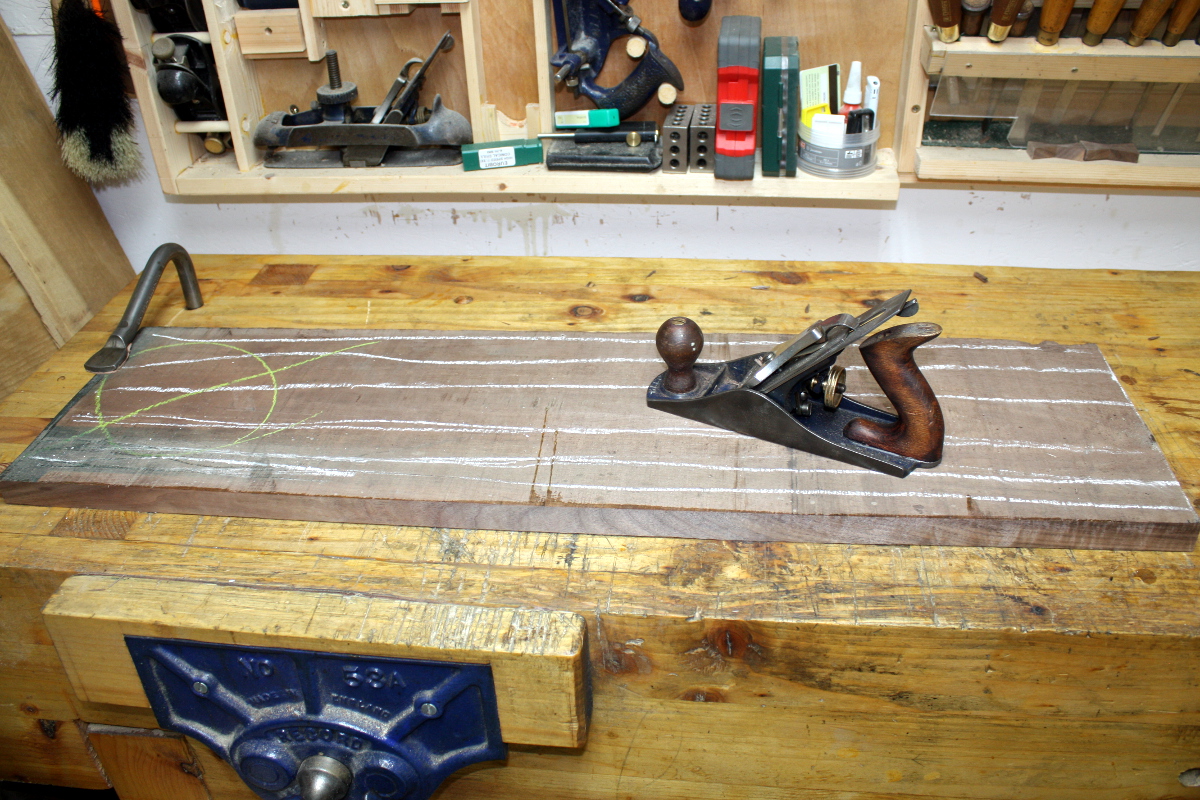
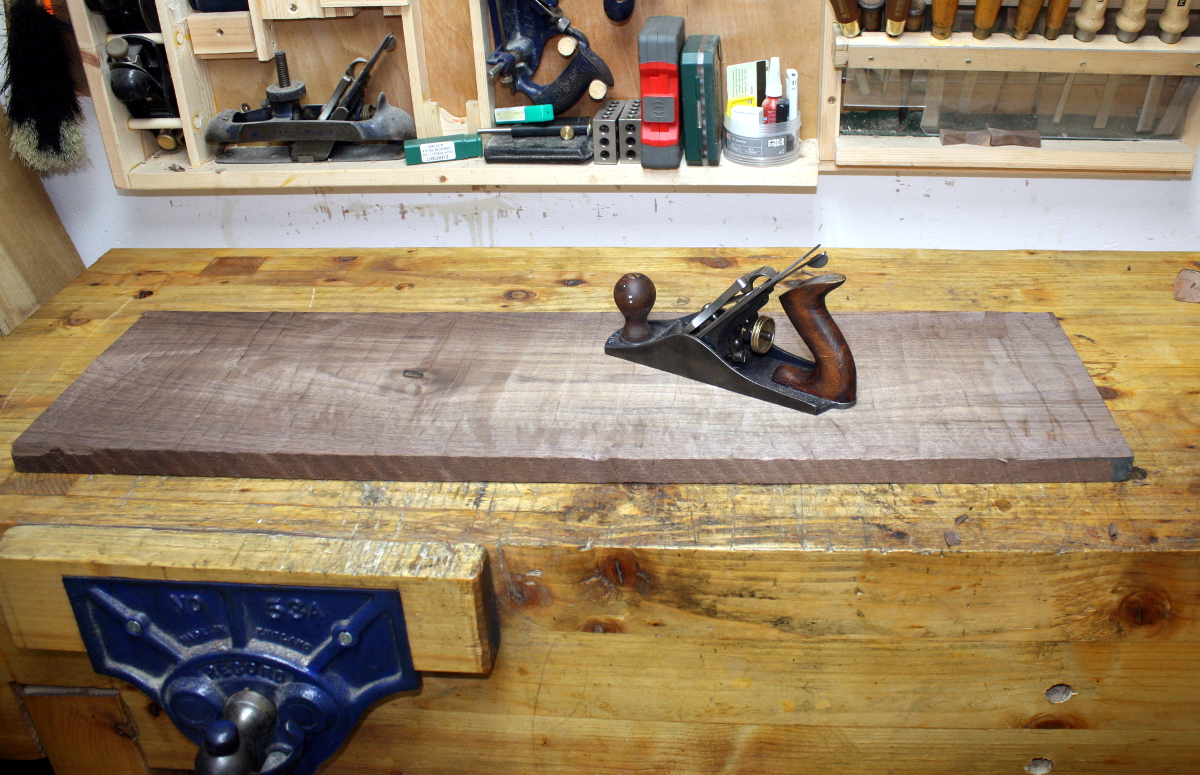
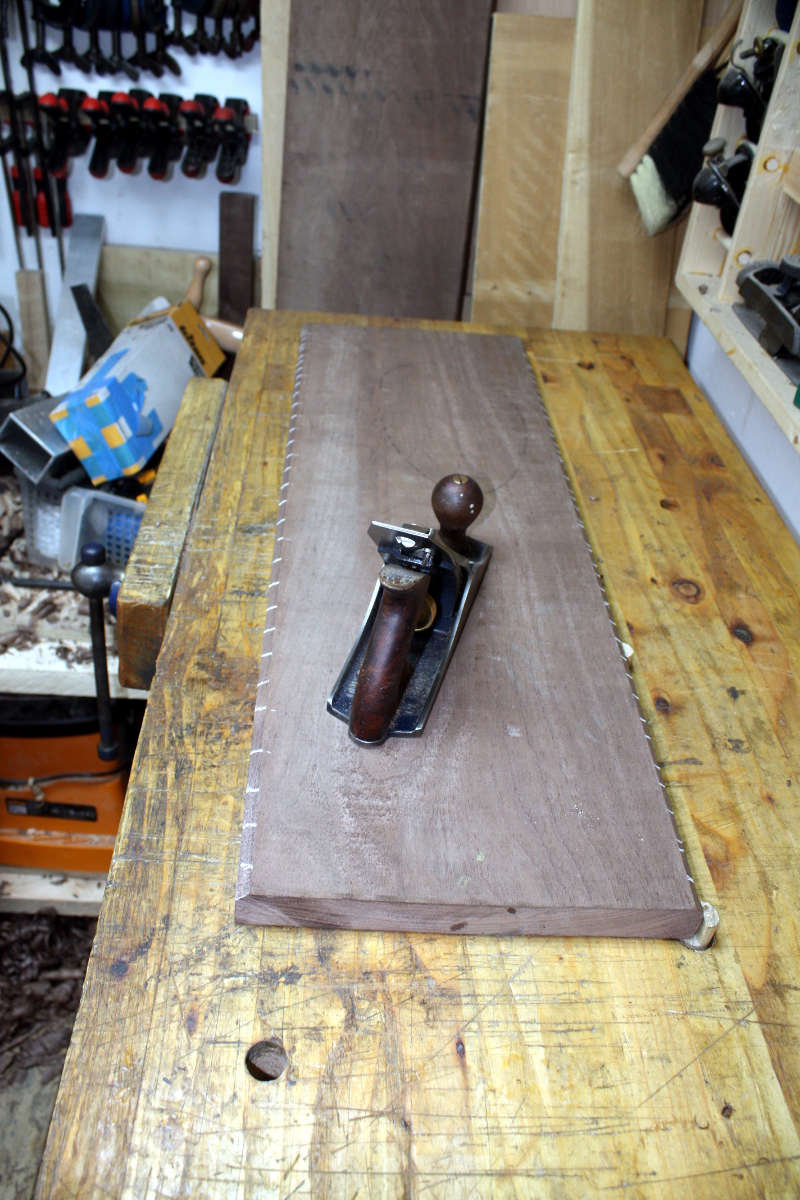
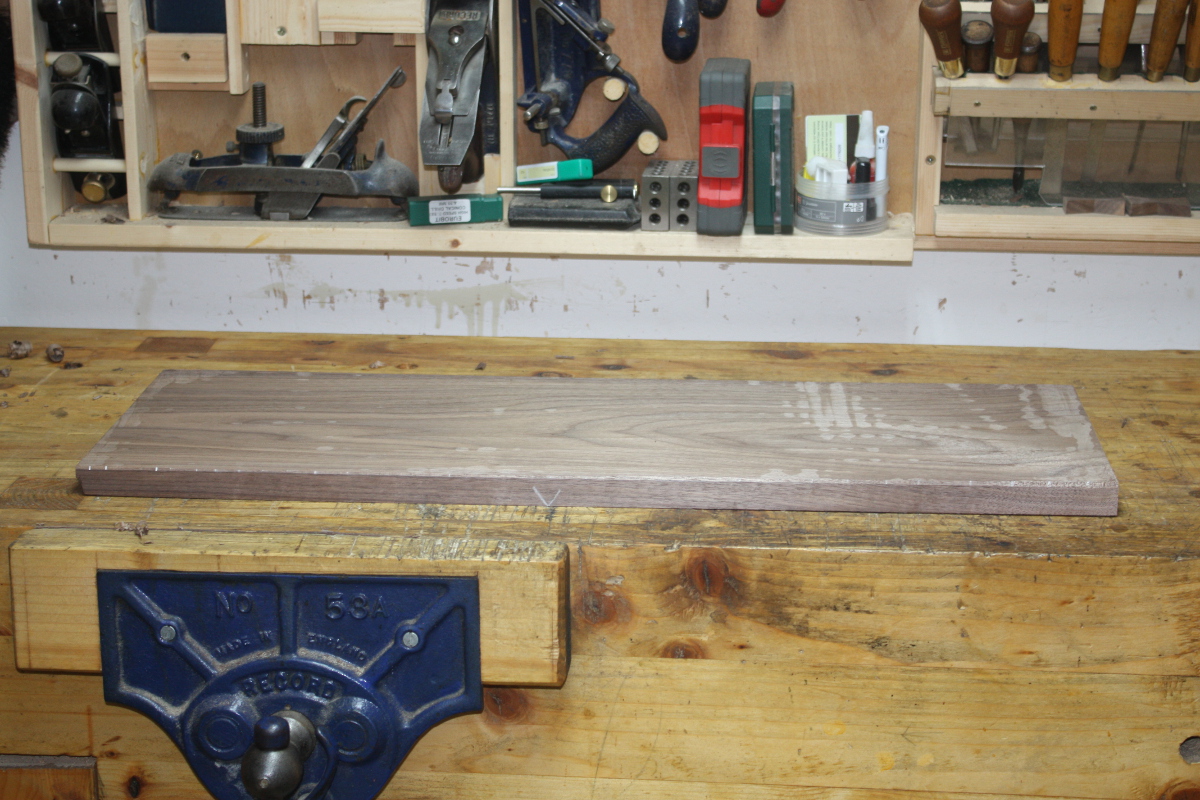
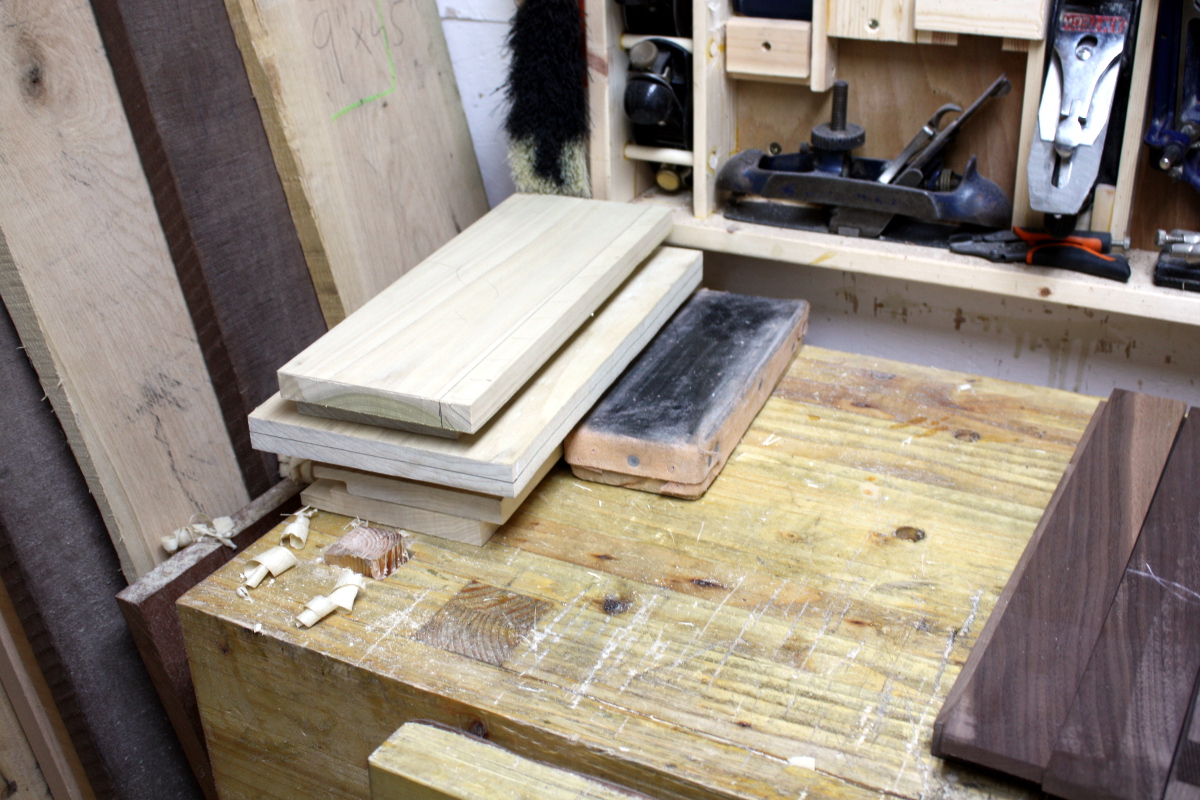
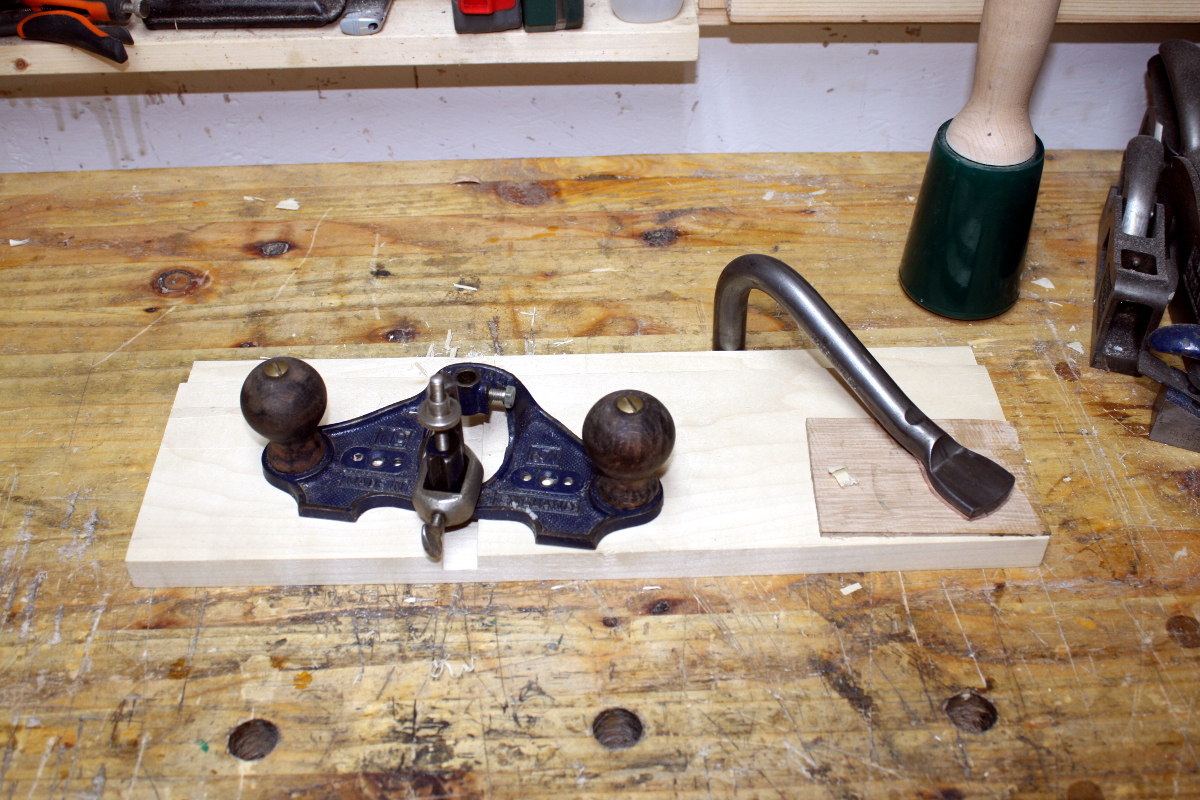
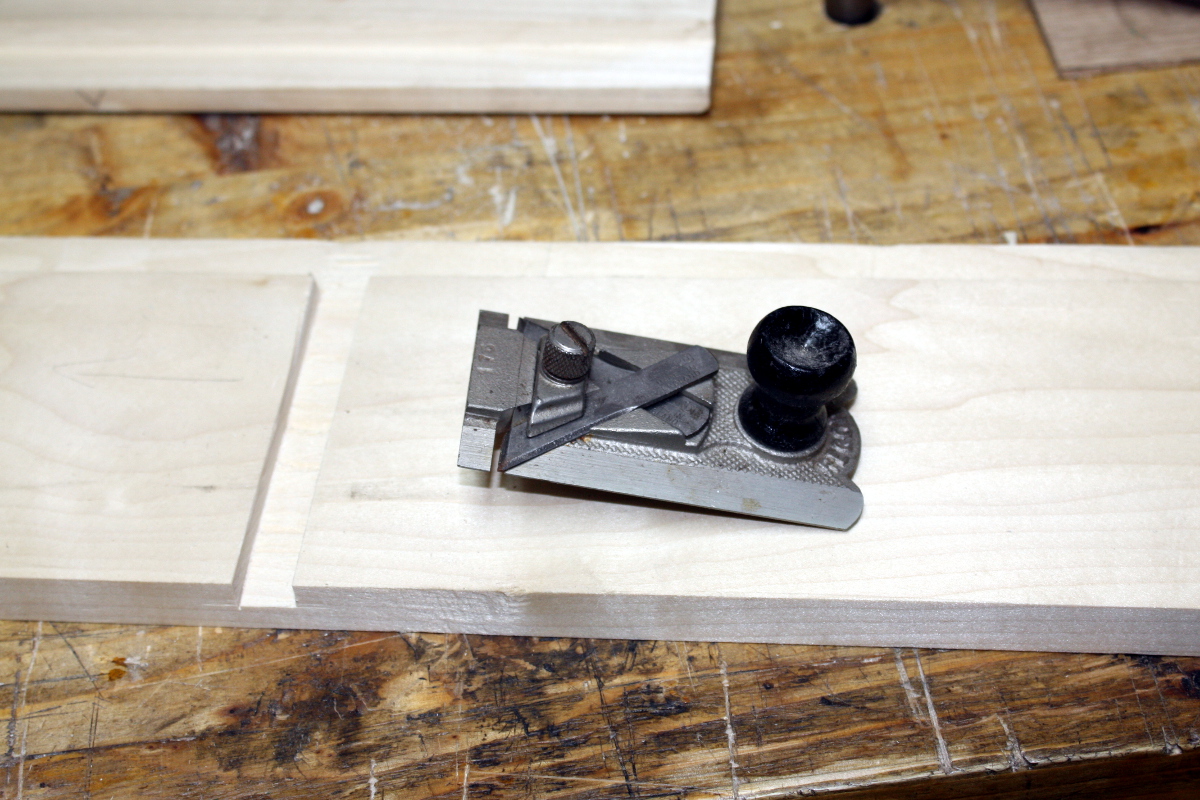
Once they’d all cured, the new record scrub plane (sid would have been overkill) got the sides into some sort of level affair and the #05 flattened one face on all the laminated parts. Did the same for the beech offcuts for the webs (I used 5″x61″ boards for the legs, but cut down to 40″ so I had some offcuts to hand) and the oak board for the top (I wanted something very rigid for that and that board was the closest thing available – it’s probably overkill but the idea was to free up space as well).

That laminated poplar crossbar is the one part I’m not so happy about, poplar being a little soft, but it was the only thing I had that was the right size unless I cut down a 16″ wide sapele board and I just couldn’t bring myself to do that. That sapele is just screaming out to be made into a desk or a table or something nice.

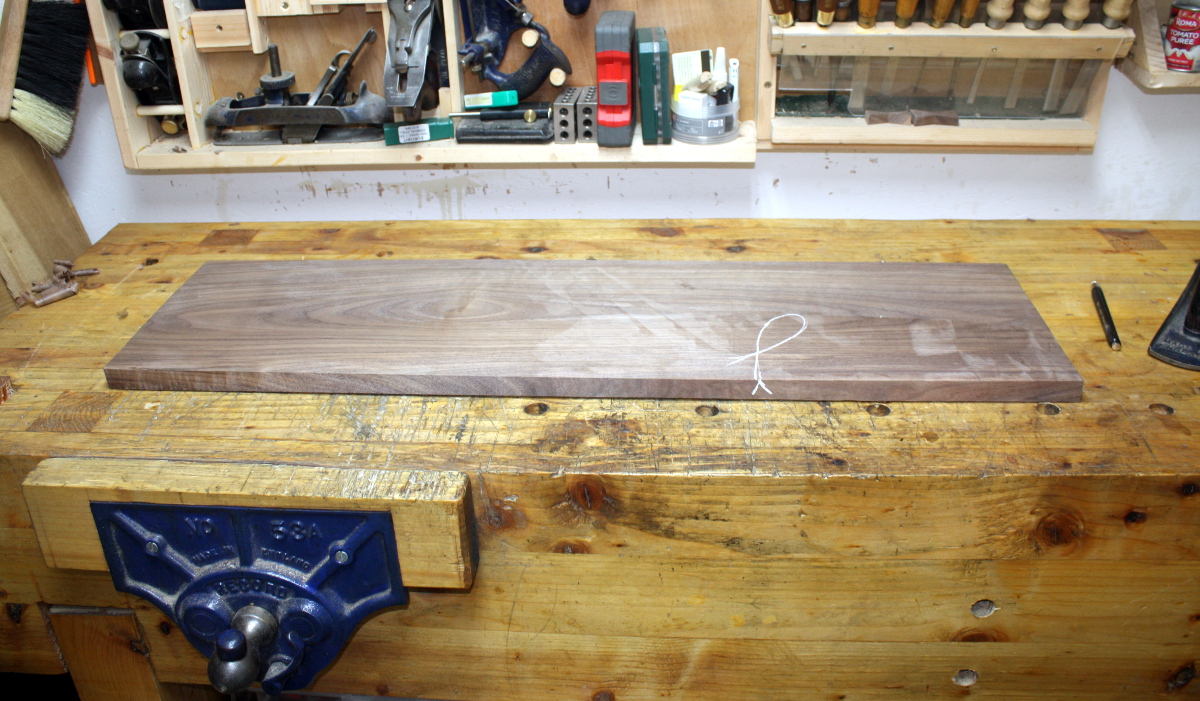
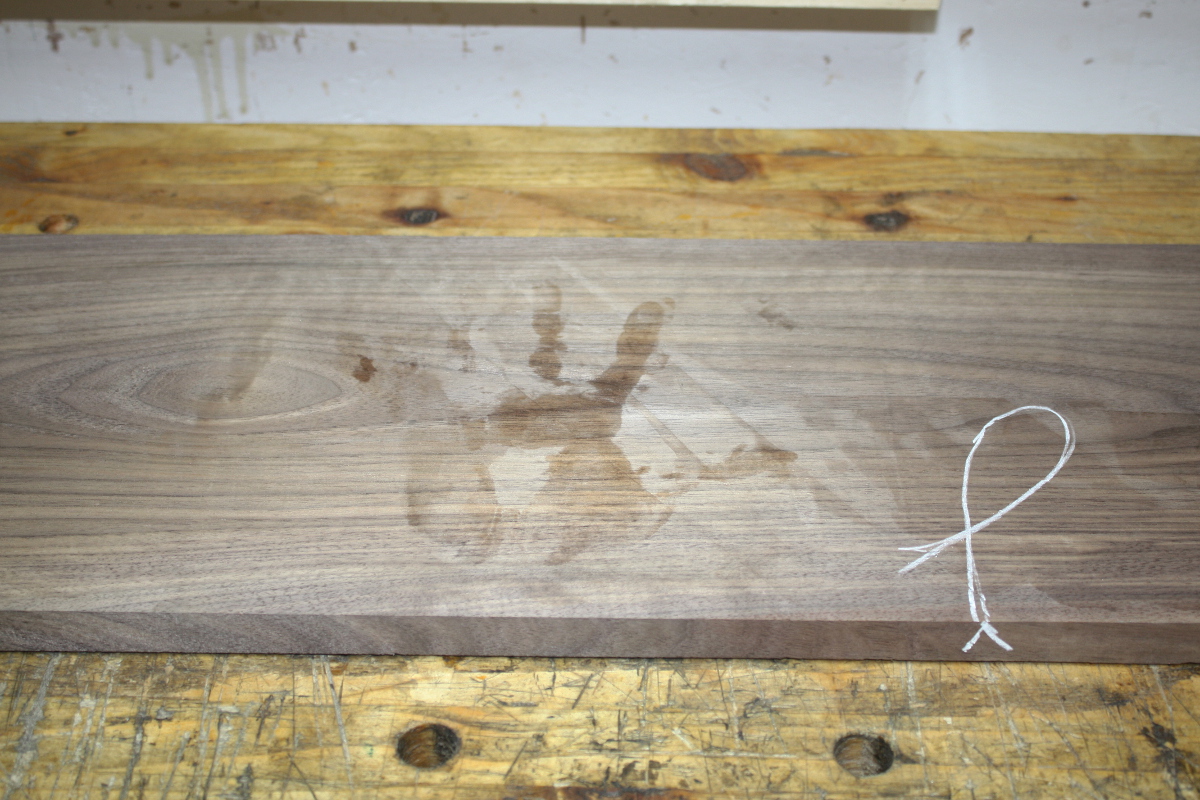
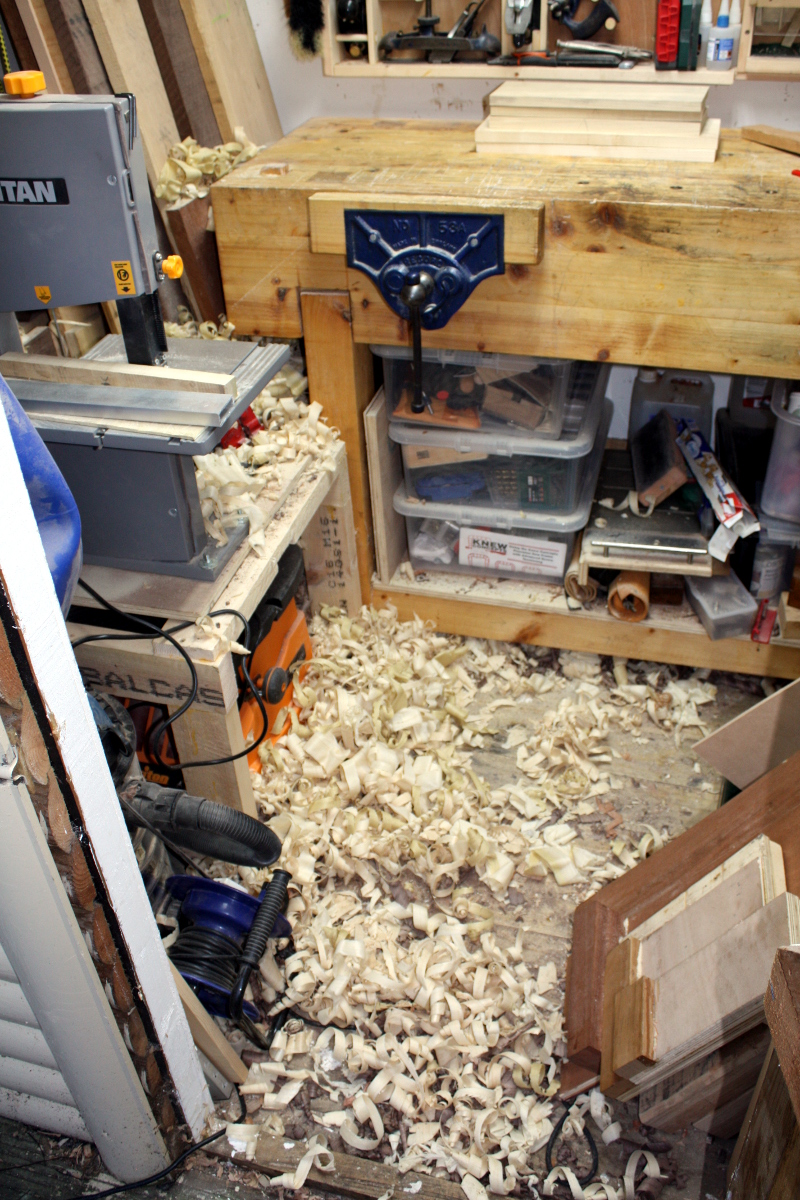
With one face flattened by hand on all the parts, I’m letting the donkey do the other side because I’m being lazy (I’ll do the edges by hand later).

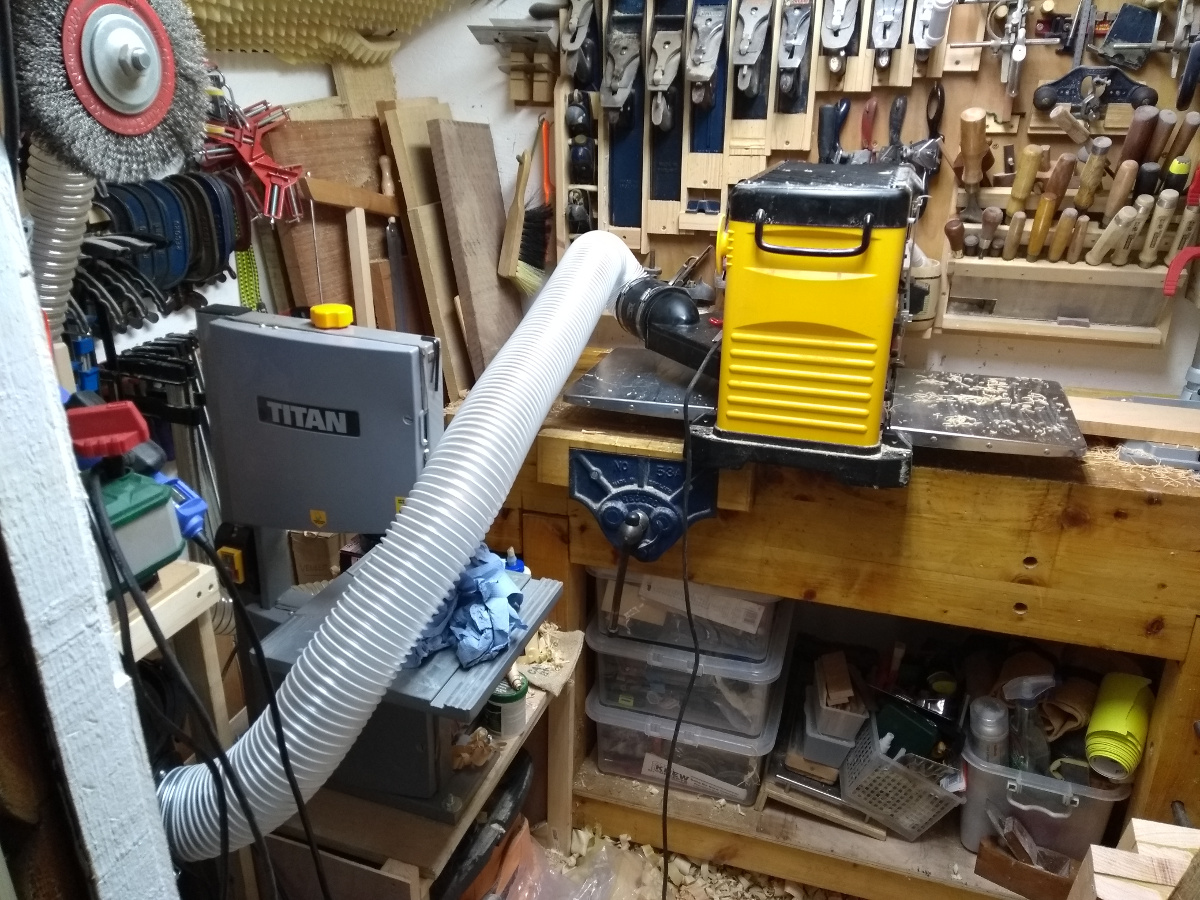
Not happy about that hose run, I need to buy some more 100mm hose I think and maybe 3D print off some quick-couplers for them, but I tested this with a single board this evening (all I had time for) and it worked. No massive amounts of dust and shavings everywhere, so that was a massive improvement.

Not sure how I’ll do the longer leg, top and crossbar boards though, I might need to do that outside, which would be rather antisocial after I get home during the week (when it’s usually after seven) so it may have to wait for the weekend. Or maybe I can get 40″ infeed and outfeed if I line it all up carefully. I mean, 40″ infeed, 40″ outfeed, 8′ wide shed, that’s a whole 16″ to play with there, right? Yeesh.

Oh, and also finally drilled that second holdfast hole in the leg of the vice now that the tumbledrier is out of the way…

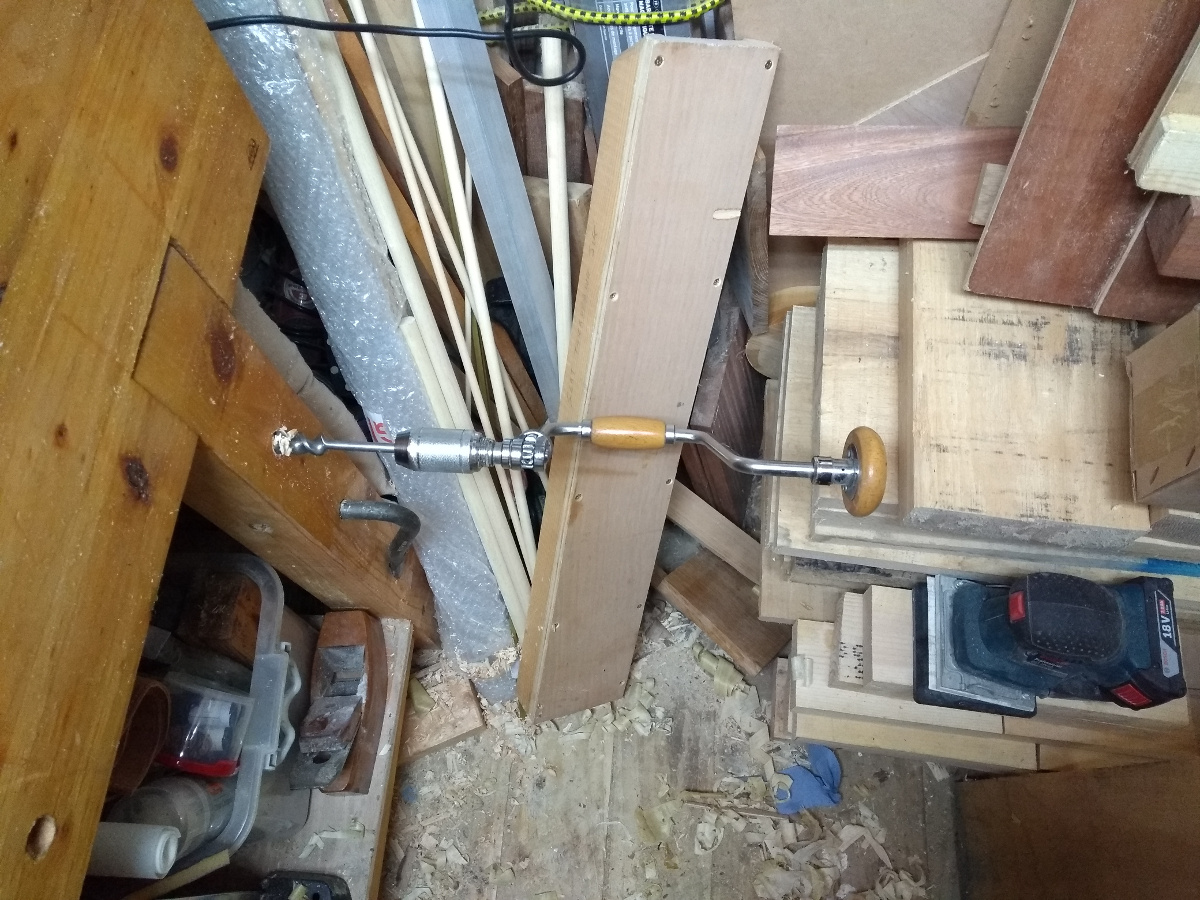
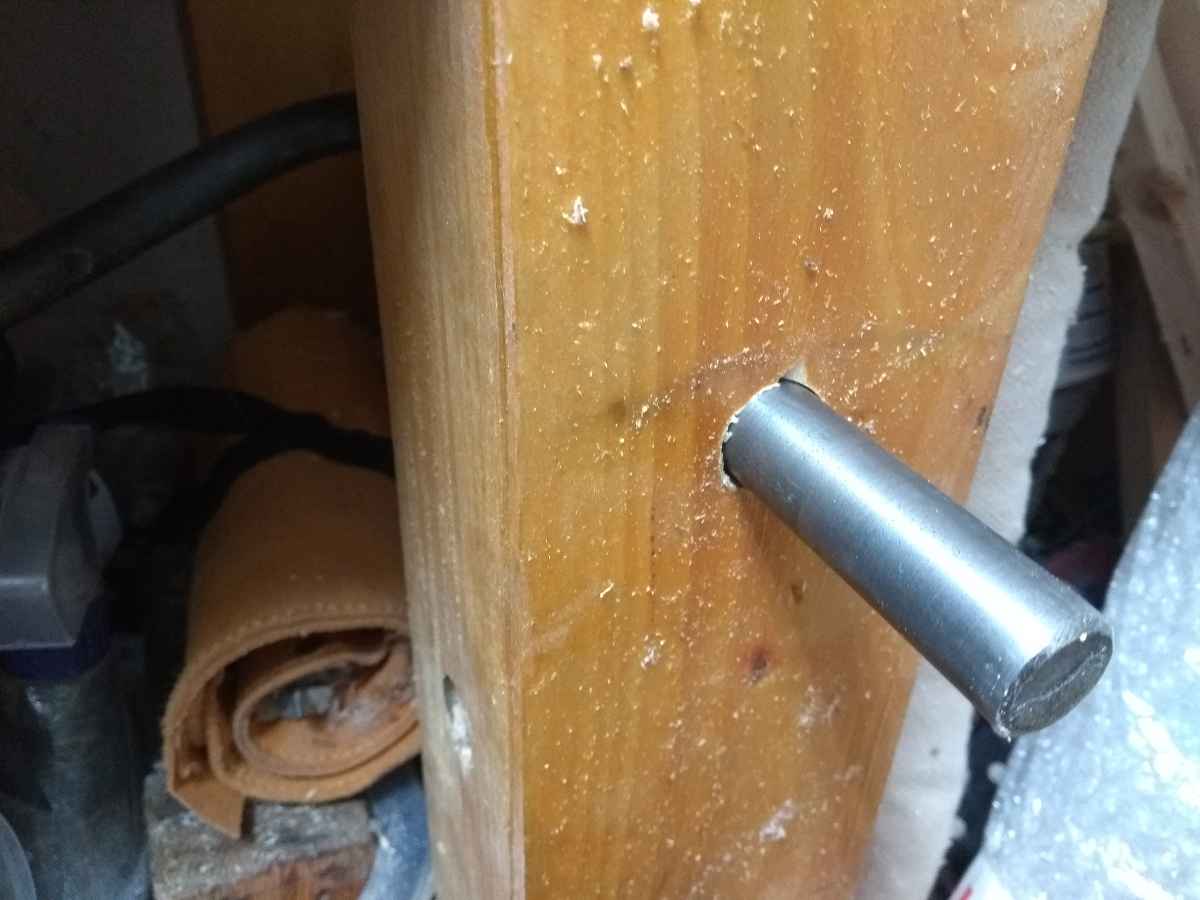
I’ve only been wanting to do that job since, oh, 2016? Progress…


15
Jul 18

Ouchie

Long week. Lots of hours in the office and zero hours in the shed till the weekend. One of those weeks. But, the post kept coming in…

Granted, the clamps were a lidl special (but I’ve been using some for the last year and they’re really quite handy – I could use a few more f-clamps and one wooden parallel clamp to help with morticing and I think I’m good after that). And the poppyseed oil is food grade from the local indian shop, so no drying agents, but for a light oil finish it might be useful. Worth a try at any rate. As to the rest:

Some of China’s finest box hinges. I mean, they’re not that great, but they’ll do to practice with before going off to Isaac Lord or Brusso or someone.

A nice v-tool for the oak panel carving for the Peter Follansbee stuff, and a small spoon gouge for doing the endgrain carving trick – my gouge for that isn’t quite as easy to get scoops with and I’m hoping this will help.

And then this, a dovetail cutter for the router for the sliding dovetail joint on the shelves. It seems too small to me, but I asked a few cabinetmakers who do this sort of thing and they say it’s fine. So, on to the build again. By the way, that friend from the UK who sent me the fantastic veneer convinced me to write this up on the forum as a build thread as well, so it’s going up there as well as on the blog, but the forum thread might be a tiny bit more focussed on the build.

That’s not parallax. After cleaning off the glued faces with a quick swipe of the plane, I put them back together and yeah, there’s major differences in thickness there. Plus, one of the boards is very uneven, so some serious milling is needed.

Time to break out the new scrub plane, get the board butted against some dogs and the planing stop and then hack into it.

First pass shows large hollows. Second cross-grain pass didn’t get rid of them. Gone by the third though.

I mean, nice grain in the board but that’s sweaty work.

Flipped it, chalk lines down to monitor and then on we go.

This time a major bump right over that knot. Took six or seven passes to get it down to acceptable (this is the underside). It’s still not dead flat, but I could chase my tail on this all day. It’s twist-free, should be okay. Don’t forget, I still have to prep this again after the glue-up so I can sort it then if necessary.

Done. For now.

Like I said, sweaty work. And of course, now the board is not so thick, and the other board is a happy smidge over an inch thick, so I planed the face flat and out of twist (there wasn’t much, it took about five minutes of staring at it and swiping bits with the #05), but then the pain in the fundament bit:

The board is a quarter-inch too thick. I set a gauge on the other board’s thinnest bit, marked off the sides on this board (and the other to check) and then planed a chamfer on this board’s edges to stop spelching and marked them off with chalk (because it’s dark wood, normally I’d use pencil) to monitor progress readily. And then it was a case of many, many cross-grain passes. Even with a heavy set on the plane, it took ages and I managed to remove the skin on my little finger and get a nice large blister on my palm which will be so much fun this week as I spent the entire week typing.

Honestly, I spent a full hour today pricing a Dewalt 735 thicknesser. And I’m running out of reasons to not buy one. Thicknessing stock is just not interesting, it’s dull, heavy donkey work that only delays the completion of the job, and I don’t like it.

Not even finished really. I have to spend another ten minutes on this with a #05 but I had to stop and leave it there before I tore open the blister and that would have been too much fun for the coming week even for me.


Bother.


21
Dec 17

Happy Solstice!

Shortest day of the year so least work done. That’s my story and I’m sticking to it.

Started off with presents – some arrived yesterday but I couldn’t get to them and some arrived this morning, so yay!

Not Moore&Wright, but cheap and cheerful. I’m trying to cure myself of my combi-phobia. Is Moore&Wright. Offset calipers for scribing lines parallel to an edge. Nice idea. 3″ Record clamp. I have 2″ and 4″ ones, figured it’d be useful to see if something in between was useful.And a 2″ clamp because it was going in the lot. Another 2″ one that was in the lot. At a fiver, cheap. Have a few of these already and they have a habit of being useful.And a pair of 4″ clamps (I have three, I’m always needing a fourth. There’s another still in the post because I know the minute I have five I’ll need a sixth). I don’t like painting wood with latex paint much, it’s a bit meh. But I saw a nice guitar or two being done by the Crimson Guitars mob with these water-based stains and there was a cool demo panel they did with them that I had an idea for:

Might be able to replicate that. We’ll see. On with the presents…

A six and seven hollow to try a decorative element I’ve been playing with…

Shows promise; needs more work though. Don’t need this till later so that’s fine.Nice V-tool. I bought a tiny little one from proops last week for two or three pounds and made a rudimentary handle for it, sharpened it up and it was useless. It must have been meant for a power carver tool or something. This one however, without any sharpening, was miles beyond that:

Proops on the inside, Mattheison (the new one) on the outside. Soooo much better. Still needs work, but that’s for another day.

And then the biggie…

Frame saw! 700mm blade filed rip, compared to the ryoba’s 300mm. so you can see why it would have an advantage. This is the English pattern frame saw, not the French one with the blade in the middle, but for resawing this shouldn’t make any real difference. The blade length obviously will (the French pattern ones can be four feet long or more); but shed has a problem with French pattern frame saws…

Specifically, there’s not enough room for a full throw on a 700mm blade (the handle is in contact with the wood store there); a 1200mm blade would require a small window be cut in the wall of the shed… but even I’m not ready to do that. As it is I’ve had to move a few pieces of wood around in the store.

So obviously, this needs testing in something other than pine (which was the first test cut).

Poplar, 9″ by 4″ thick. Took 12m 30 seconds including a bit of faffing about moving plywood out of the way and all that, but I figure that’s built in fudge factor. So how does that scale up? I have a few 5″x15″ pieces and 6″x17″ pieces along with the 7″x16″ top/bottom plates.

So I thought volume removed might be a good guide; that’s the saw kerf times the square area cut through, and the kerf won’t change so just look at the area. Should be 0.347 minutes per square inch, right? That means the 5″x15″ pieces should take about 26 minutes each. Yikes. Okay, let’s give that a go.

Holy crap. An hour. It took a sodding hour. I mean, it’s a lot less effort than the ryoba was and maybe I just need to get the swing of it, but a stinking hour…

Cut quality is okay. Ryoba’s better but then it’s a finer plate. Maybe I need to sharpen the saw? The teeth are sticky-sharp but maybe they just need a touch-up.

So how long does it take to thickness off that quarter-inch by scrub plane? 15 minutes. And that’s to thickness and flattened and with the twist taken out. I ditched the saw idea for the sides and thicknessed them by scrub plane as well. And I had to mill another piece because the side I had sawn went from three-quarters of an inch sawn to half-inch when smoothed out enough to use. Gah. So that’s the shelf 😀

That’s the downside of the thicknessing approach really. You convert material into waste at a fair clip. That floor was clean this morning, that’s all from today.

But we have all the parts milled and squared and I could get started in on joinery at last.

Enter the rebate plane again, and I took a quarter-inch by one inch rebate off the backs of the sides.

Then out with saw, chisel and router plane and I cut the housing joint for the shelf.

Even got to use my side rabbit plane to trim the joint a bit. Slightly fiddly but…

Sorted. Fairly late at this stage and I started on the top and bottom which will be dovetailed into the sides. They needed a bit of treatment on the shooting board and then I realised I hadn’t cut the bottom to width yet (doh) so I marked out for that and I’ll hit the bandsaw in the morning and do that and the box blanks I have lying around.

And then I’ll make up that Japanese saw hook and get to dovetailing.

That was it in the shed for the evening; had to hit the kitchen to make gravlax for the family xmas dinner. Pretty simple recipe.

Take your fresh salmon trimmed and de-pin-boned to your liking. Measure its weight. Now mix a quarter of that weight in salt in a bowl with an equal weight of castor sugar and an equal weight of grated beetroot. cut a lime into wedges and fillet out the pulp and discard it; cut up the rind to small pieces and throw that into the mix. Now throw a good sized bunch of dill (chopped) into the mix. Put the salmon into a sous vide bag or lay it on some clingfilm or use tupperware, just keep this contained because beetroot is a great dye. Douse the salmon in the mix, then wrap it in your chosen containment method and put it in a secondary containment tray, put another tray on top and weight that down and then put the whole assembly in the fridge for a few days. Turn the fish upside down daily. Three or four days should do it. Then you remove, rinse off the salt/sugar/beetroot/dill mix and pat dry; slice thinly and serve on blinis or however you like to eat smoked salmon because this is like that only tasty.

Also, whatever you do, don’t put it in the fridge and relax for an hour and then remember when writing up the recipe for the blog that you left the dill sitting on top of the counter and the mix was missing a key ingredient because then you have to reopen the bag and chuck everything into the bag and squish it around a bit and get covered in beet juice a second time and you’ll have an opening in the glove that lets the salt in to find the four or five small nicks you got from the chisel and cleaning the throat of the fillister plane earlier.


By the way. Meet our new breadbin, courtesy of TK Maxx. Made from bamboo.

Is it me? Am I the crazy one? Or does that crooked joint at the top of the tambour drive your fingernails into itchy mode as well? The whole top hasn’t even tried for a square joint with the sides. It’s a good ten degrees out.


There’s nothing for it, I’m going to have to make a better one, aren’t I?