13
Apr 20

Busy day

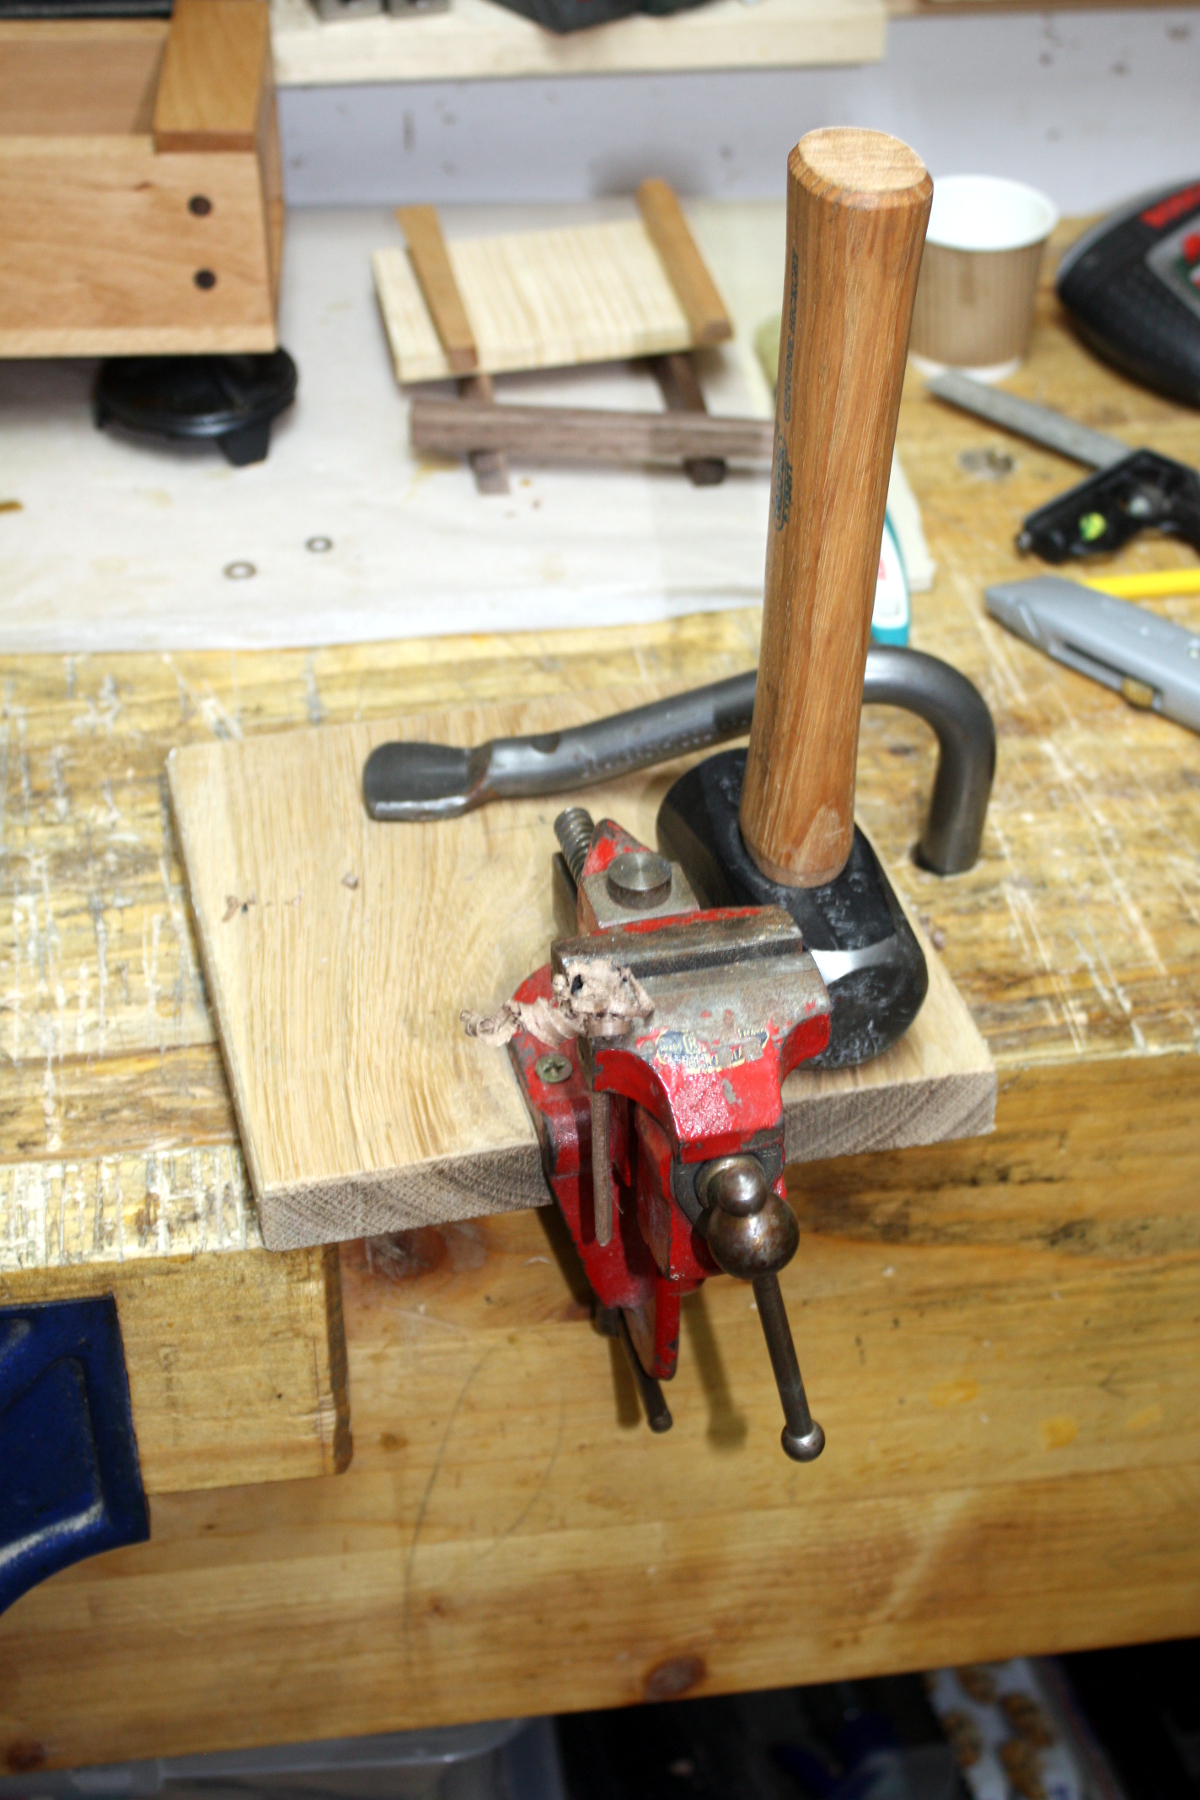
Well, I’ve never clamped anything to this side of the vice before….

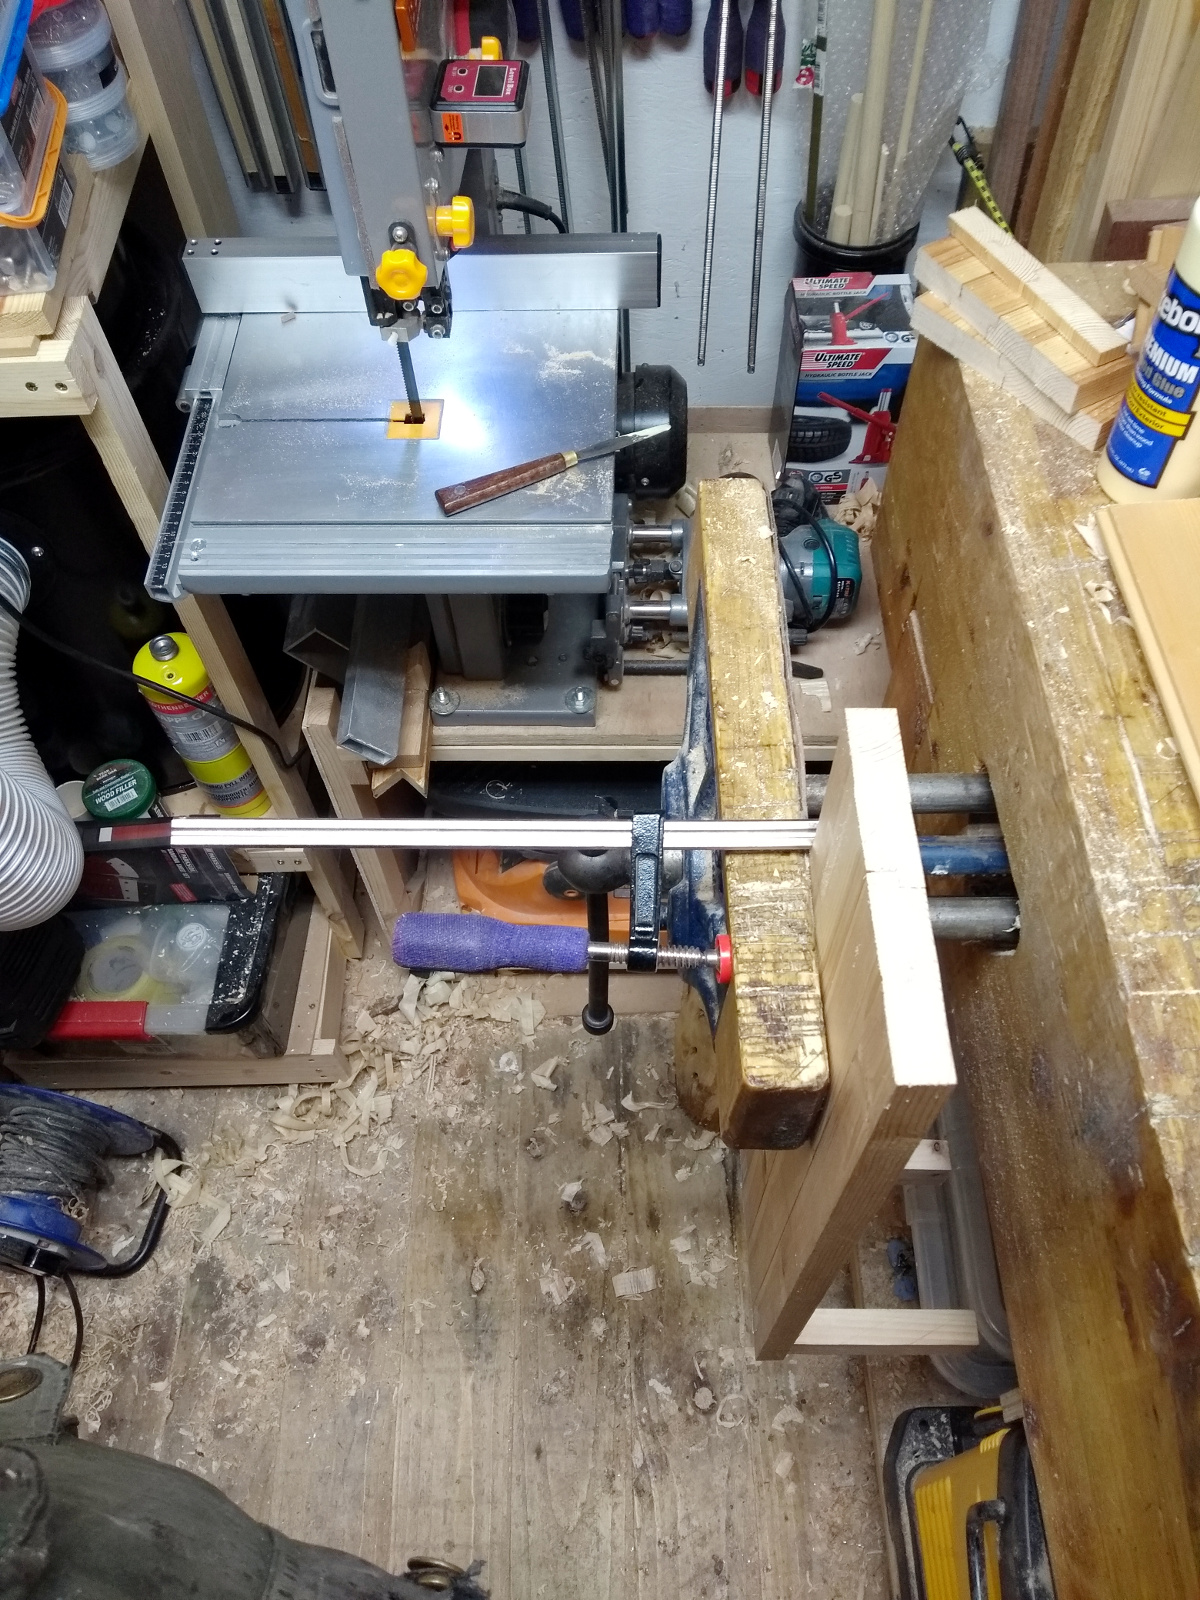
I couldn’t move the boxes beneath the bench out of the way because there’s nowhere for them to go, and I didn’t want to spin the piece around because I was using the nailgun and I’m not quite ready to point anything at myself that has the word “gun” in the title just yet. But this worked well enough.

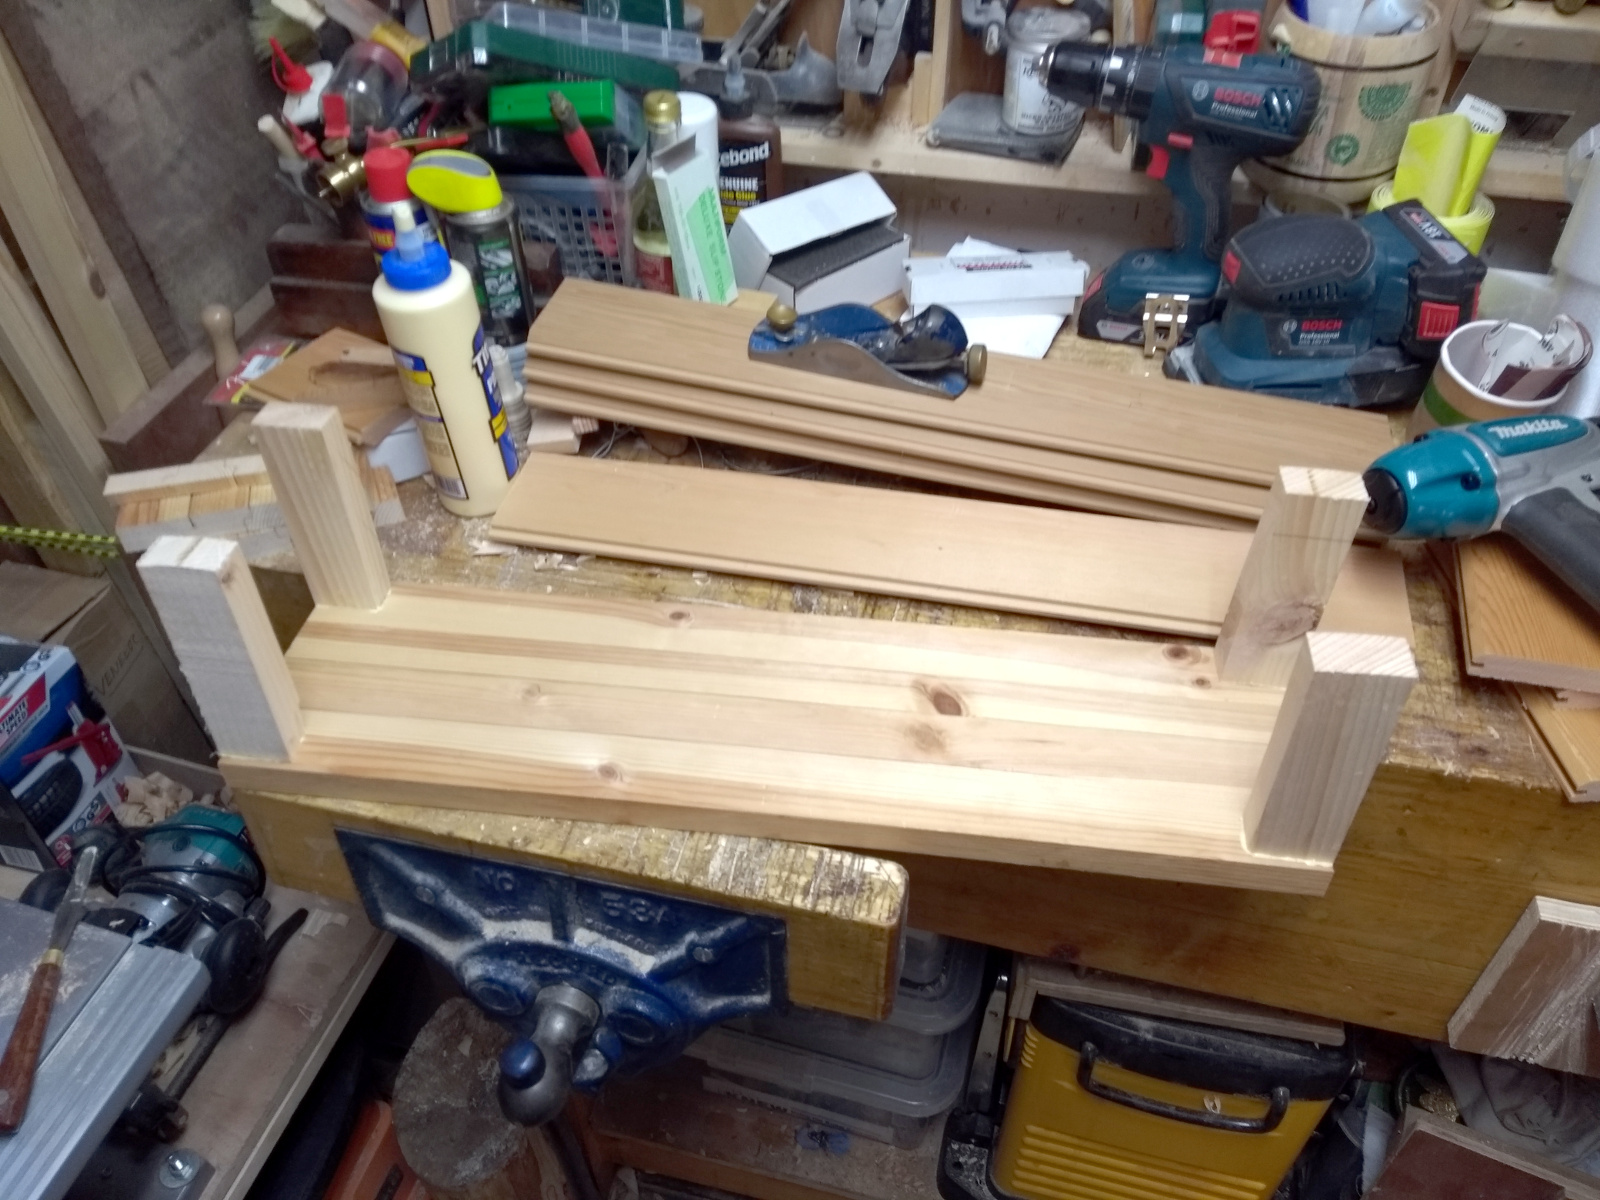
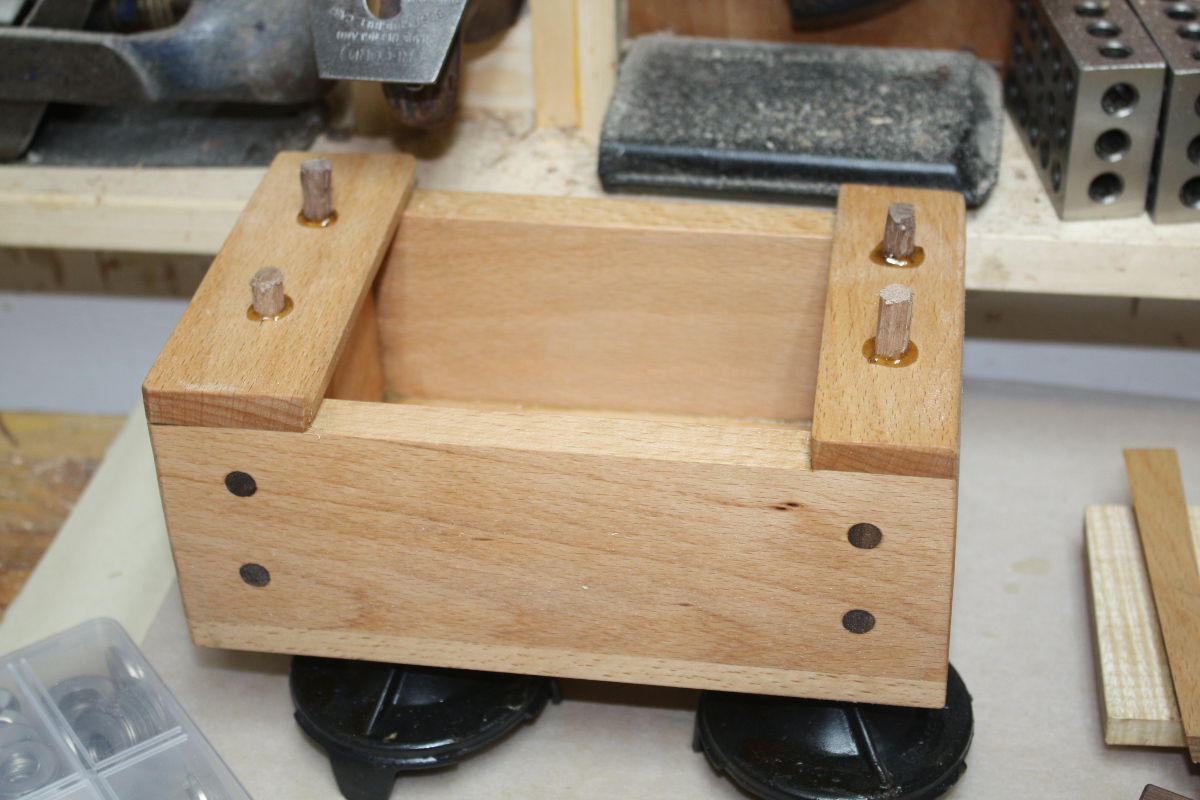
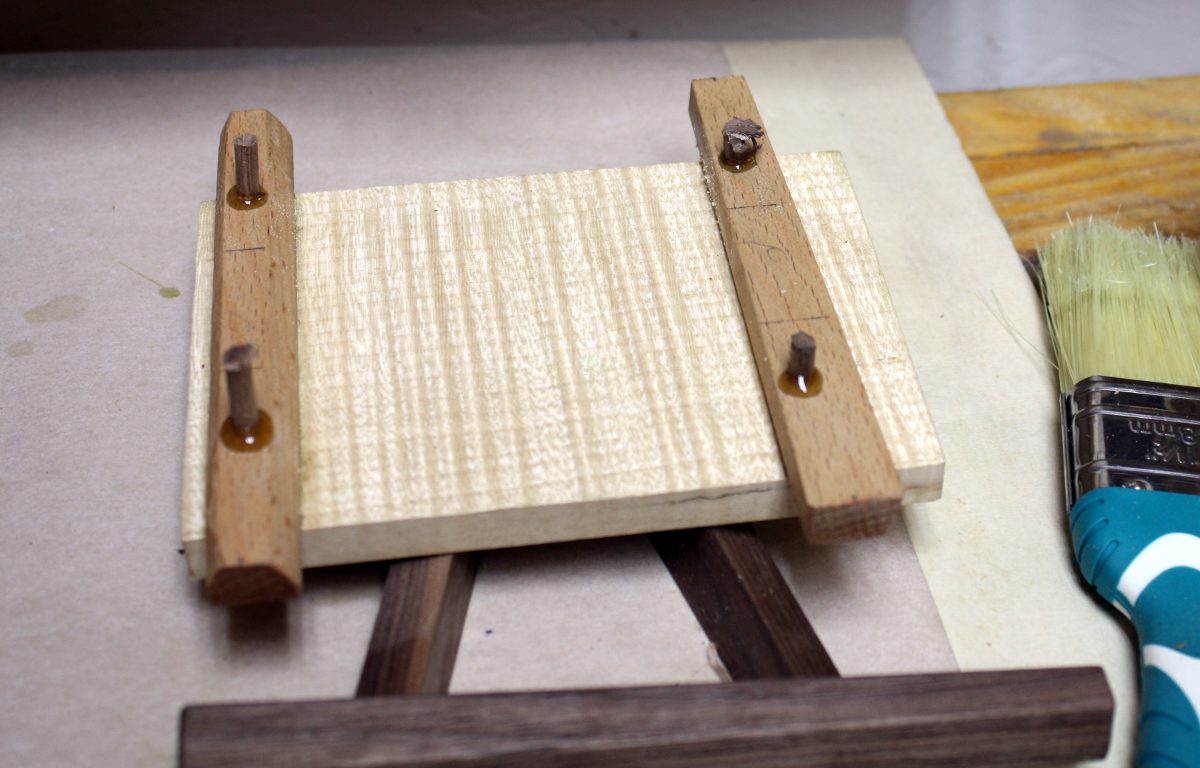
It’s just scraps of pine – that base was actually a board that was in the living room for the last four years and I’d forgotten about it because it was up on top of a bookshelf. Some glue, a few brads and on we go.

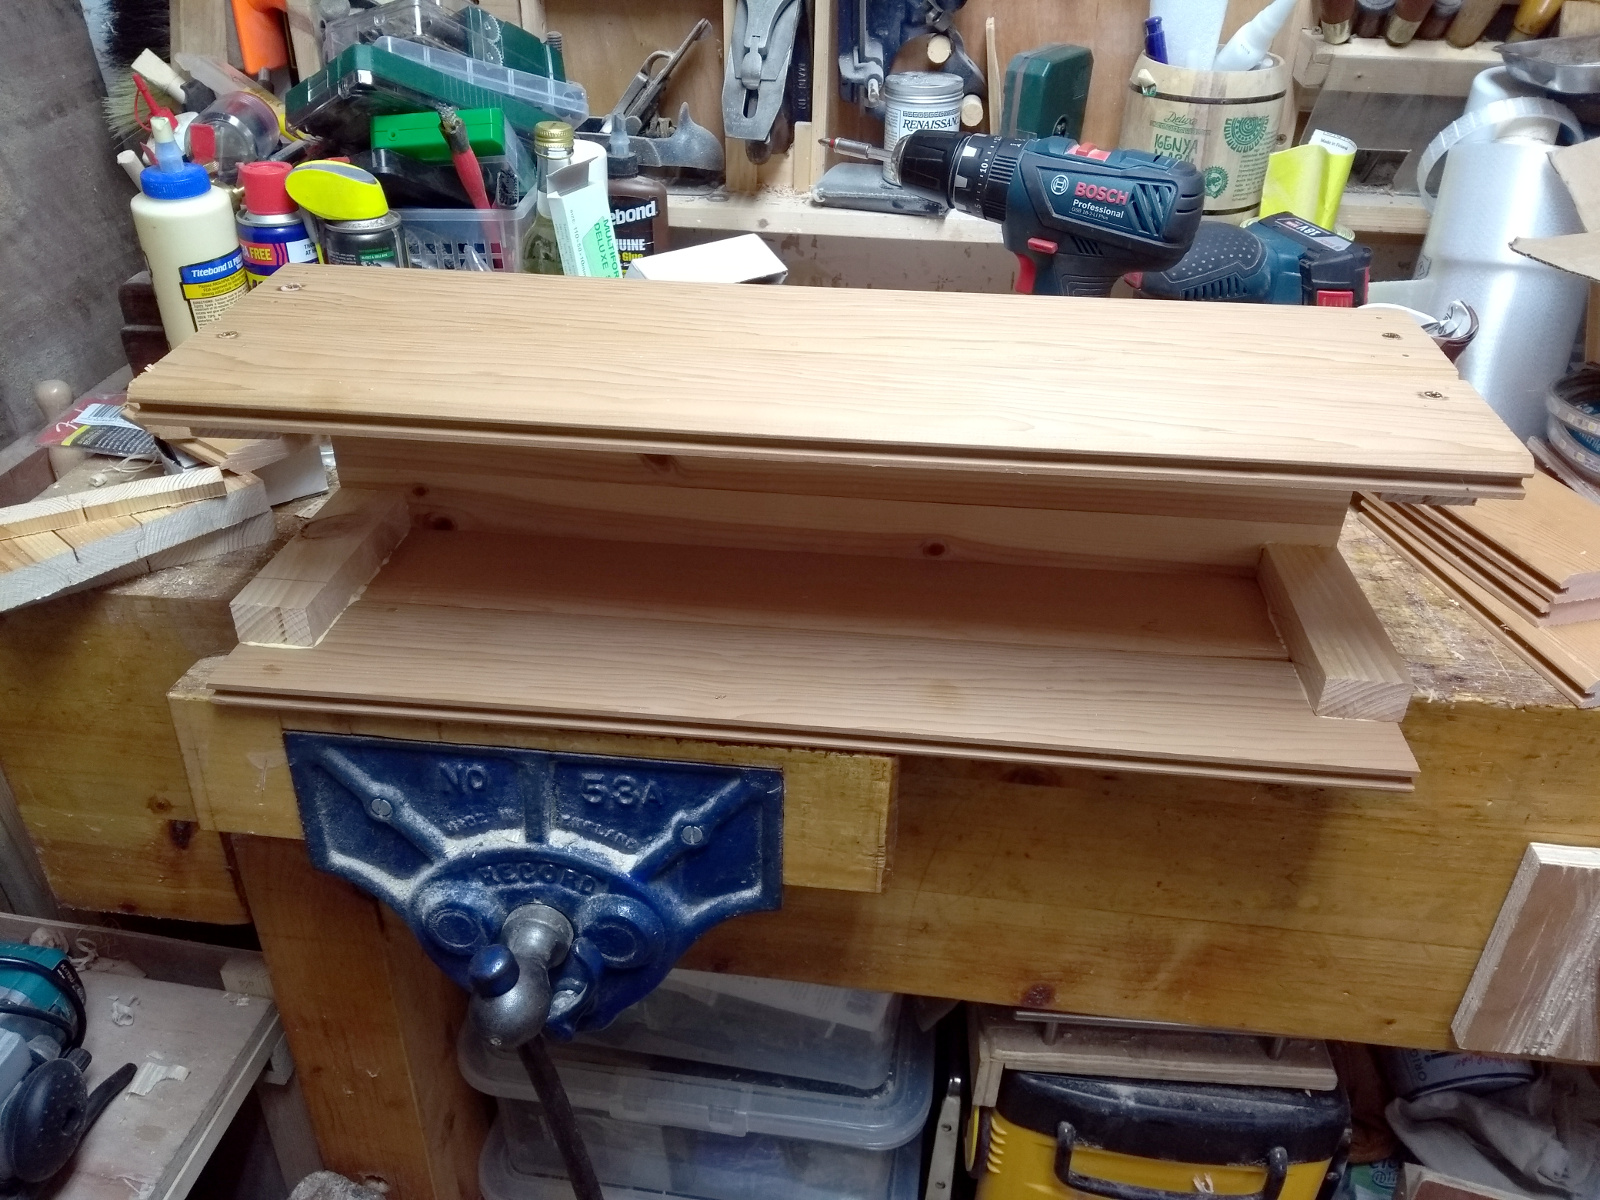
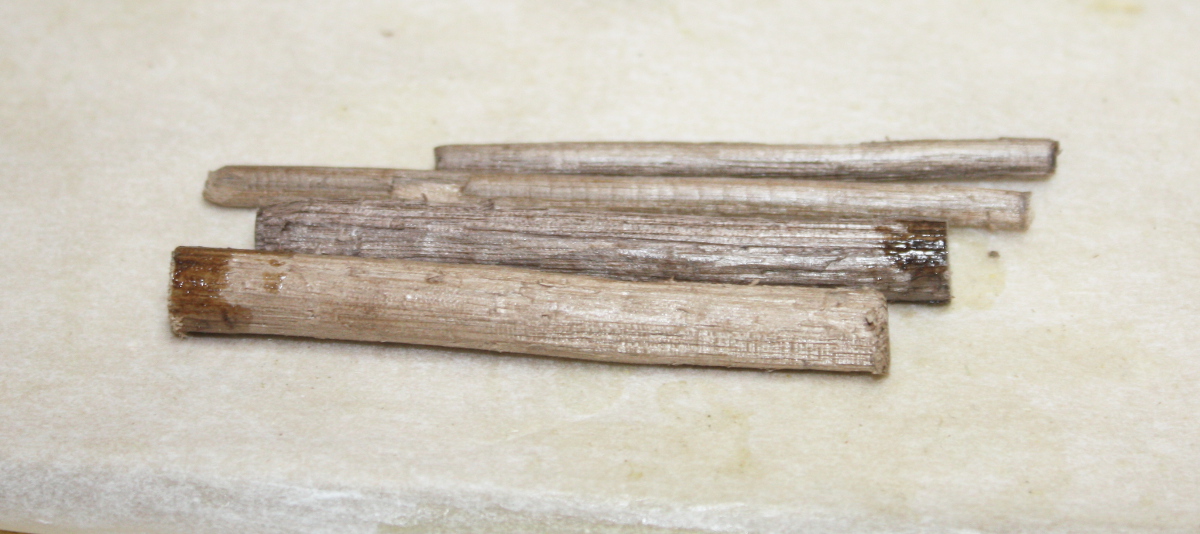
Again I didn’t have brads of the right length here so glue and screws provide the holding strength and the brads just pin everything in place long enough for me to get the screws into it. The posts don’t make it up to the top of the edges this time; not all offcuts are long enough. Oh well.

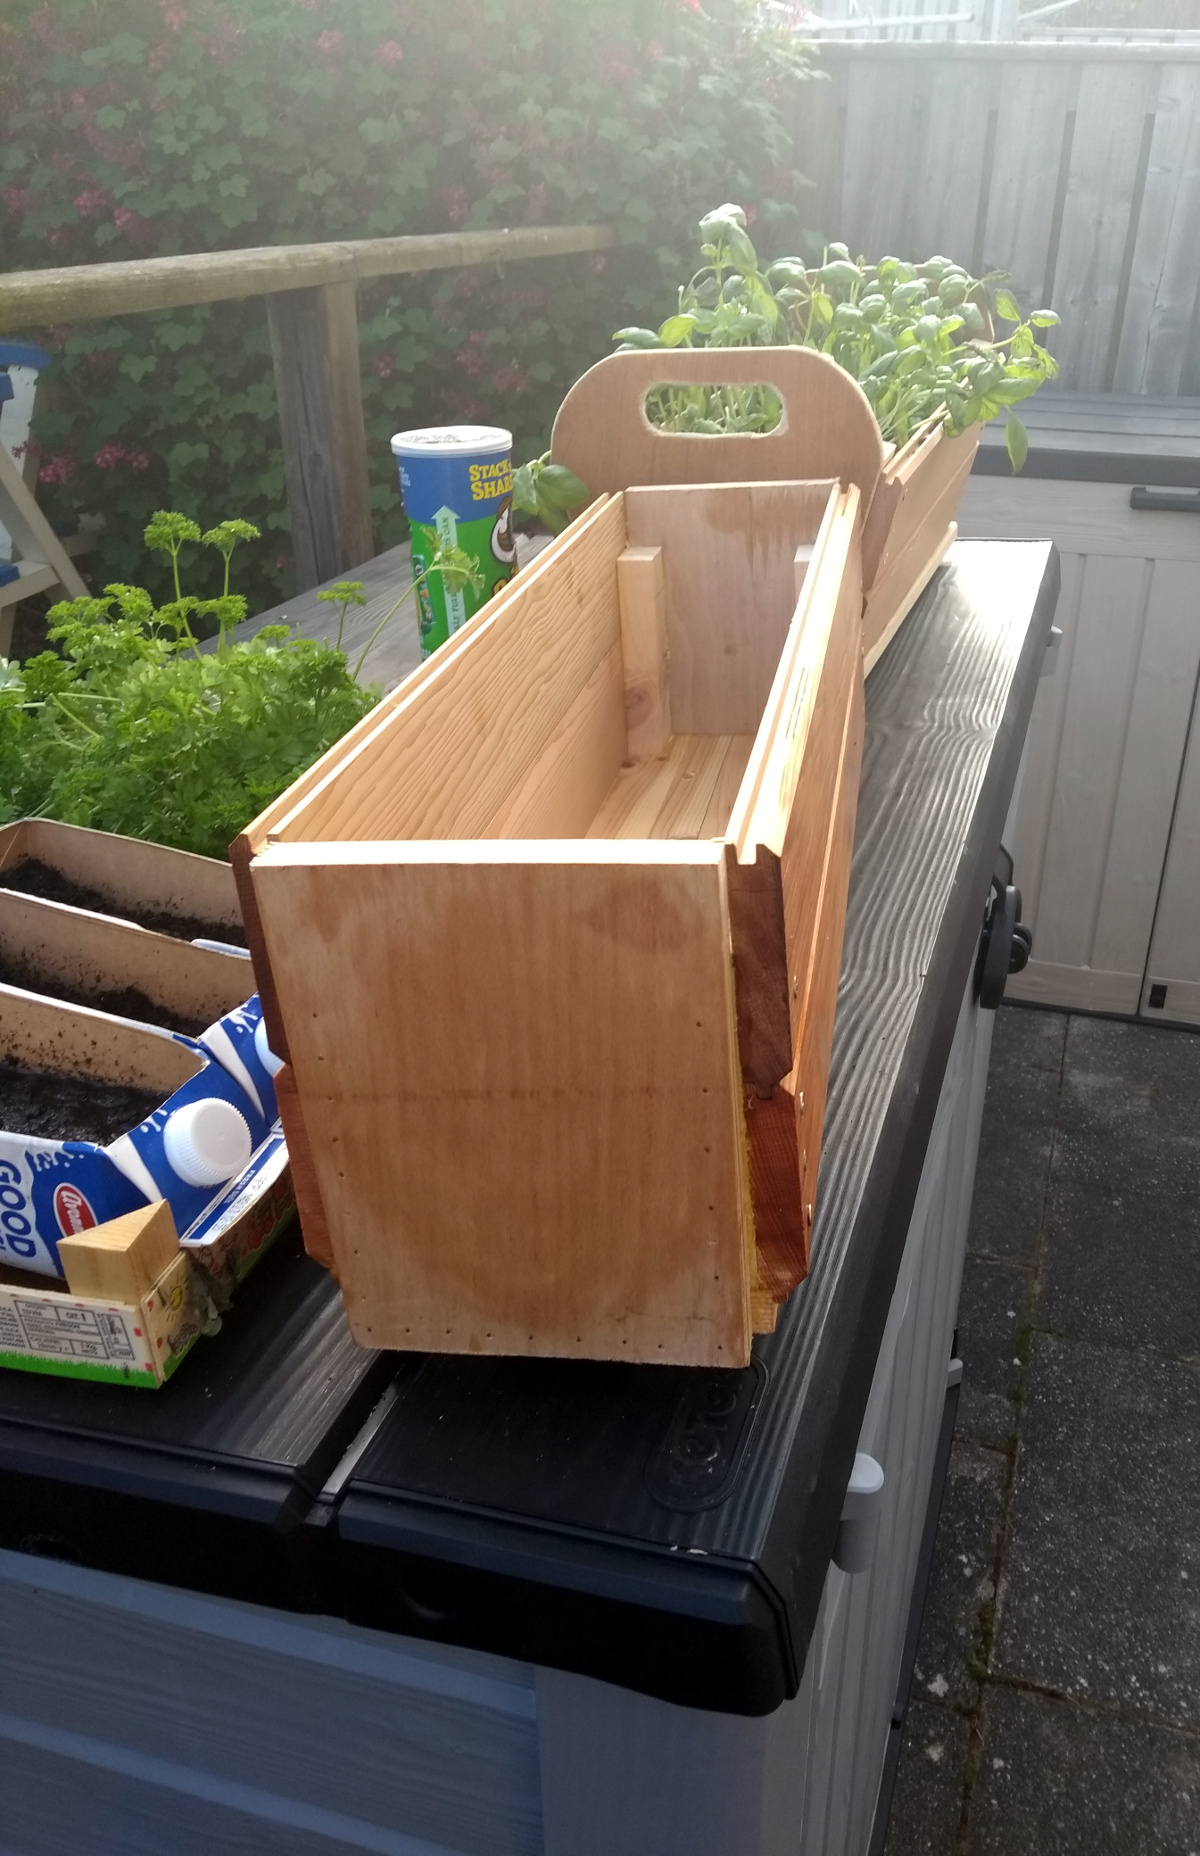
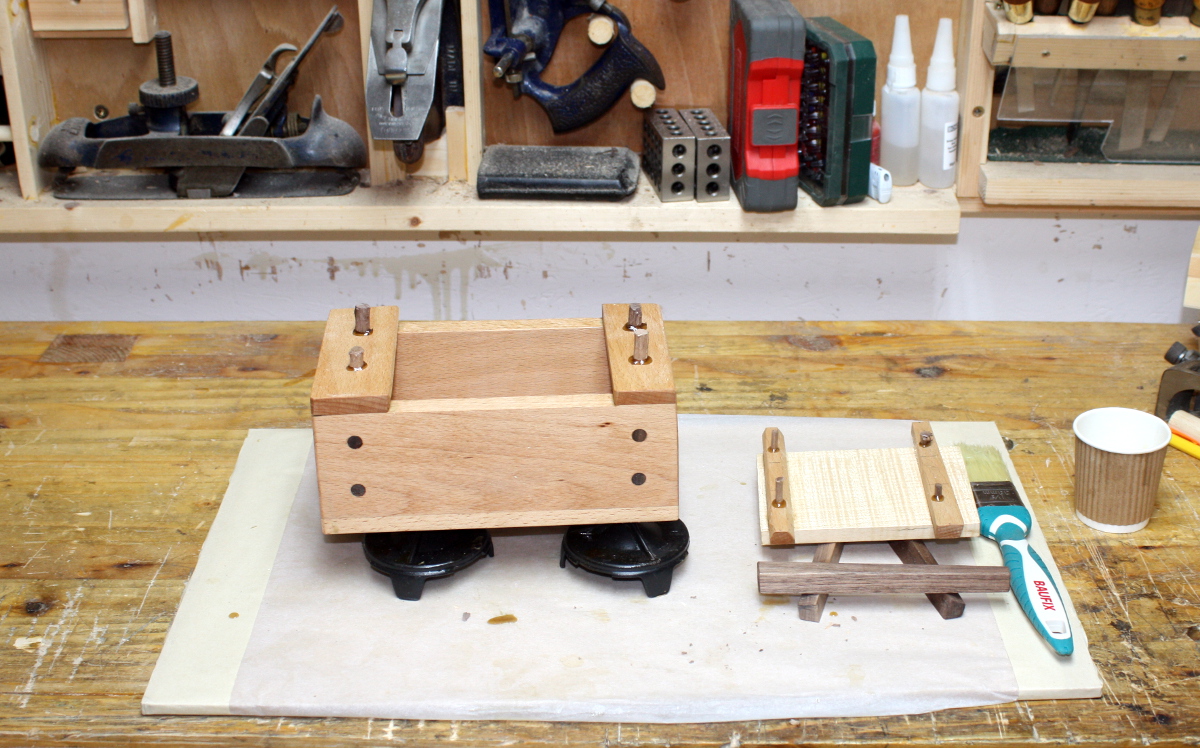
It’s very rough-and-ready and I don’t think it’ll last more than a year at most, but welcome to making do in the Lock-in. It’ll be grand. I slathered it with some BLO so I’ll fill it with compost, coffee grounds, eggshells and plants tomorrow.

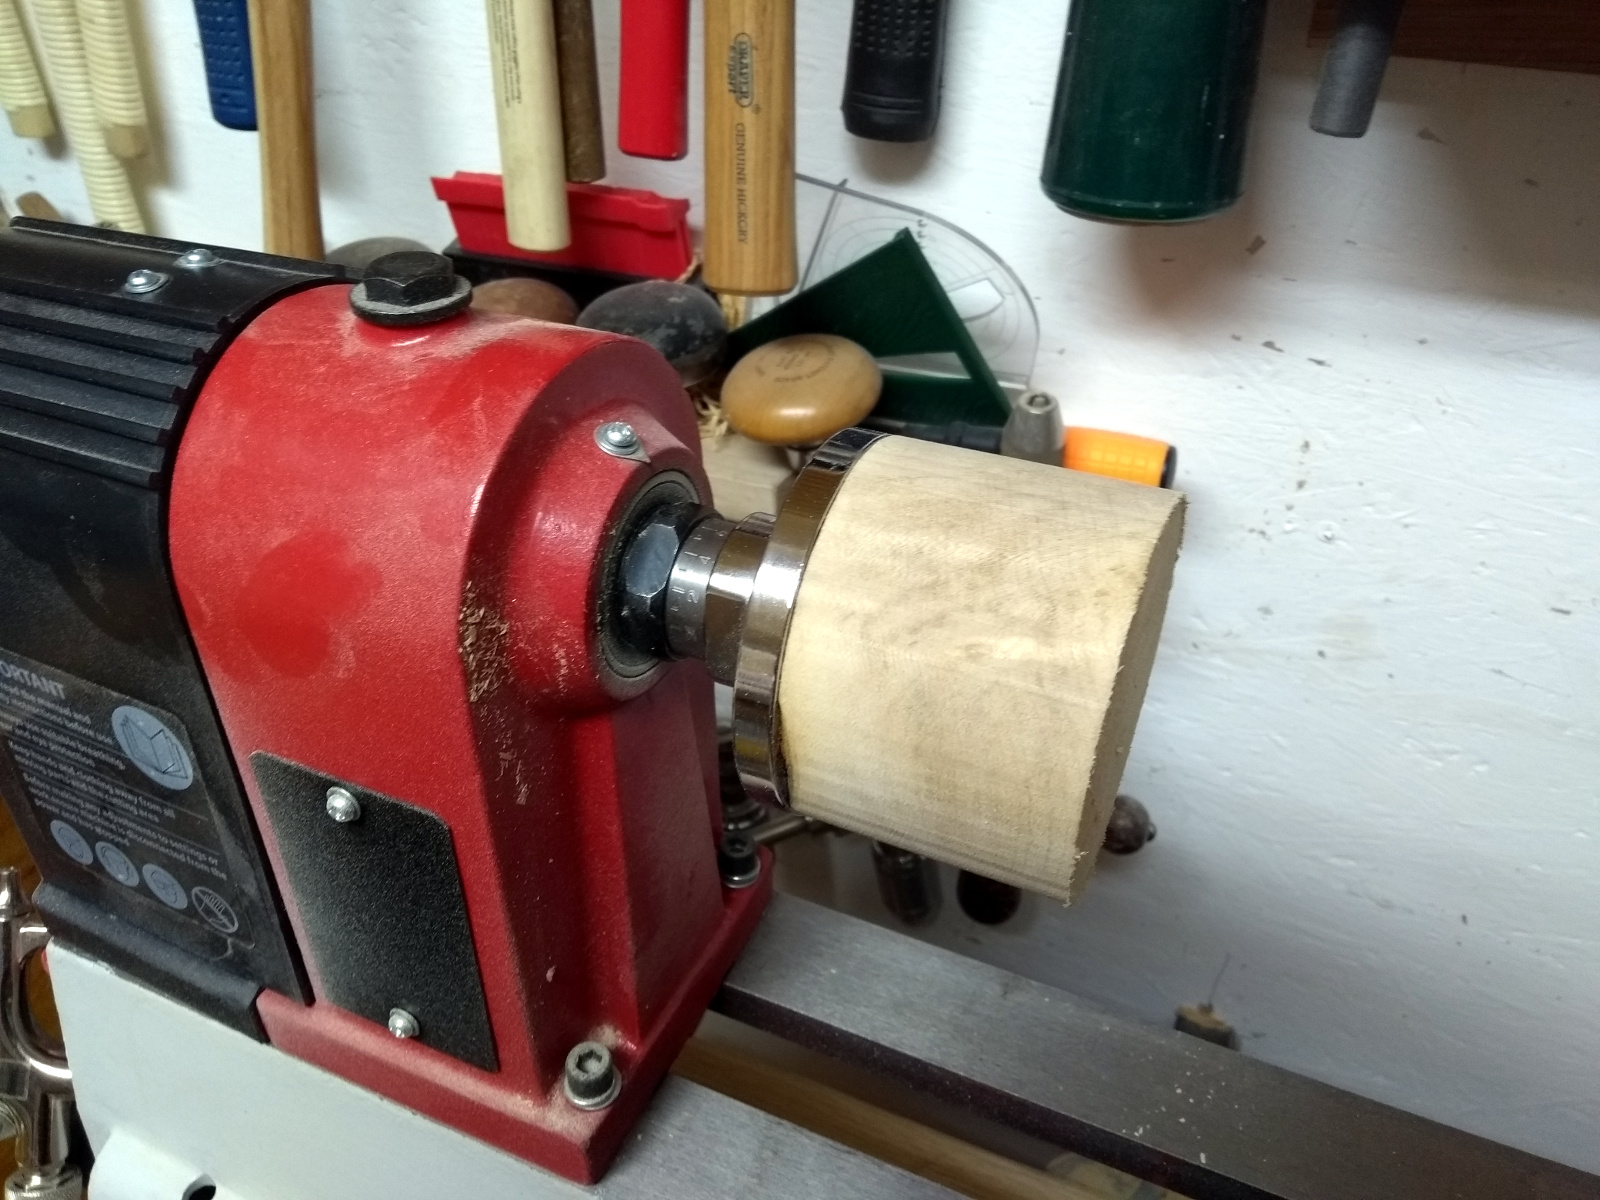
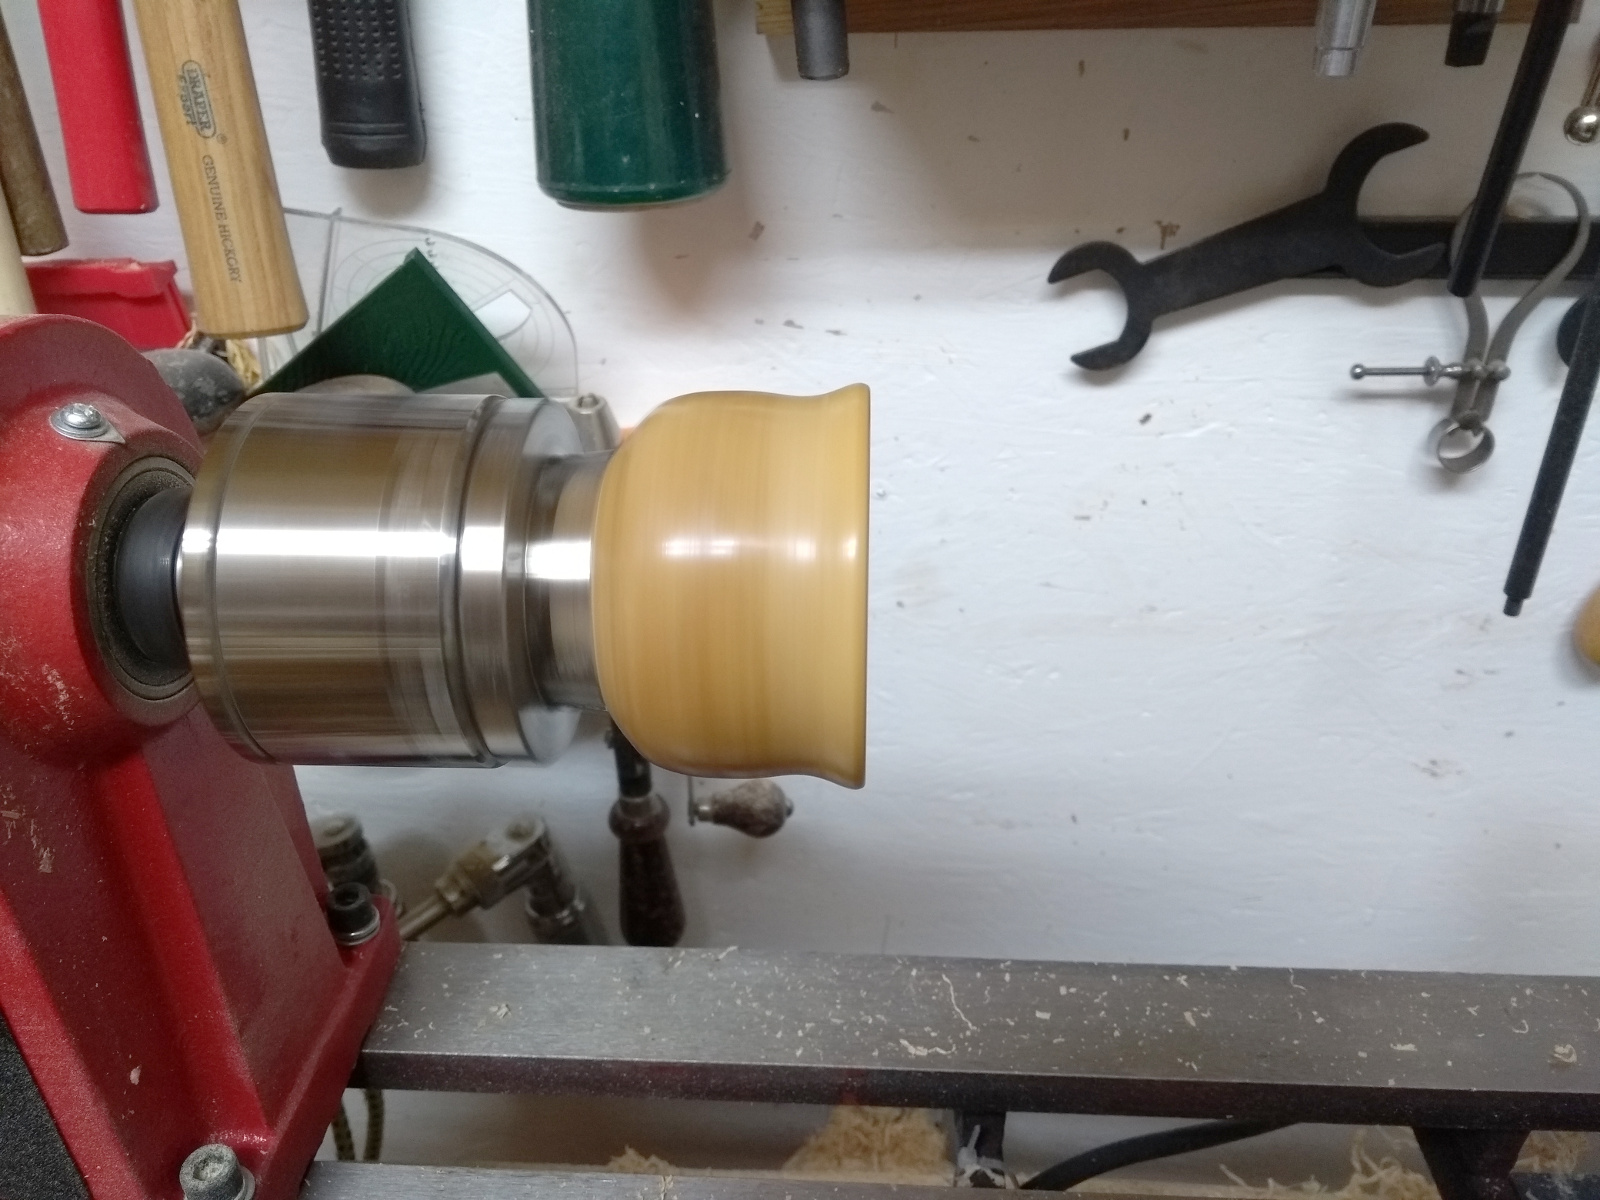
Did get a bit of turning in as well today.

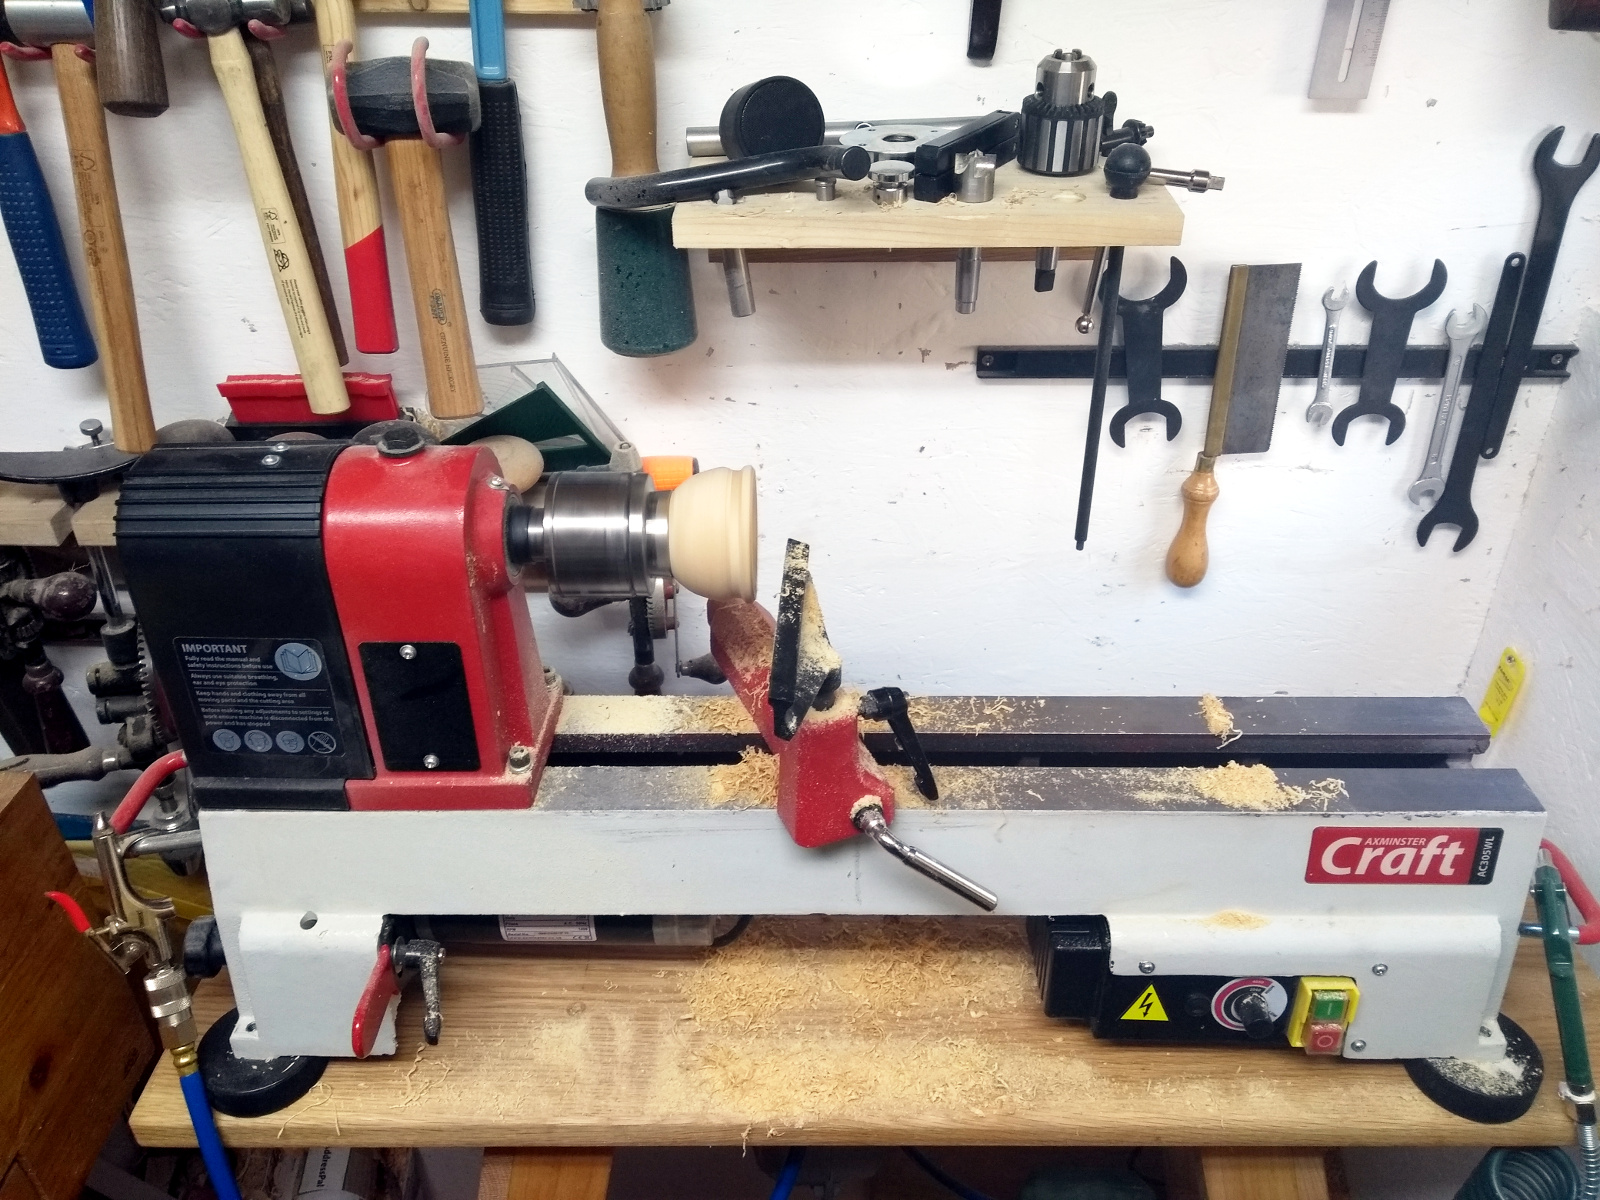
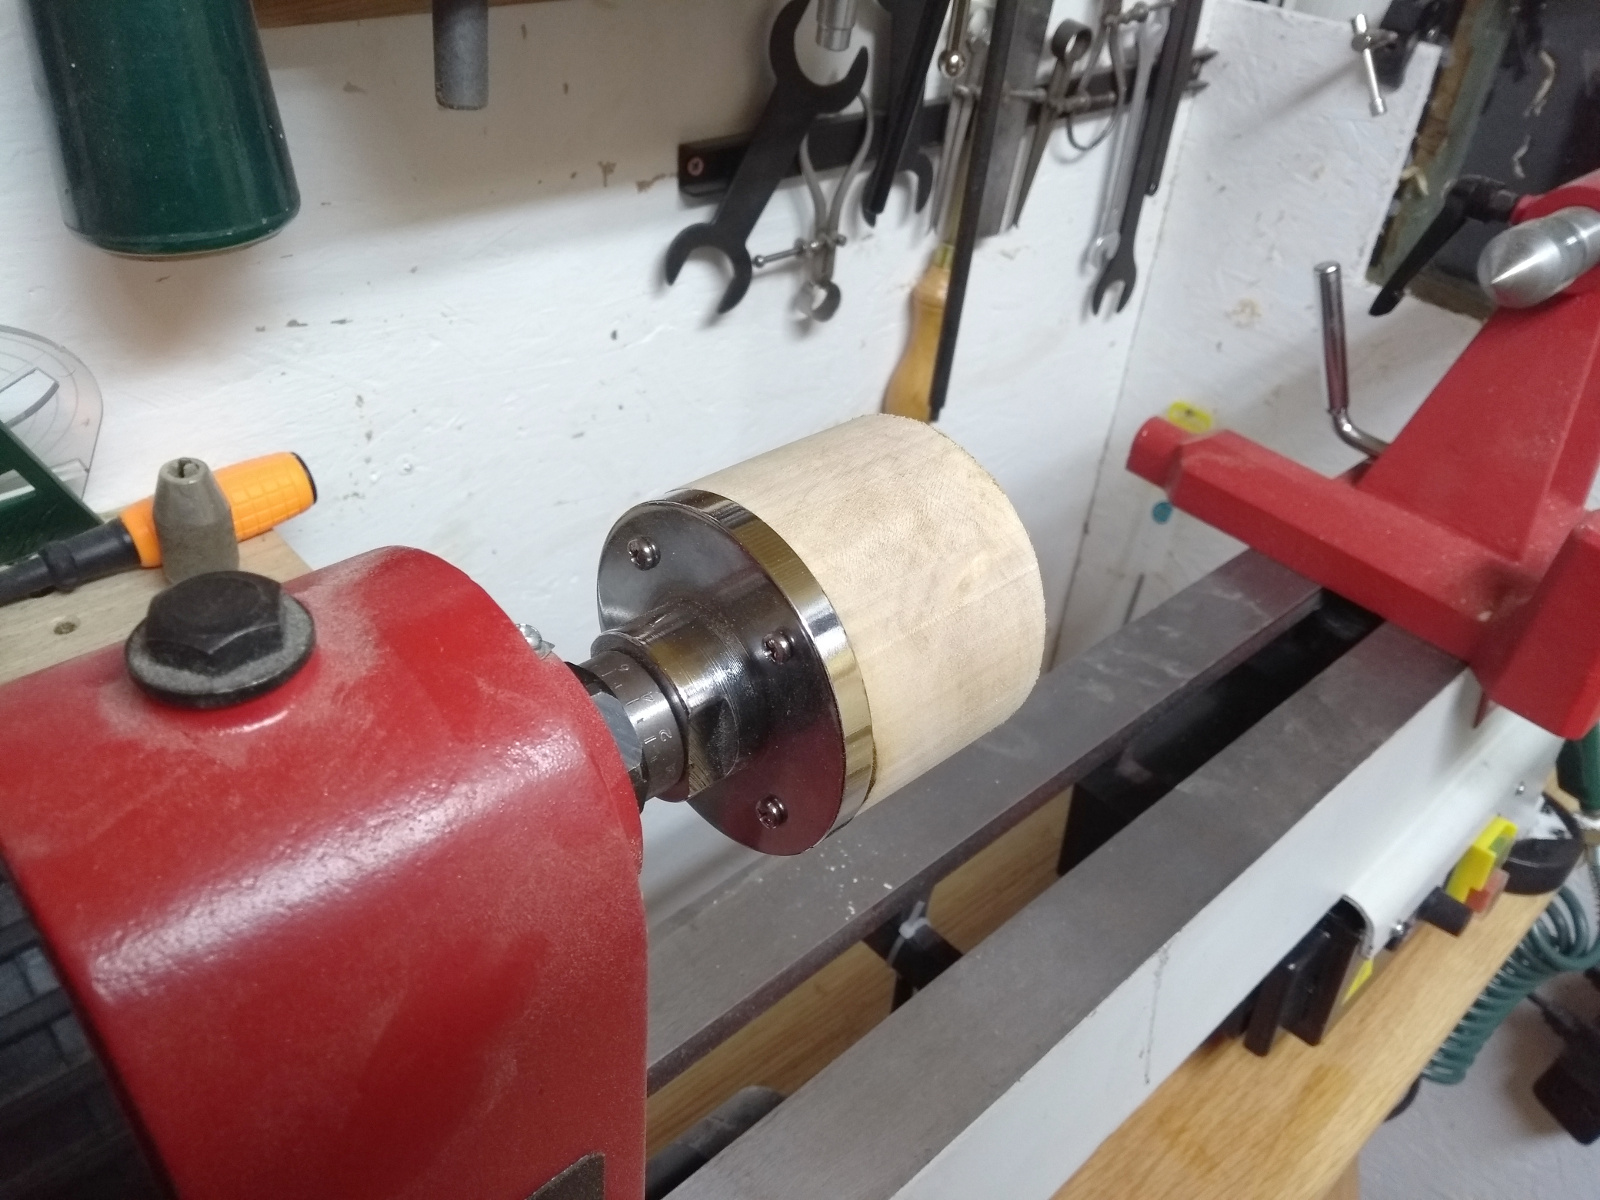
I didn’t use the big jaws after all, I wanted to get this piece done quickly so I skipped the experimental bit and just repeated yesterday’s process.

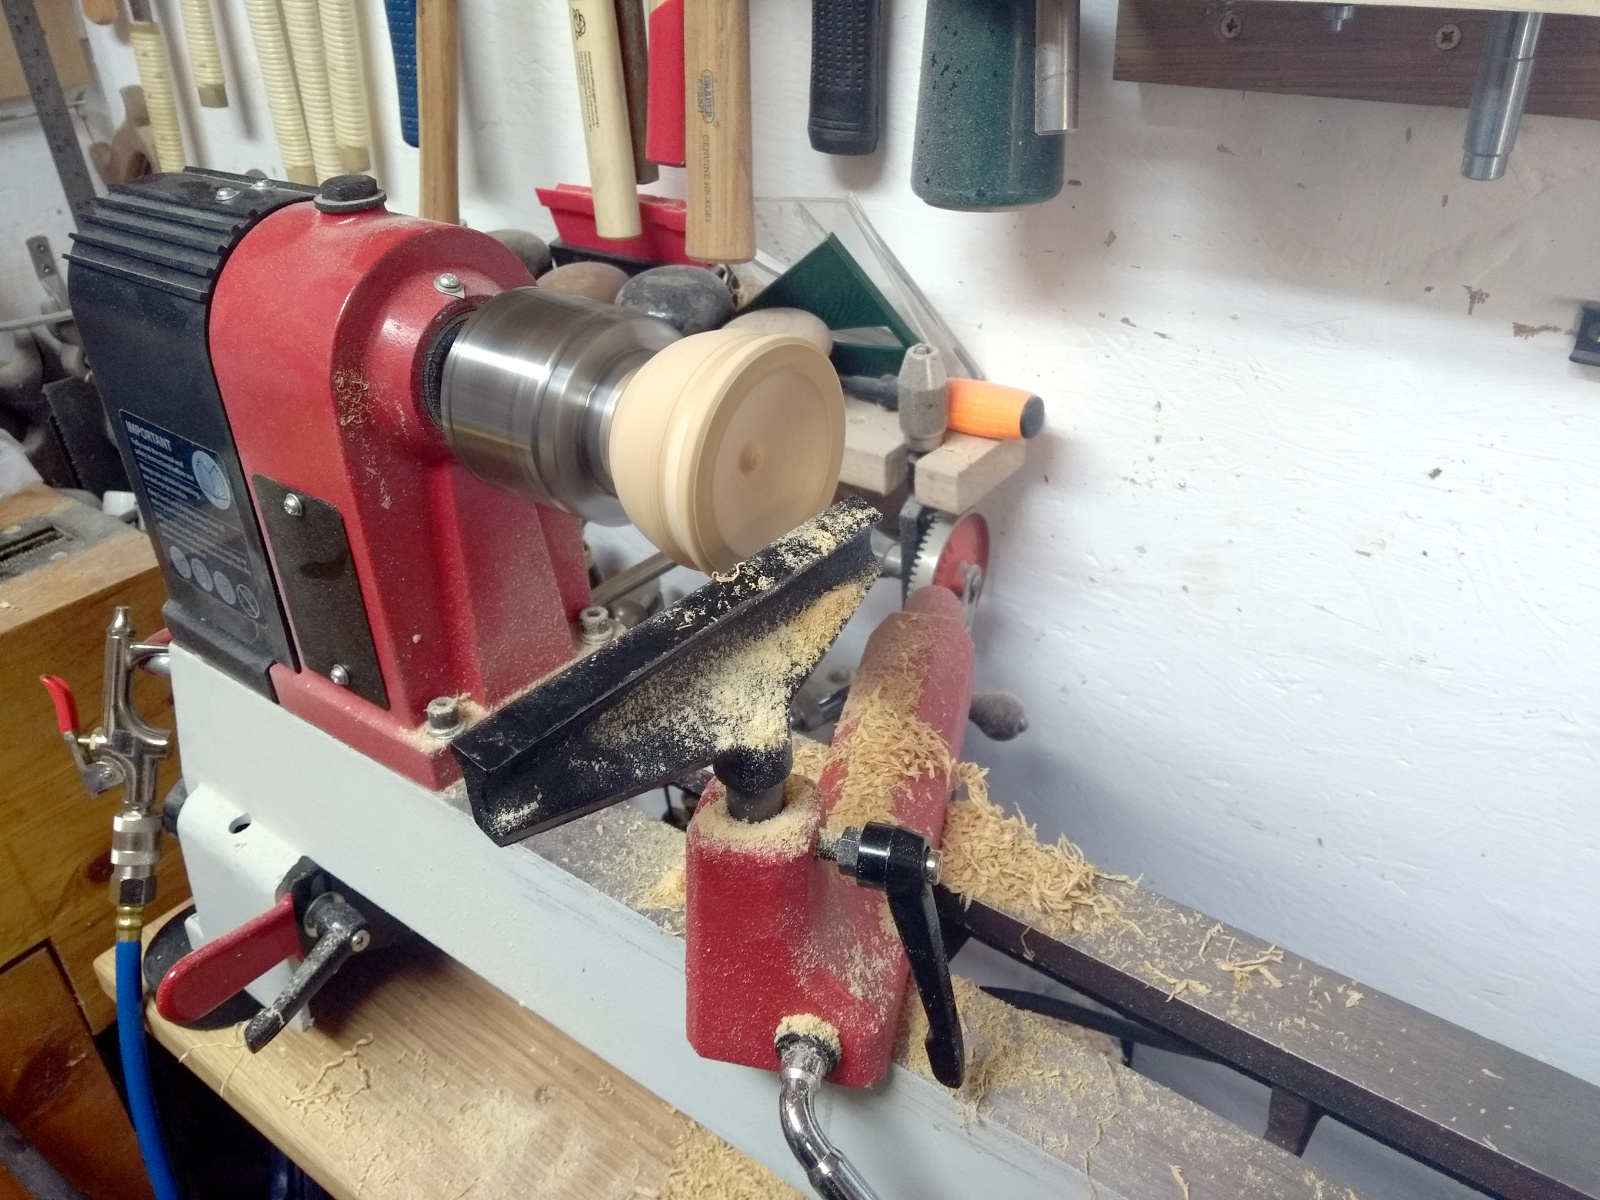
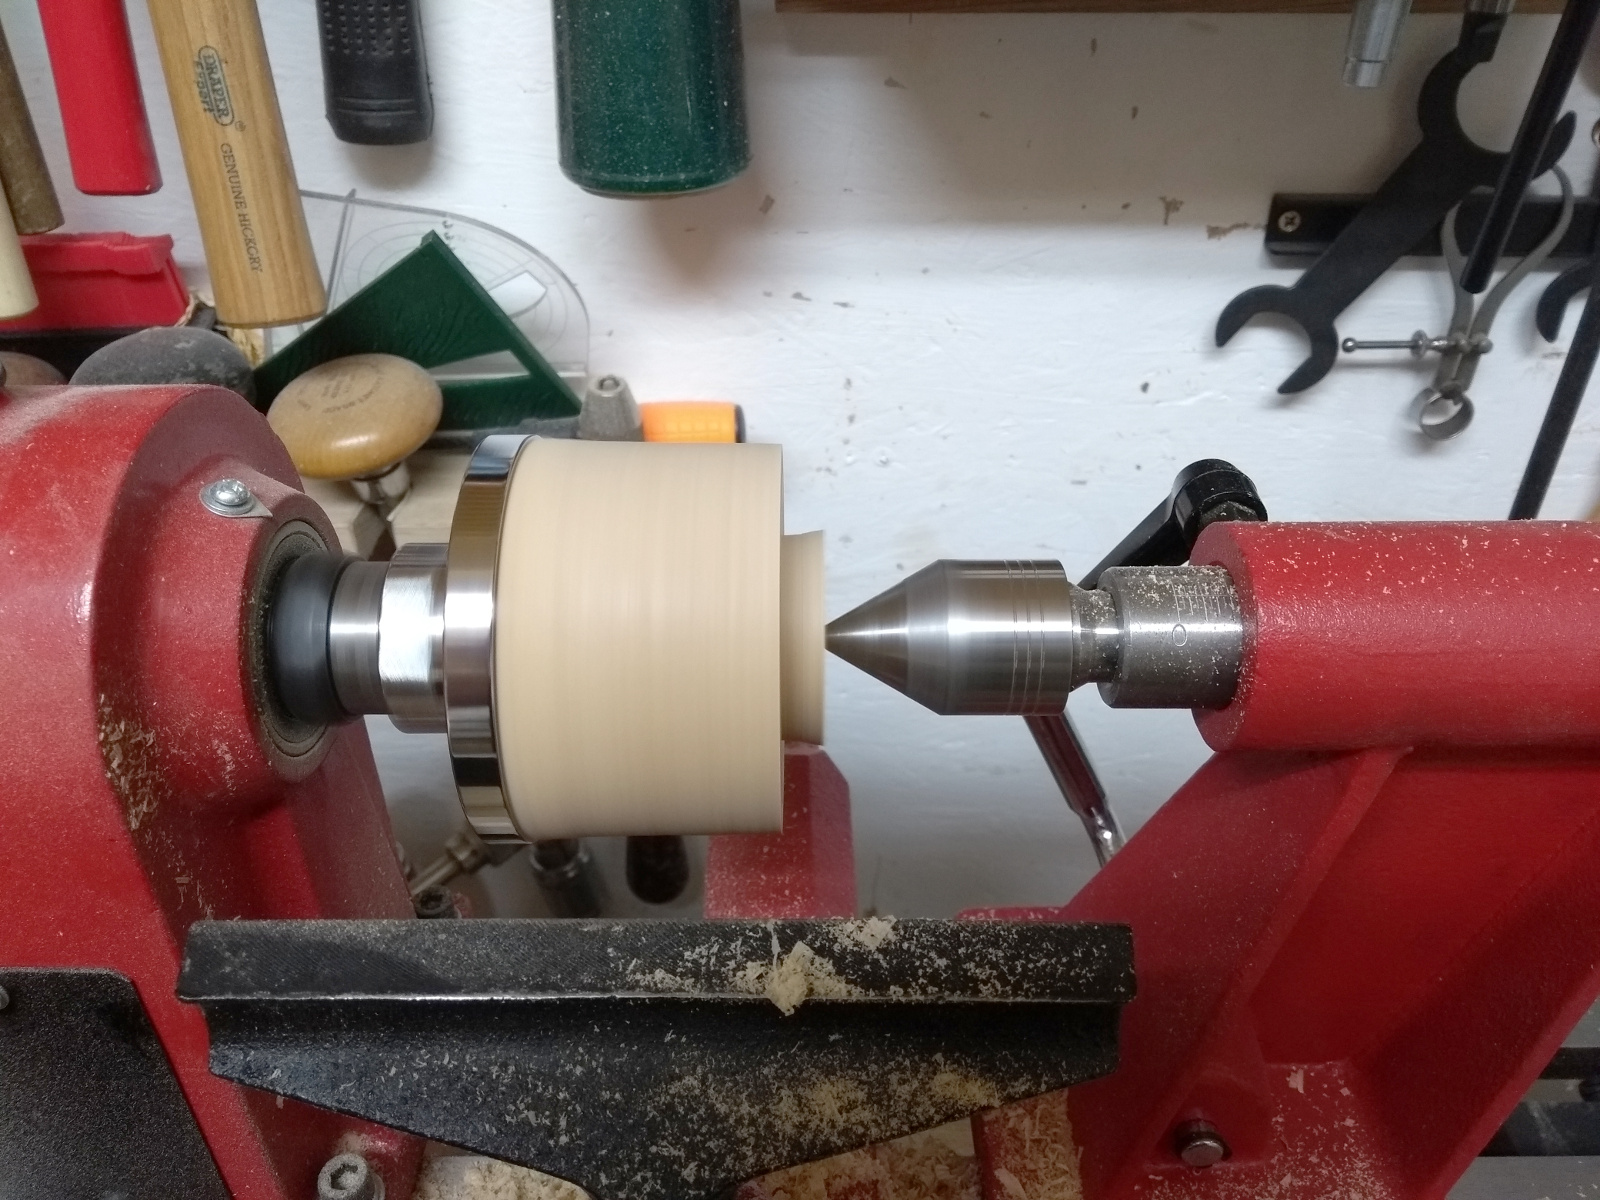
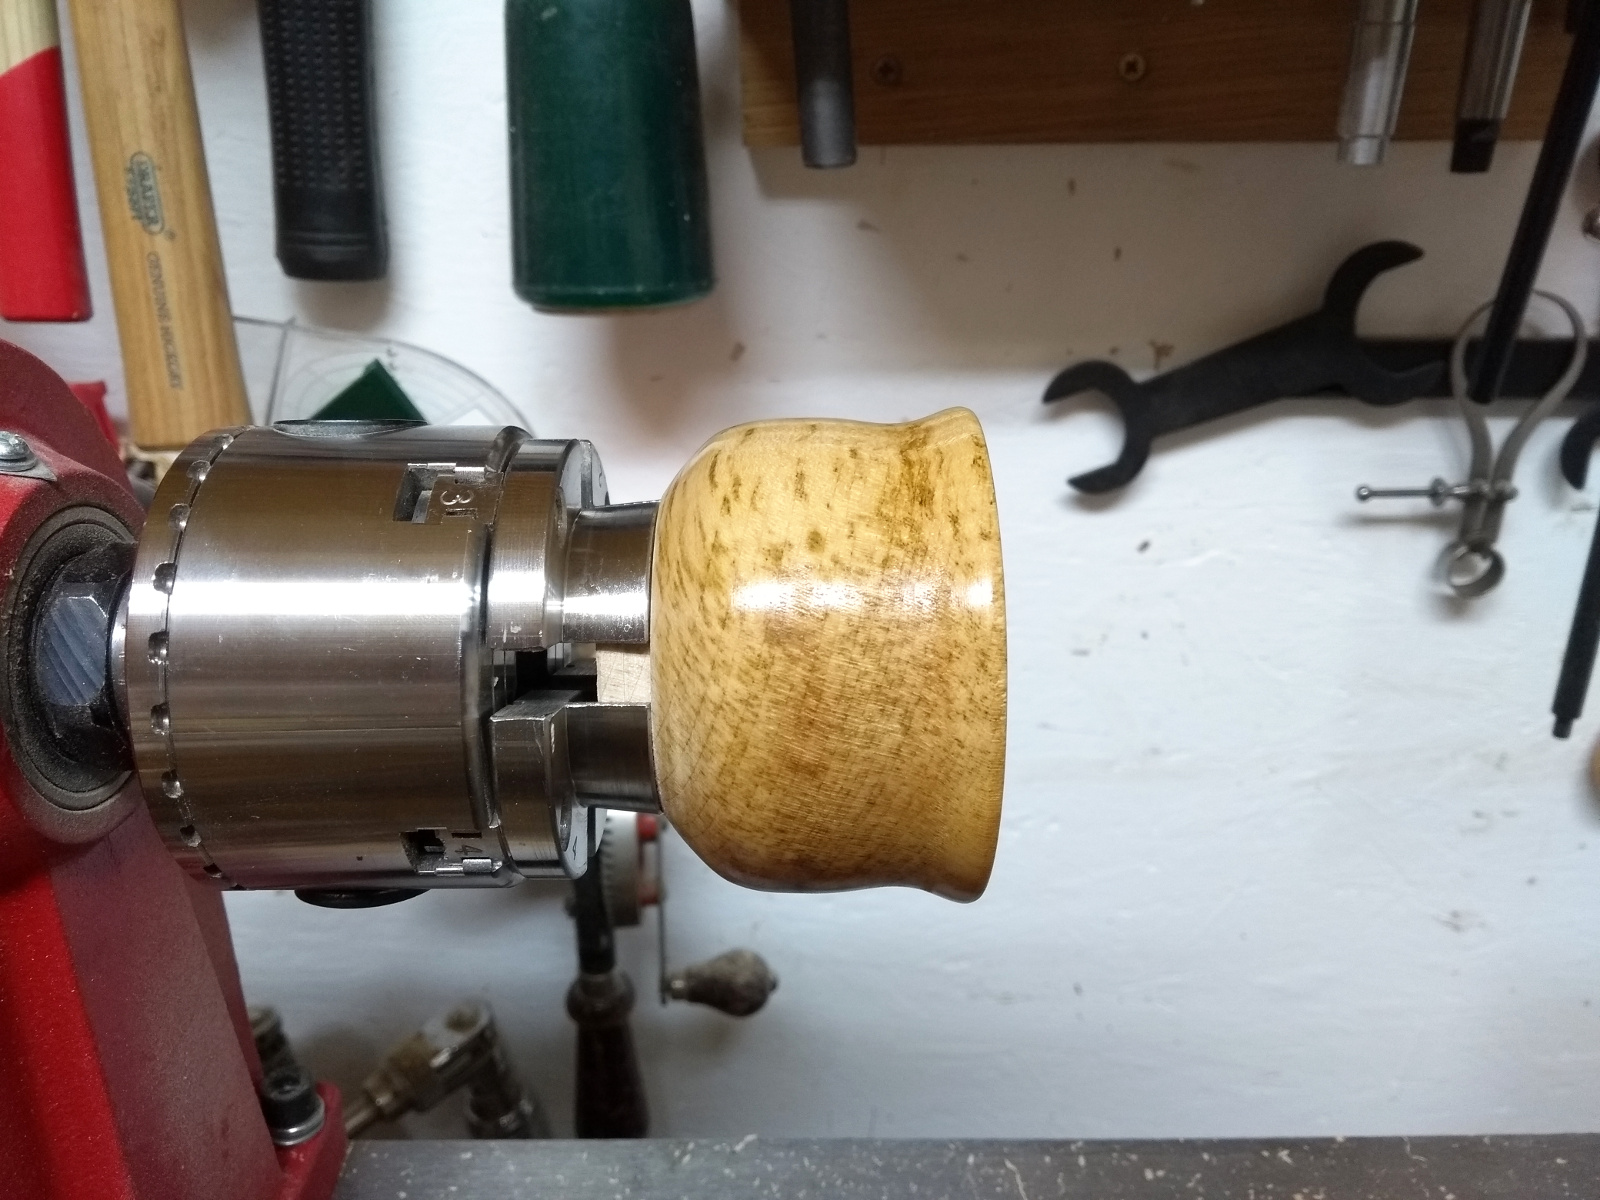
I was a bit more aggressive with the hollowing out this time, with the result that the walls are a bit thinner than the first bowl. And it went pretty well, with almost no catches (and I could recover the one I did get), though I did find myself wondering for a good 20-30 seconds what was wrong with my scraper when cleaning up the bottom of the bowl before I realised I had the sodding thing upside down.

Sigh.

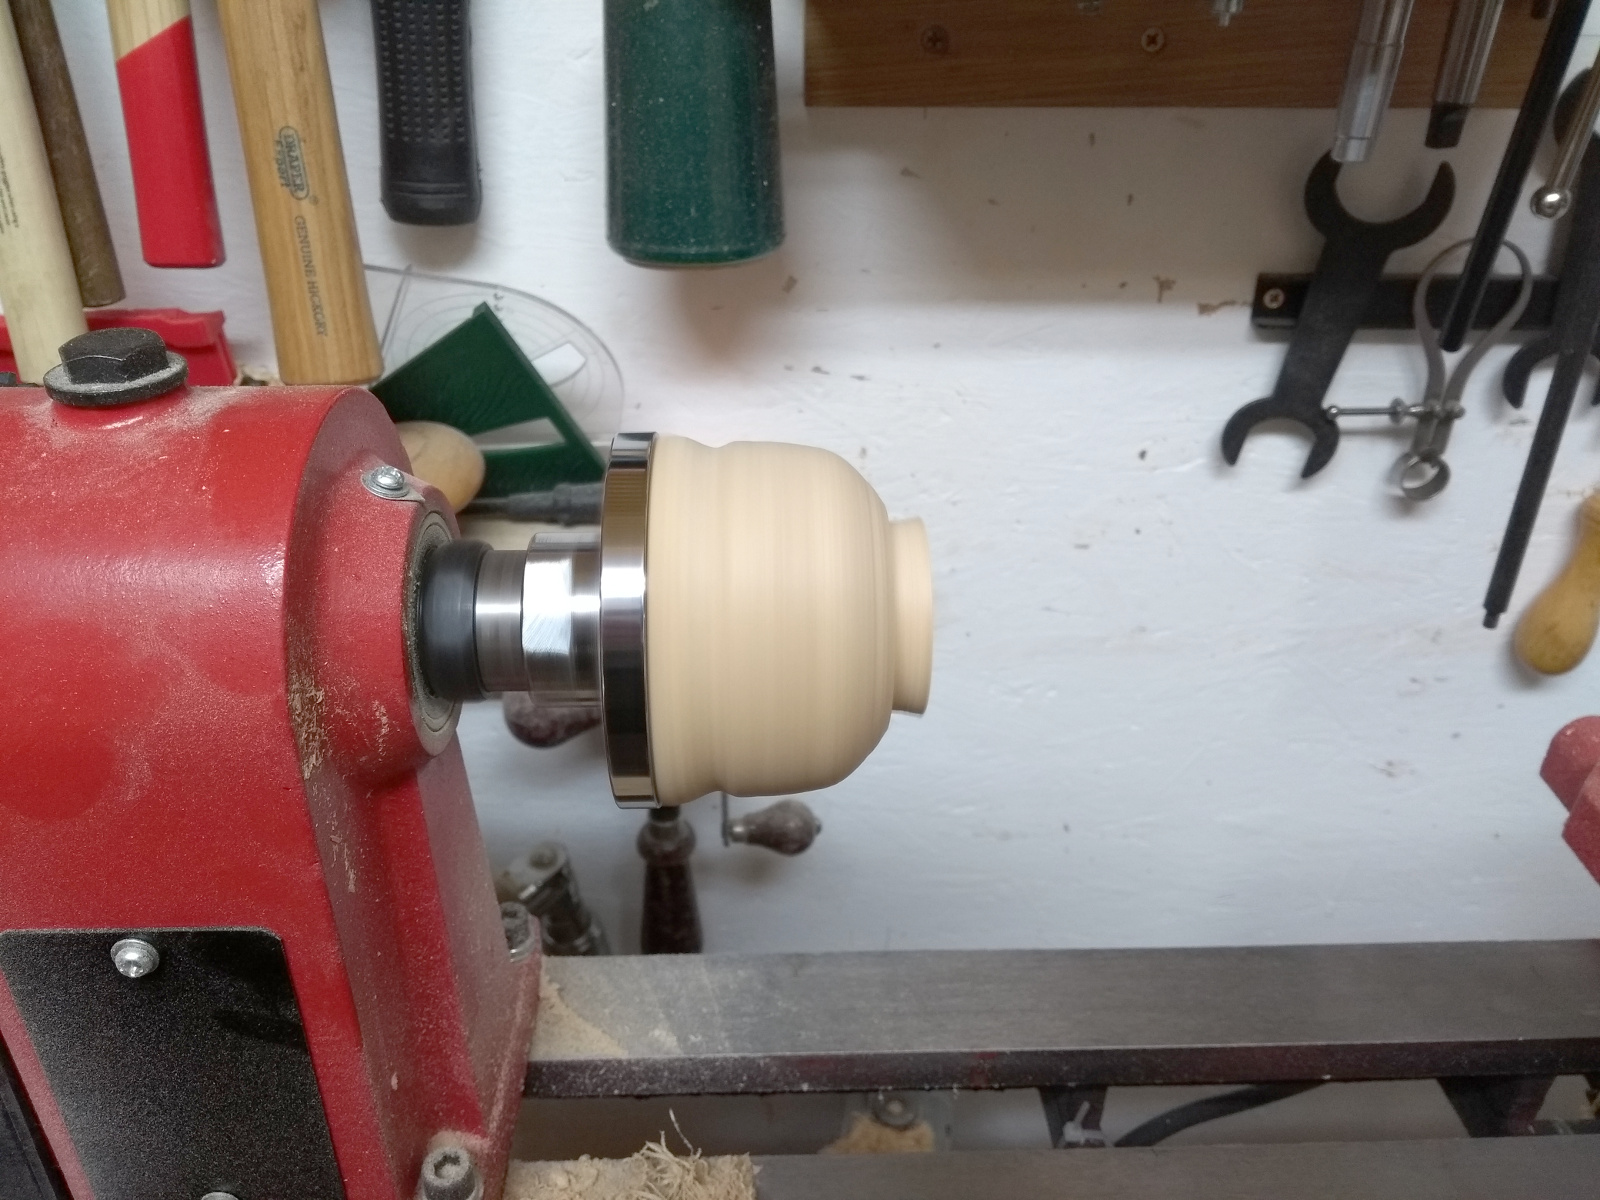
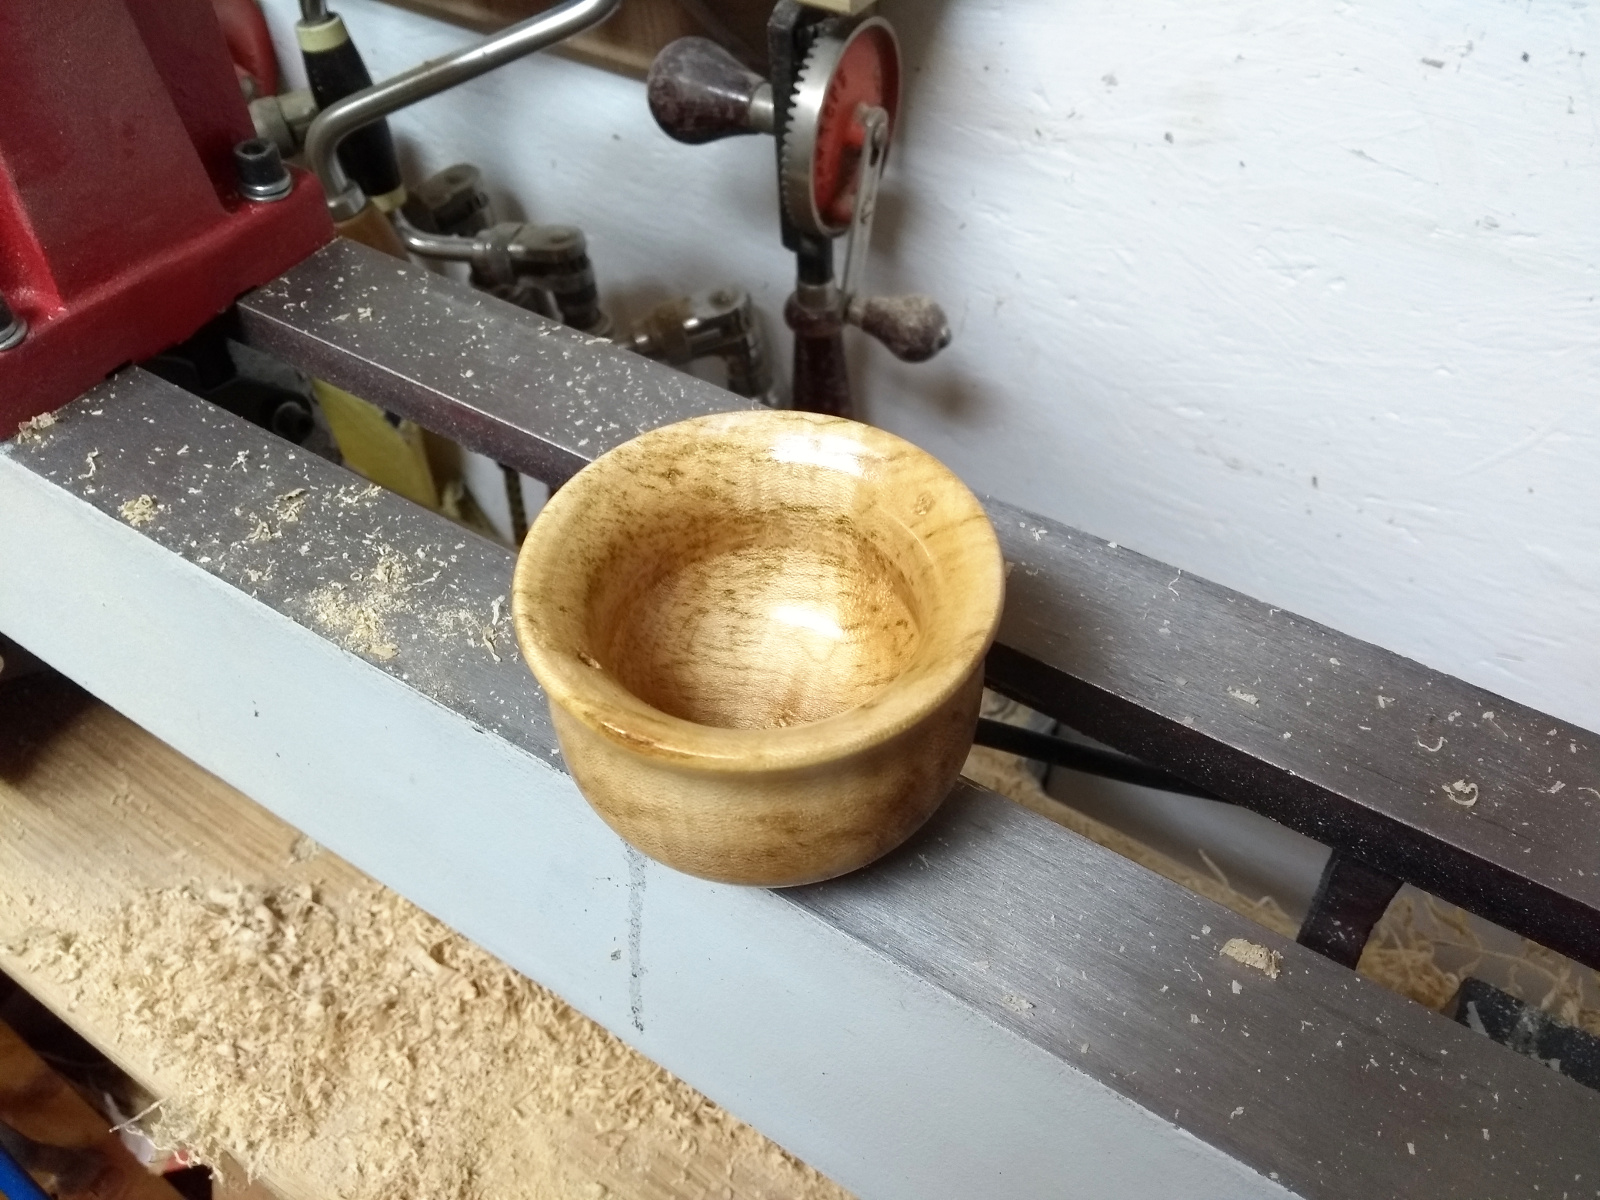
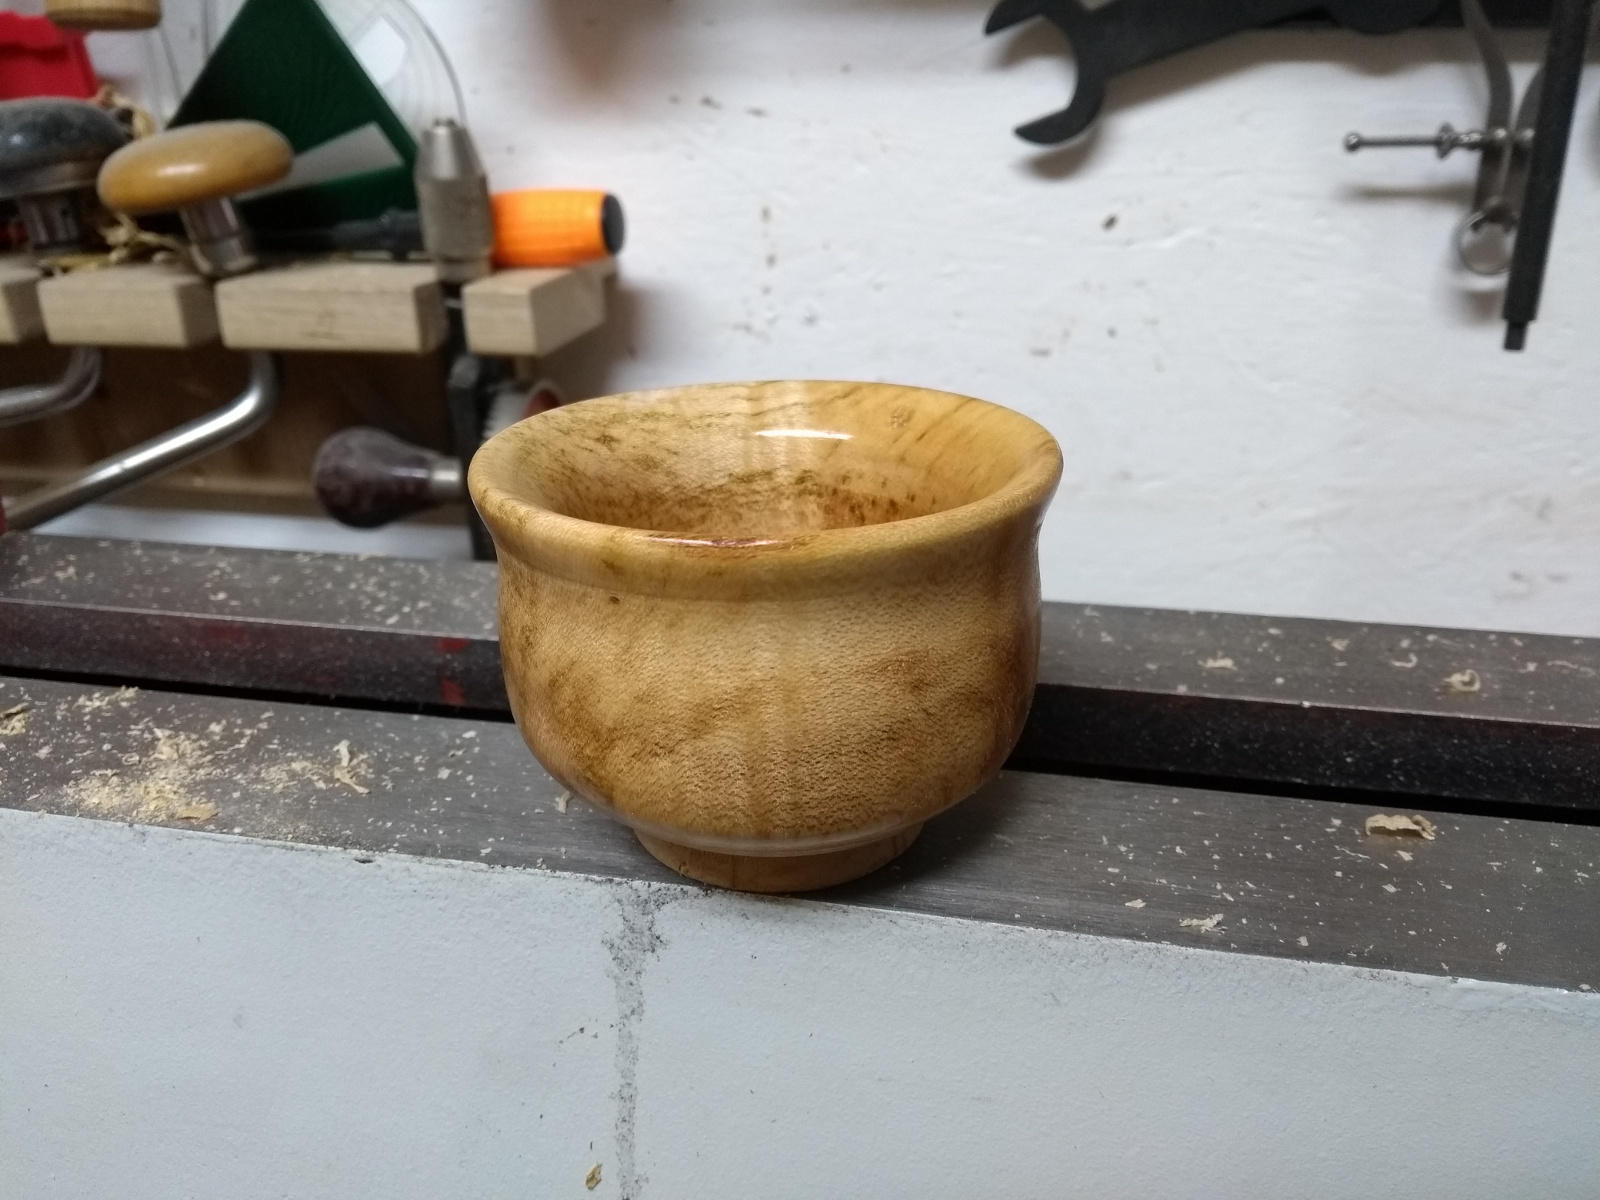
Still, turned out nice.

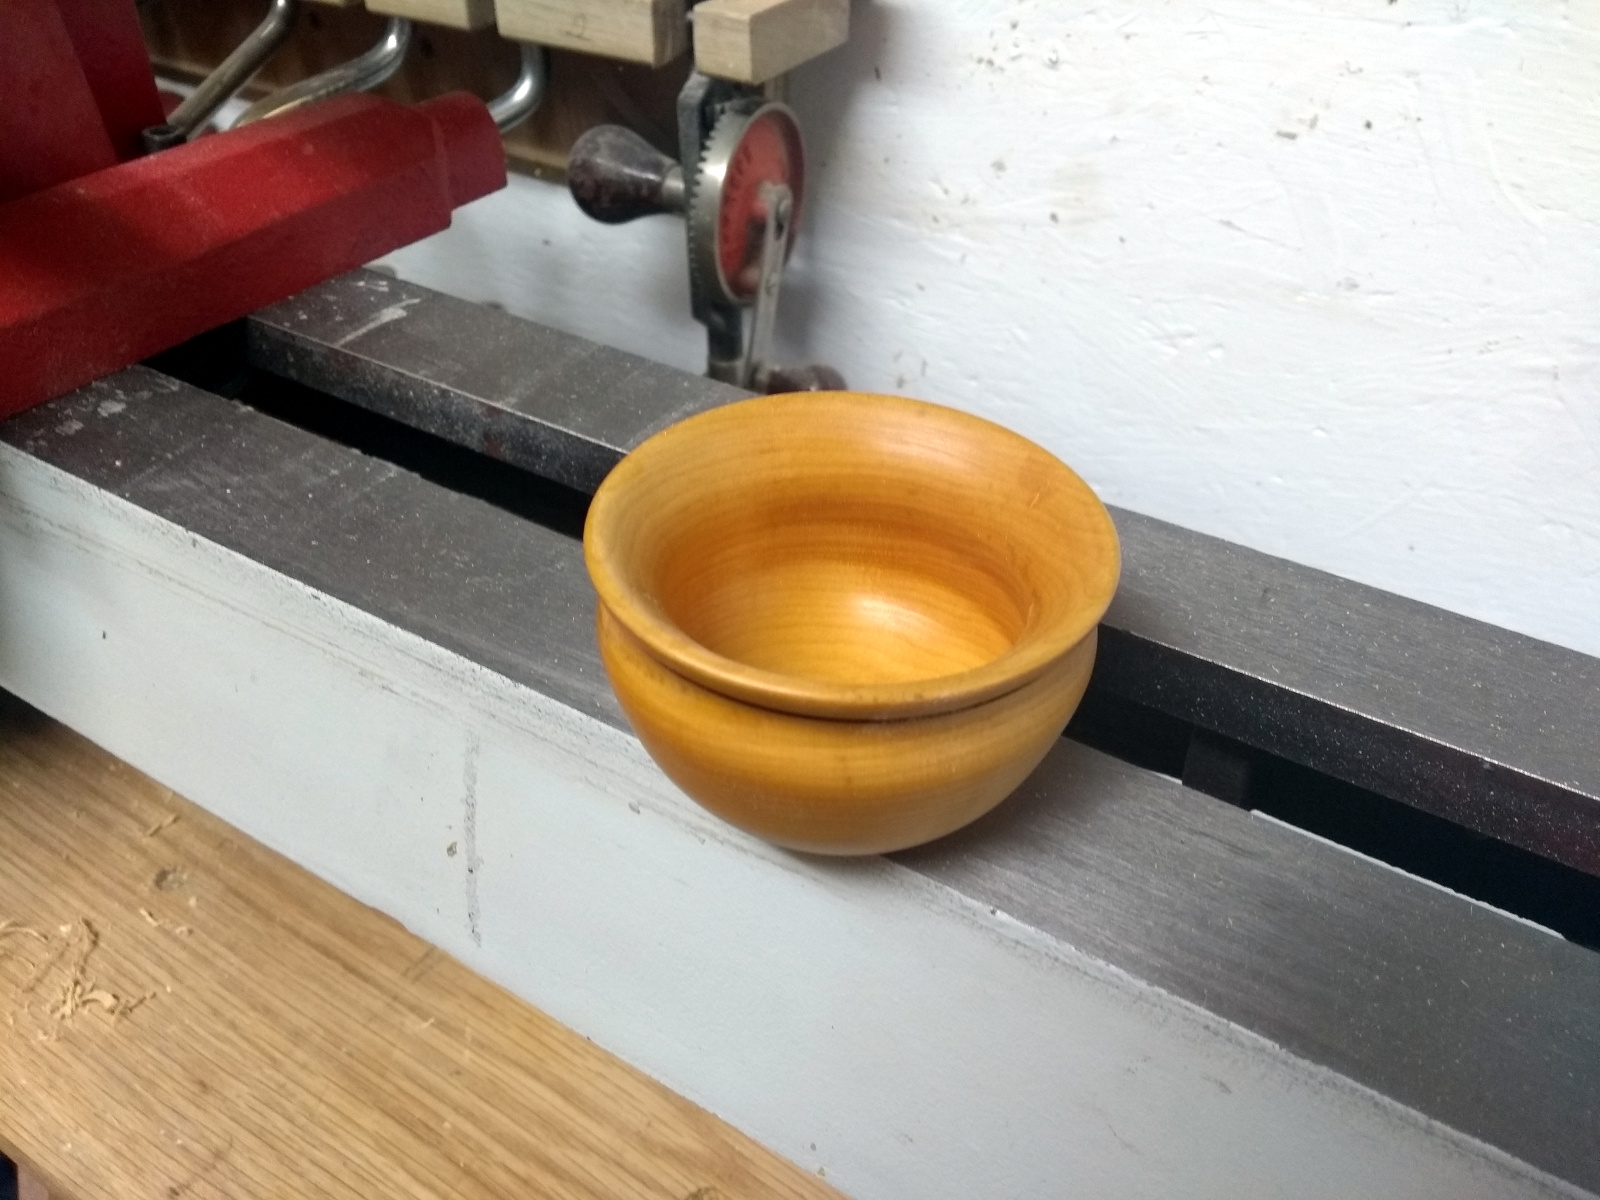
I like the burn line beneath the rim as well, I only put it in on a whim and it came out well.

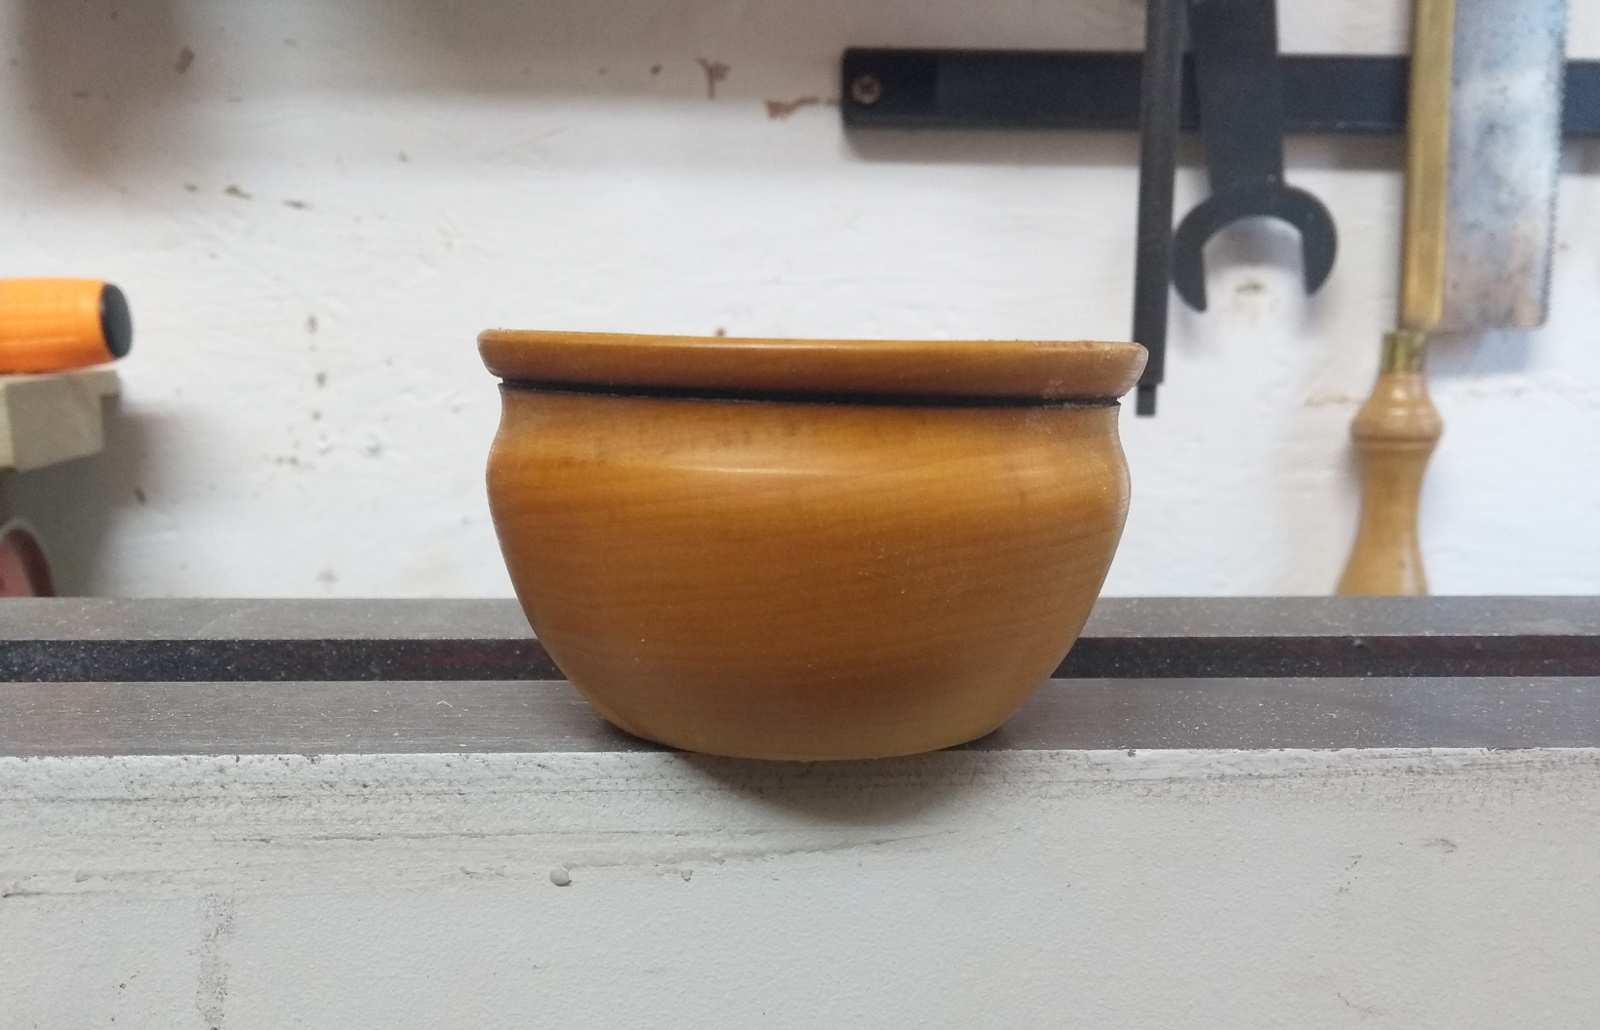
It’s only a little thing but it’s grand for use as a salt pig. I like that urn-like shape as well, though the hollowing out with a bowl gouge and a scraper is a bit awkward. I’ve sent away for a few bits and pieces to make up my own carbide scrapers, they might help with that. But for now I’m having fun with this, and I have a few more blanks to get through, as well as an entire green log to break down and make things for Fernhill with. Maybe a bowl would work for that, it could act like a natural birdbath….

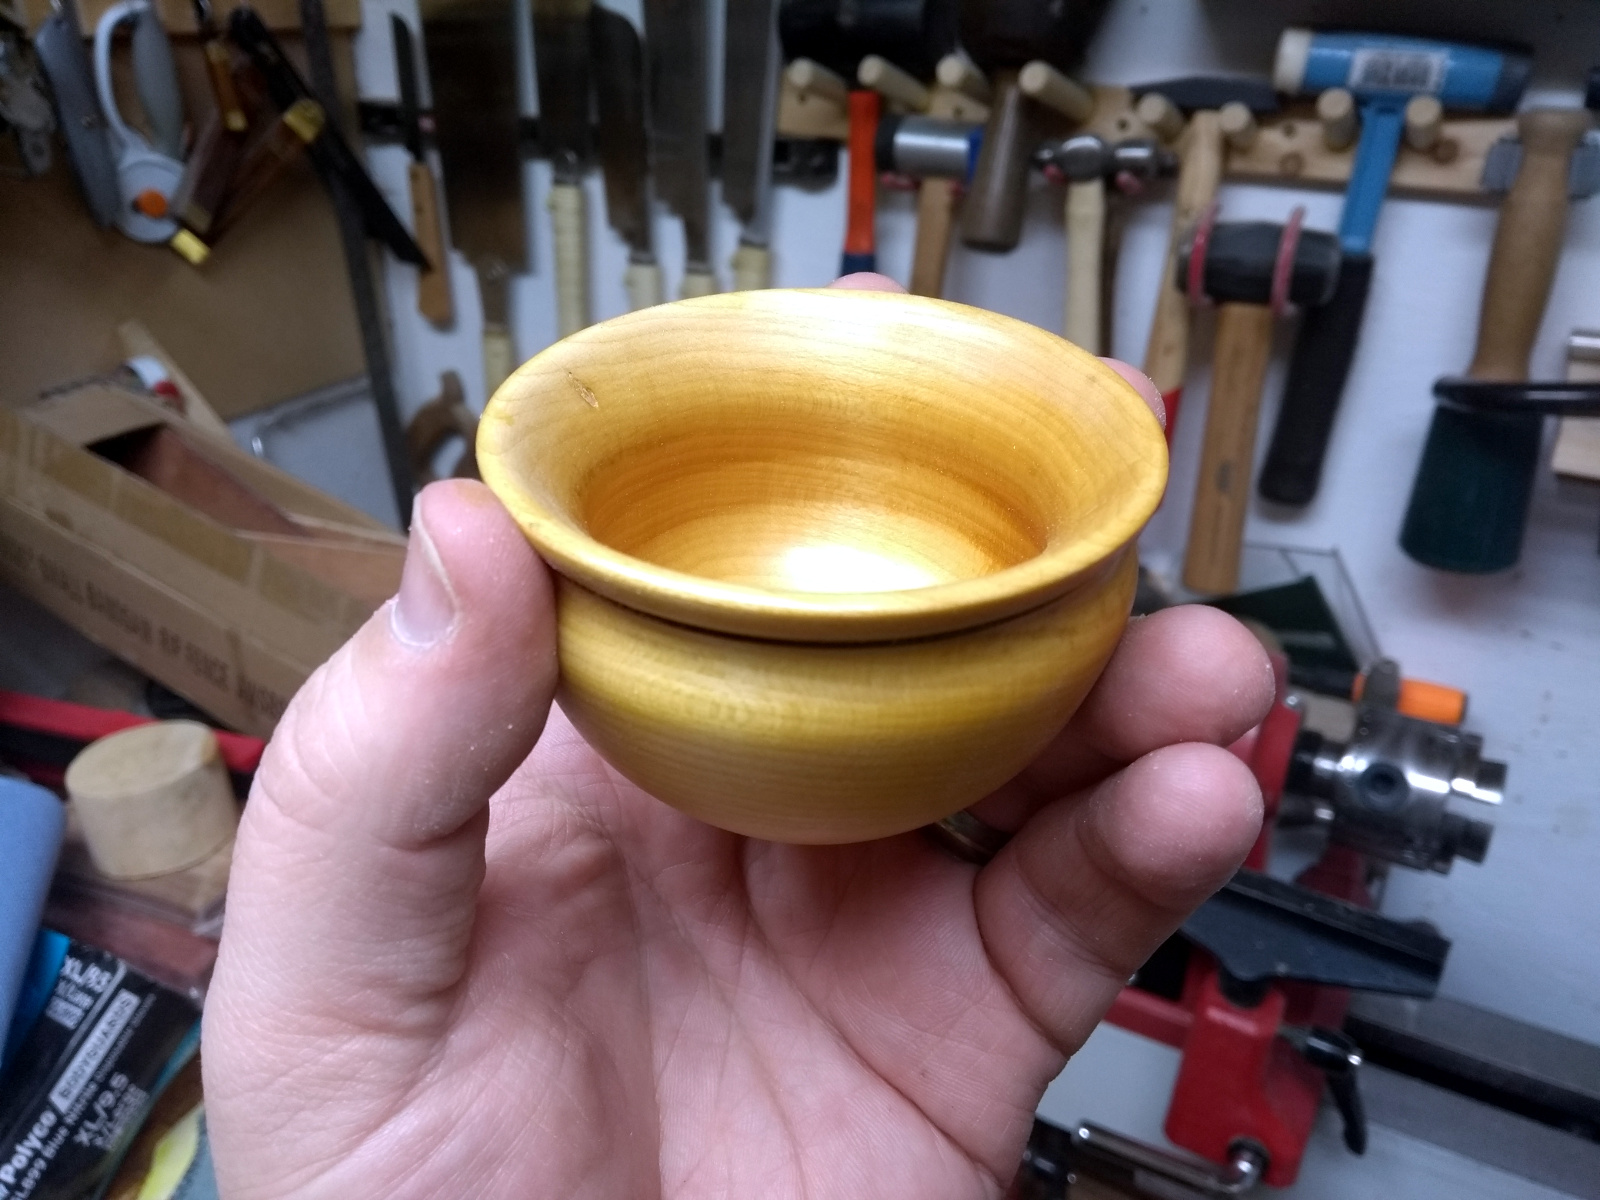
Dropped it off with some shopping to Mom&Dad who’re cocooning away at the moment. Who of course immediately picked it up bare-handed, so lots of handwashing all round required. Next time I’ll disinfect it before putting it in a box…


09
Apr 20

First bowl!

So the woodturning course I was taking was cancelled because of Covid19 before we got to the bowl turning part of the course. But I had a large variety sack of bowl blanks arrive from homeofwood.co.uk at the start of lockdown, and I’ve been wanting to try bowl turning for a while, so I read about a dozen books on bowlturning (like The Practical Woodturner and others), bingewatched about thirty hours of youtube intruction from a dozen different turners, set the pucker factor to maximum and picked out the smallest minature blank I had…

That’s a three-inch blank on a three-inch faceplate 😀 But we can still do more overkill…

Tailstock support on a three inch blank 😀 Well, first bowl, might as well do belt and braces. So I turned the tenon (and it didn’t look too bad I thought), then I took off the faceplate, chucked the blank up, realised I’d skipped a step, put the faceplate back on and turned the outside of the bowl.

I didn’t have any plan for the shape by the way, that was just something that felt right as I was doing it. Then I took off the faceplate and chucked it up and immediately found that the chuck itself was vibrating because the tenon wasn’t exactly central. A quick pass or two with the spindle gouge cured that, and then I started hollowing out the bowl with the bowl gouge and quickly discovered a few things:

  • I need a lamp in the corner of the shed pointed at the headstock. I had to jury-rig a torch to be able to see inside the bowl to see what I was doing. Daylight might help, but this was after dark here.
  • I really need to remove the tailstock to do this, it’s way too scary having your hands near a live center when worrying about catches in a bowl.
  • Being able to rotate the lathe stand in the shed would be a major bonus on any larger bowls. Happily it’s not bolted to the floor; less happily, the compressor and pillar drill would have to be moved which is awkward. Maybe I could put a shelf down at the feet of the lathe stand when I can get more plywood after the lockdown ends.
  • Bowl turning is a bit scary.

But after a while of taking small bites with the bowl gouge and then a final scraper pass, I was able to move on to sanding. Up from 120 to 400 grit, and then burnishing with a handfull of shavings – and doing that inside a bowl with just two fingers at high rpms is hilariously scary. I wanted to keep the colour light so I gave the bowl a coat of poppy seed oil (also food-safe, which is nice because I think this would make a good salt bowl).

And then a single coat of blonde shellac and I called it finished.

I’m rather pleased with that 🙂
I mean, the walls are too thick to be elegant and too uneven in thickness to be able to call the thickness a design choice, and I didn’t even get the bottom of the screw holes from the faceplate out of the rim, but for a first bowl, I’m happy with that 🙂

Now for that 11 inch by 4 inch blank in the timber storage box…


17
Jun 18

Balls

We had to run off to a graduation on Friday, but when we got back I spent a rather rushed half-hour in the shed. Thing about that sort of thing is that it gets… messy…

So first things first on Saturday, clean up a bit…

Right. Next, trim up the other end cap, and set the locking wedge position and glue it in place…

And yes, that is the finish starting to go on the box and the key; and I have jumped the gun there a bit and I pay for it later. The finish by the way, is half danish oil and half turps, mixed in the cup (the office has a snacks thing they do where you can get free peanuts and we use those little paper cups to serve them in; I just hang on to mine and they come in useful in the shed later).

I don’t use Rustins for any particular reason; it just happens to be the brand I could find in the shop. I don’t use danish oil all that much really, but the consensus was that it works well for beech when I asked around. And I have to admit, it works quite well, though it’s a strong-smelling finish for the first day or two.

All glued up and finished with the first coat of oil&turps…

And then after it had had a few hours to dry, a test fitting…

BTW, that’s the third walnut key I made. The first one I cut looked fine but by the time I’d pushed it in far enough to lock the lid, it was half-way out already. I re-cut it and somehow mixed dimensions up and had to redo the redo…

It was at this point that I realised I’d forgotten a step…

No pegs in the top. I mean, the glue would probably hold but the forces on the top pieces are all shearing forces acting across the lid so the only thing holding the pieces in place if you really shoved on the wedge would be the glue, and along what is probably its weakest axis. And I get paranoid about such things so…

Yeah, I know, drilled right through the finish too. Oh well. Now the end caps are fine, the five-sixteenths size pegs there don’t come close to blowing out the five-eighths material, but the stops on the lid themselves are far thinner, so I needed a smaller peg, somewhere around an eighth of an inch or just over. And my dowel plate only goes down as far as 1/4 inch and worse yet, with small pegs like that, matching the peg to the hole gets more critical and all my drill bits are metric (the auger bits are all imperial but don’t drop down that far). I was going to use the Bosch drill for the lid because for small thin stock and small holes, you really do want some speed with the lidl-standard drillbits I have; which means the eggbeaters can’t really cut clean holes in small stock. Which means the pegs have to be metric for two reasons.

So… steal another Paul Sellers idea. Knock a few pegs down to 1/4 inch size, then whittle an end to a point and use washers as little metric dowel plates…

Tappy-tap-tap…

Also, the Record Imp earns its pay again! I had no other way to hold those washers well. Trying to use the dowel plate would have been awkward at best. Now just work down through the sizes, running through the washers a few times to get a reasonable surface finish before dropping down a size.

End result; not too bad. Mind you I broke three getting those two made – belting something that size through a too-small opening with a lump hammer is kindof a delicate task. If your alignment is off, the peg shatters.

Worked though.

Now, wipe off the excess glue with a damp rag and wait for an hour for it to set up enough and then…

Flush-cut saw, chisel, and then a pass with the #04 to get a smooth surface on both sides of the lid and on the end caps. The lid is a tad more delicate, but…

Not too bad. And repainted that first coat of finish over the reworked parts.

I rather think that the danish oil works well on that rippled sycamore. It dulls the whiteness, but the figure really does pop.

And some CA glue and felt to line the base and that’s it all complete. Just left it overnight for the finish to dry a bit more, then on Sunday morning while herself is off at a fun-run (don’t ask, I don’t know why those two words are beside one another, it makes no sense to me either), brought it into the house, buffed it up and gave it a light coat of beeswax paste (that’s beeswax mixed with turps) and buffed that as well.


And because you can’t give a box without some contents…


Happy Fathers Day Dad!