29
Apr 20

More small practice

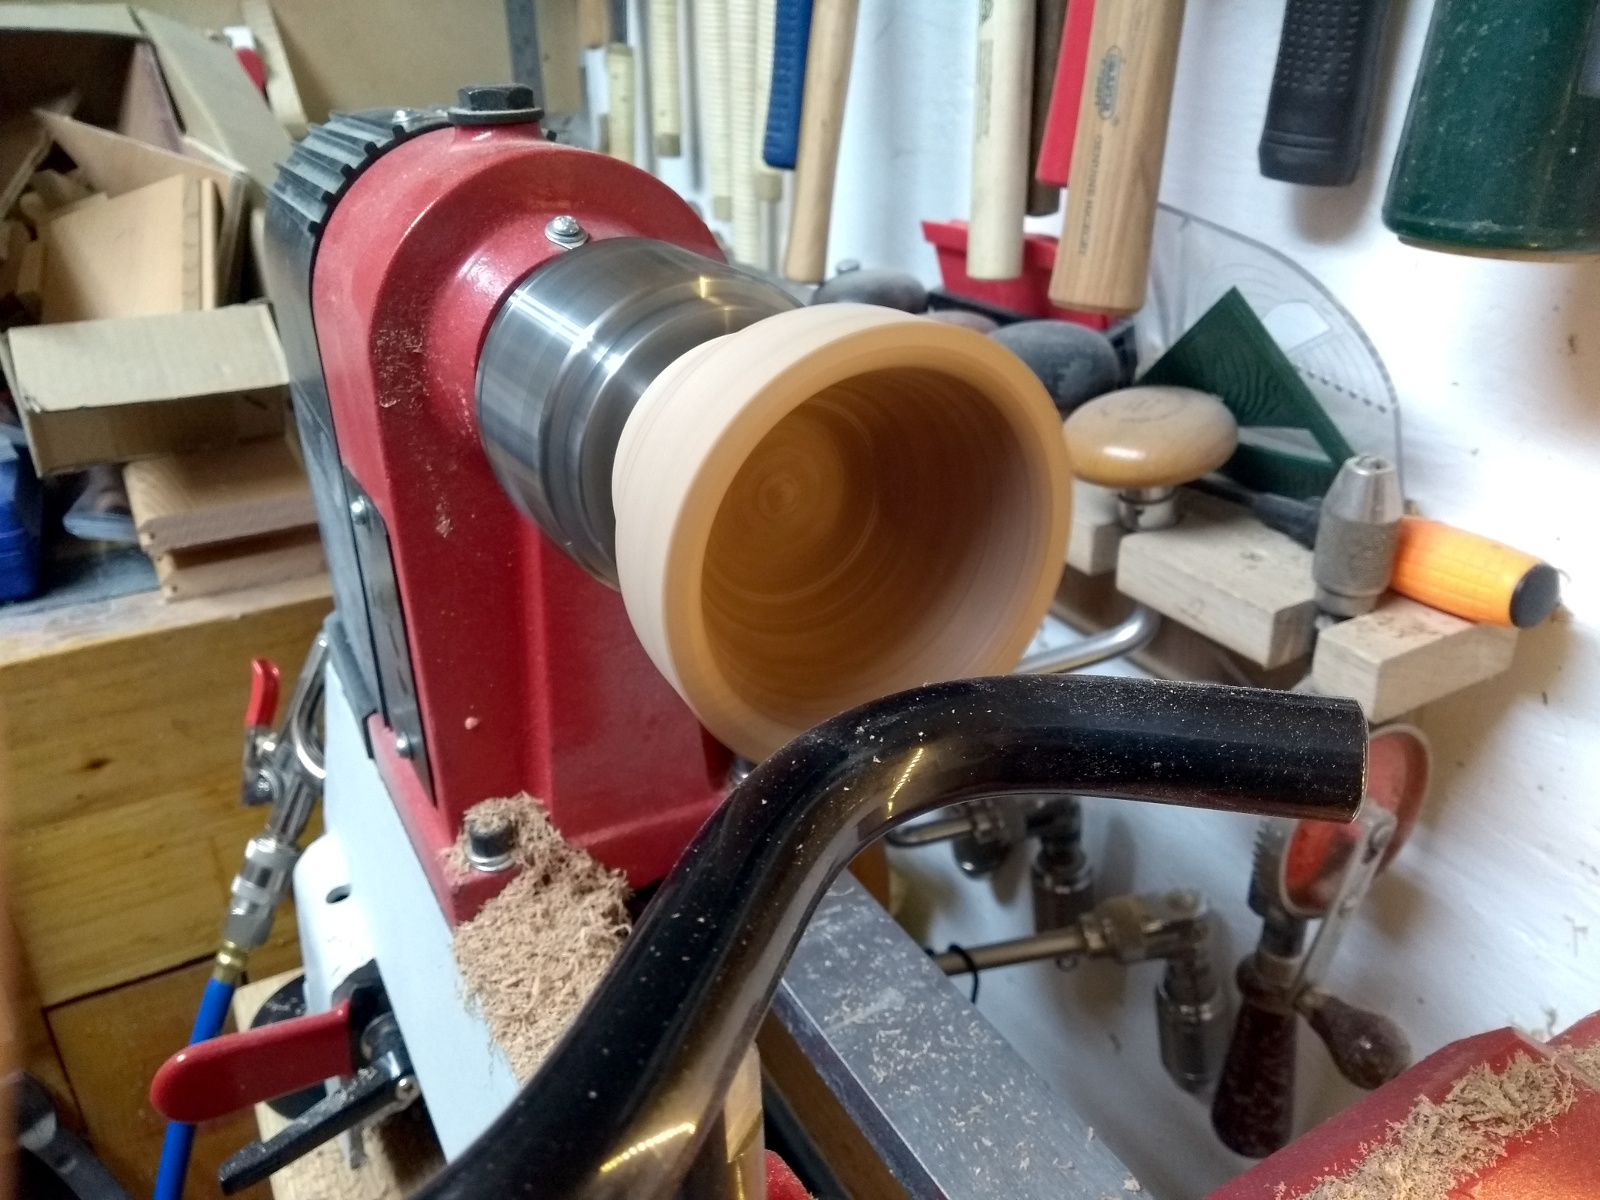
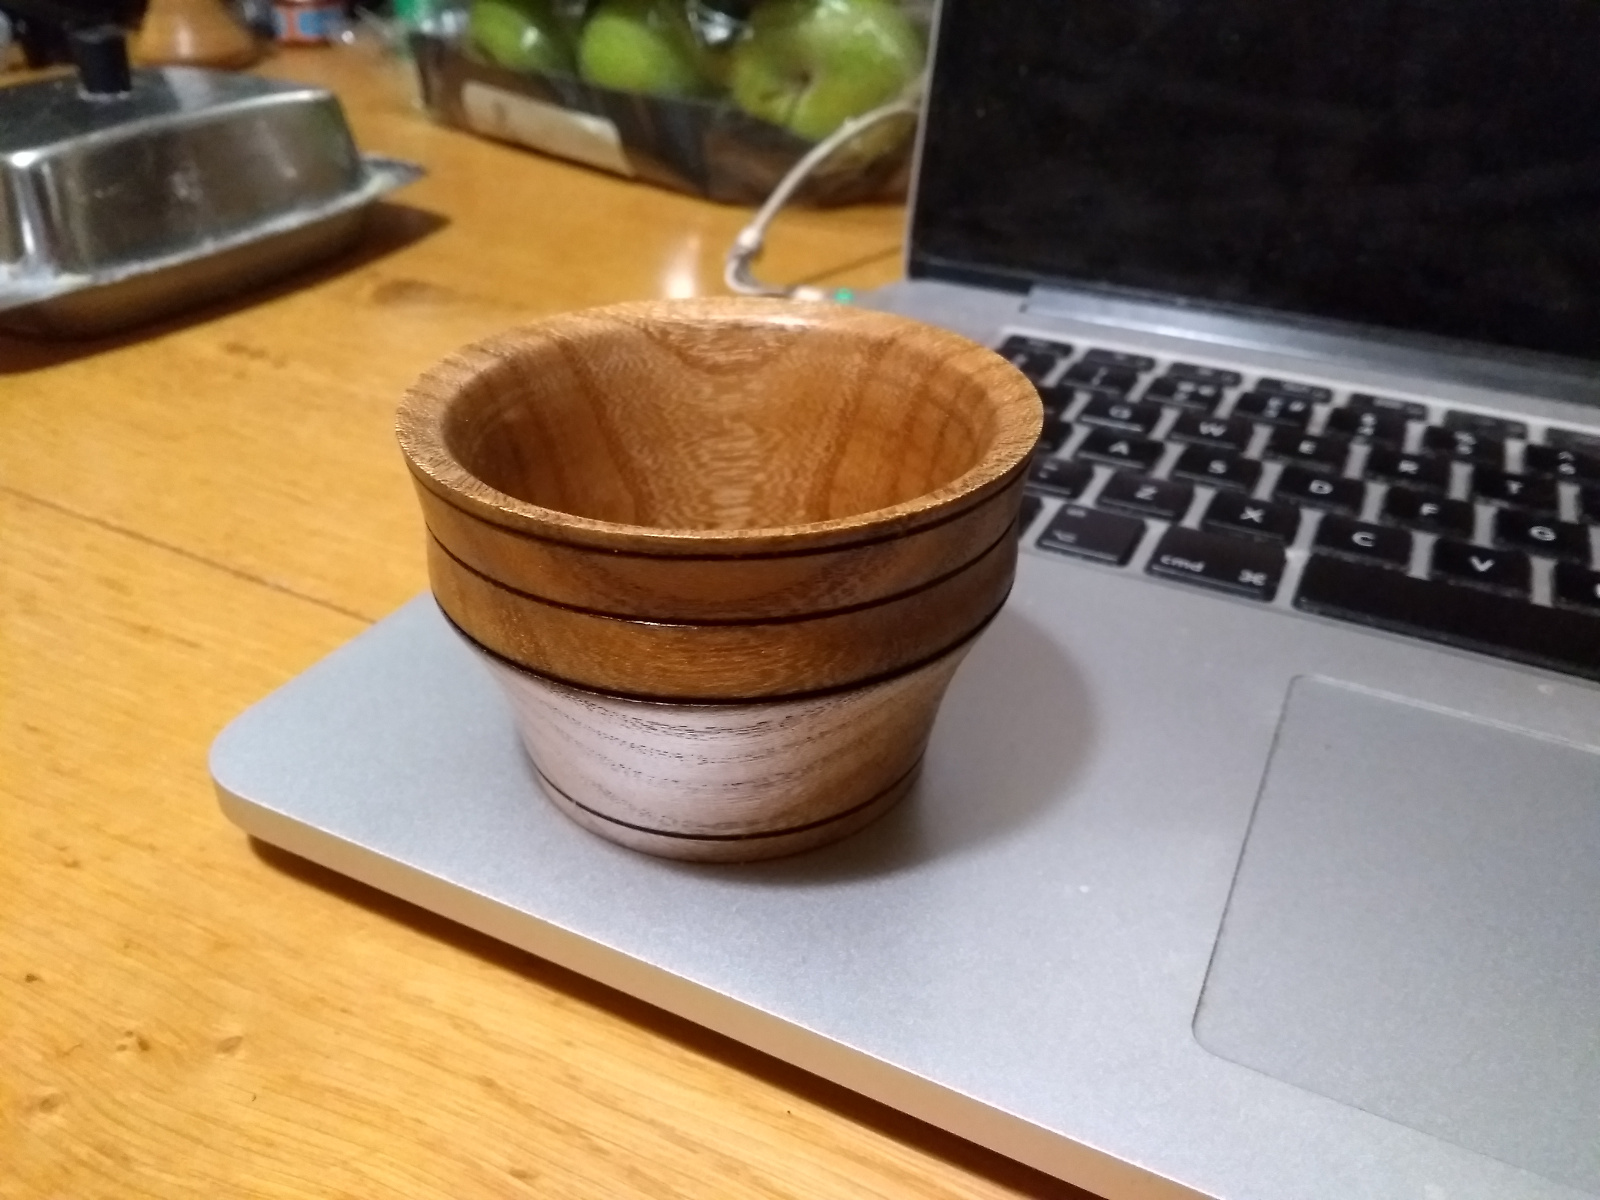
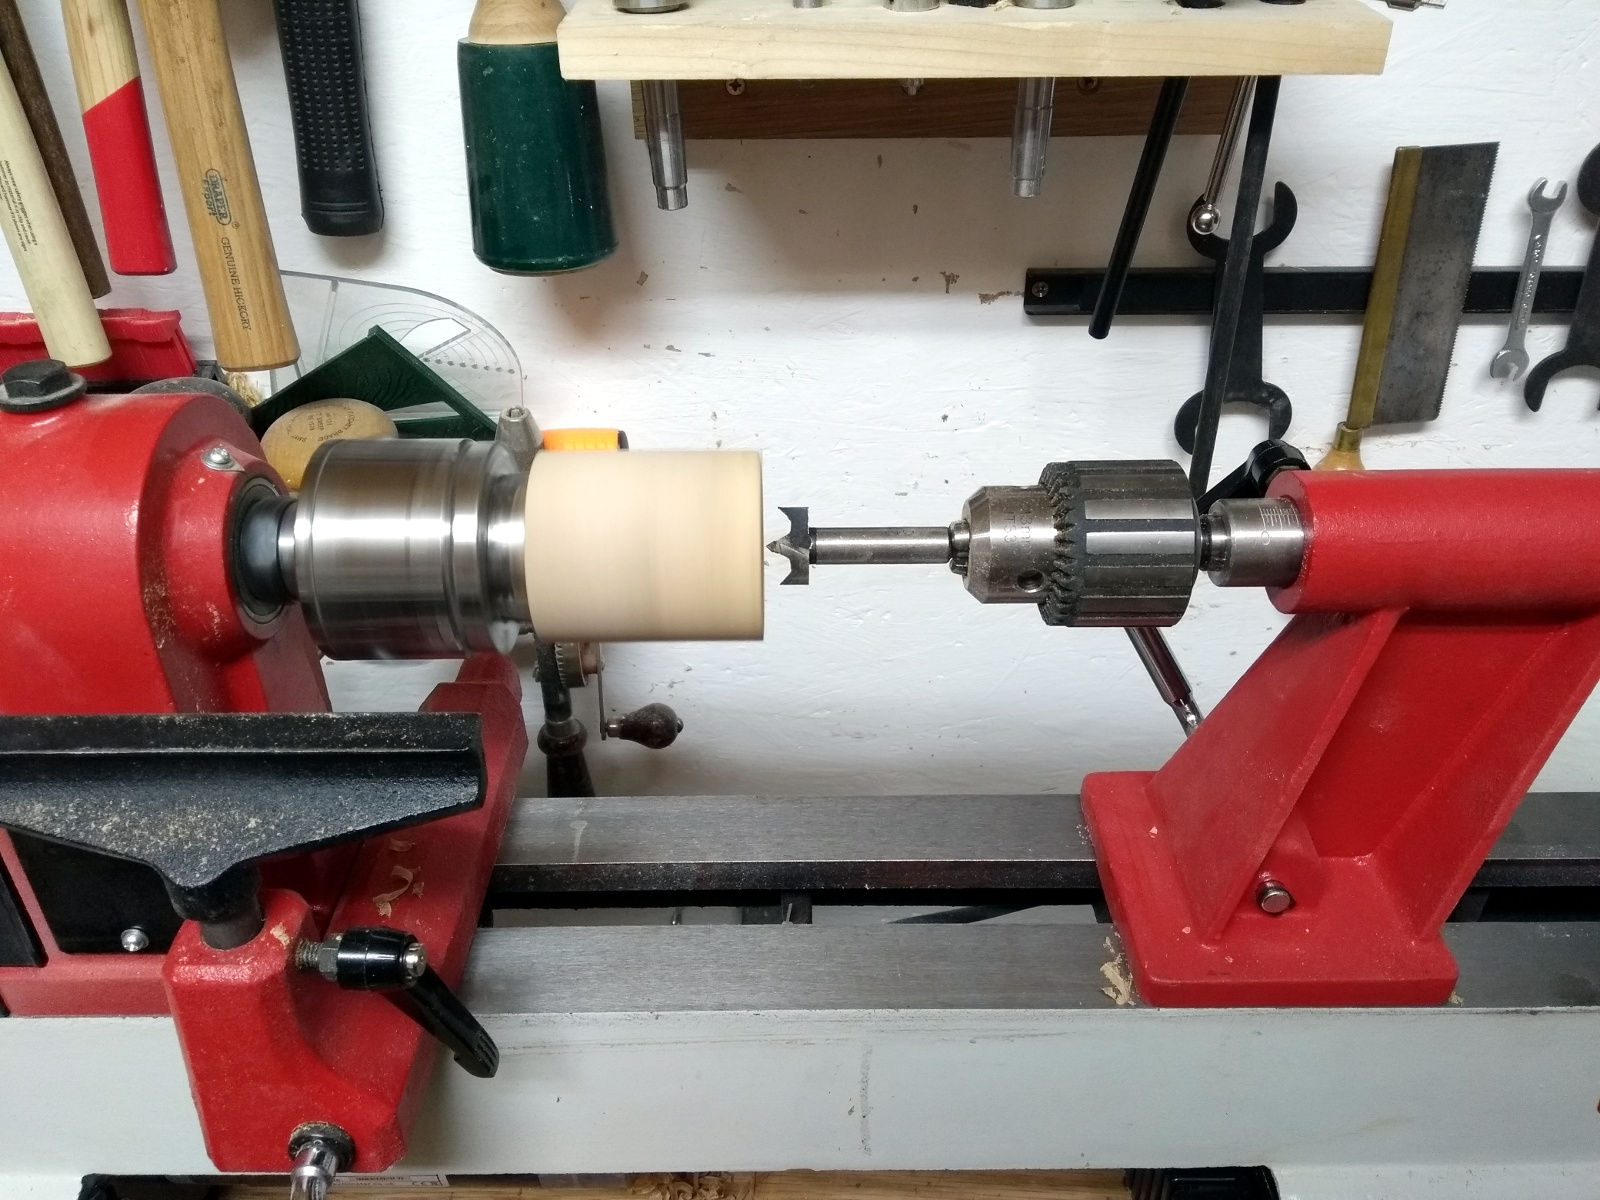
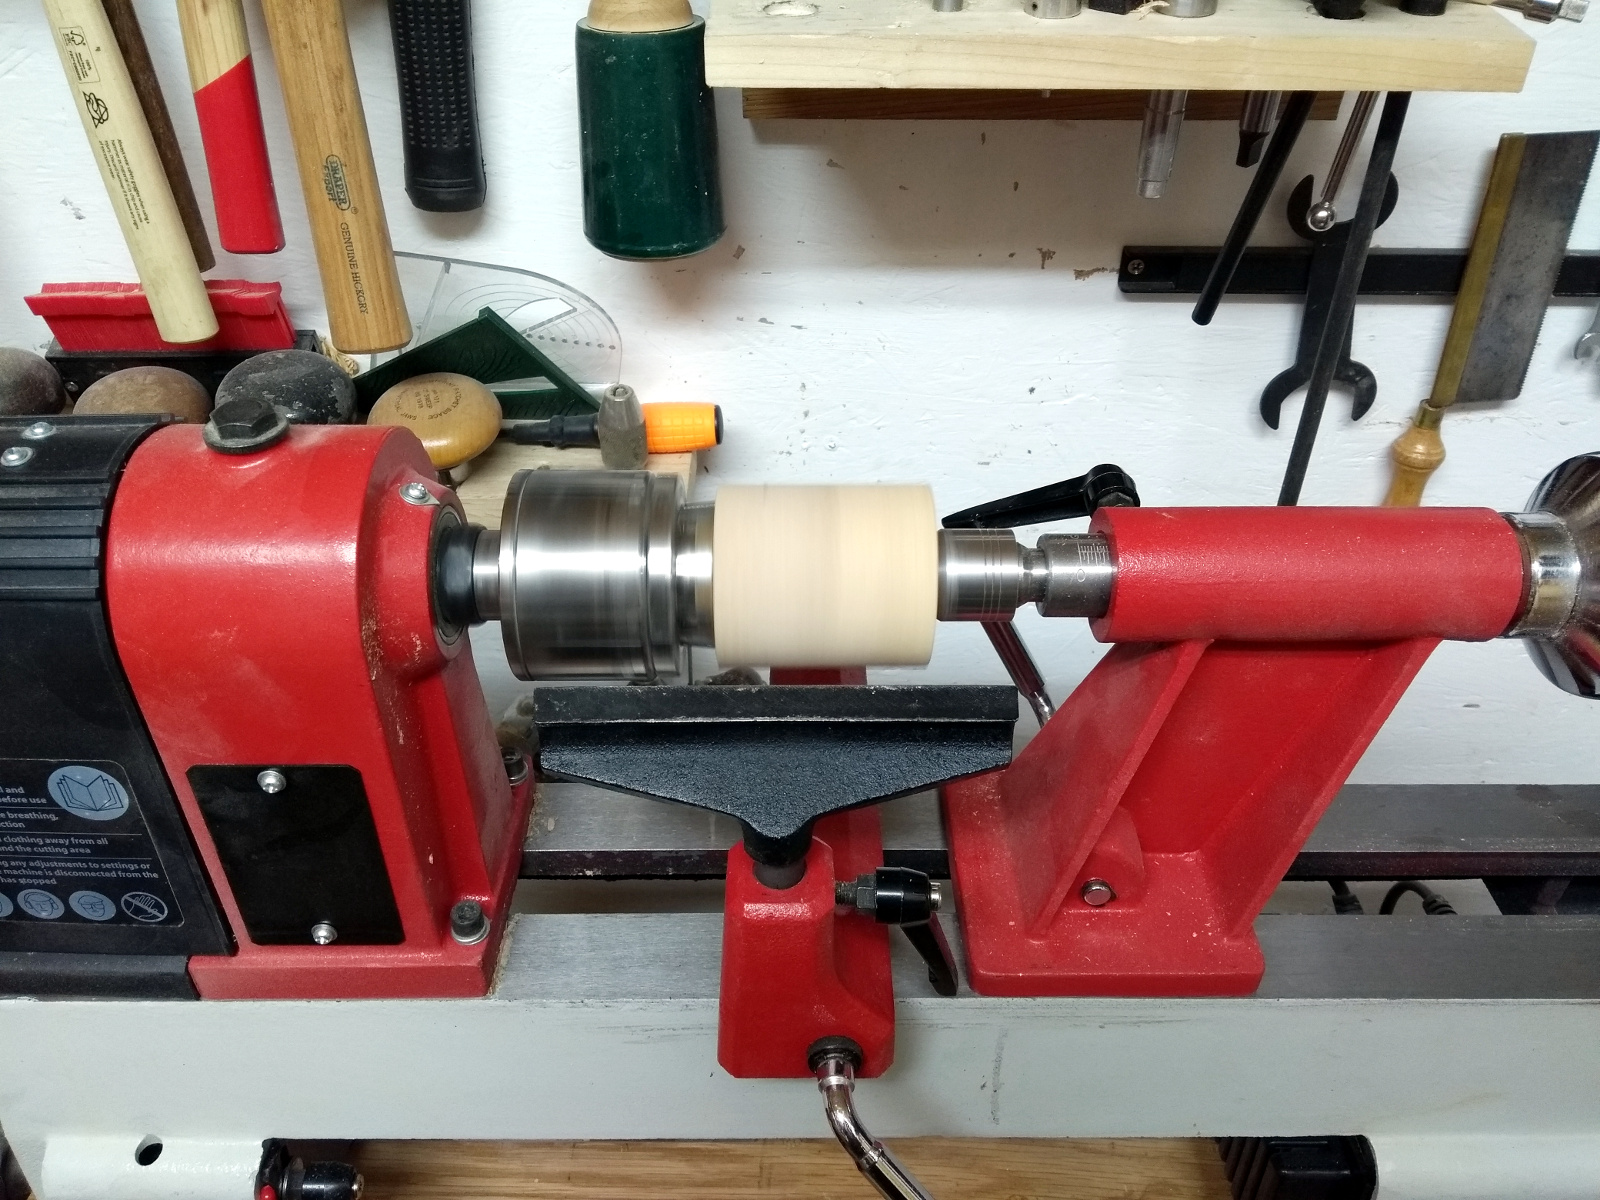
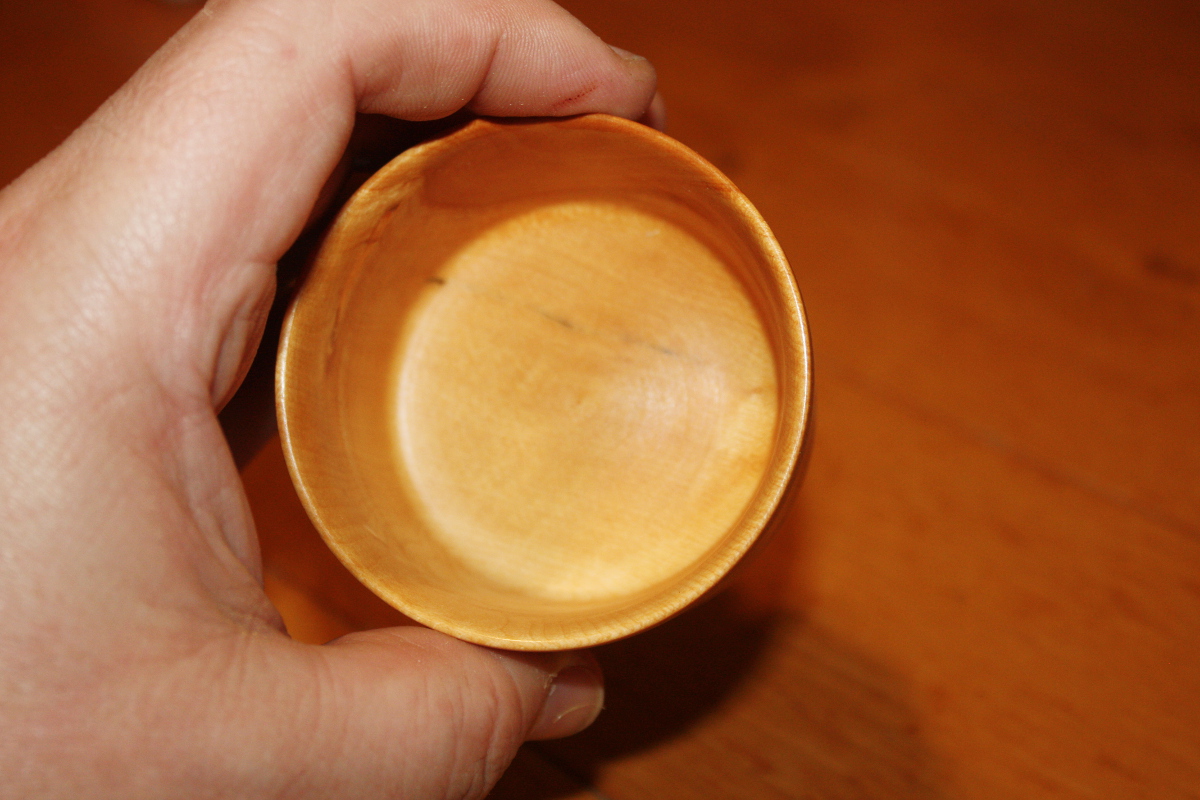
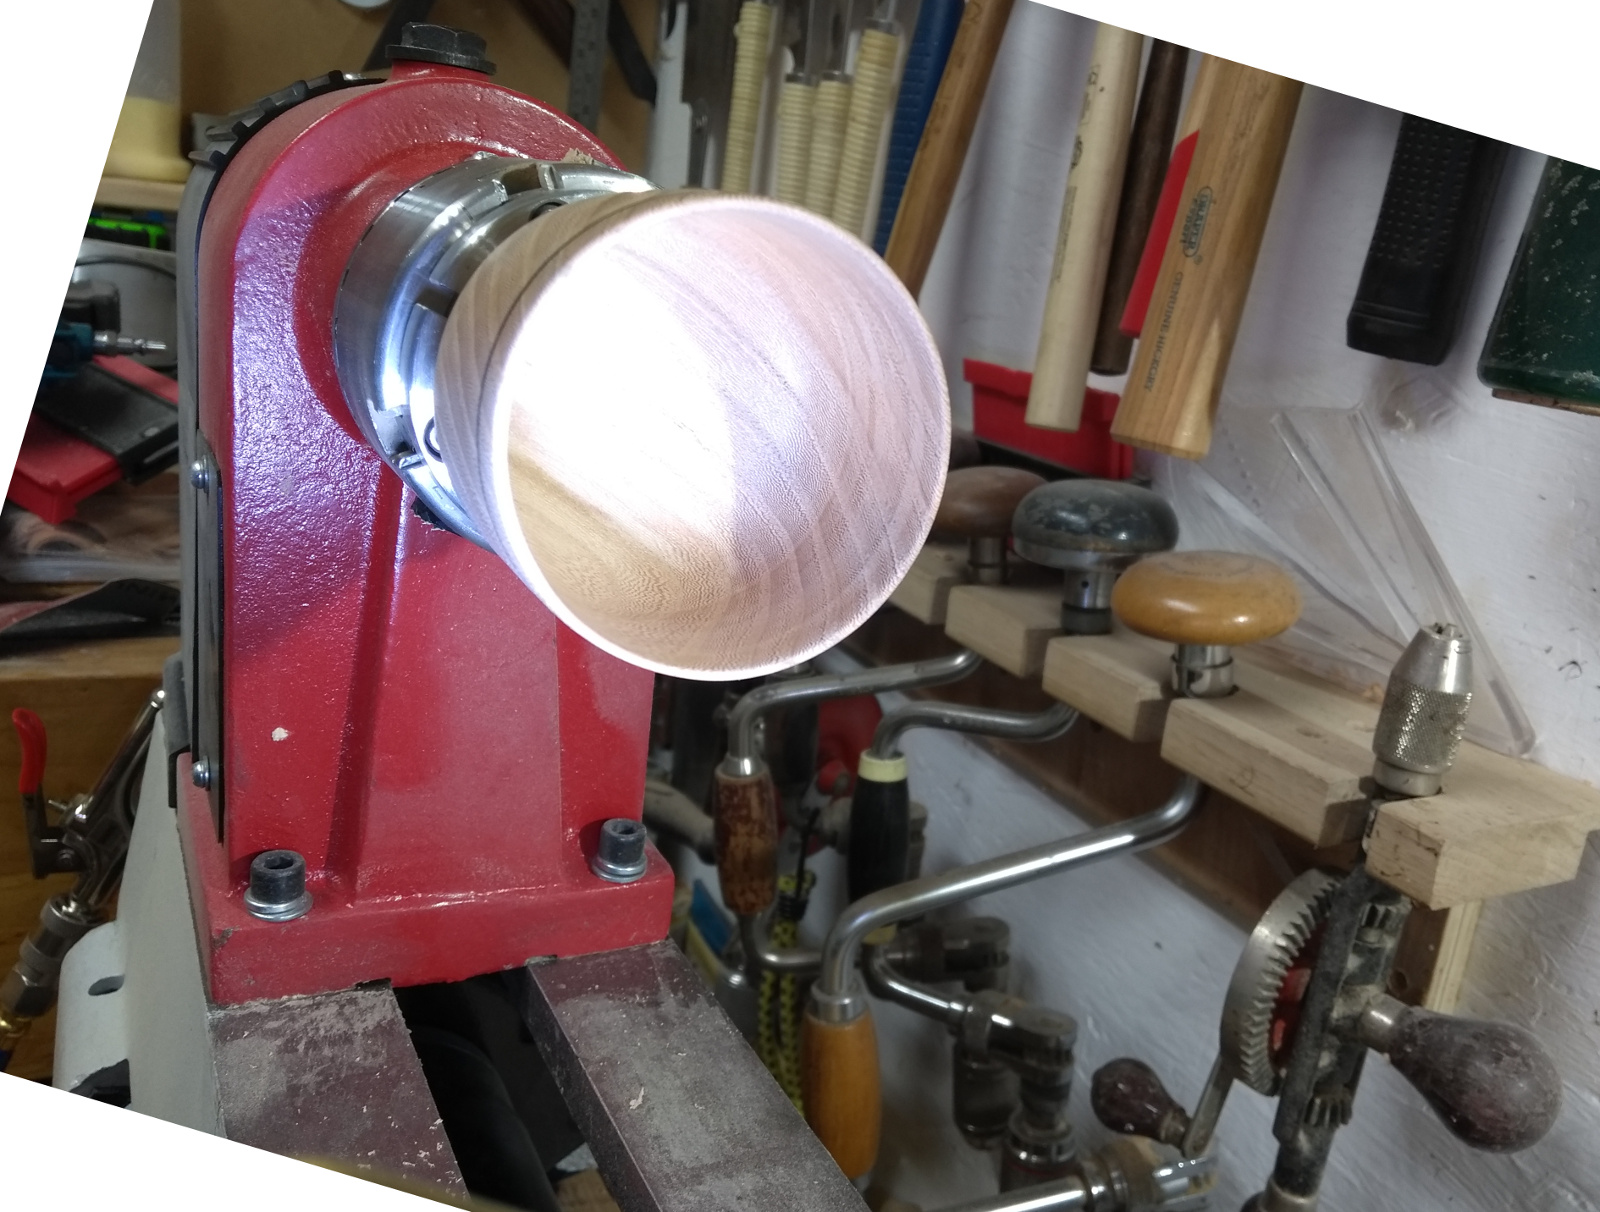
So after the last small bowl, I was wondering just how thin I could make those walls before they gave. Another 3″ sycamore blank in and away we go…

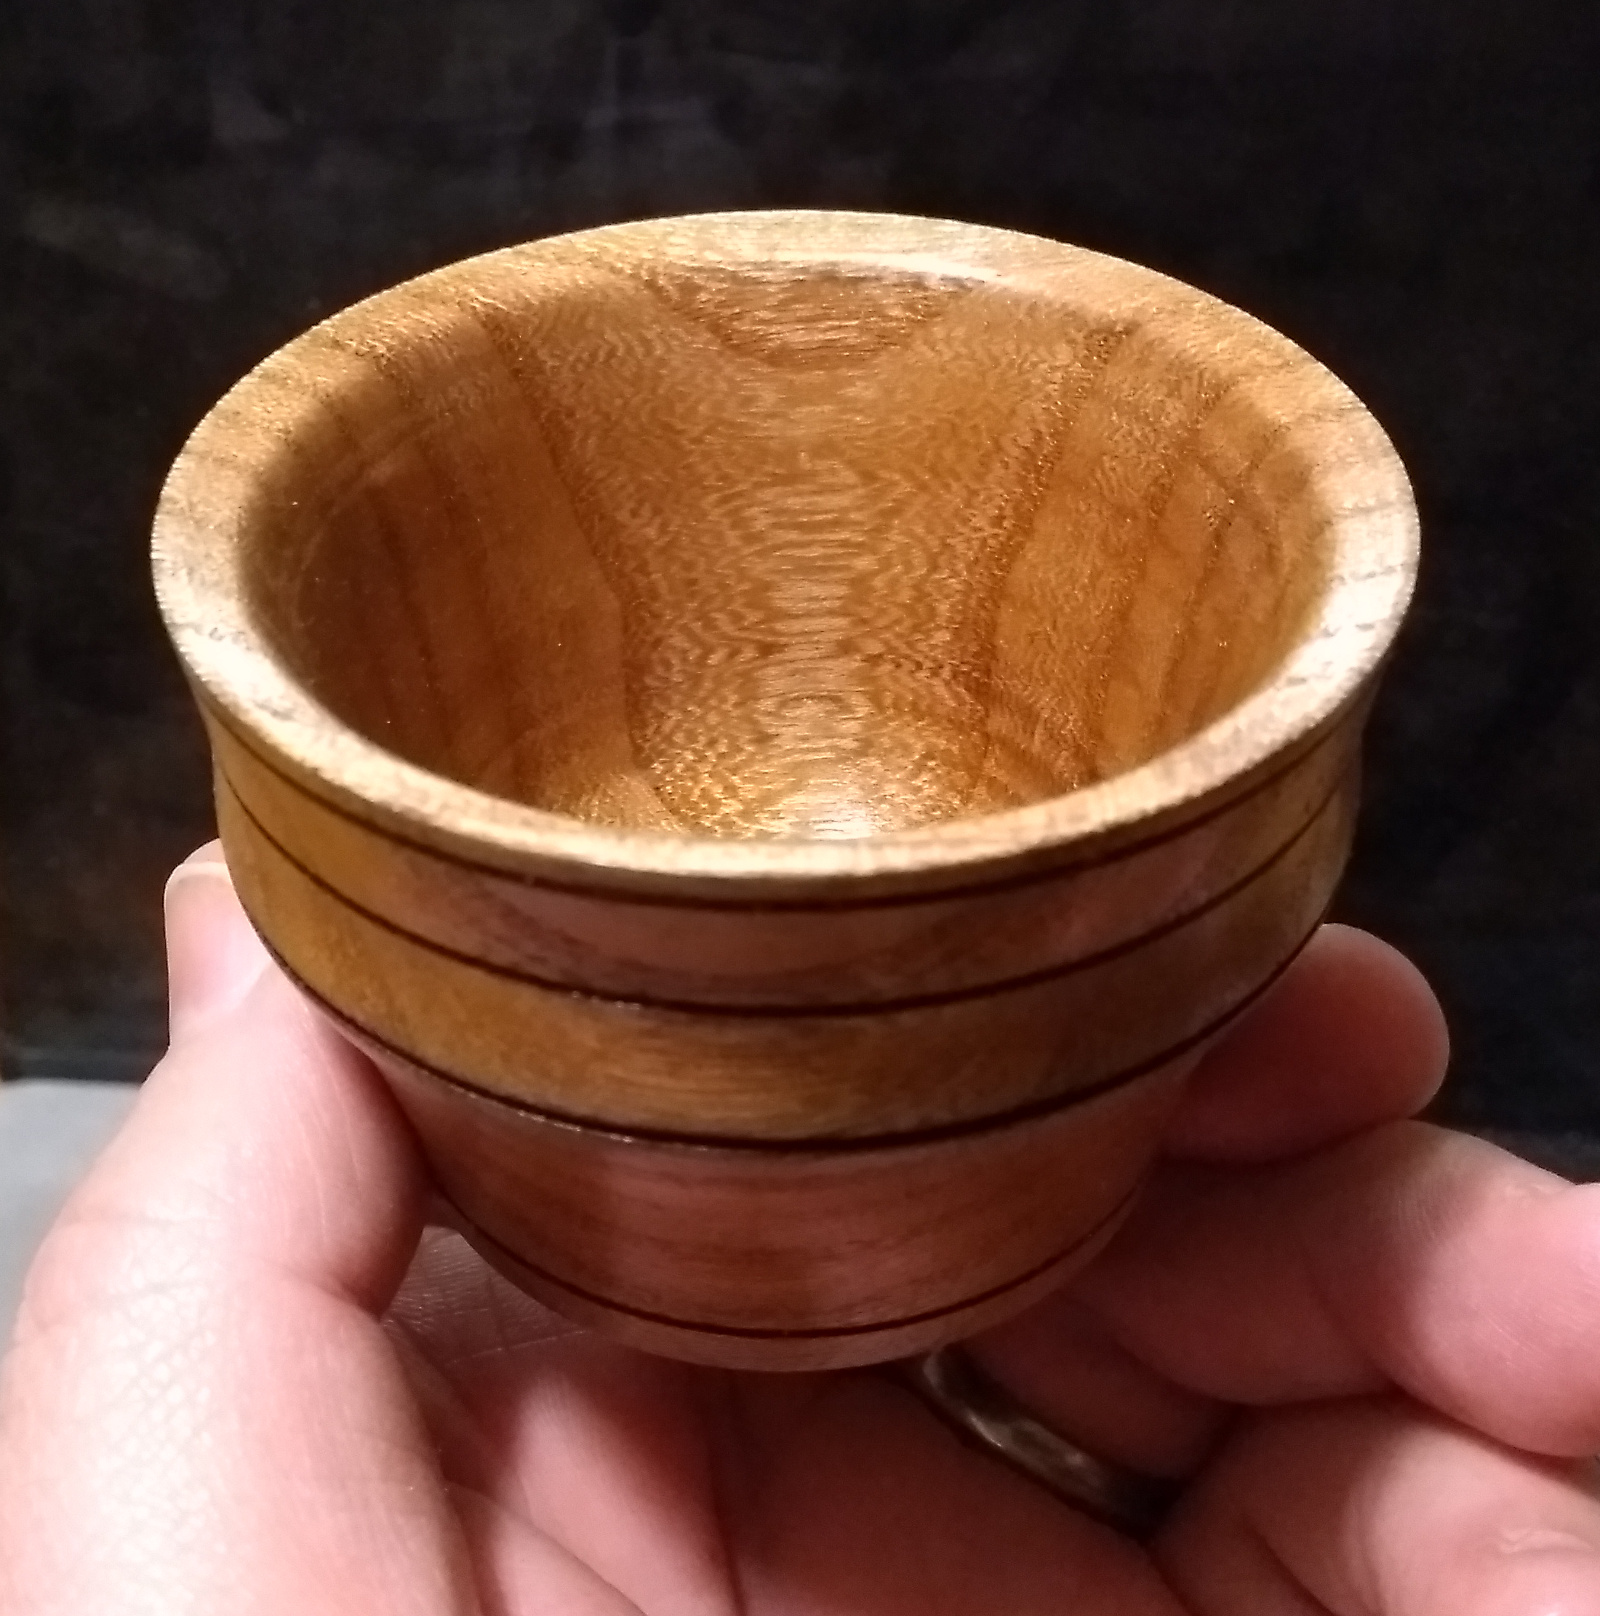
That’s not too bad. But it’s a crummy photo. So… new toy 🙂

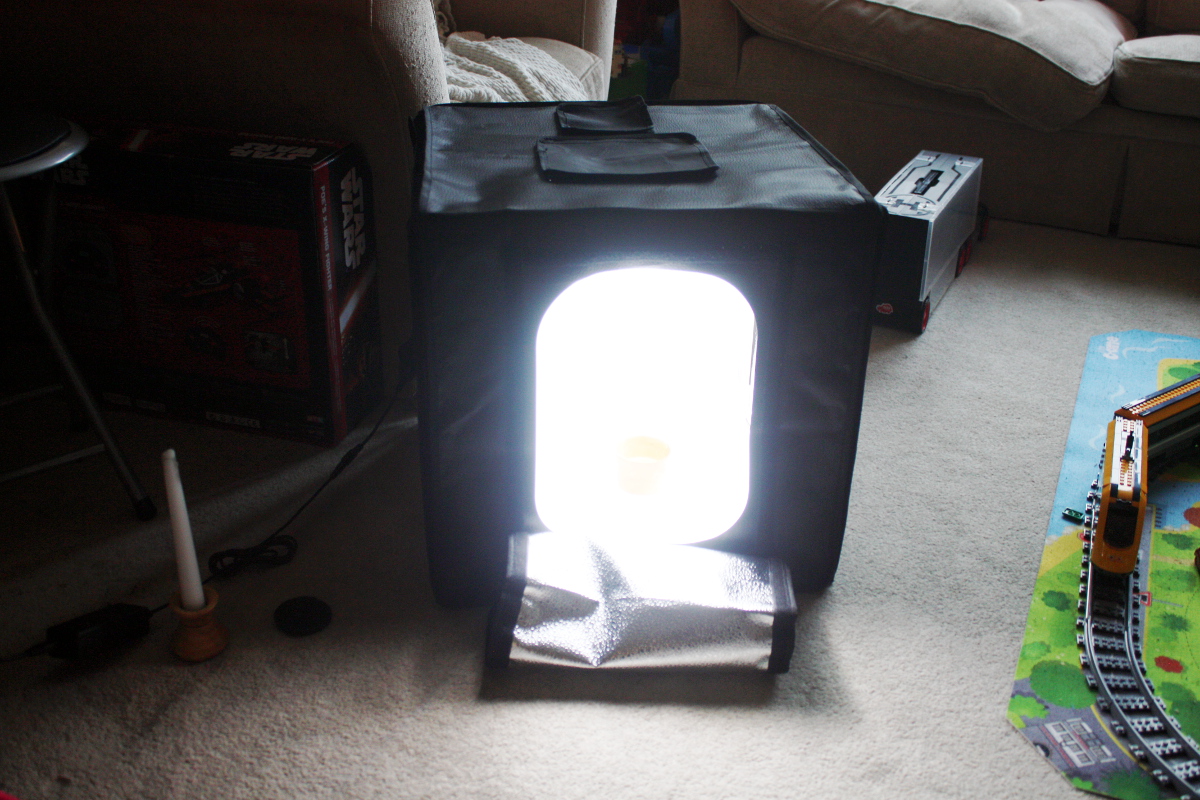
It’s a cheap 40x40cm photo box from aliexpress. So now, new photo, same bowl…

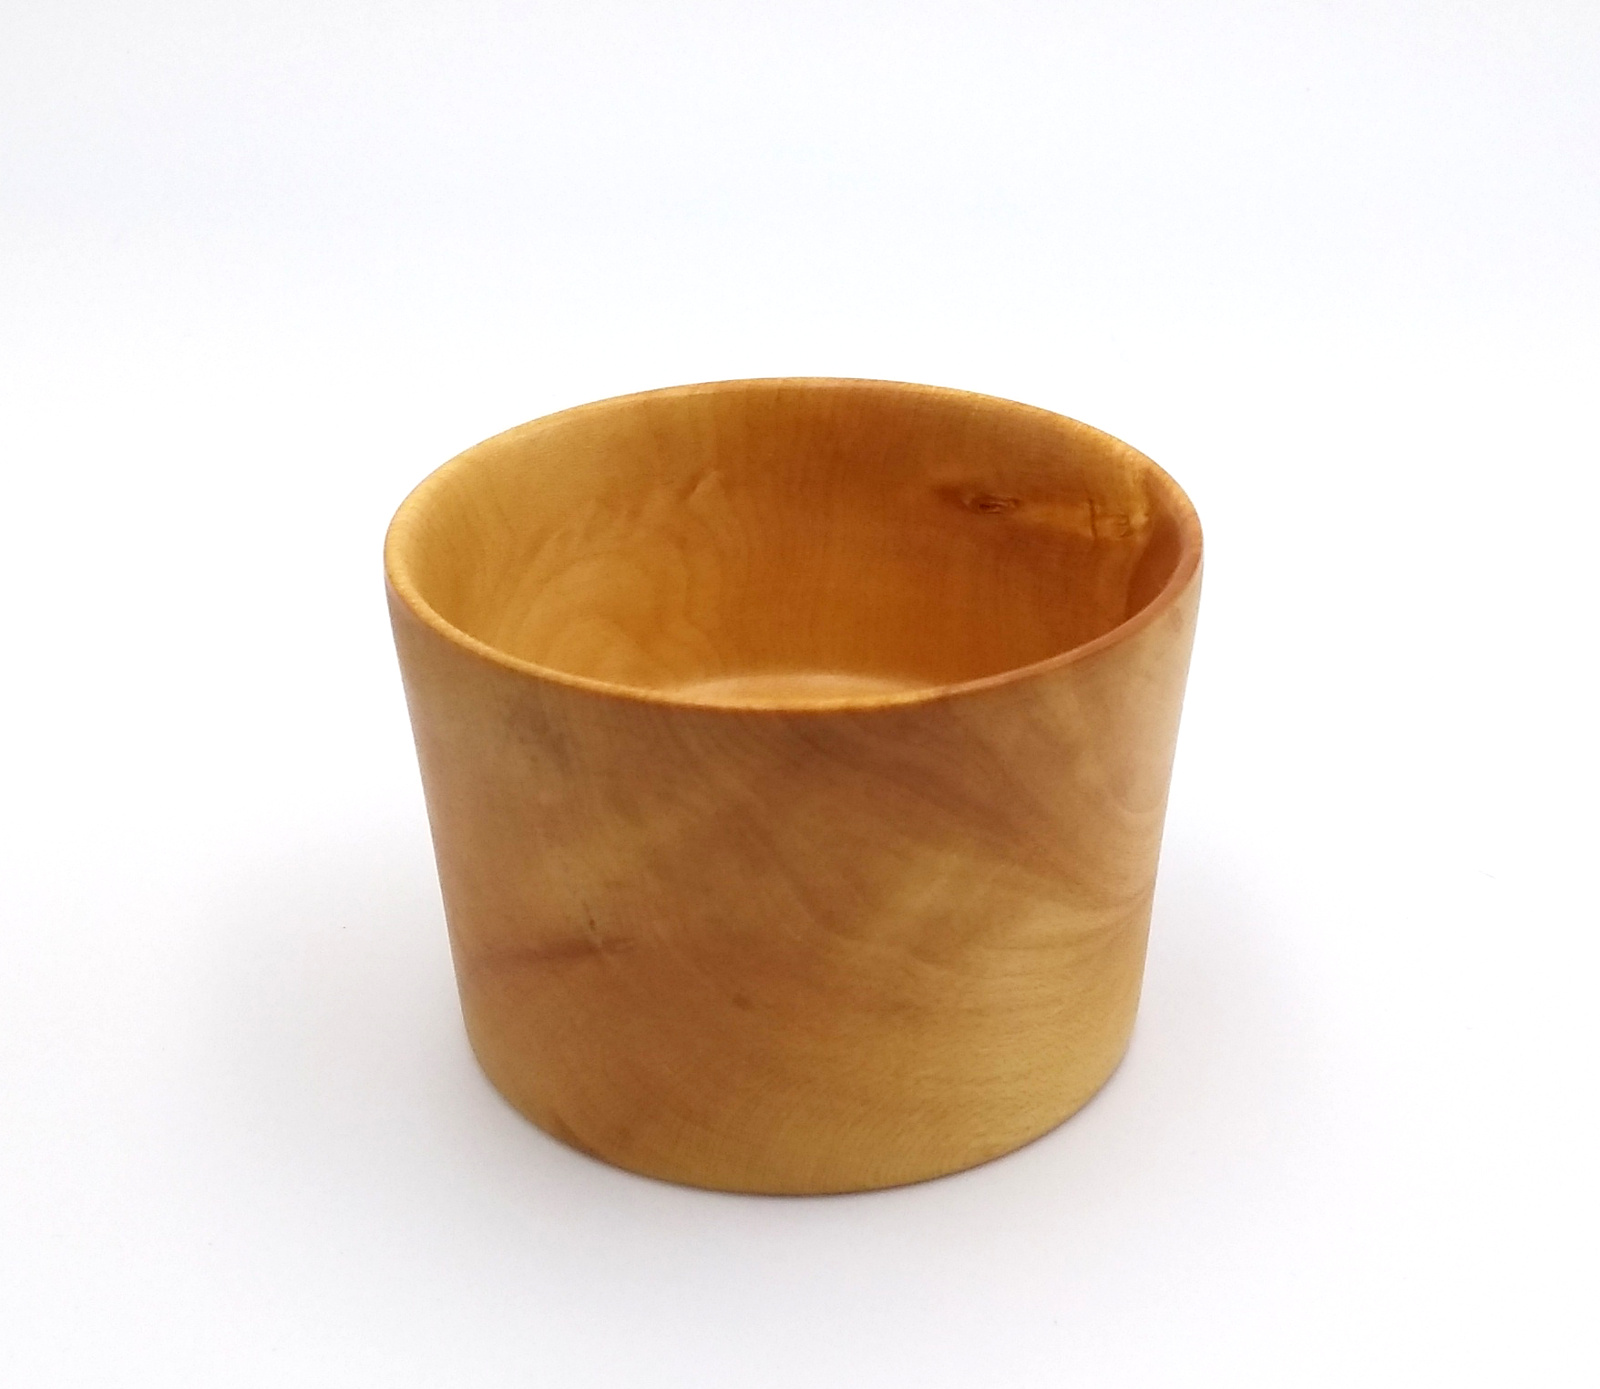
And suddenly it looks like I’ve actually gotten better at this 😀
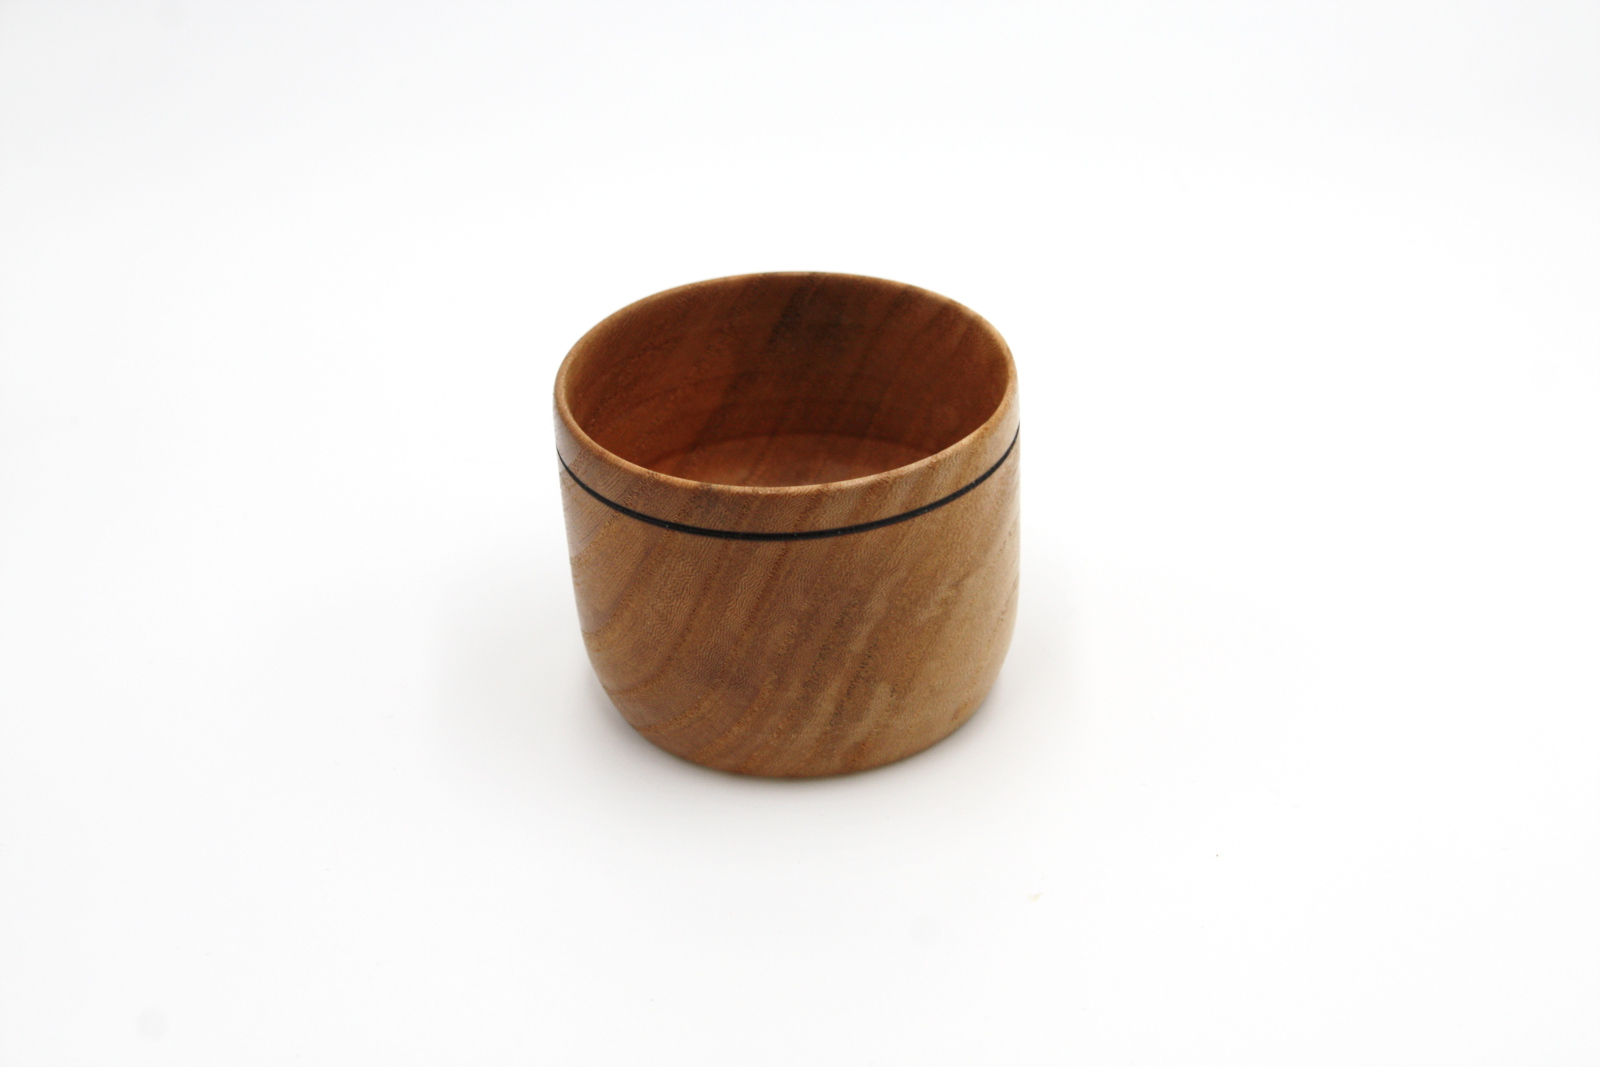
This is kindof a shallow bowl by the way, and bottom-heavy, there’s a centimeter of wood left in the bottom. It’s a jelly-bean dish for Calum 😀

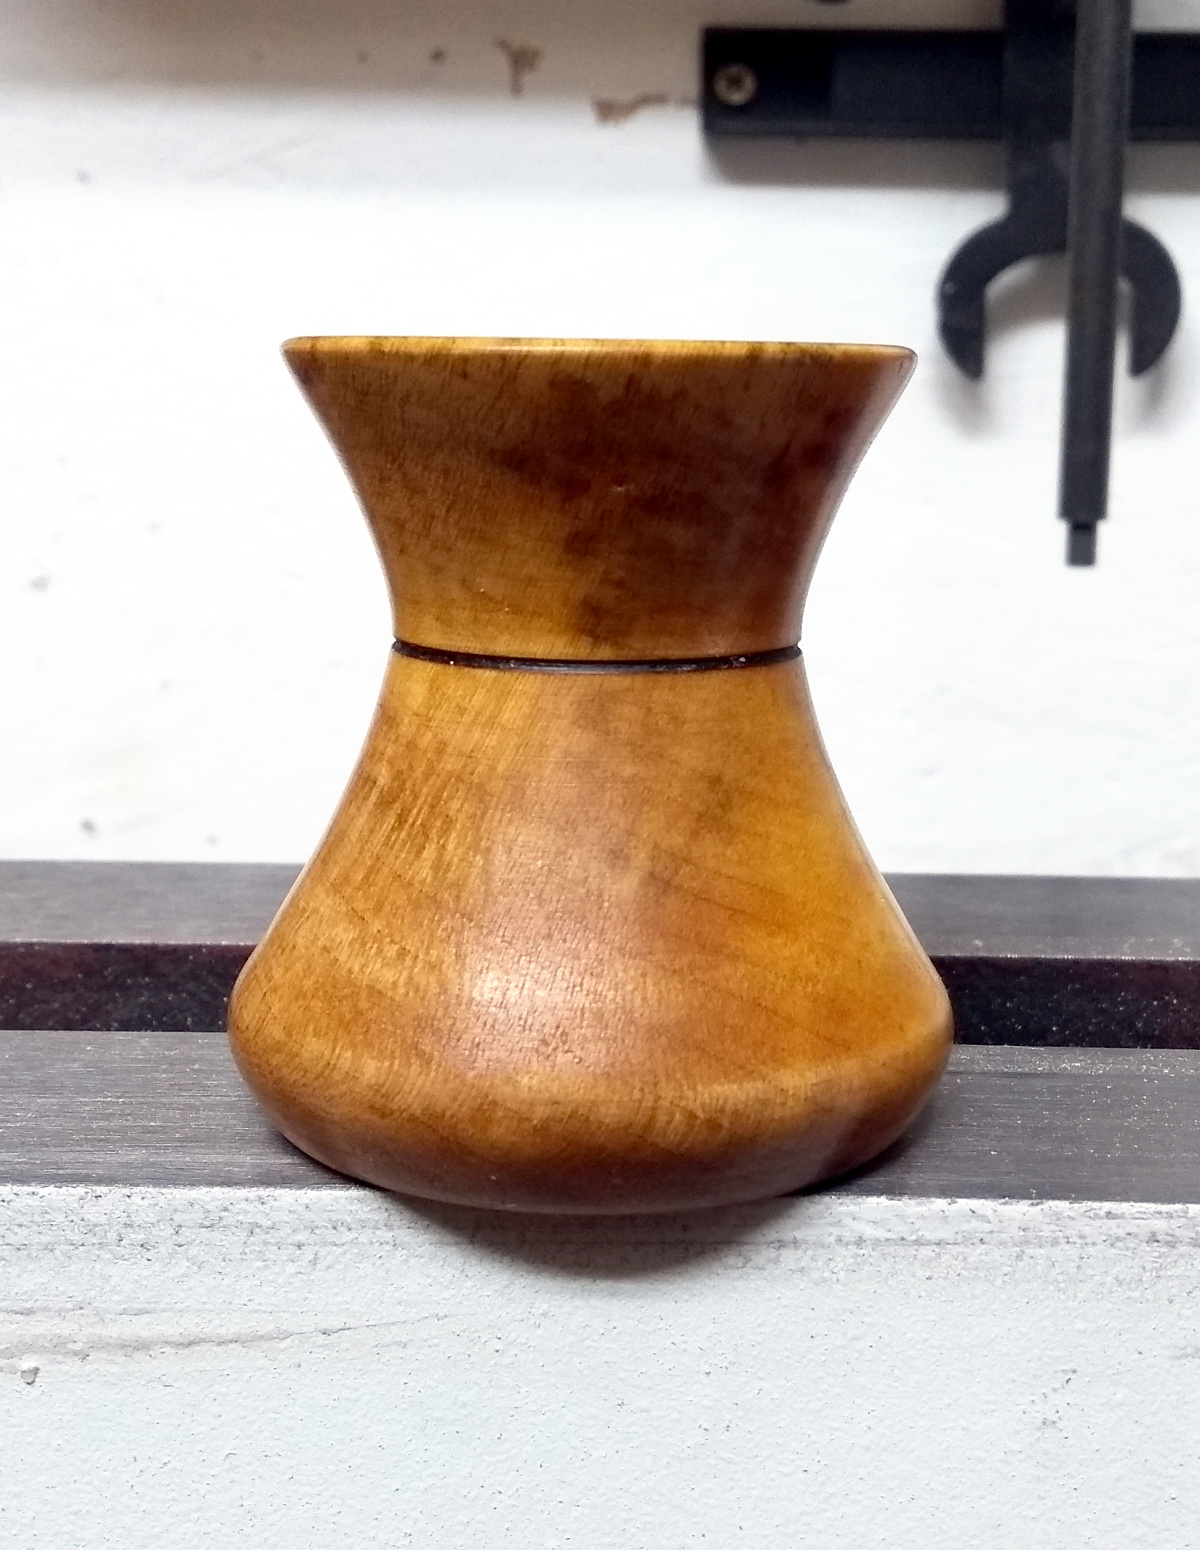
Lovely pretty wood on it too. Simple poppyseed oil and blonde shellac finish.
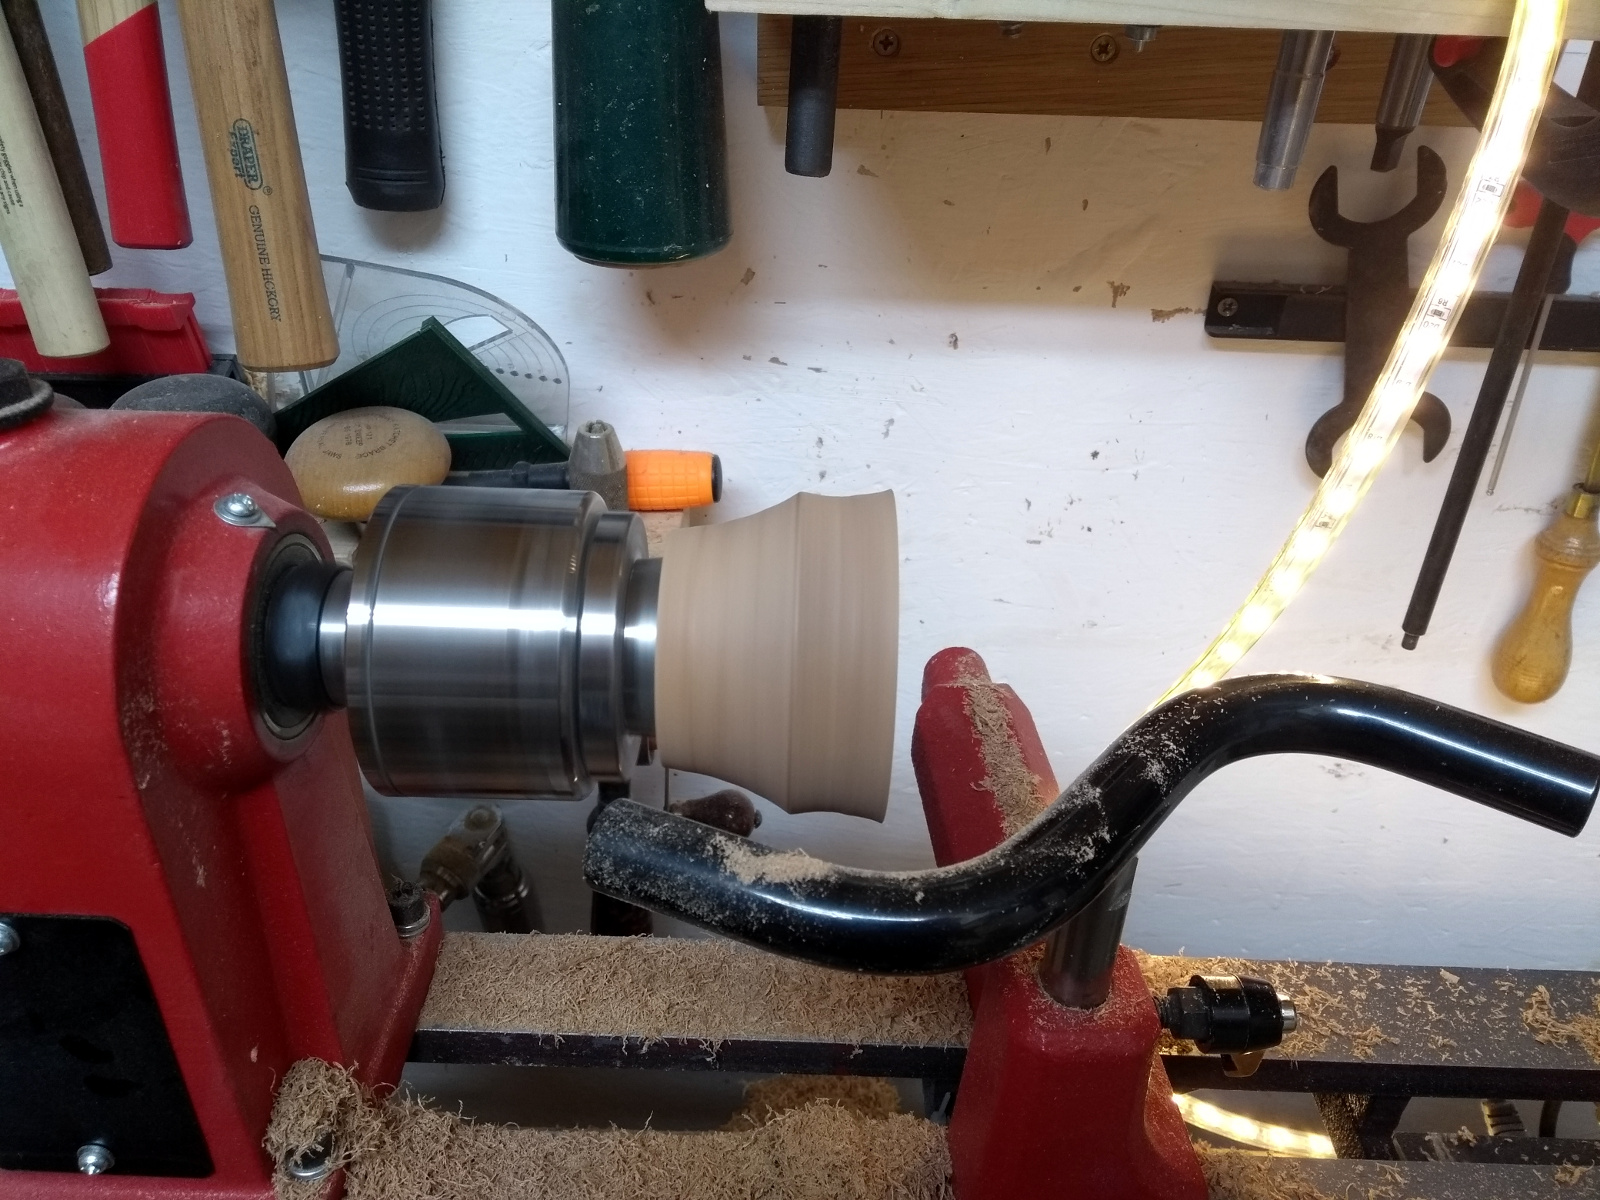
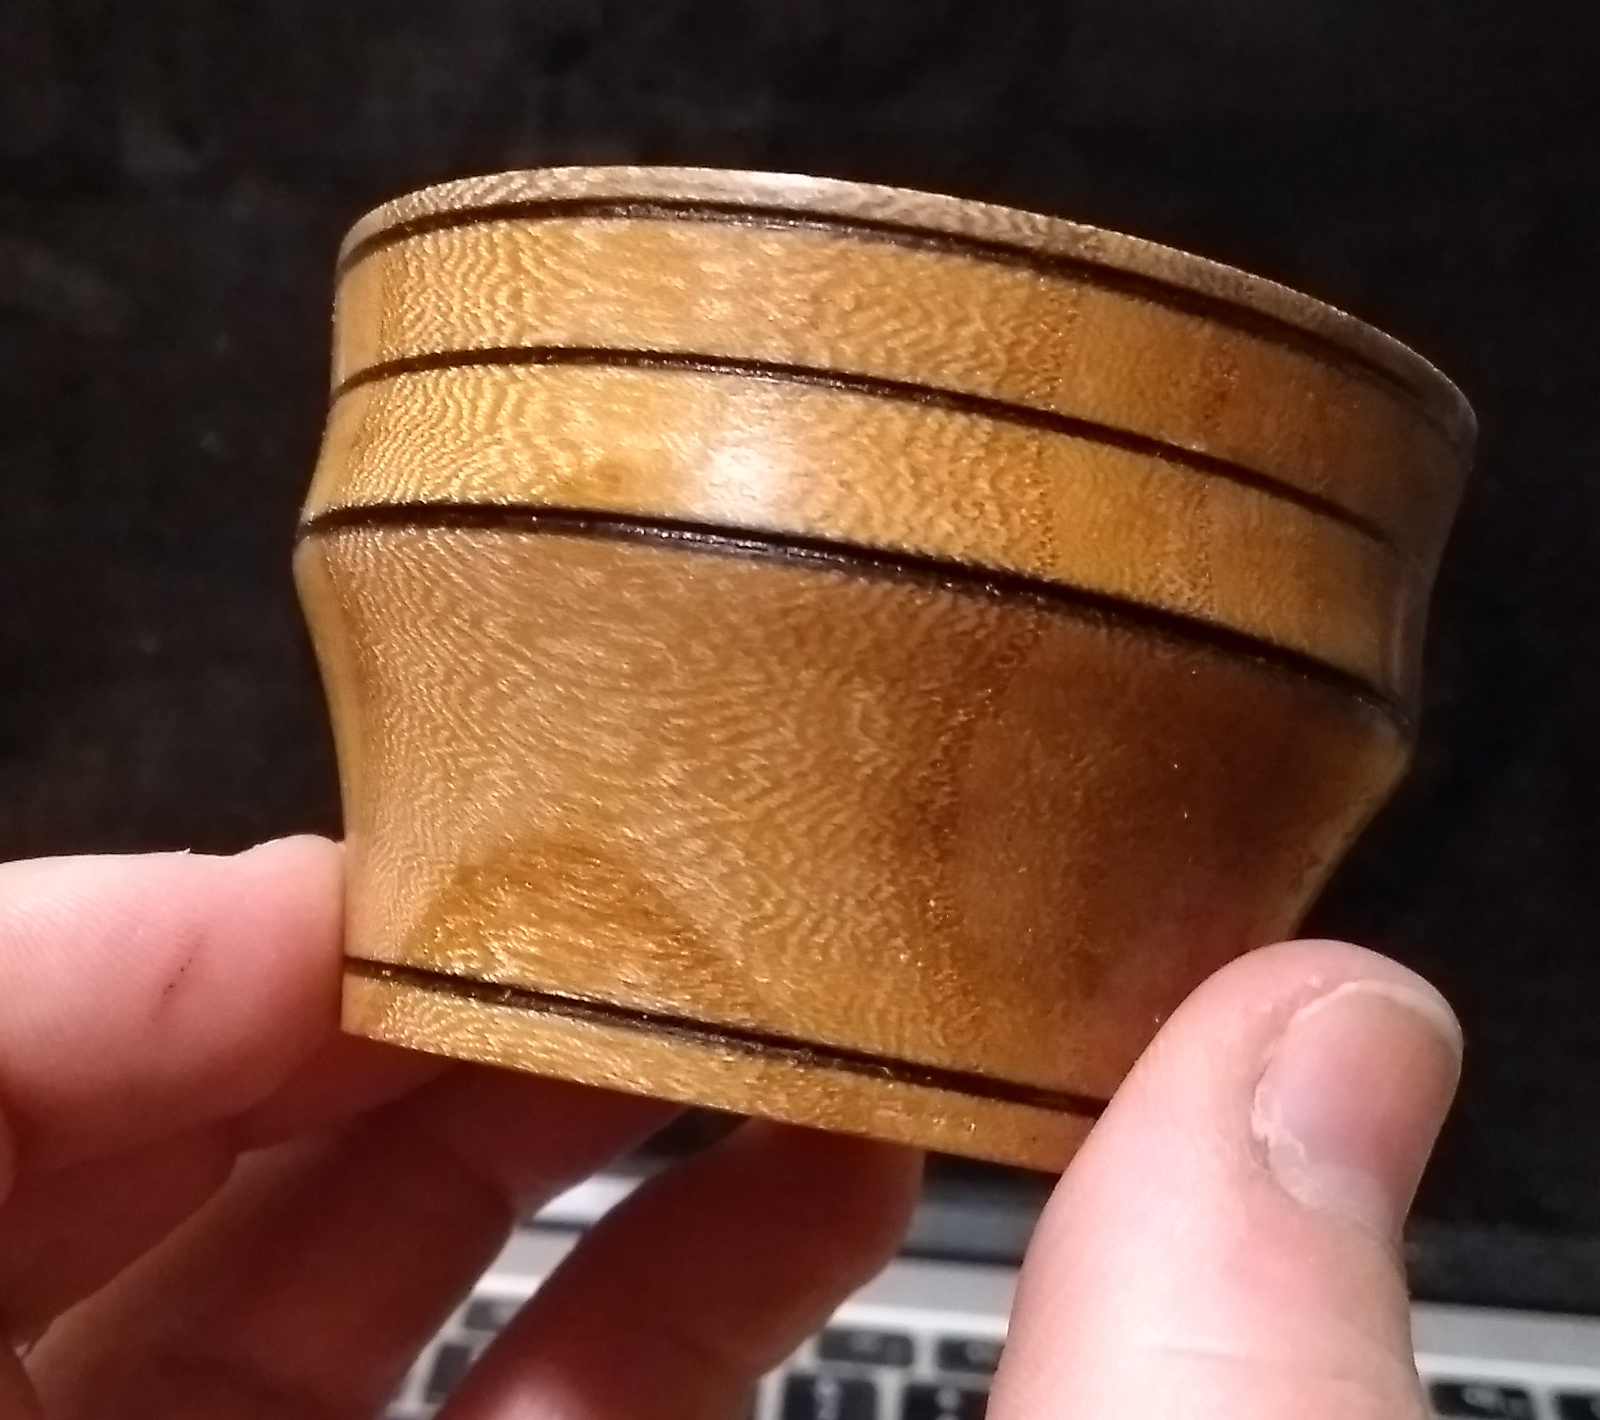
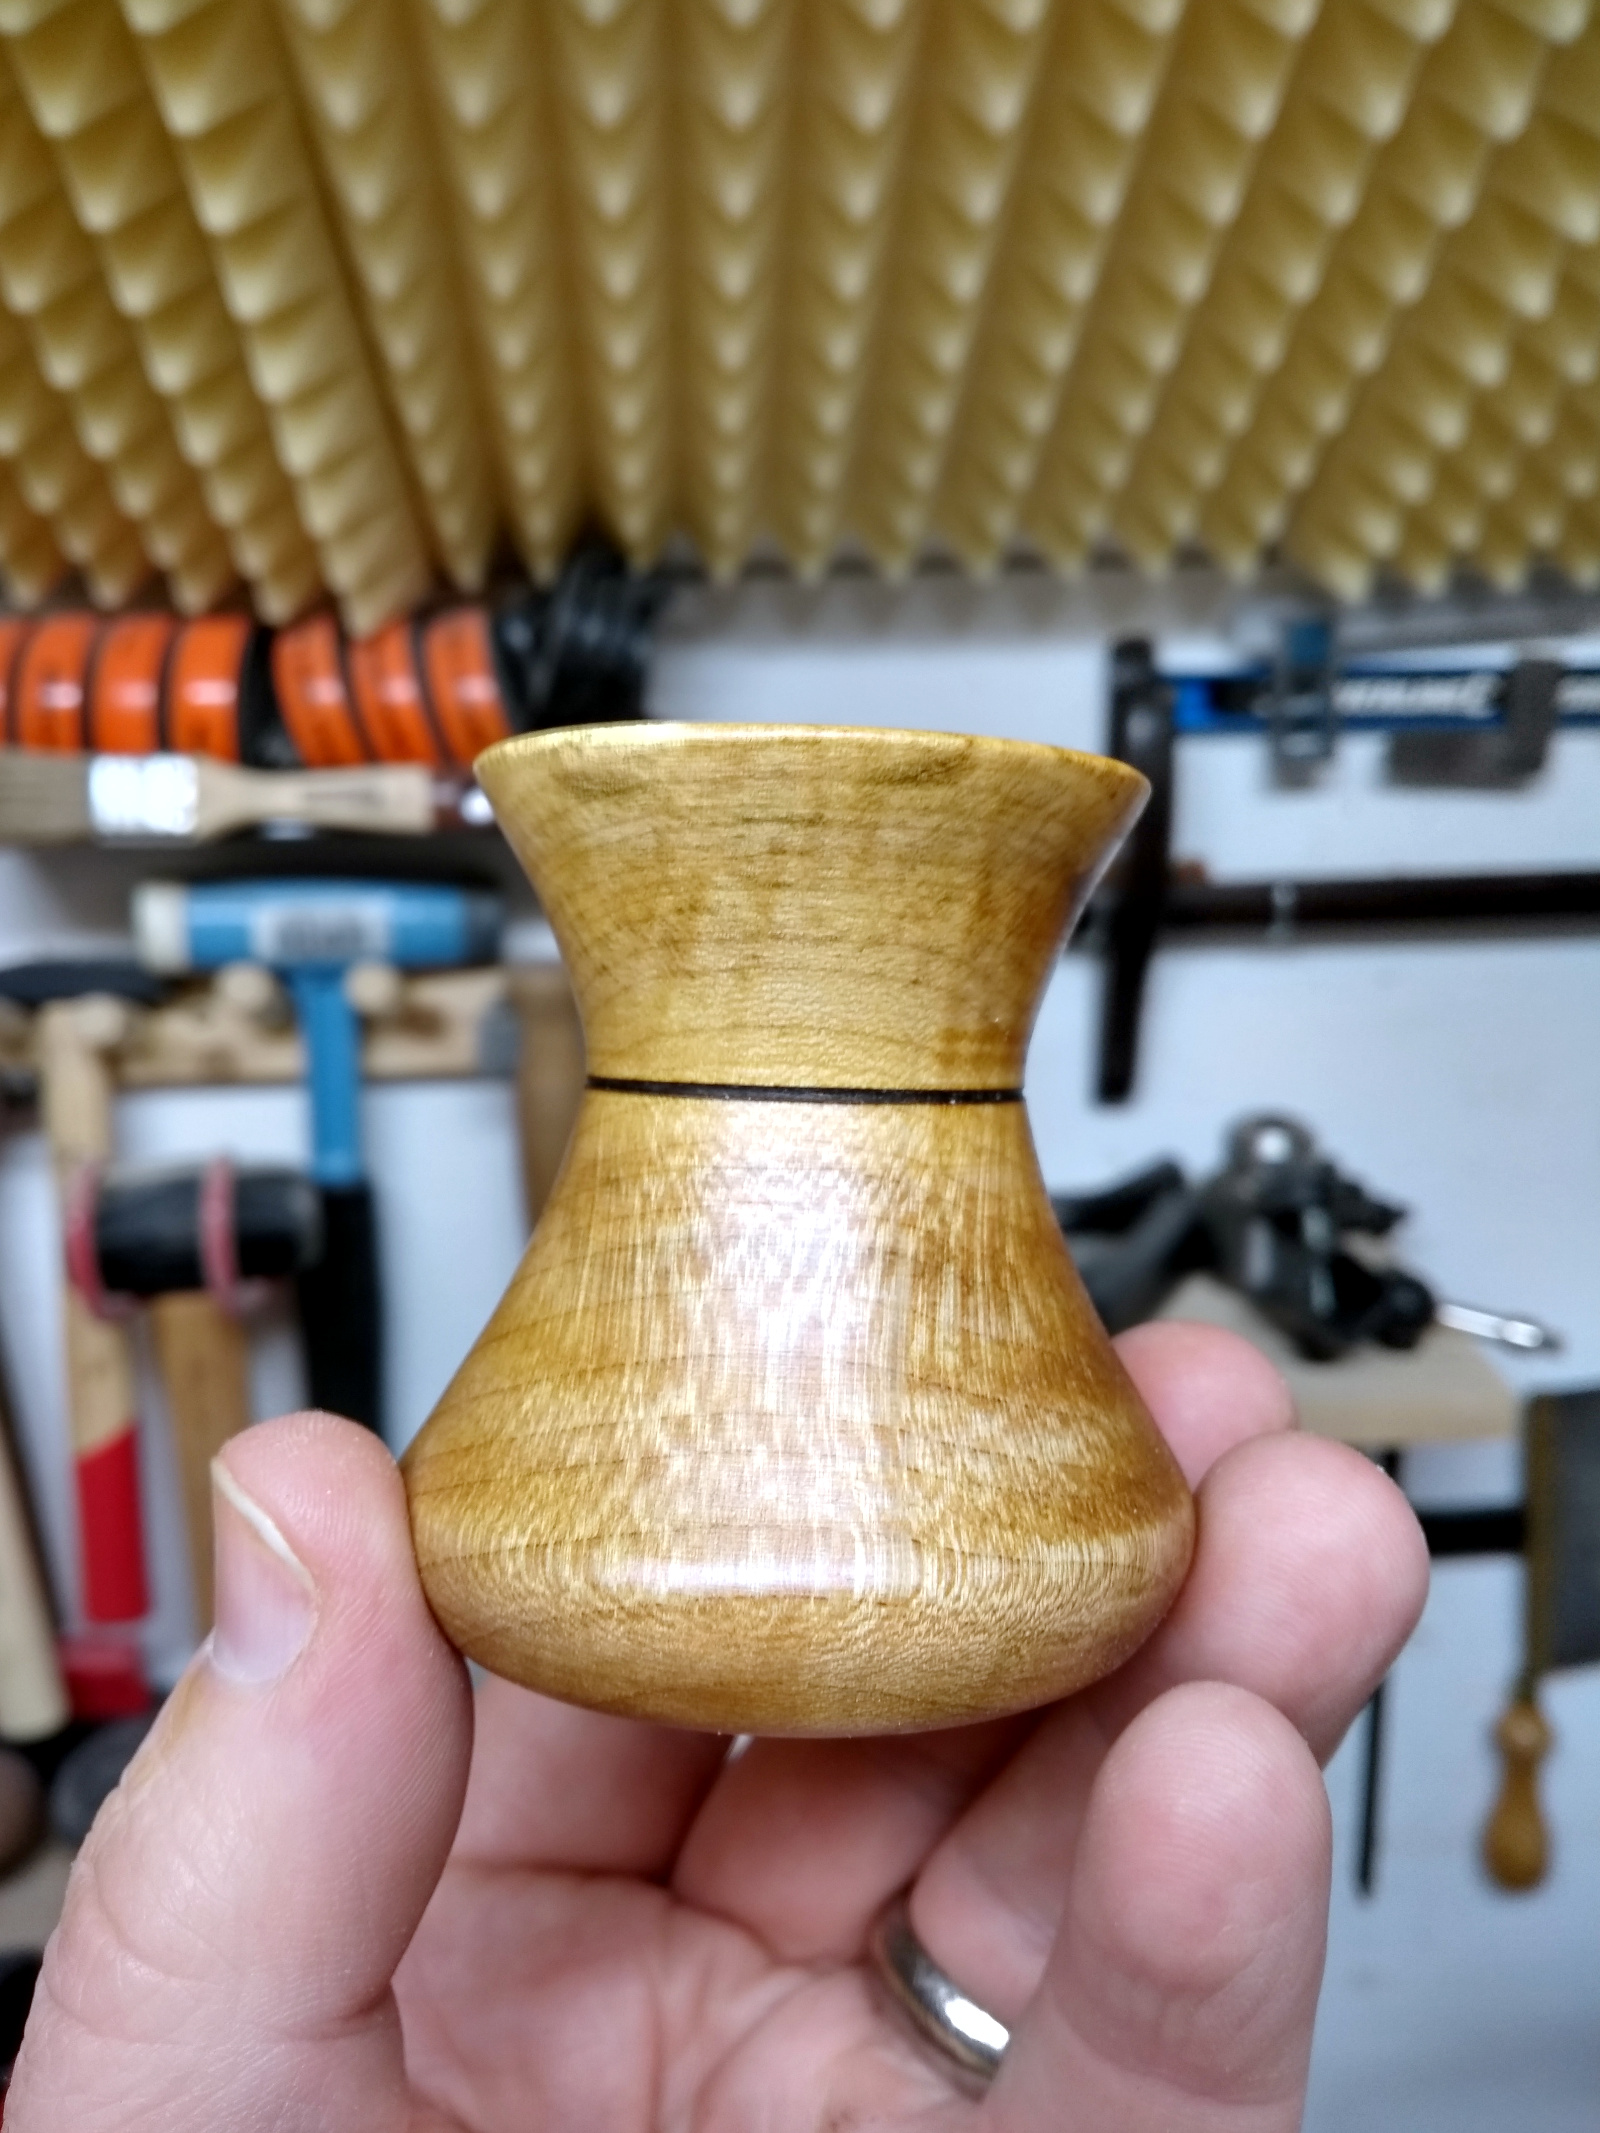
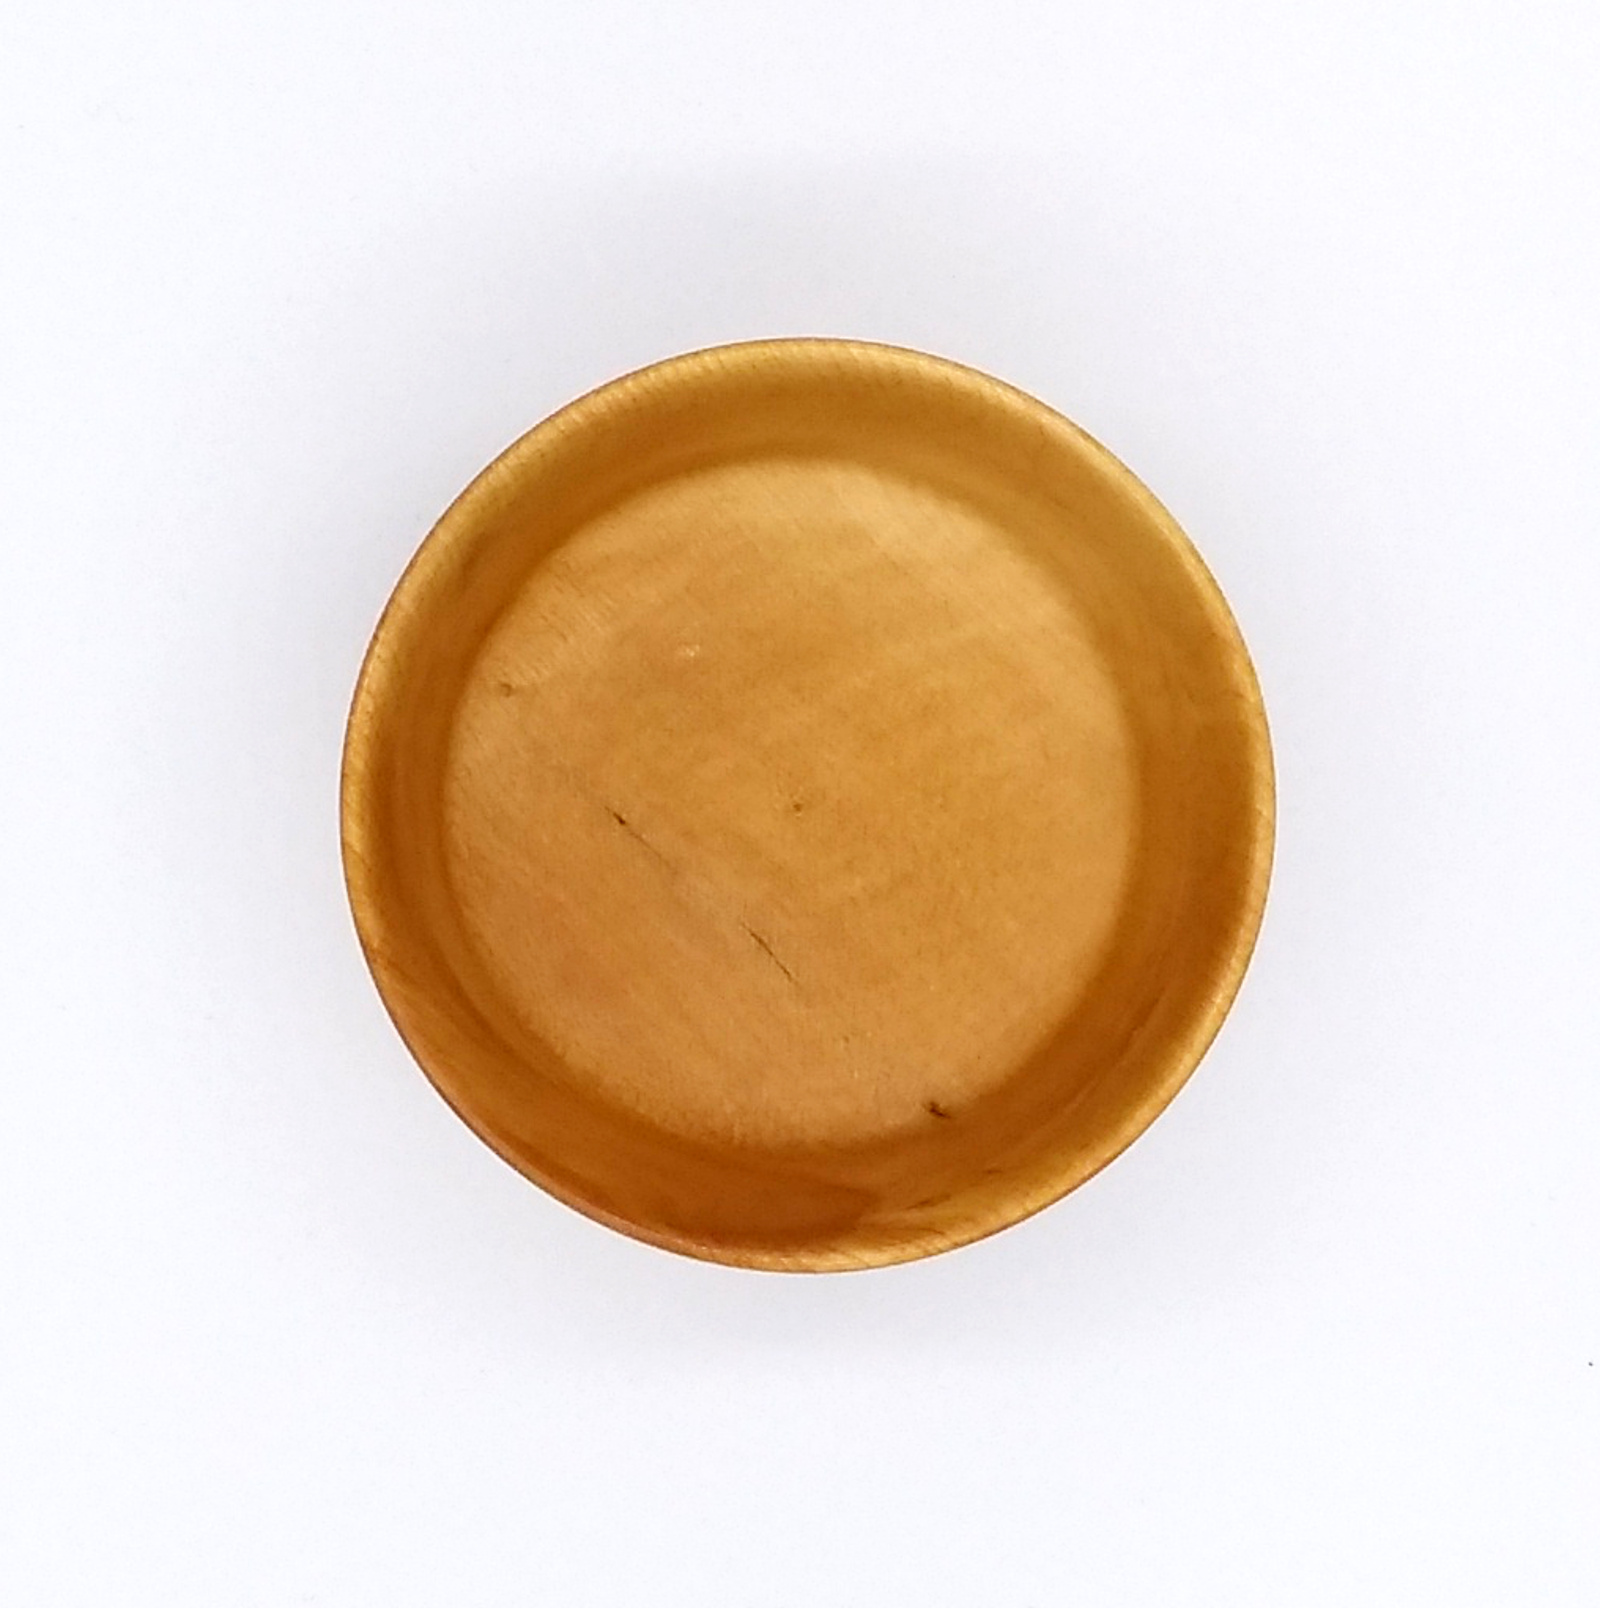
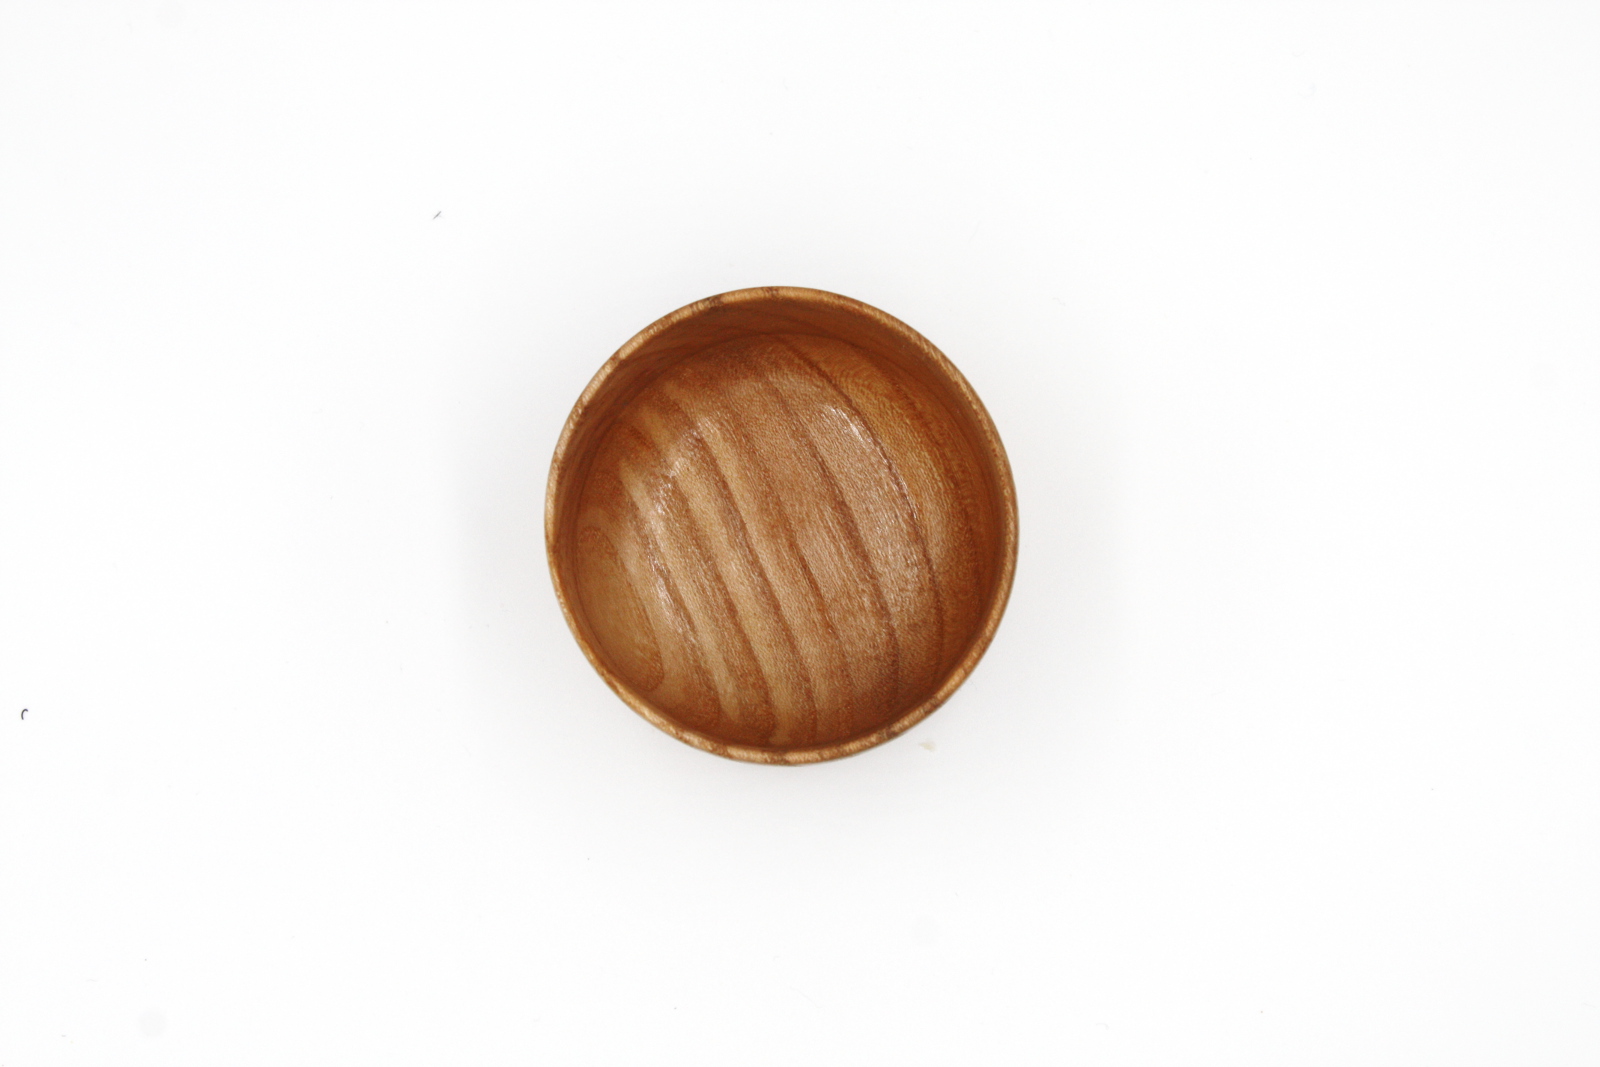
And then, in case that was a fluke…

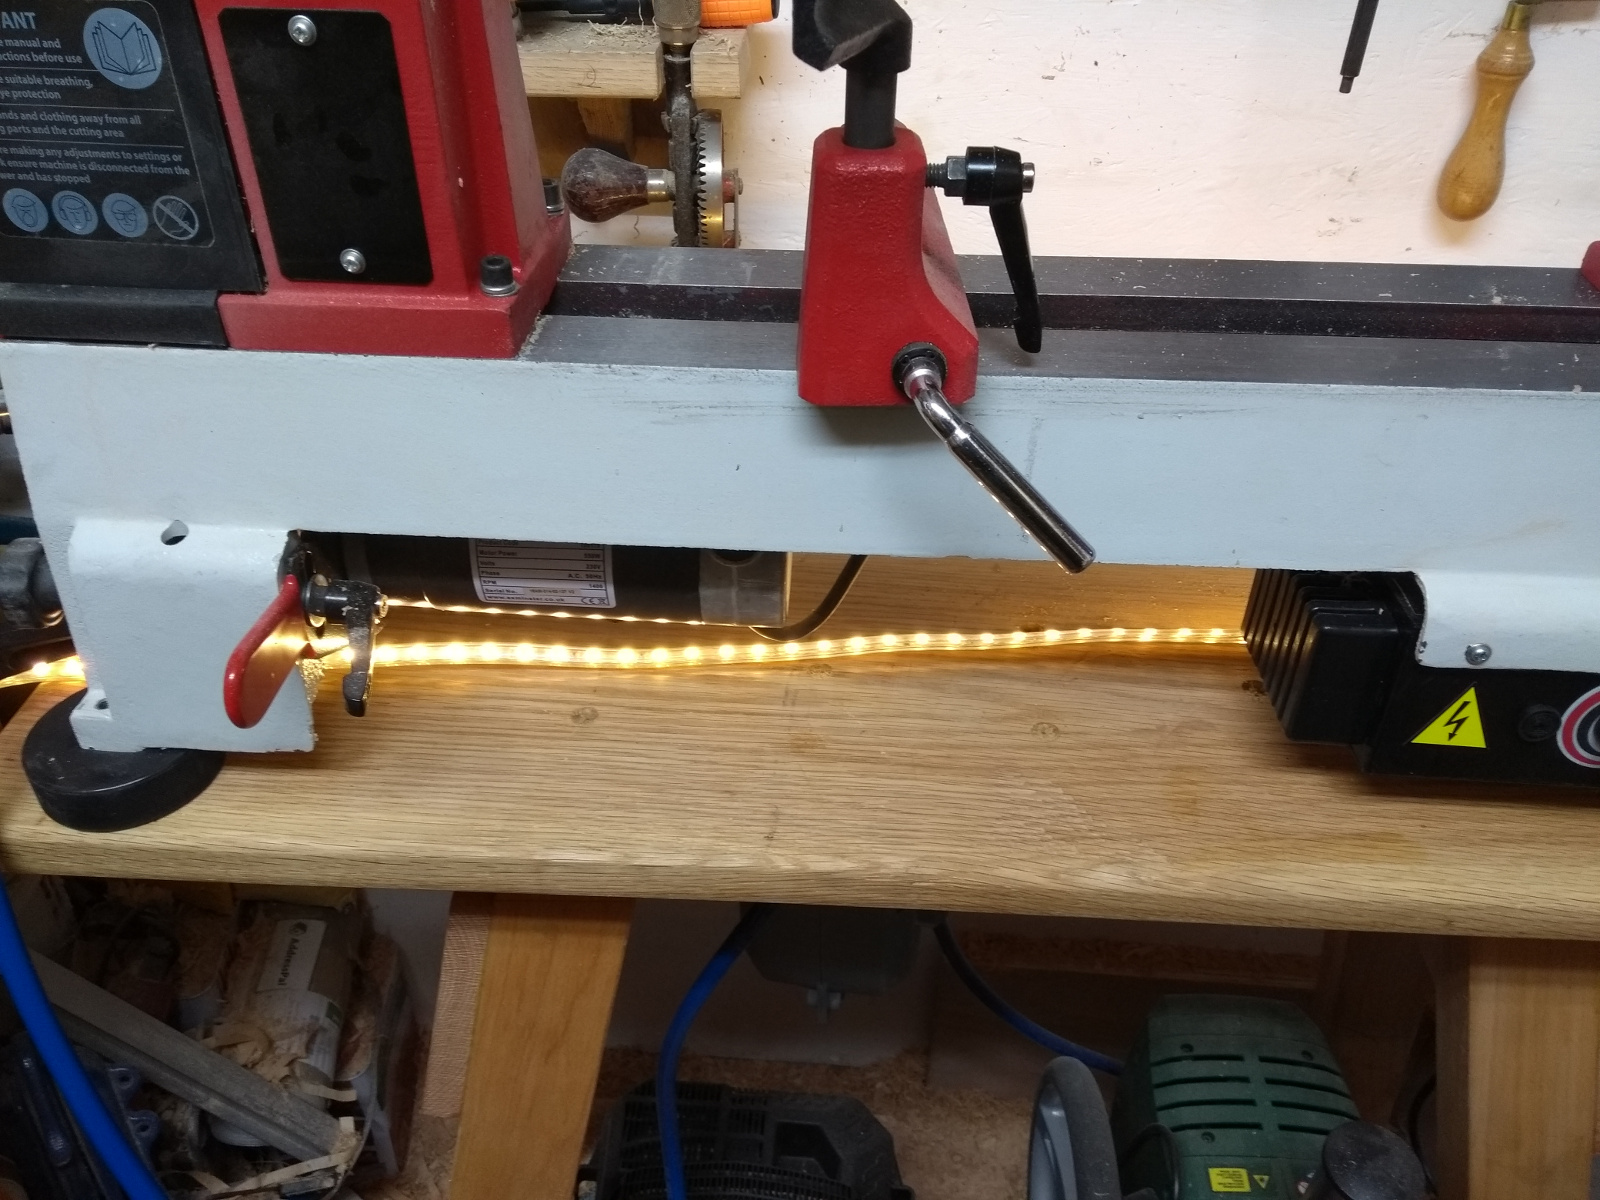
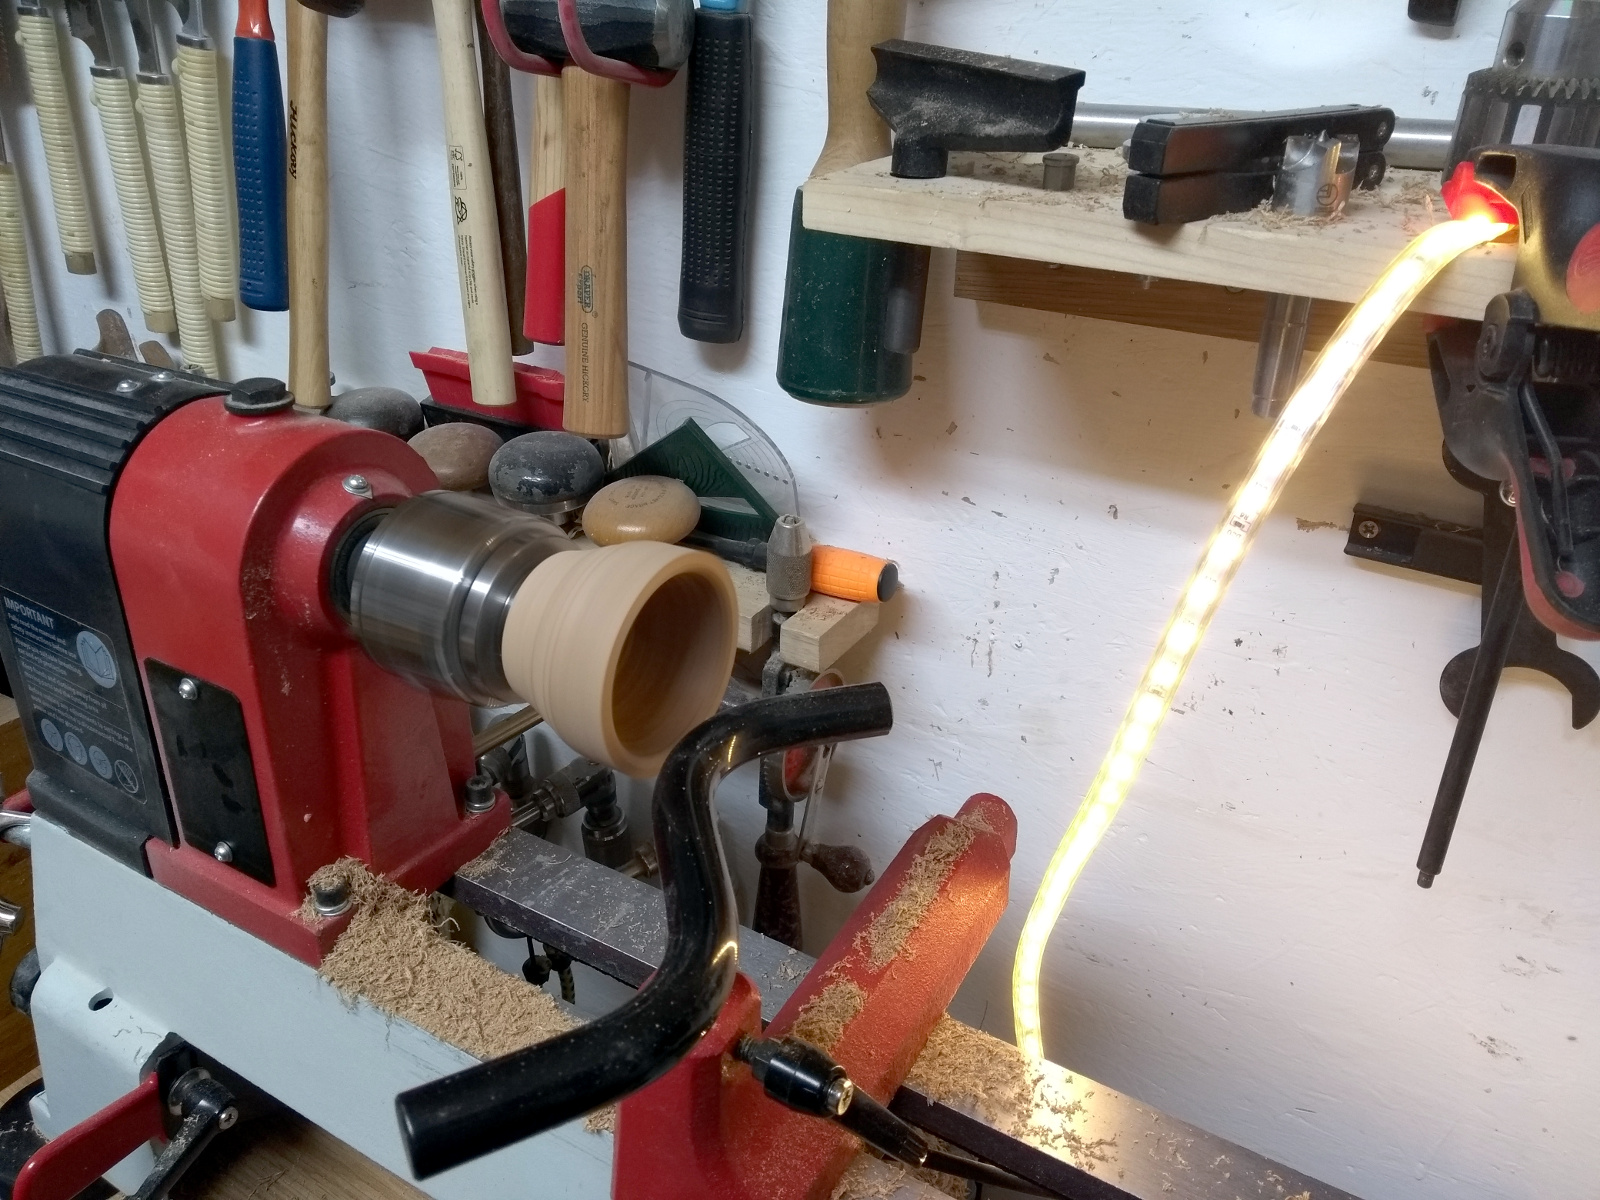
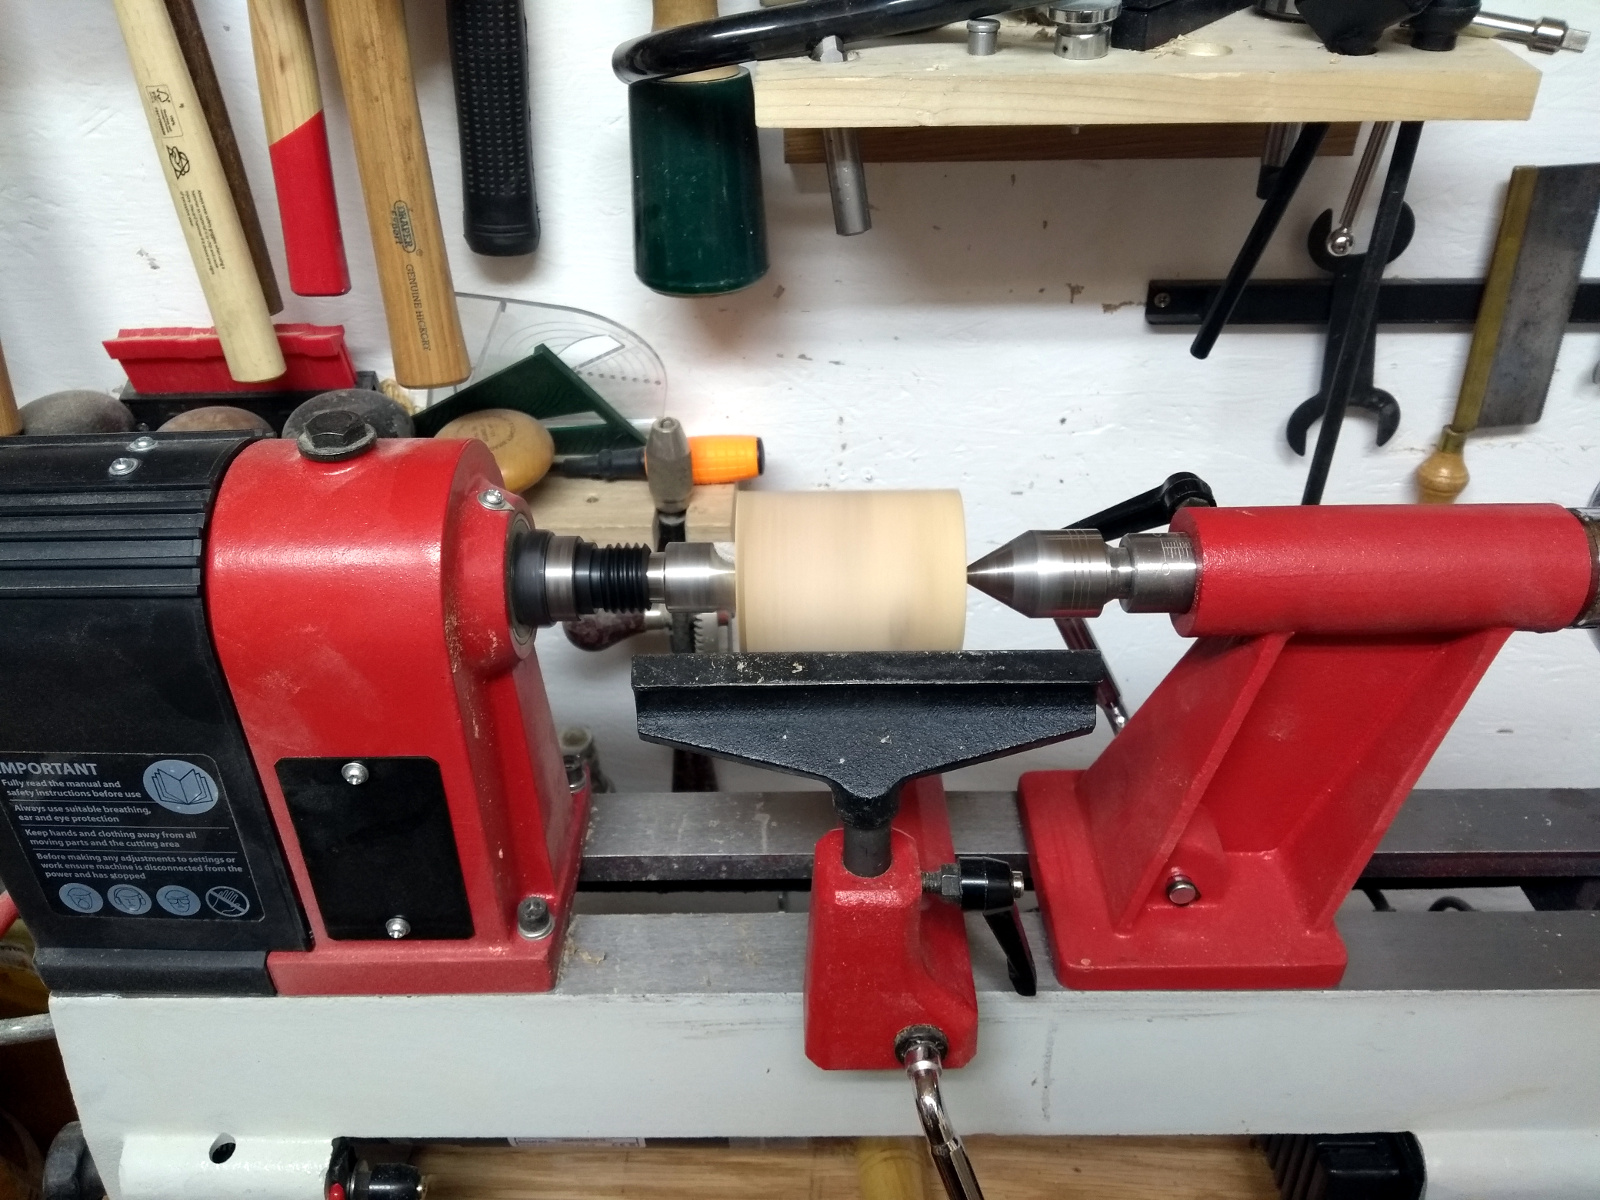
Not as much figure as the last blank, so added a burn line to make it interesting. It’s amazing how important seeing what I’m doing is to this so I had to address the shed lighting again…

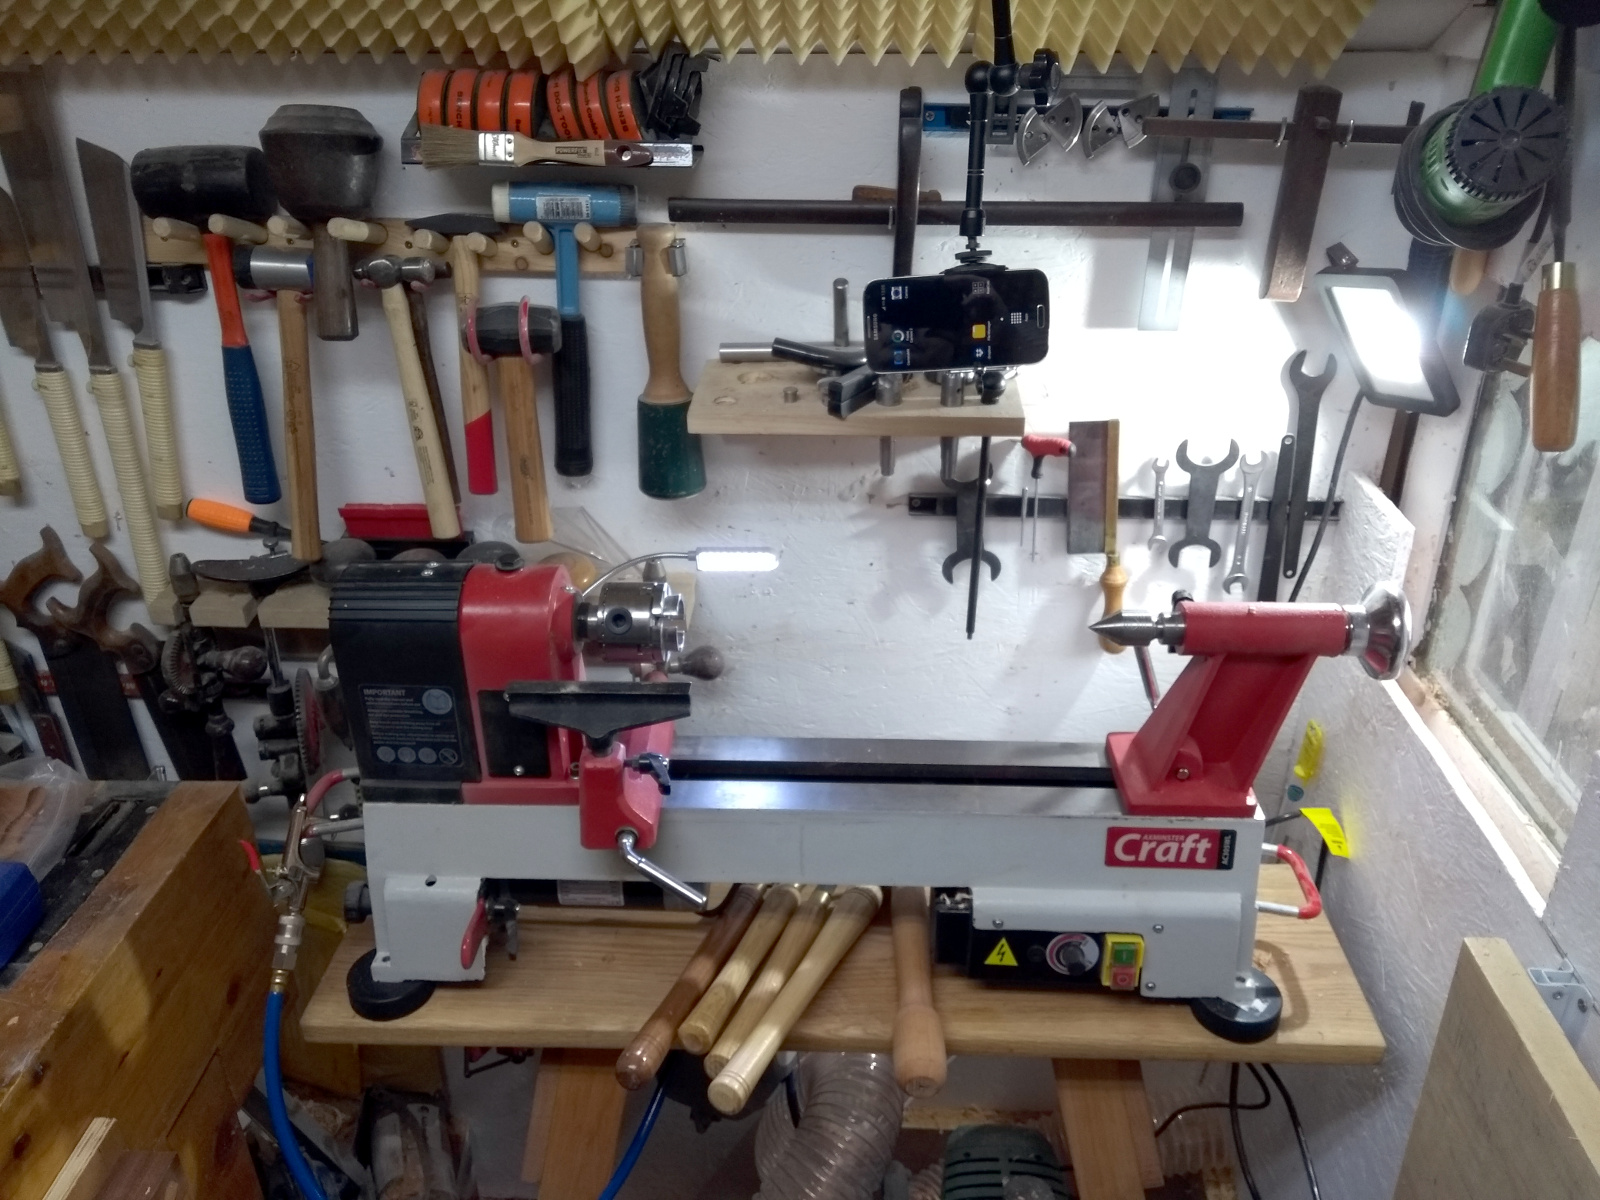
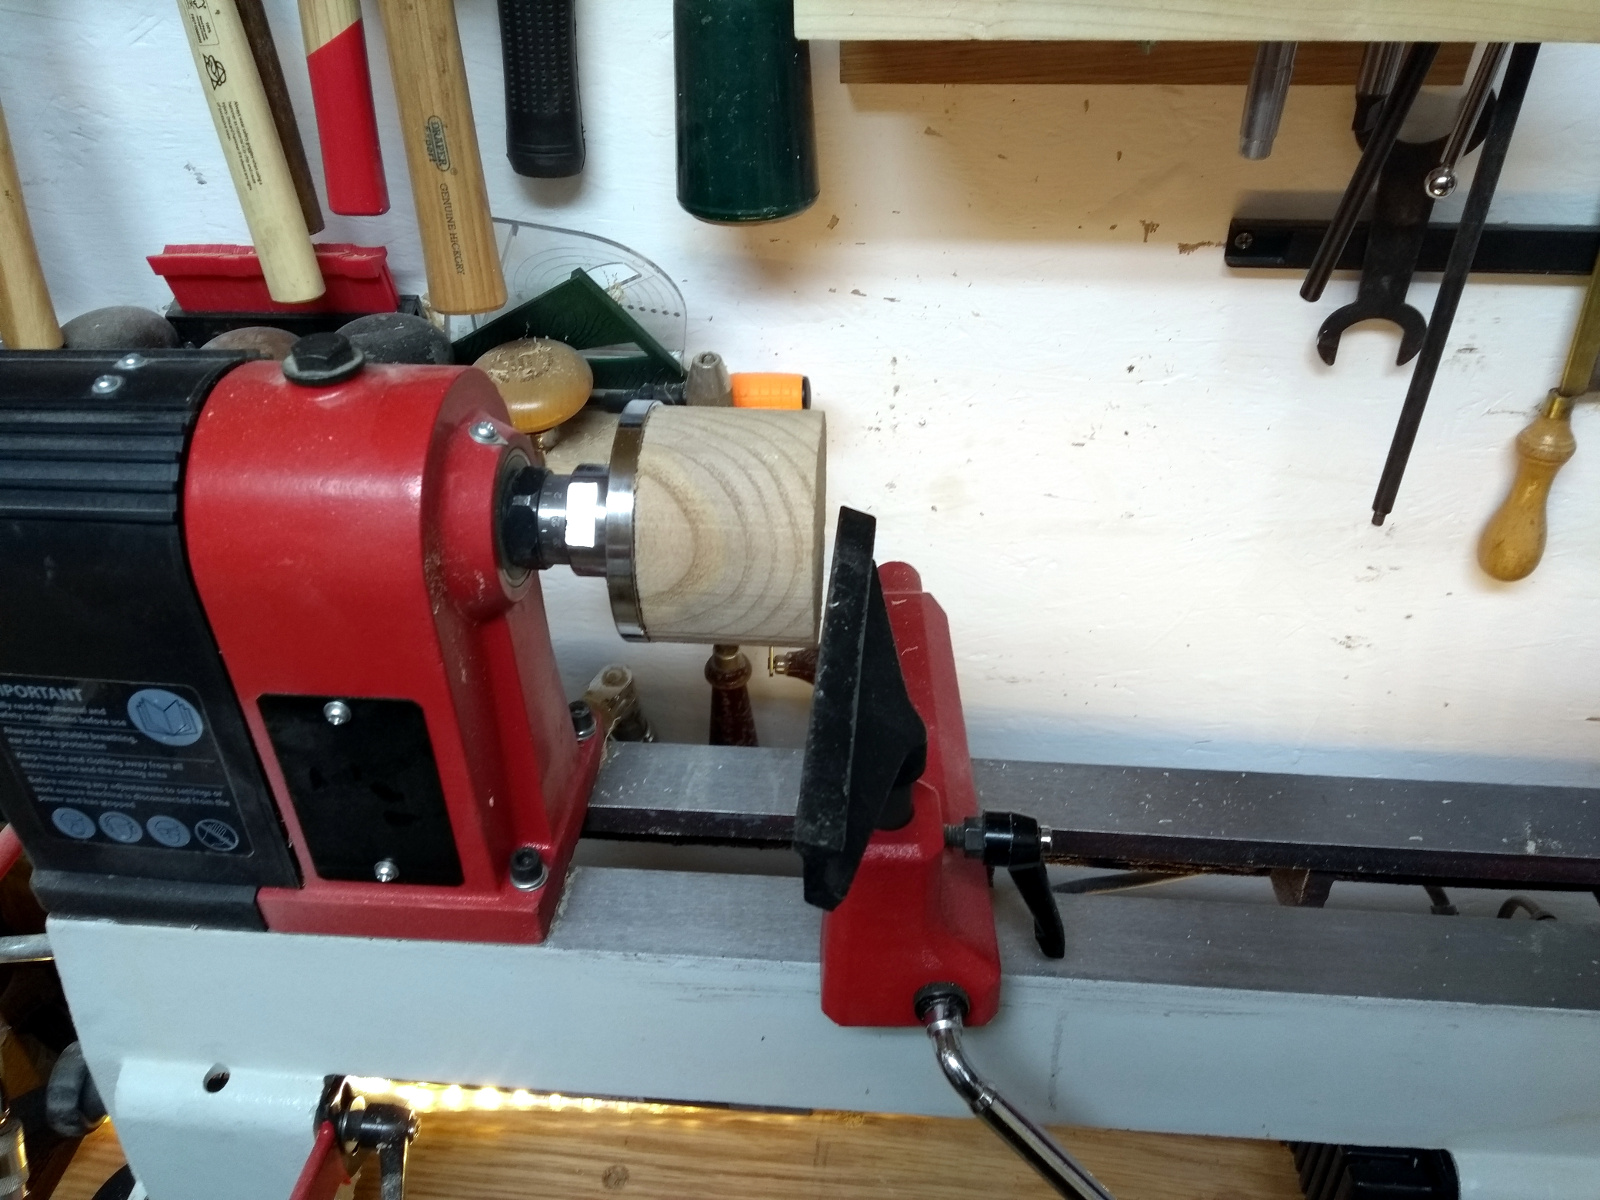
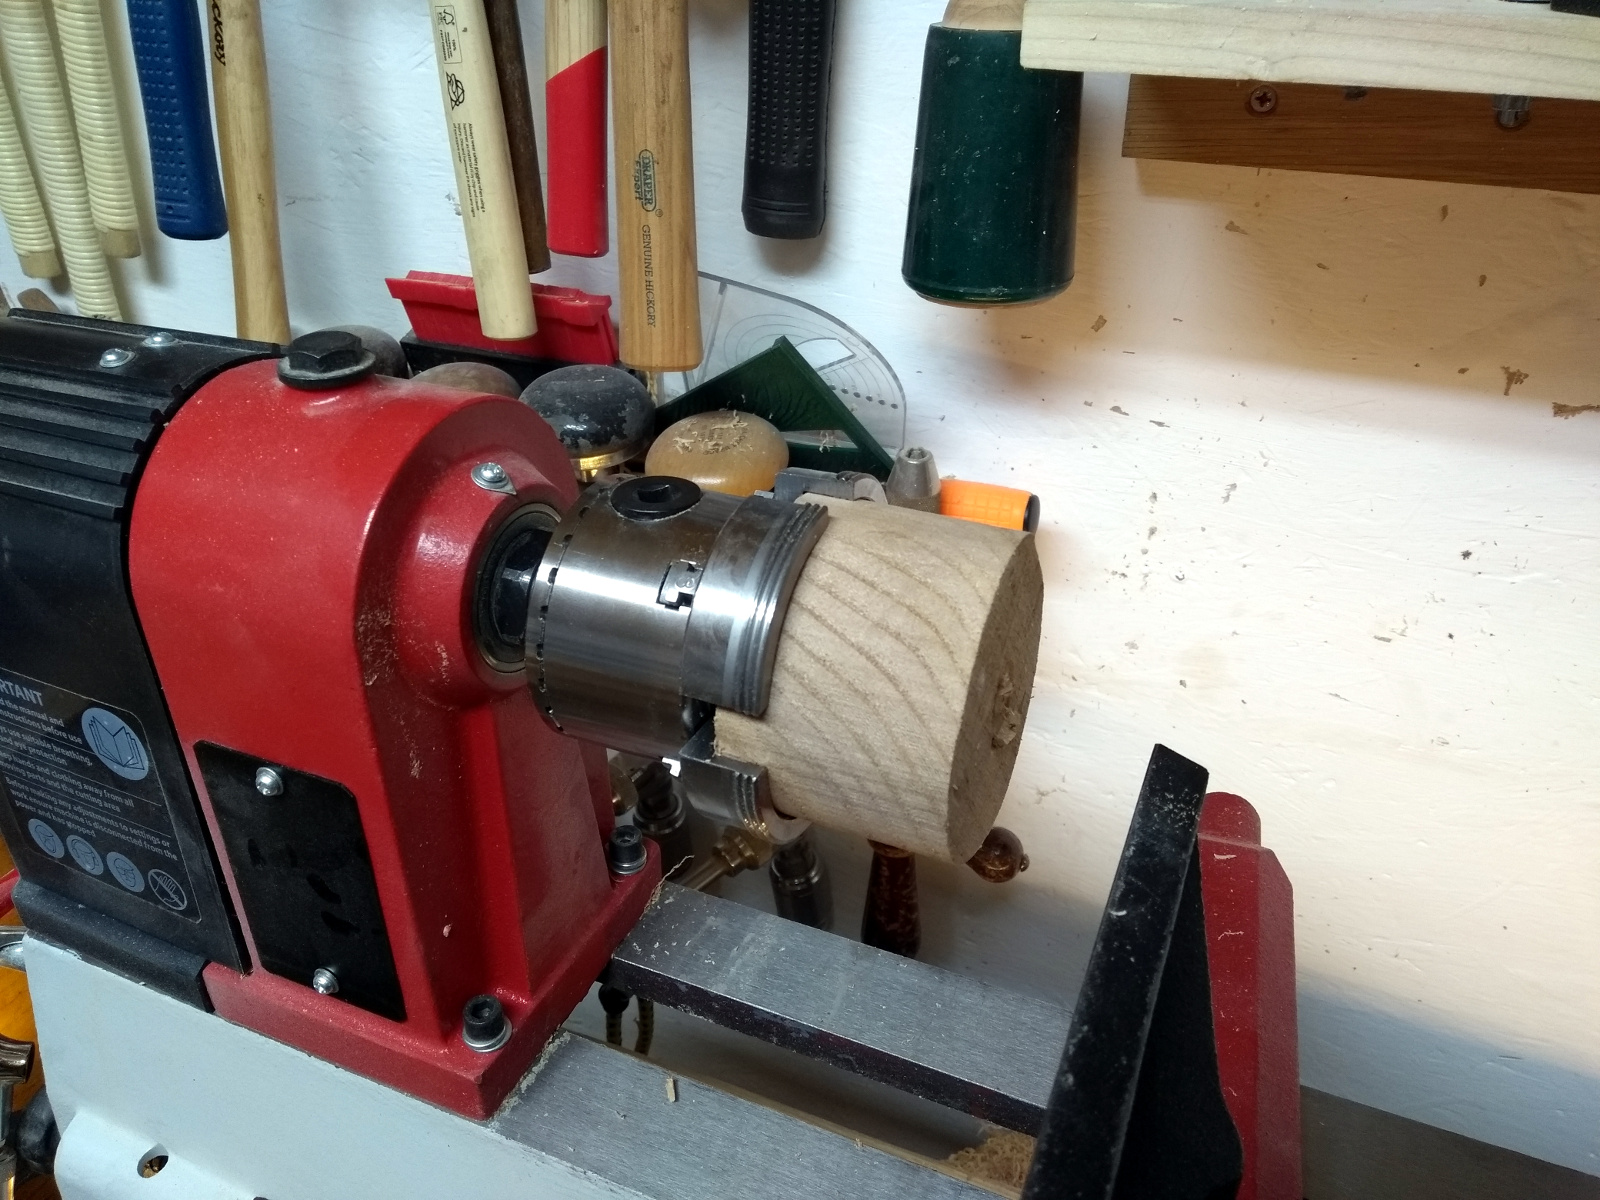
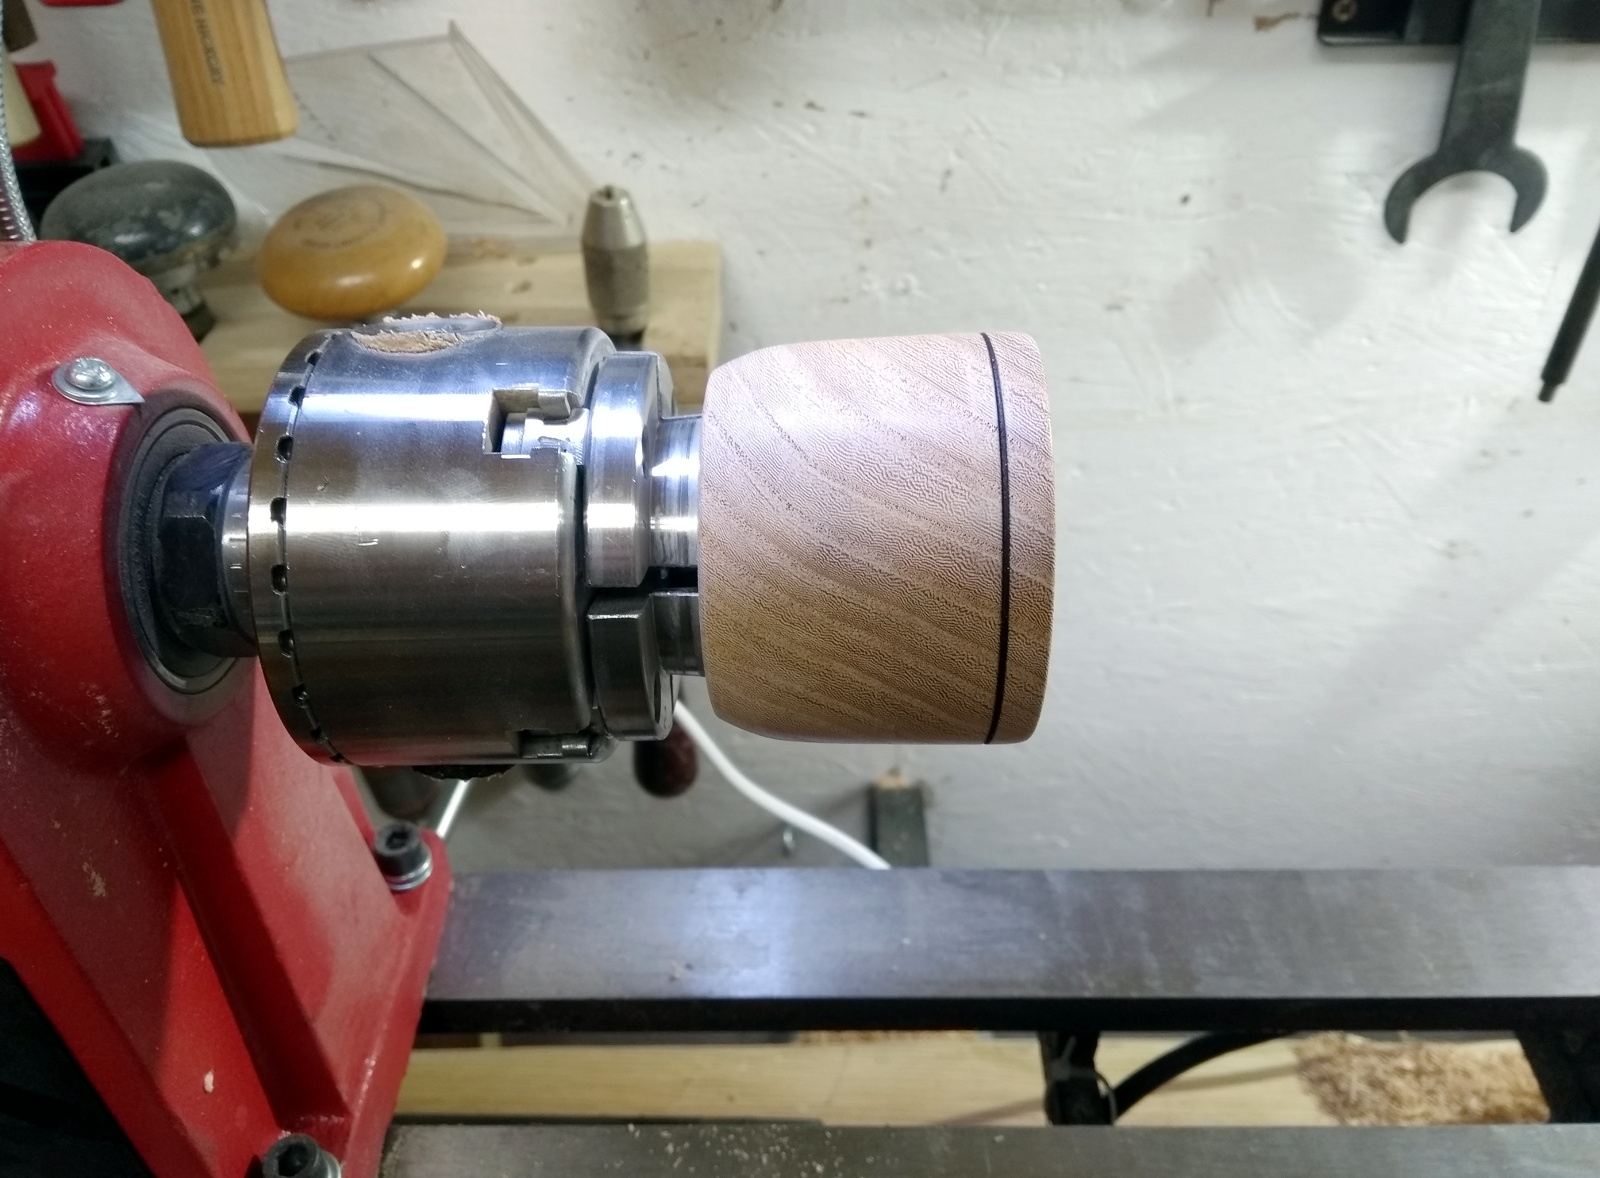
Cheap (about six euro) LED floodlight from Farnell and a sewing machine LED light on a magnetic base for task lighting and it’s a massive improvement. And I also put a quick MDF shelf across the feet of the lathe stand and sat the compressor and pillar drill on that instead of on the floor, and now I can horse the entire lathe around about 45 degrees clockwise so I can get better access at the inside of the bowl. Makes things a bit easier.

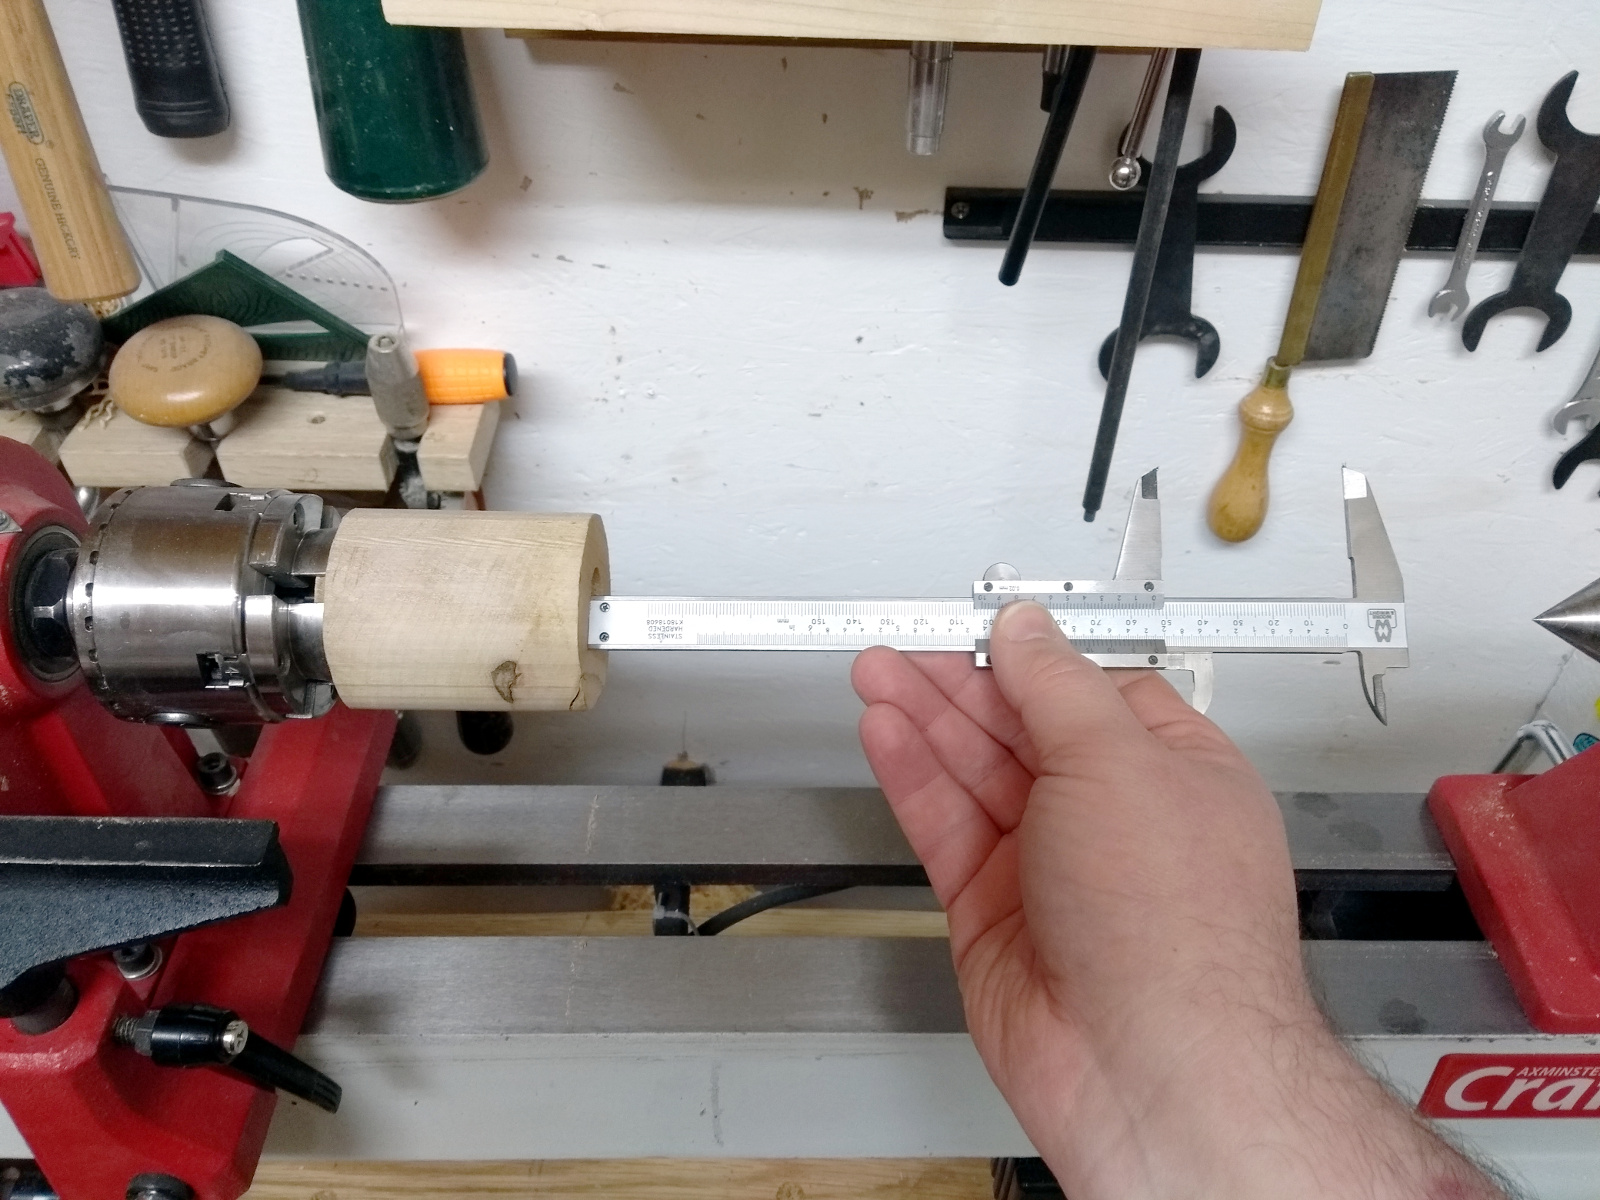
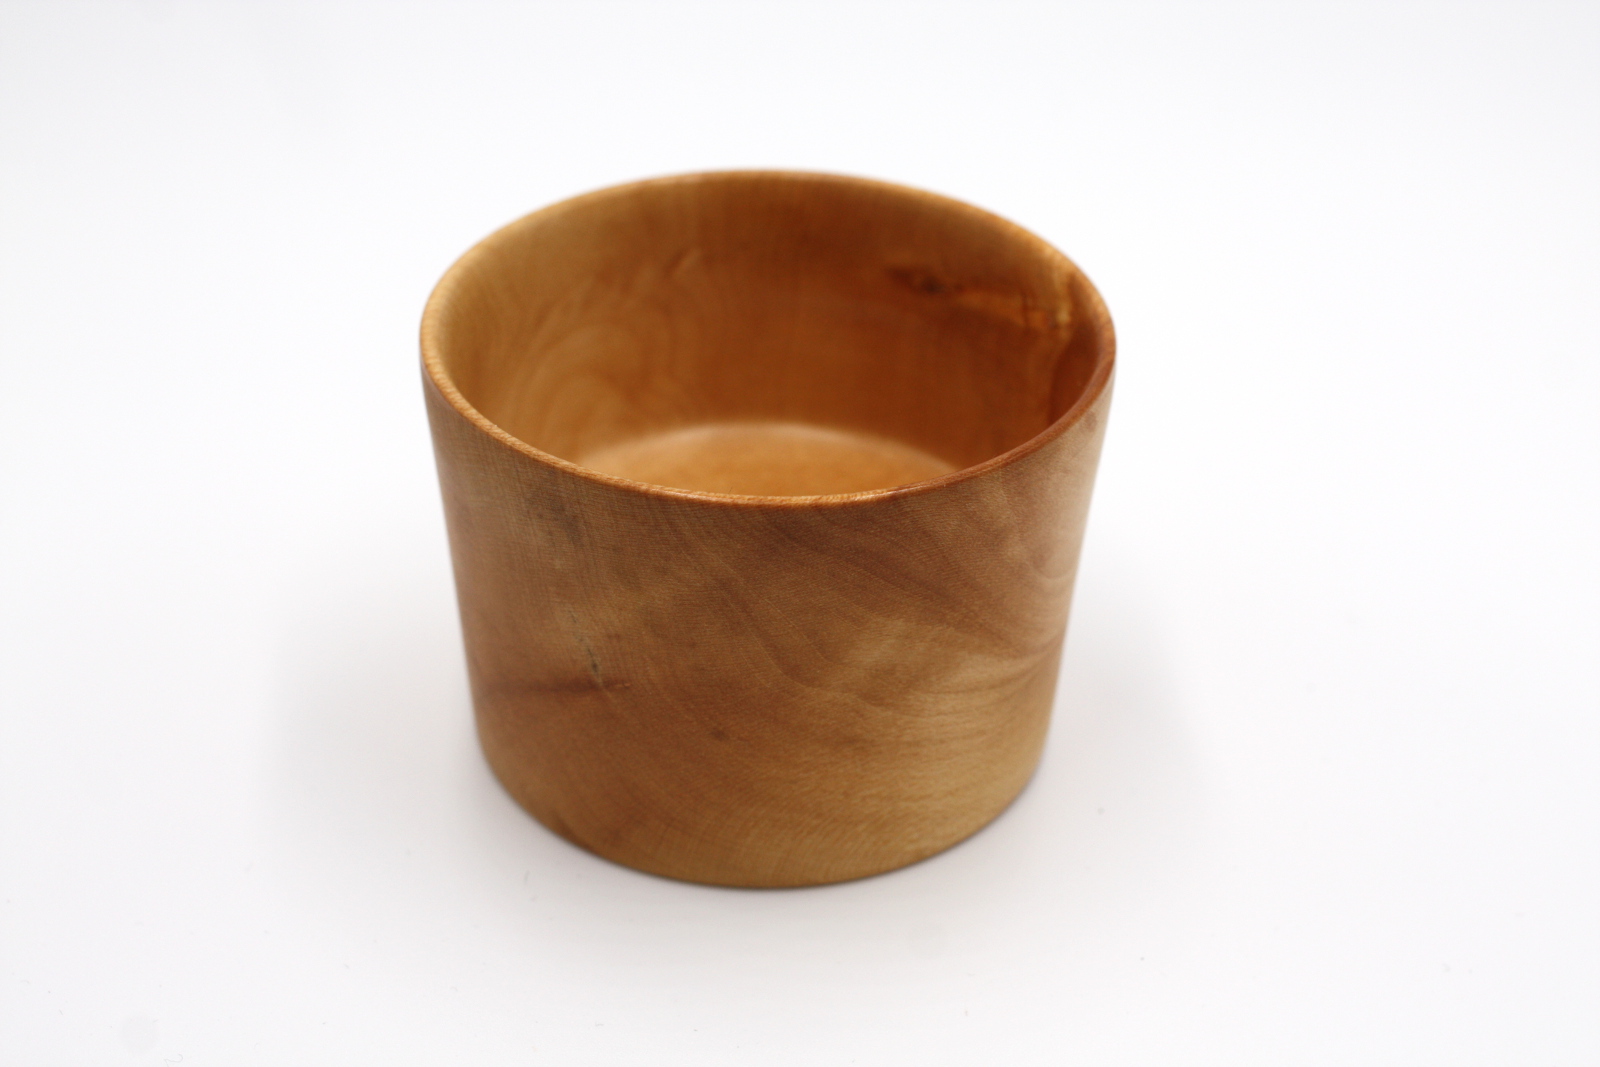
I think the walls might even be thinner on this one. Fraction of a millimeter, but it just feels a little lighter.

Think I might be ready to move to a 6″ blank now…


16
Apr 20

Another small bowl

Just practicing at this stage. There are a few things I want to sort out in the shed like dust collection but I’m waiting on parts, and in the meantime I have some miniature blanks and a bit of practice is starting to make things a bit easier with turning (mainly because I’m not doing anything complicated).

Finally took the bait from all of Crimson guitar’s ads for isotunes and bought a set of the Pros (they’re half price at the moment because they’re now the Old Product 😀 ). Tried them in the shed tonight, have to admit, they do exactly what I wanted them to do; the air compressor can fire up at my feet and the noise doesn’t hurt my ears, and I can wear them with the faceshield easily and listen to music. Spendy by my standards – forty quid for a set of earplugs is twice what I paid for the J-29s which are the only bluetooth earbuds I own, I normally prefer wired headsets and earbuds. But these aren’t half bad.

And I also got a HSS blank that I want to make a beading&parting tool from…

A metal detector says that the tang from my diamond-point parting tool goes in about as far there as the end of that blank, and that tool length is a bit shorter than I’d like but it’s surprising how hard it is to find 300mm HSS blanks online – 200mm seems to be a standard length for making lathe tooling for metal lathes. Oh well. I also have some carbide inserts and bright mild steel bars in longer lengths coming to make some scrapers. I’ll have to laminate up some beech to make the handles, but I might use that to my advantage and cut a rectangular groove in the mating surfaces of the lamination so I don’t have to use an angle grinder to round over that square section to round for the tang.

3″x2″ blank for this evening’s practice. I tried using shorter screws in the faceplate because of how I’ve been having trouble getting rid of the screw holes in rims – this was as bad an idea as it sounds 😀 First catch and the thing ripped off the faceplate and jumped at the wall. So I swapped the jaws on the chuck for the larger size jaws and grabbed it with that.

Worked quite well. Oh, and I did something about the lighting as well…

It’s not fantastic, but I’ll get a sewing machine light or something soon and that’ll work better. It’ll do for now.

Turned a recess, cleaned up the base of that recess and added a decorative line or two on the base, and roughed out the outside shape. Then flipped it over, changed out the jaws on the chuck to the standard dovetail ones and grabbed the recess and started hollowing out the inside. Love that S-shaped rest by the way, it’s excellent for this.

Just great support when hollowing out the bowl, and when working on the outside shape as well.

That’s the LED strip clamped to the shelf for lighting the inside of the bowl there btw.

Without that, I can’t see inside the bowl when turning at night (by day it’s grand, the sunlight through the window is enough). I *know* I bought a small LED floodlight for the shed a few years ago for just such a thing, and I *know* it’s in the house with us right now, but do you think I could find it?

Need a better way to photograph these really. Did find something cheap on aliexpress for that, it should get here in a month or two 😀

Not horrible. Walls are getting thinner and more consistent, those are about 4-6mm thick throughout. Still getting toolmarks left over though. Need to work on that. And the finishing is very basic – tung oil, two coats of button shellac and then some briwax used as a friction polish. Some nice endgrain patterns there. Sycamore really is a lovely wood to turn.


15
Apr 20

Little vase

So two of the miniature blanks I have are quite small (well, the clue’s in the name I guess), and are less than 3″ in diameter – they’re about 2.5″ or so. I was thinking I could try to turn them into very small vases, by drilling out the inside. So that’s what I did this evening.

Too small to put in the faceplate, that one. It’s almost small enough that you could fool yourself that it’s a spindle, but that’d be a mistake, you’re seeing endgrain come round at you there. Even at that size, that’s no fun for a spindle roughing gouge.

So first off, parting tool, and turn a tenon on the base, and chuck it up. Then out with the jacobson drill chuck on the MT2 arbour and a small fostner bit…

Very much pecking with the wheel on the tailstock. Two turns, blow out the dust with the air compressor, two more turns and so on. You can get about 30mm of travel that way, then wind the quill back into the tailstock and move the whole tailstock 30mm forward and repeat, checking the depth with a vernier caliper.

And done. That’s about how deep you can go with those bits as well (70mm). Need a bit extender to go any deeper and I don’t have one. Next up, turn a nice profile into it.

This is kinda belt-and-braces, but, hey, that’s okay. Lots of careful bowl gouge work later (and also some on the inside of the lip after retracting the tailstock) and…

Yikes. I never even saw that splinter on the lip of the vase (it’s the remnant of a knot just off that point on the blank I think). Broke that off by hand.

Bit more gouge work and sandpaper needed for this.

That’s better.

Yeah, this idea didn’t work either. You can’t get a solid grip with these jaws (or my other set). One catch and it’ll be out of those jaws and boucing off my faceshield if I try. So back to centers it is.

And a bit more turning on the bottom to get a nice undercut base and a better curve.

And a bit of work with the parting tool to try to minimise any bandsaw work cleaning this up. Won’t lie, every time I use the parting tool that close to a drive center, I’m just waiting for the loud bang as I shove a tool into the spurs and the lathe tries to push it through my face. But got away with it this time.

Tung oil today, followed by two coats of lemon shellac and some beeswax.

And a nice little burn line to hide a ridge where the two downhill cuts met imperfectly 😀

It won’t win any awards, but it turned out okay and I still have all my fingers and no bowl gouge through my neck. So I’m calling it a win.

That’s spalted sycamore in case you were wondering, by the way.