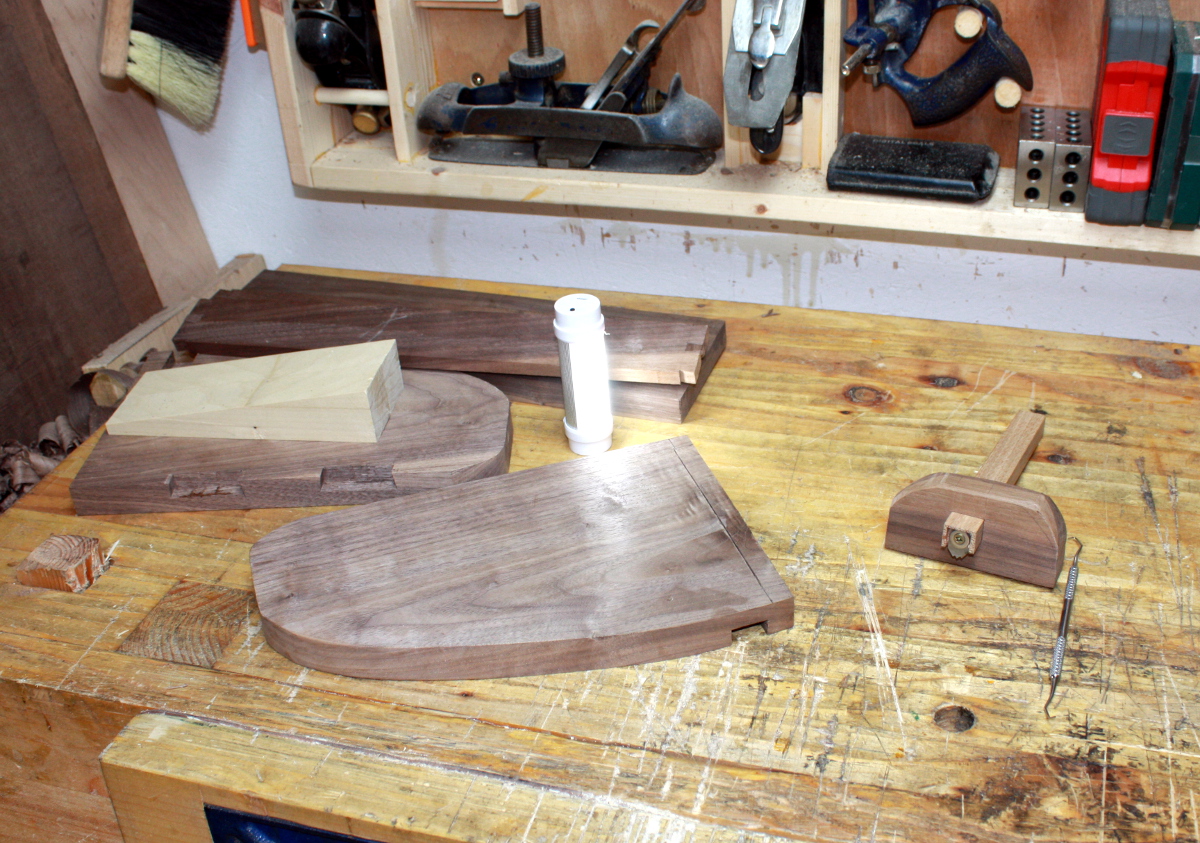
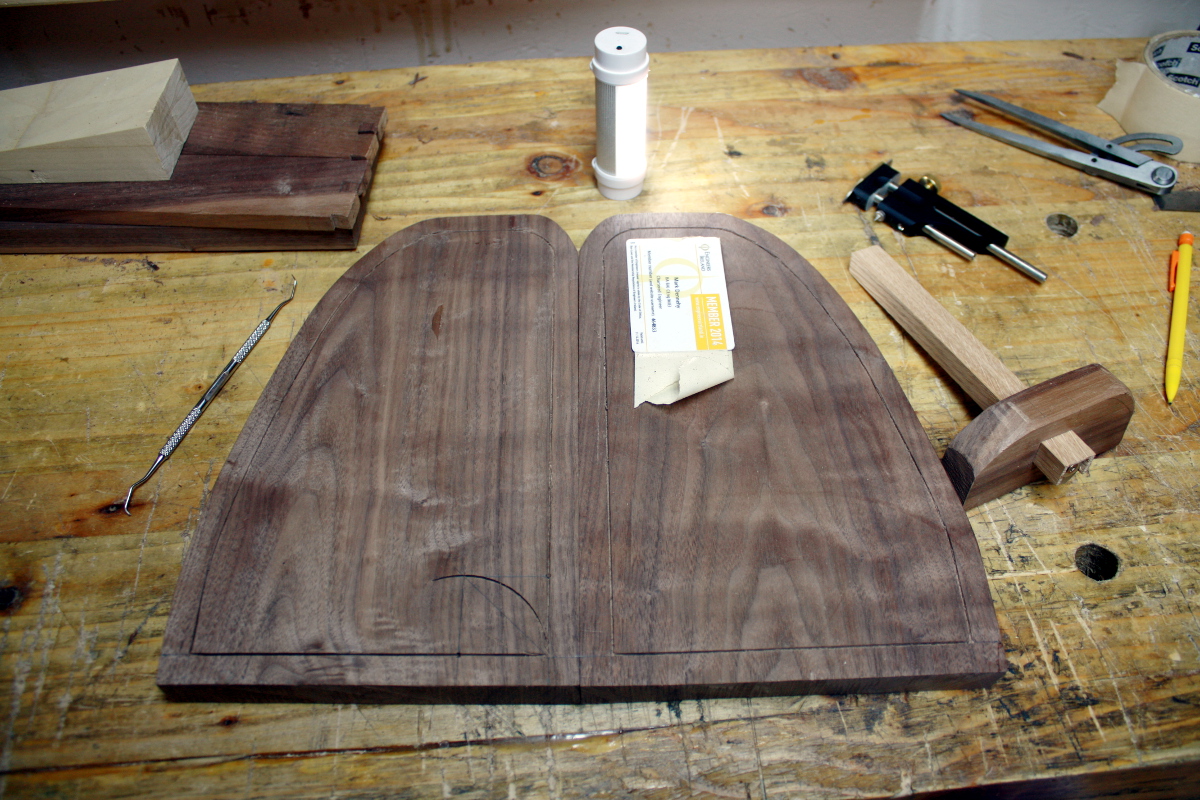
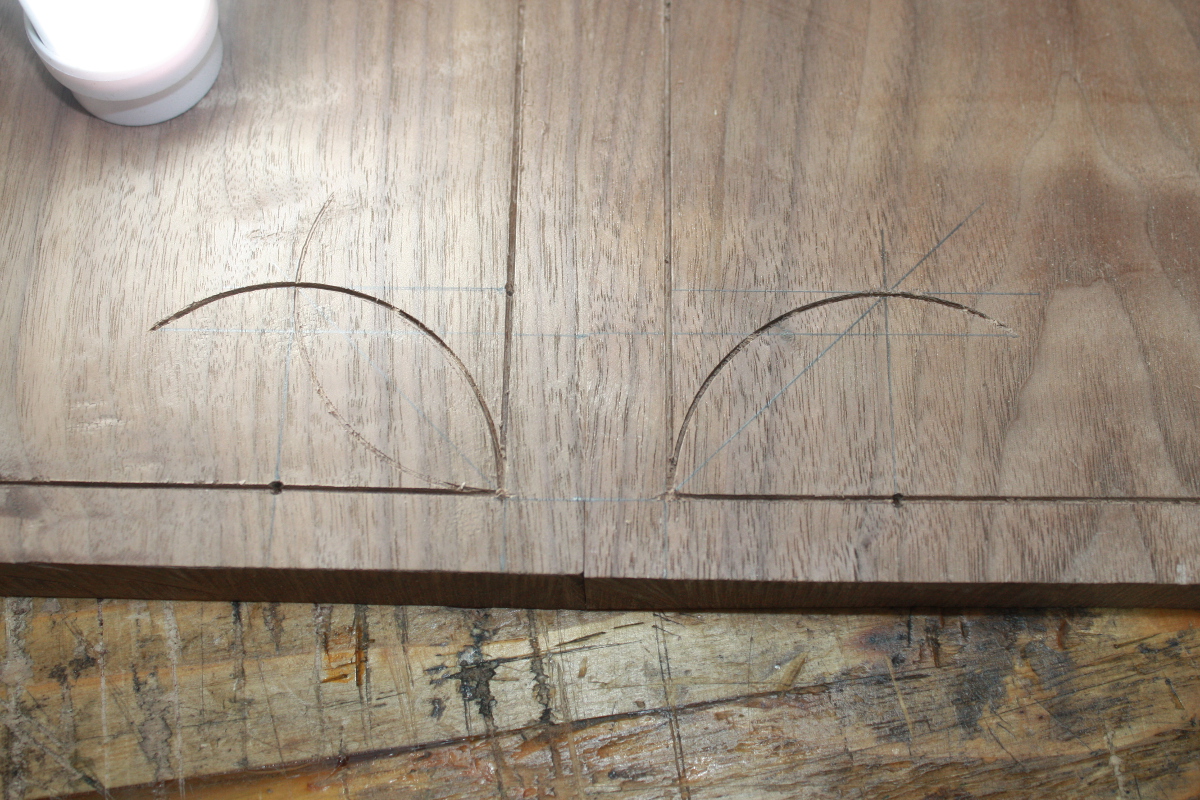
First day in a few weeks where it’s not been I-don’t-wanna-go-out-there weather and my teeth haven’t been broken, so I wandered out to the shed to continue the current stringing project and try to make some progress on it. I got the joinery for the desk shelf mostly finished yesterday evening, though I borked the dovetails and I’ll have to do something decorative to cover that up (one of these days I’ll learn you can’t do fine dovetails as an end-grain-to-edge joint) but other than that it’s not terrible. So I skimmed it up to get ready for stringing and started cutting a nice basic outline with the shed-made cutter and occasional use of the lie-neilsen radius cutter.
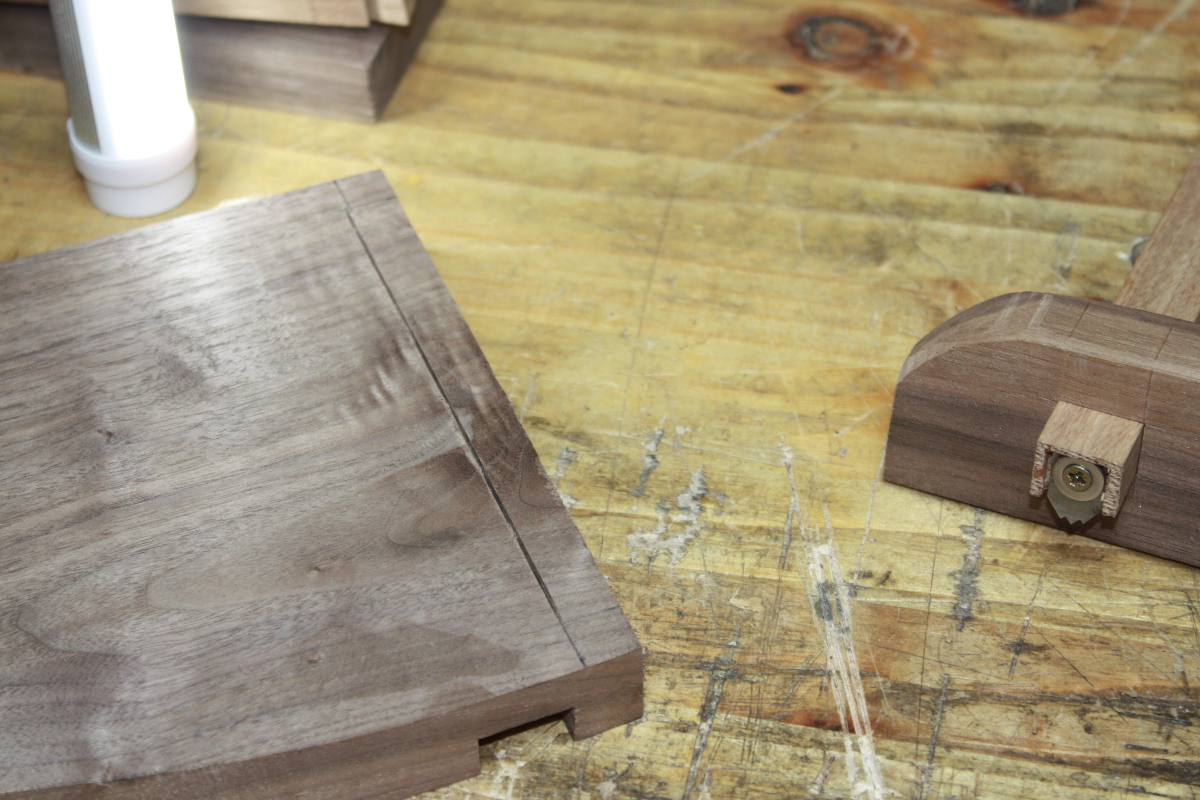
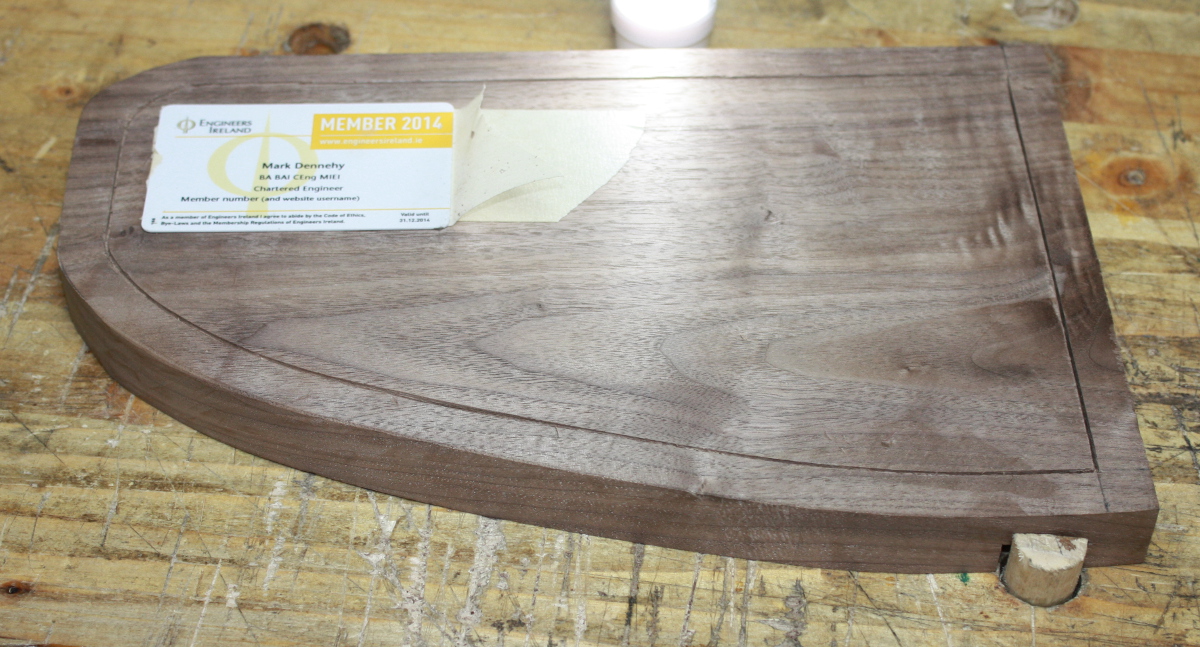
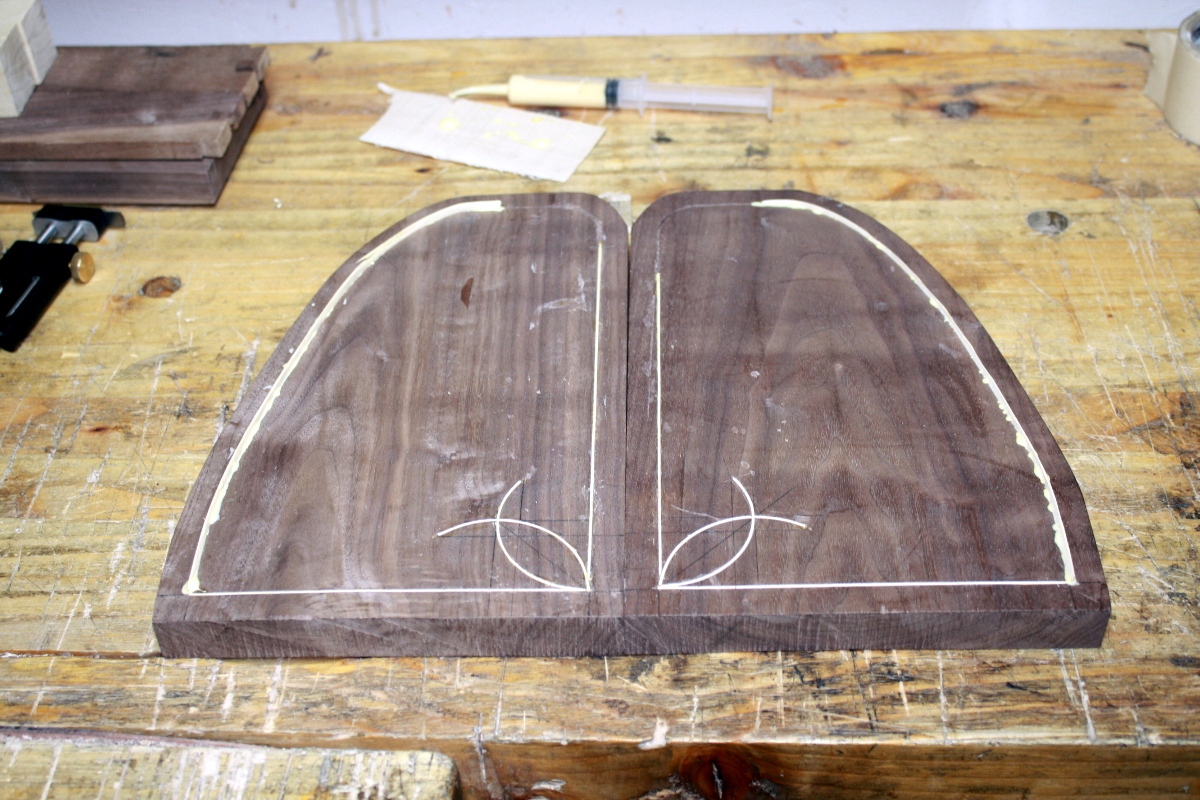
The card’s not an advertisement btw, it’s just that you need somewhere for the pivot point of the radius cutter and if you don’t want to dig a hole in the middle of your project, double-sided tape holding down a plastic card like that makes a good surface to anchor to. In other cases though, you can put the pivot point in a groove and so it gets hidden when you put the stringing in:
Those pivot points will just go away when I put in the bottom line’s stringing. So, time to cut some:

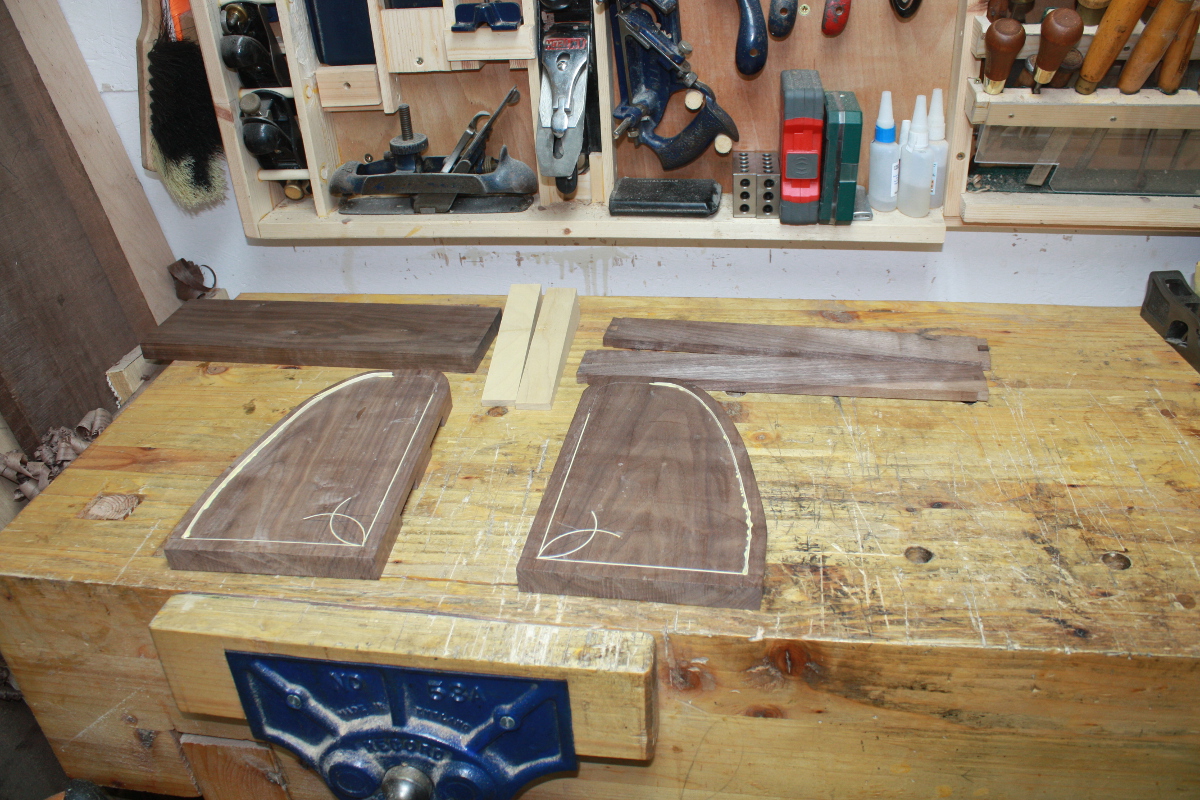
I still haven’t found a good supplier of thick (~1mm) veneer so this is the lamination of two 0.6mm thick sheets of horse chestnut. And the glorified pizza cutter makes short work of it with no tracking off the line following the grain, it’s neat that way. Just don’t leave your finger hang over the edge of the ruler because it’ll take that off too. Tungsten carbide blade. Next, put glue in the slot…

Handy things these, but you don’t half get a few odd looks when a box of them arrives for you at the office…
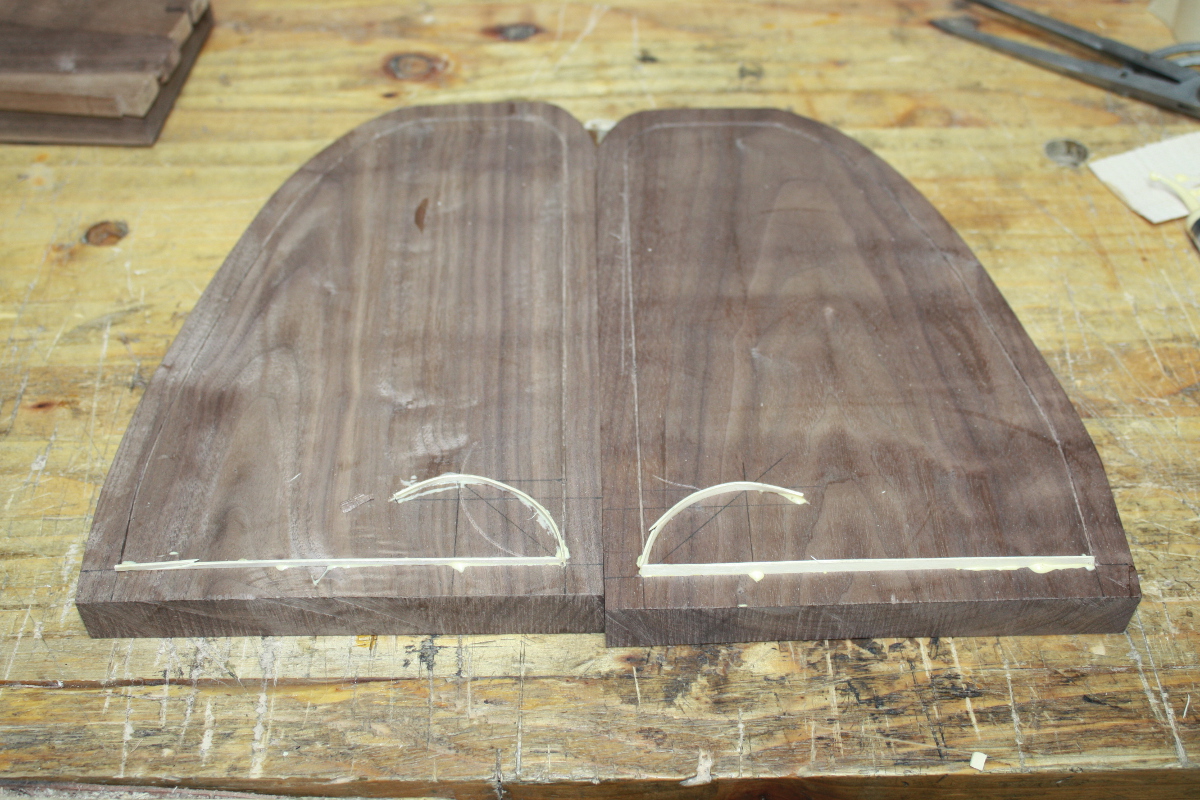
And the pivot points are hidden. I was able to coax the stringing round those corners by rubbing it a few times to heat it through friction but I really must get a bending iron off ebay.
Now let the glue set a while and then trim back with a chisel (I’ll take a smoothing plane or a scraper to the whole surface when it’s all done, but cutting off the excess now makes it a bit easier to work with).
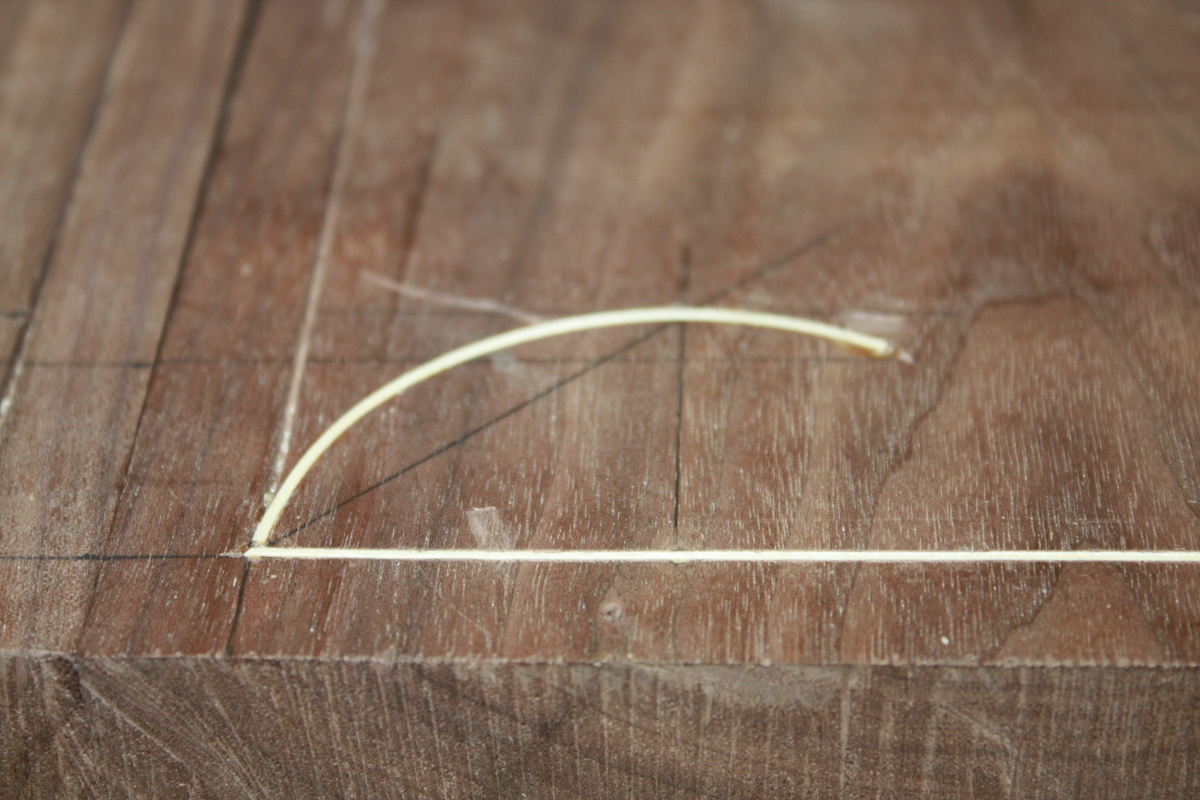
Not a fantastic job on the endpoints, but okay for a first try I guess. Now to cut the line that cuts through that curve (funny thing, I’d have thought you’d cut all the lines first then glue in all the stringing, but no, if they overlap like this you cut through the stringing as well for a cleaner result).

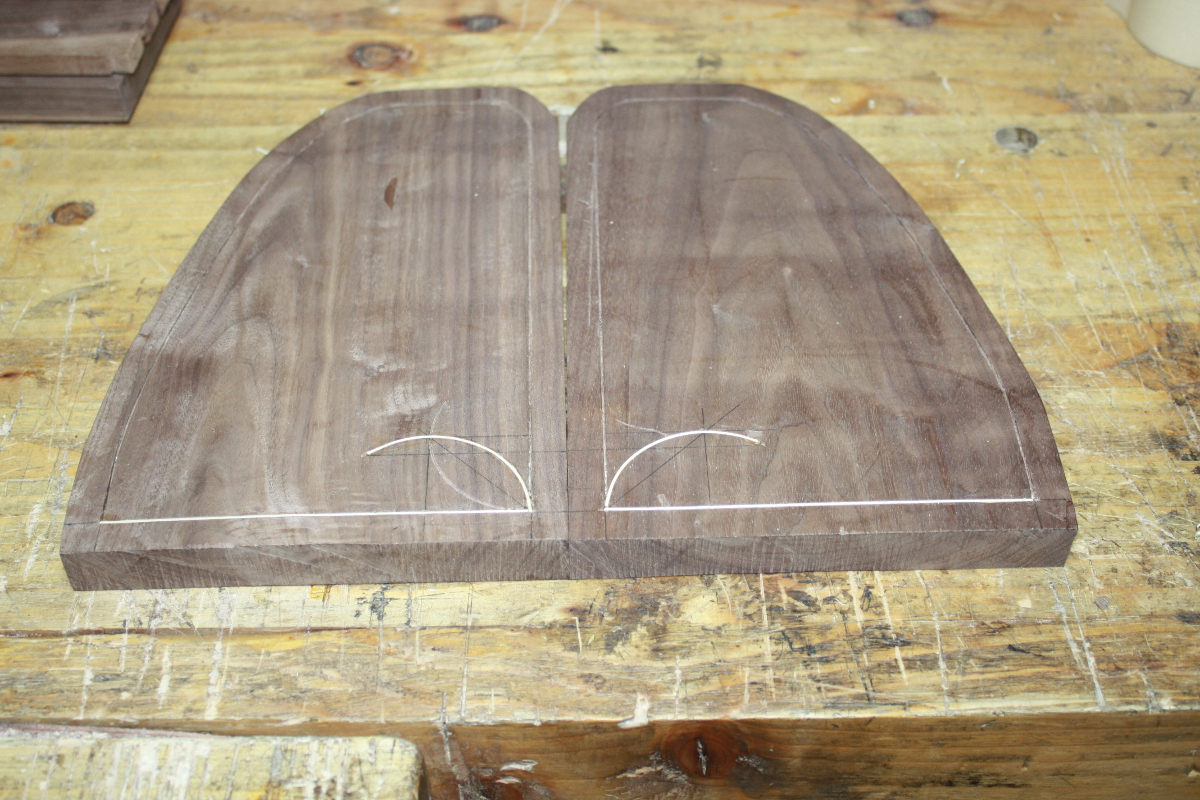
And now glue in the other curve and the other straight line, covering that pivot point again…

And leave that set a bit, trim back the excess and then glue up the last long straight-ish bit:
I knocked off there, I’ll come back to it tomorrow evening for a while and clean it up, but for now that’ll do. I really want to find a way to heat the stringing for that last remaining segment and I need a plug cutter set (which is on its way) for the last decorative bit I had planned for that corner.
Not too bad so far I think. Mind you, so far this has been rather simple…
Like this:
Like Loading...


