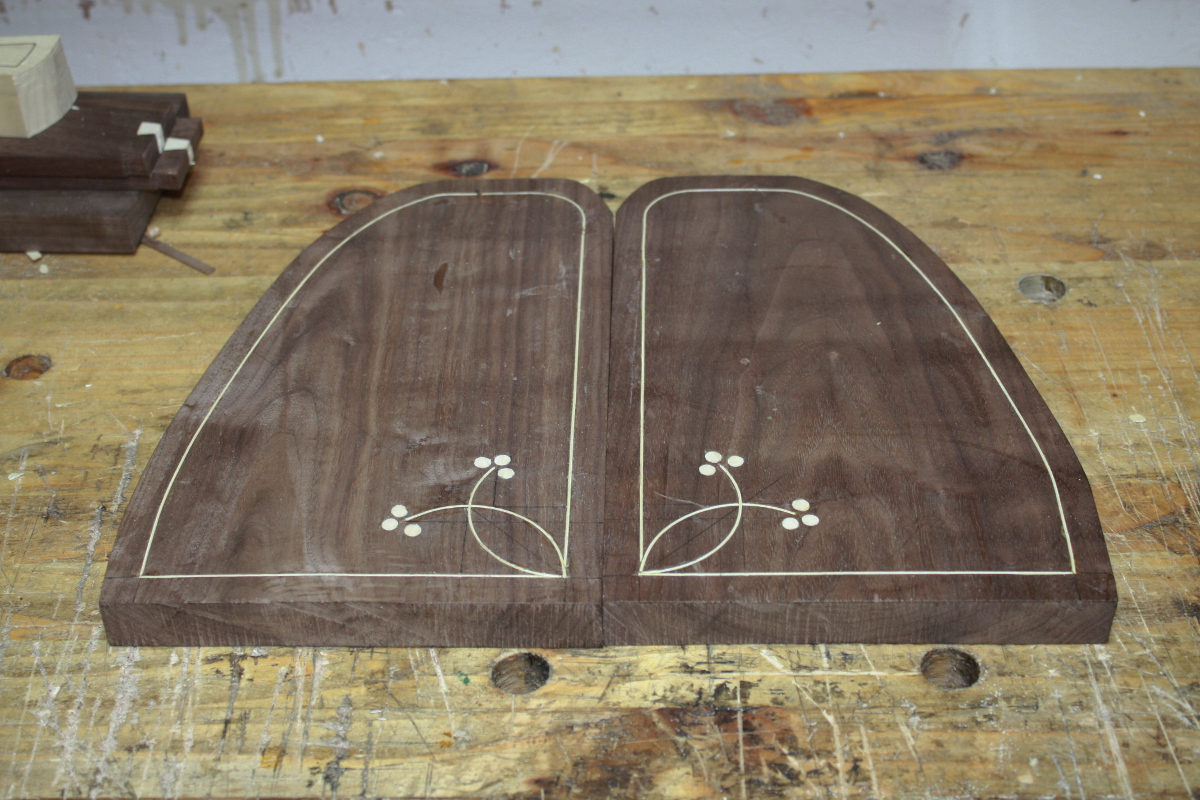
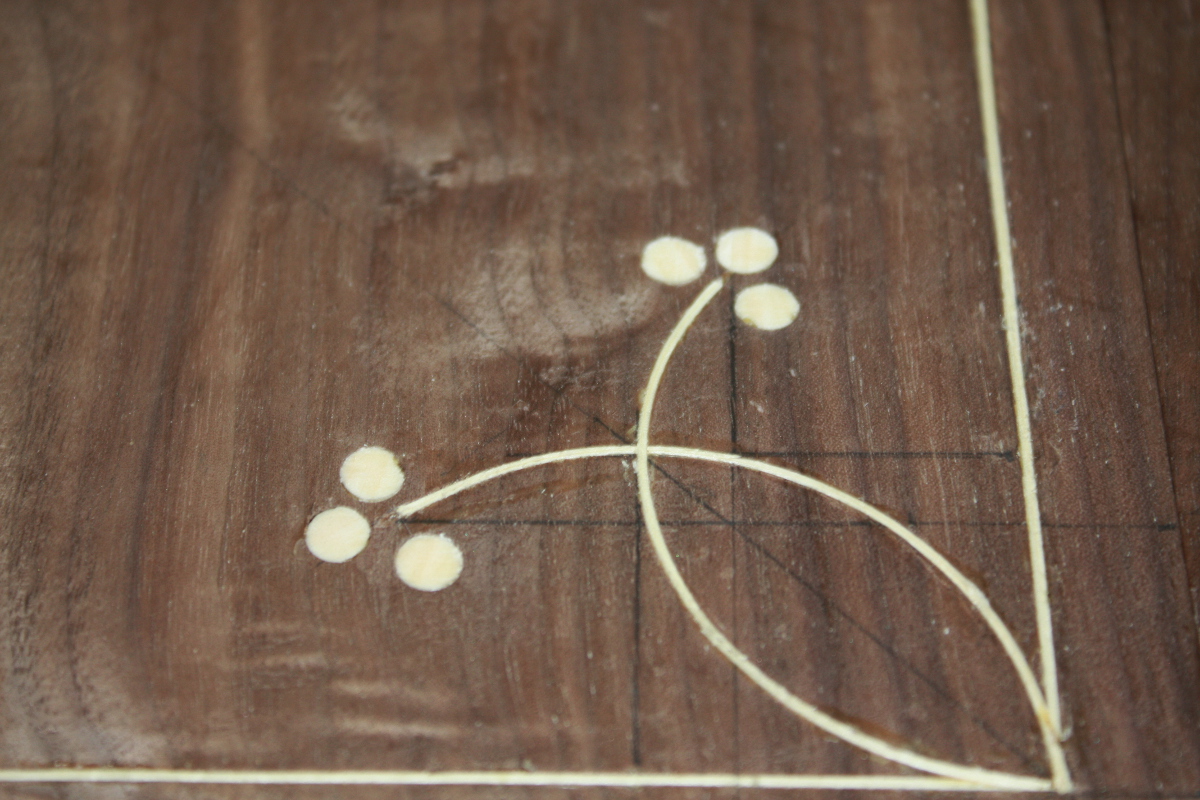
09
Jun 18

Belting up

A few hours in the shed today that felt productive (it’s a false positive; it was just that a few end stages happened at the same time). Started off with the final fettling of the carcass for the locker and then smoothed all the interior surfaces and rounded the corners I won’t be able to readily reach after glueup.
20 minutes with #04 and card scraper and we’re ready to glue up.
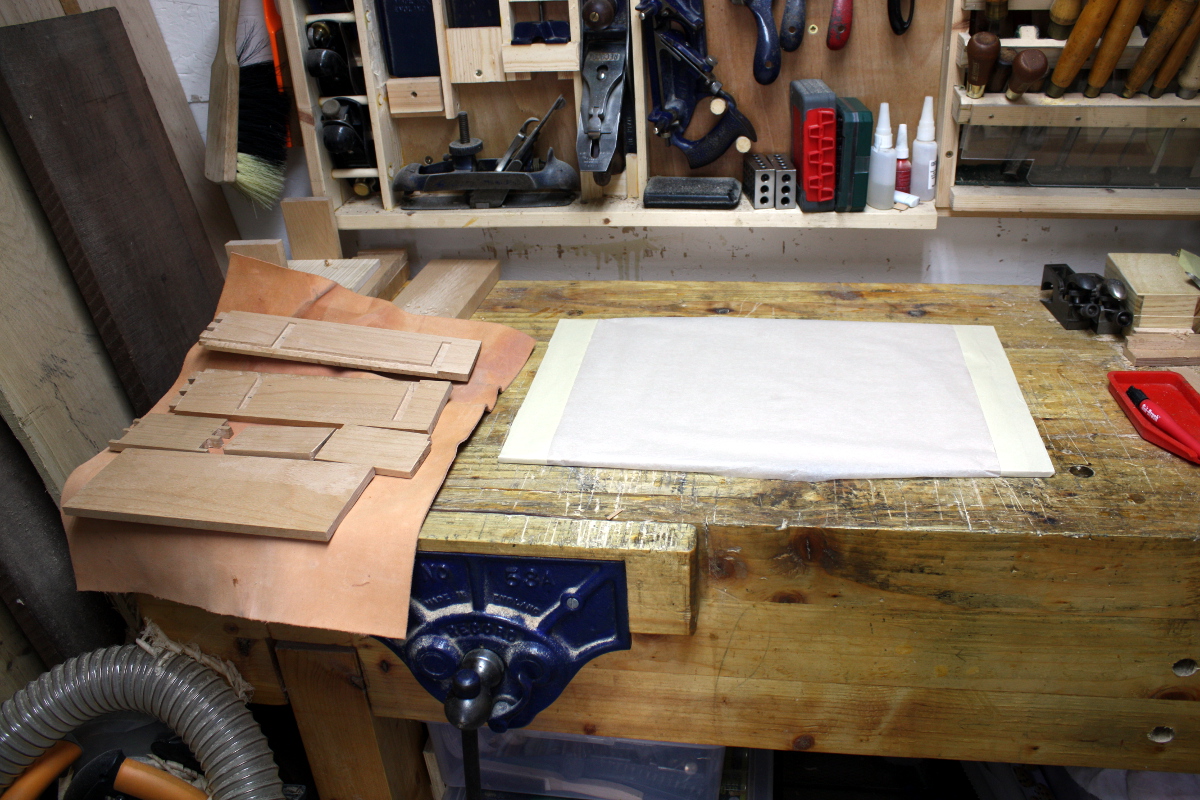
Prepped an mdf surface to assemble on…
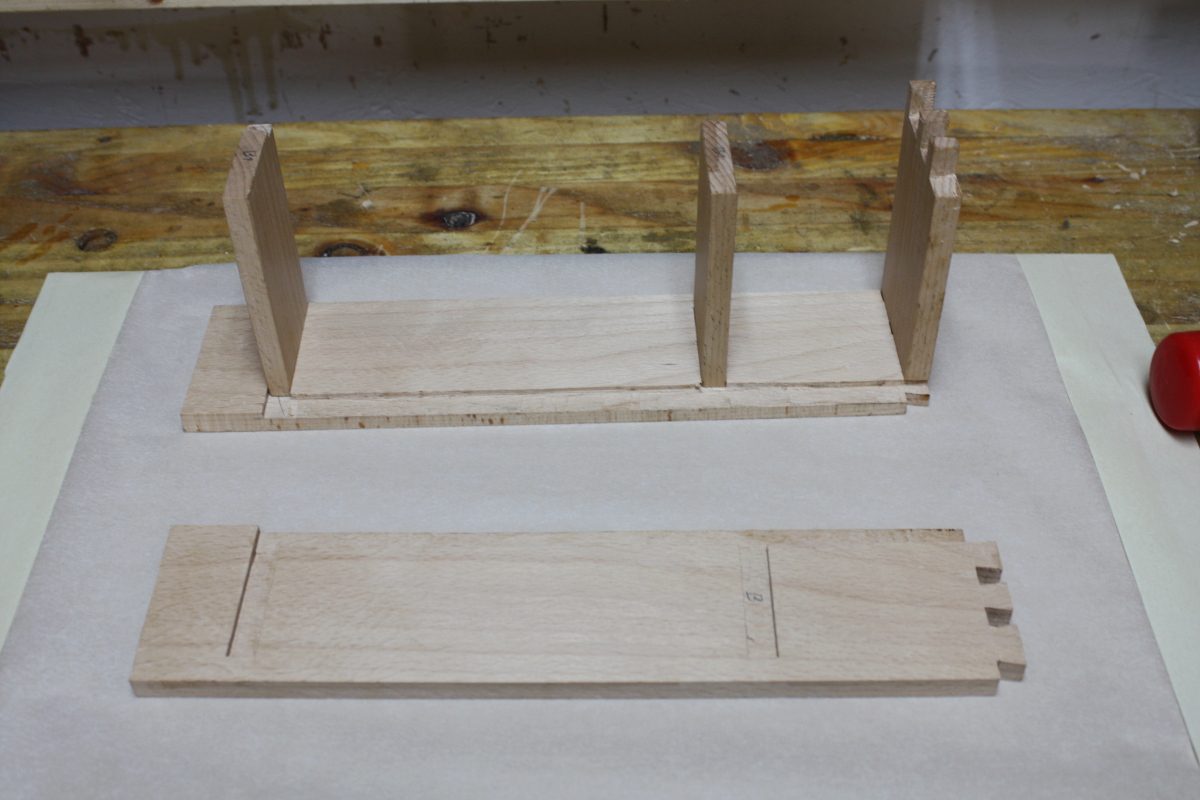
Final dry run…
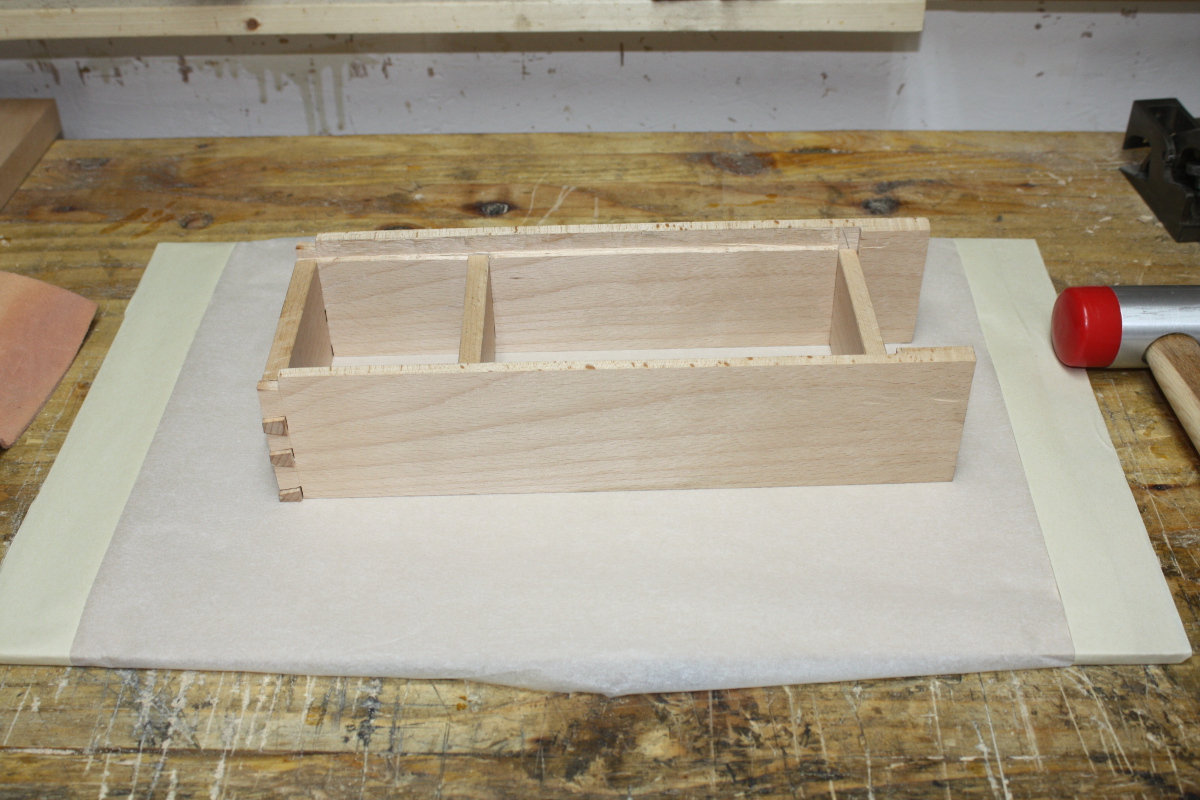
Okay, looks good, knock it apart and start the glue-up.
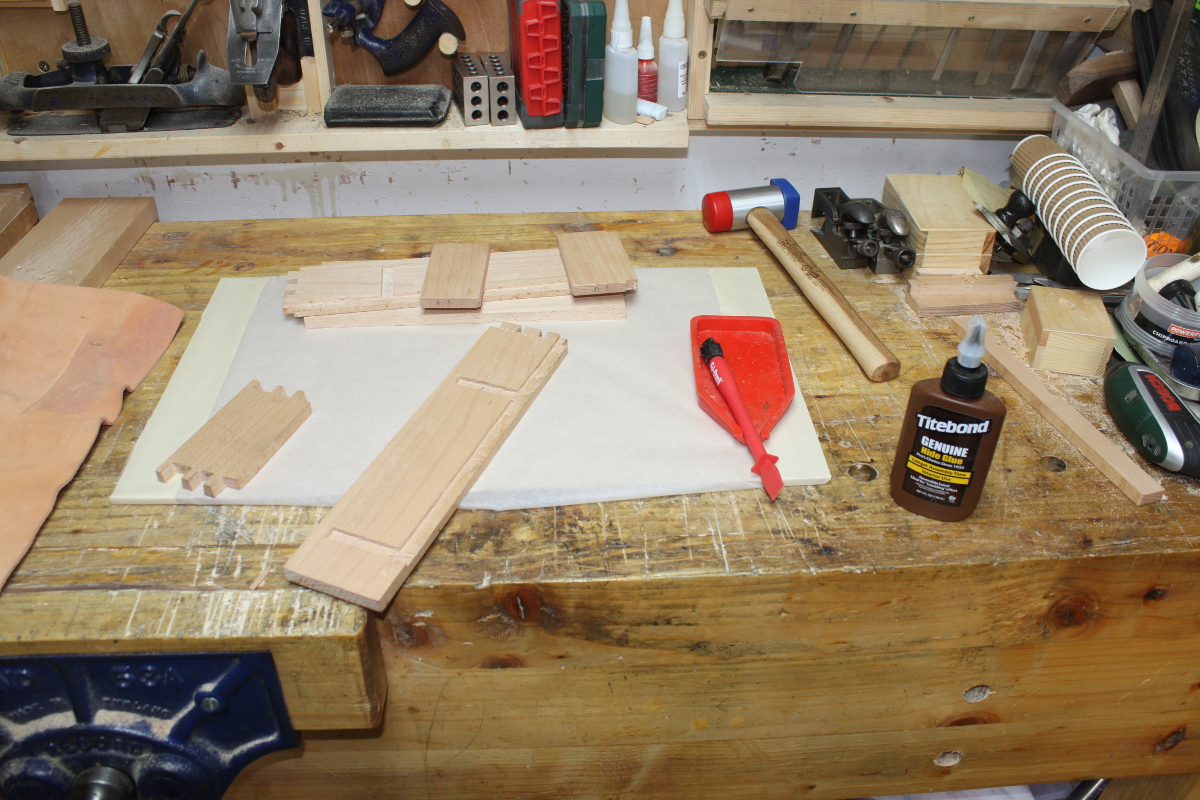
Mise en place is as important in woodworking as it is in the kitchen…
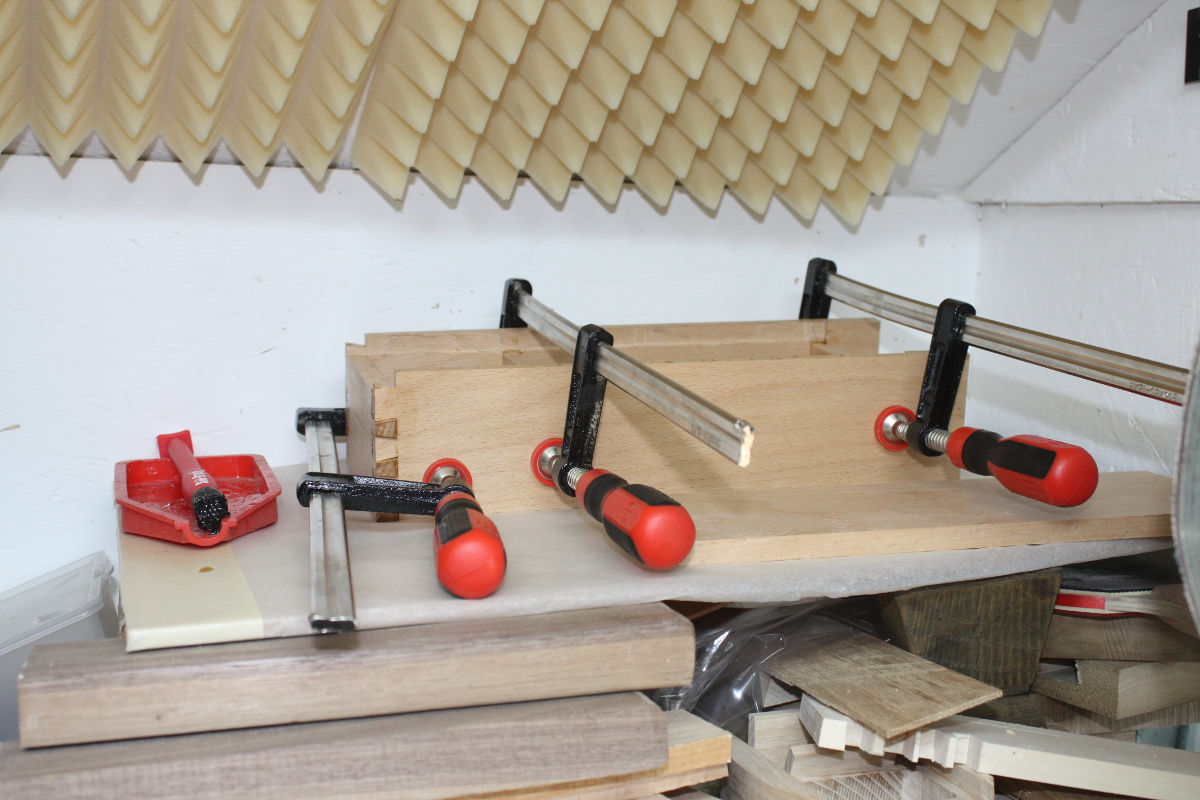
And that’s the carcass glued up and left to cure (the back’s not glued on yet).

Then it was time to fix the bandsaw. I got some 120XL037 belts from RS (they didn’t have 124XL037, but the motor’s on an adjustable mount so I should be able to get away with it…)
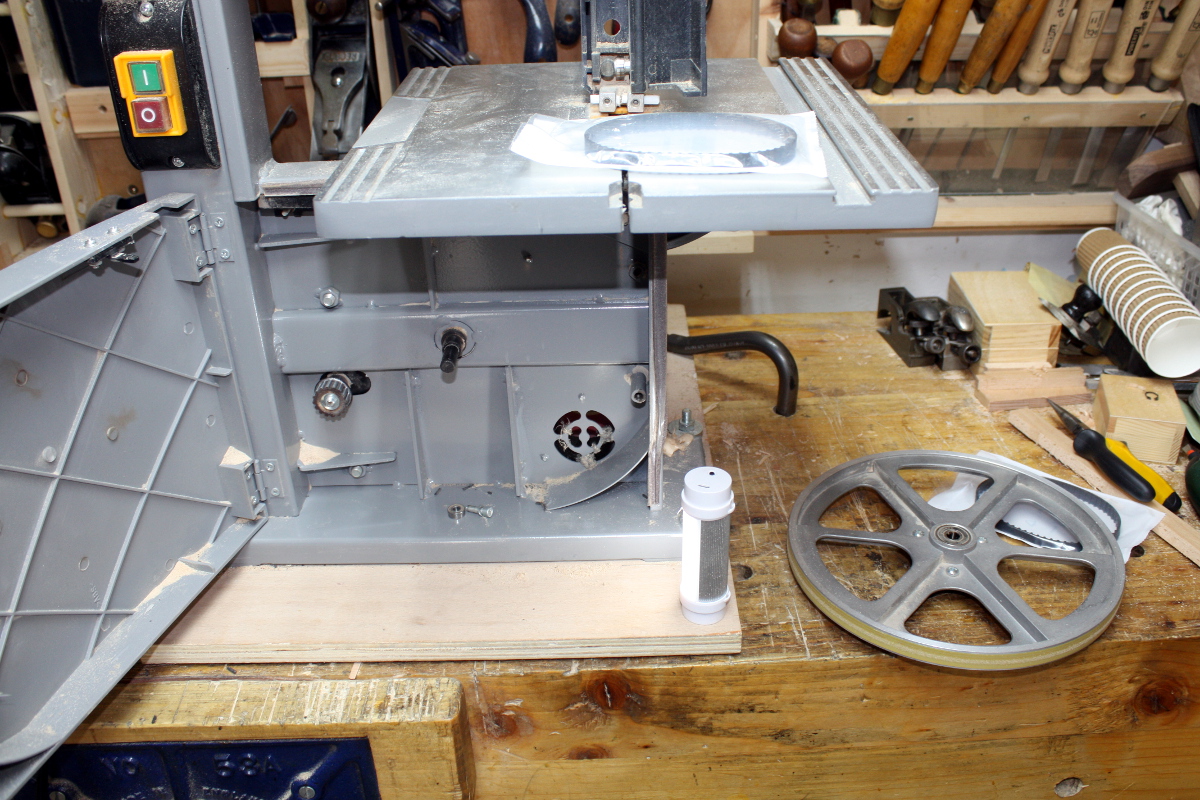
Found there’s a tool I could use…
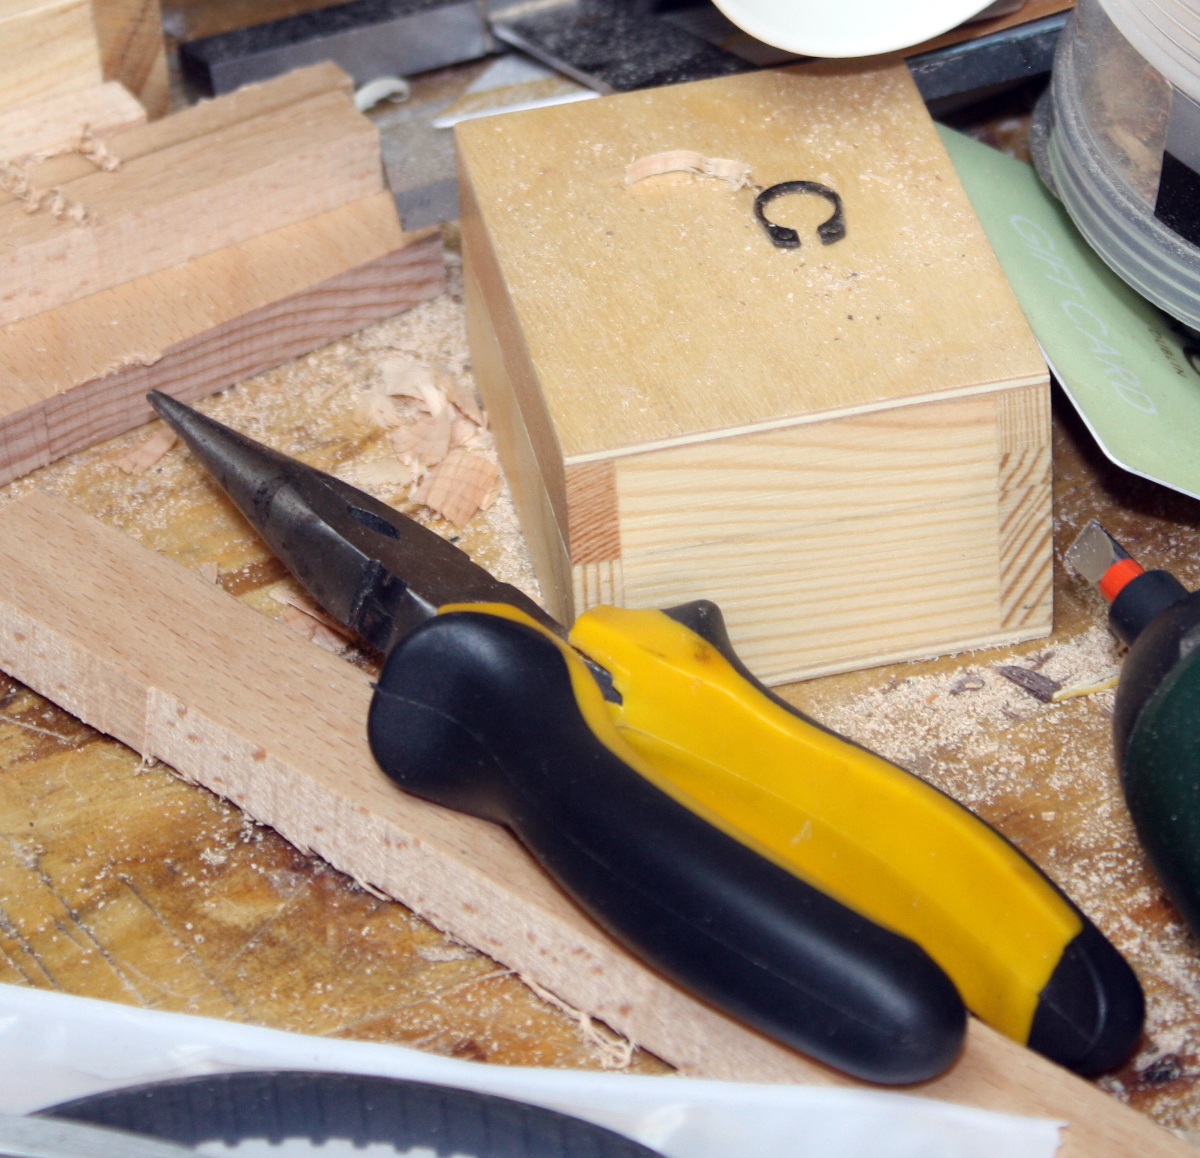
Circlips are a bit of a pain without the appropriate pliers. Bit fiddly. But managed not to break it which was good.
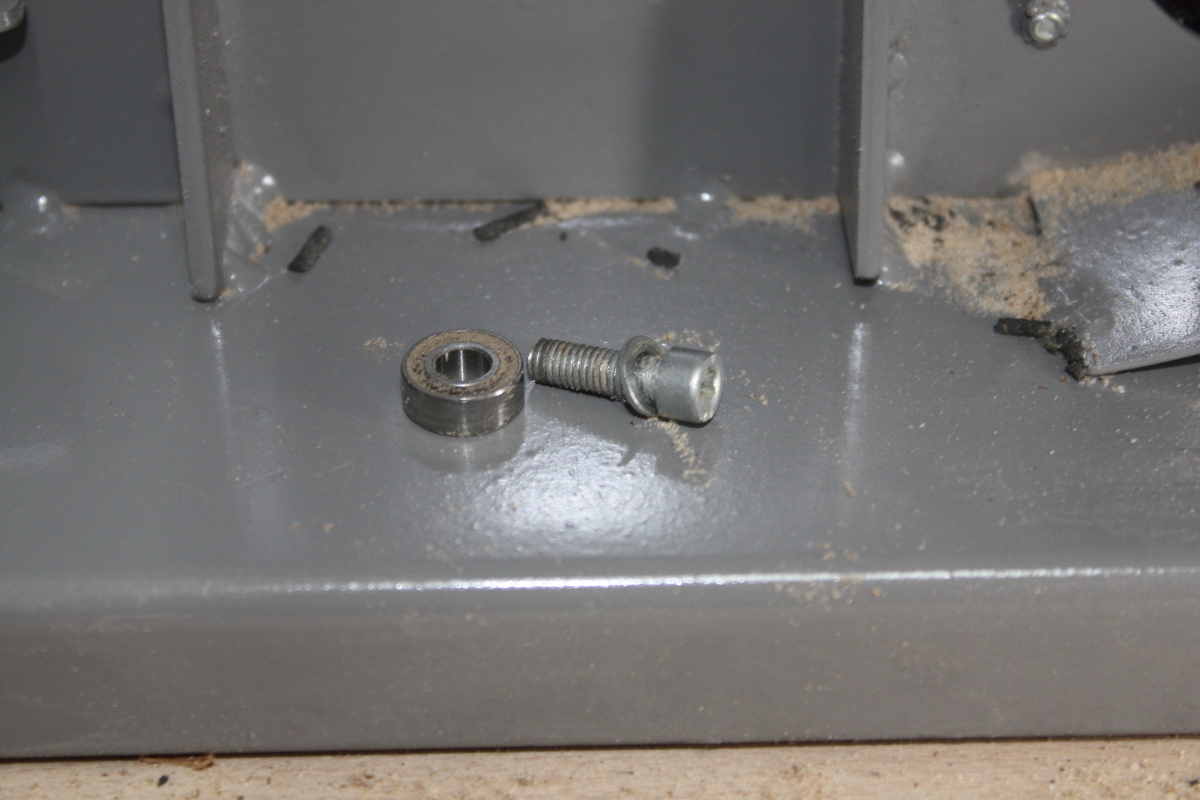
Then found these on the floor with all the sawdust and the teeth from the last belt. Took me a minute to recognise the lower thrust bearing from the bandsaw…
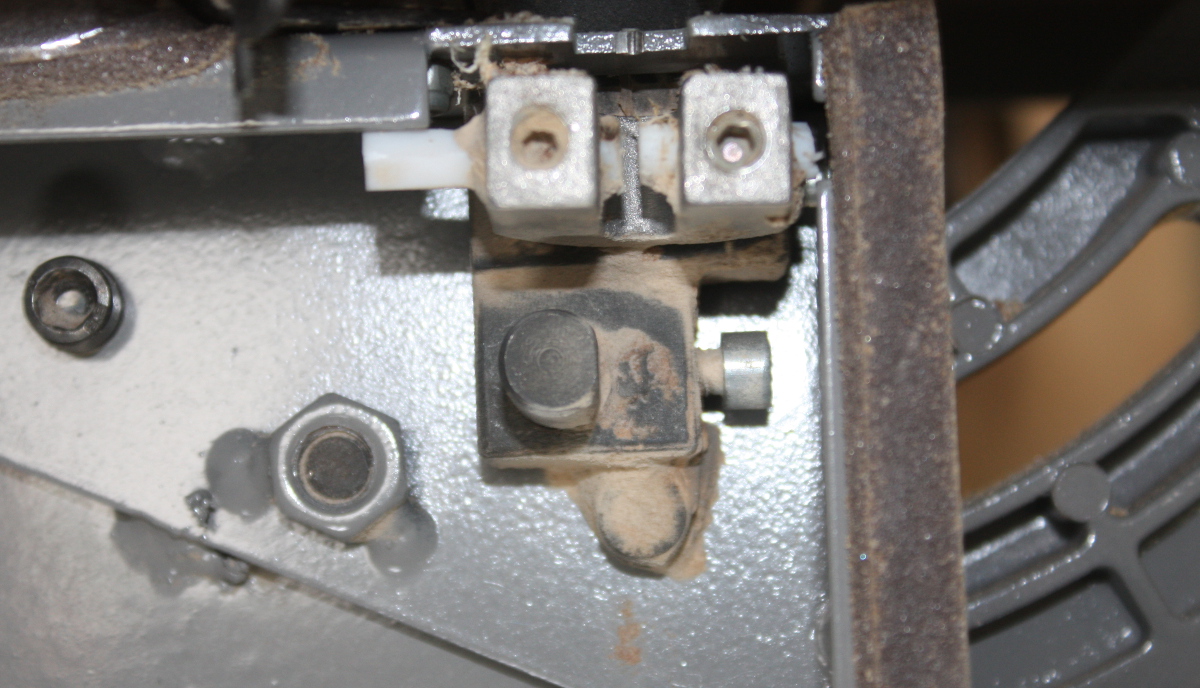
Must have come off during the resawing. That’s not exactly reassuring. Remounted them, and added it to the list of things to check.

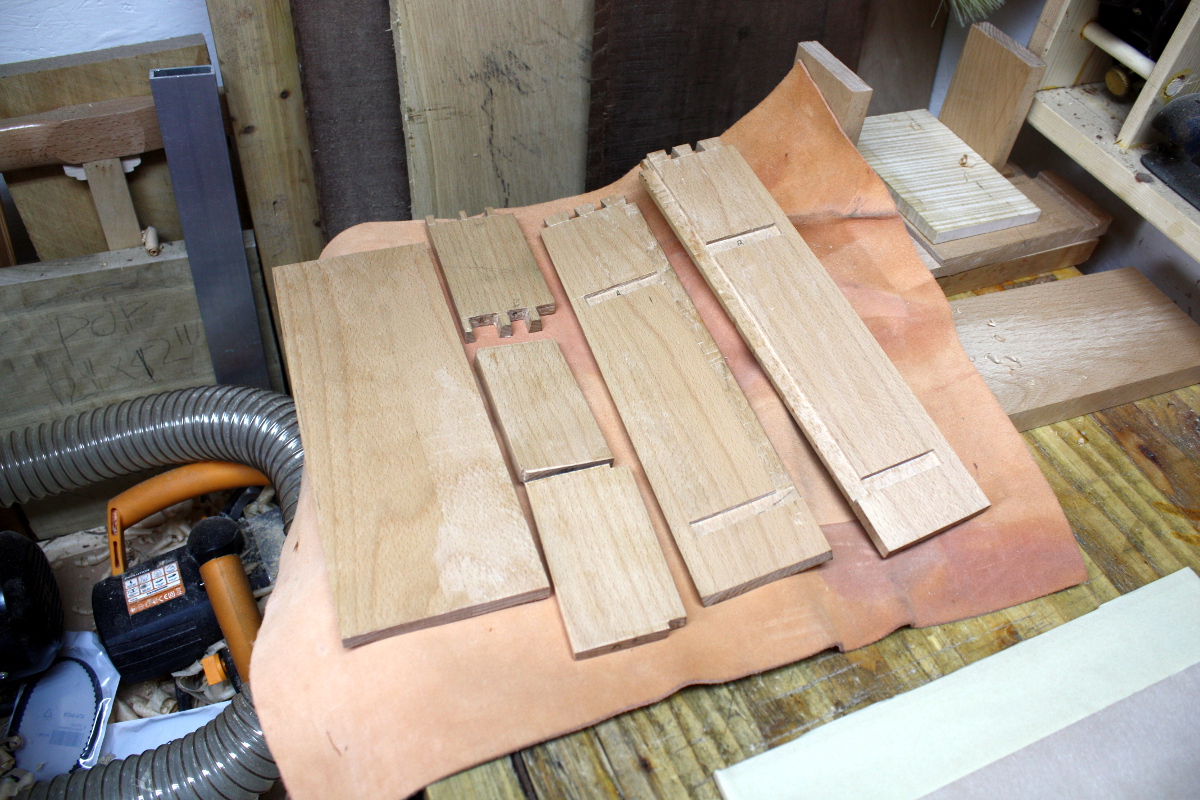
Fitted the belt, put the wheel back on and tensioned the belt and locked the motor in place, put the blade back on and tensioned that and got everything all set up, then ripped down about five feet of beech from 150mm wide to half that (I’m planning on making a few small boxes and things with that), planed edges on all of the ripped sections (1×1′, 2×2′) so I could resaw them (hence the 73mm width, it’s the max for the saw), set up the fence for one board to resaw it to 1/4″ and 3/4″ pieces and resawed that down to size. The japanese toolbox idea I was playing with needed to have new edge pieces cut. I had tried to cut housing joints by saw and, well…
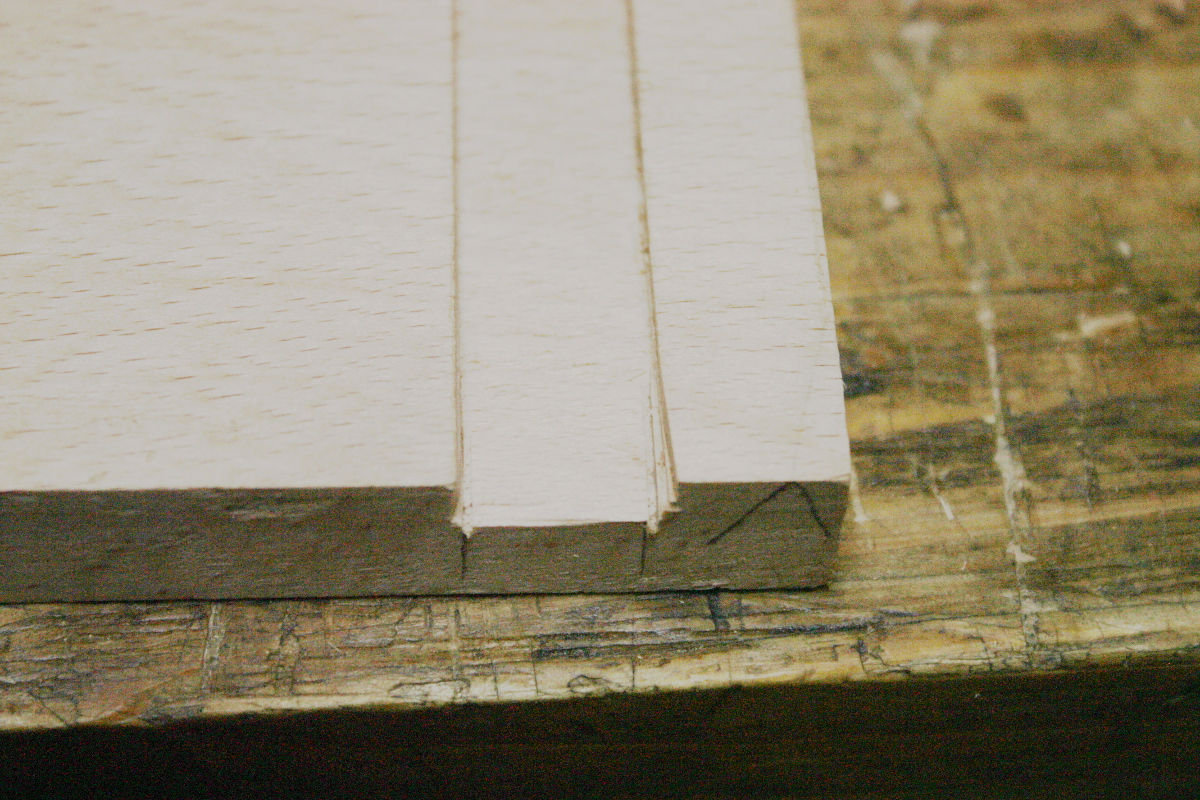
Yeah, don’t do that. Left a massive gap I couldn’t have hidden. I’ll probably slice off the bits with the joints and use the center section for the lid components or the handles.
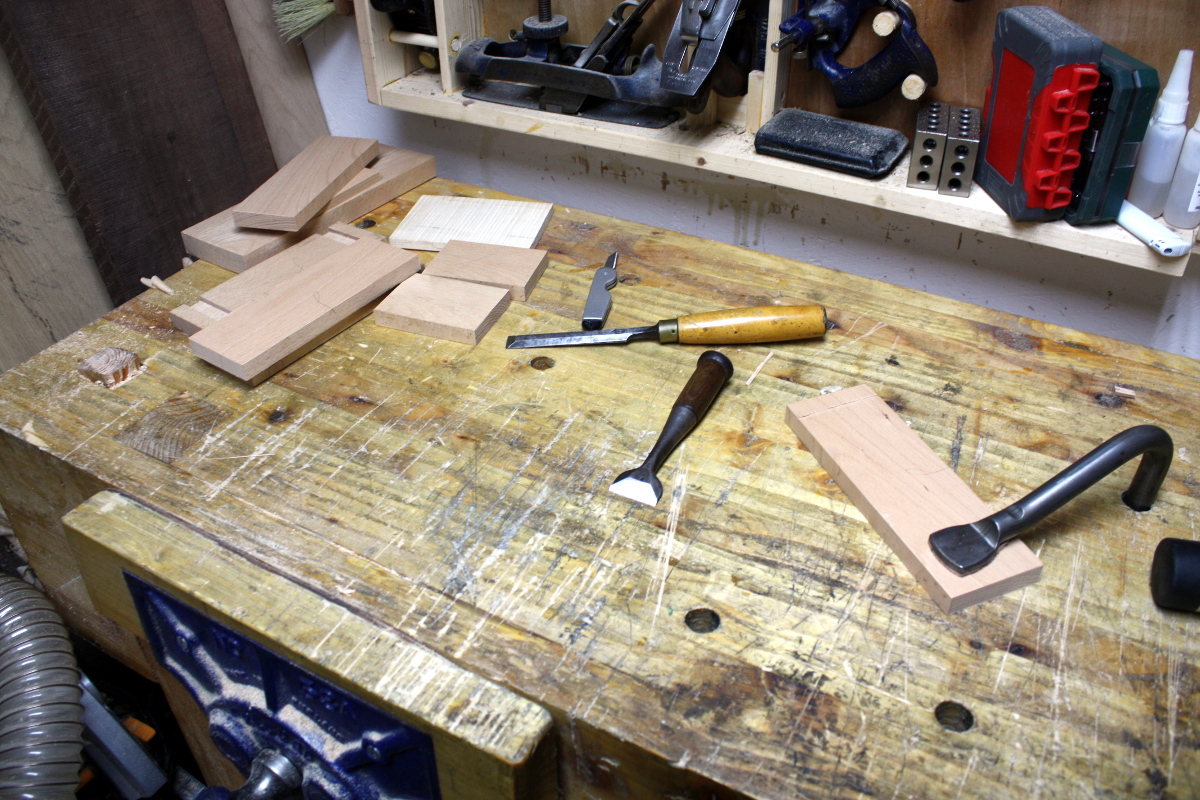
First, cut new housing joints on the new pieces (after planing, of course). Usual procedure – knifewall, chop down, pare to wall, chop, pare, chop, pare until we’re to depth, then mark off the other side off the piece to fit, and repeat.
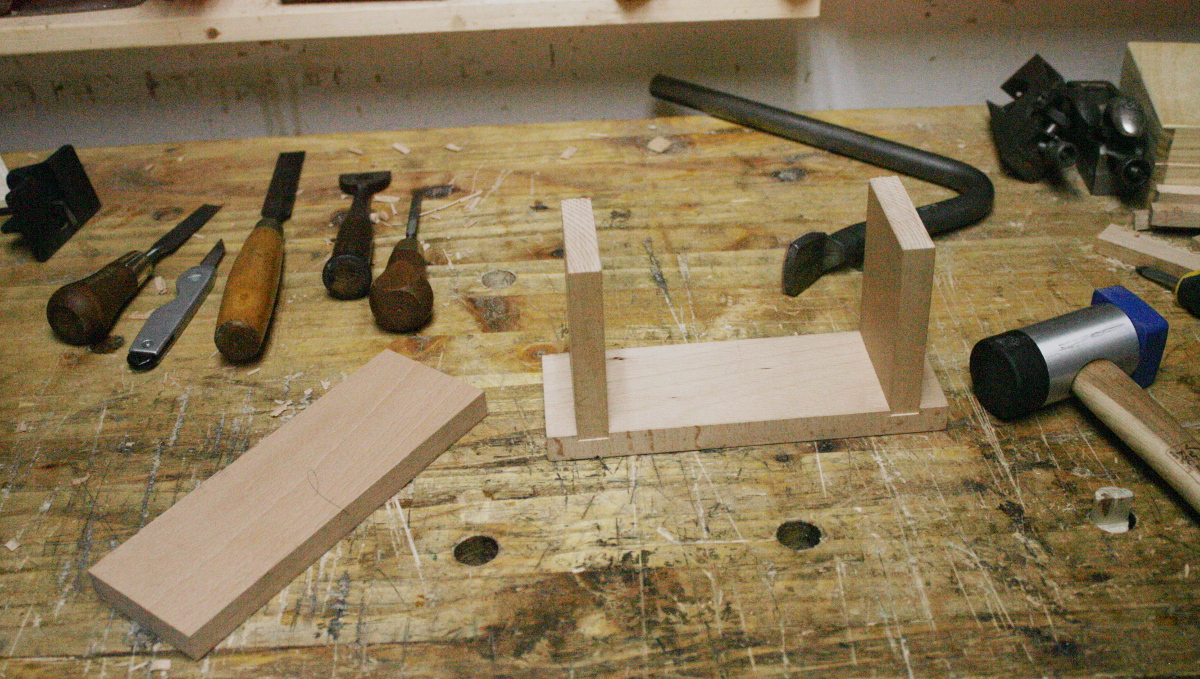
Went faster than before; I’m getting used to working in beech (and enjoying it). And I might have figured out how to do a reasonable housing joint.
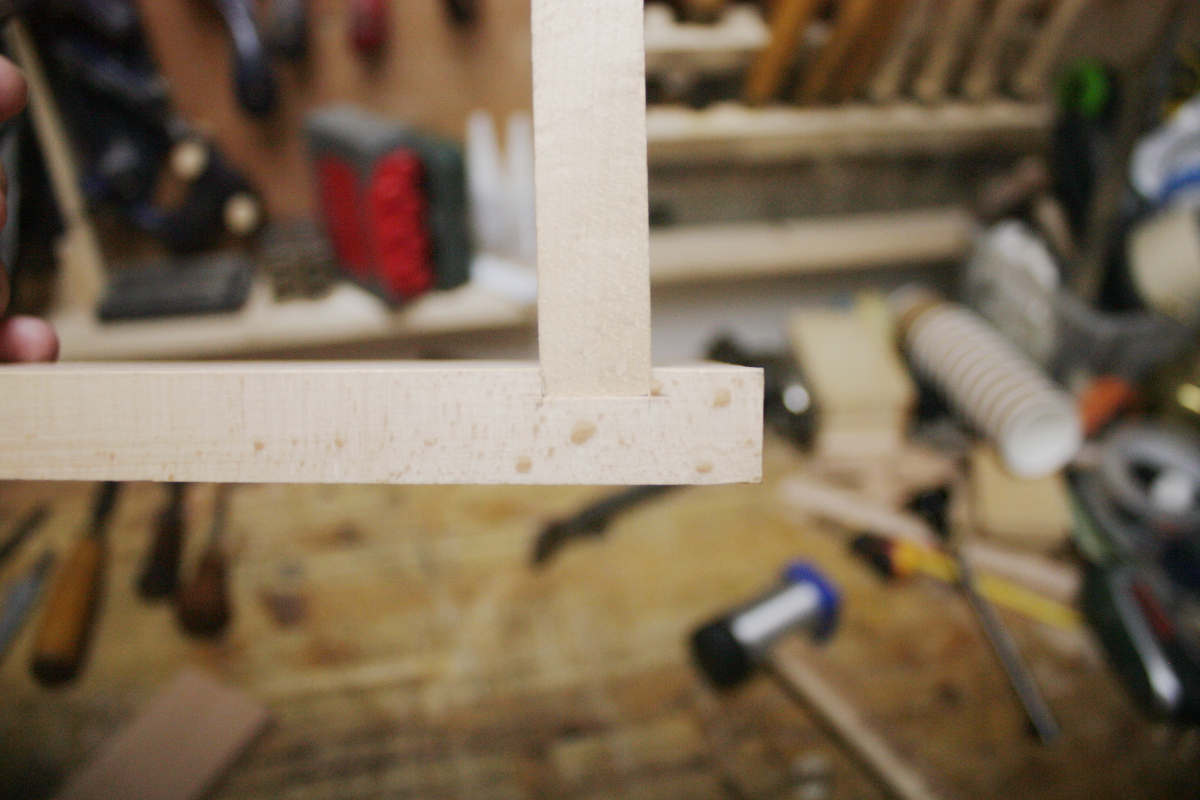
And it wasn’t too late, so I cut the joints on the far side as well.
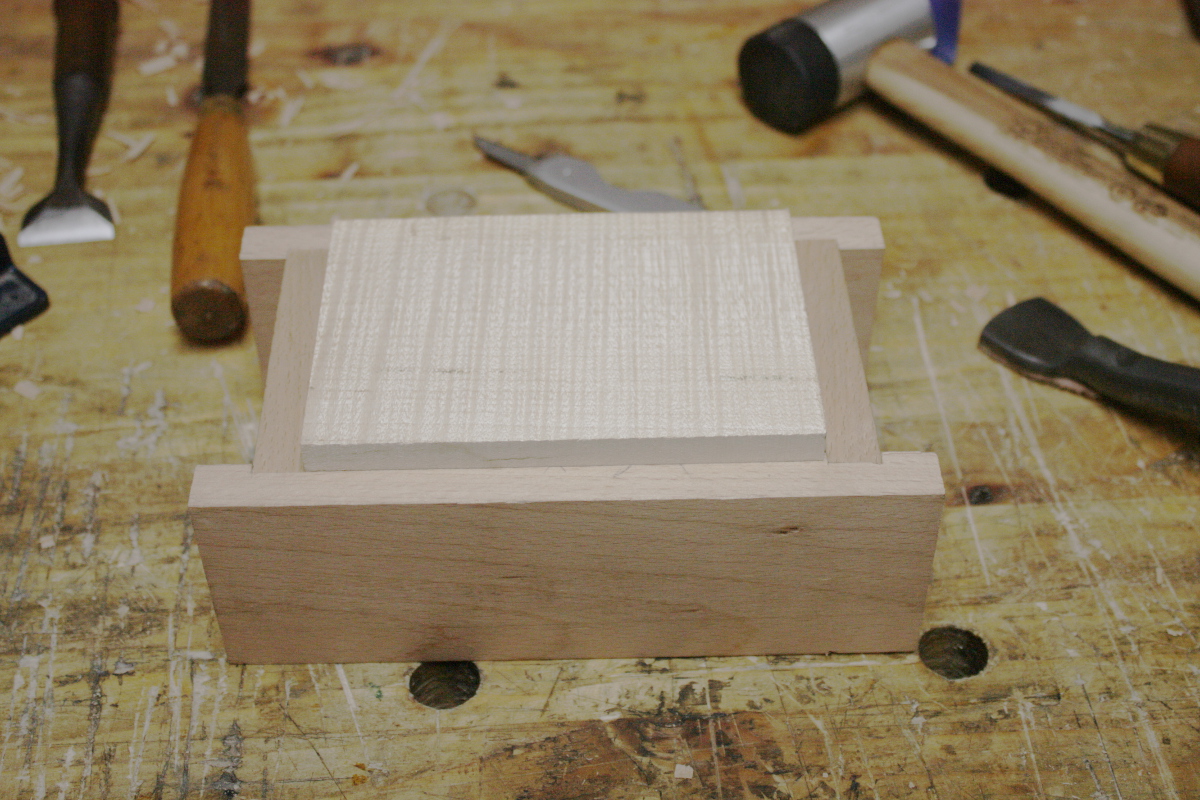
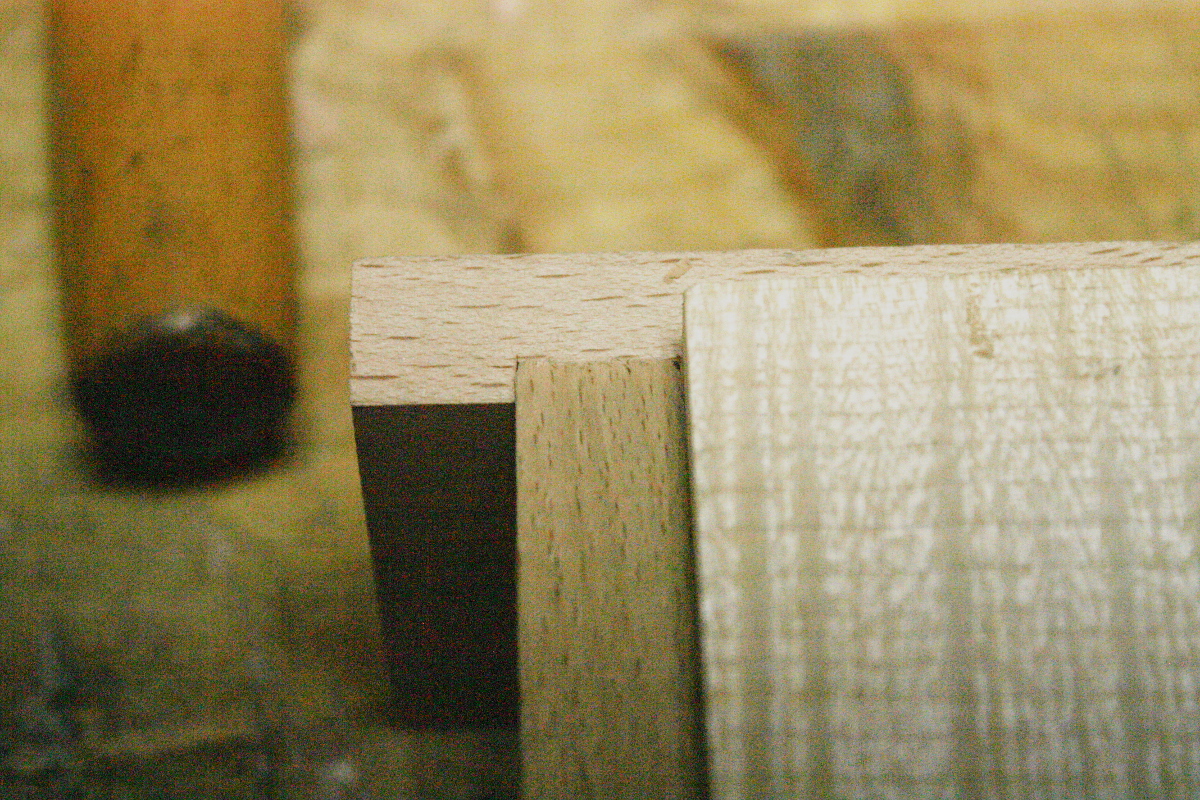
Right. I’ll fettle it tomorrow (just to get the reference faces all coplanar) and glue it up, then maybe drill for the dowel pins (won’t use nails on this one), and make some pegs for them from some walnut scraps I have handy that are too short for any other use.
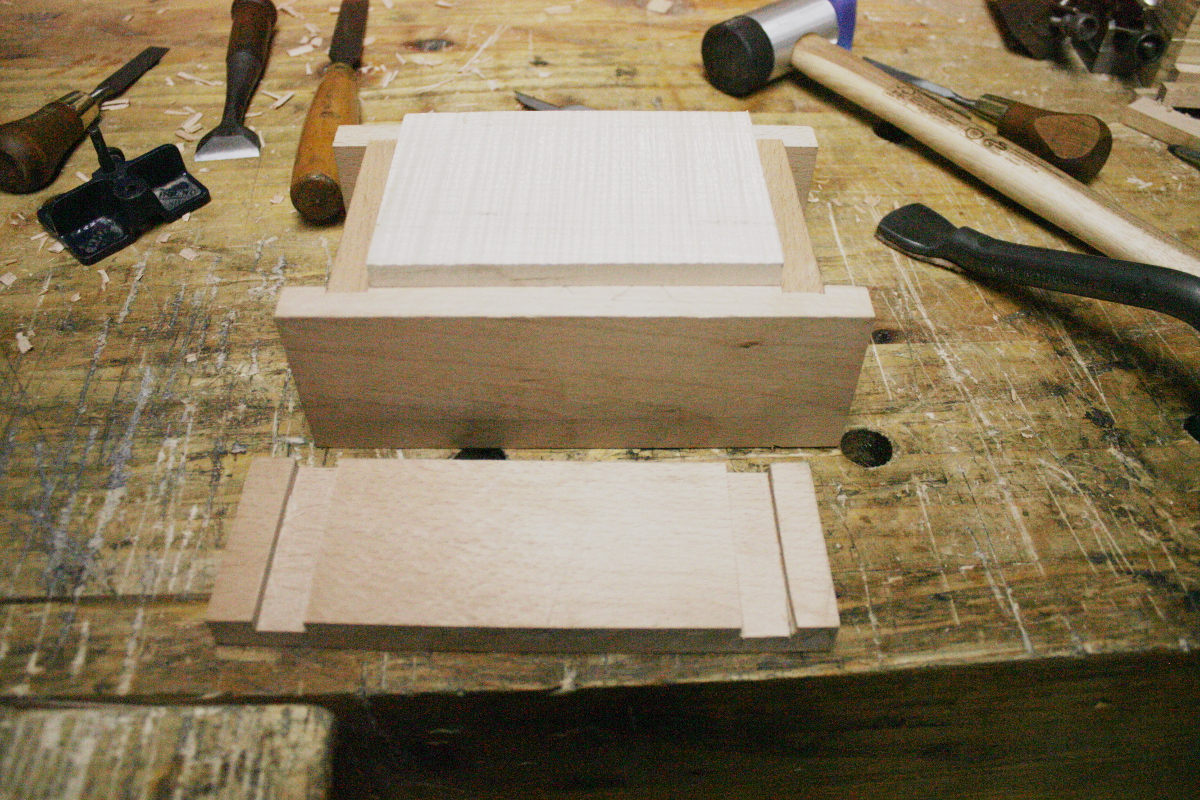
Definitely enough material there for the lid and handle pieces.

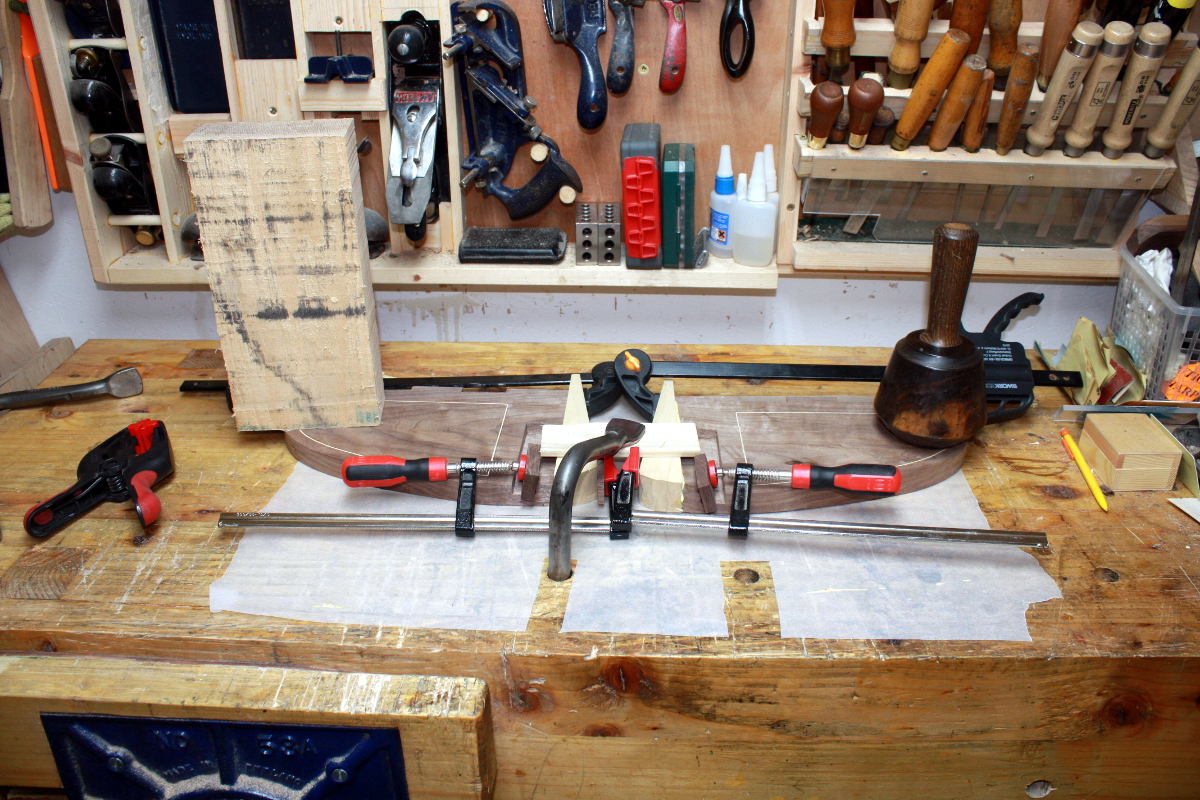
Last job for the evening, glue on the back panel for the locker.
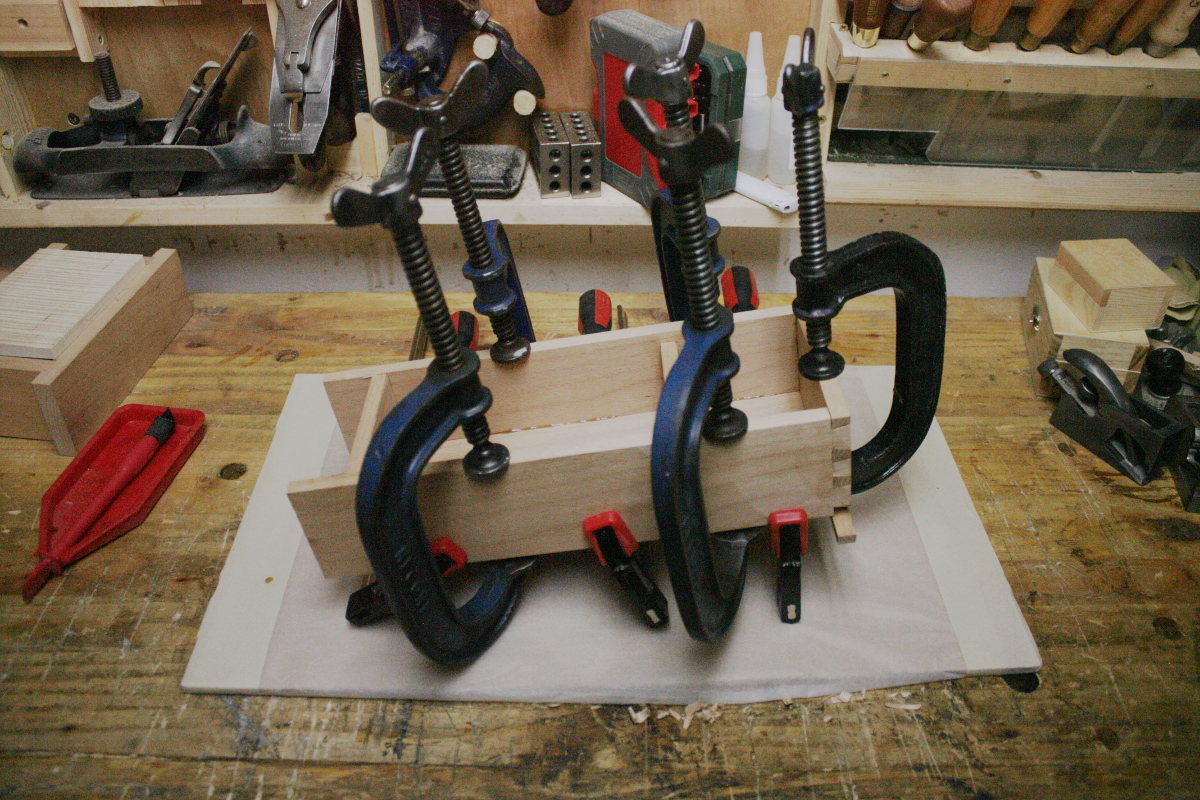
Fiddly but not too bad, it was so fettled that I really could have let the glue hold it in place. But if you have the clamps, might as well cinch it up (the C-clamps aren’t actually tightened down very much at all here, just snugged up to hold the back panel in while the f-clamps get tightened to get the edges in contact).

It’s not looking terrible, even if I’m saying so myself. Still need to level the legs, but that’ll do for later on. And I still haven’t the door sorted out yet, I’m thinking about how to decorate the piece of beech I have planed and set aside for the job.


I mean, what’s the point of practicing stringing if you don’t do any? 😀


Also, how the hell do you finish beech so it looks good?
To the forums!


09
May 18

Starting to finish

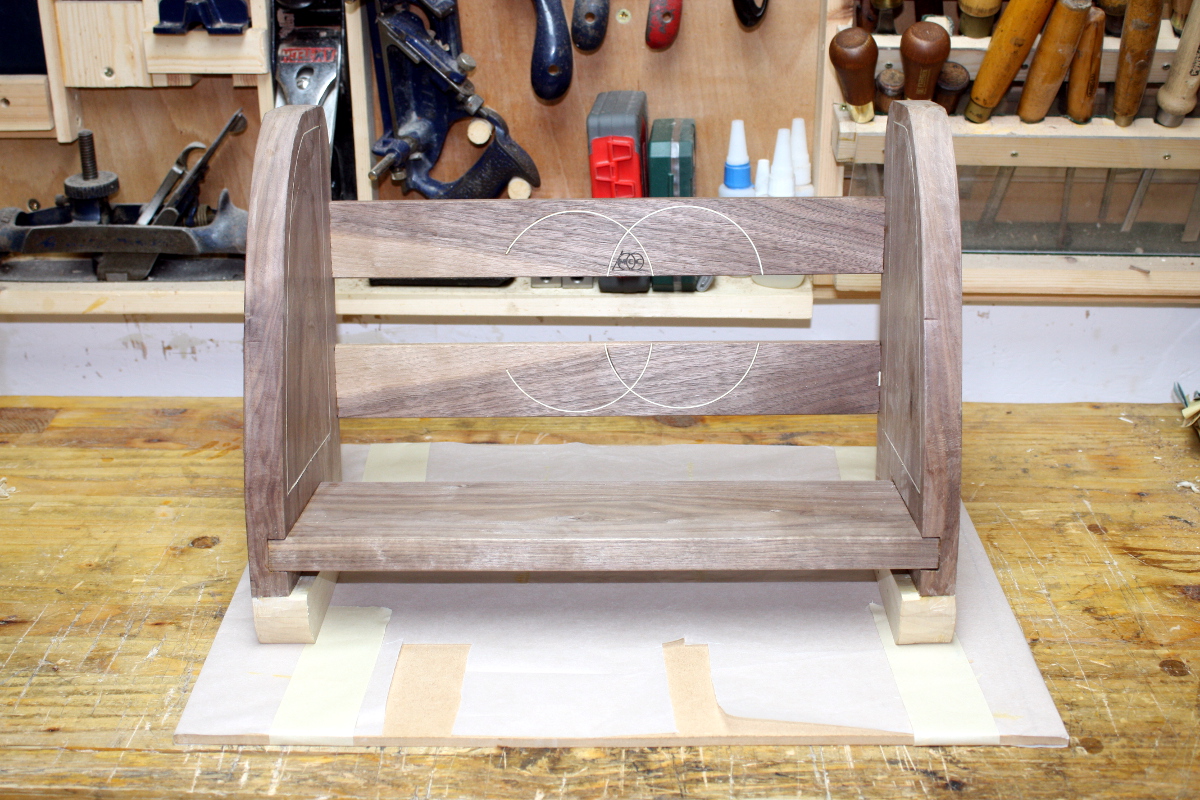
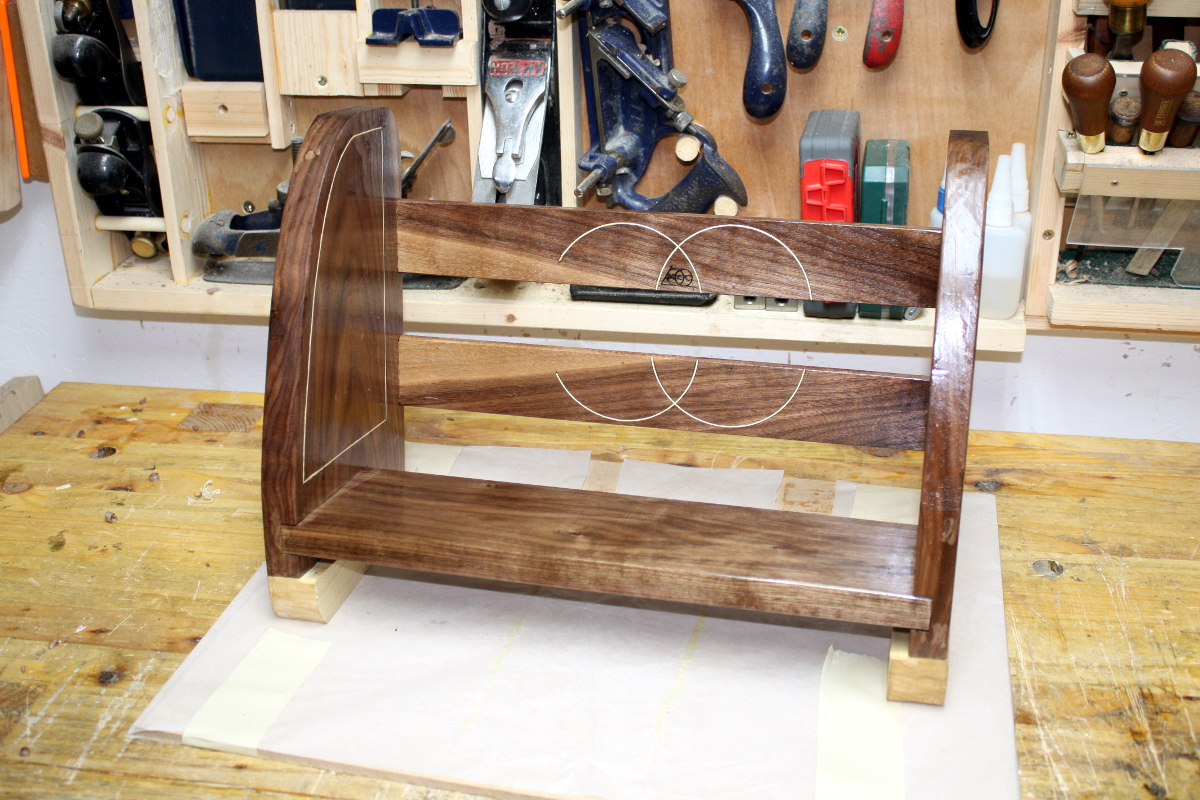
So time to take the shelf out of the clamps and see if it’s okay…

holds breath…

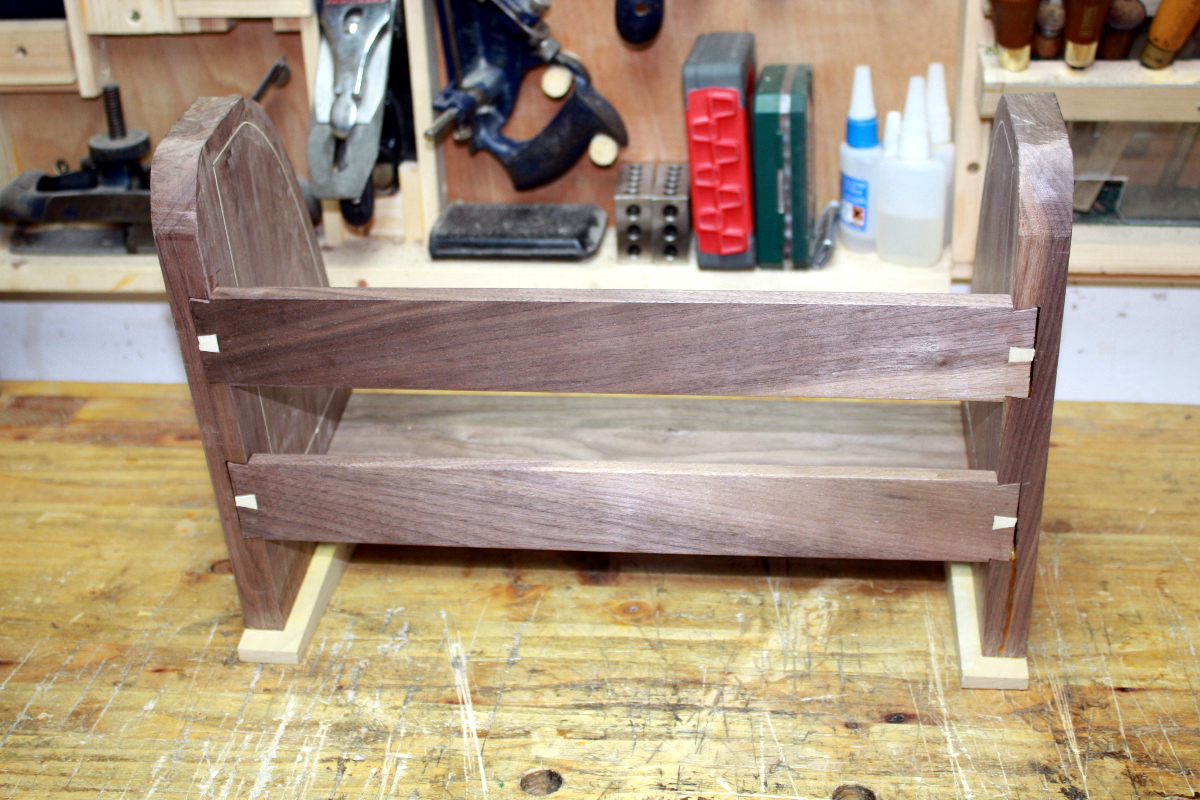
That’s not too bad from the front 🙂
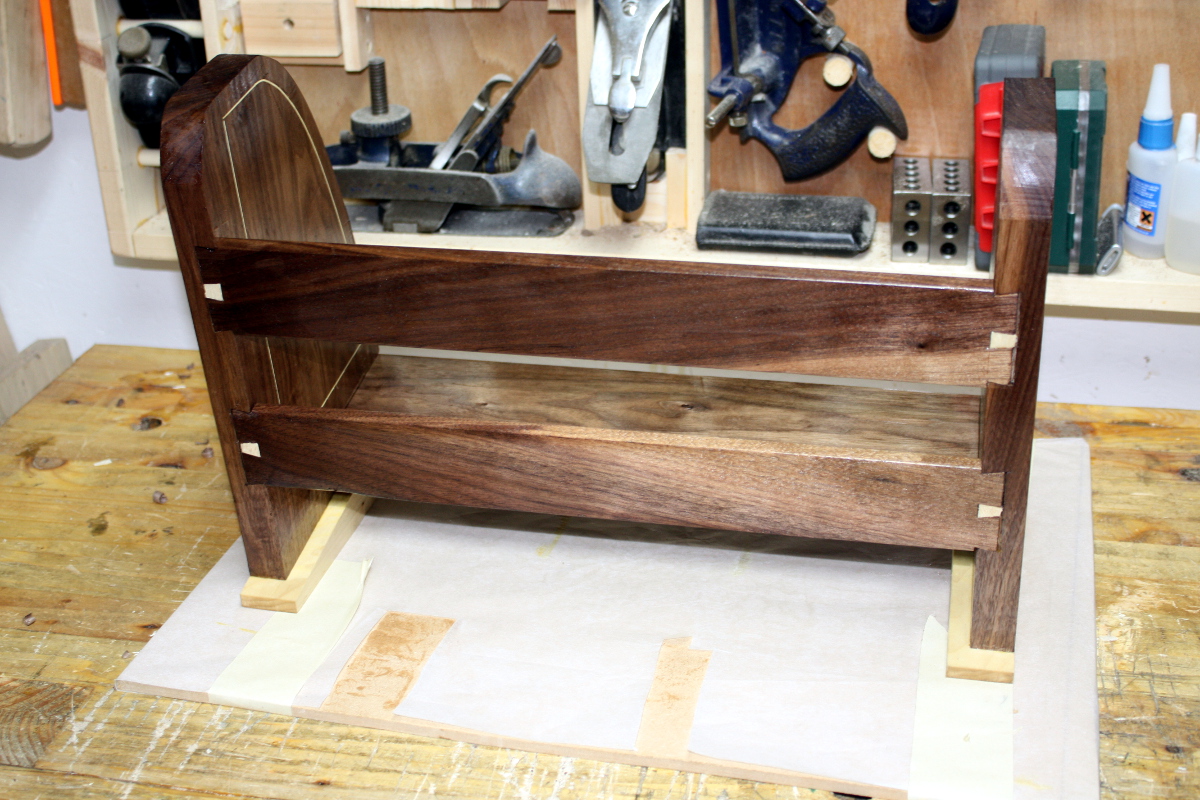
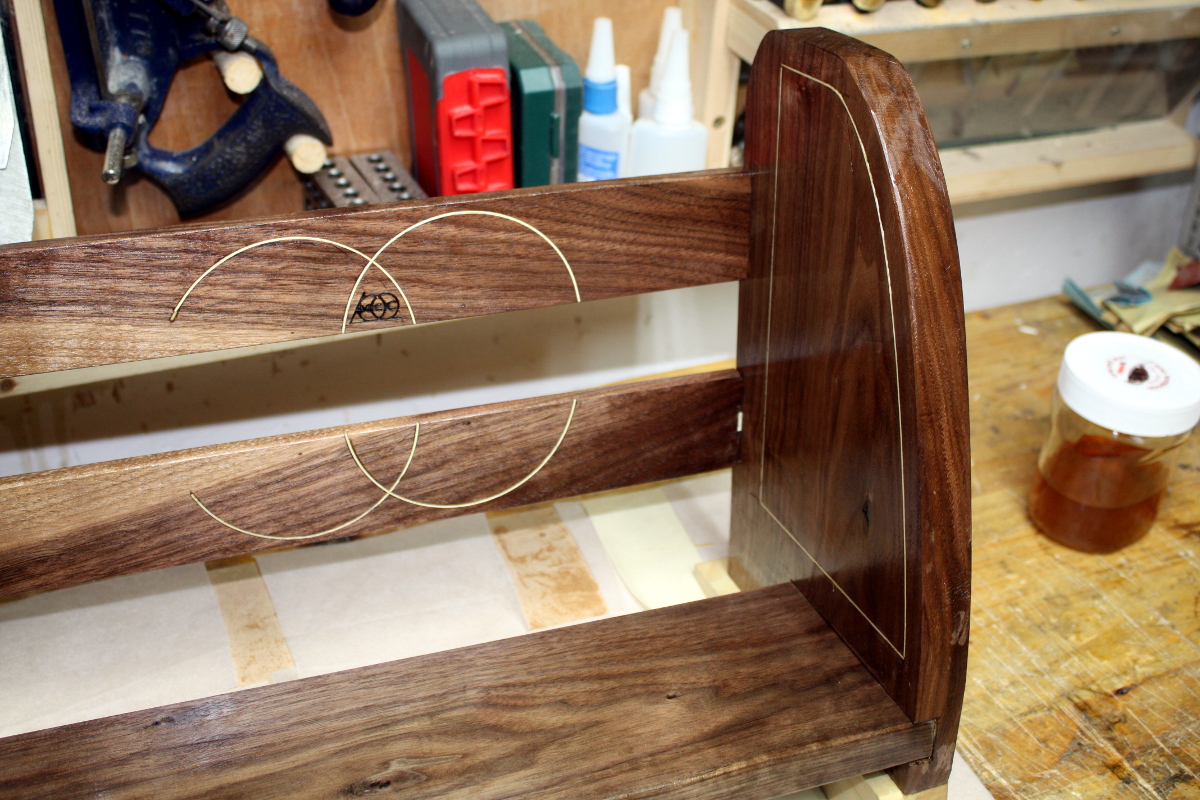
Different story from the back mind…

Urgh those dovetails. There will have to be some remediation work there. At least the white inlay bits worked reasonably well (you just can’t do dovetails from end to edge like that if there’s more than one tail, the short grain on the pin means it always breaks off, so I deliberately broke off the pins and replaced them with some sycamore chunks).

Okay. Time to start finishing. I could keep trying to touch this up for ages and never finish 🙁

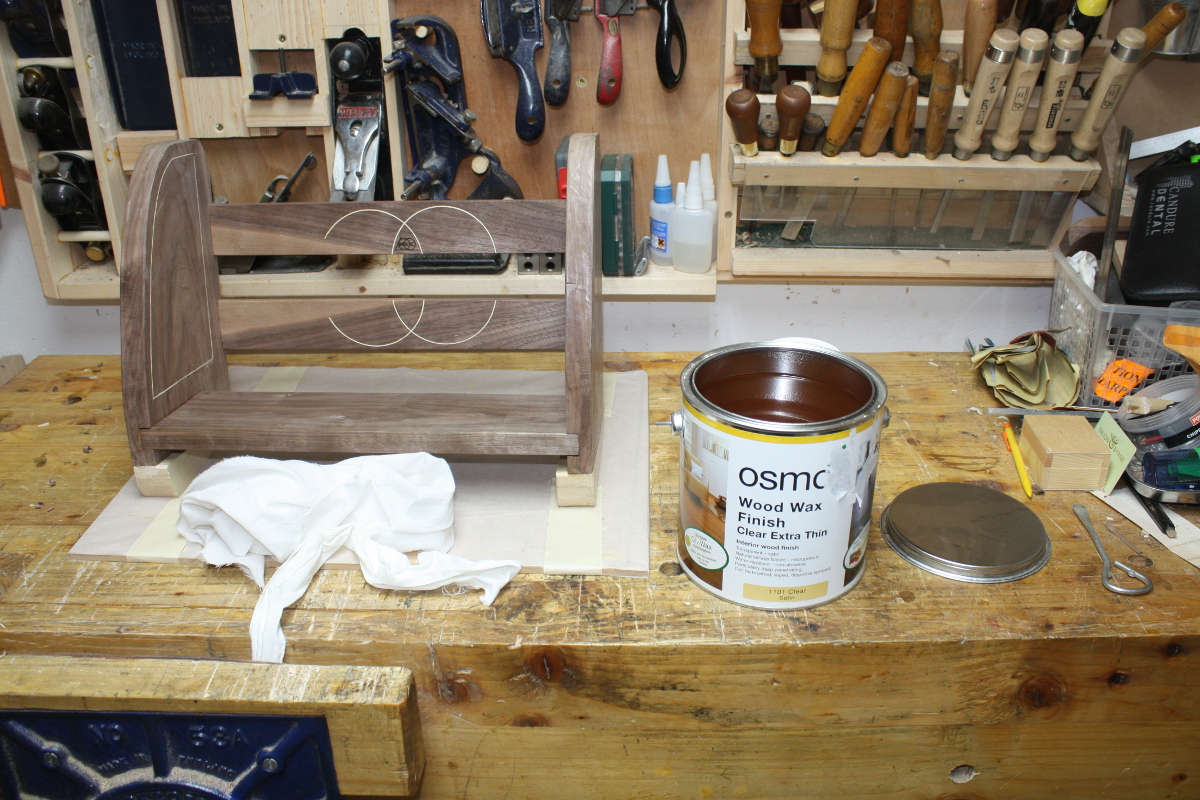
Going for a simple finish this time, just some thin coats of osmo and buffing it out.

Magic time 🙂

Little better at the back after some touching up.

That might be nice once the rest of the coats go on…


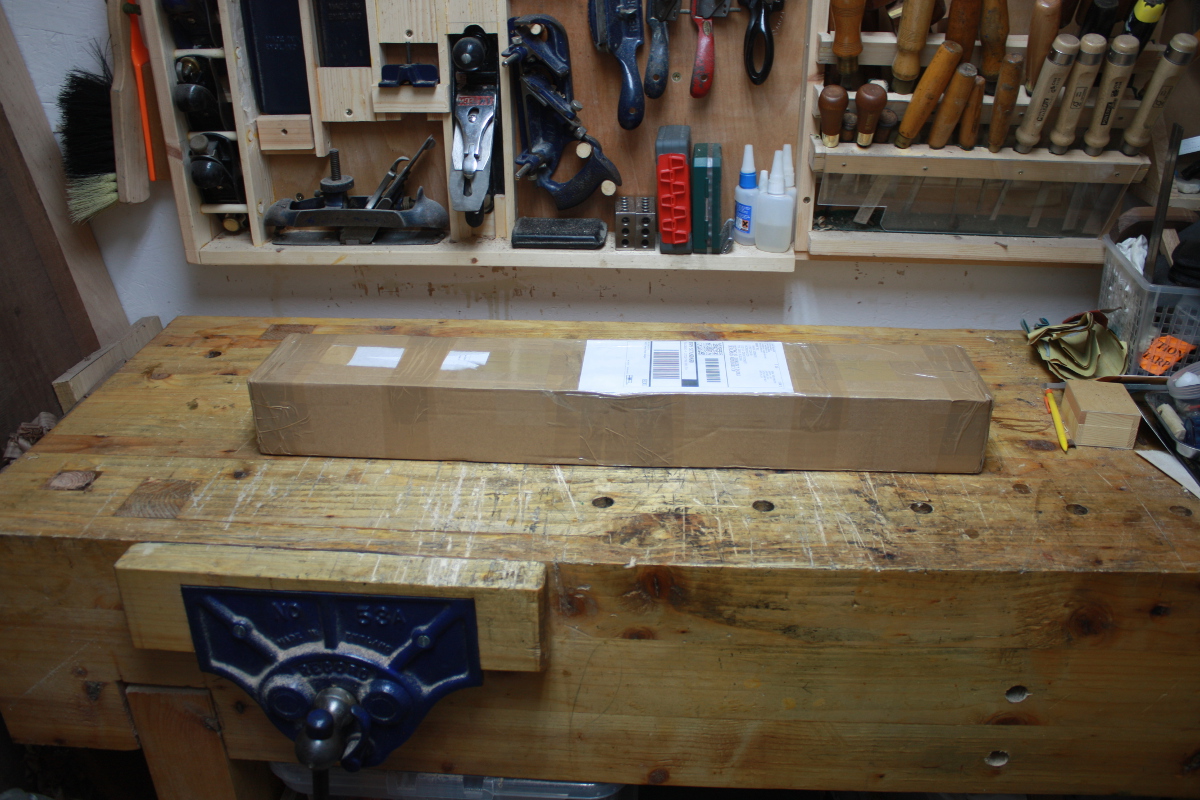
And then the surprise for the day – Custard over at the UK workshop forums offered to send me some thick sycamore veneer while I was trying to sort out a commercial vendor here for the stuff (the laminated 0.6mm stuff is workable but fiddly as feck and occasionally bits delaminate and you don’t know it till you expose the delamination while trimming off the excess and you now have a double thin white line instead of one slightly thicker line; and it’s hard to thickness properly as well). And the box arrived today. “I’ve thrown in one or two other bits” he said…

2.6kg. In veneer. What the hell is in that box?

Holy shit.

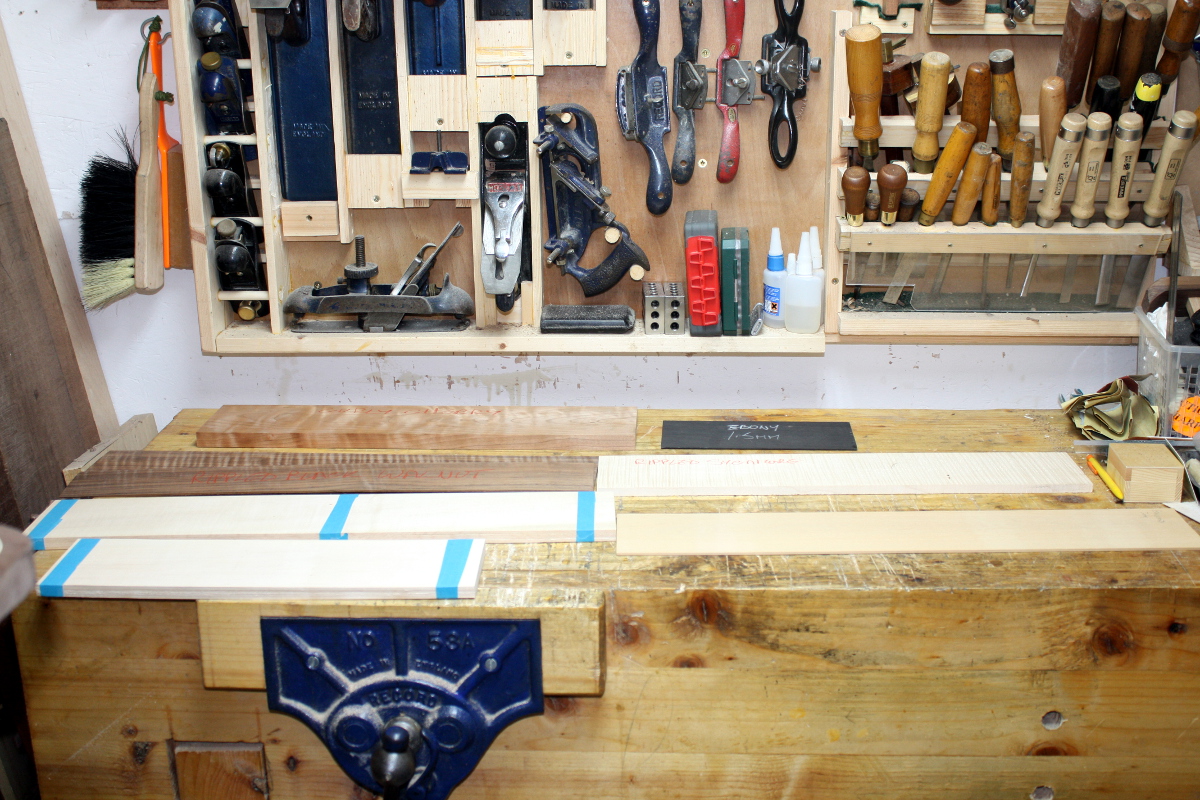
So that small sheaf at the front left over the vice? That’s all I was hoping for. Look at the rest!

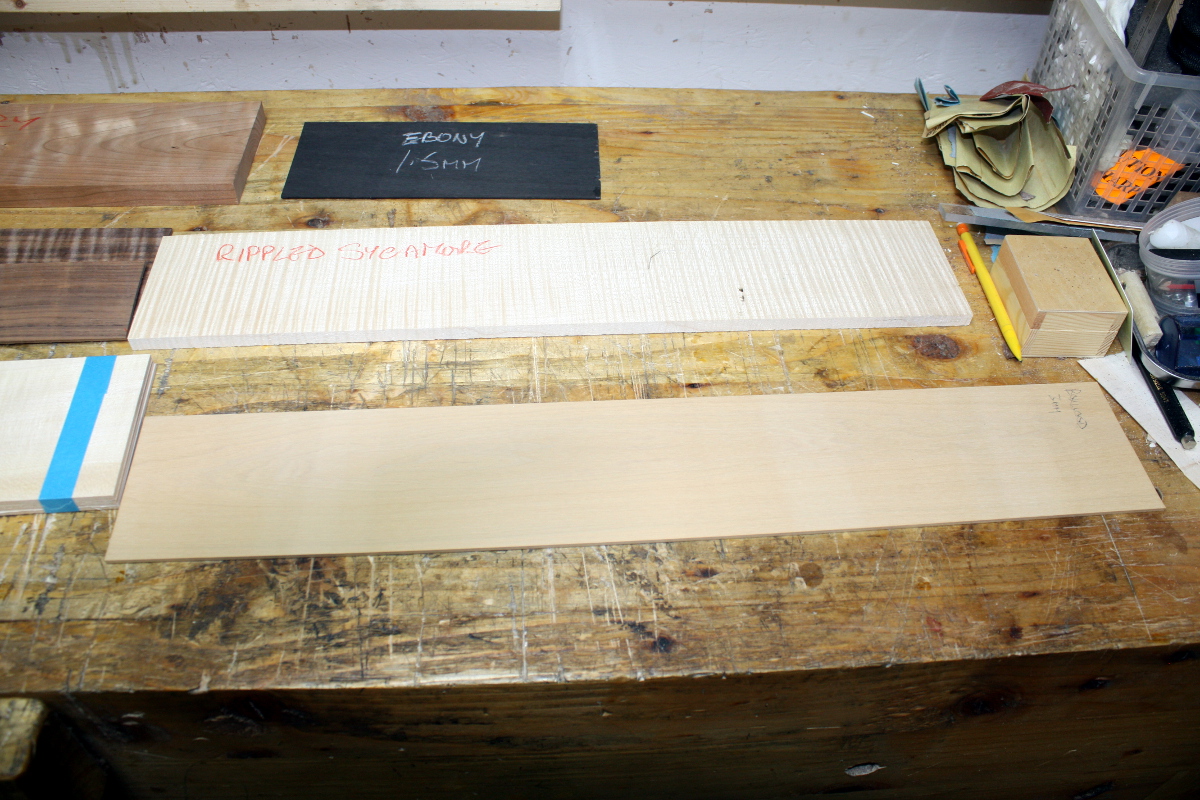
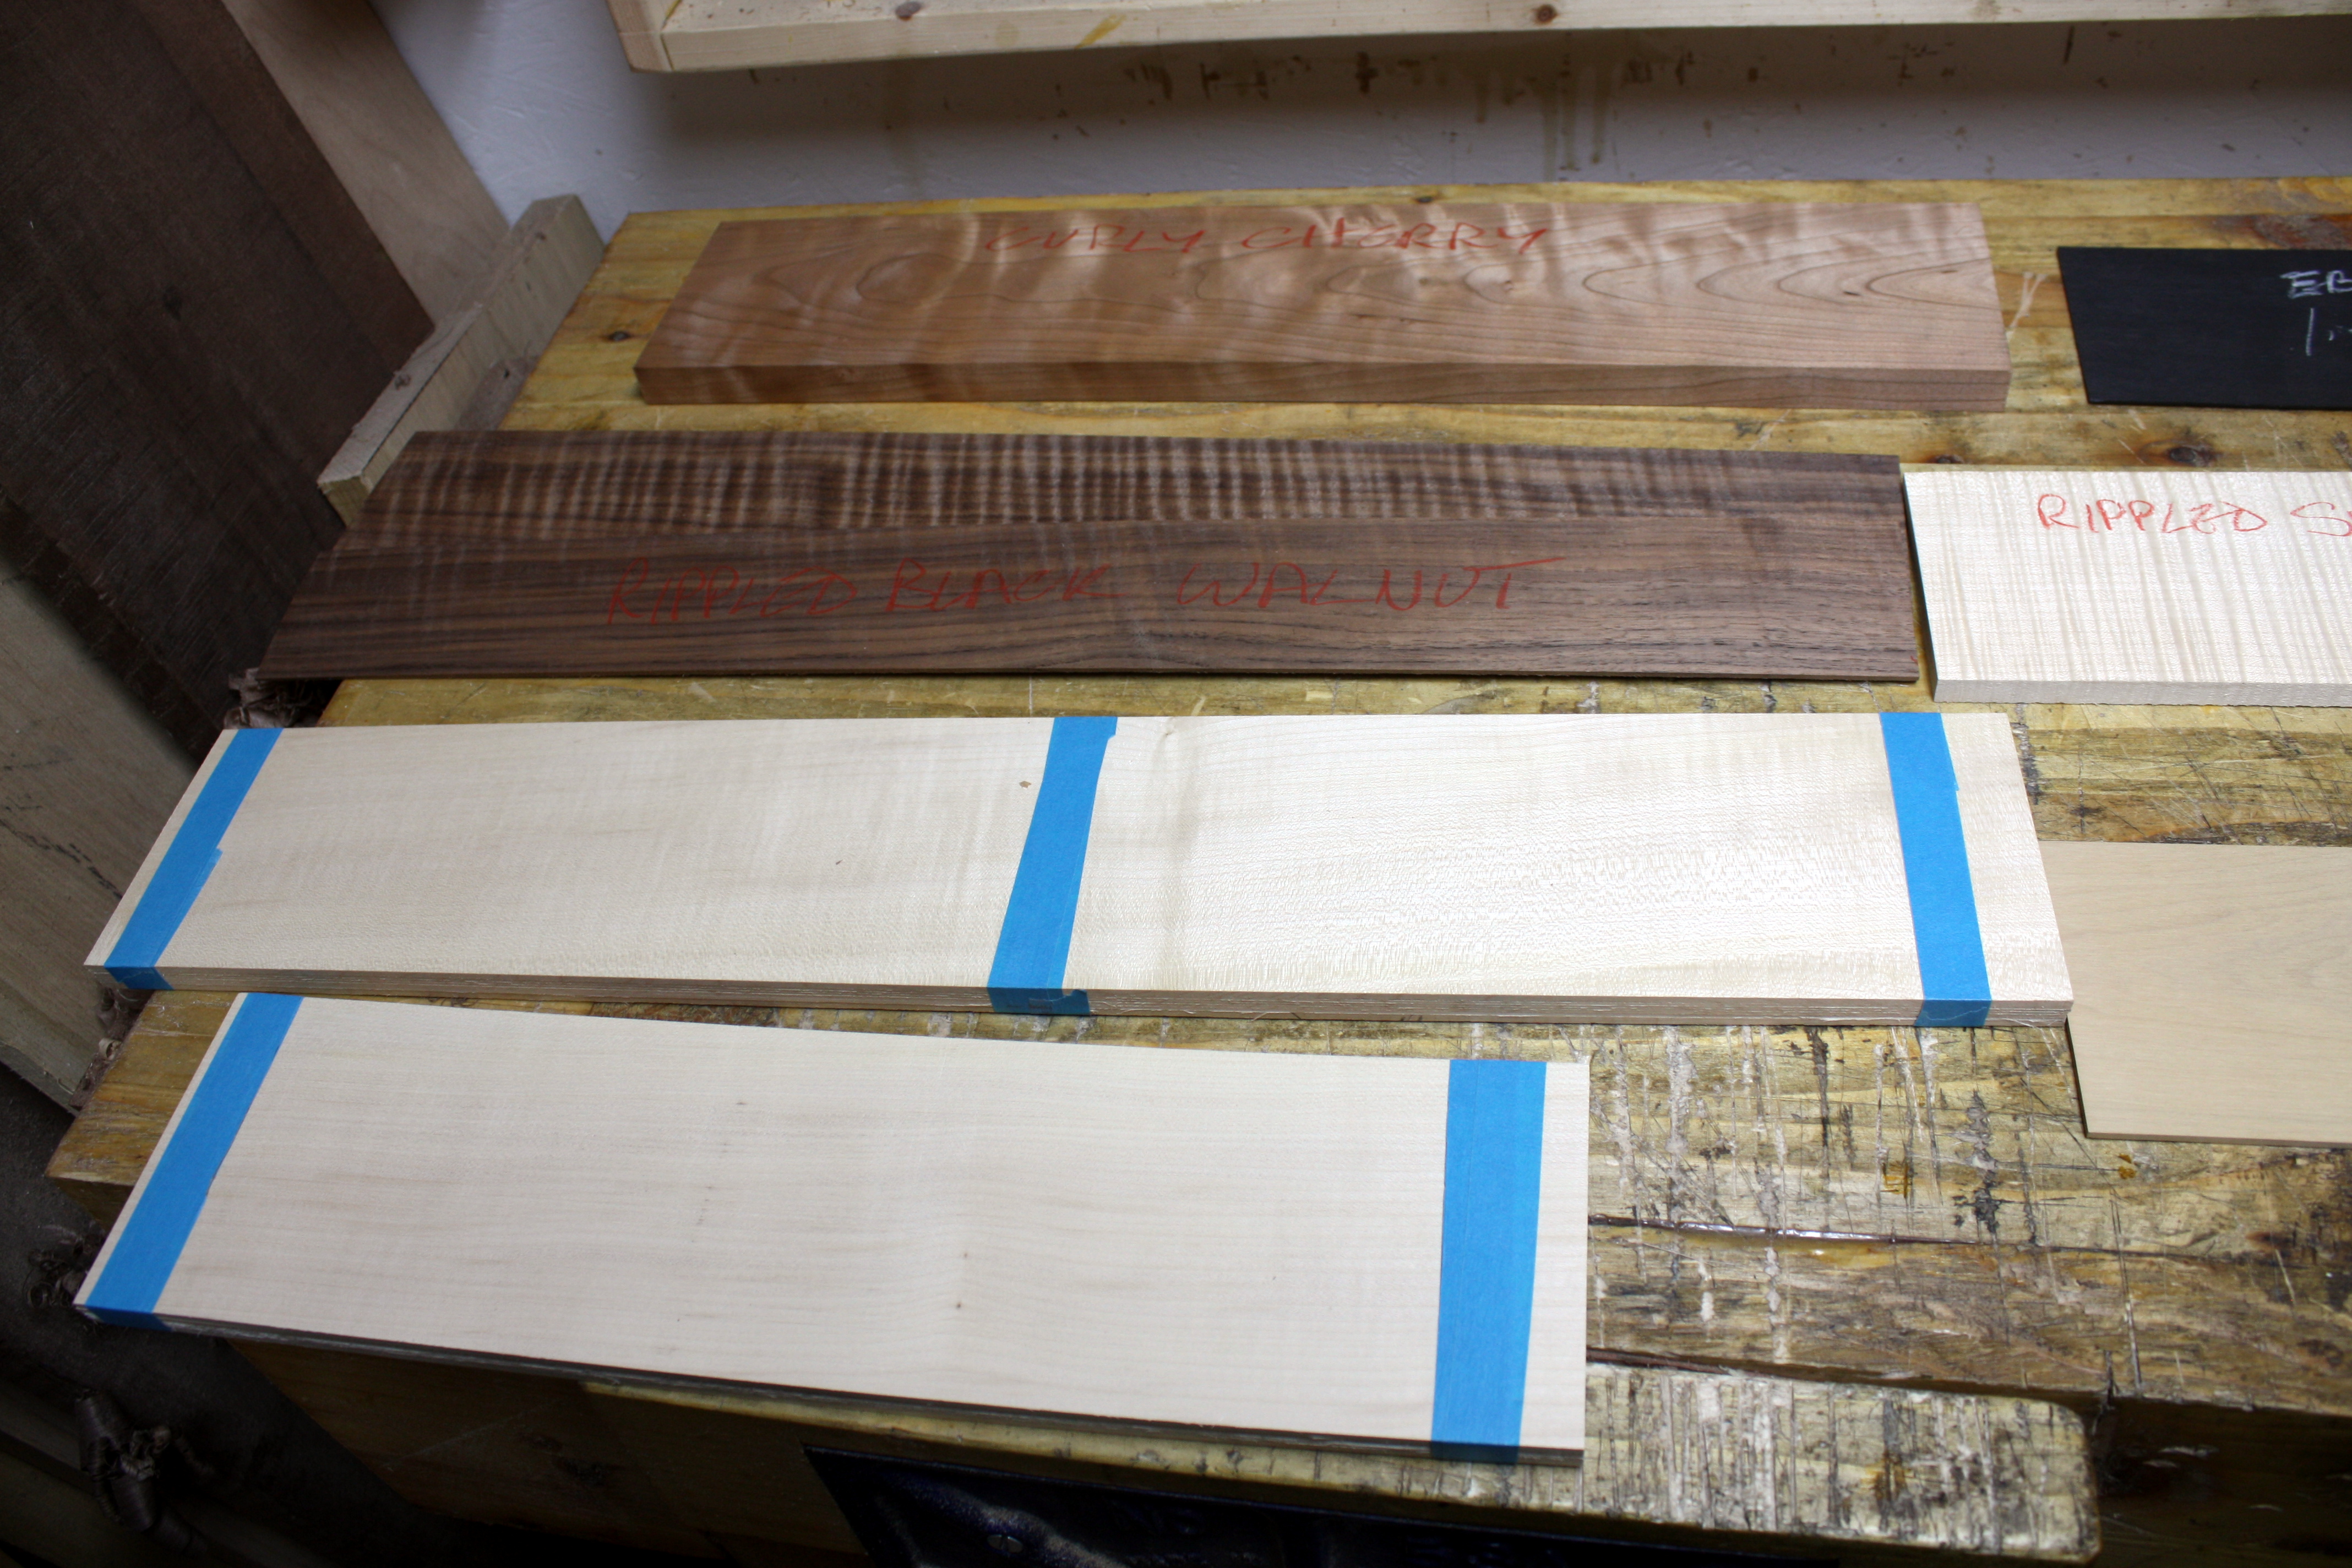
Thick ebony and boxwood veneers – boxwood is bloody lovely stuff and with an interesting history and source. And rippled sycamore. Wow. That stuff is stunningly pretty. (If you’ve not seen it before, that plank is perfectly smooth – the lines are figuring, cellular anomalies in that particular part of that particular tree, we don’t quite know what causes it and it’s become very fashionable these days (in the 17th to 18th century it wasn’t so much because it’s not as strong as straight-grained wood, but when veneering was invented you could use stronger wood for the substrate and let the veneer of a figured wood be the final decorative layer).

And the walnut is even prettier when it’s figured like that. And the cherry is figured as well – I’ve not even seen cherry in the flesh before now, I can understand now why it’s so popular for furniture making. It doesn’t come across well in photos (well, in mine anyway) but it’s very very pretty up close.

Custard, the stuff is incredible, you’re a maniac. Thank you!


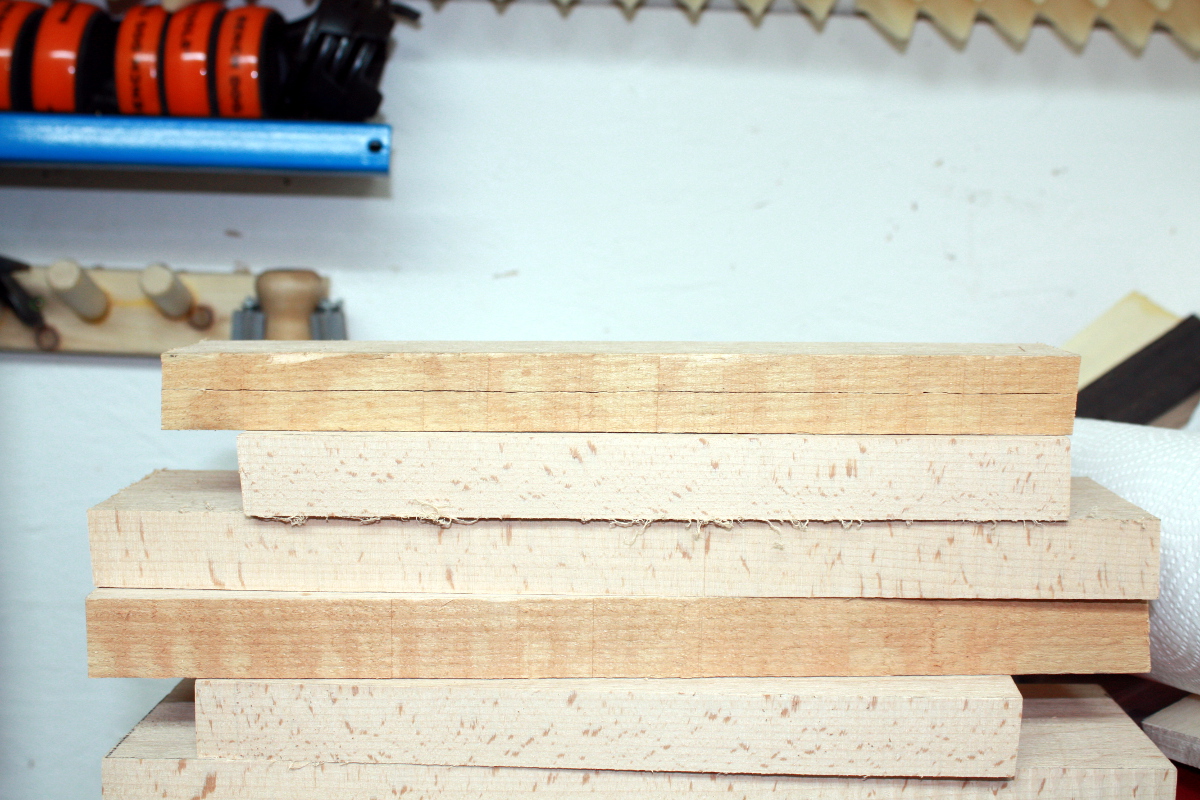
Oh, and the resawn beech still hasn’t pretzel’d on me…


07
May 18

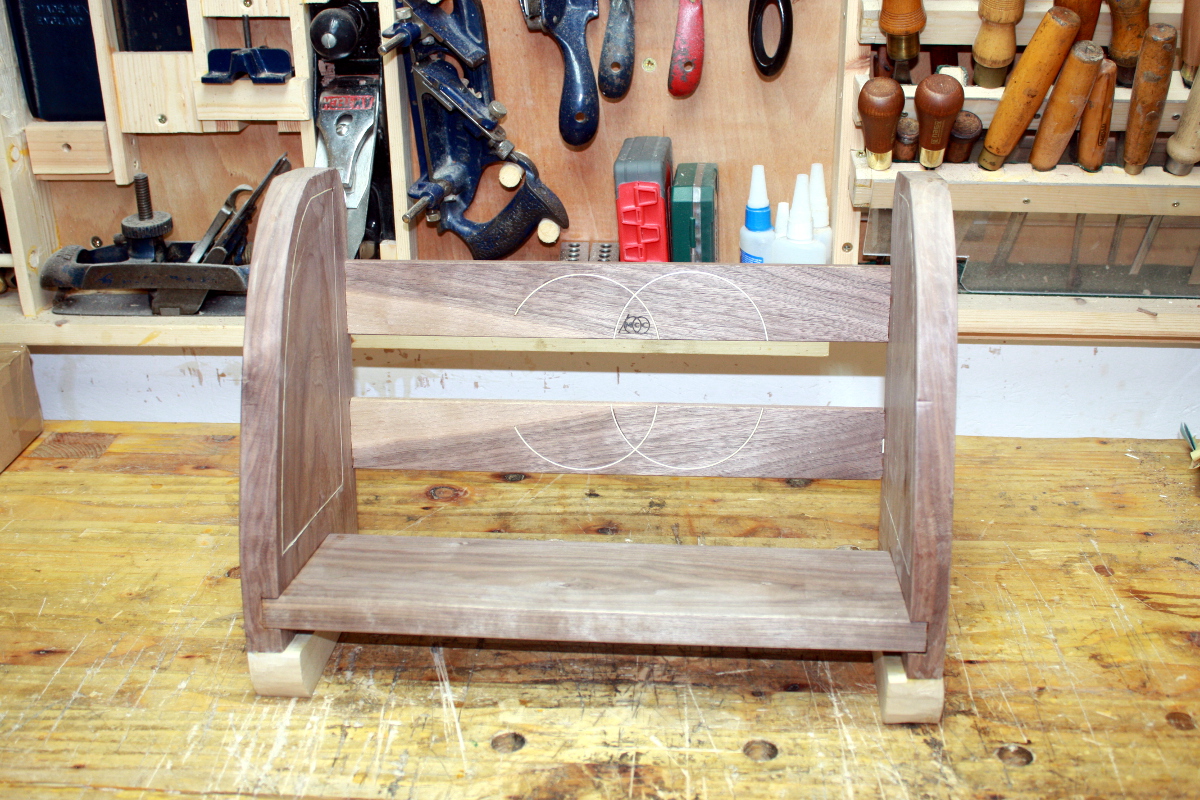
Wrapping up the stringing…

Finally some decent weather combined with a bank holiday this weekend and I wound up spending some time in the shed (and got the weber out so yay!).

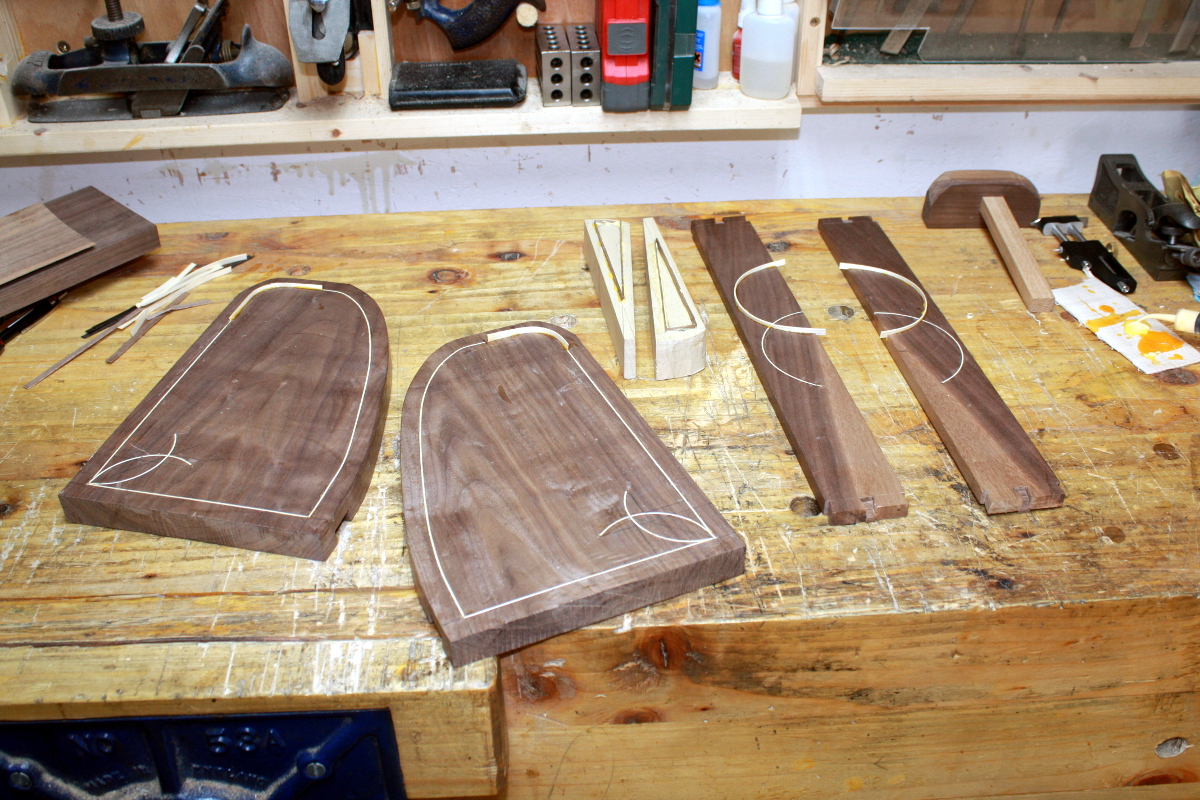
Started off trimming and cleaning the lines put in on Thursday (Friday was a work do and I was done in by the time I got home so I just crashed, so this was all done Saturday evening).

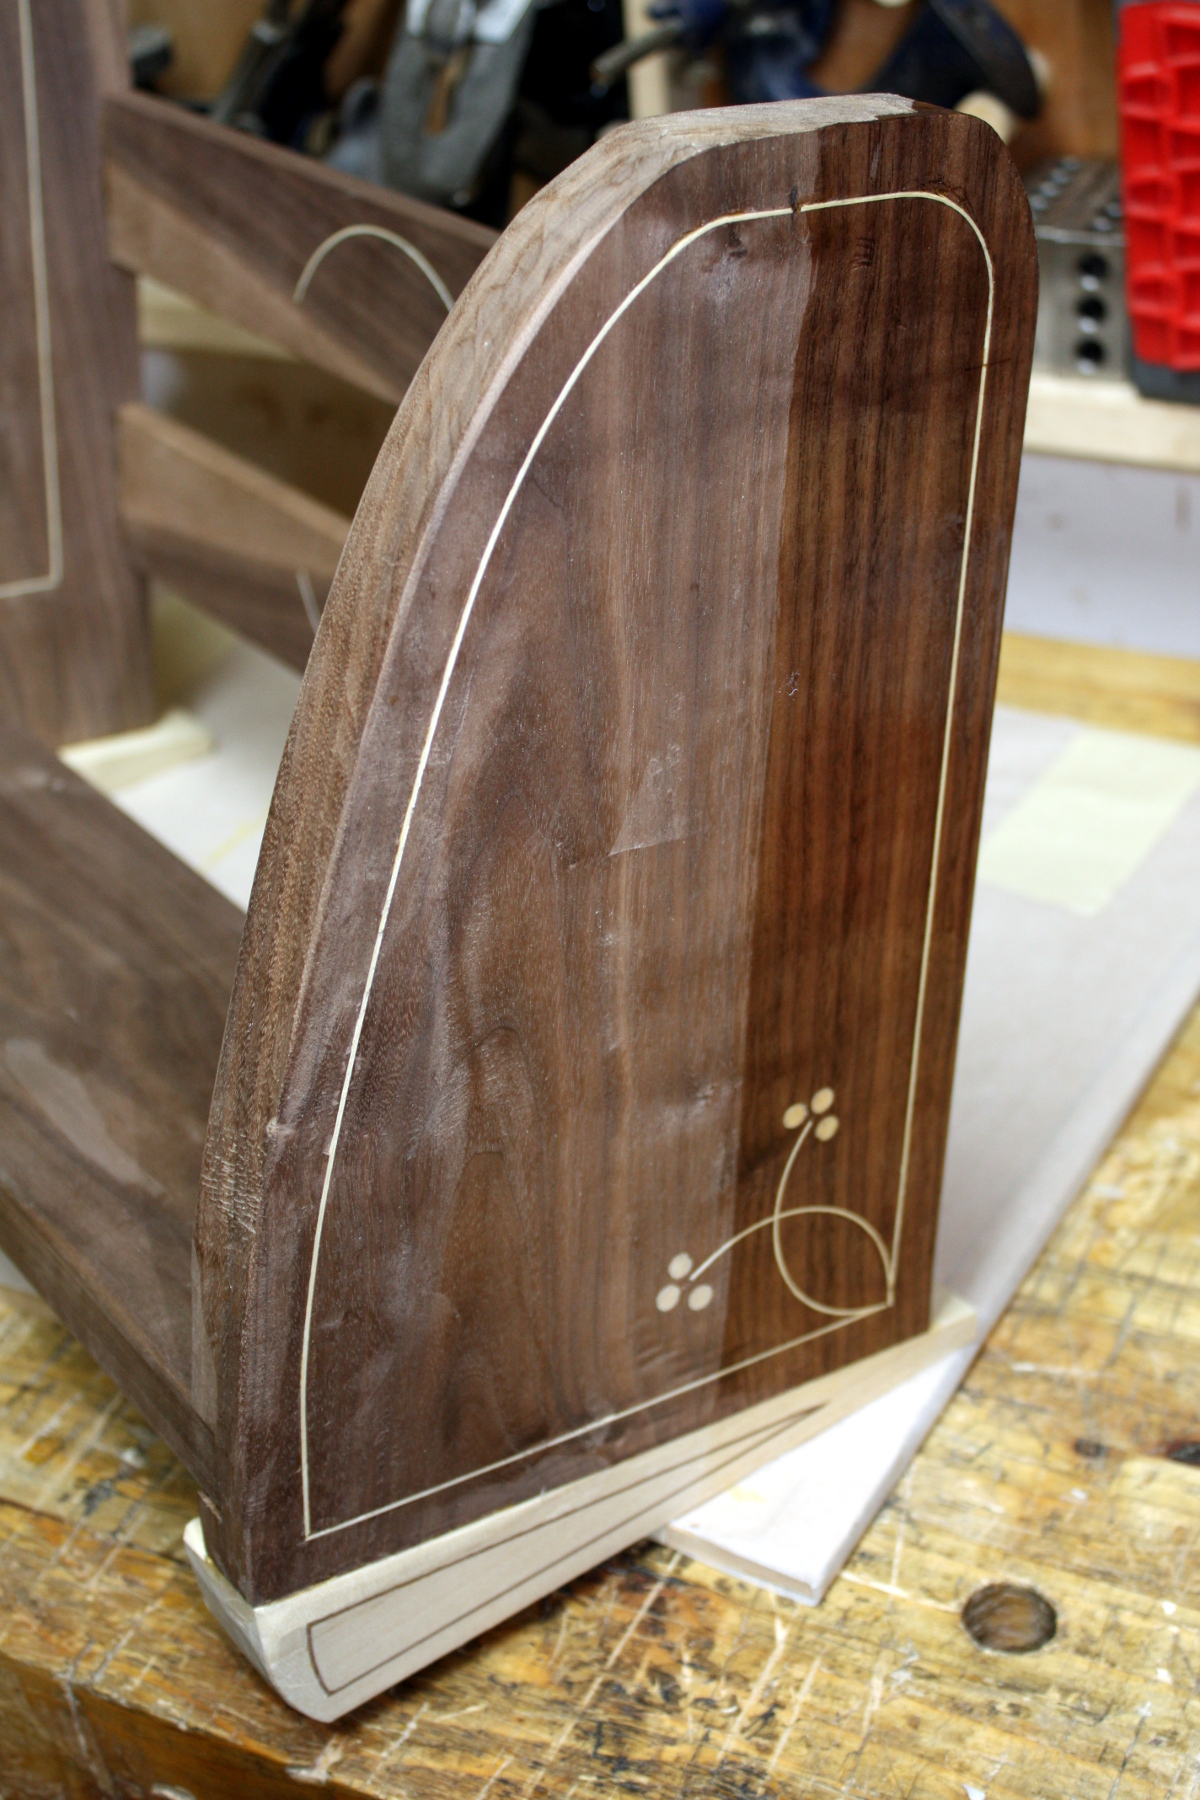
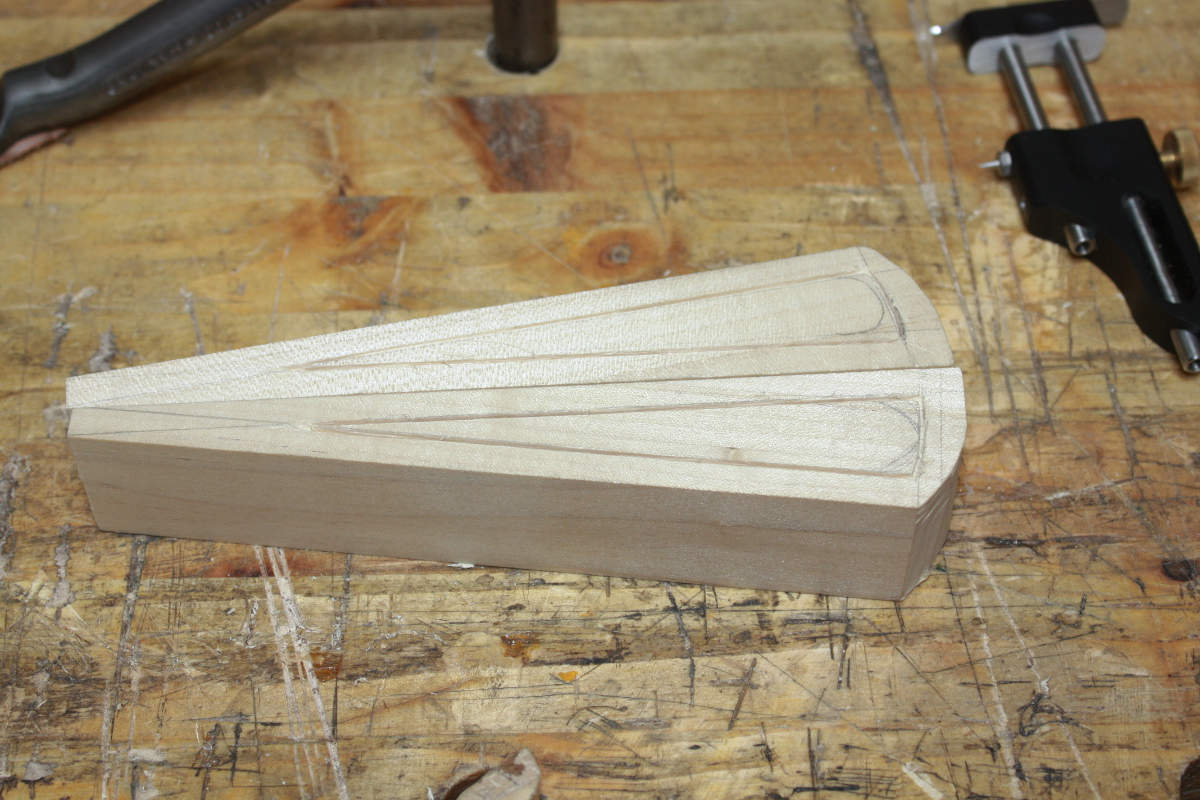
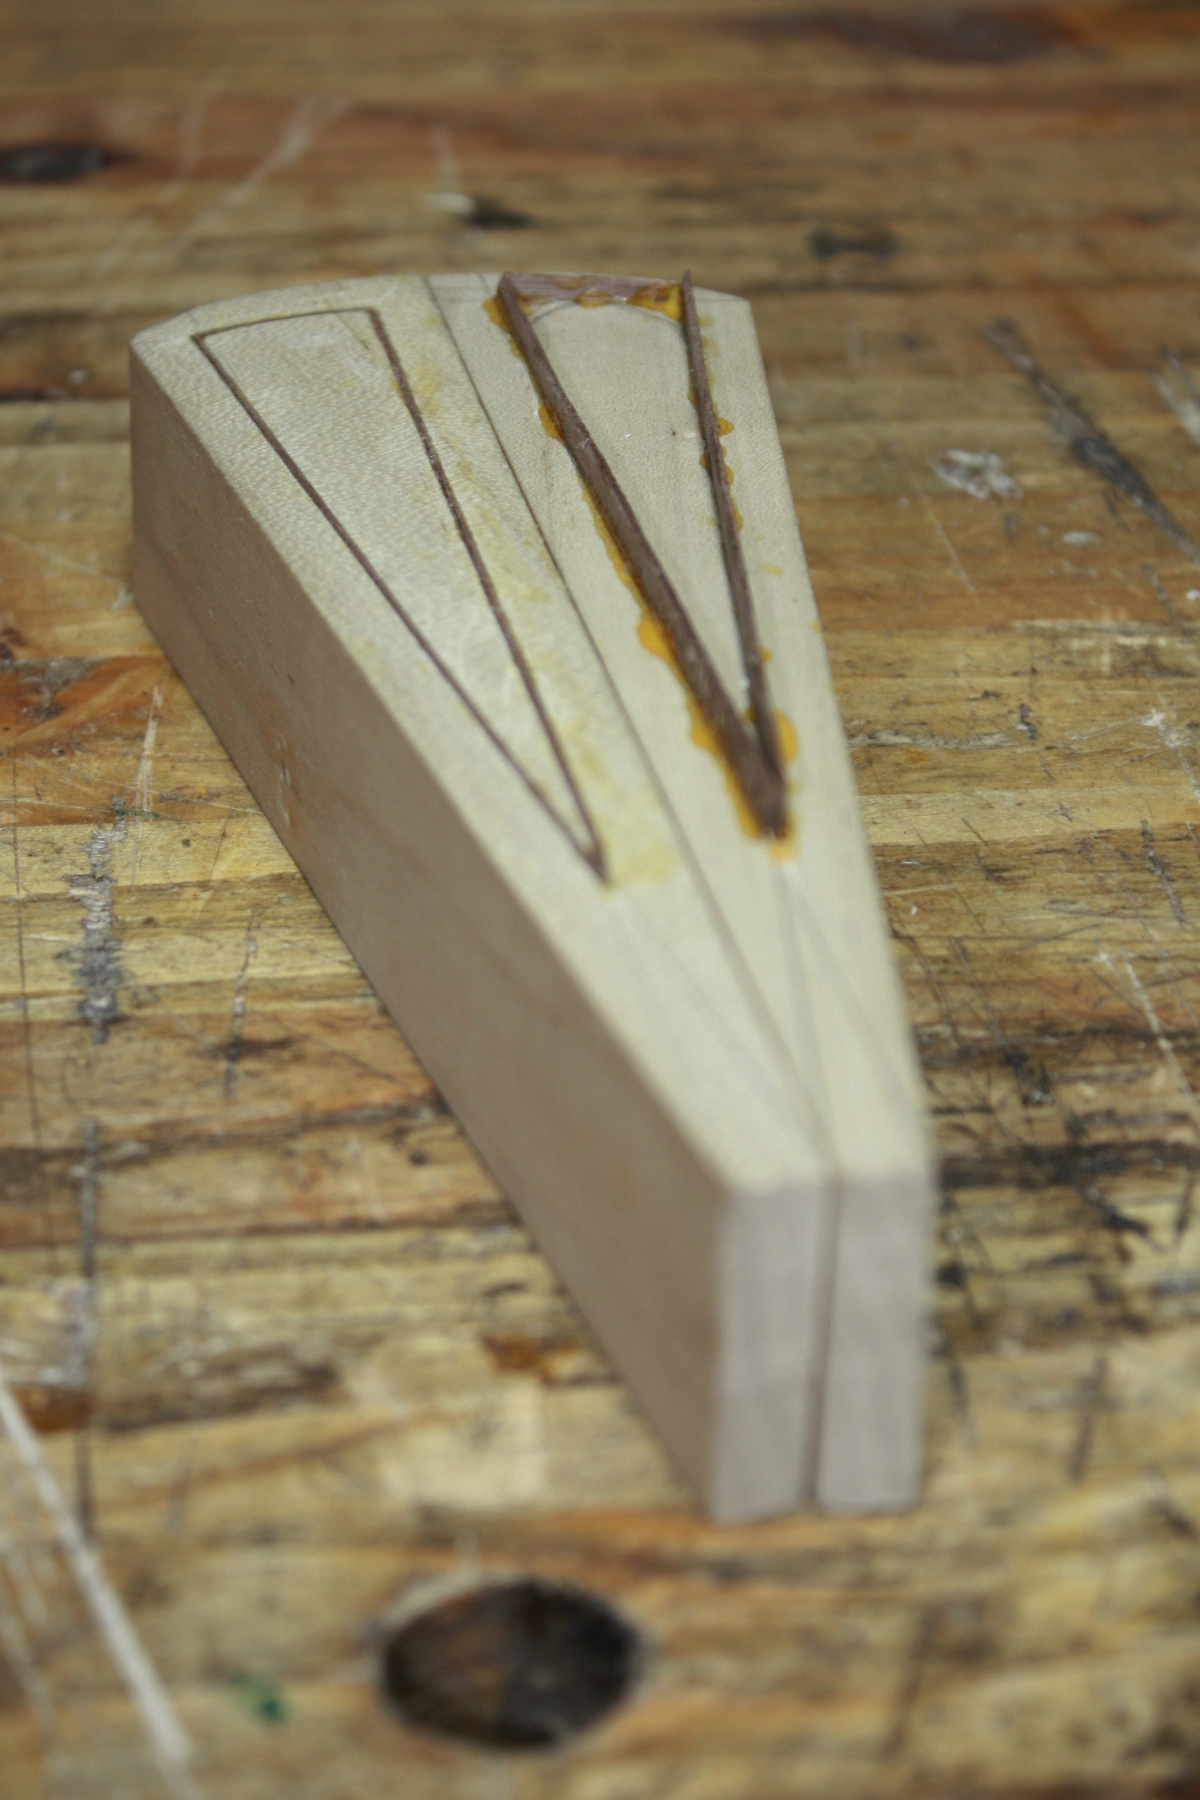
Then I checked the feet to be sure I liked how my idea for how to do these looked. I quite like the idea, but we’ll see. And I took the new laminated stringing out of the clamps:

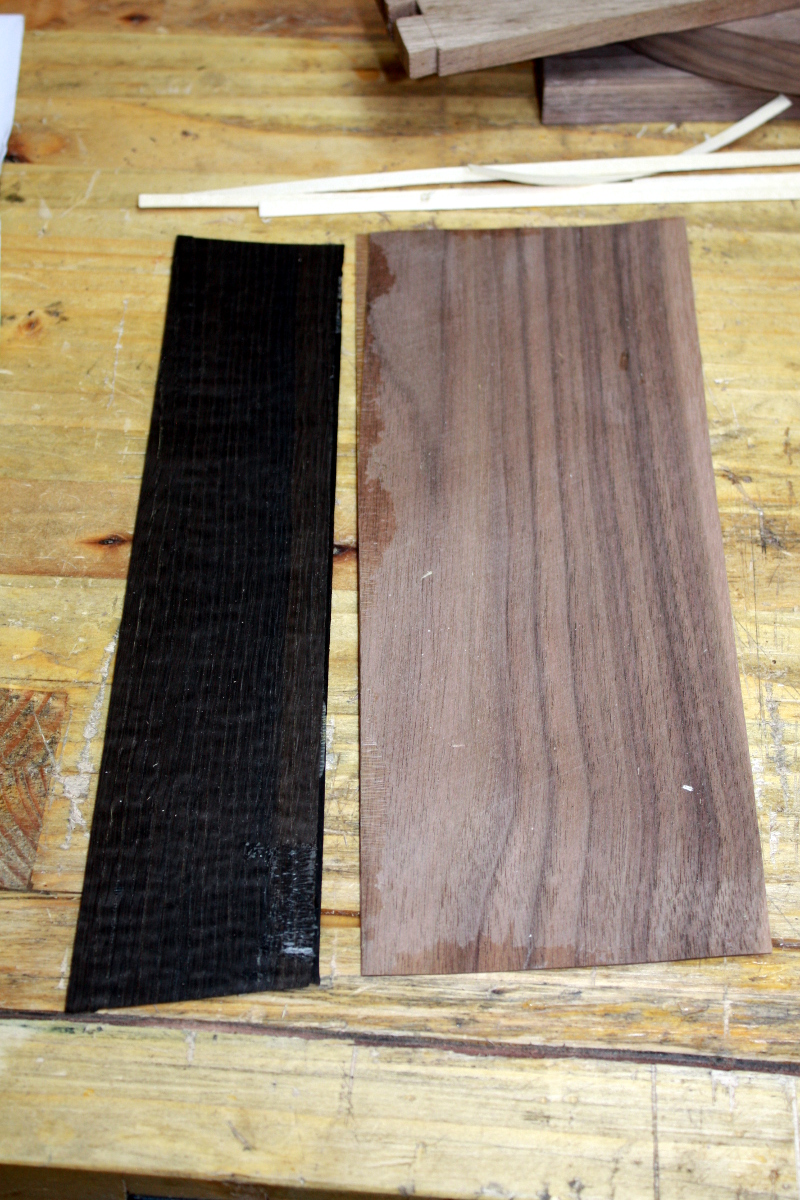
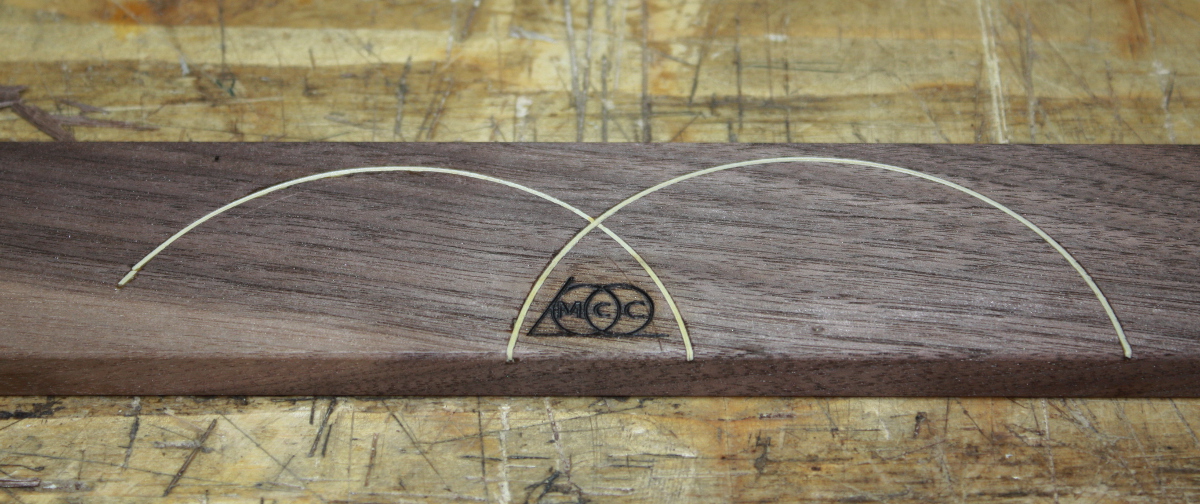
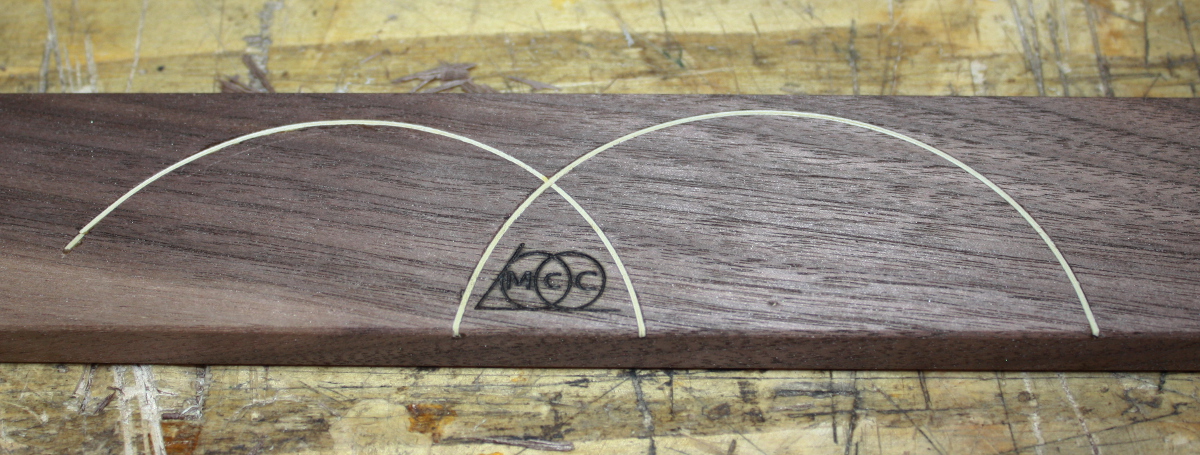
The – I don’t think it’s ebony, maybe dyed pearwood? – darker stringing is stunningly dark, but I cut a test bit and compared it with a test bit of the walnut and it was just too dark; jarring, in the piece. So I went with the walnut instead.

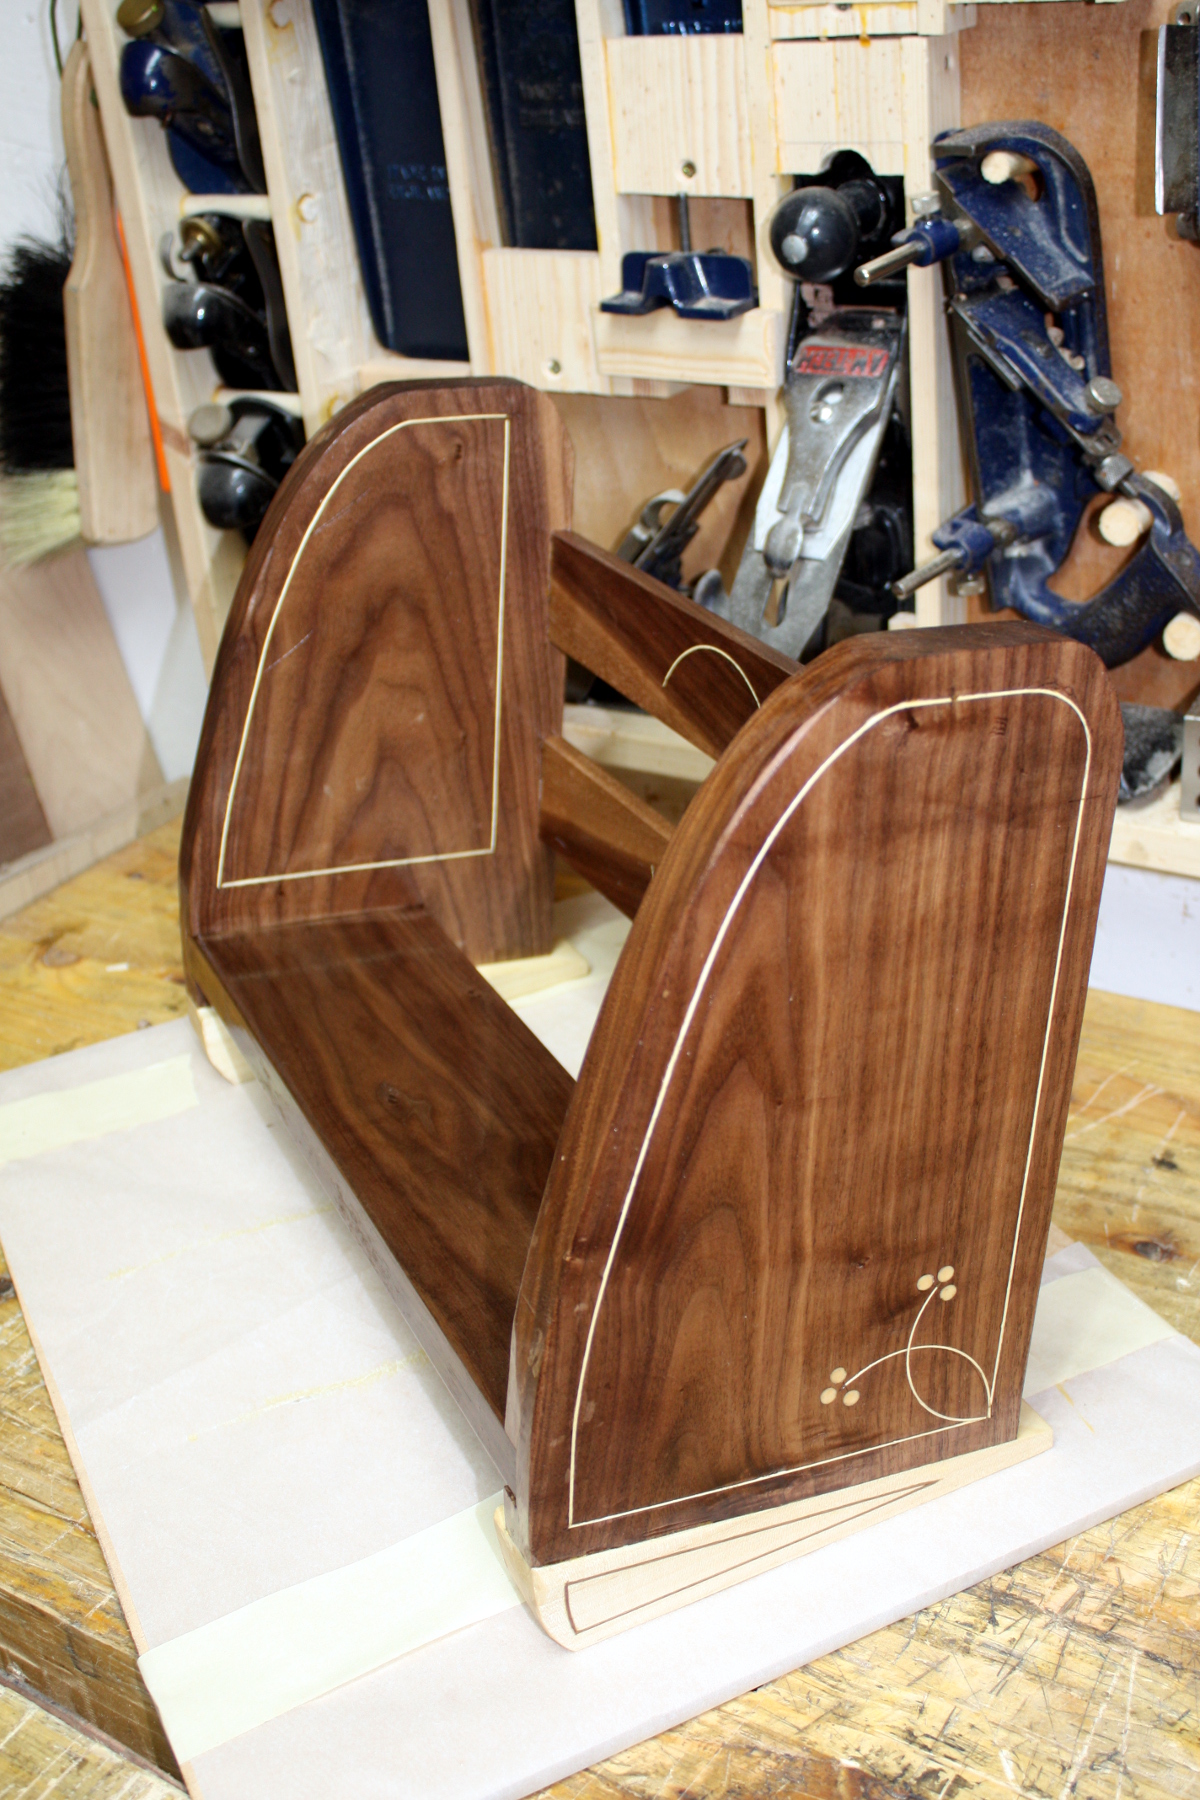
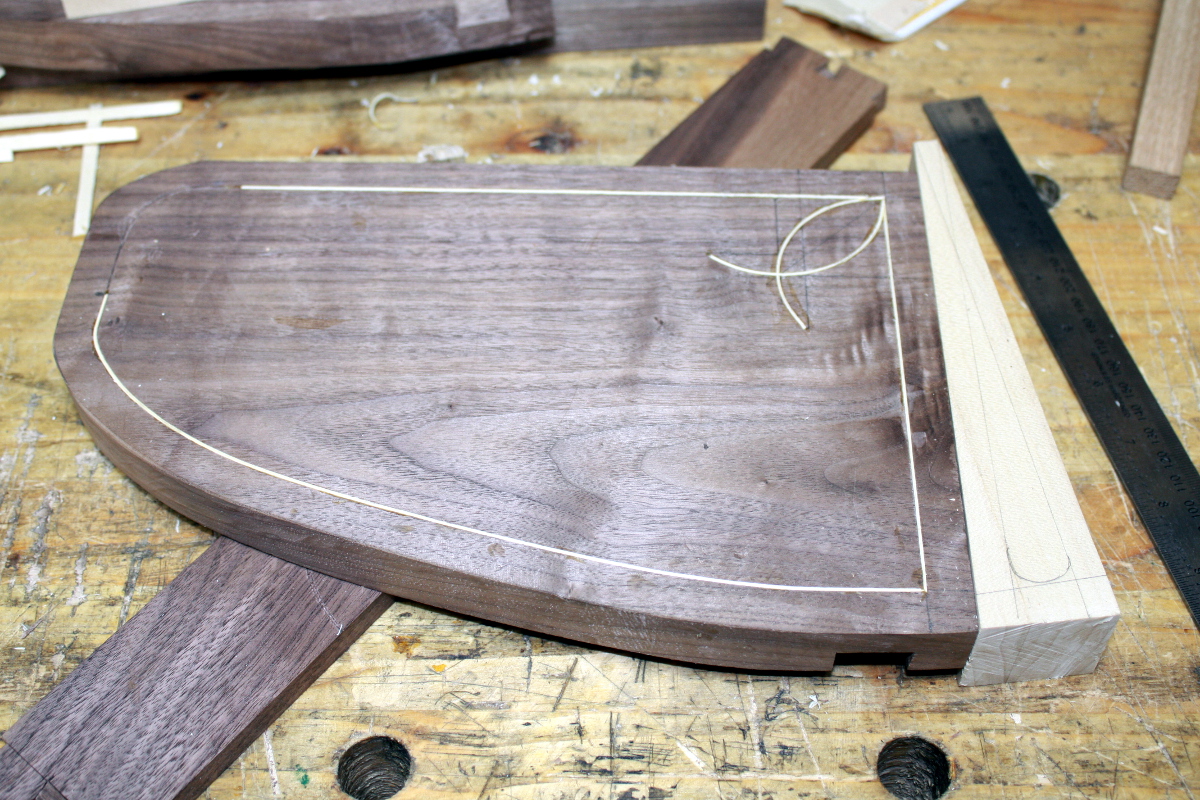
The front curve is almost vertical, but no, really, it’s a curve 😀

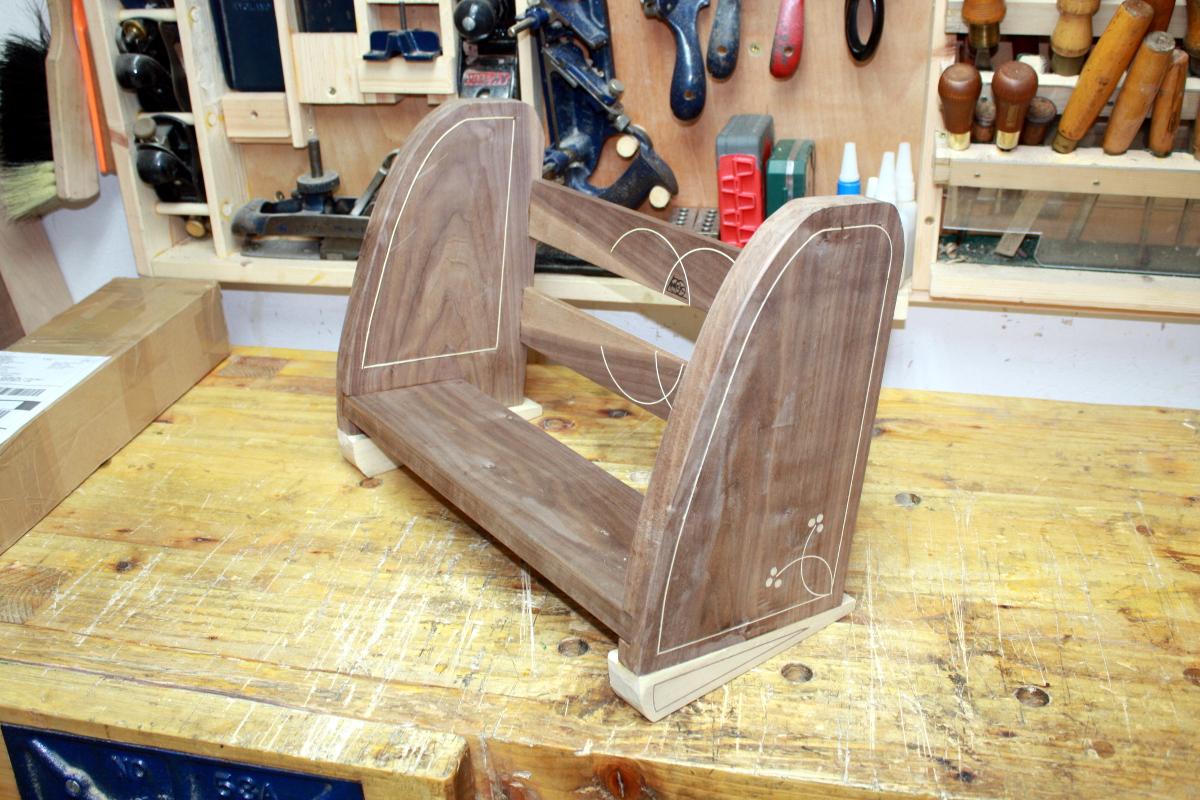
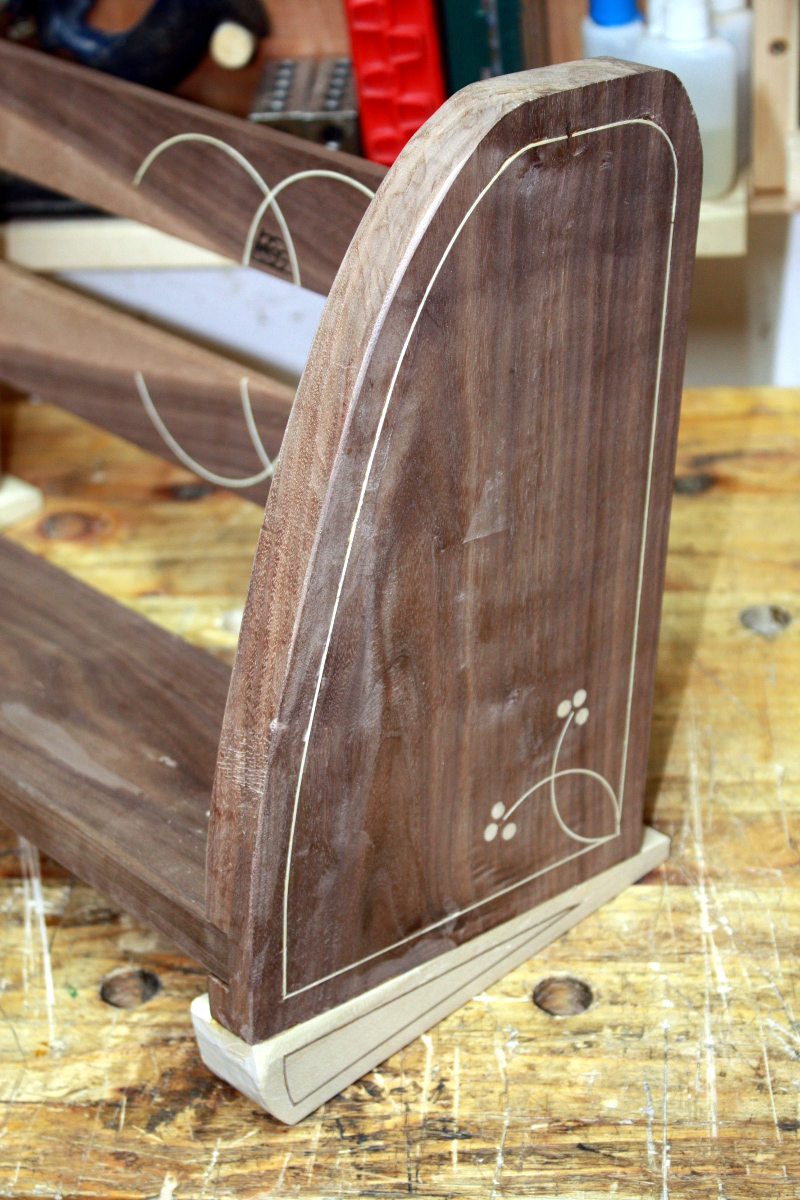
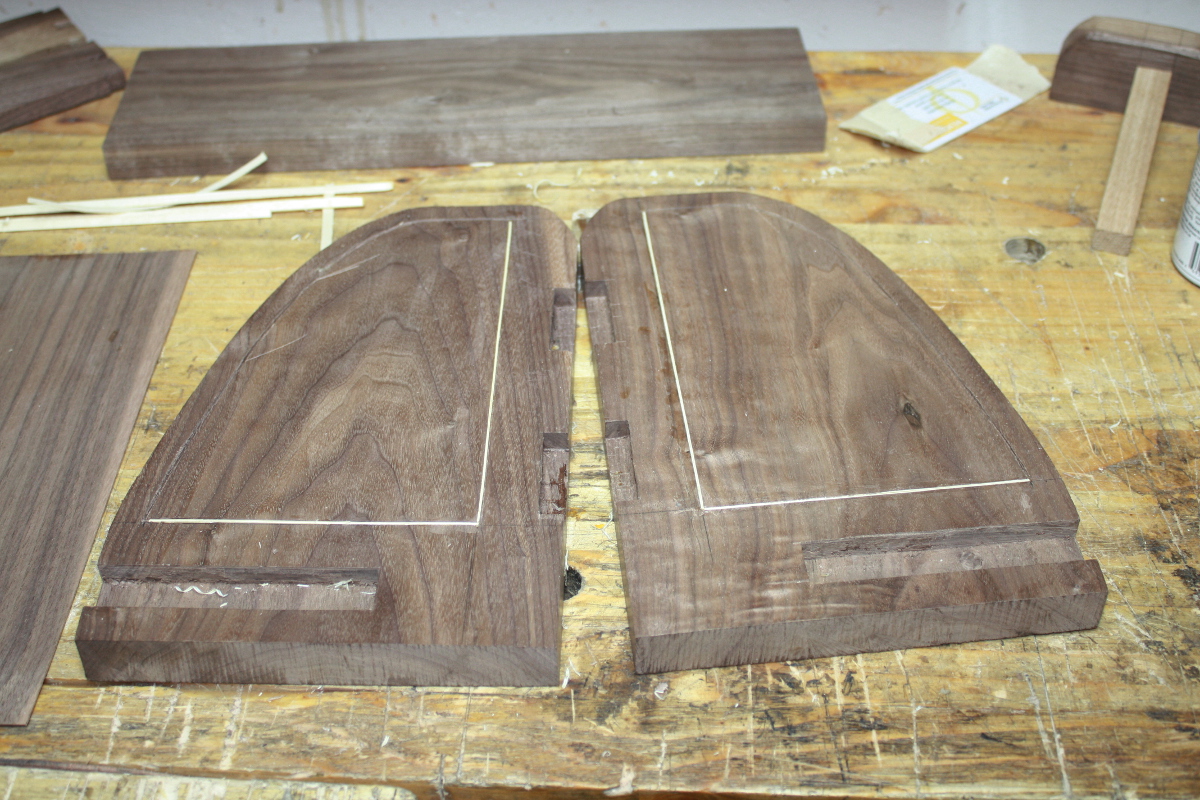
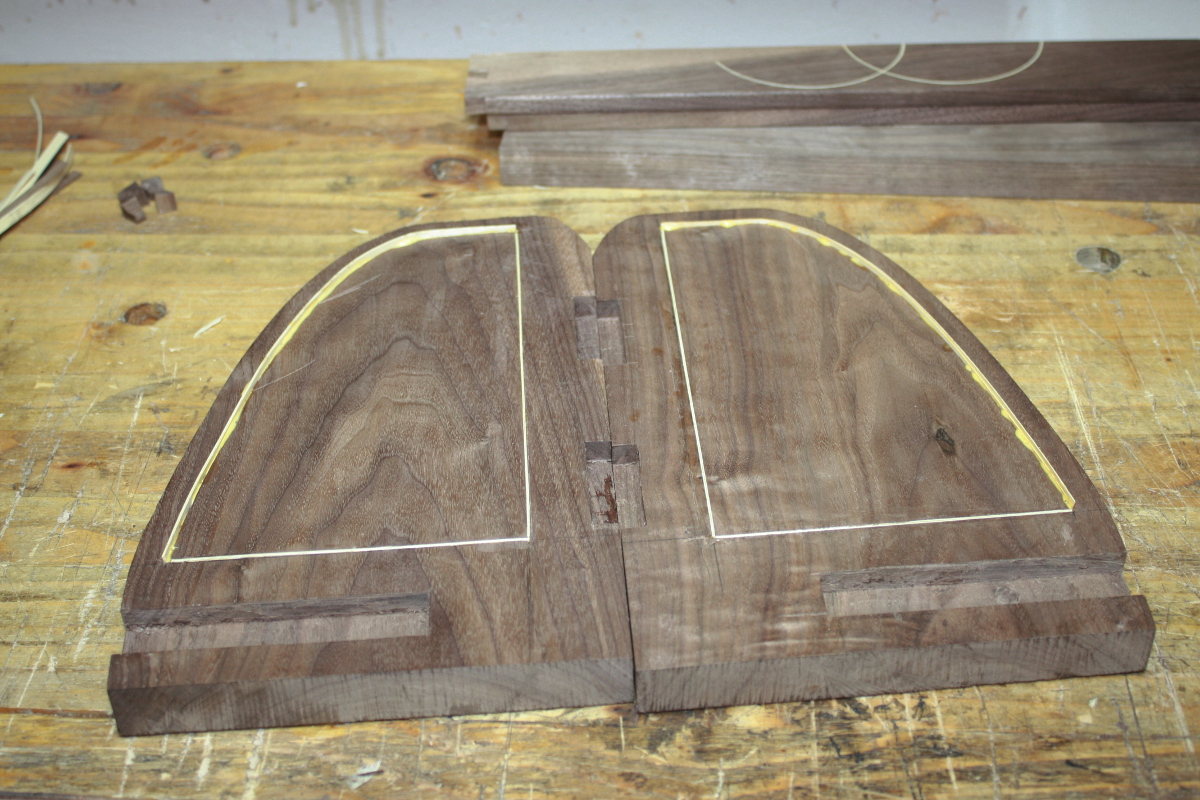
And that’s the feet done, the second circles on the bars done, the last of the string on that face of the sides done, and that got to dry overnight.

BTW, so much for credit card thickness plastic being a perfect pivot point 🙁

The next day, cleaning up and trimming the excess…

And laid in the last stringing line on that face of the sides…

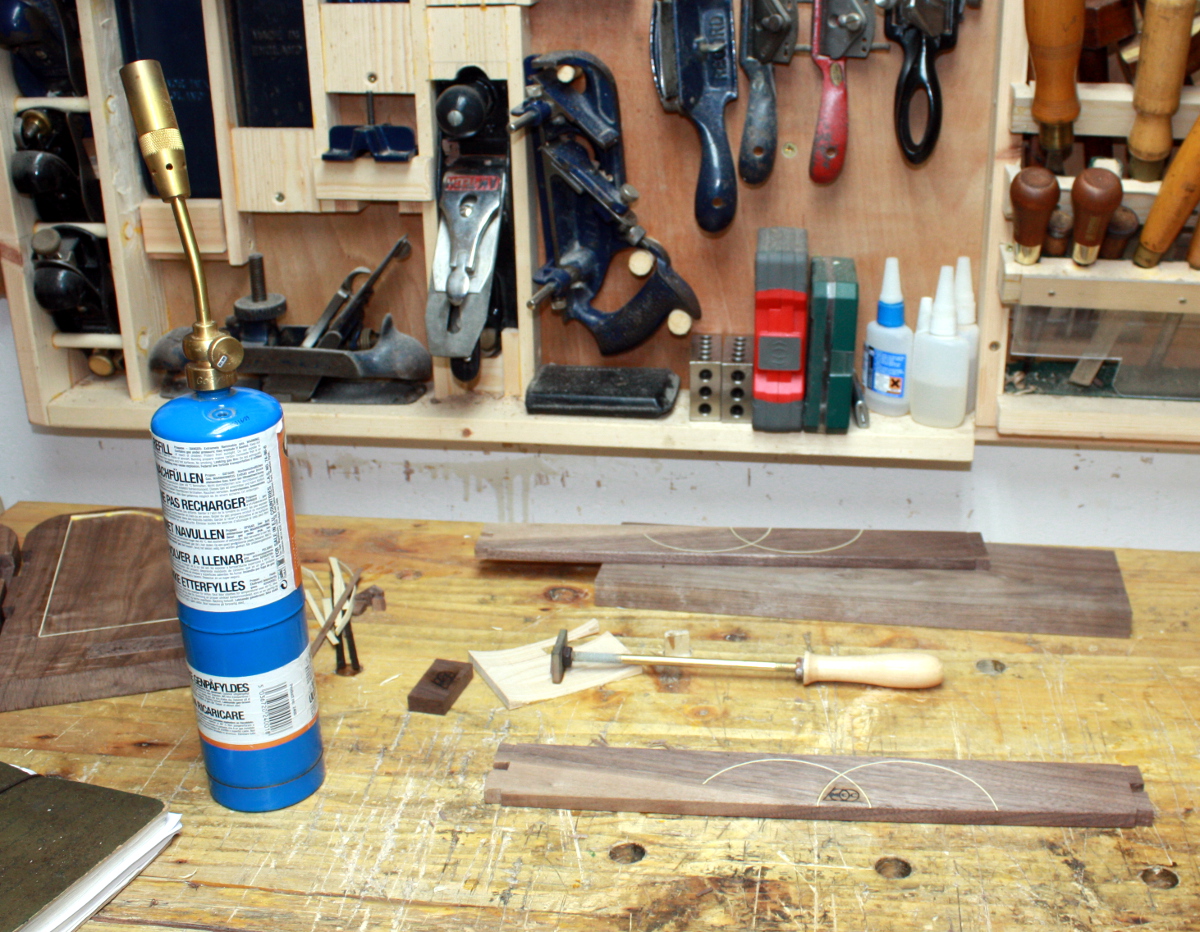
And then after running a smoothing plane over the bars a bit and rounding over the arises, it was branding time.

Bit hot on the iron there; another pass with the smoothing plane needed to fix that.

Grand. And then on monday…

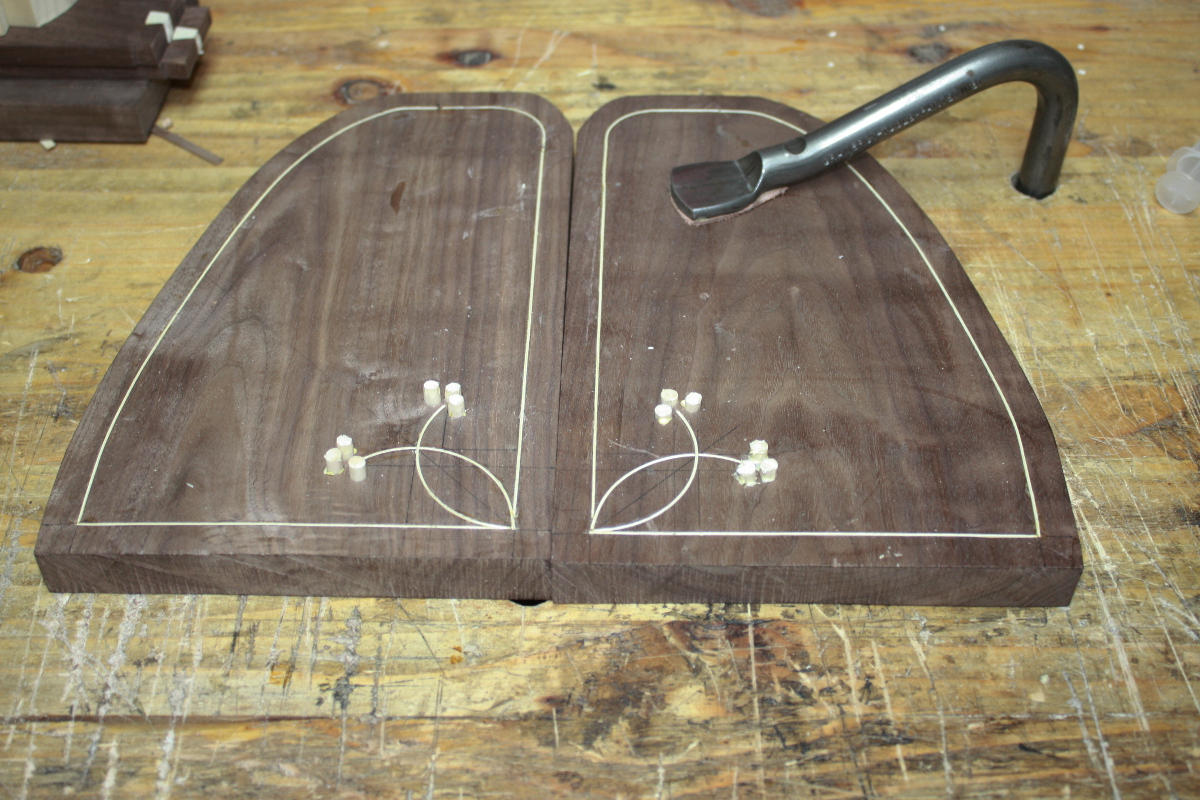
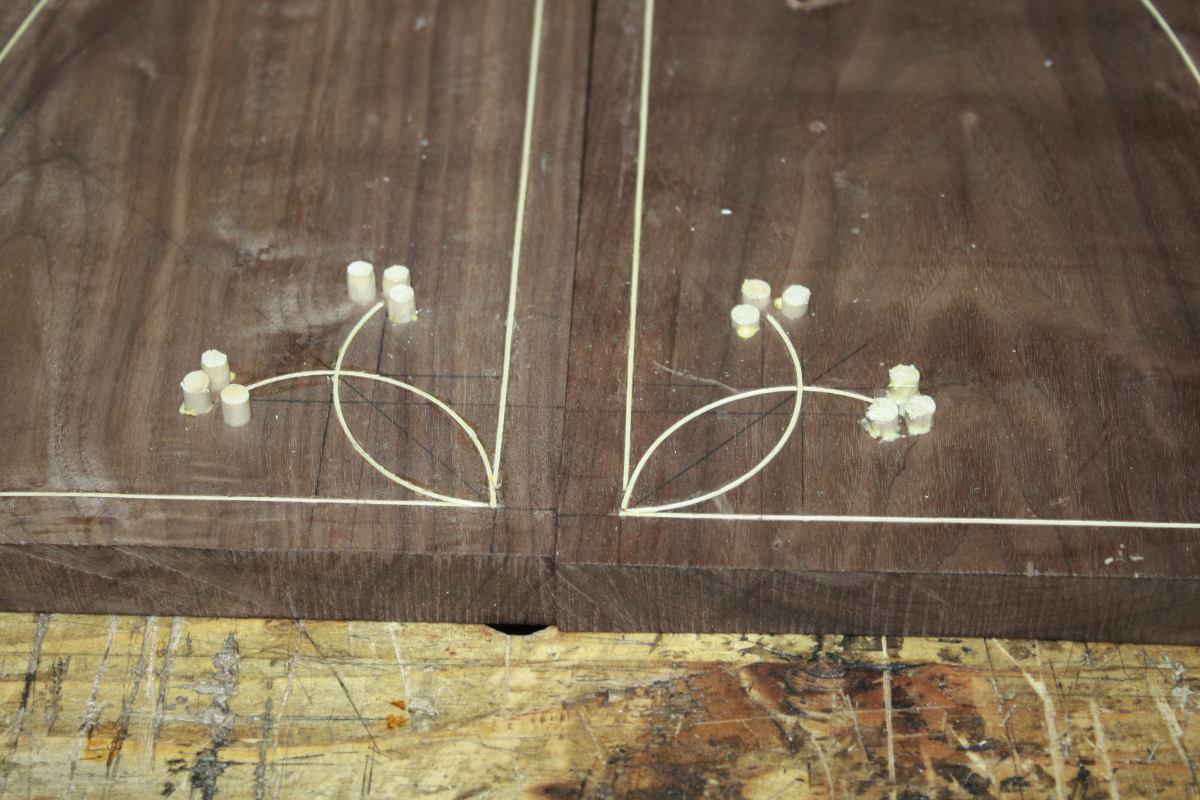
The last decorative element. I wanted to do these in different colours, but my plug cutters didn’t arrive on time (bet you they show up on Tuesday) and tempus fugit, so I cheated and used a dowel. An hour of curing time, then in with a flush-cut saw and some chisel cleanup…

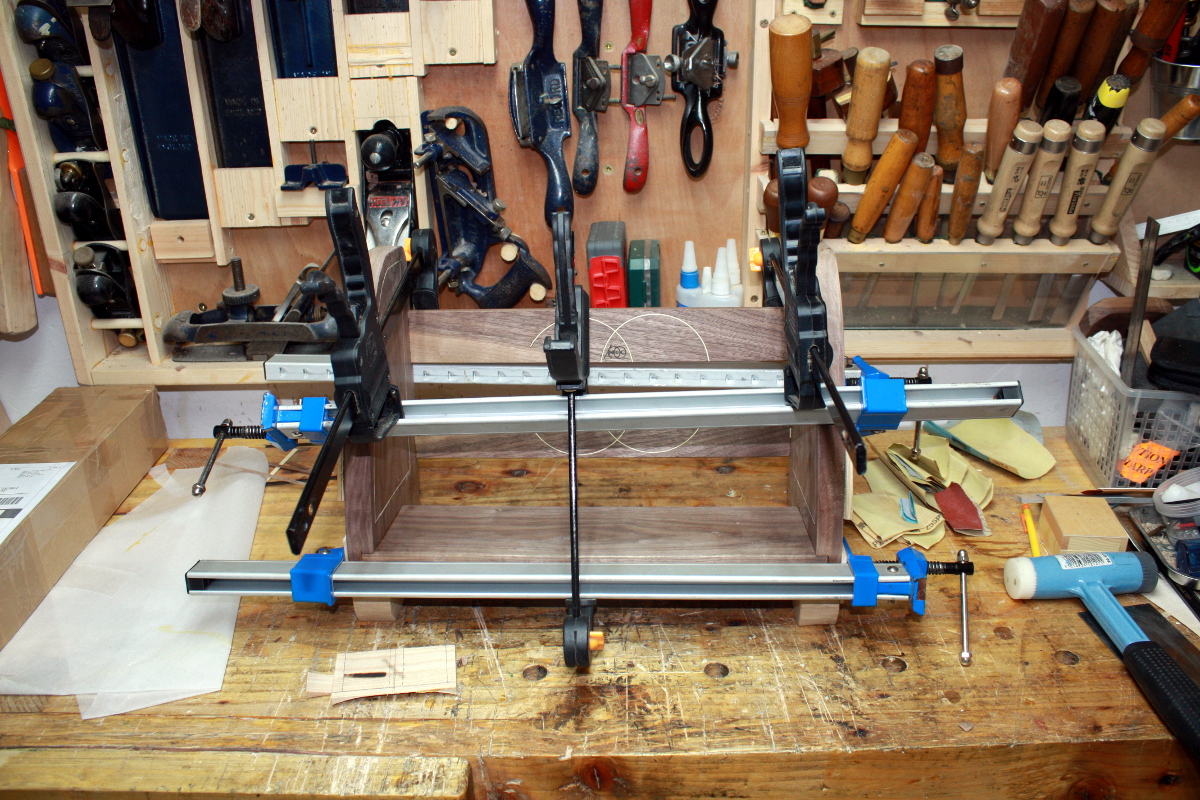
Then a few passes with the smoothing plane and some scraping to get the surface smooth and the pencil marks gone, and then I started in on the glue-ups by putting on the feet first. At this point clamping got… complex because the feet are wider than the sides and that creates a twisting moment when you apply the clamps (and I need the bench to keep the feet and sides in the same plane so I can’t flip it over or anything).

Complex clamping arrangements are a bit suboptimal – they’re fiddly and prone to slipping and so on, but shikata ga nai. We’ll see how it turns out tomorrow. If all goes well, I’ll cleanup the squeeze-out and then do the final glue-up step. And after that, it’s osmo time…