19
Feb 17

Not done yet…

…but it’s getting closer.

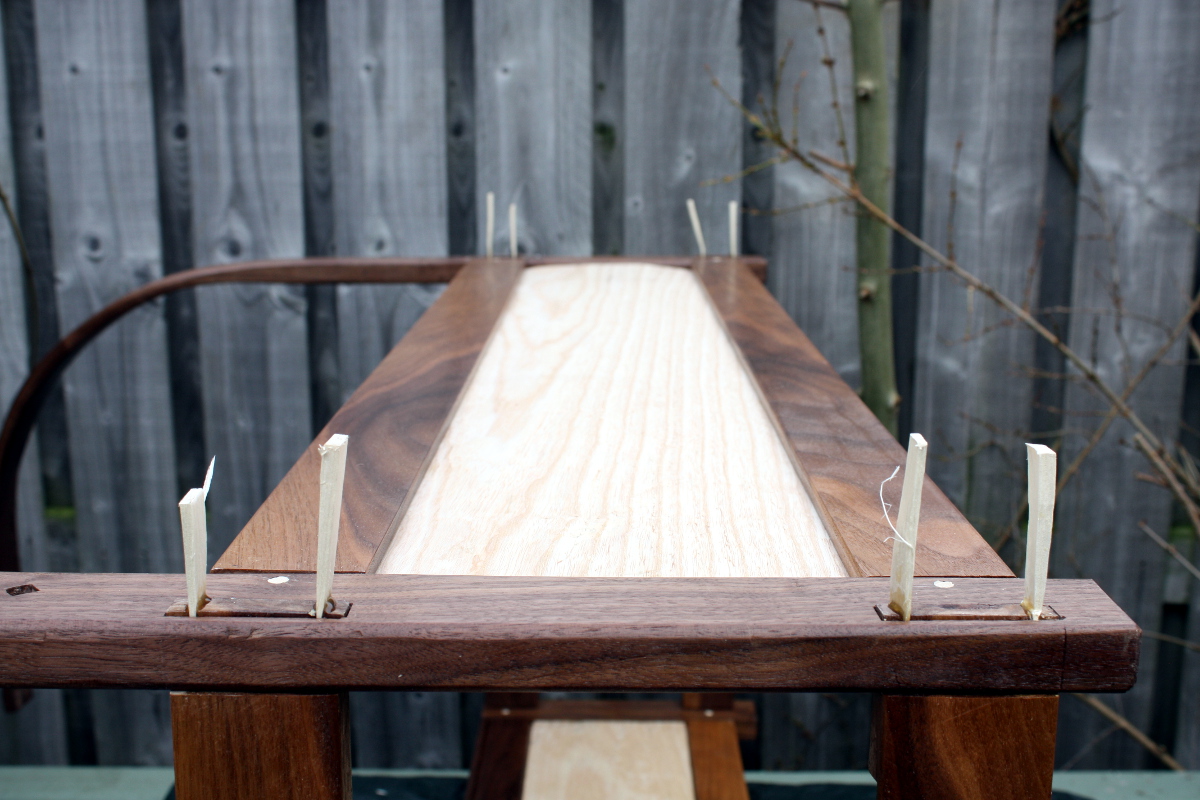
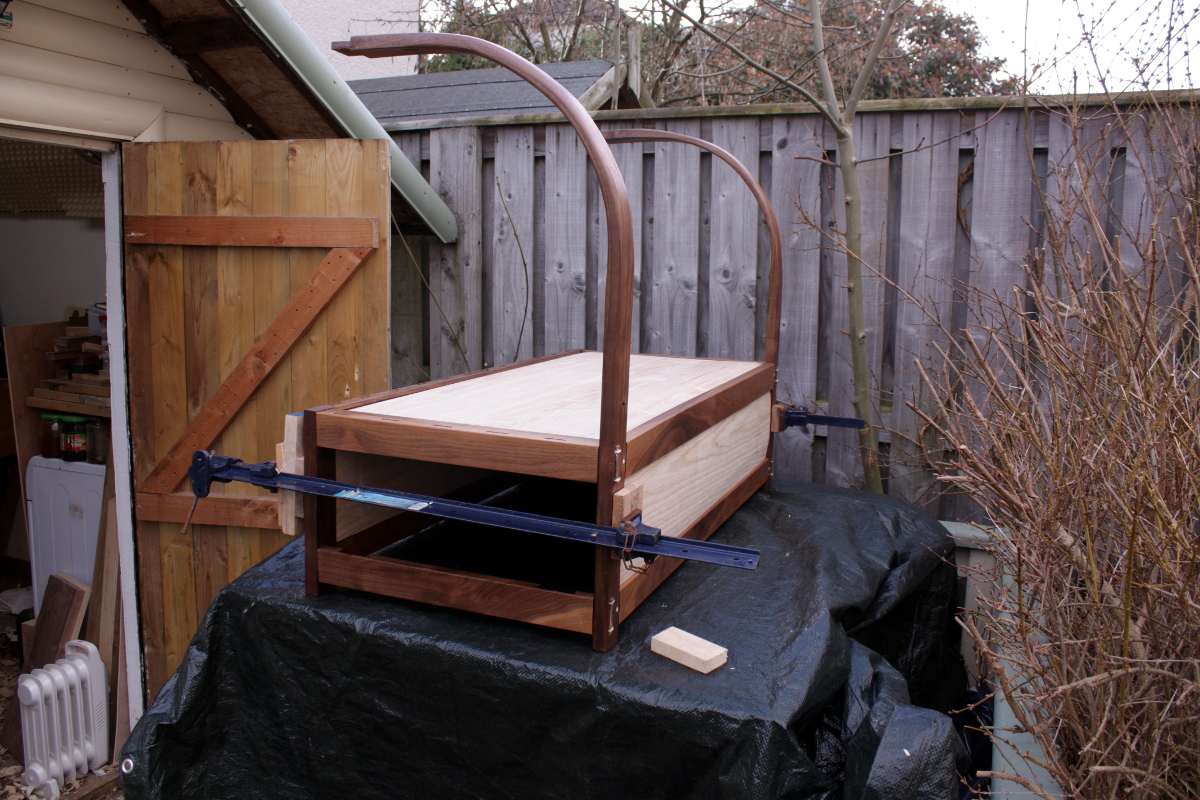
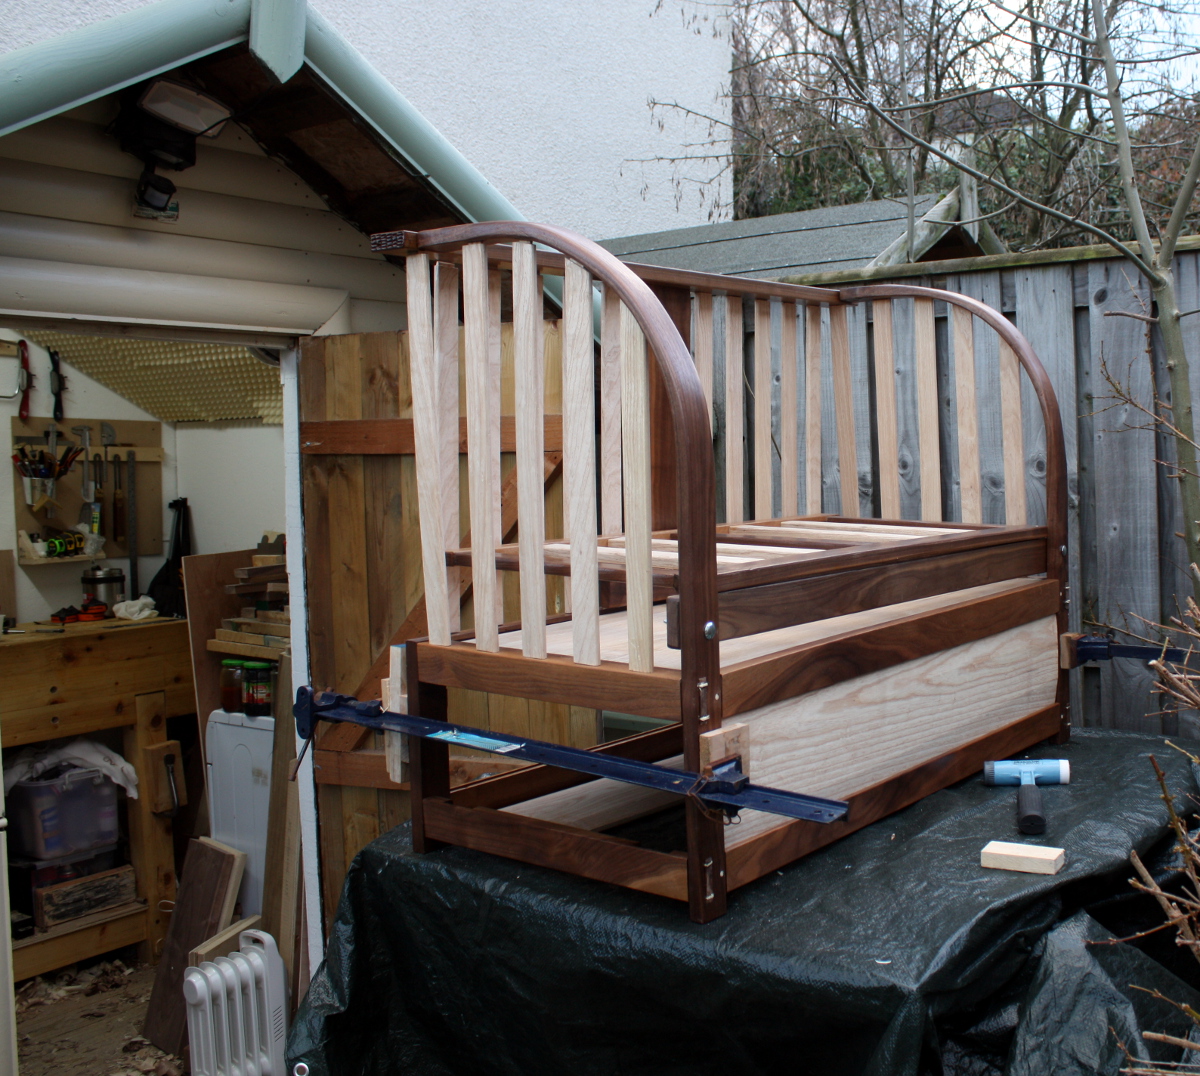
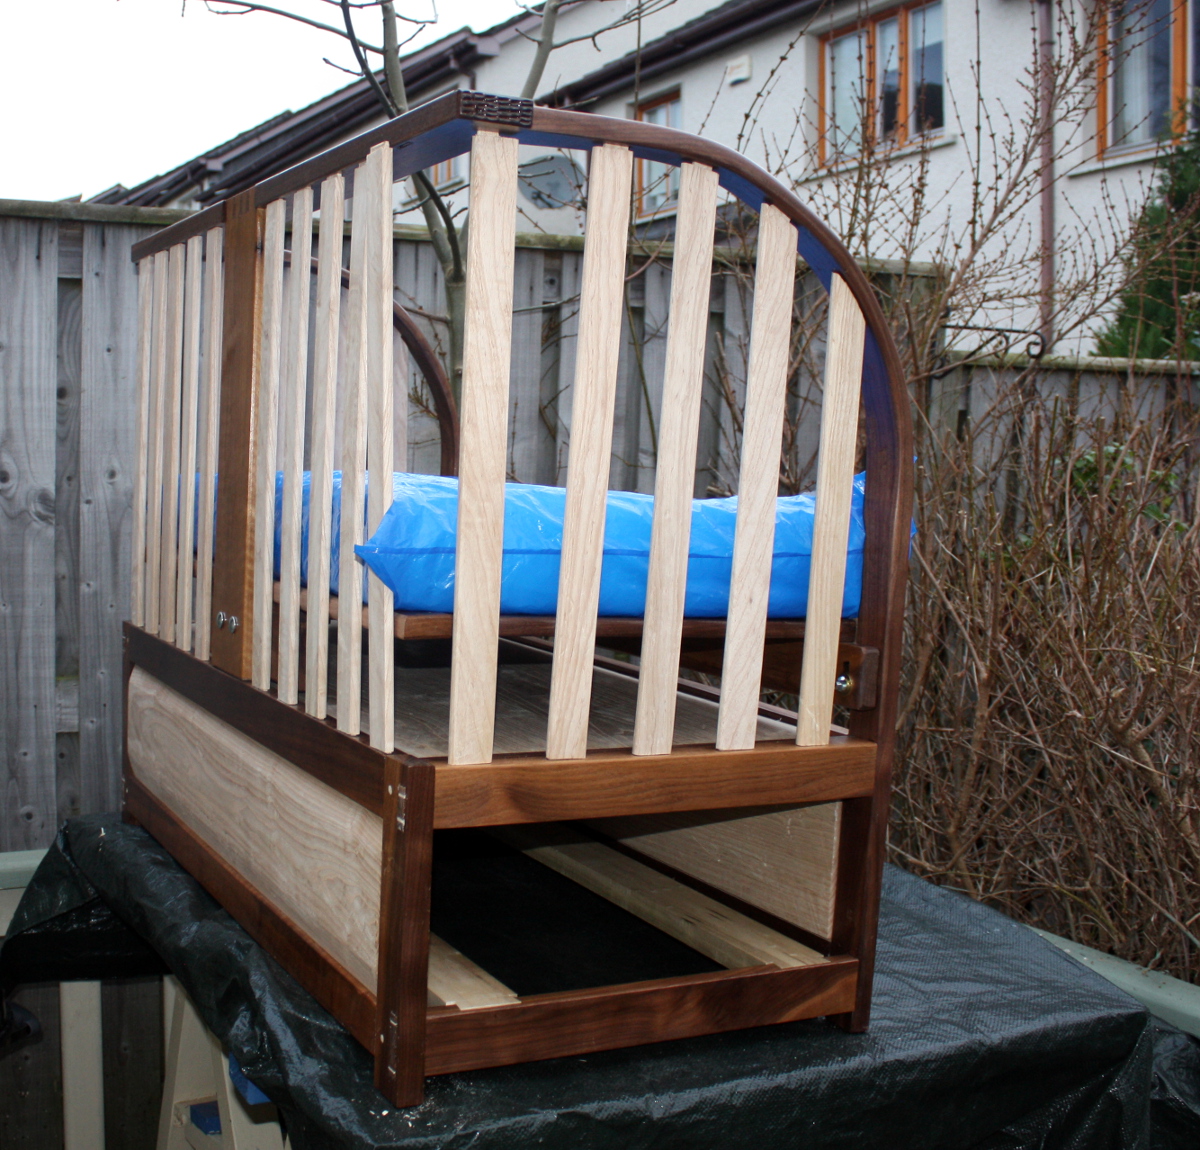
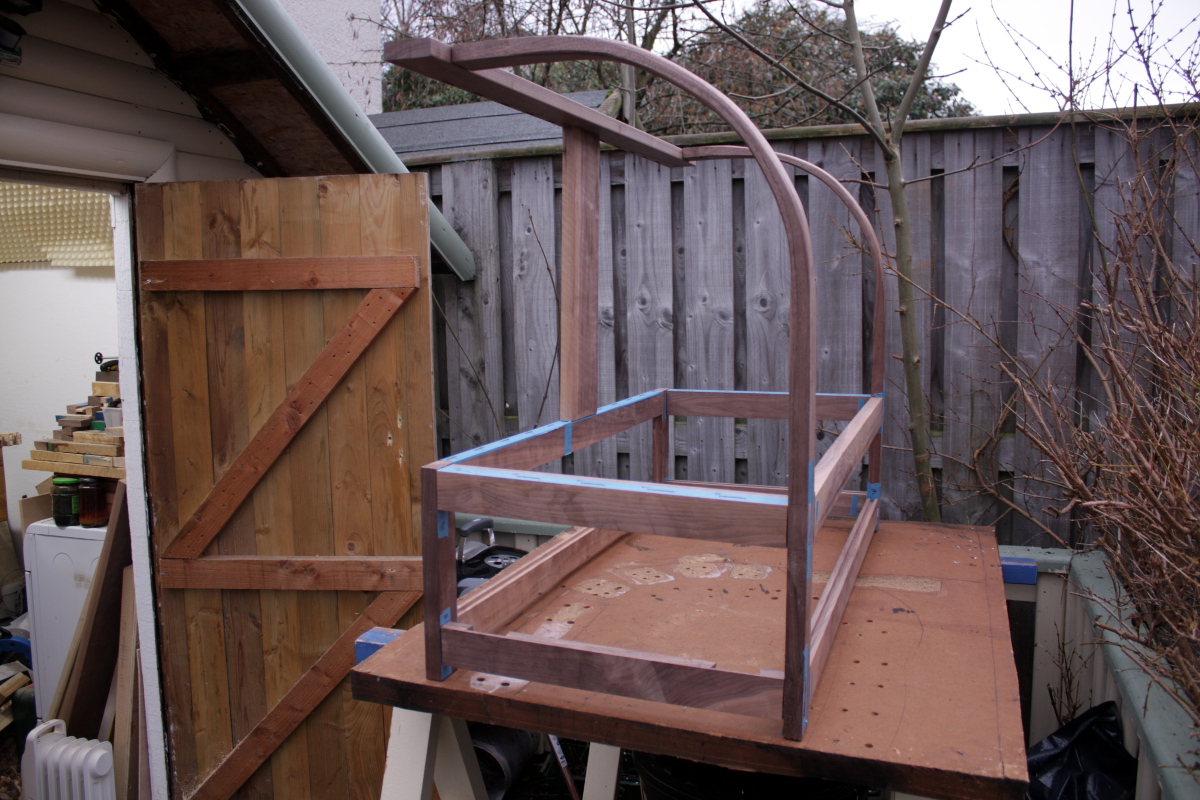
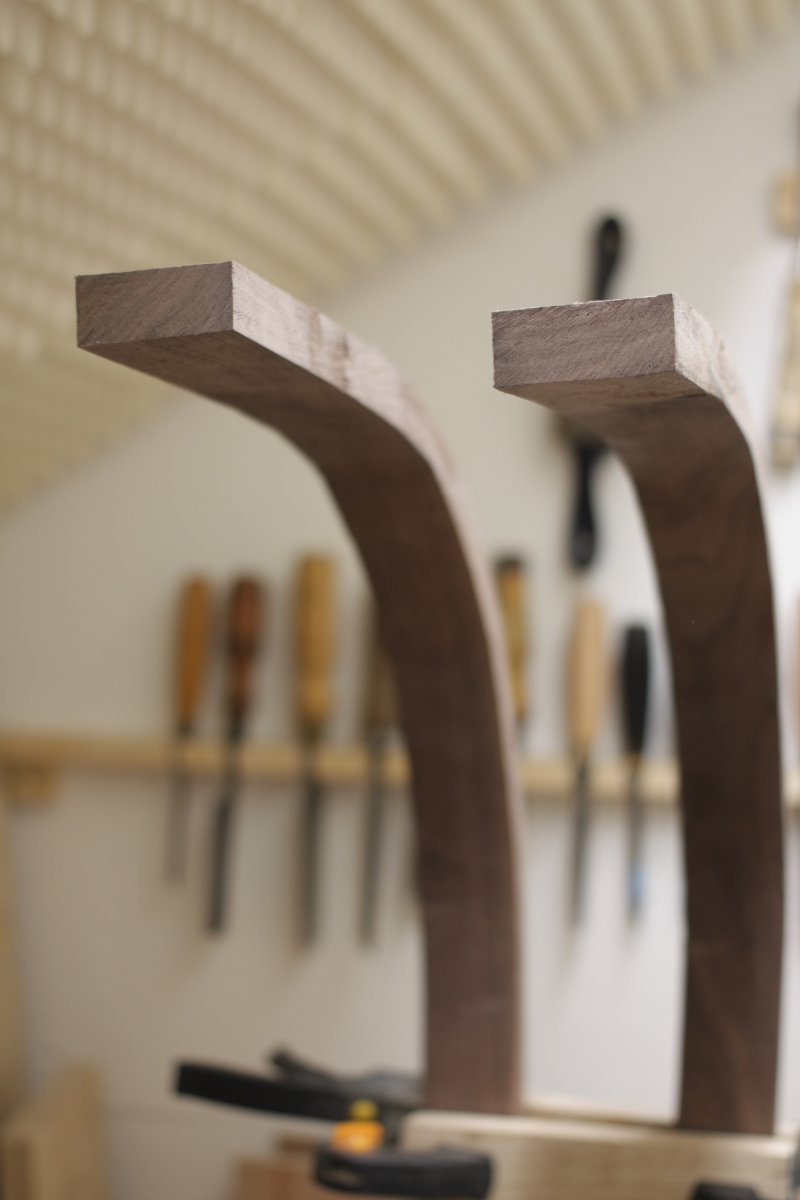
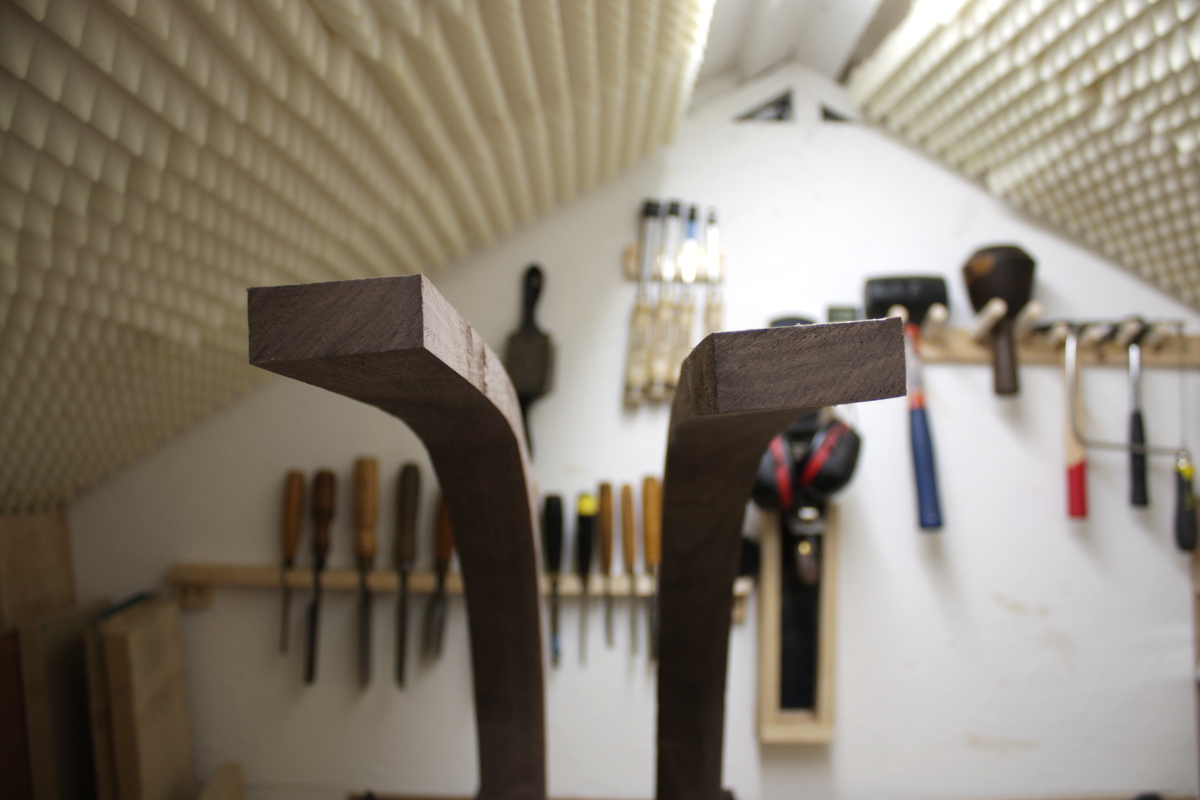
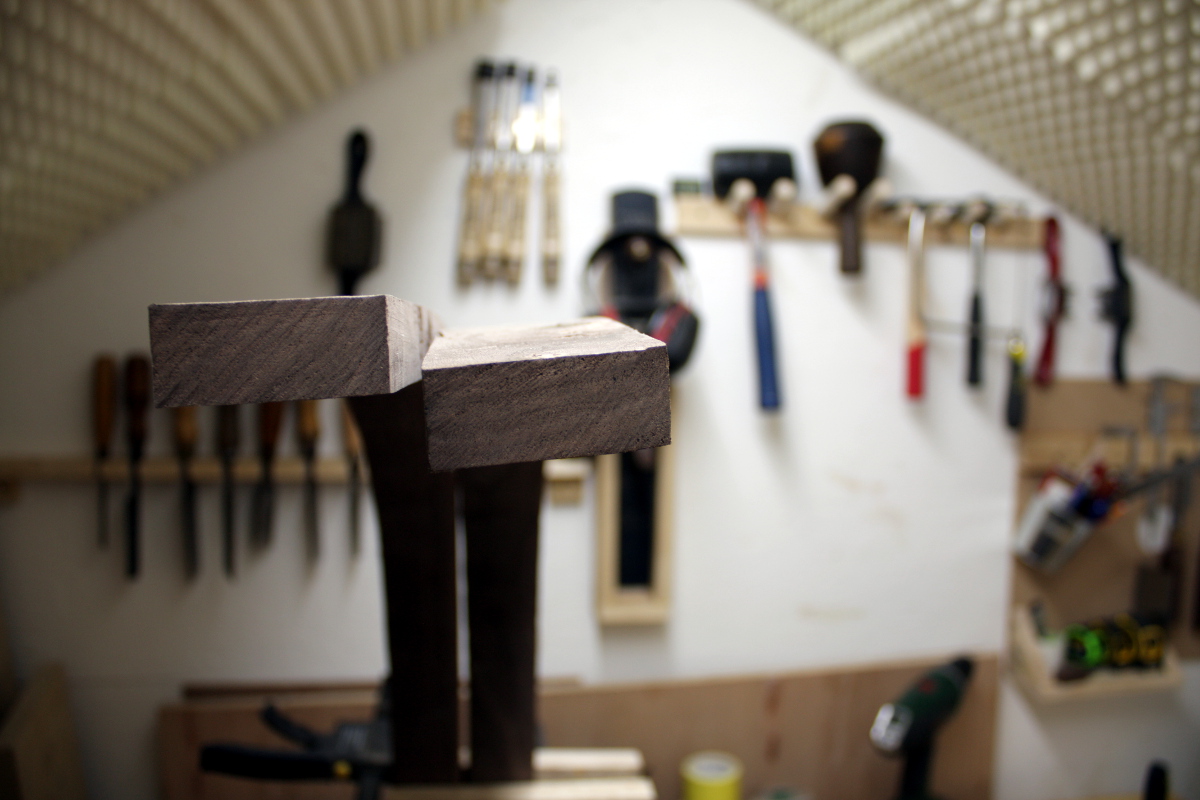
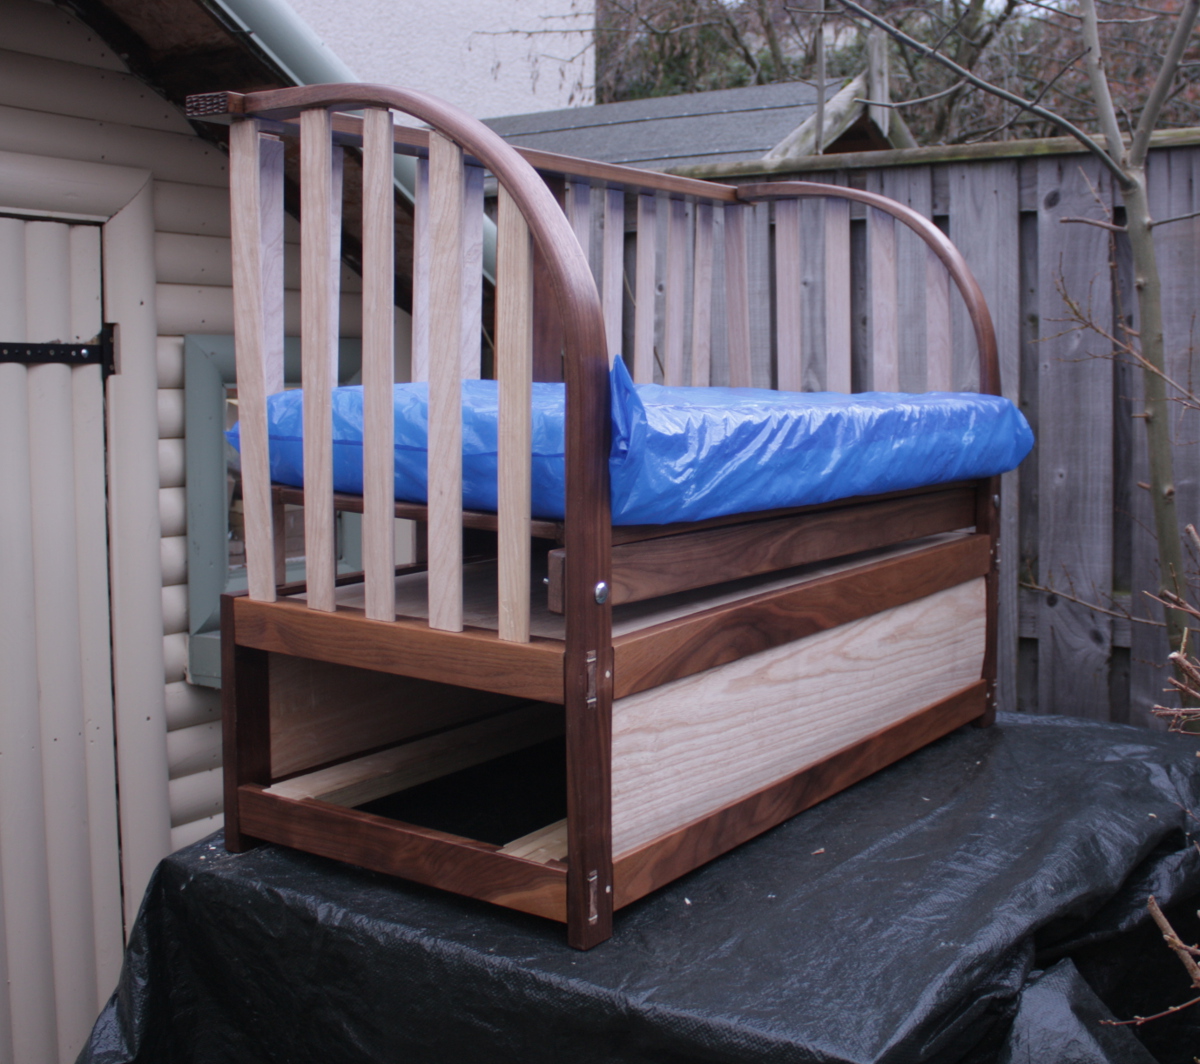
I’m kindof cheating a little there – that’s a dry-fit before gluing in all the slats. But it all fits and the mattress top is at the right height so that’s a good start.

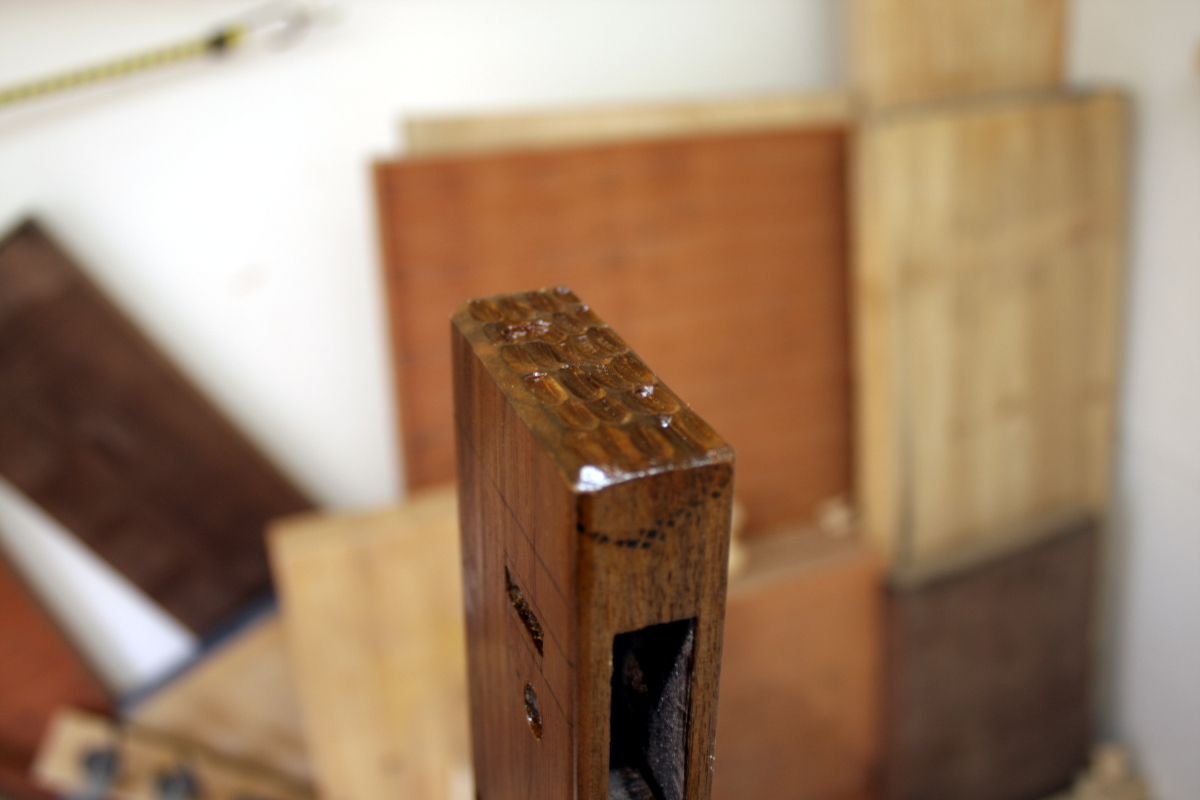
Got the day rolling by checking on the last coat of shellac for the rear support and especially the endgrain carving, which turned out well.

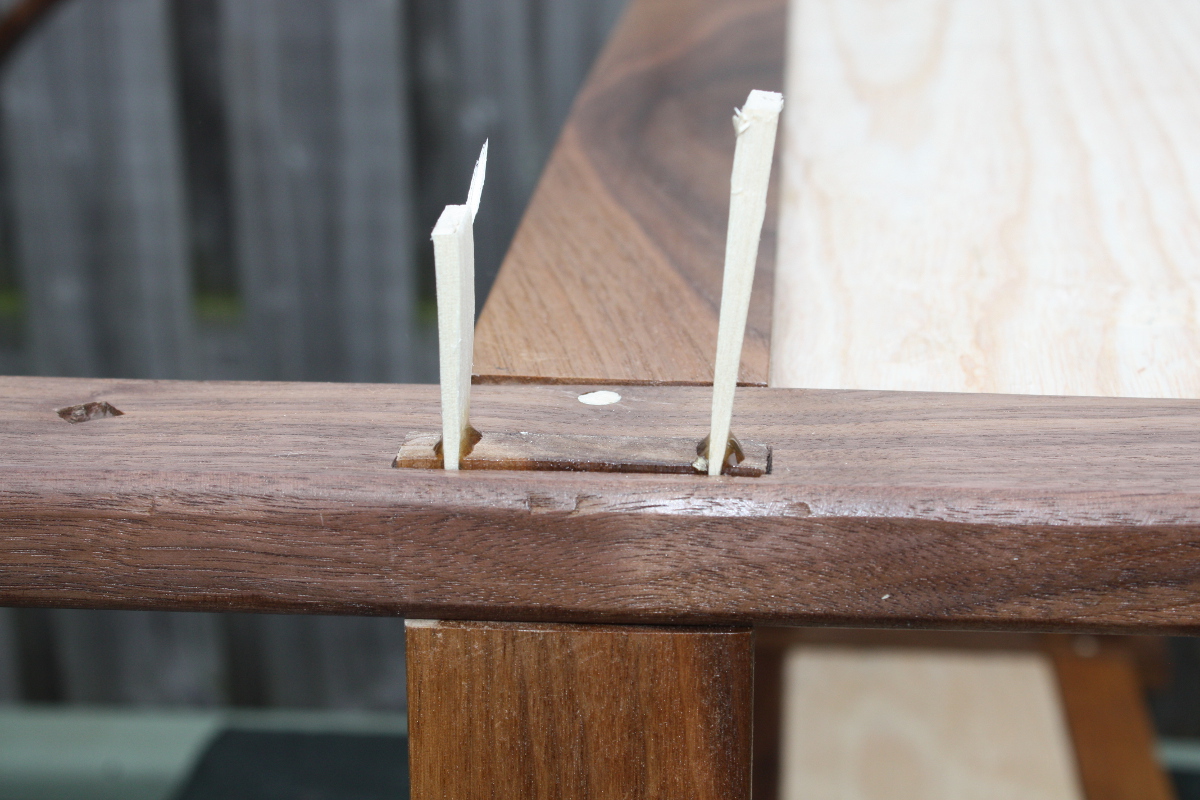
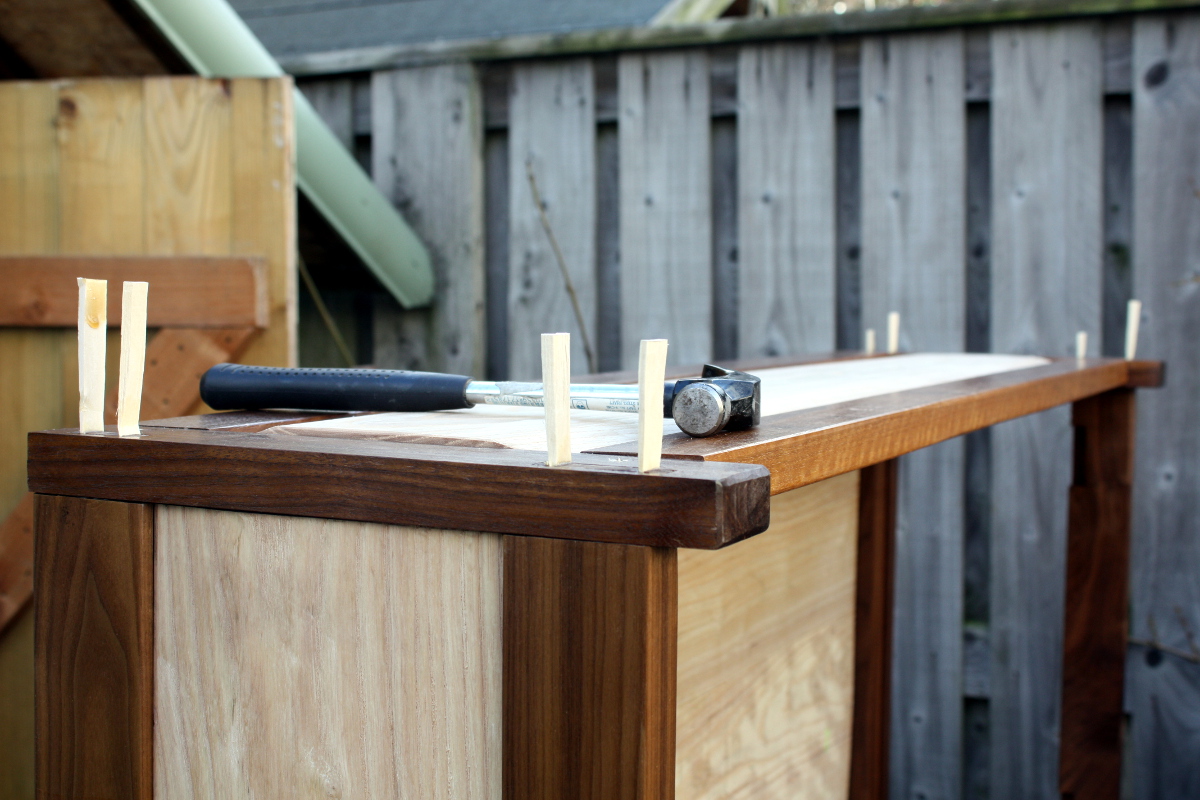
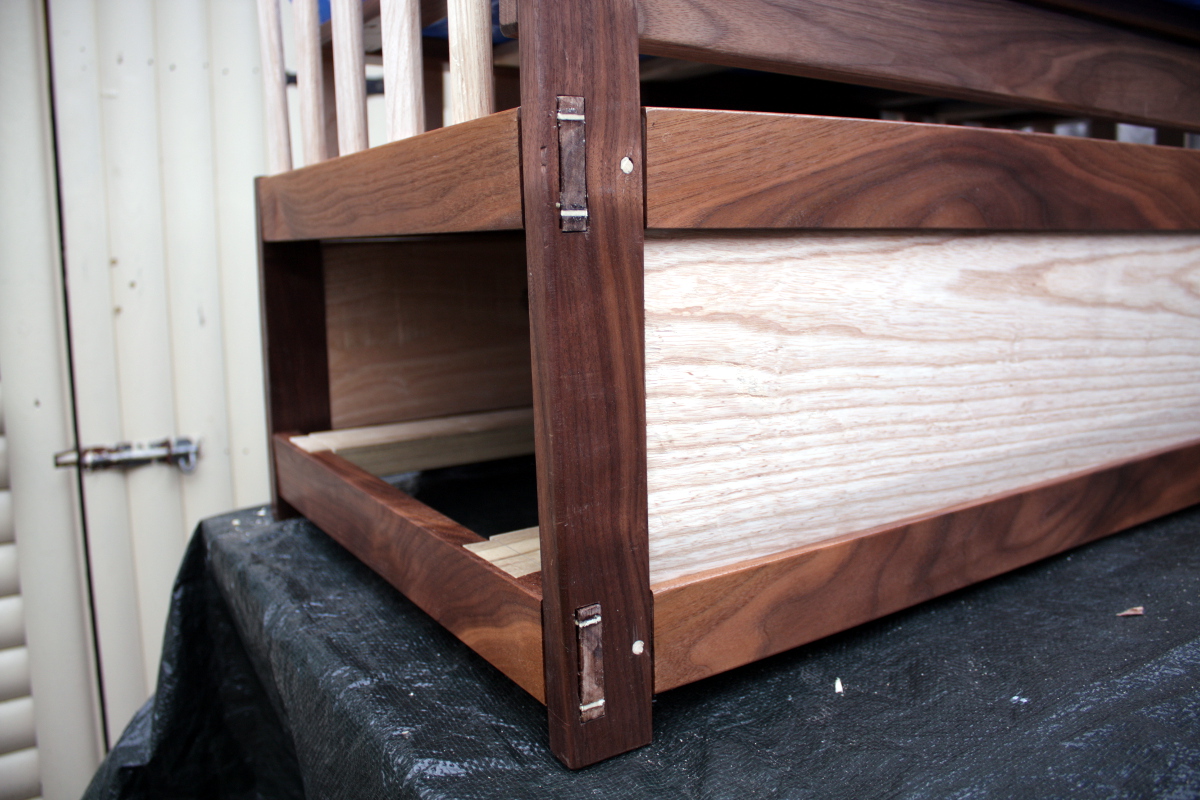
Then I put a tarp down on the assembly table, laid out the parts and rails, and dry-fit everything together. Then I stood the crib on the back panel, got out the hide glue and glued up the tenons going into the front panel, and then glued up the wedges and started driving them home to secure everything.

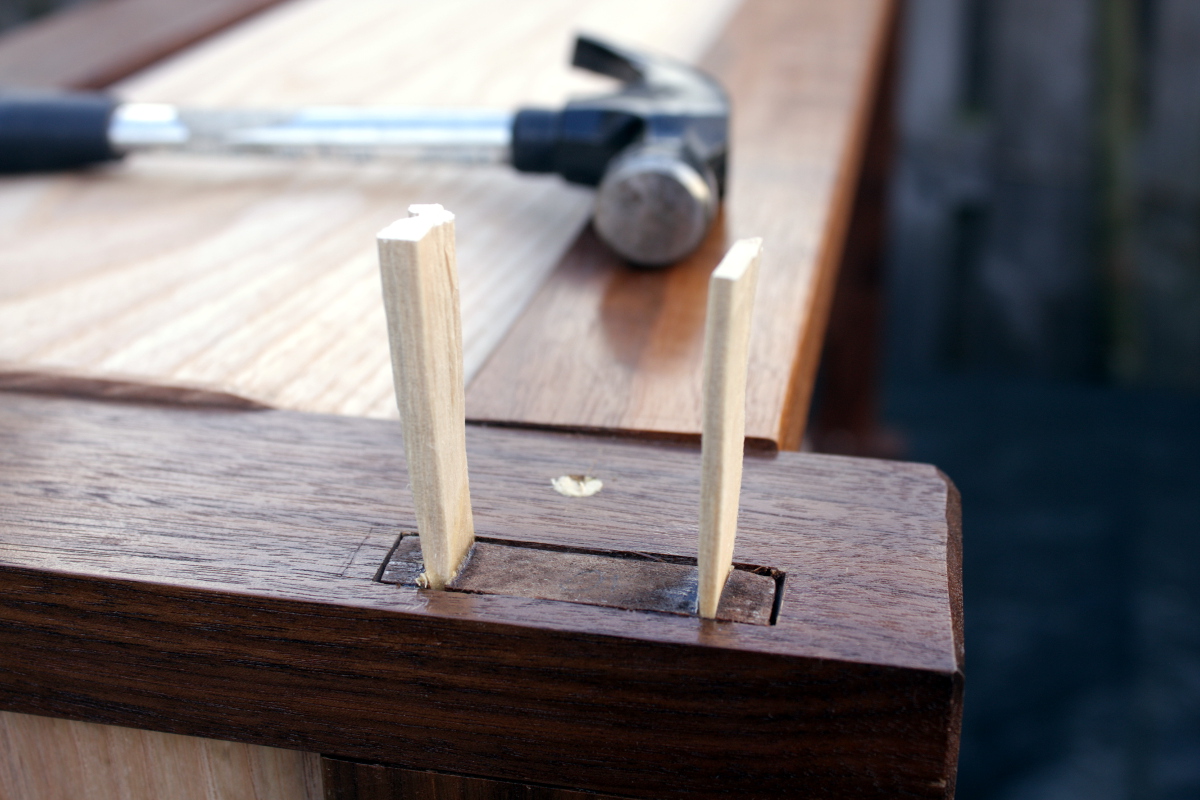
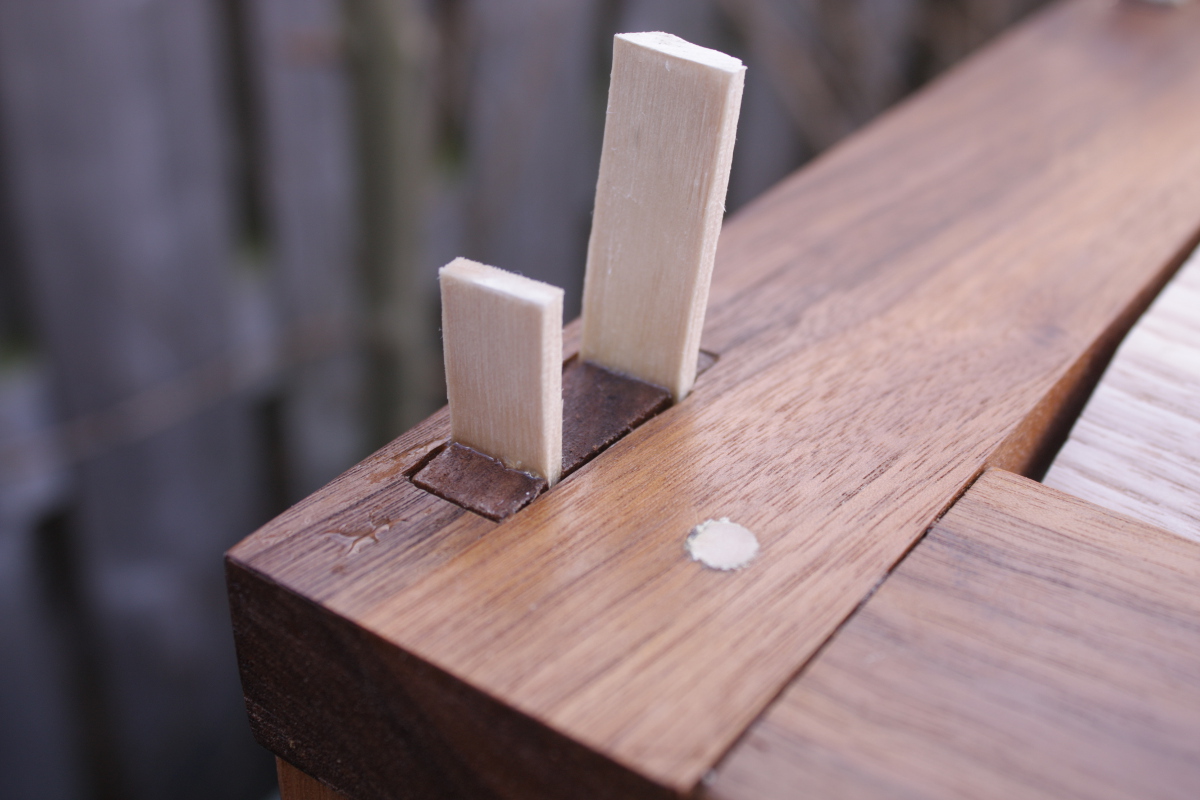
It went pretty well, even if one wedge did fail after I’d driven it home (it’s the one listing off to the left in the top photo). But enough went in to do the job, so it’s fine.

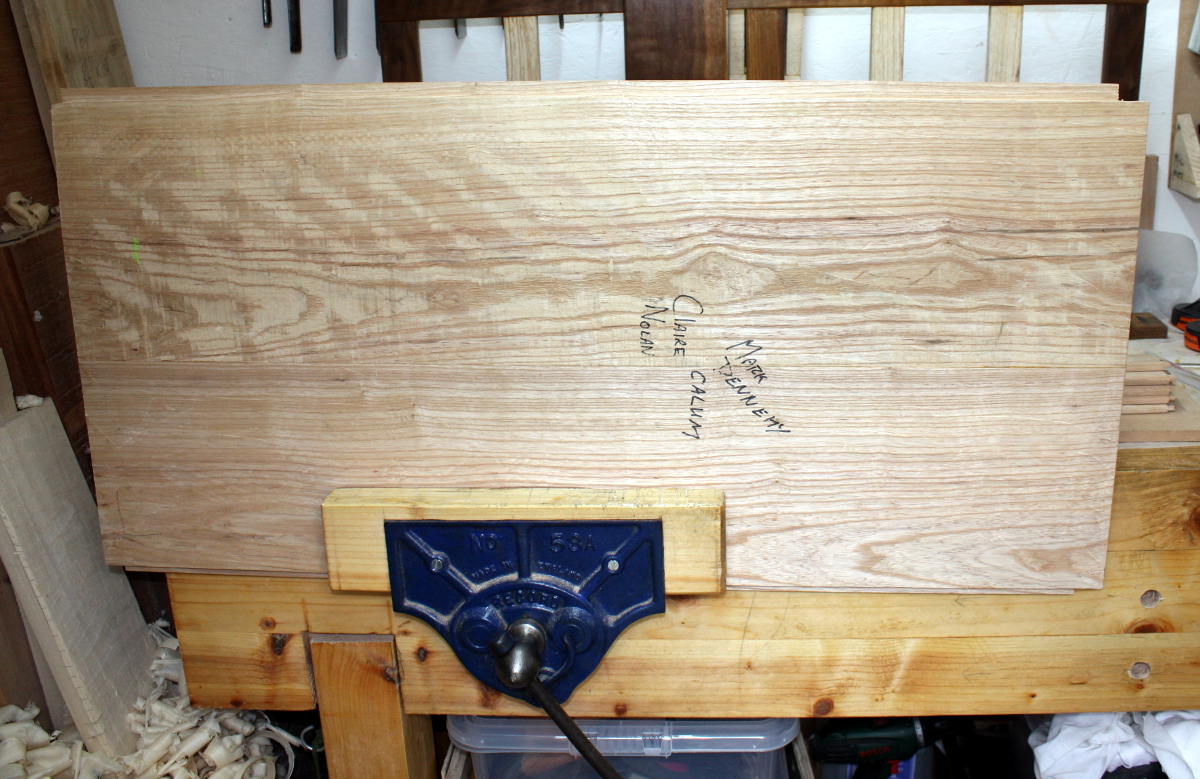
Then I took the flushcut saw and trimmed down the wedges, leaving a few mm proud only, flipped over the crib onto the front panel and inserted the end panel and dry-fit with the top panel and found – horror – a gap of nearly 2cm. The frame wouldn’t close. How I missed that I don’t know, but I spent the next hour fettling the top panel with jack and smoother and shoulder planes to get it to fit properly.

(Got to sign the work)

Then once I had it fitting properly…

I painted the tenons going into the back panel with hide glue, seated them, painted the wedges with glue and drove them home as well.

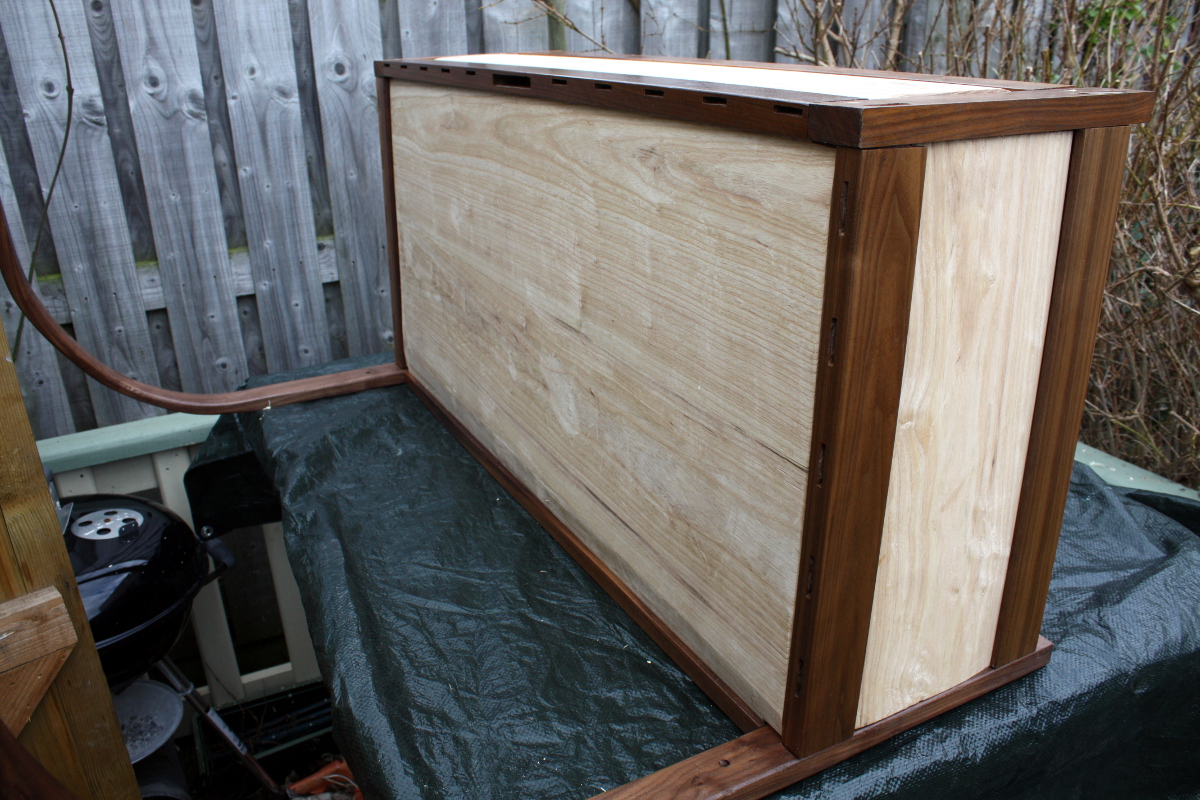
Then I got some (now in bloody awful shape, I need to fix these again) of the heavy-duty clamps I used for the bench and clamped front to back panel to get good pressure on the joints.

And then there was some tea. Then I dry-fitted the back support and top crossrail and the slats.

There had to be some more fettling of the back of the mattress support platform (and will have to be some more still, I’ll do that tomorrow), but it all seemed to fit fairly well, so I stuck on the mattress to make sure that it was 510mm from ground to mattress top.

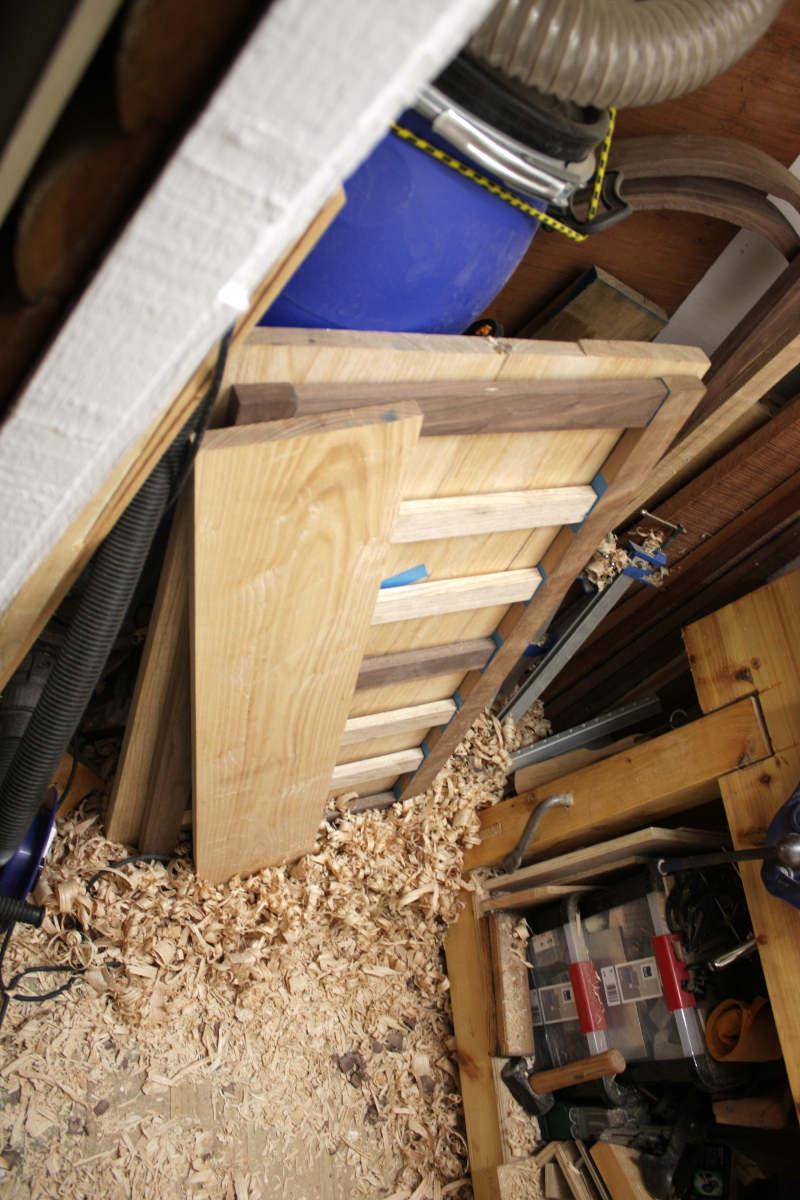
Yup, all good. And the grain pattern on the rails matched better than I’d hoped it would. I did have to remake one slat from a spare I had, but by the time the light was fading, I had the curved uprights glued and drawbored into the top crossrail and that glued into the main body and all the slats glued in place and clamped.

The question now is whether the hide glue can hold the slats on the left into the frame, as that curved upright wants to spring up and away from them. If it doesn’t hold, I’ll swap out the hide glue for titebond; but it should be okay.

And that was all there was for the main frame. I still have to fettle the mattress platform a little, that’s a five to ten minute job, but we’re just about done and onto finishing with the frame.

And all that leaves….

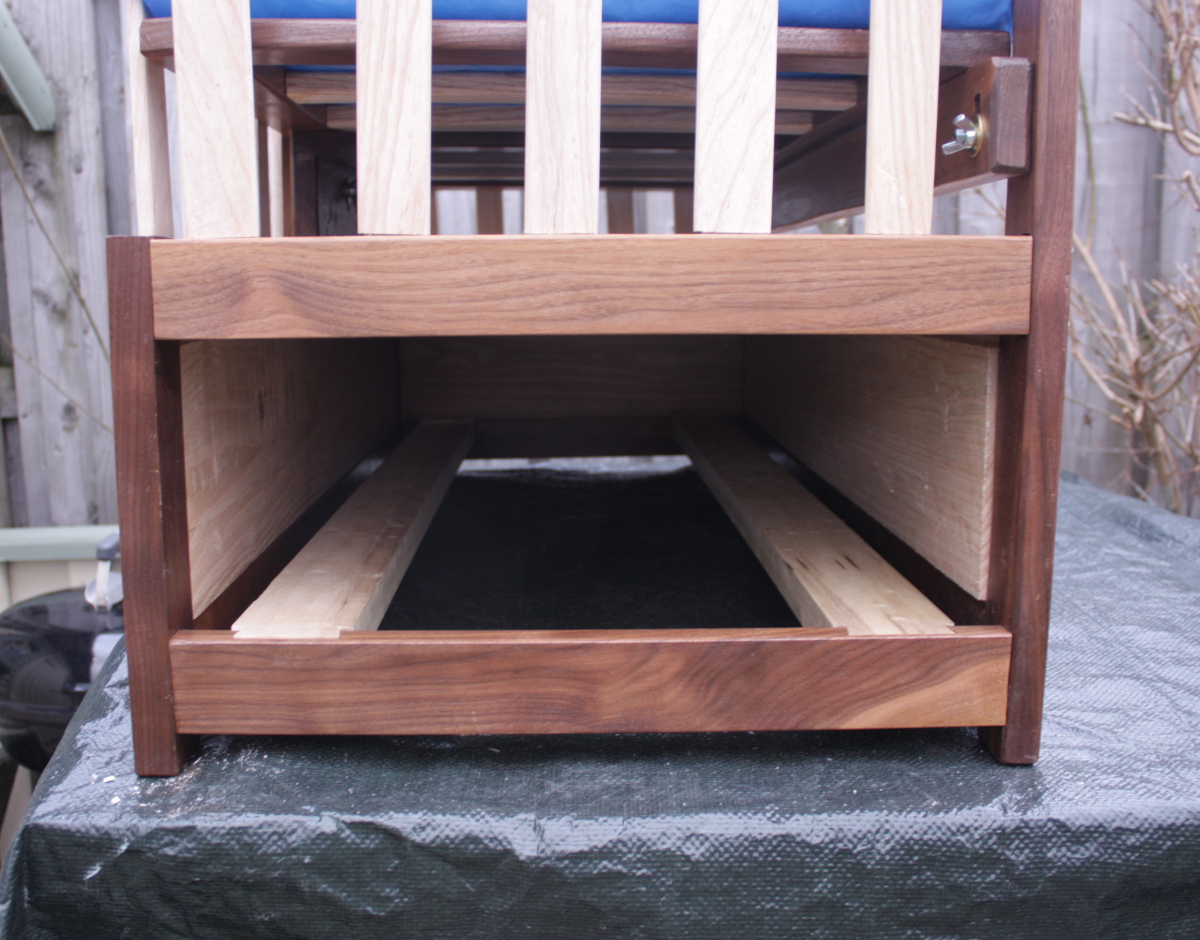
…is the drawer.


To-Do List (stuff in progress in blue:

  • Make a drawer
    • Thickness the boards for the drawer.
    • Cut the drawer front to size.
    • Cut the drawer back and sides to size.
    • Cut dovetails for drawer.
    • Groove drawer with #43 for plywood base.
    • Maybe add runners underneath the drawer?
    • Finish plane drawer front
    • Finish drawer front with shellac.
    • Paint drawer sides with milk paint.
    • Assemble drawer.
  • Assemble and glue-up and drawboring of everything.
  • Last minute fettling and foostering.
  • Finish entire assembly with several coats of Osmo wood wax.
  • Close door of shed, lock it, walk away and never do another project with a deadline ever again.
29
Jan 17

End in sight…

Full day in the shed today, trying to get the cot finished. Needed to get one final assembly in order to mark off the curved tenons on the side slats.

Mental note – never build something larger than this in the shed. The amount of time lost because of having to assemble it outside (meaning needing to wait for a dry weekend because it’s dark by the time I get home during the week) has been a complete pain in the timetable for this. But most of the work on the frame is now done; the drawer runners are jointed at one end and the layout is marked up on the other end, the side slats are marked up on the curved end and have the tenons and mortices cut on the other end. The groove for the top panel needs to be cut in the long stretchers, that’s a half-hour job at most. After that, everything is finishing and fiddling.

Well, and the drawer. But that’s not exactly going to be tough, the longest part will be thicknessing the material from an inch down to three-quarters of an inch; it’s poplar and with Sid, that should take less than a half-hour. A sweaty half-hour, yes, but you can’t have everything…

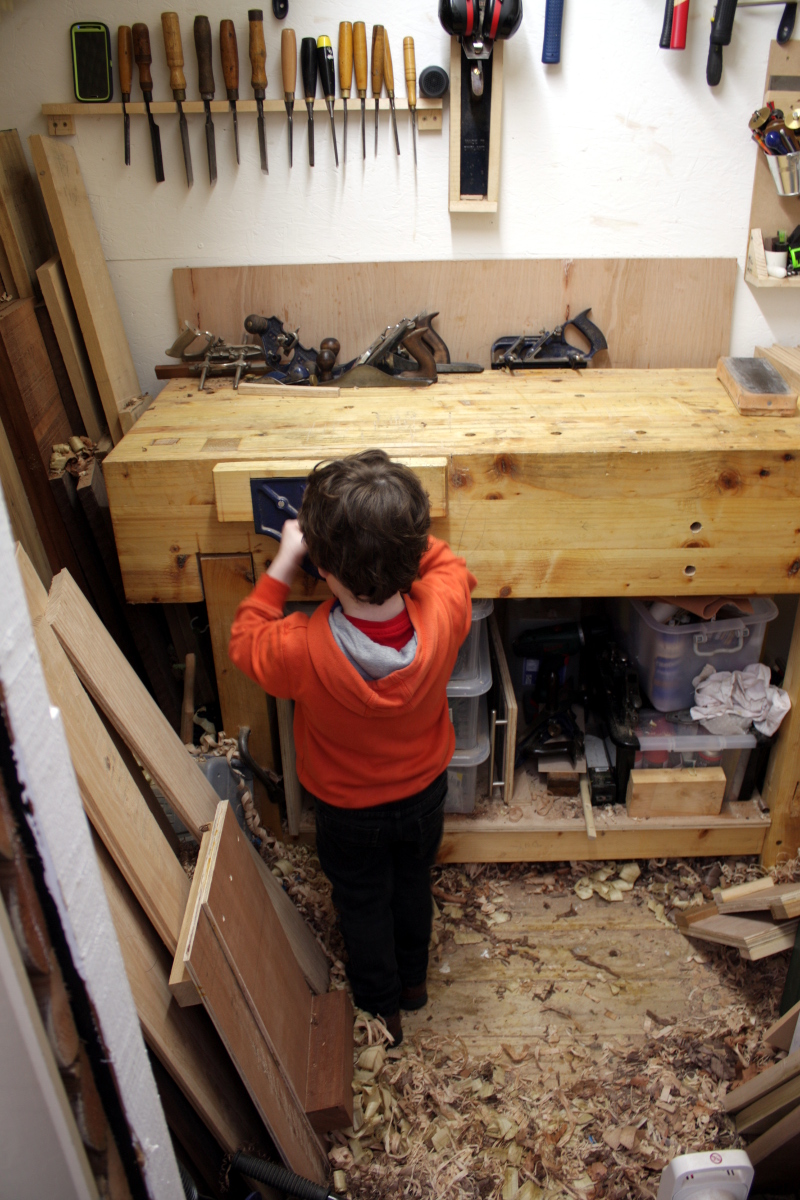
Surprise inspections keeping me on my toes…


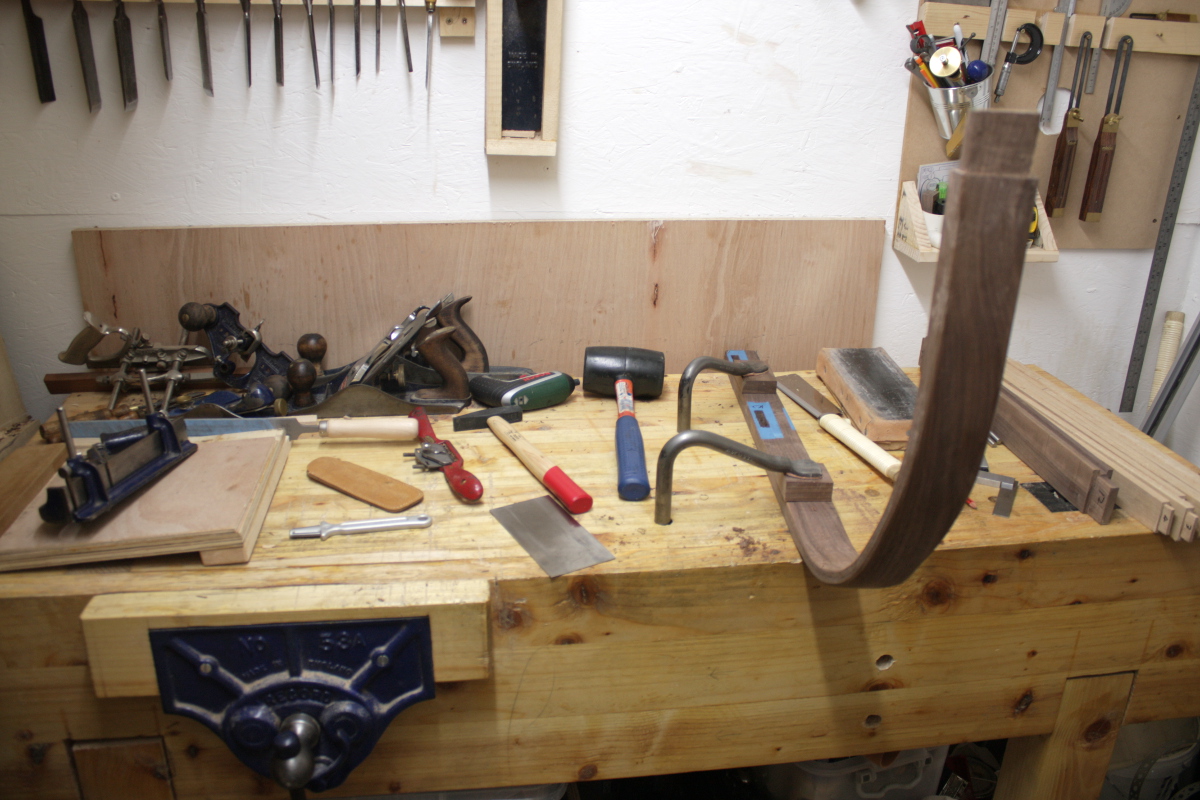
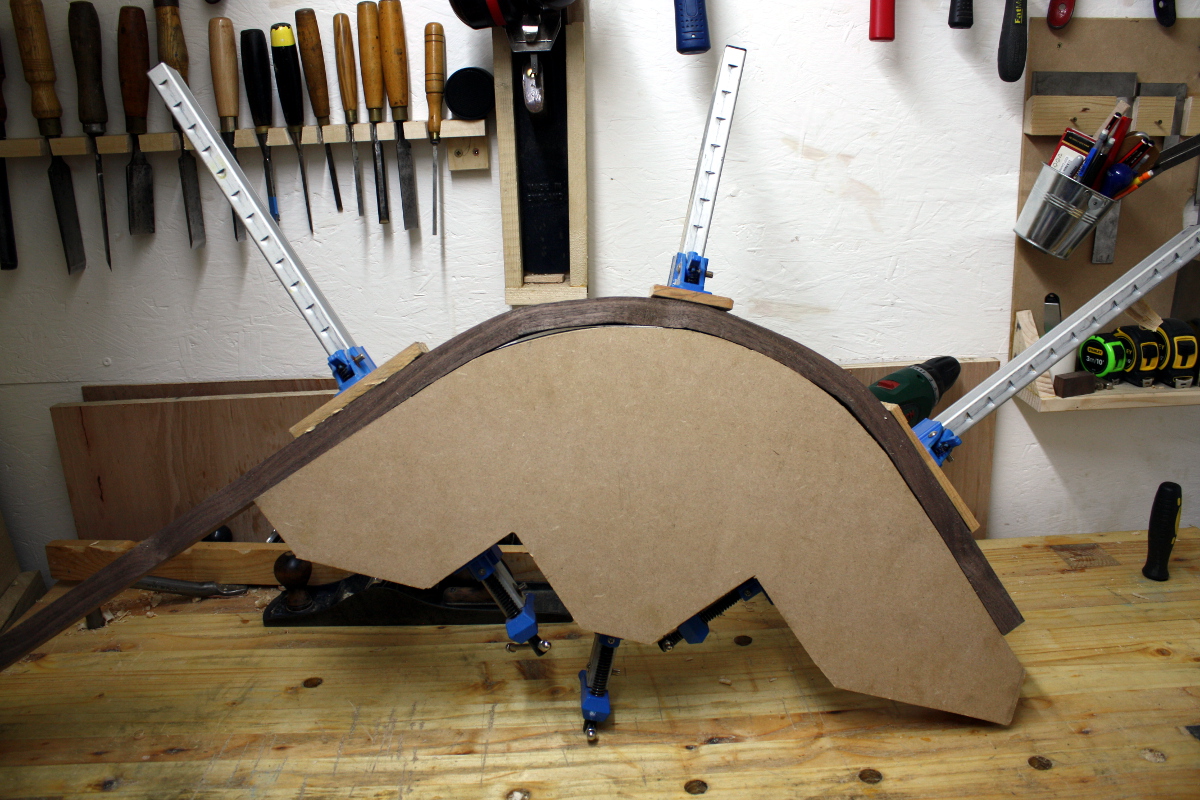
The curved bits were probably the most demanding of this whole build – steambending is nifty, but get details wrong and you spend an absolute age fiddling to correct the flaws. And trying to get a smooth surface on the curved pieces has been a pain.

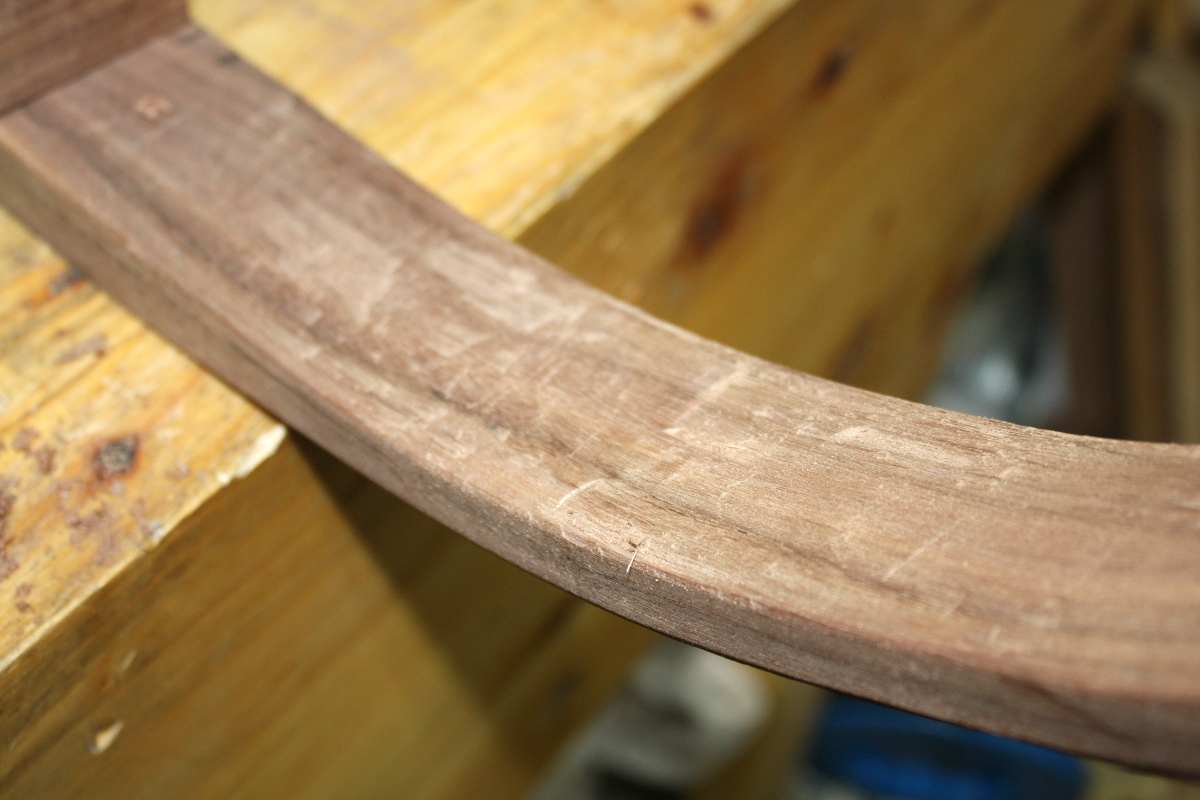
It’s spokeshave and scraper all the way with these things, I can’t get a bench plane onto them at all really. It’s interesting to learn new tools, but it’s not exactly a fast method. But there’s not much work left to do there at least.

It doesn’t photograph well, but it’s smooth to the touch. And with rounded corners – that’s something else I need to do to every exposed corner, ensure it’s rounded over. It’s done for all the slats at the back and for about a third of the frame, but it has to be done for everything. Happily, it’s a fairly fast process, it takes the longest on the slats because the rounding is quite pronounced, but on the frame it’s a lot faster because on most of the frame, you just want to break the sharp edge rather than round it all over.

To-Do List :

  • Measure off side slats (because they’re going into a curve, this is going to be fiddly) and cut tenons.
  • Cut mortices for side slats.
  • Cut grooves for top panel in long stretchers.
  • Joint drawer runners into the bottom end crosspieces.
  • Thickness the boards for the drawer.
  • Cut the drawer front to size.
  • Cut the drawer back and sides to size.
  • Cut dovetails for drawer.
  • Groove drawer with #43 for plywood base.
  • Assemble drawer.
  • Drill for drawboring on the M&T joints that I’ll be drawboring (the long rail to upright ones and probably the back support and top crossbar joints).
  • Make drawbore pegs.
  • Finish plane all parts.
  • Finish walnut pieces with a few coats of shellac.
  • Paint drawer with milk paint.
  • Assemble and glue-up and drawboring of everything.
  • Finish entire assembly with several coats of Osmo wood wax.
  • Close door of shed, lock it, walk away and never do another project with a deadline ever again.
12
Dec 16

Depressing weekend results…

So the weekend started off well. Popped the steambent upright from last weekend out of the drying form:

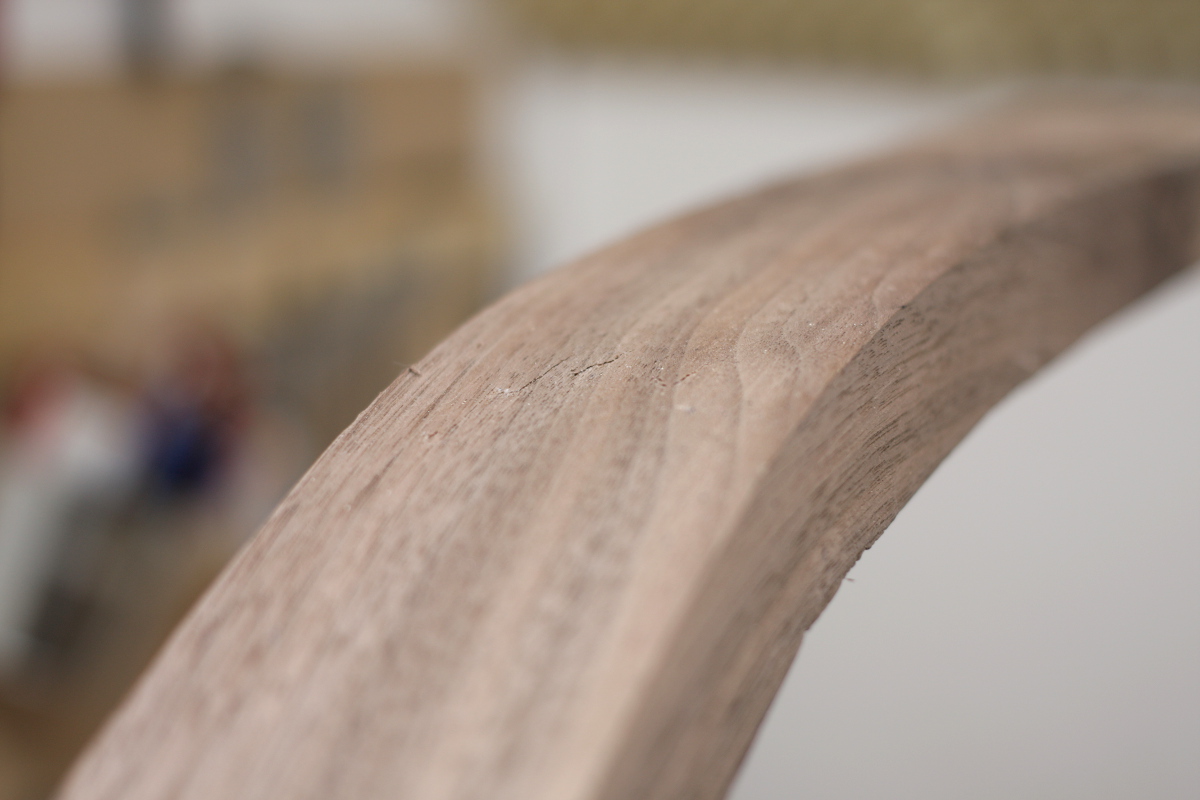
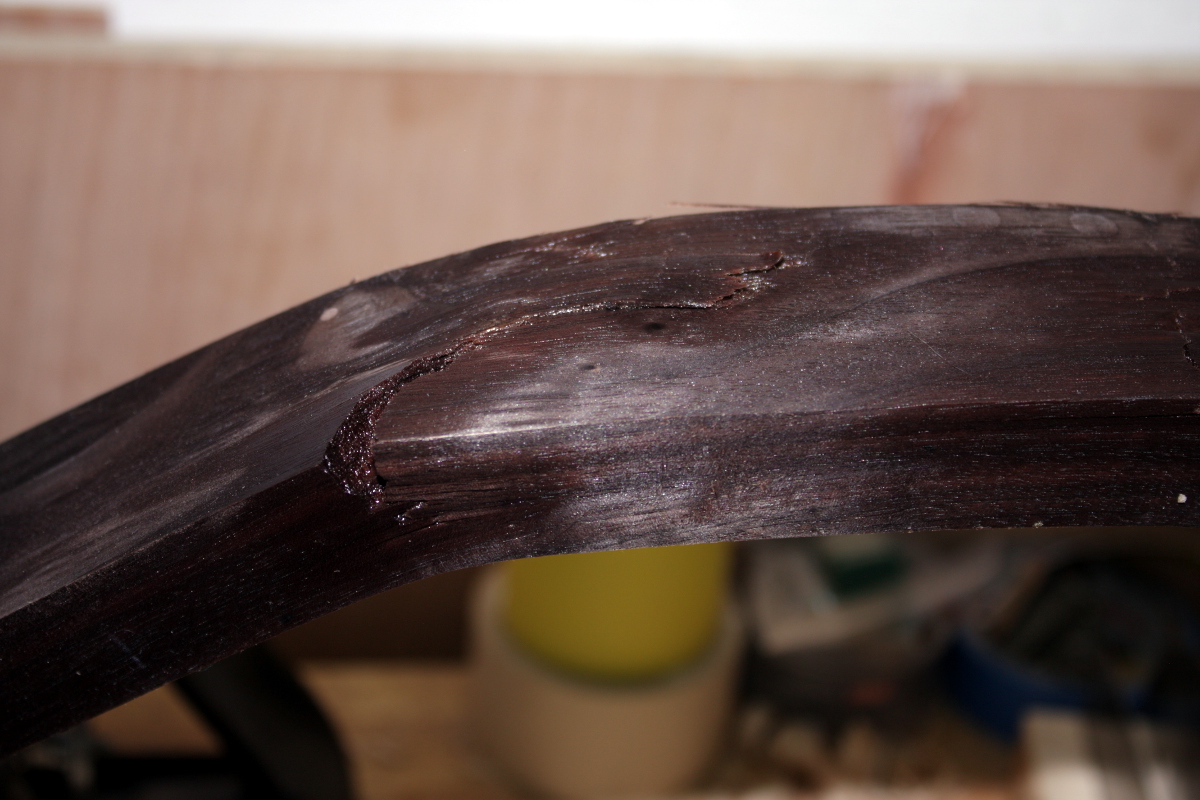
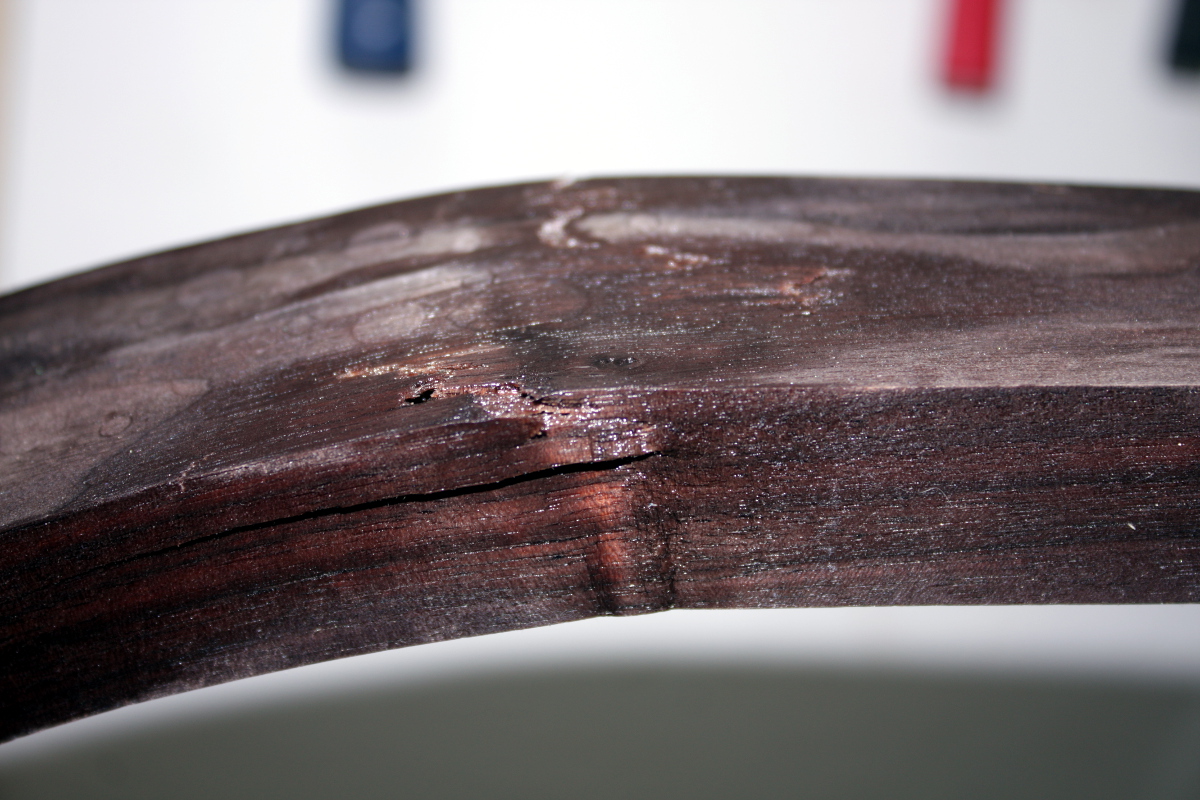
And the results were very good, the only crack I could find is barely there at all:

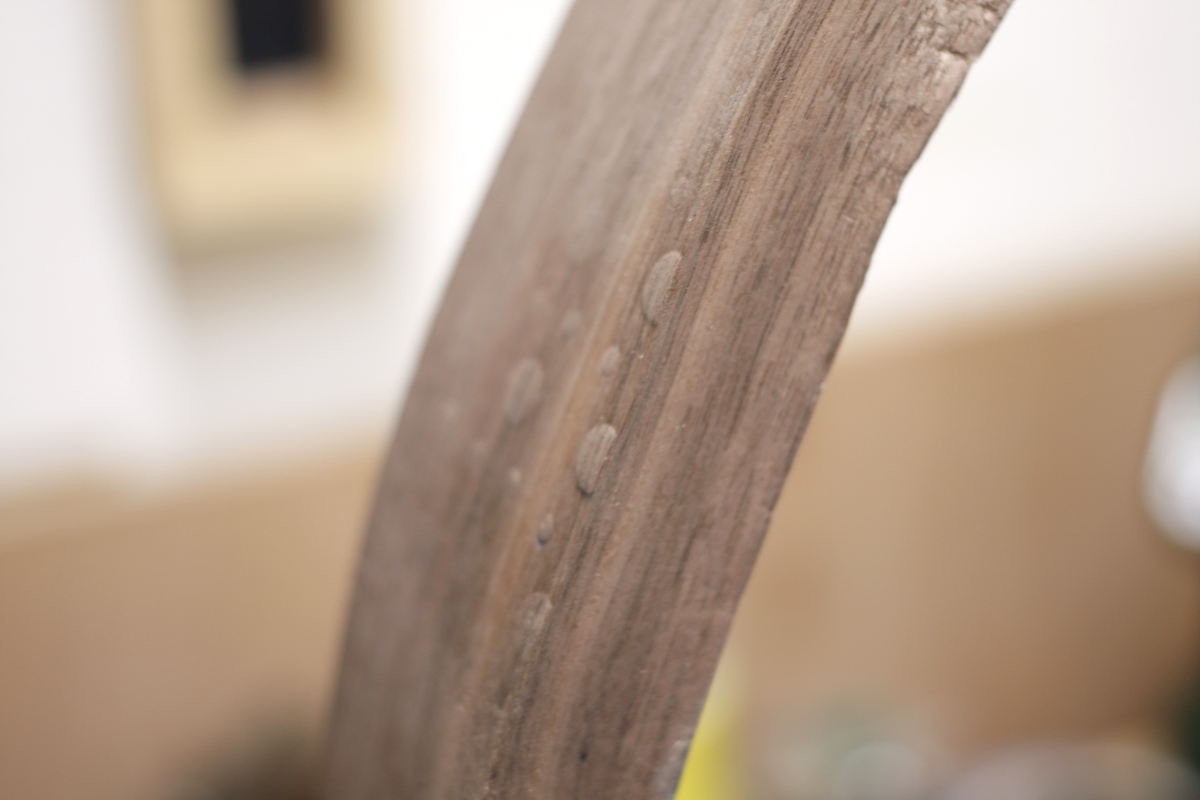
And there’s some marks from the compression strap:

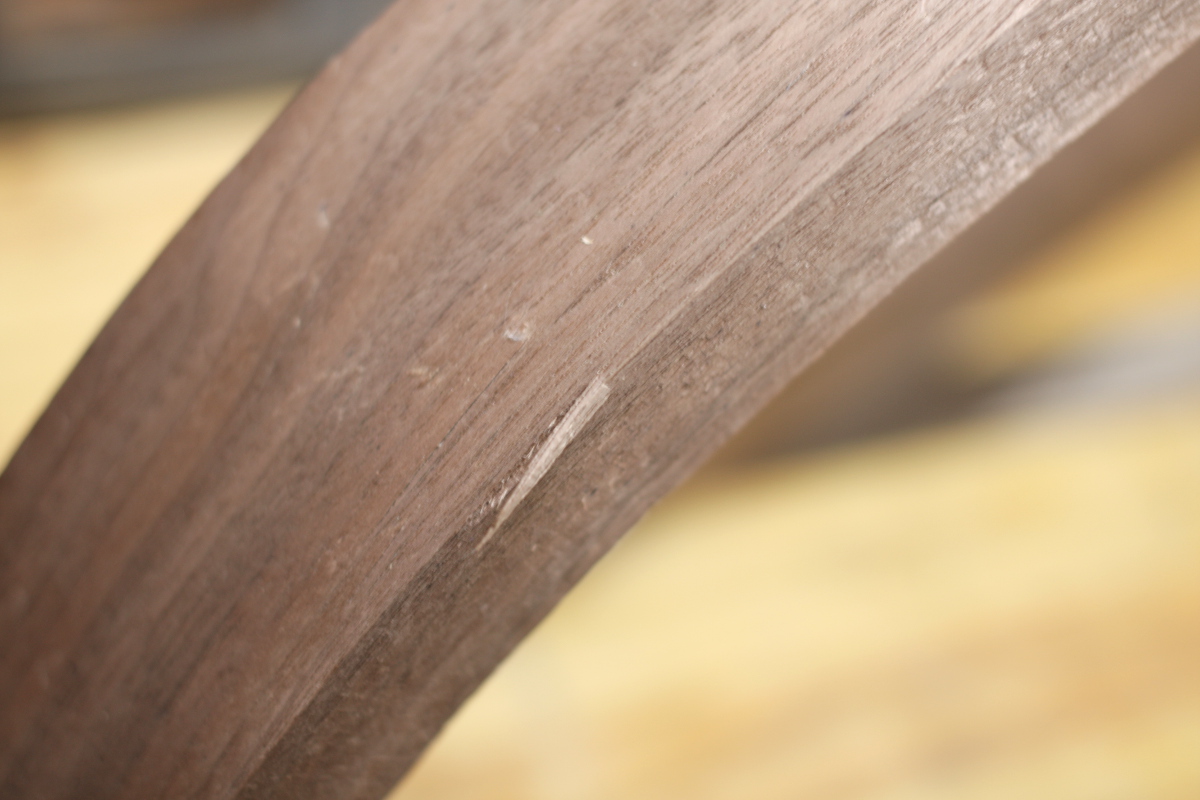
And a small defect in one spot on one edge: But those are a swipe from the spokeshave to remove and apart from them it was nearly a perfect bend.
The problem is that the first upright isn’t a perfect match…

The twist I could take care of with planing, I don’t need the full thickness on those sections, but the difference in curvature could introduce stresses I don’t need in the piece, so the idea was to steambend another upright this weekend using the last of the plastic tubing I had and pick the best two of the three.

But the compression strap slipped mid-bend and it ended badly 🙁

Utterly unusable scrap, and I didn’t even bother putting it on the drying frame.
My solstice holidays start at 1700h on Wednesday evening so I might have time to try one more time, if I could get the polythene tubing fast enough, but for now I have to assume I have to make what I have work. It’s not the worst job in the world, it’s just that if you have a 100% and a 90%, the 90% is always going to look bad by comparison 😀

But it was a pretty crummy result for a weekend, so I just marked out the last of the boards to cut and plane and left it at that, and spent the rest of the time sharpening tools in prep for stock prep come Monday evening…

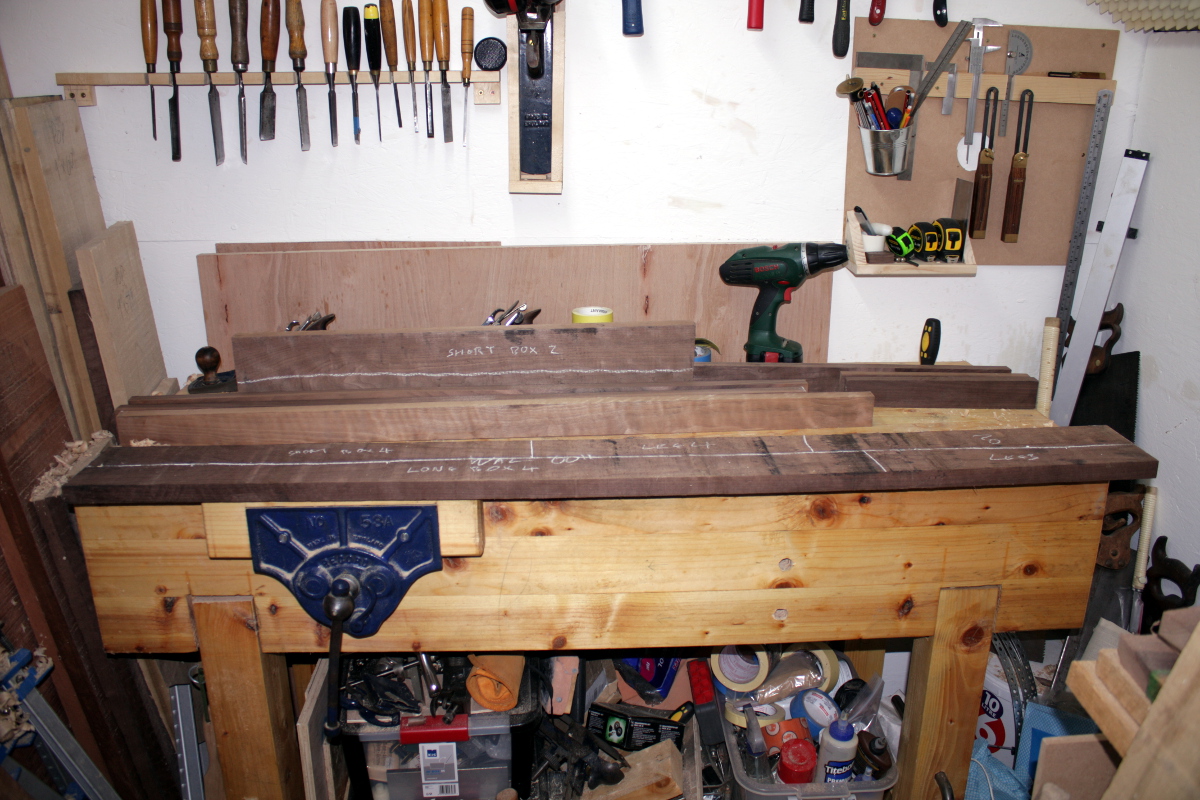
One short rip, one long rip, a few crosscuts and some planing on walnut – that’ll be pretty easy, walnut is lovely to work with.

The panels need their final crosscutting to length and then I need to figure out how to do the grooving for the frame-and-panel construction (my #40 got the cleanup-from-ebay purchase treatment finally this weekend with the wire wheel for the worst of the corrosion and the blades are still in the vinegar awaiting their cleaning and sharpening).

And then there’s the poplar for the drawer and runners, and another short walnut board for the back support. Not expecting much trouble here either, though there might be a long rip cut on the poplar depending on how things work out. There is also another side panel and an end panel of ash however, and that kiln-dried ash is proving a bit of a bugger to plane. Sid got a workout getting the larger panel to just be free from twist, I’m just glad there’s no major cupping or bowing going on there.

And then there’s the drawer front. I was thinking ash initially, but a while working with the kiln-dried stuff is giving me second thoughts about doing it in that because carving blind dovetails in that strikes me as being challenging. I could do it in walnut, but I’m not sure which board I’d use; and then there’s a sapele board of the perfect width sitting right there. But it’d be the only piece of sapele in the whole thing and I’m not sure how it’d look. Decisions, decisions. Meanwhile, tick-tock, the delivery date looms…


edit: At least I’m not the only one having bending issues