The title is annoyingly descriptive of the process, but on we go. Unwrapped the boards, and discovered silicone will stick to CA glue and oak…
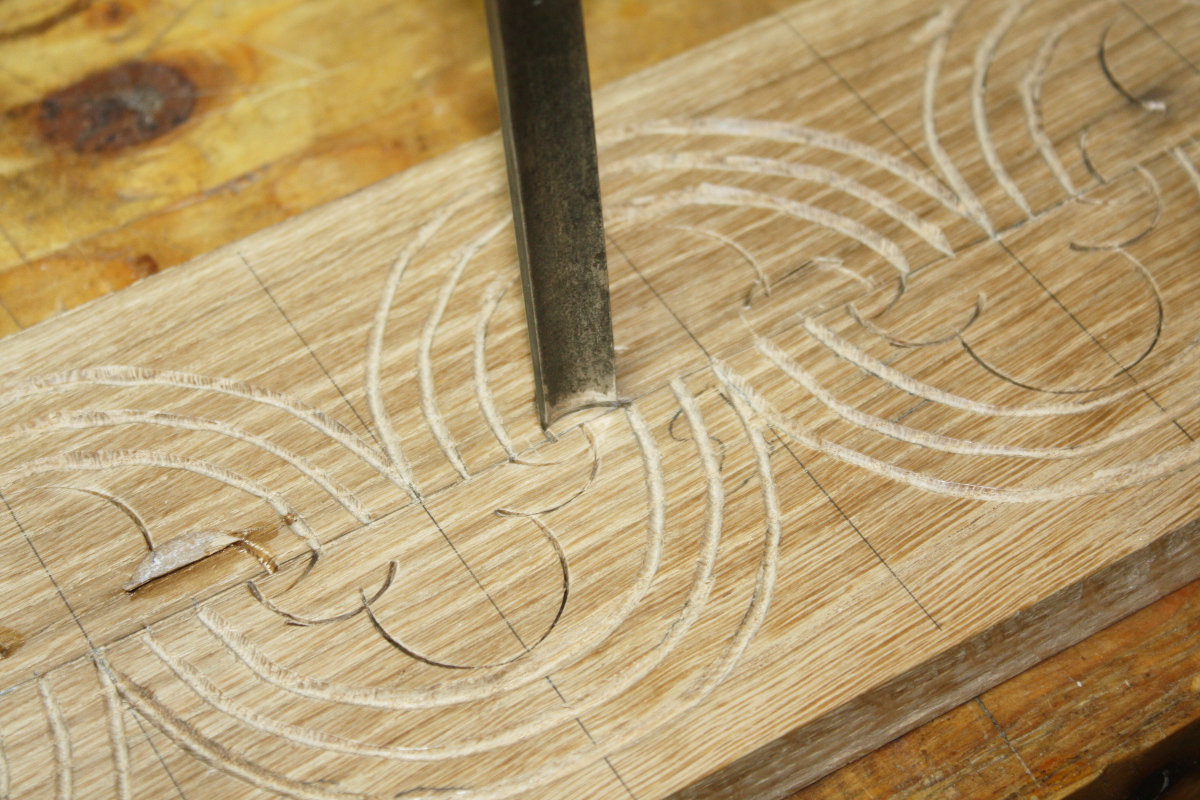
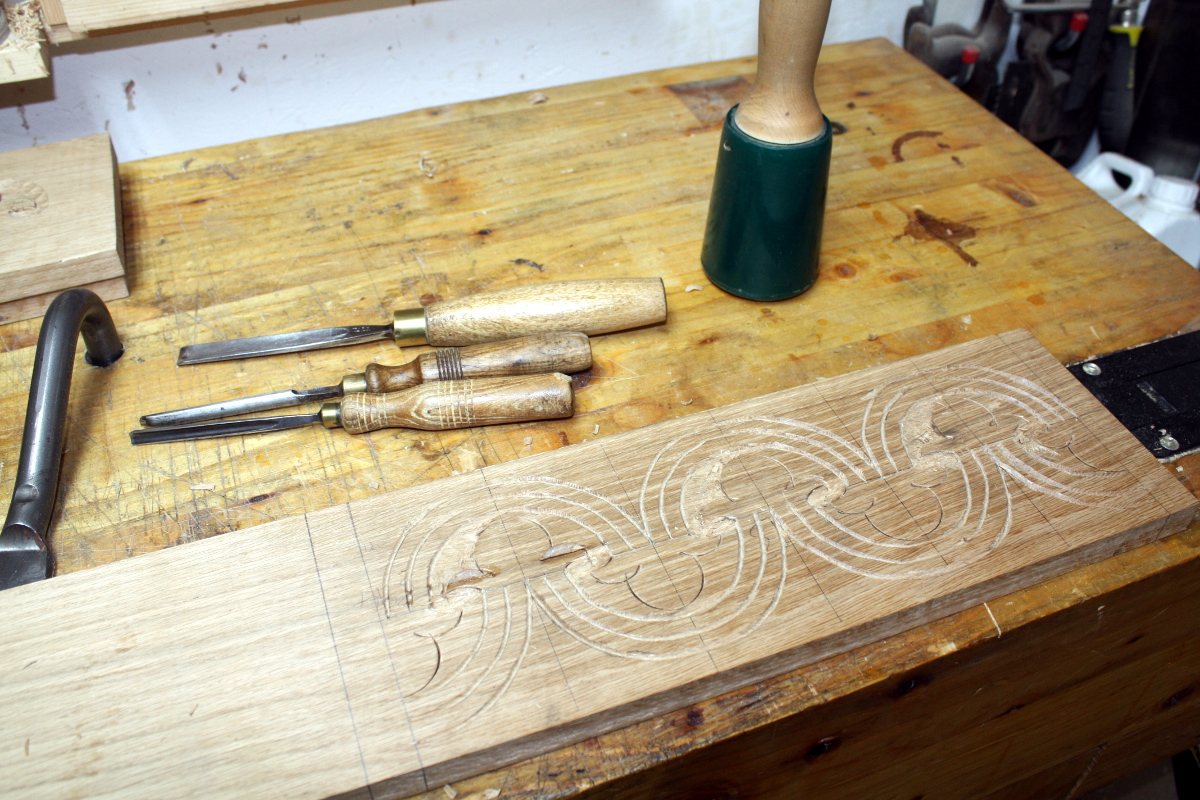
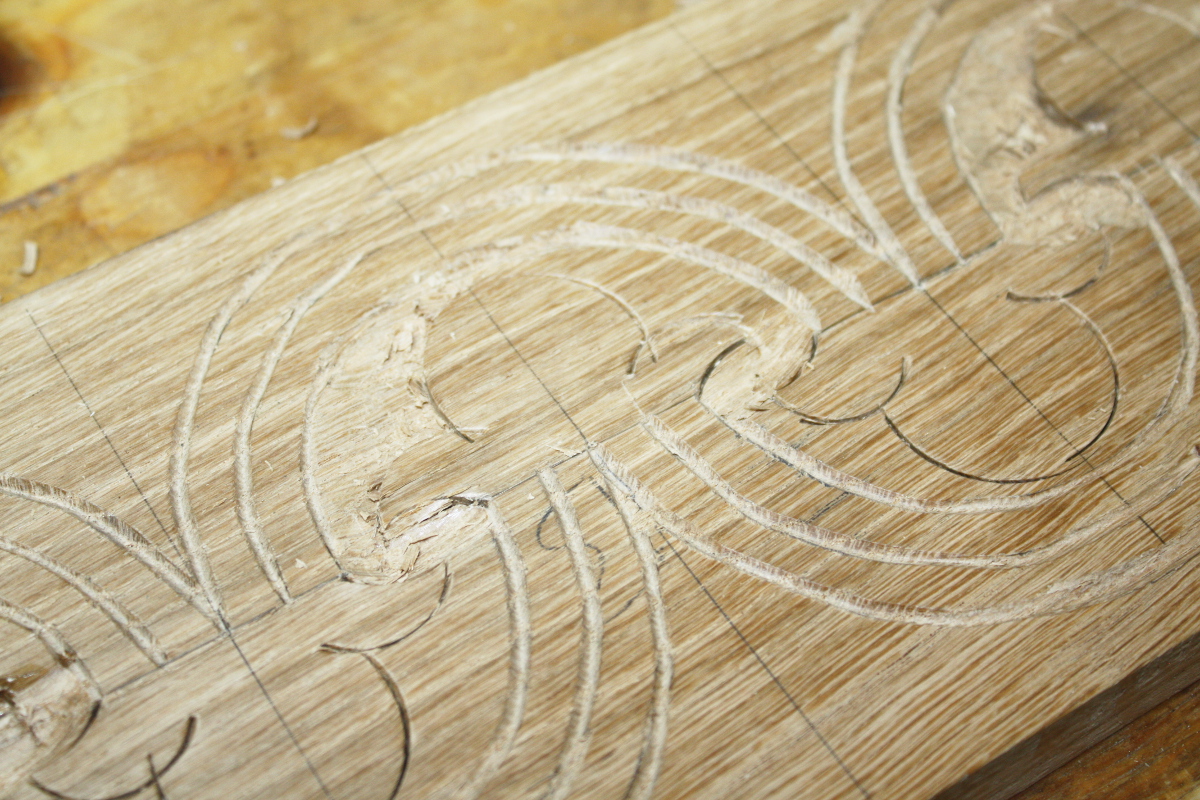
Chopped the last line of the outline with a third gouge (this one was in-
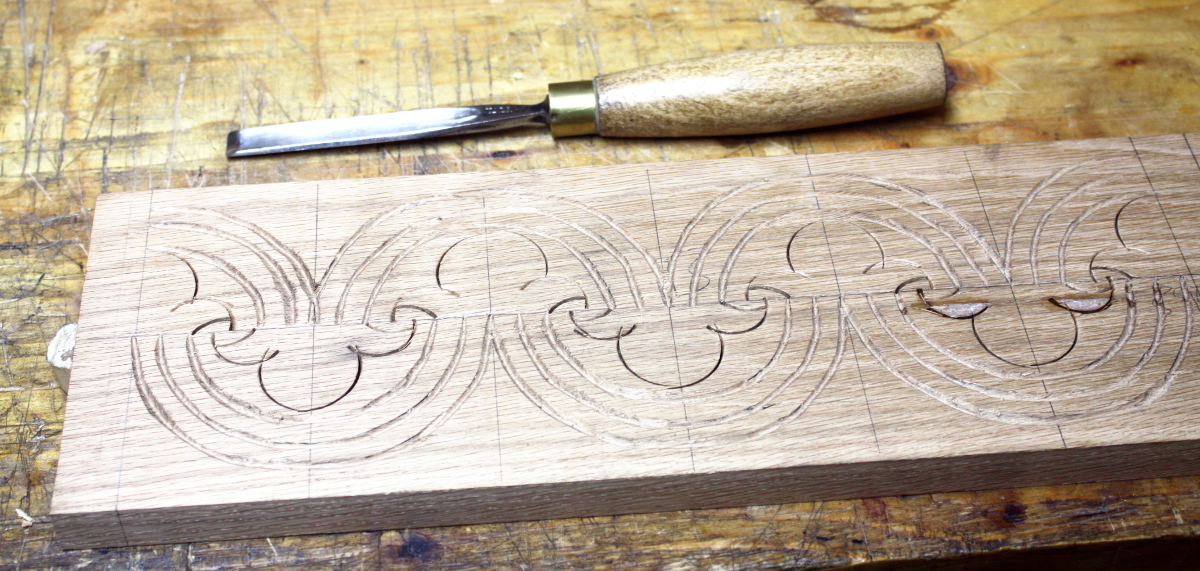
It looks a bit confused because you have a few lines crossing but those areas are going away so that’s okay. Now out with a shallow gouge to remove the backdrop and I know it’s what Follansbee’s tutorials say is the right tool but it was next to useless for this design for me. I don’t know if it was because the design is small compared to his norm and it’d be better on a larger pattern, but I stopped using it almost immediately and resorted to two smaller gouges with tighter sweeps. I think I need to start stalking ebay for gouges and V-tools again, this shouldn’t be this hard.
Chip,
One of these days, when I have a bigger shed and a way to handle forty pounds of wood shavings, I’ll find a source for oak logs and then we’ll see how badly I can muck this up…
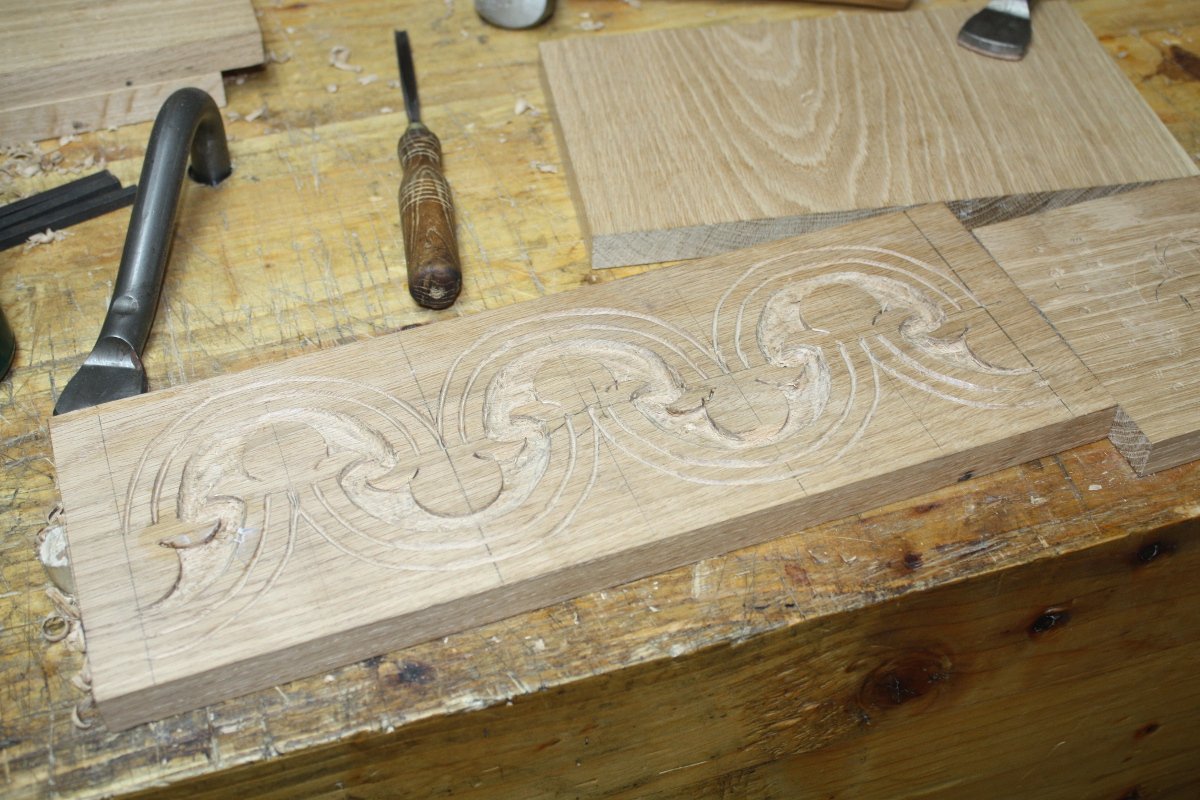
I thought taking down the background would be the simple part of this, and that the V-tool and outline would be far harder. Not that I got either of those right, but they were a lot less work. Three hours, I got the front and back boards done, but not the sides. I figured I’d do those on Sunday and I dug out the punches for stippling the background because that should be simple enough…
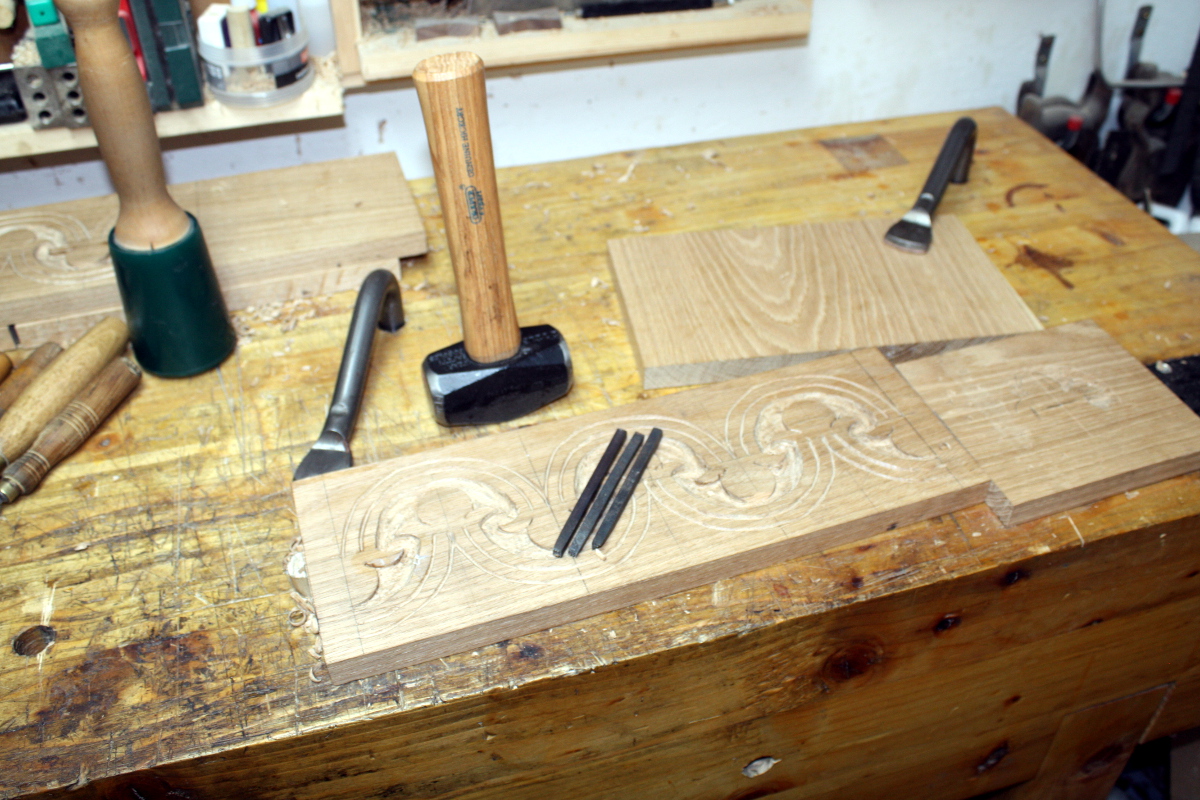
And actually, this part wasn’t too bad. Before I do the stippling for the other sides I want to refile the teeth on the end of the punches though, they’re getting a little dull (not from this, they’re just old).
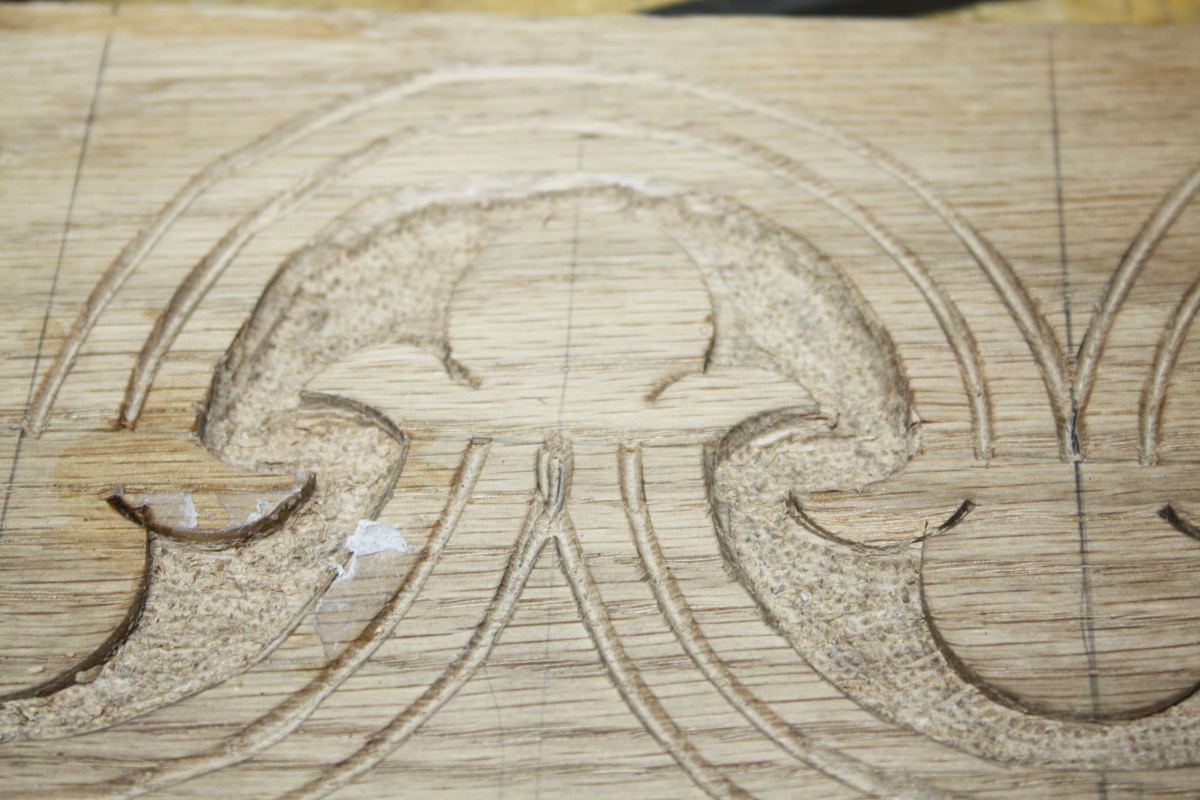
It does make a difference. The chipping and the
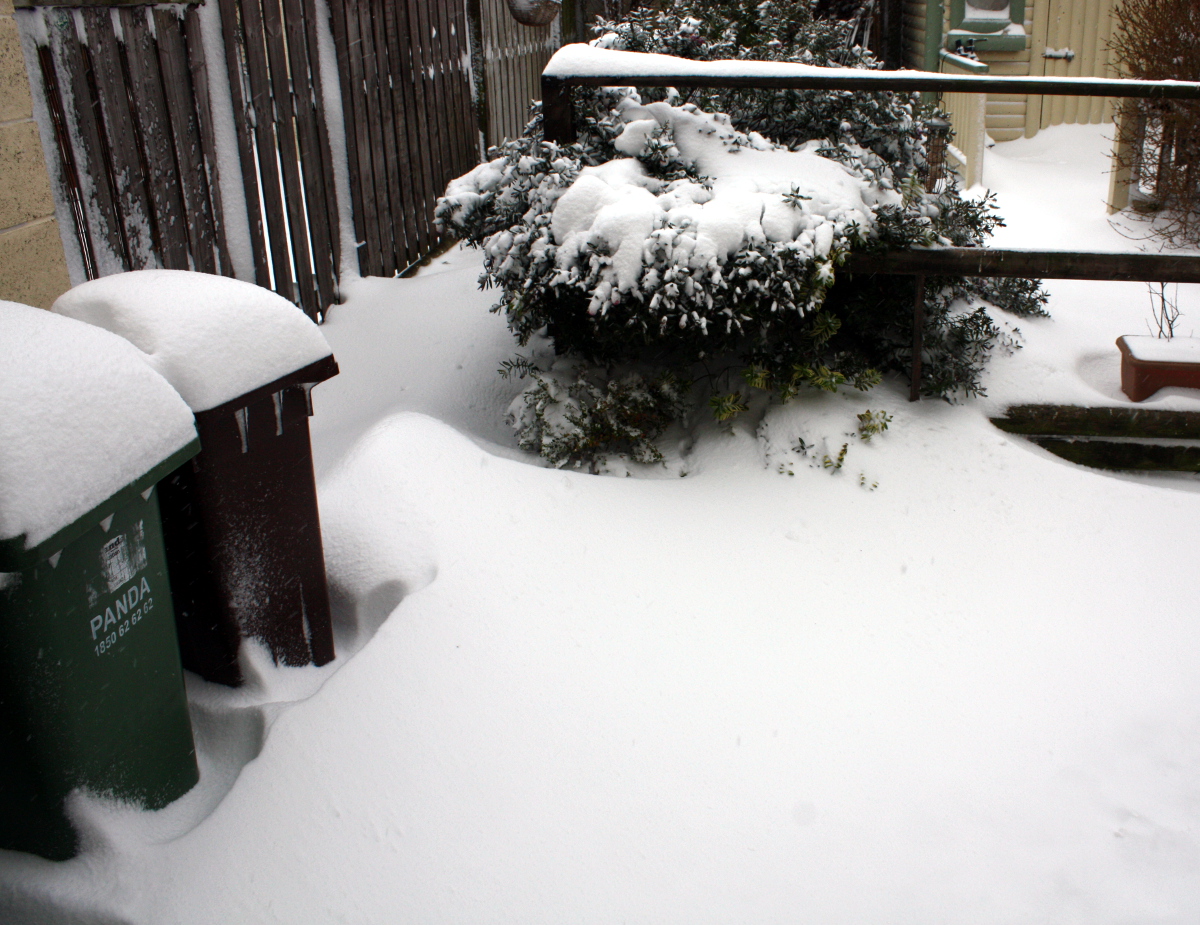
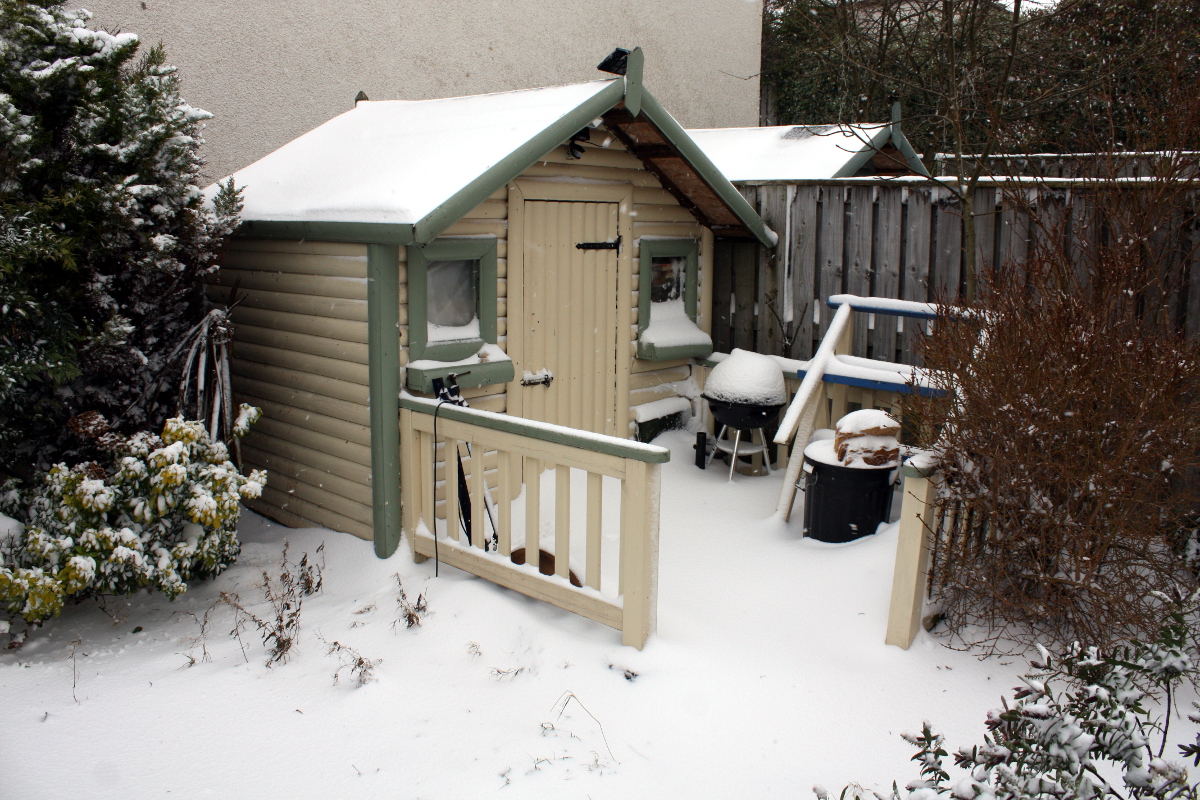
The idea was to finish all this up on Sunday, after doing the weekly shopping run, but Freya had other ideas…
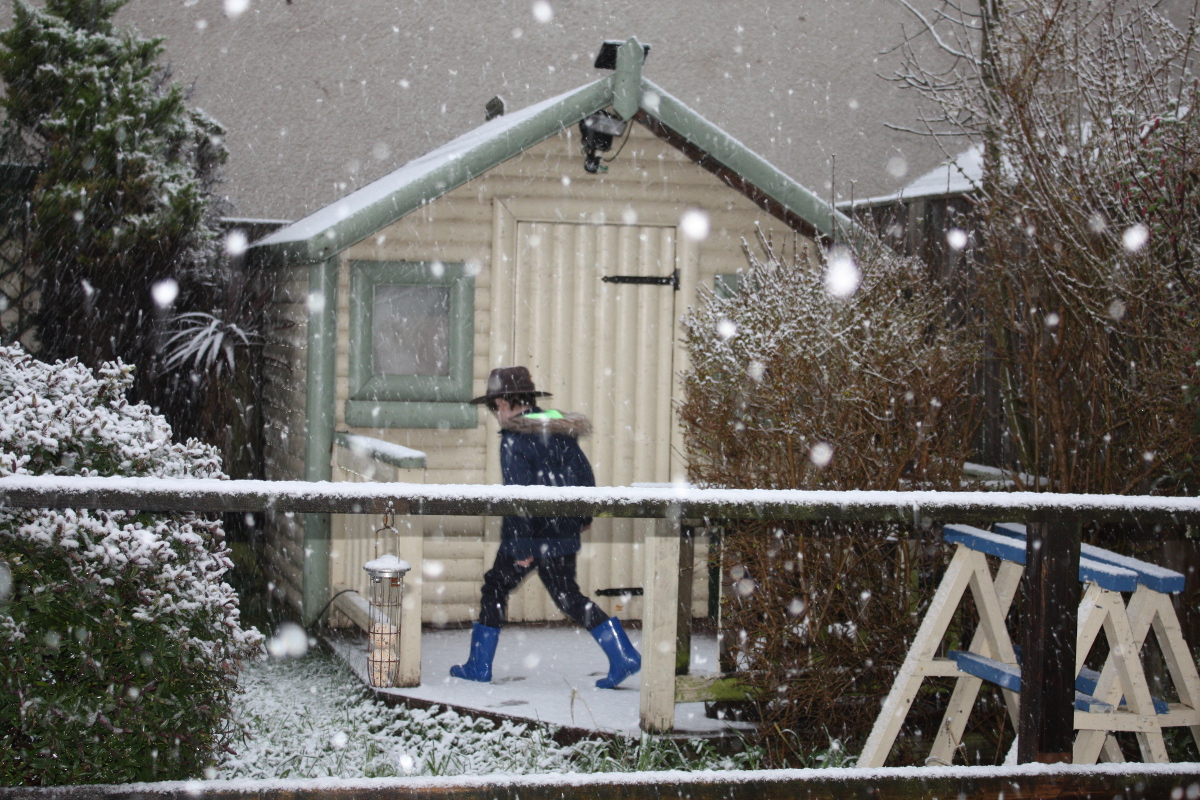
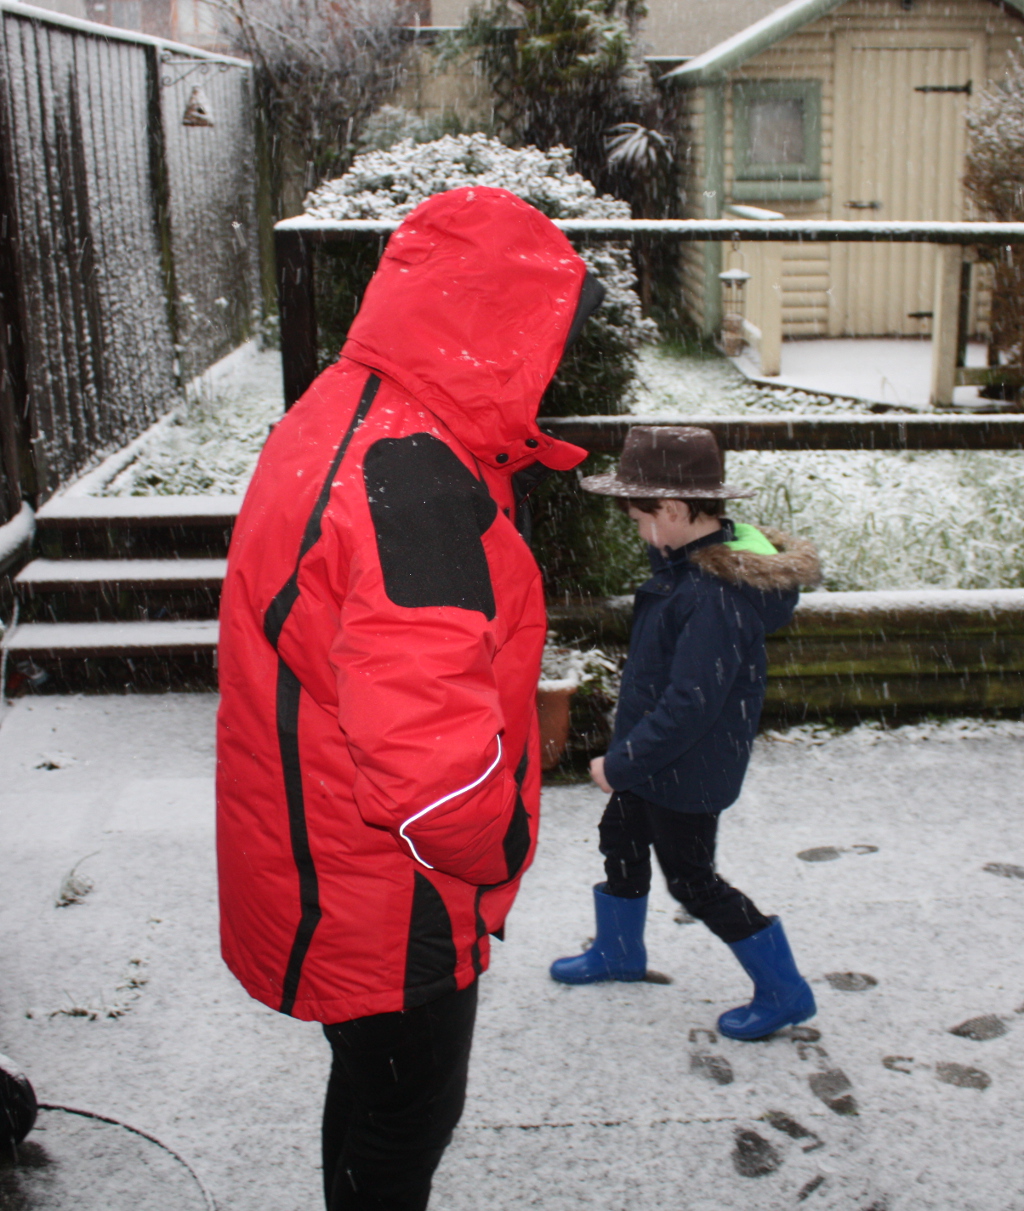
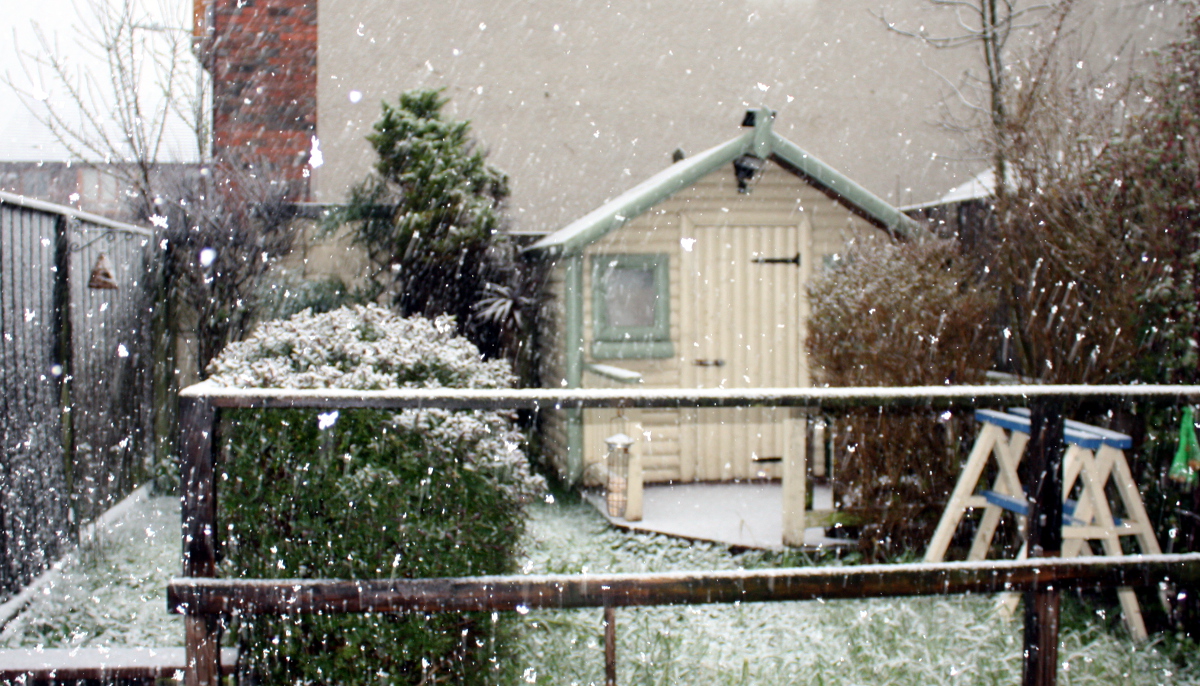
Yeah, nope. I’ll get to it later…
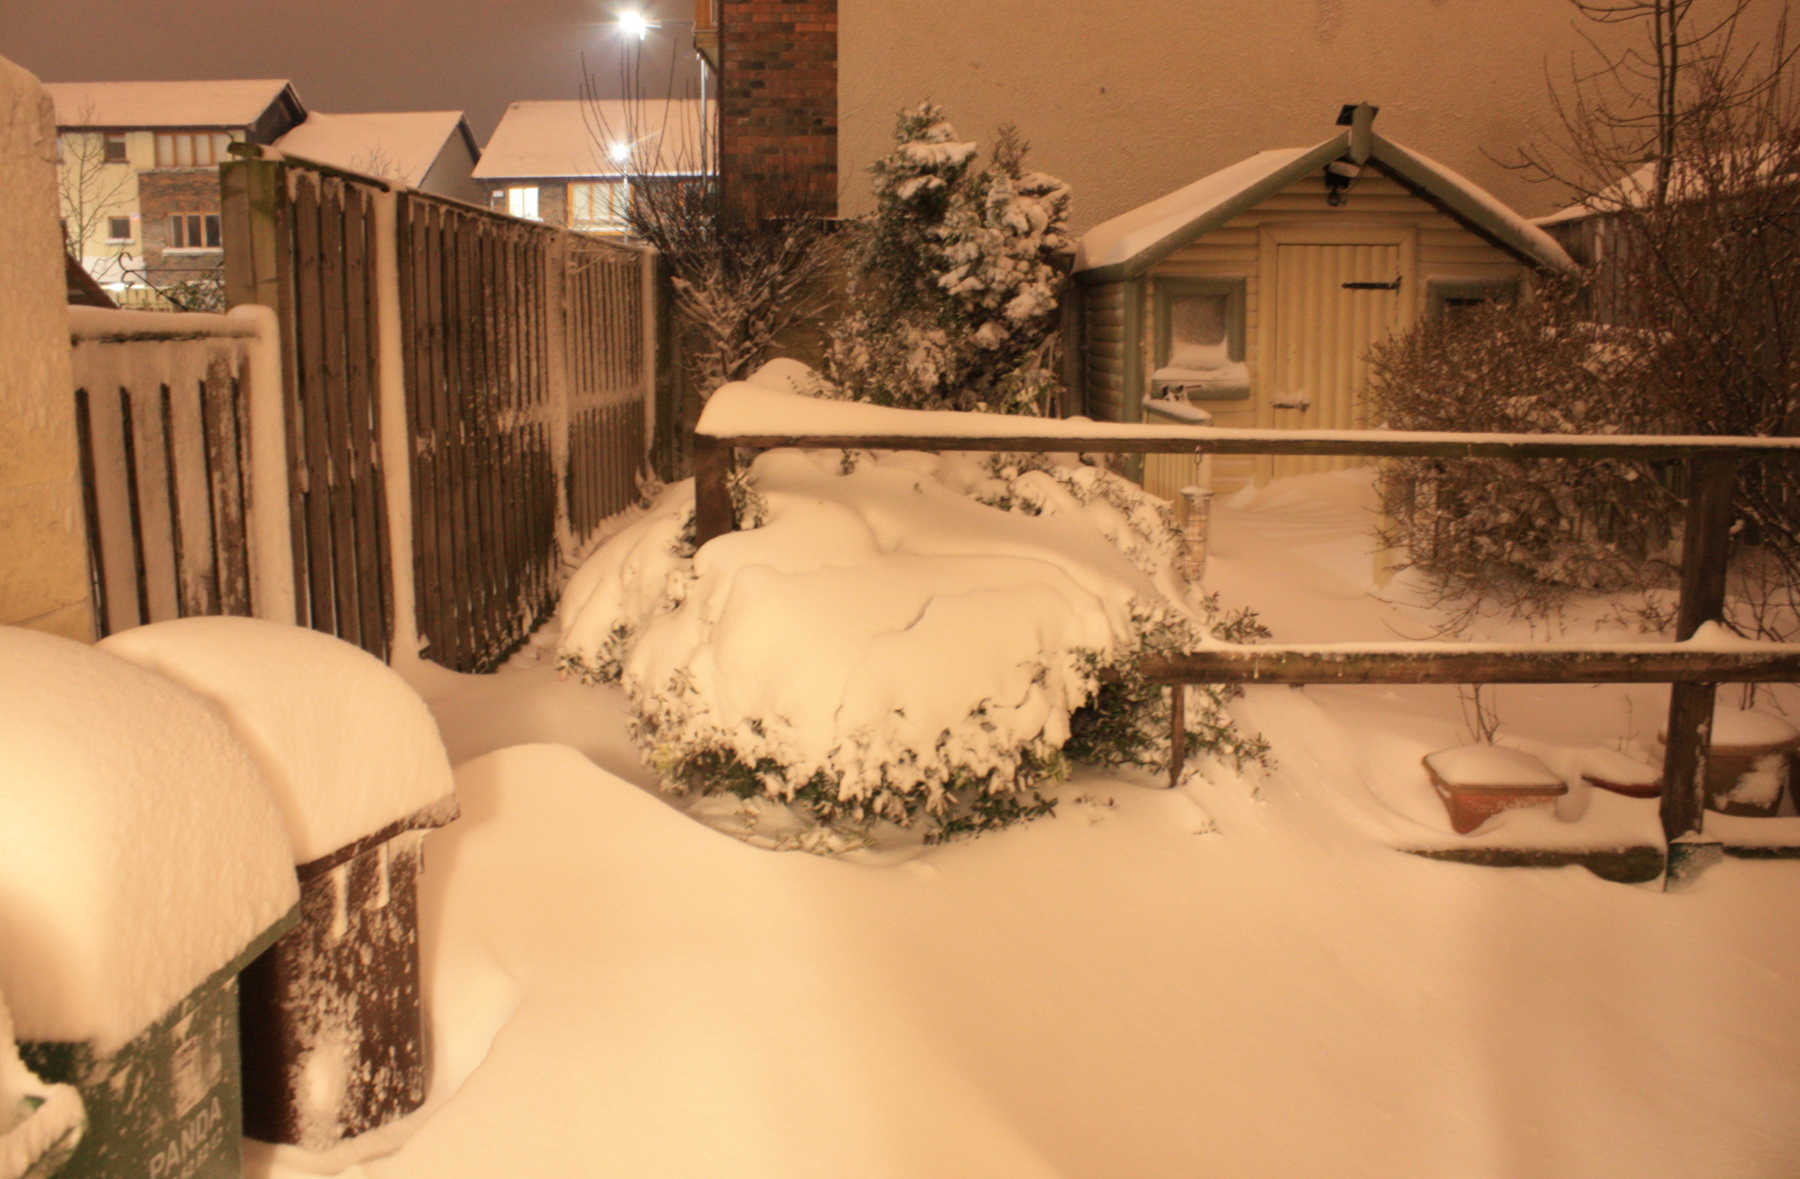
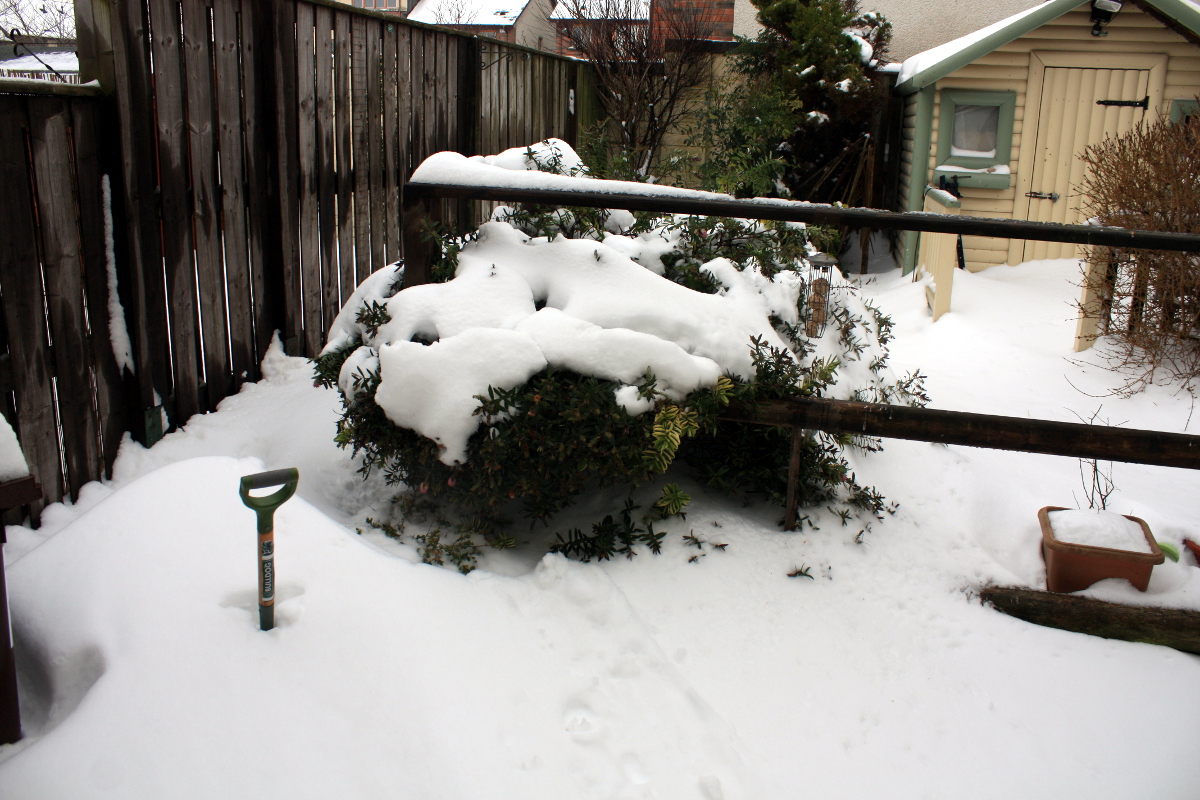
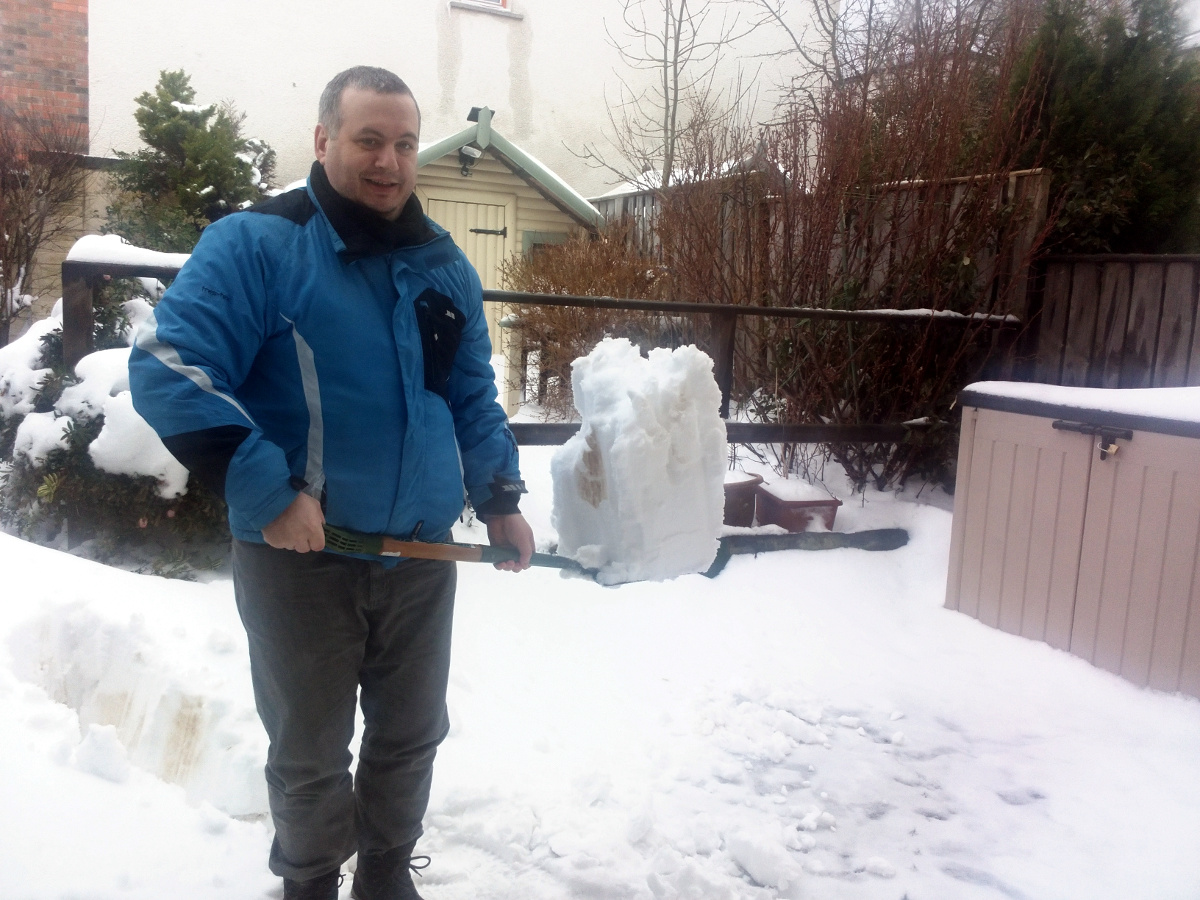
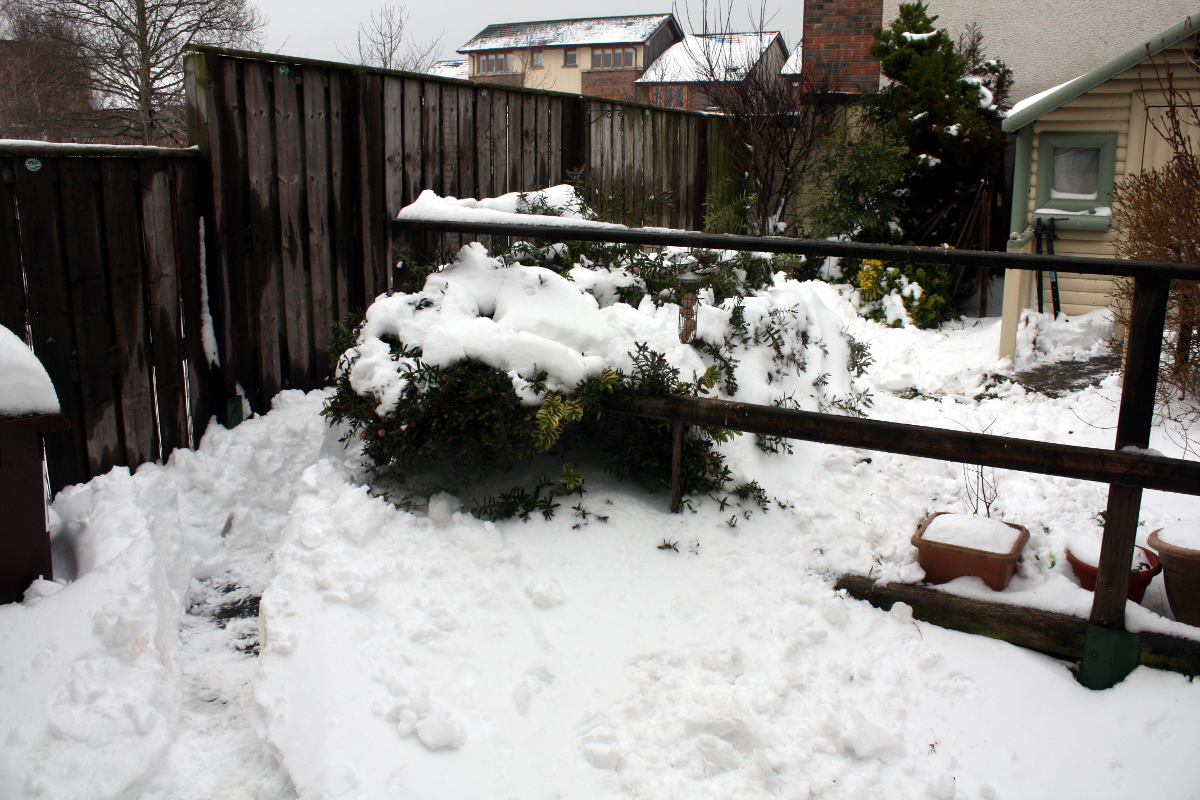
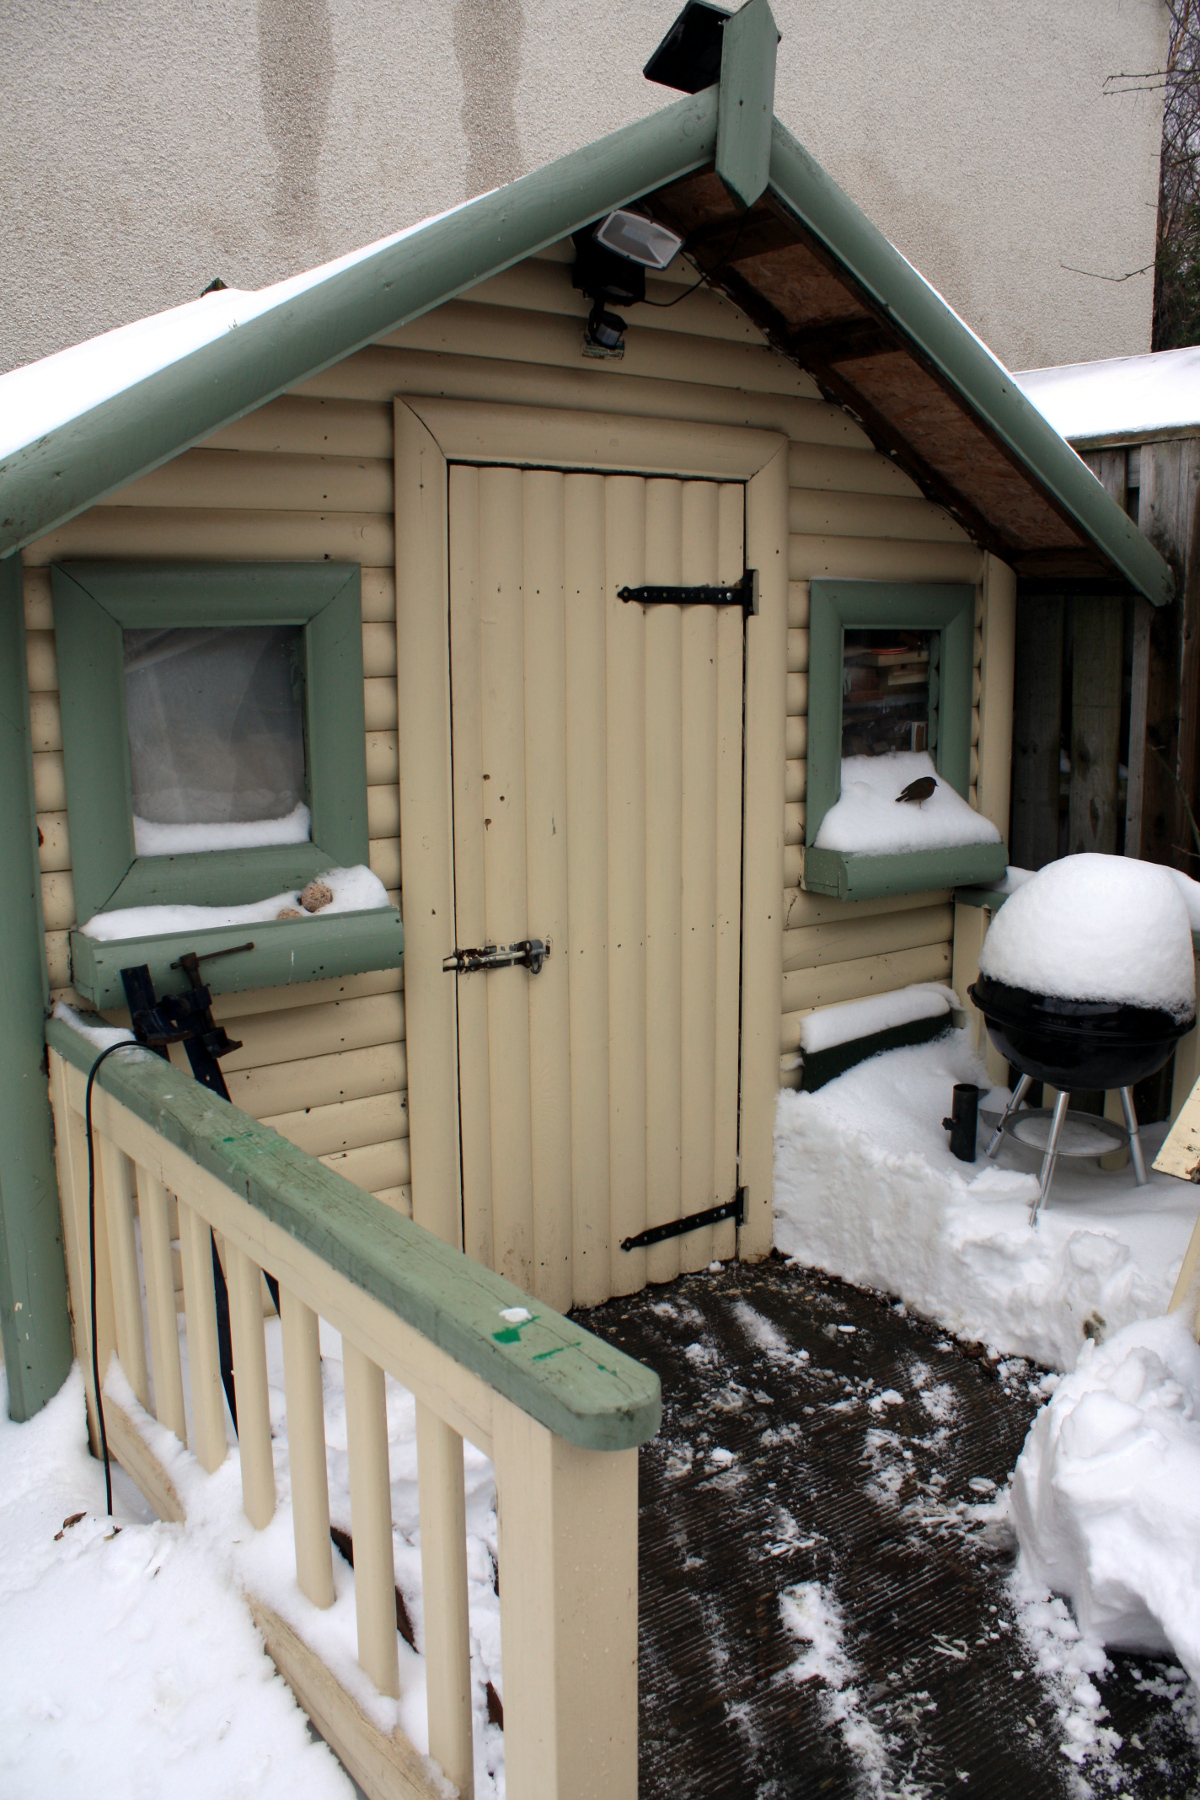
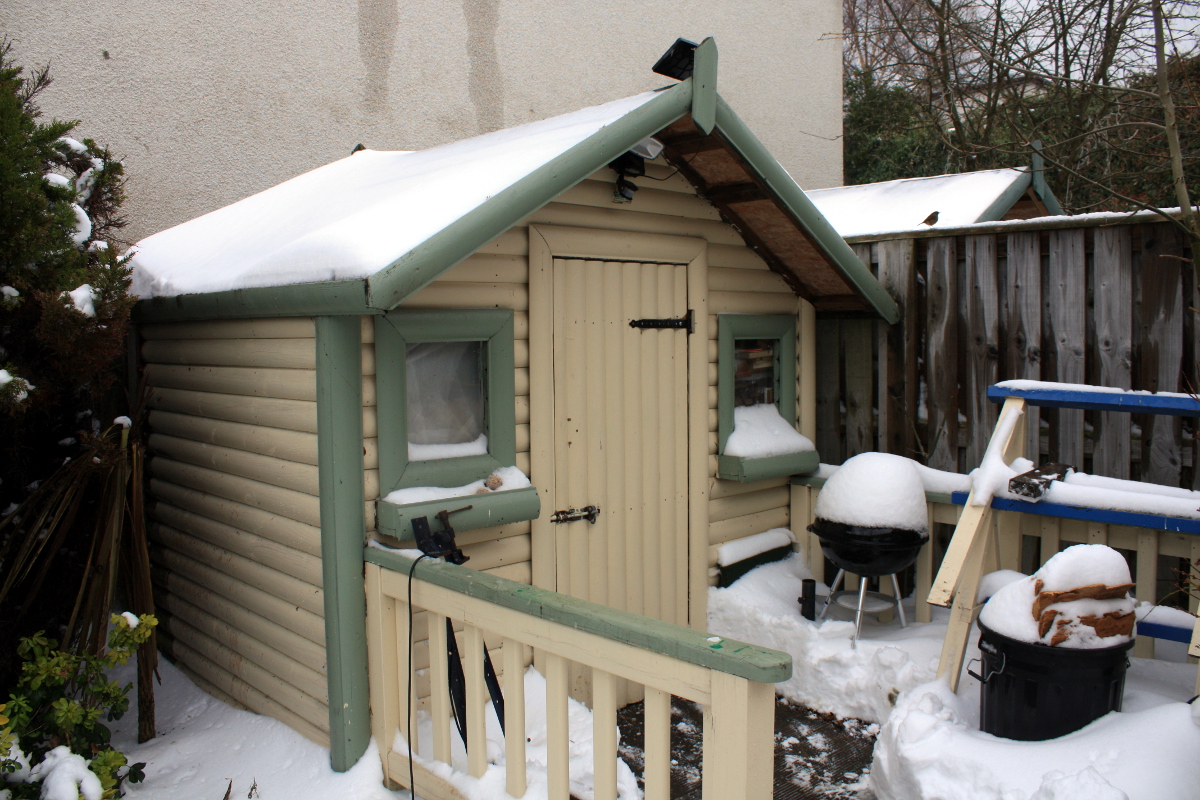 Even the robin’s looking happier now.
