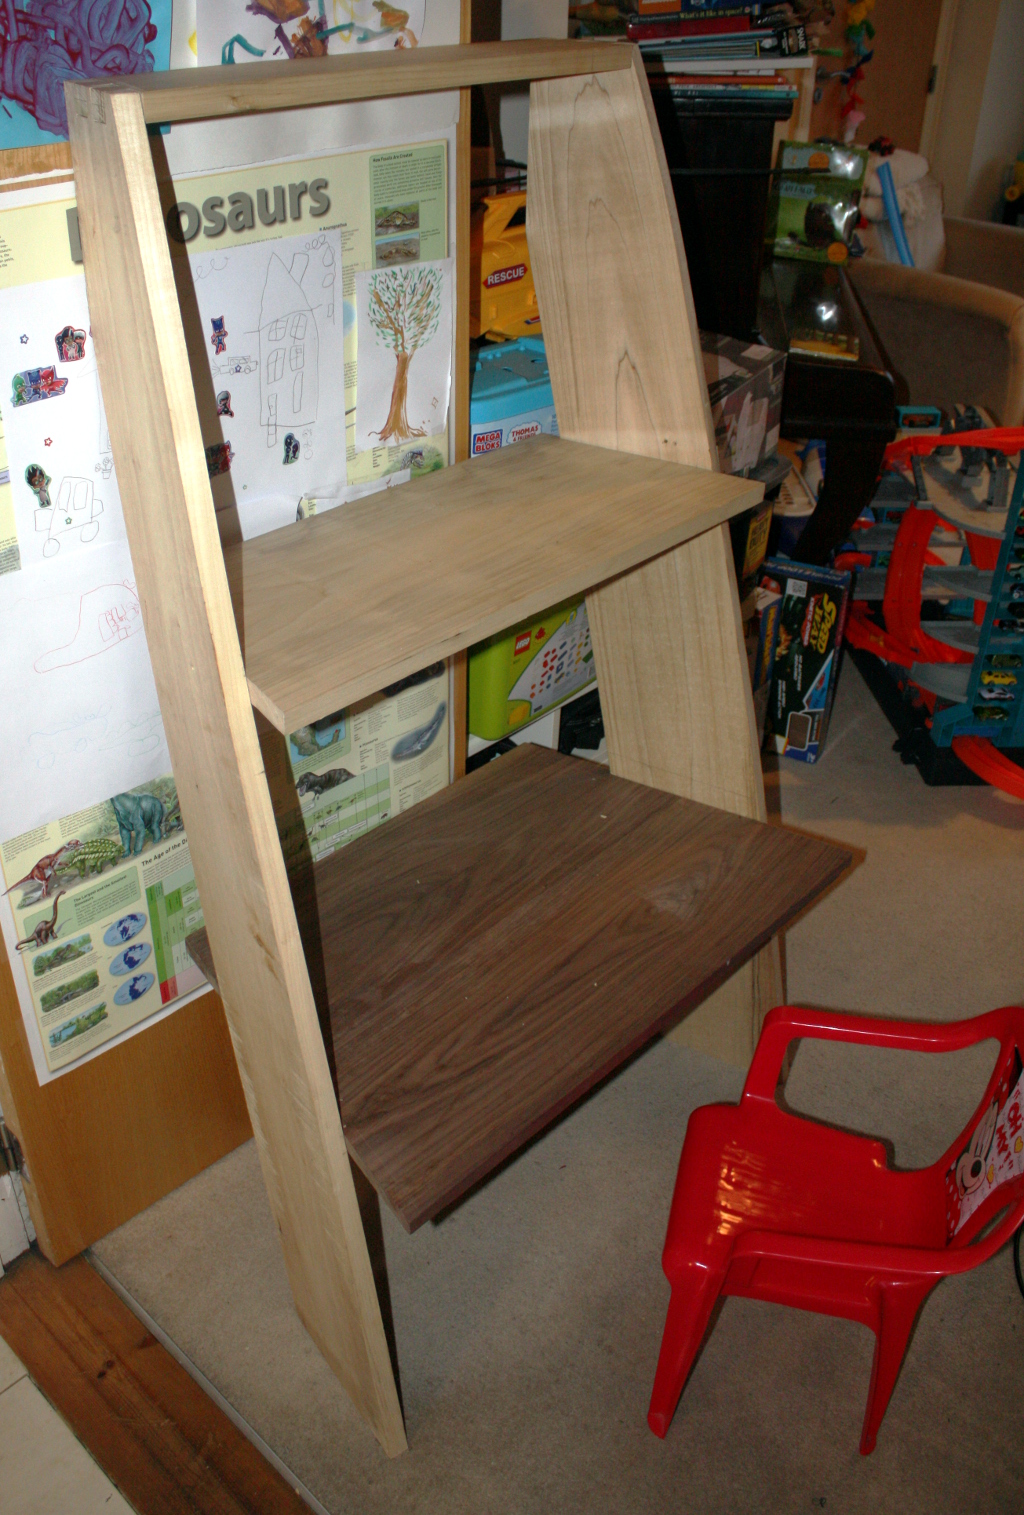
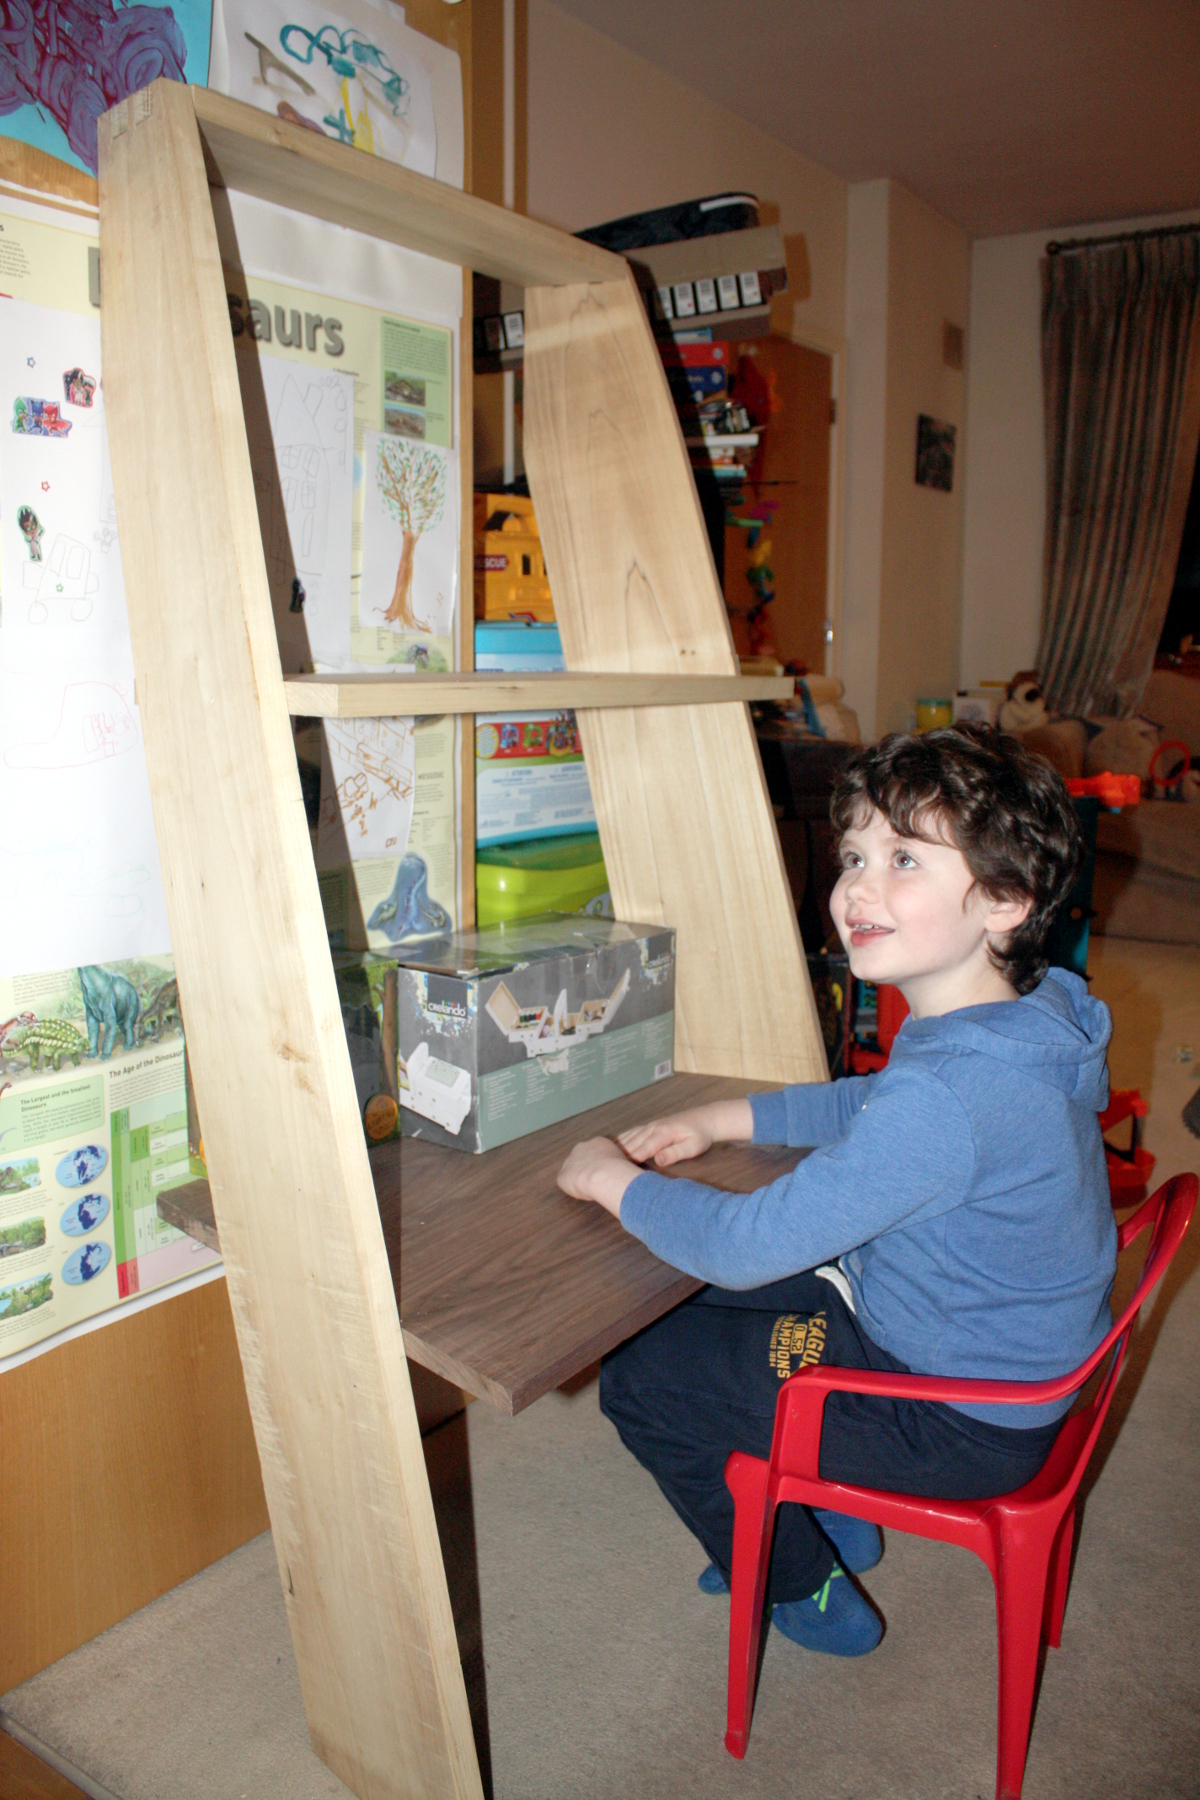
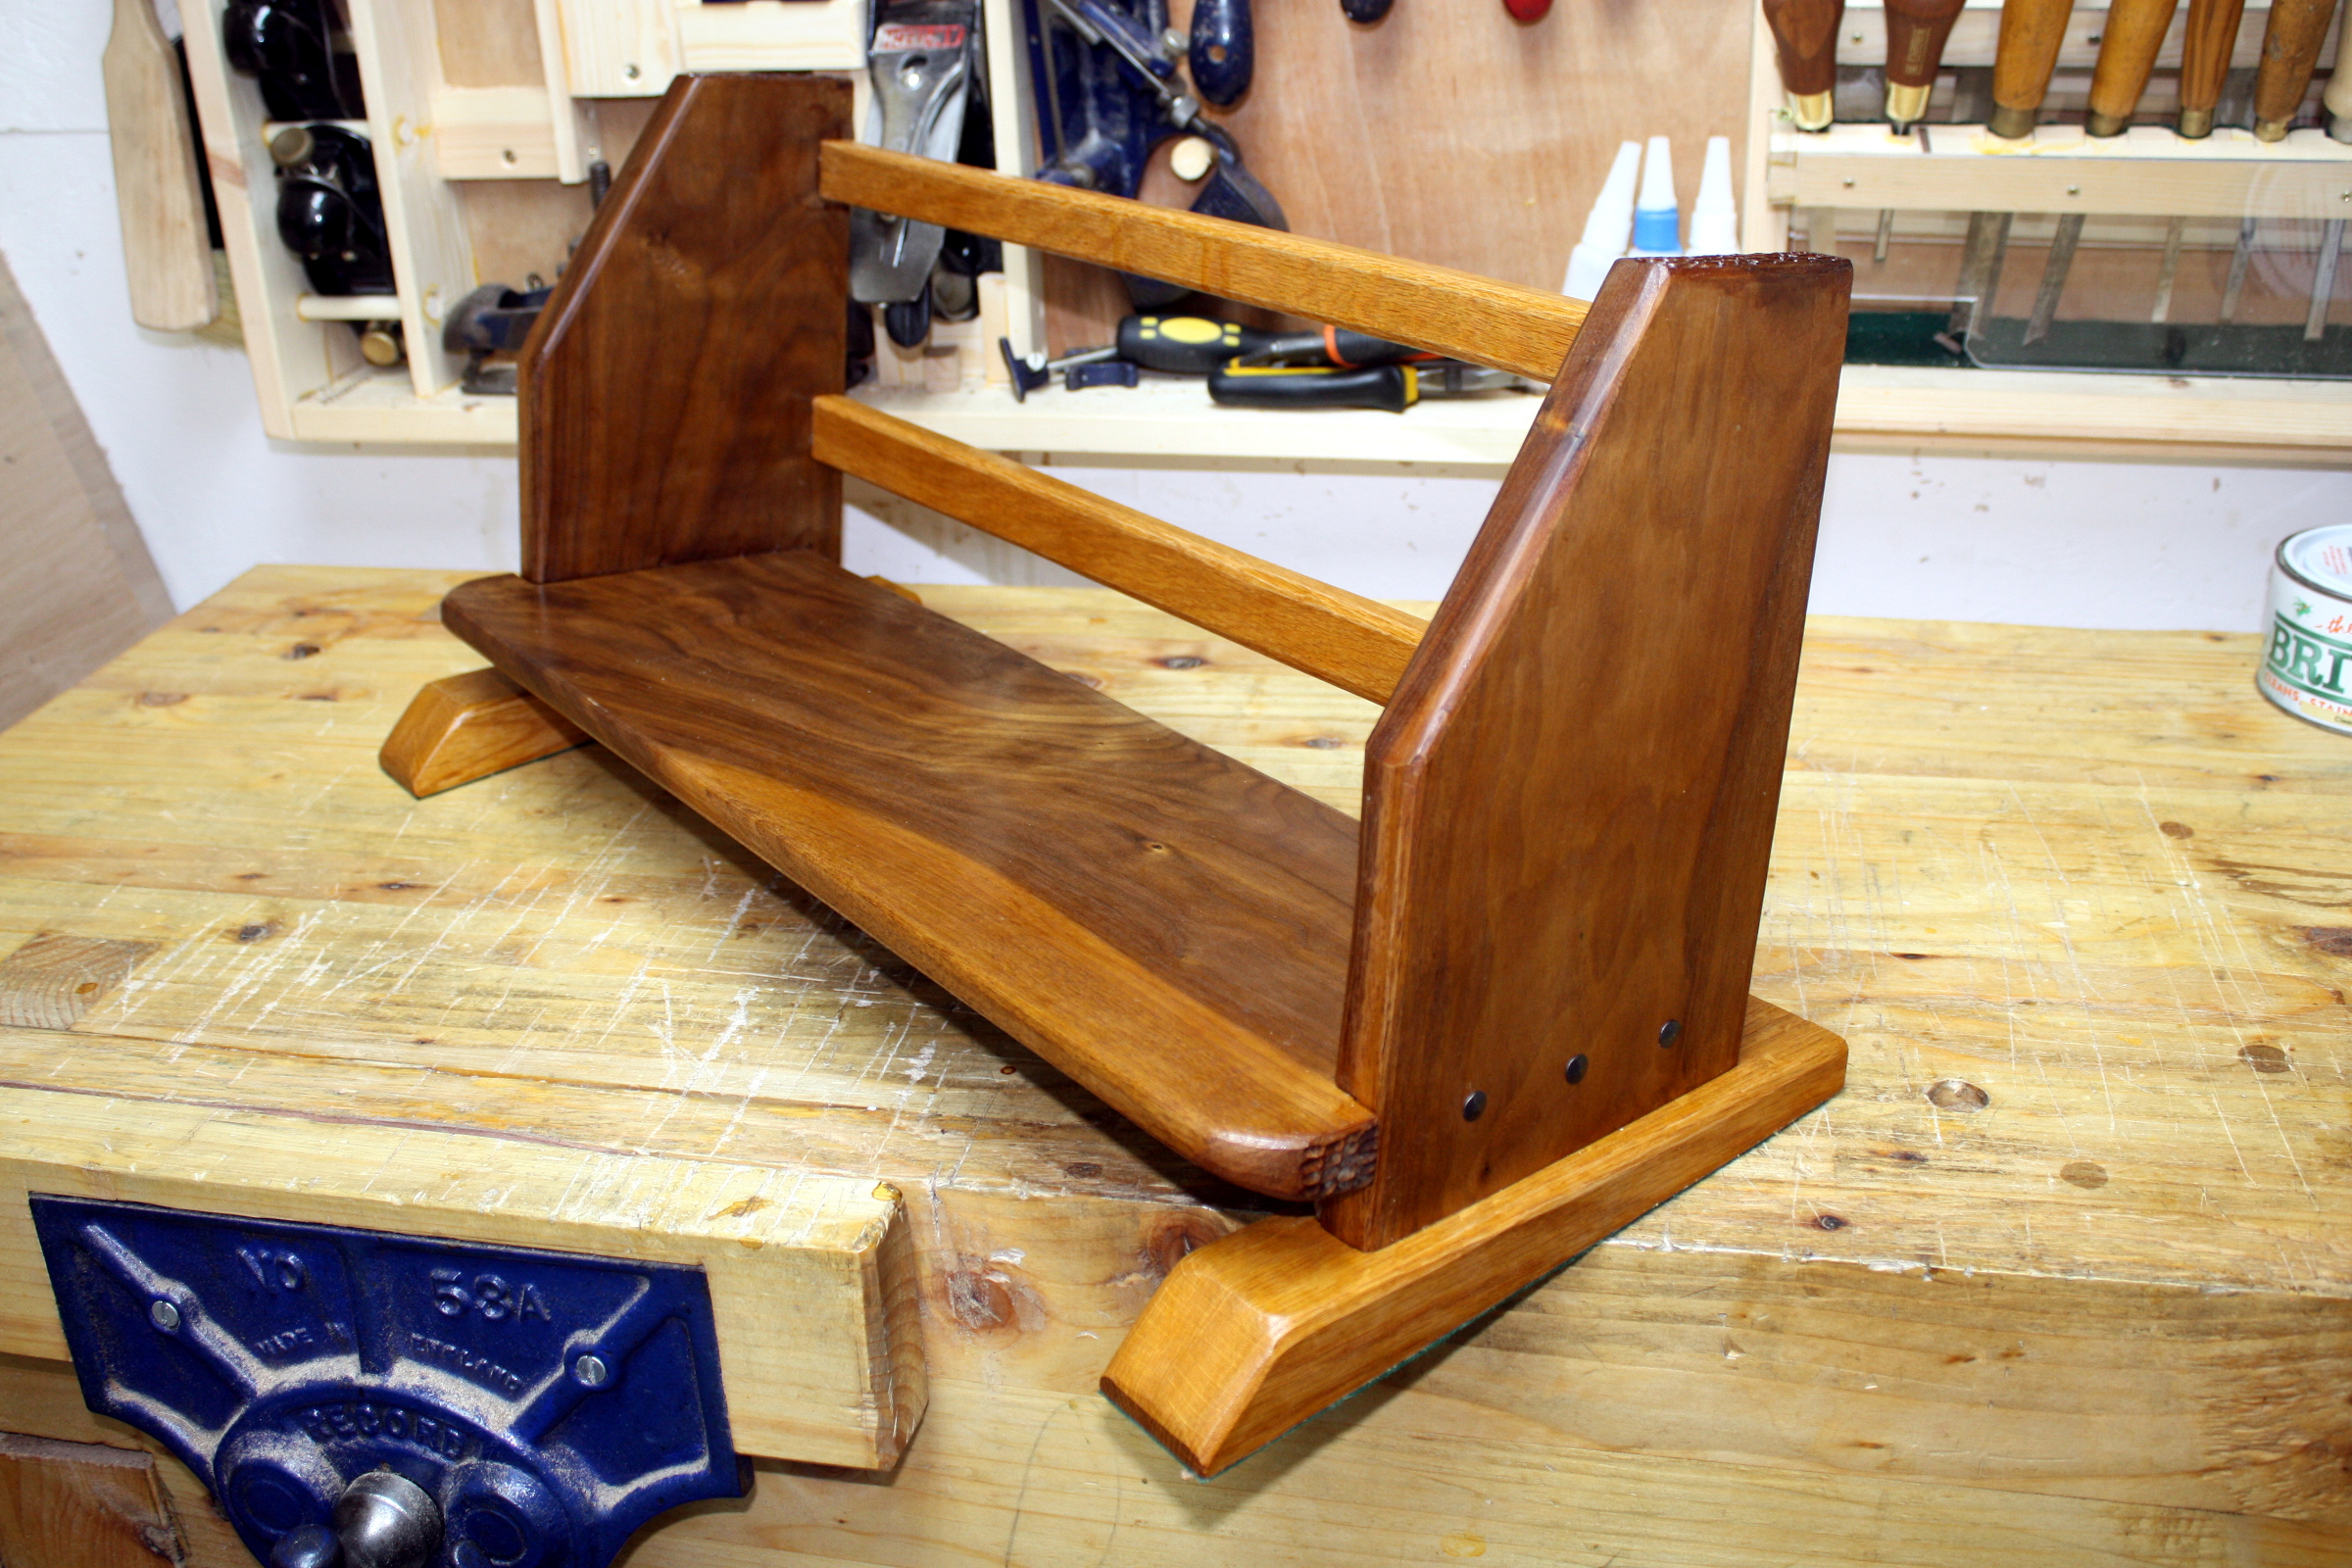
So fathers day was coming up and dad’s just finished the first year of a law course so lots of desk time and books involved. And then I noticed this on accidental woodworker:

Well, a desktop shelf that’d fit in the corner and leave room to hide pens and such underneath should be about right, and I had a nice piece of sapele…
…yeah, no. Turns out sapele is a total pain to plane with a normal handplane because of interlocking grain. By the time I’d resawn it from 6/4 down to just under 3/4inch thick and then flattened the resulting planks I’m down to just a shade over a half-inch thick and that just doesn’t look right for a shelf. So I abandoned the sapele to future box-making duties, and ordered a toothed plane iron to deal with the remaining sapele in my store.
And a new lighter mallet for finer work (the lignum vitae mallet is great but was a bit heavy for working on things like half-blind dovetails).
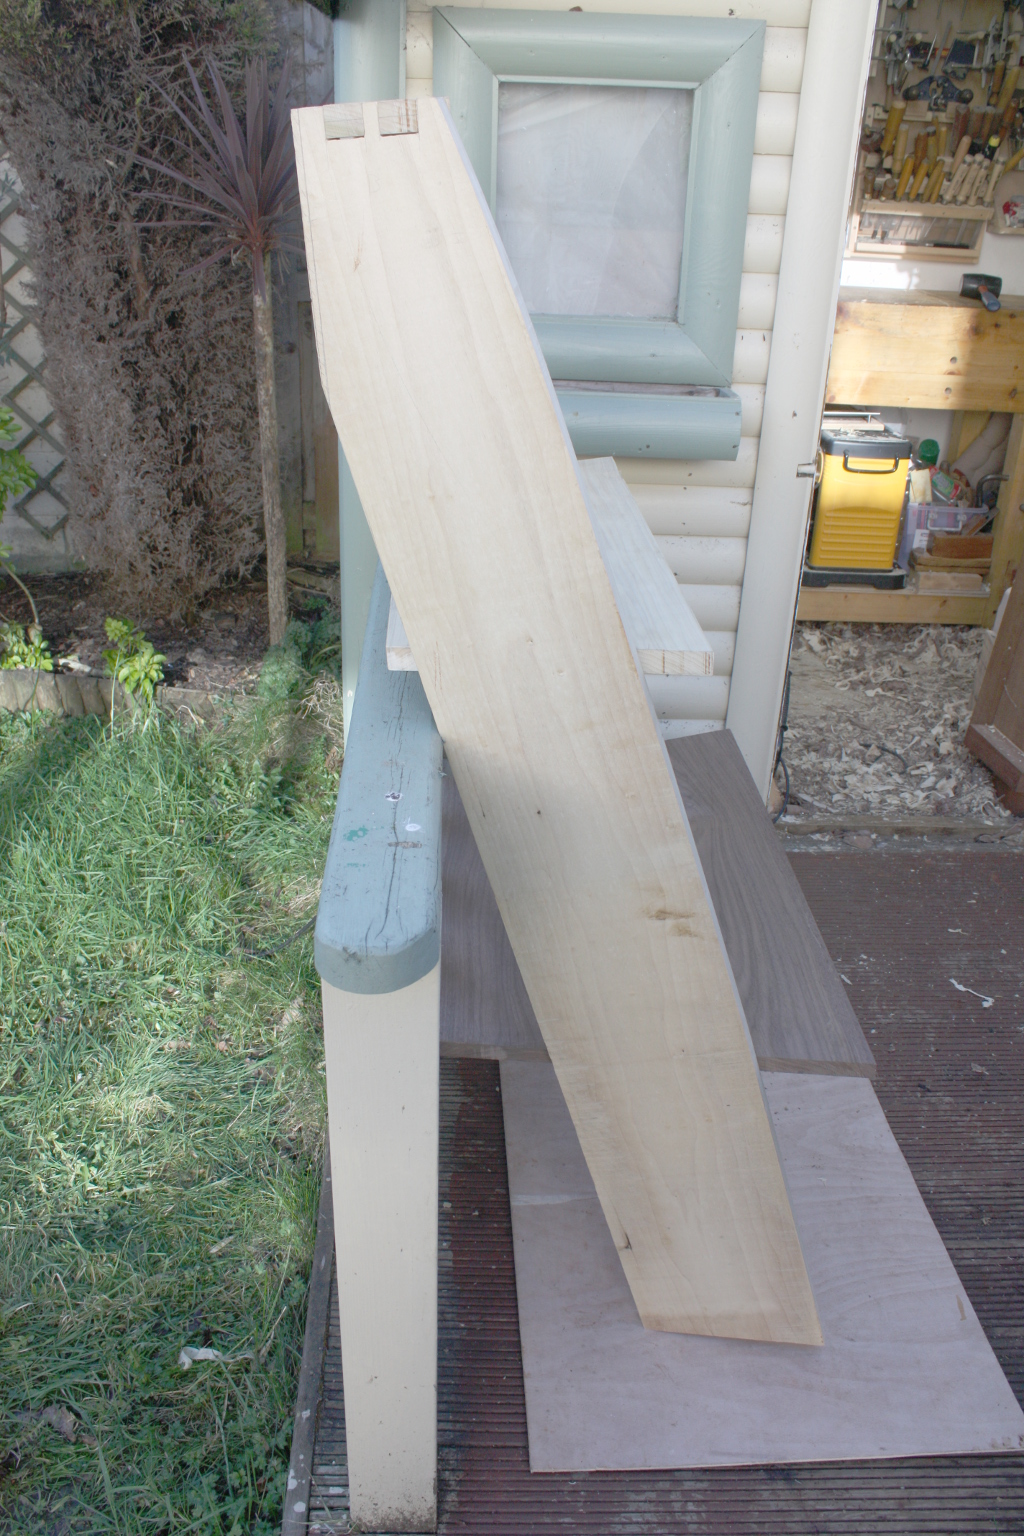
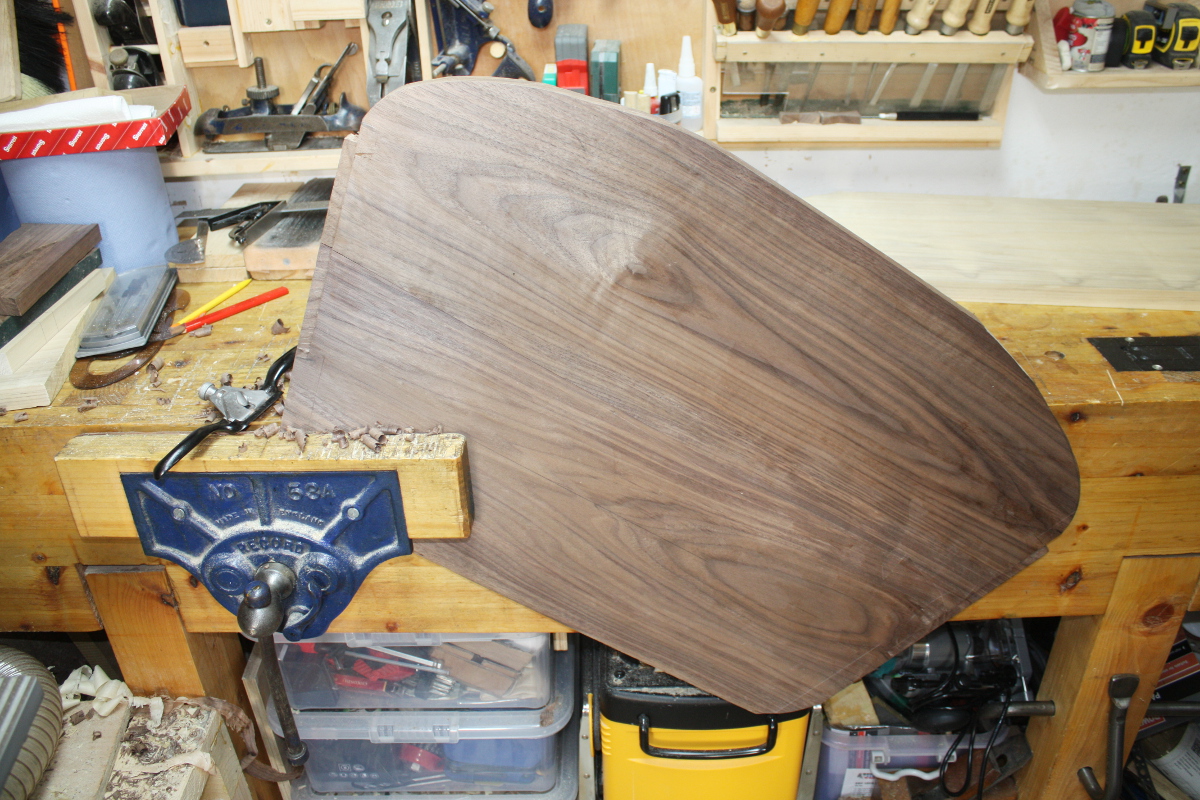
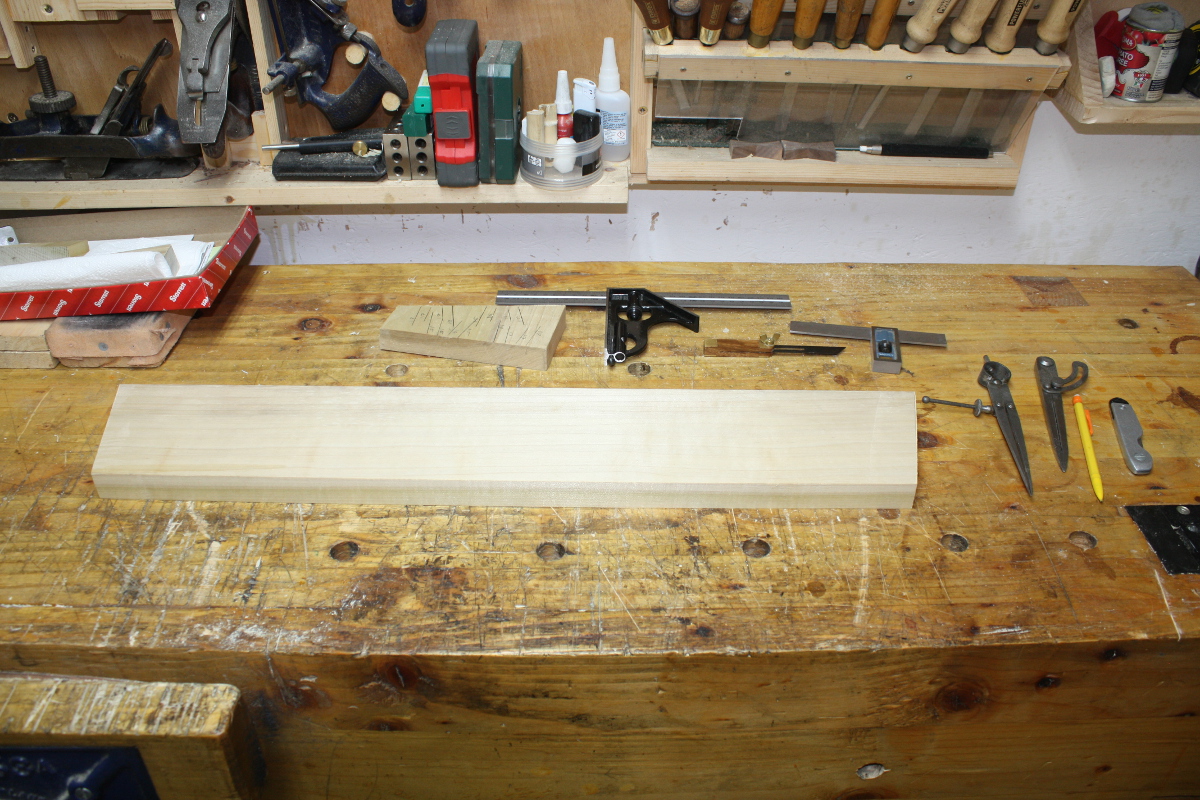
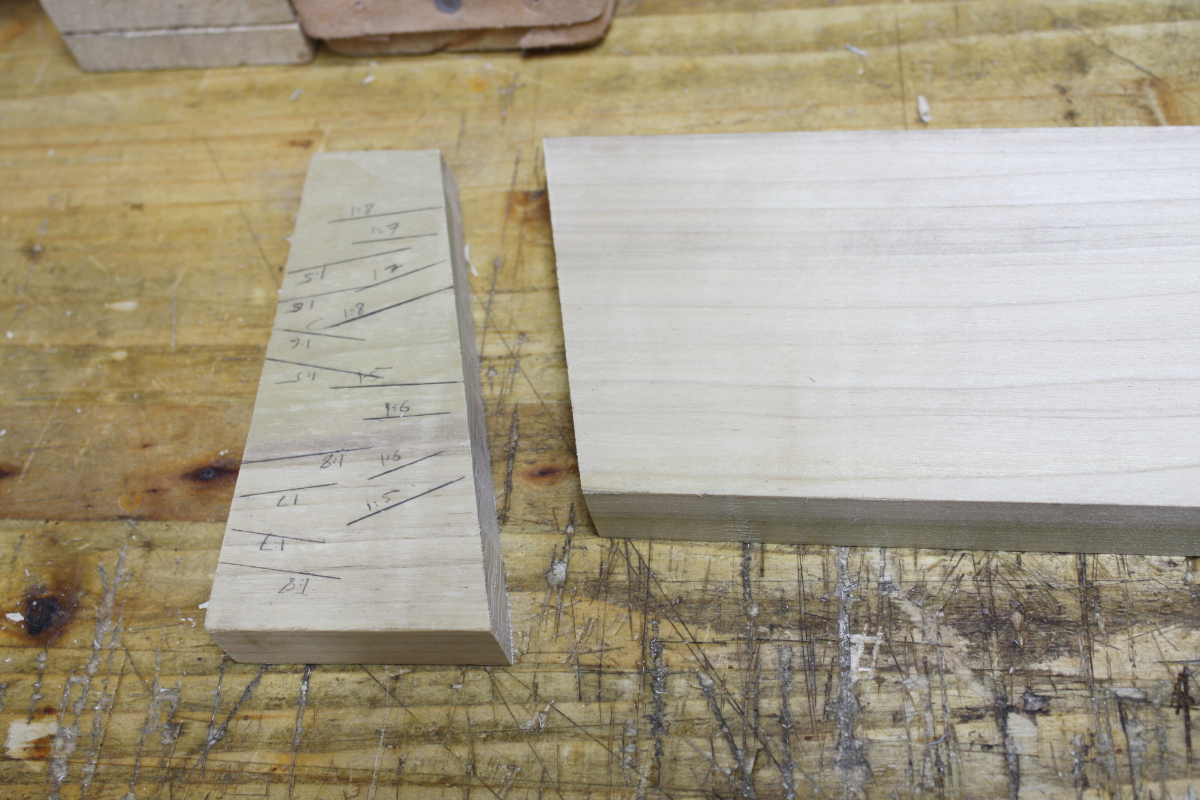
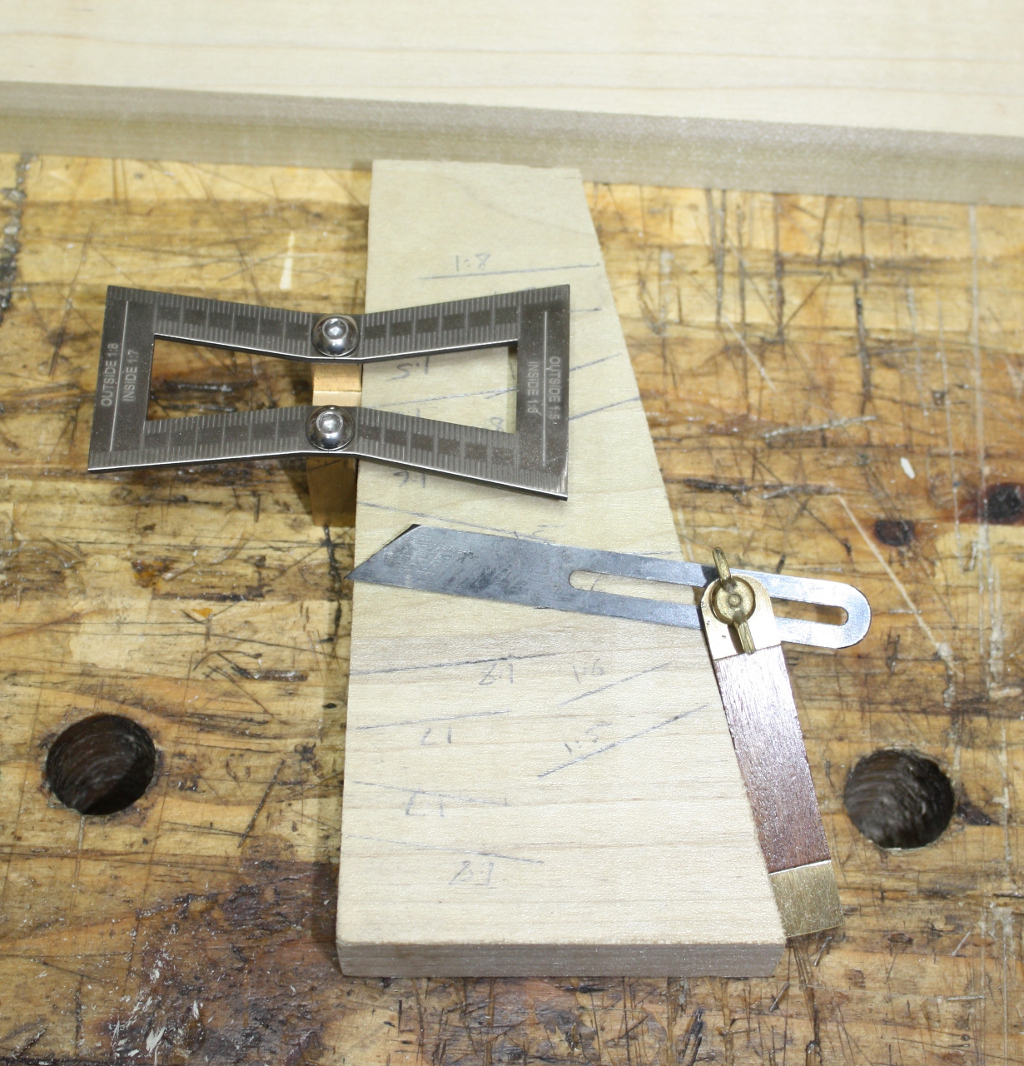
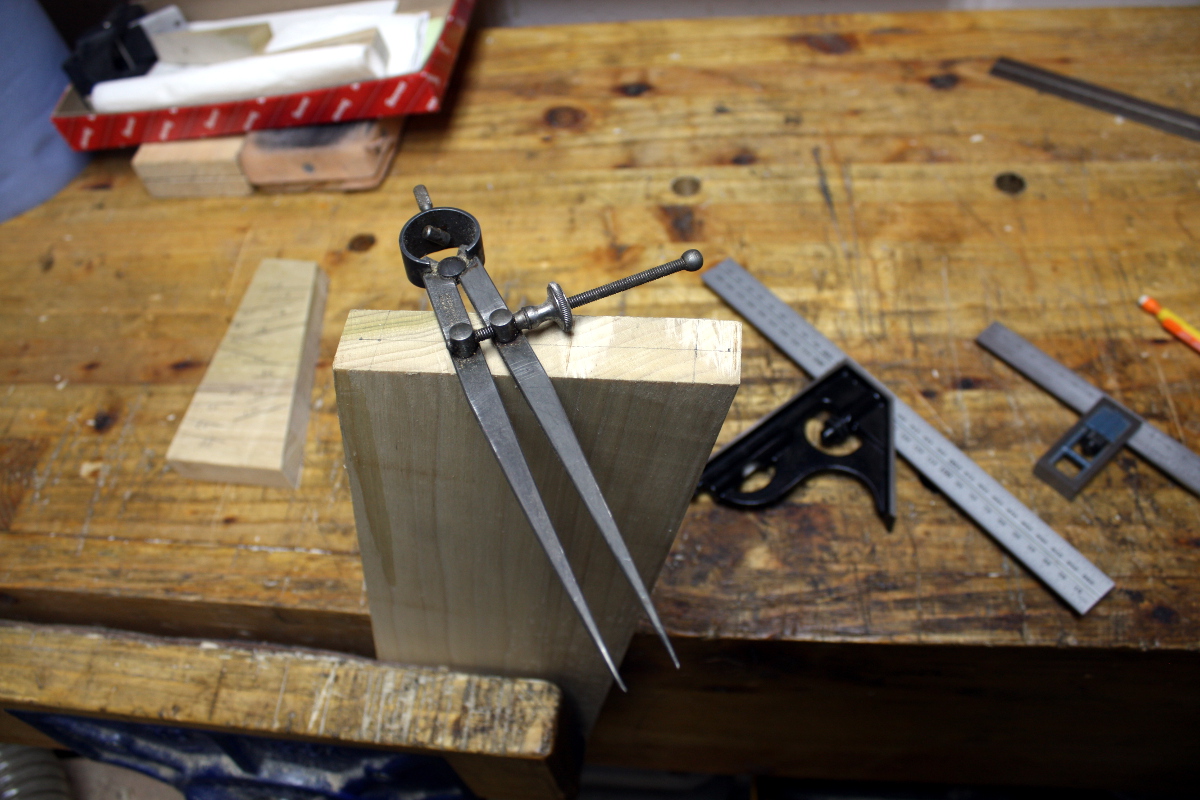
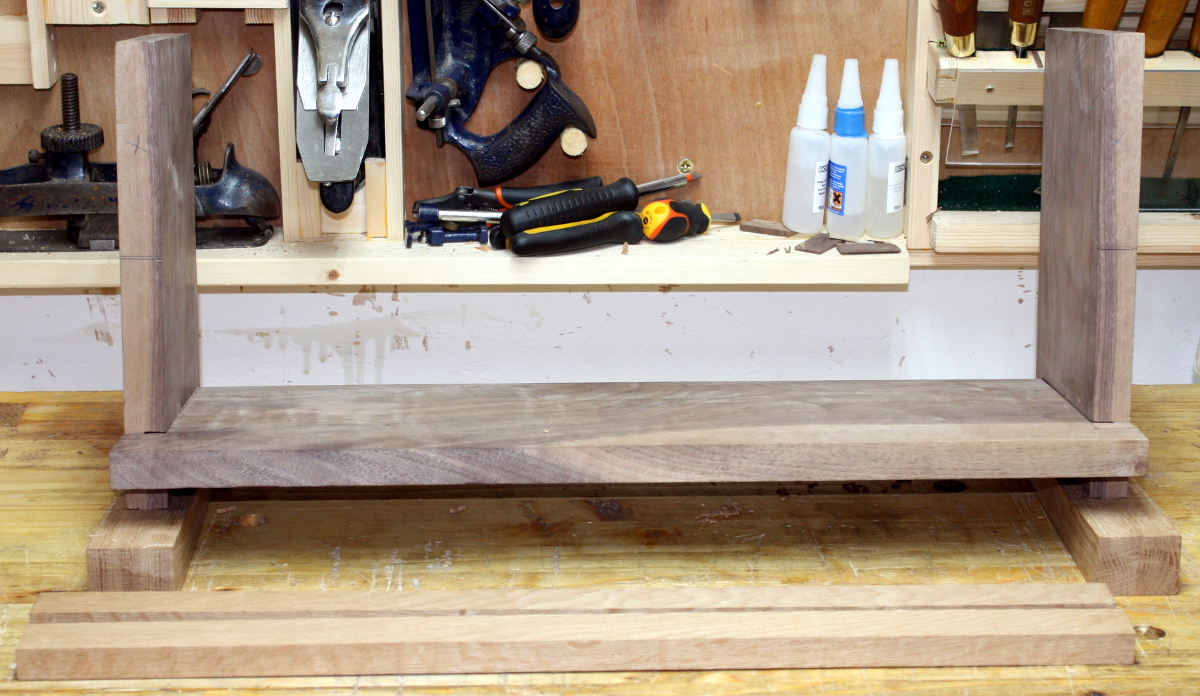
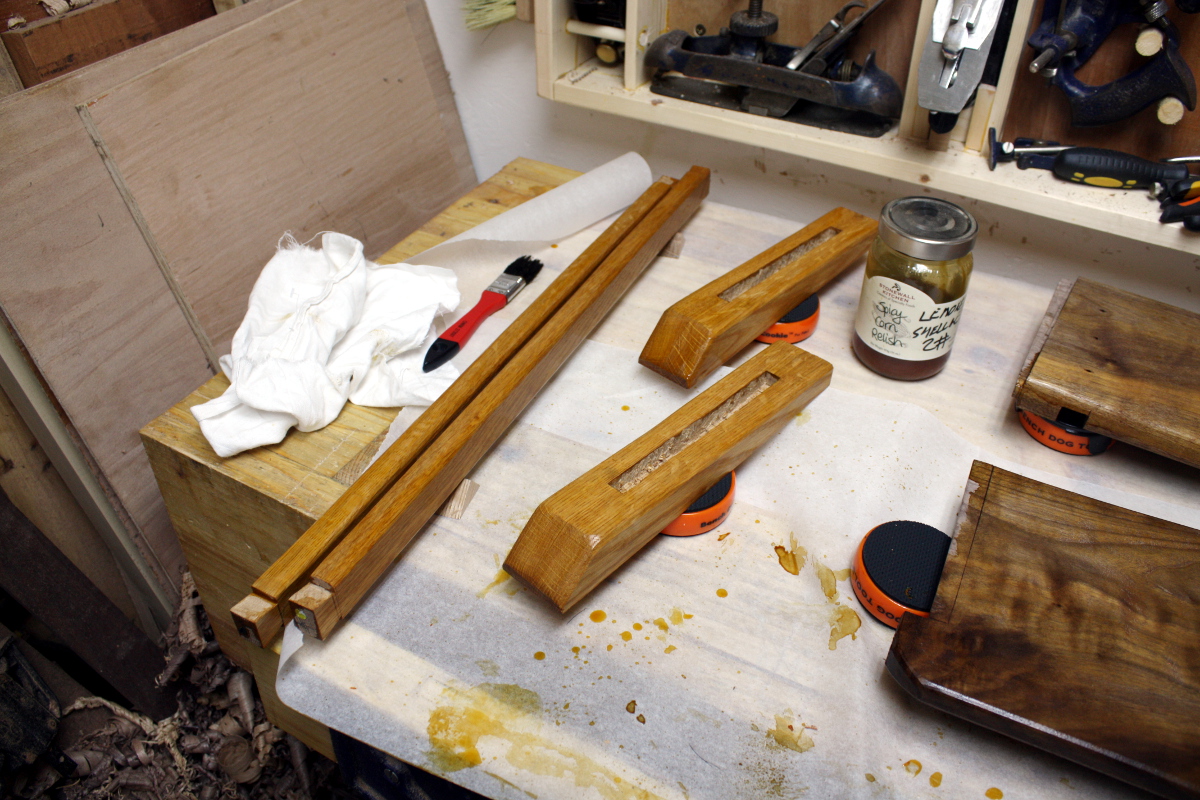
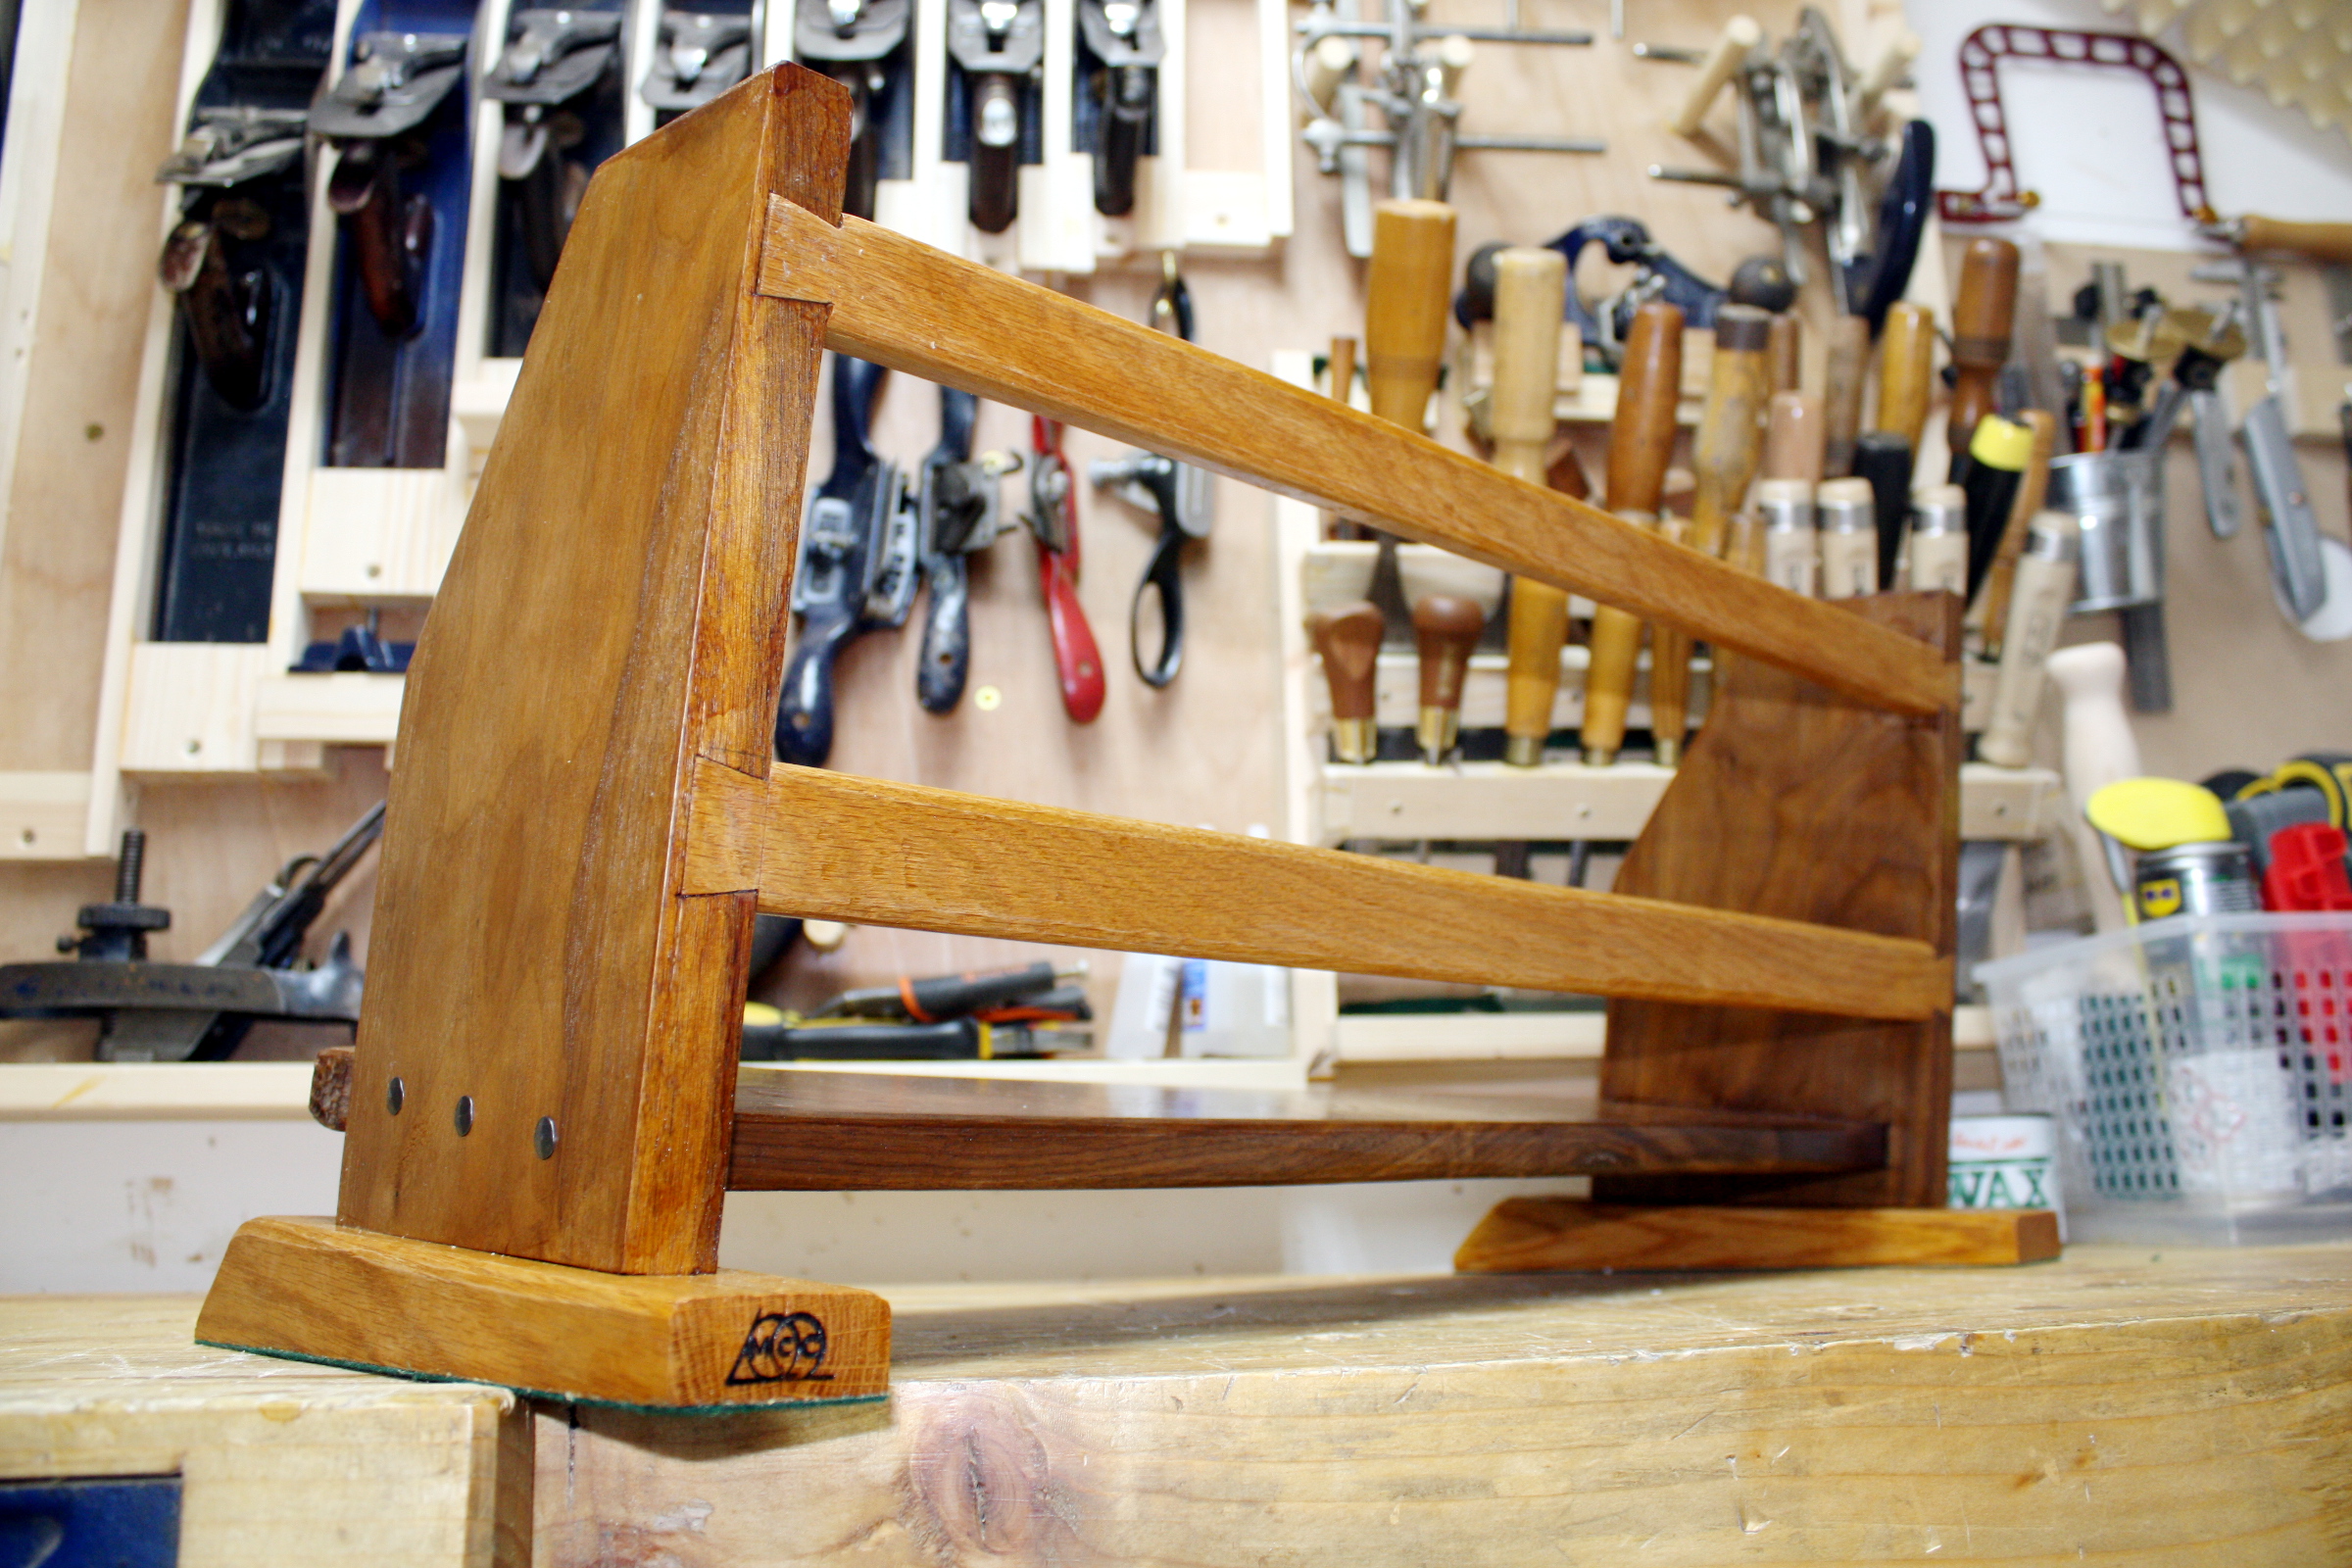
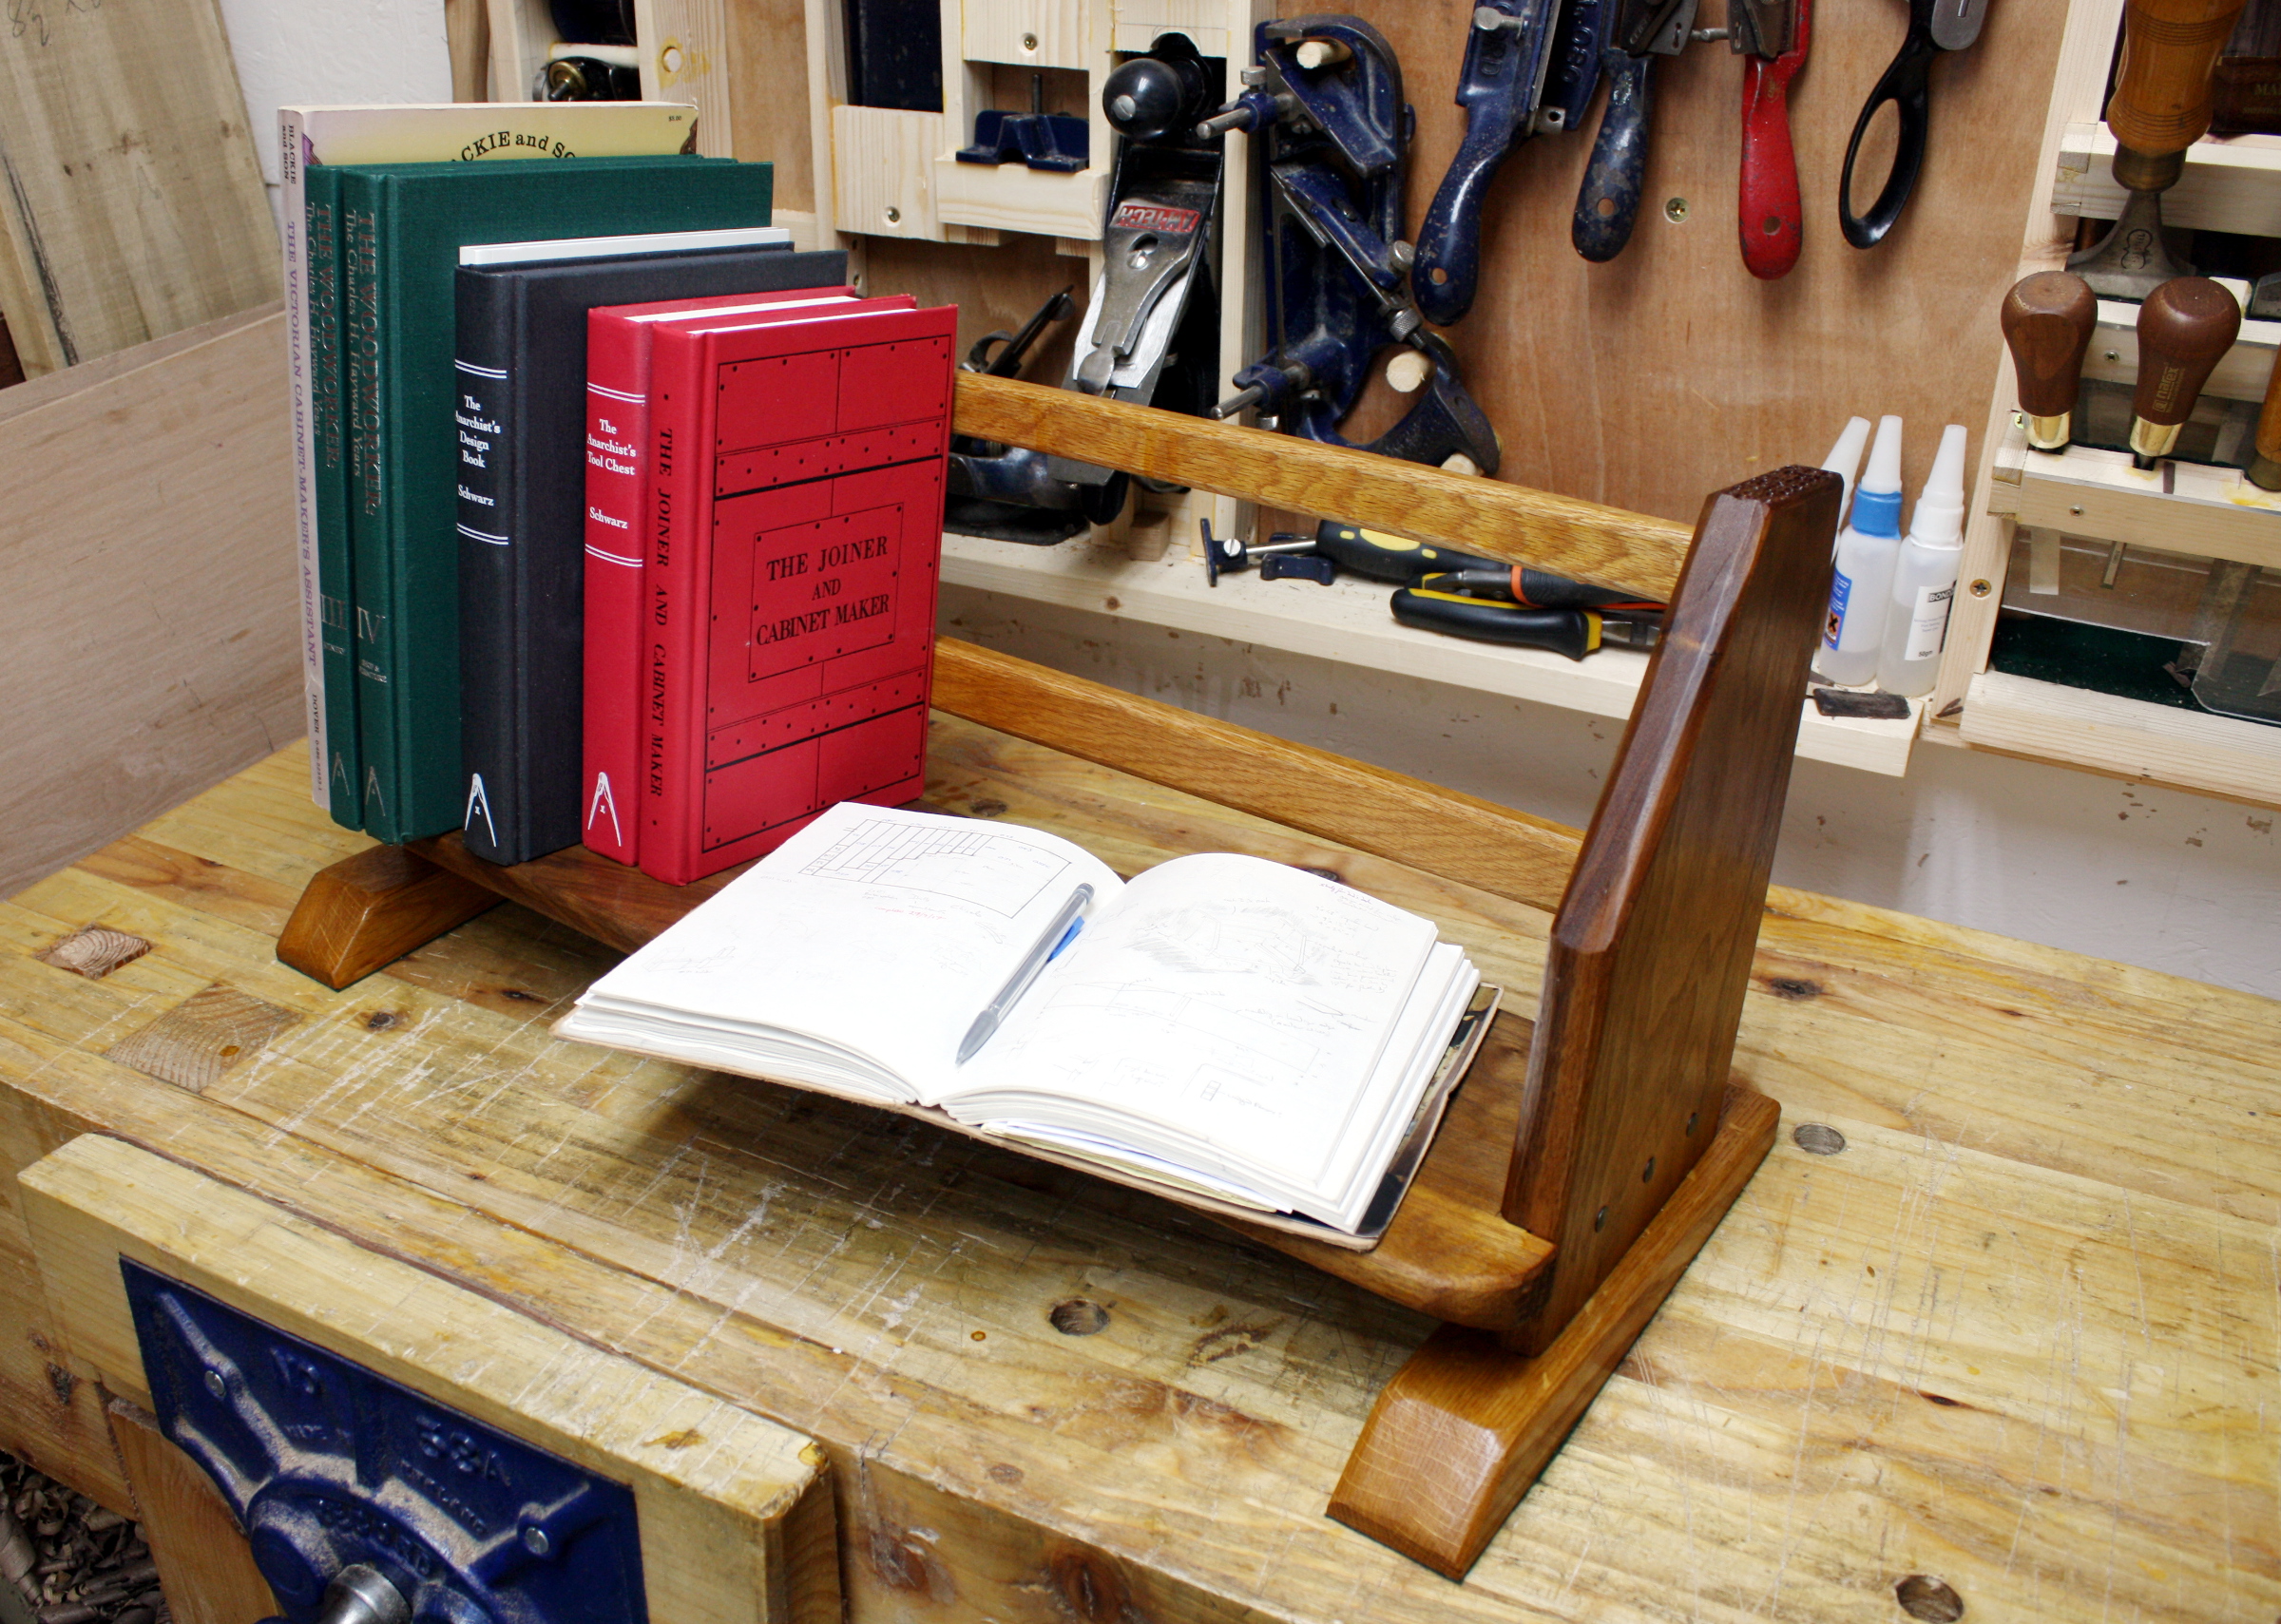
And then I hauled out one of the last planks of walnut I had to hand, skimmed it and rough-cut it from 9×48 to 9×23 and 8×24, losing an inch of length to kerf and clipping off a rough end on the board and losing an inch of width to a bit of live edge on one half of the board. I also grabbed some oak I had and crosscut it in half, then laminated the two halves together to one 3×3 block; and then cut a diagonal line across the width of the board to give me the two feet – the thing you stand on, not the archaic unit of measurement – roughly 3×2 at the front and 3×1 at the back for a nice gentle slope so that the spines of the books are visible when sitting or standing at the desk.
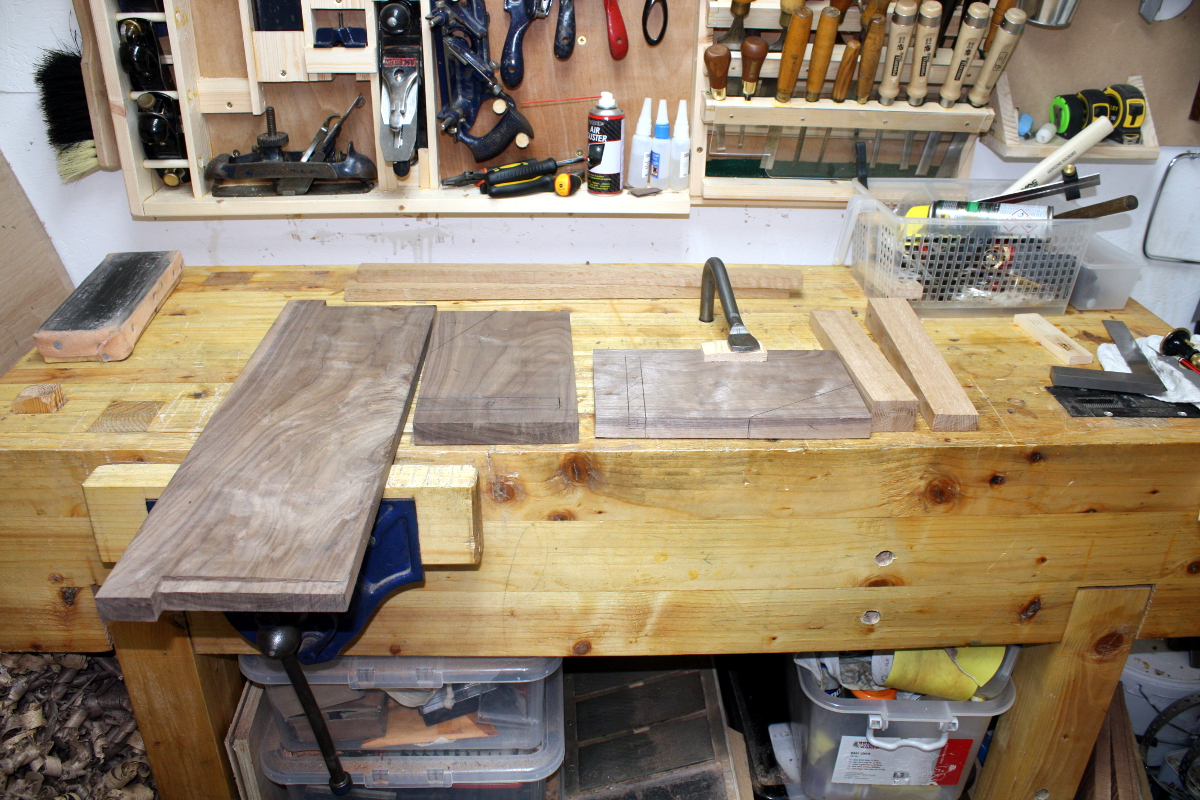
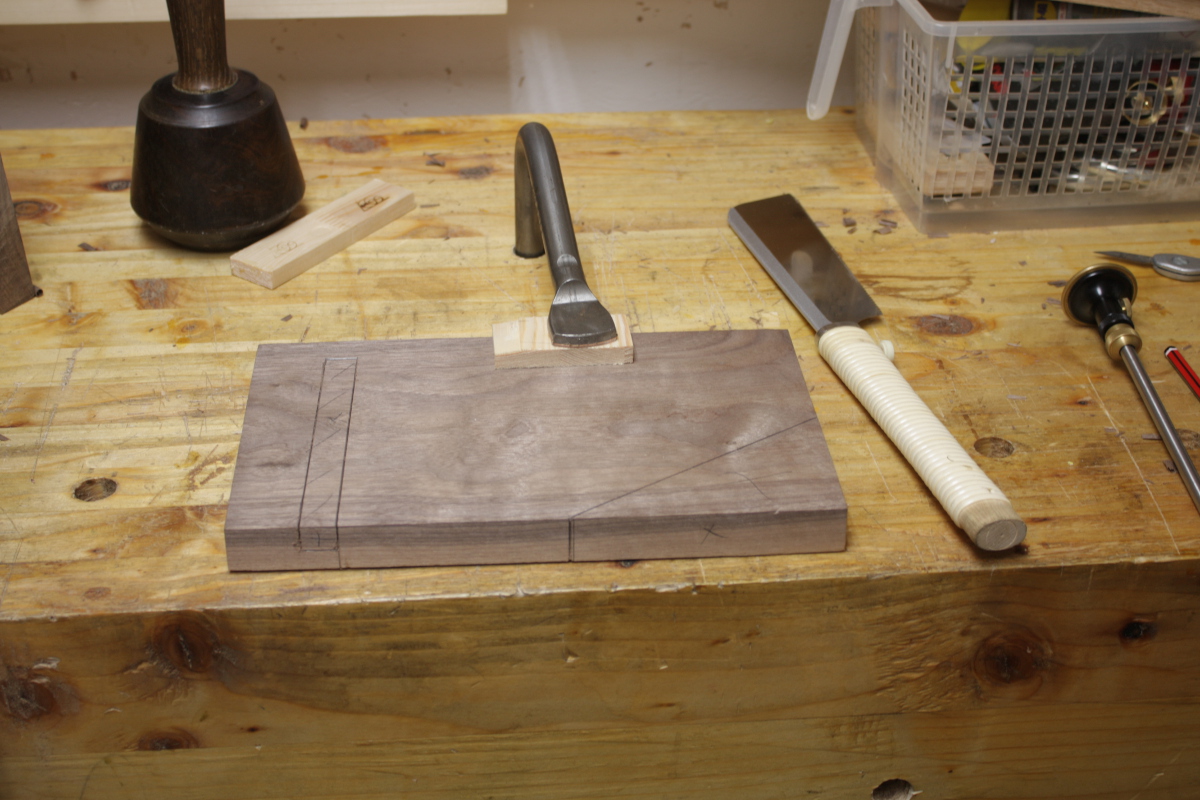
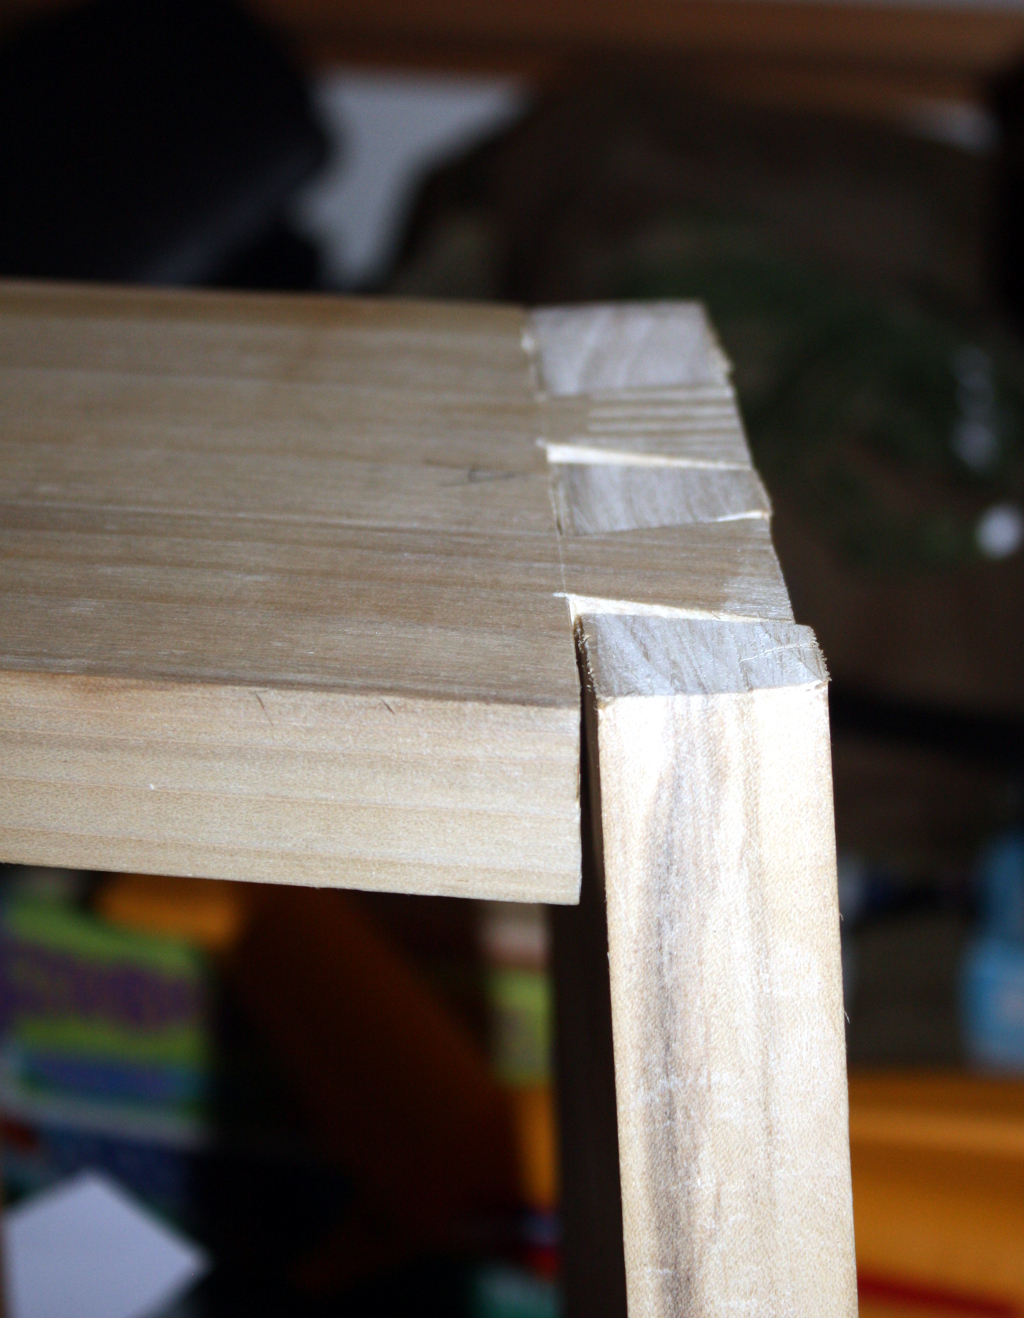
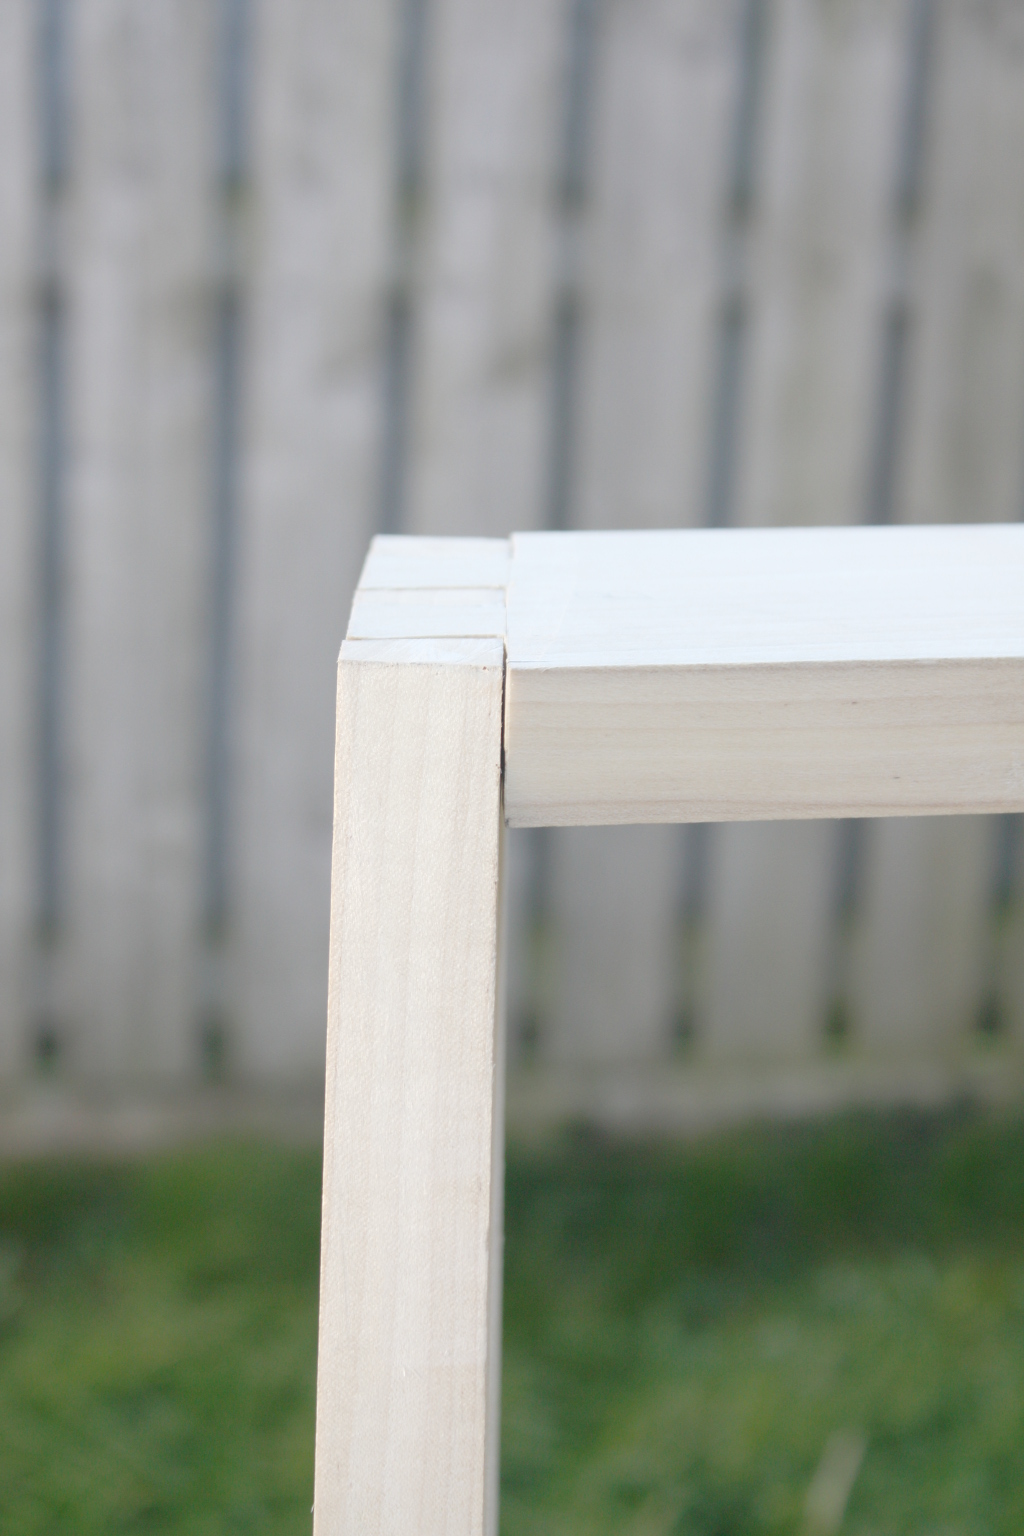
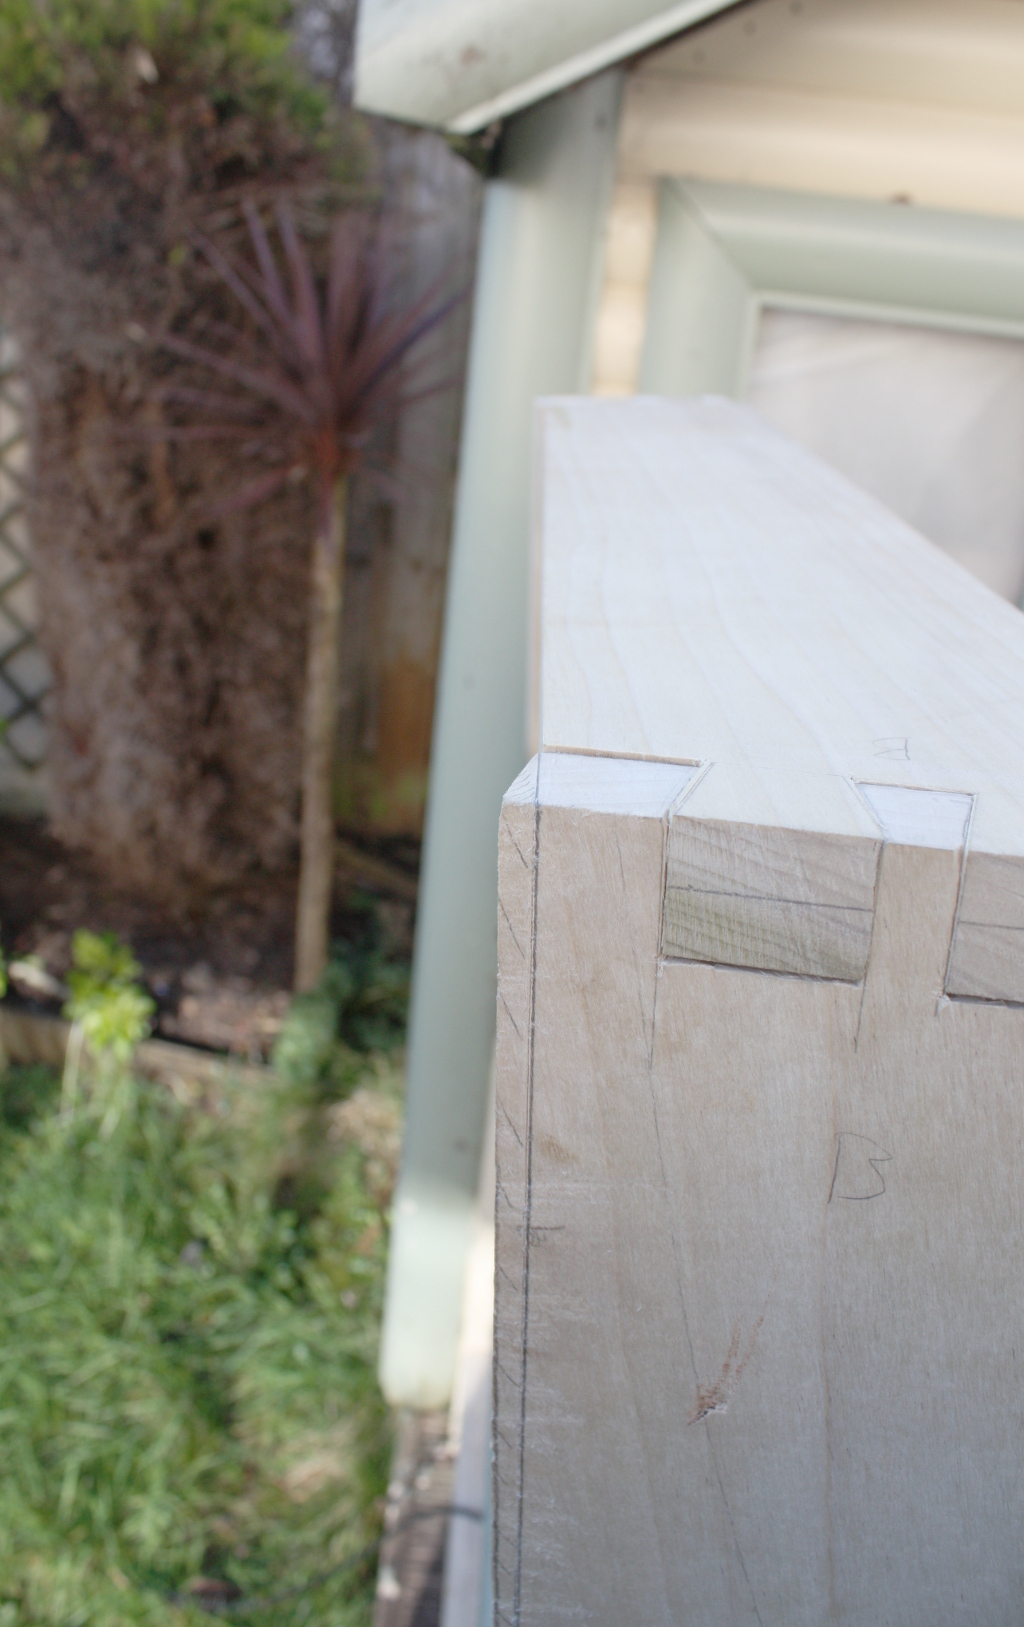
Then on to the sides. I took the 8×24, cut that in half after I had it flattened and thicknessed down to about ¾”, marked off which corners I’d cut off for that sloped look and then marked out both for a stopped dado for the shelf (which would act as a sort-of-half-lap joint as the shelf would have two shallow rebates on either end to fit). I was planning on using the cut nails I got from Dictum a while back as a design feature so I didn’t make it a sliding dovetail, the nails would hold well enough.
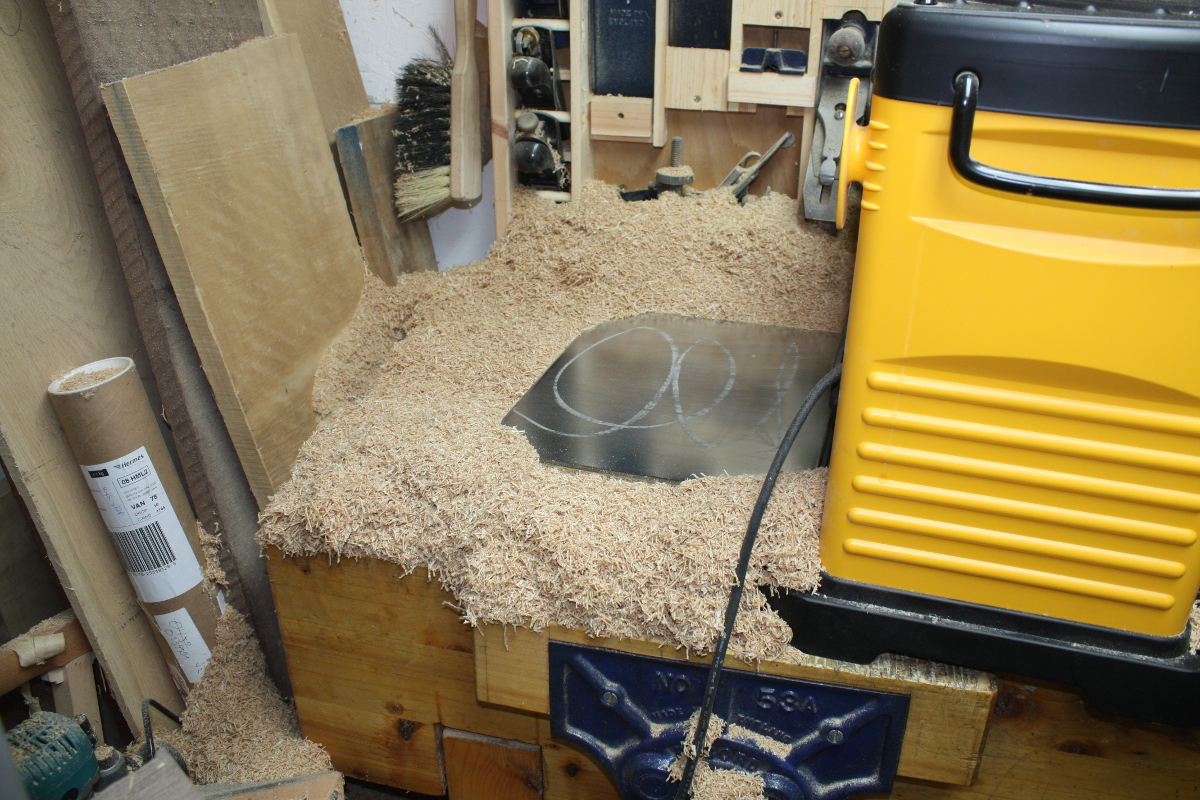
I cut down the walls of the dado as much as I could with the saw and then cut out the waste and the rest of the dado with a chisel, and used a router plane to tidy it all up.
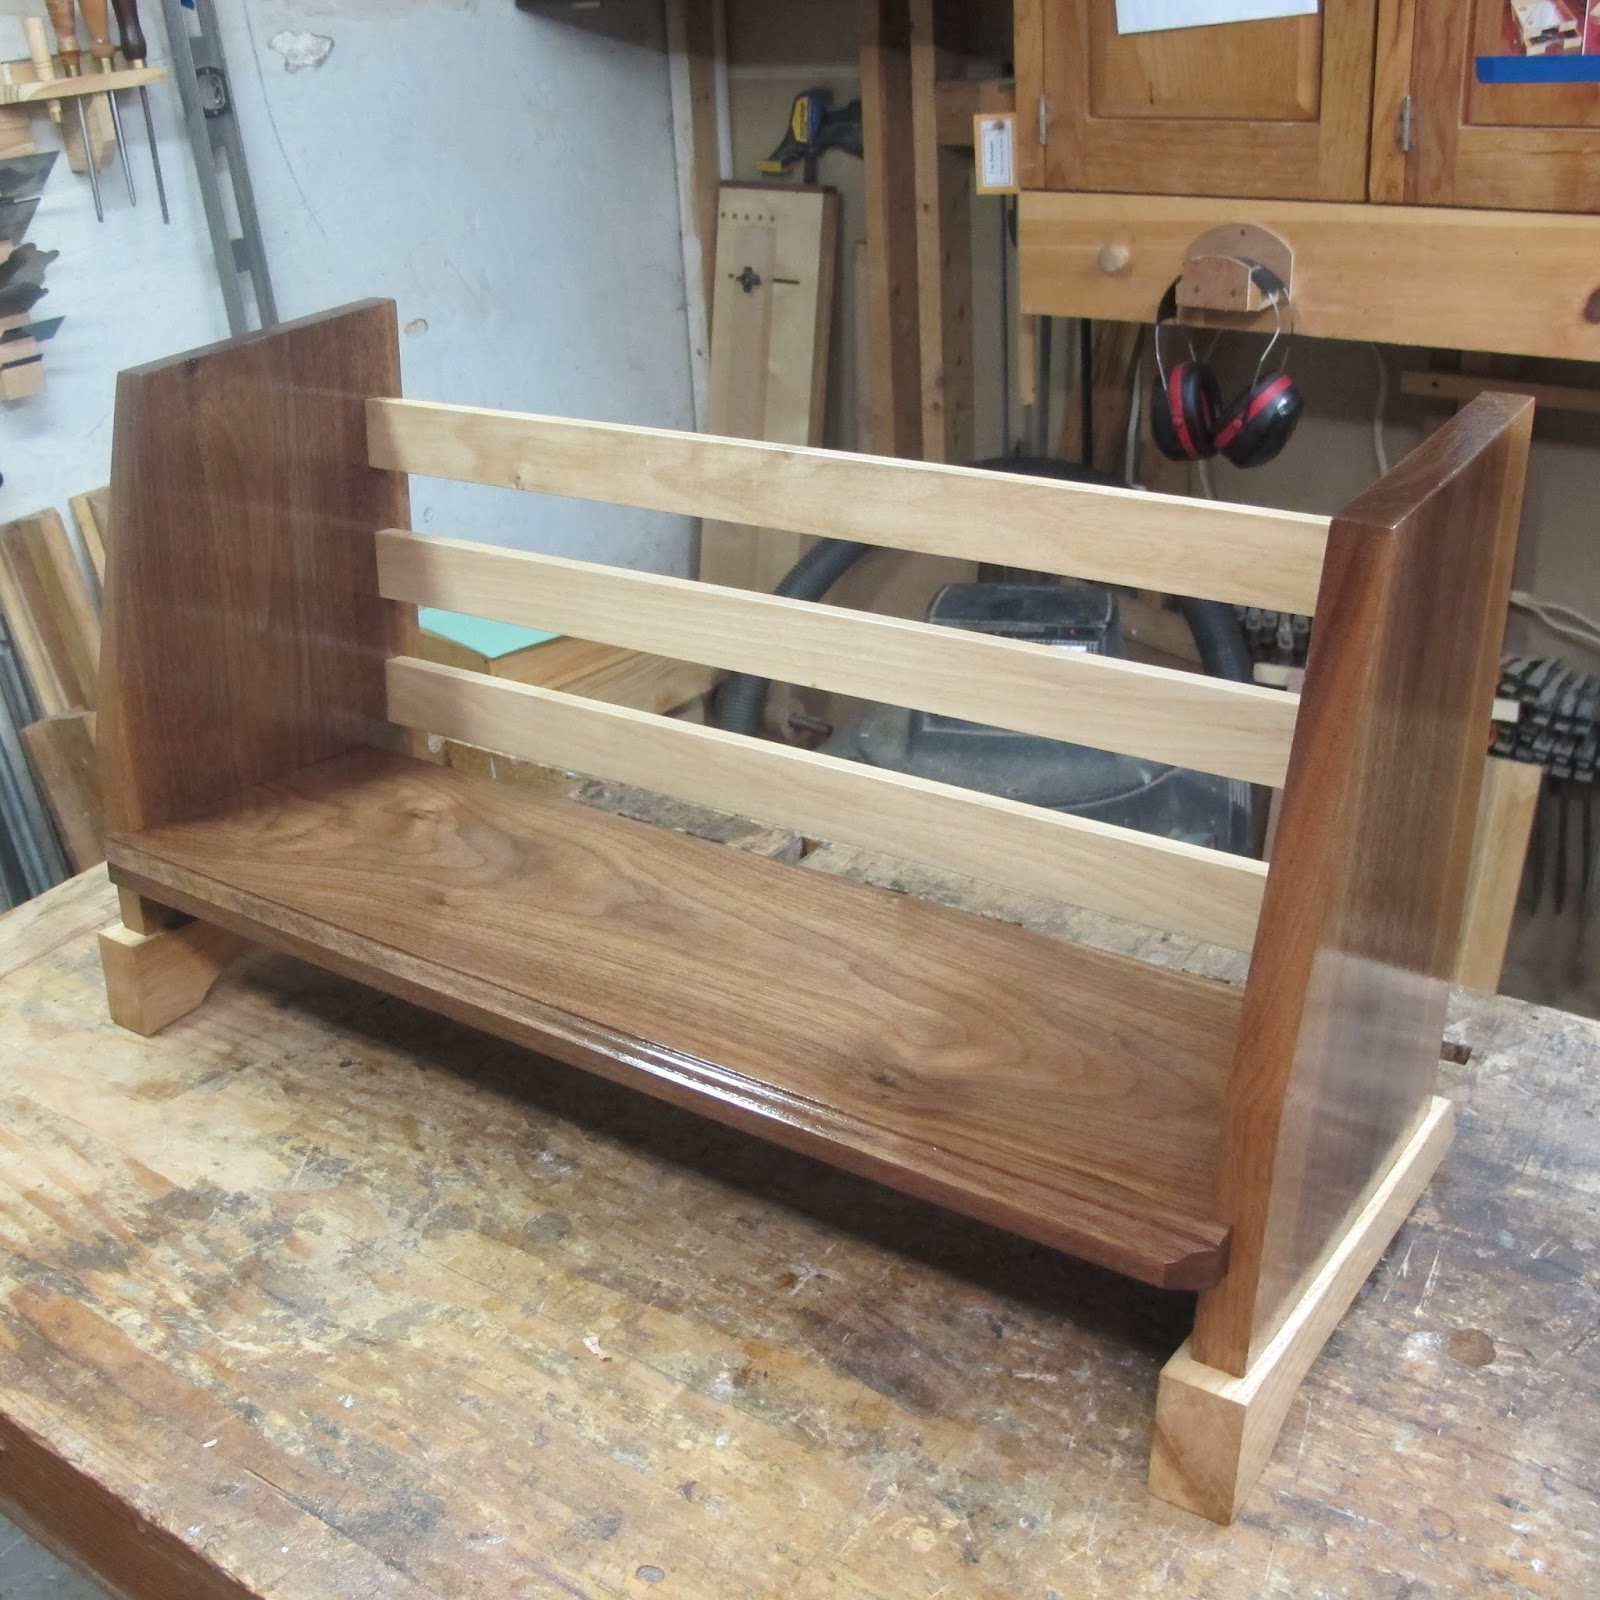
 Didn’t turn out too shabbily.
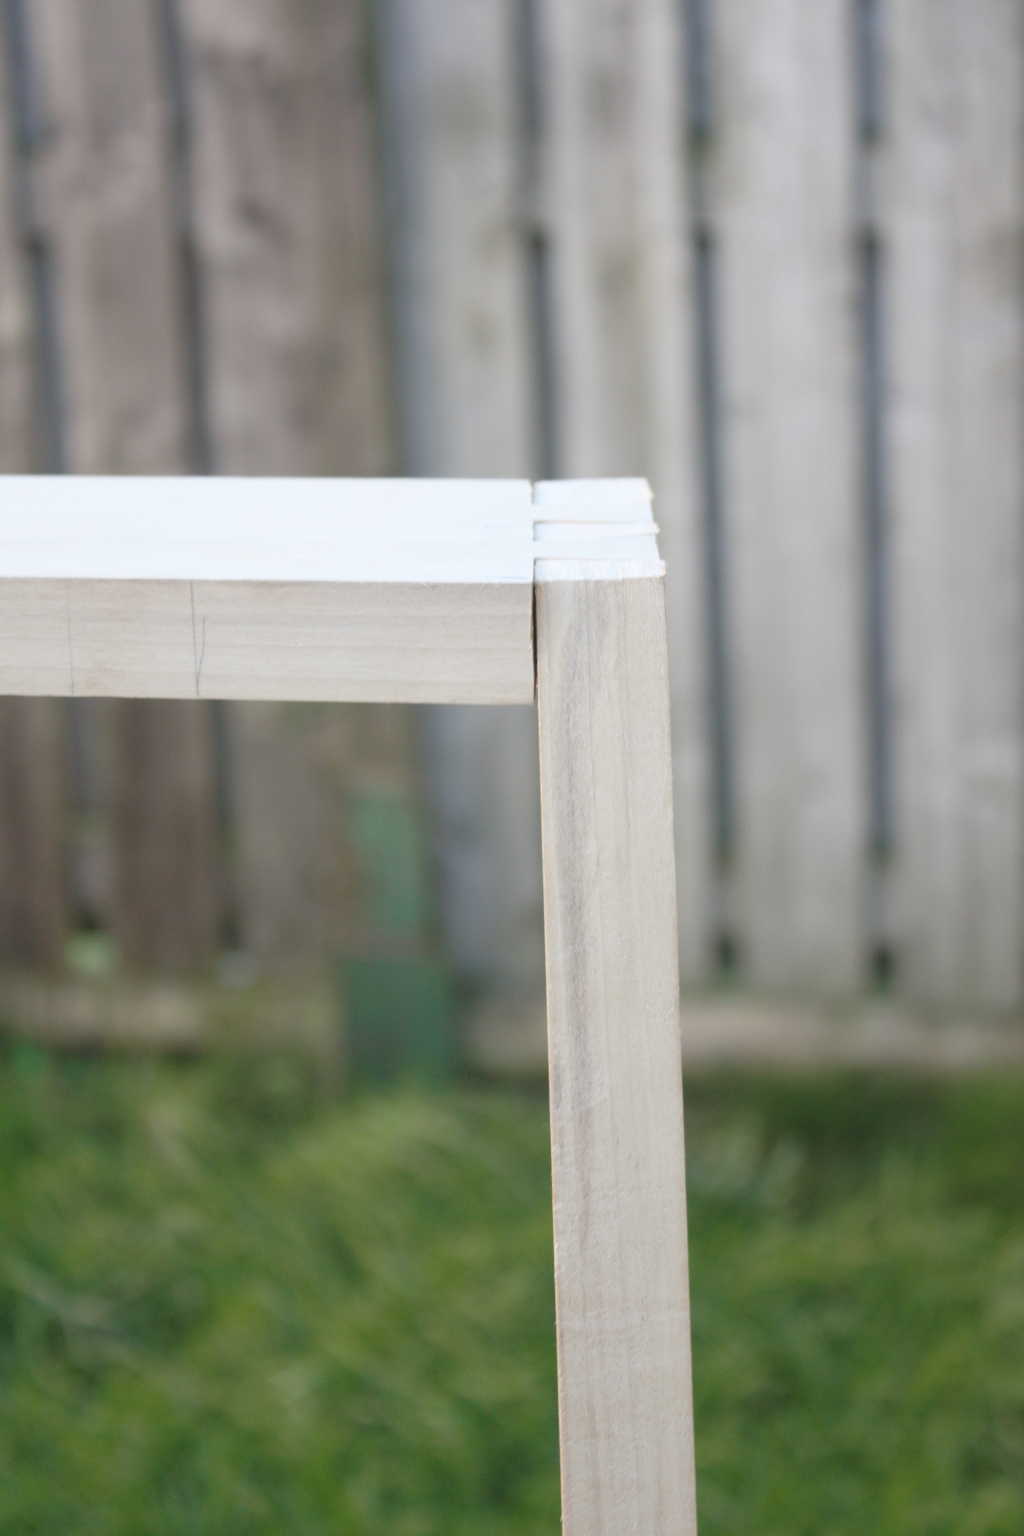
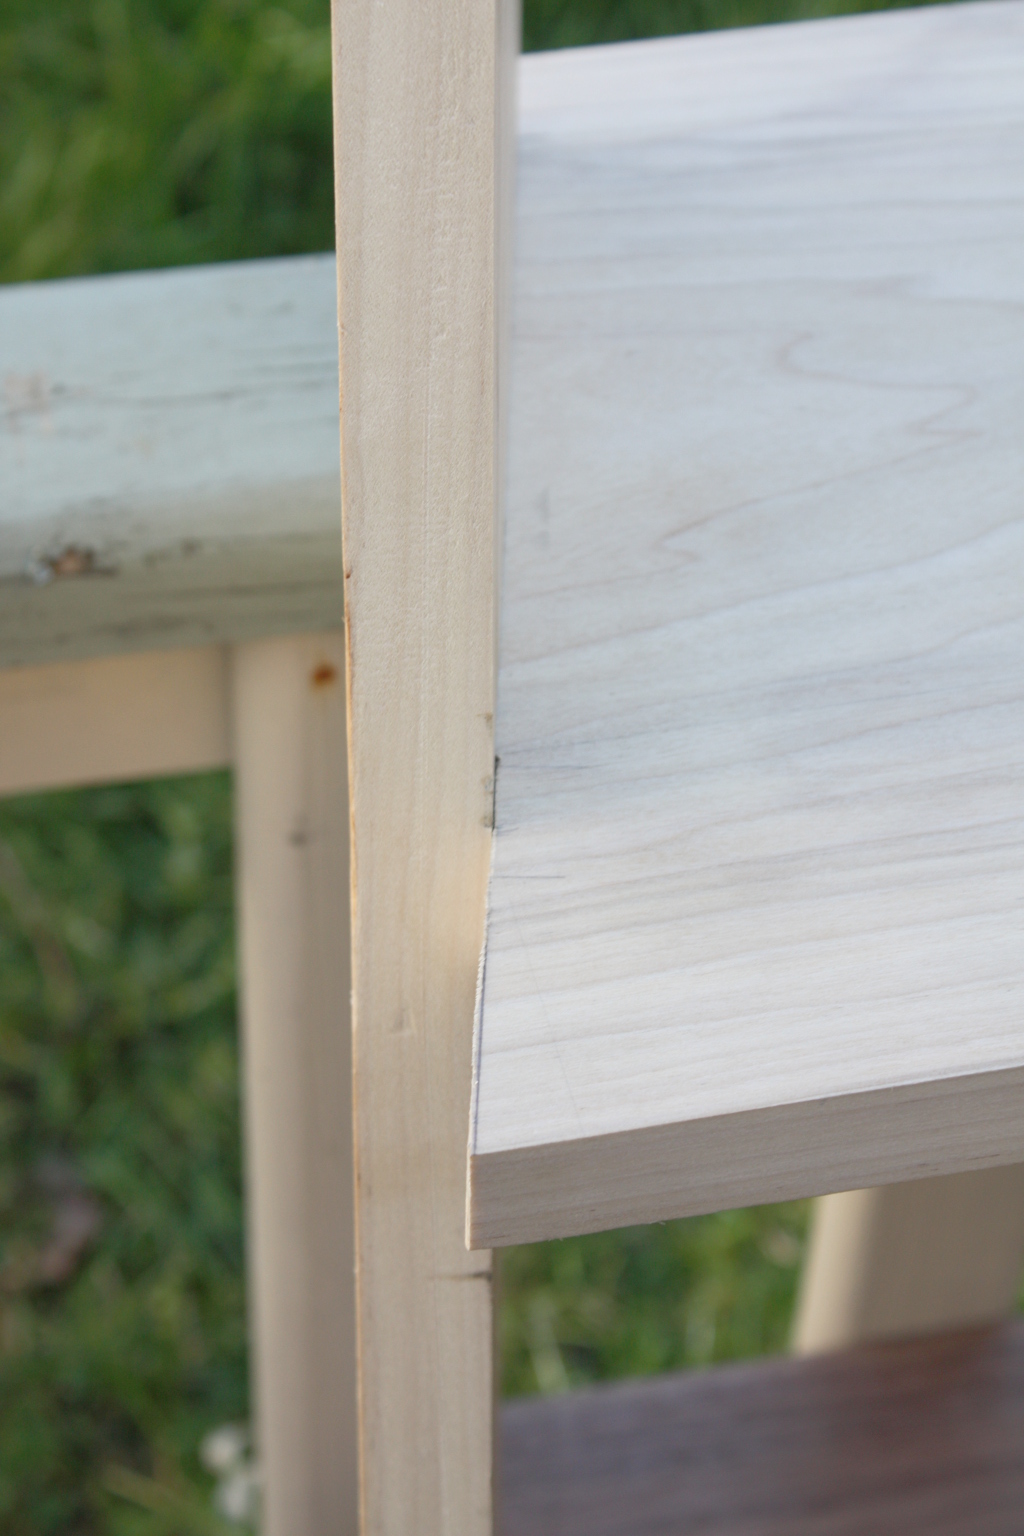
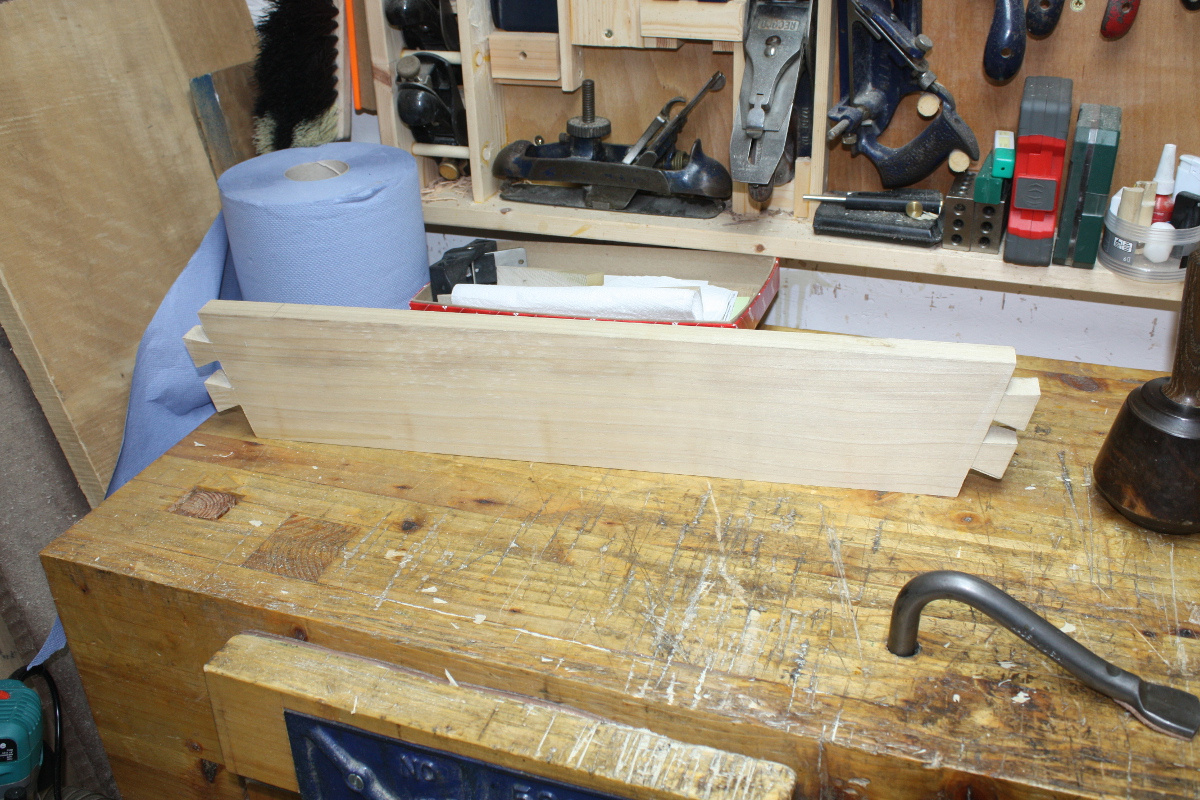
 Even got some nice grain alignment between the sapwood and the front of the uprights.
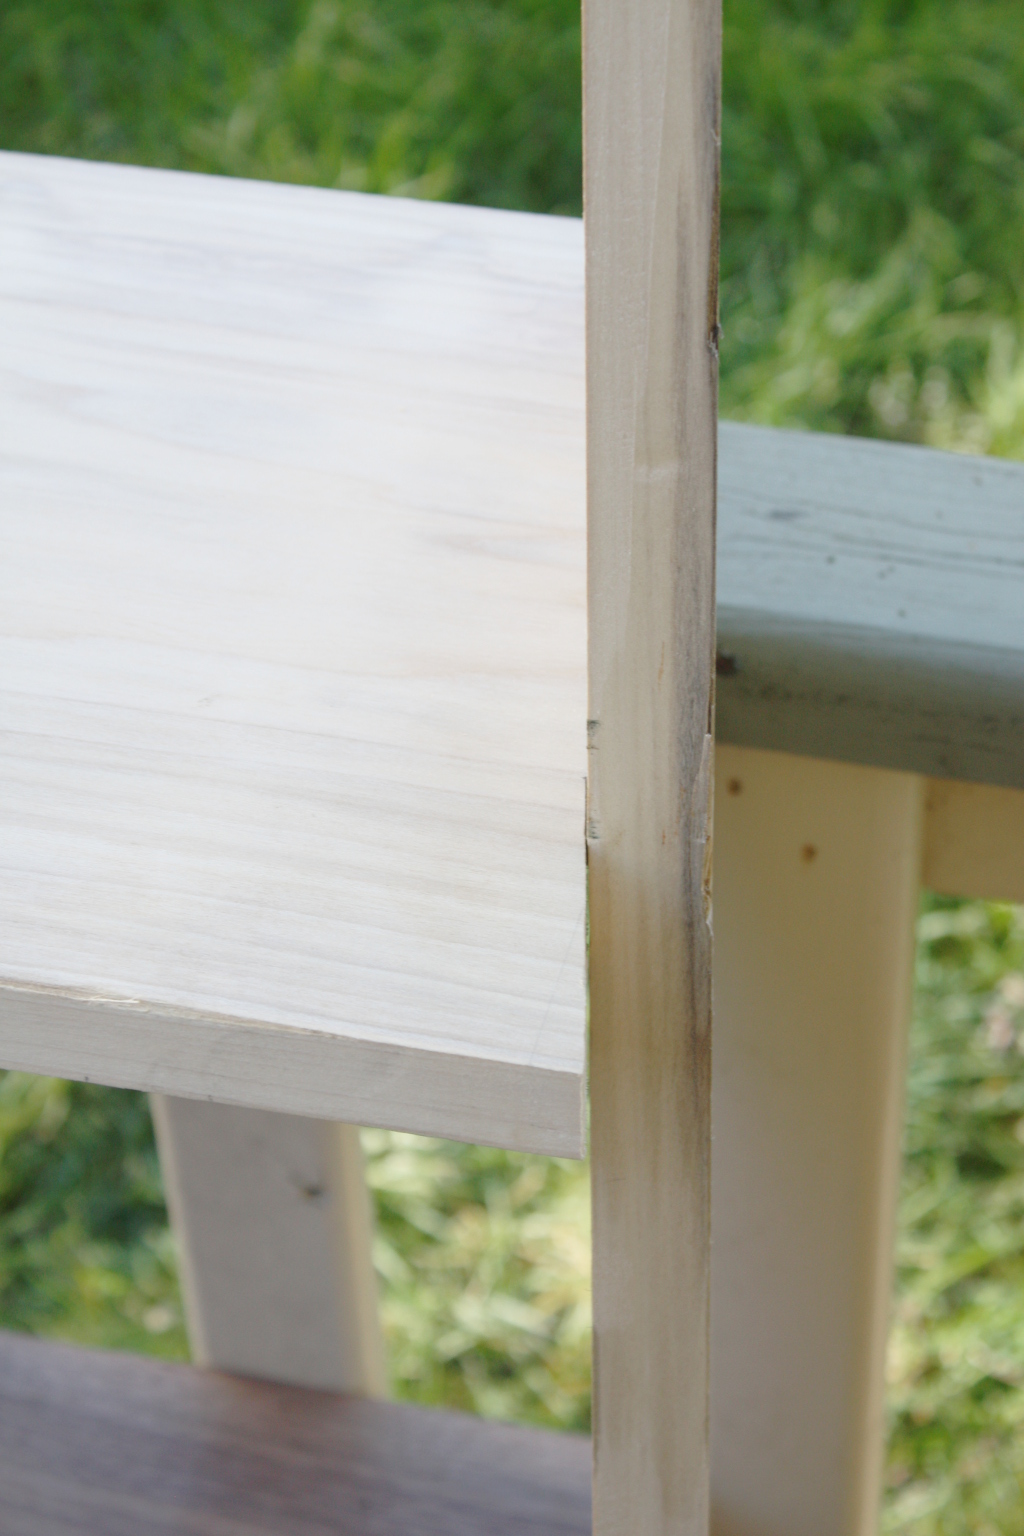
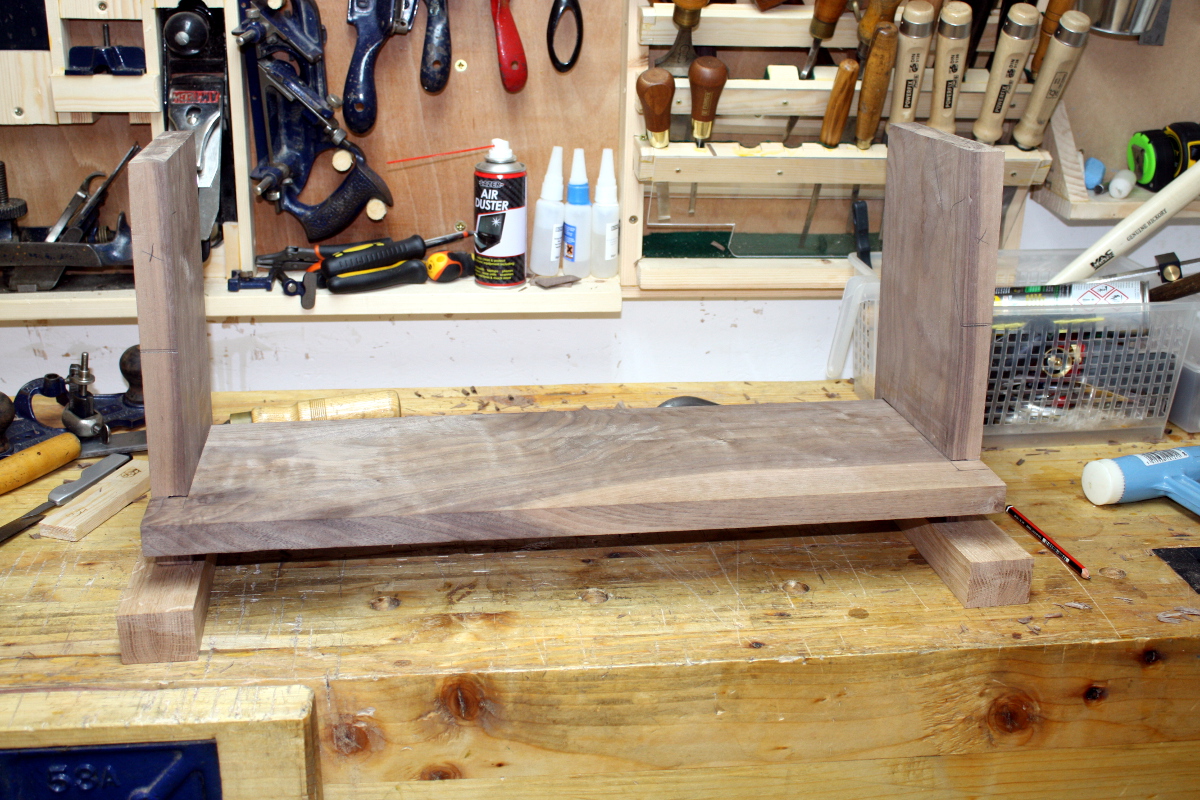
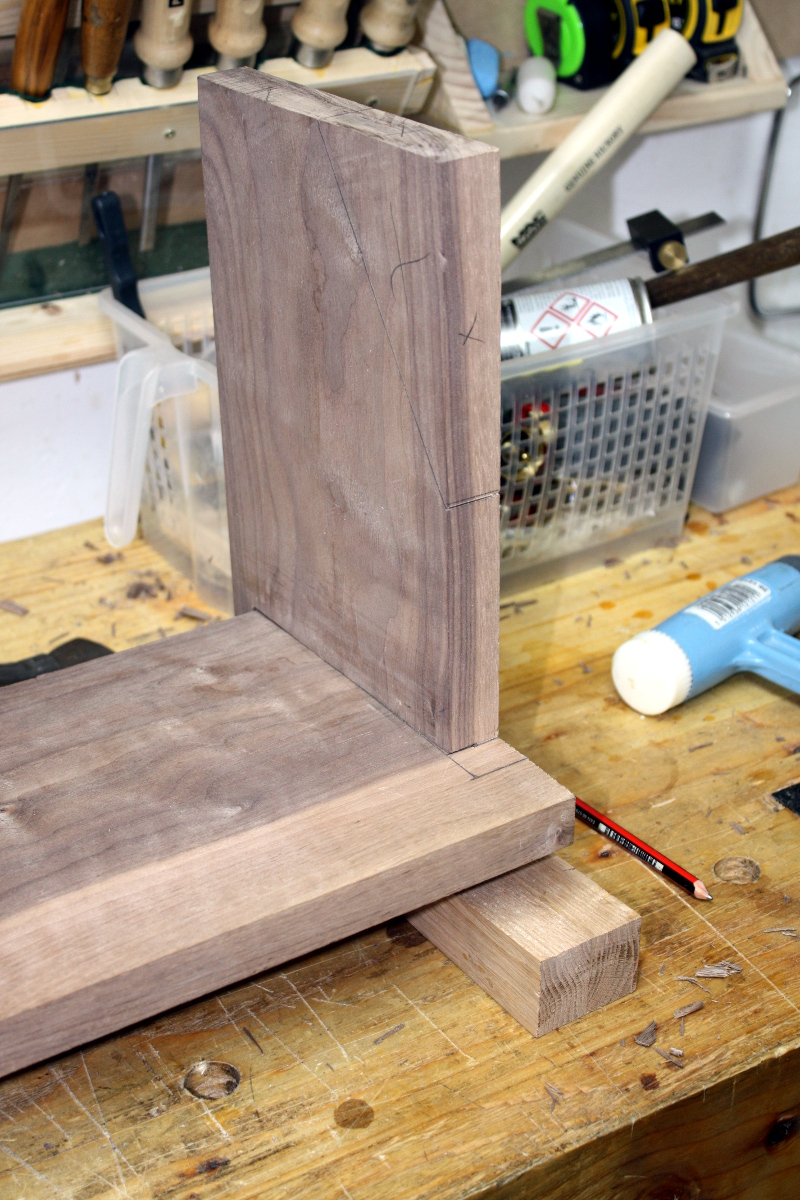
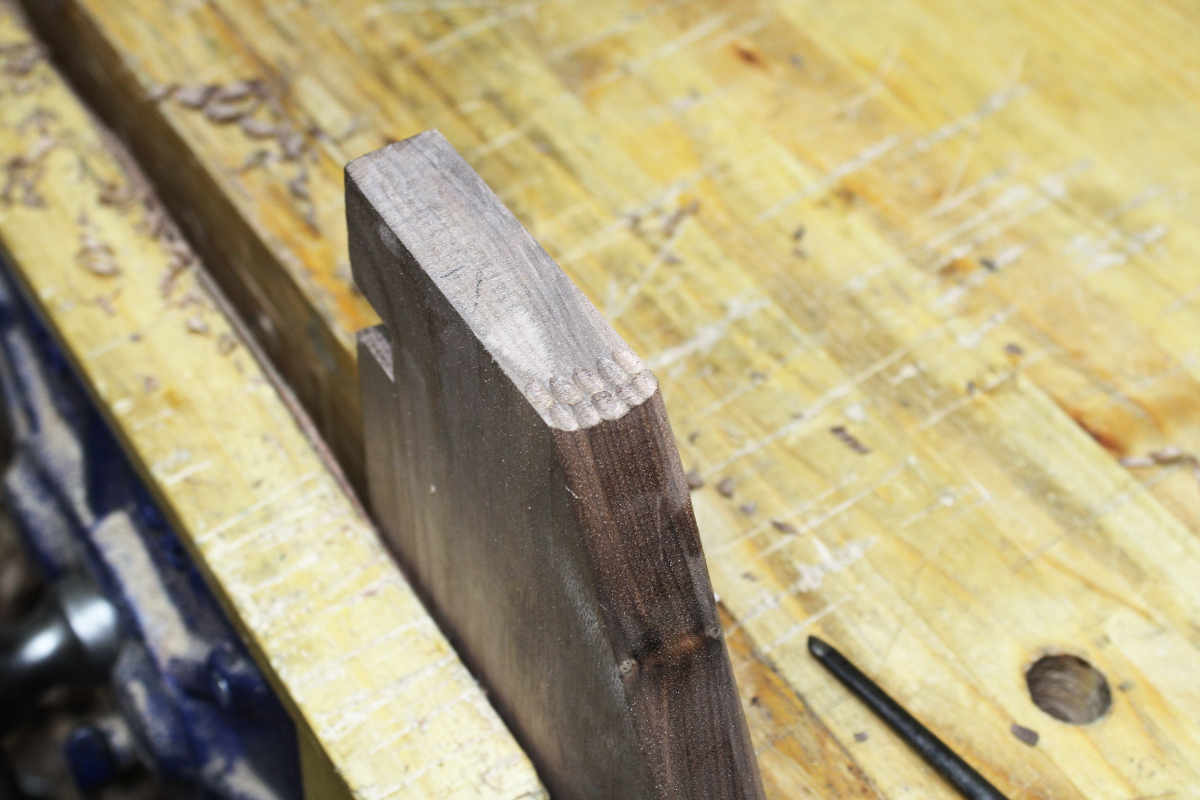
Next though, have to attach the feet to the uprights. Ralph used biscuits for his, but I don’t have a biscuit joiner (or room to use one or store one) so I just cut mortice and tenon joints, complicated slightly by the joint being sloped – the mortice is deeper at one end than the other and the tenon is trimmed as well to avoid chopping through the feet when making the mortice. This gives even more rake to the uprights – it’s not a huge amount, but it does give that slightly steeper angle without needing either the joint or the angle of the feet to take the full angle. It’s a little nicer and it means the spines of the books are at an angle that makes reading the titles easier if you’re sitting or standing at the desk (Dad’s desk is one of those electric standing/sitting desk things).
Not as hard to cut as the curved tenons in the cot a while back. And I did think of using my new morticing chisels but the one in the size I wanted to use has a handle that is literally falling off, and it weighs two pounds and looks like a railway spike. It’s more for deep morticing through a few inches of oak. For a blind mortice like this that’s barely an inch at the most, the firmer chisels are the better choice. Also, holdfasts. Best morticing workholding ever.
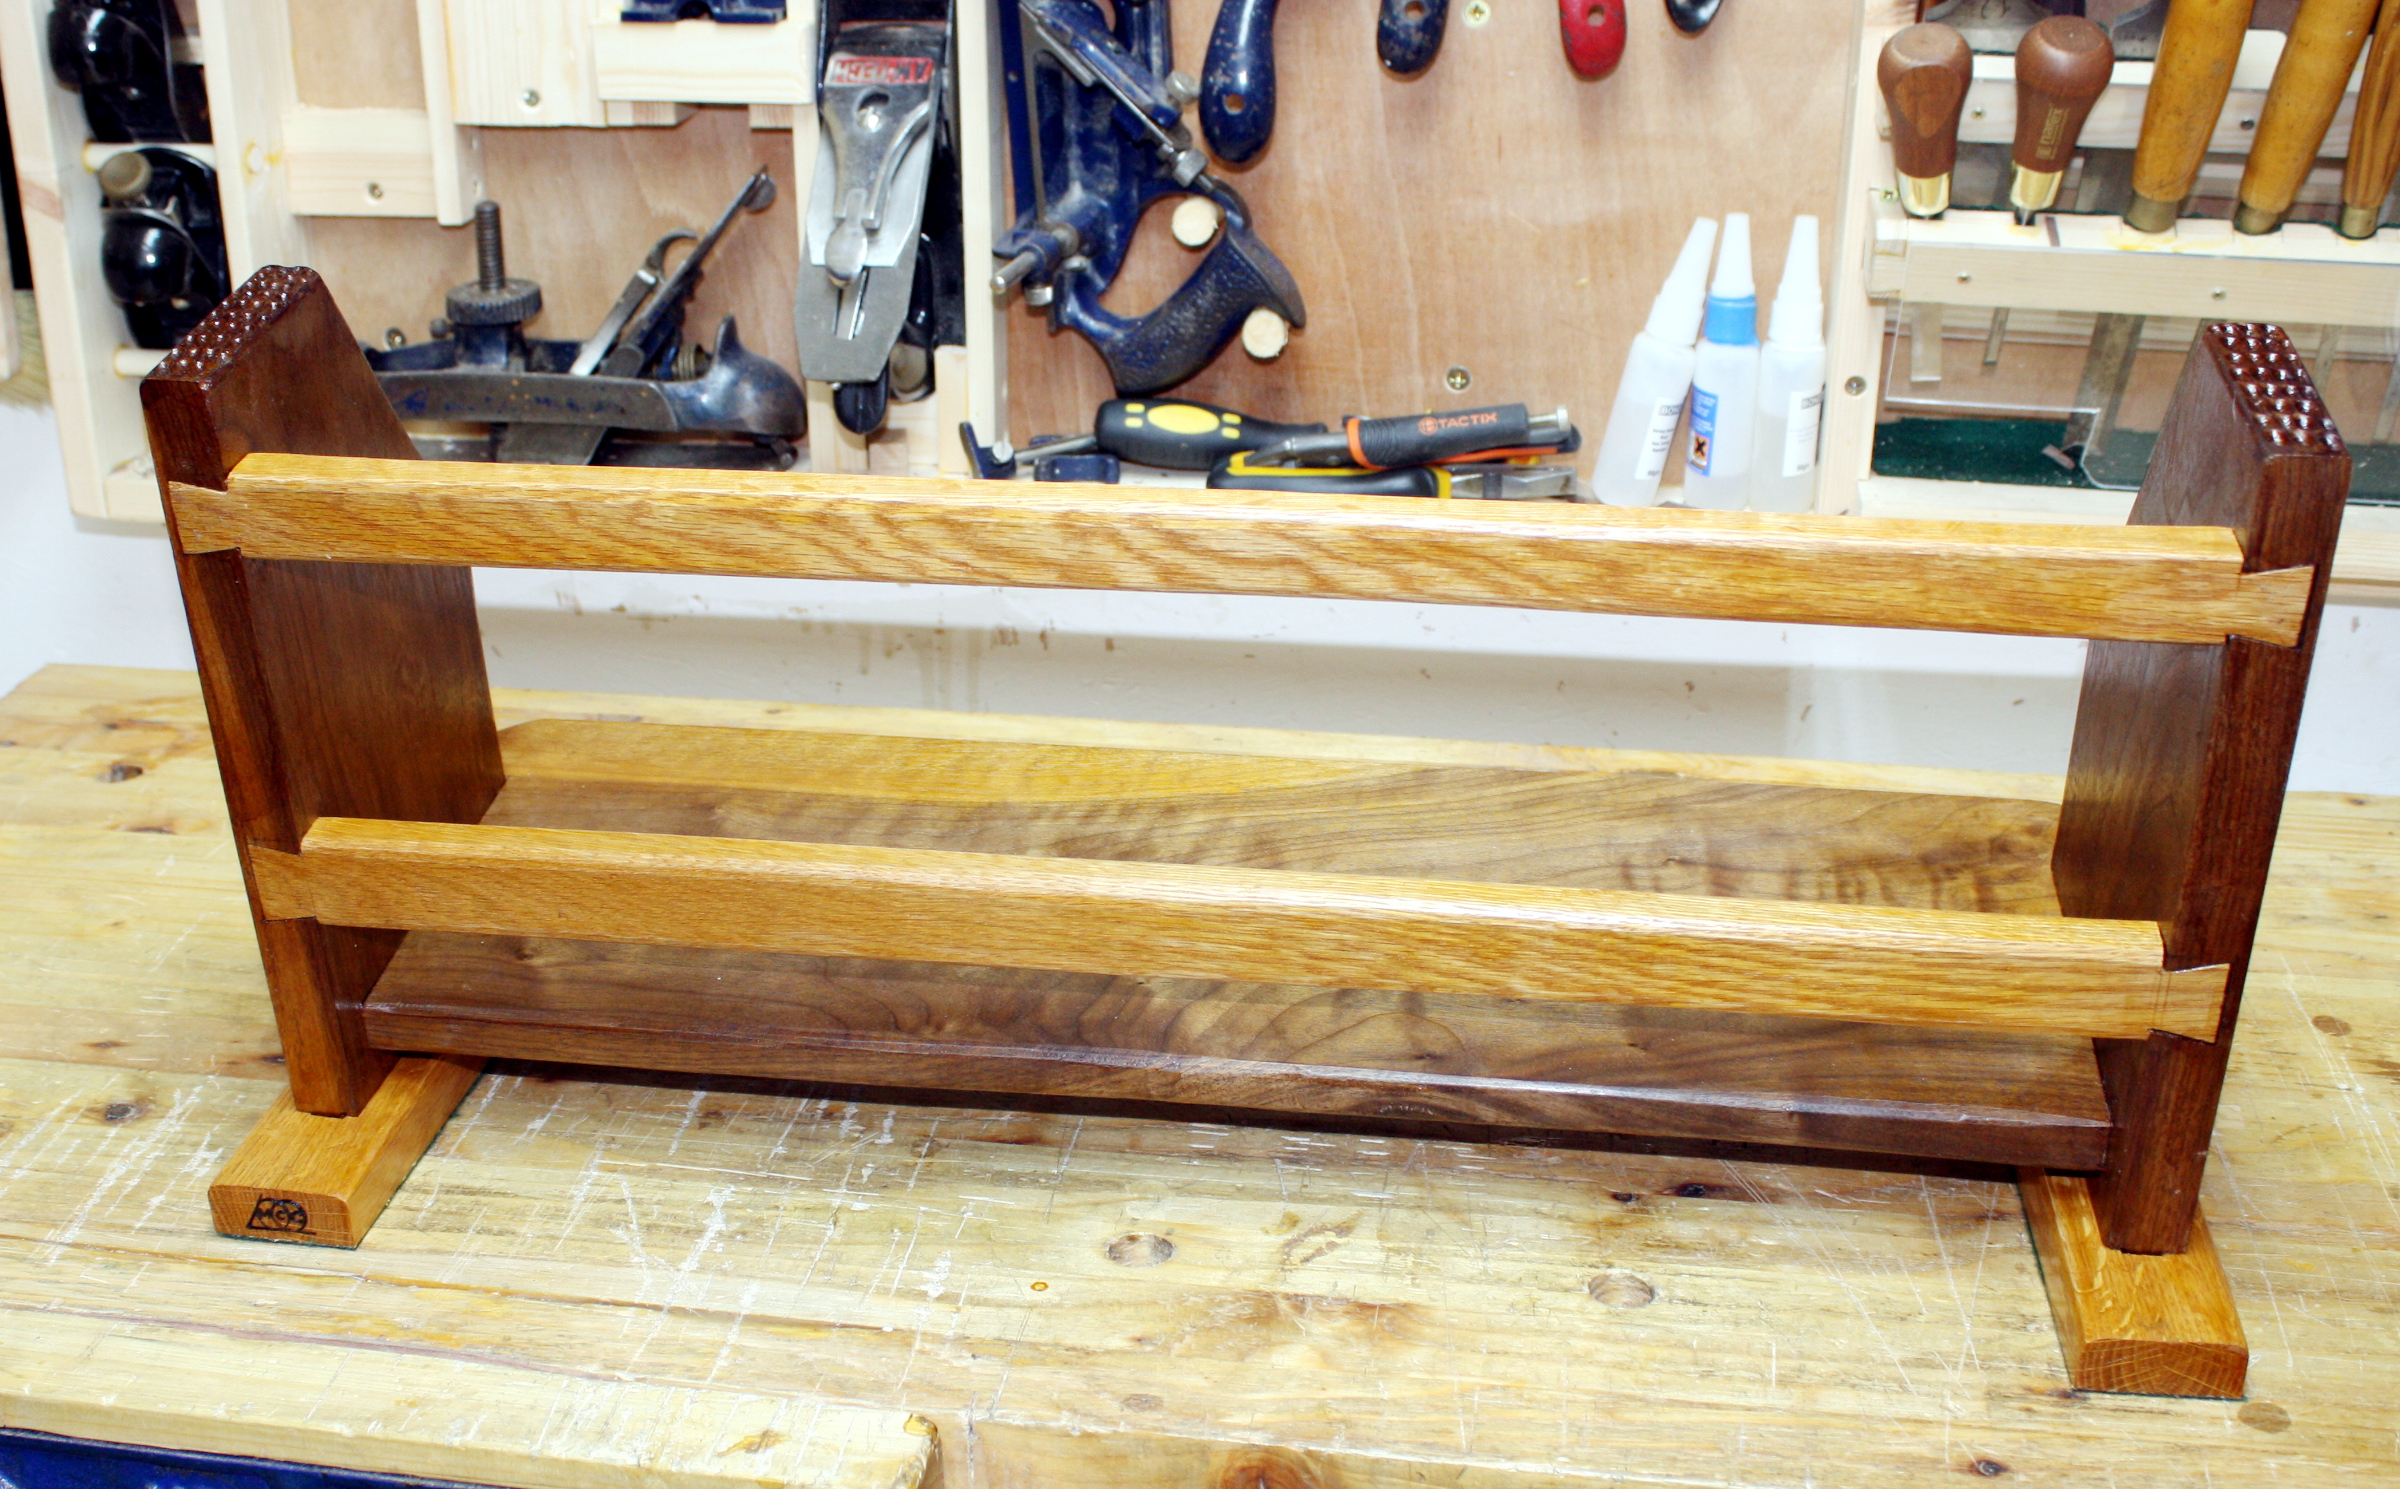
And with those fitted, time to sort the back rails, also from some oak I had.
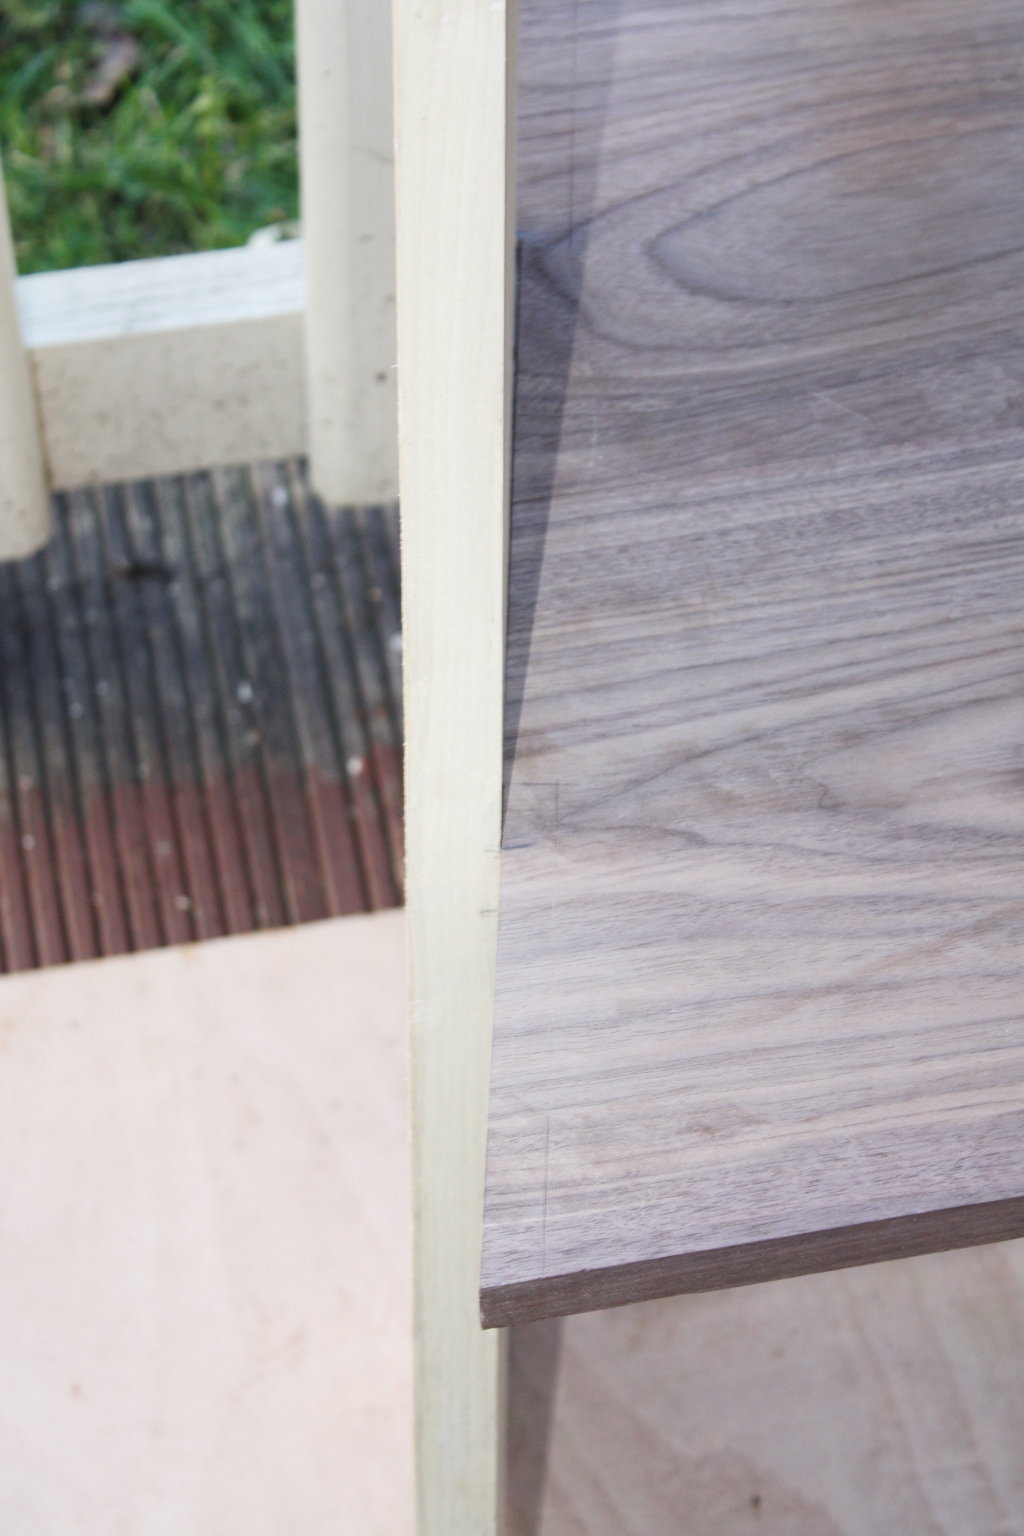
 They’re a bit thin, but that’s okay, this is for a desktop so “brick shithouse” isn’t really the design aesthetic I’m looking for here. I was thinking of doing mortice and wedged tenons here, but the walnut was a bit narrower than the sapele board I started with (so pushing the rails back means being able to hold wider books), and walnut’s far easier to carve, so I switched to the idea of using half-blind dovetails so the sides were kept fairly clean-looking. Those went very smoothly (it’s walnut, you’re basically cheating using it for dovetails), the only difficult part being the layout (because you basically need the whole thing assembled to get the final shoulder lines for the last two joints). But you’re only cutting four dovetails in total so it’s fast work.
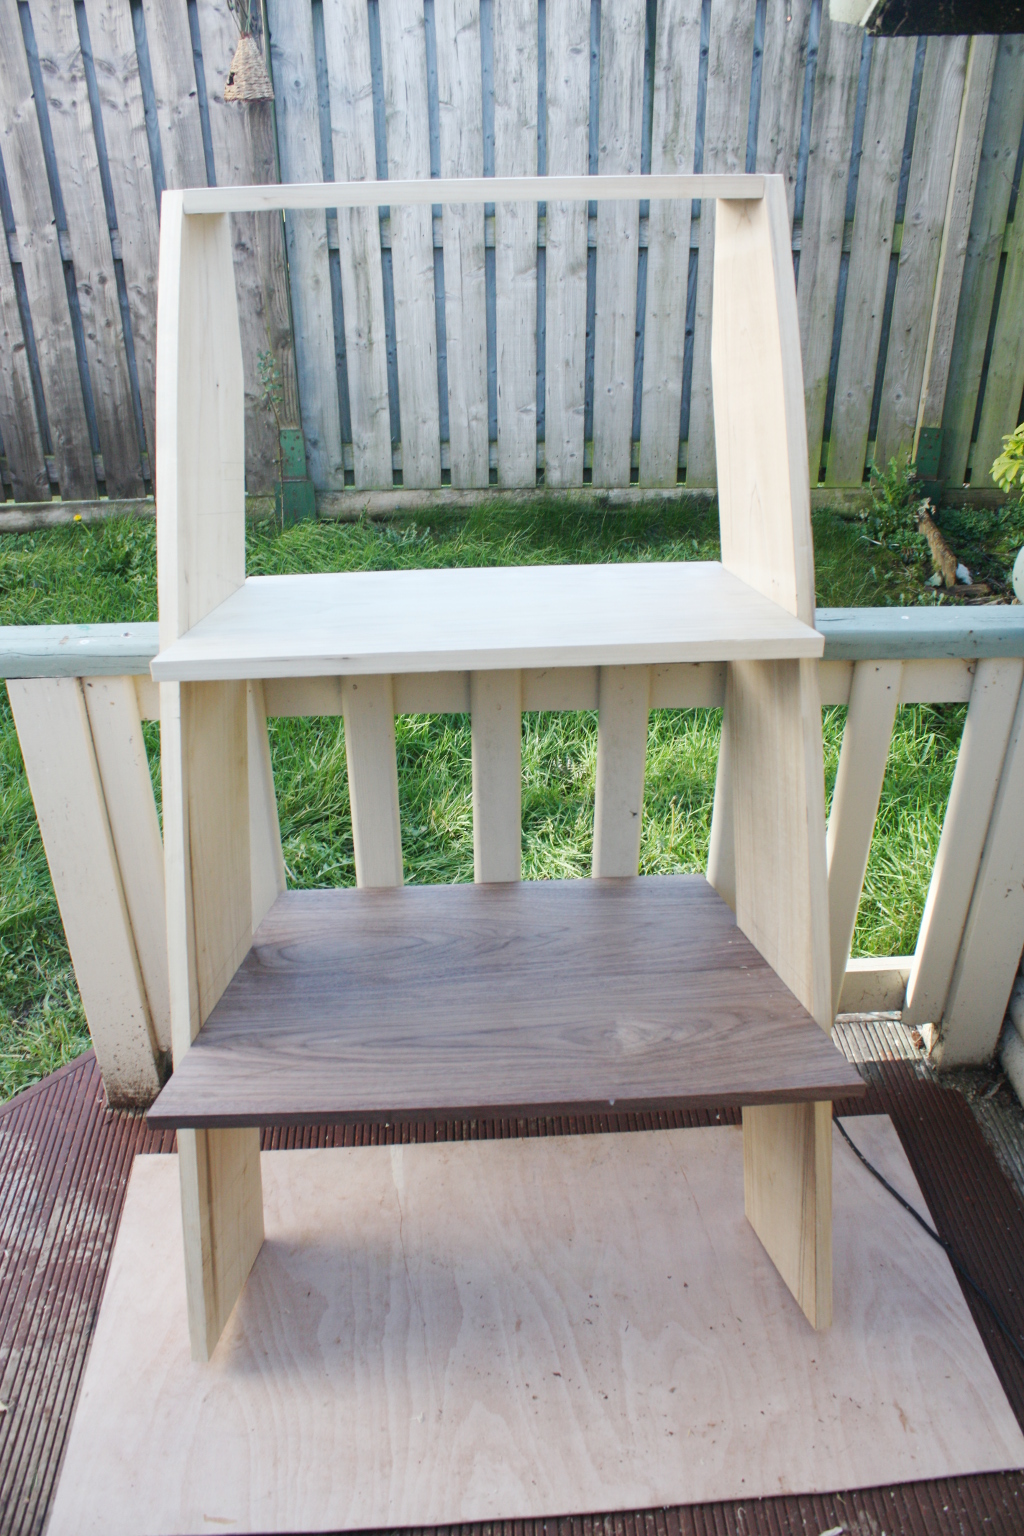
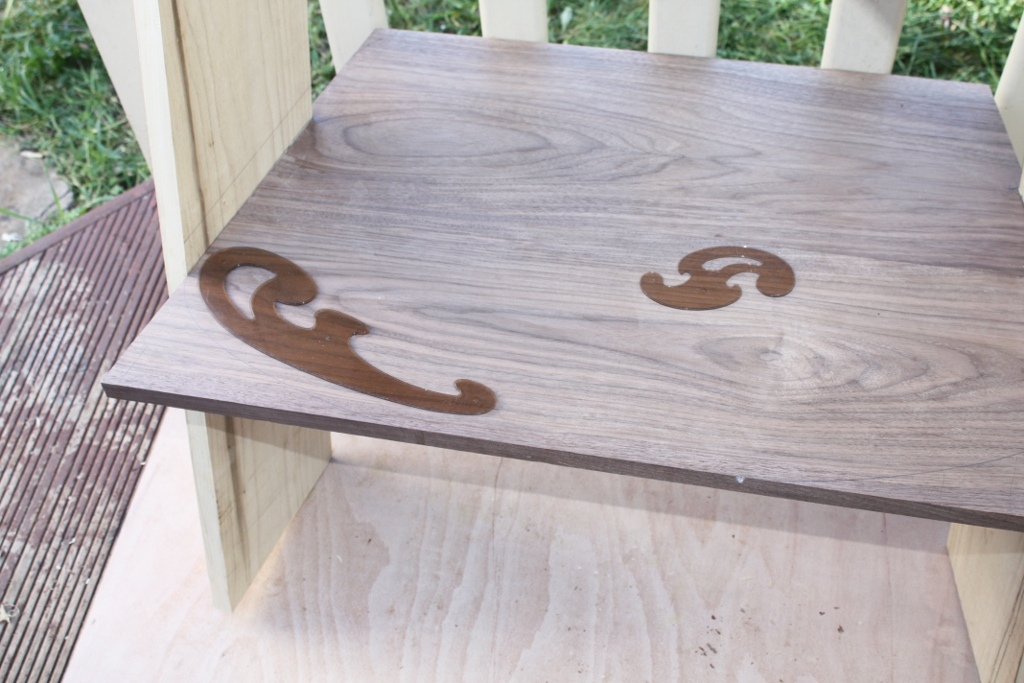
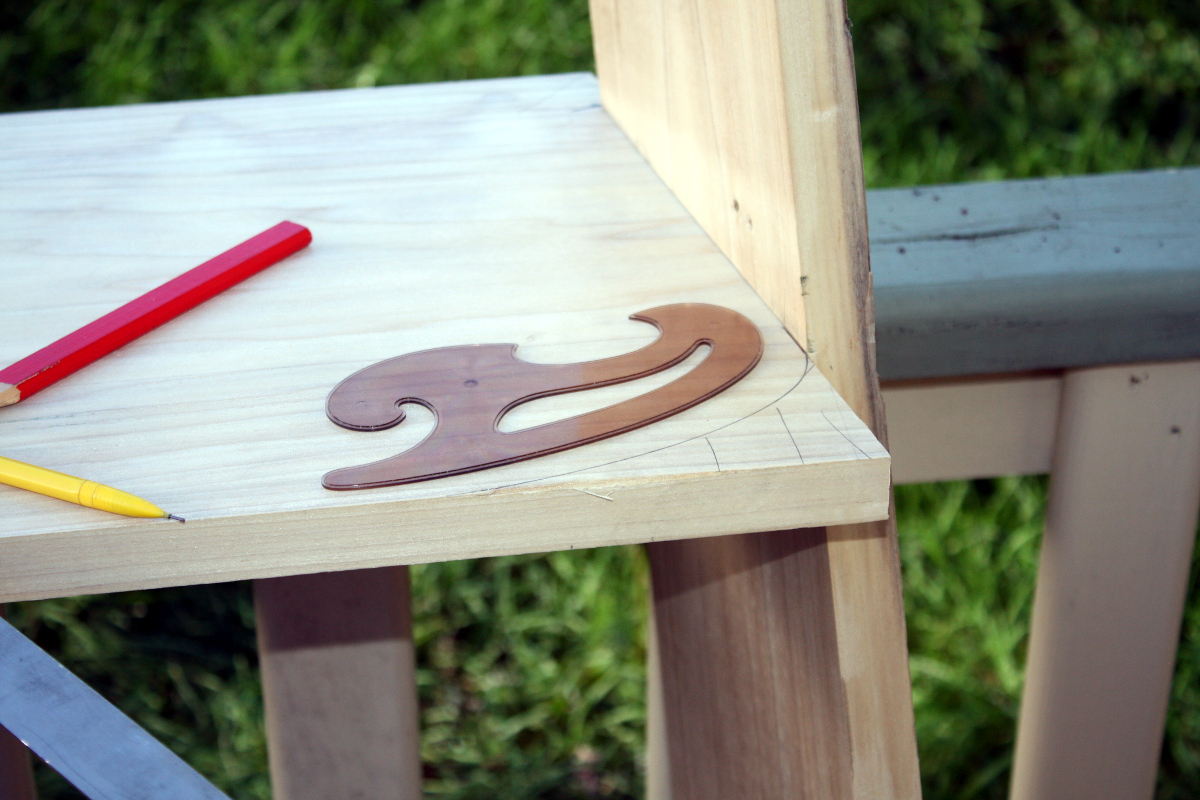
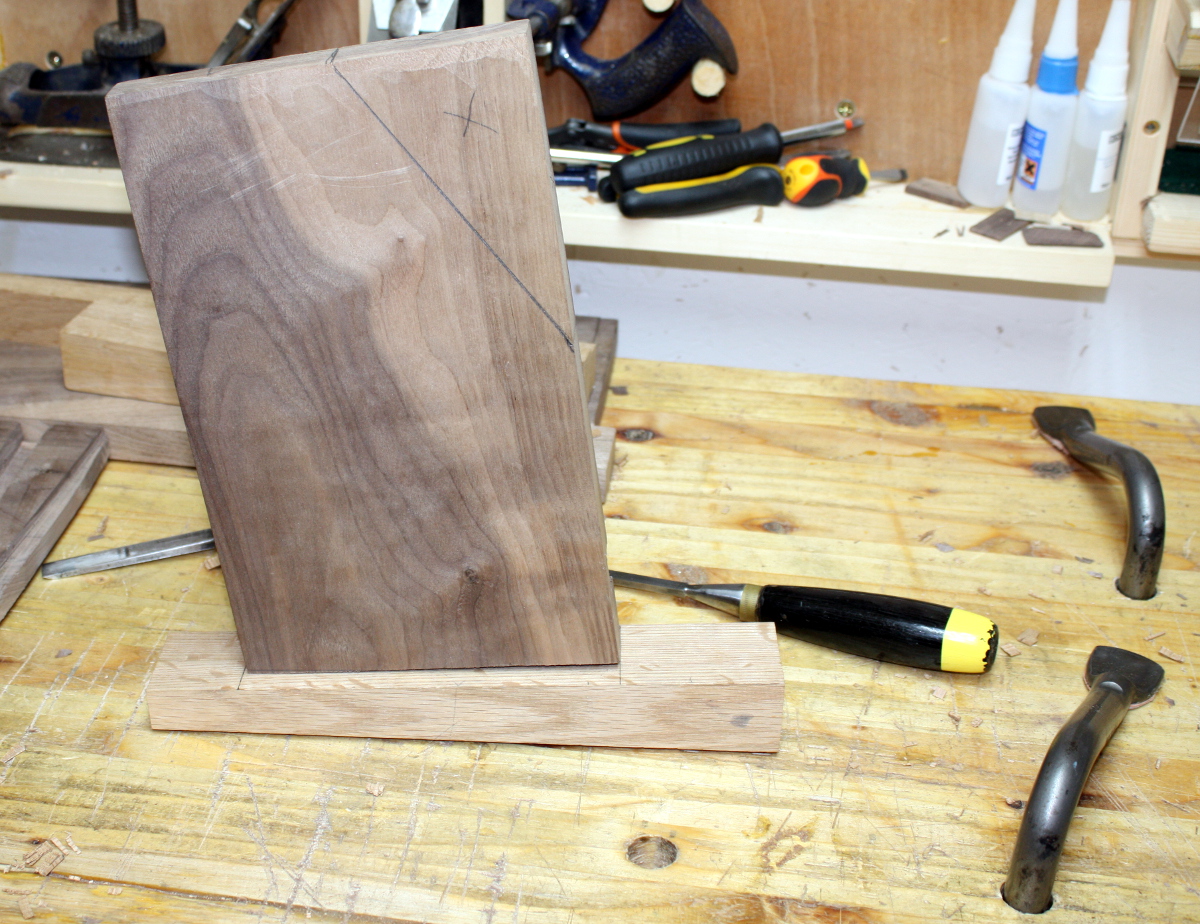
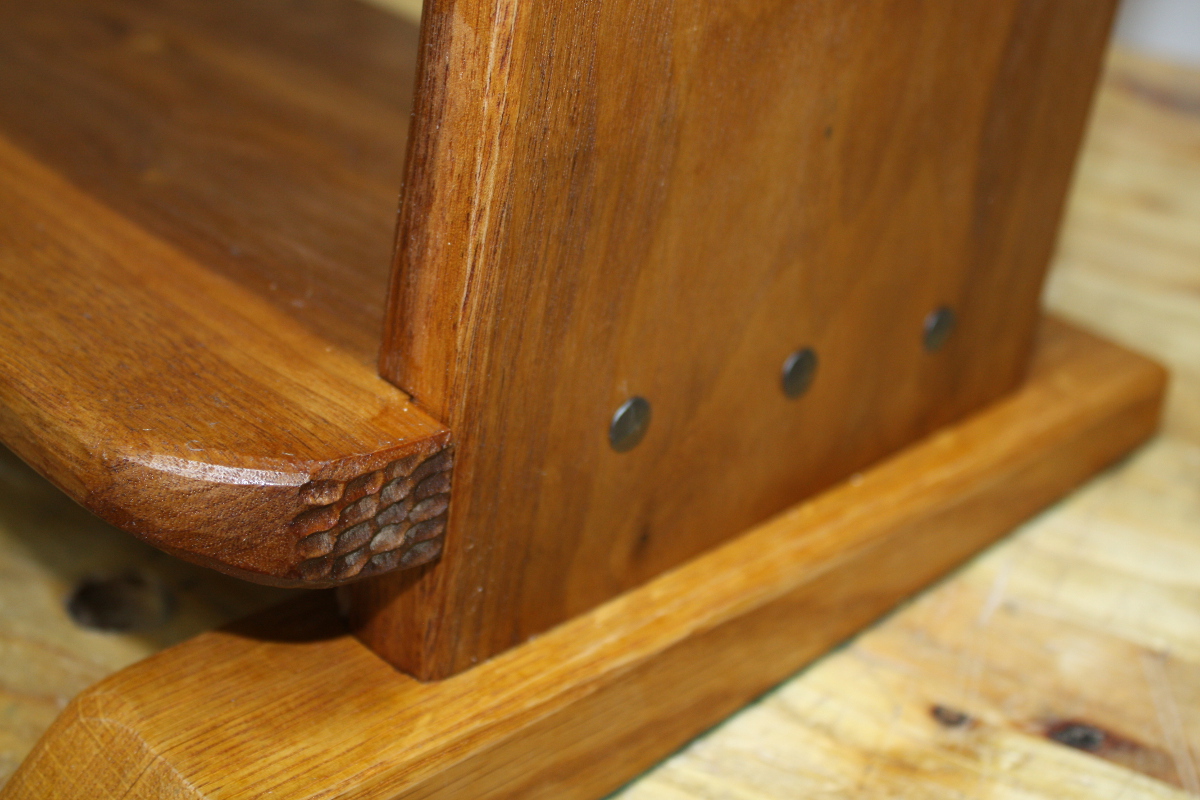
With that done, that was the last of the joinery, and all that was left was shaping, small touches and fettling and finishing. I took the front corners off with the small ryoba and planed them ganged together to keep the sides matching, then took a small gouge and did some end-grain detail stolen again from Brian Halcombe:
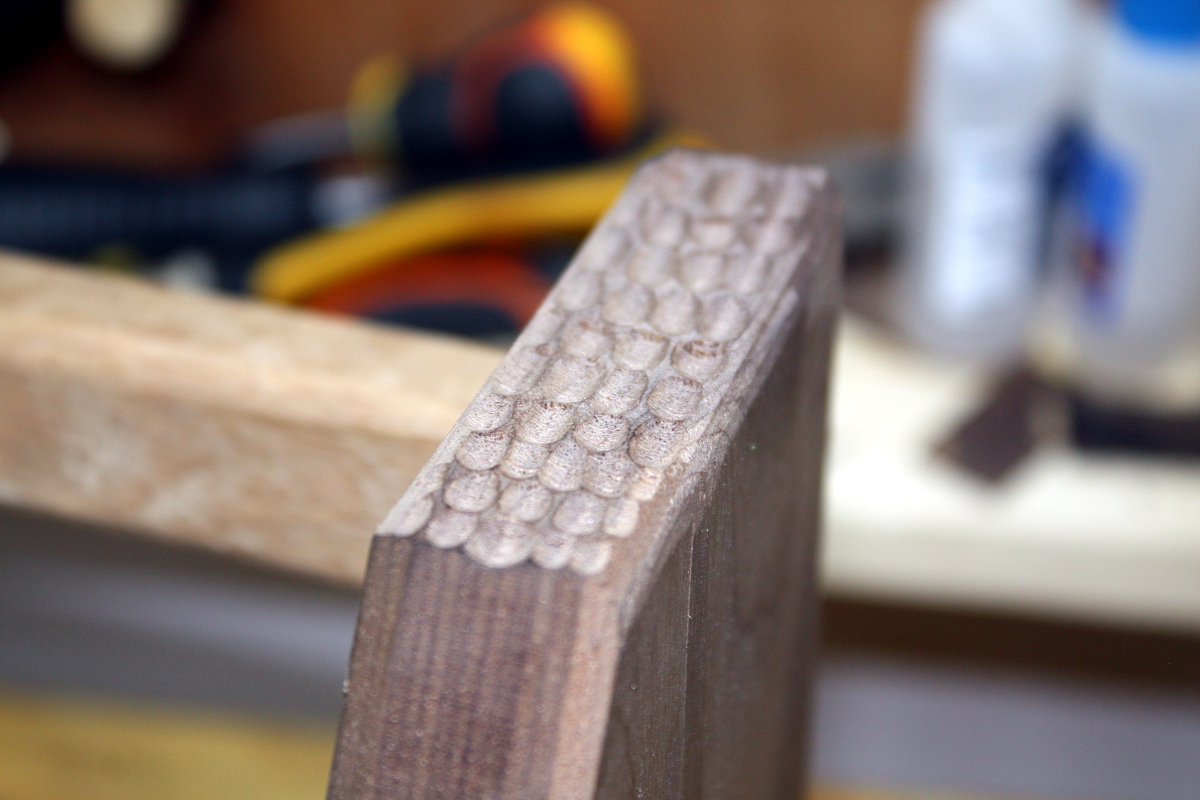
Getting a little better, but still nowhere good as his are. I think I need to practice sharpening my gouges more 😀
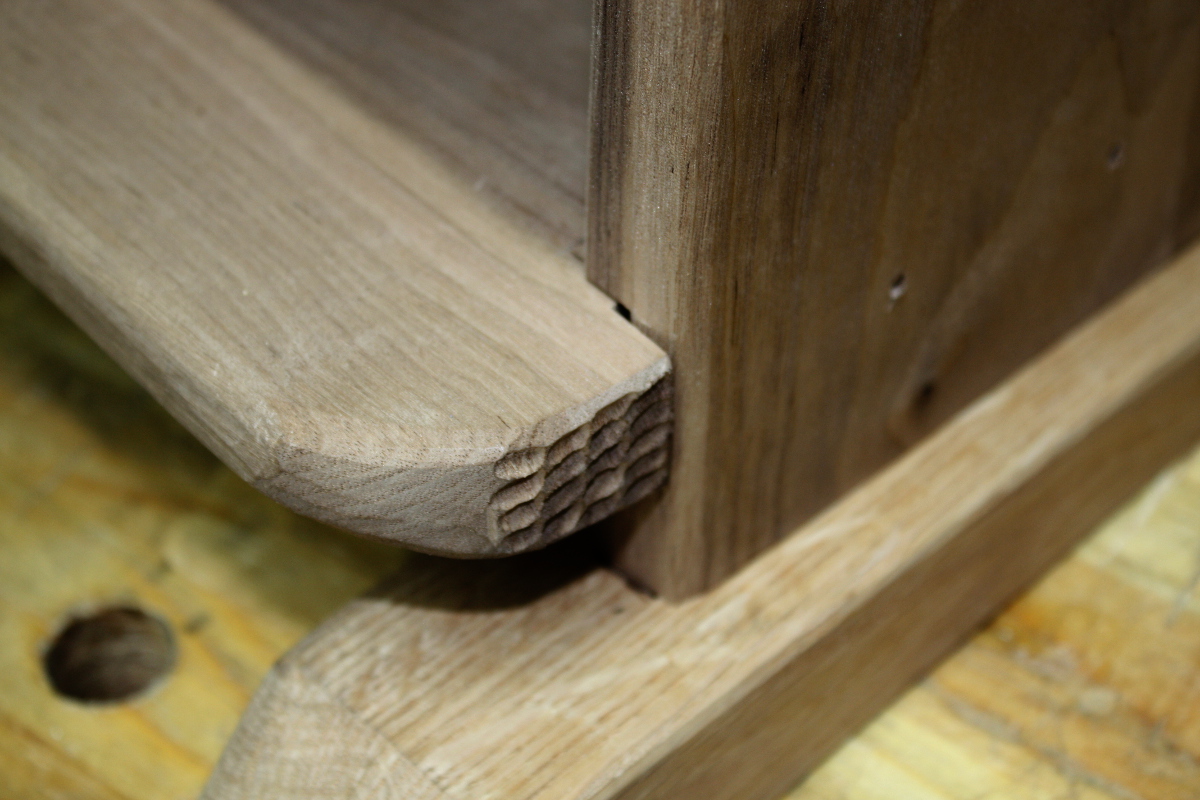
I also took the fretsaw and my new preston spokeshave to the shelf to do some shaping work on the two ends (and got out the gouges here as well for the little bit of remaining endgrain). The shelf is a bit thick to avoid (a) sagging in the middle from the 60kg design weight (books weigh more than most people think, the standard loading is about 30kg/ft or so); and (b) thicknessing the board down too much because it turned out one side had the corner of a horrible knot in it and it was a complete pita to plane. But by planing a slope into the underside of the shelf in the last inch or two before you see it, it looks a lot thinner at first glance than it actually is – neat trick learnt from Richard Maguire’s end table videos.
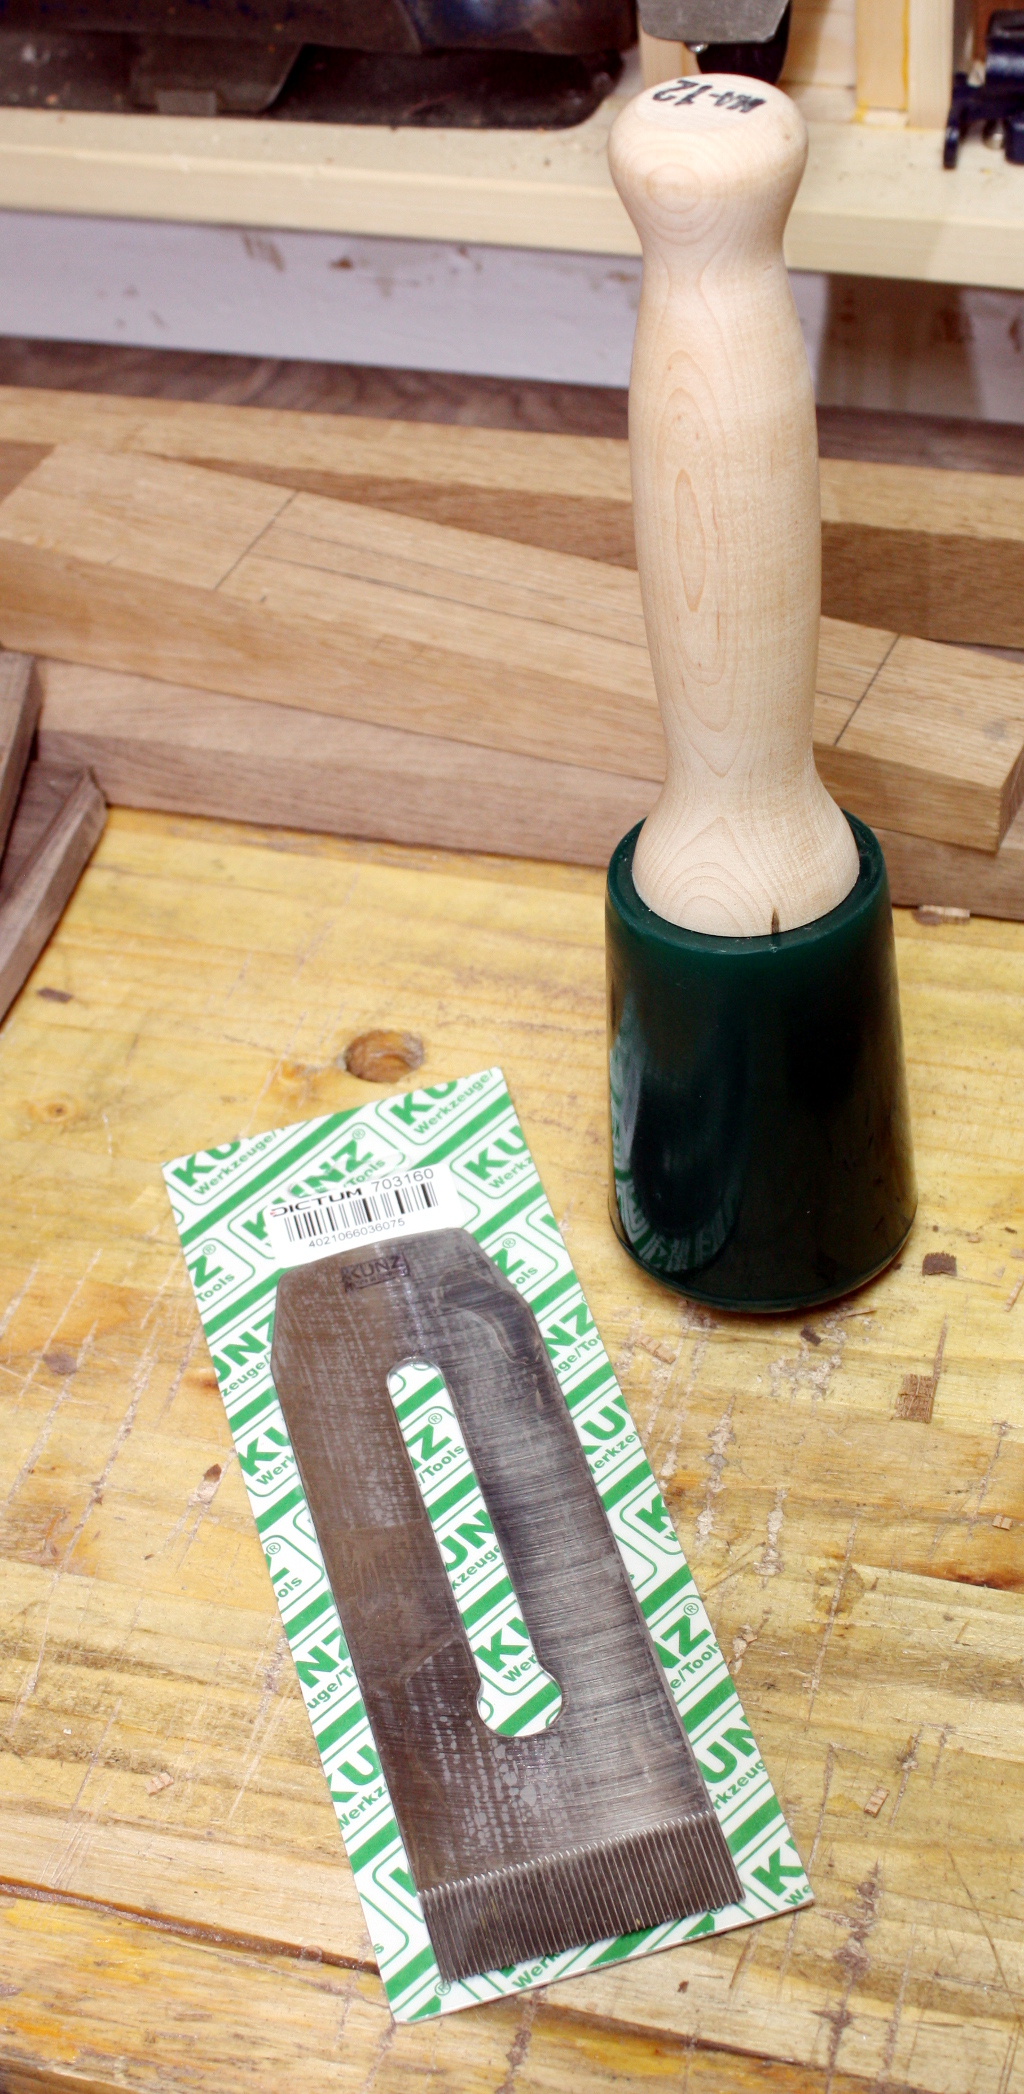
 You’ll notice I’ve also drilled pilot holes for the cut nails here. I bought a few boxes of those from Dictum a while back and haven’t had a chance to use them yet. They look quite nice:
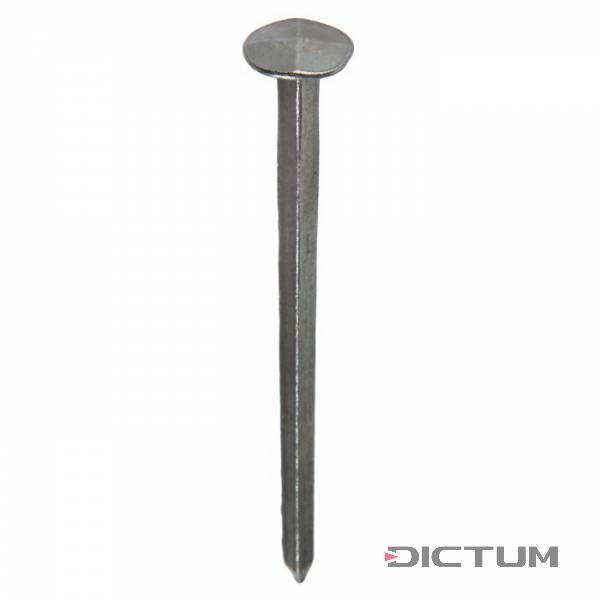
For those who don’t see what the fuss is about and haven’t spent sixty hours listening to Christopher Schwarz, Roy Underhill and every youtuber with a table saw ranting about these things, they’re what nails used to look like for thousands of years until someone invented the cut wire nail a hundred years or so ago and found he could make nails that were objectively worse than the existing product in every single way and yet still be successful, so long as they were cheap. The race to the bottom is a very, very old game…
Anyway, these things look decorative and hold things together much more securely than the round nails we use today, but more than that, when the wood swells or shrinks and moves with the seasons, the nails flex with the wood which screws can’t do. This stuff lasts so long they’re still finding shipwrecks from the roman empire where the nails are holding them together.
Anyway, that’s my story about why it was okay to pay six quid for a hundred nails and I’m sticking to it 😛
And then I knocked the arises off the other edges with the preston spokeshave (that thing is rapidly taking over as my favorite tool), and with that done and everything suitably handleable (and the front of the feet turned from blocks to a less aggressive shape), it was time to do the final fitting and fettling of joints.

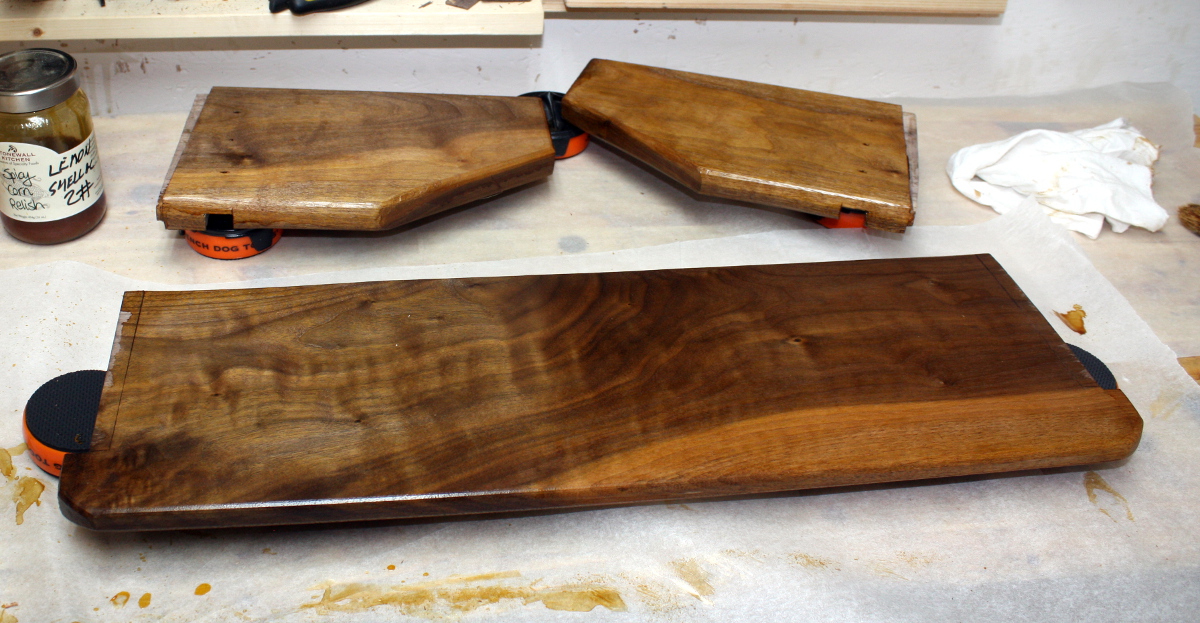
It was fairly painless this time. That shelf doesn’t rock or tilt 🙂 I’m a bit pleased by that, the layout was a bit hard because the wood’s not perfectly flattened (that stupid knot on the underside looks pretty but was a pain to work). And then final finish planing before the shellac. At which point I made the happy discovery that not only do we get some lovely colour to the walnut and some lovely medullary rays in the oak, but the walnut is also lightly figured. Which was a nice unexpected surprise, but is unfortunately most prevalent on the underside. Doh.
Well, only one last thing to do before applying finish…
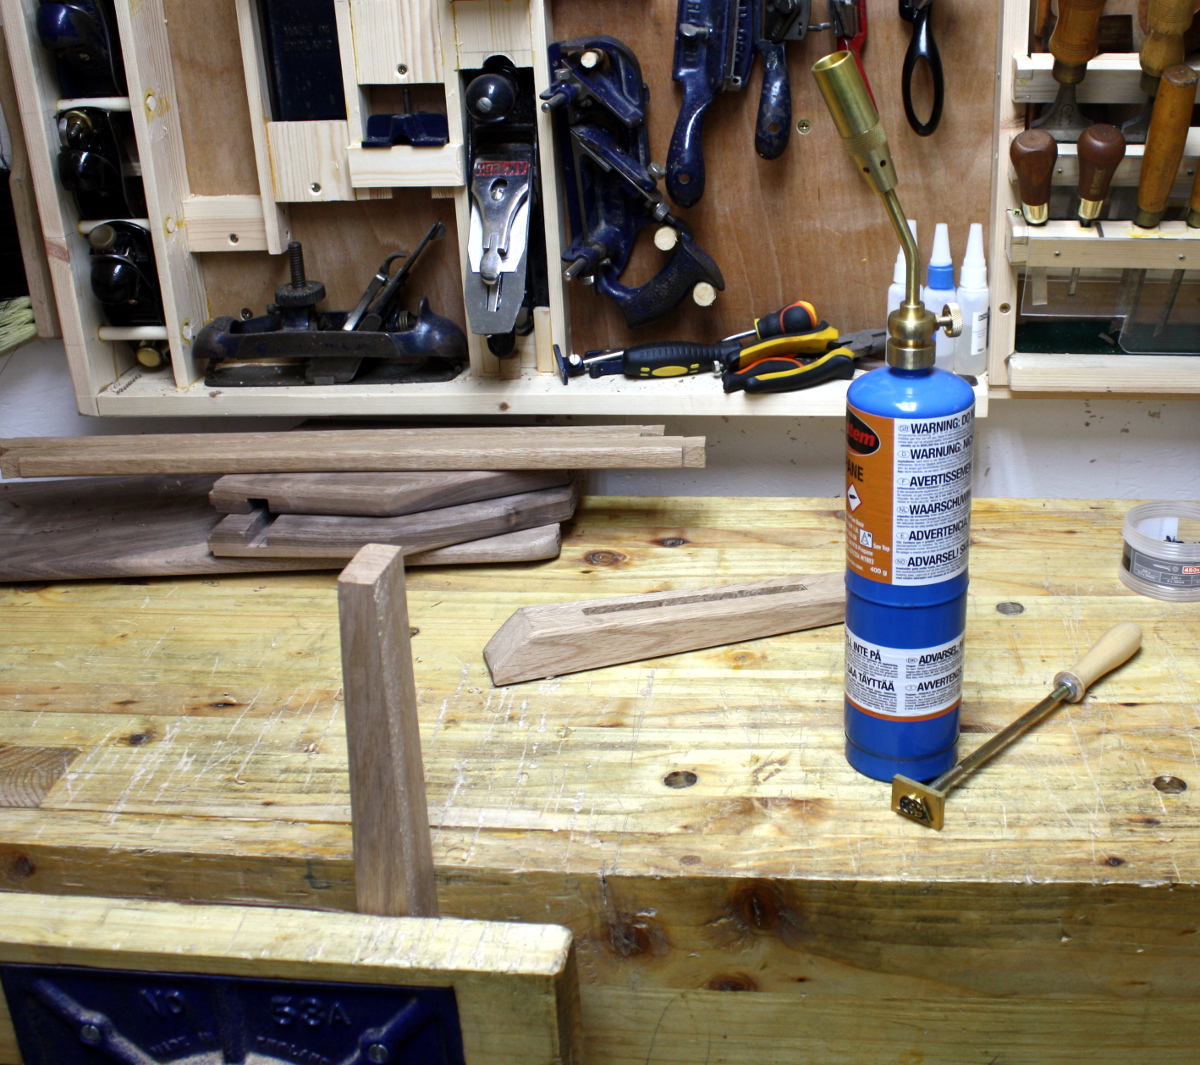 Fire! 😀
Turns out, a real blowtorch versus a chef’s blowtorch isn’t even a contest. A chef’s blowtorch will do creme brulee, whereas one of these weapons of mass destruction will just burn through the sugar, the creme, the dish and most of the table. They’re excellent 😀
I did nearly burn the wood though. Mental note; branding irons only need to be that hot for flesh, for wood you want them less hot. Had to take the block plane to the endgrain to clean it up a little in the end. But that was that, and now on to the shellac. First a quick test…
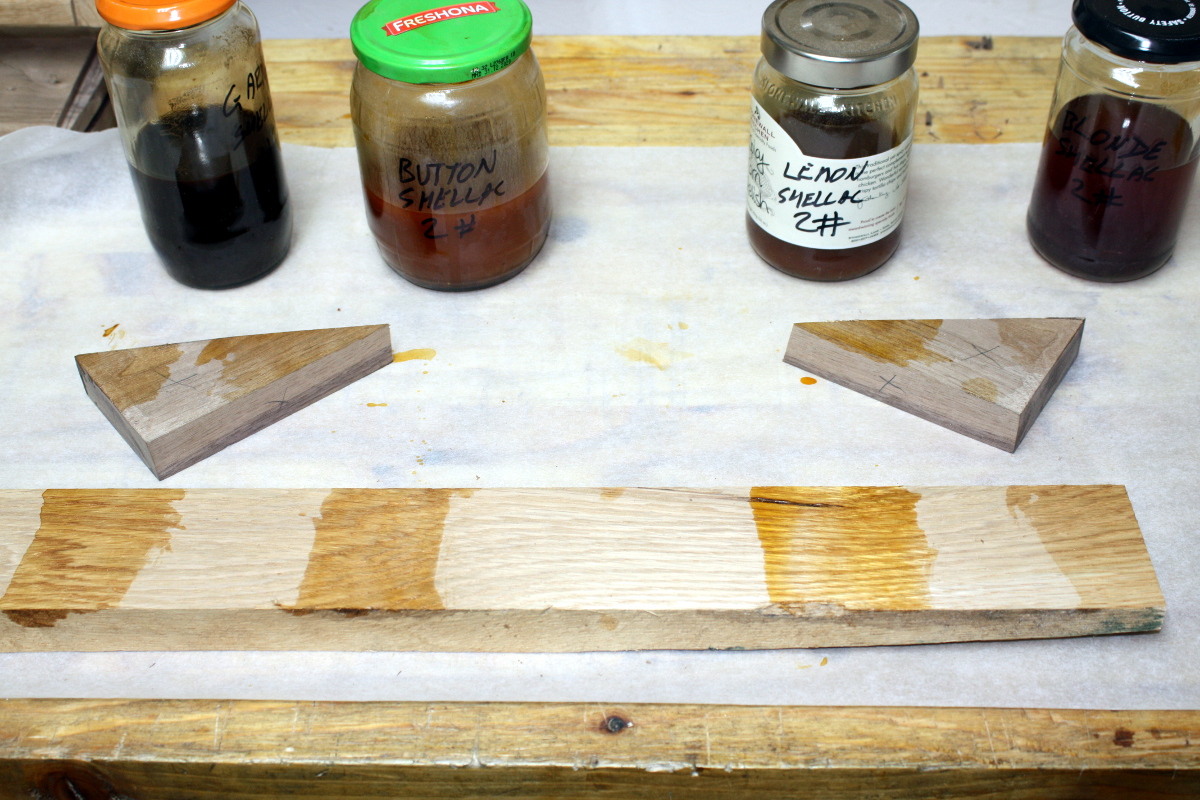
And we’ll go with garnet for the walnut and lemon for the oak, with maybe a last coat of blonde? Brush on the first coat, then wipe on the next three, knocking back with 0000 steel wool in between each coat.
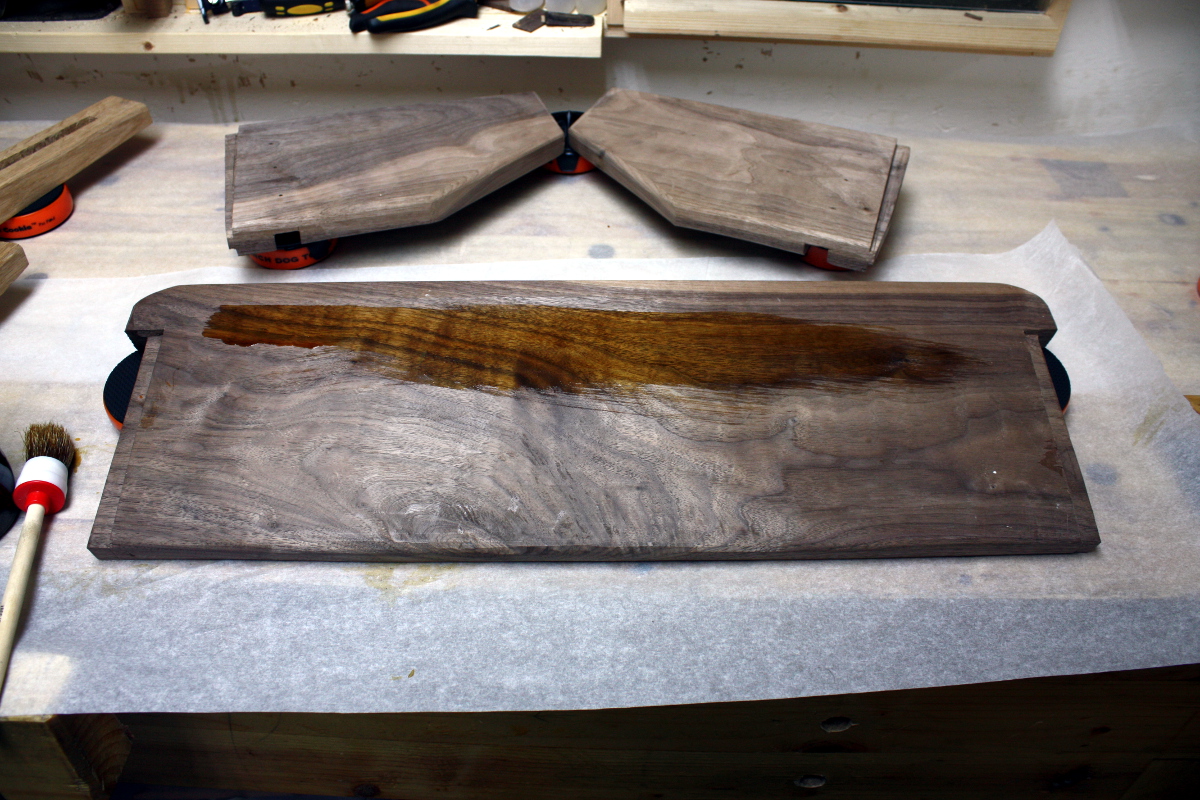
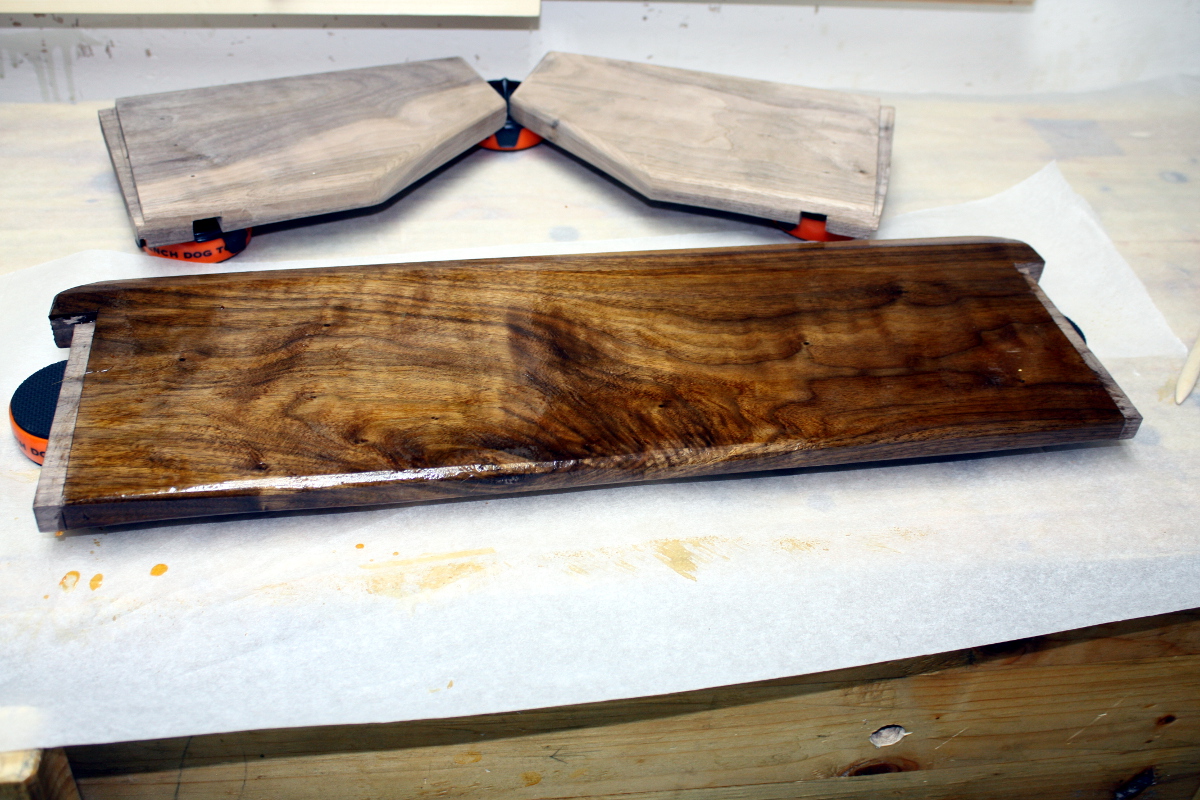
See what I mean about that walnut? Shame that’s the underside really.
And after a few days (I just did a coat every evening after I got home):
And then it was time for assembly and glue-up. That was a lot more straightforward than I expected too because the nails effectively acted as clamps. So out with the hide glue and I didn’t even need the hot water this time to warm it because today was around 26C in the shed, the warmest day of the year so far. Glue into the stopped dados, then seat the shelf in the dado and knock it firmly home with the deadblow hammer, then drive the three nails to within 2-3mm of being fully seated; turn it over and do the other upright. Then glue in the back rails because the uprights slope inward slightly and the tension holds everything in place. Drive home the nails fully, glue the mortice and tenon joint for the feet together, stand it up and clamp the lower back rails (the upper rails couldn’t be clamped because of the slope on the far side of the upright at their level, doh. Maybe I should have drilled the dovetails for smaller decorative nails, it’s certainly a historical thing to do that).
Left everything to cure for a few hours, then painted the bottom of the feet with titebond over the shellac, and sat them down onto some nice green felt (don’t want to scratch the desk) and let that set up for a few hours before trimming off the excess with a sharp knife. And that was it, all done.
The brand looks nice actually. I was afraid it’d be a bit out of place, but it seems to blend in discretely.
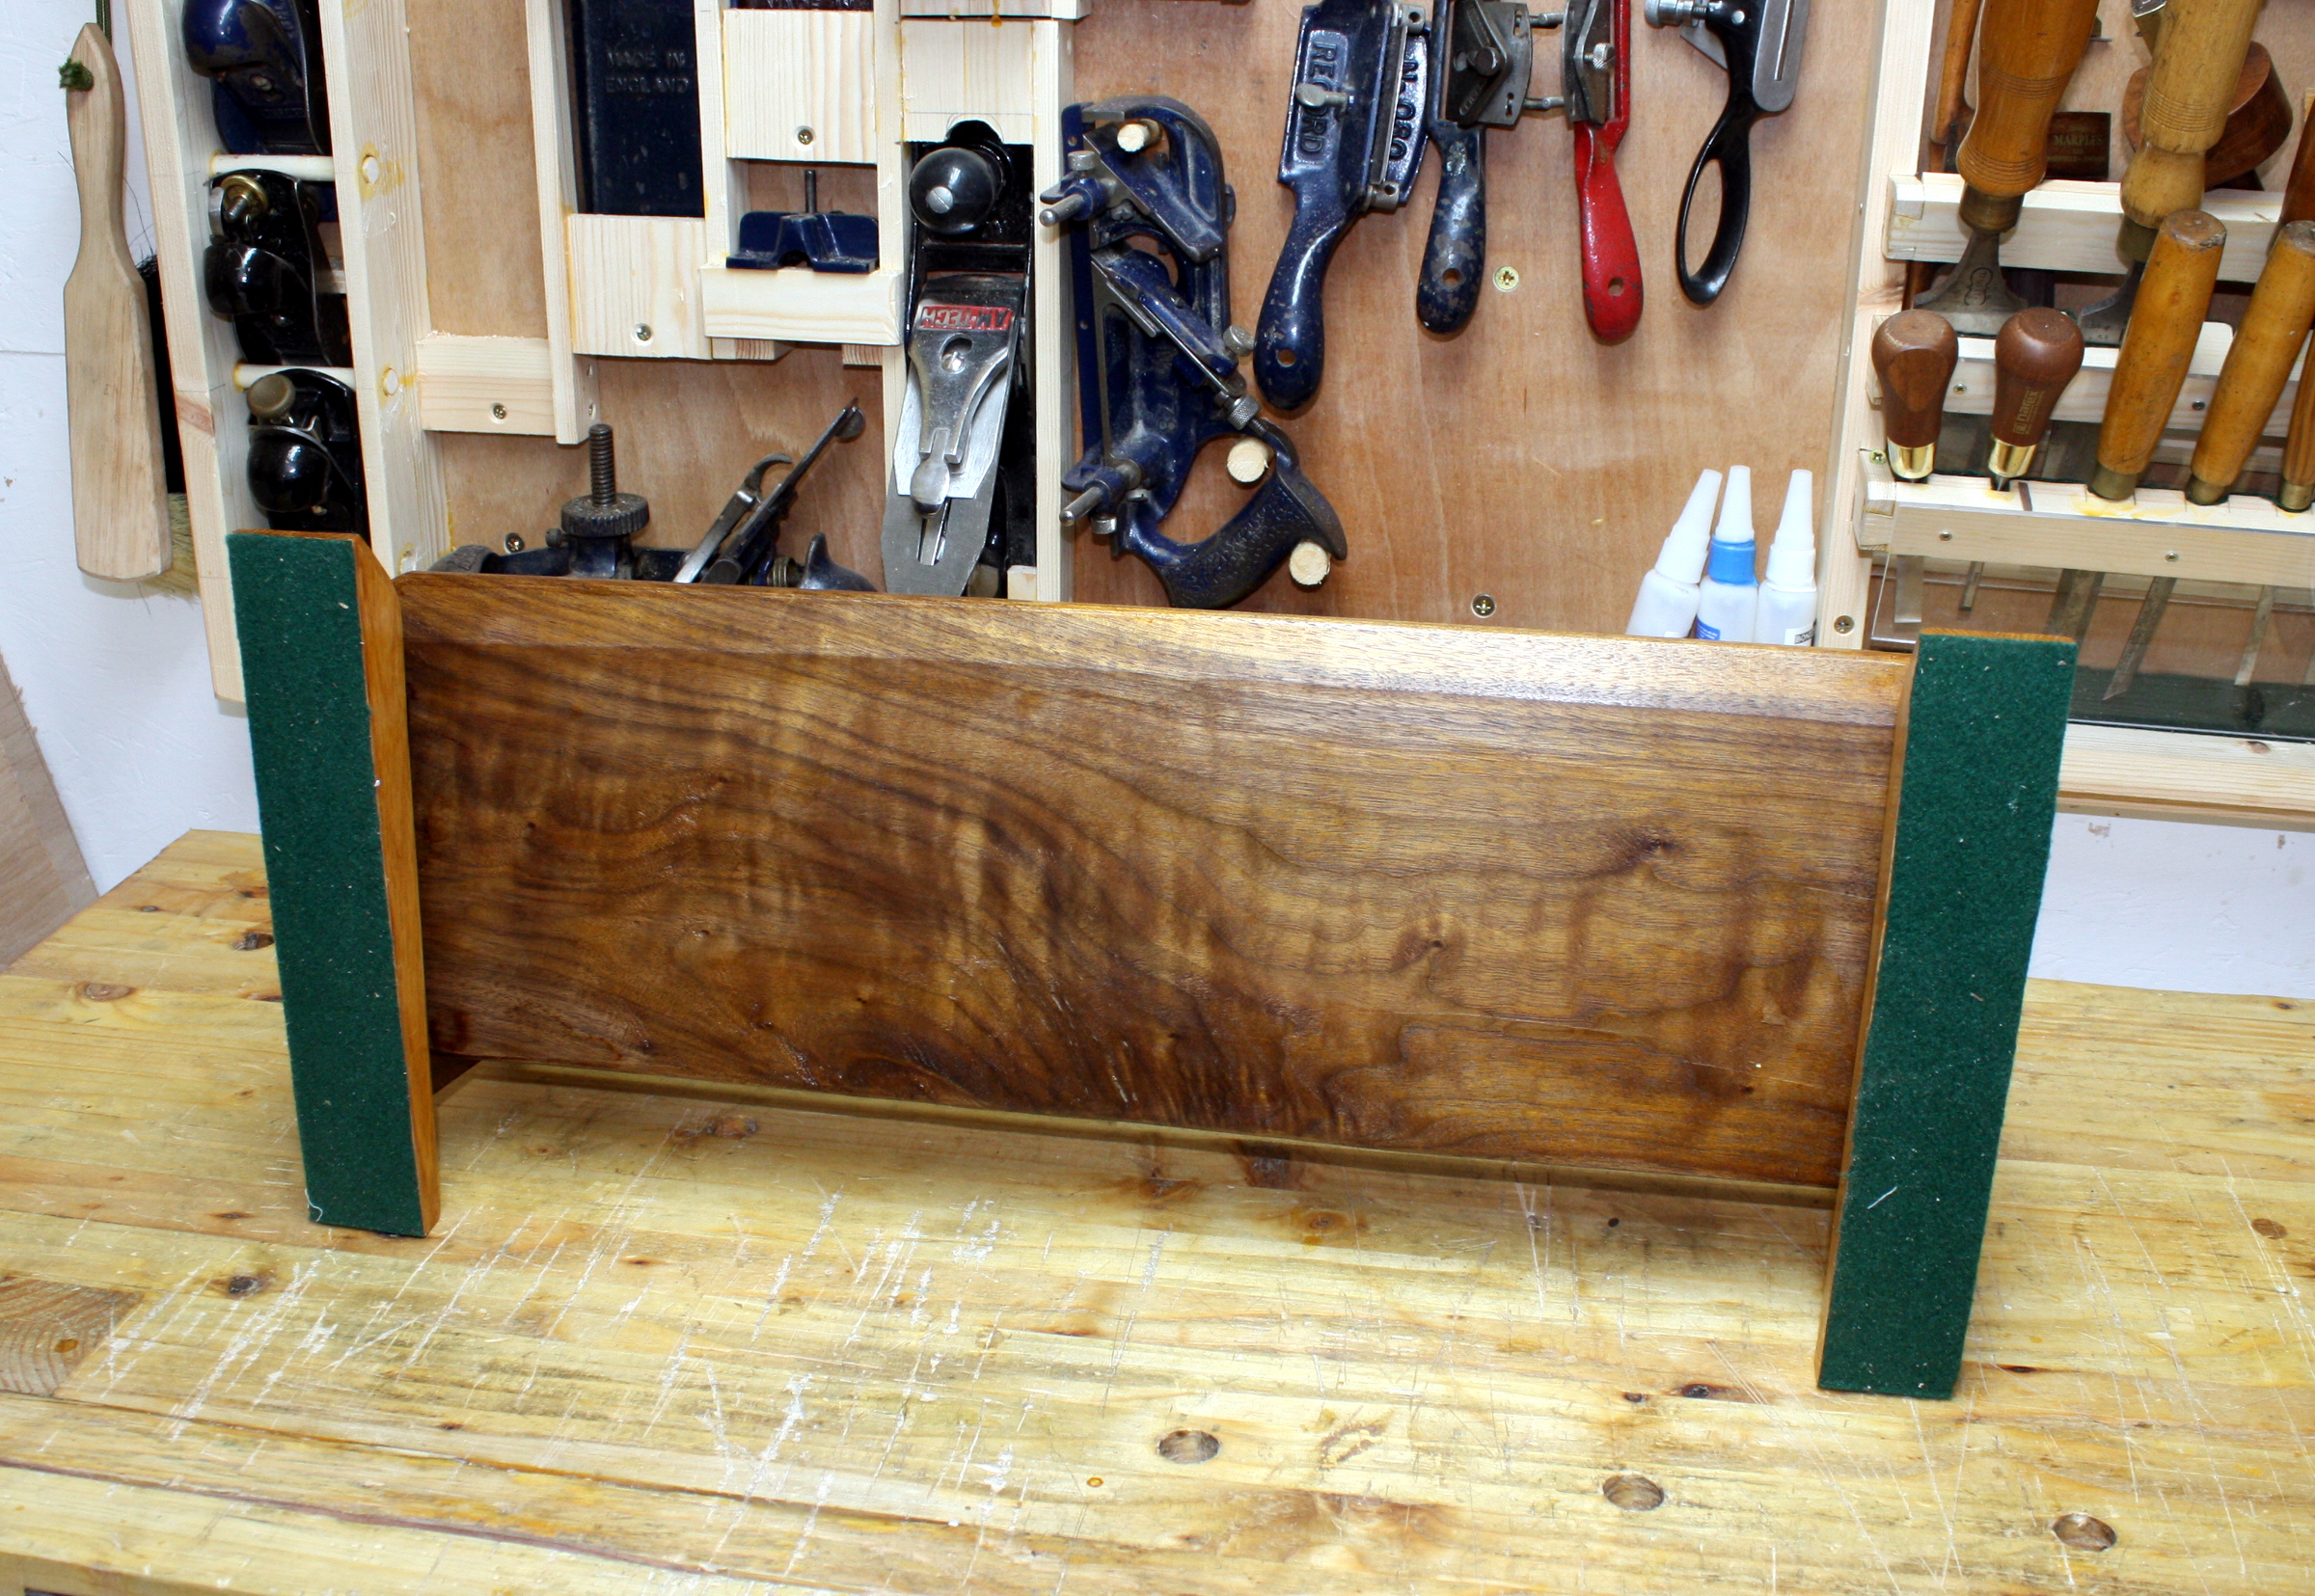
Kicking myself that that figure is on the underneath of the shelf…
But those nails do just look the part, don’t they?
Obviously I need to buy more Lost Art Press books 😀
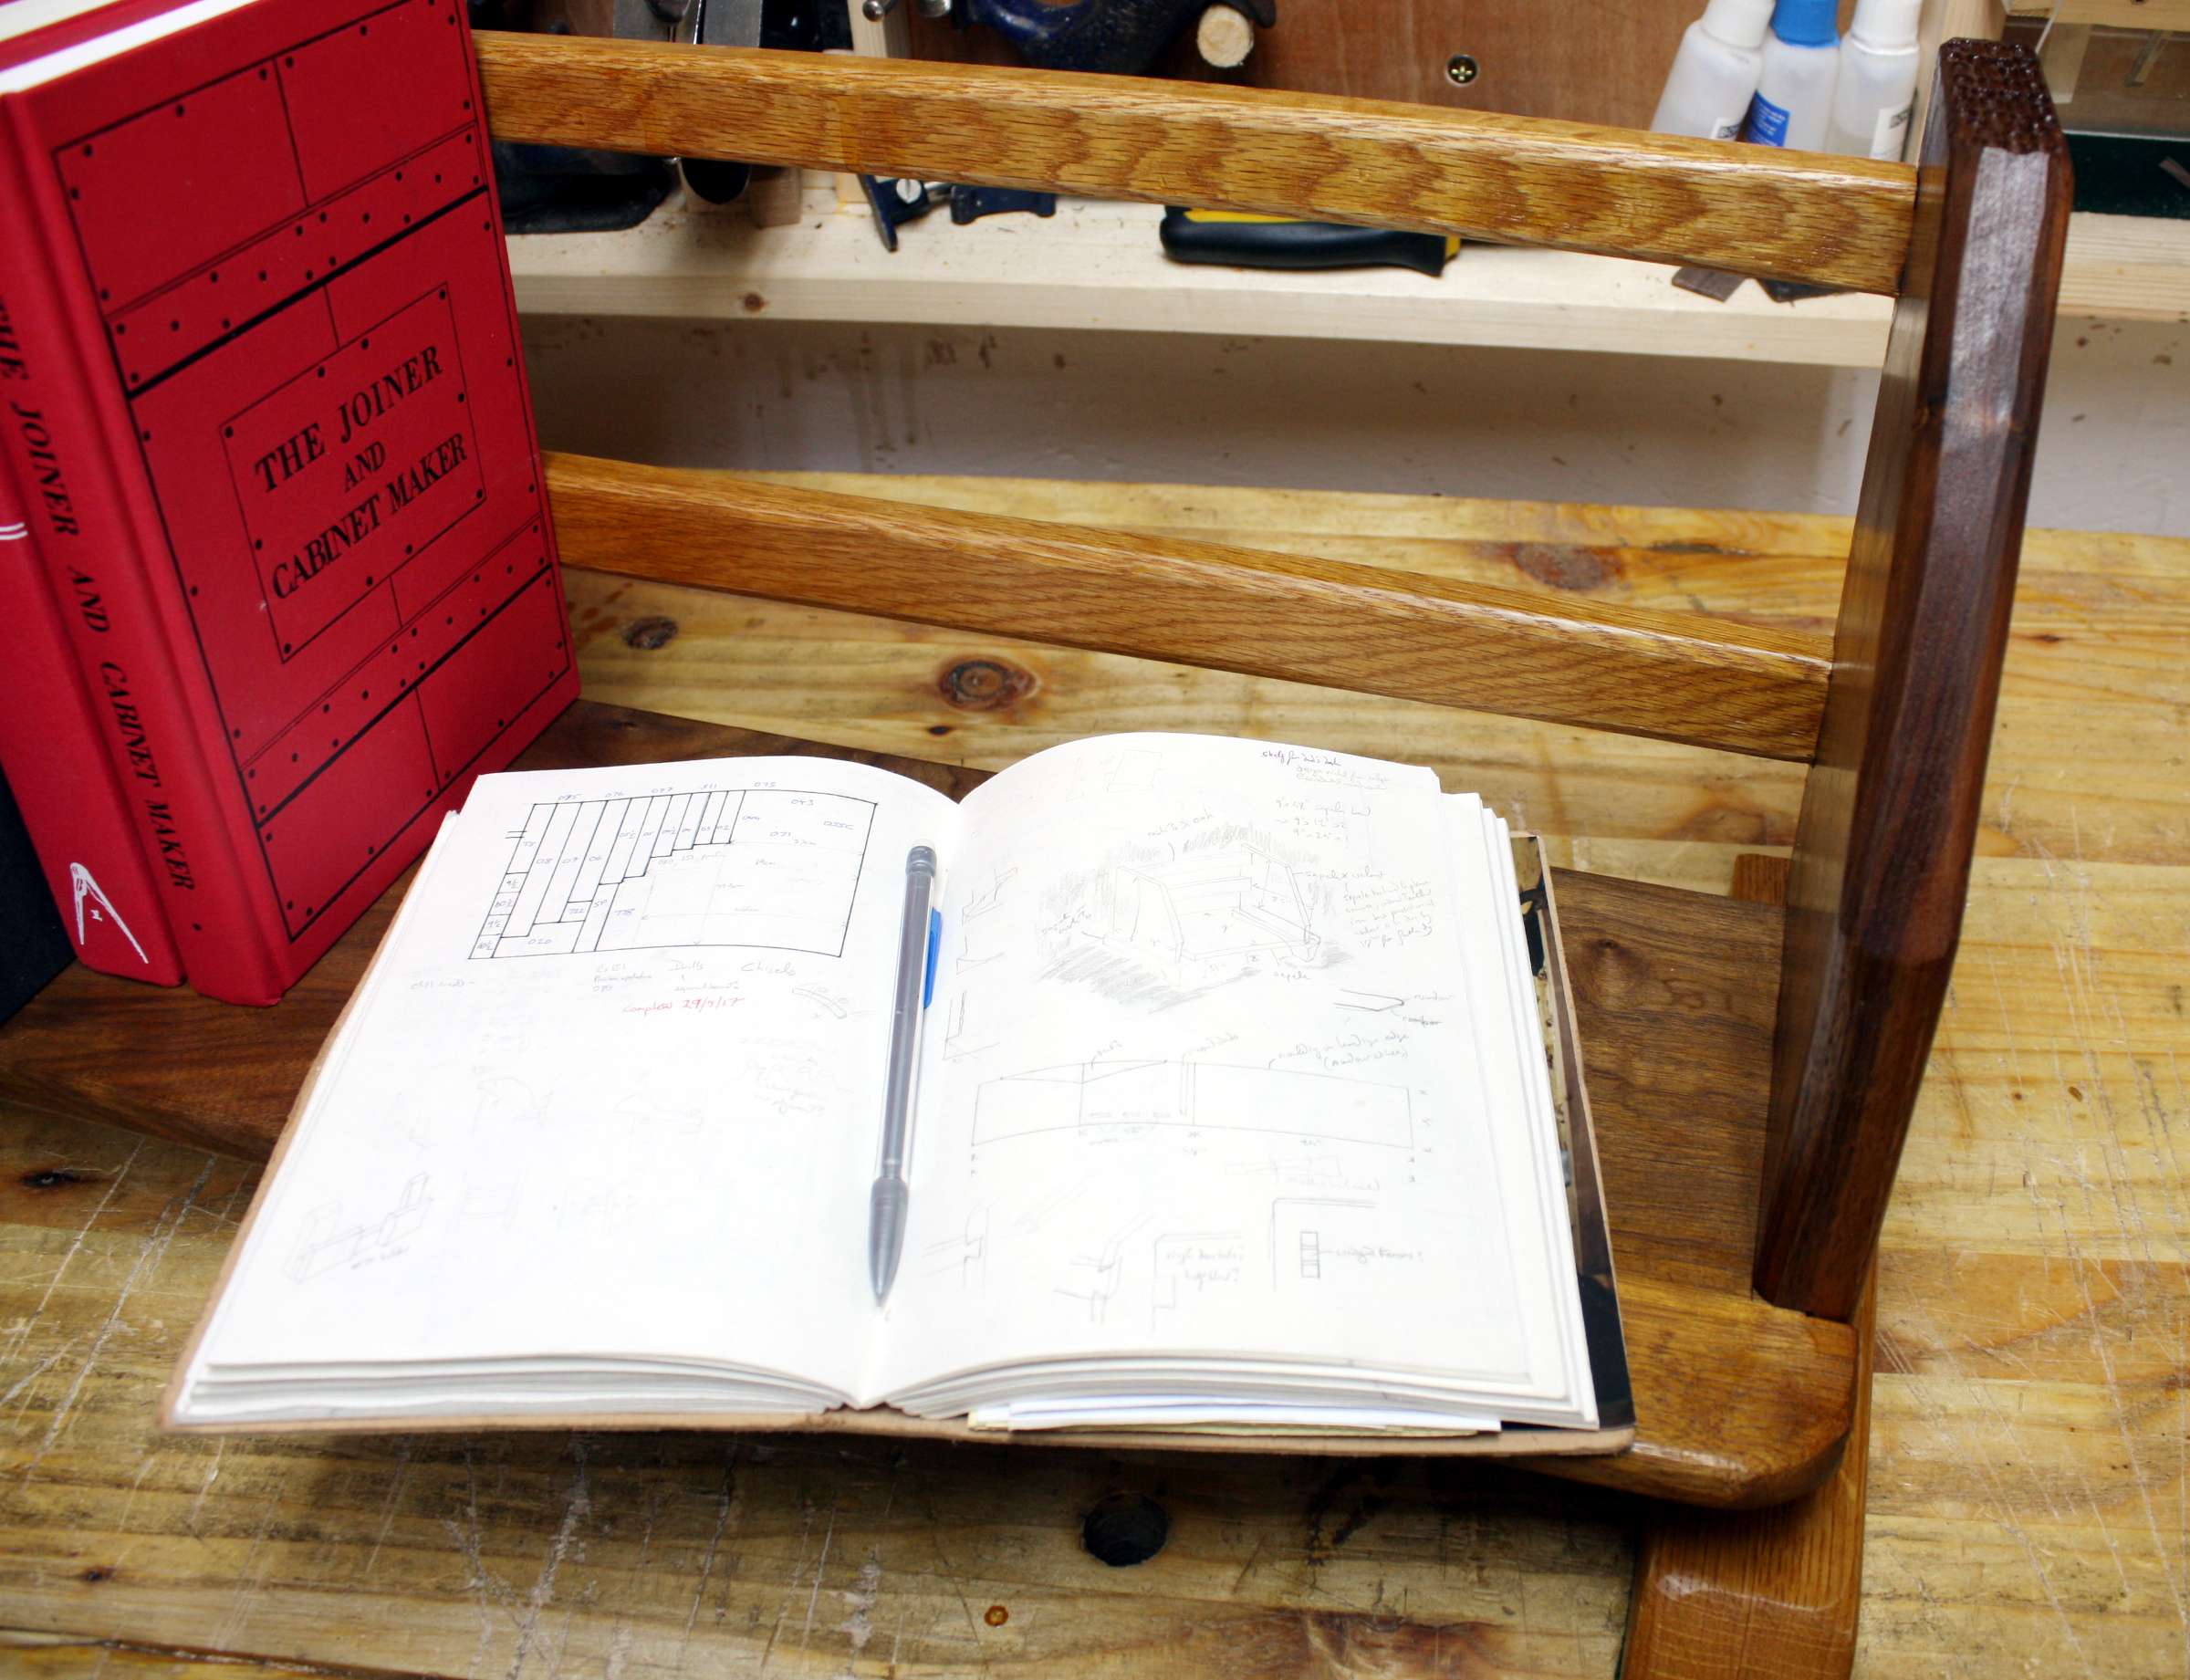
And yup, there’s the original sketches and notes as well. Not an Ikea design 😀
Thanks again to Ralph at the Accidental Woodworker blog for the idea, it worked out pretty well.
Like this:
Like Loading...