Couple of days out of the shed, mostly spent lying down and paying attention to all the little muscle cells as they turned to me and said “what the feck was all that then?”. Today though was bin day so back out to the shed and spent a half-hour cleaning up all the shavings and using the shop vac to tackle the sawdust.
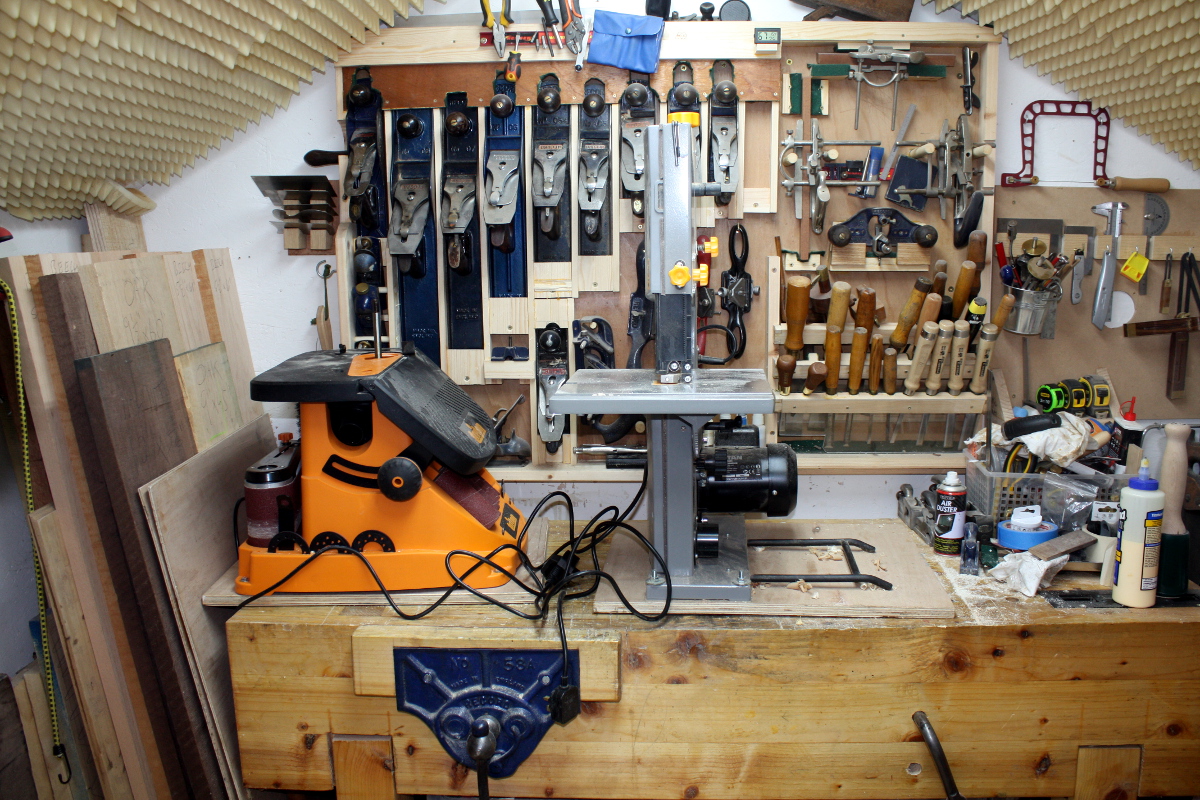
Before:
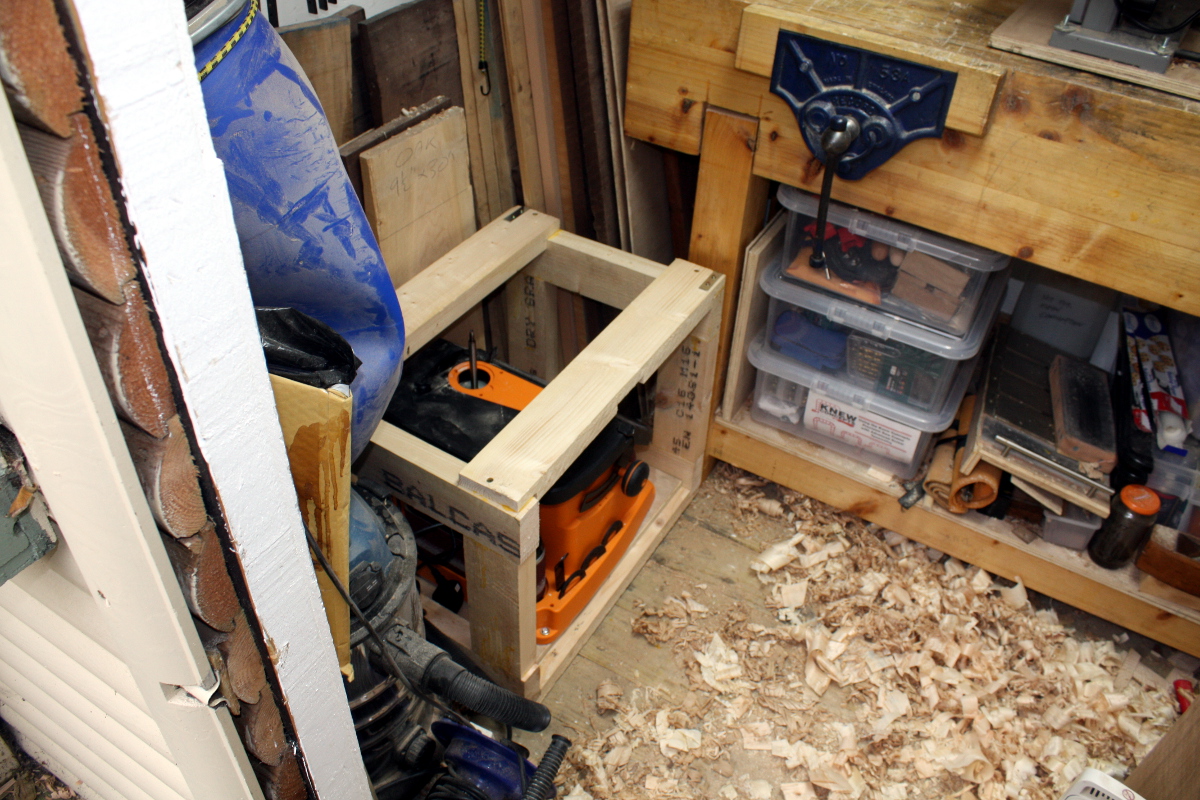
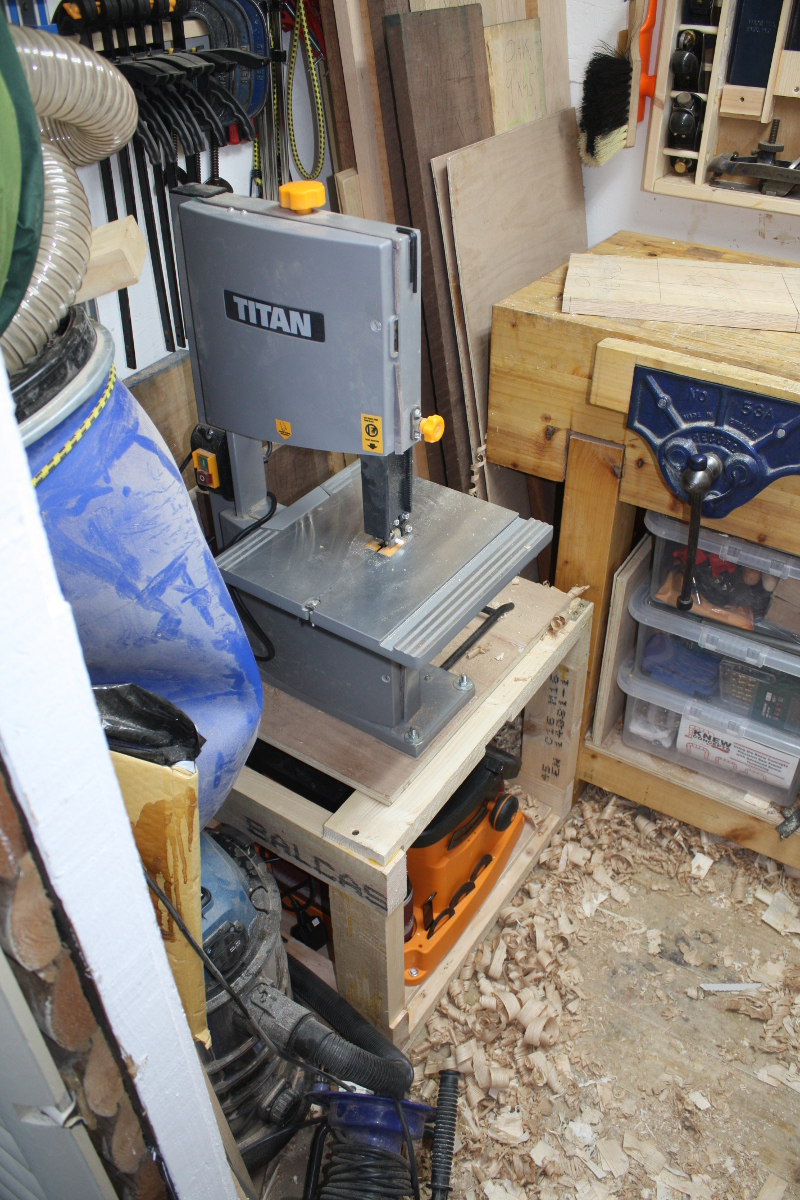
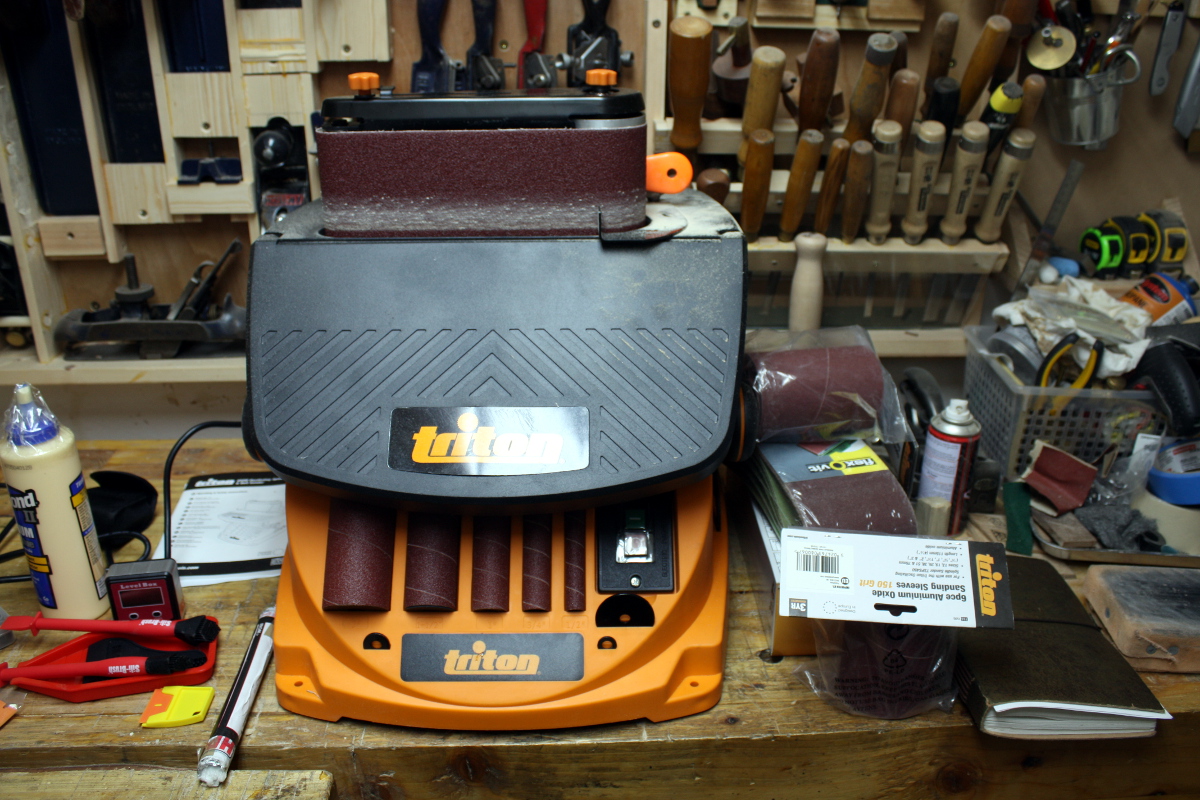
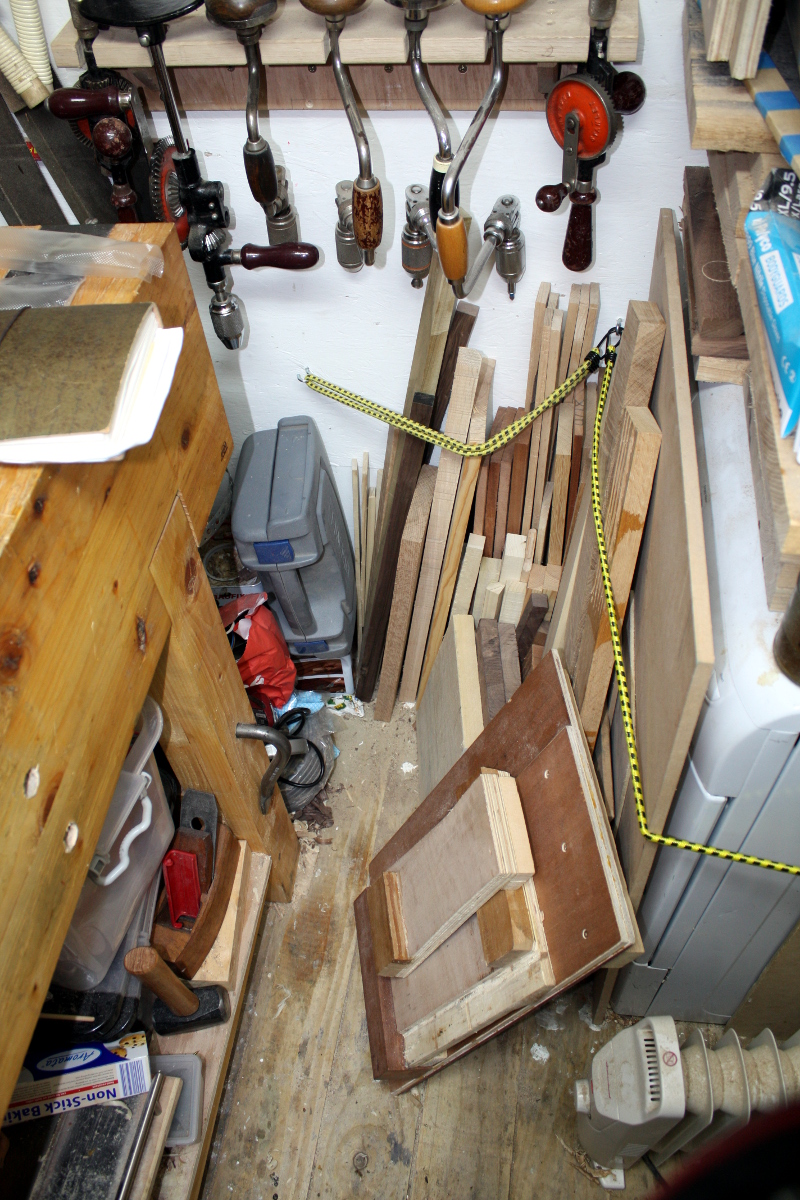
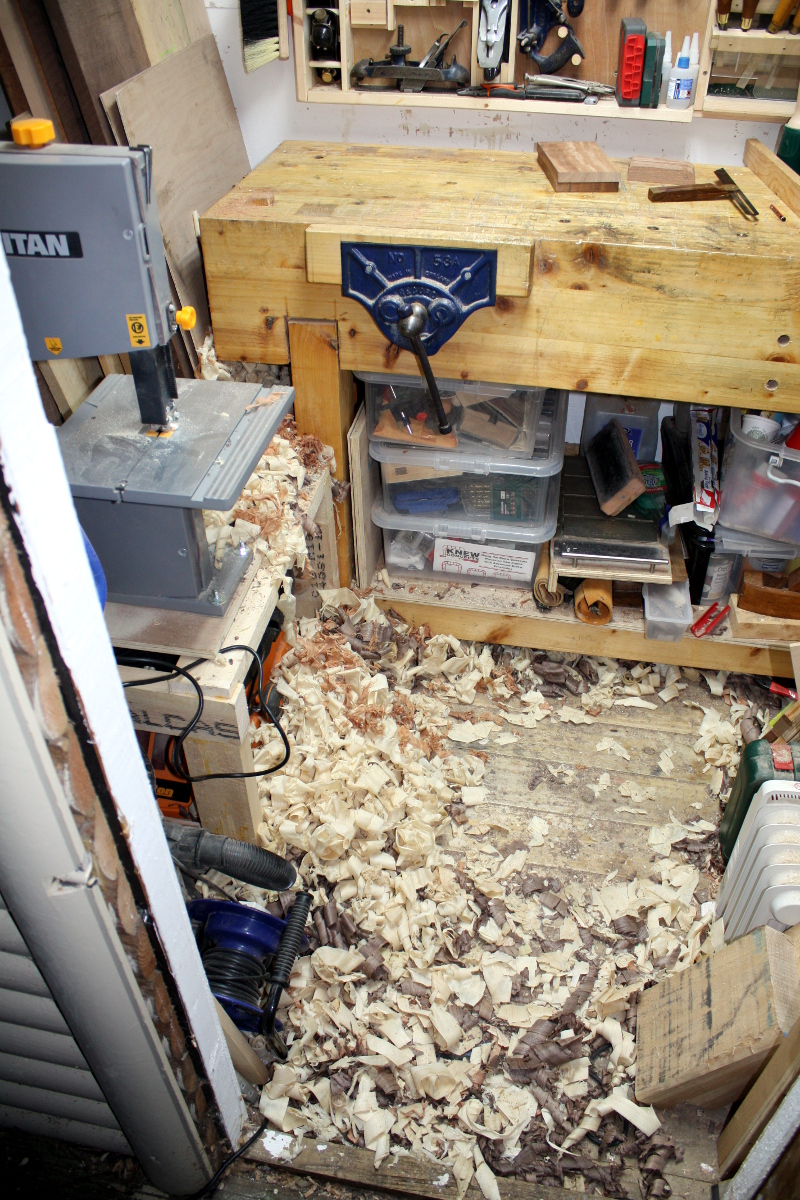 After:
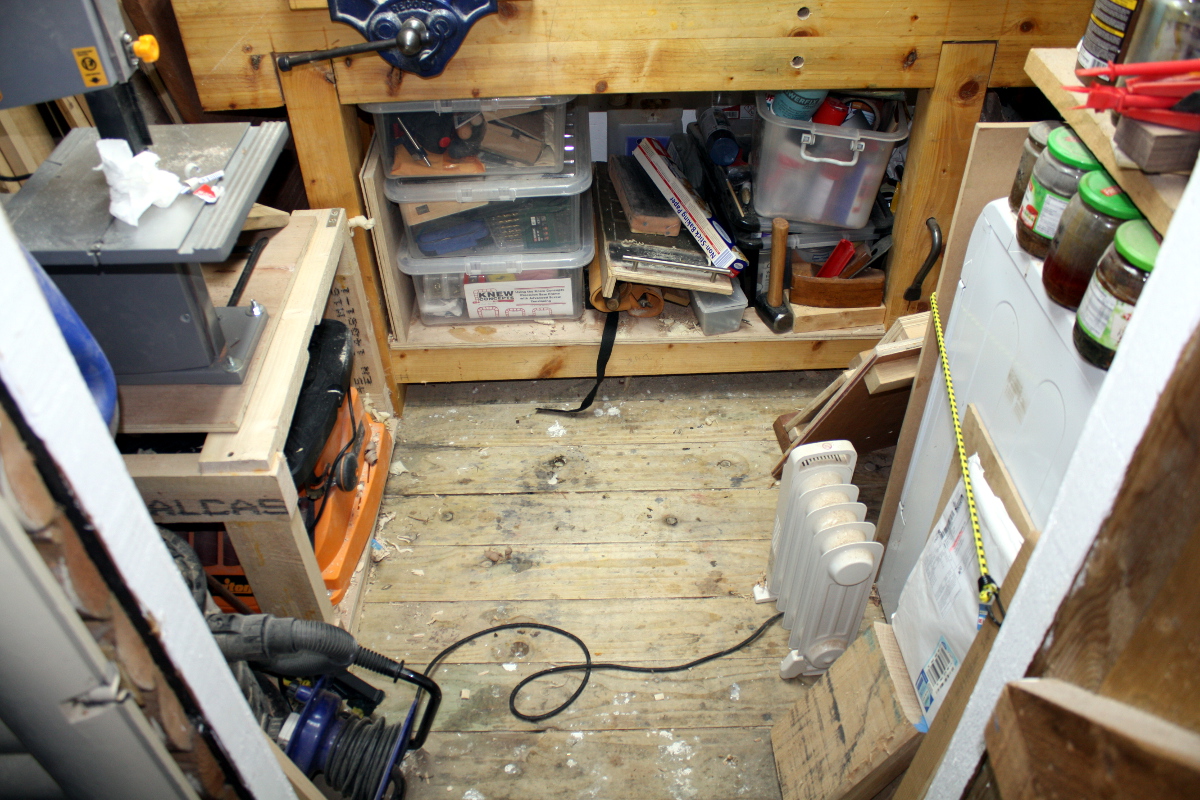 And then, having made a clean spot, went and tidied the small section behind the tumbledrier there where I usually wind up standing wishing I’d cleaned that part of the shed.
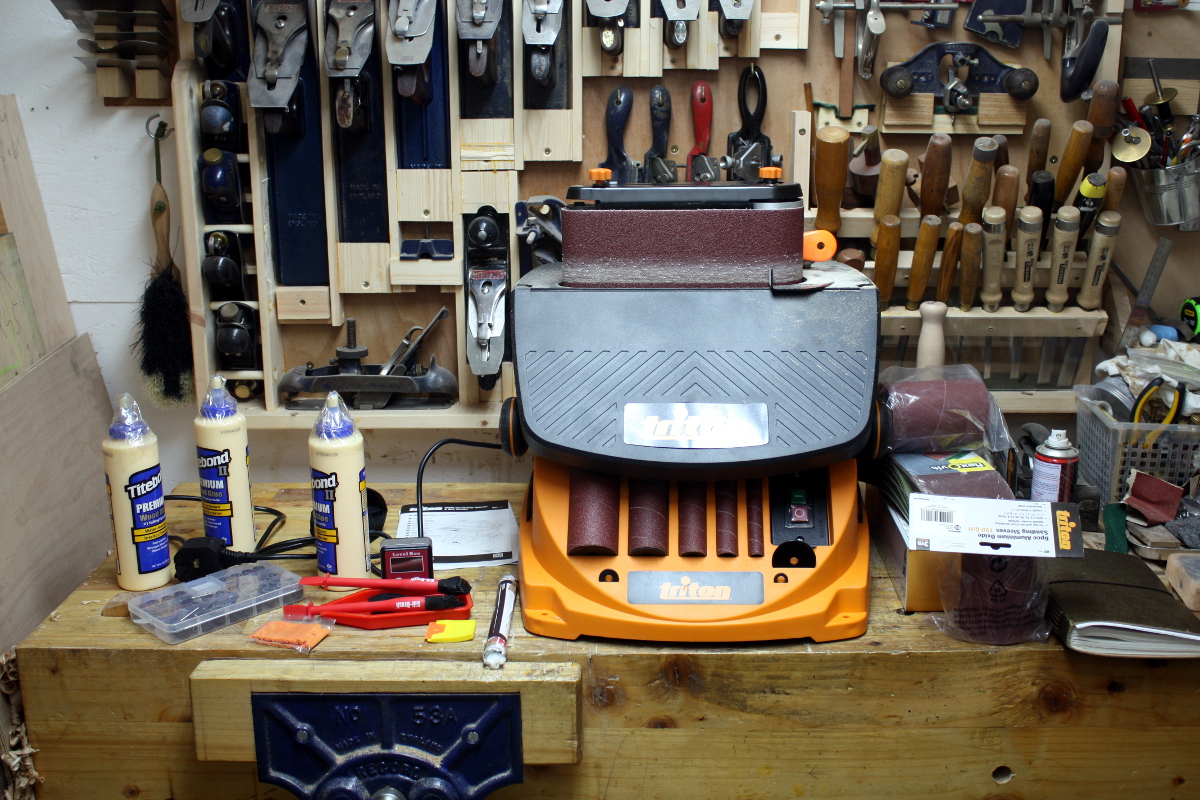
And then, having cleaned everything up, time to play…
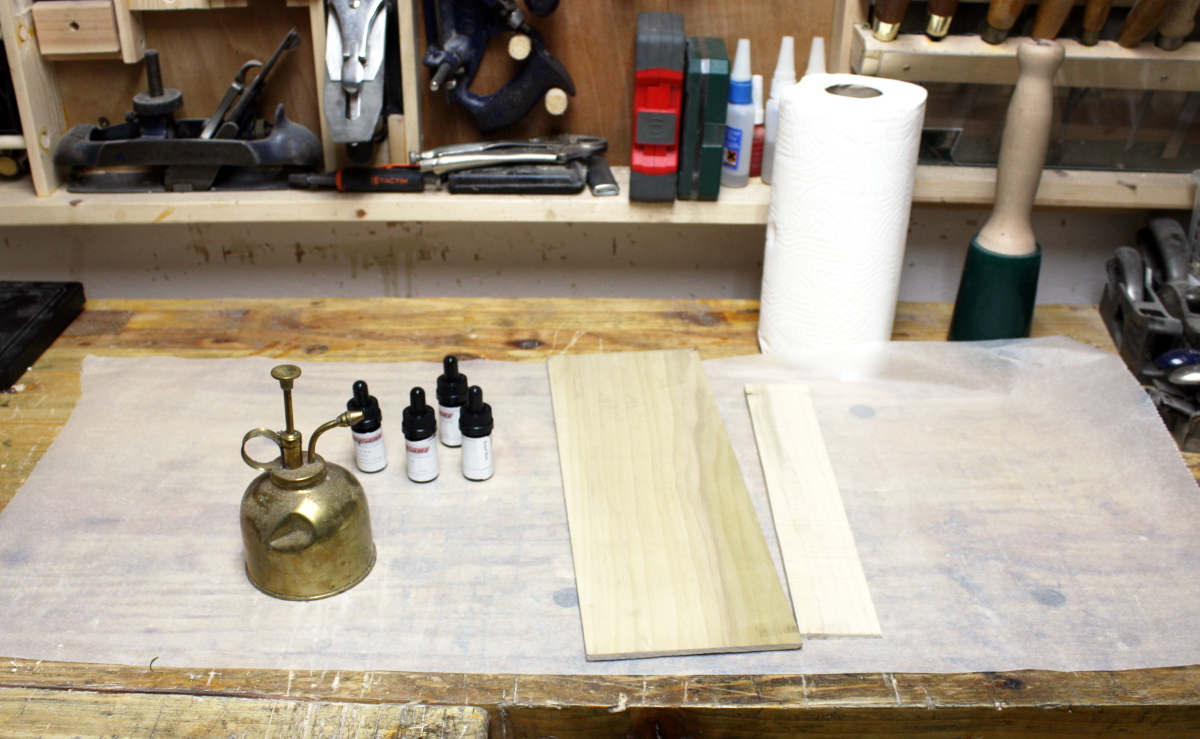
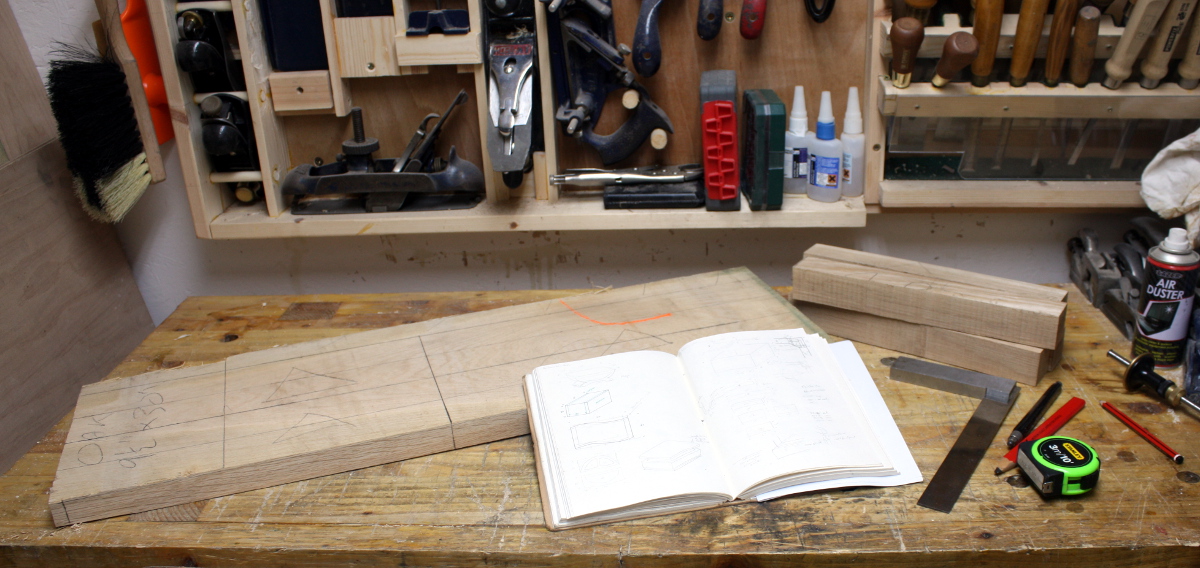
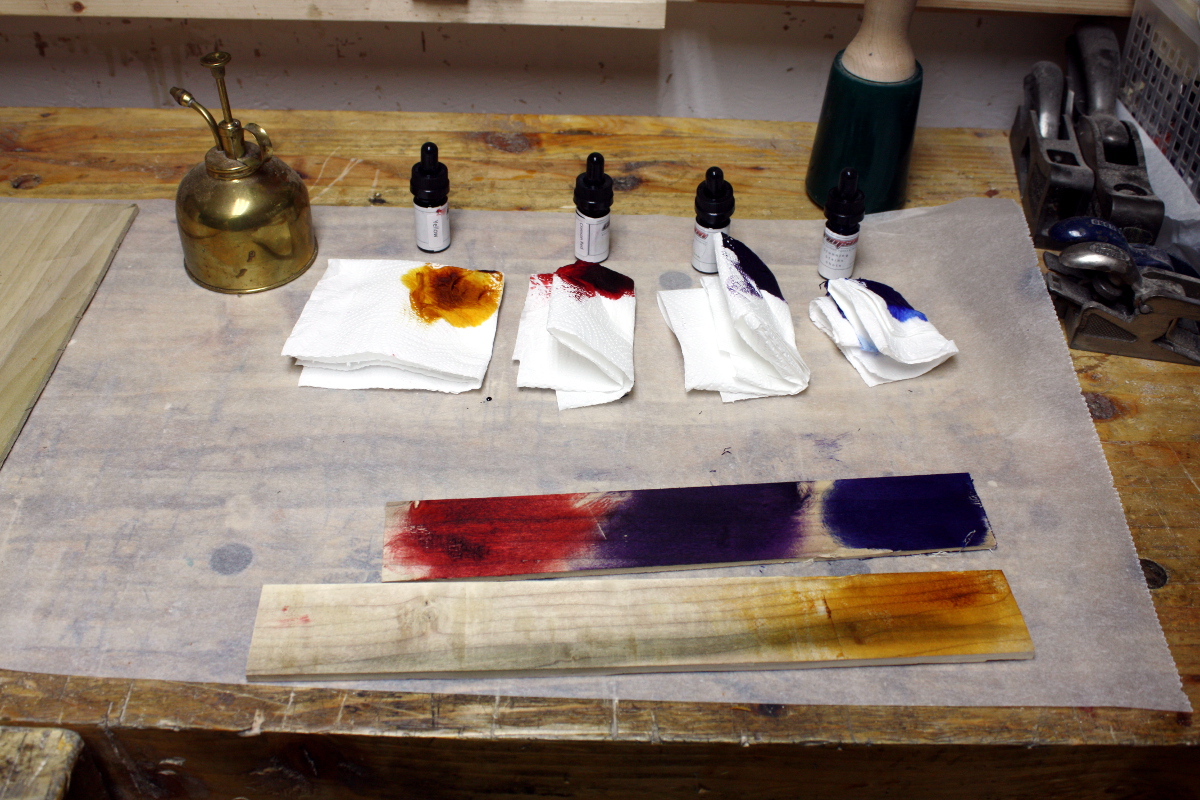
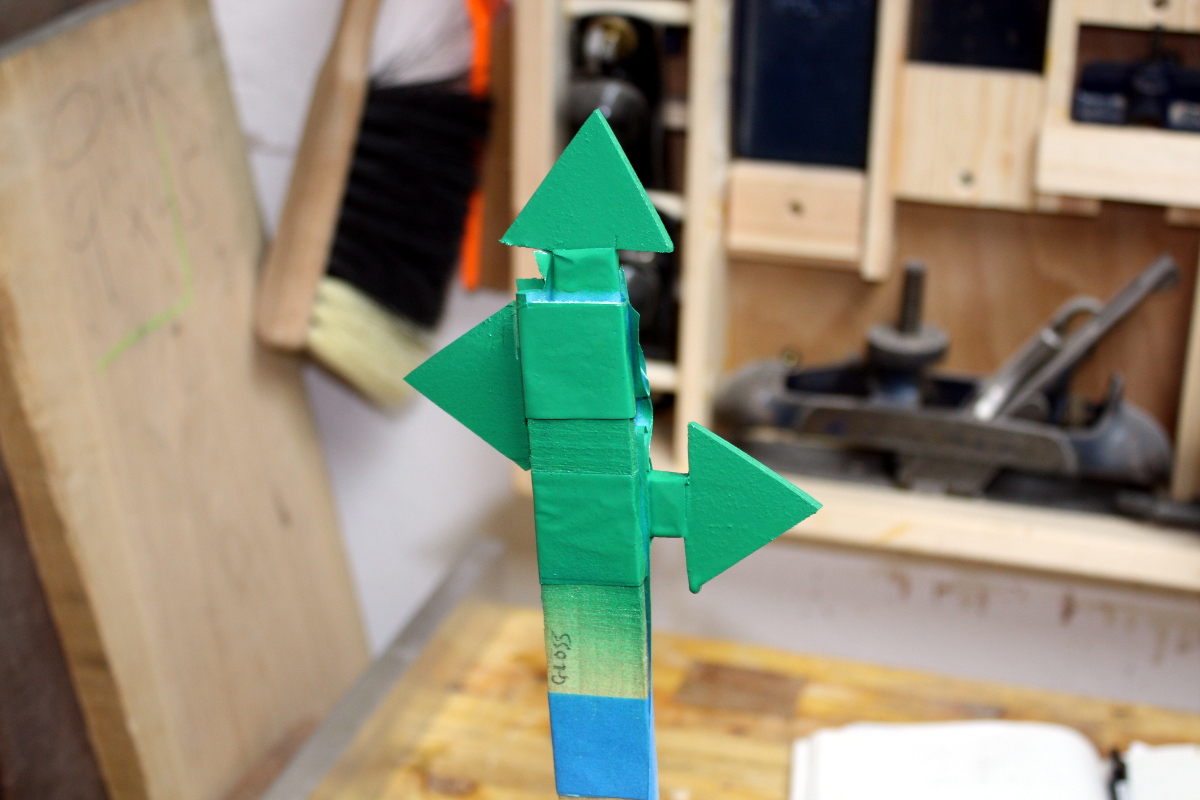
First off, I did want to see what the stains look like and to try to replicate this:
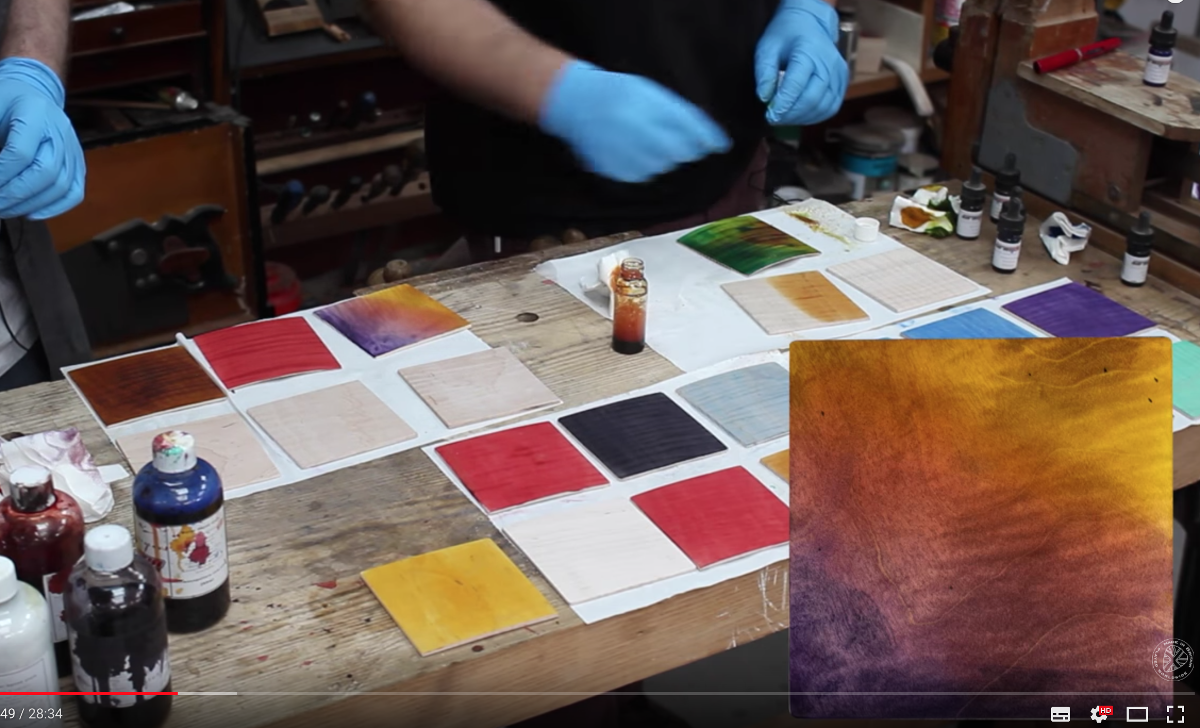
Granted, I don’t have resawn squares of flamed sycamore, I’m mucking about with bits of poplar, but still…
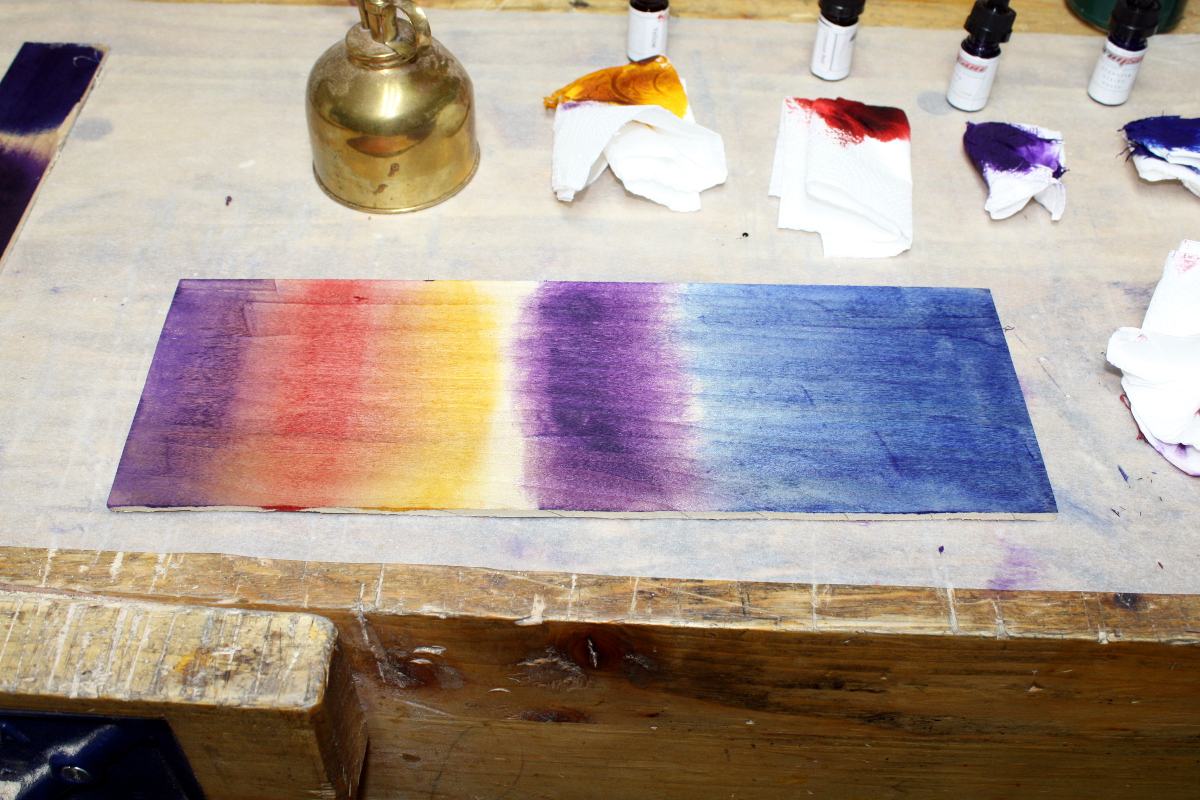
That was a bit of fun. I’ll take a peek tomorrow to see how it reacts to drying, and spray some poly on it to get a look at it under finish (it’s not actually for a project, I’m just experimenting).
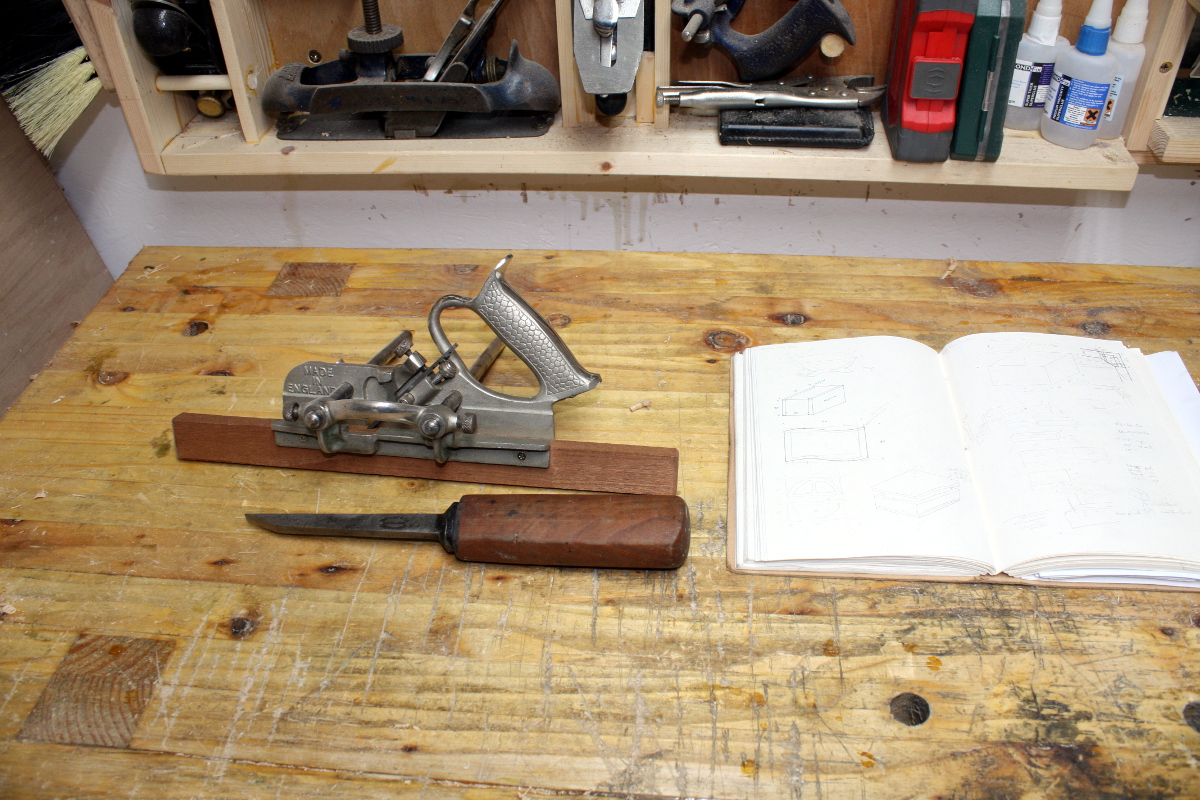
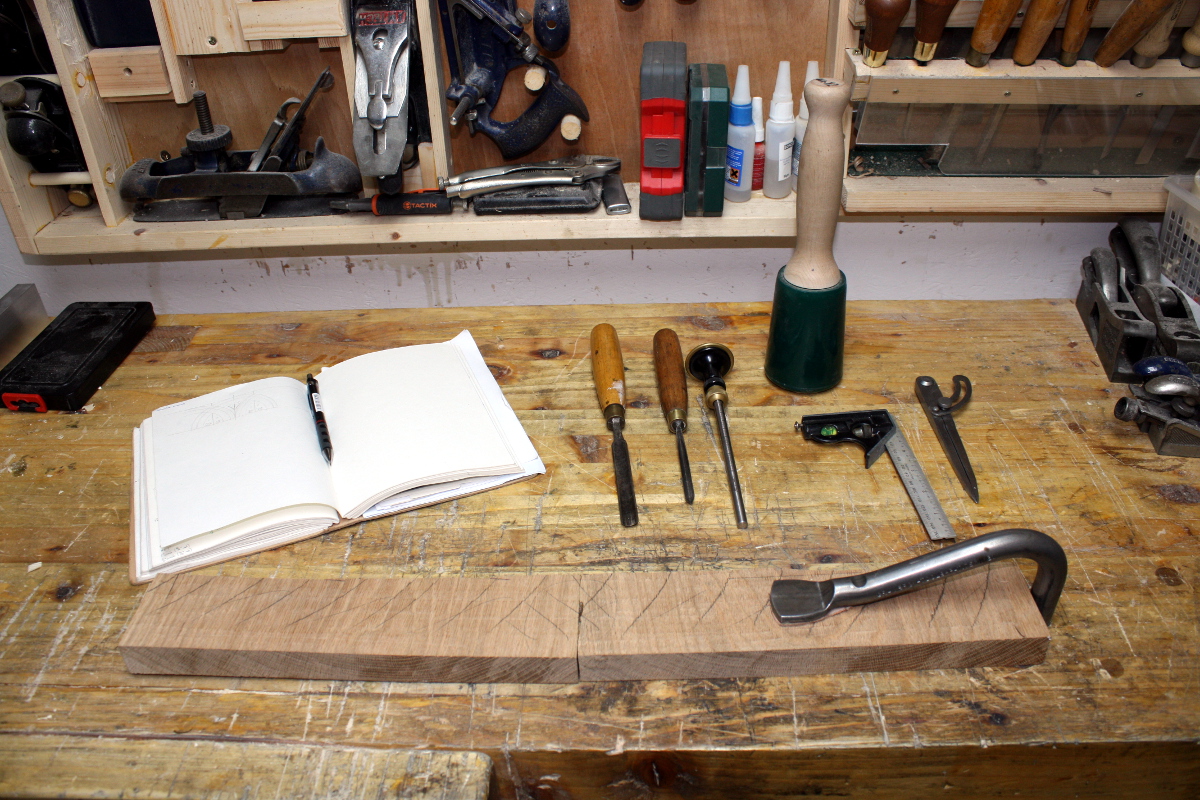
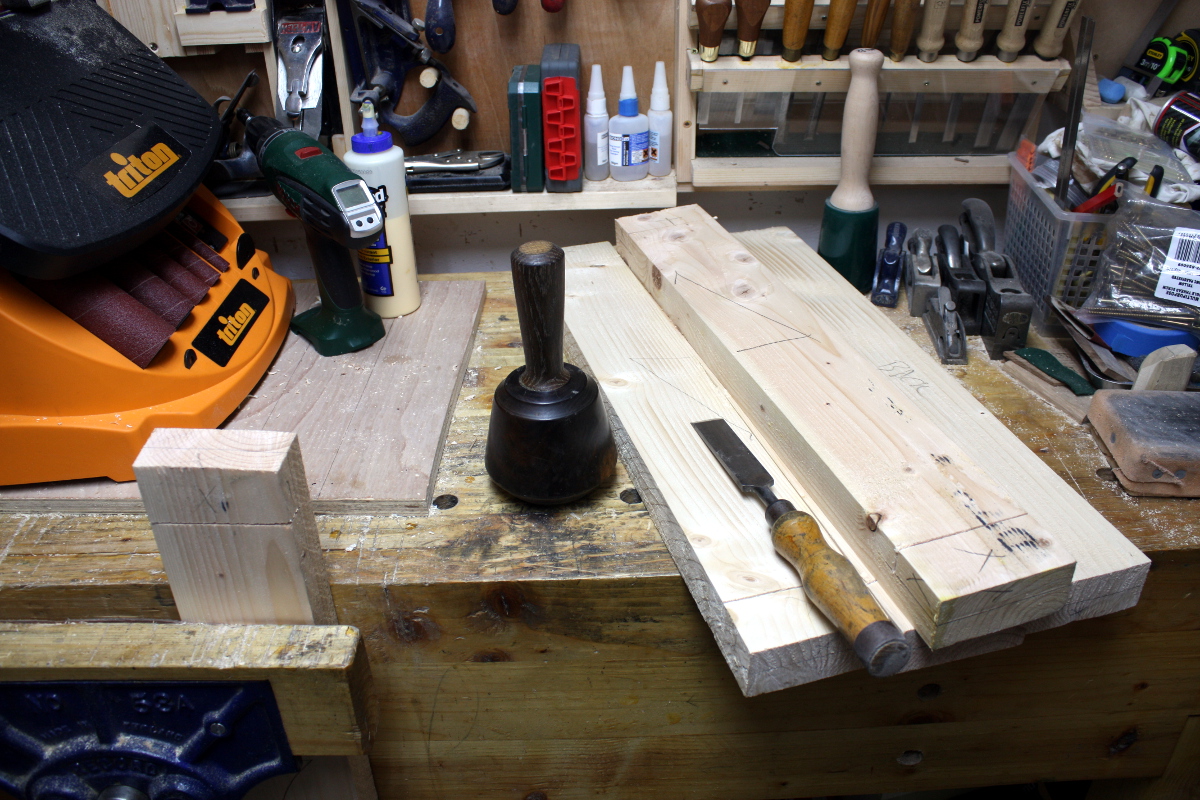
Then on to the next thing; I got myself a solstice present of Peter Follansbee’s video on 17th century New England carving (I’m mad, me) and I wanted to try one of the basic v-tool exercise patterns:
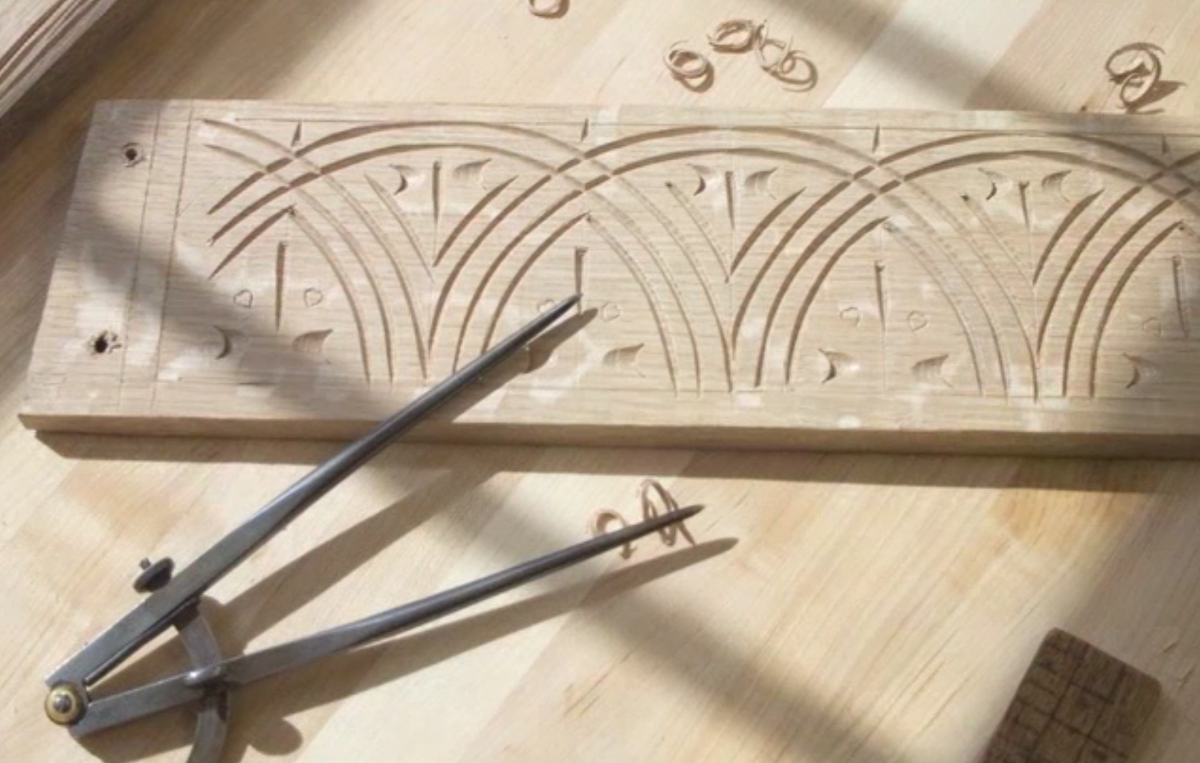
Granted, I don’t have riven green oak or even quarter-sawn oak, I’m mucking about on an offcut from the table build – inch-thick kiln-dried flat-sawn oak. Grand for furniture, not so much for carving. Plus I need to sharpen my v-tool a bit more and I need some new slipstones because apparently you can shave the diamonds off diamond slipstones if you’re not careful when honing a gouge. Doh. And I don’t have all of Follansbee’s kit (which is worse than it sounds since he only uses six gouges and a v-tool…). But I have enough for one or two of the exercises (including this one) so on we go…
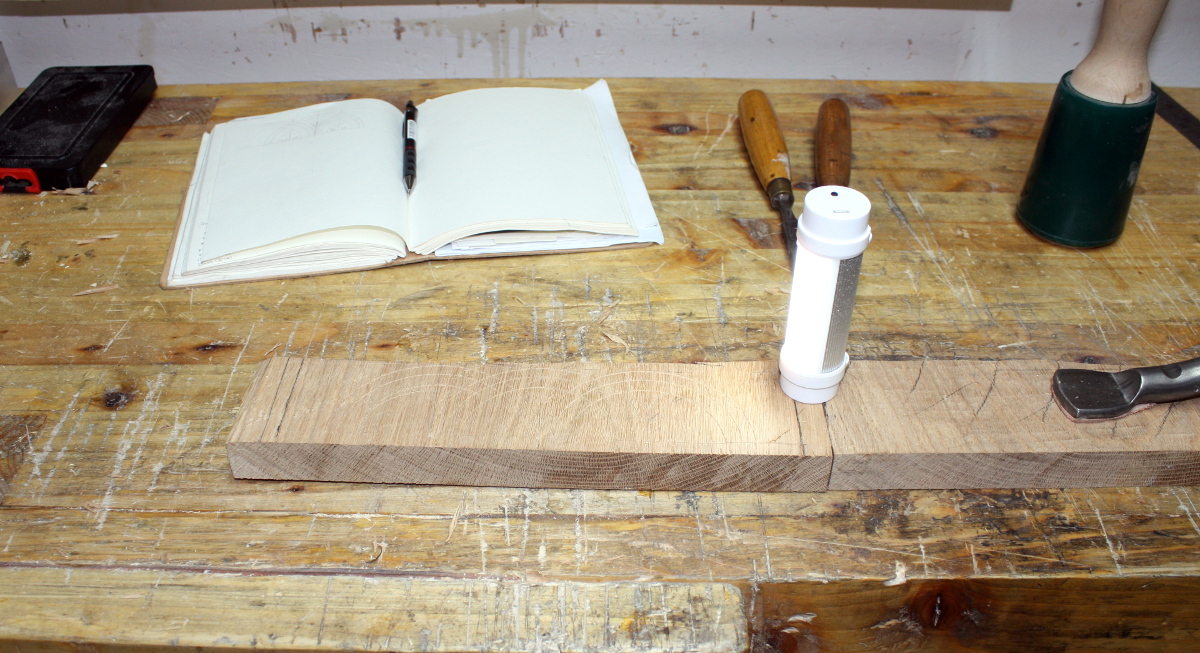
Natty little camping light spotted in a Big Clive video – handy since it has a magnet in one end and for throwing light across a surface with knifed marks it’s pretty useful.
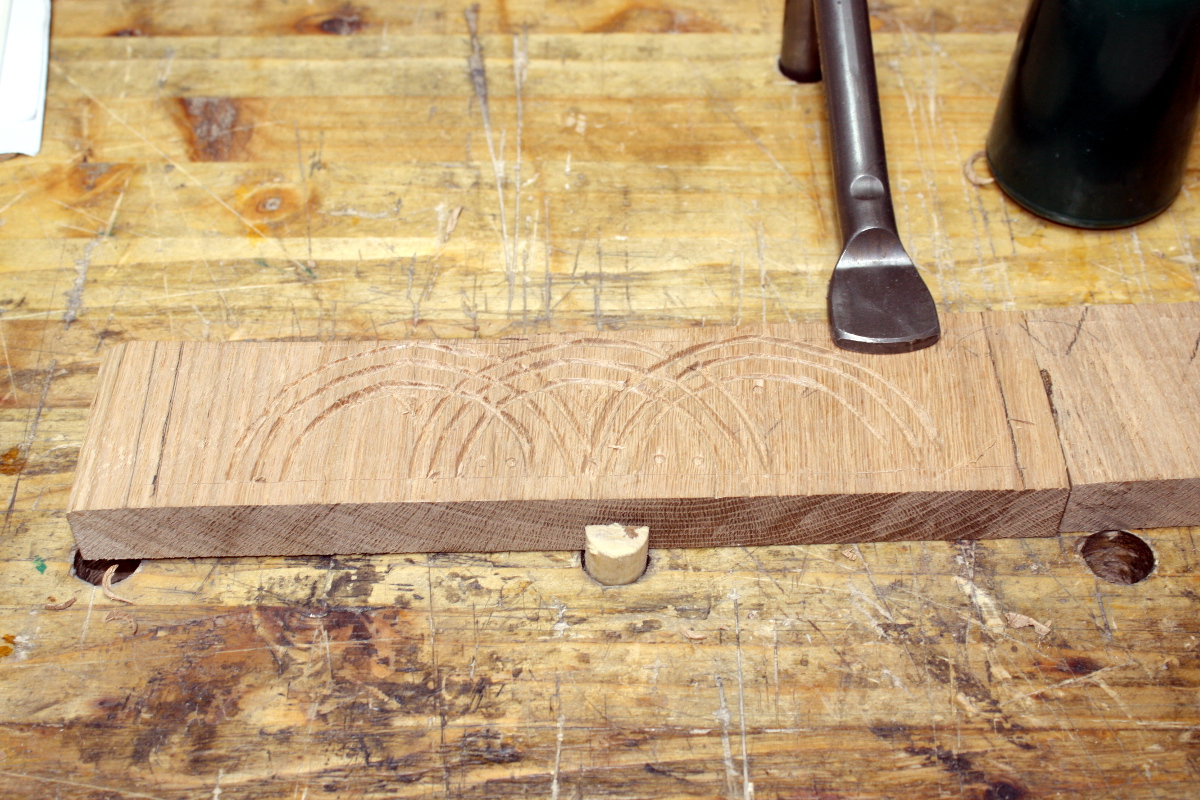
The divider work is straightforward enough…

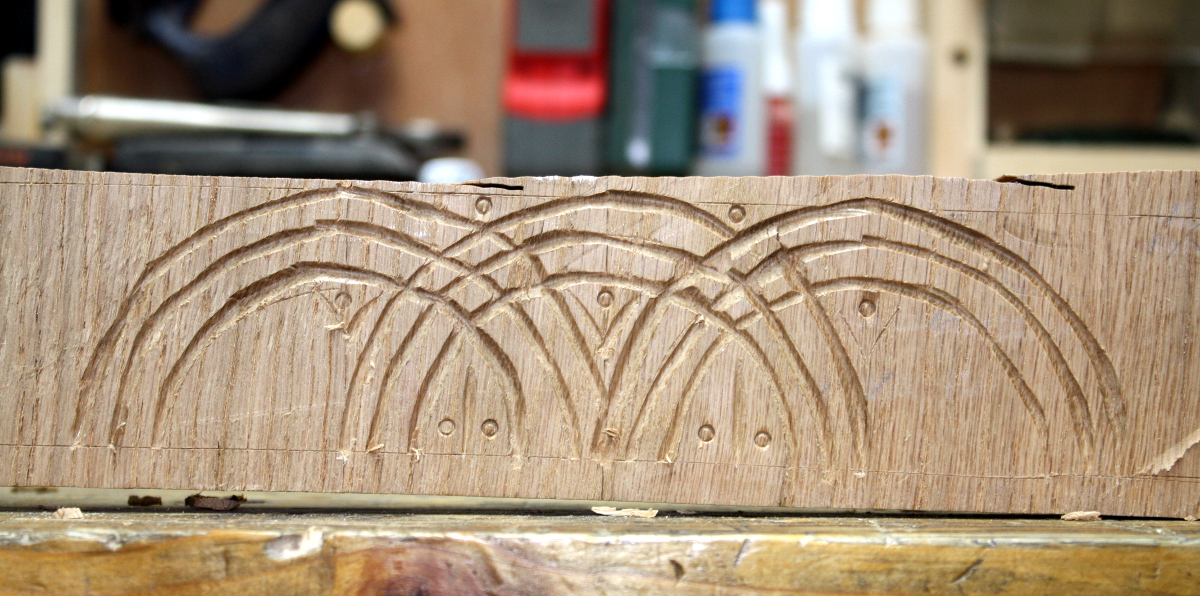
…but there’s a reason Follansbee makes it look easy and it’s twenty-five years of practise…
Still have all my fingers and no new leaks, so I’m calling that a win.
And a bit of BLO to show it better.
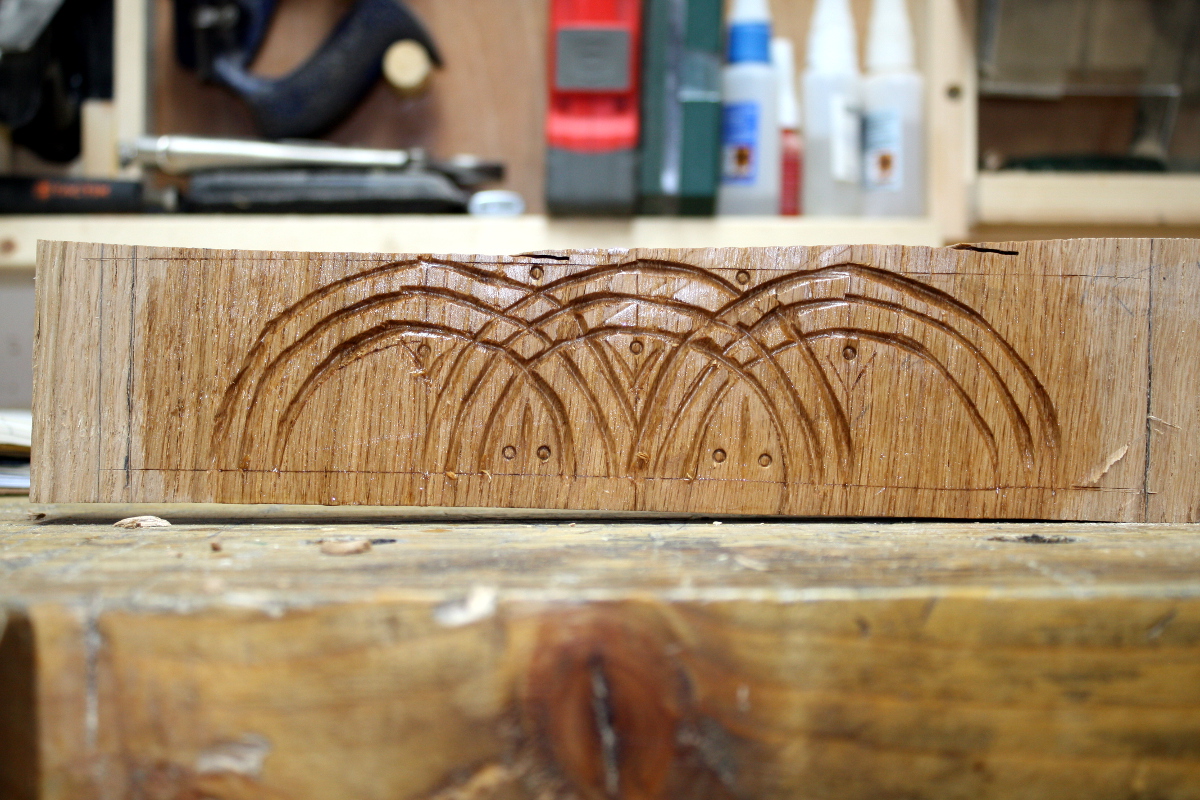
Well. First try. It’ll get better. Or it gets the shovel again.
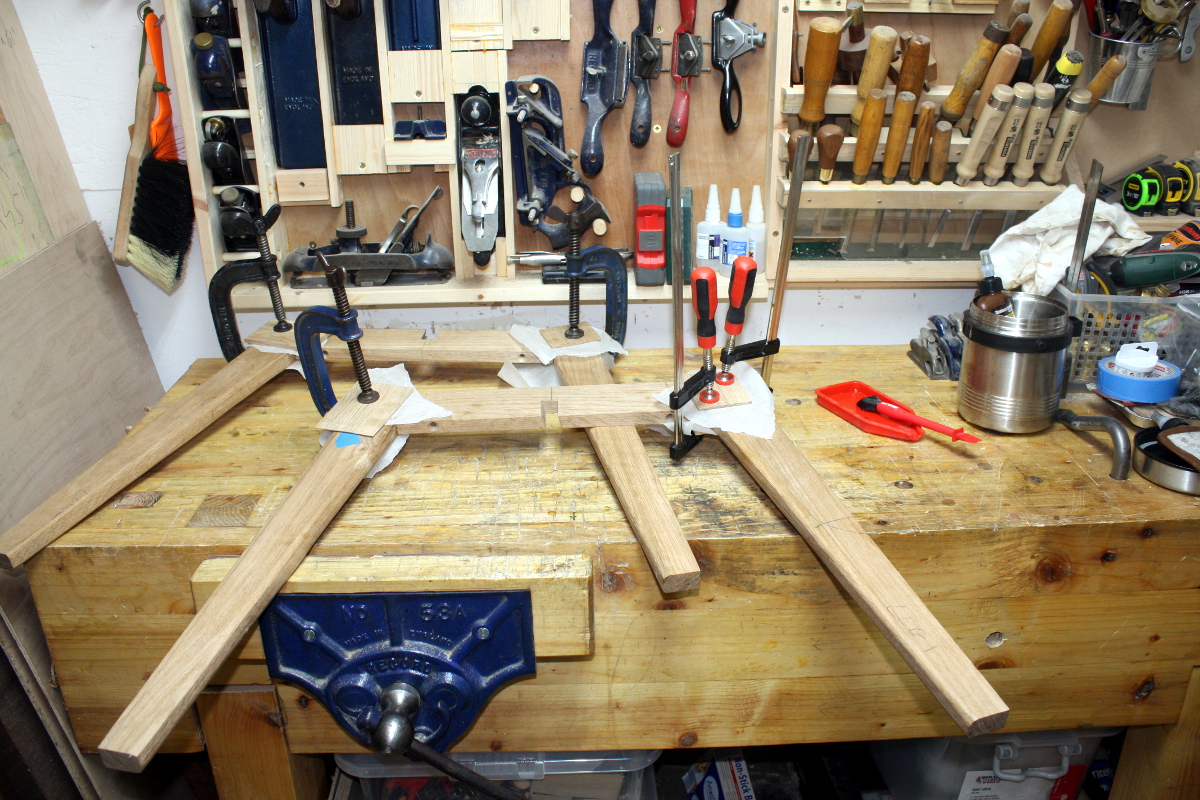
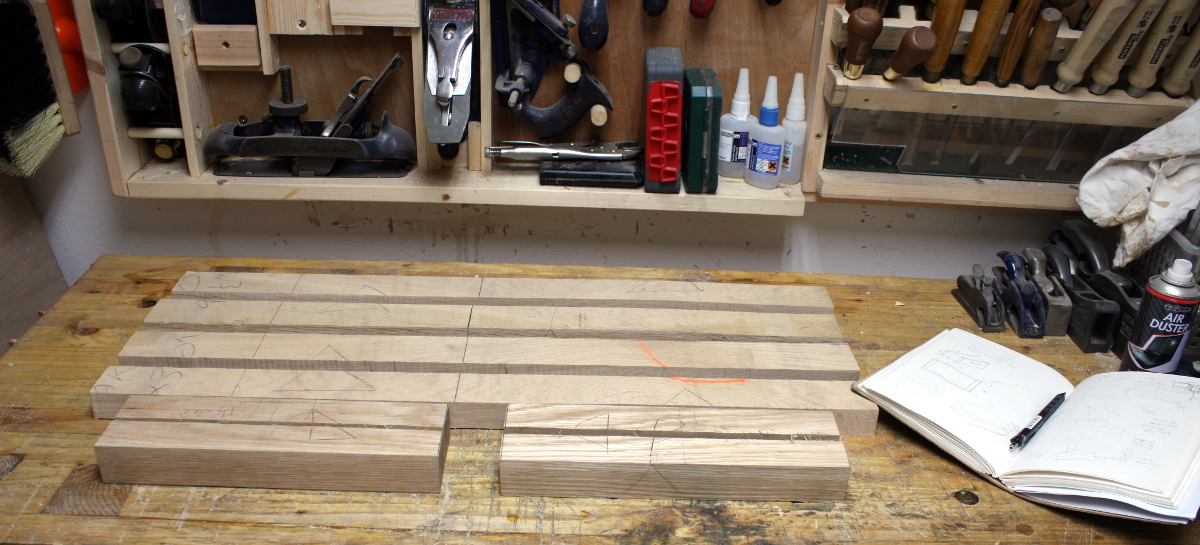
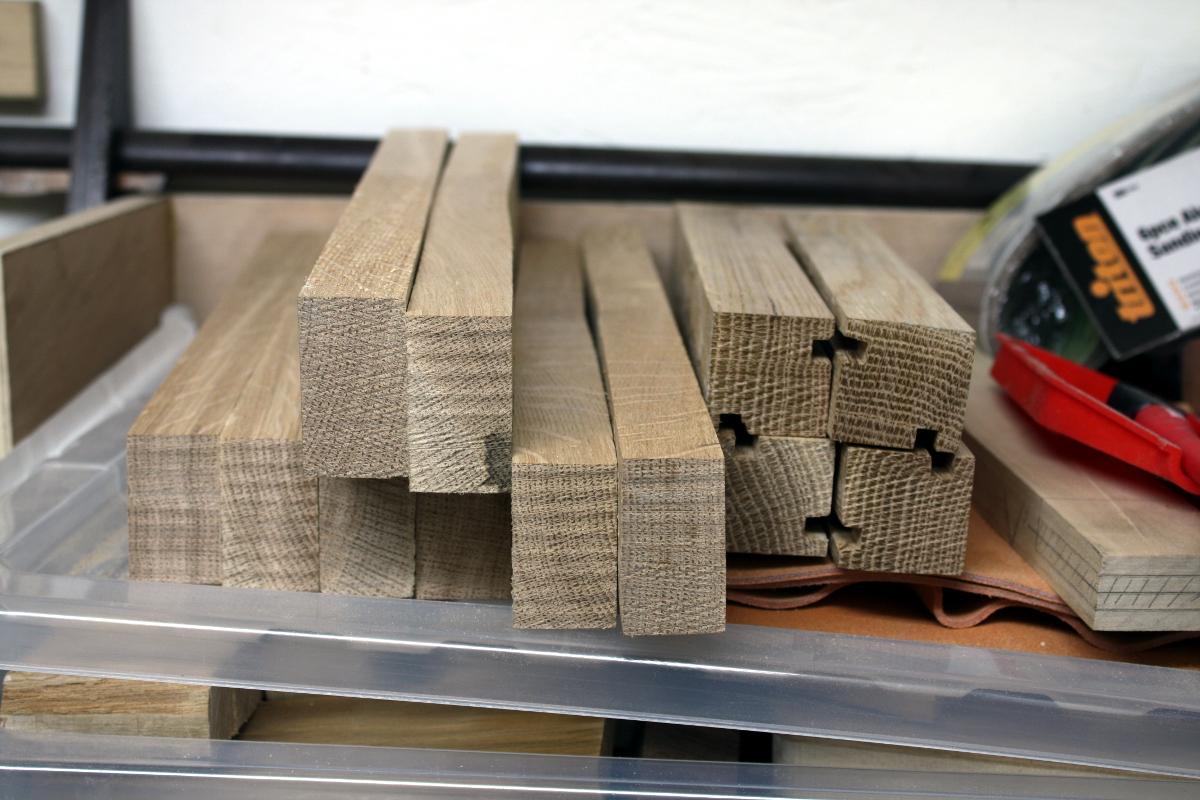
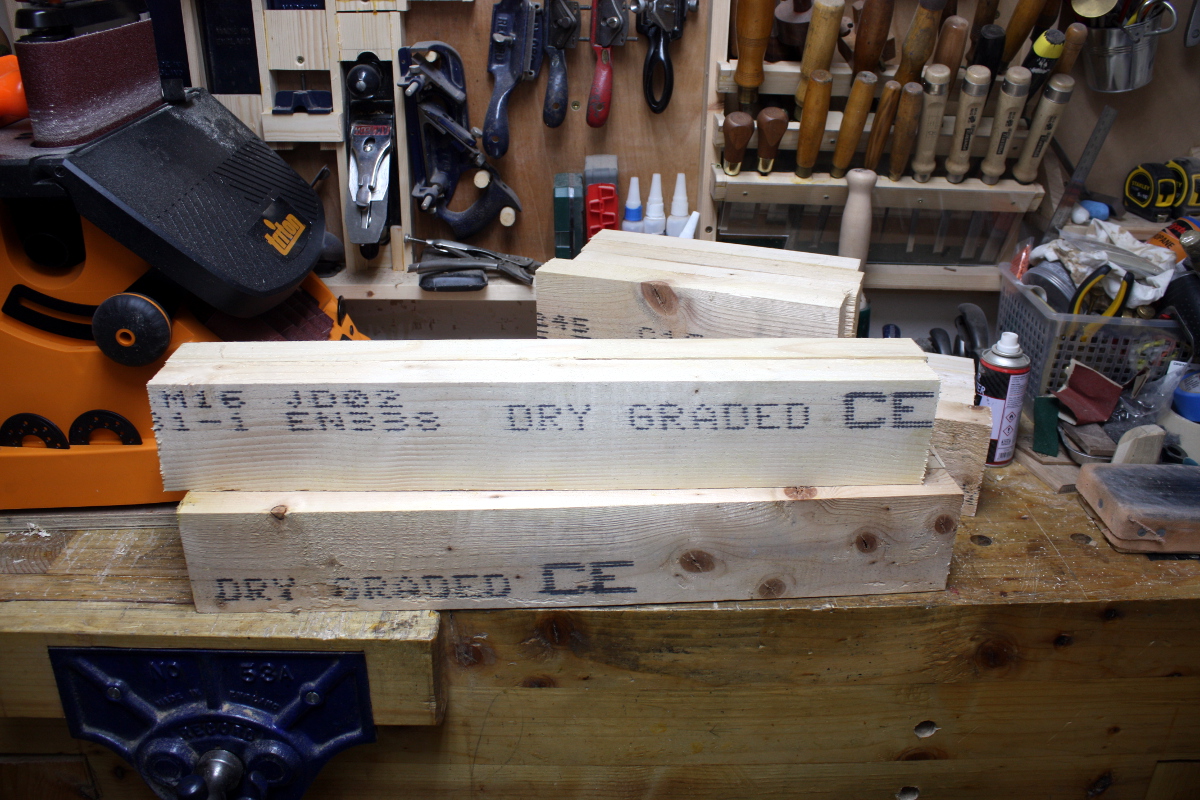
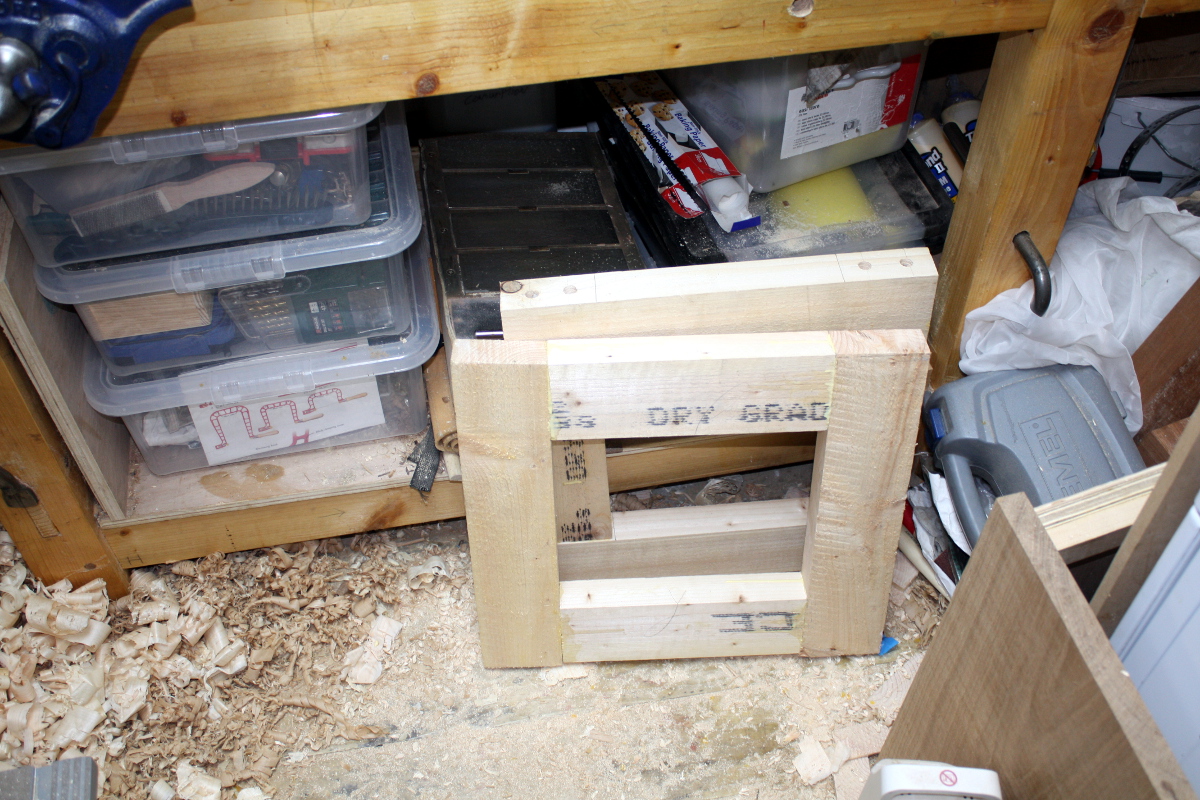
And in the meantime I figured out what I wanted to do with those scraps I couldn’t throw away…
 …downhill on a wet slope towards a brick wall while blindfolded.