13
Jun 18

Almost there…

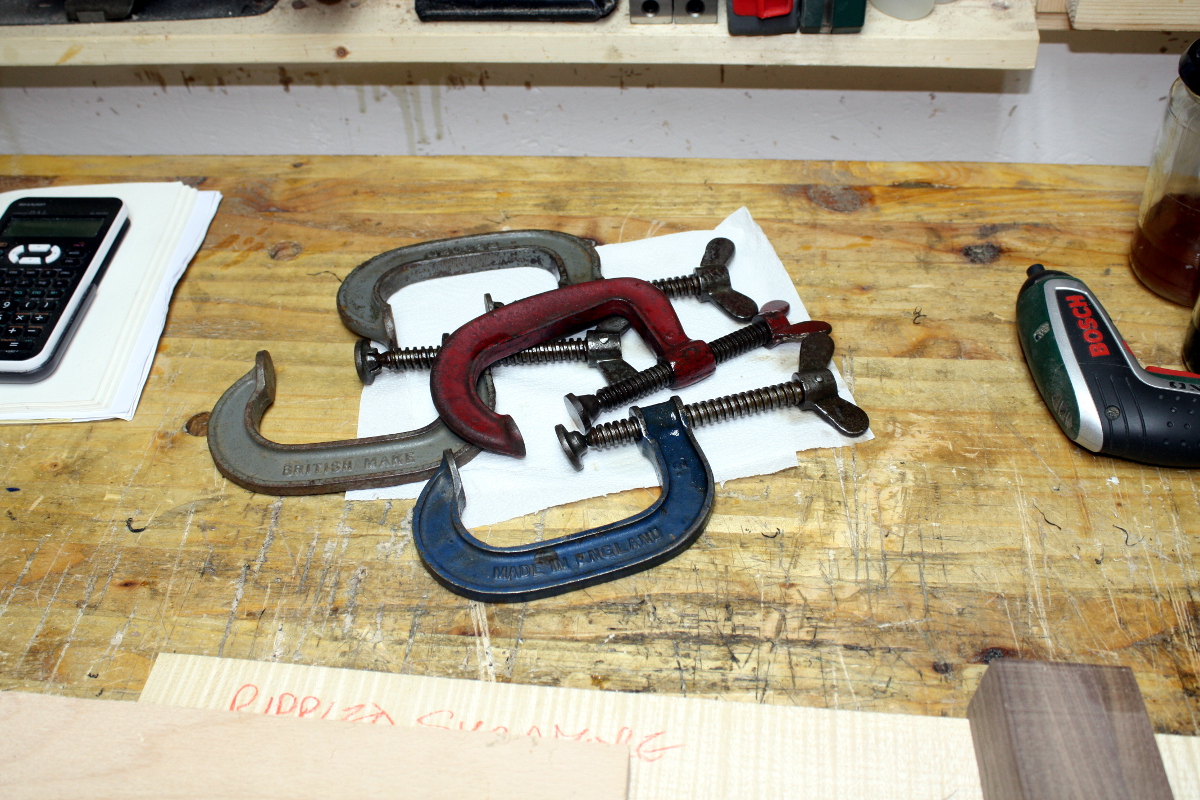
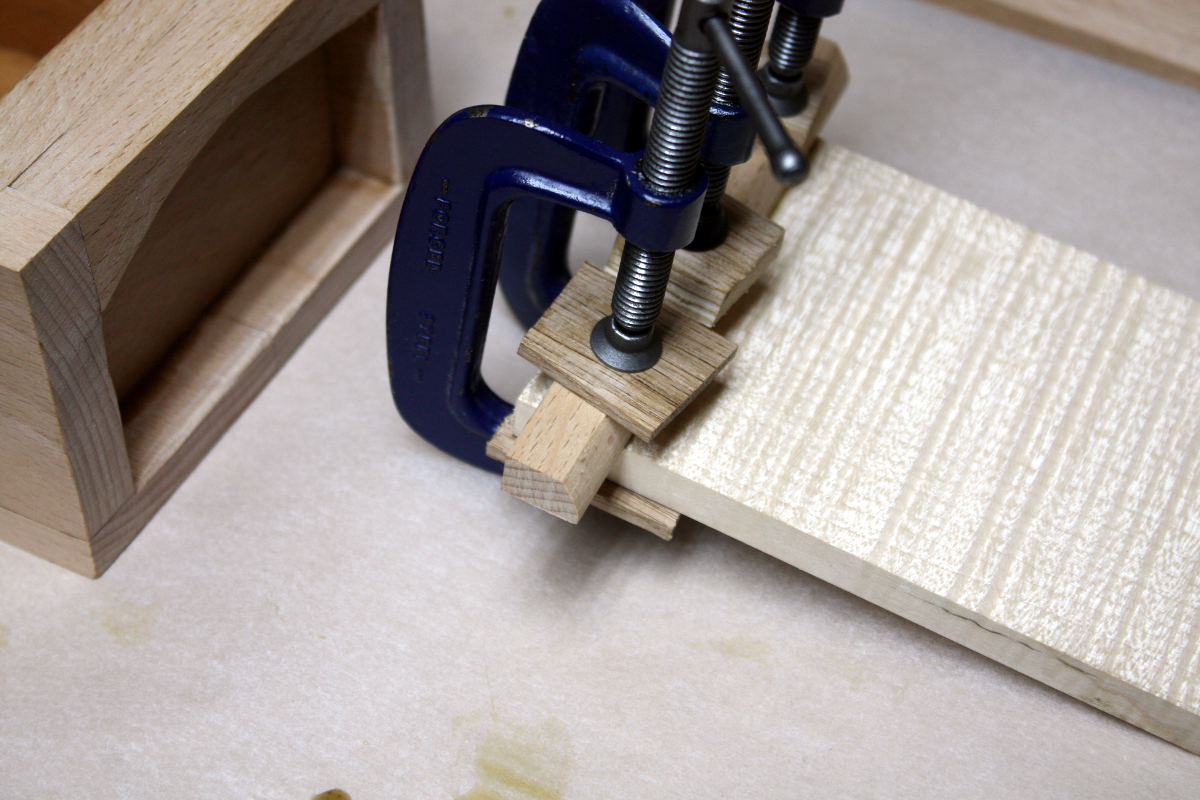
So I was a bit sneaky this morning and went to the shed for ten minutes before heading off to work. I’d prepped the part for the end cap on the toolbox last night but because I’d clamped up the base I couldn’t glue it on without risking either it or the base shifting when clamping. So this morning I went out, took off the clamps from the base, made sure I had clean gluing surfaces and glued up the end cap and clamped it. And of course, as you’re in a hurry, everything gets irksome and fiddly.

Why on earth did it choose this morning to lose it’s head? 😀

But I got it clamped in the end.

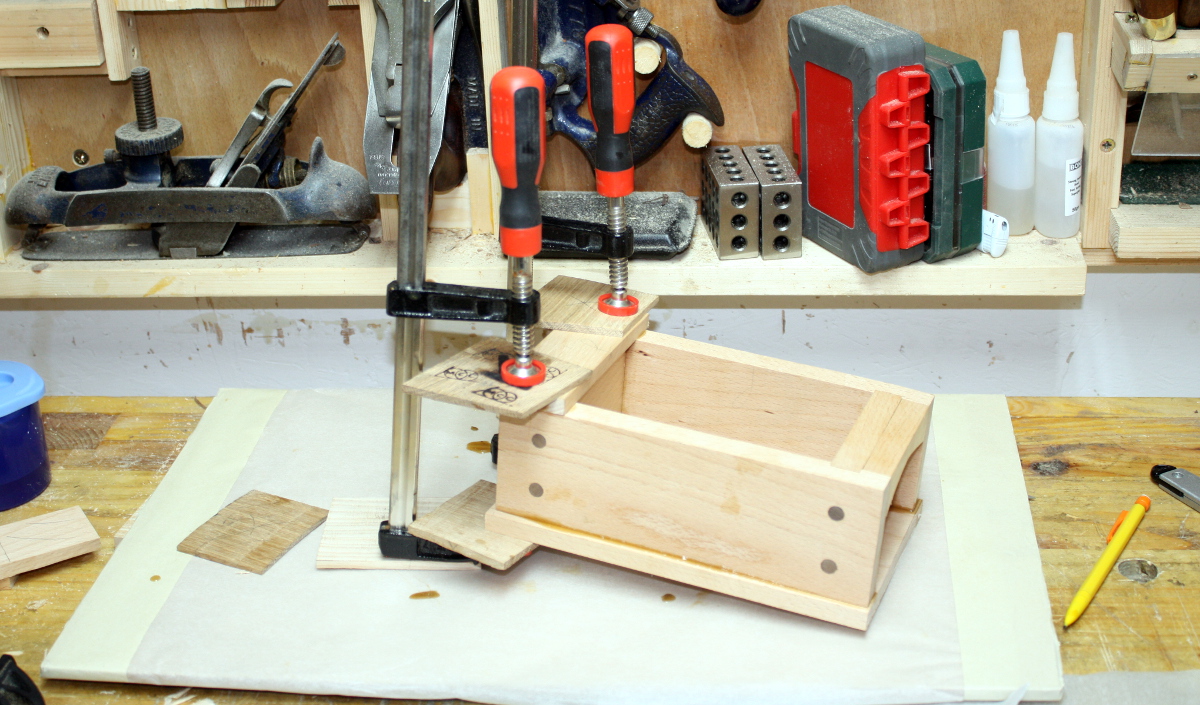
Then off I went to work and later this evening…

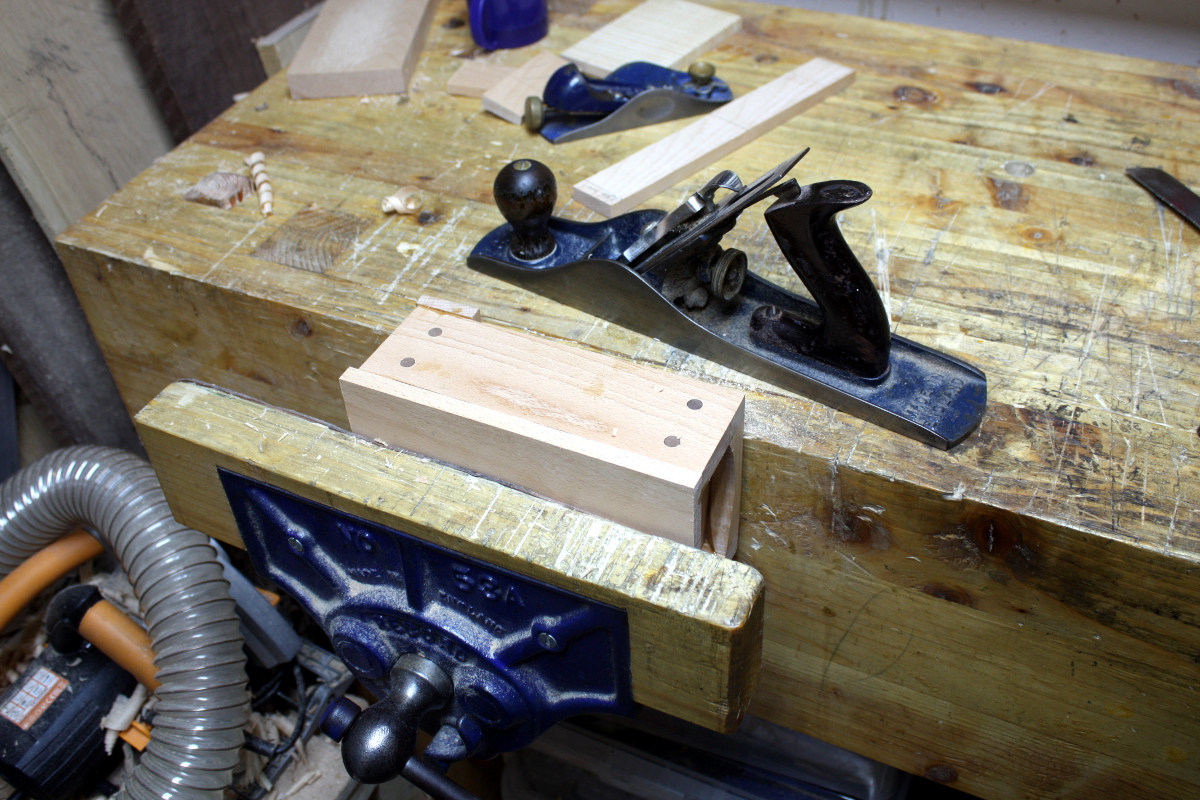
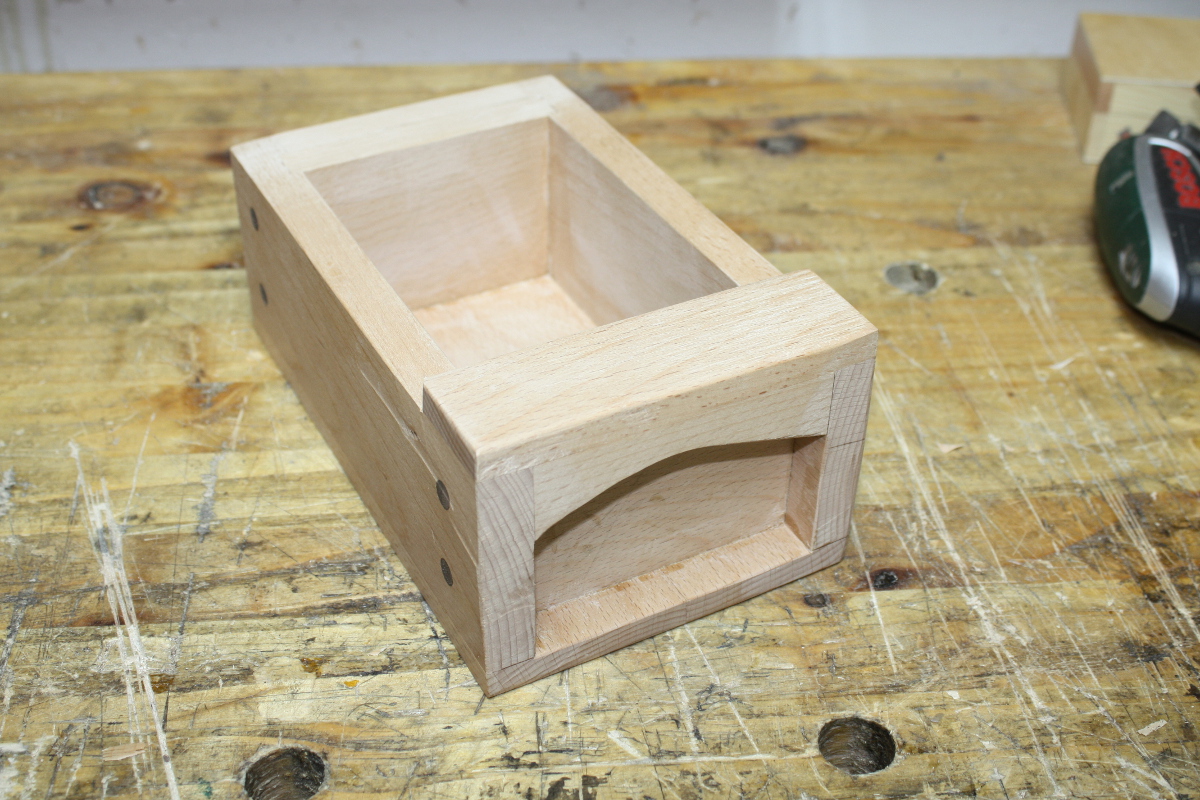
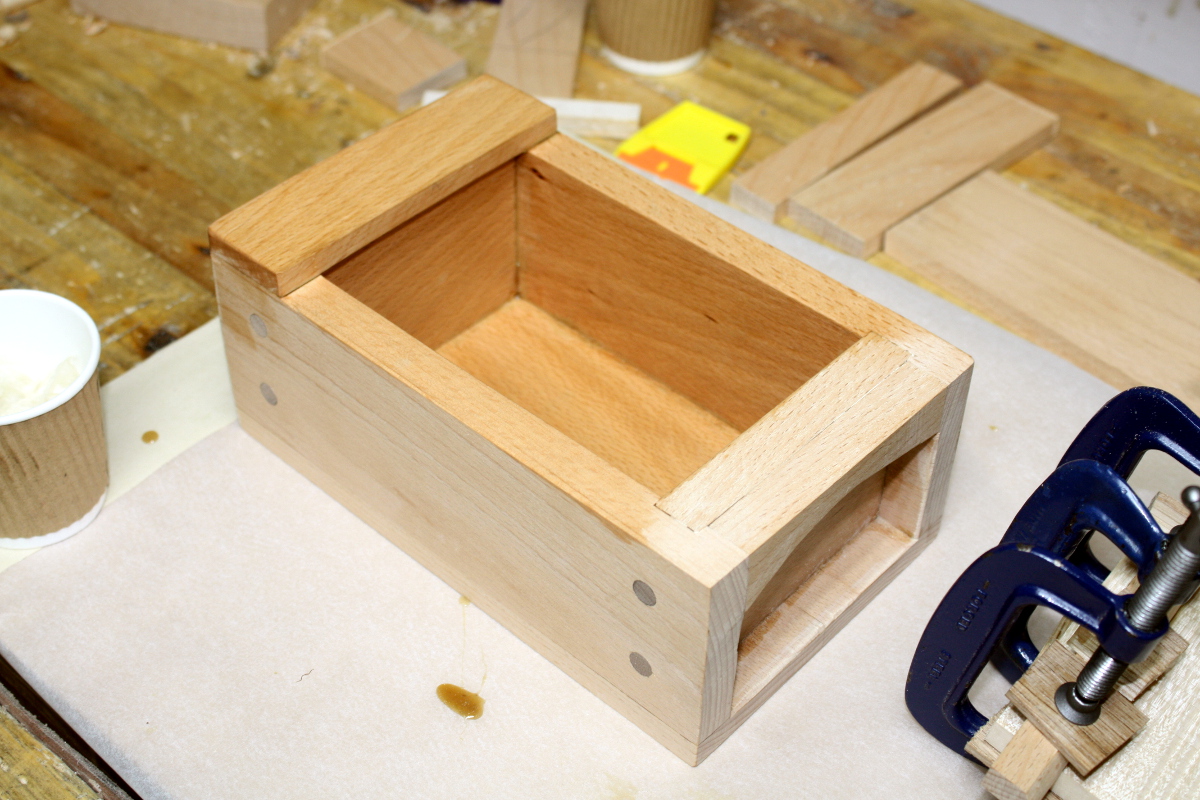
Sawed the end cap flush with the flushcut saw, planed the base flush (with lots of chamfering to prevent spelching – not sure how you’d fix that at this stage) and then started cleaning up squeezeout.

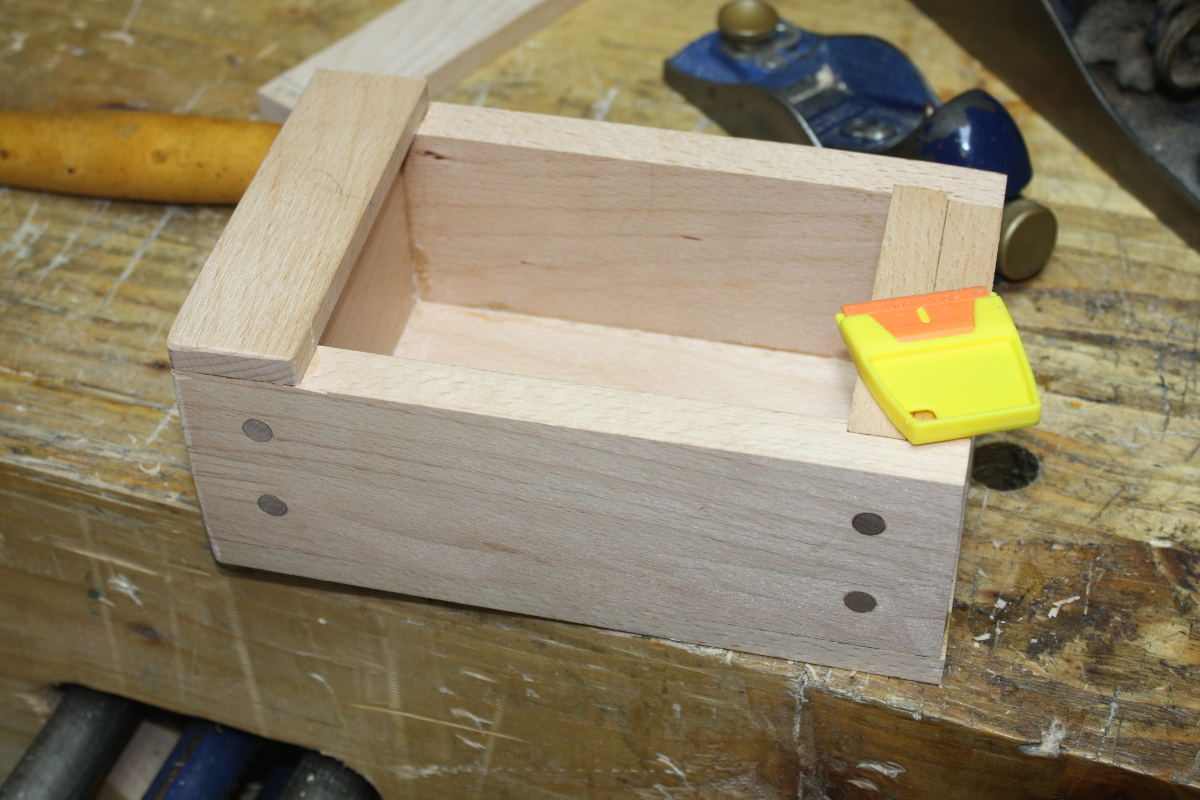
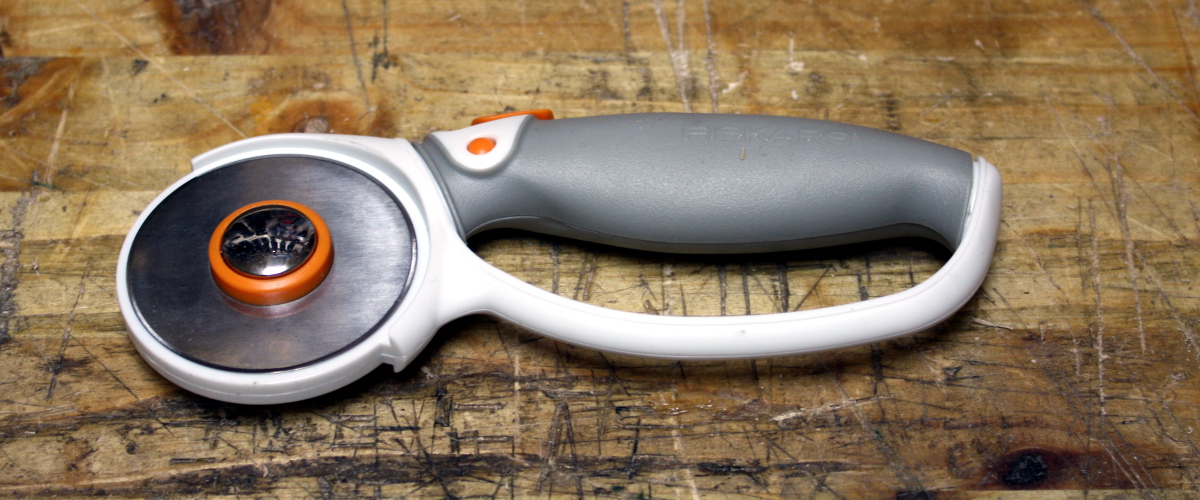
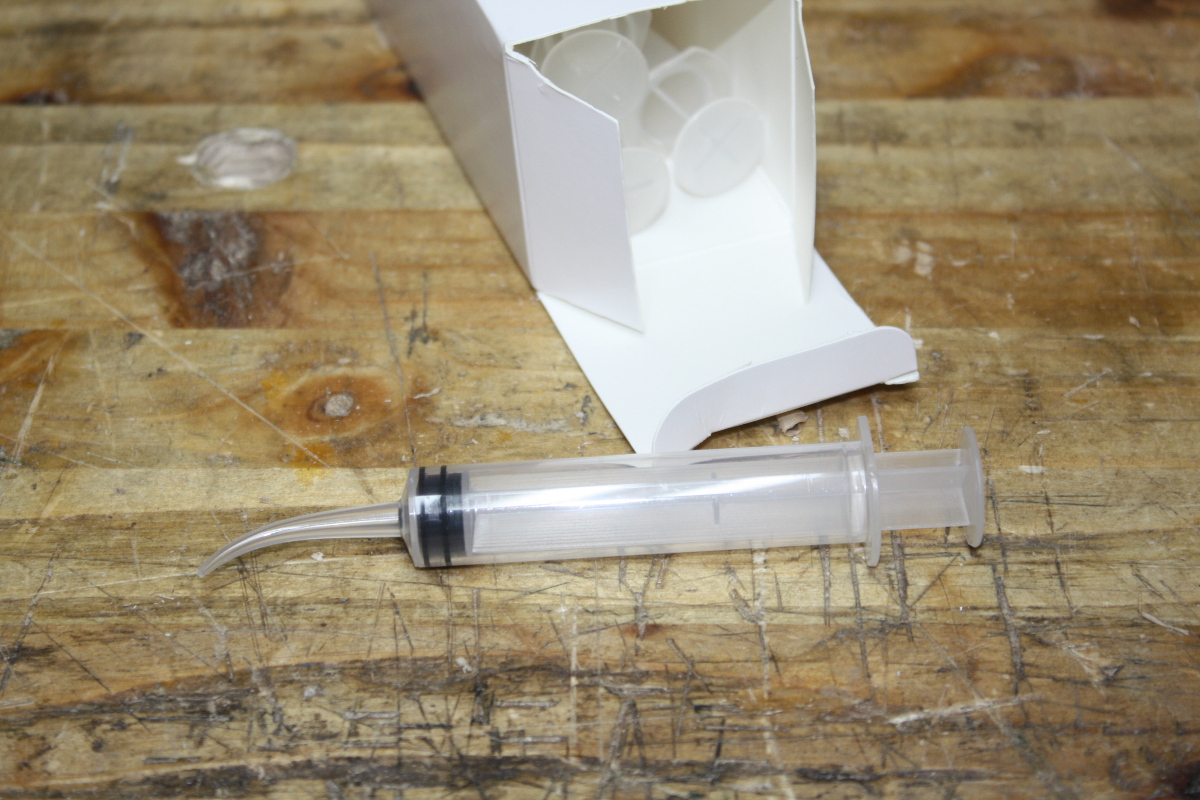
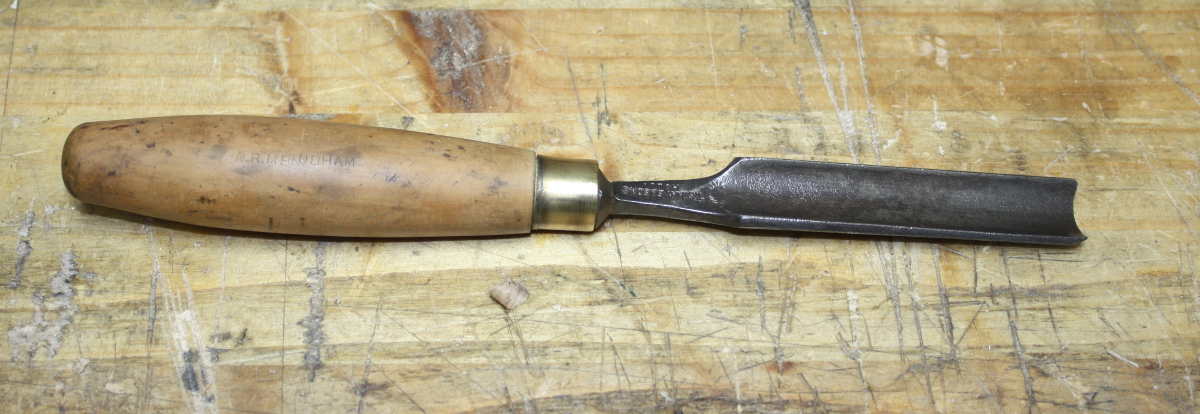
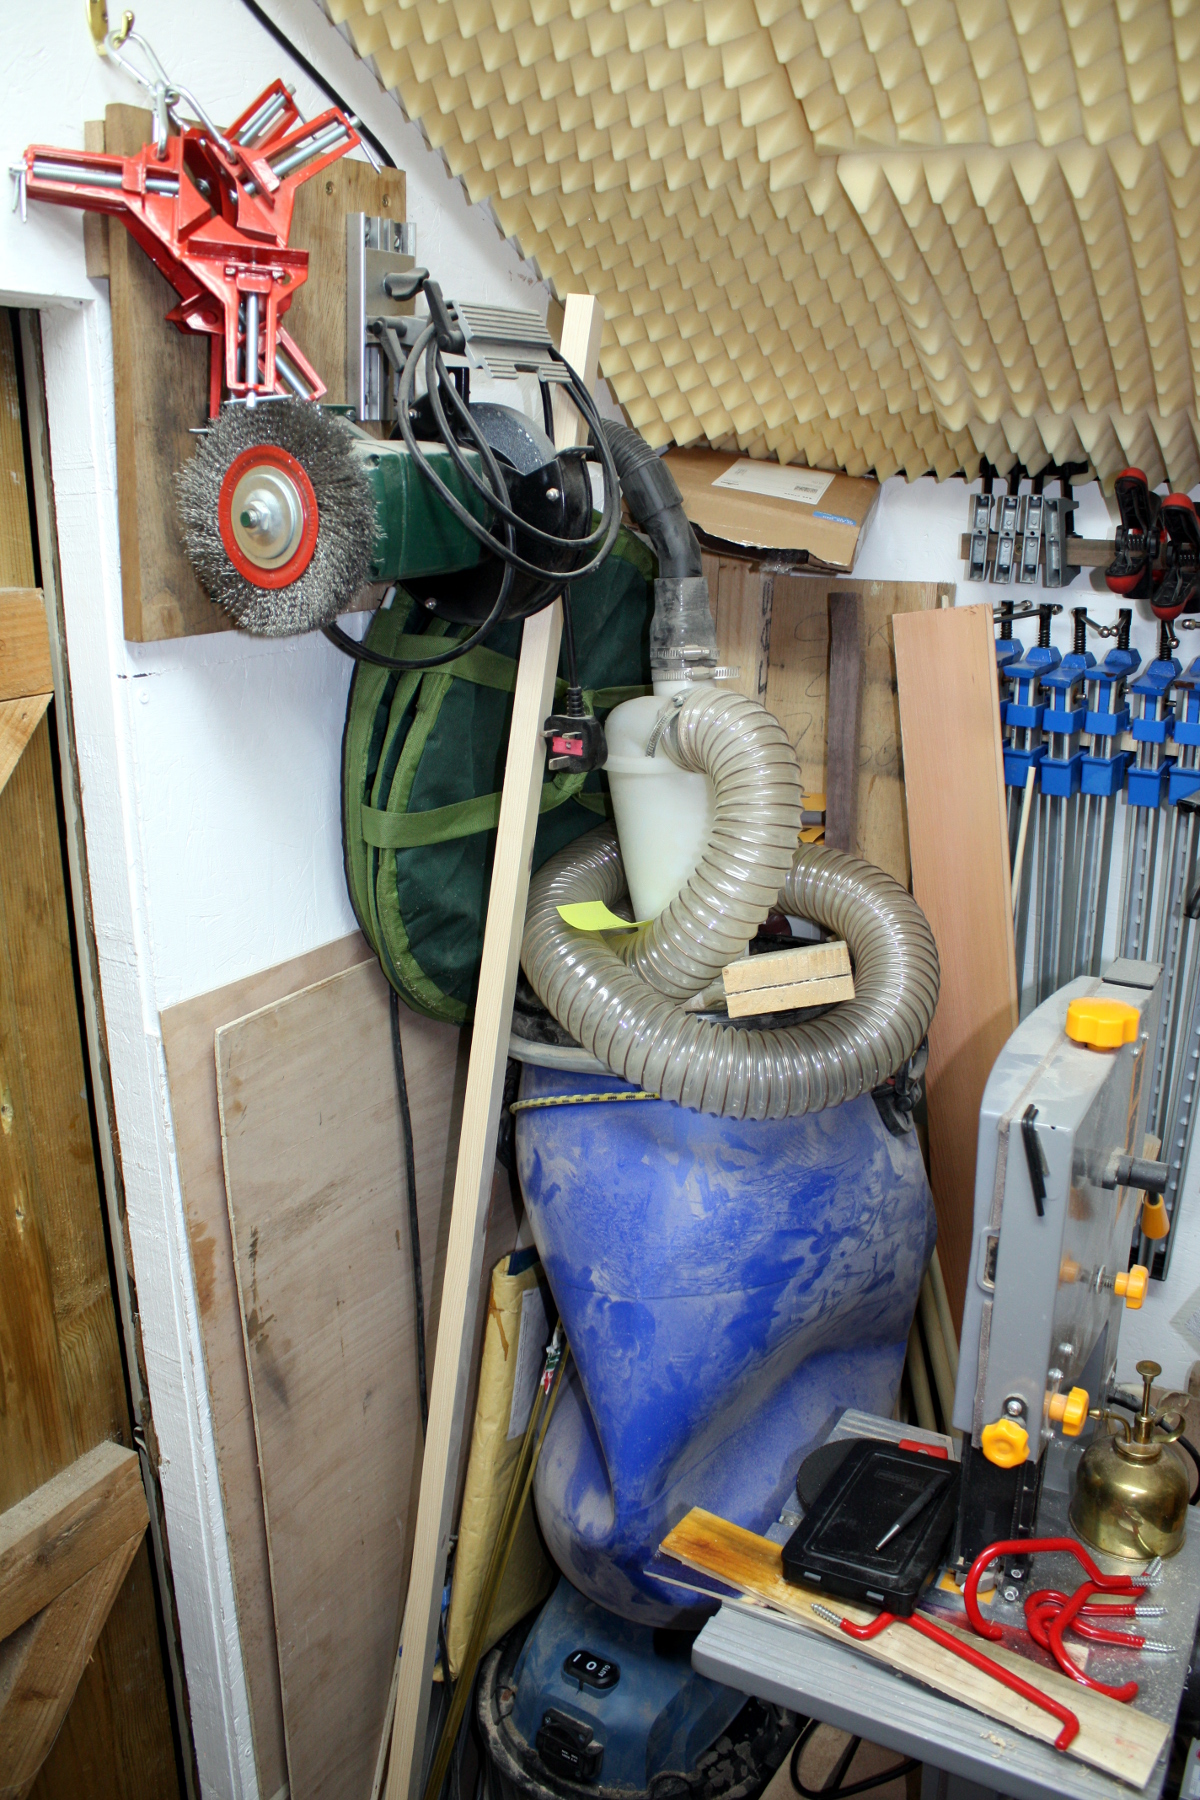
Y’know, I thought those plastic razor blade things would be a total gimmick, but for stuff like this they’re actually quite useful. I did still have to do some careful chisel work but the bulk of the removal was very straightforward using this and the best part of the plastic blades is that you really have to abuse them to nick the piece so you don’t have to be quite so careful as you do with a chisel.

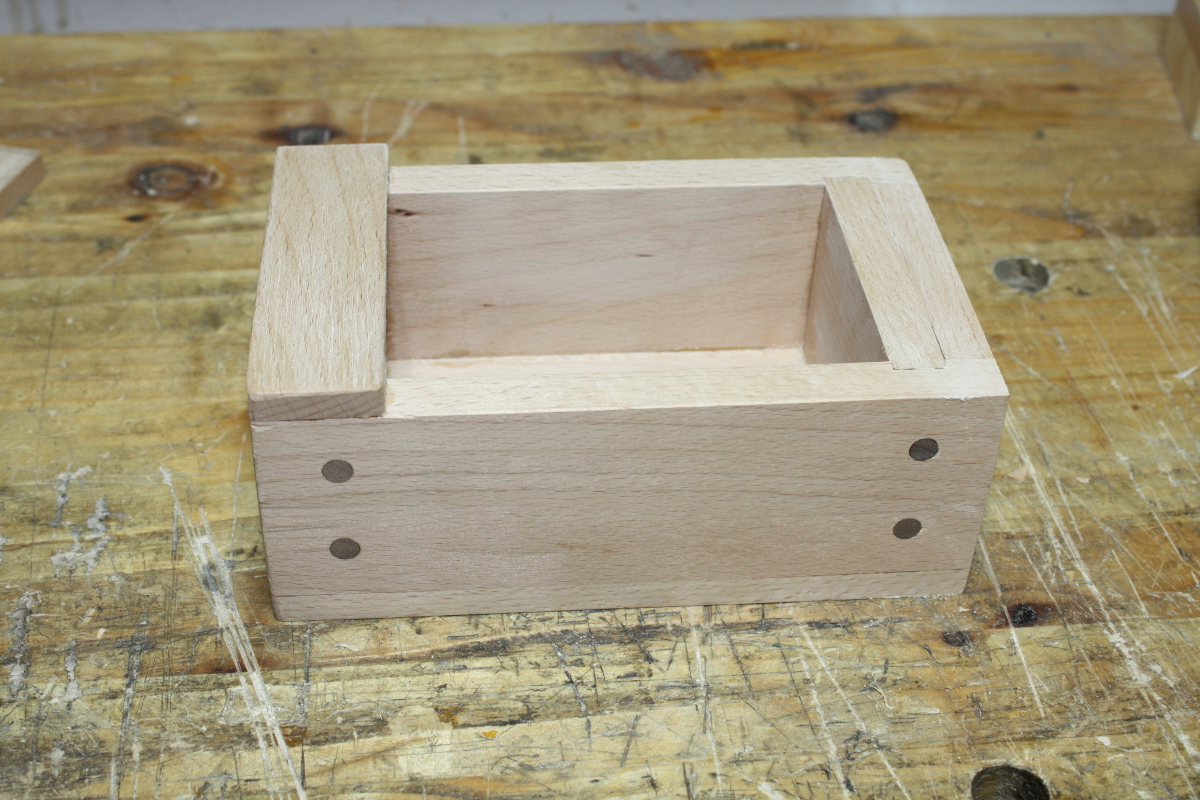
All nice and clean. I do still have to pass over the sides with a last smoothing plane pass and probably some sandpaper, but that’s for later.

Next up, glueing the first stop on the lid after trimming it carefully to length. I’ve shaped the inner edge of that stop so it’s a little less abrupt.

This is all going to make more sense when it’s done.

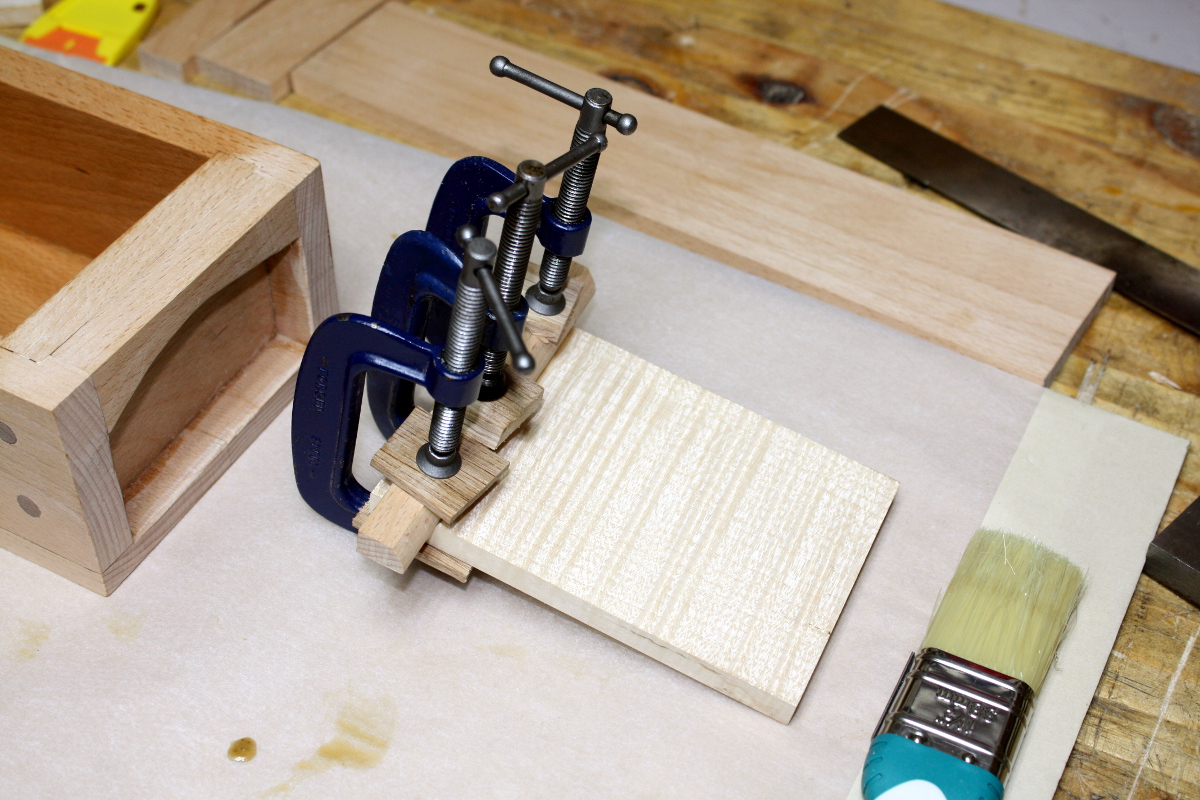
Also, I gave the inside of the box a quick swipe with some danish oil – it’ll be easier to do it now when I have access. The other end cap will go on tomorrow and after that it’ll be harder to not have any missed bits inside, so I’ve done the one inner coat I was planning on now. Should make it easier.

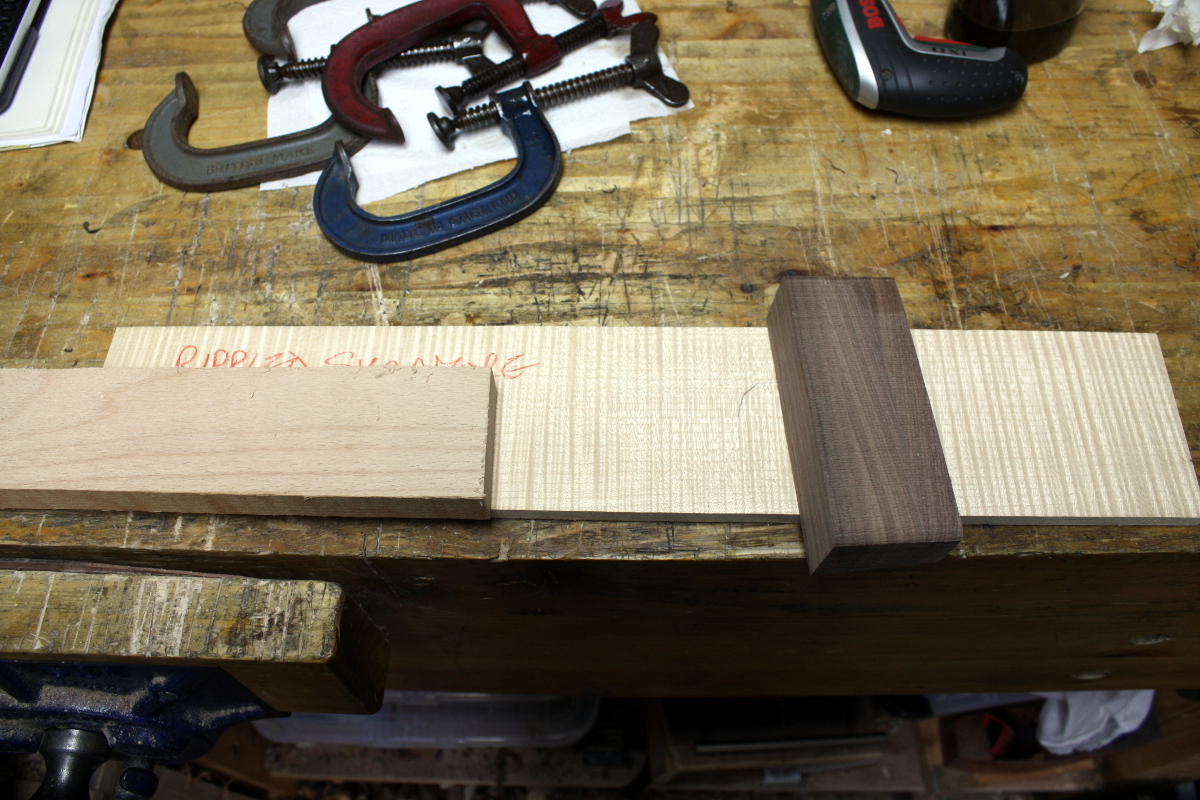
And done for the day. Material for the other endcap prepped in the background, but I still need to find material for the key – it and the lid will be distinctive and everything else will be beech or the walnut pegs. It doesn’t look too bad so far.

Speaking of finish, time to check how those purple stains dried…

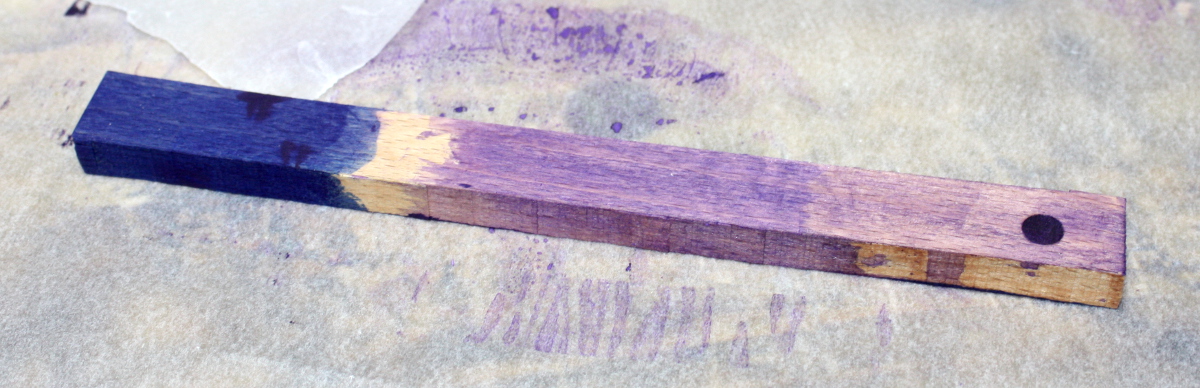
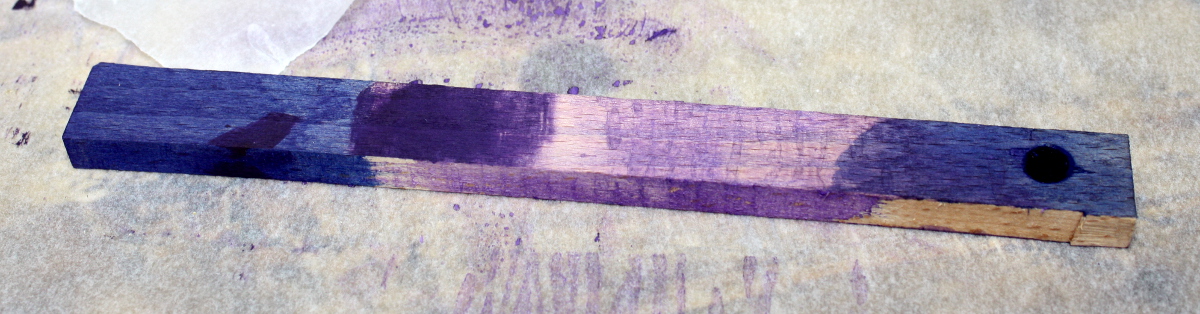
Interesting. The neat stain is definitely too dark, as is the light purple over dark blue; and the lightest purple just looks like the wood’s grubby, but the higher concentration of the stain doesn’t look too bad. Needs to be even more concentrated but I think we have a good possible there. I won’t get back to the locker till next week though, but it gives the joinery and the wood for the door time to rest and move if they’re going to. And gives me time to think about decoration. What happens if you cut very white stringing into a stained wood I wonder…?
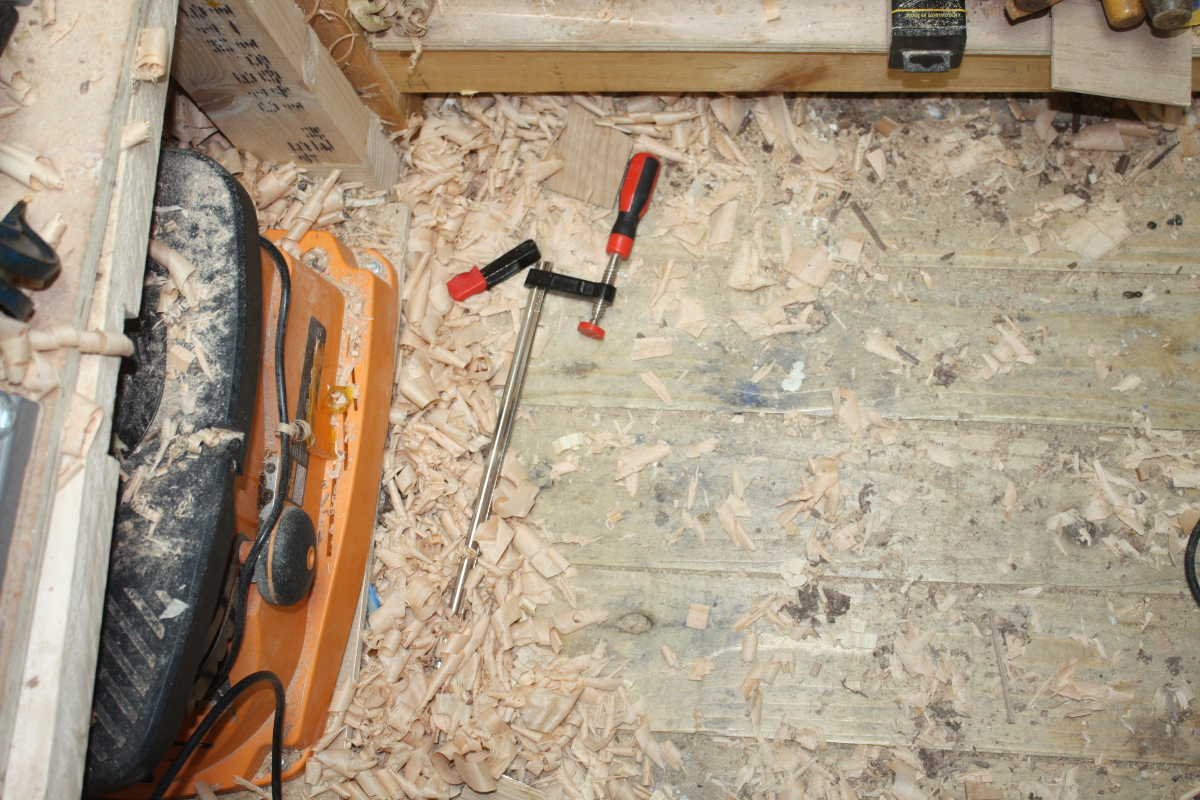

21
May 18

Pottering about

Last project finished, next one not properly started yet (just have the rough cuts done) and another in mind but not off the notepad yet. So now’s the time to work on the shed itself…

That’s the dust collection for the shed (it’s collapsed because the vacuum hose got clogged with shavings and the shop vac managed to pull enough air out of the barrel for atmospheric pressure to crush it). It’s a bit… big. For the shed at least. So a while back, I got a smaller drum.

And it’s been sitting there since I bought it, getting in the way, because I was trying to get other stuff done. So…

Out with the old…

And mark out and measure for the minicyclone seperator in the lid of the new drum, cut out the large hole with, of all things, the lie-nielsen radius cutter I was using for stringing on the last project, and then drill the holes for the attachment screw and fit it. In the end I didn’t use the sealer though, I’m not sure if it’s needed just yet.

It’s a wee bit smaller 😀
May need to re-jig how it’s held upright because unlike the older drum, this one has no side handles to thread with bungees.

Much smaller and neater. I didn’t use the sealer yet – I was mucking about with a safety valve to stop it getting crushed like its predecessor, but discovered that even with the 10mm hole in the lid wide open I was still getting suction on the main hose, and if I blocked that main hose, the 10mm hole wasn’t enough to stop the vacuum trying to collapse the drum. May need to rethink that a bit – it could just be that the smaller size results in far more rigidity and I don’t need it. Or I may need it later due to wear and tear. We’ll see.

Either way, more room!

And more clamps! There were a few 3″ clamps going for a fiver per pair on ebay so I grabbed them. They’re getting some PTFE lubricant here. At some point I really ought to take off the old paint and repaint all of these but I like the old record blue and I’m not sure I want to go into learning how to stove enamel stuff in the same oven we cook dinner in…

(Oh and the calculator is because I can’t multiply by 1.618 in my head)

And this is the next project after the next one; it’s not off the notepad yet but I was looking at how beech and walnut look beside the rippled sycamore that I want to use in it, trying to figure out colour contrasts so things look matched rather than looking garish, but also letting me keep mucking about with stringing.

I do have one shed task left though, and that’s to grind a camber in the new scrub plane blade. It won’t be anywhere near as severe as Sid’s camber, that was something like a 4″ camber, this will be about 7″ or so. I’ll get to that next, and then I’ll get back to the locker.


18
Mar 18

Ah for feck’s sakes…

I only just finished digging that sodding thing out!

*sigh*

And I’ve not been getting much done in there thanks to subzero temperatures and public transport making the work commute into anything up to a six-hour-a-day nightmare (yes, a foot of snow won’t slow down Canada, but Canada spends more on their snow clearing hardware and people than we spend on Varadkar’s Strategic Communications Spin Unit…). Mostly I’ve been putting together new tools for some things I’d like to try, namely stringing and carved arcading. So for the stringing, I already have the dead fancy radius cutter from lie nielson (probably the most bling tool I own), and a small perspex scrap to give it a pivot point when working on some of the usual designs:

But I haven’t got a straight line cutter because I figured I should be able to make one, they’re basically a marking gauge, see the lie nielson one:

Fancy, but basically just a marking gauge. So I ordered a spare blade from the lie nielson cutter to skip the whole metalworking bit because hell, learn one thing at a time. Then I laminated two scraps of white oak, cut and squared a stem from another scrap and chopped a mortice (and a rabbit on the base). Some test fitting, adding the blade in a little recess and…

Mind you, it doesn’t work. The mortice isn’t good enough so the beam isn’t at right angles to the fence, so the blade gets dragged along while skewed so you don’t get a nice thin cut line, you get a wider scratched mess. I think I’ll take out the beam, add a brass strip inlaid on it for a bearing surface and use the brass thumbscrews I have here as a lock. And I’ll remake the fence from a single thickness scrap piece of something; it’s too thick to cut a mortice accurately through (at least for me). Some guide blocks when morticing will probably help too. It’s not hard, but it does take a mite more care than I used on the first try.

Also, I’ll need to cut strips off the veneer to make the stringing, and I was finding my marking knife wasn’t up to it and neither was my heavier stanley boxcutter, both would be fine for a few inches and then wander off the line following the grain. So I got this:

Think pizza cutter. But with a tungsten carbide blade. It’s normally used for cutting cloth for quilting. Doesn’t get dragged off to either side by the grain as much as a normal knife that’s embedded in the grain would because with the wheel, the cutting surface is constantly coming out of the wood so the material hasn’t as solid a grip on the blade (which is precisely why we use these for pizzas and the like). Tested it already and it works like a charm. My veneer on the other hand, is too thin; I need to source better material, which I’ve had some pointers on from the UK forum.

And for cleaning out the stringing lines before gluing in the stringing, a dental pick is a pretty decent tool and dirt cheap on ebay. You get the oddest looks in the office when it’s delivered, mind you…

….but the looks you get when you order the syringes for putting glue in the stringing grooves surpass anything I’ve seen so far 😀

I also had to restock on glue and got a bunch of liquid hide glue in a sale on ebay so that should be all the glue I need for the next year or three (it’ll go off before I get through all of it I’m guessing). So I think I’m set right now for everything but the veneer for stringing; I’ll sort that out while I fix the straight line cutter and then start experimenting.

Meanwhile, Peter Follansbee did a nice blog writing up how he does carved arcading; I’d like to give this a go myself, it looks like fun:

It’s just damn pretty in walnut. And it looks terribly complex when finished, but like a lot of this period’s carving, it’s all geometric and done by leveraging the characteristics of tools rather than being some kind of sculpture that relies on twenty years of experience (which would be harder to try).

I do need to get one or two gouges that are larger than what I currently have so I got a nice three-quarter-inch one for a few euro off ebay again:

And between that and one that was a present from an old friend, had a go at the basic core elements to see if it was even possible (here in an oak scrap rather than walnut):

It’s somewhat easier than the v-tool work that I’ve been practicing (and not getting hugely better at, though having better sharpening kit is making a difference):

Something else to get back to, when I dig the shed out again…. this whole thing of letting the north pole melt and turning off the north atlantic current and ruining the climate is playing absolute hell with my shed time…

It’s not even for the birds!