06
Aug 18

Wires and panel

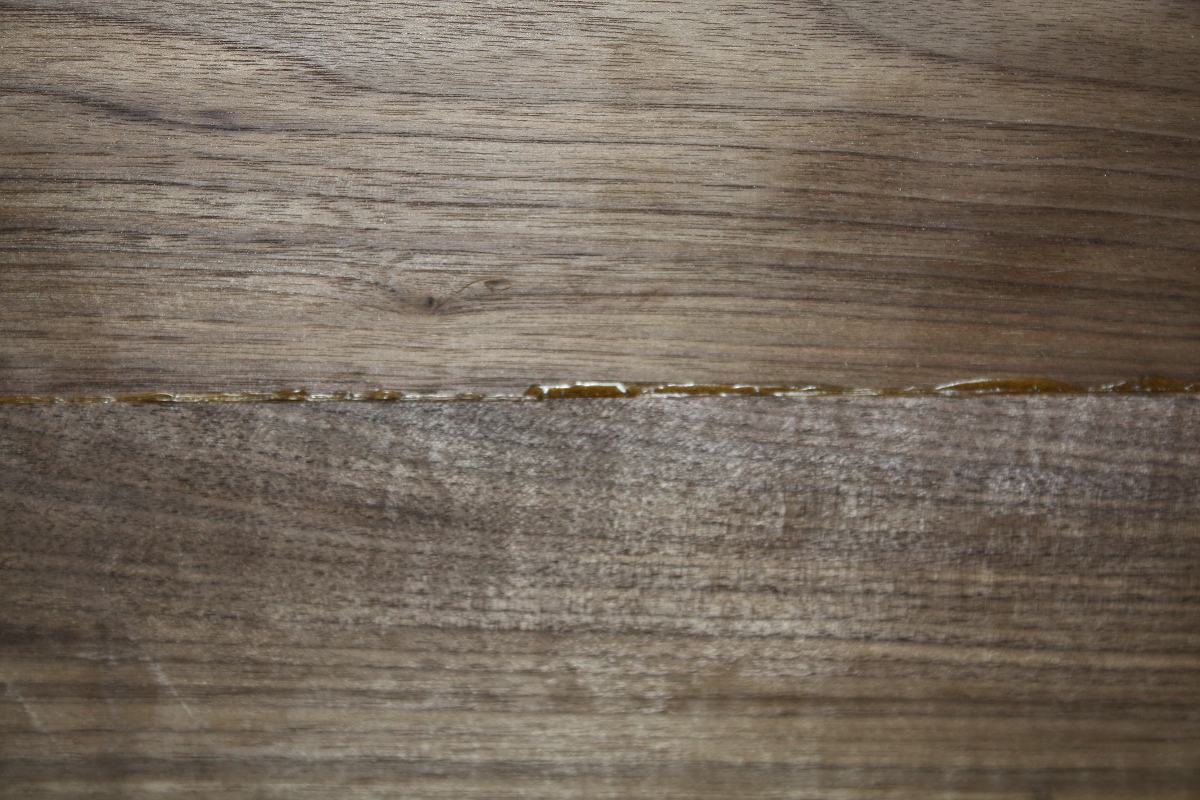
So the walnut panel glueup went as well as I had hoped. The clamps did deform slightly – I need to do that trick of Paul Sellers and stuff them with wood – but the panel came together reasonably well.

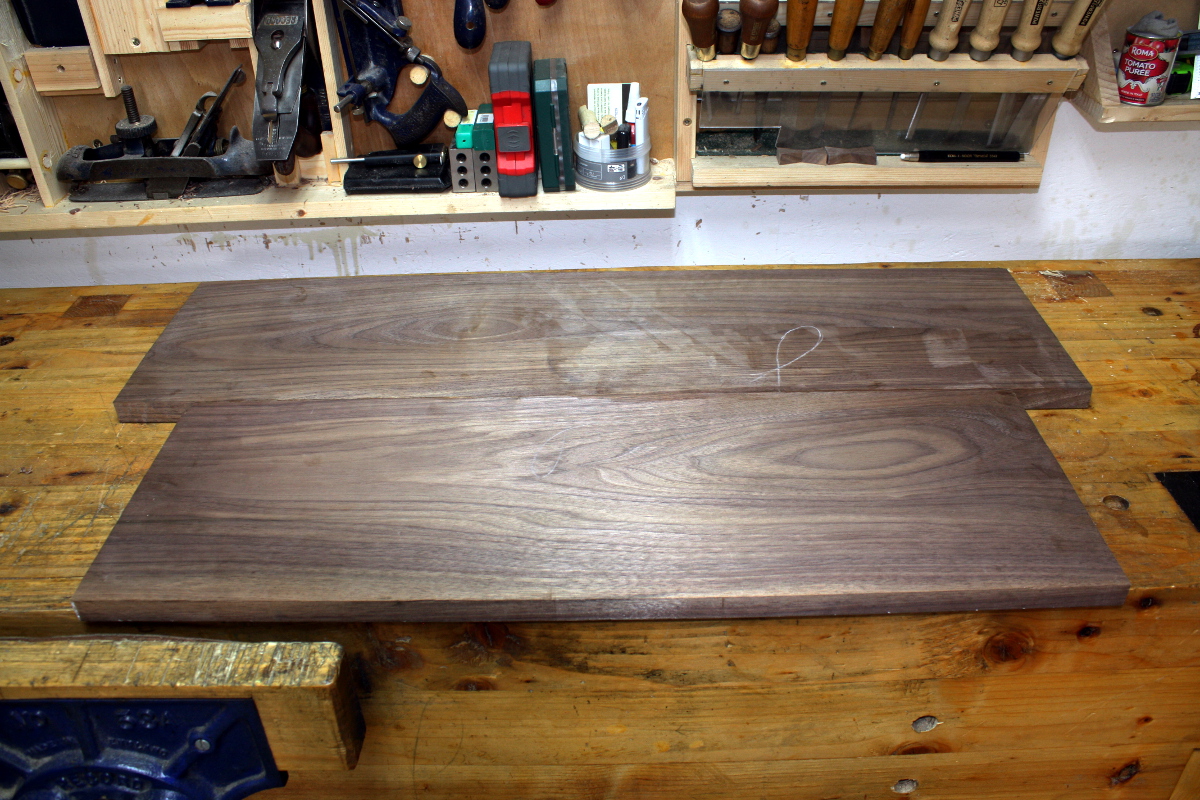
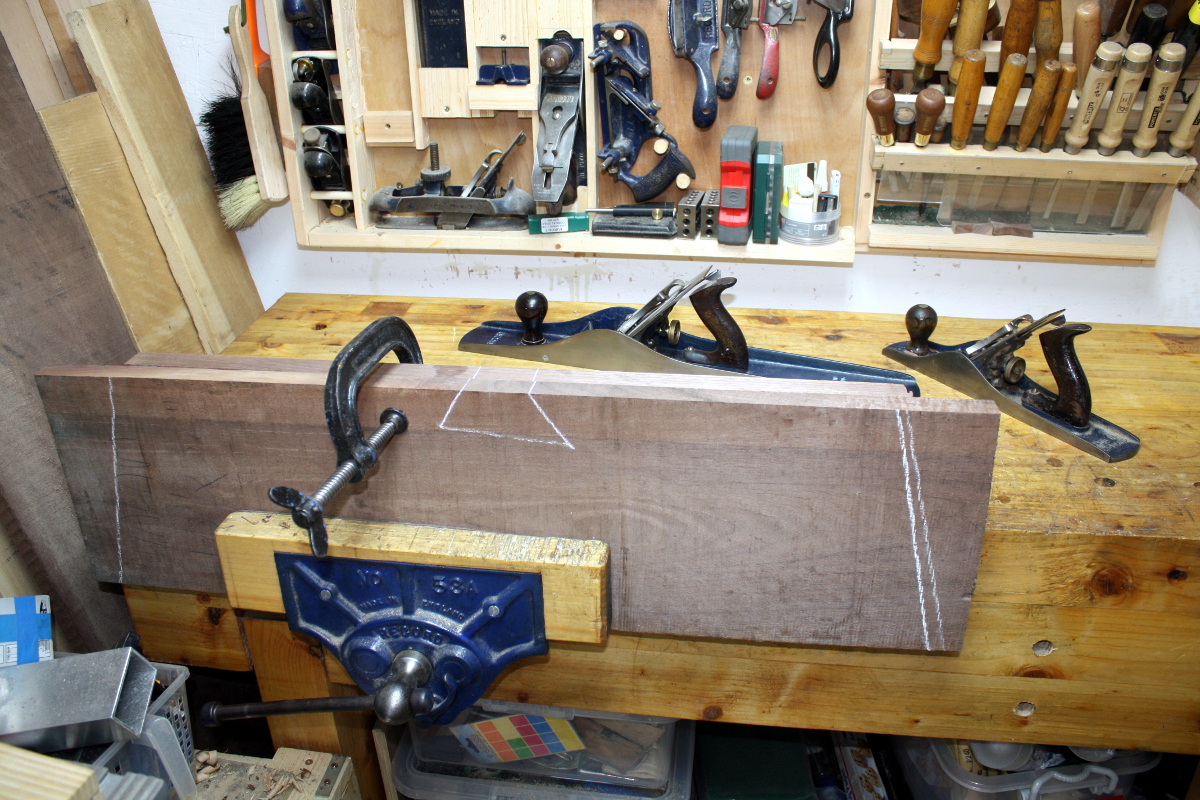
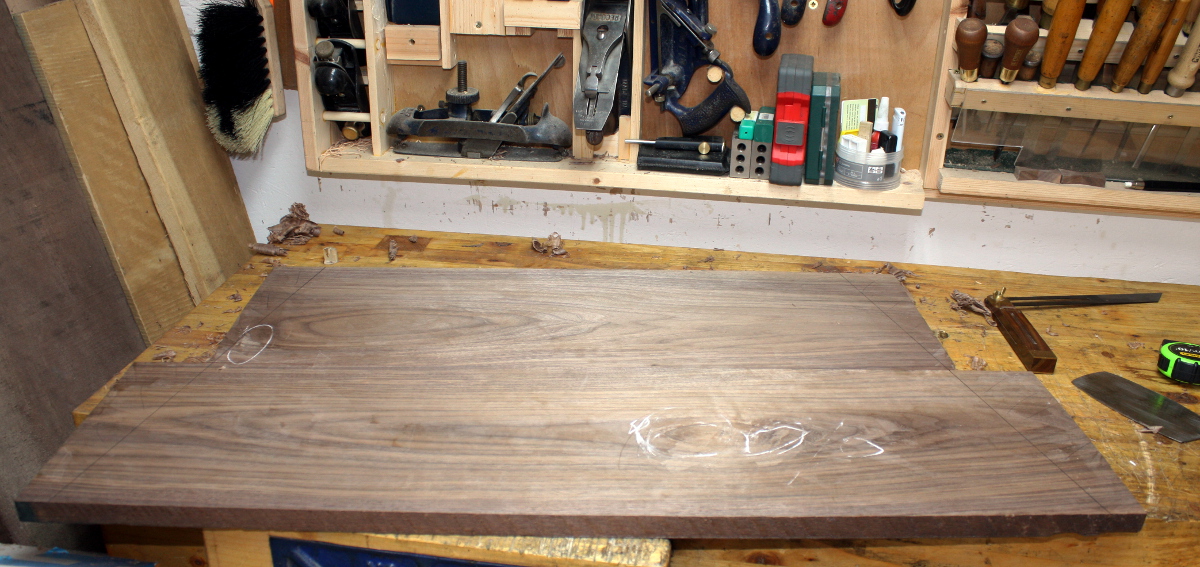
There’s a step in the middle where one of the boards bowed though, of just over a mm, so there was some flattening to do before worrying about the surface much.

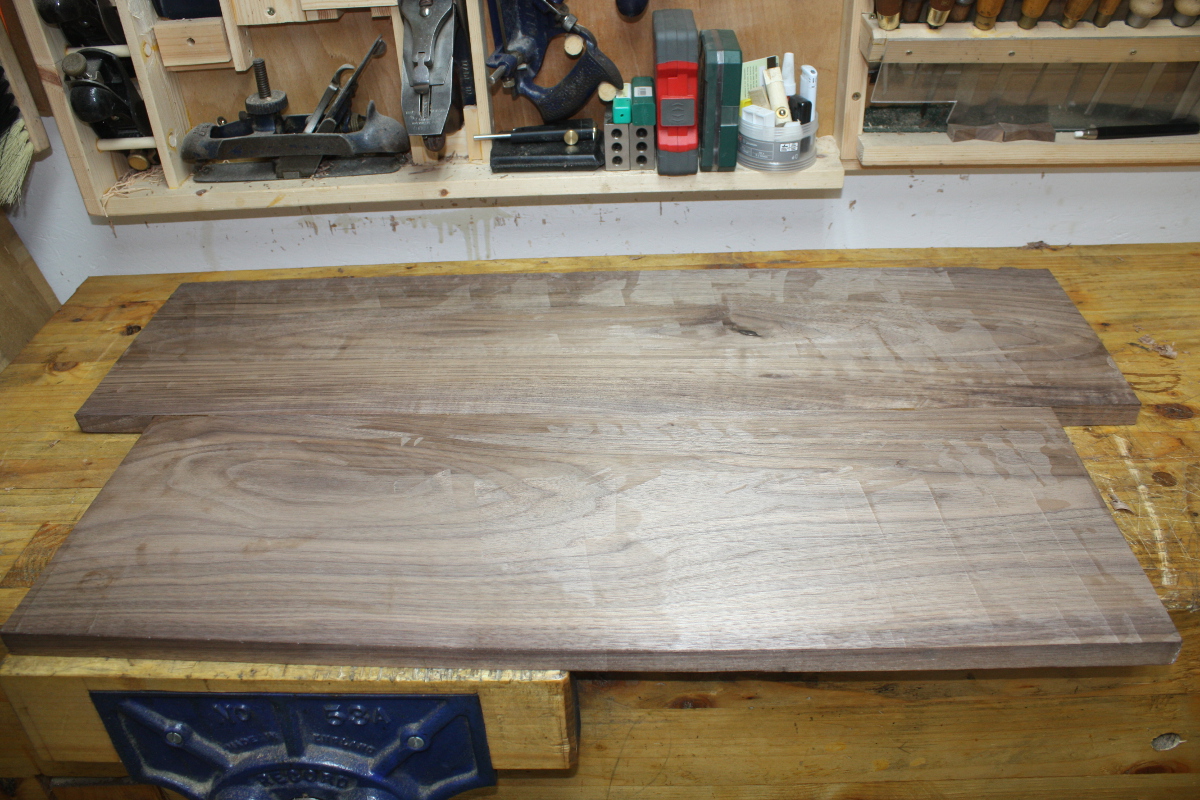
Ugly. Cross-grain planing required, so out with the #05…

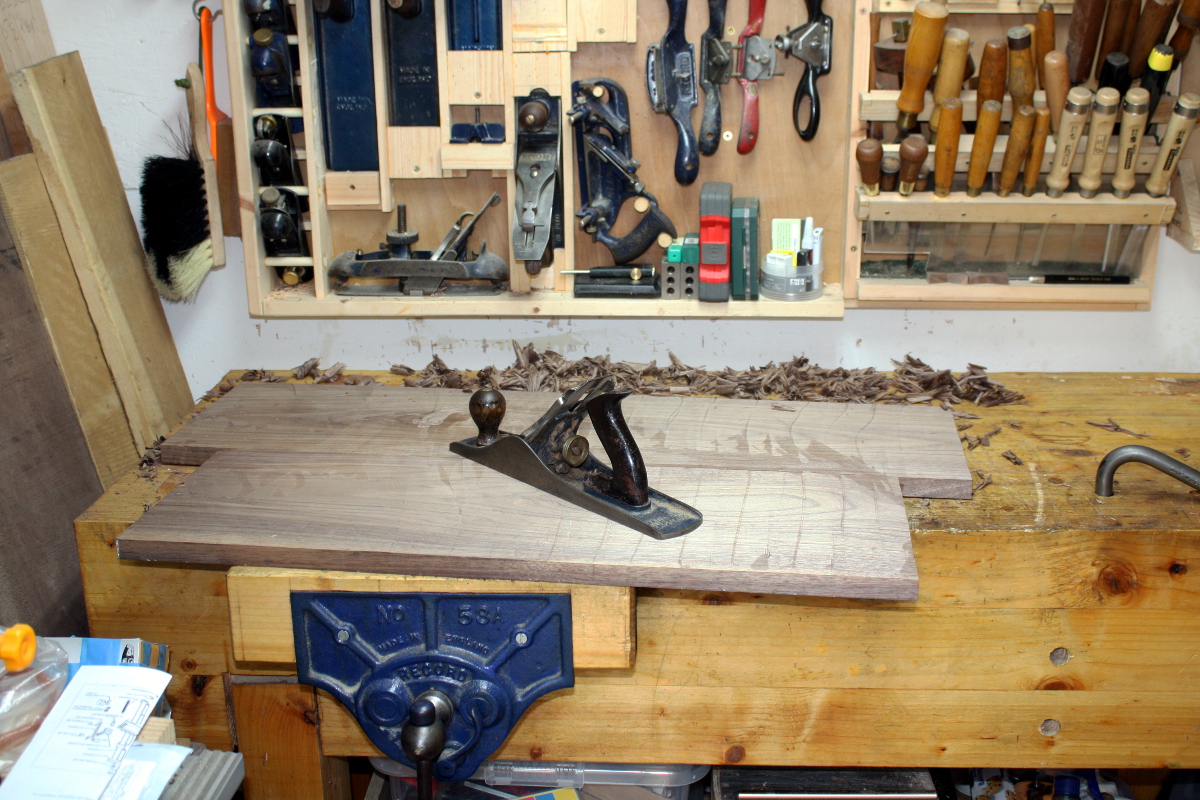
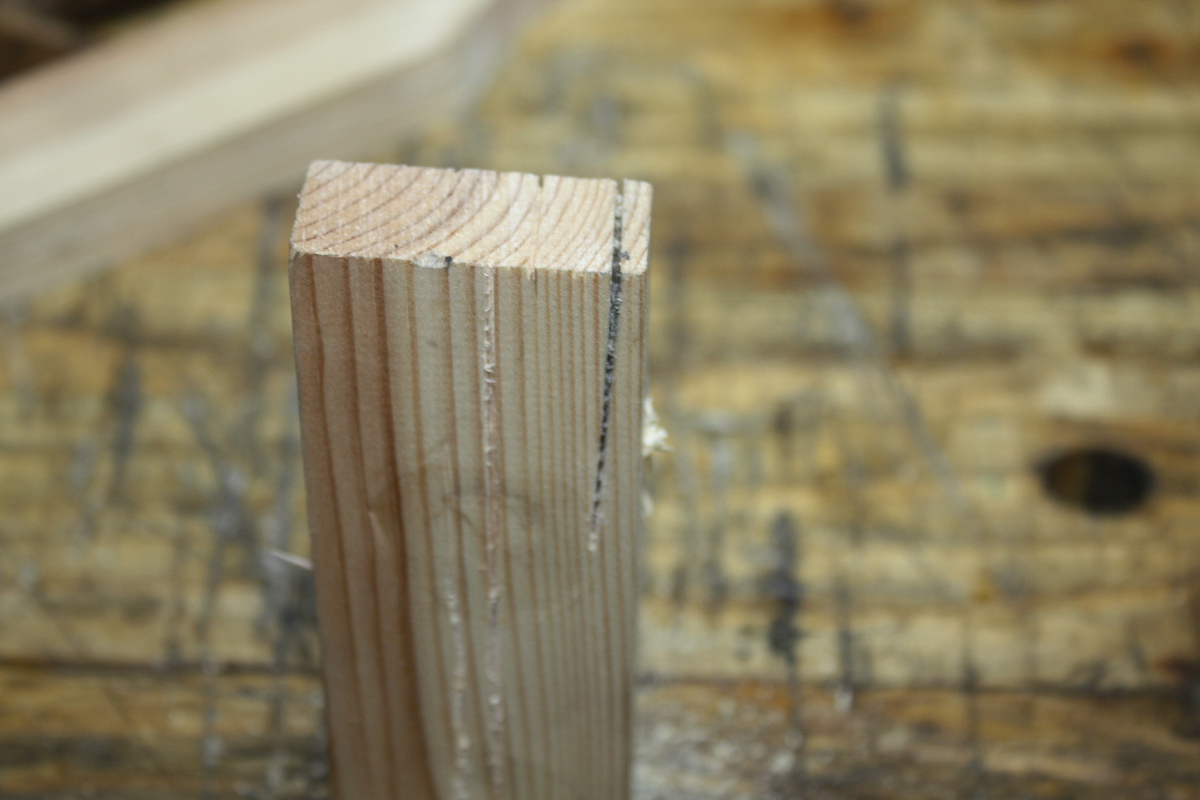
At least it’s easy to see where I’m planing…

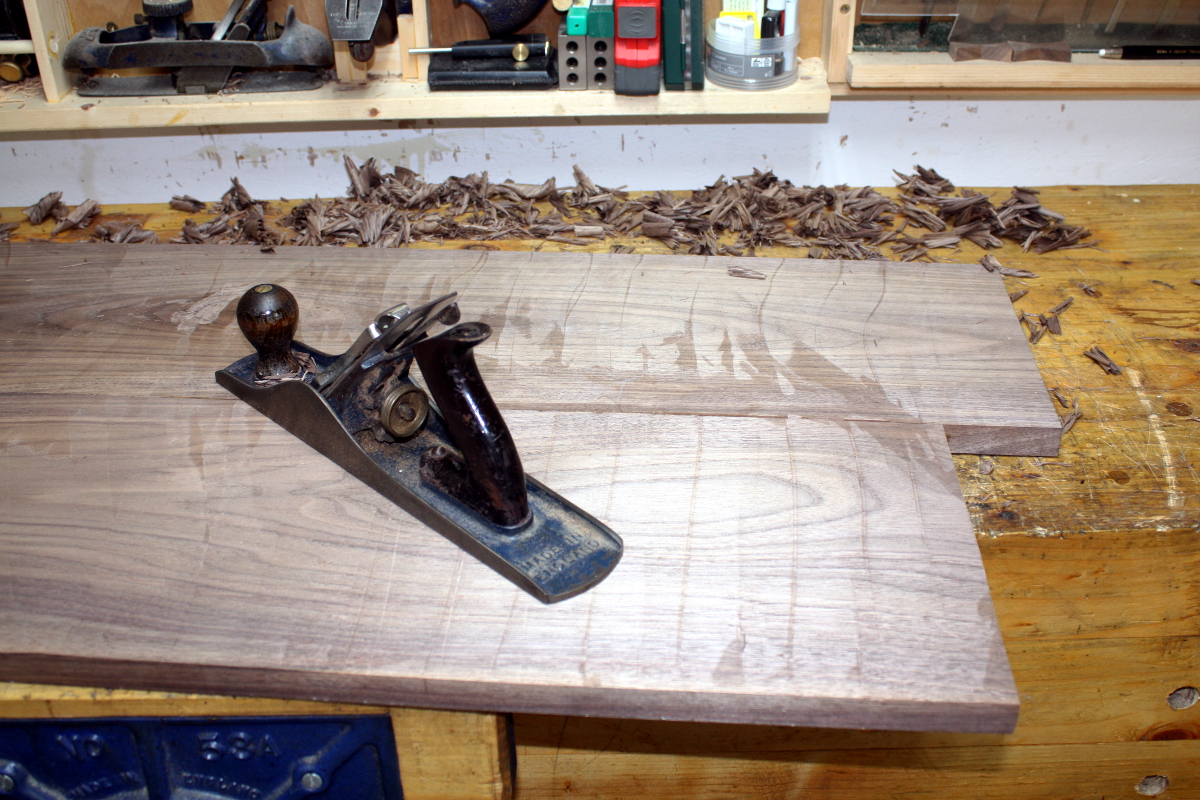
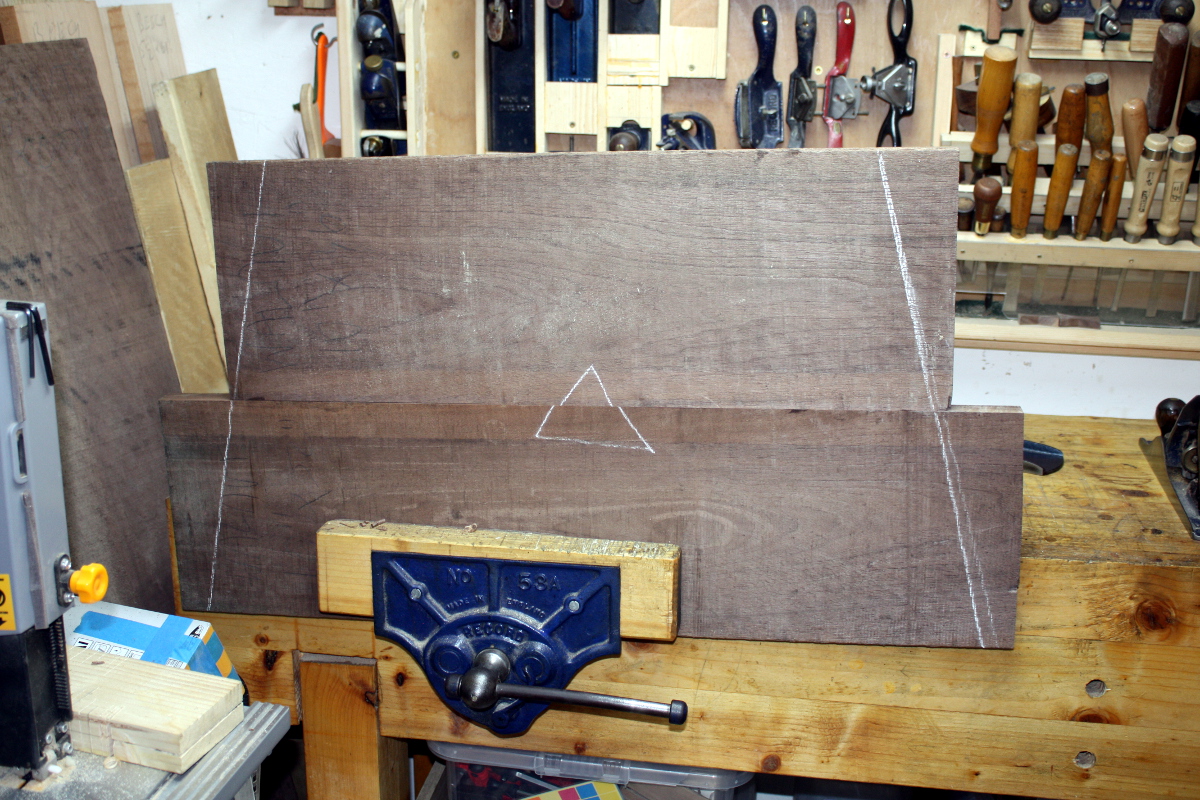
That proto-knot there in the back caused some issues with tearout that I’ll have to fix later. But the board is flat to the touch now and was smooth again after a few minutes with the #04 1/2

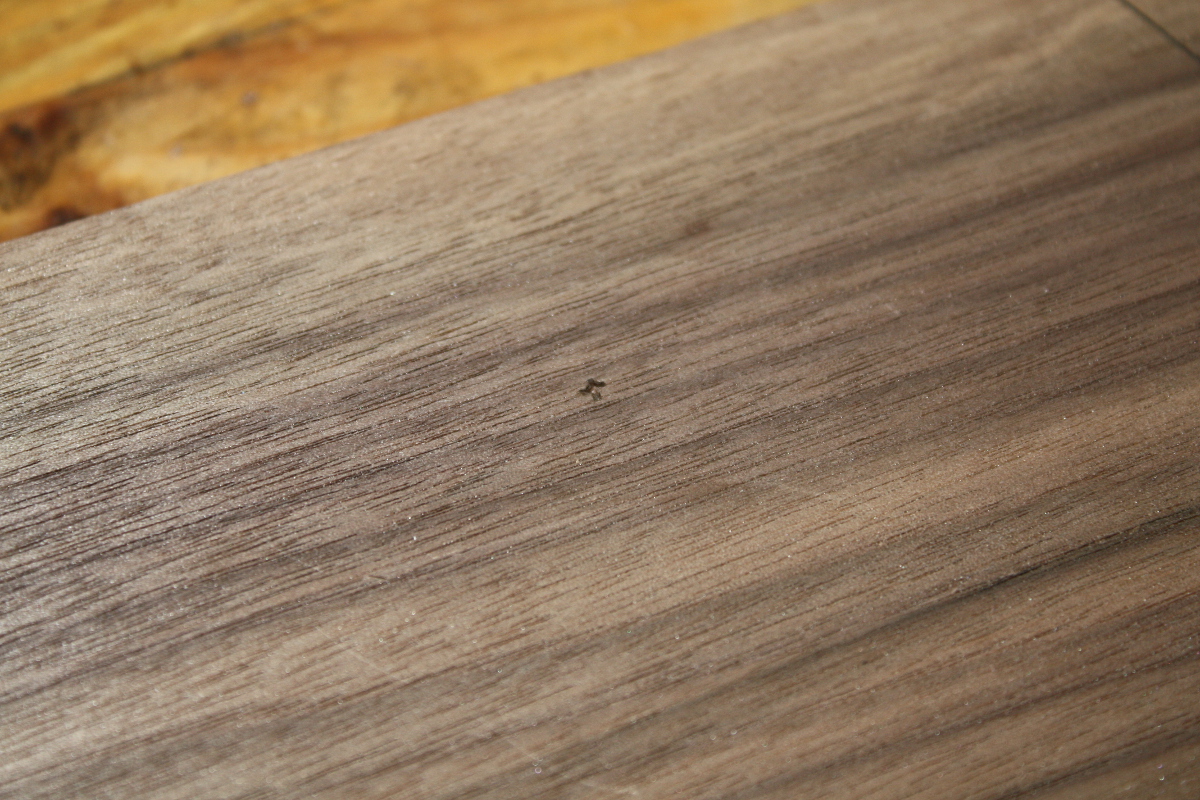
The chalk’s highlighting areas where even the cabinet scraper wasn’t handing the tear-out because actual lumps had been taken out during the cross-grain flattening. There may be epoxy filling required there, or putting in some inlay to hide it or something.

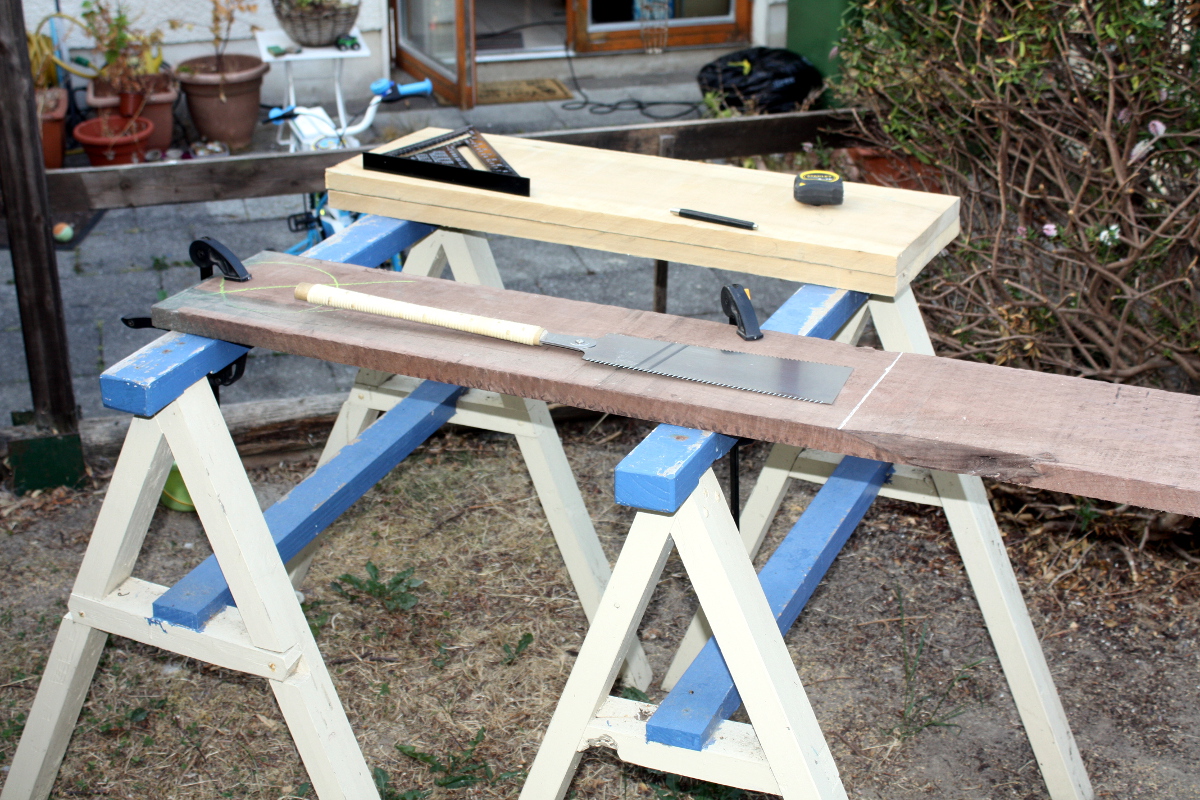
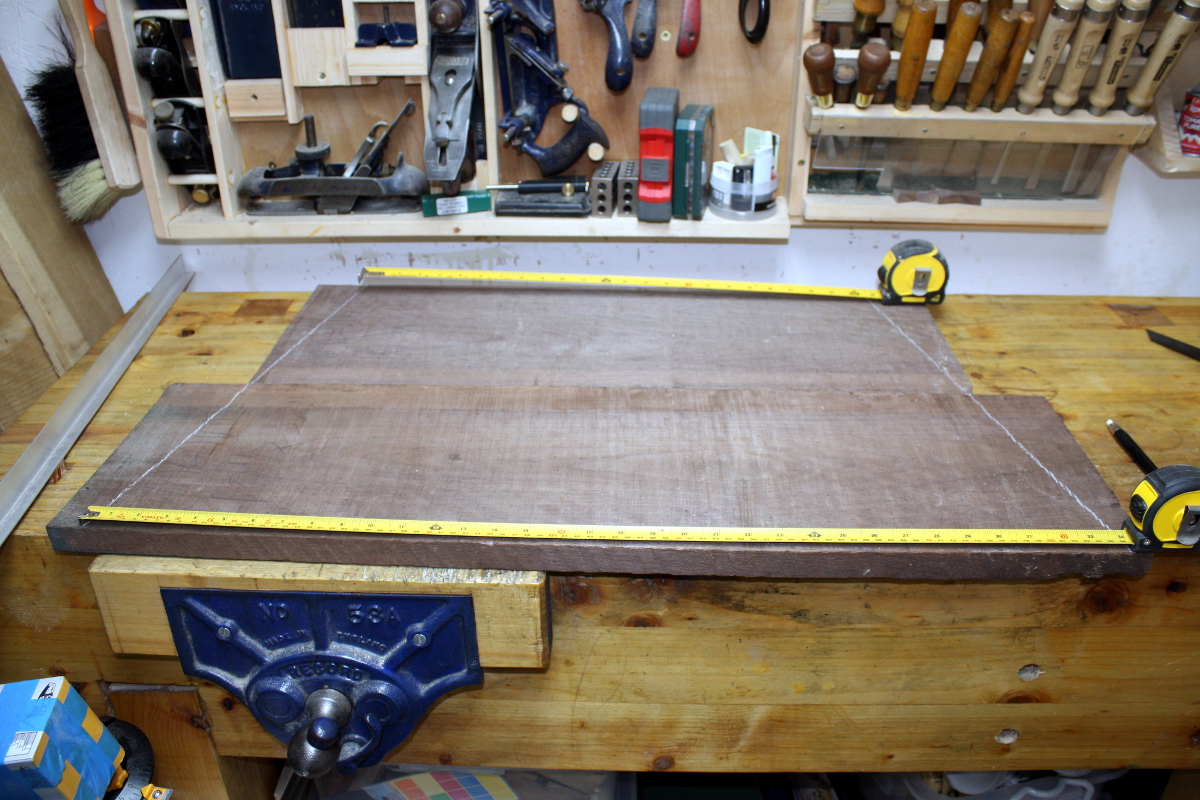
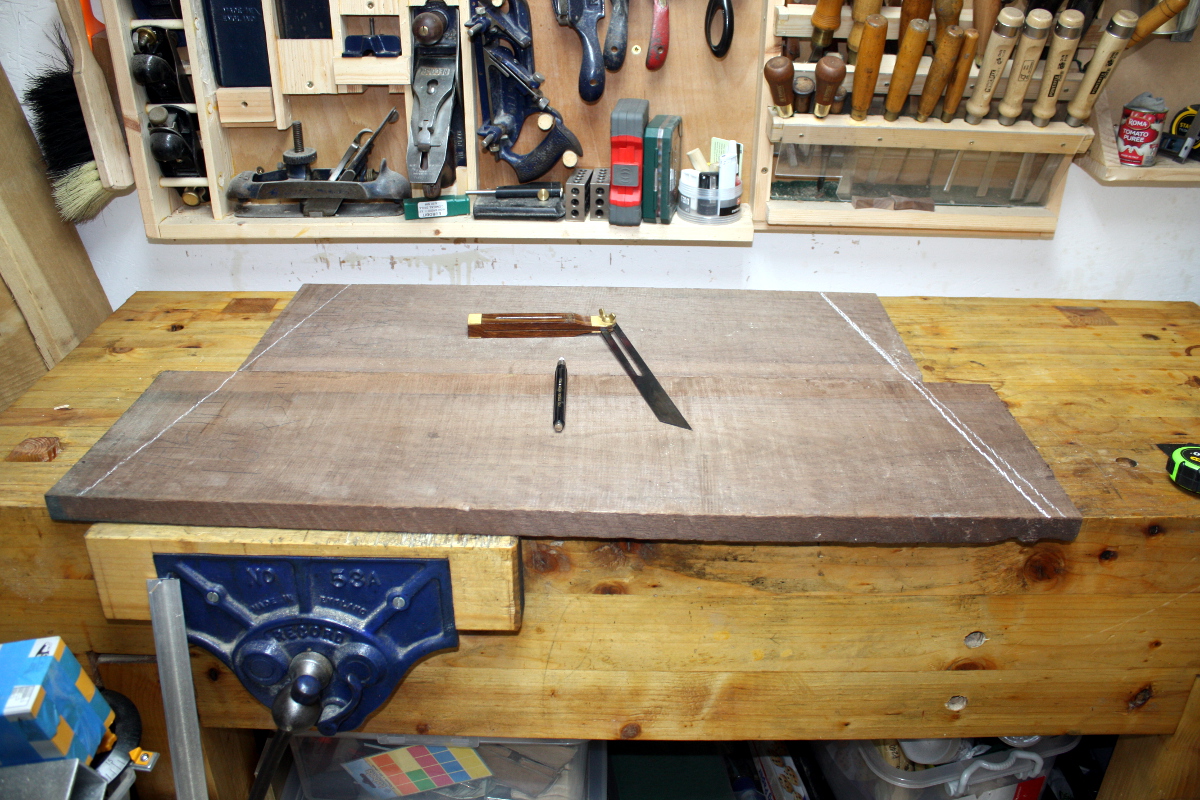
Also, the sides will be slanted, the shape of the desk is trapezoidal, not rectangular because the sides of the shelves splay outwards (and by the same amount as the sides angle back towards the wall by random chance). I haven’t made the cut yet because I have more boards to prep, and while the board is kicking about on the floor of the shed, that extra material is protecting what will become the edge of the desk.

Incidentally, as the desk is only 17″ off the floor and is for a six-year-old and so forth, I’m not too fussed about the underside…

So the scrub plane was used to get rid of that step on this side, and I didn’t really bother taking down the scallops afterwards. I mean, I gave it a few swipes with the #05 so it’s not “textured”, but I won’t be smoothing it with the #04 or scrapers and I might seal that knot but that’s about it for this side.

Mind you, despite this lack of worry, I’m still miffed at a certain phillips screwdriver…

Yeah, that smug looking git right there in the middle. I was putting away the #04 1/2 and the vibration of seating that back home in the till shook it off the magbar and…

Lousy git of a thing. Well, there’s another site that’ll need inlay…


At this point I fixed something small that’s been bugging me for a while. The LED lights I put up in the shed work well, but I hooked them up temporarily while I waited to get the shed properly wired with sockets and such, and I still haven’t gotten to that so all three of them are running into a single cable that plugs into the extension cable that has been running power to the shed as a temporary measure for over two years now…

I mean, for a day or three that’s… well, okay but not great even with cable clips giving the cable some strain relief, but it’s been up for ages because I was busy, so enough already…

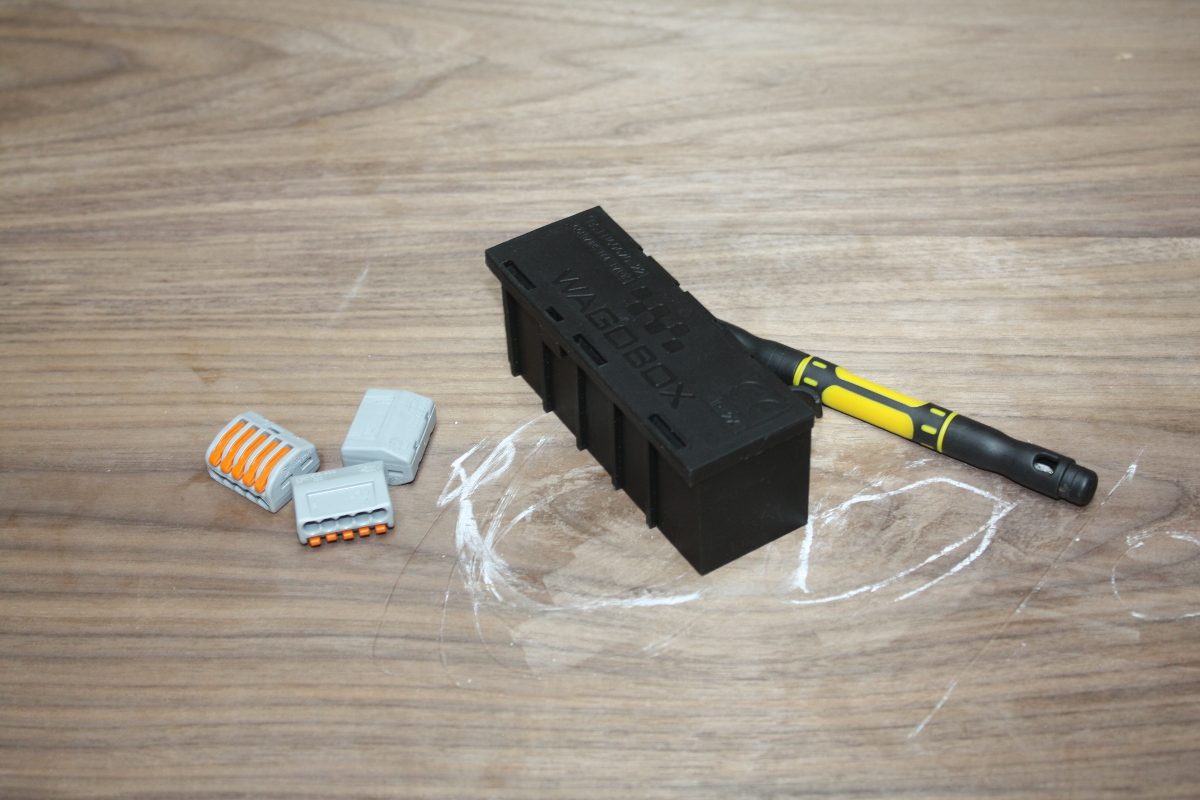
Those are wago terminals and a wagobox to house them. I’d never even heard of these until I saw Big Clive’s video on them

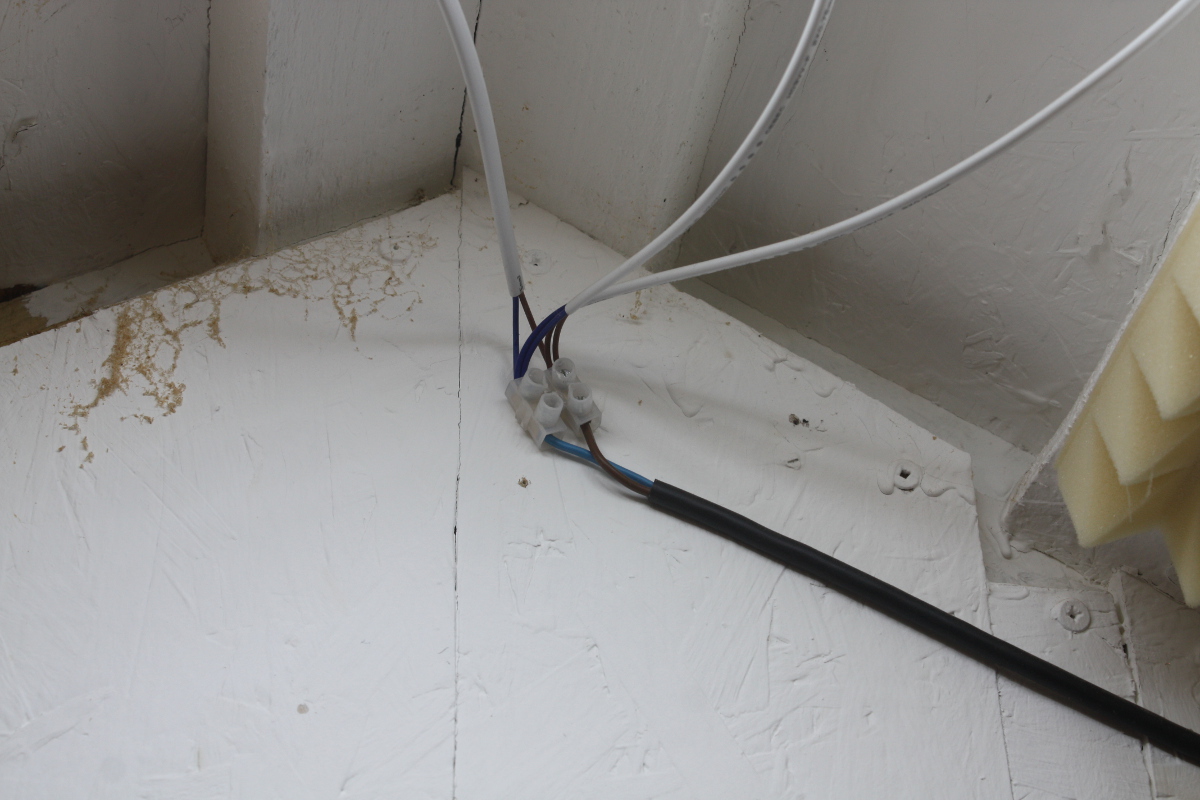
I’m so used to terminal blocks that they seemed like overly expensive gimmicky things to me at first, but after the first time you use them, holy crap they’re great. Those are the reusable version (there’s a permanent version that you can technically reuse but nobody does) because I still want to do this right, but this is so much better than the temporary lash-up I had waiting to fall on my head if I kicked the line by accident and run 240V across my scalp. Which, y’know, is suboptimal. So I undid the terminal block and linked everything up with the wago blocks…

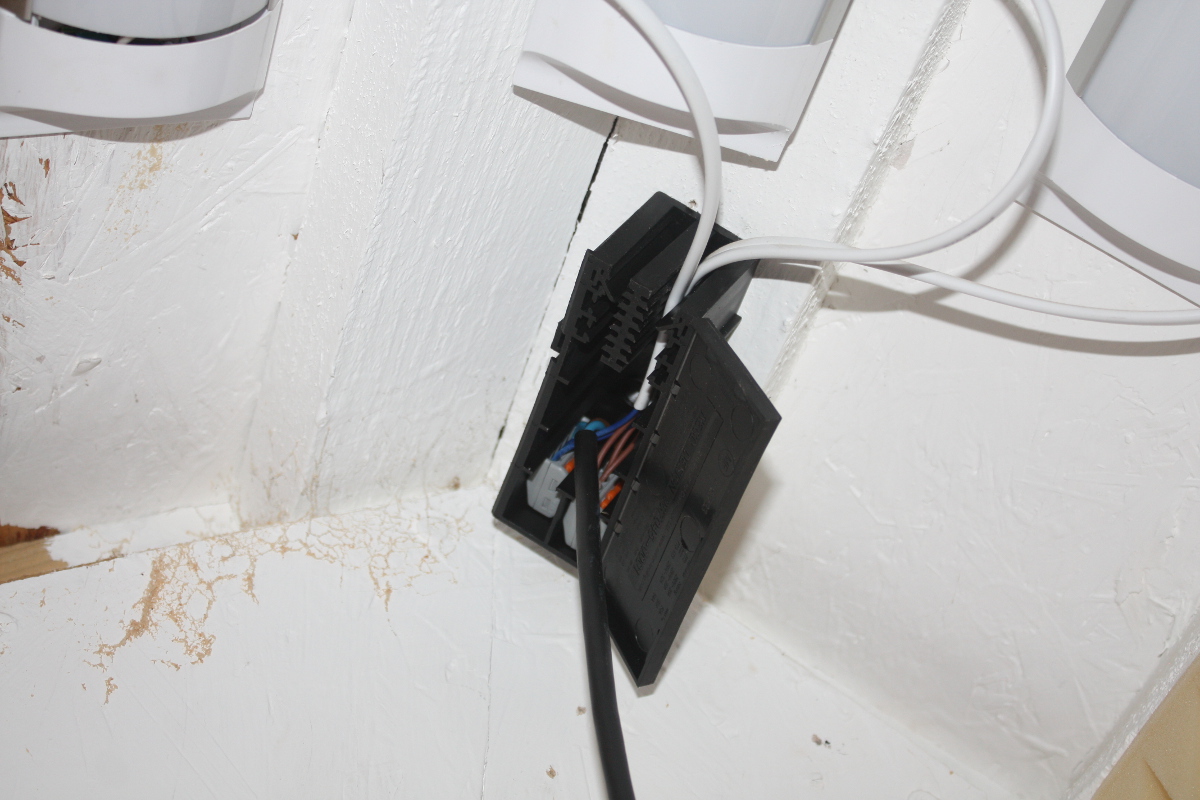
And stuffed those into the wagobox and mounted it…

And reran the cable clips and put the cables into the wagobox’s strain relief glands and sealed it all up.

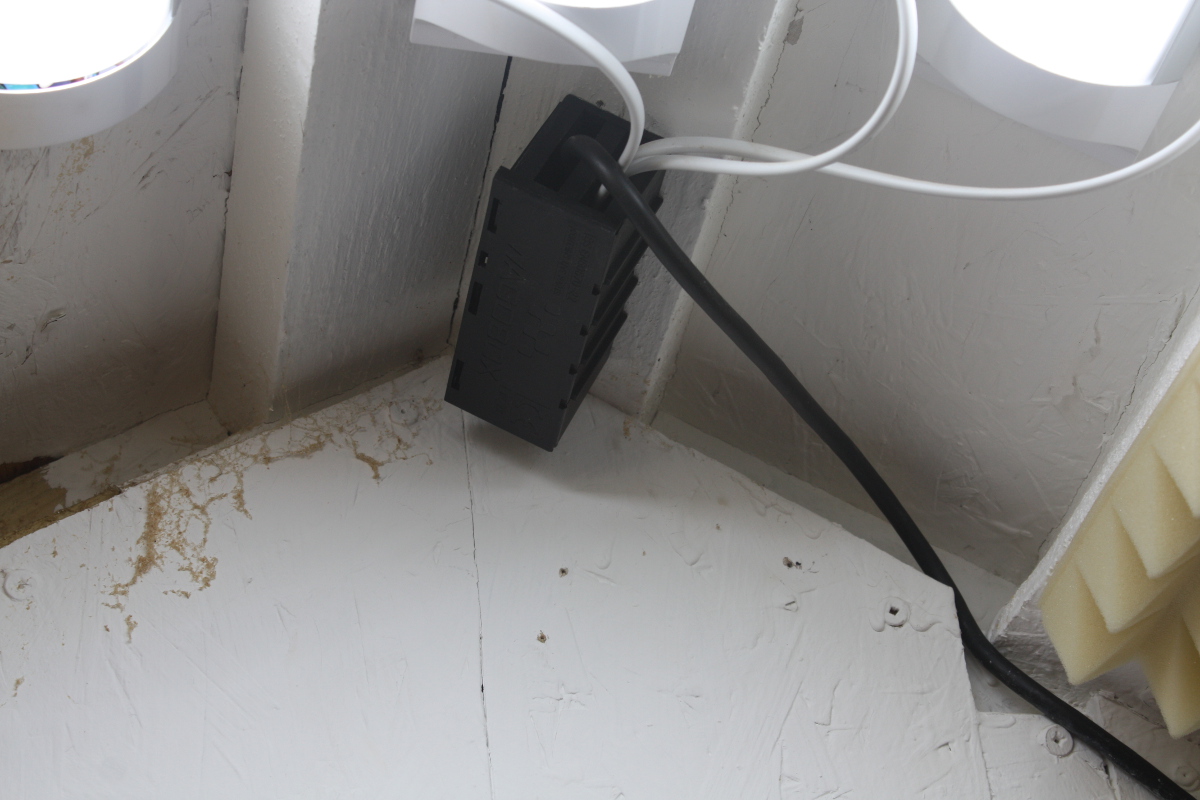
Nice and neat(er) and all working again and no exposed points where you could accidentally grab or poke something and there’s a lot more strain relief on that black mains cable. Much better.

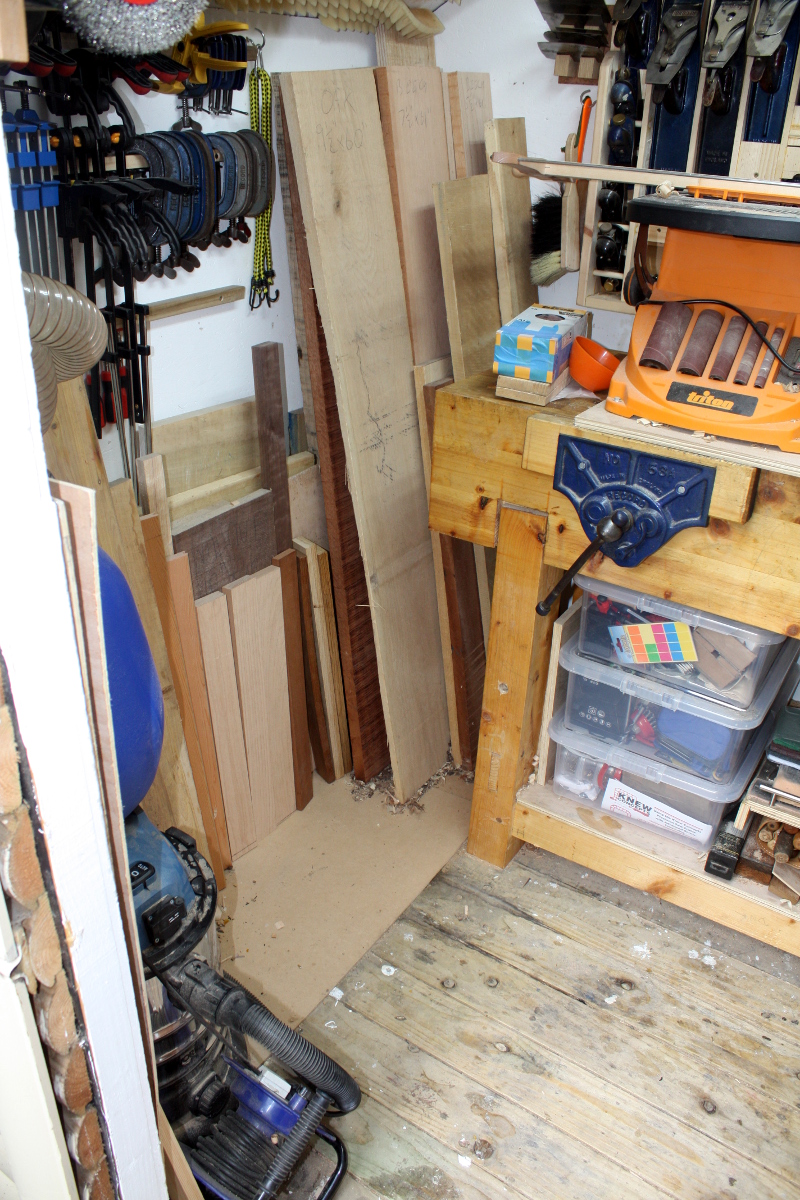
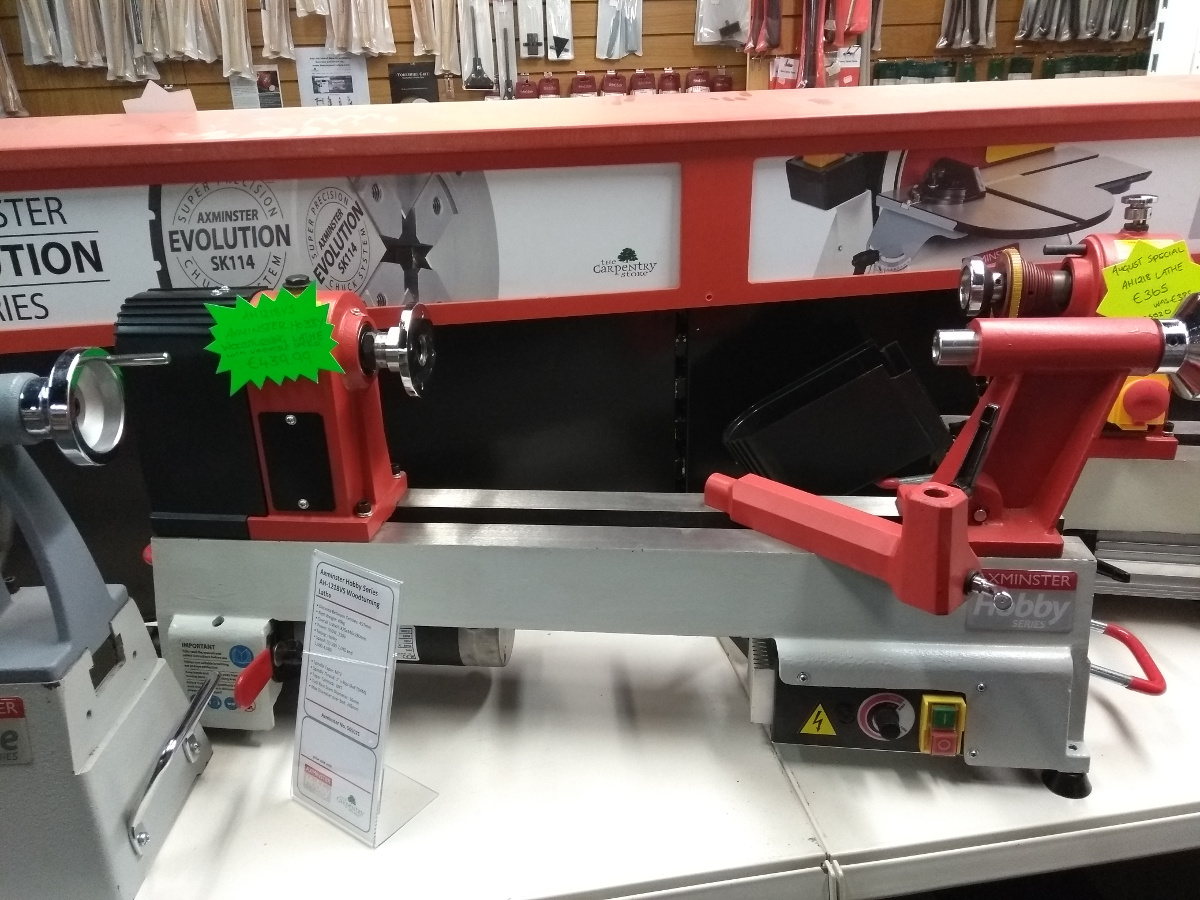
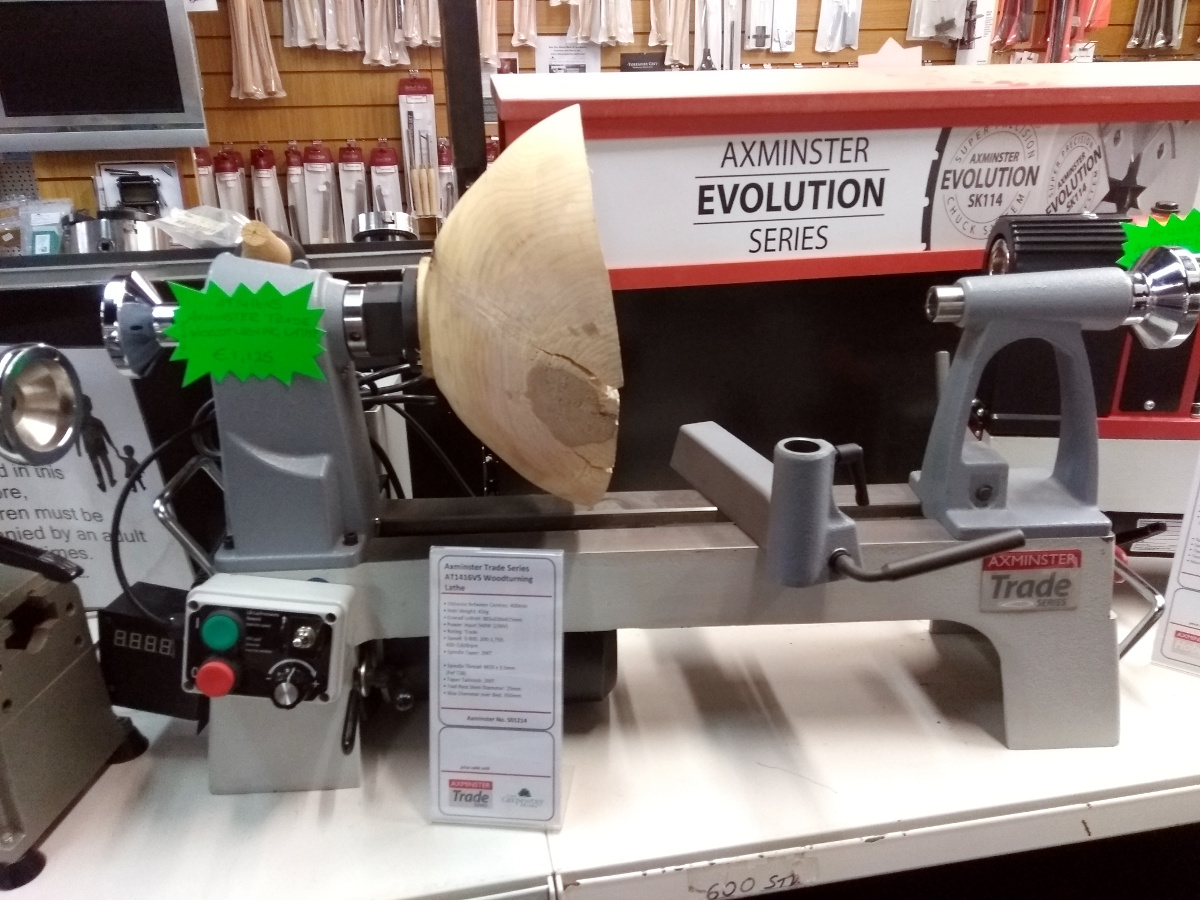
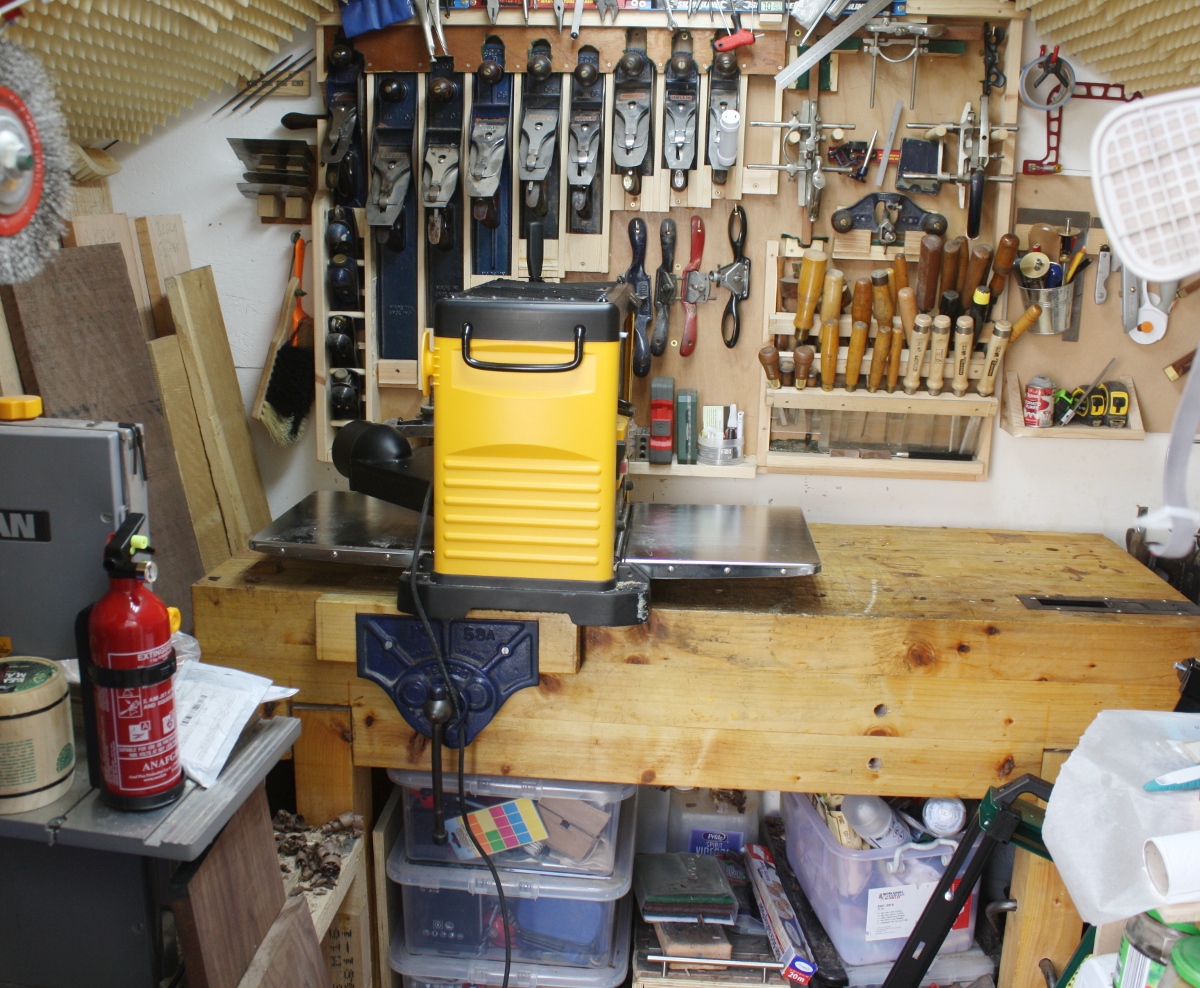
Back to work after the long weekend and a few days’ holidays tomorrow so I’m expecting a long day or two in the office, and then when I get shed time again it’ll be on to the other shelves. Being poplar, they should be both easier working and less pretty than the walnut. Not sure if they have a date with the thicknesser, but if so that’ll be delayed until a Saturday afternoon and I’m not sure how the sides would be done as there’s no way I can run those through the thicknesser inside the shed, there’s just no room; and it’s way too loud to run outside on the decking. They may need to be done by hand with the scrub plane, but at least they’re poplar so it’ll be lighter work.


04
Aug 18

Toys

Not done a tap in the shed in nearly two weeks now. Between work kicking up a notch and a short holiday away, not been near the place.

You might wish you were here, but it’s hard to know where “here” is…


On the way back, I did get to browse around The Carpentry Store for a few minutes, but alas they don’t carry Ashley Iles so I couldn’t try out those dovetail chisels. Mind you, I almost bought a few other things (but I was good…)


One day… when I have a bigger shed… it shall be mine…


And then there was the shiny shiny…


And I now finally understand why people go nuts for Stanley 51s…

This thing is awesome. For the price, it bloody well ought to be, but still. Wow. Solid. Chunky. But just so well balanced, so well put together. Damn nice. Maybe after I win the lotto 😀

And then there were lathes. I mean, even forgetting the fullsize monsters, there were ones that would fit on my bench…

You don’t really grok until you’re facing these just how compact they are. Which is a dangerous place to be when carrying a credit card 😀

But no, I think I’ll hold off on this a little longer because there was something already waiting for me in the mail room in the office. So we returned home, and then this morning junior and I headed into the office via the post office and…

It’s a nice little thing this, just a cheap and reasonably accurate DRO kit. Of course, then I needed something to attach it to, so…

😀

Finally caved in and bought one second-hand from a poster on the UK woodworking forum. A bit of unwrapping later…

And that’s a wee bit larger than even I was expecting.

And holy hell it’s loud. 110dB when cutting wood. I mean, even if you hated your neighbours, you couldn’t do that very often. So this is basically just for when I need to do a lot of hogging off (basically replacing the scrub plane) instead of doing planing per se, and it will live under the bench most of the time (I need to move the sharpening gear, but then I wanted that to be out where I could get to it more readily anyway). I might have to move finishing stuff around a bit though, but hell, that’s life in my workshop. I have to move stuff around if I get a new idea, let alone a new tool. And it works quite well, though I need to get an adapter for the extractor and I’ll have to modify the extractor hood so it’s more readily removable/refittable because it’ll be taken on and off more often than DeWalt though to plan for. There is a mod to do that, I will probably be doing that:

I need to find a way to protect that DRO as well, instead of knocking it off when putting the planer away.

I did think about having a stand to put it (or the mitre saw) on and Lidl were doing a cheap special (which to be honest, looked exactly the same as every other cheap mitre saw stand for half the price) so:

However, given how loud that planer is, I think this is a non-runner. The soundmeter puts it at 110dB inside the shed, and 79dB on the deck outside the shed with the door closed and that’s just too damn loud. I think I can reduce it slightly with more sound baffling on the one surface left that isn’t already covered in baffling or lining:

But I think this is going to be one of those things that only happens for short times at civilised hours like weekend afternoons.

And lastly, the last time I was grinding metal out there for a scratch stock, I noticed a lot of sparks heading towards a lot of flammable things that I was standing in the middle of and at that point I became very cognisant of the distance to the nearest fire extinguisher, so….

Better safe than on fire I say…


08
Jul 18

Those five minute jobs…

You know the five minute jobs I mean, the ones that take three hours and nearly set things on fire, like your hair, a pile of sawdust, solvent-based finishes, that sort of thing. Today was their day!

Started off with a quick job I’d been meaning to do for a while.

That panel saw is junk. Uncomfortable handle, not sharp, can’t be resharpened thanks to induction-hardened teeth…

Basically, a waste of shed space. Blade was kinked as well. One of Spear&Jackson’s lesser models, that. So, out with the angle grinder, hack through the rivets (because who uses screws when attaching plates to handles, that’s so passe and repairable…) and after a few minutes of standing in an actual light show and setting fire to the handle twice and almost catching my hair, a pile of sawdust and the box of finishes beside it….

You can’t really see it there, but there’s a fair amount of smoke and crap in the air there. And I’ve had to beat the everloving crap out of the pins holding the handle in place with a punch pin and a lump hammer. I am so not a fan of this saw.

So why not just dump it? Because it’s now raw material…

Out with the angle grinder, cut along some of those lines, nearly set fire to a few more things, and …

That’s a new card scraper and a chunk of stock for scratch stocks, which up to now I didn’t really have (there’s a blank or two in the lee valley scratch stock kit but that’s it and I’d rather be able to make some up as I need them).

The card scraper is the reason for doing this today. Chris Schwarz was talking about a different shape for a card scraper that he came across and it actually didn’t sound too weird so I thought I’d try it. Here’s the shape, nicked from Chris Williams:
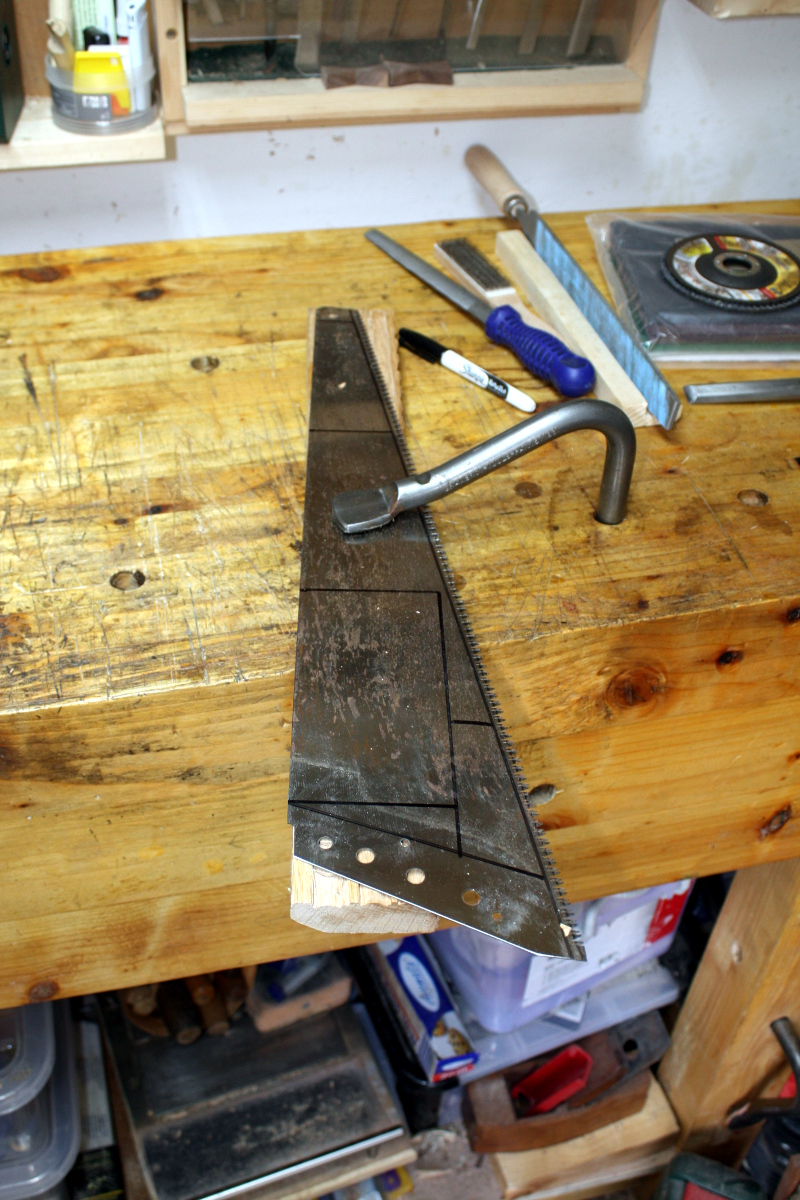
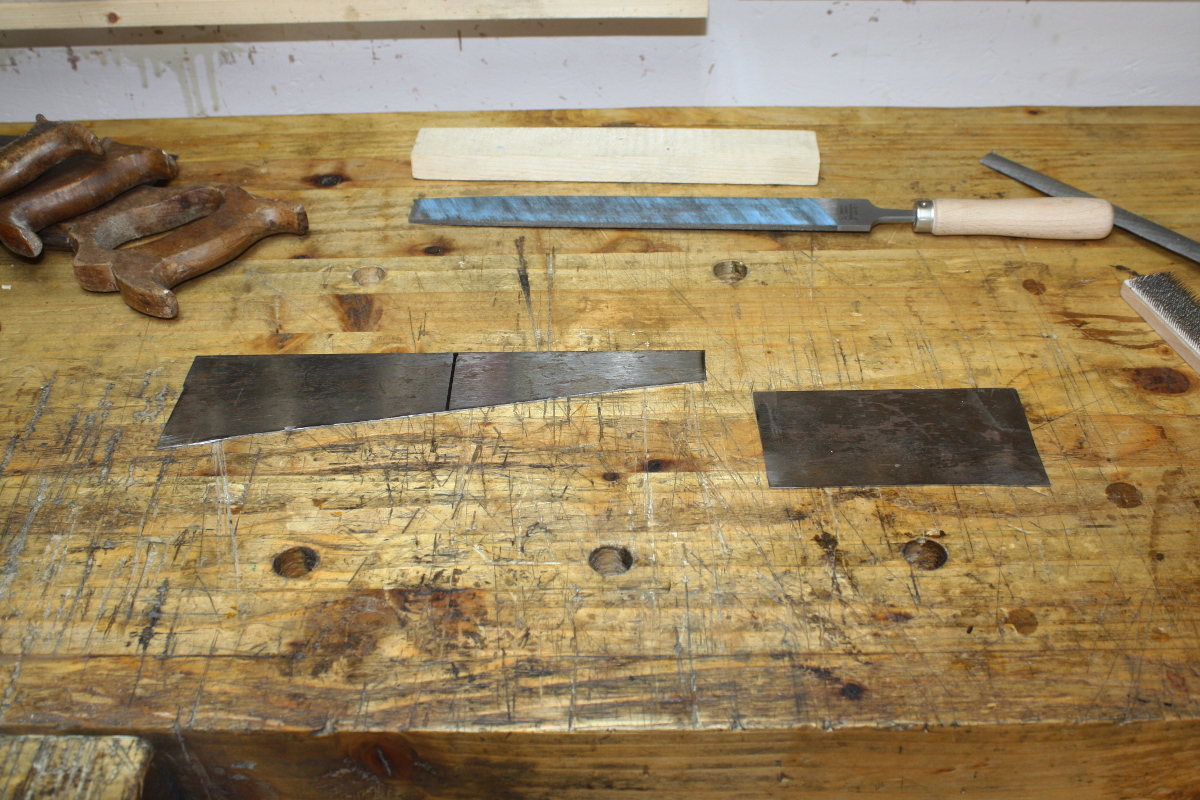
Rather than print it out and trace it onto the stock though, I figured I’d just be a smartarse and draw it from the likely origin.

Now Chris (Schwartz) suggests you just grind away the excess metal, but we don’t all have 2×72 grinders and the like, so we make do…

Think of it as very fast artisanal filing.

Also you want a backing bit of scrap unless you’re better at this stuff than me, or have actual metalworking tools, or skills or whatever.

Because, you know, you don’t want to do that to your bench – whatever about the gouging, the spray of metal bits will ruin your next attempt at finishing…

Some deburring, some filing square, some time on the diamond plates and the strop and then the arno burnisher (which is kindof a cheat code to turning a hook on these things – I cannot get that to work with the usual screwdriver shaft/hardened steel anything/other metal burnishers, but the tungsten carbide on the arno does it every time). And then a quick test.

Control group’s fine as always…

New one acts like a plane with a nice camber – a lot more steerable, the steel in the saw blade was pretty good, and it might actually be a better scraper for scraping small areas in a targeted sort of way.

Then on to the next quick five minute job. The last one only took two hours…

Yeah, I’ve been meaning to try to sharpen these for a while now. I’m not entirely sure why exactly, I mean I get on really well with the japanese saws and the bow saw is fine too, but I got these as part of a job lot on ebay a while back and they’re good examples so I figure I should at least try, y’know? I gave sharpening one of the hand saws a try earlier but you kindof need your saw file to not snap half-way through the process in order to sharpen properly. This time that didn’t happen (sharpening is still a monumental pain in the spine without a higher vice mind you – those saw vices are definitely worth a look if you do this often). Wasn’t hugely impressed with the end results. The tooth geometry still seems off and I think there’s a lot more work to do on those teeth.

The cut is nothing to write home about either.

So, only an hour or so into that five-minute job. On to the next one…

Actually, moving the bandsaw and sander off the “cart” and screwing on the castors only took six or seven minutes. The problem was, with that out of the way…

Well, now I have to tidy up, don’t I? Feck…

Well, granted that took longer than I thought it’d take but okay, I did find a walnut board I’d lost that I wanted to use for the desk shelves project so that was good.

And then I put the bandsaw and sander back, and finally started work on the desk shelves project…

Woodwork al fresco. Just cutting the walnut section for the front of the desk here. Quick rough-cut only, hence the speedsquare and chalk line. You can’t see the tie-dyed trousers in the shot, but it’s 28C in the garden and 36C in the shed after the day of working hard and setting things on fire, so if you think I’m wearing jeans when I don’t have to, well, consider yourself lucky I’m wearing trousers at all.

Right, that will be the desk. It’s a bit smaller than I was thinking originally – 24″ across the back rather than 30″ and 32″ rather than 36″ at the front. That 36″ wouldn’t be seen though because there’s going to be a curve there. But it’s a desk for a six-to-nine-year-old, so it’s big enough I think. Also, this way I don’t have to cut into the good 60″ walnut board and can save that for something else 😀 The angle from front to back, by the way, is the same angle as the sides will be raked at with respect to the ground.

Same angle from the bevel for the desk as for the base and top of the sides.

Then I thought that those boards are relatively flat, fairly well matched in thickness, and maybe I could get away with edge jointing them without further prep…

I mean, that should work, right?

Between the #05 and #08, I got the joint to a reasonable fit, and thought it looked okay…

So I went for the glue-up and nope, not a hope, went from fitting to spinning on the midpoint like a top. Tried for a few minutes to get the boards to align, but nope, there was going to be a gap at one side or the other, so I broke it down before it seized up and wiped off the bulk of the glue.

I’ll try again tomorrow. And maybe skim those boards faces first just to be clean about it.


Meanwhile, in the middle of planing the joint, my 4″ square jumped off its perch…

…and did a header into the darkest corner of the shed in an obvious attempt to have nothing further to do with this project.

Can’t say I blame it, but nobody gets out that easily. Extendable lidl magnet light thingy to the rescue…

Seriously, that thing is bloody useful sometimes….


So, tomorrow, a swipe or two to clean the glue off the edges, skim the faces a bit with the #05 to clean them up, and retry that edge joint.