13
Nov 16

Cleaning up and first pieces

So first thing this weekend was to clean up the shed. So obviously that meant building the cyclone dust collector 😀 I had tried this earlier:

img_9629a

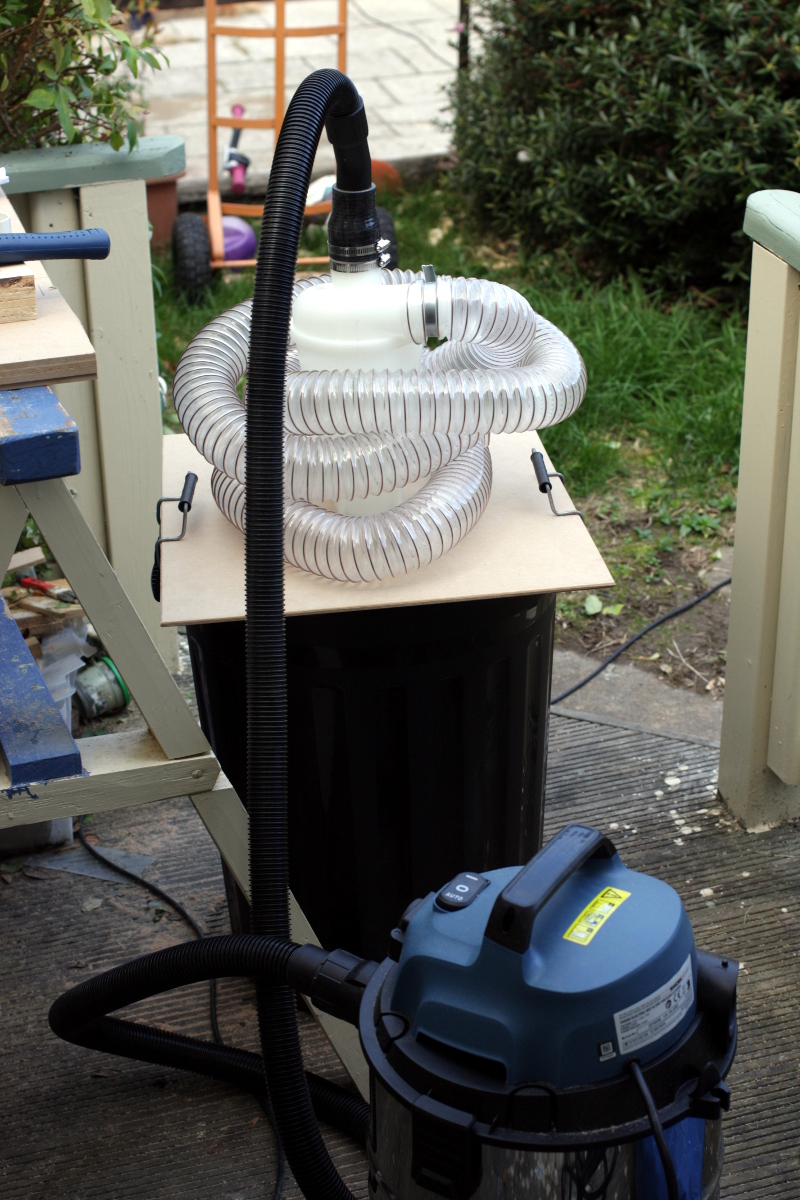
And obviously it didn’t work well because it leaked vacuum all over the place. Maybe with some sealant around the lip of the bin it would have worked, but meh, it was a trial run anyway, the plan was always to get a barrel instead. That proved a little awkward, nowhere around here sells them, so ebay it was and the thing got shipped from Germany of all places. Cut the hole in the top, fitted the cyclone to that, cut down the hose a bit because it proved to be too long to maintain vacuum, and then fired it up and it worked! So I started hoovering up the shavings….

….and the hose clogged. And then the vacuum kept building and, well…
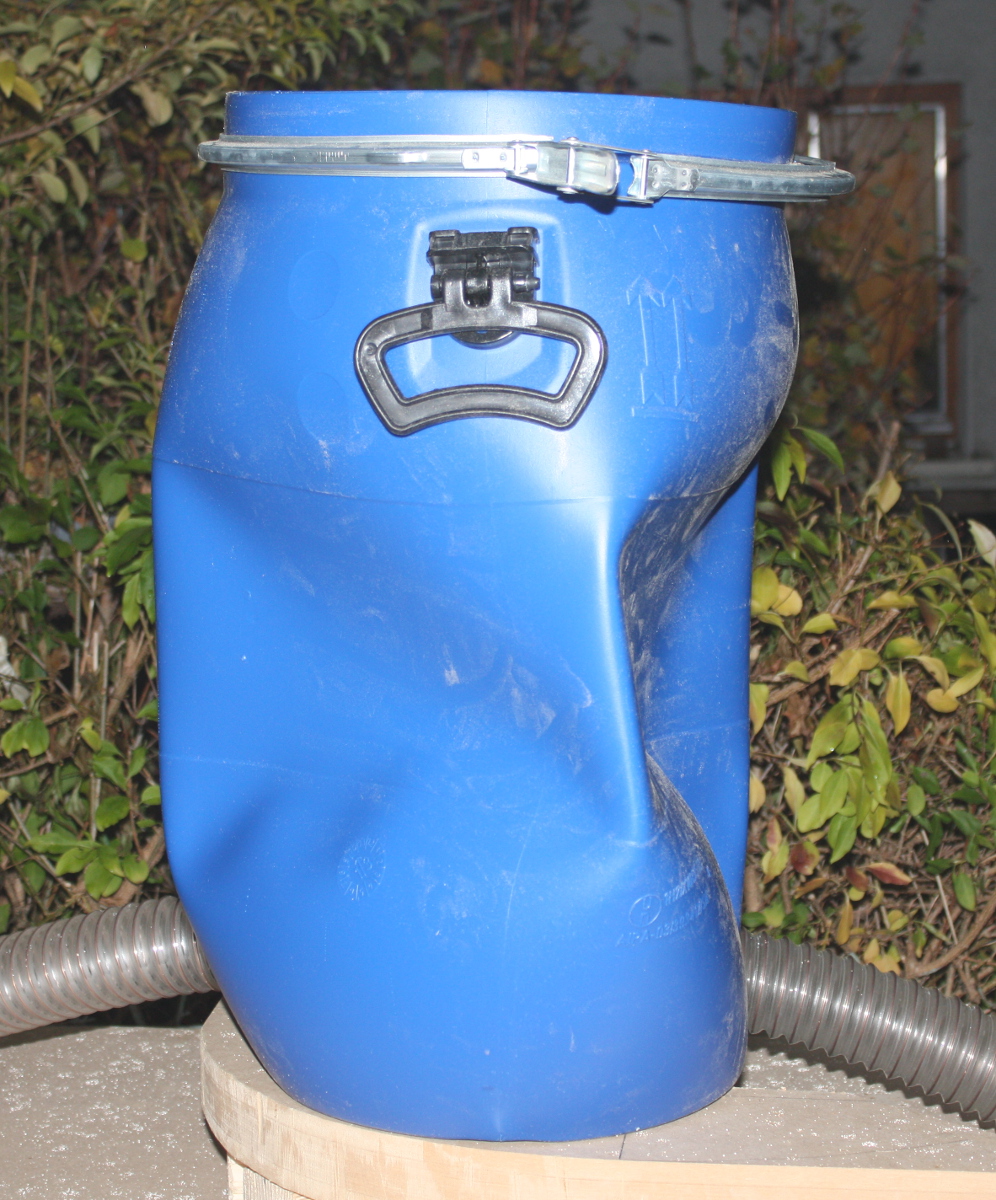
img_9854a

Yikes.

Popped it back out, resorted to dustpan and brush for the bulk of the shavings, then got the last few and all the dust with the new dust collection system.

img_9865a

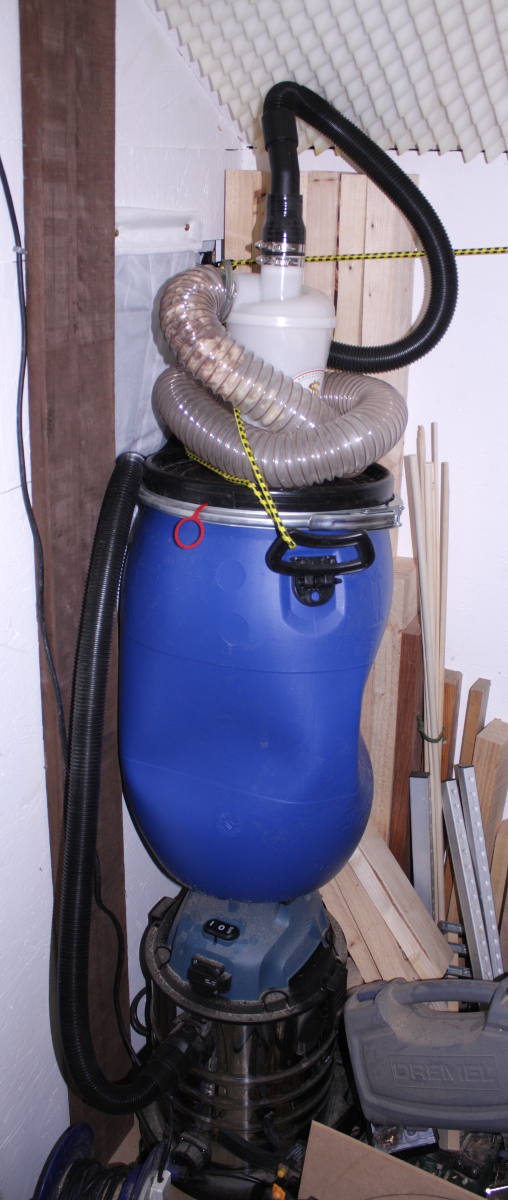
Going to have to build a frame to hold those two in one cart type thing. But that can be later.

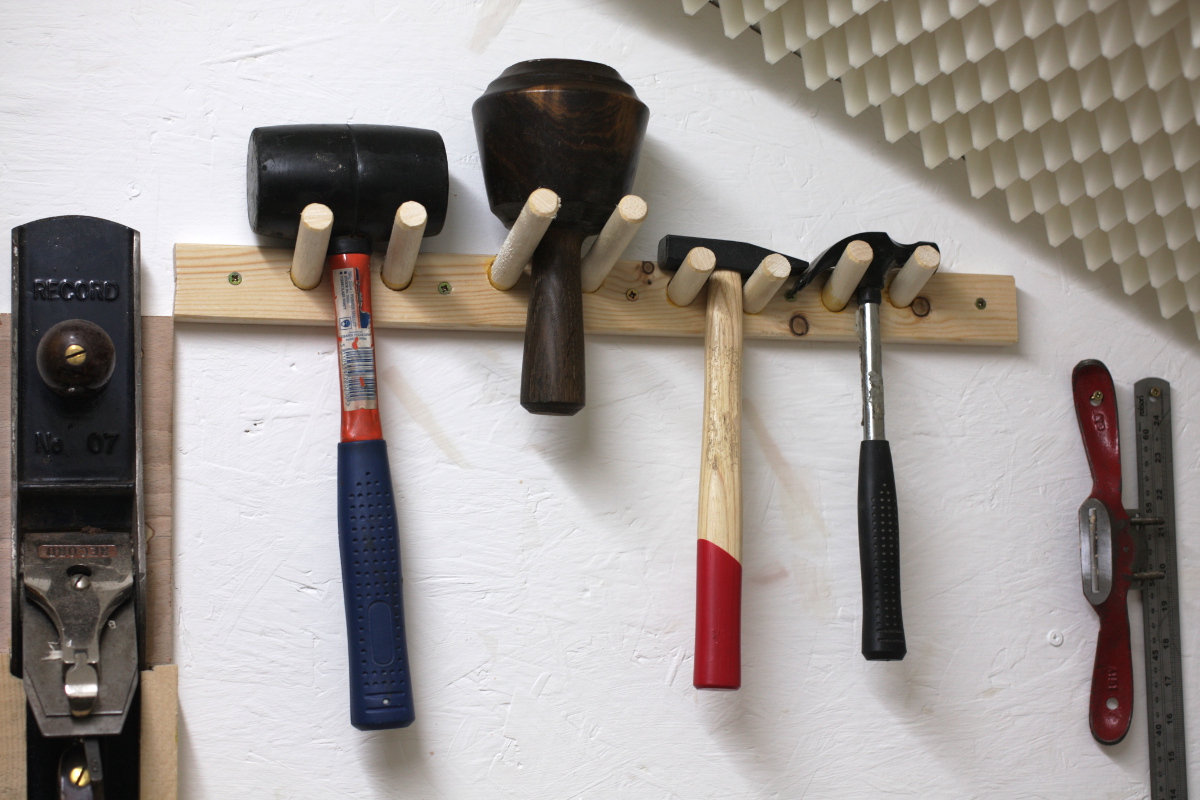
Then, moved some offcuts around and cleared a little under-bench space and finally got the toolboxes out from under the stairs and in under the bench.

img_9860a

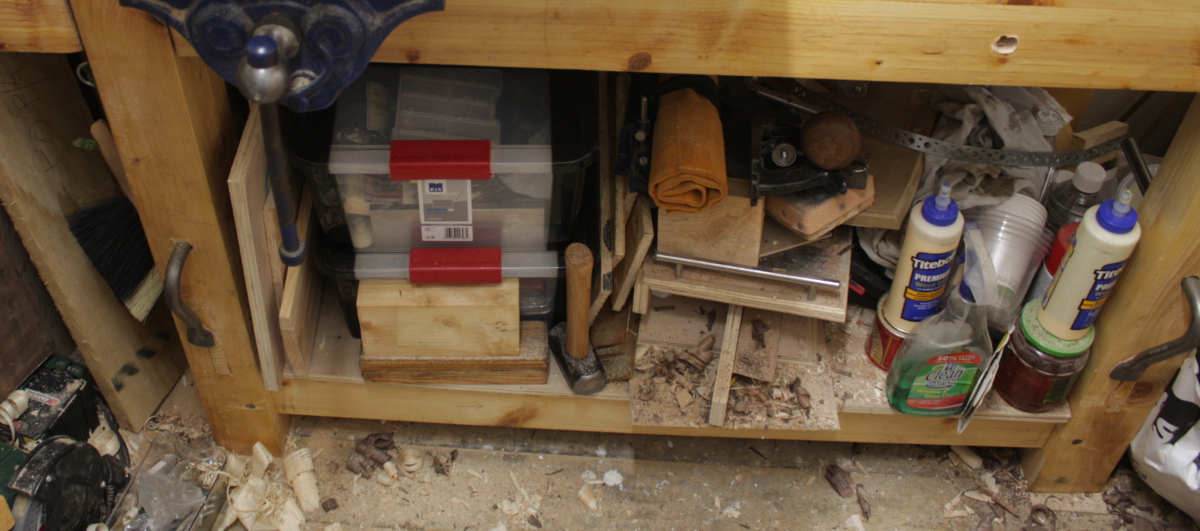
Need to get those glues and finishes into another crate as well. Progress though, one step at a time…

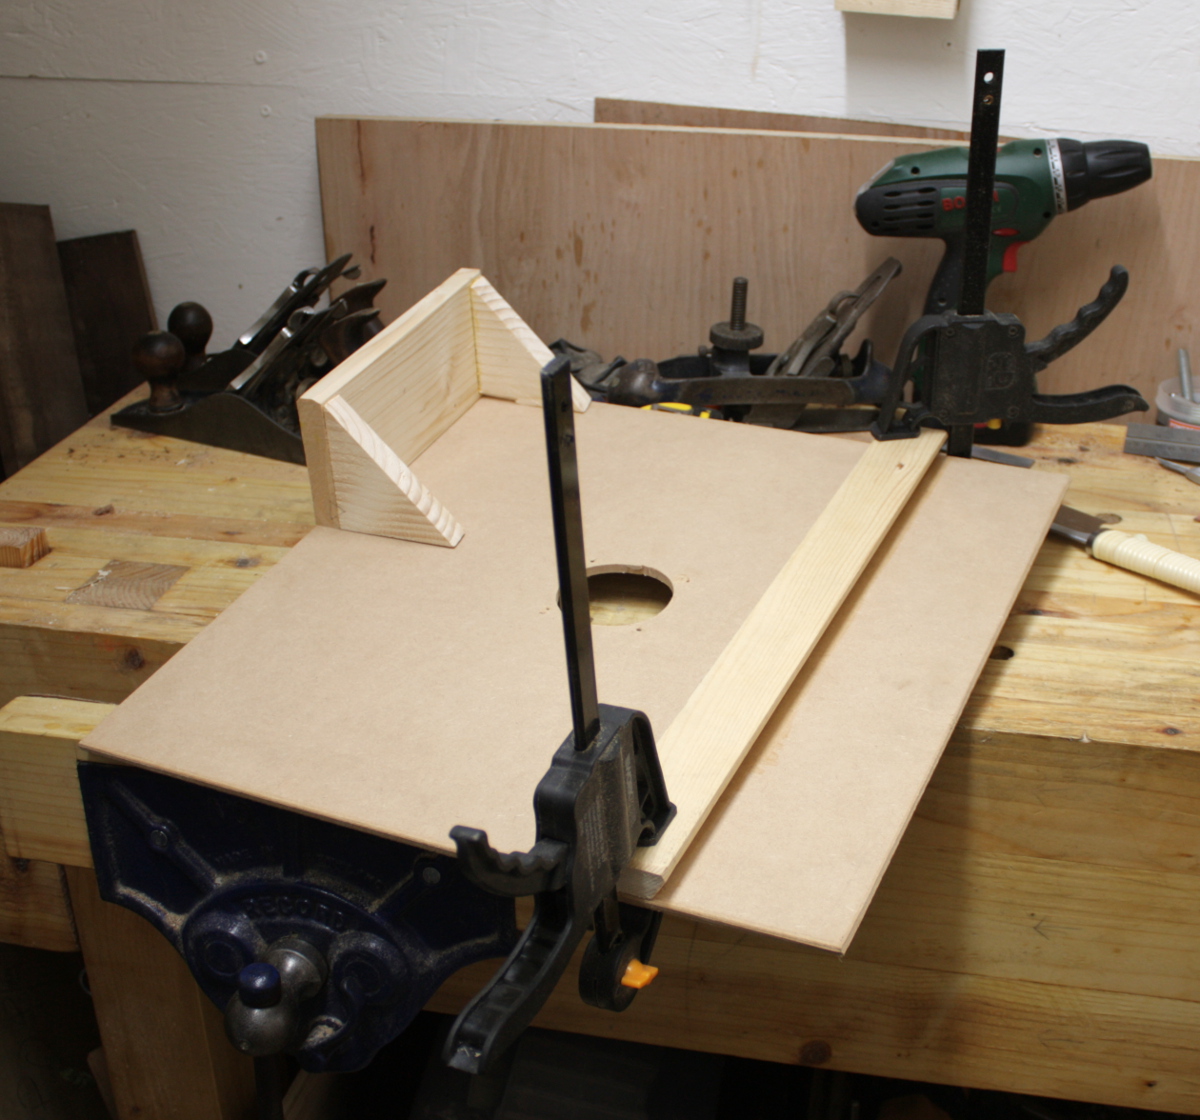
And it left me with a 20″x20″ piece of MDF with nothing to do, so I figured I might as well start on the next shed fix, which is to get the marking and measuring tools up on the wall.

img_9863a

Need to let the glue dry and do some cutting later on. Before that…

img_9845a

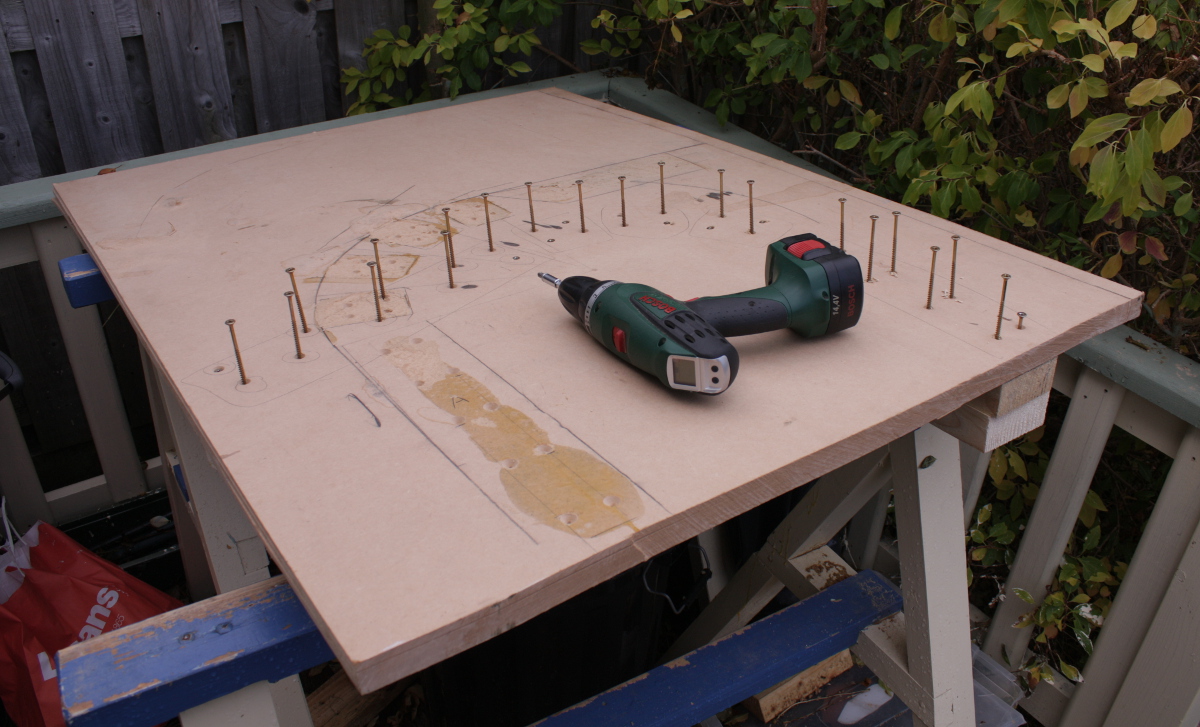
Assembling the bending jig (this is the reverse side, there are 2×3 laminated blocks on the far side glued and screwed into place. That’s a 10.3″ bending radius, and after the bend is done and it’s had a little while to cool on the bending jig, it gets transferred to a 12″ radius drying form for a week. And that took the next hour or two…

img_9848a

Who’s Diana?

I need to drill a hole or three still, but this is mostly done. Now I just need that 2″ wide bending strap that’s in the post to get here and I can do some steambending next weekend.

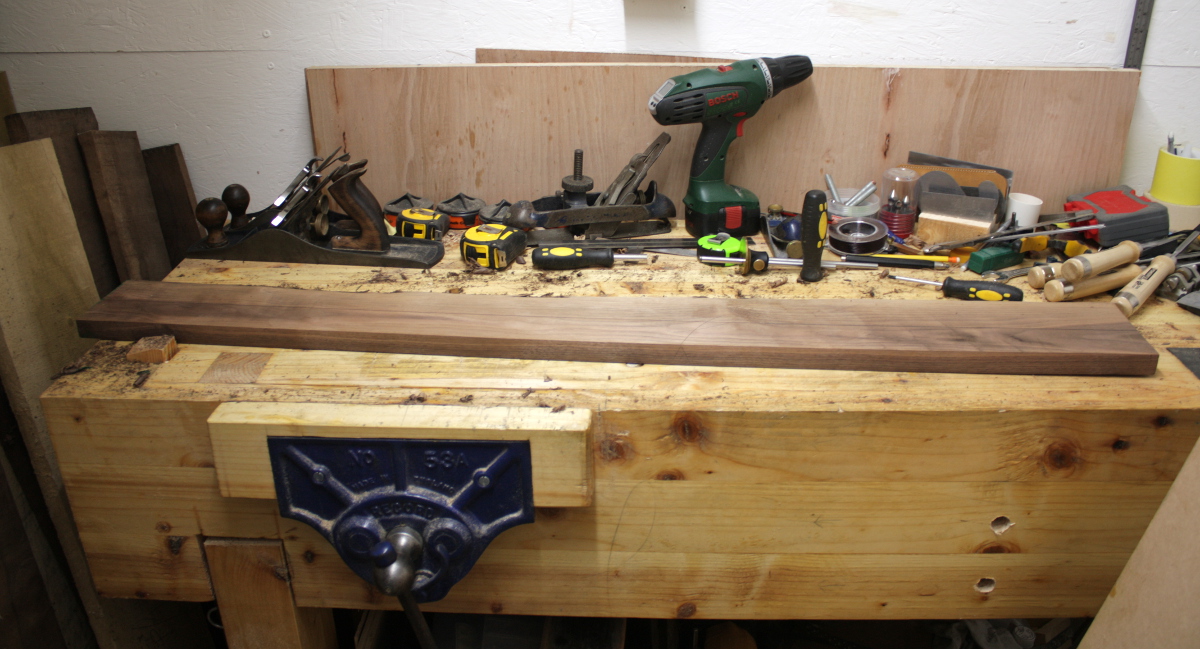
In the meantime though, it’s past time to be cutting out components for the frame. So a bit of thought on what should go where, some staring at the mattress for the cot and holding sticks and measuring tape and so on and then finally got the marking knife out and started crosscutting stuff to within a few mm of final dimensions and working with the shooting board.

img_9858a

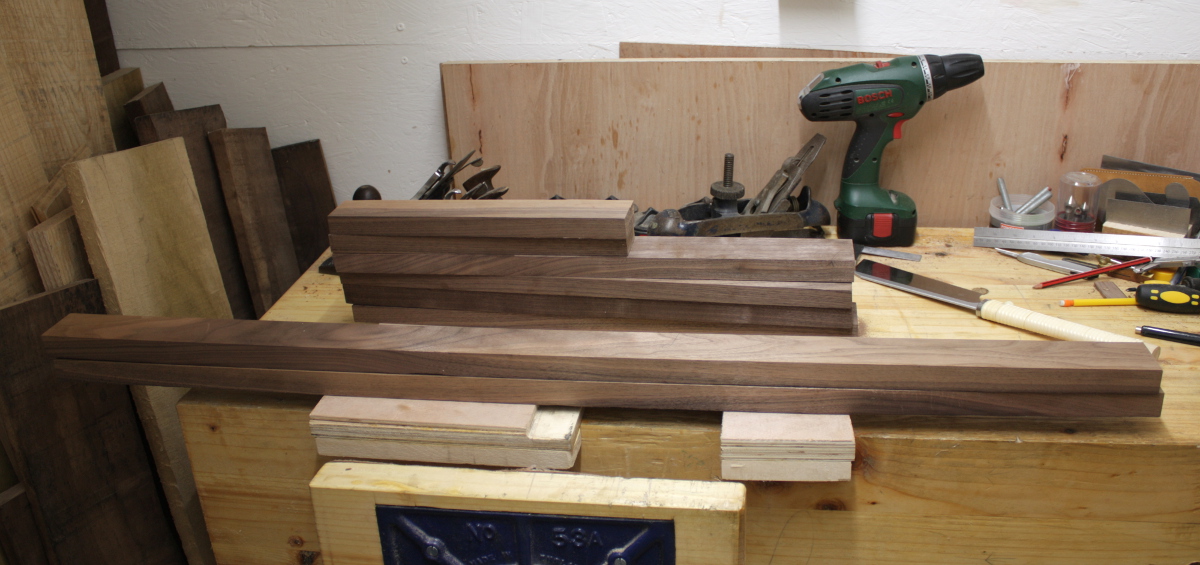
That’s the four crossbars for the ends, two of the long stretchers, two more to come, and the two back legs (one *might* get replaced later, it wound up thinner than I wanted by the time it was free of twist). The rest of the week is going to see more of this until I have all the components. Then I’m practicing the joinery on some walnut offcuts to get used to the wood, and then after the steambending I’ll get on with cutting the actual joinery.

After that, we have panels to do, a drawer to assemble, and then it’s final assembly and finishing. Inside of five weeks. Time to get a move on, and get the next board marked up for prep on monday…

img_9867a


31
Oct 16

One of those days

Feels like lots of work for not much progress really.

Started the day driving to woodies and buying a plank of pine to put a shelf in the new garden box to get the lawn seeds and chemicals and stuff off the floor so it’d be less cluttered, and buying a padlock so the newly organised chemicals were out of junior’s reach.

Then finished off the hammer holder.

img_9778a

And then immediately remembered the other two hammers sitting in a box in the kitchen waiting to come out to the shed. Feck’s sakes…

Then took the frame and the door off the shed, and fitted better hinges than the ones that were on it, learning as I went just how much expense was spared when building this shed. Honestly, I’m rather surprised it’s still standing, it was so shoddily assembled. But I got it re-hung on the new hinges after a lot of faffing about to get it to swing cleanly, and then I moved on to changing the hasp from a simple bolt to a van lock type of thing.

Which wouldn’t fit. At all. I’d have to hack a four-inch section out of the door frame altogether and even then I’d have to take down the interior wall to fix it properly. By the time I found that out though, I had three new 8mm holes drilled in the door. Ugh.

So I reassembled the old crappy hasp, putting screws in all of the screwholes this time just to be wild and carefree about it, and I’ll have to go order another one off ebay tonight. There have been some burglaries around here over the last year or so, no point tempting fate.

So after having wasted half a day on that, we then had the trick-or-treaters round for a few hours, and took junior to see his first fireworks, which was fun.

By now I’m starting to realise I’ve spent a four-day weekend working on the shed and the crib hasn’t seen much progress. So feck, it’s dark and I can’t get the jig built. I can at least resaw a slat. My new Tyzack 1900s era saw arrived in the post on friday, with a set of teeth on it like it hadn’t been sharpened since it was made. But here’s my new Bahco saw file, one of the best saw files available today according to everyone from Paul Sellers to all the youtubers who copy his stuff ad nauseum (with their own added errors just for fun).

img_9783a

If this is the best saw file available today, I think we’d better get used to disposable hardpoint saws.

Despite the thing snapping within the handle not just once, but twice, I eventually managed to get some sort of sharpened teeth on the saw (but honestly, I’m going to have to file them all off and recut them from scratch sooner or later, they were in brutal shape), and I resawed one slat with the new saw.

Or rather, I did half of the resawing with the new saw. It does cut, and it’s more steerable than the ryoba if it drifts, but it’s horribly slow by comparison to the ryoba so in the end I just gave up and used the ryoba on it. I don’t know if it’s the teeth on the tyzack or the kerf or what, but it was dog slow getting through that ash. And it splintered the corners on the exit quite a bit, it was not a clean cut. I should be able to use both slats but only because I already finished one face; there’s only enough margin to clean up one face from the cut, it was that bad.

And that’s it. Four days off, one lath resawn to give two unfinished slats. This was not the kind of day that leaves you feeling like you’re making progress…


09
Oct 16

Magic trick

That point where the first coat of paint or finish goes on is such a dramatic change in the thing being finished, it really does seem like a magic trick of some sort. Even if it’s a cack-handed sort of affair. Today was two of those moments. First off, with the shed, which took quite a bit longer than your average david copperfield affair, eating two hours to get it done. Mostly because all of the funny things people tell you about painting while you’re stuck in a bush are pretty close to the truth. Still, it doesn’t look horrible:

img_9468a

Okay, the tarp on the bush to the left looks horrible, but that’s how I’m keeping it from being a pine needle finish. Plus, it makes painting from within the bush a bit easier. Second coat in the next day or two, and then off comes the masking tape and the spiders can move back in to cover the whole thing in webs again…

Second up was the cheese press. I’m not hugely happy with the main nut on the crossbar for this, I think there will be more epoxy and a few small wedges employed, but at least it’s in an out-of-sight area; but I wanted to get the shellac on first today as all that’s left is bitwork after that really. I removed the metalwork and took the #4½ with its new 40° angle bevel and the cap iron crowded right up on the cutting edge, and smoothed the planks off. There’s something terribly gratifying about getting wispy-thin shavings after trying a slightly new way of setting up a plane. I think this one counts as a success. I did some last bits of whittling as well on the handle just taking off the absolute worst bits. I’m not happy with it at all really, but at least I learned how not to use a spokeshave.

Then on to the shellac. I’ve had some button shellac sitting in isopropyl alcohol for a few weeks now as another experiment, so I used that. One coat, wait 30 minutes, sand back with old beat-up 120 grit sandpaper (I didn’t have any 400 grit sandpaper. Something to sort out for when I finish the crib). Four coats in total.

shellac1

shellac2

Clockwise from top left for each of those for each successive coat.

Tomorrow once it’s fully cured, I’ll hit the surface with 000 steel wool, then use the same wool to apply some briwax and then I’ll buff that out and that’ll be the finish done. I’ll drive the wedges to secure the center nut at the same time, add the metal hardware back in and assemble it and that’ll be that.

No work on the crib today, but the planing begins in earnest after the last bits of the cheese press are completed…