29
Dec 16

Testing…

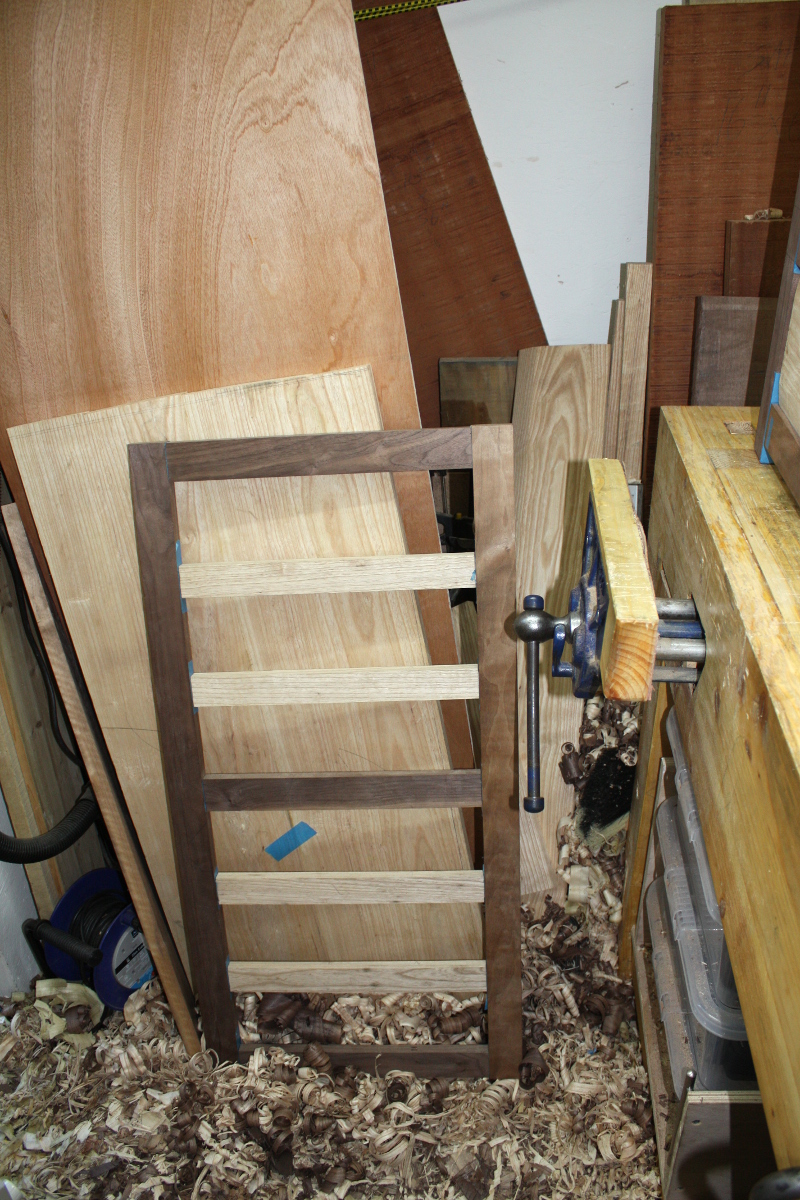
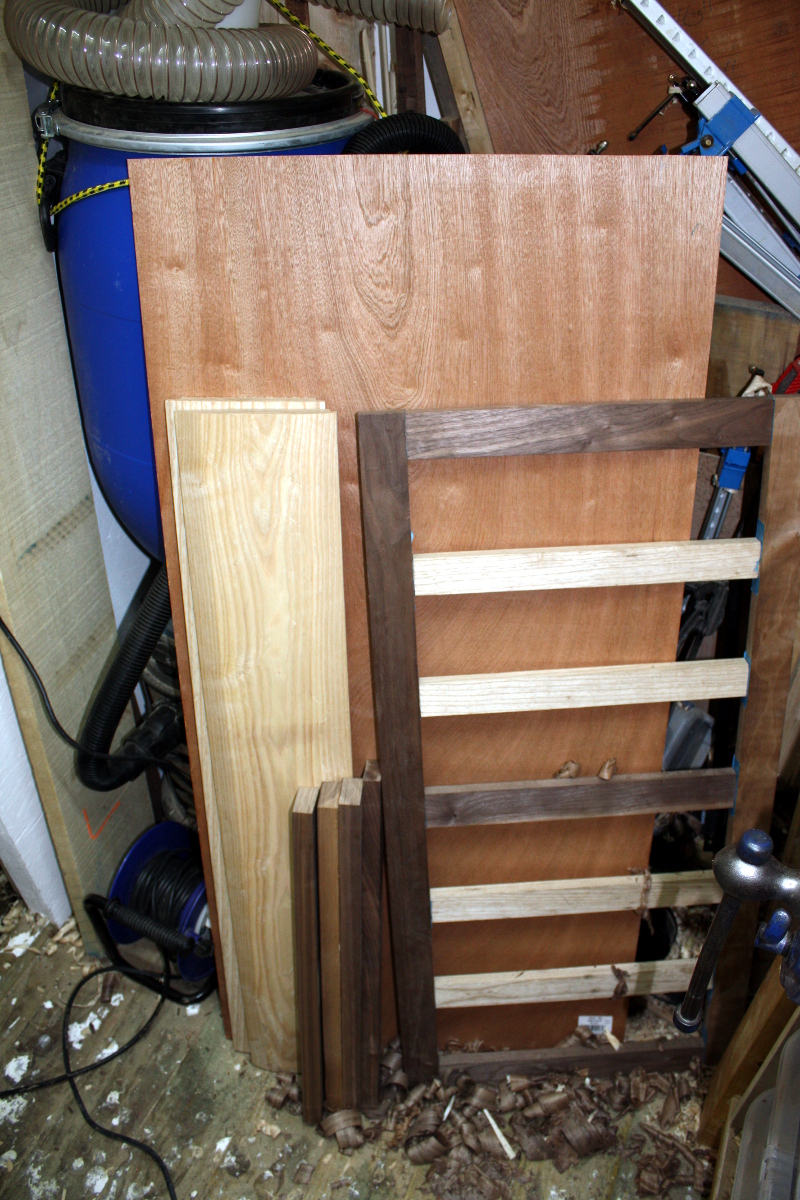
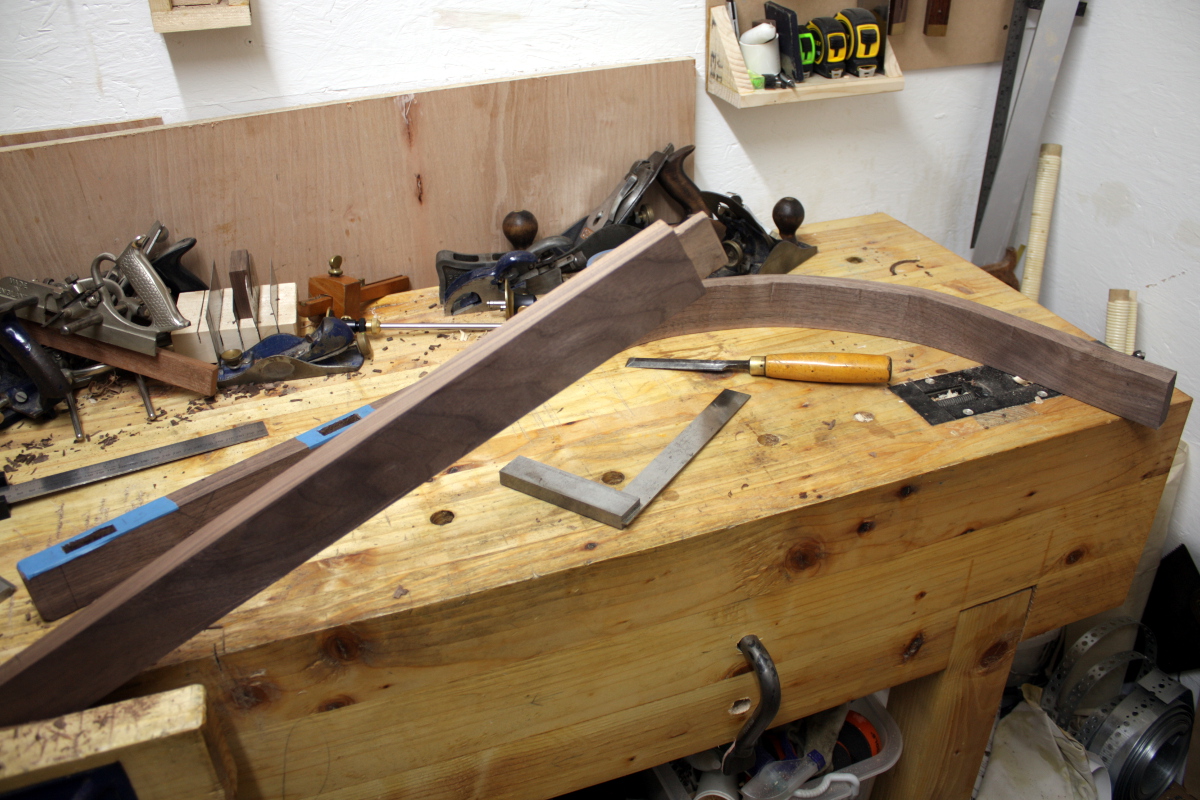
Finished the last of the crossbars today, checked the fit and fettled a bit, and then thought I’d try test-assembling the base…

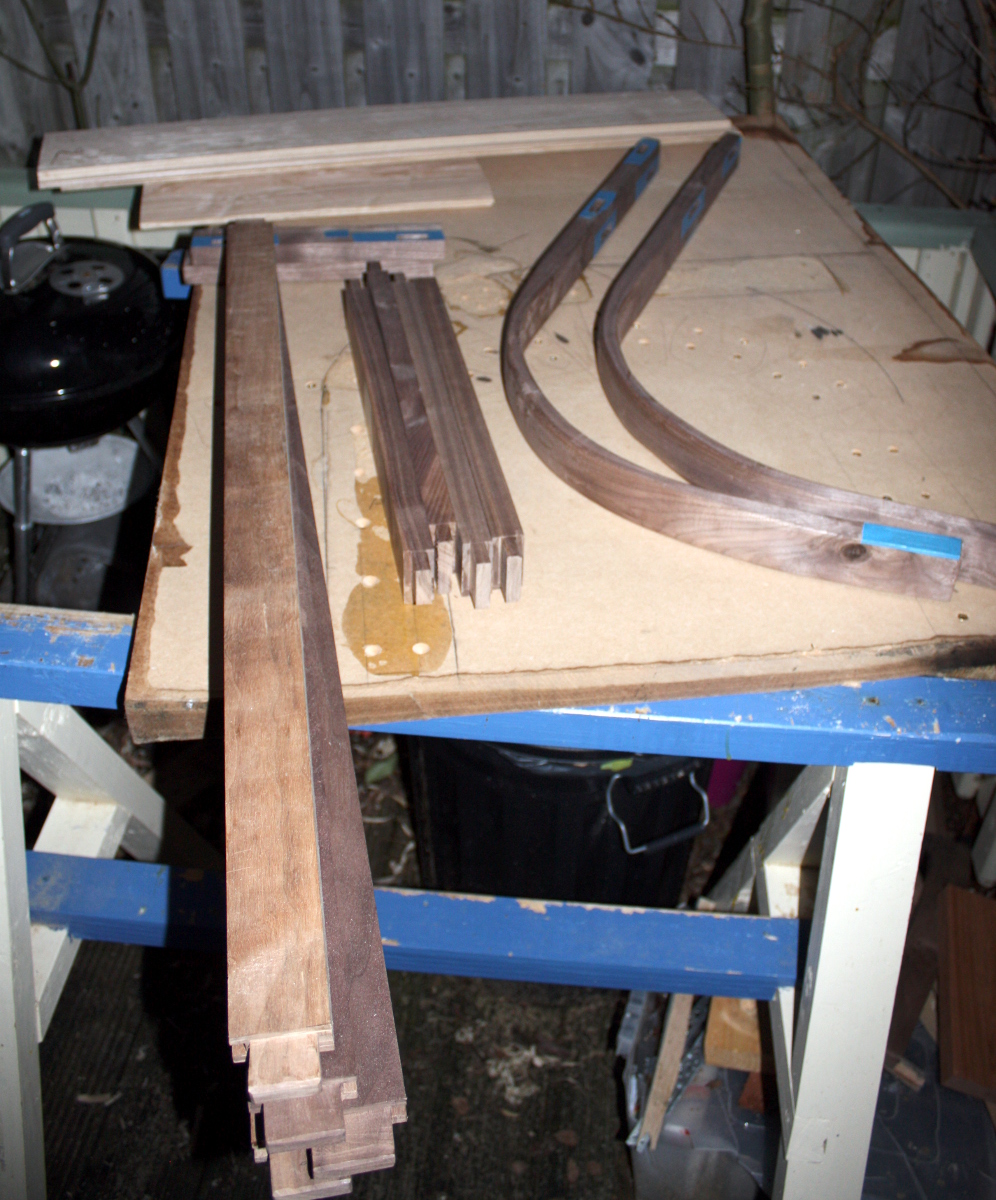
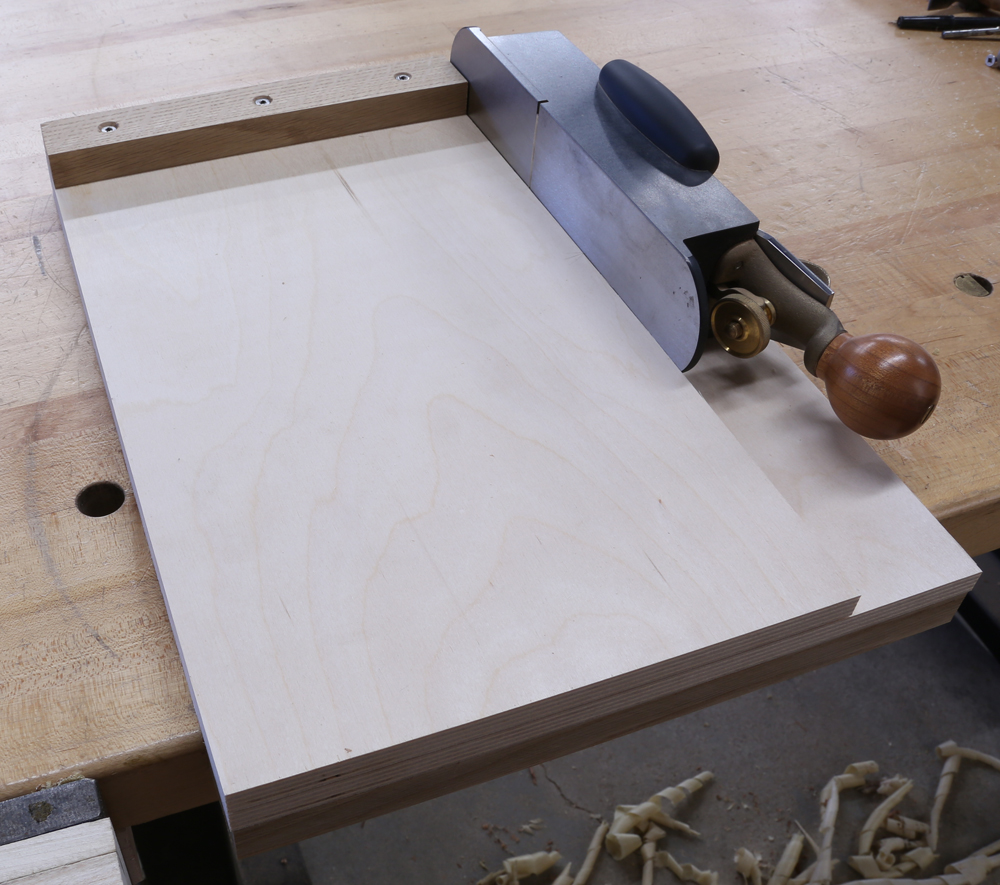
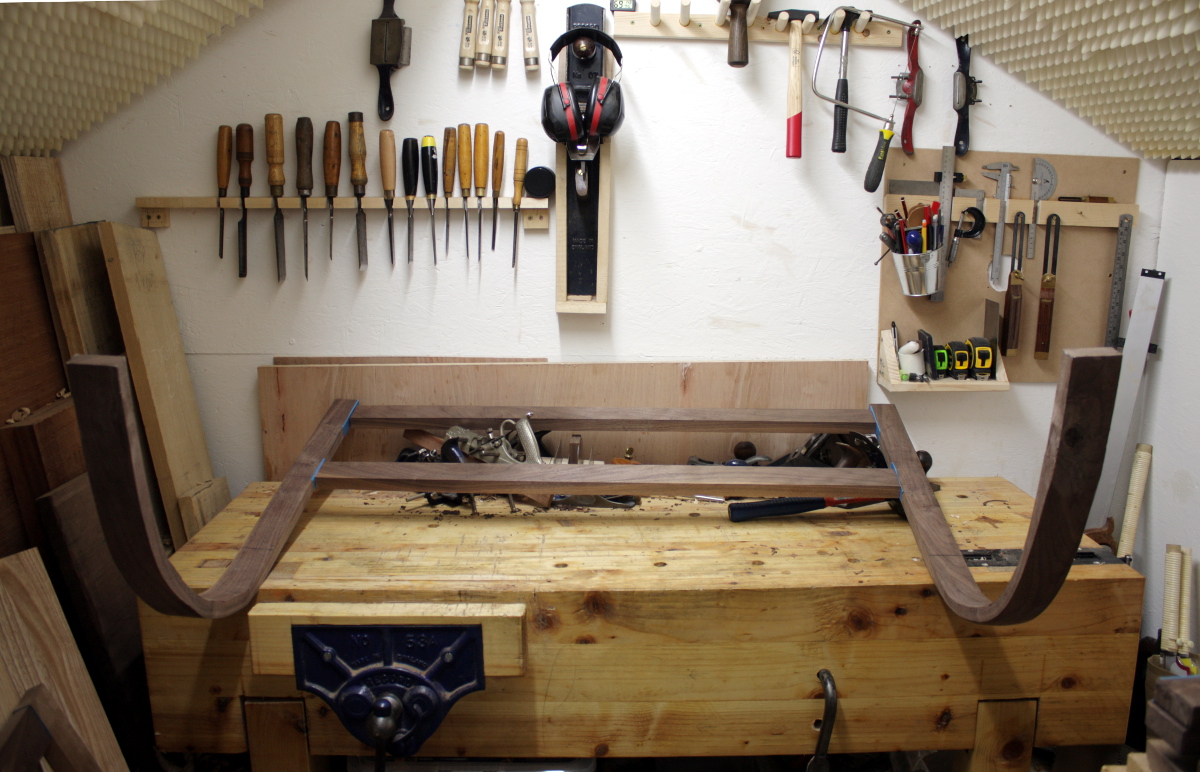
That’s the bending jig; it was MDF so I considered it disposable (I must recover the screws from it now that I think about it). And the light was just going, hence the odd lighting. This really is too large to assemble on the bench; I’ll have to assemble it on this. It’s worse for wear thanks to moisture, but pffft. It’s MDF. It’s for the bin anyways.

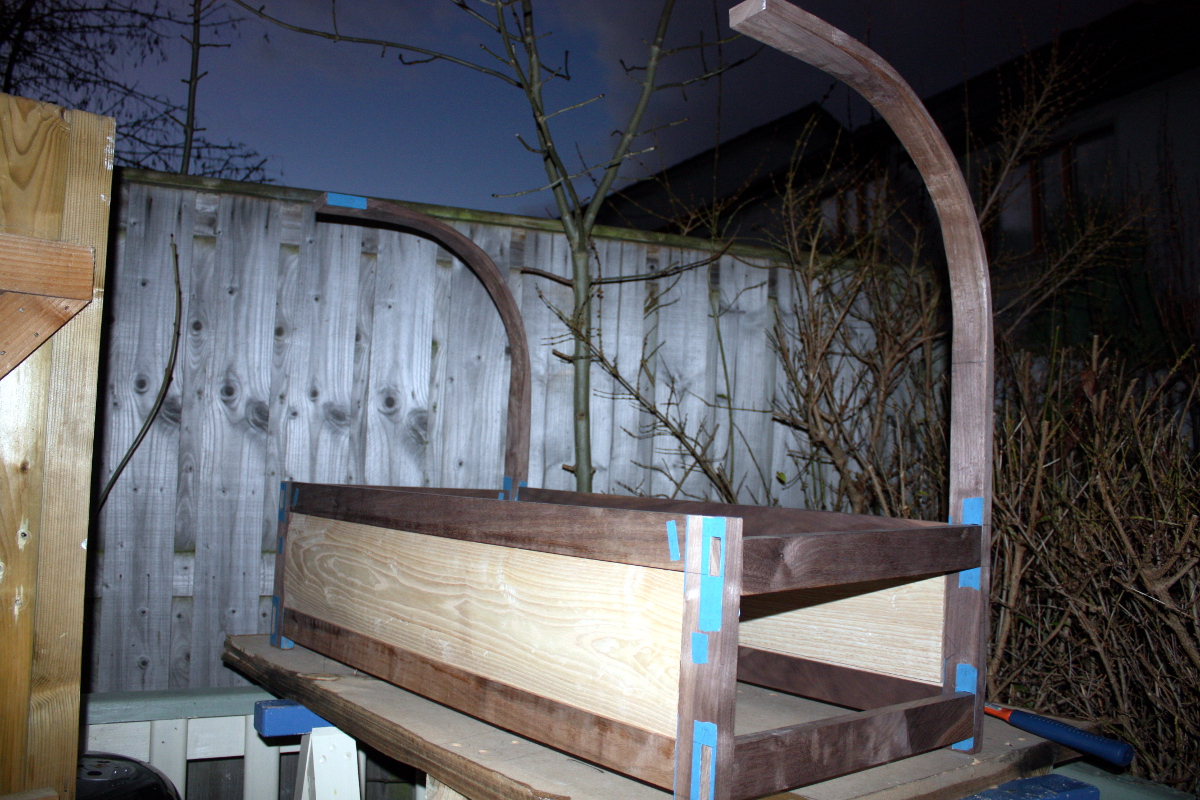
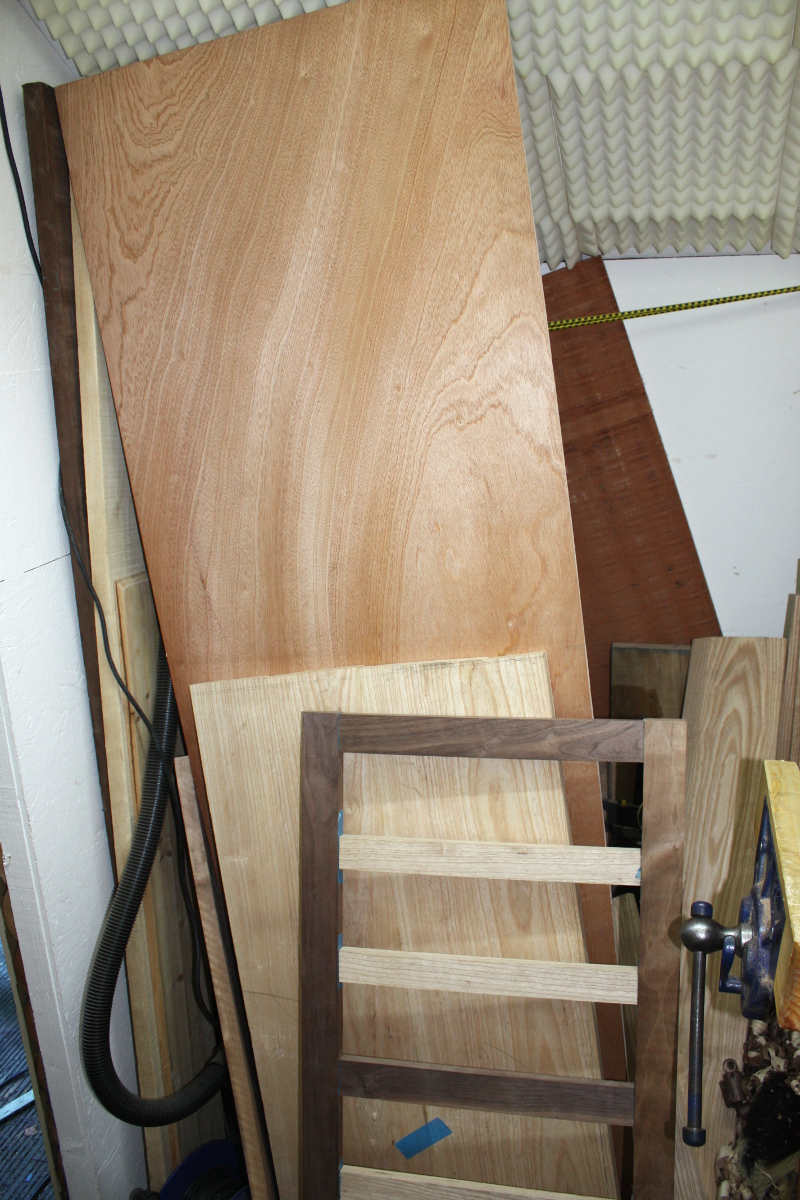
Mental note, next time do this in daylight; can you see the deliberate error? 😀 I put the top bar at the end closest to the camera in upside down by mistake and got almost an inch of misalignment at the top, which gave me a moment’s pause until I figured out what I’d done.

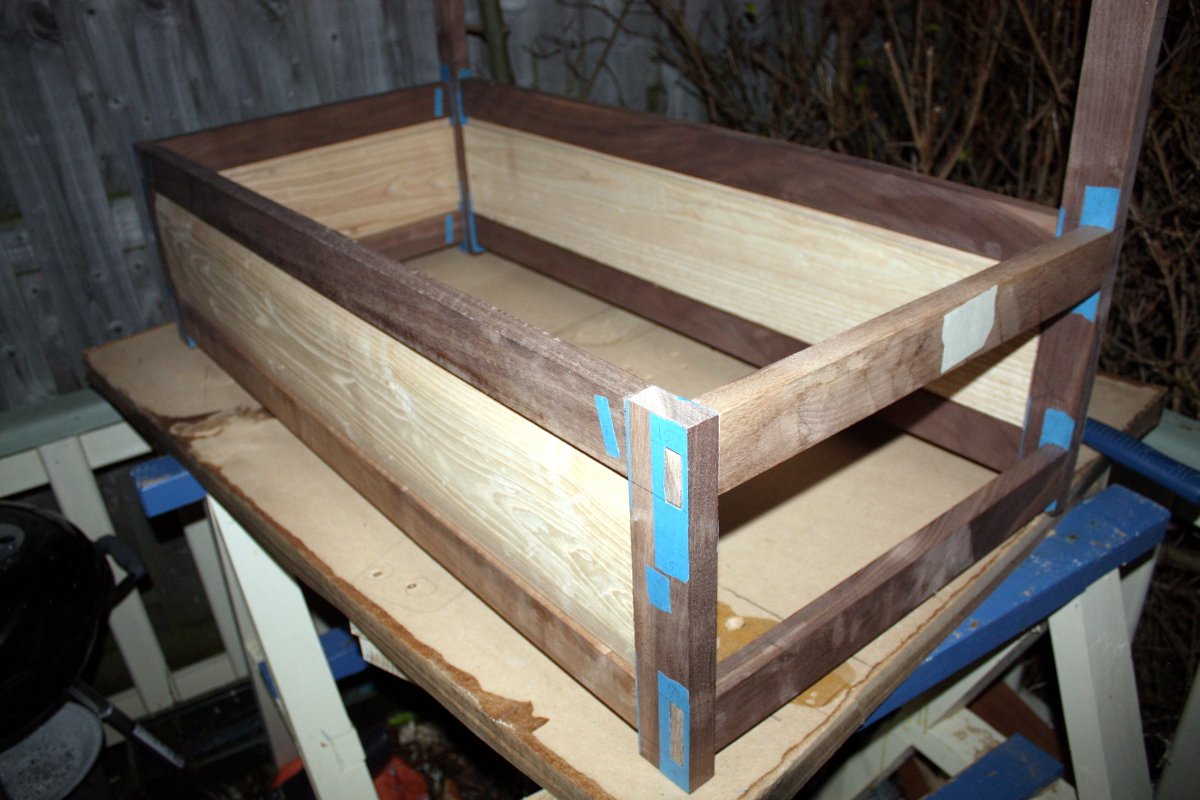
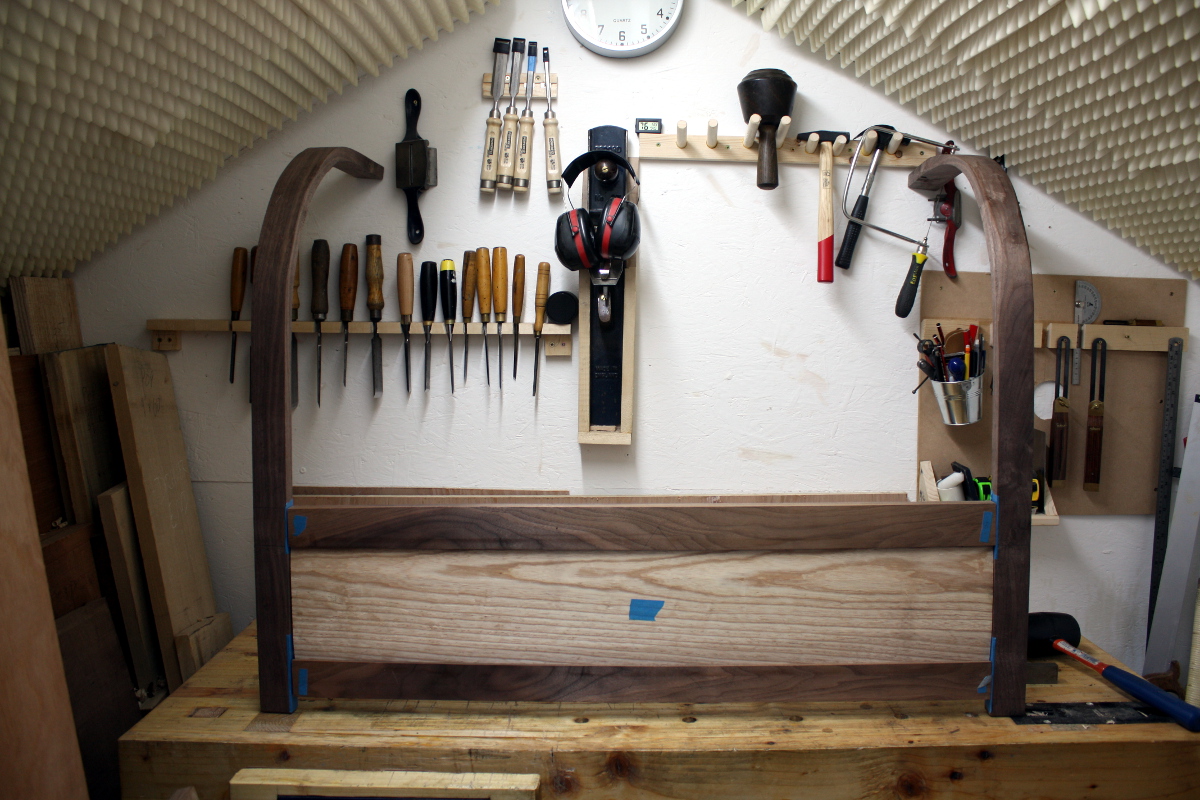
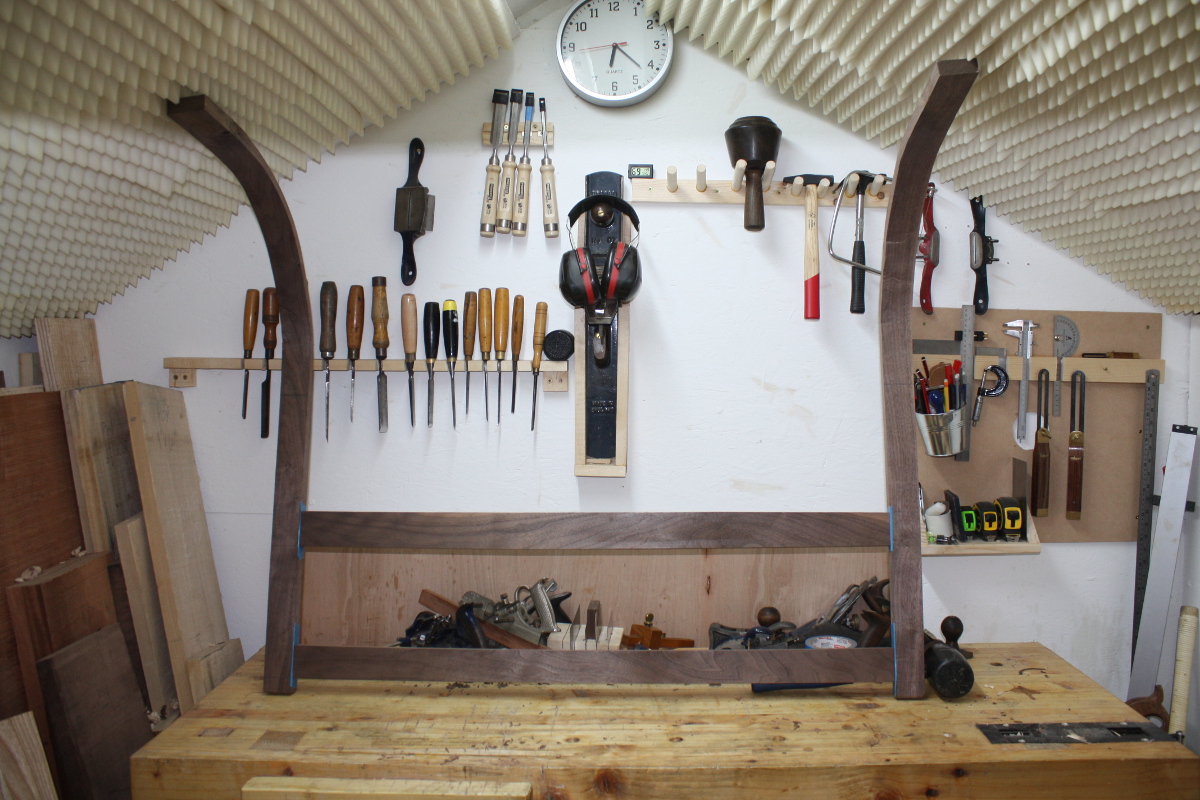
When I put the end crossbar in the right way up, it’s nice and flush. Next job will be to cut the grooves for the top panel (and then cut the top panel to size, it’s quite a bit wider than the base because I didn’t rip the boards down; why bother until I had the final width determined?).

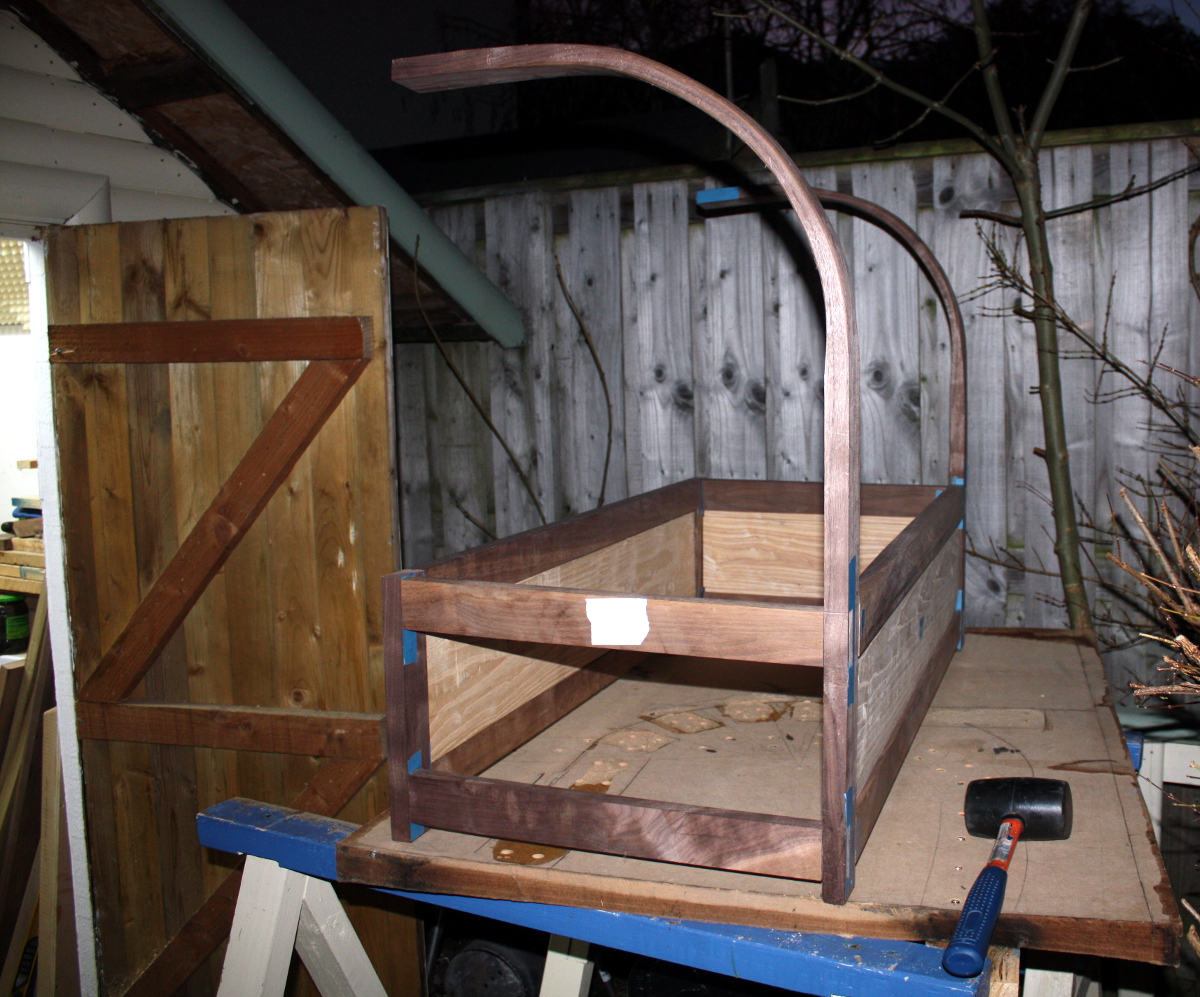
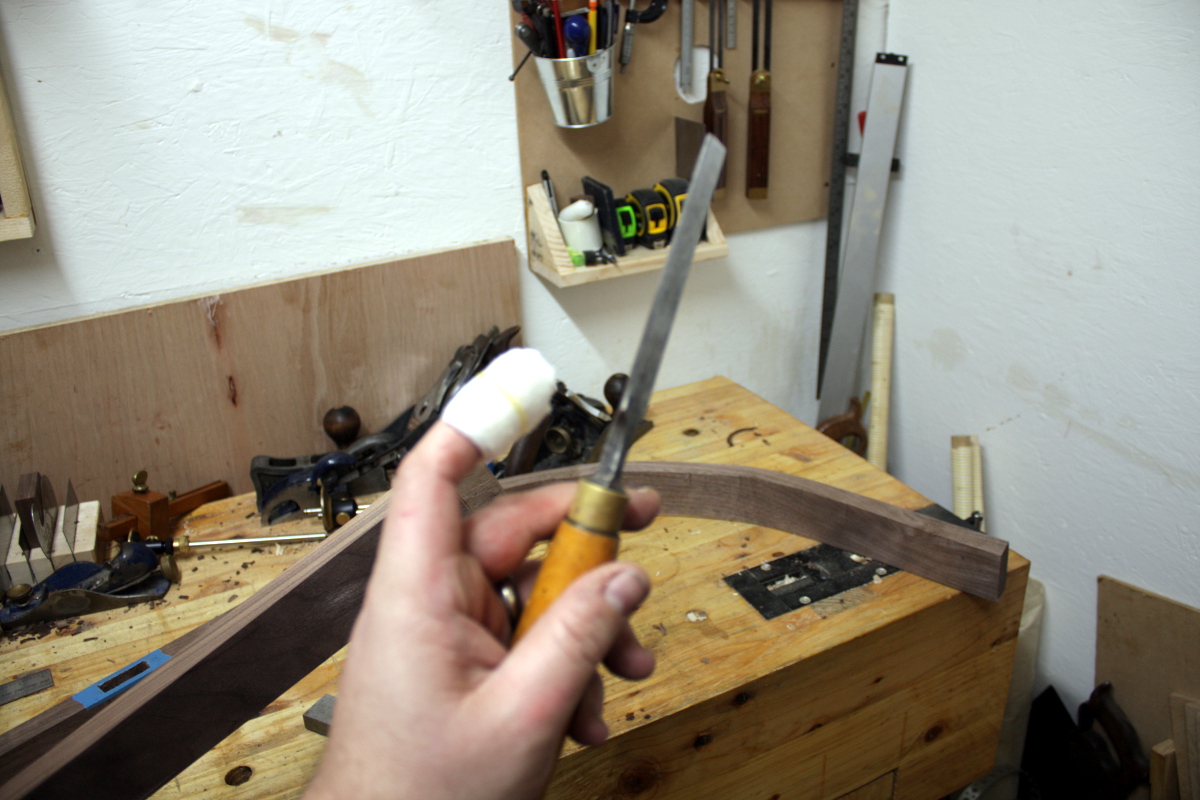
That nearest steambent upright is actually perfect, annoyingly. The end (the one floating in mid-air there) is at a perfect 90 degrees to the vertical. It’s making the other one look bad.

So, what’s left?

  • Rip the top panel to width.
  • Add the rebate and bevel to the top panel.
  • Cut grooves for top panel in long stretchers.
  • Cut mortice for back support.
  • Cut back support to length and cut tenon on bottom end.
  • Figure out joint at the top of the back support for the top crossrail.
  • Figure out joints at the tops of the two steambent uprights.
  • Fit top crossrail to back support and steambent uprights.
  • Cut back slats to length and cut tenons.
  • Measure off side slats (because they’re going into a curve, this is going to be fiddly) and cut tenons.
  • Cut mortices for slats.
  • Joint drawer runners into the bottom end crosspieces.
  • Thickness the boards for the drawer.
  • Cut the drawer front to size.
  • Cut the drawer back and sides to size.
  • Cut dovetails for drawer.
  • Groove drawer with #43 for plywood base.
  • Assemble drawer.
  • Drill for drawboring on the M&T joints that I’ll be drawboring (the long rail to upright ones and probably the back support and top crossbar joints).
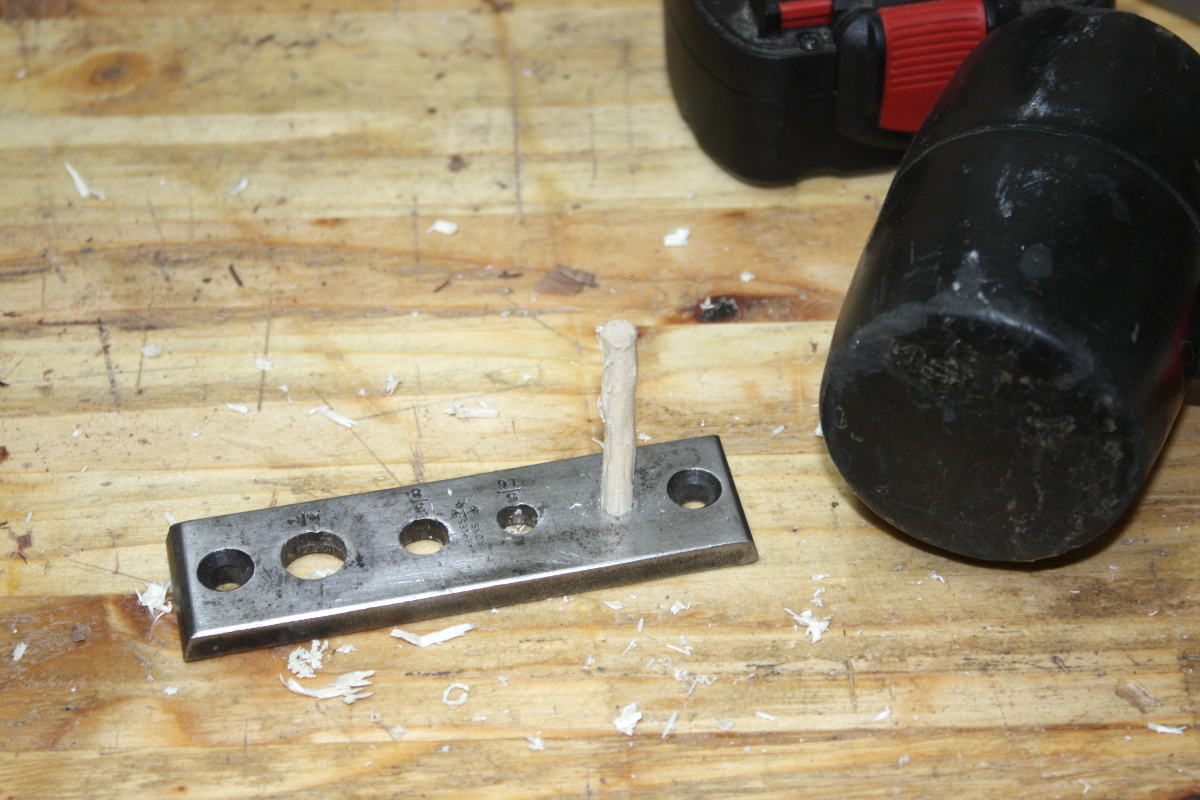
  • Make drawbore pegs.
  • Finish plane all parts.
  • Finish walnut pieces with a few coats of shellac.
  • Paint drawer with milk paint.
  • Assemble and glue-up and drawboring of everything.
  • Finish entire assembly with several coats of Osmo wood wax.
  • Close door of shed, lock it, walk away and never do another project with a deadline ever again.


24
Dec 16

Awkwardness

Back’s finally better enough to tackle the now ridiculous buildup of wood shavings in the shed…

Three bags full of the stuff in total, stuffed behind the bench, under the bench, all over the floor, in between the boards, everywhere. Of course, just because you get rid of the rubbish doesn’t mean that things stop being awkward…

Job one was to cut that plywood down to size so I could at least get into the shed again 😀 It’s to be the base for the drawer – I realised that the cedar of lebanon I had for that was not cedar of lebanon but western red cedar. Whoops. Oh well, better to find out now…

Then on to the front panel, which went quite quickly (so much faster doing this stuff with a template).

Then spent a while checking the mattress support platform for fit (it needs a millimetre shaved off one side, which is fine), getting the side rails cut to length and marked out for tenons; I had to stop to go collect turkeys and do last minute xmas dinner related shopping, so no mortices got cut today; might get one or two tomorrow but I doubt it, xmas eve is going to be busy with cooking, travelling to get food to where the clan is gathering (we think; my sister decided not to wait for the cot and niece #1 was born yesterday morning, everyone’s doing well, but this project now needs finishing fast 😀 and xmas plans just got made fluid), and then there are presents to wrap…

Meanwhile, I was looking at the idea of drawboring the frame mortice&tenon joints again, and knocked up a test peg.

And of course when I went to drill the drawbore holes, the battery on my drill let me down so it was back to the cordless drill.

I’m surprised at how well that drill works actually. Then pointed the peg and drove it home.

Cut it flush, and trimmed by chisel.

It’s a lot stronger than I thought it’d be; I was afraid of joint failure. And I love the contrasting appearance of the wood. I haven’t tested it to destruction (the tenon and mortice walls are much smaller than in the frame so I’m not sure what I’d learn). I did test the shellac finish on it to see if the contrast in the wood held up under successive coats…

I quite like that. And I think the frame could use the extra strength, I expect some tension on the slats. And I think I need to use a wedged through tenon on the top of the rear centre support as well. That could be interesting.

Meanwhile, the shed’s relatively tidy, all the components are in there, nothing more is needed but the time to get it done…


22
Dec 16

Getting technical

So this:

is a shooting board (this one’s from Popular Woodworking, mine’s not as neat). Idea’s simple – for thinish boards (once you get up to an inch thick, you start just holding it in the vice and running a block or bench plane across it), you feed the board into the plane which is on its side and it will true up the end so it’s exactly 90 degrees to both faces and edges. Which is handy for making things that don’t look like they were drawn by Escher while drunk. Problem is, most of my planes don’t have big sides – they’re the traditional bailey pattern and have rounded cheeks:

Which works, but it is a bit tippy. And the sides aren’t quite 90 degrees to the sole either, they’re a degree or so off. No problem most of the time, but for shooting board use, it’s a pain. Plus you have to use the lateral adjuster to get the blade exactly vertical and then use it again when you finish using the shooting board and so on. There are specialist planes made for this sort of thing, like the Veritas one:

But that’s about three hundred euro, so no 😀

However, Record did make a plane that was intended for use in schools, called the T5 (for Technical apparently):

(that photo from recordhandplanes.com btw, which is an excellent reference for these things)

So I’d been keeping an eye out for a T5 in decent nick on ebay and recently saw one and won the auction for it (by about 51 pence, cheekily) for a sixth the price of the veritas, and today it arrived:

It’s in marvellous condition, perfect paint job, perfect varnish on the handles, shiny brass, damn near ready to use out of the box (the blade needs sharpening, but that’s normal). It’s probably in better shape than any of my other planes, except a #4 that’s also immaculate (I don’t think anyone ever used that #4, it just got displayed and then sold 60 years later). If you’re looking for this sort of stuff, I’d recommend the ebay seller I bought this from, lovely chap to deal with and excellent quality stuff.

But enough on the new toy (which will be getting a workout with the slats for the crib I suspect), on to the day’s work, and today was to finish fettling the back panel. This proved fiddly, eventually turning out to be off-square because of an unevenness in the groove for the panel in the bottom rail because the fence of the #44 plane was riding on the benchtop. But I got it square and most of the gaps were gone or down to less than half a millimetre. The idea of drawboring these grows more and more attractive (that block of white wood behind the T5 above in those photos is an offcut I got a while back which is a lovely contrasting colour and is perfectly straight-grained, perfect for making small dowel pins with. I’ll test it on some walnut off-cuts and see how it goes.

With that done, I cut the front panel using the back panel as a template, cut the rebate in the back and the bevel on the front, making the rebate a bit deeper on this one because I’d like the center of the panel to be lower than the rails or at least level with them as it’ll be butted up against the side of the bed.

Then on to the frames, again cutting the long rails using the back rails as a template and then marking the mortices onto the curved front rails from the back legs. More mortice chopping and tenon cutting and cleanup and fettling followed.

By the way, when cleaning up tenons with a chisel, don’t blink…

Those things are just plain unpleasant…

Anyway, some fitting and checking and fettling later, with a lot more stress this time because a mistake with the curved rails would be difficult to repair, and the front frame was done… okay, minus the grooves for the panel so it’s not fully assembled but here we are….

Heh. Elephant-y. Lets stand it up…

Er. Hm. This was a problem I had not considered. That is literally touching the ceiling on both sides and sitting flat on the bench. The foam isn’t holding it up – it’s actually in compression like a spring between bench and table. Assembly… may be challenging. I may need to do it outside the shed, and the weather is not forecast to be great (as in, driving rain and gale force winds and freezing temperatures, none of which react well with hide glue, walnut, ash or humans).

Gonna need a bigger shed.