Got the LED strip during the week, cut a length off, soldered on the wire, tested it in the lab and it all lit up well, so I pulled off the paper on the back (the strip is self-adhesive) and stuck it in place inside the aluminium extrusion with some heatshrink around the cable end for strain relief and put the diffuser and endcaps in place…
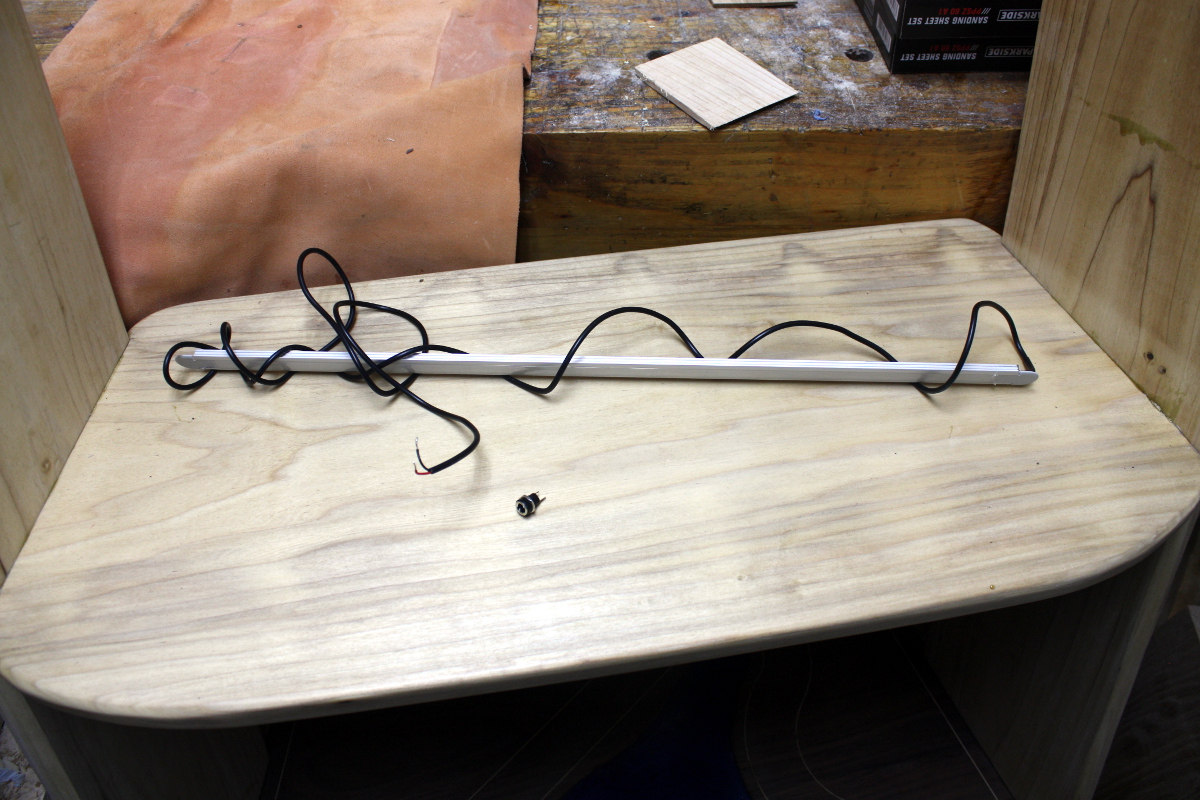
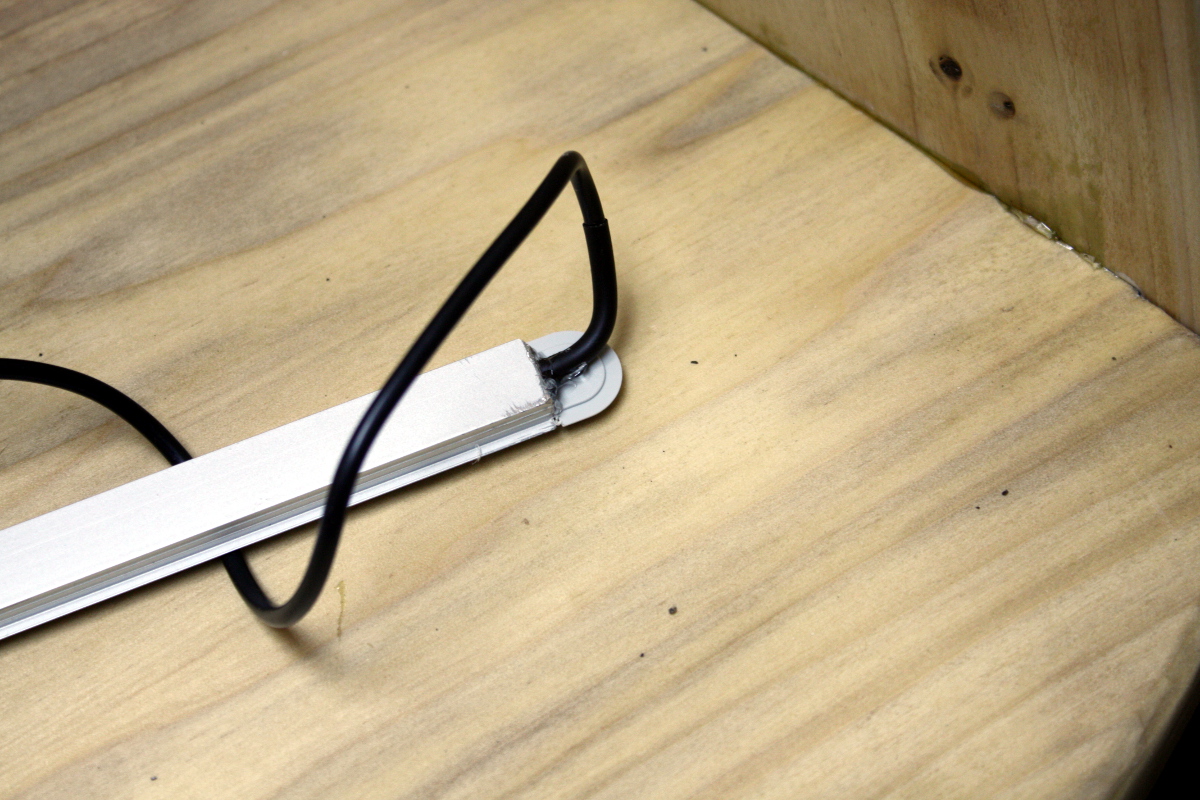
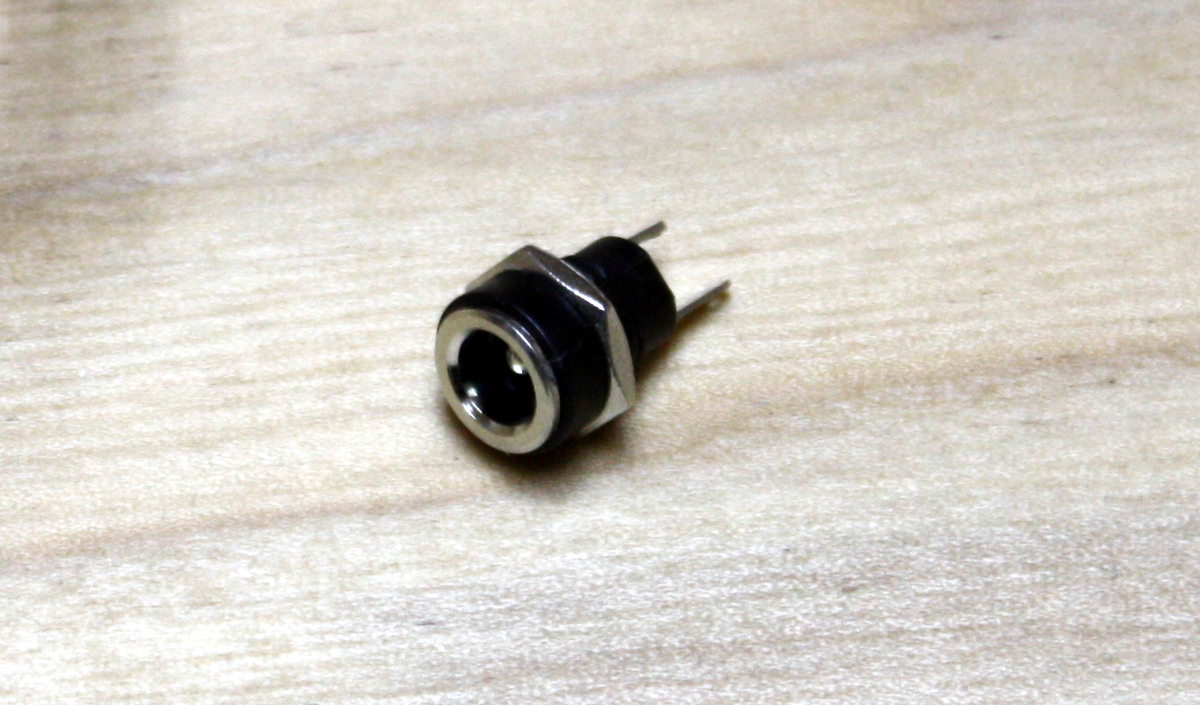
The cable fits in the hole that I drilled for it, so that’s grand, but the connector for the 12V power supply on the other hand, is just a little too big so I’ll have to expand that hole, then cut the wire to length, solder the connector on and then install it. That’s going to be a bit fiddly and I might even wait till it’s indoors before doing that.
So with that checked, I went round the joints with a chisel and a plastic razor and cleaned up the excess glue. The joints under the desk I couldn’t reach, so that might be for the weekend when I can take it out of the shed in the daylight.
Next job was to shape the dovetail joints at the top, which is a damn sight easier when the workpiece is small enough to be able to walk around it. When it’s taking up the entire floor space of the shed and you’re literally climbing on stuff to reach the tools on the wall behind it, not so much. Still, an hour of cursing and swearing and the #04 and two chisels and some 120 grit sandpaper later, and another application of danish oil…
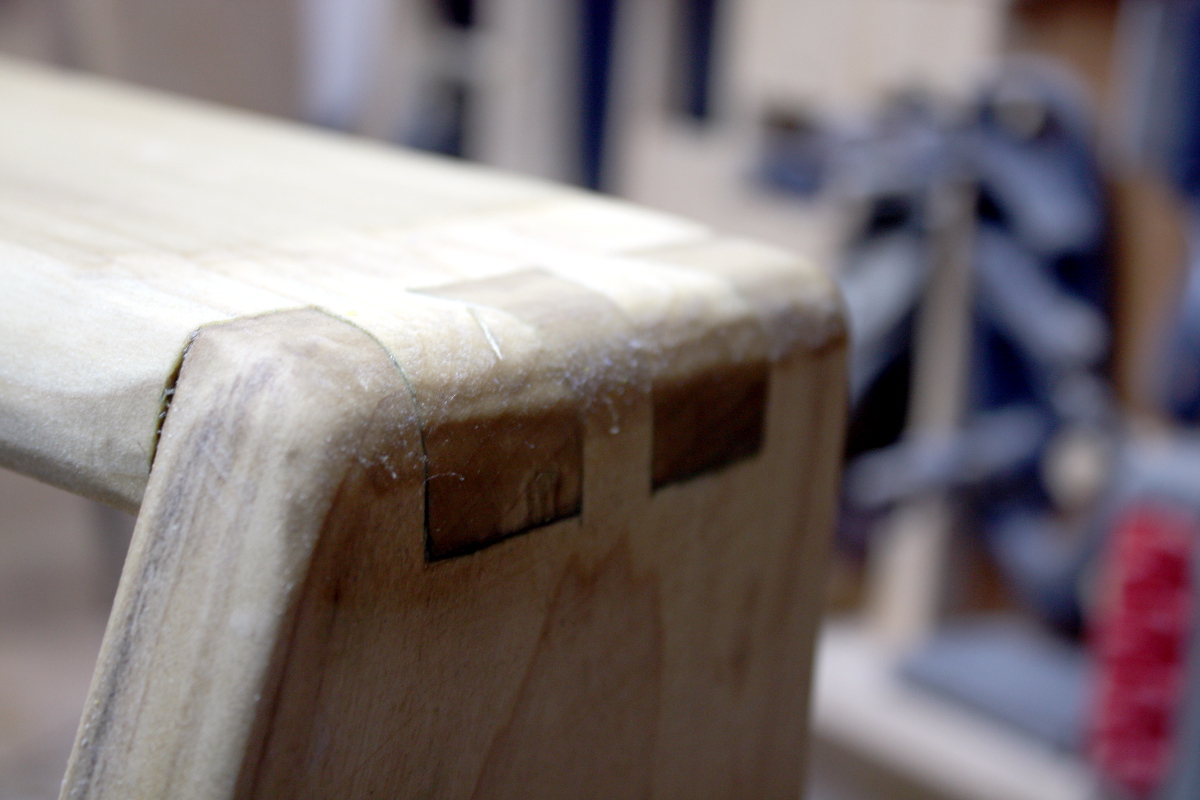
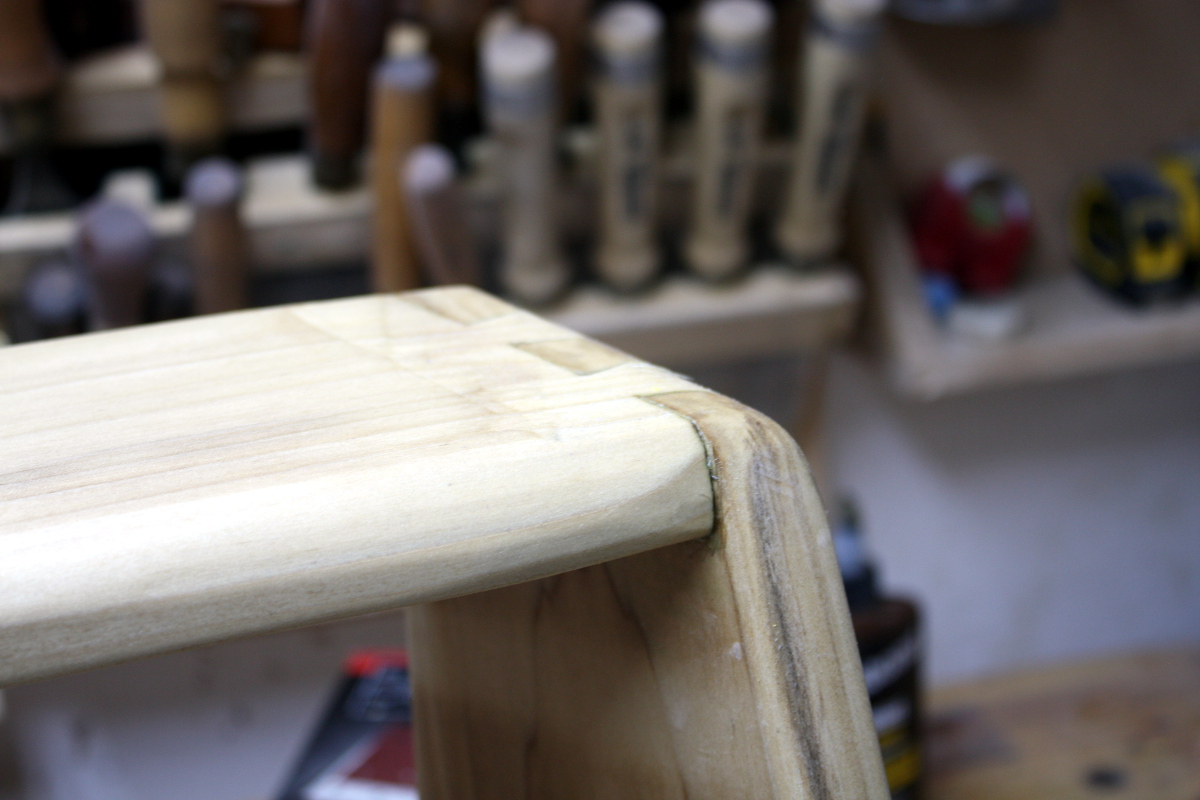
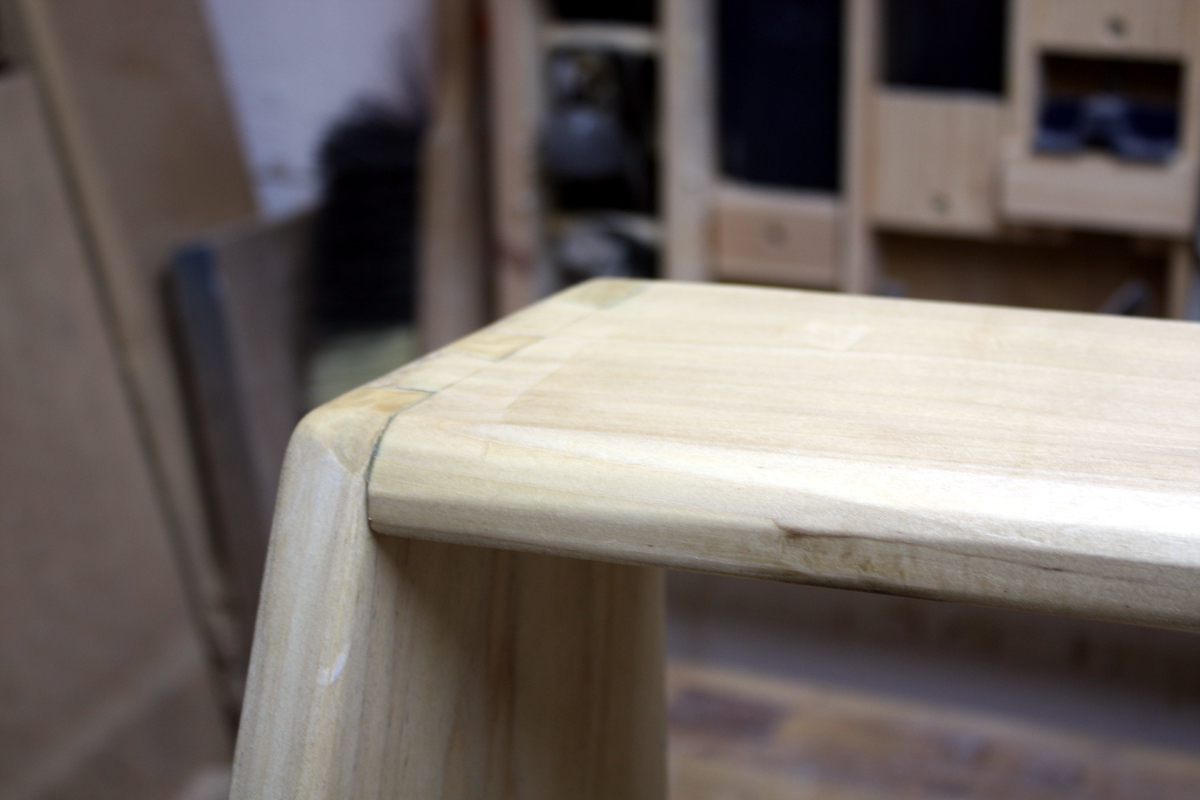
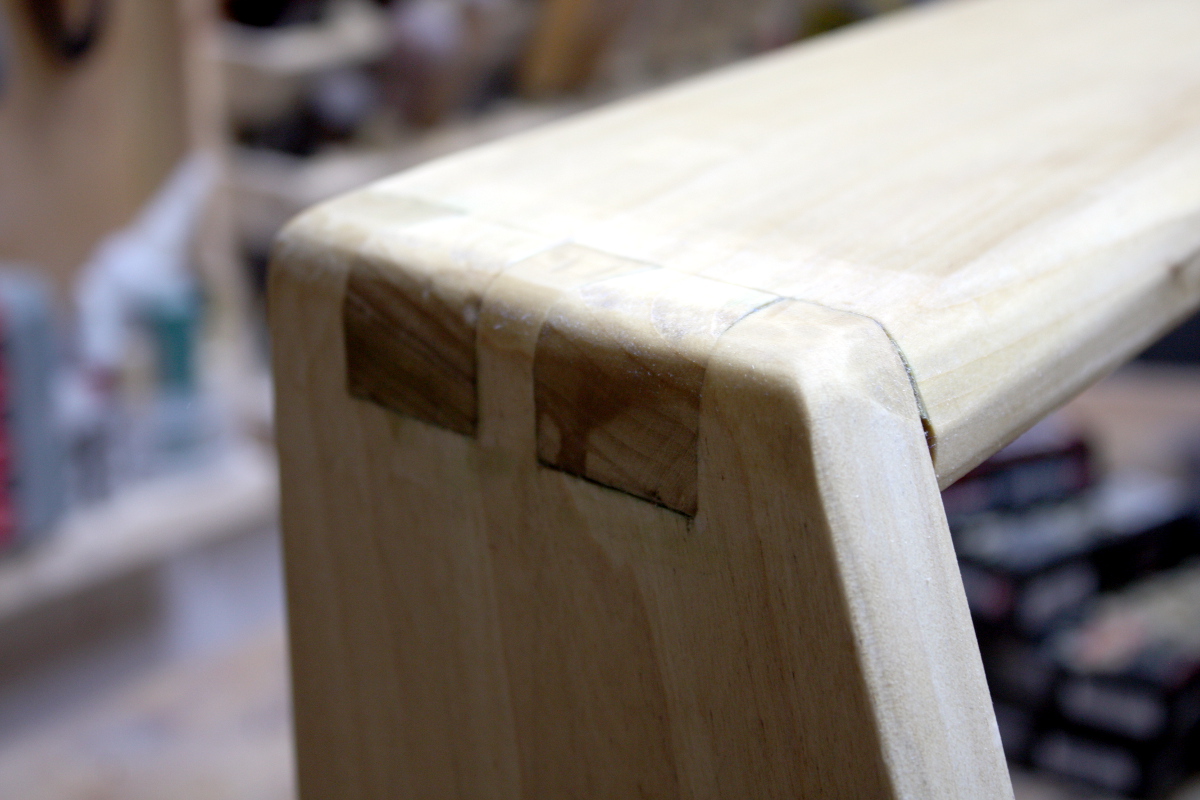
I don’t think I’m completely done with sanding for that shelf and those joints though. But I can’t reach them to work on them properly so I may need to take the desk out of the shed to work on it with the sander, give it another dose of danish oil, let that cure up then do another coat or two of polyx until it looks done. Then I’ll take it indoors, fit the light and that’ll be it done. I hope.
