28
Jul 19

Adding the sea

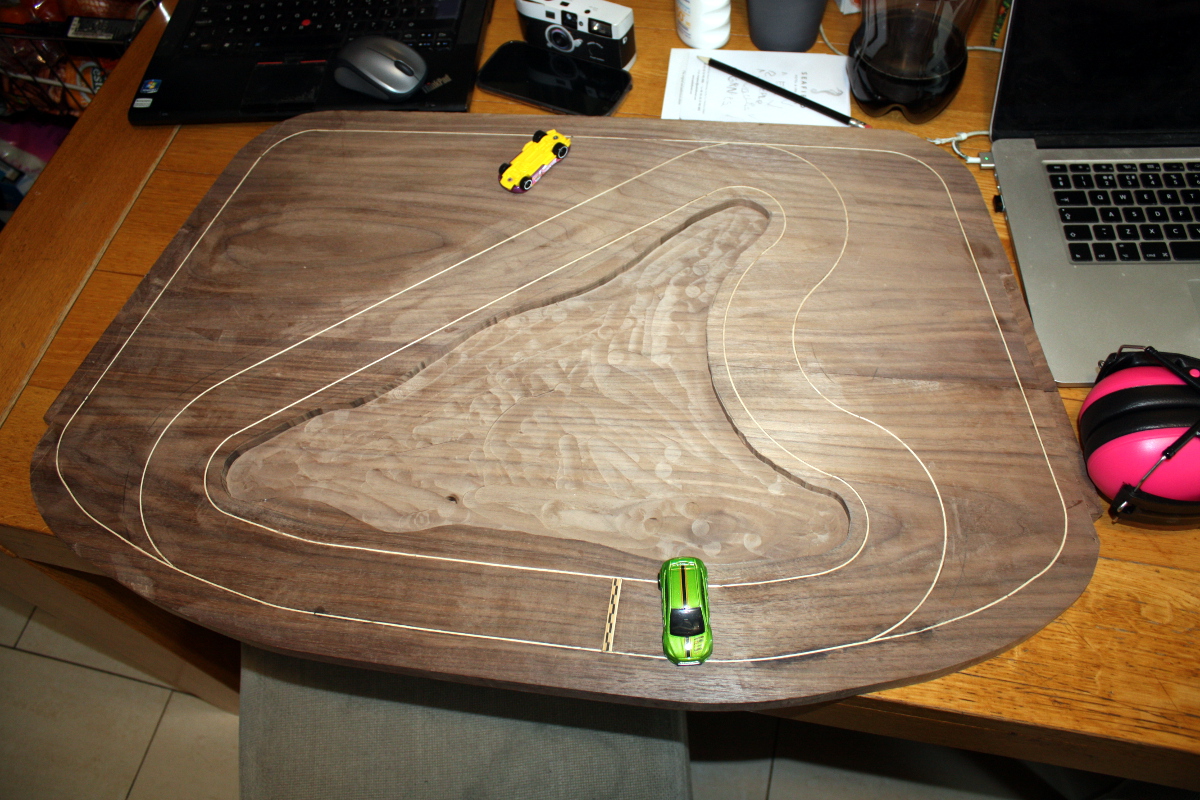
So when the client for the desk likes racing cars and the Titanic, what do you do? You inlay a racetrack with stringing and banding and you add in a piece of the north Atlantic using resin 😀 
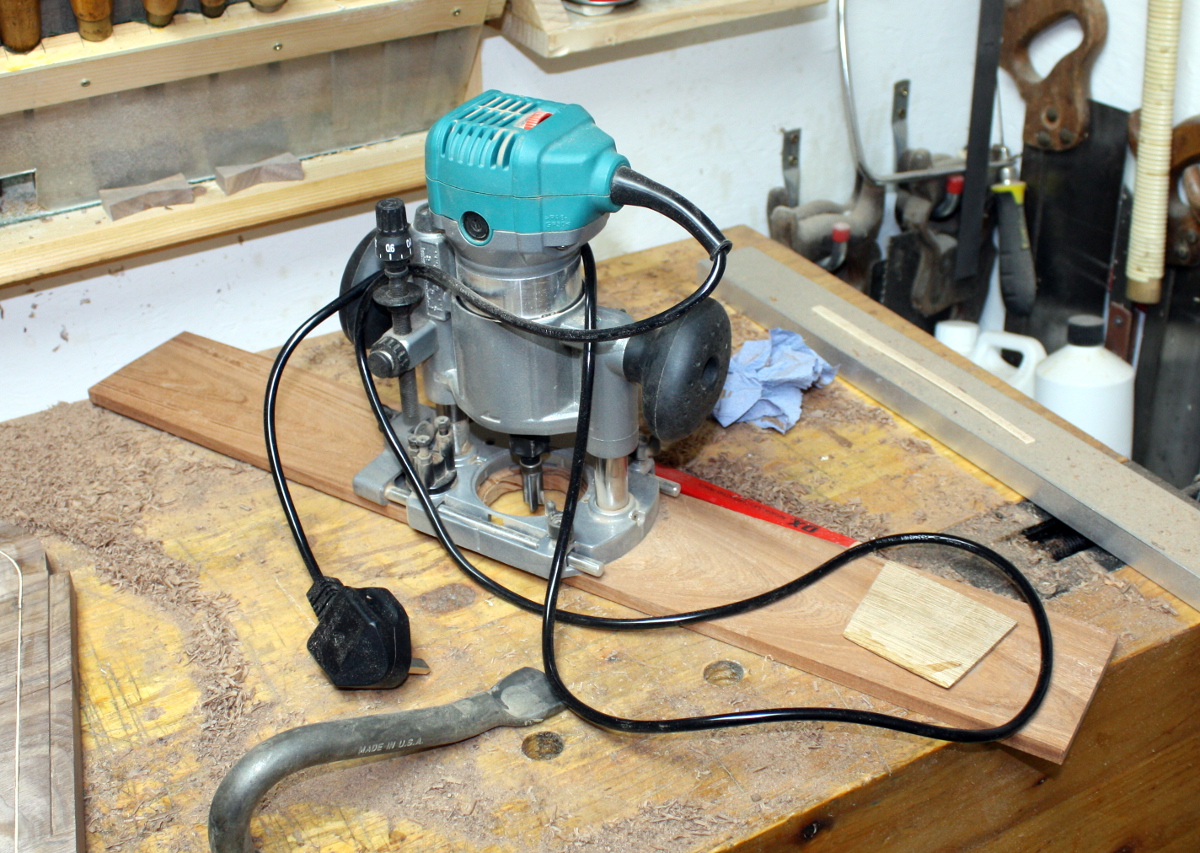
Step one: that router base will not let you get an even depth across that wide a hole, so unscrew it (mangling a screw in the process and having to use a left-hand screw removal bit to dig it out) and add on a much wider shop-made wooden base:

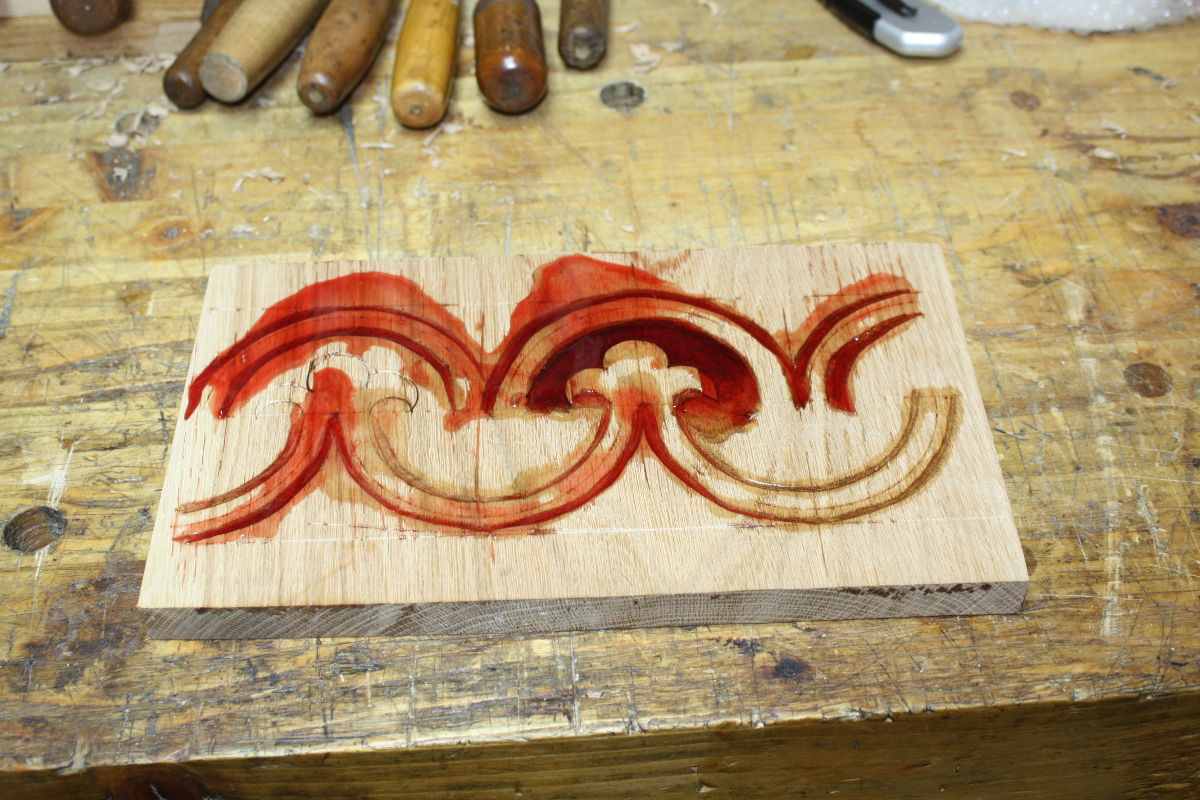
I’m willing to bet nobody else is dumb enough to use sapele for something like this (especially since plywood would be a better, flatter choice). 

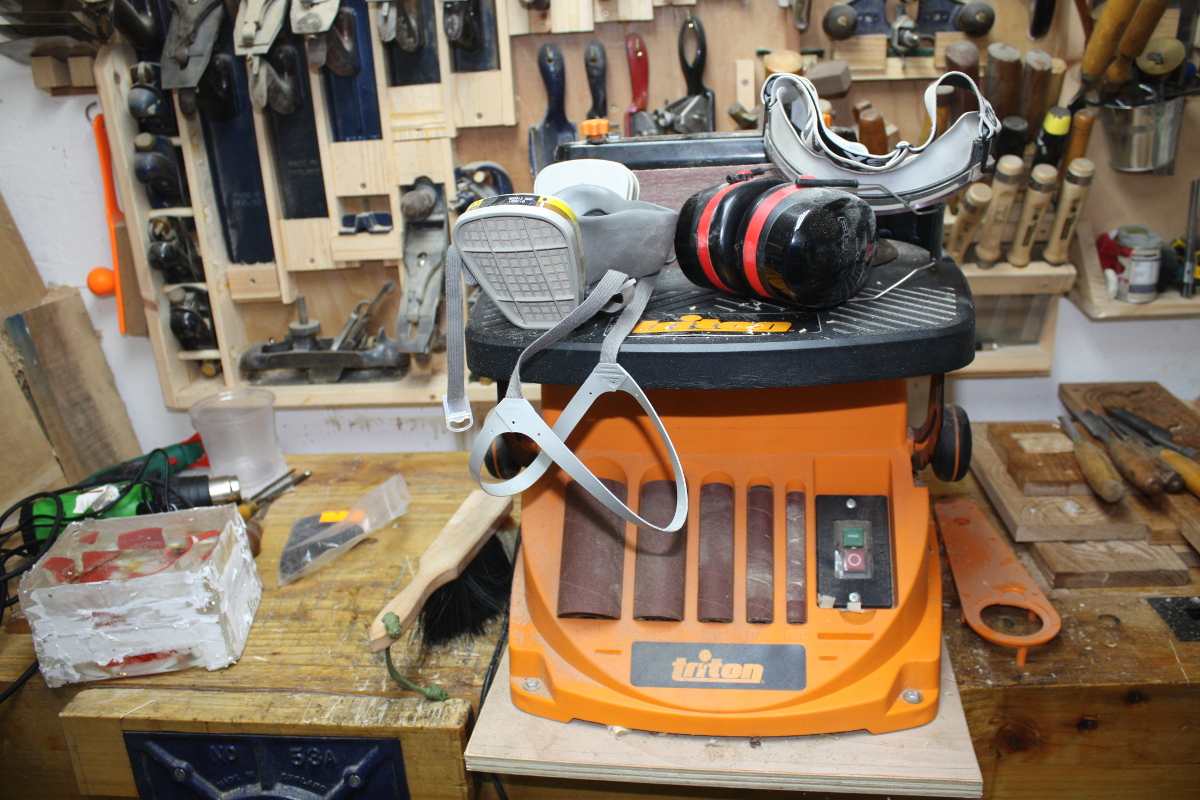
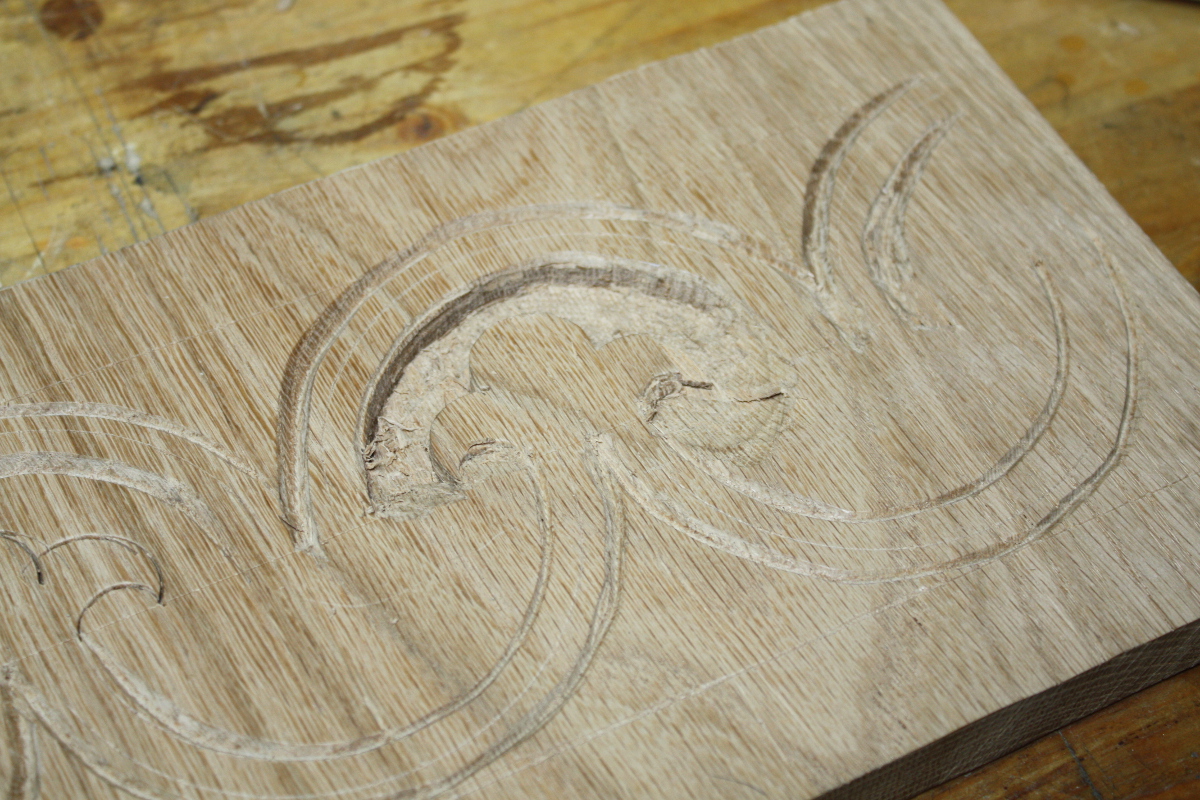
Step two: strap on the respirator, the goggles, the ear defenders and make sure you’re good and uncomfortable from all the PPE even before you turn on the dust collector and the router and grit your teeth against the entire process and cut down about 8mm into walnut over a good third of the surface area of the desk, staying within the lines. Which takes a good hour to do because (a) this tool terrifies me and (b) everything is sooooooo slow in case it bites, digs in and pulls the bit through several weeks of work in the blink of an eye. Or, y’know, through me.

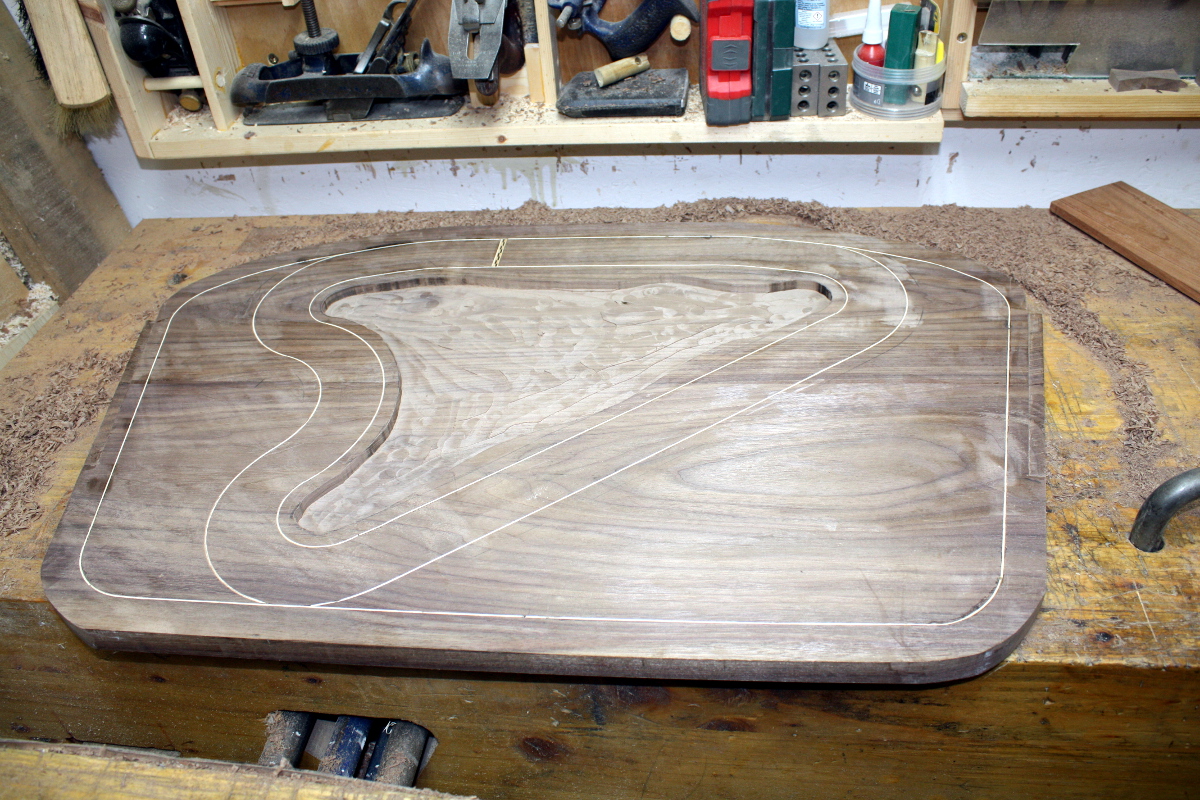
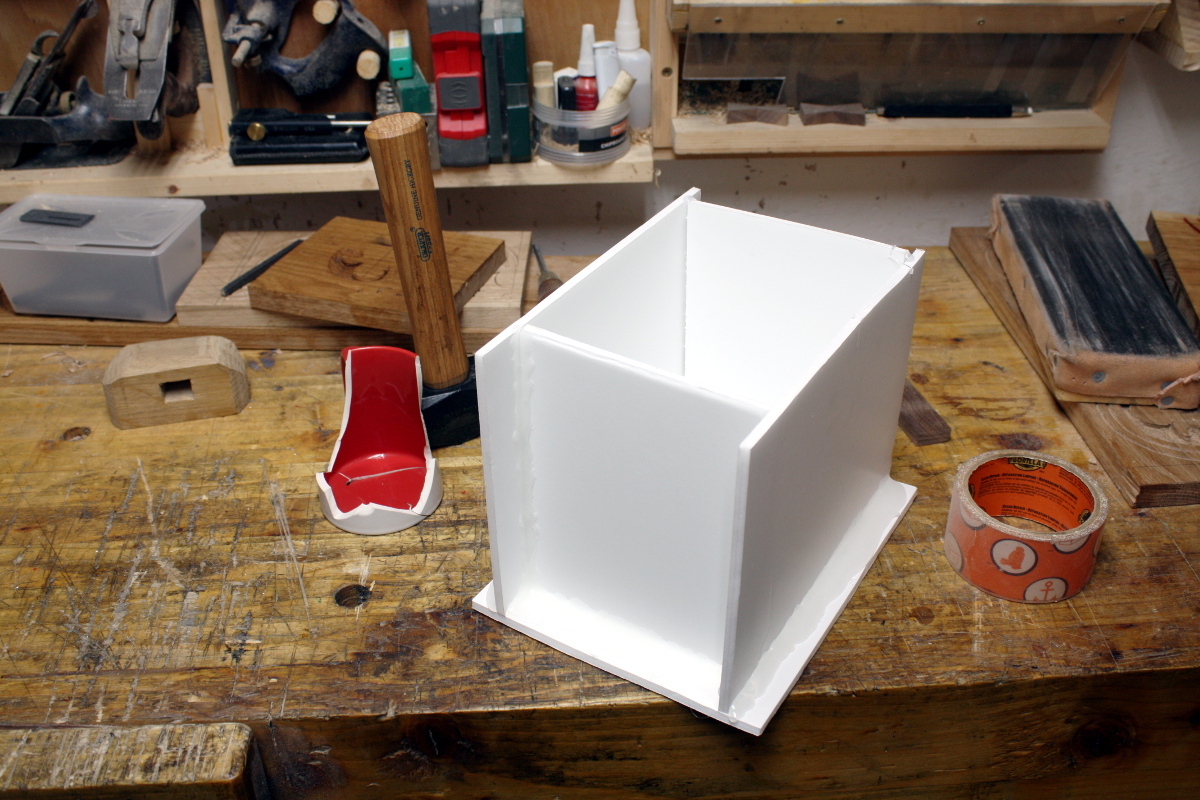
This still needs another last pass to even the sea bed out, by which time I think it’ll be 9mm down into a 21/22mm thick slab so it should still be stable, especially when the resin goes in. 

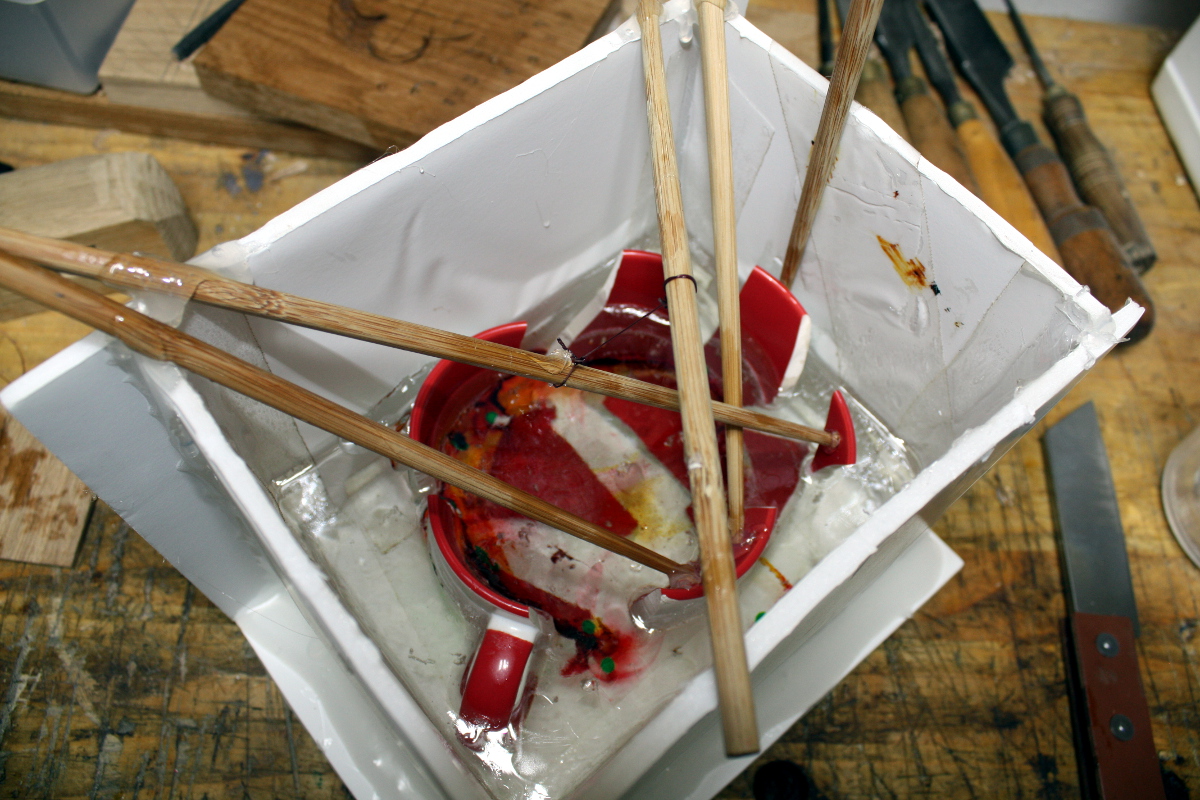
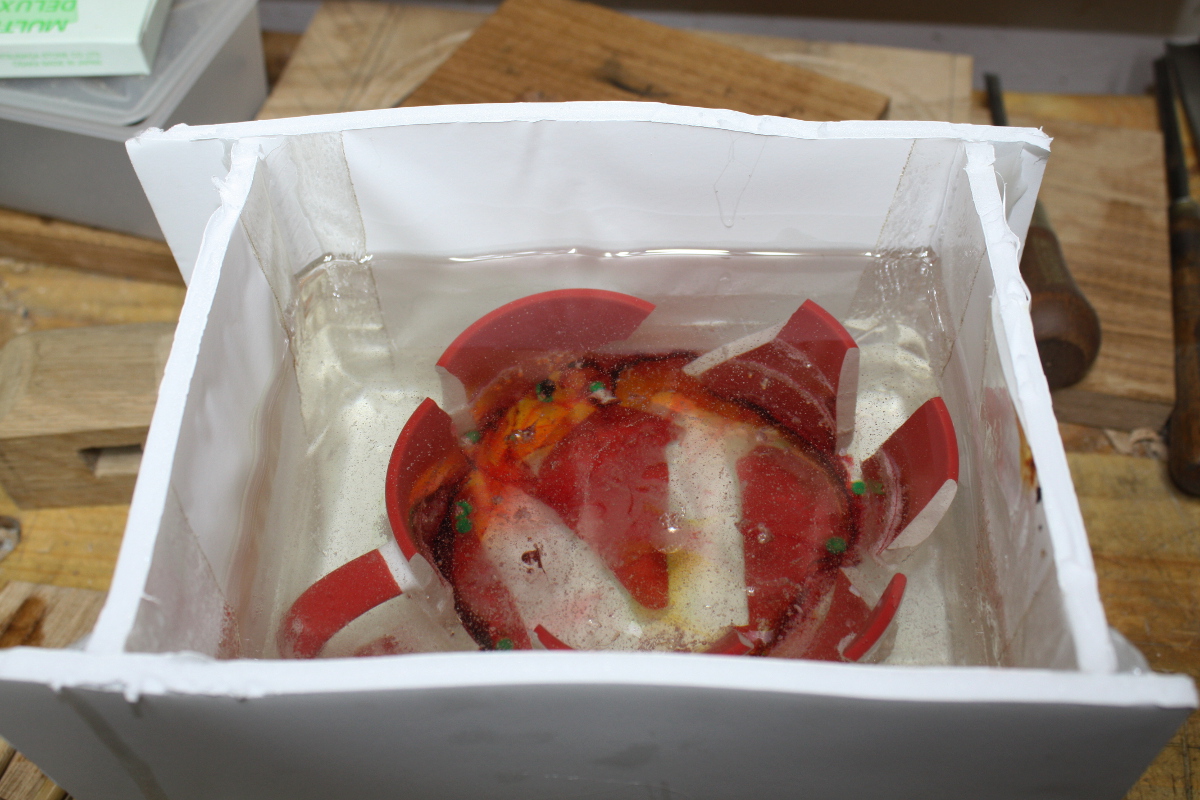
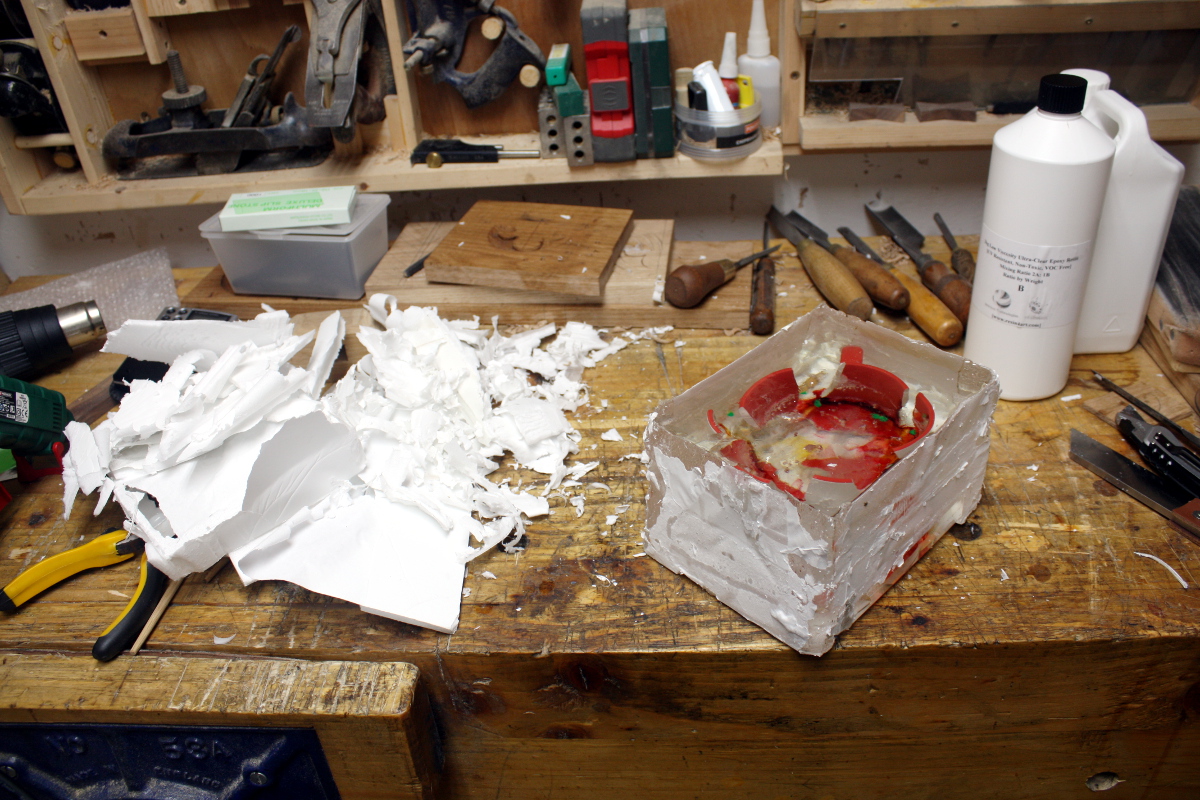
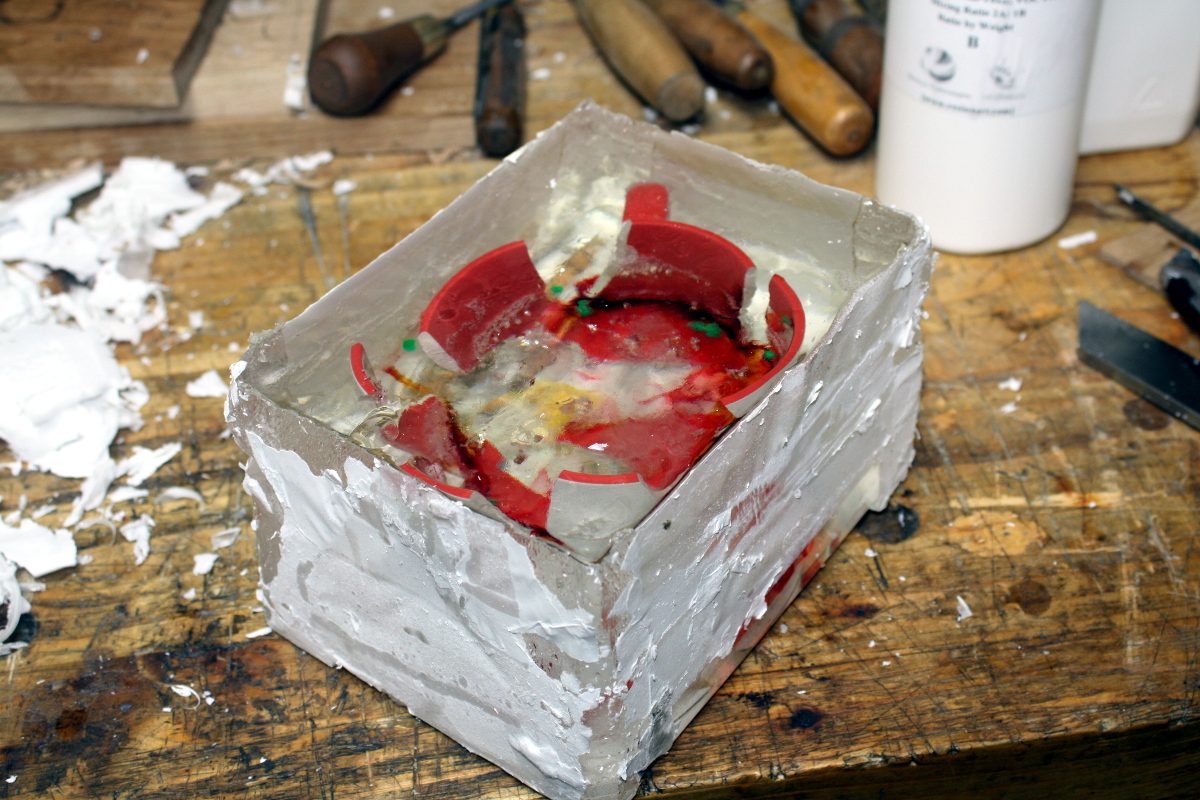
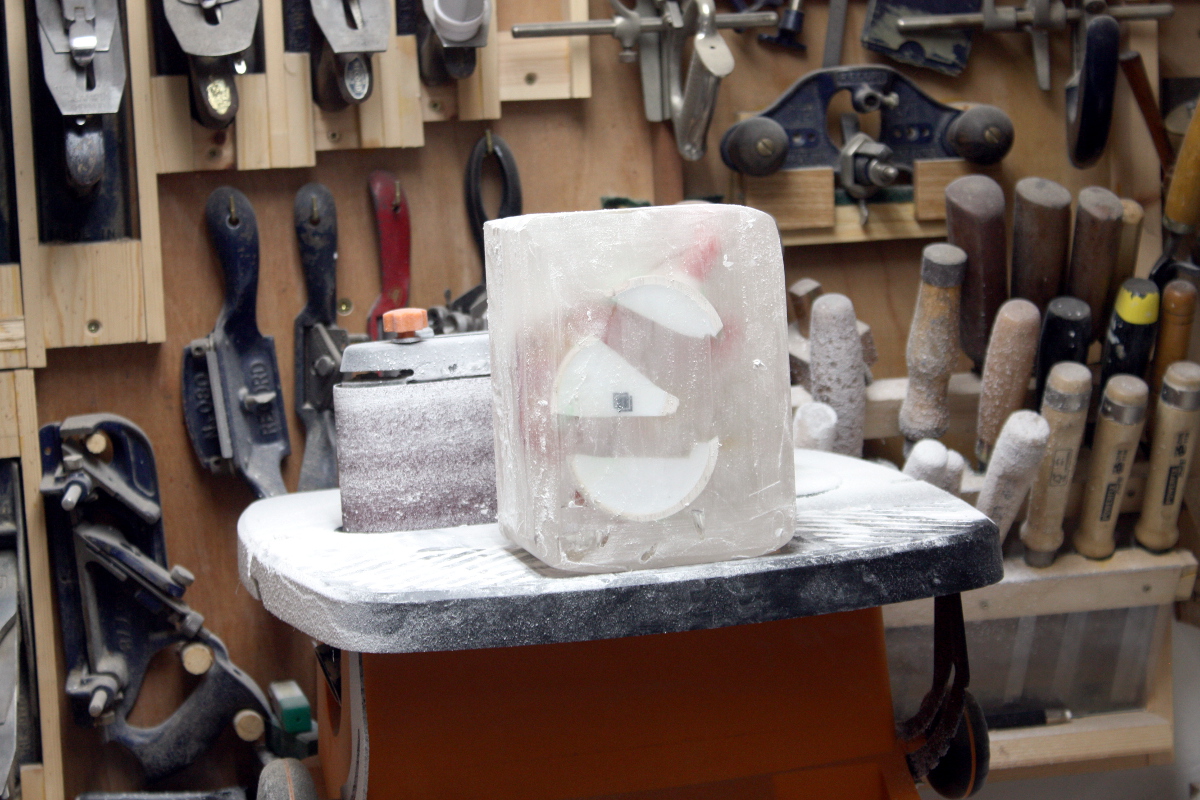
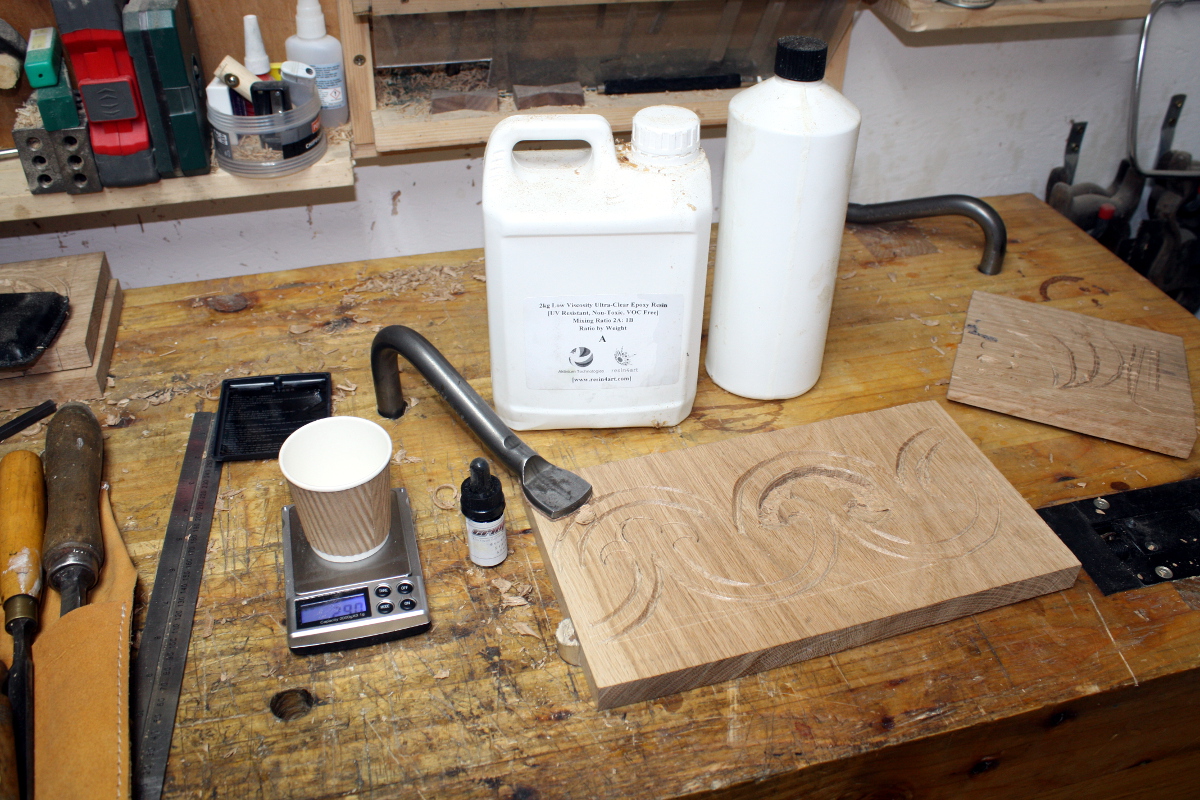
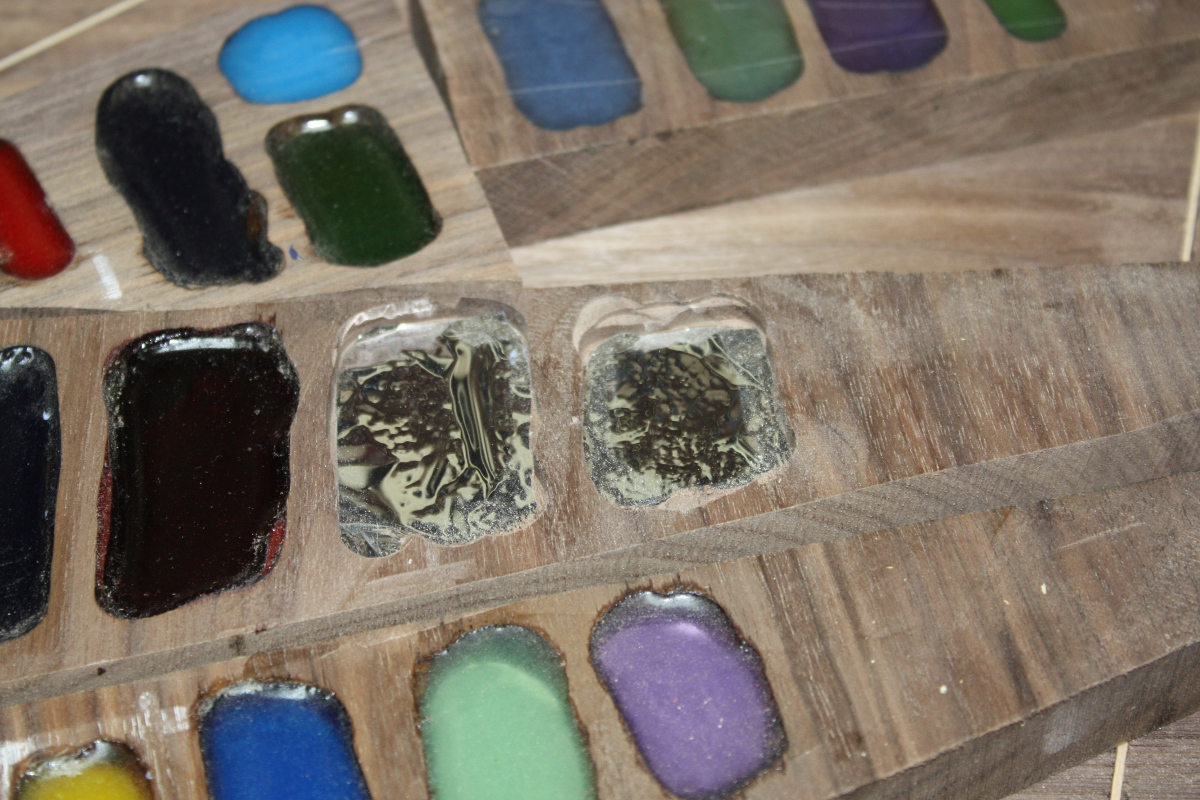
Before adding the resin though, I want to seal the bed and the sides with grain filler — not the wood putty type stuff, the much much finer stuff used to seal the pores (usually in oak) to stop finishes (or in this case resin) wicking through the pores in the wood and looking bad. Once that’s done, I’m going to add reflective film on the bottom of the sea bed. I tested this a while ago, if you do this and have a light source overhead, it lightens up the resin really nicely:

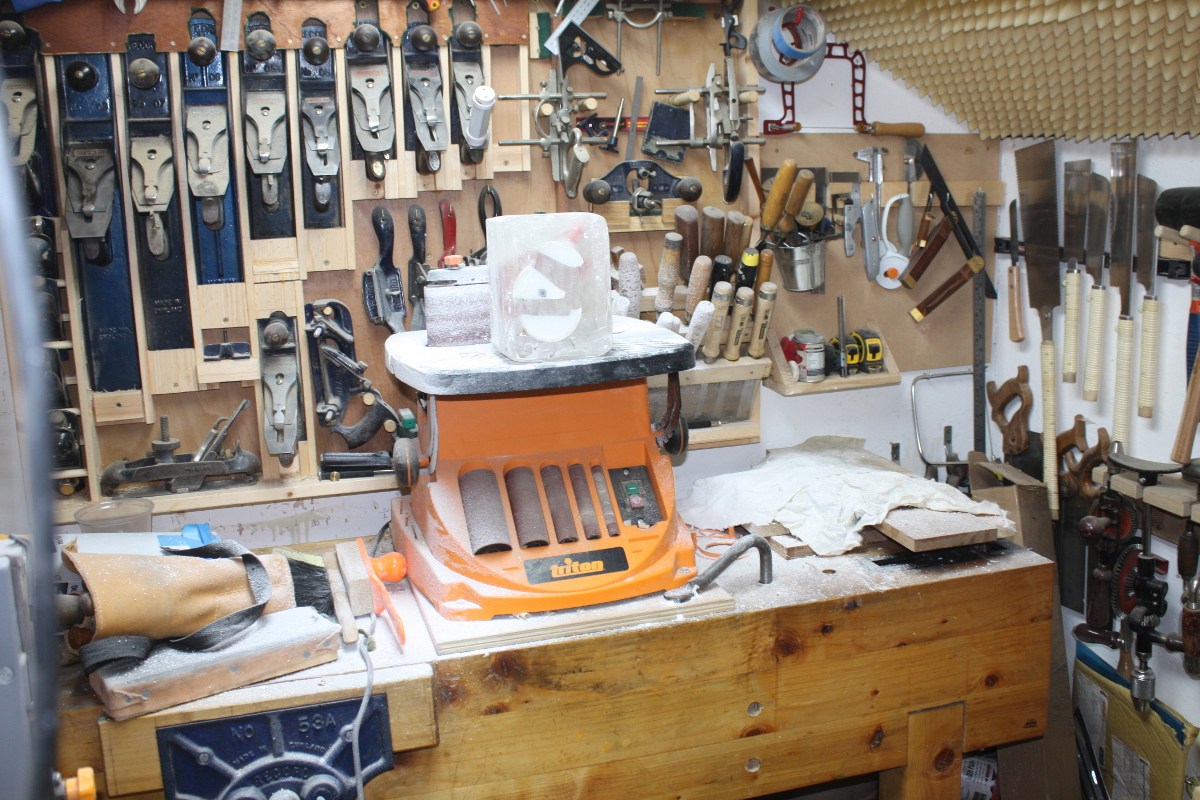
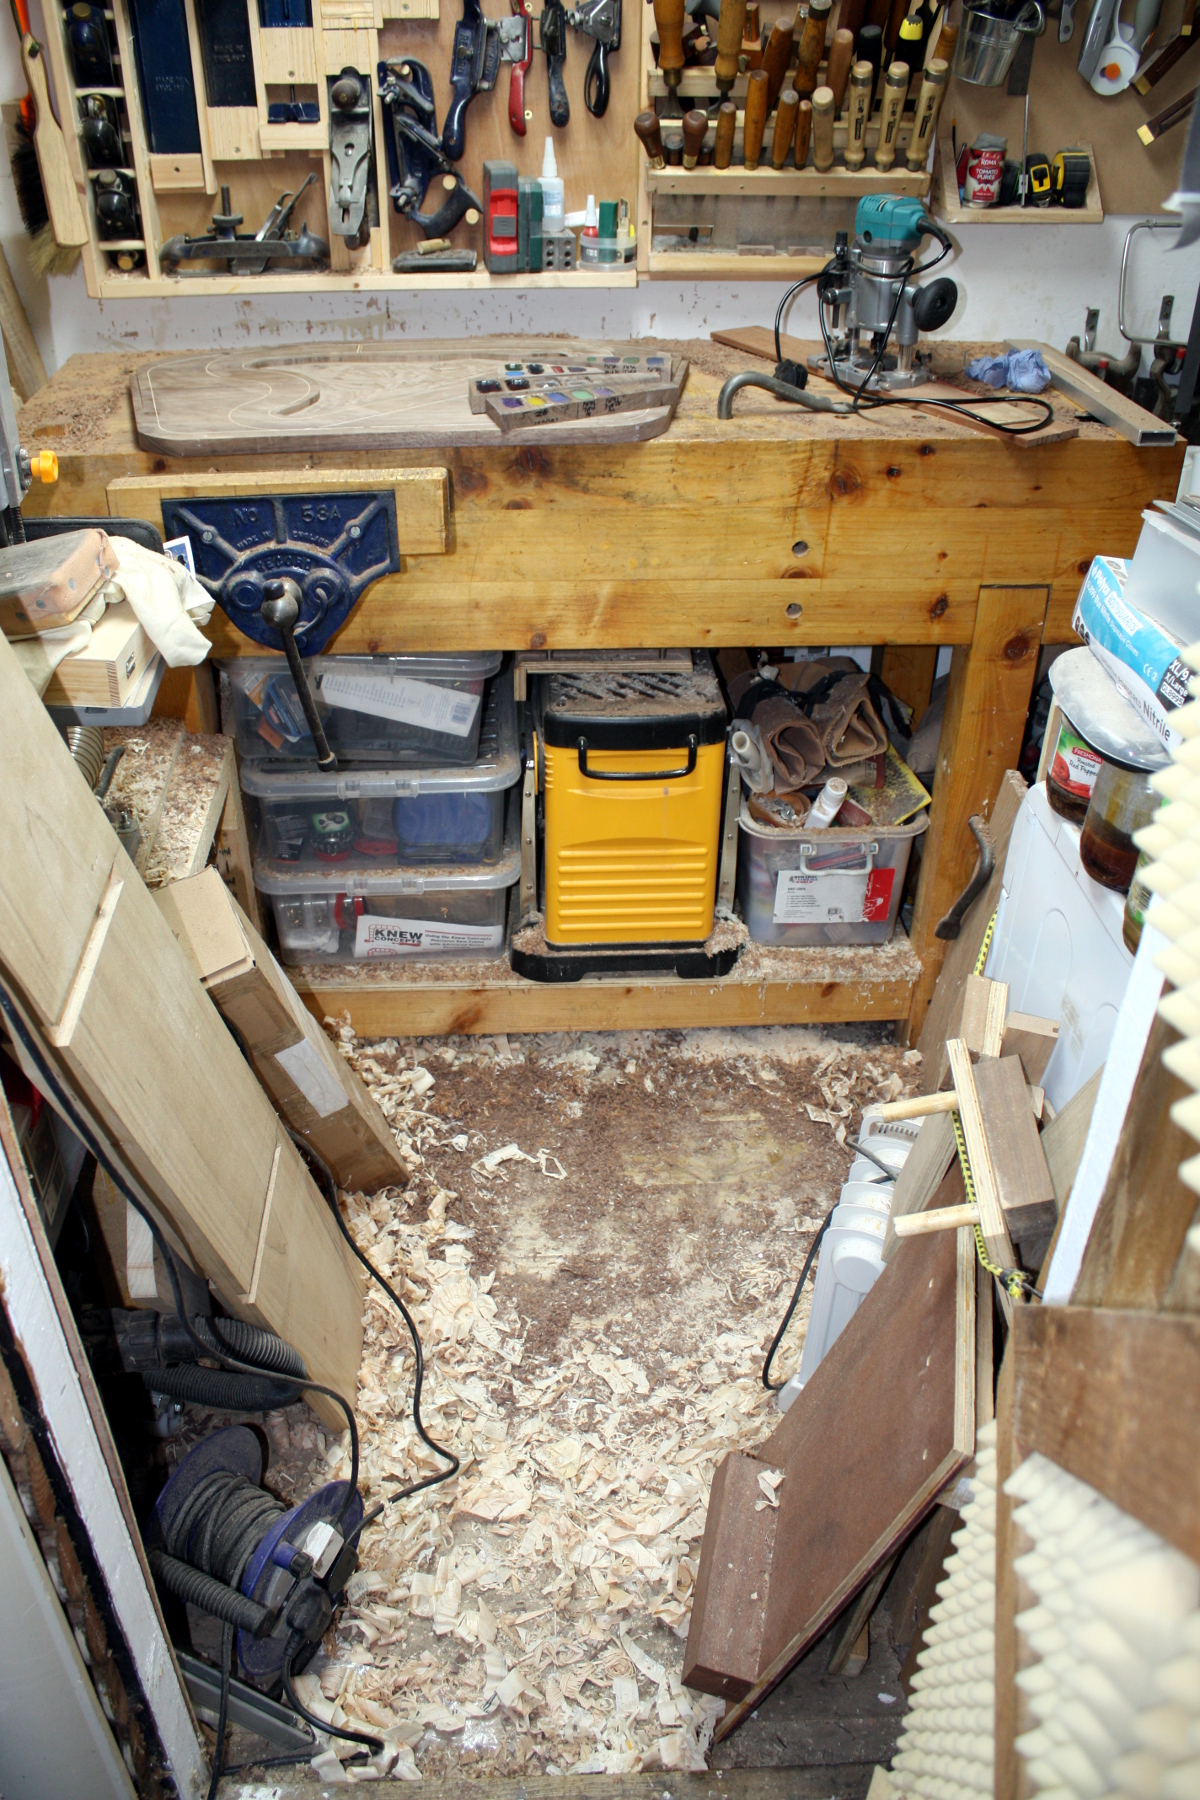
I may need to clean up the shed a bit before that though, every time I do any routing the shed looks like a small bomb went off in it and working there gets less pleasant.

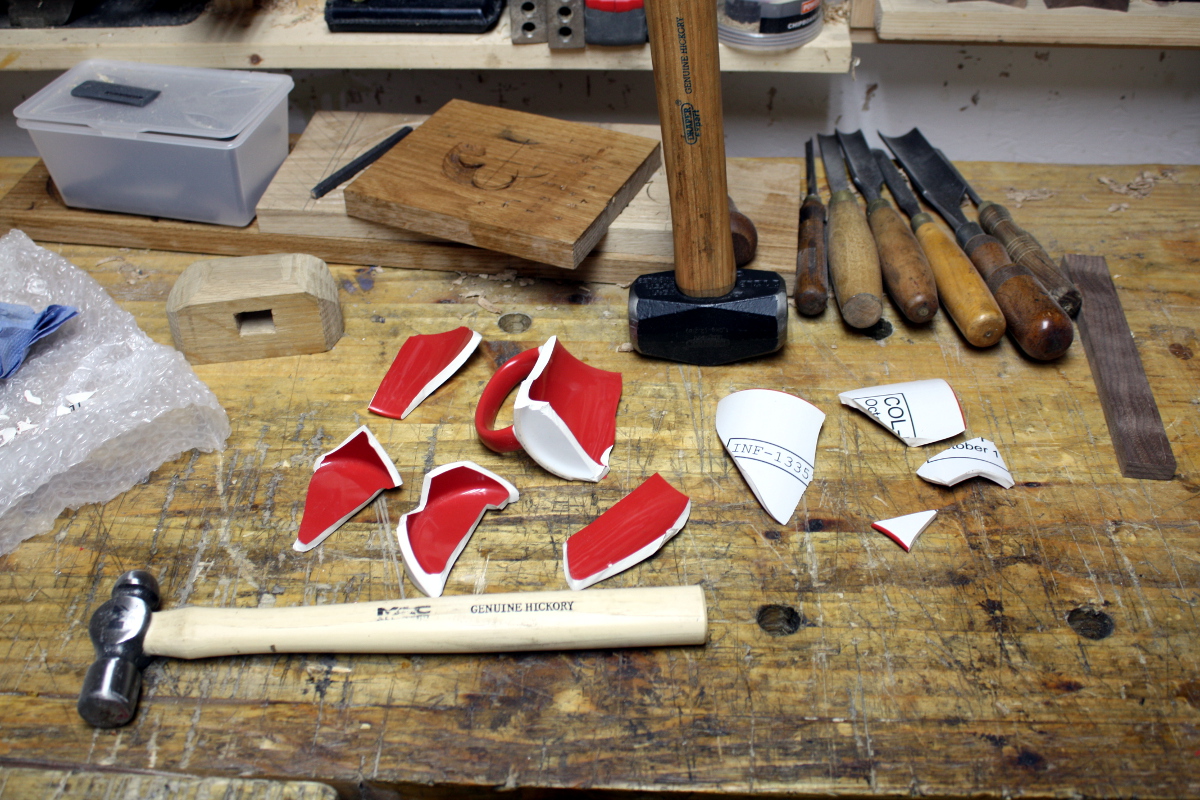
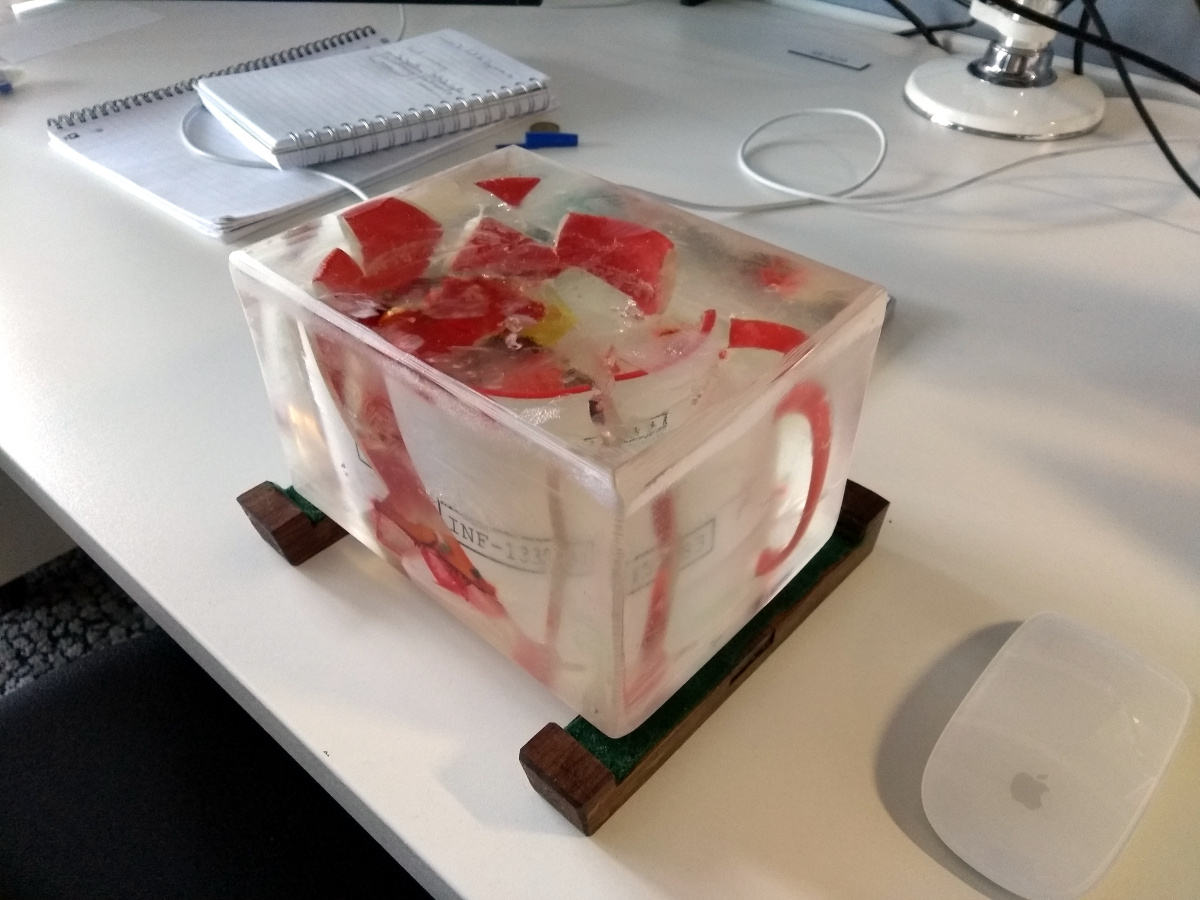
Mind you, it can’t be all that bad, it passed the customer’s testing with flying colours…


01
Apr 19

Epoxying a mug

So, one of our team at work went on holiday to Peru and left his mug behind him in Dublin. And was scheduled to return on April 1.

So what happens next is entirely his fault.

(COL-PROD was a work project thing which won’t mean a thing outside of work)

You know, it’s harder than you think to shatter a mug using a wedge from the inside out so it doesn’t look like some heathen just belted it with a hammer…

Foamcore mould, held together with packing tape and hotglue.

And now we start the first of several batches of resin…

Holding the pieces in mid-air so they’ll be in the right place when you pour the resin around it, and holding it in place while the resin sets, is a fiddly job.

Haven’t poured that much resin before, and the second-to-last layer had something of a thermal runaway and warped the foamcore.

Oh. Right. Foamcore does need mould release before pouring resin. Oh well. That wasn’t irritating and fiddly at all…

Still though, not horrific. I’ll cut off most of this with a knife and then…

Power tools time. Starting with 50 grit and working up to 150 grit.

Power sander is done here. And holy carp it was messy. It was like working inside a shook-up snowglobe.

This is going to need some major cleanup later on. But for now, onwards.

Handsanding, wet, with micromesh at 200, 400, 600, 800 and 1000 grit. Then wetsanding with wet/dry paper at 1200, 2000 and 2500 grit. Gotta love Halfords for small amounts of cheap high-grit sandpaper.

Now autosol applied by rag and then buffed with a power drill.

And finally some resin polish, again from Halfords.

And then I tried spraying with clear lacquer…

But it didn’t go so well, it left the surface cloudy even after fully drying and buffing. So I went back to the autosol and then the resin polish again and left it at that.

Then I knocked up a very very rough stand out of some walnut and felt and stuck it in my backpack and took it into work…

Not bad, but it’s missing something… oh, right, he’s returning on April 1. So…

That seems about right.

We did enter his mug into a Sustainability competition at work on the grounds that it will far outlast a single-use cardboard mug for the coffee machine but for some reason we didn’t win. Harumph.


13
Mar 19

17th Century Resin?

So, y’know when you have an odd idea and you can’t be sure if it’s good or terrible?

The oak carving is going okay. But depressingly regularly, while cutting away the background, a piece of the foreground chips off. Sometimes I can fix it with CA glue, sometimes I can soften out the edges so it looks like it was supposed to be rounded instead of oops-broke-a-bit, but I kept wondering about how well the box would hold up if it’s this chippy, and also while I like the way it looks, well, most of the appeal of this sort of stuff comes from the medullary rays and the lines of the grain you get when you rive oak, and the flatsawn stuff just isn’t as pretty.

And then I wondered, well, what if you carved a Peter Follansbee pattern, but then filled it with Peter Brown resin?

And I couldn’t decide if that was a great idea or a horrific one so I took an offcut, scratched in the pattern and spend a very hurried ten minutes hacking out the basics of the pattern and annoying myself that despite speeding through it, it came out better than some of my more careful attempts.

No, it’s not finished – in particular we’re only down to even close to depth on the right half of the pattern there. But the goal is to just test this idea and see if it’s truly awful. So I stopped here and mixed up some resin with some Crimson Guitars crimson dye (because there is actual historical precedent for this style of thing to be painted, mostly in red and blacks).

I’m fairly sure digital scales in the 0.1g range were not common in 17th century New England, but neither was epoxy resin or a polio vaccine, so, y’know, I can live with it.

Two parts A to one part B by weight plus two drops of crimson stain and mix for a full minute to make up 60g of resin. And then pour.

It looks like a seriously impressive accident just happened.

I know it’s spilled over, that’s deliberate. If I don’t put in enough, the oak being porous soaks up enough resin that it dips below the surface and I’ll have to take it down too far afterwards to get a clean surface again. I’ll let this set then pour more resin over the top to get it all above the datum (and I’ll leave it clear so I can see what a clear resin looks like in some of those v-tool cuts as well; that might also be something to try.

I mean, yes, one’s had more work, but so far this isn’t convincing me it’s a massive improvement, but let’s just see.

So it cures for a few days and then today…

Yikes. Messy. I tried planing down the surface with the #05 but even on a light cut the resin chips and it’s just not viable. So sanding is needed and I only had a half hour so…

Repeat after me, “It’s only a test, it don’t mean a thing”

So that took off the excess and got back to an almost-flat surface (one part of the oak drank a lot more resin than even the second pour made up for). And then more sanding is needed to get an idea of what it could be if I did it right.

Wetsanding with micromesh up to 1200 grit (but not for a huge amount of time, only 30-40 seconds per grit) gives this.

For fits and giggles, add the linseed oil that you’d normally finish oak with:

And the transparent resin is interesting as well – you can see the pattern, but not feel it and the surface is smooth as glass.

The rushed beltsander is not the best tool here. It grinds the resin dust down into the pores of the oak and it’s nearly impossible to fix that. I need to think about that a bit to figure out what to do to prevent it or if it can be prevented at all. Maybe a #04 with a really really fine cut is an answer, I don’t know for sure. Maybe I should finish carving, seal the pores and then pour the resin.

Or, you know, maybe this is an absolutely terrible idea 😀 It certainly isn’t as good as a Follansbee, so maybe that’s why I’ve not seen this done before. Need to think about it a bit more.