18
Dec 17

Starting again…

I figure, with six projects sitting in component form in the staging area of the shed, best get to work making even more components for a seventh project. Because Reasons.

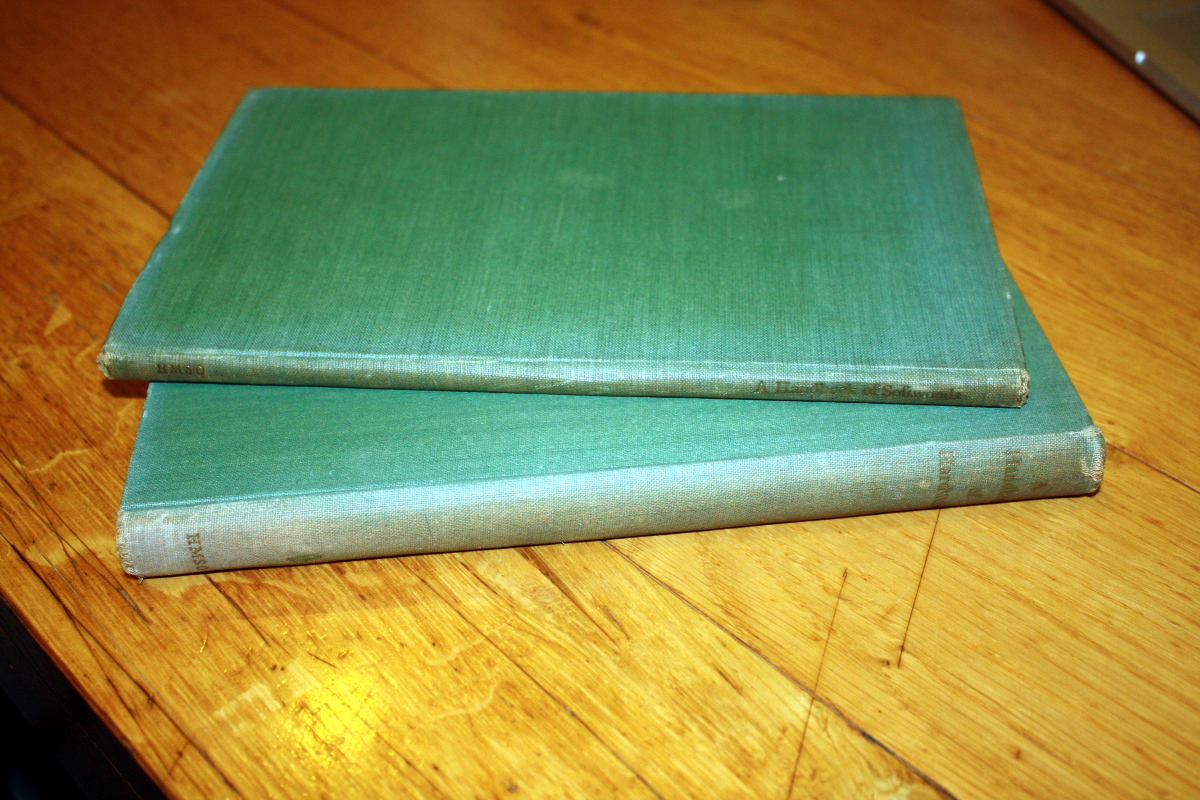
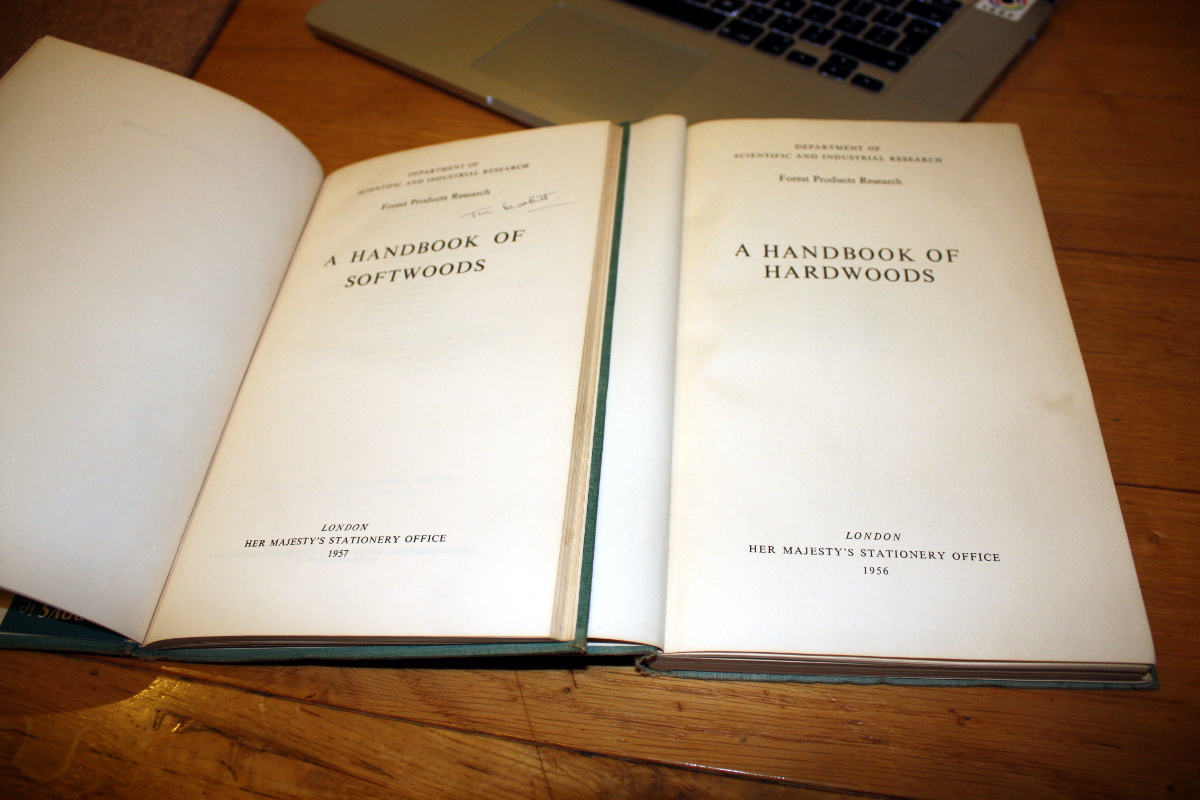
Anyway, the first video I ever saw by Richard Maguire was about building a small wall cupboard (in a sort-of, kind-of, if-you-squint shaker style probably best described as “`English colloquial” 😀 ):


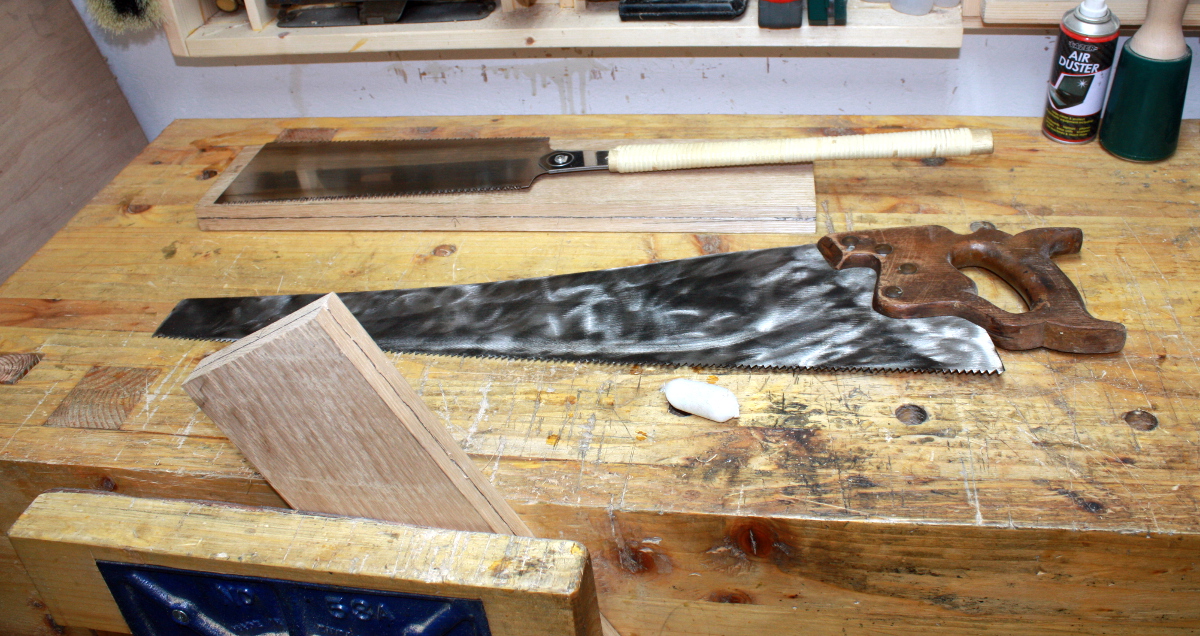
I’ve wanted to build this for a while. But I don’t have the ten feet of pre-planed three-quarter inch thick pine his plans call for. What I do have is a pair of boards of inch-and-a-quarter rough-sawn poplar, mostly free from green stains…

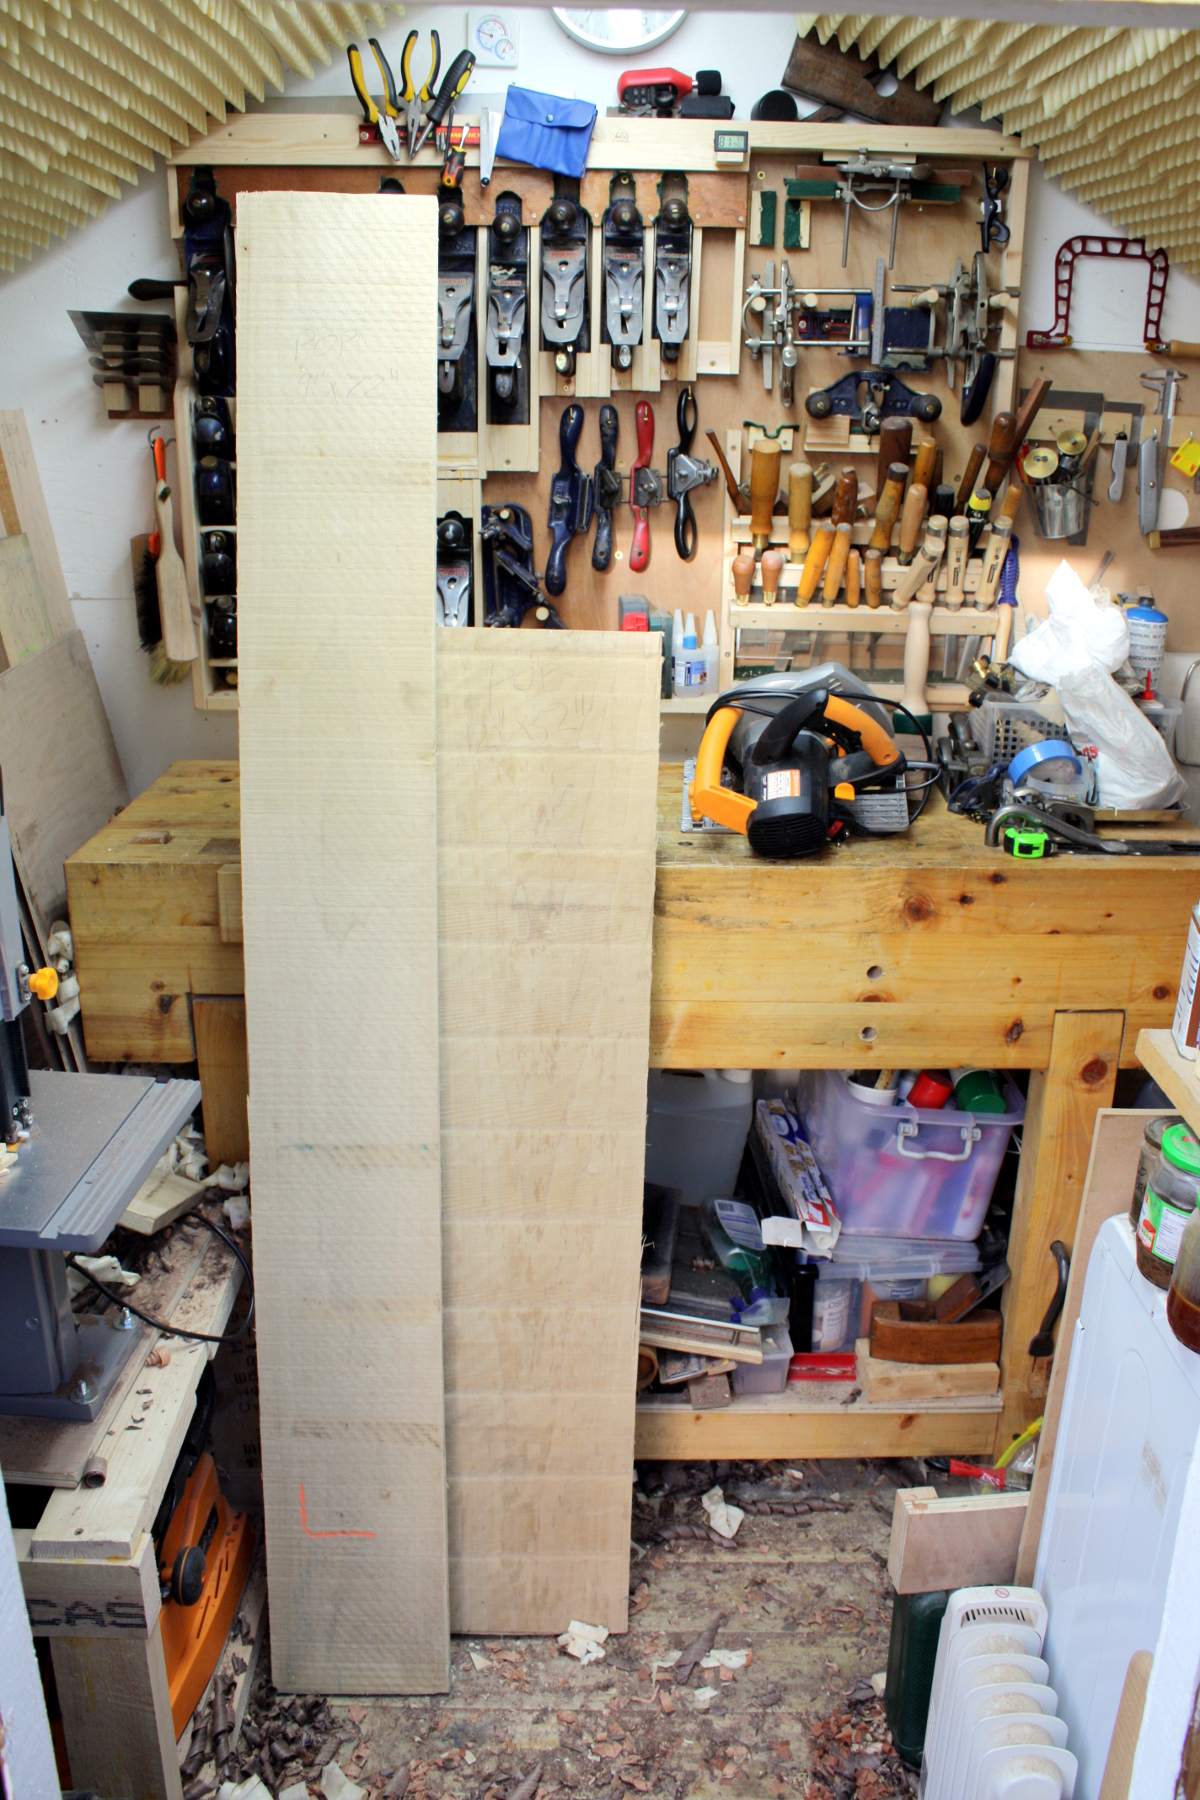
That should work. And sod feeling bad about doing the rough-cuts with a power circular saw. Do you see room in there for me to swing a full-size handsaw? Or have a sawbench? Besides, do you know how they did this back in the 17th century? Apprentices!!! (And there isn’t room for one in there either, even if you can find smaller rooms being rented for the price of a car a month on daft.ie). So.

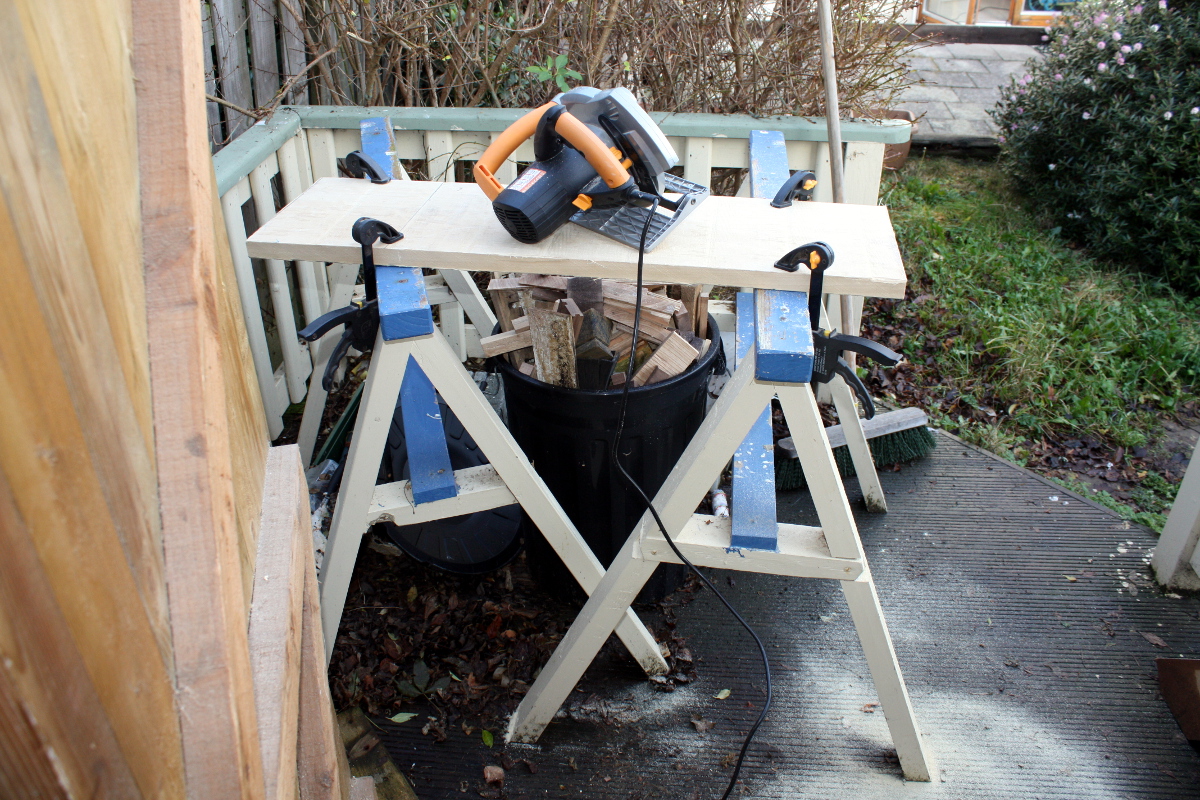
Woodwork al fresco. Yes, the deck’s a mess. I’ll tidy after the solstice when there’s time.

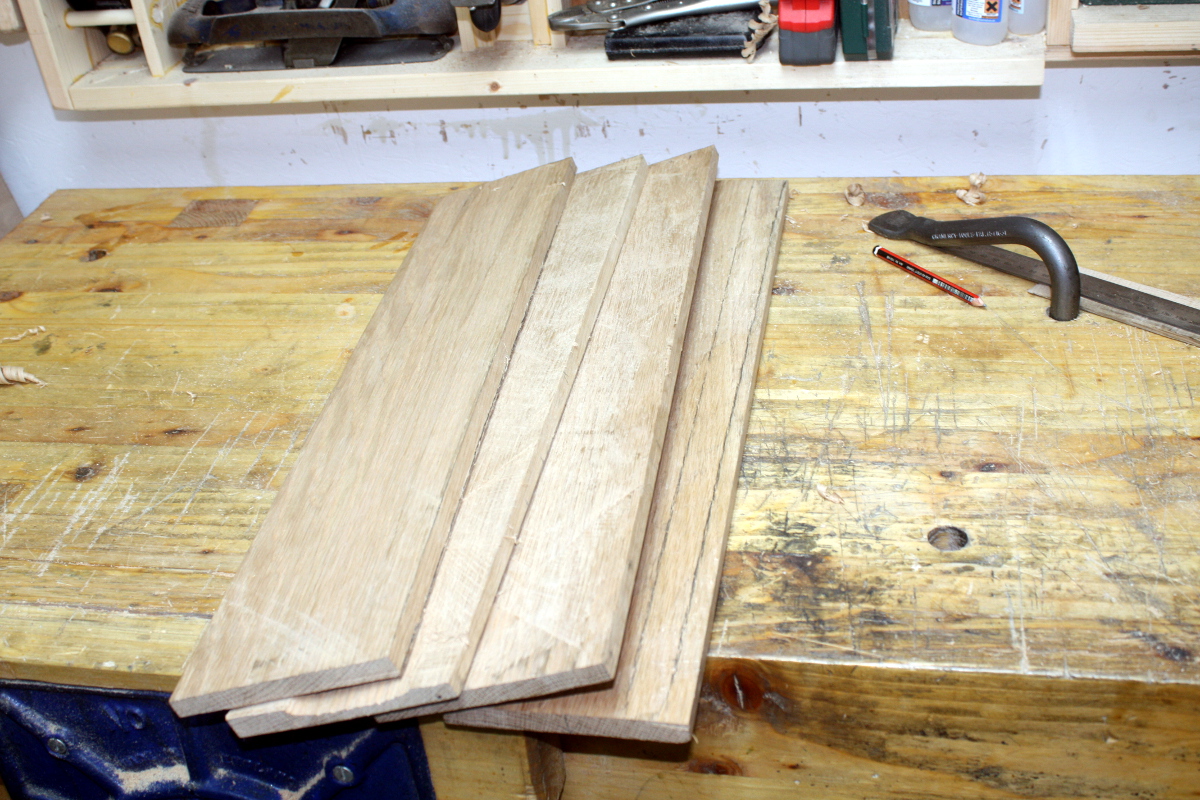
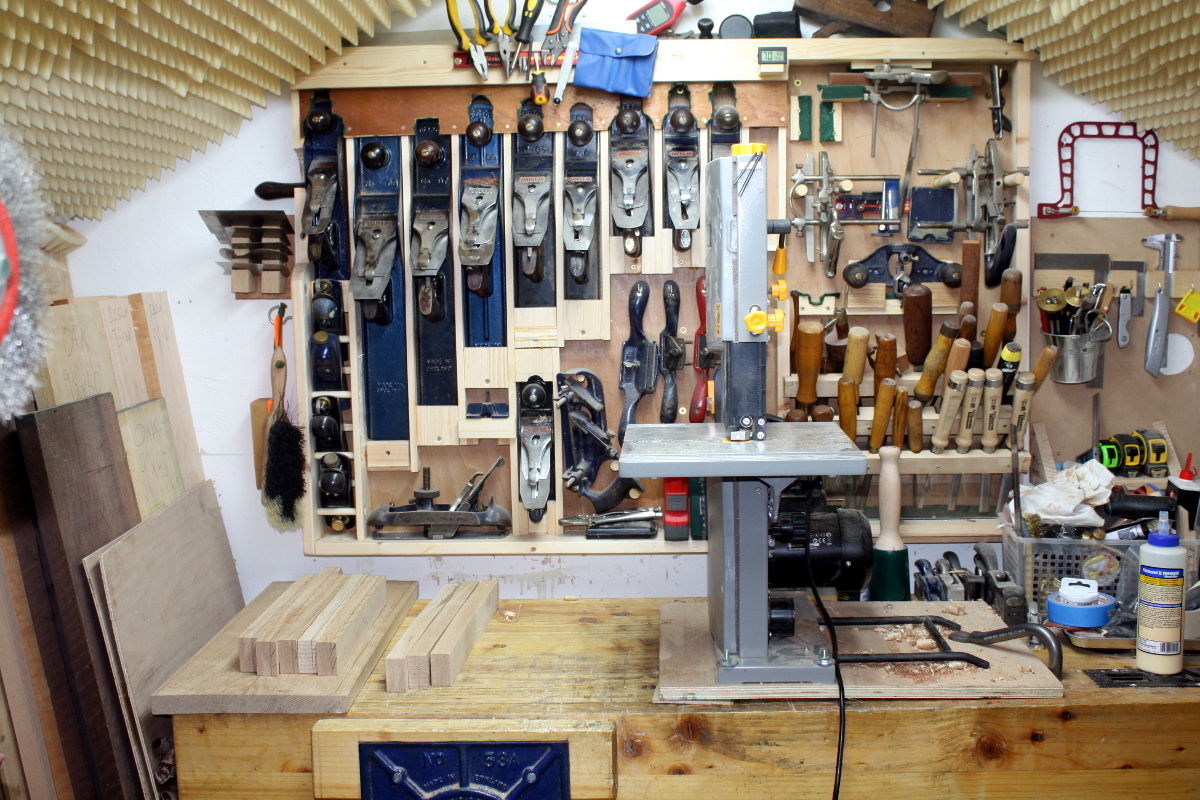
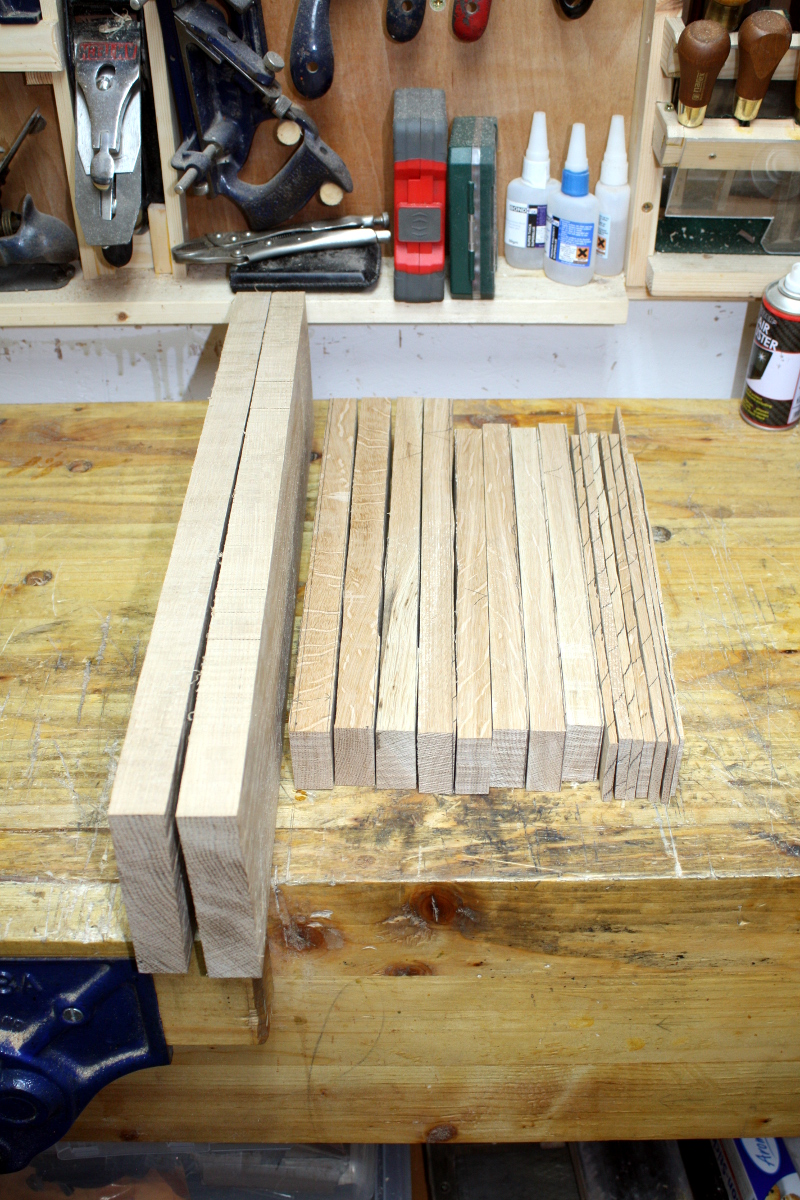
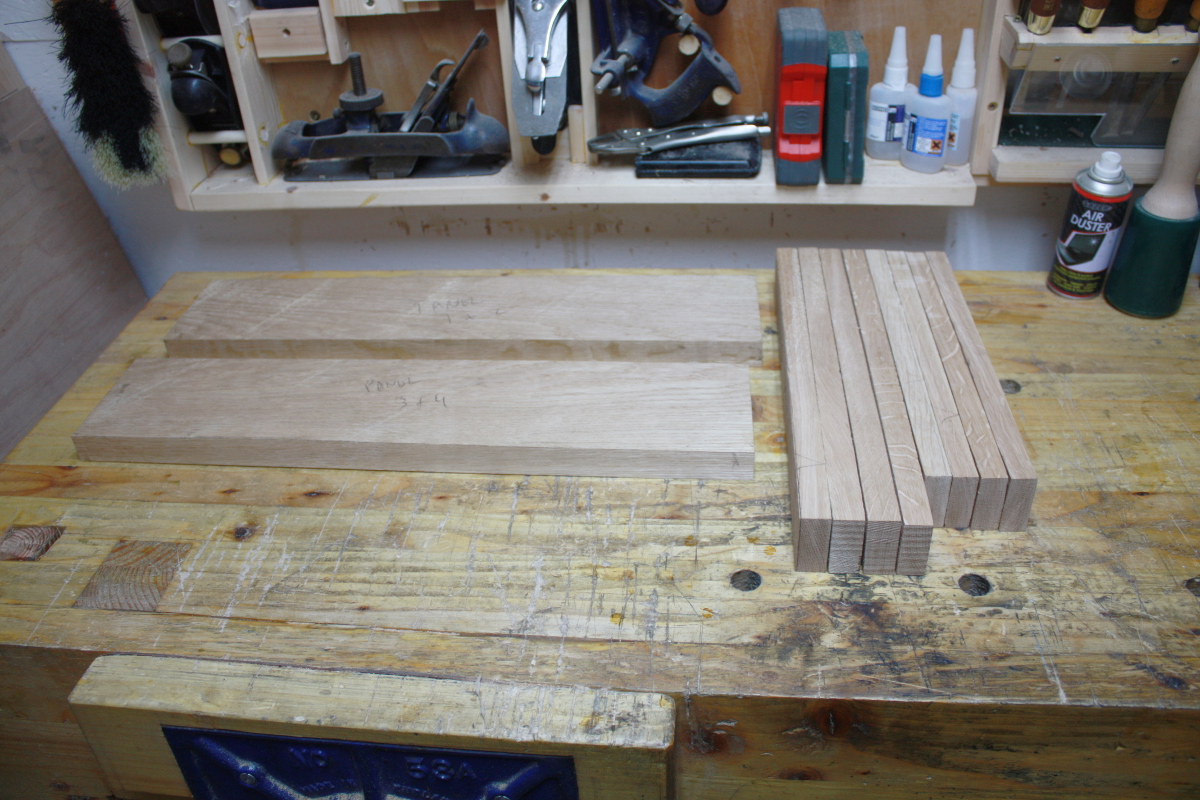
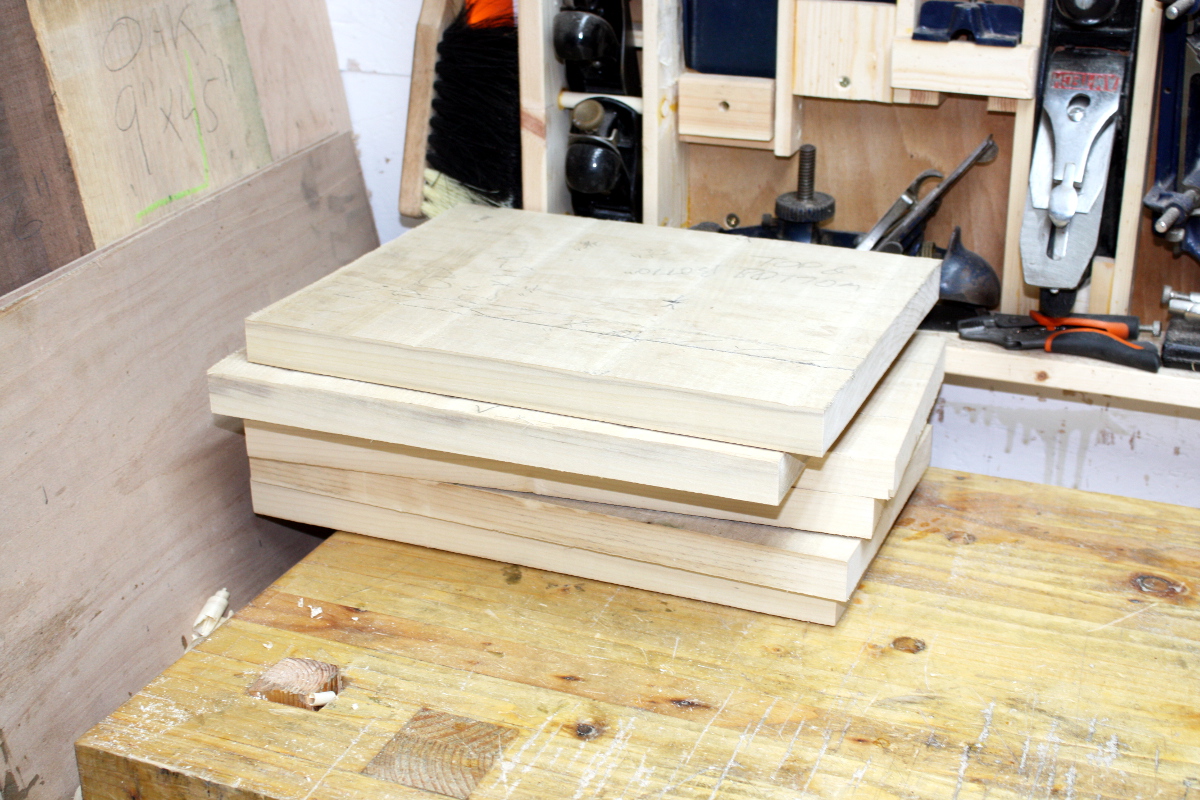
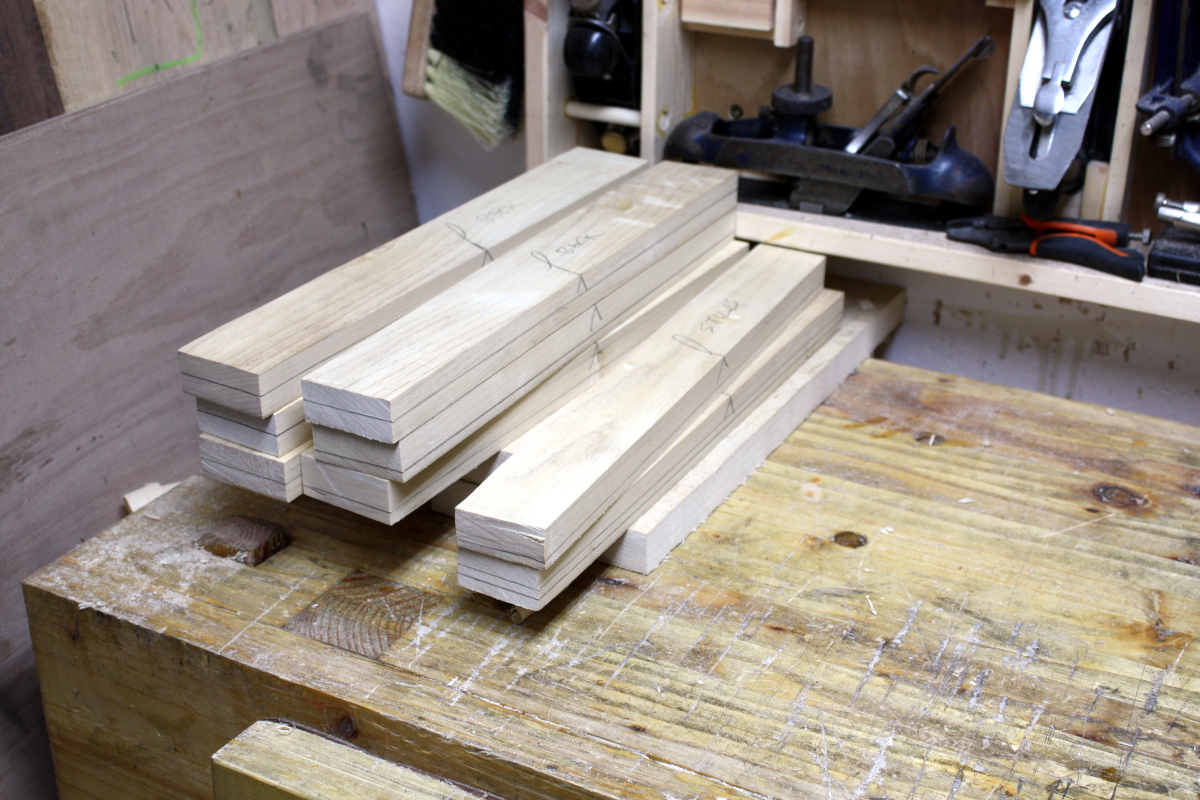
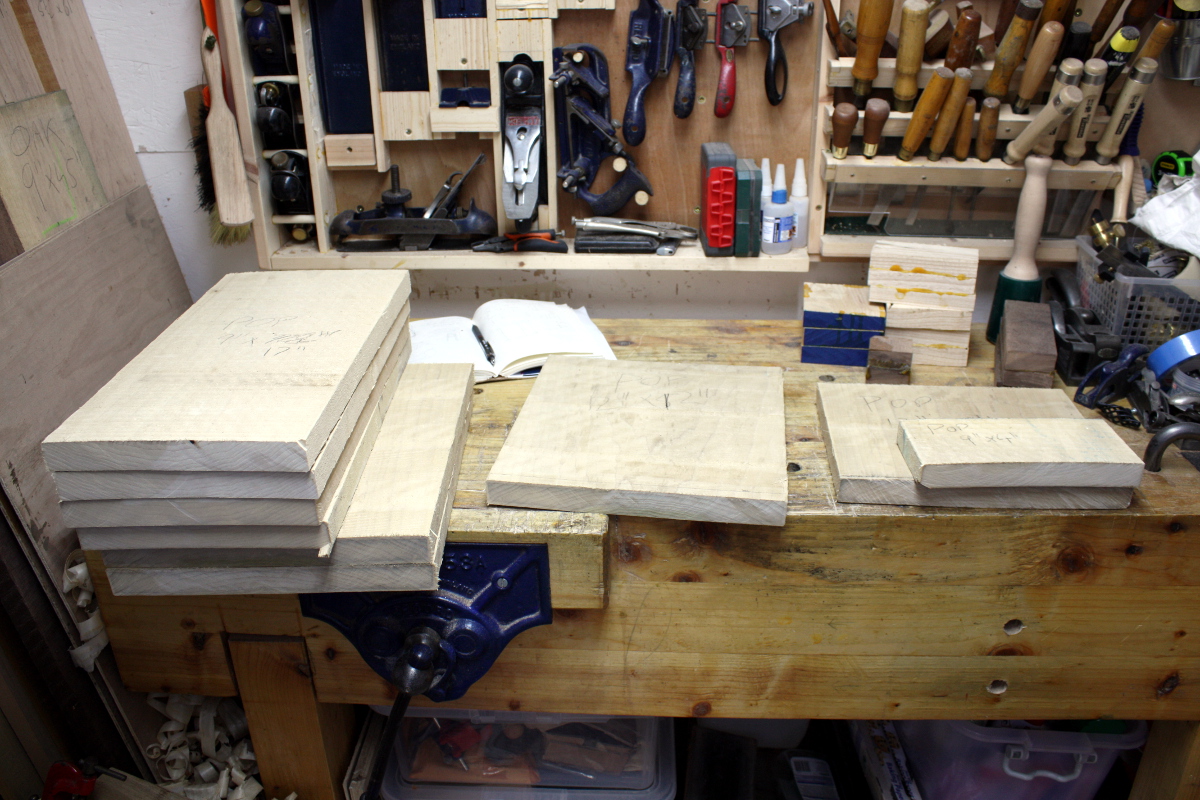
Right, that’s the rough-cut chunks for the cupboard on the left, a chunk intended for another project (yes, that’s eight, I know, hush), and offcuts that will probably become bandsaw boxes or the like.

Now, time to figure out layout a bit better.

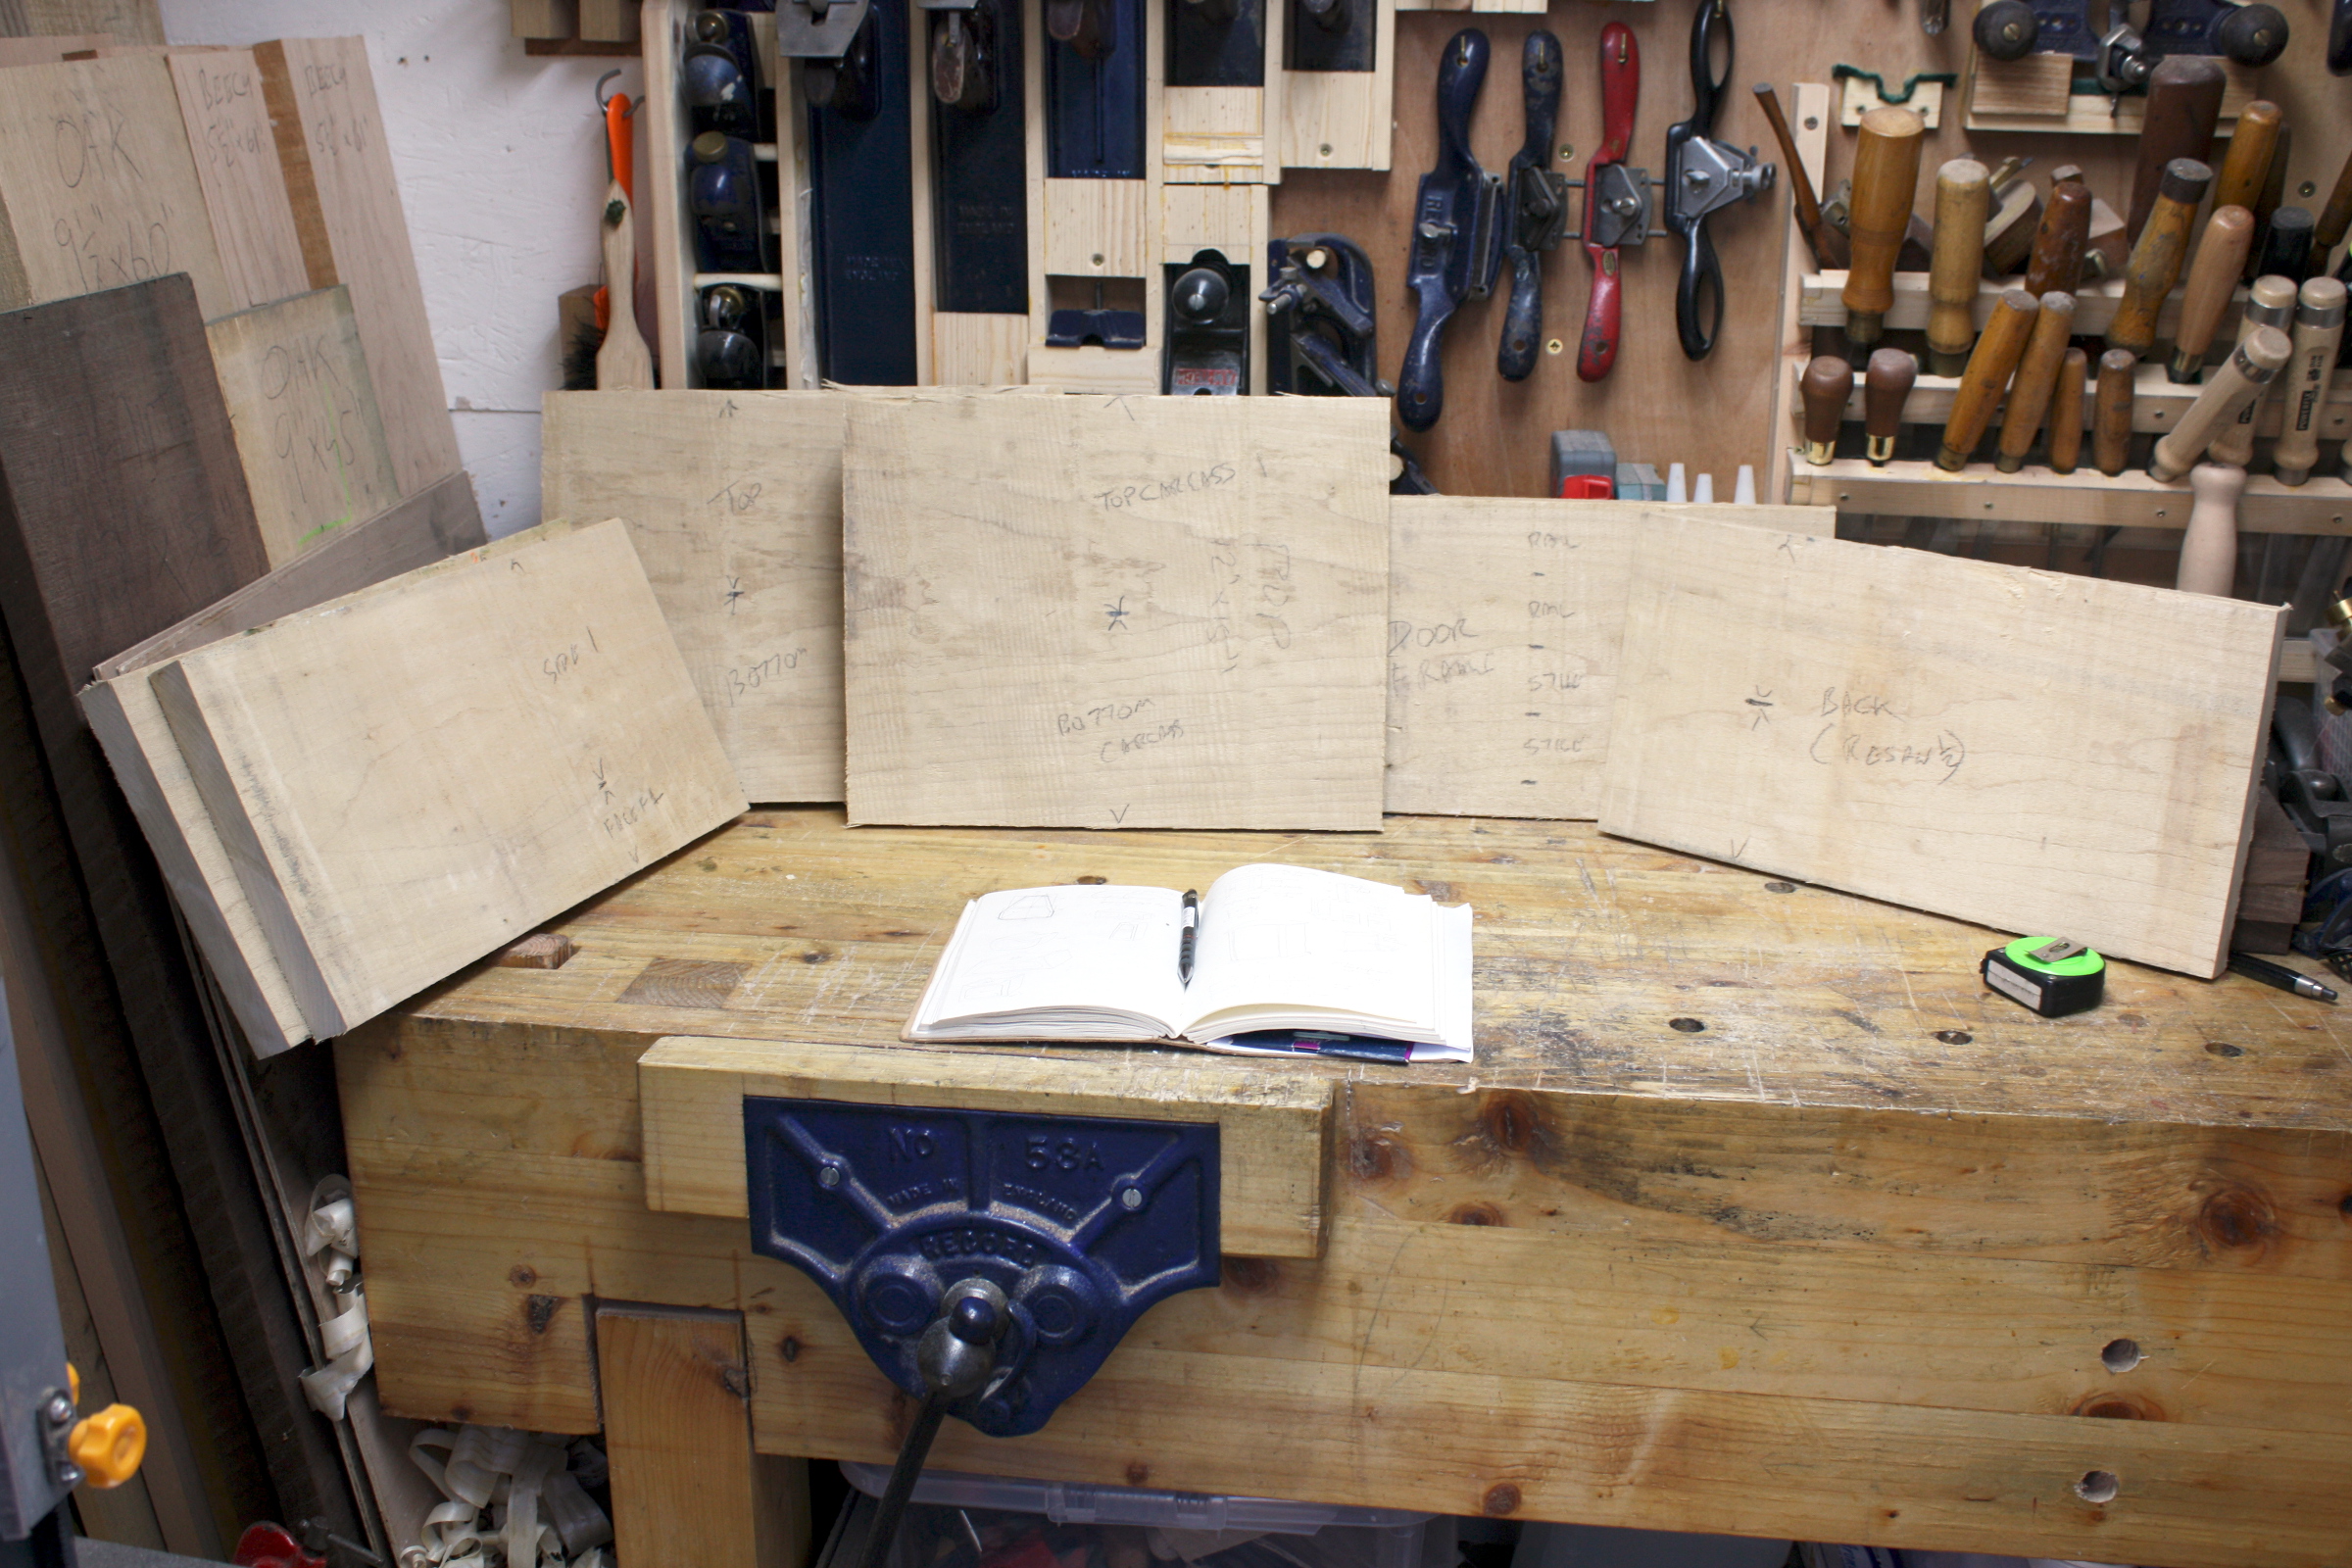
Design, meet wood. Wood, meet design. This is the humming and hawing stage when I try to think through the size in the design and how to break down the parts best, and whether stuff is getting thicknessed by scrub plane or resawn or whatever.

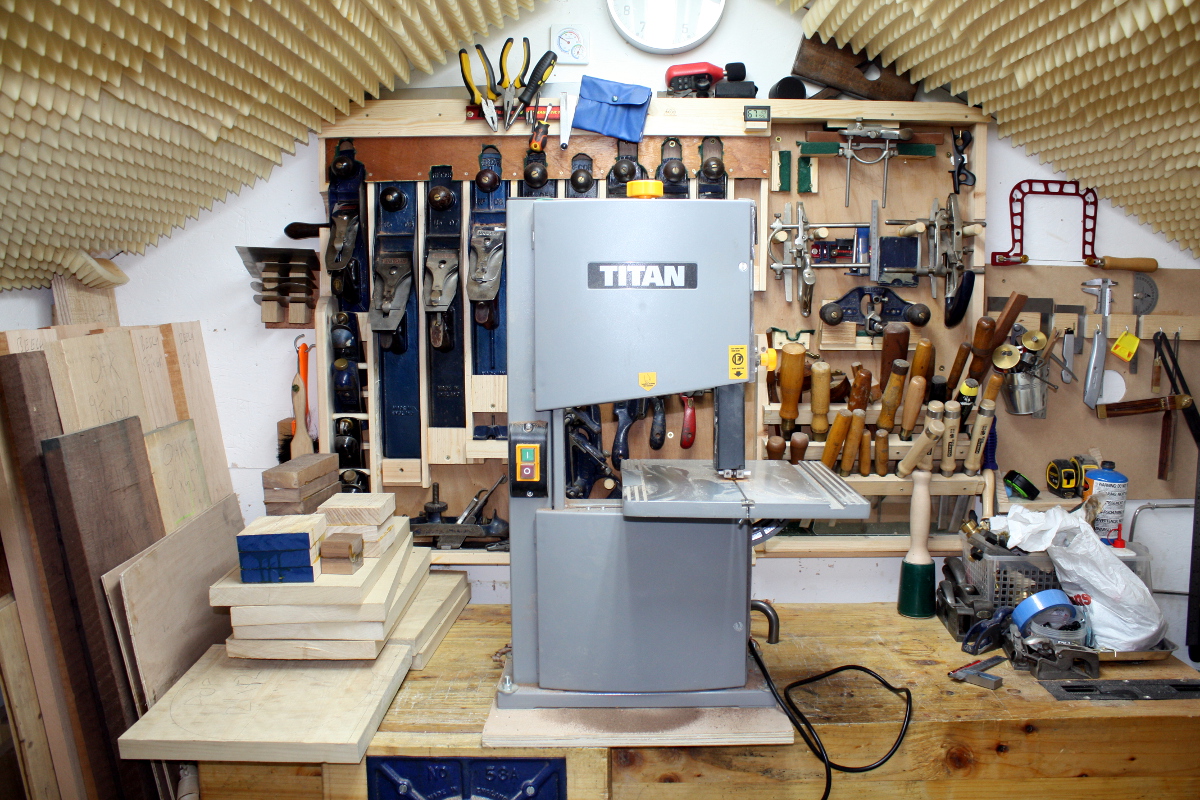
Resawing is a pain to do, thicknessing is only slightly better, but a lot of parts in this can be under three inches wide and those I can resaw with the bandsaw reasonably easily. I do have a frame saw on the way for wider stuff to see if it helps (lots of people say it does), but the thing’s in Cologne with no sign of moving for the last week. Sodding DHL.

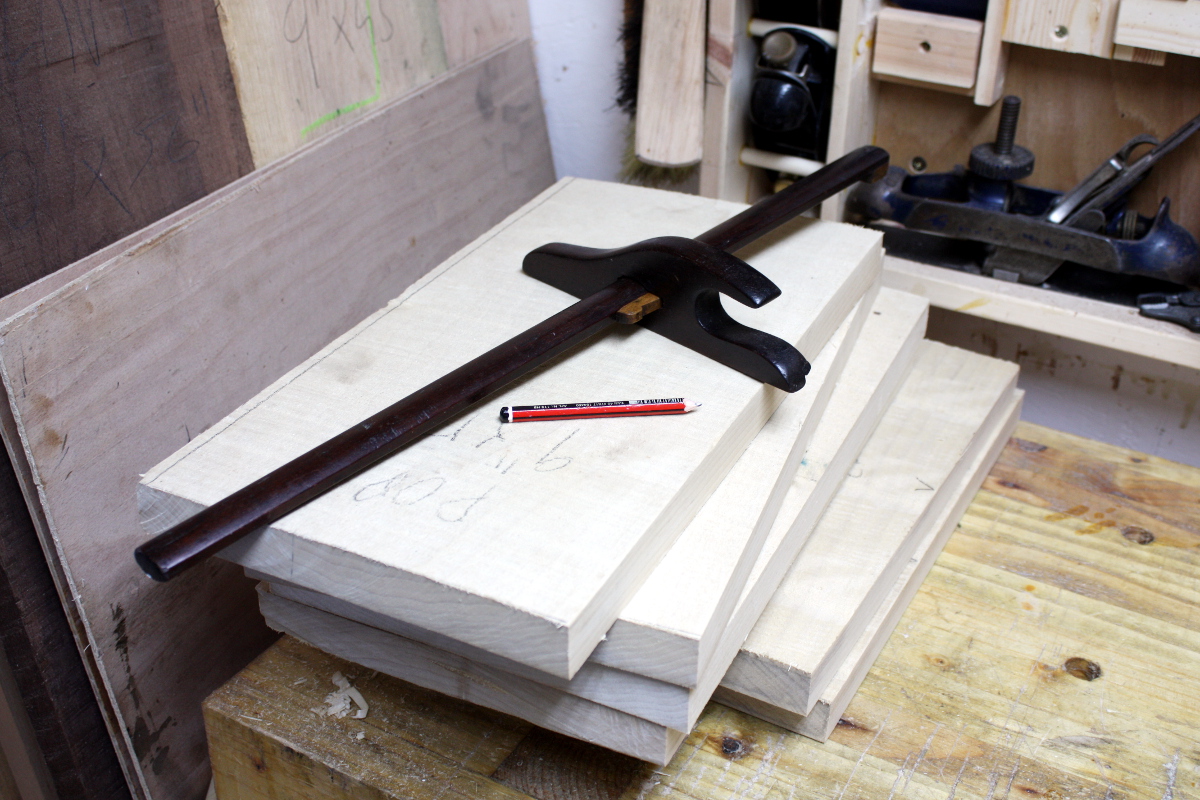
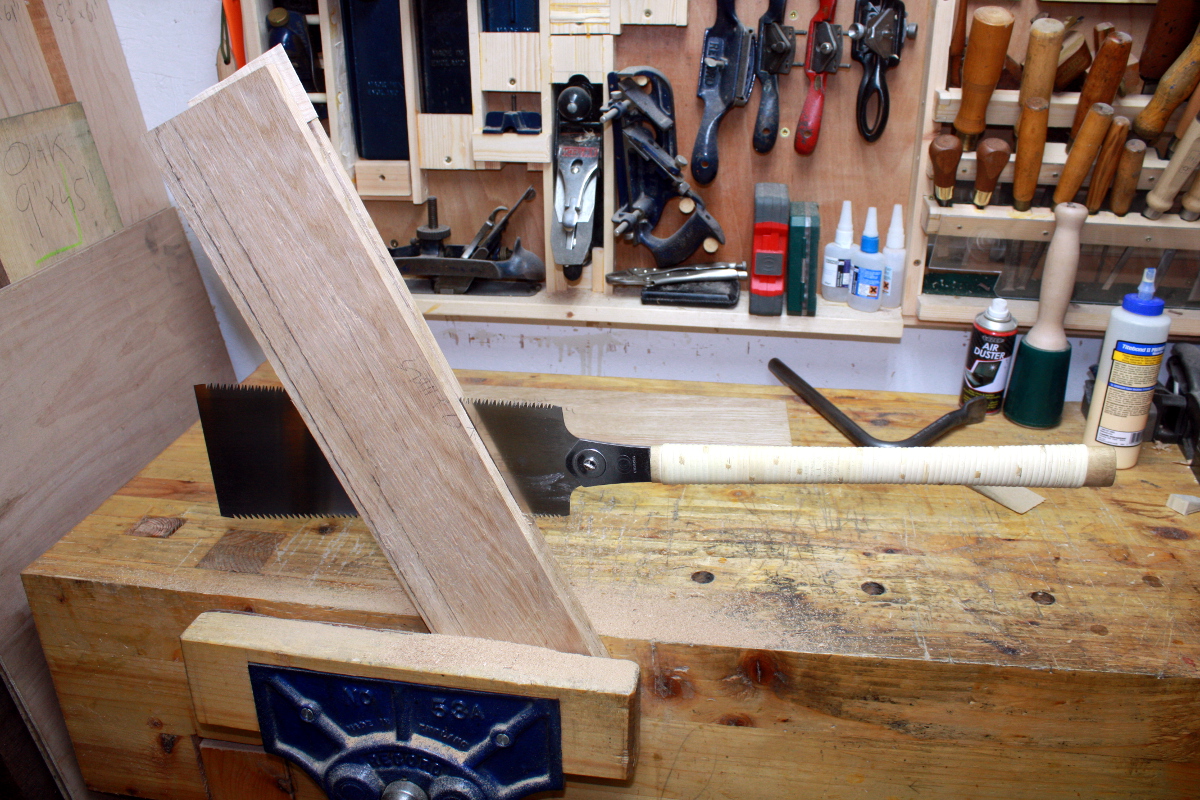
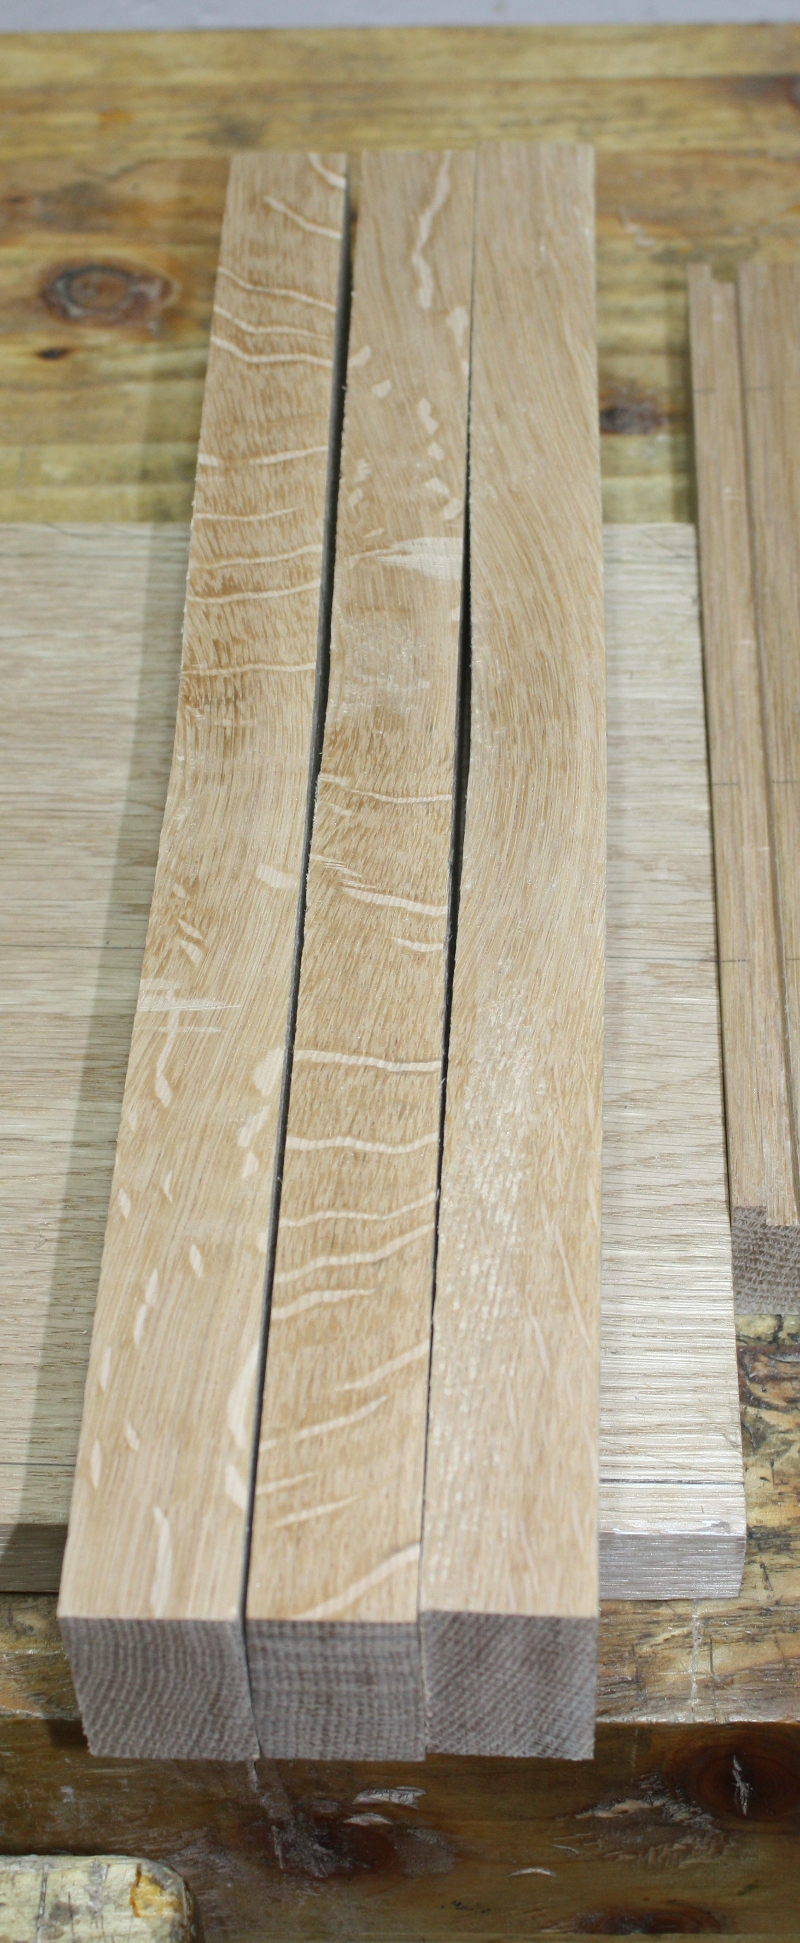
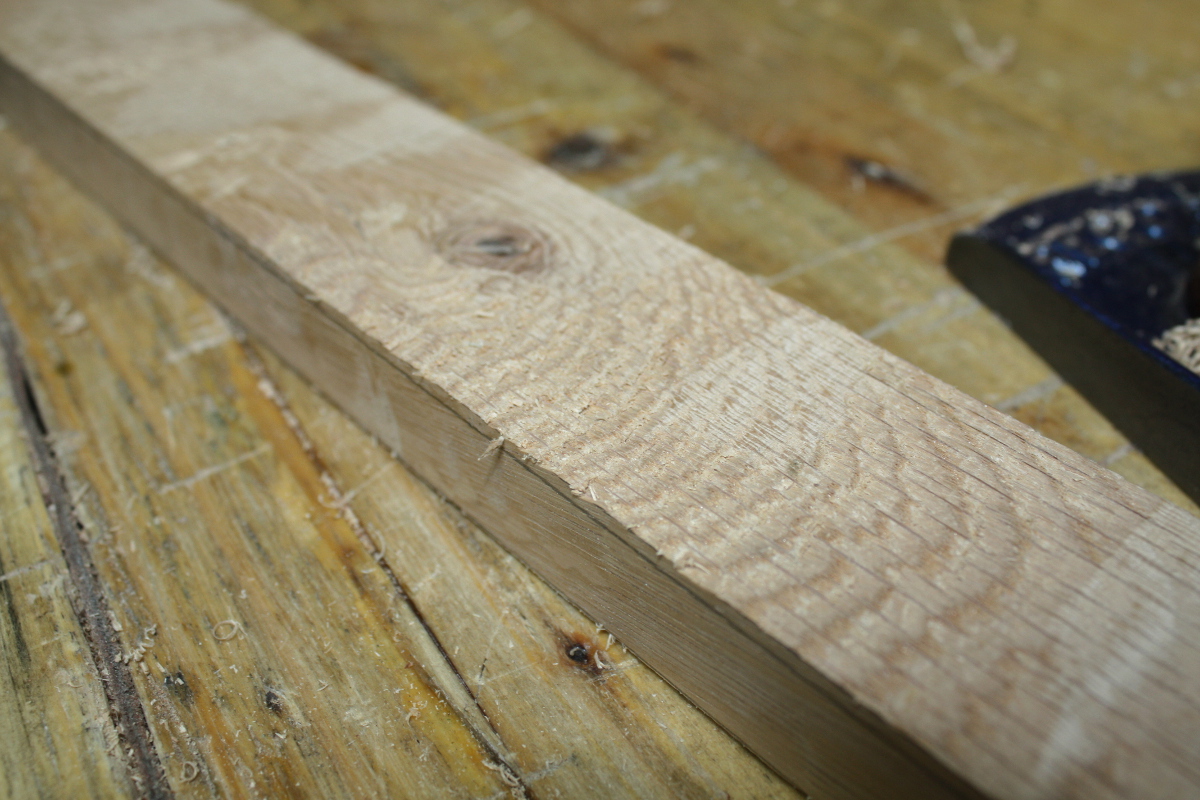
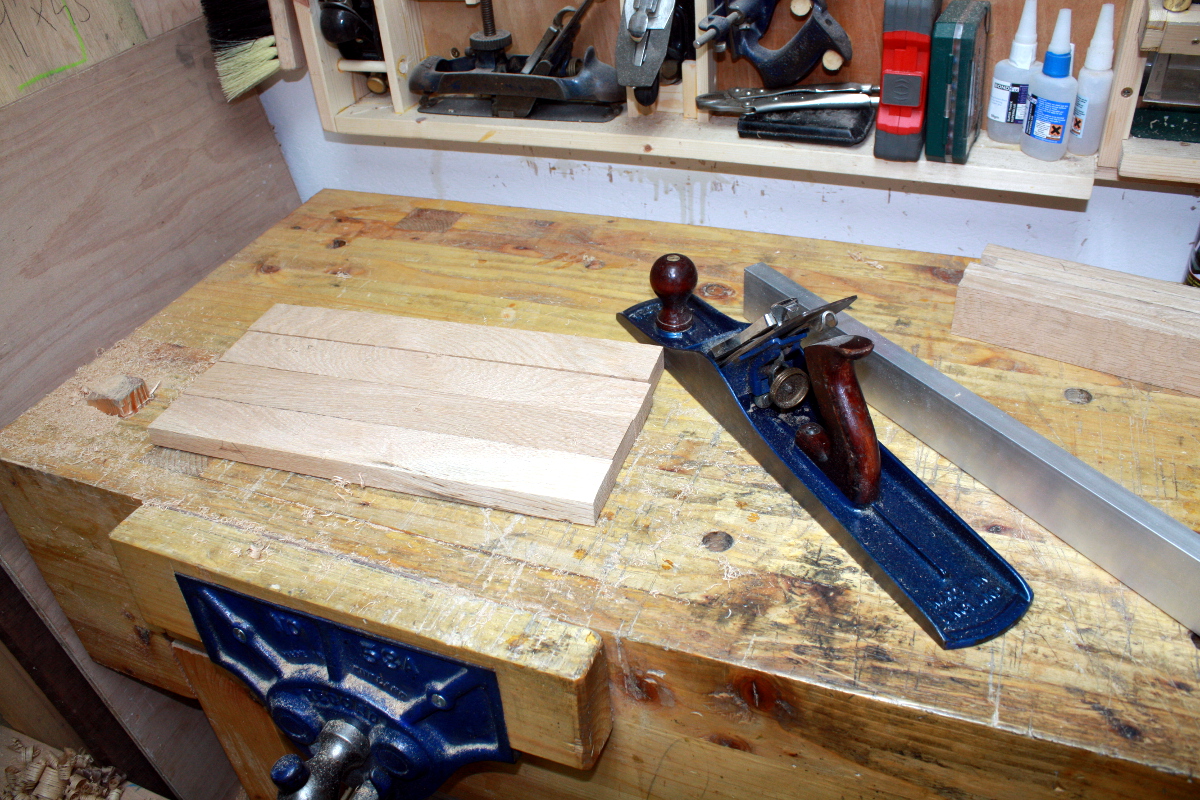
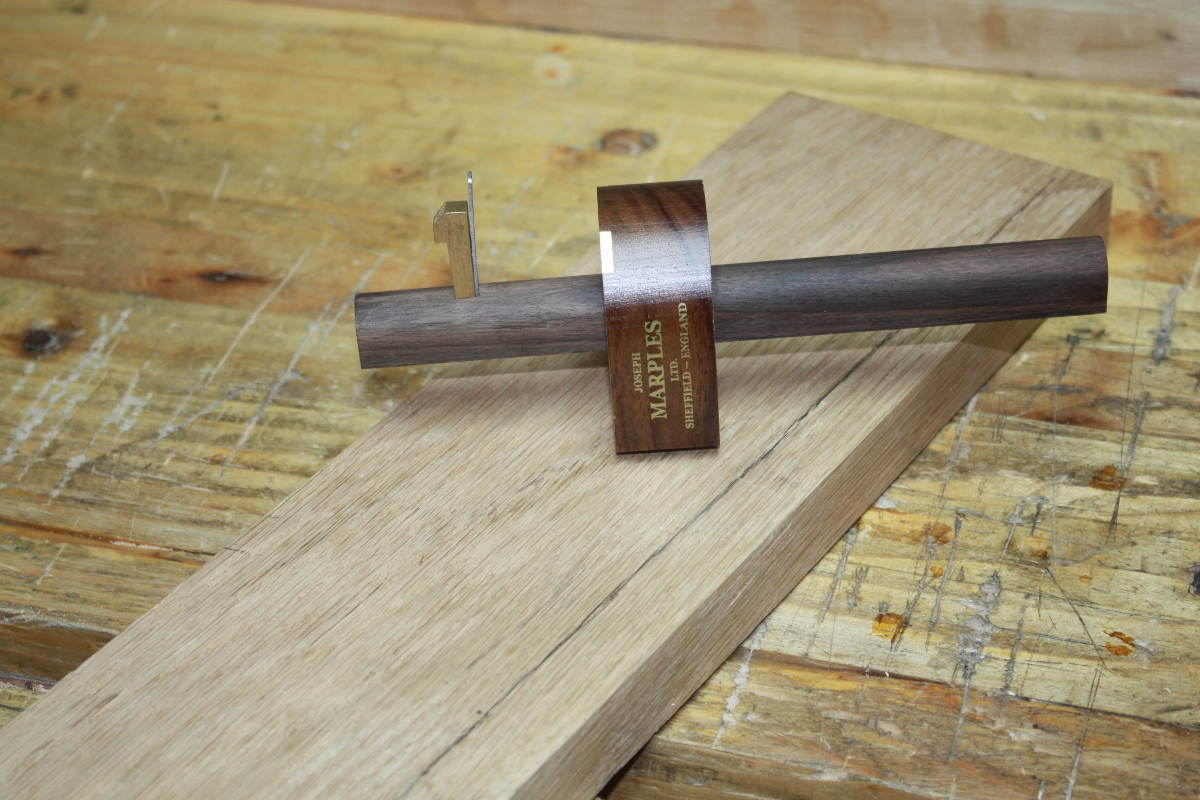
Round one with the bandsaw. I’ve planed a reference edge with the #05 and #08 and marked off the far edge with the panel gauge after sharpening the pin a little with the diamond paddles. I’ll rip those on the bandsaw and get widths (there’s some damage on the edges – the boards must have been near the edge of the pack in the timber yard I guess).

And I’m trimming up the bandsaw blanks while I’m at it.

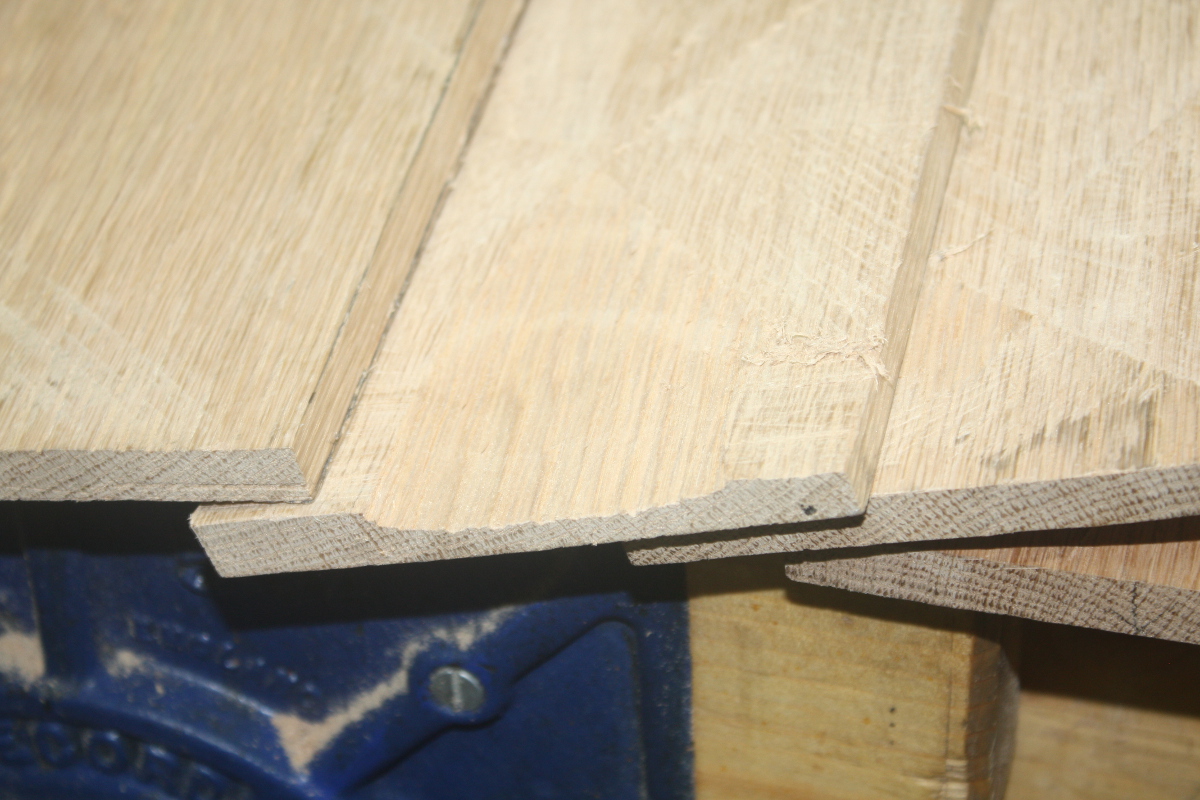
Right, that’s the edges sorted. Plus I get a few pieces to test finish on.

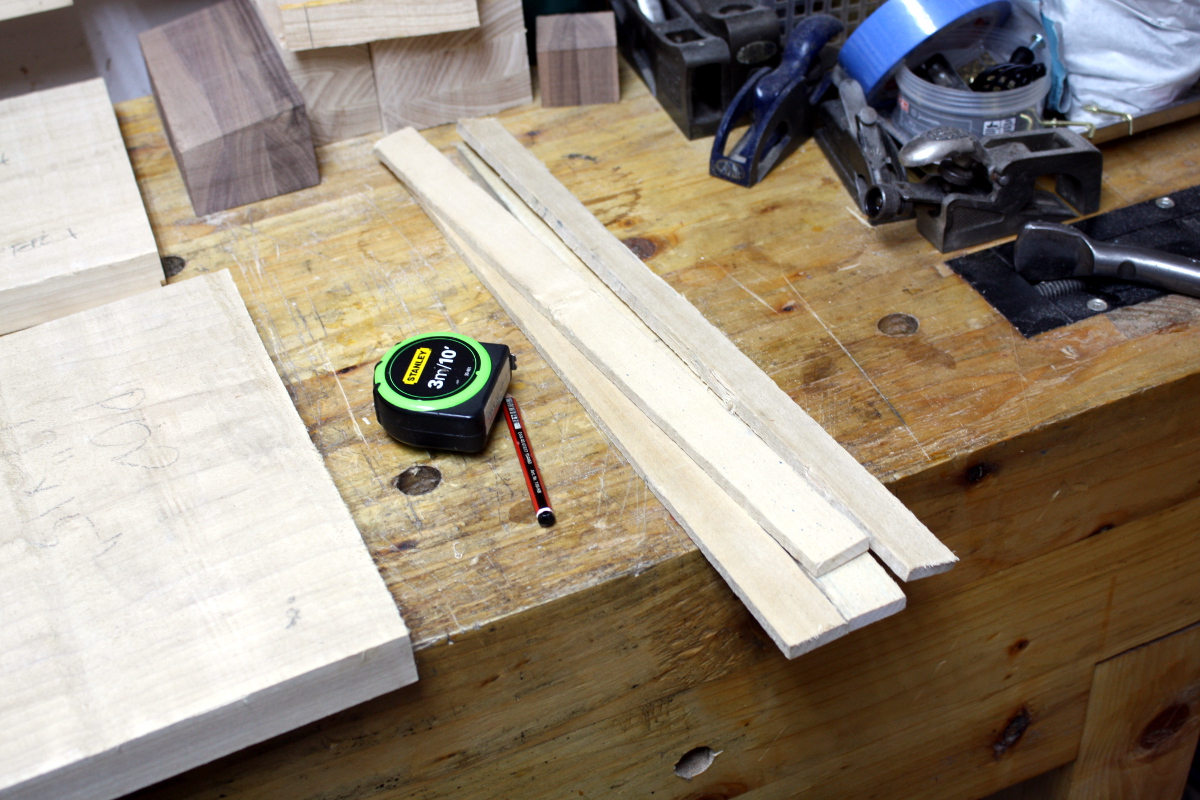
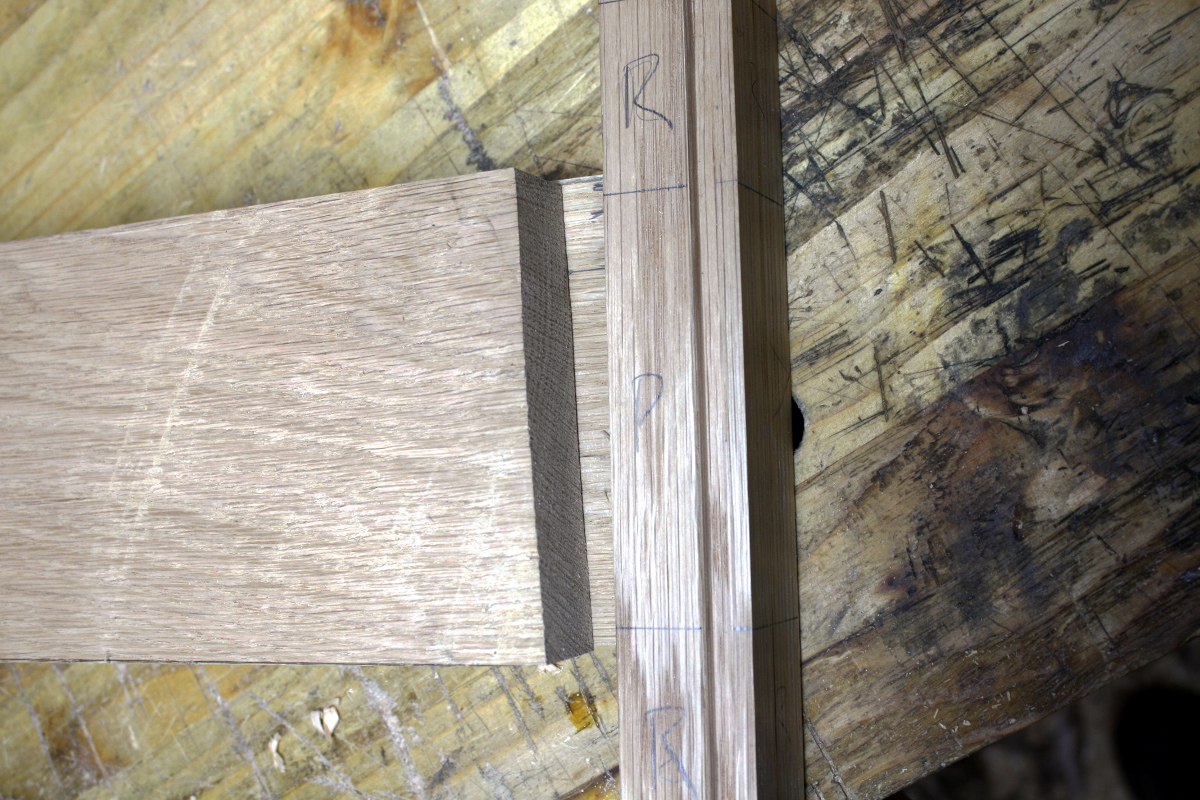
Then I start marking off various parts. By the time I’m done, I’ve used almost all my gauges (you don’t unset the gauge until you’re sure you’re done with that measurement; that ensures you’ll only have to reset the gauge for the one cut you’ve forgotten instead of five or six times).

And time for round two with the bandsaw (after lunch):

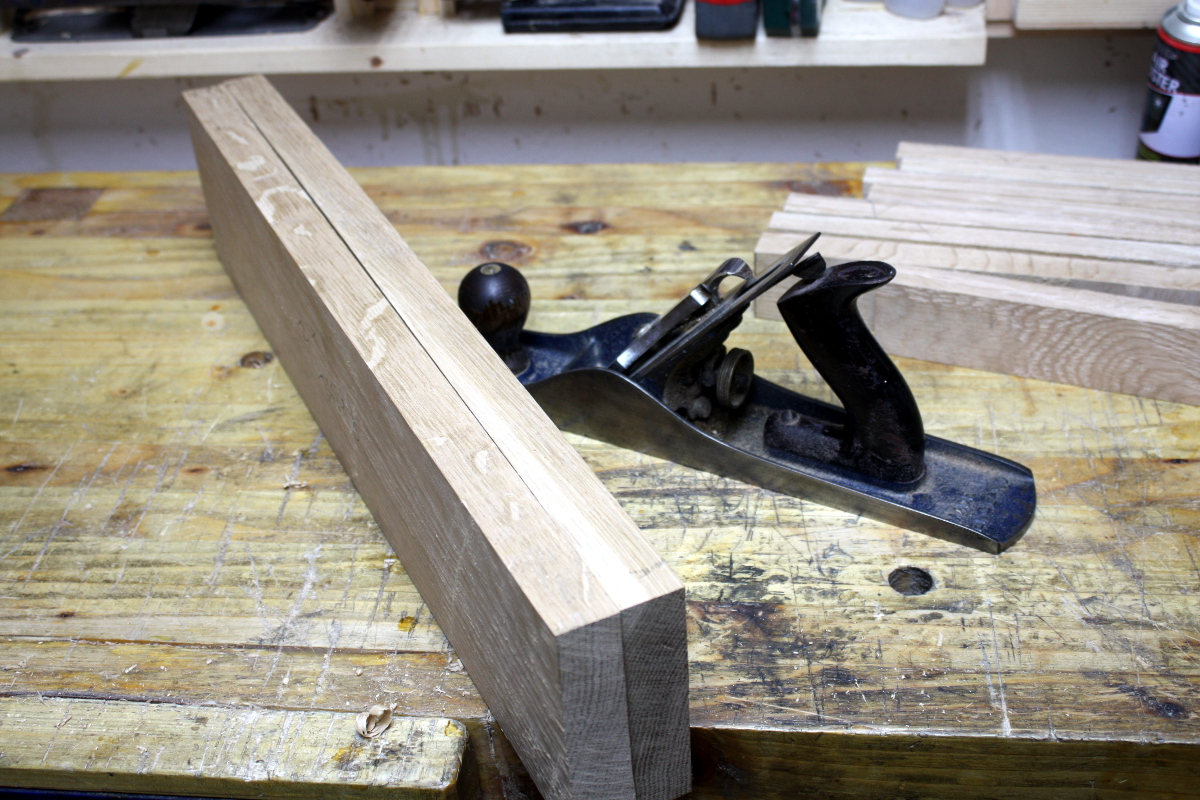
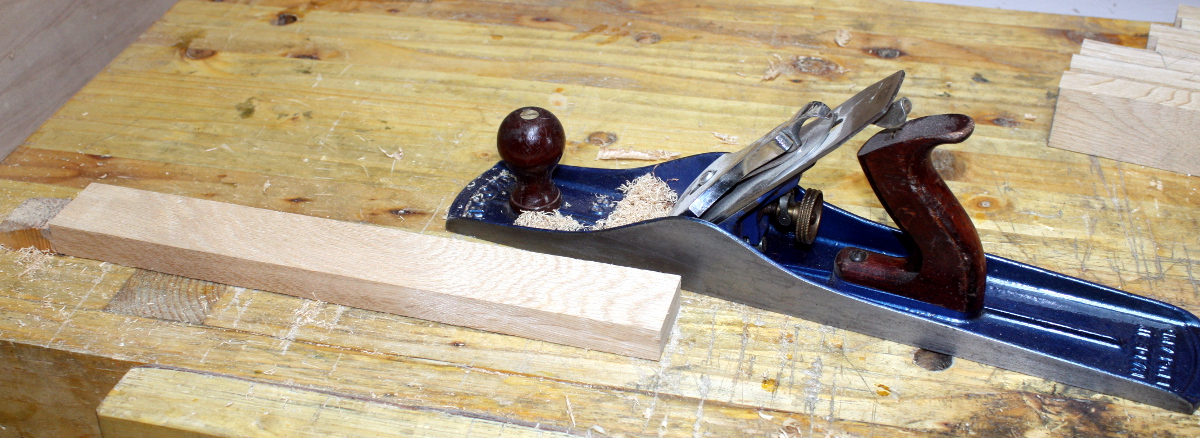
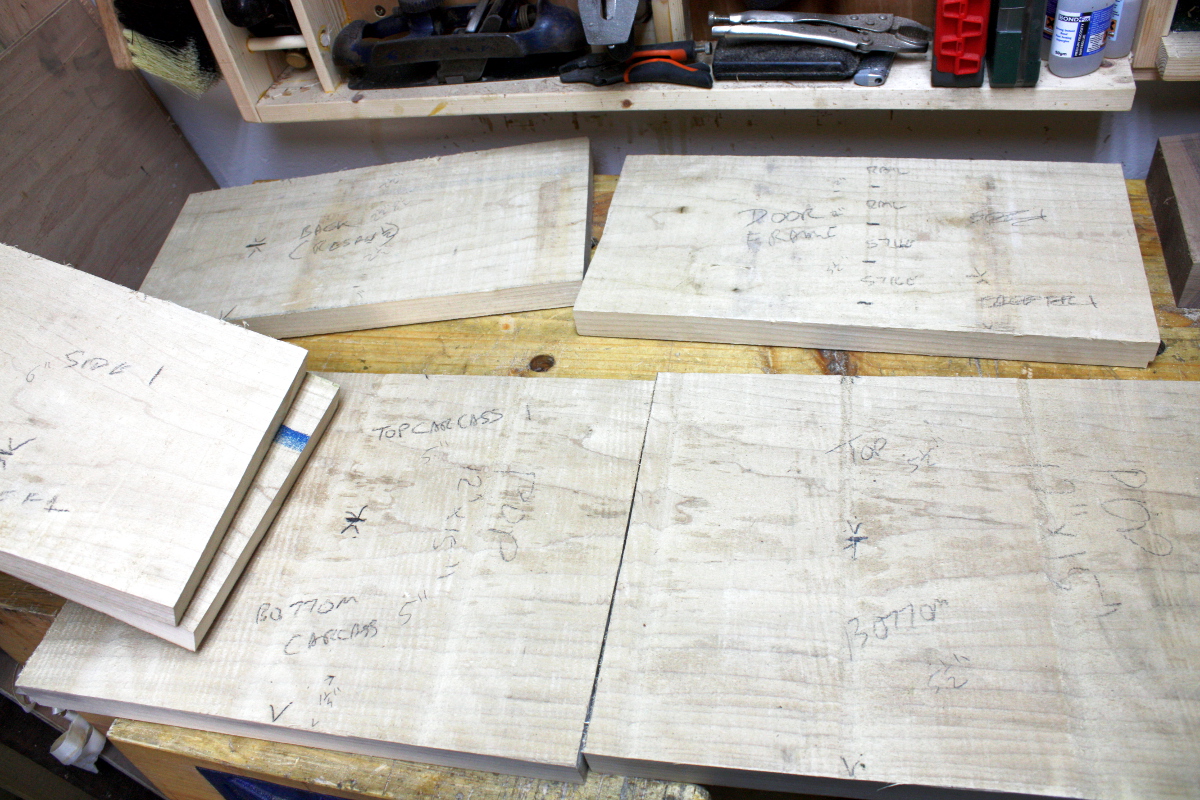
Right. Now I plane a reference edge and face on each part and mark the relevant parts for resawing or thicknessing. And then change my mind about thicknesses – I’ll leave the front of the cupboard three-quarters of an inch thick (which is a standardish sort of thickness for these things) rather than a half-inch. The back panel will still be a half-inch, and I’ll make the sides three-quarters and the top and bottom of the carcass and the shelf will be half-inch and so will the top and bottom cap pieces (so top and bottom overall will be an inch thick and the sides a quarter-inch less).

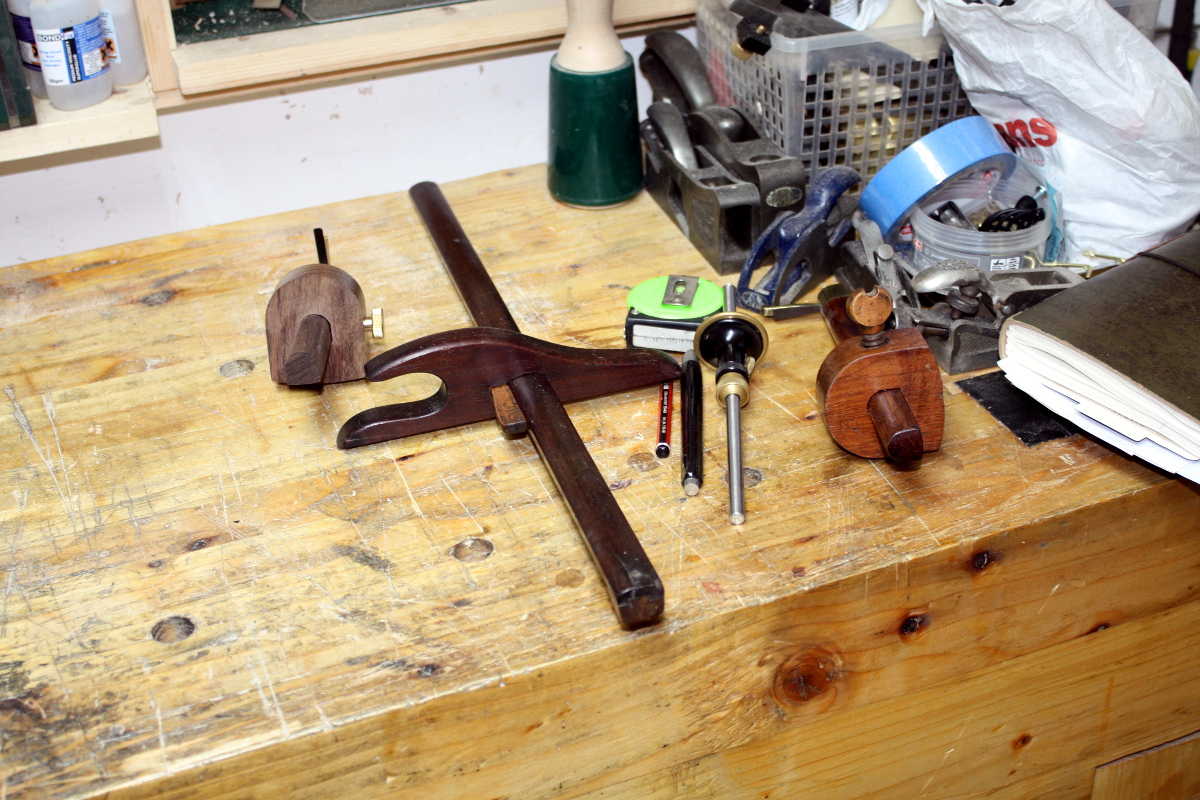
This is about the point where I discover that my favorite small proops brothers engineers square is… not. Square that is, it’s out by almost a full mm across its arm, I must have whacked it off something without noticing. I know I didn’t drop it. I don’t know if you can true one of these back up with the kit I have available. I may just need to buy a new one (for all of a tenner or so). In the meantime, I have another engineer’s square and the new Moore&Wright sliding square so that’s fine. Except that I had to reshoot a bunch of edges to get them back to square. And then marking them out for resawing.

And back to the bandsaw for round three…

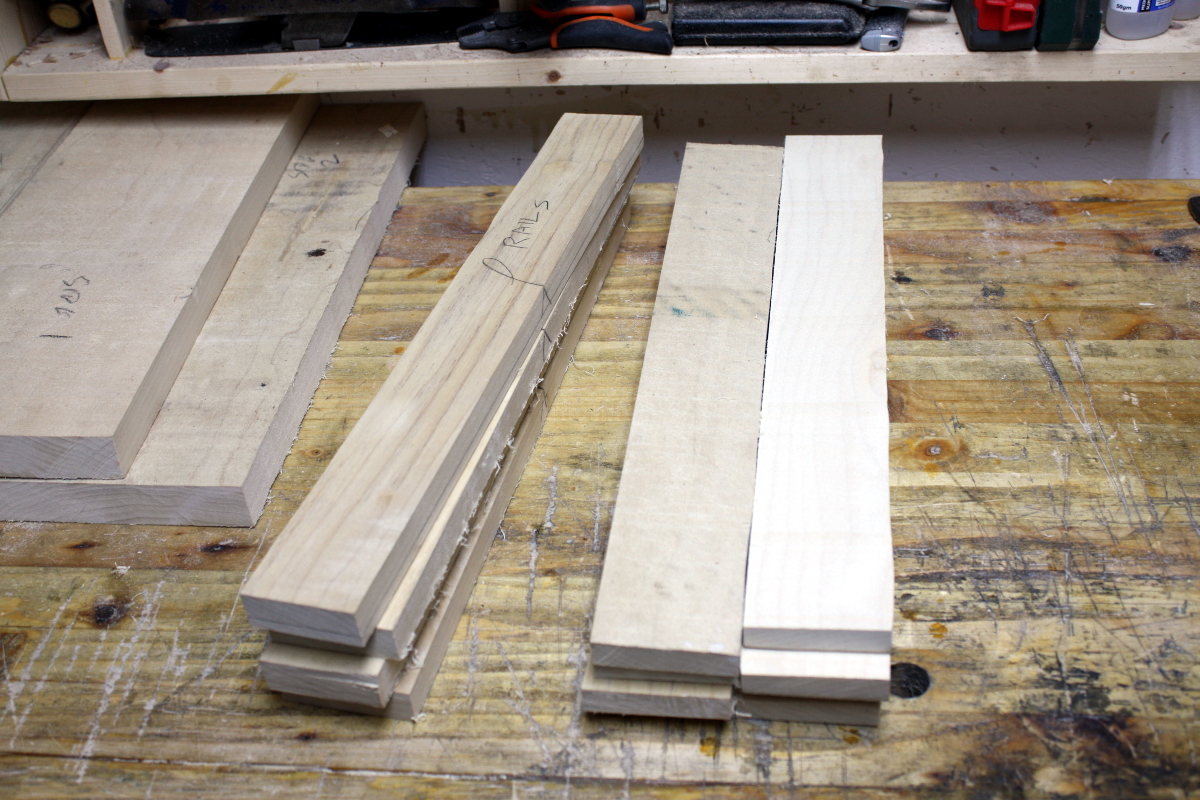
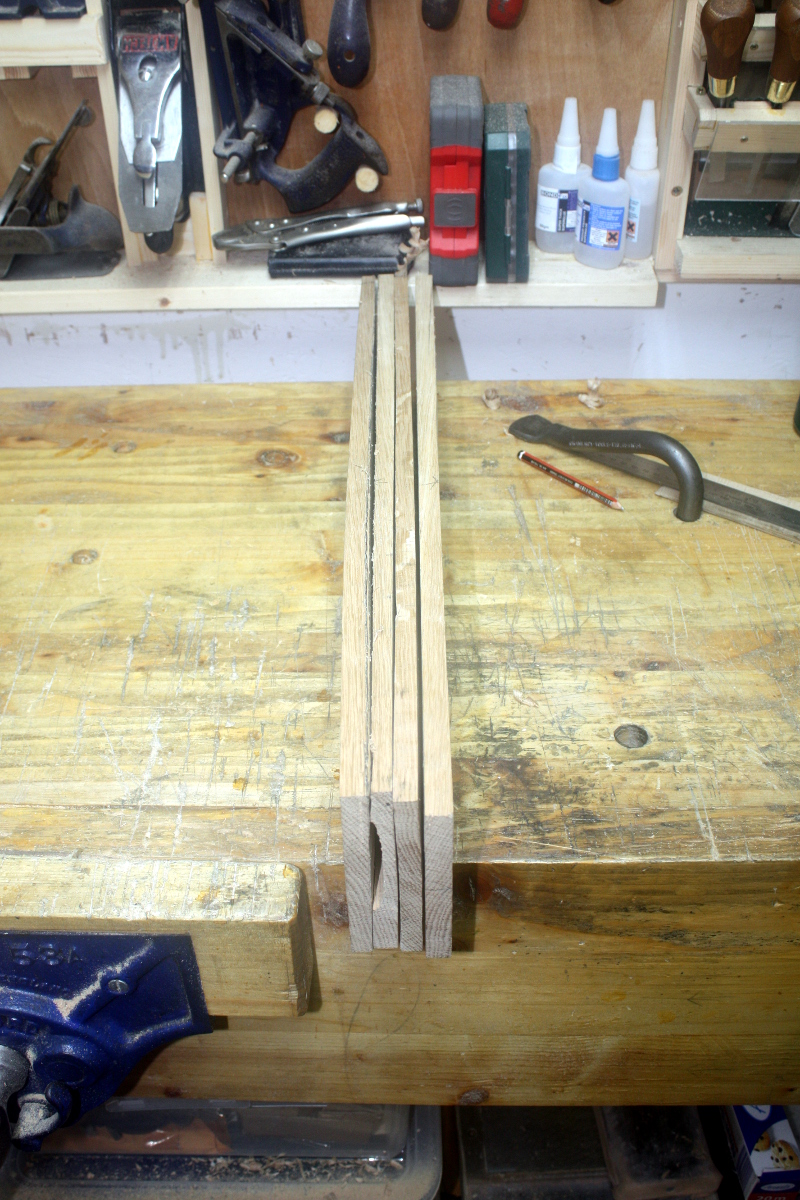
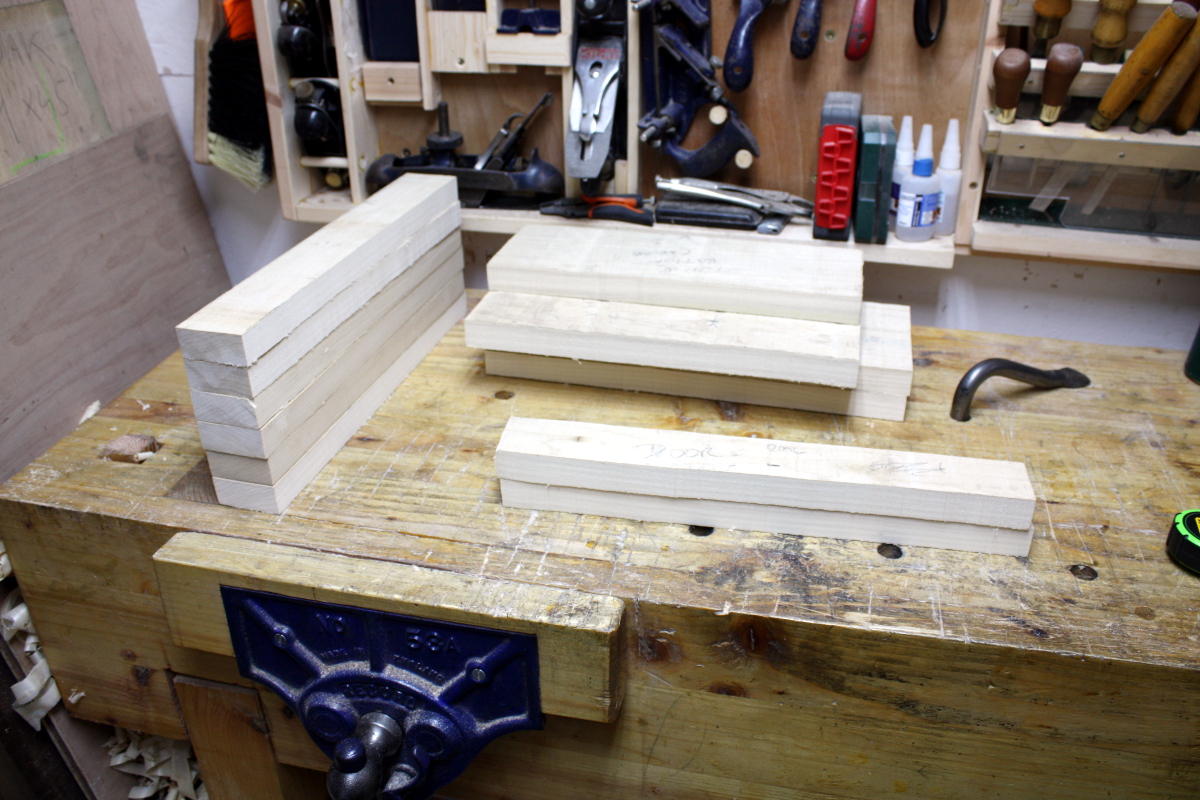
Right. That’s the rails and stiles for the front door, the boards for the back, and the sides and top and bottom will have to be resawn by hand.

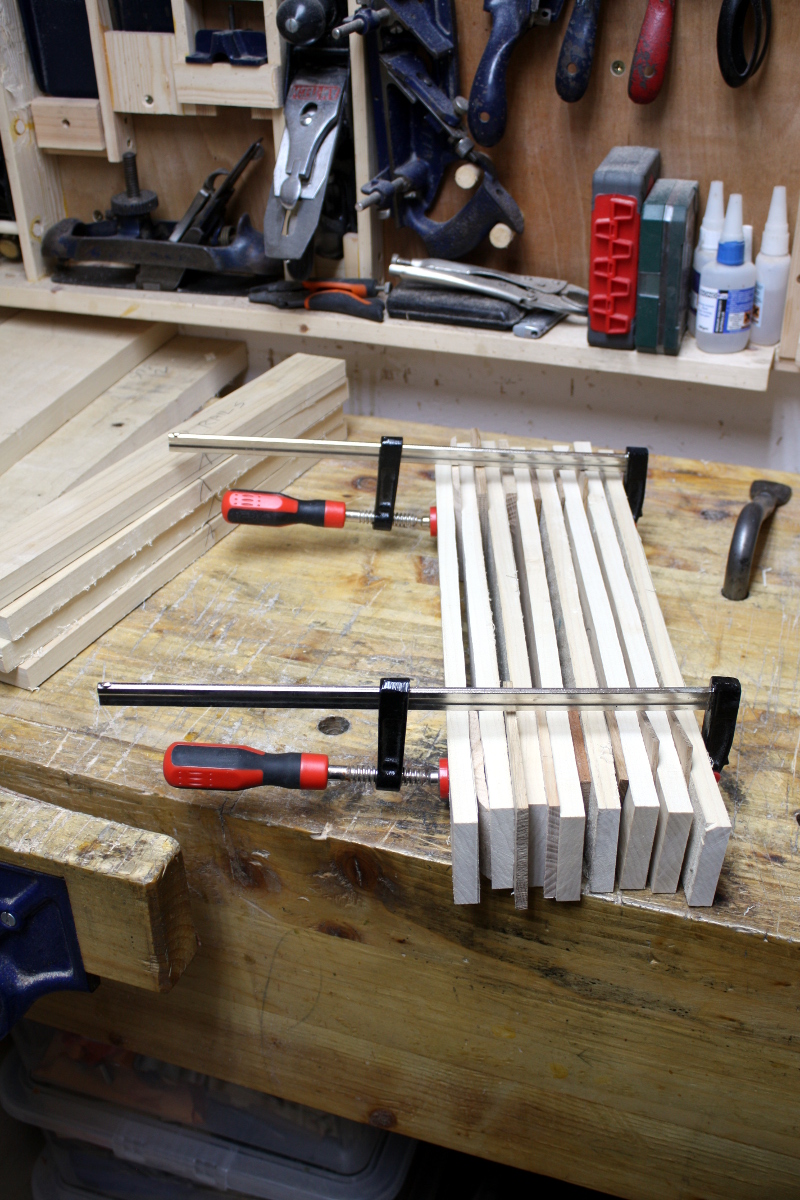
Just clamping and stickering them for now to let them dry overnight without too much warp.

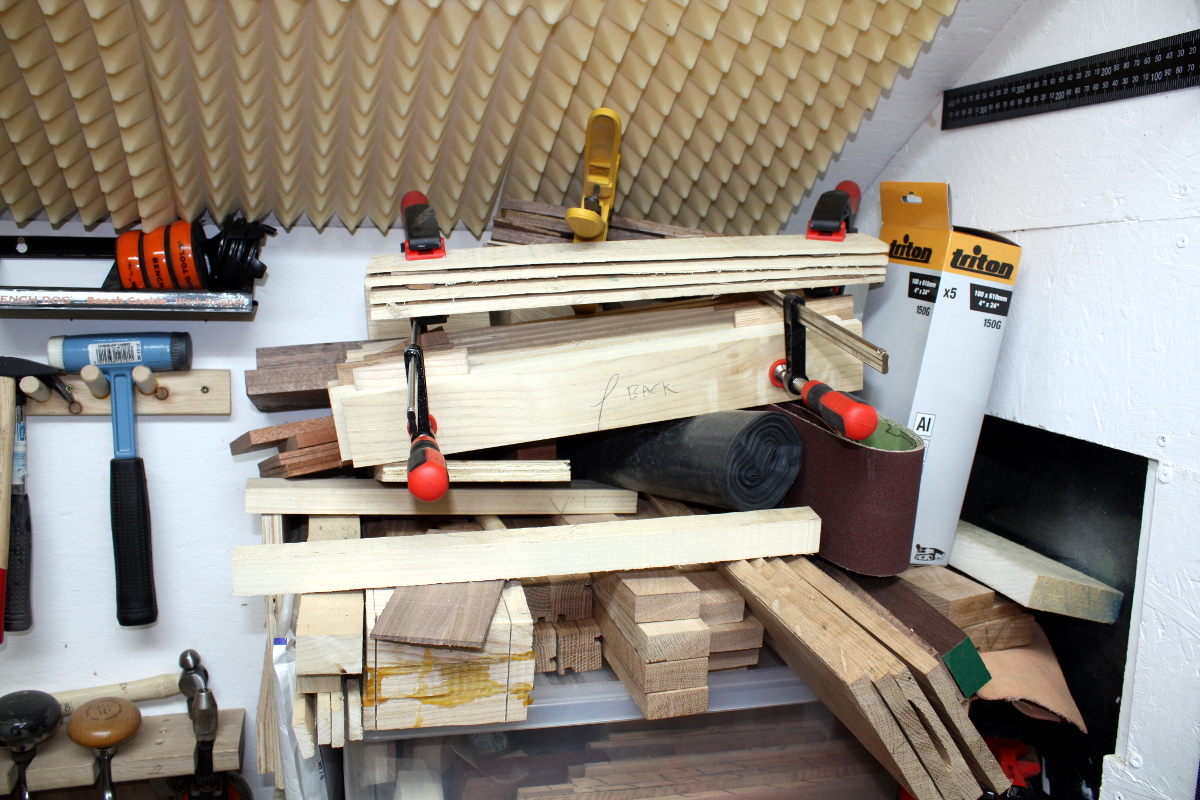
Yeesh. Really do need to start joinery on something soon, if only to clear space. I only just finished tidying this up on Saturday…

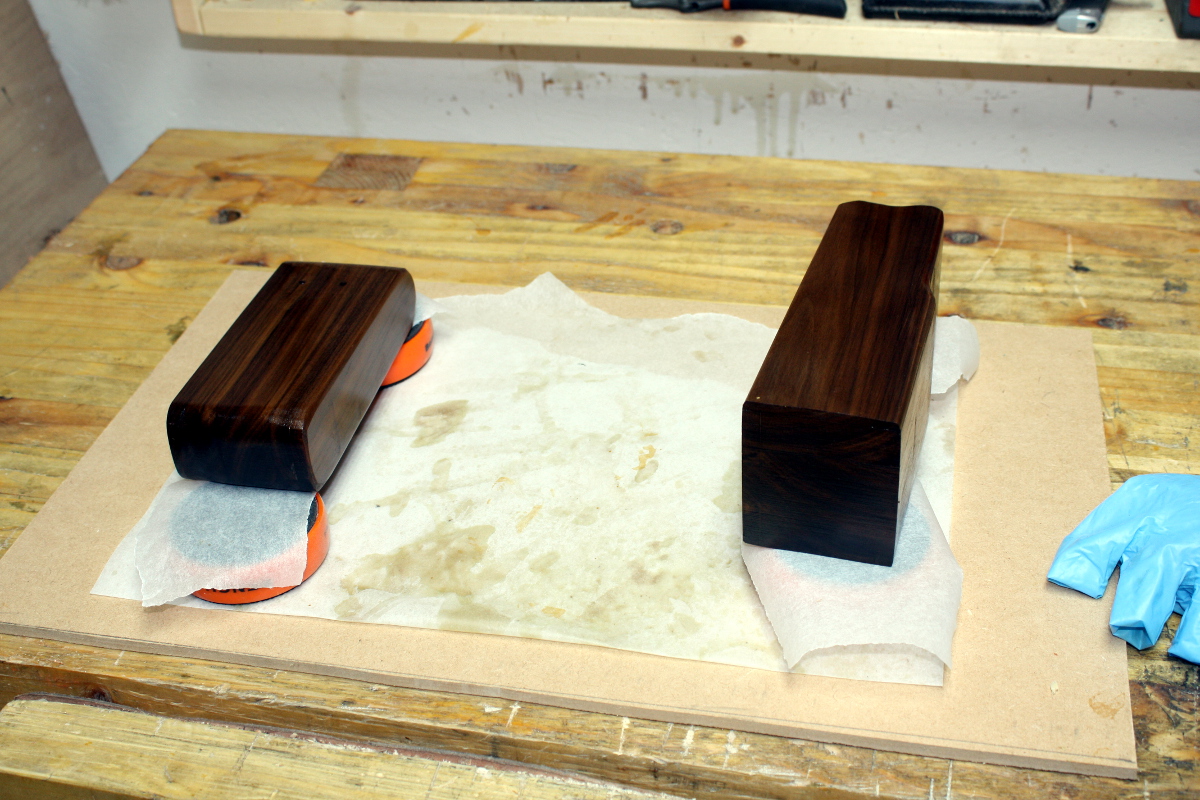
Also finished up the bandsaw box. Two coats of garnet shellac on top of two coats of danish oil, and then some hardware, and then some felt for the base and the drawer gap. More photos tomorrow.

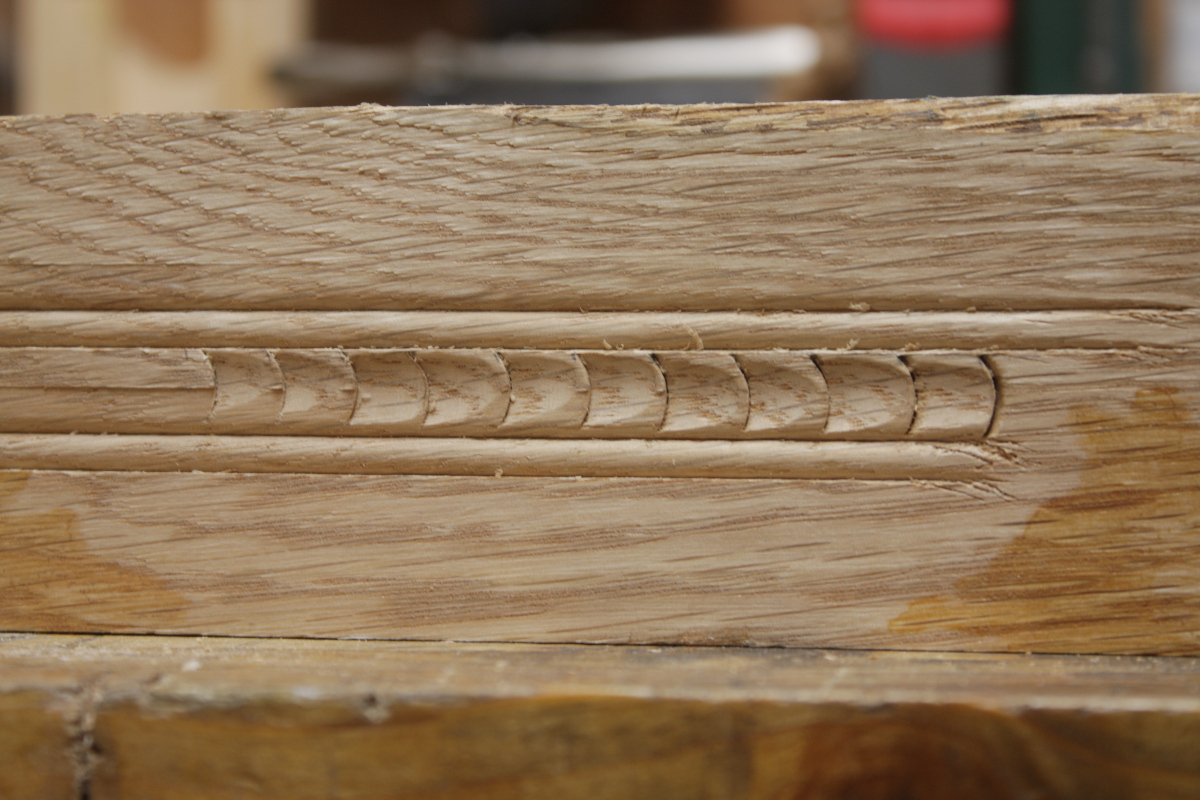
And then there was this idea from Paul Sellers:

And it looked simple enough that I could do it with Calum, so I prepped a piece of pine and this evening we drew lines on it, sawed it with a small ryoba rather than using the chisel Sellers used which would be a little dangerous for a five-year-old (or for me in close quarters with a small child holding a surgically sharp pointy lump of metal for that matter), and cleaned it up using “his” number #03 plane (because it has two places to hold that keep small fingers away from sharp edges). And then split it with a hammer and enough glee to convince me it’s a good thing we don’t have a cat.

Then break out the green spraypaint and masking tape and do the next bit outdoors 😀

Came back a bit later with spray-on snow and drilled a hanging hole…

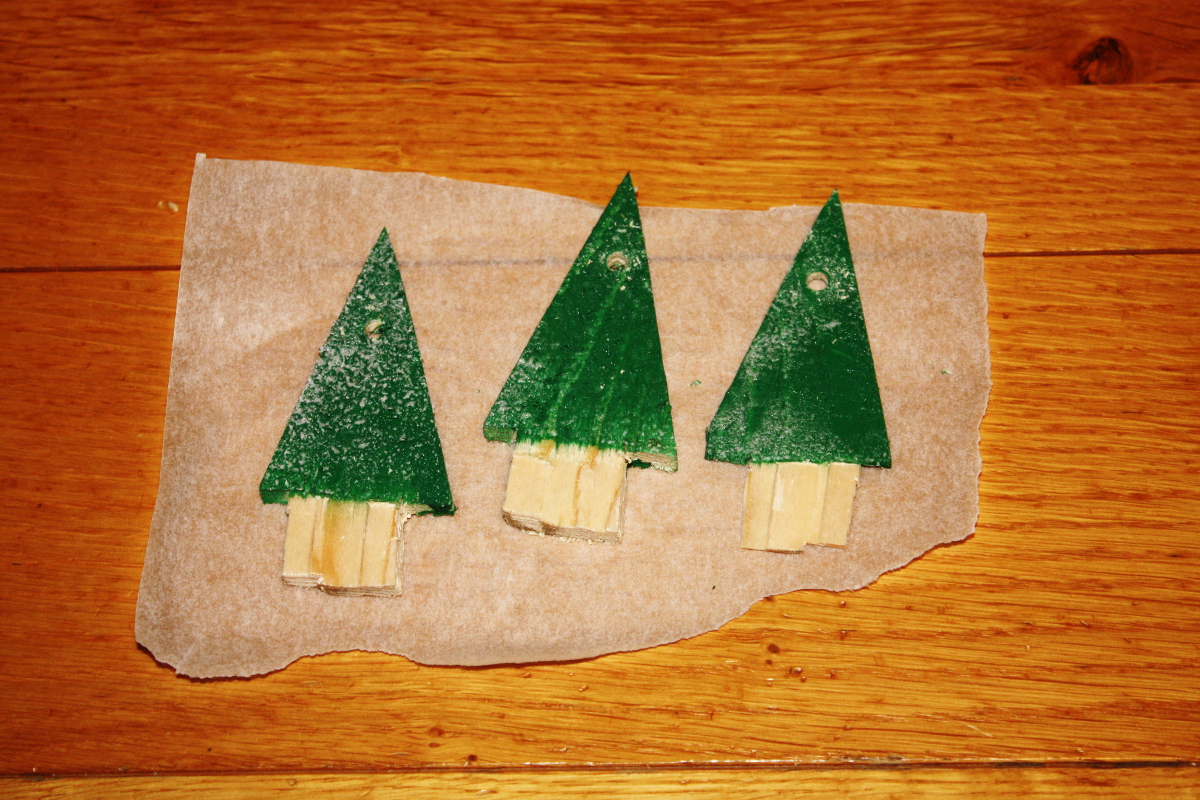
Not bad for a five-year-old.


06
Dec 17

Resawing sucks.

Honestly, if there is a better argument out there for buying a large bandsaw I haven’t heard it yet.

Yes, I’ve heard of roubo frame saws. My shed hasn’t enough room between the face vice and the wall to use one.

Yes, I have western hand saws. I either need to resharpen them or recut their teeth because the best one I have didn’t want to cut.

Yes I have a bandsaw already – it can’t resaw anything over 75mm. That there is 115mm.

So, wax blade, yank handle, shove handle, repeat till ticked off enough to pull board halves apart by brute force, plane off worst of the gack in the middle with scrub plane, give outside a few passes to mitigate uneven drying, repeat.

What, you thought there was an art to this? No, it’s just donkey work. And if you get too ticked off and pull the board apart too early…

It rewards you with a great big divot out of one end. Well, at least I don’t need the full length of any of these boards.

Left them standing upright to dry and warp overnight.

At least I got both boards resawn. That was more than I had expected to do.

So I had a play with my Lee Valley scratch stock and a gouge. I was watching some old Peter Follansbee videos and saw what I thought would make a nice decorative element on the rails of the chest. This kind of stuff shows up on the 17th century oak furniture he specialises in and was very common in the period, and since this is basically a 17th century design tarted up a bit, it seems appropriate.

Plus it’s pretty fast and simple to do, though I do need to experiment a bit more – I really need a round or beading plane or a custom scratch stock to form the surface in the middle before cutting the segments out. This took all of five minutes or so to do by the way – it really is fast when you know how (scratch stock bead line with a fence, chop at right angles with a gouge at regular intervals on that bead line, scratch stock bead line on the other side of the chops, then carve one scoop from gouge chop to gouge chop with the same gouge). How to actually end it when the rails hit the stiles is the main problem. I’m not sure how to continue it around the stiles/posts you see. I mean, I could try freehanding it but that seems wrong somehow unless I can get the rails and stiles utterly flush.

And the threaded inserts didn’t arrive today. Bother.

Tomorrow I’ll square up the stock and try to get the panels cleaned up a bit more and do something about that lid. I’d like it to have a small curve to it if I could, but the only way I can think to do that involves taking an inch-thick board and carving it with planes. And I don’t know about that – it’d be heavy and I’d have no way to prevent it warping with movement, which a frame-and-panel lid would address. I mean, according to the bible, it’ll move by 2.8% tangentially over the 30% humidity change between a summer and winter indoors around here (gotta love central heating), that’s almost a full centimeter of movement across the width of the lid. Make that from a solid block of wood and you won’t have a lid for half the year.

What’s the bible? Fresh from abebooks.co.uk:

Basically, a few hundred species of tree, with notes on things like general working properties and data like how much it moves when seasoning and when doing a 30% humidity swing and what its density and tensile strength is and so on, all done by a UK government office back in the days when this was what governments did. Yeah, it’s 1956/7, but tree species don’t change that much that fast (other than going extinct).

Bloody useful books.


05
Dec 17

Toothy prep

Well, that decided where to start for the evening I guess. I ripped the panels first, and then changed the blade because it was just wandering too much, and then cut the rails to approximate thickness and the stiles to rough thickness and straightened.

Before:

After:

Bunch of small thin stock gathered as well. I’ll leave that dry on its own, see if it stays unwarped.

Then on to cleaning up edges on the panels.

And then checking to see if I have enough width on the panels…

Yup, all good. Just resaw those and it’ll be grand.

Then on to cleaning up the faces of the rails and stiles. Started on the stiles and on the first pass it became obvious there was a problem.

Even a close-set #5 left huge tearout, really nasty stuff. So, time for the secret weapon.

Meet my new #6 toothing iron 🙂

Thing about these is, they leave a shitty-looking ridged surface, you’re never getting a clean finish with these things – but you also never get tearout.

So you can get the board flat with this, then come back with a tight-set smoothing plane and scrapers later and clean the surface up.

So got all the rails and stiles processed that way.

All set. Just resawing to do, but now it’s 2130h so I just marked up the resawing with a cutting gauge and called it a night.

Not sure if I’ll use the ryoba or the rip handsaw. Might try the handsaw first.

I still have to sort out what I want to do for a lid, I need to check my stock and have a think. The floor will be cedar for the nice smell, I have some set aside for just that purpose for the last year or so.

Oh, almost forgot, dove into Lenehan’s pick-n-mix…

Score. I’ll have to trim off 25mm or so with the dremel and tidy it up with a file, but that beats a bolt that doesn’t reach the tabletop fully. Now if the inserts would just arrive I could get on with the table build. At this rate, if I can resaw one panel board per evening, I might be ready for joinery on the chest by the weekend and if the inserts get here, I might be ready to start finishing the tabletop by then as well. That’d mean both would be ready by the time I want them ready.

And I’ve a bandsaw box I want cut over the weekend as well, but that should be much faster than before now that I have the bench sander.