19
Jan 20

Lathe stand

Slow week for the shed, not much time spent there. The lathe stand is the thing at the moment, have to get that built so I can get the lathe out of the hallway, and start to tidy the shed back up again. So the plan is to make something that is a bit minimalist instead of overbuilding the carp out of it. Most of the designs I came across were basically an inverted T with the lathe mounted on top and all the weight available piled on the bottom in the form of sandbags, bricks, concrete and so on, which is okay, but if I do that I won’t have room to get into the shed afterwards and it’d still be tippy even if I bolted the thing to the floor because I’m a bit taller than the average 1930s person and so the centers of the lathe should be 47″ above the floor.

So instead I’m going to build what will effectively be a tall sawhorse following Paul Seller’s plans:
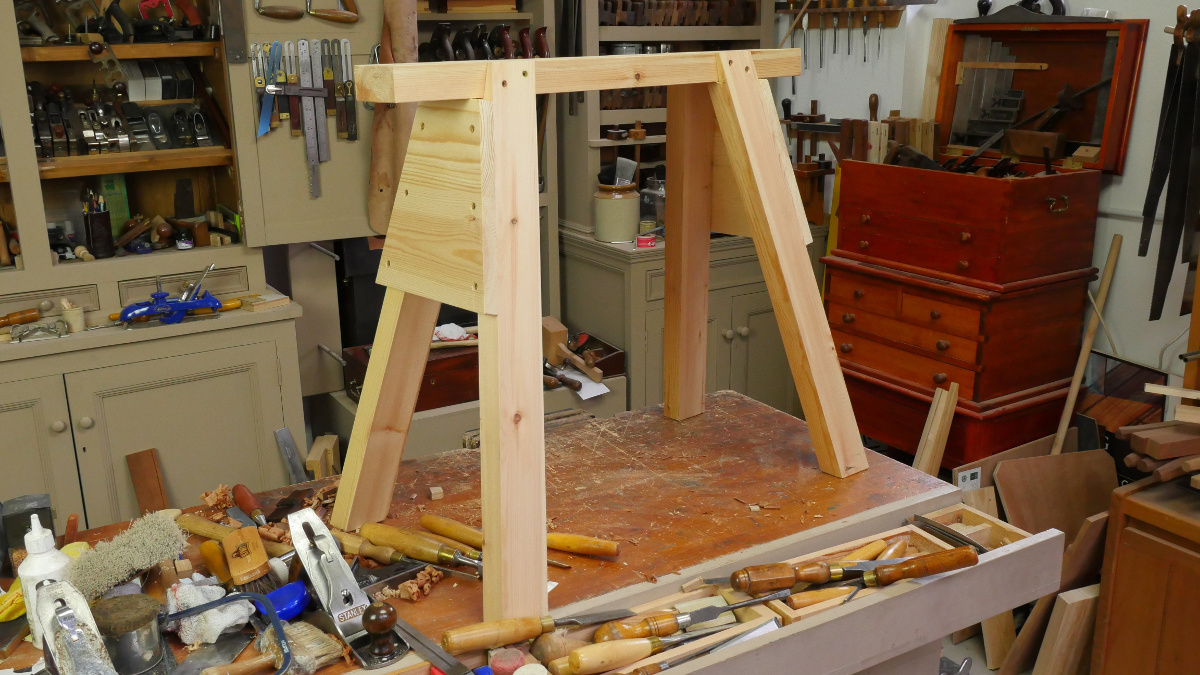
Since the tops of the legs get a birdsmouth cut in them, the weight of the lathe goes down via compression into the legs and since they’re both spayed and raked, they resist vibration via geometry. I’ll also have the legs standing on some 19mm thick boards that will tie the front legs to the back legs and the two back legs together (the two front legs won’t be so I can stand closer to the lathe), and there will be an inch-thick board on top of the whole affair that the lathe bolts to and I’ll try to let the legs come up above the crossbar to mortice-and-tenon into that board to lock it all together.

Since I’m trying to get space in the shed, I’m using whatever material I have to hand, which means laminating inch-thick beech for the legs…
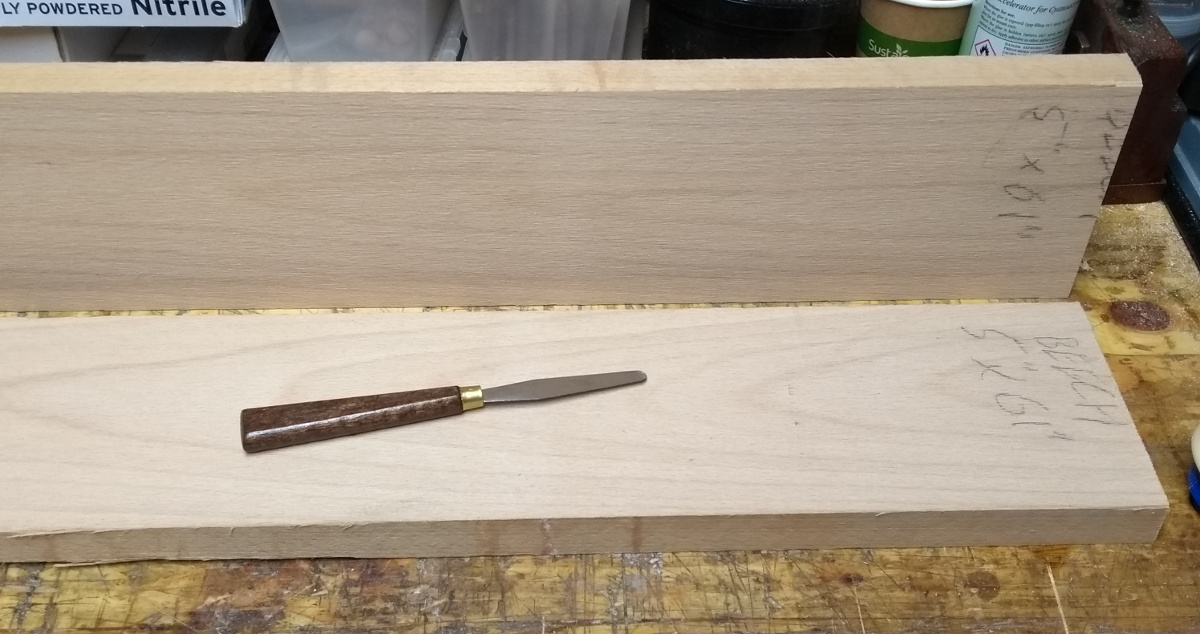
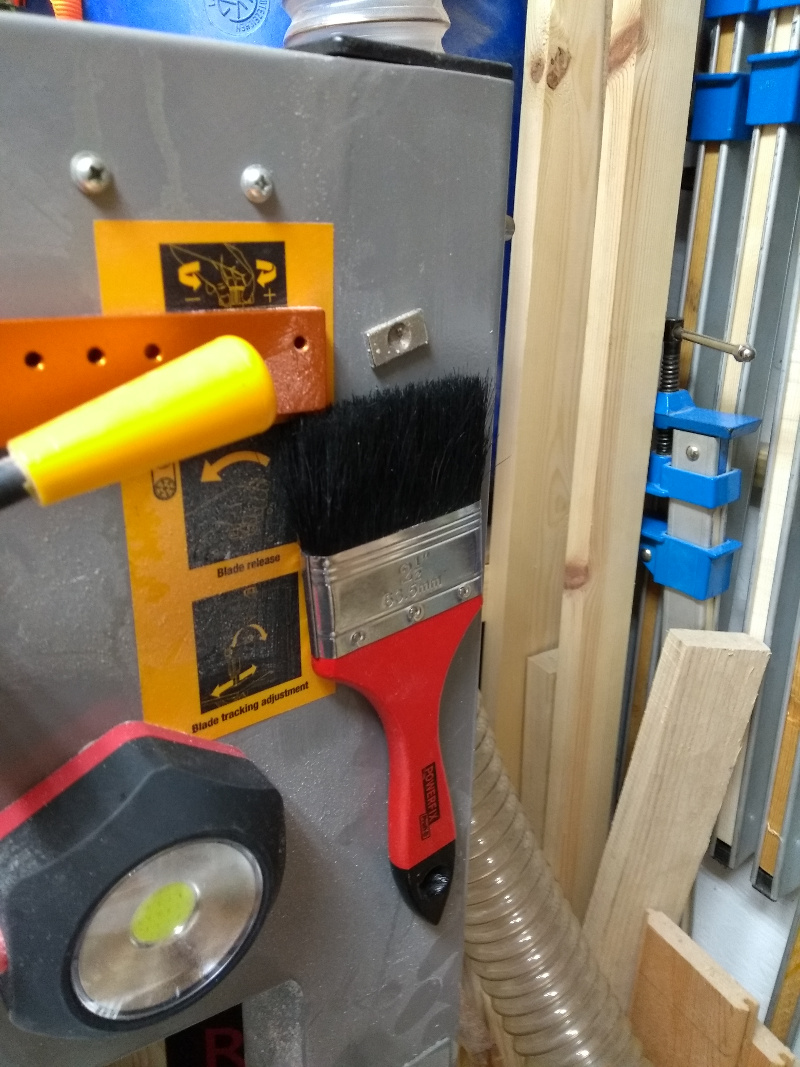
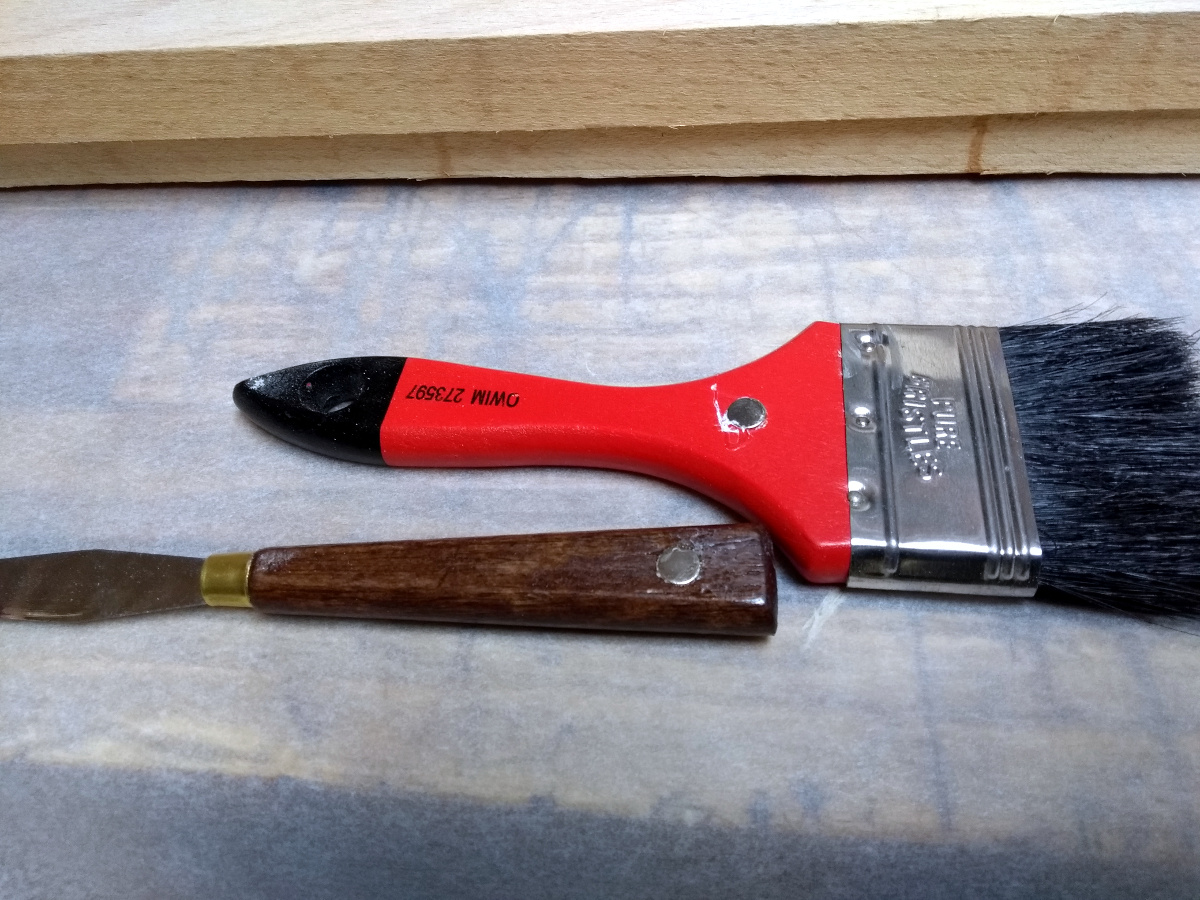
New toy idea here, that’s a #4 artist’s pallette knife, the blade is a bit flexible. Trying it as a glue spreader. It’s quite good, though this entire face was a big large for it really. Also, drill small hole in the handle, fill with superglue and a neodymium magnet and you can stick it on any old surface…
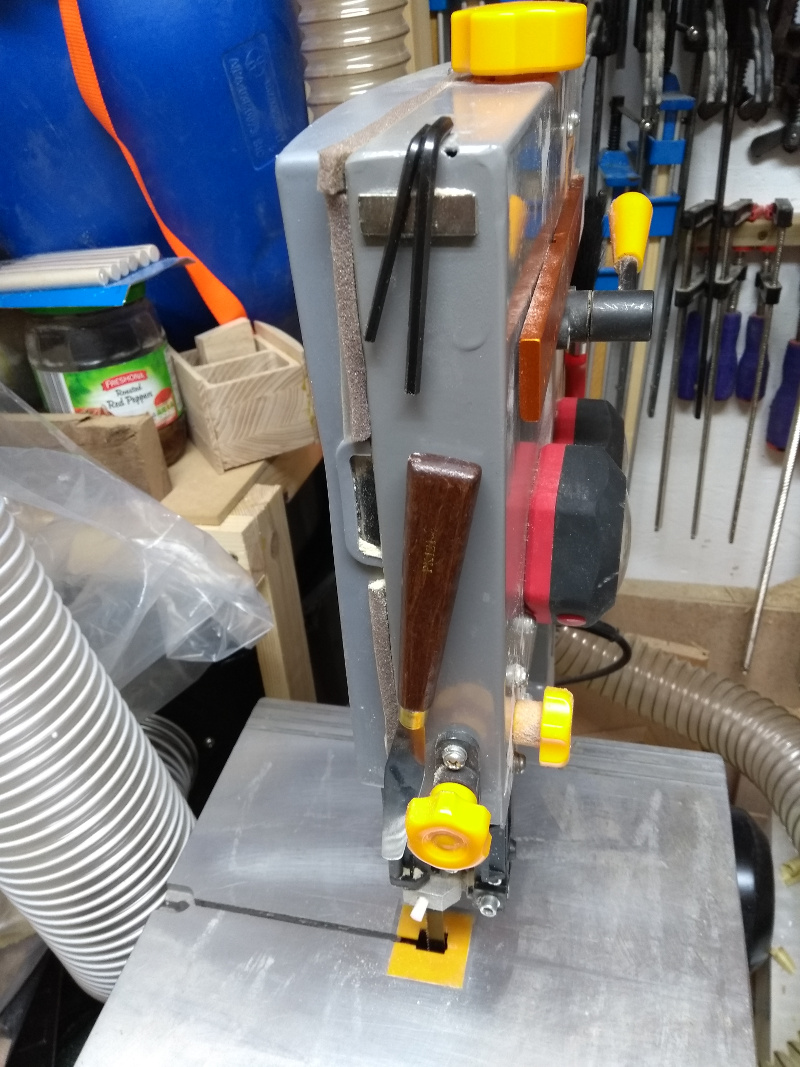
Works for paintbrushes too. Handy for places where you can’t screw a magnet bar to the wall.
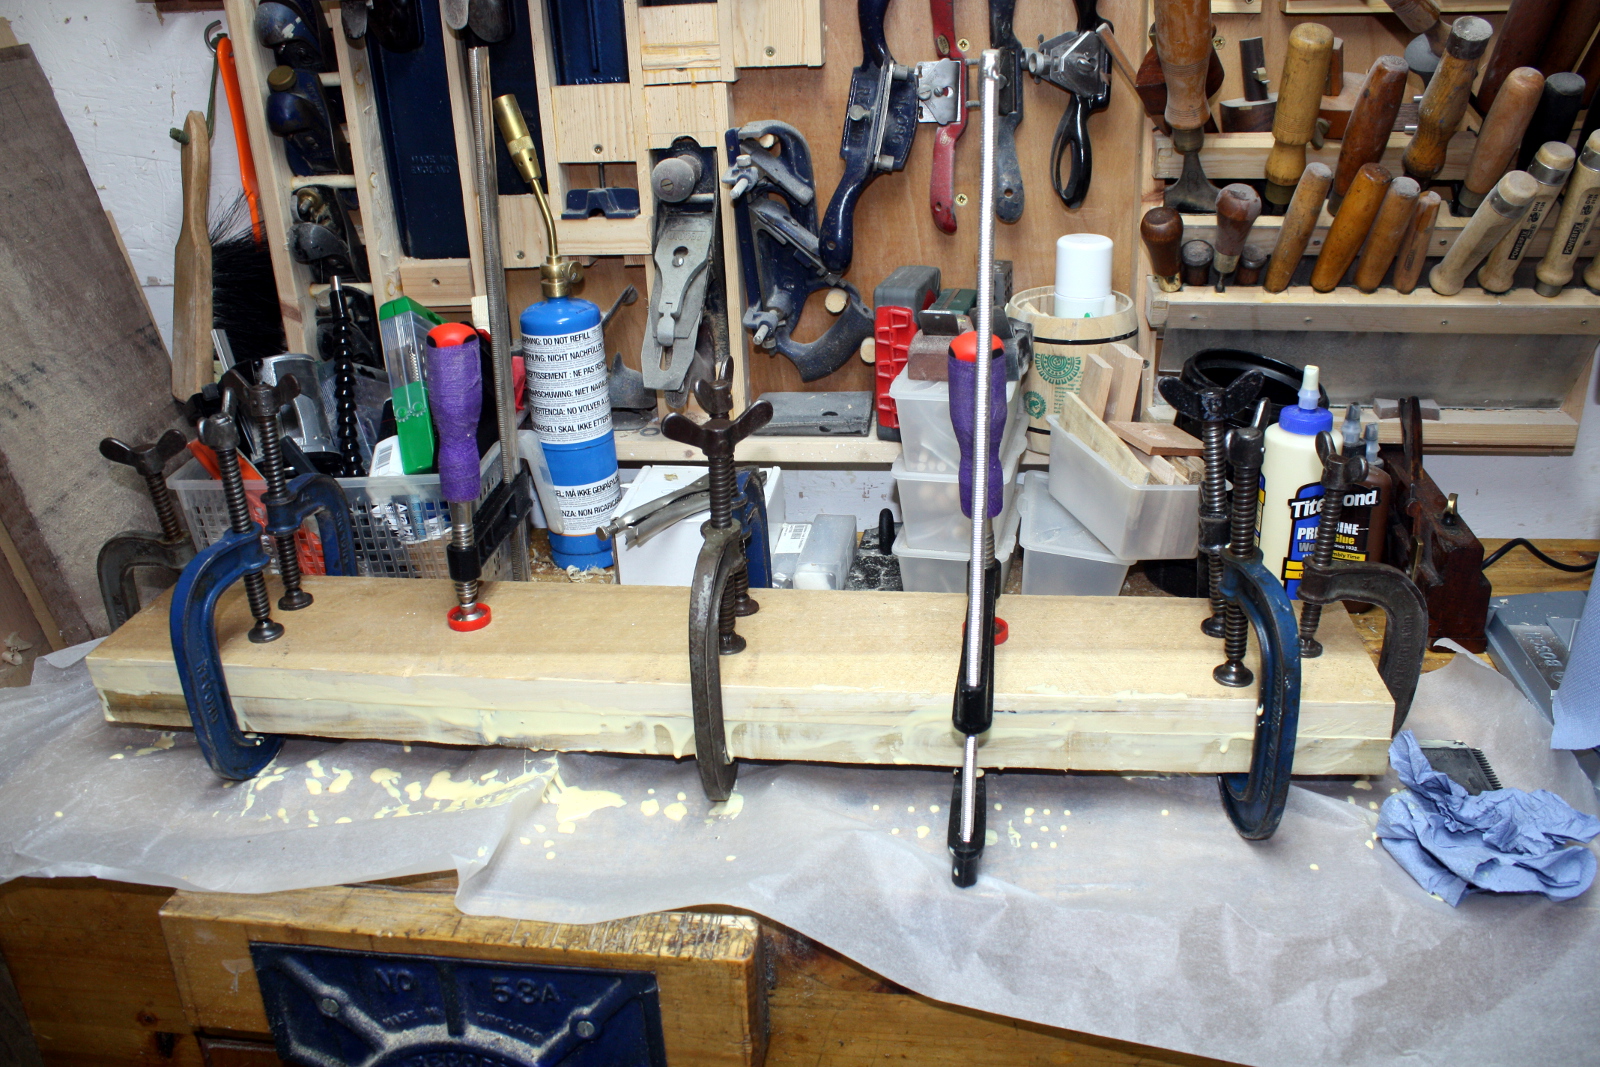
Anyway, on with the glue-up and out with all of the clamps.
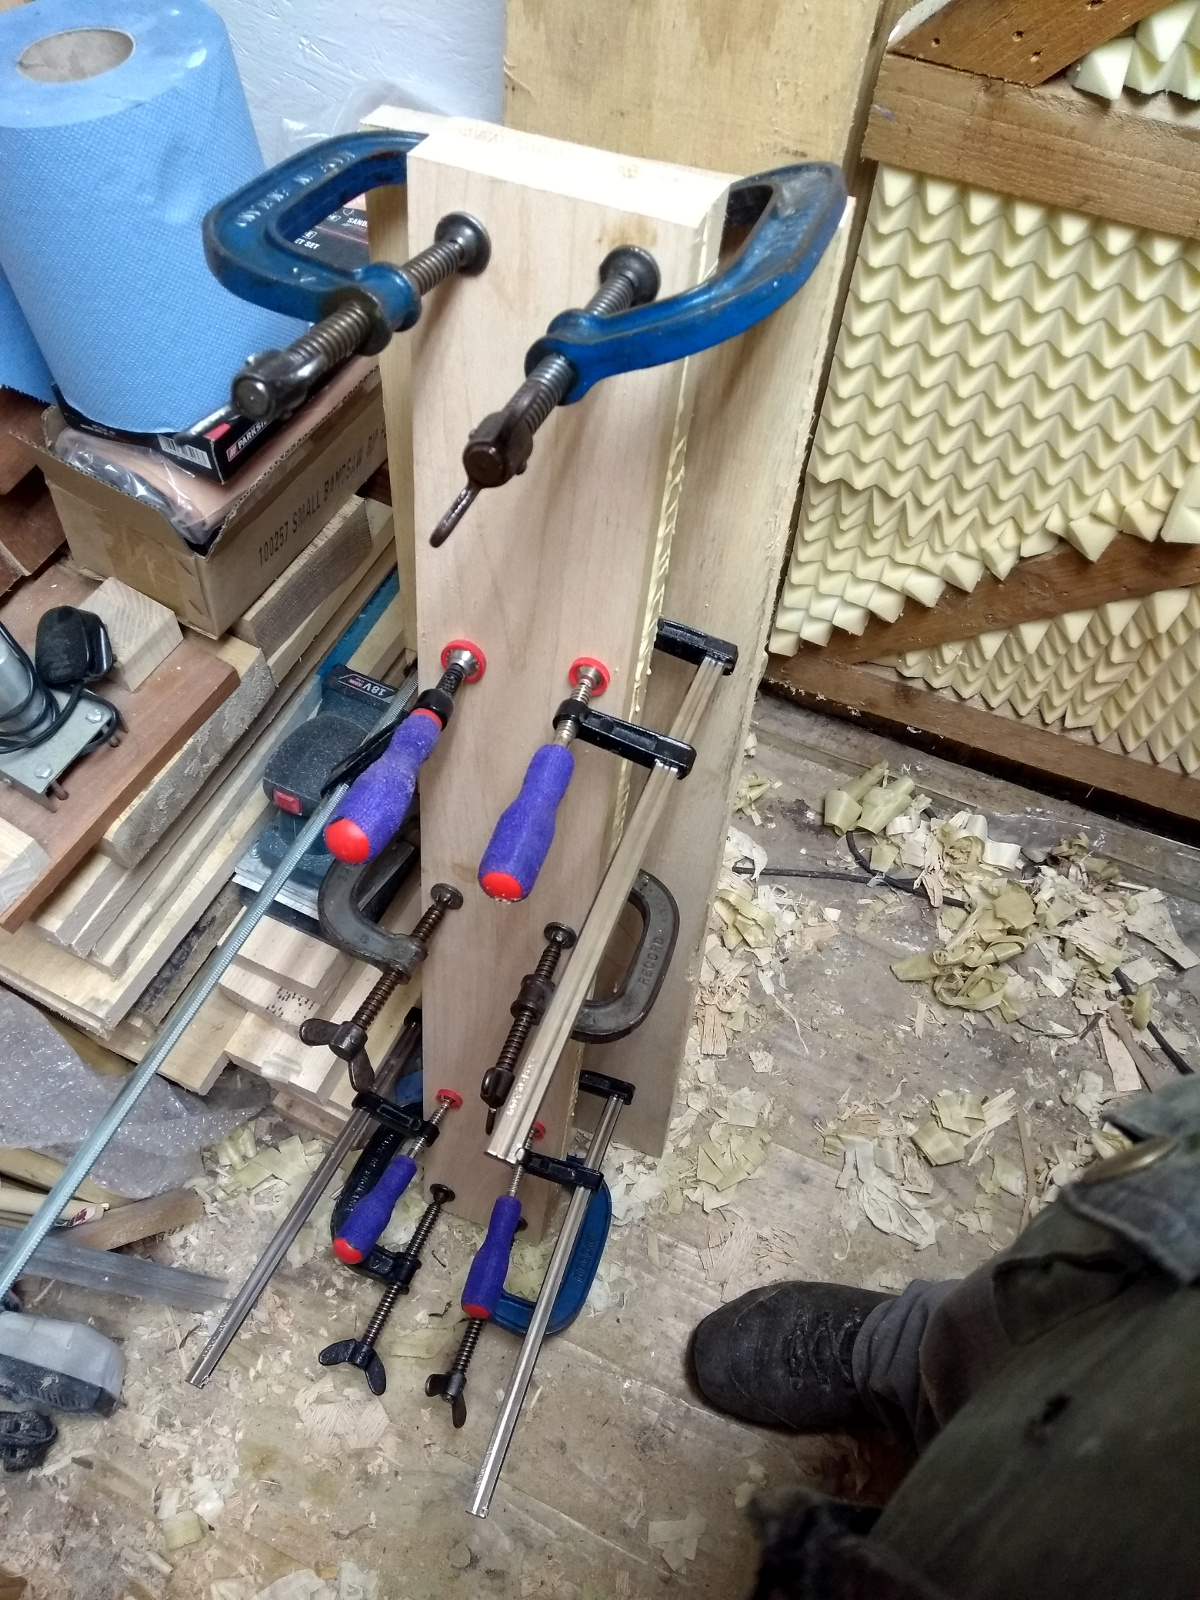
Getting good squeezeout here.
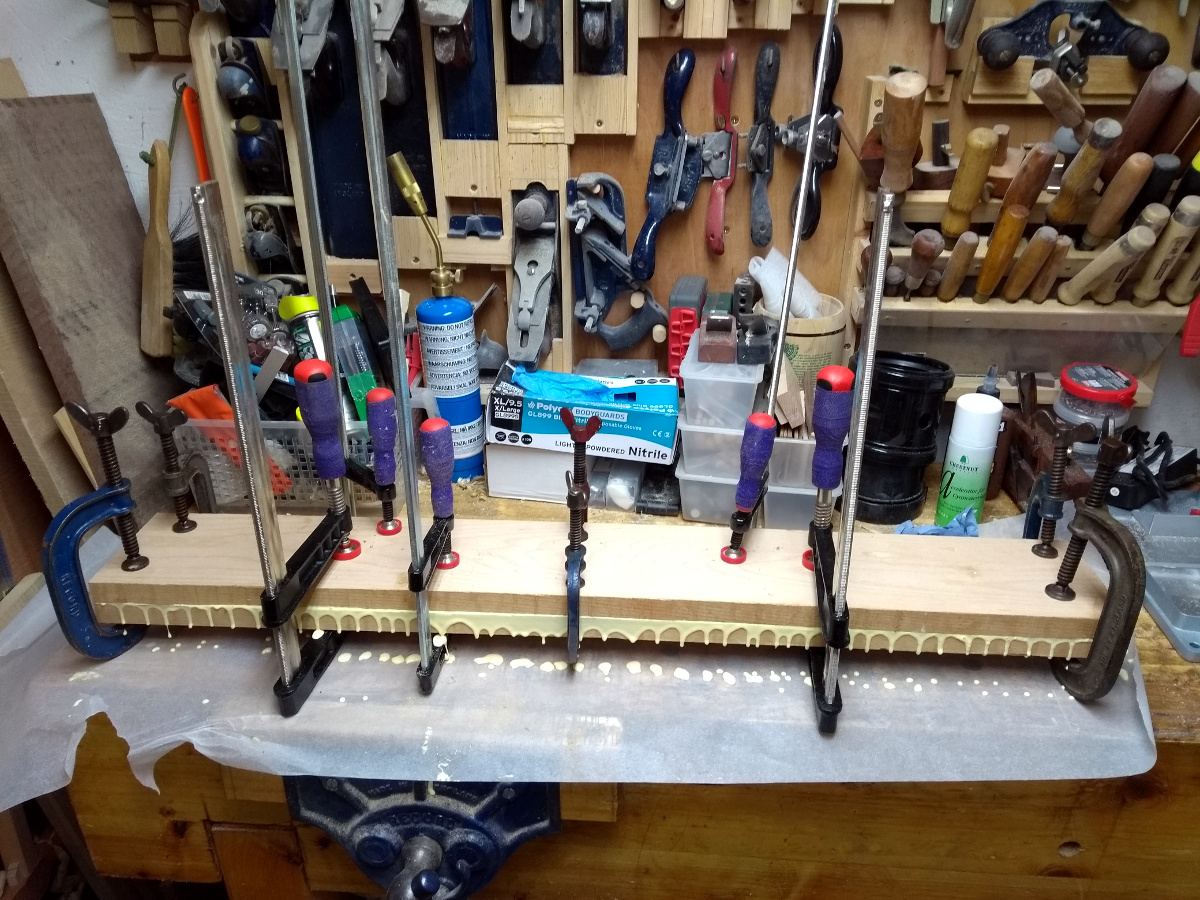
The purple hockeystick grip tape on the handles of those F-clamps was a good idea it turns out, it helps quite a bit. I’d done the glue-up for the crossbar earlier in the week from some 38″x6″ poplar boards that were about 5/4″ thick.
Once they’d all cured, the new record scrub plane (sid would have been overkill) got the sides into some sort of level affair and the #05 flattened one face on all the laminated parts. Did the same for the beech offcuts for the webs (I used 5″x61″ boards for the legs, but cut down to 40″ so I had some offcuts to hand) and the oak board for the top (I wanted something very rigid for that and that board was the closest thing available – it’s probably overkill but the idea was to free up space as well).

That laminated poplar crossbar is the one part I’m not so happy about, poplar being a little soft, but it was the only thing I had that was the right size unless I cut down a 16″ wide sapele board and I just couldn’t bring myself to do that. That sapele is just screaming out to be made into a desk or a table or something nice.

With one face flattened by hand on all the parts, I’m letting the donkey do the other side because I’m being lazy (I’ll do the edges by hand later).
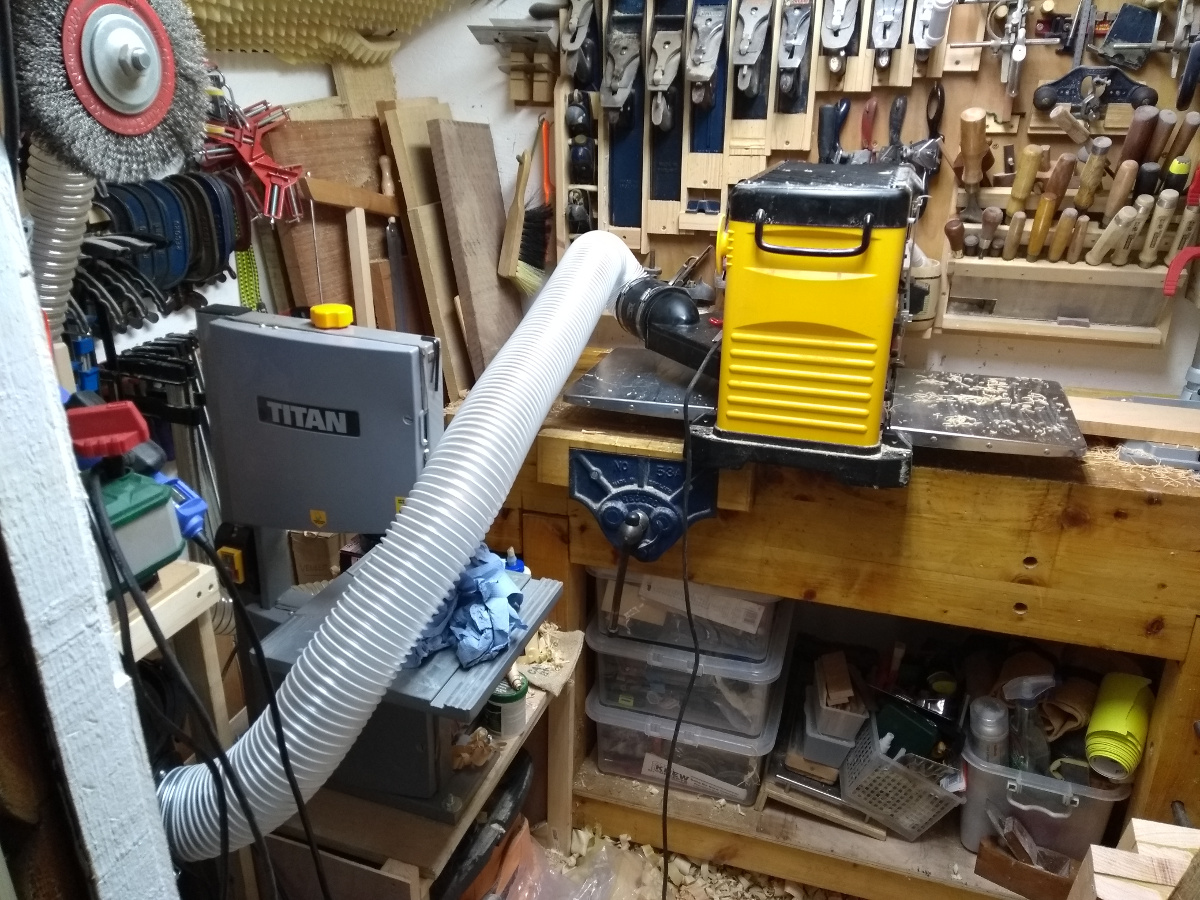
Not happy about that hose run, I need to buy some more 100mm hose I think and maybe 3D print off some quick-couplers for them, but I tested this with a single board this evening (all I had time for) and it worked. No massive amounts of dust and shavings everywhere, so that was a massive improvement.

Not sure how I’ll do the longer leg, top and crossbar boards though, I might need to do that outside, which would be rather antisocial after I get home during the week (when it’s usually after seven) so it may have to wait for the weekend. Or maybe I can get 40″ infeed and outfeed if I line it all up carefully. I mean, 40″ infeed, 40″ outfeed, 8′ wide shed, that’s a whole 16″ to play with there, right? Yeesh.

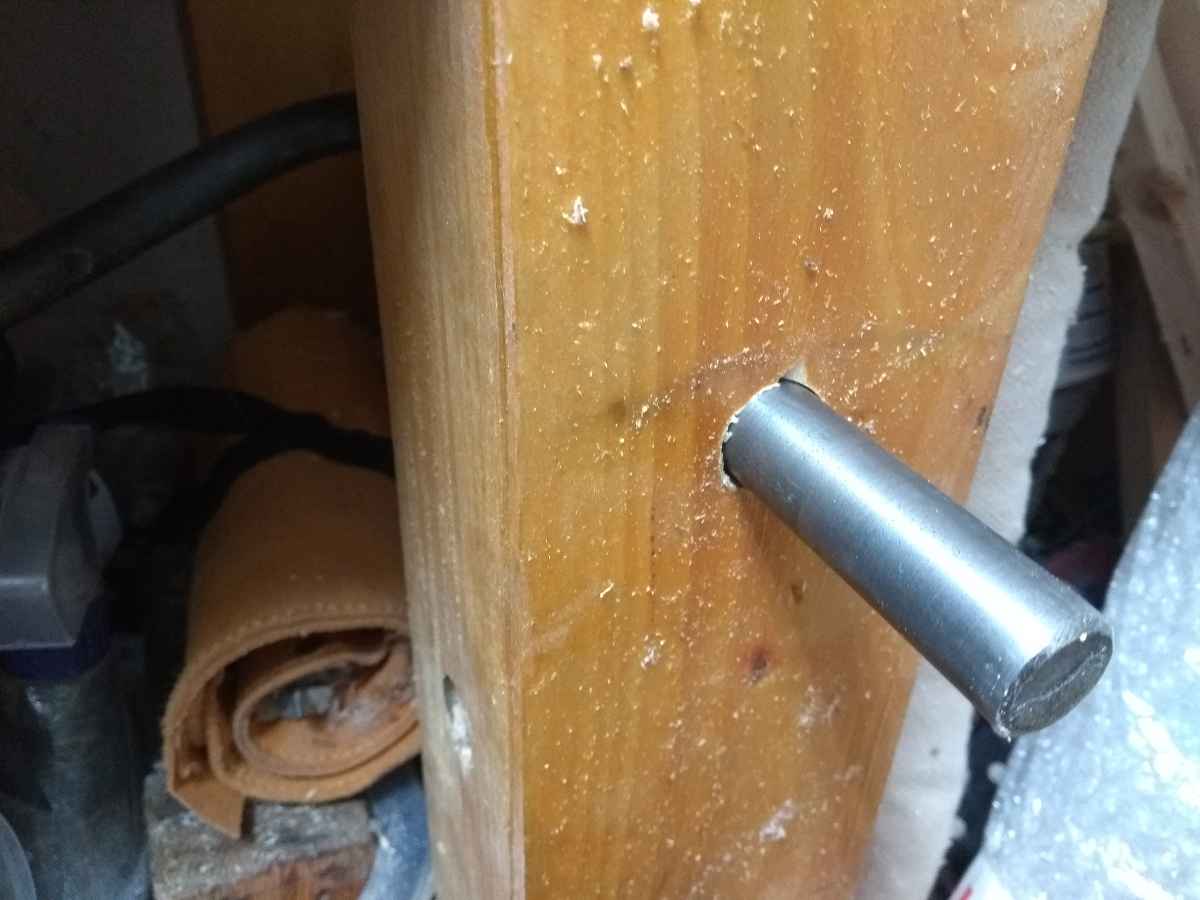
Oh, and also finally drilled that second holdfast hole in the leg of the vice now that the tumbledrier is out of the way…
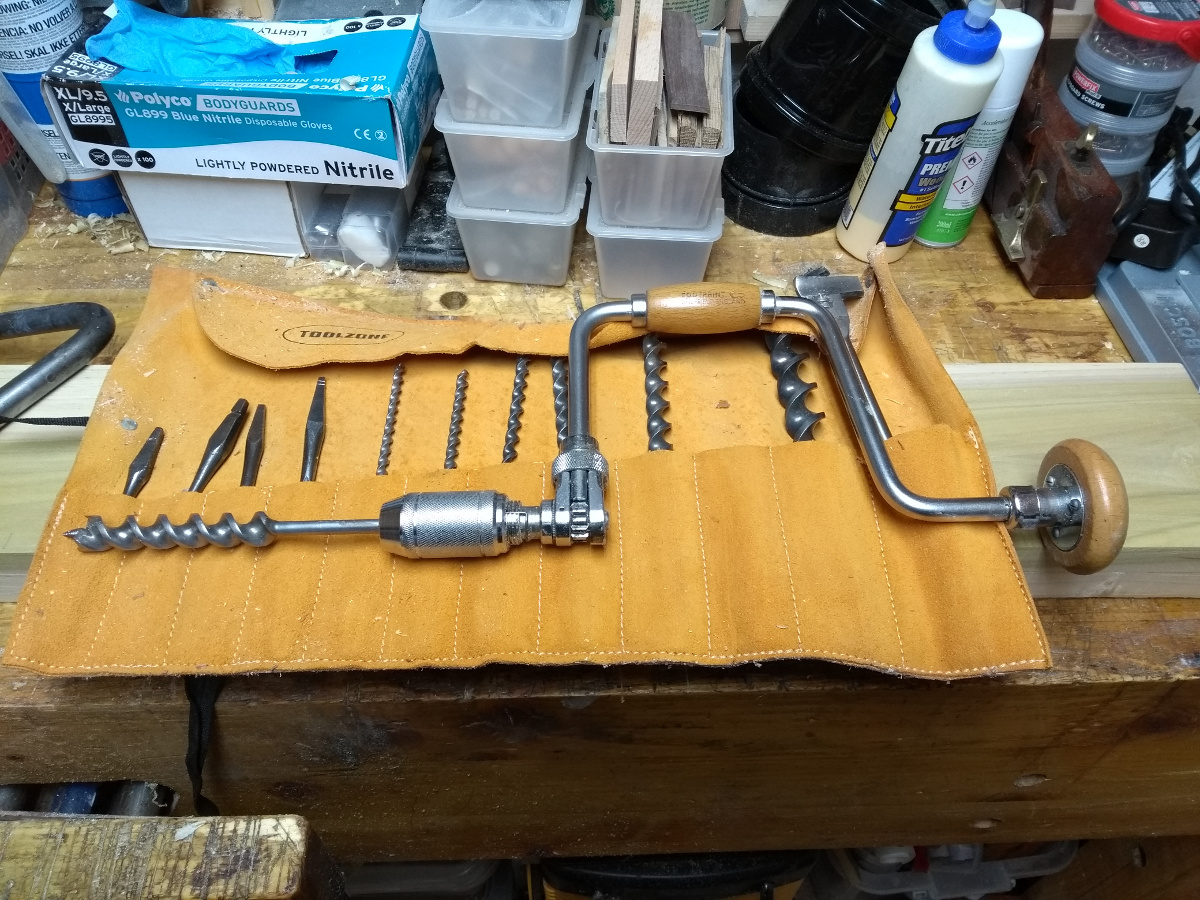
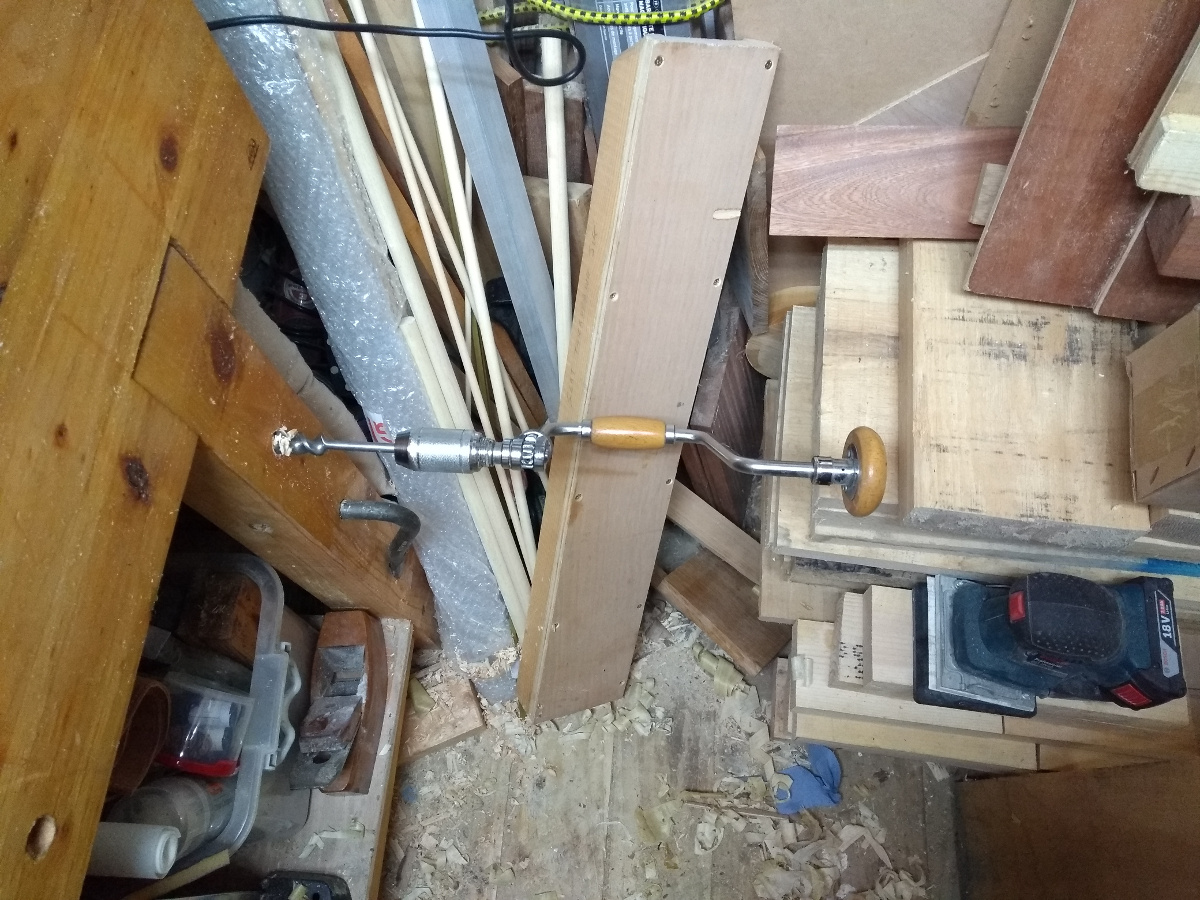
I’ve only been wanting to do that job since, oh, 2016? Progress…

27
Oct 19

Done

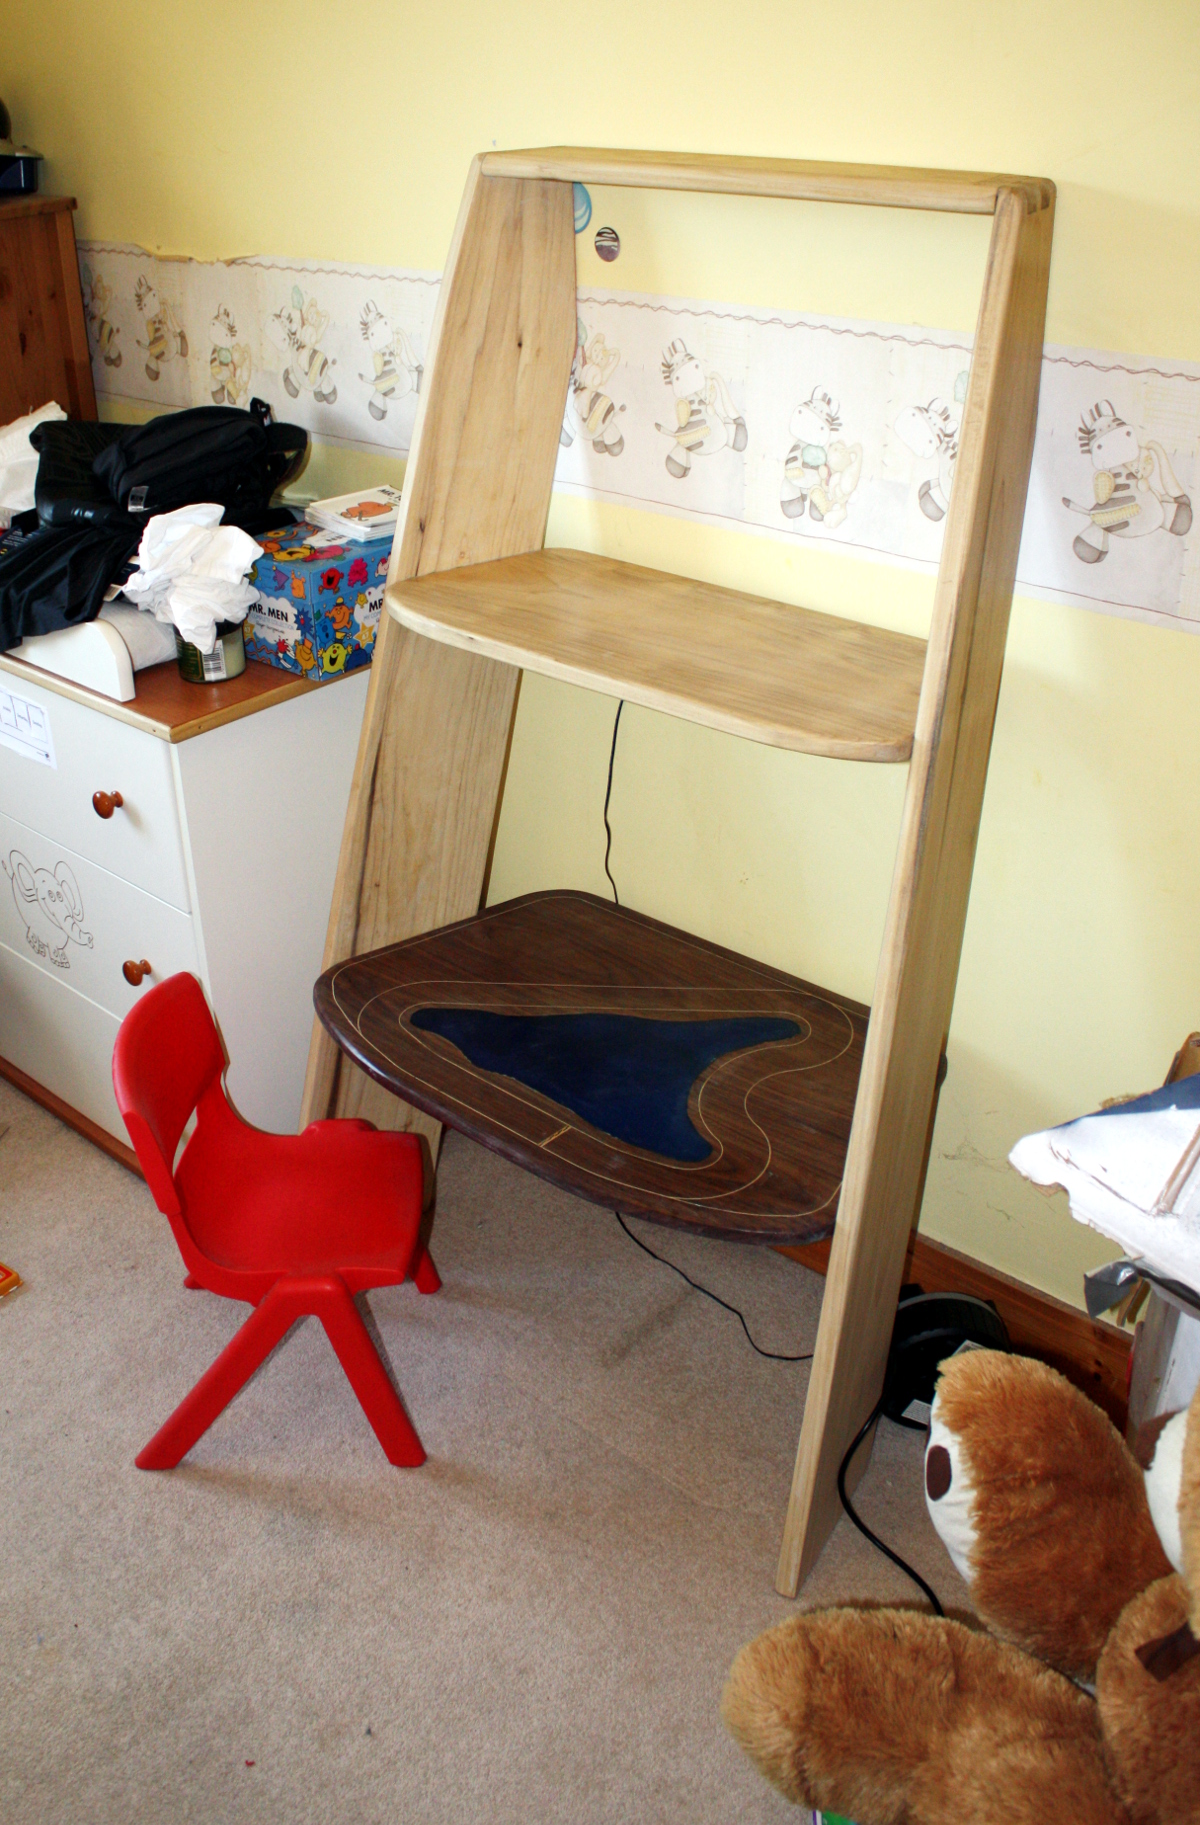
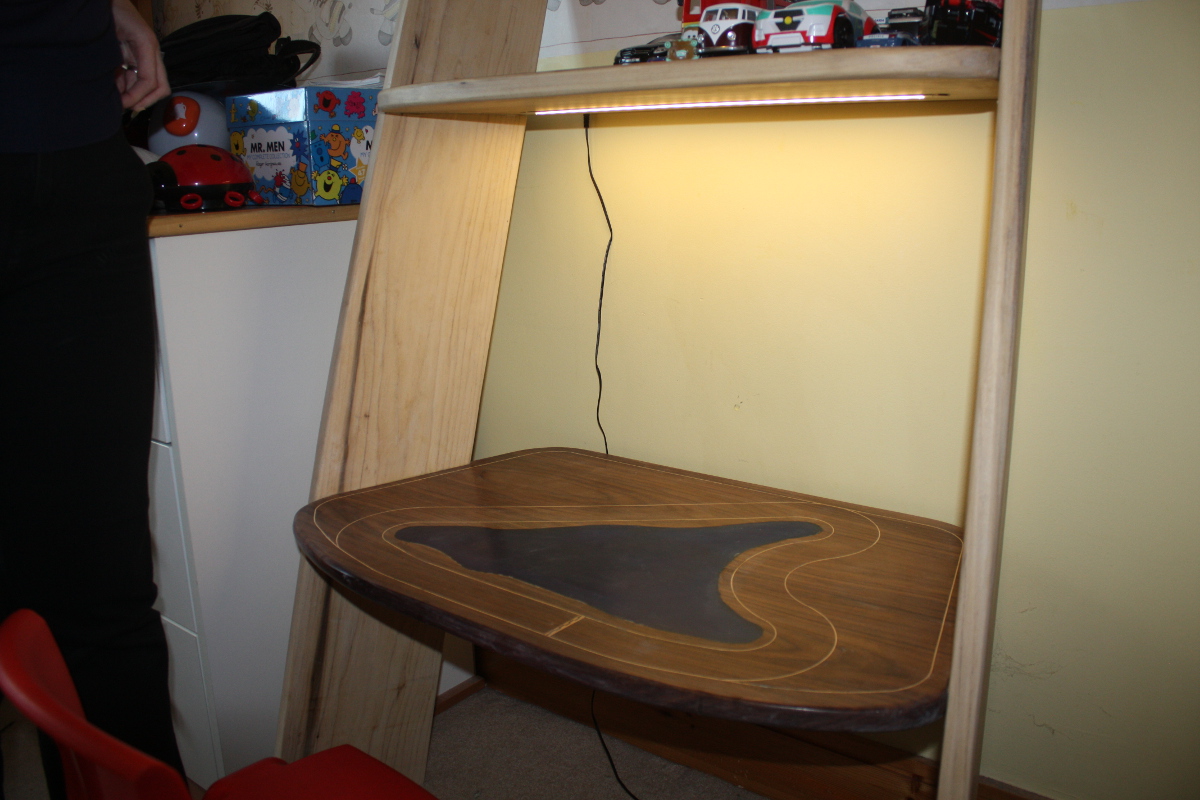
So during the week I had to work from home for a day, so while doing that I took my lunch break to pull the shelves out of the shed and put a second coat of Polyx on them. They didn’t look too bad.


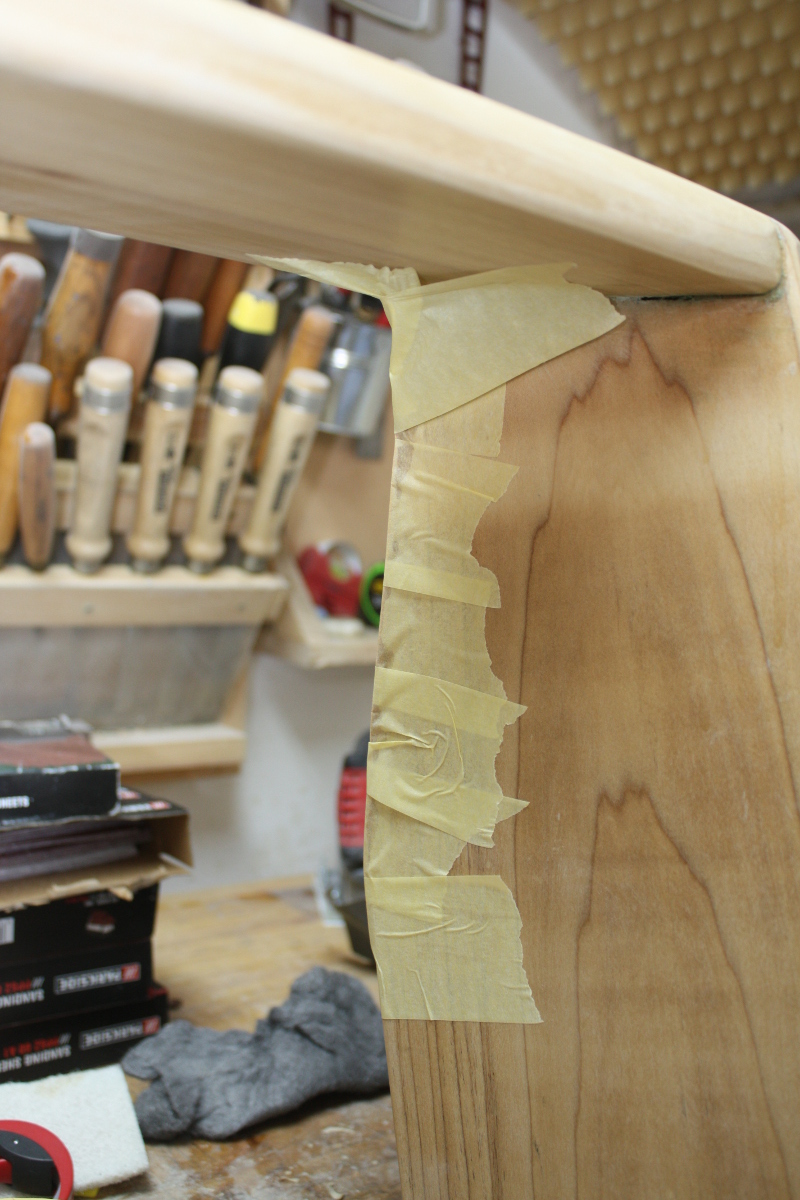
And after they’d cured for a few days in the shed, I went out again and glued on some leather pads on the contact points between the shelves and the wall so that they wouldn’t rub against the wall and destroy the paint. Awkward to clamp though.

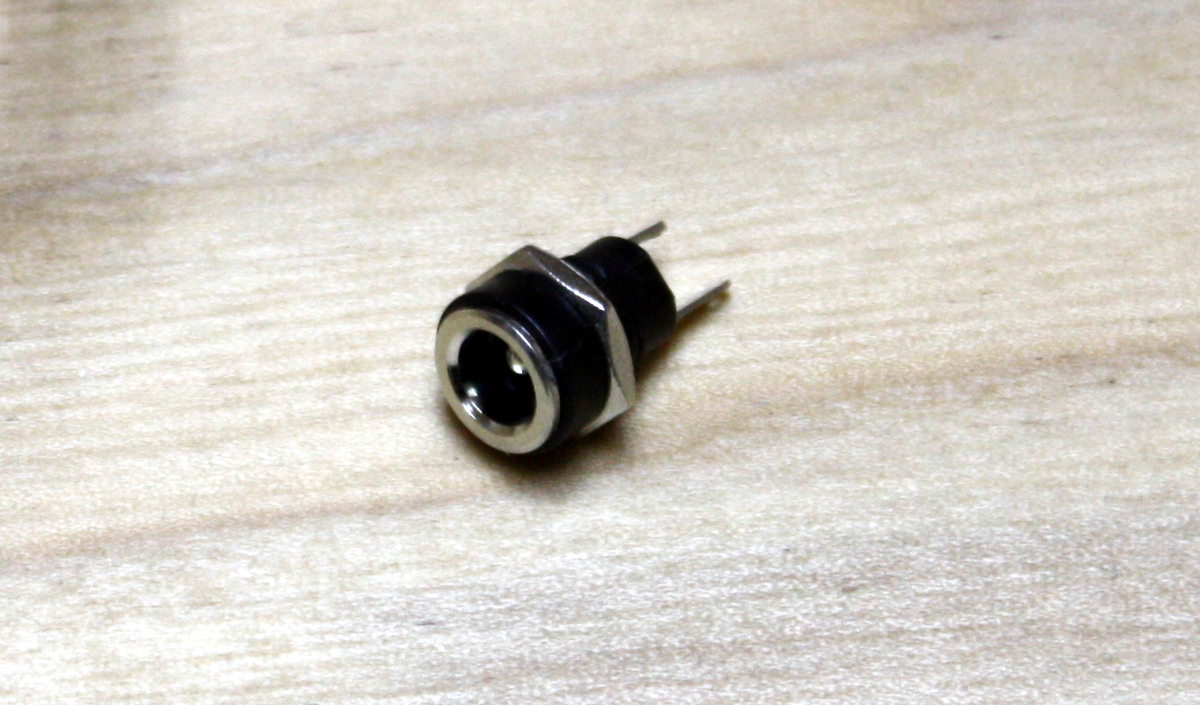
And then today while Calum was out at a birthday party, I snuck out to the shed, took off the tape and trimmed the leather pads, drilled the first inch or so of the wiring channel out so the barrel socket would fit and then brought the shelves indoors.

It looks very very empty now 😀

Some manhandling of the shelves later and I got them into the lab and soldered the socket to the LEDs and then finished fitting the LED lights; then more manhandling of the shelves to get them into Calum’s room and a quick coat of beeswax which looked about a shiny as sand. Guess I need to rub harder.

And that’s it. Done.

Yikes, that only took a year and four months. To the day.

Okay, granted some other stuff happened in the middle of all that, like making a carved oak box, getting a promotion at work and embedding a mug in resin, but still. Yikes. And I can’t help but think it’d have gone faster with a larger shed…

Still though, end result is nice.

At least he hasn’t grown enough to not fit it anymore. According to the growth charts and the various furniture design books, it’ll last him about two more years before his knees won’t fit under the desk; at that point, I’ll make a pair of feet to go under the uprights and raise the whole thing up by a few inches and we’ll get another few years out of it. 

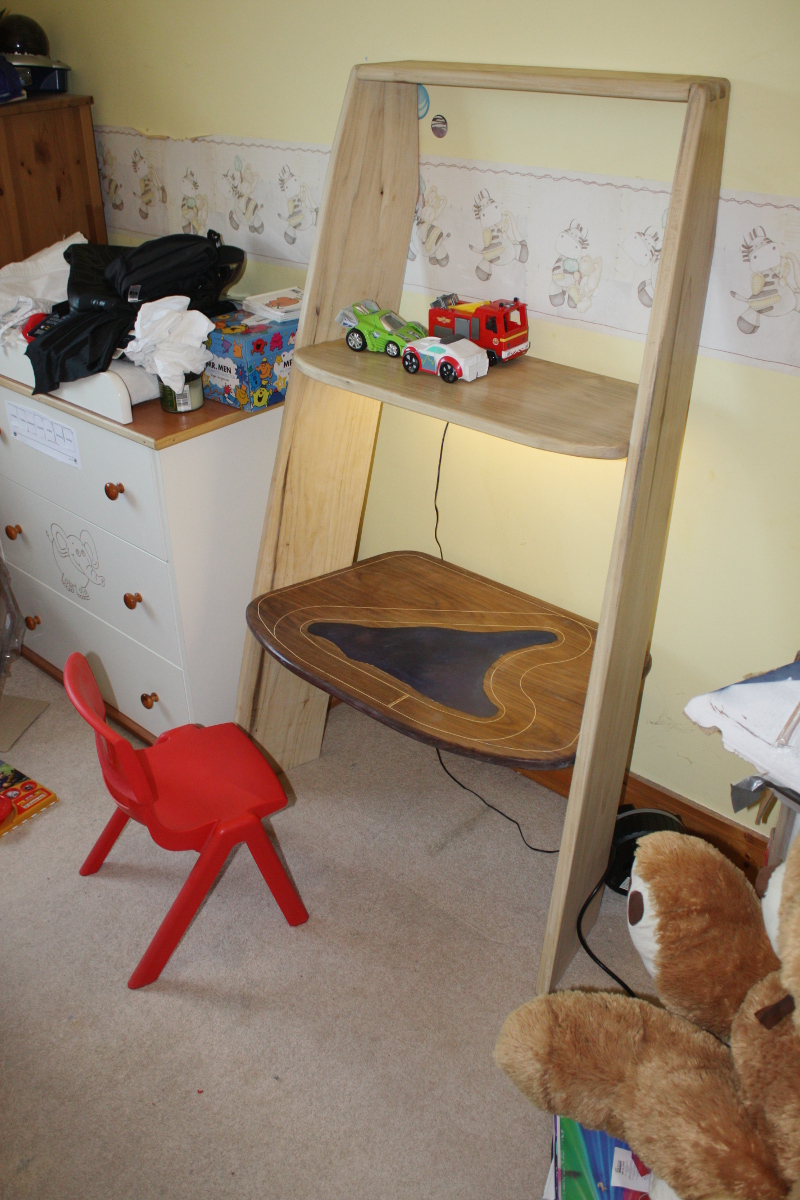
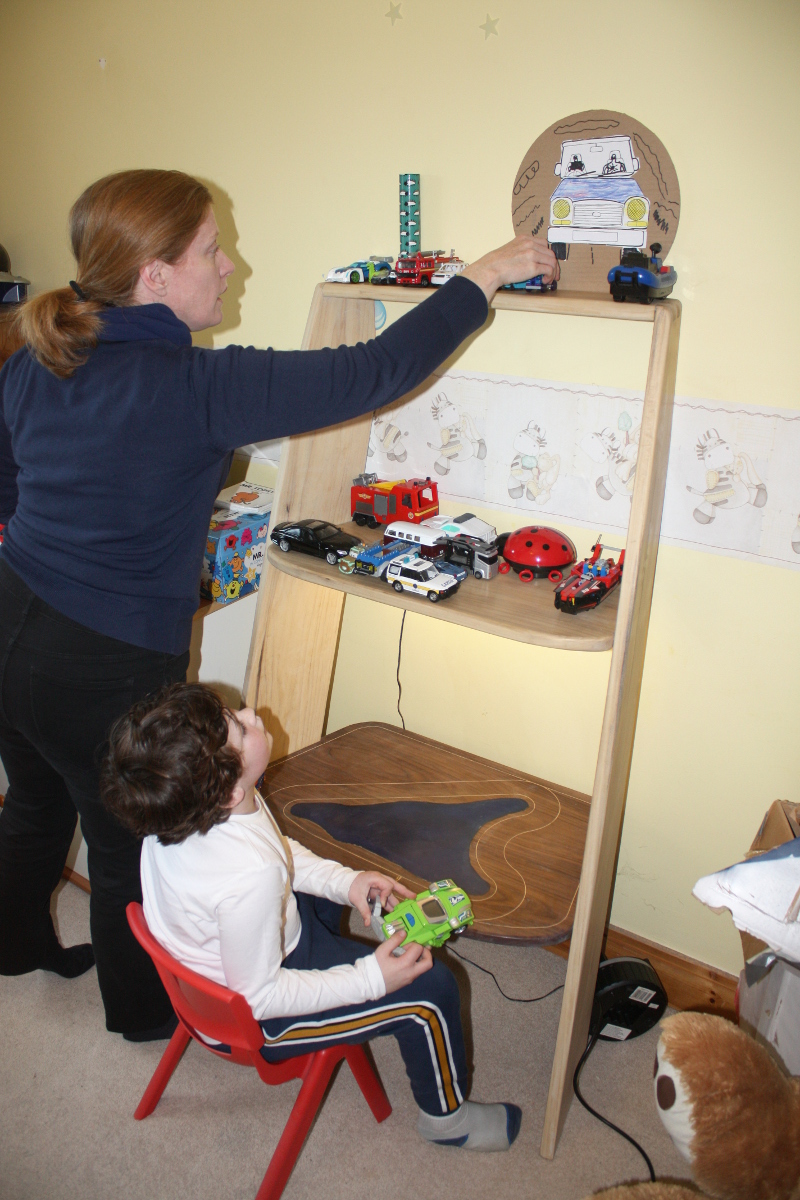
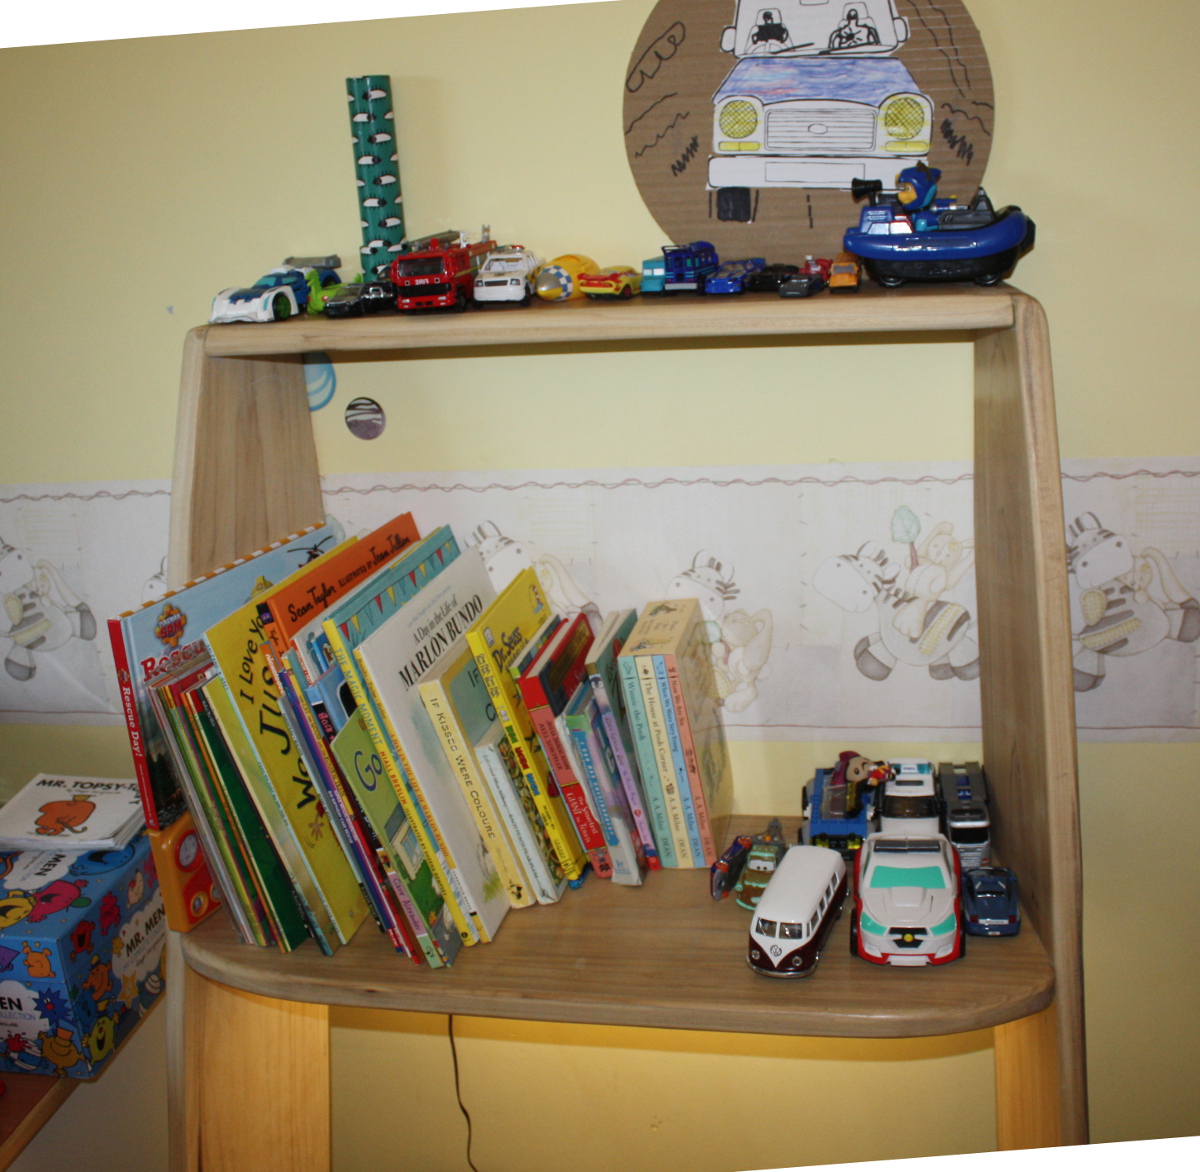
Stocking the shelves.

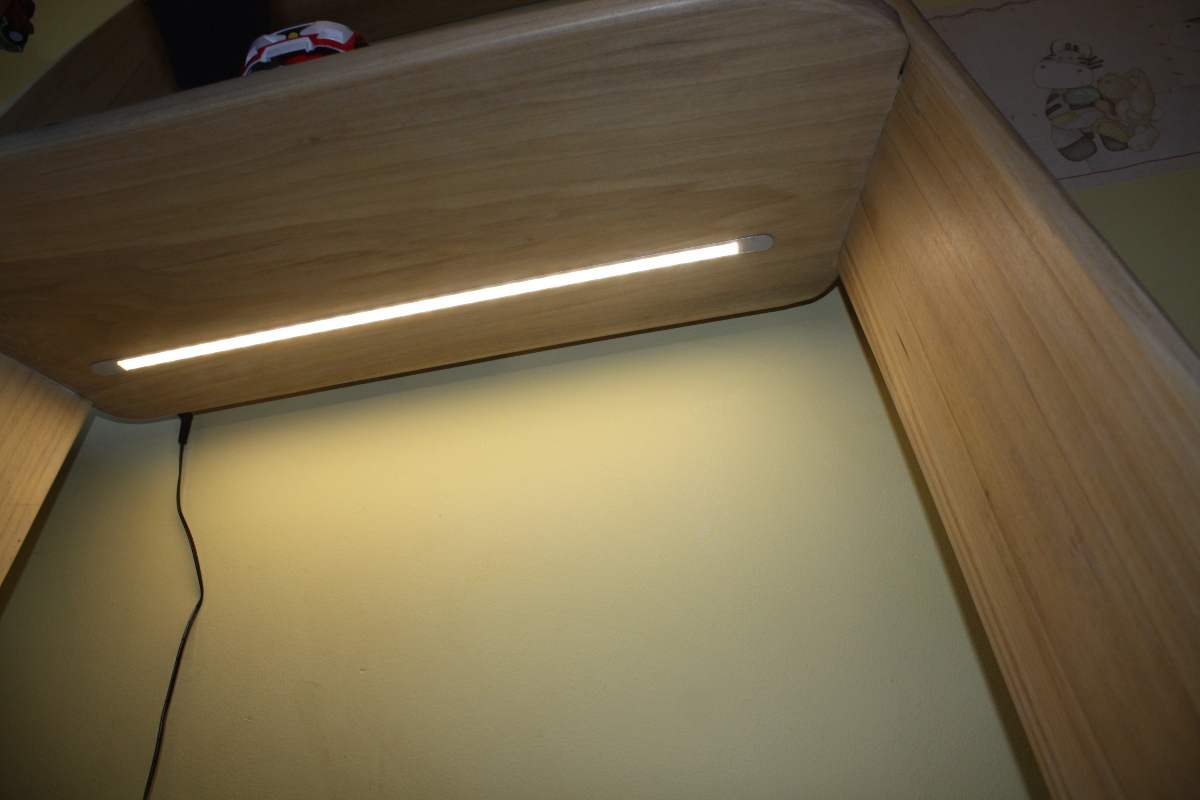
And of course, there’s the LED lighting. Need to tidy that cable away a bit yet. 

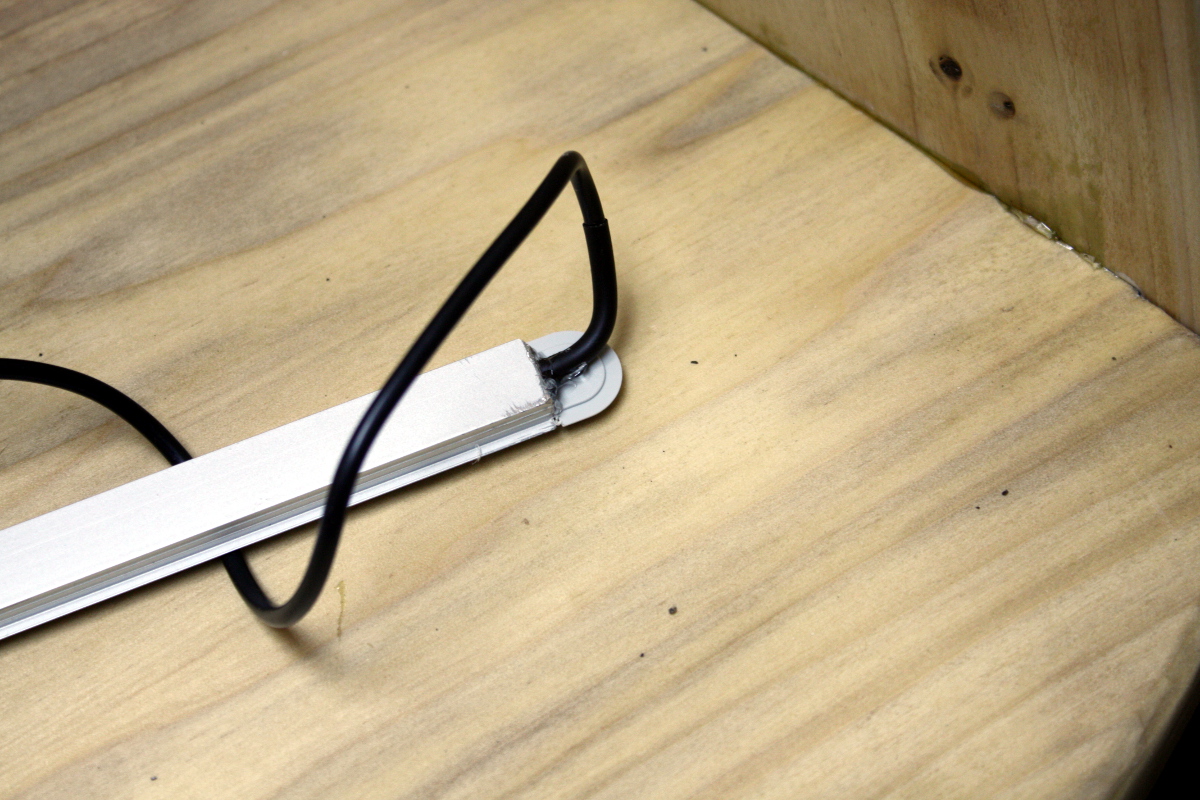
Didn’t even need glue, the slot was just the right size and the aluminium extrusion had small ridges to act as barbs to hold it in place.

And finally all the books have a place to live.

(Nobody tell him, but this is going to be covered in homework in a few years 😀 )

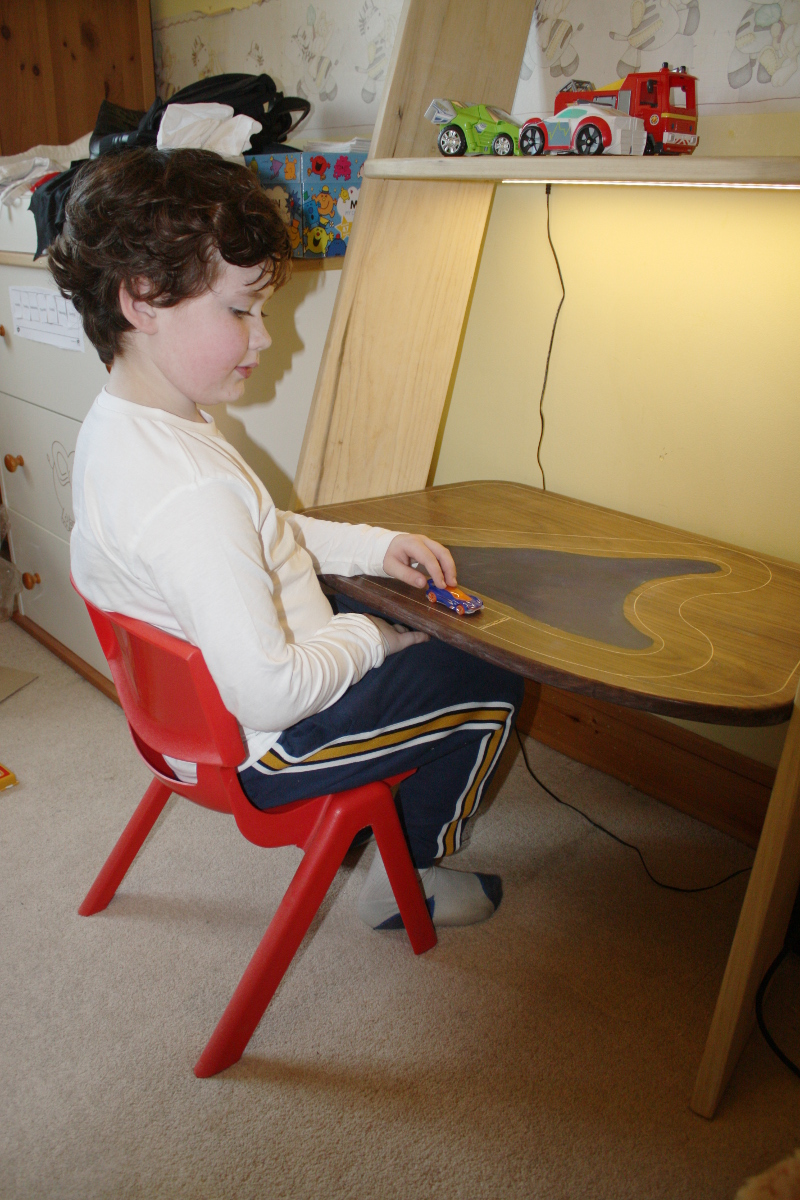
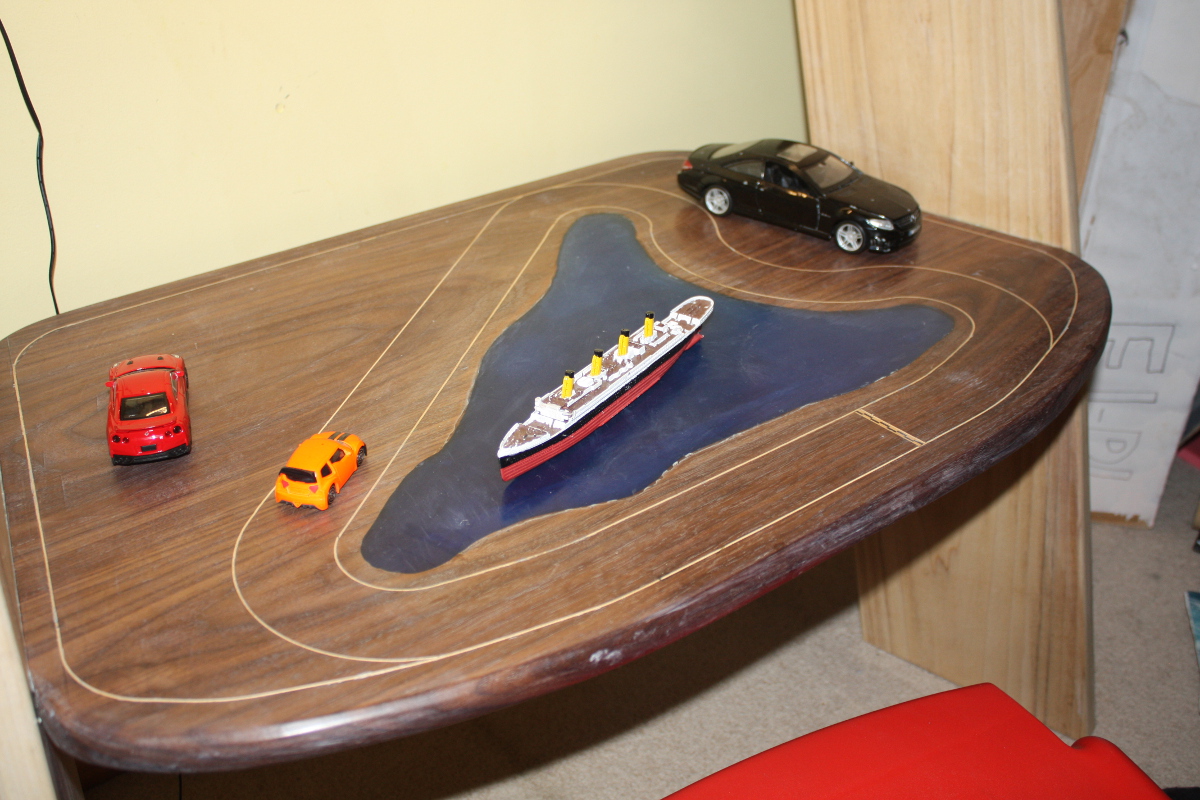
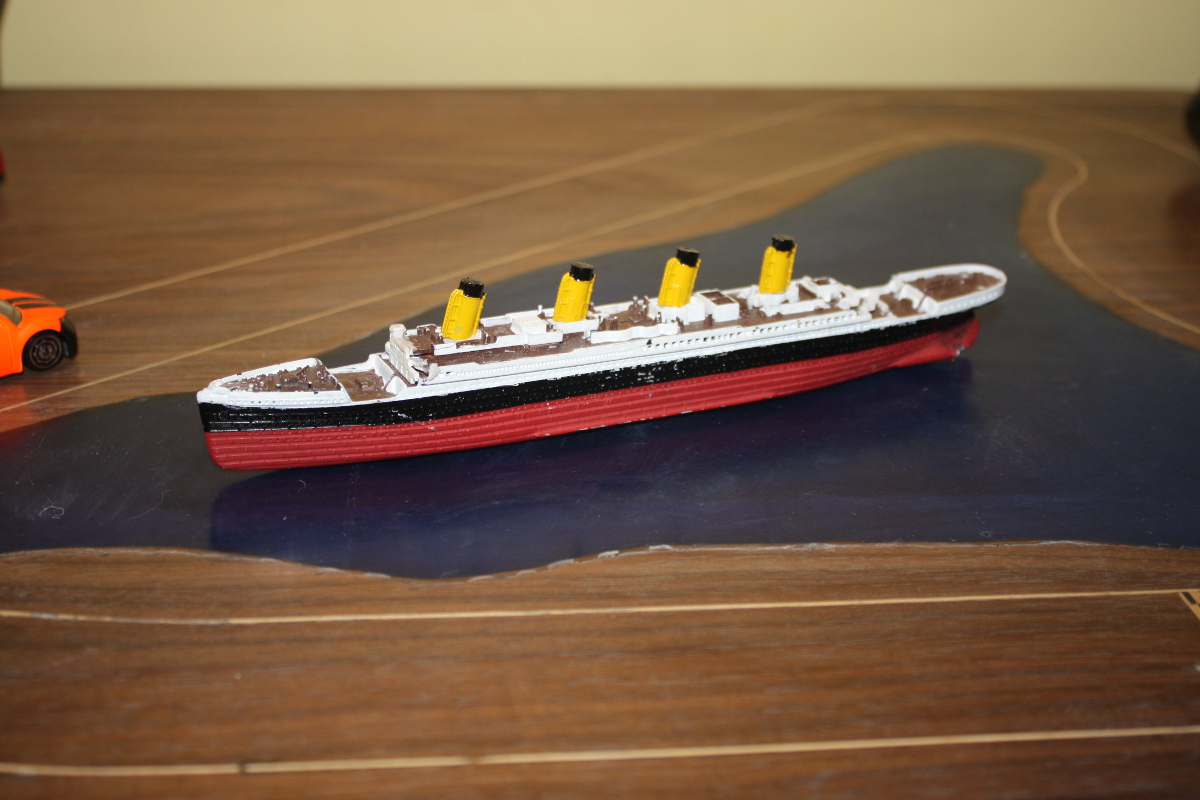
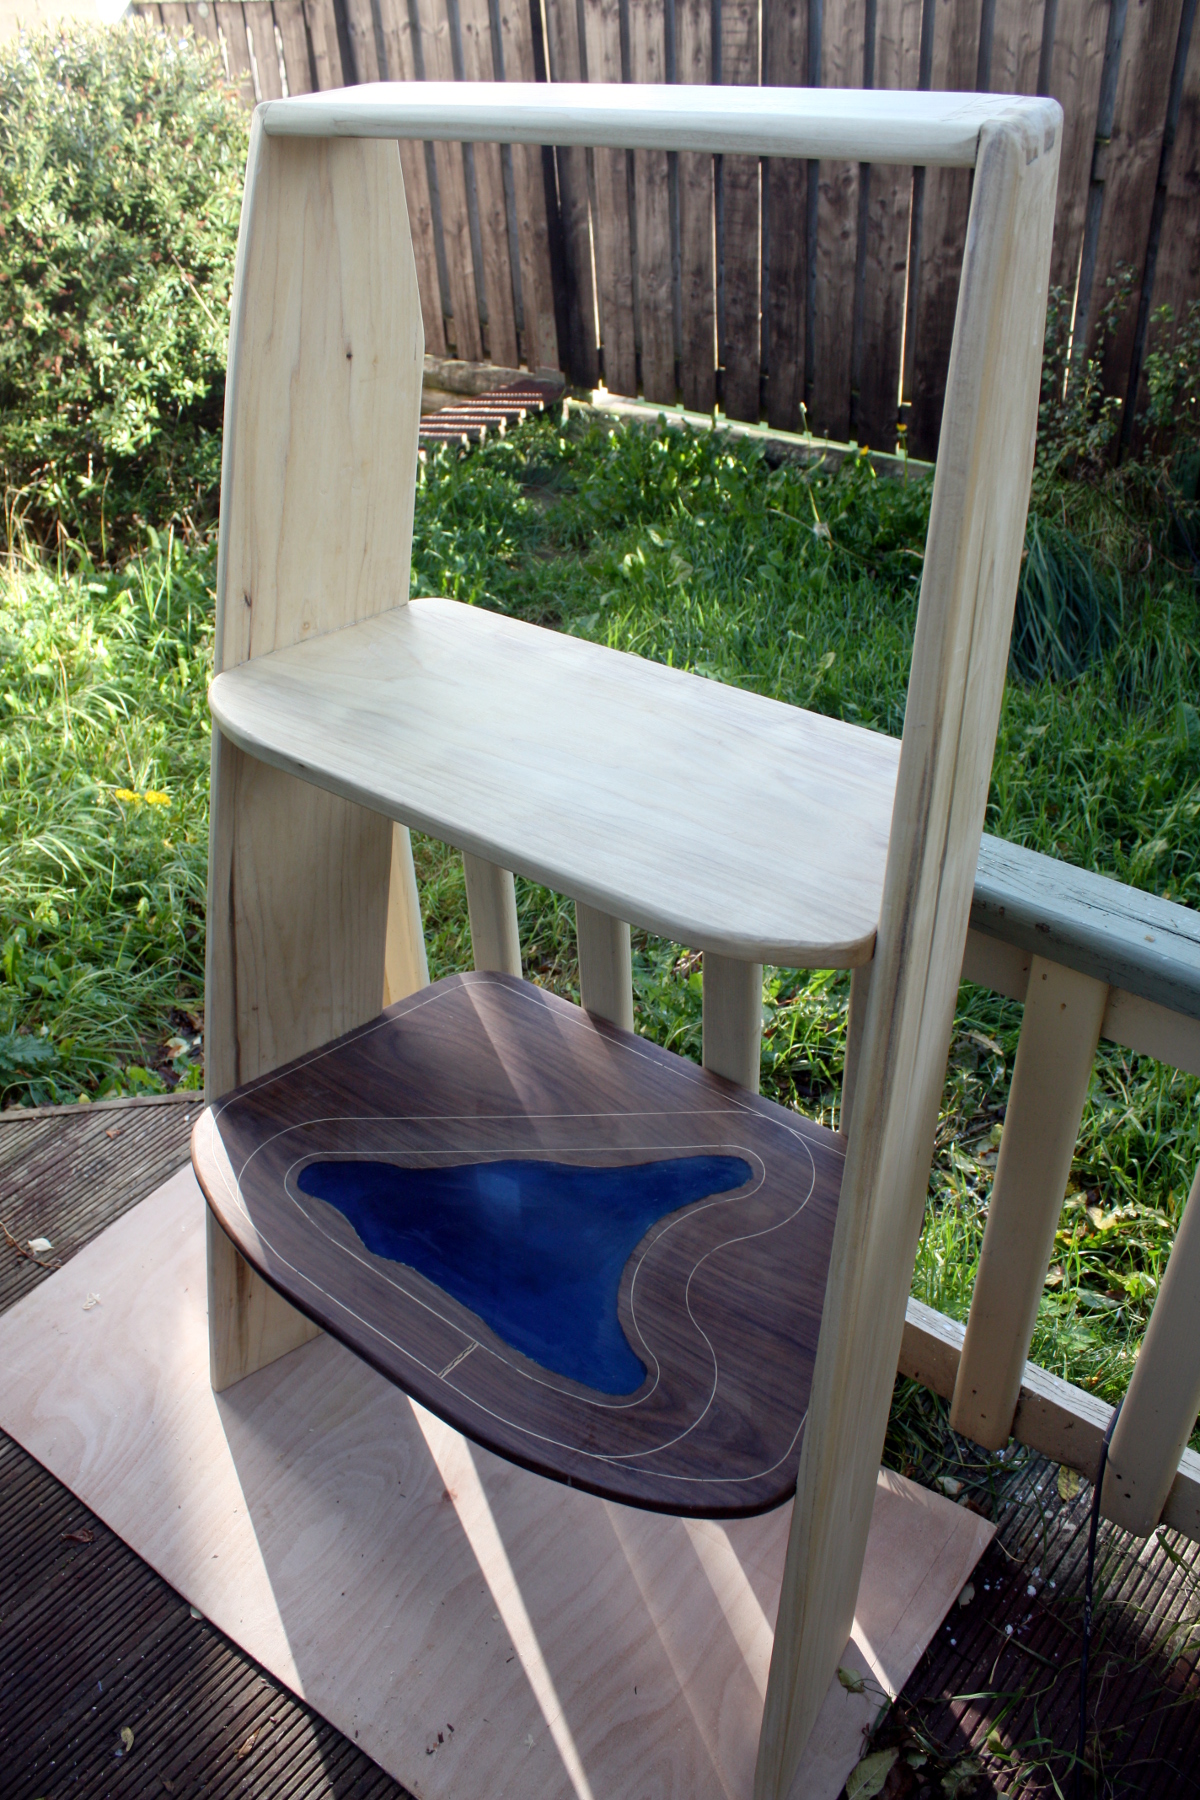
Yes, that’s the model of the titanic that Calum made. Why do you think he had me build a sea in the middle of the racetrack on the desk? 😀

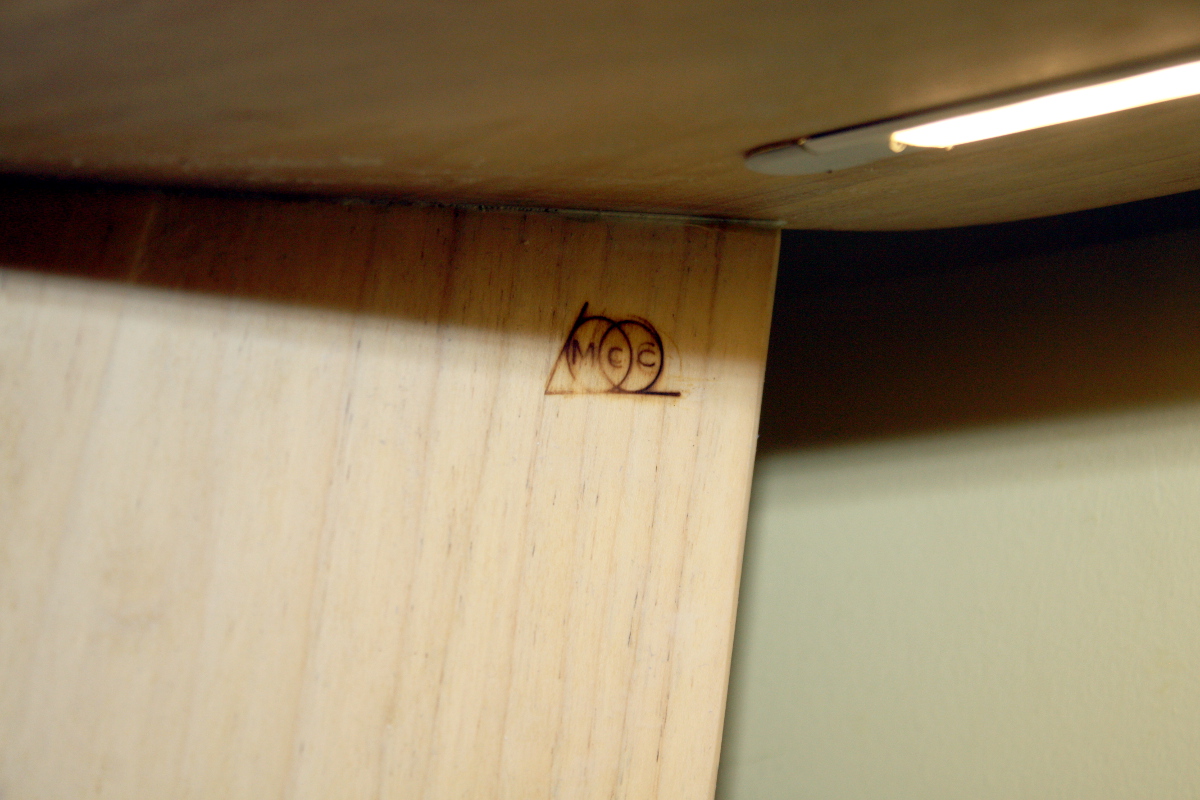
I even remembered to sign it. Though my blowtorch ran out of propane at the worst possible moment so it could be darker. Oh well. 

So, what’s next?

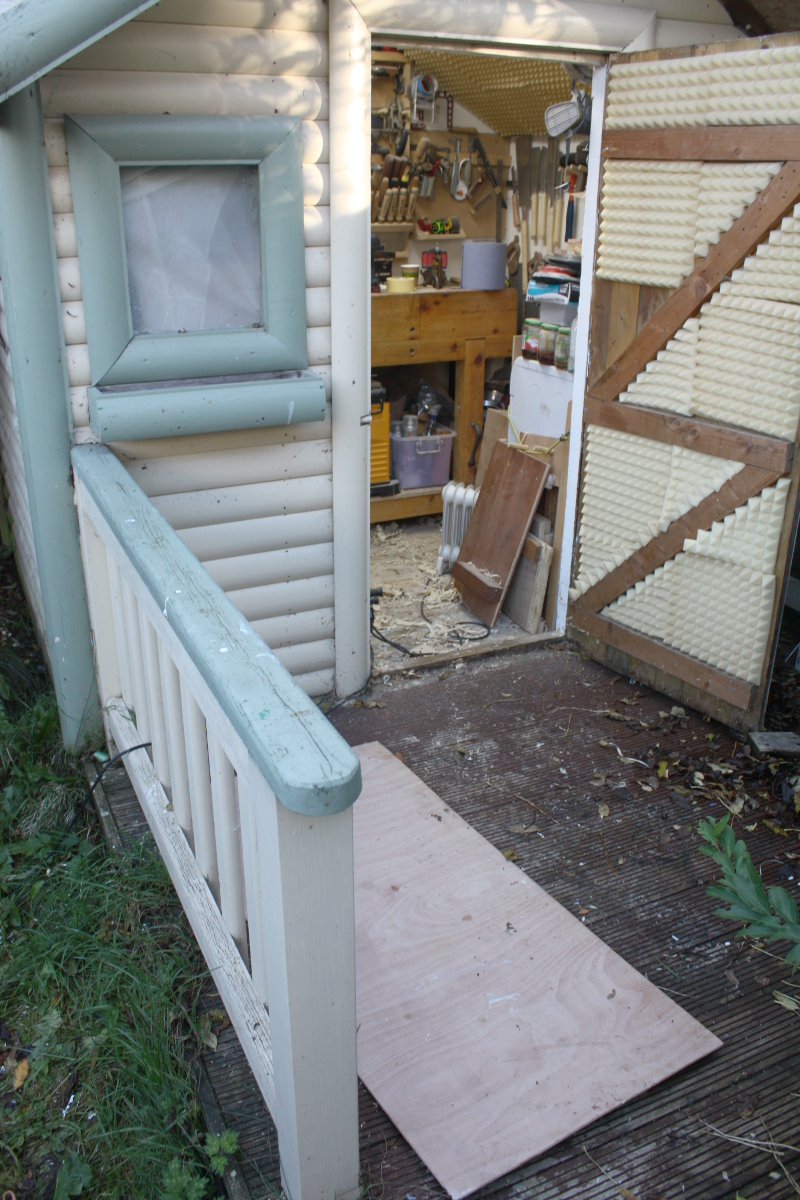
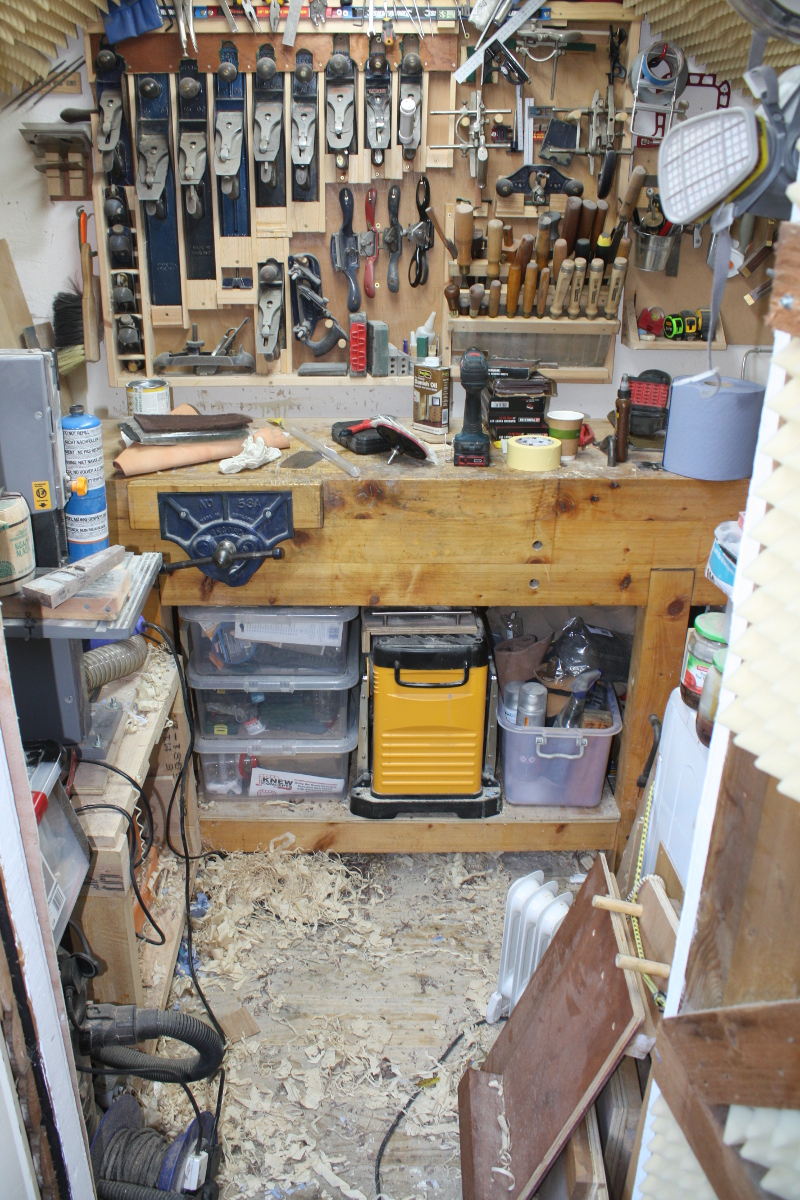
Tidying up, that’s what’s next! The shed is a serious mess and there are a dozen five-minute jobs that have piled up. So, that should only take six months to sort out…


16
Oct 19

Lights, corners, more oil…

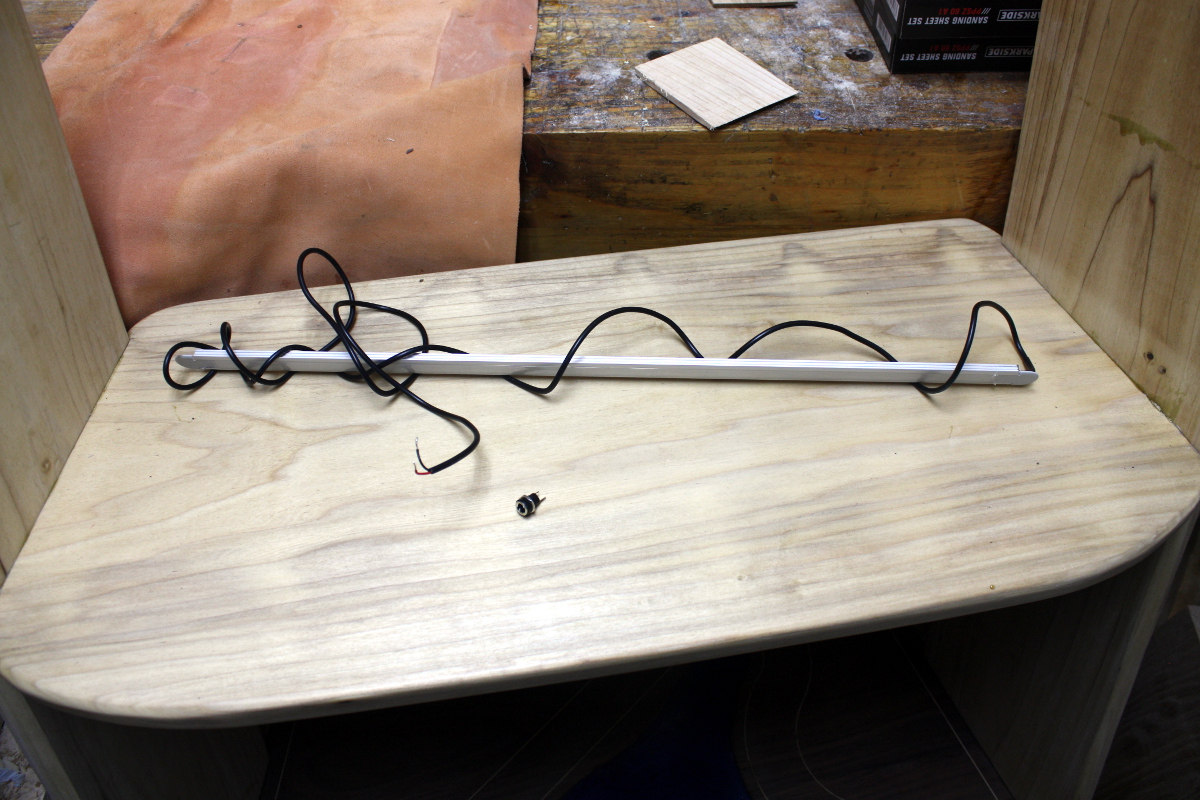
Got the LED strip during the week, cut a length off, soldered on the wire, tested it in the lab and it all lit up well, so I pulled off the paper on the back (the strip is self-adhesive) and stuck it in place inside the aluminium extrusion with some heatshrink around the cable end for strain relief and put the diffuser and endcaps in place…

The cable fits in the hole that I drilled for it, so that’s grand, but the connector for the 12V power supply on the other hand, is just a little too big so I’ll have to expand that hole, then cut the wire to length, solder the connector on and then install it. That’s going to be a bit fiddly and I might even wait till it’s indoors before doing that. 

So with that checked, I went round the joints with a chisel and a plastic razor and cleaned up the excess glue. The joints under the desk I couldn’t reach, so that might be for the weekend when I can take it out of the shed in the daylight.

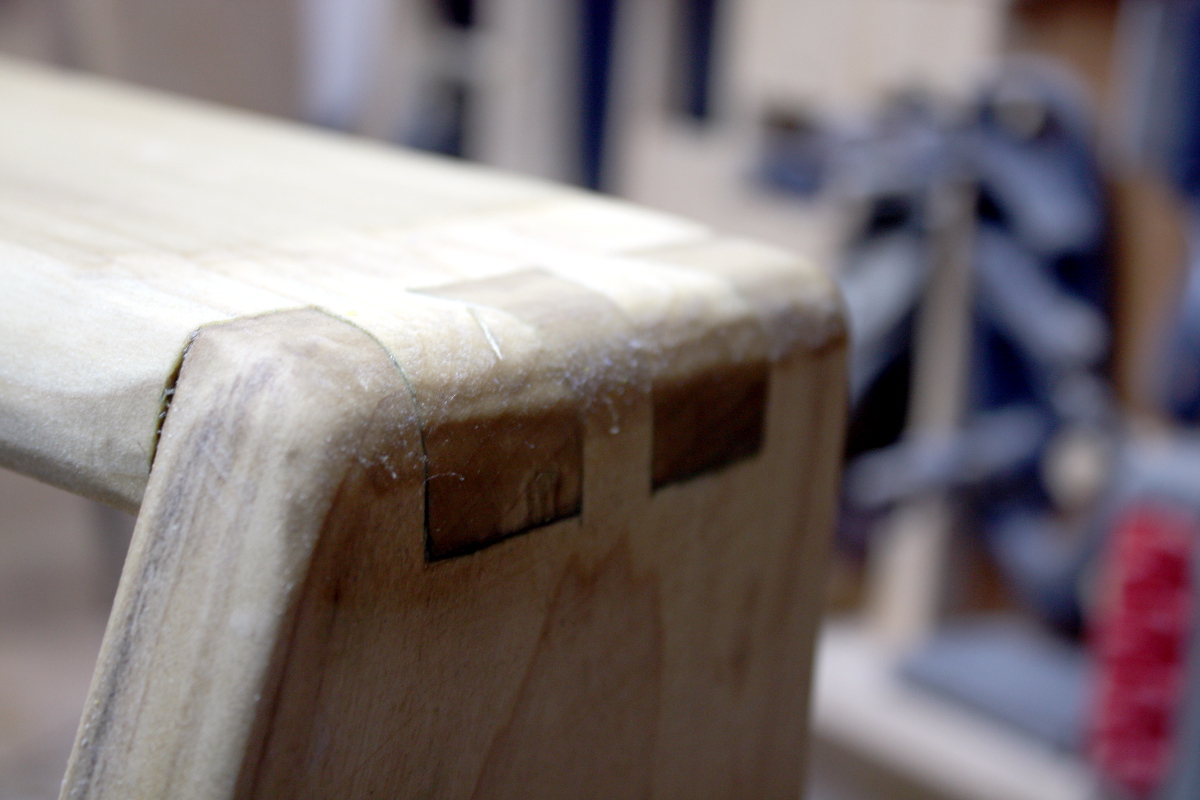
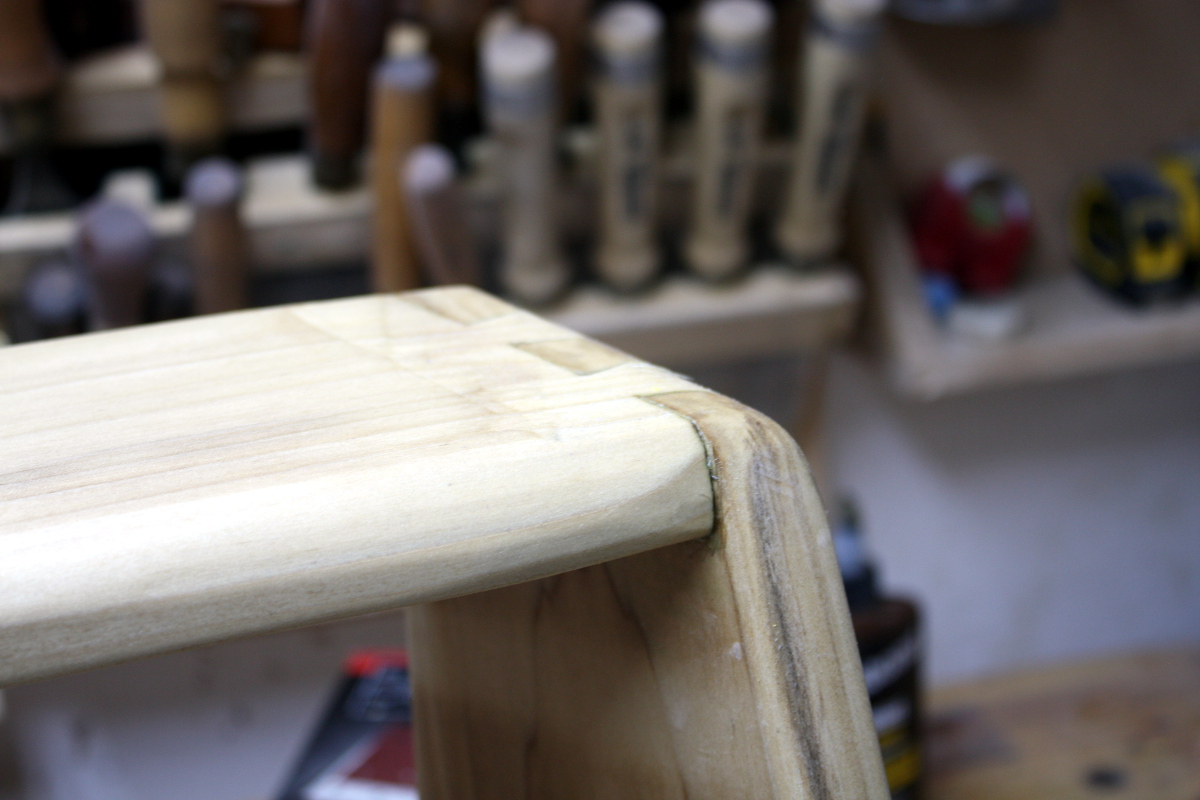
Next job was to shape the dovetail joints at the top, which is a damn sight easier when the workpiece is small enough to be able to walk around it. When it’s taking up the entire floor space of the shed and you’re literally climbing on stuff to reach the tools on the wall behind it, not so much. Still, an hour of cursing and swearing and the #04 and two chisels and some 120 grit sandpaper later, and another application of danish oil…

I don’t think I’m completely done with sanding for that shelf and those joints though. But I can’t reach them to work on them properly so I may need to take the desk out of the shed to work on it with the sander, give it another dose of danish oil, let that cure up then do another coat or two of polyx until it looks done. Then I’ll take it indoors, fit the light and that’ll be it done. I hope.