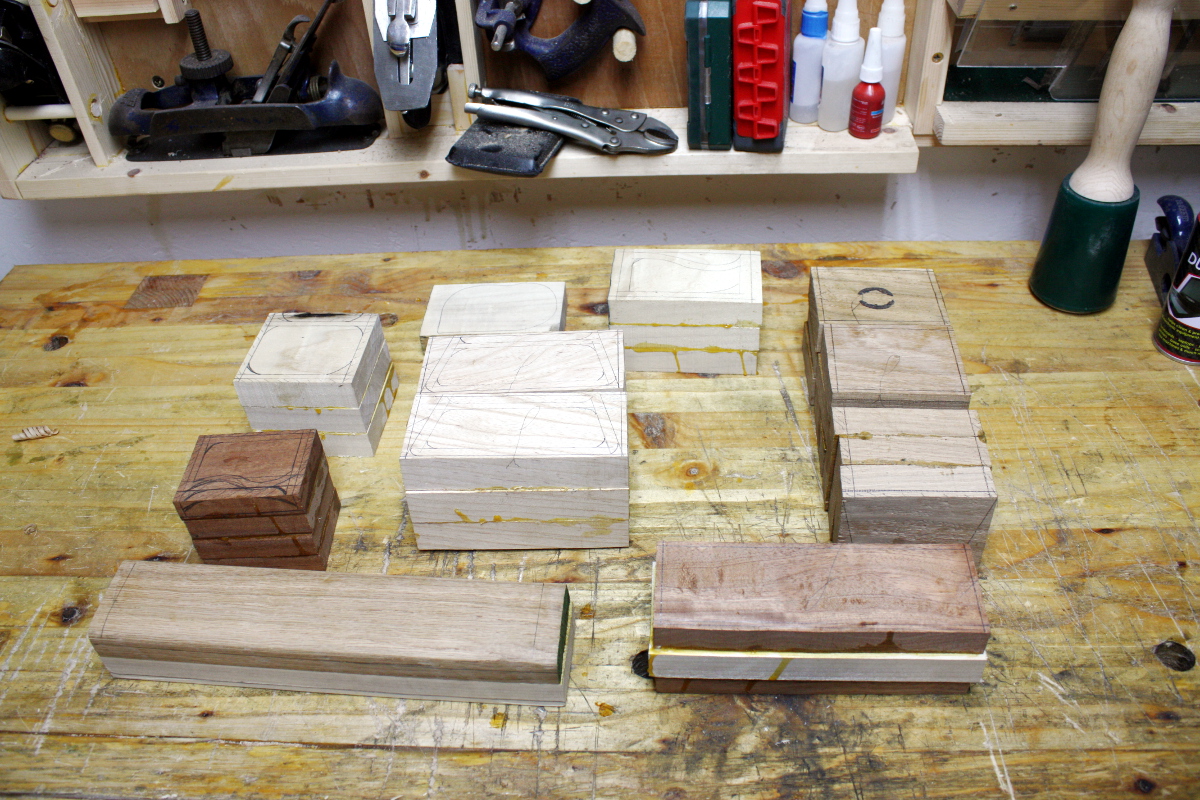
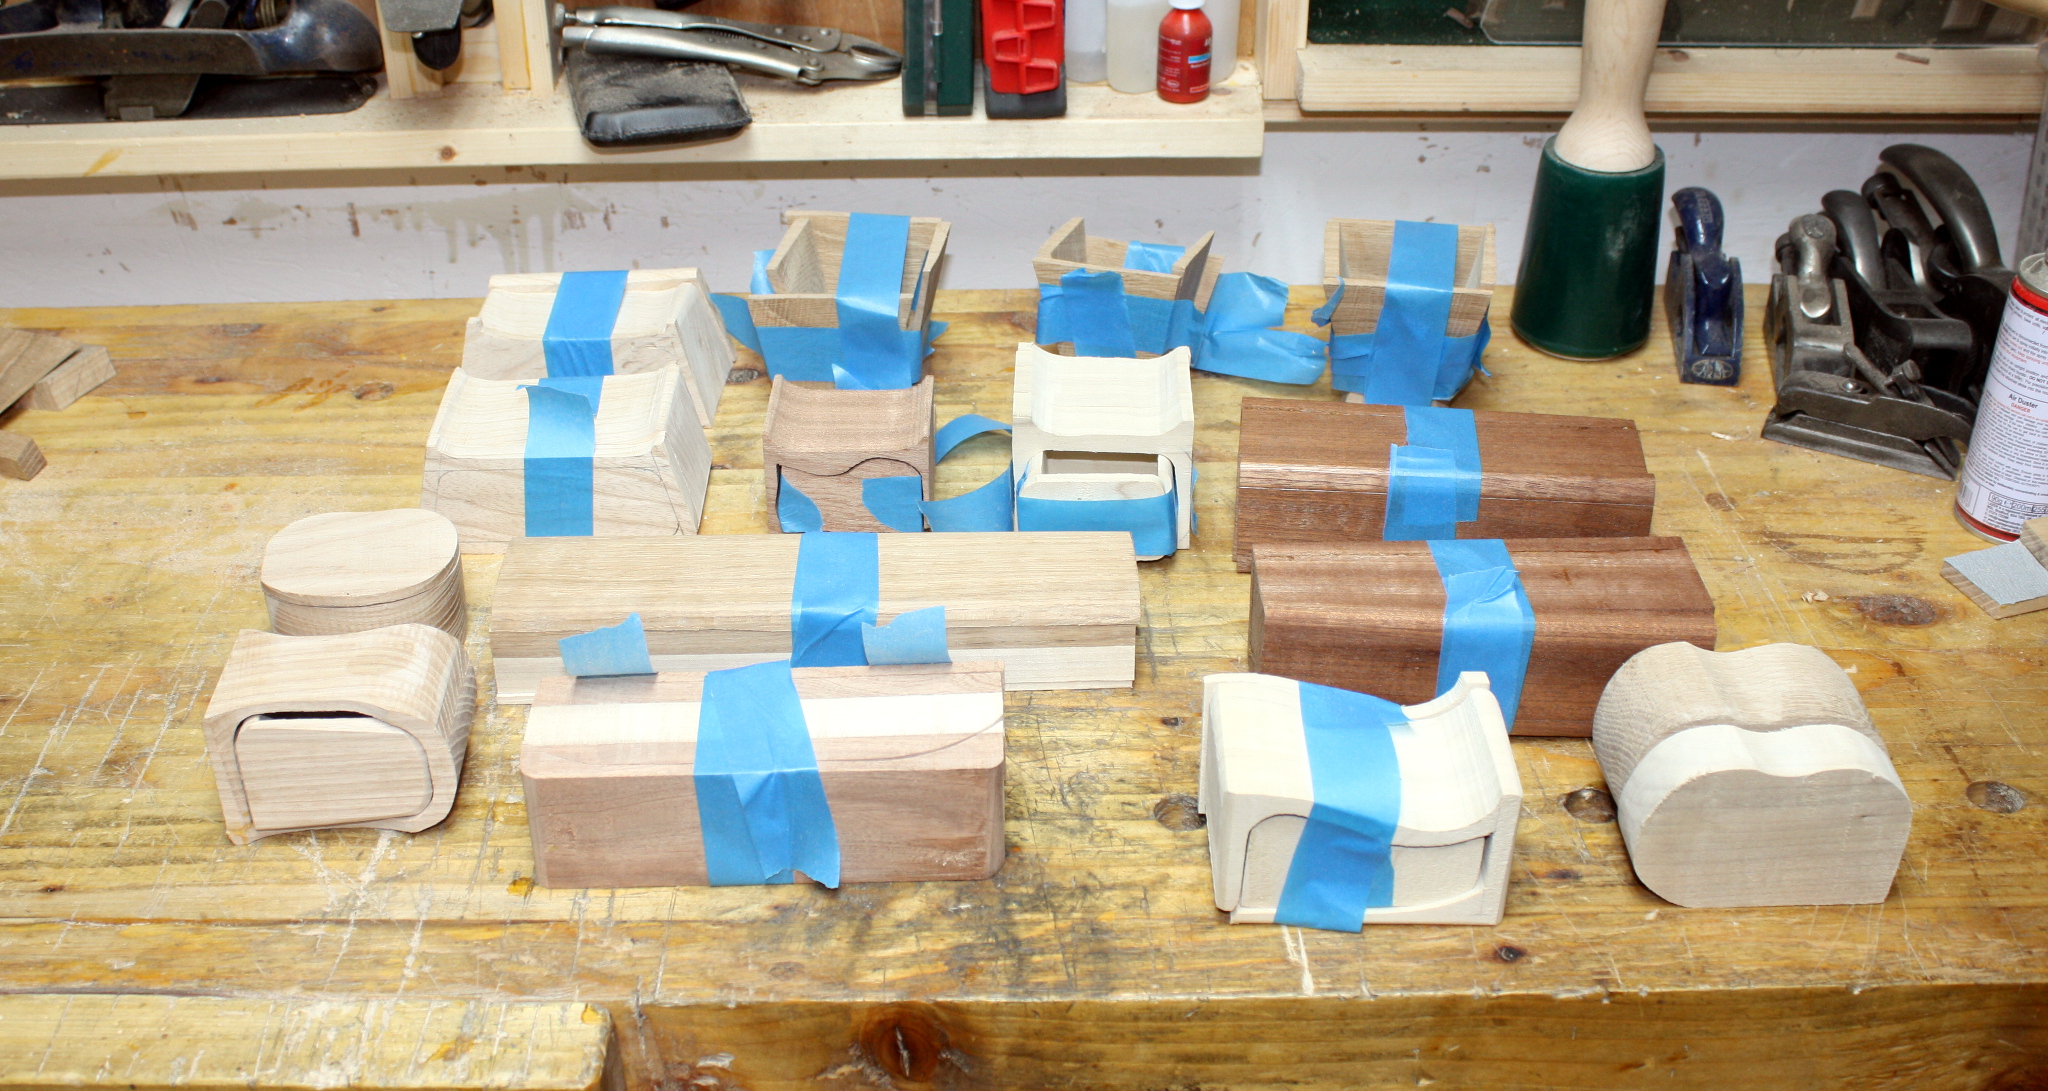
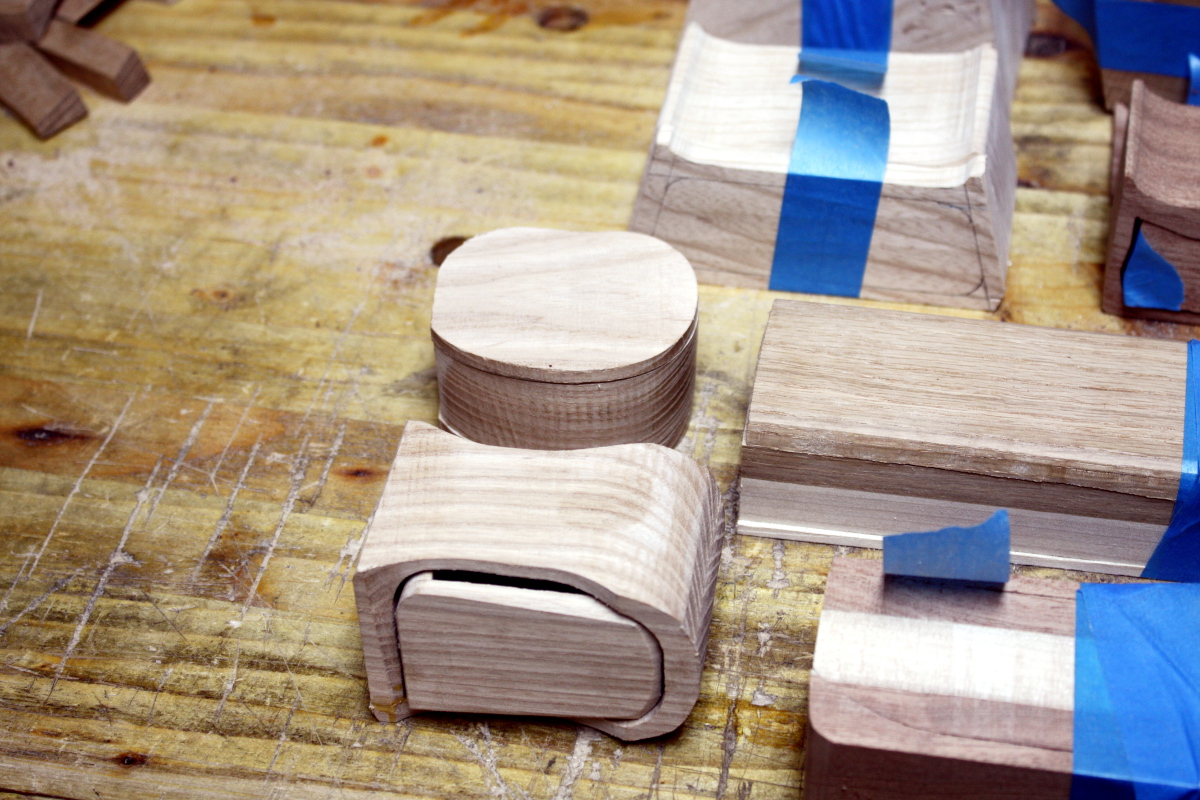
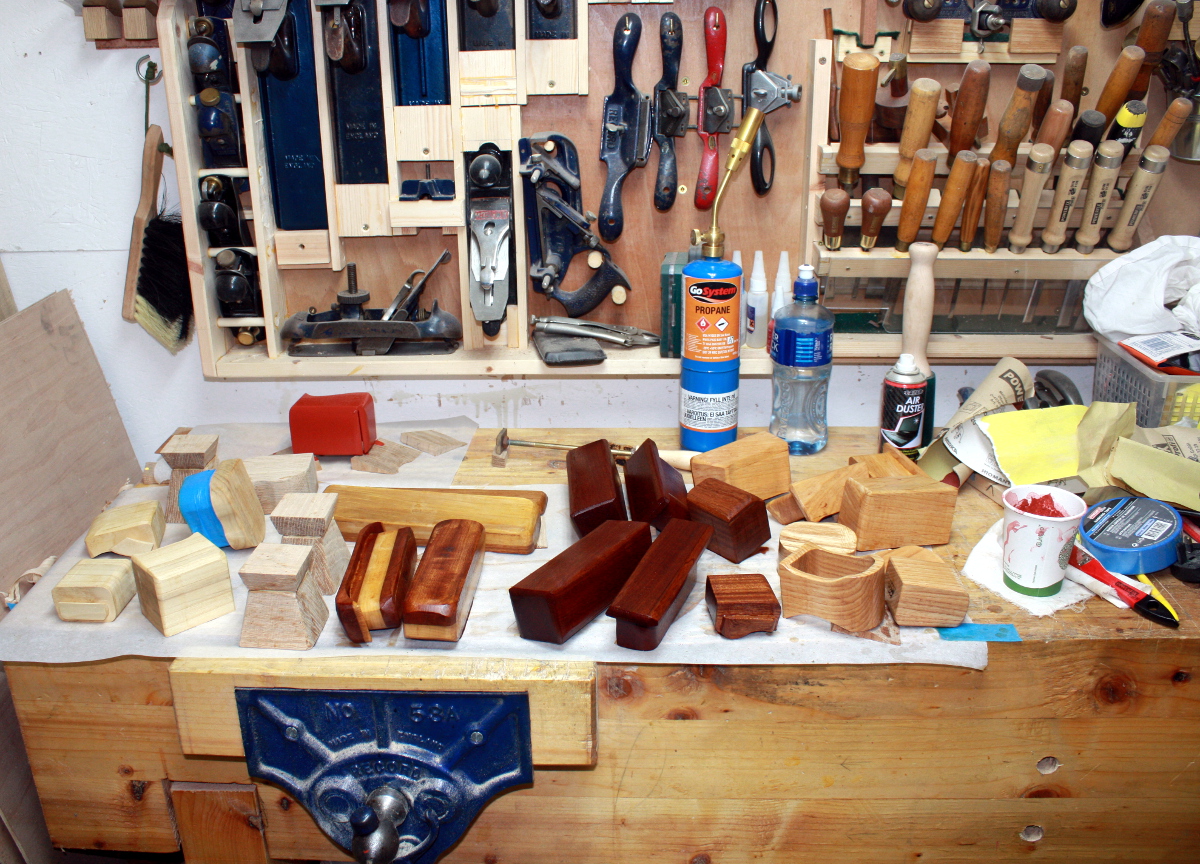
 All the major work is done now, everything’s glued up (though the last of the oak boxes is still curing really) and the prep finishing is either done or in train…
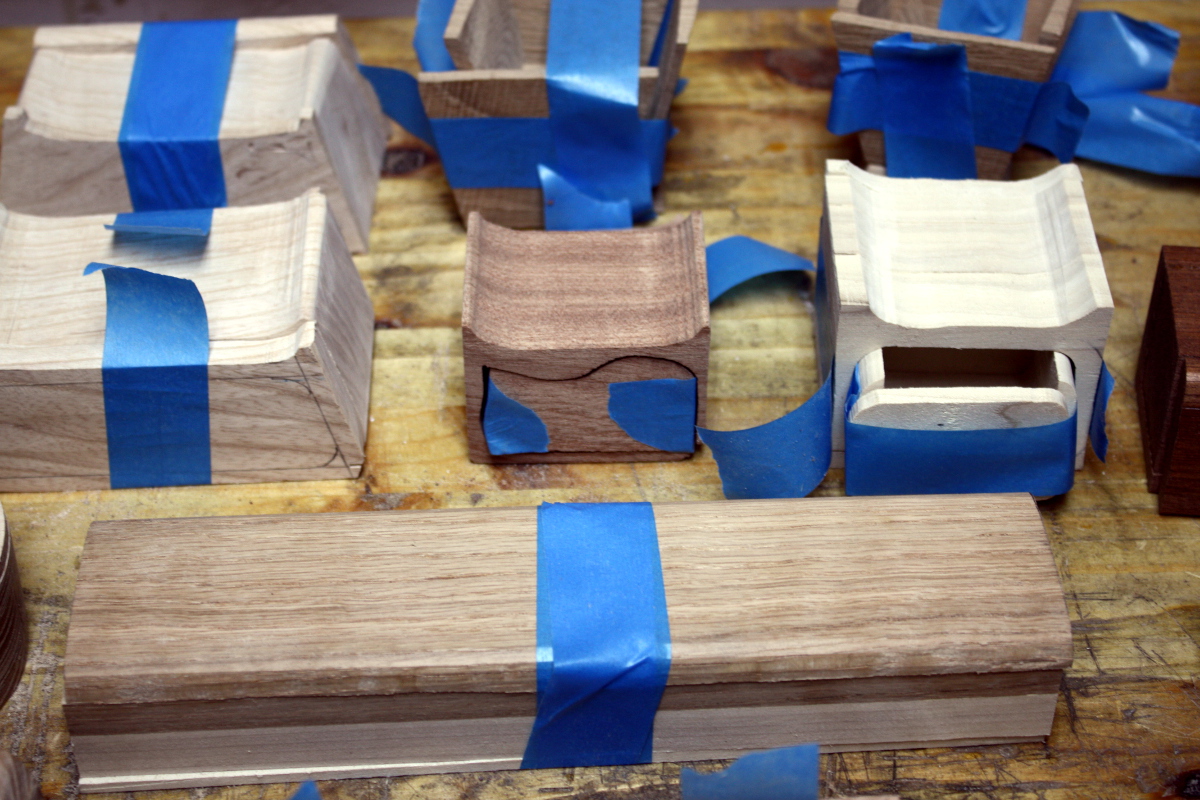
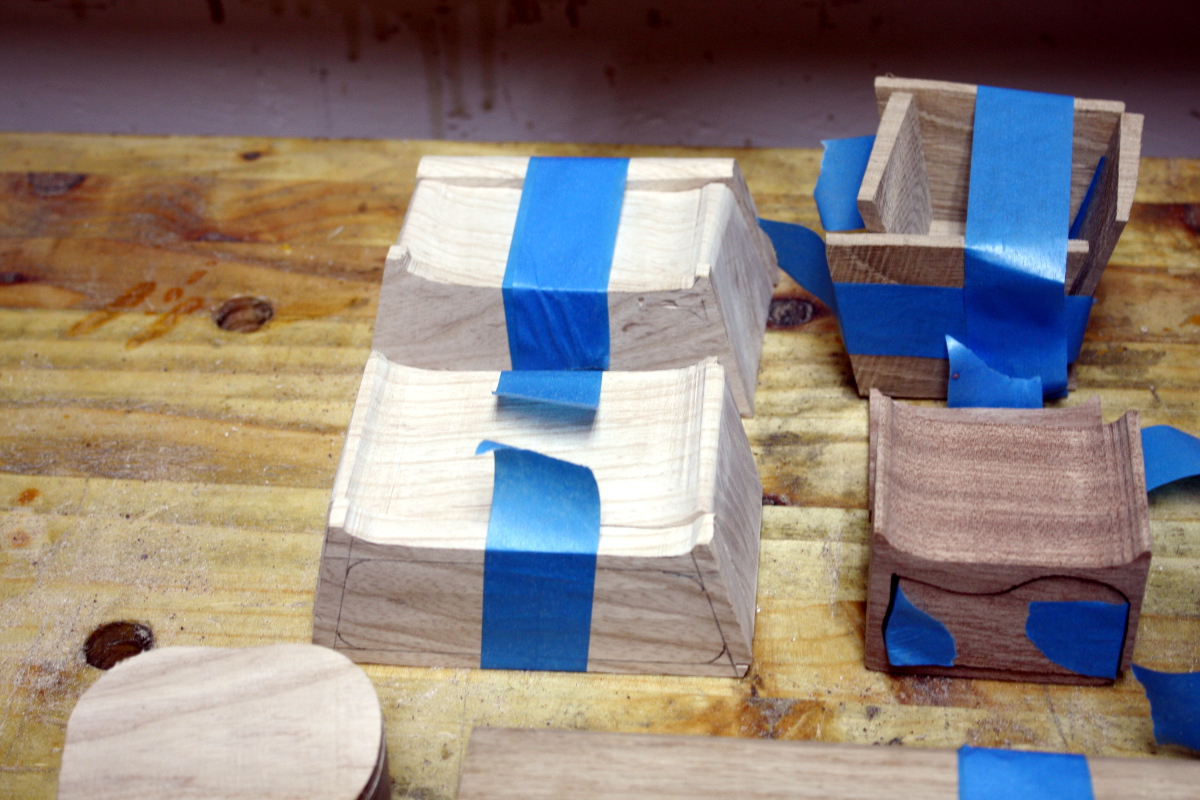
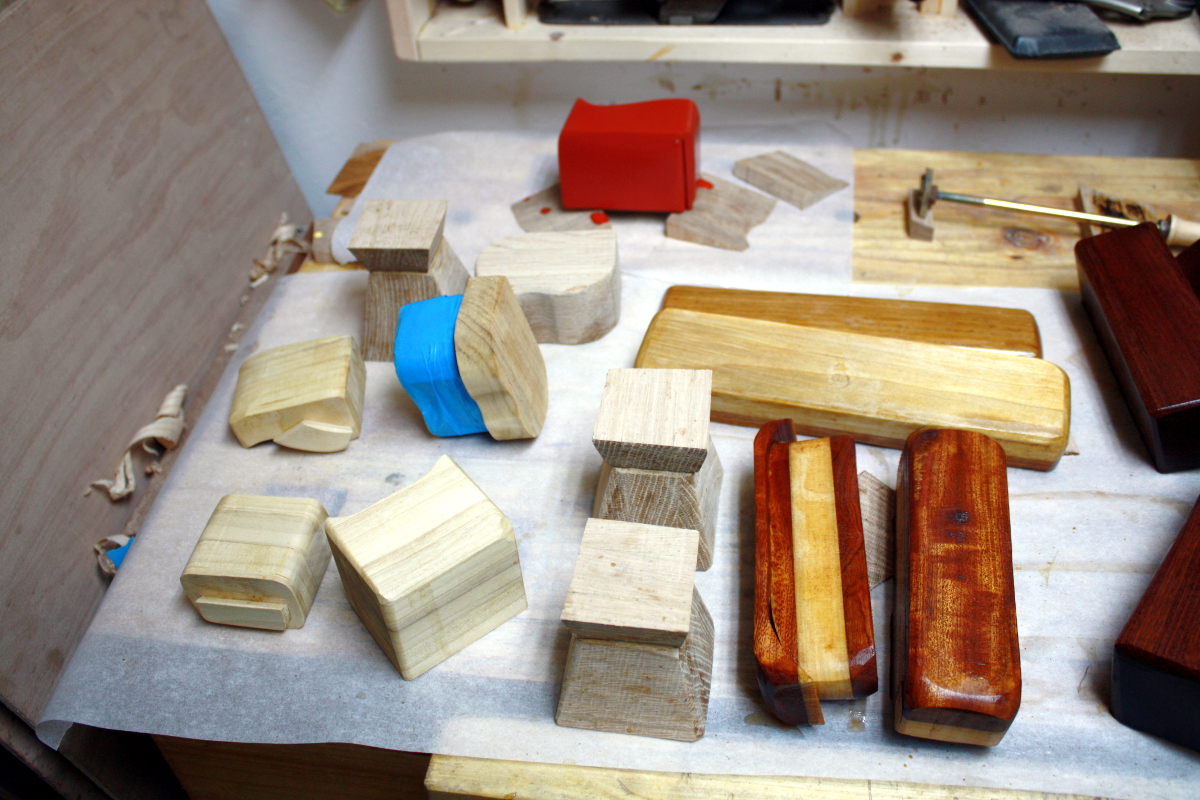 The poplar boxes have all had a coat of sanding sealer here (again, just blonde shellac cut down from a 2# cut to a half-pound cut), and the outer box of one has been test-finished with red milk paint (more on that in a moment). The oak boxes have all been given a coat of the oak tea (with surfactant) and they got another early this morning. The poplar drawer front on the oak-and-poplar box got a coat of sanding sealer.
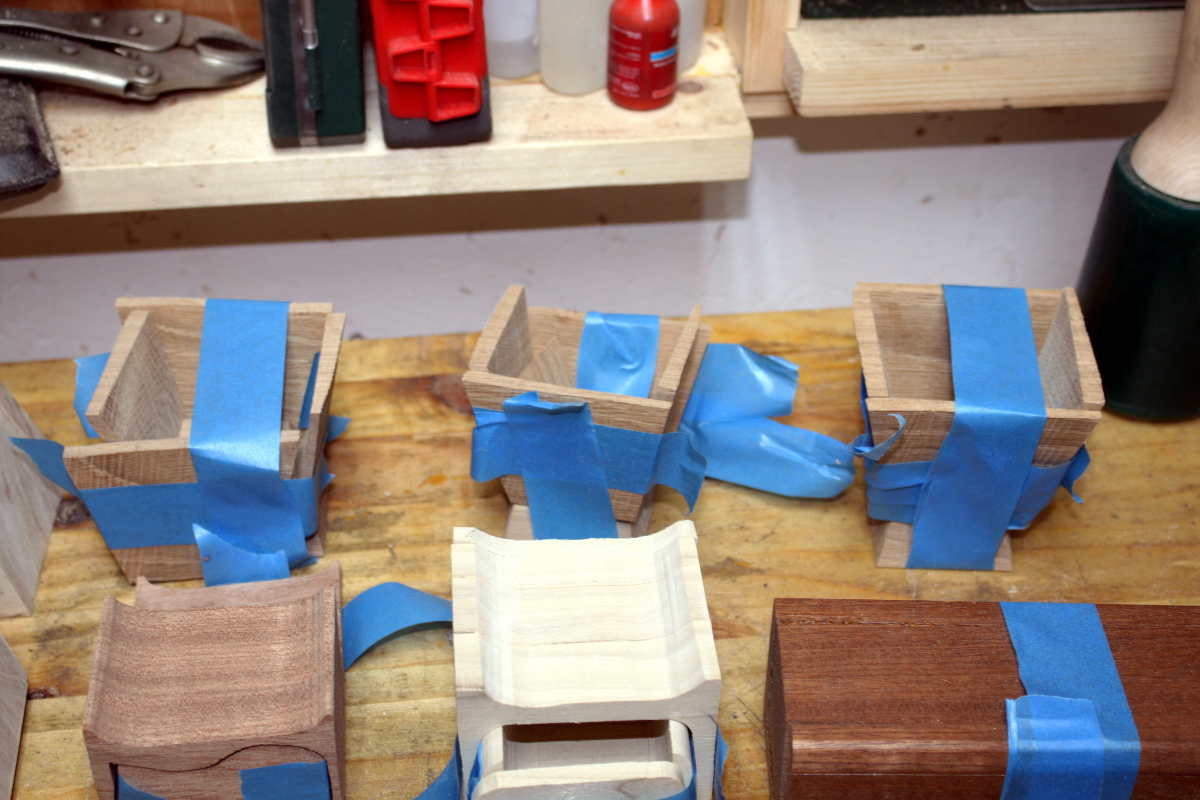
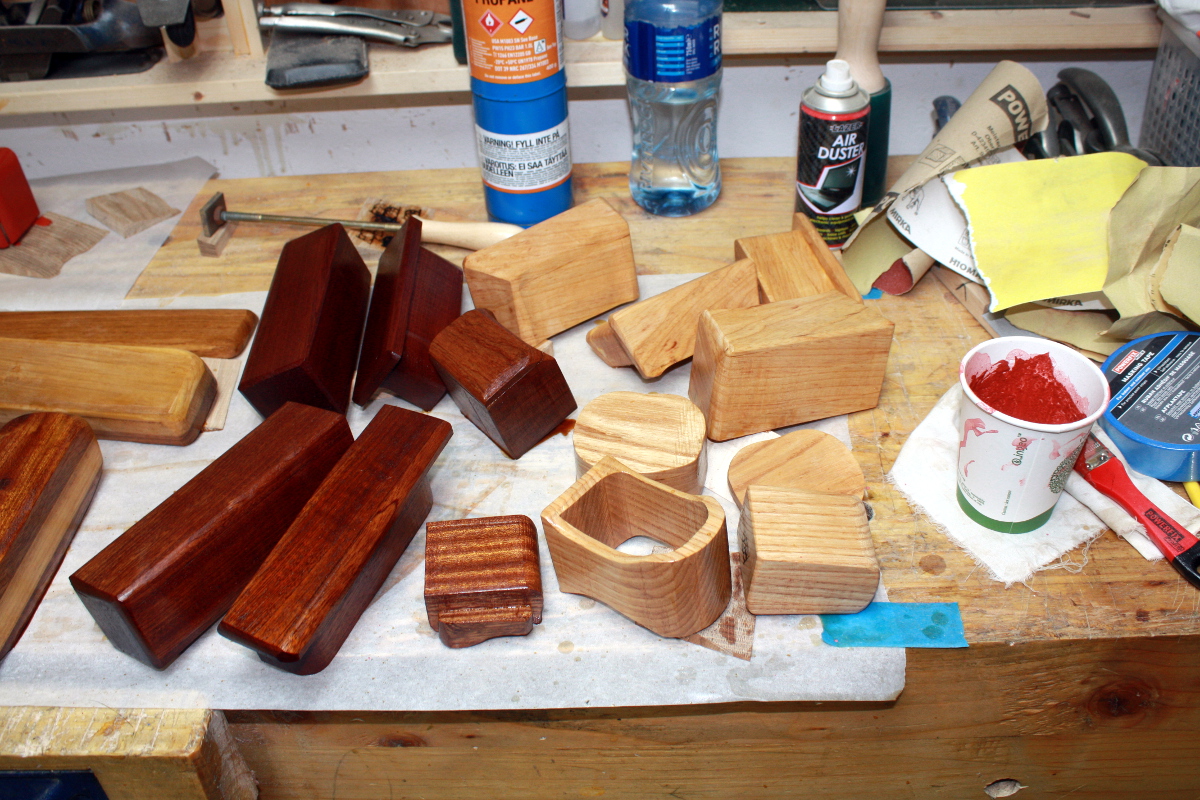 The oak-and-poplar pencil box, the sapele boxes and the ash boxes all got another coat of danish oil and after the excess was wiped off and it had had a while to set up, they all got a coat of shellac (blond 2# shellac for the ash boxes; garnet #2 shellac for the sapele and the oak&poplar boxes). Tonight they’ll get a quick light sanding from worn 240grit paper and we’ll see if they need another coat or if I’ll go straight to poly (I wouldn’t for furniture, but these are quickly-made trinkets…).
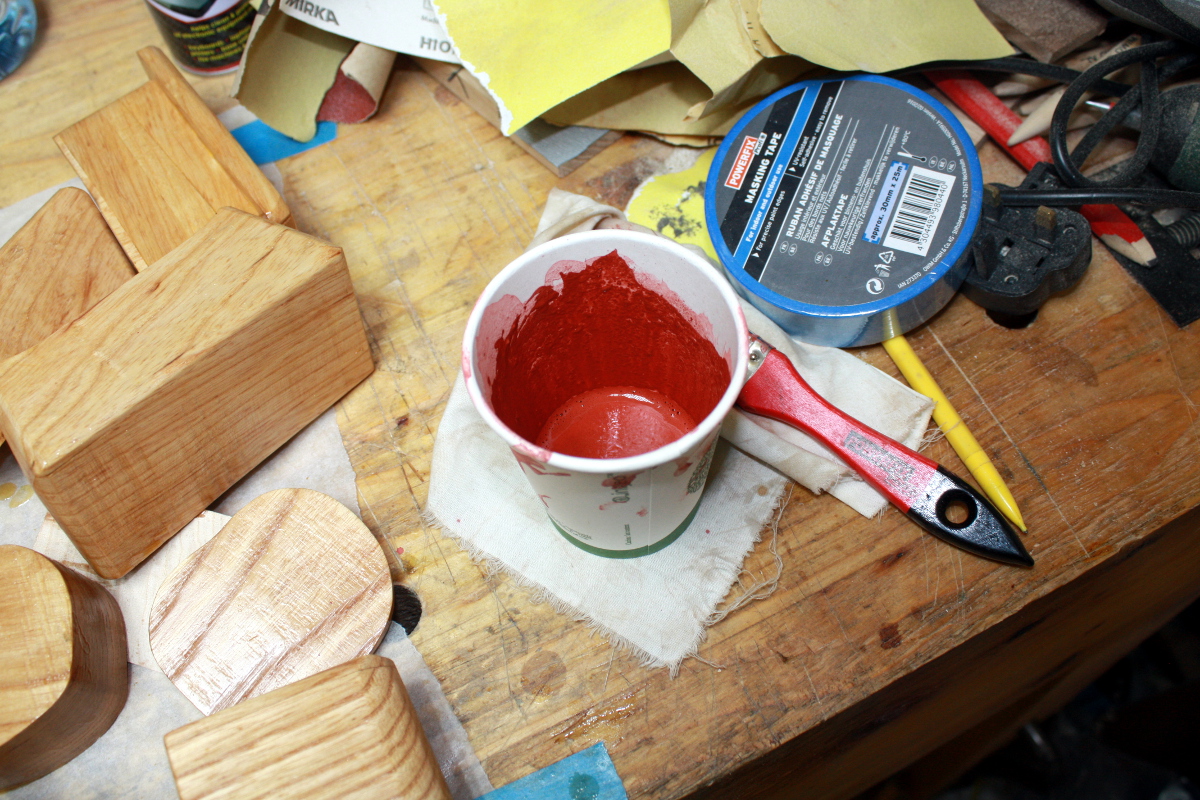
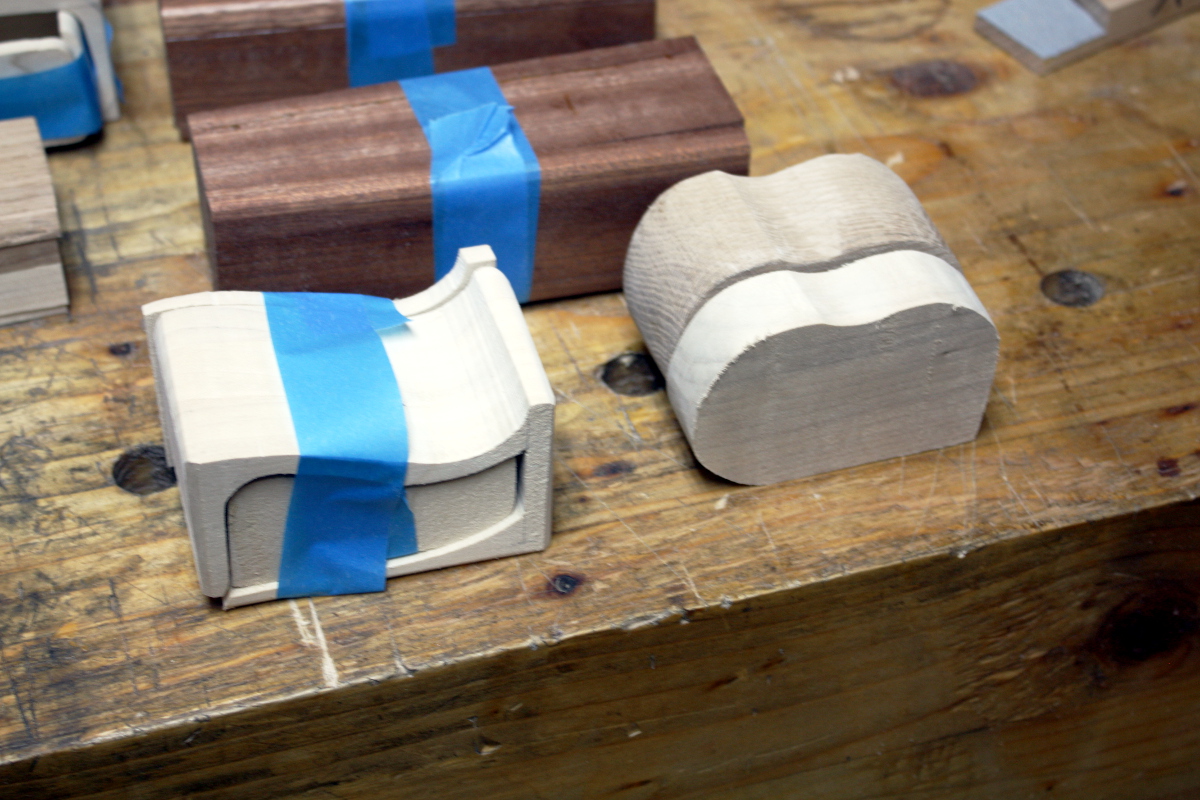
Milk paint is neat stuff, at least in how it’s made up – you buy the powder (this is Causeway Sunset by The Crafty Bird in case anyone’s interested, I’ve had it a while and wanted to use it on something but never had the chance till now), and then you make it up on the fly as you need it, just mixing it with an equal amount of water (or in this case, a little less water to powder for a thicker mix). Make it up in a paper cup, apply from that cup, discard that cup. No half-full small tins of latex with the painted-on lids and the dribbles clogging up the shed for years before you finally give in and throw them out.
The downside is that the colours aren’t as bright as you get with latex-based paints, but some people prefer pastels and earthy shades. And even if you don’t, they can still be kindof striking:
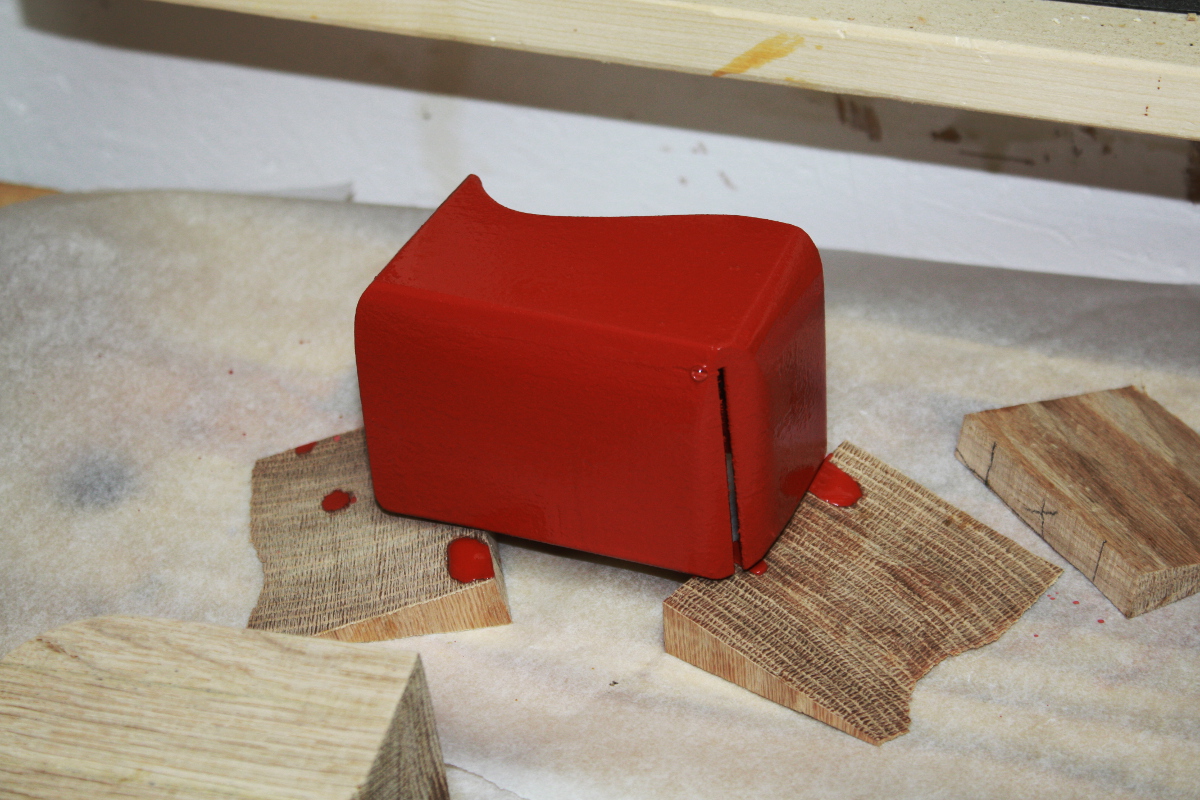 Haven’t messed with colour enhance filters here, I promise. There’s white balancing and that’s all (and the white wall and the parchment paper give a decent white sample for the filter to latch onto) so the colour’s pretty true – it really is that jarring when wet. It dries to a chalky light pink, but when you put a topcoat on it, it darkens up again. We’ll see how well it copes, it got a spray of poly this morning and I think it’ll need another tonight.
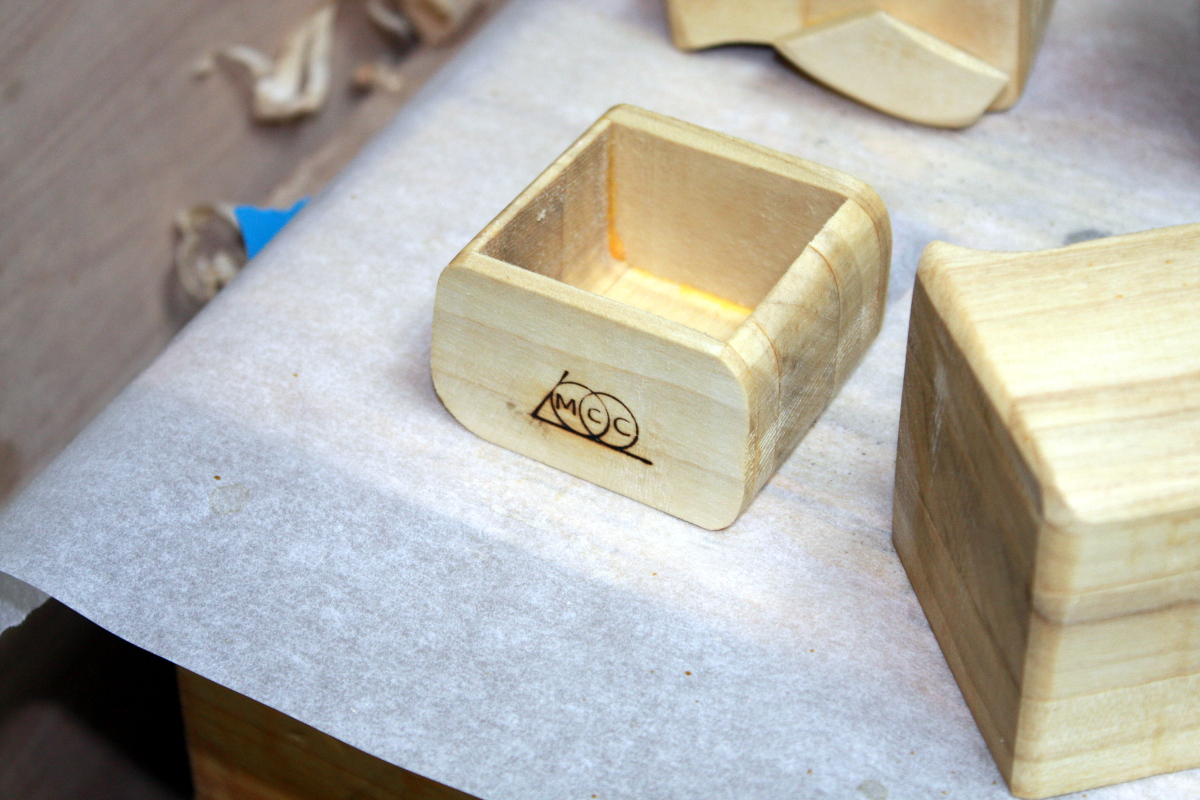
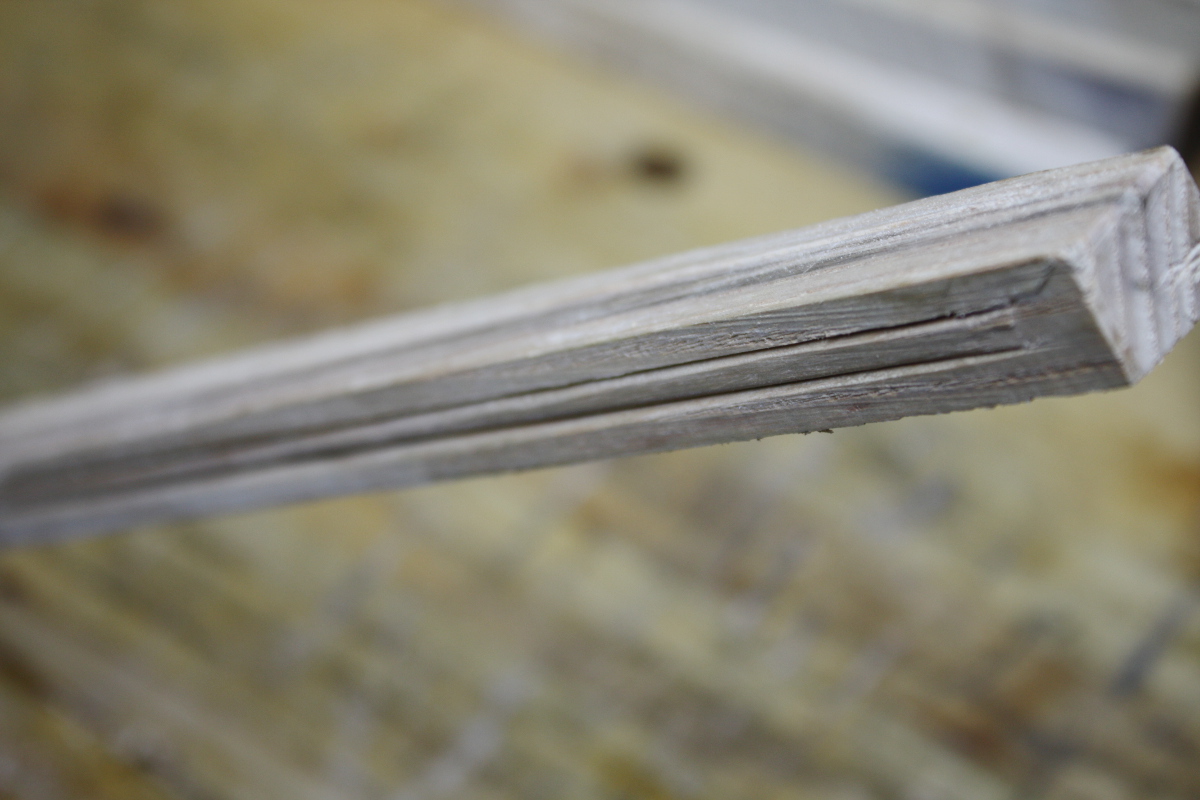
And the branding is done as well 😀
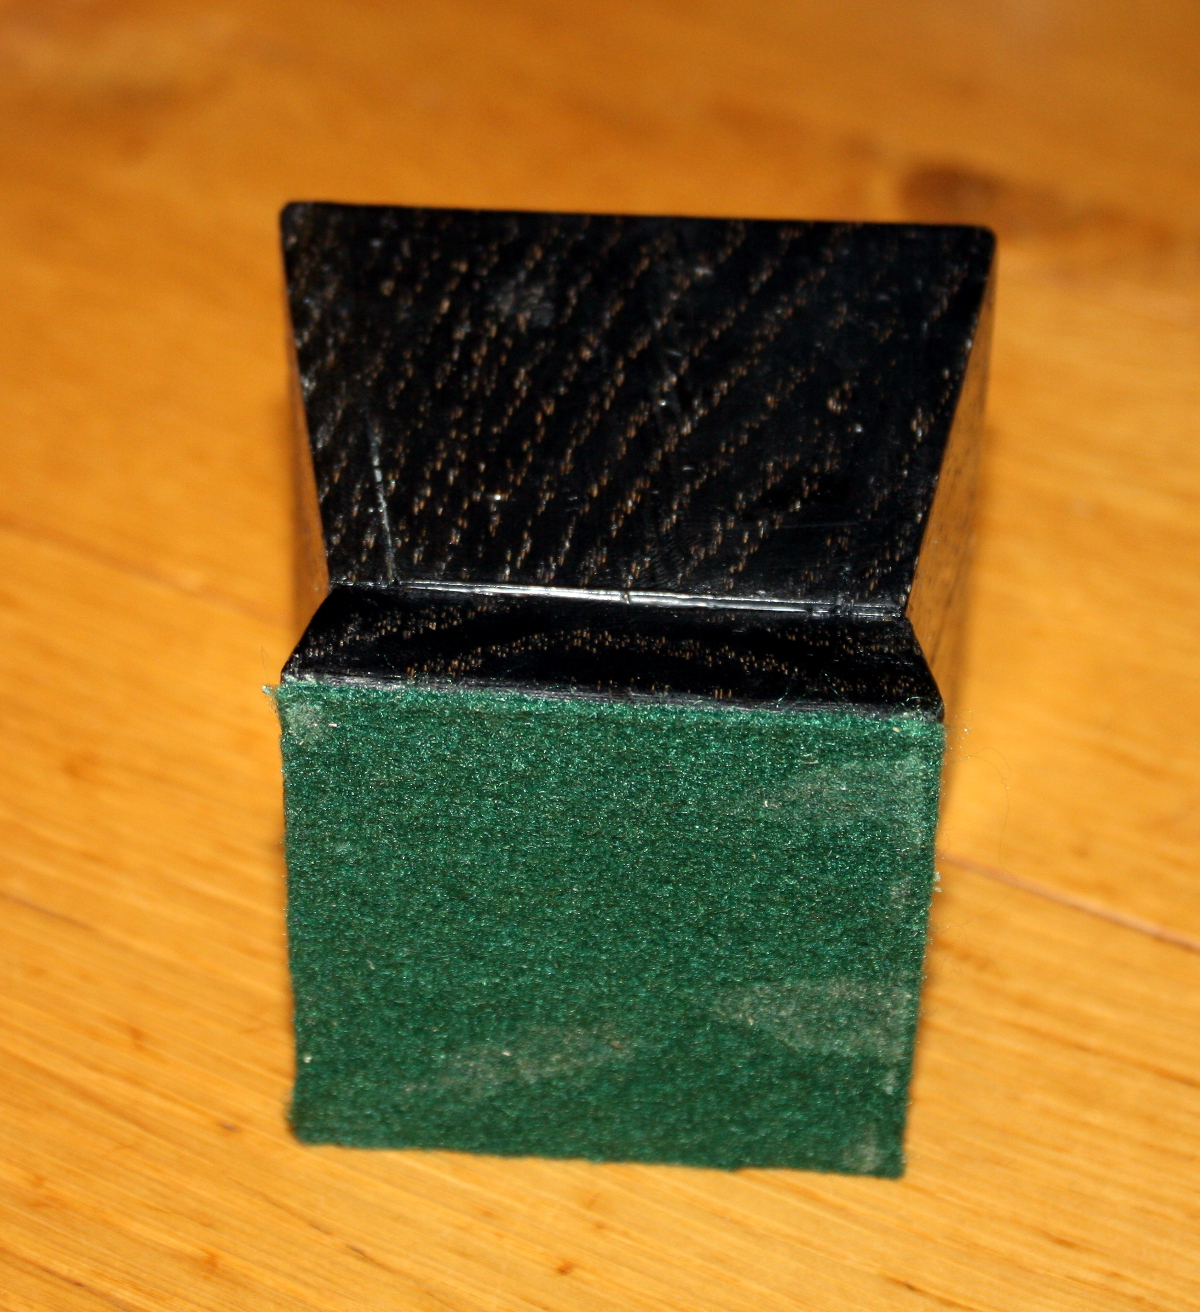
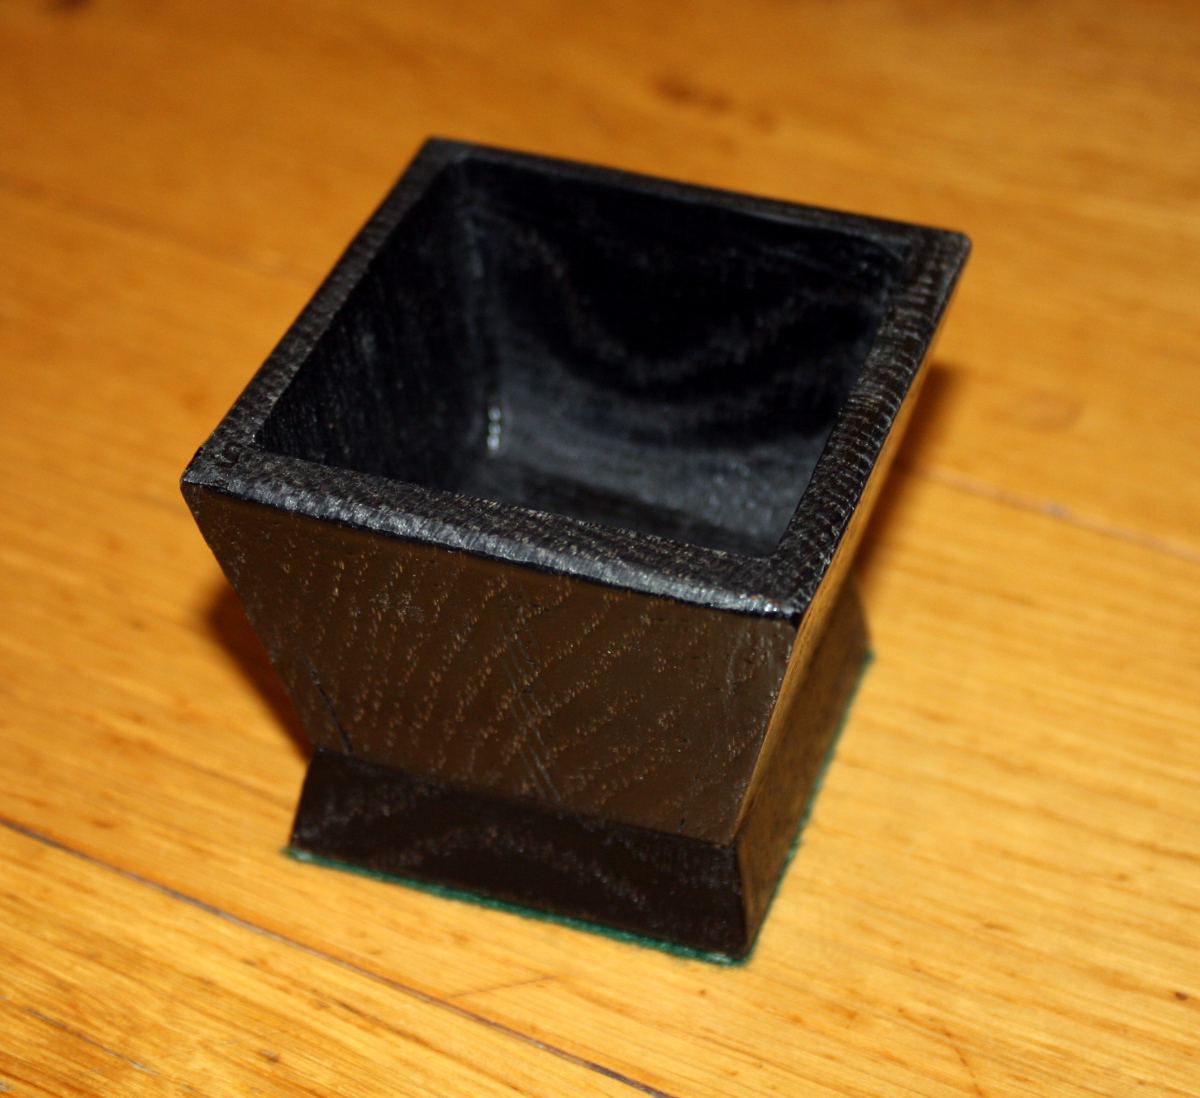
There’s still felt to glue on, but that’s the very last step, done over the finish. Not sure if this’ll make it for Friday morning, but it might for Friday afternoon…