05
Aug 18

First chips

So it’s a weekend afternoon so if there’s a more civil time to use a planer, it involves taking a day off work. So to the shed!

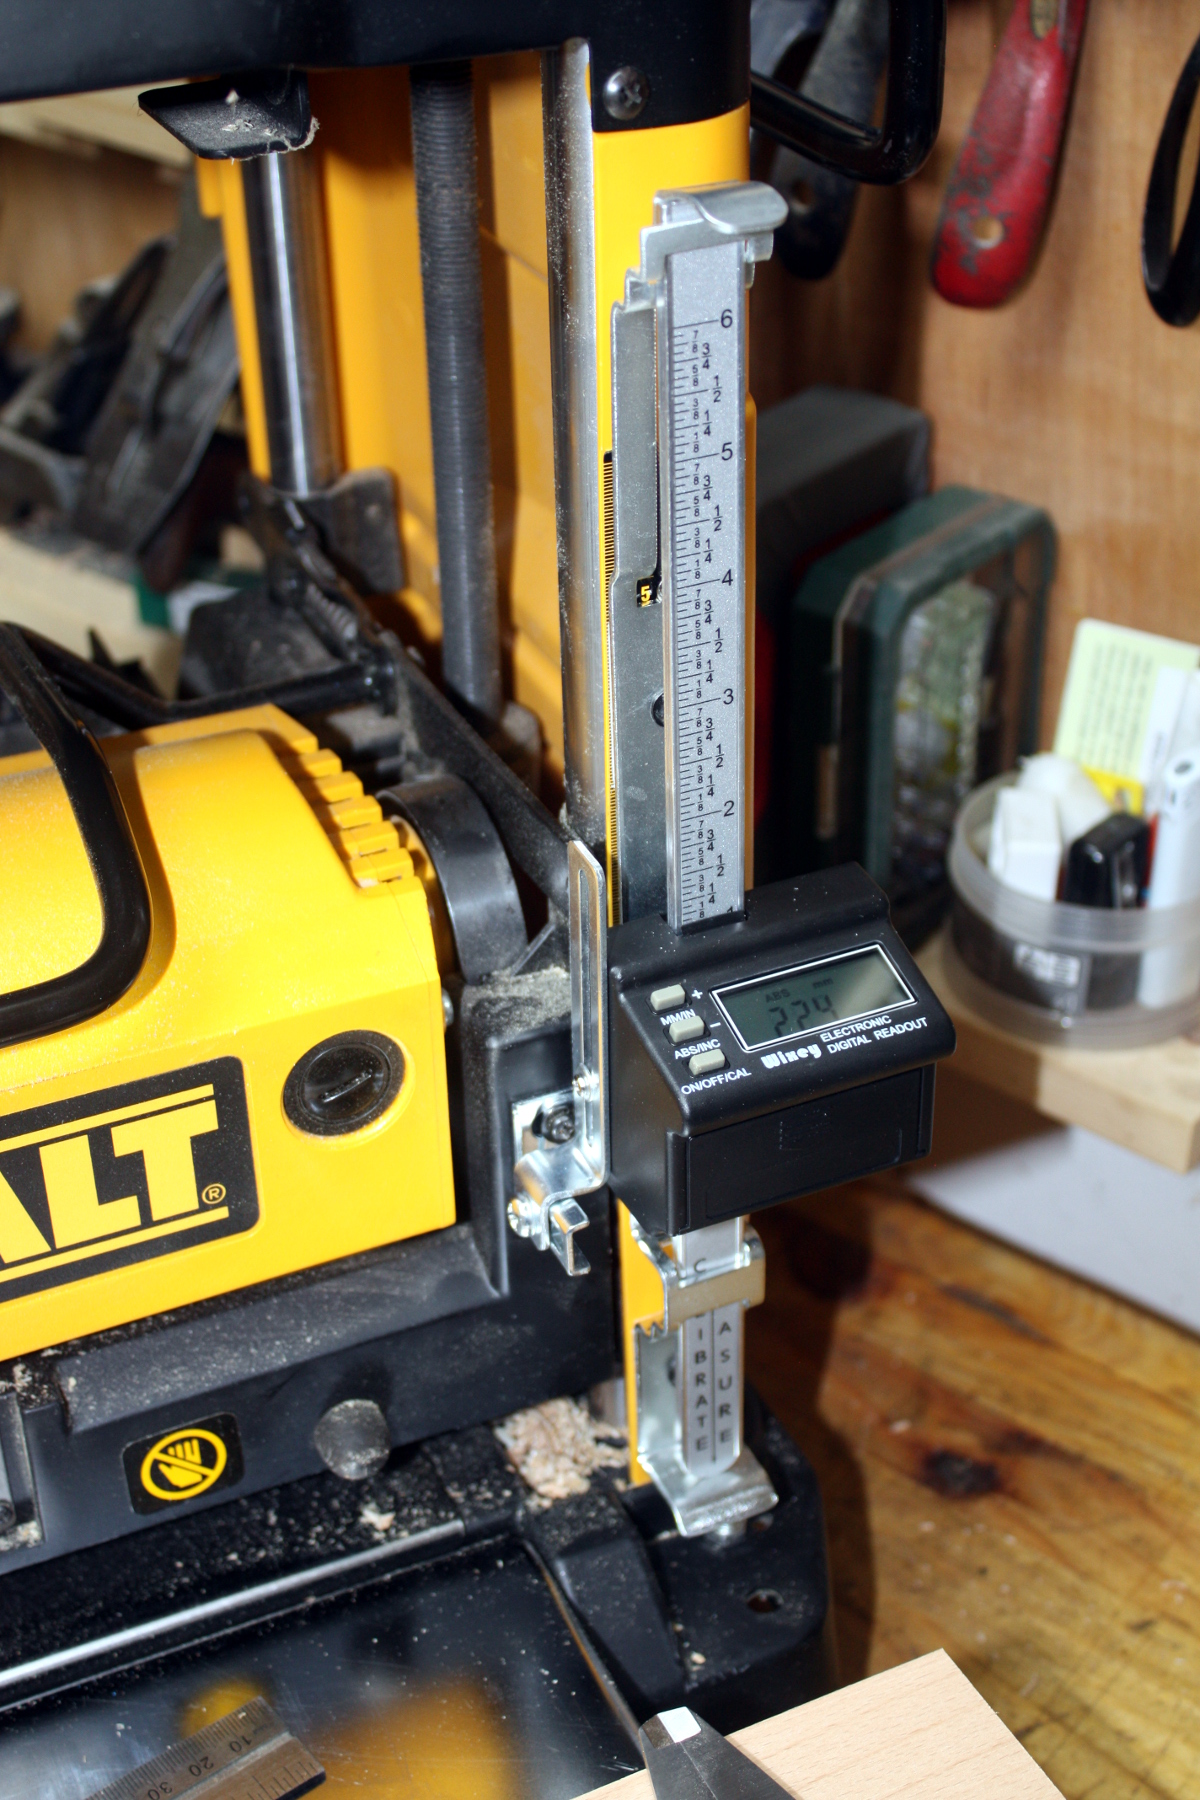
First up, fitted the DRO to the planer. Slightly fiddly, and it does still bind a little so I’m sure it needs tweaking – or I could just remember how this is for roughing work only and how it doesn’t matter all that much and never touch it again 😀

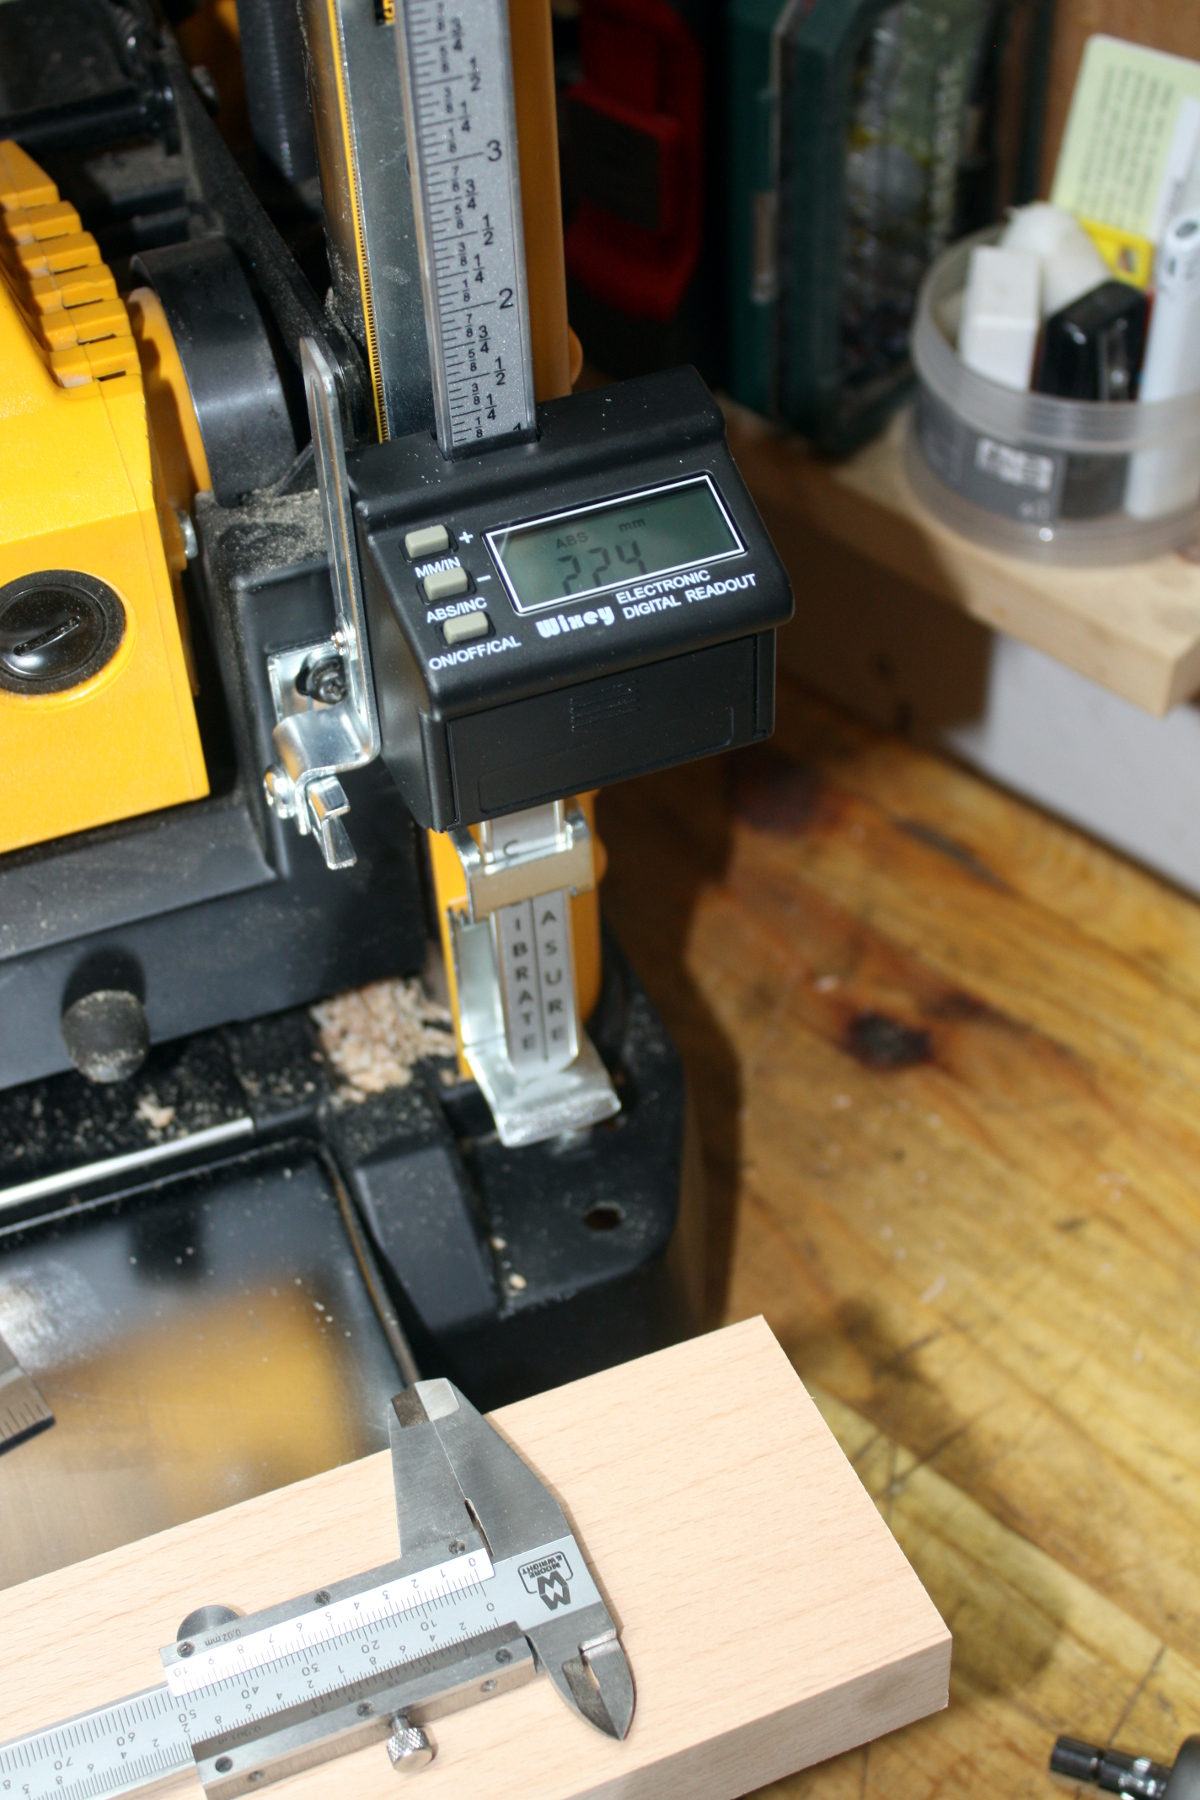
It’s within 0.1mm after a very quick calibration. That’s… rather impressive. Well past my abilities so maybe I really don’t need to do much to this. Have to be careful not to kick the DRO when the machine’s put away mind.

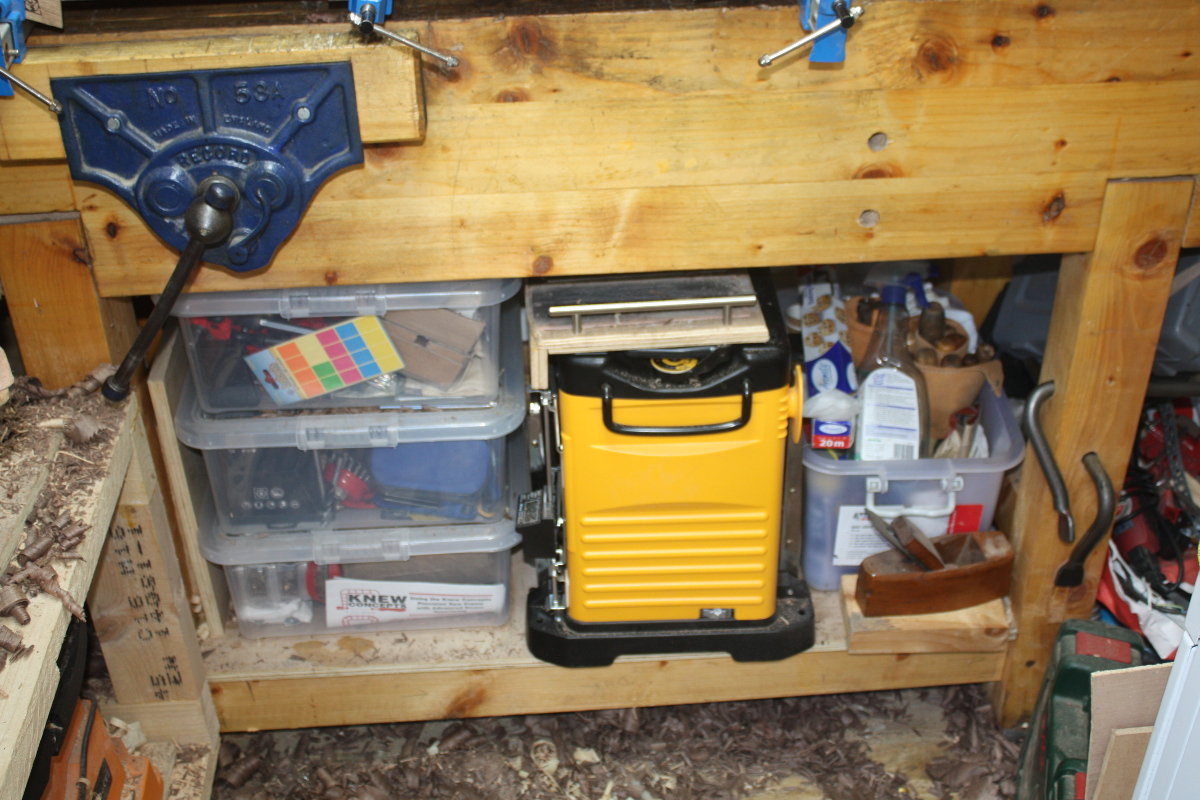
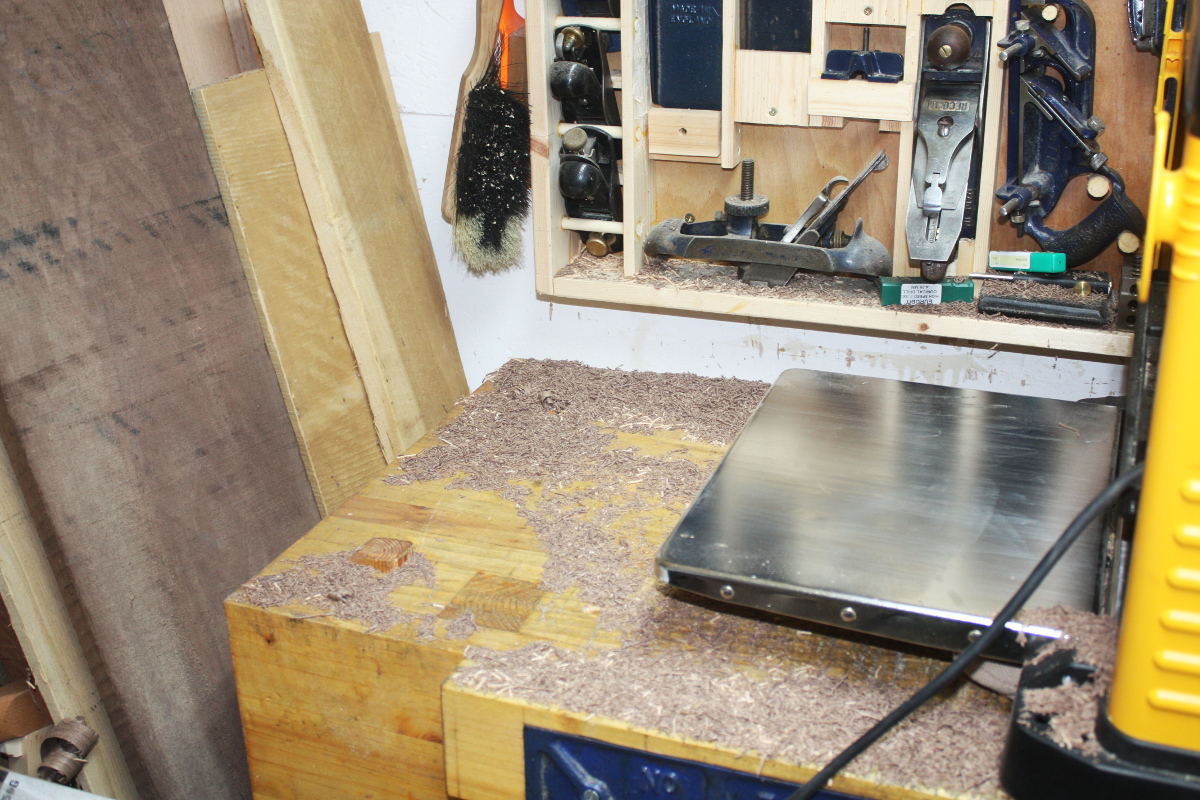
This looks to be where it’s living for now at least – that DRO’s a tad more exposed than I’d like, especially if I’m getting at the tools in the plastic boxes on the left, which is a regular sort of thing (I really could use drawers there but shigata ga nai). Also, the sharpening plates are now riding on top of the thicknesser and an entire crate of finishing stuff is now displaced and living on top of the vacuum cleaner…

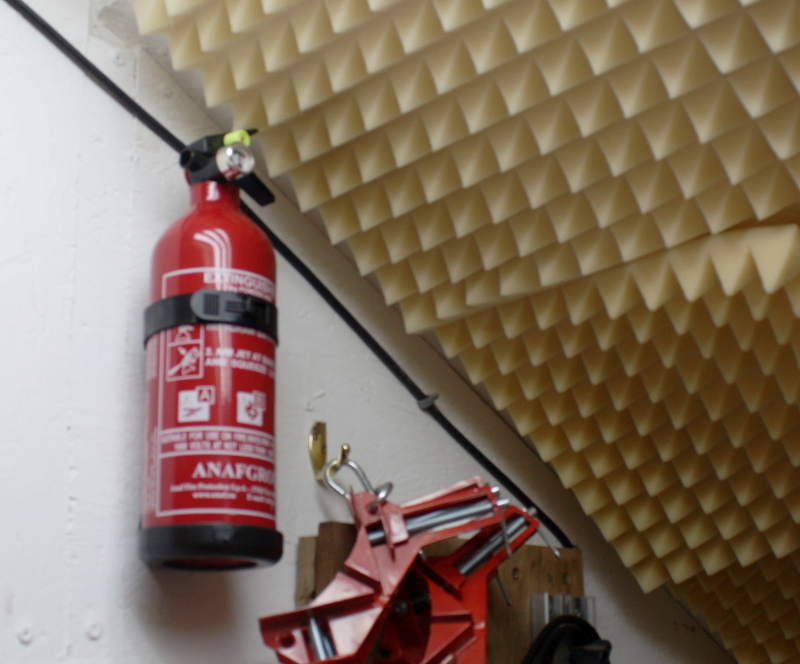
It really is getting cramped in here. And no, I have no more wall space left after the latest addition to the wall…

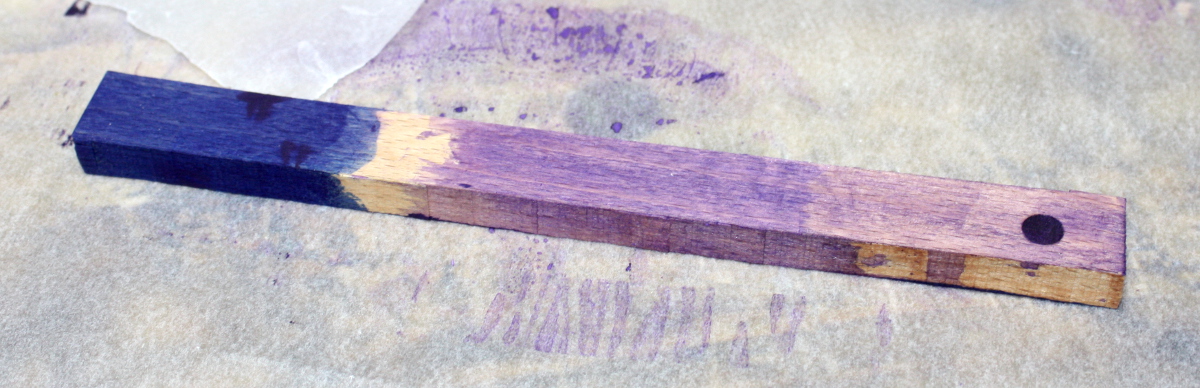
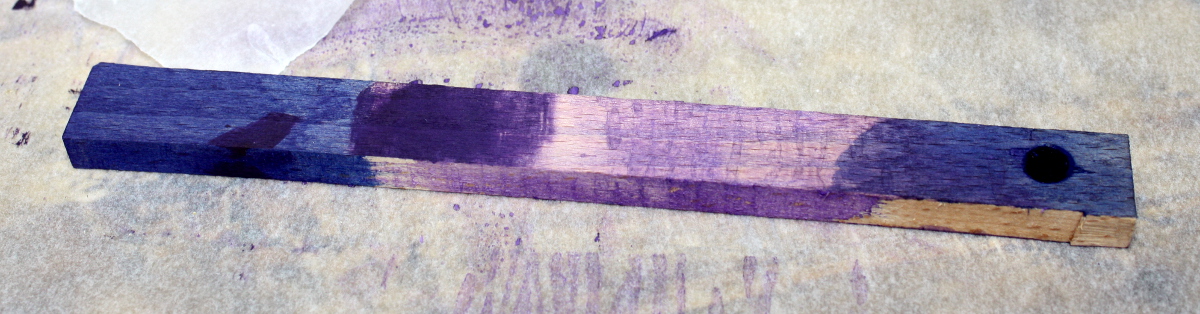
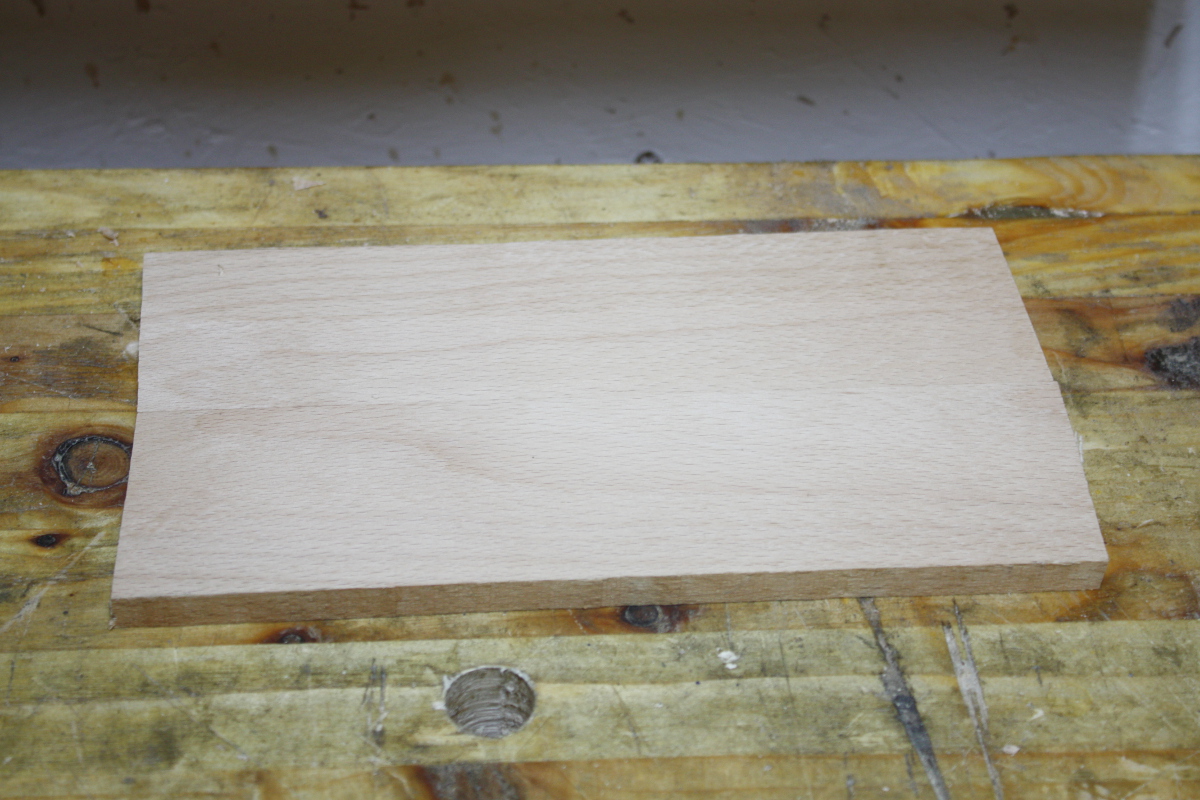
Oh well. On with the project I think. I took the walnut board I was thicknessing last time and fed it through the planer four times, three on one side, one on the other, taking small cuts each time of less than a half-mm.

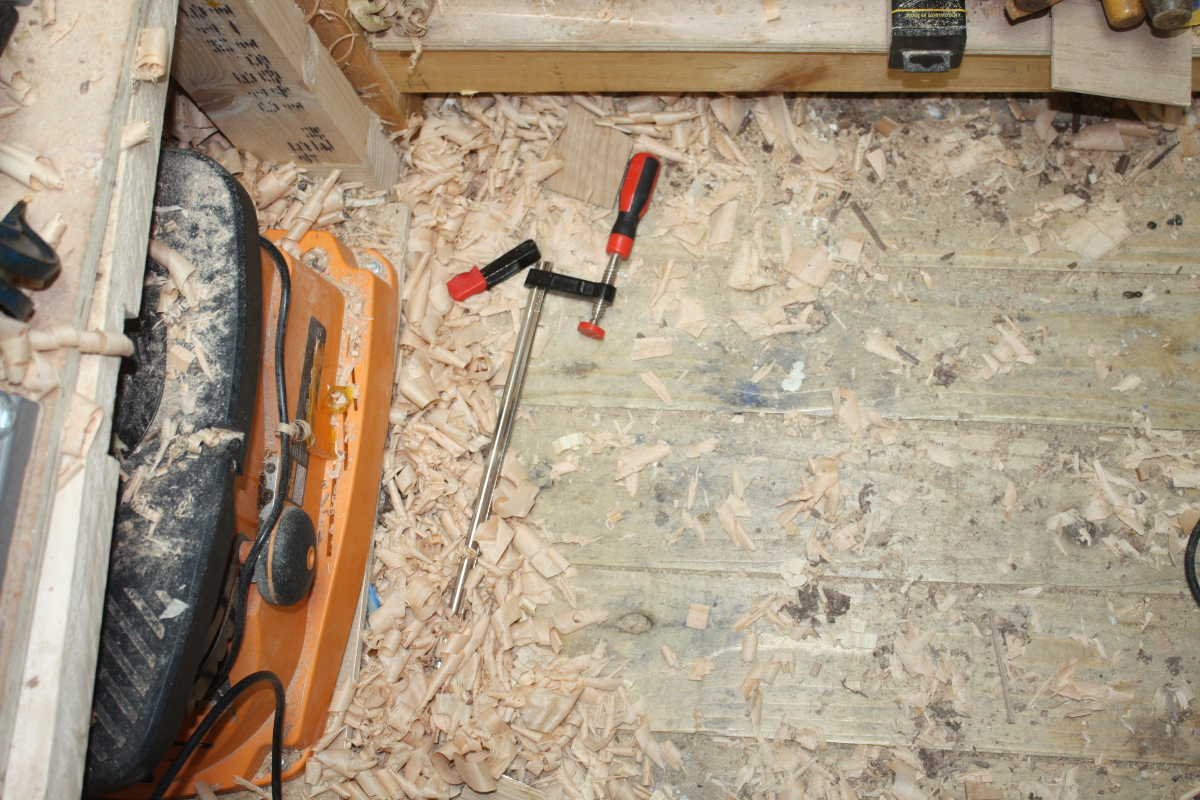
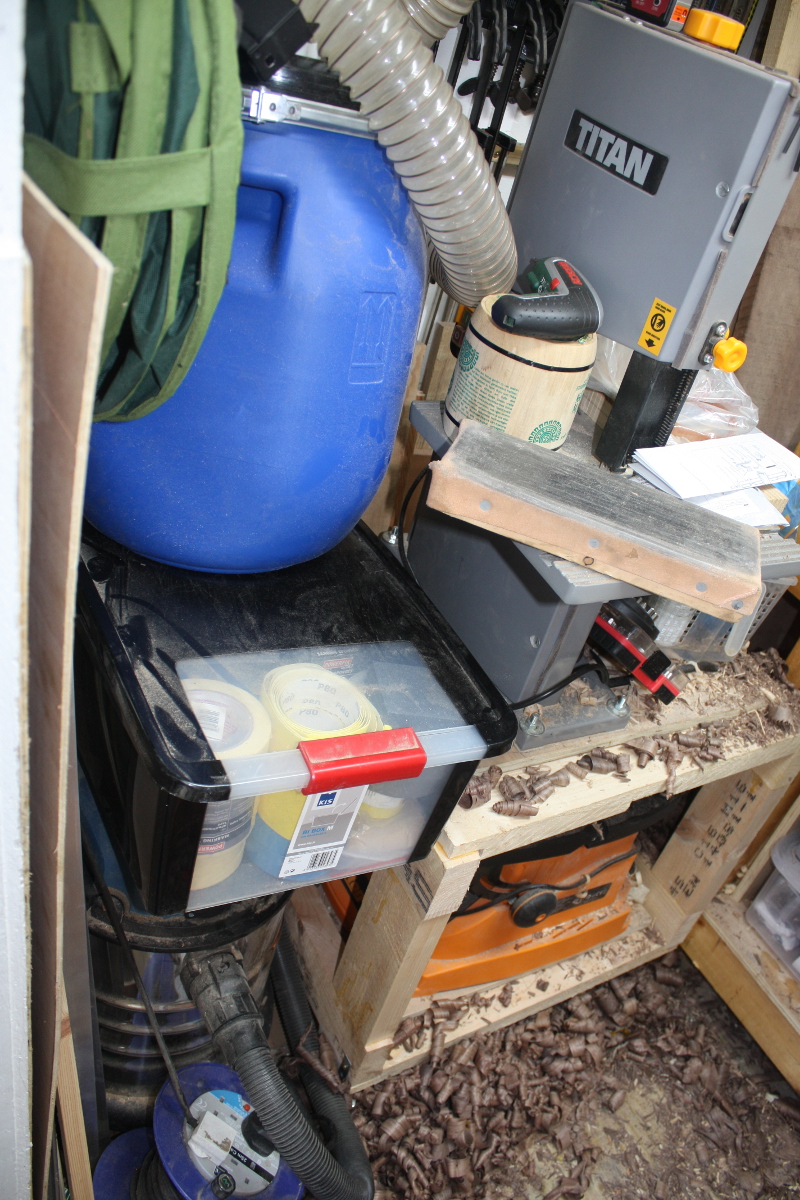
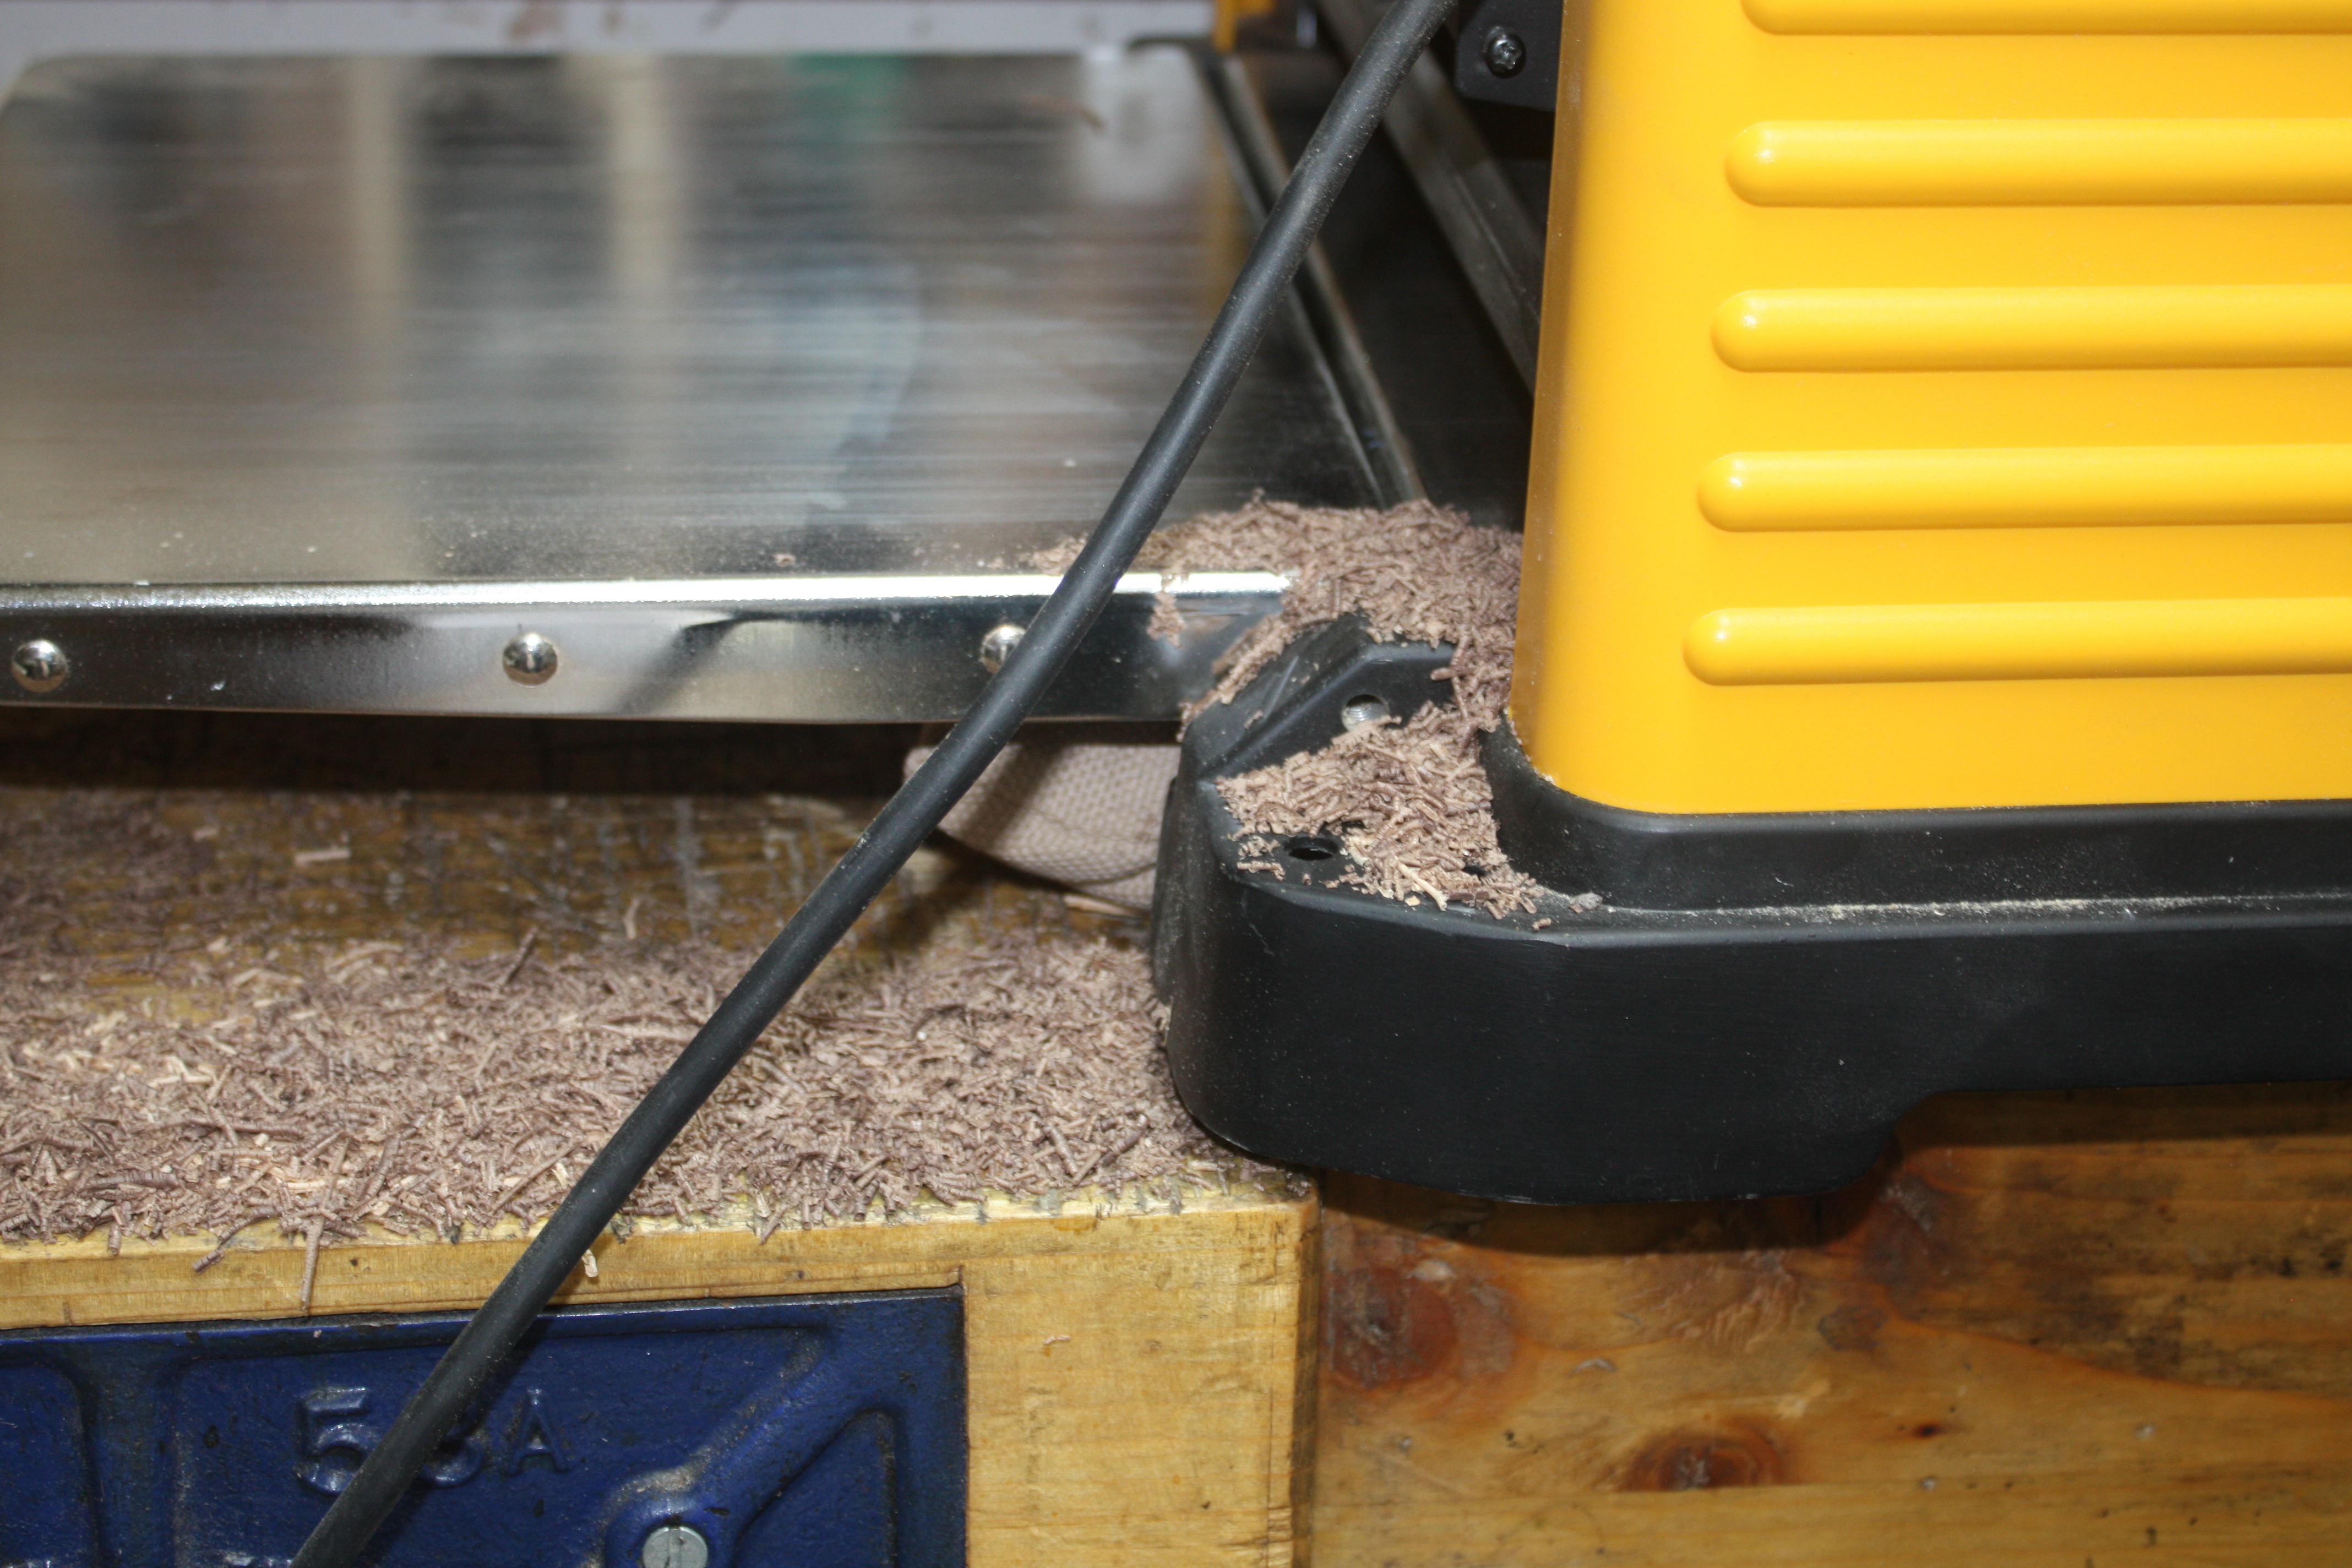
Hm. Oh yeah. Extraction. 😀

Well, I have a 4-to-2.5-inch reducer in the post and I’ll hook that up to the extraction port when it gets here (and I’ve ordered the bits I need for that mod to do a quick-disconnect on the extraction hood as well). For now, this is manageable – just sweep the cuttings to the floor and then hoover up later.

It’s a shock to see how fast the process is though, not to mention how easy – I mean, you’d be able to keep up with the rate of material removal using a heavy-set scrub plane across the grain if the board was small, but for anything long, this just runs away with it and in terms of effort, it’s not even a comparison. I don’t plan to use it for anything other than roughing, but for taking a quarter-inch off a board in less than an evening’s free time, this thing’s excellent.

The noise is pretty hefty, but I discovered that putting a flat cushion between the thicknesser and the bench did cut down on the really unpleasant bass notes; the thicknesser seemed to have been resonating with the entire shed and the decking outside, which was… sortof impressive? Something to remember for the other machines as well I guess.

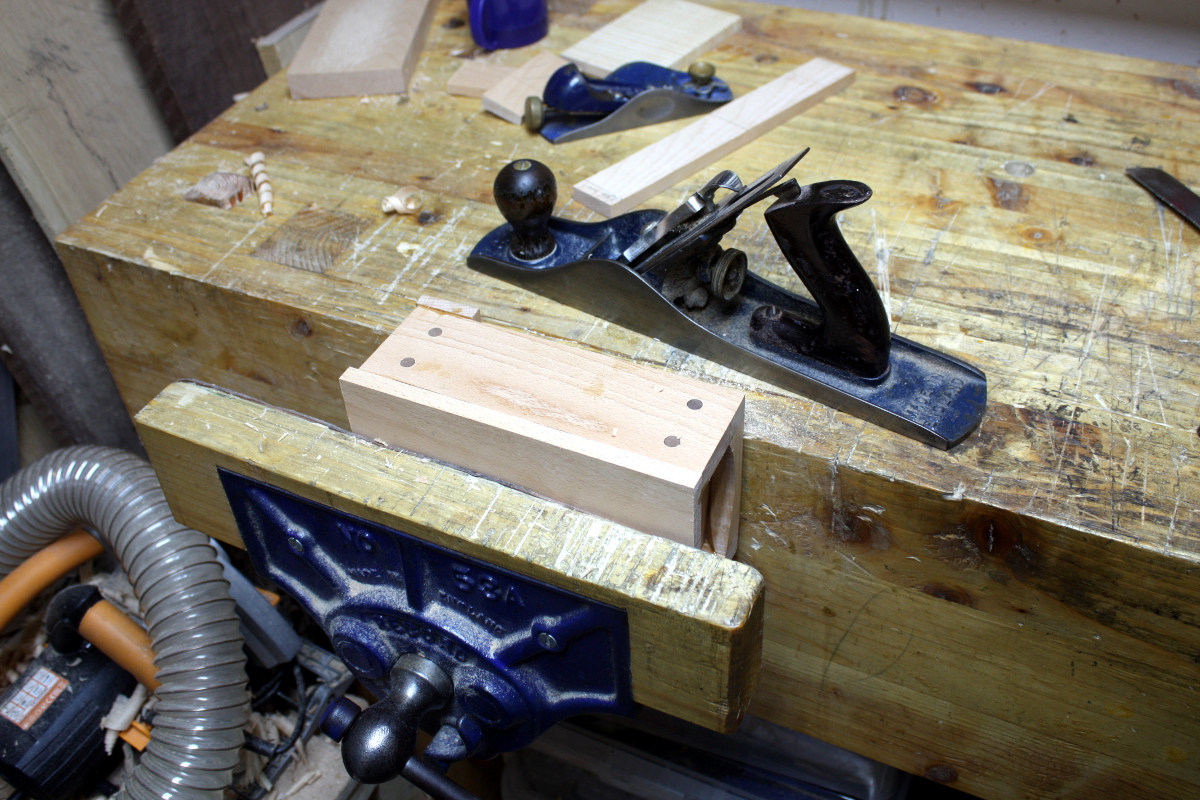
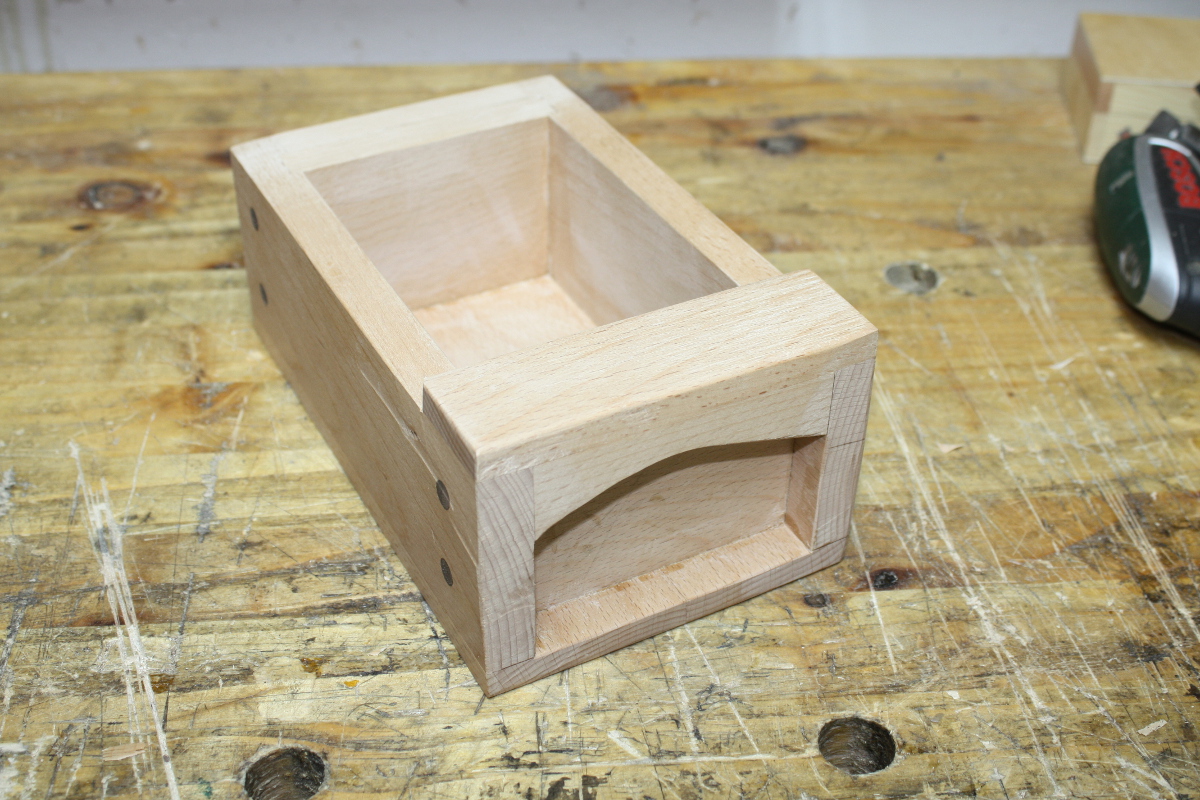
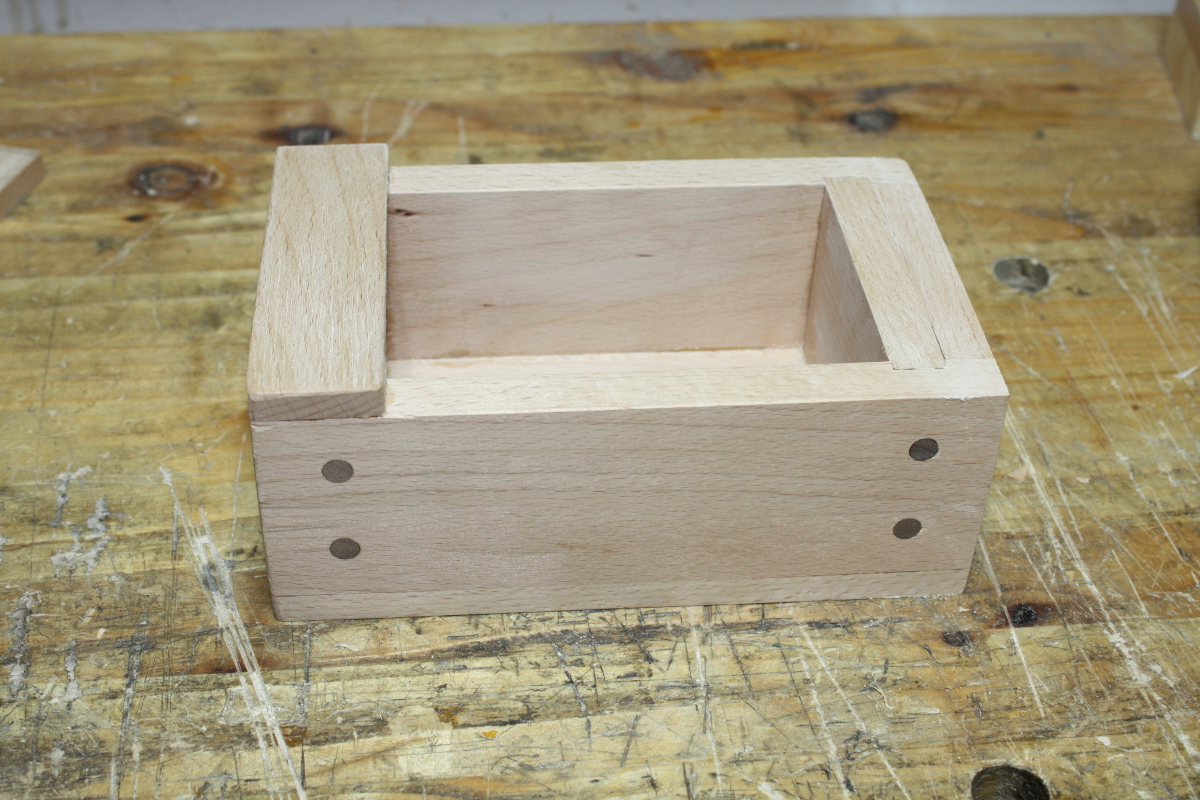
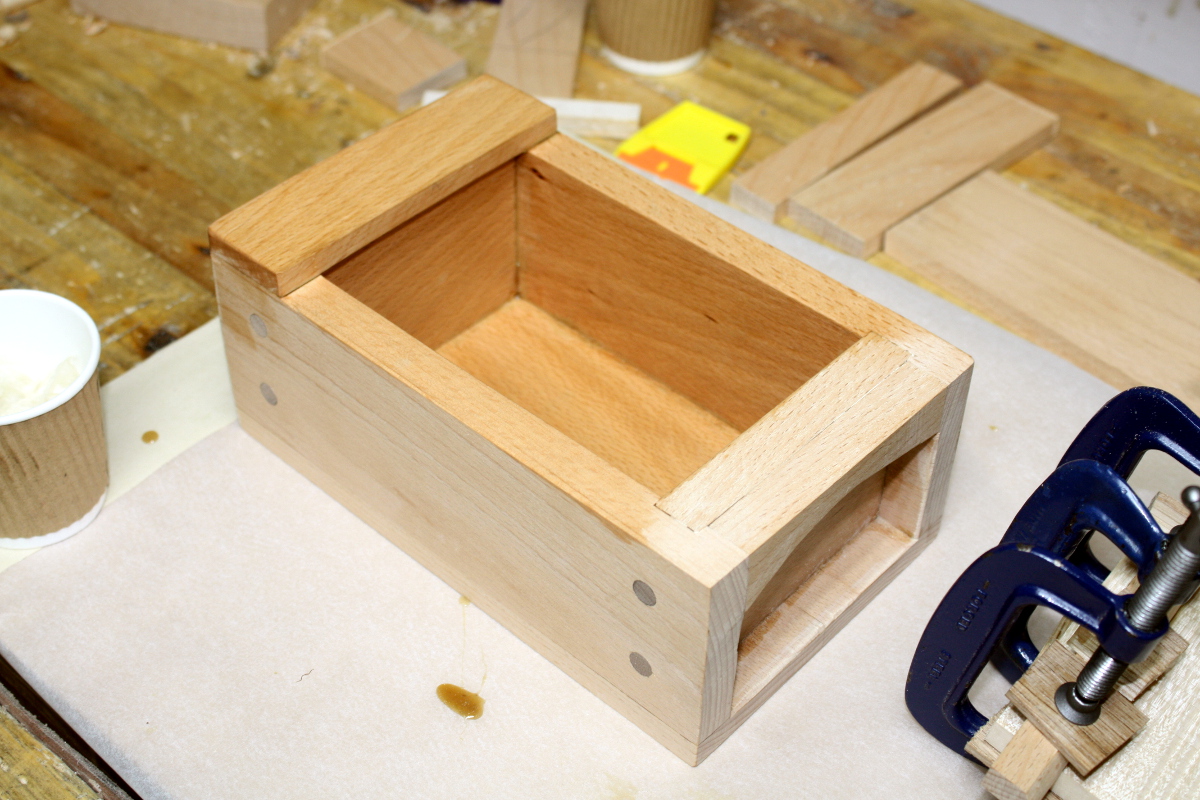
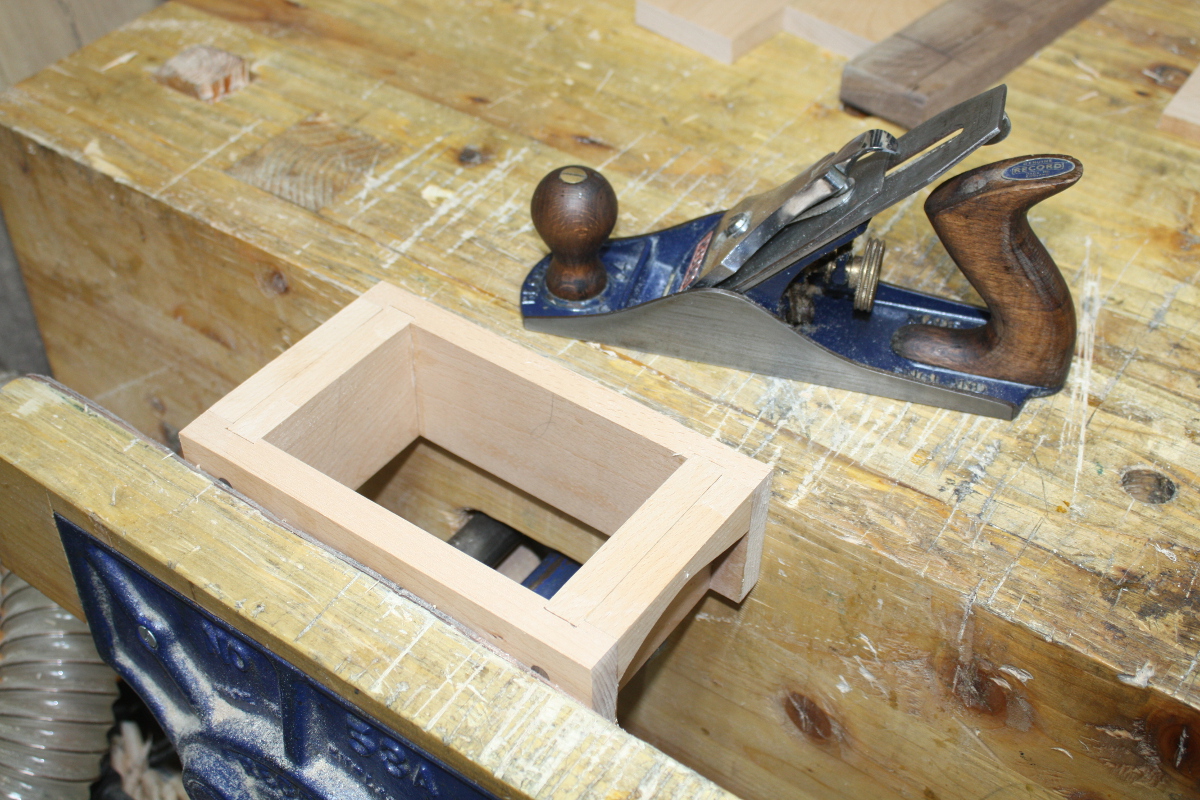
Anyway, with the board to rough thickness, out came the #05 and some finish planing was done (the board had bowed slightly in the last week or so because it had been sitting on the bench with one side planed and the other not), and then it was on to edge jointing…

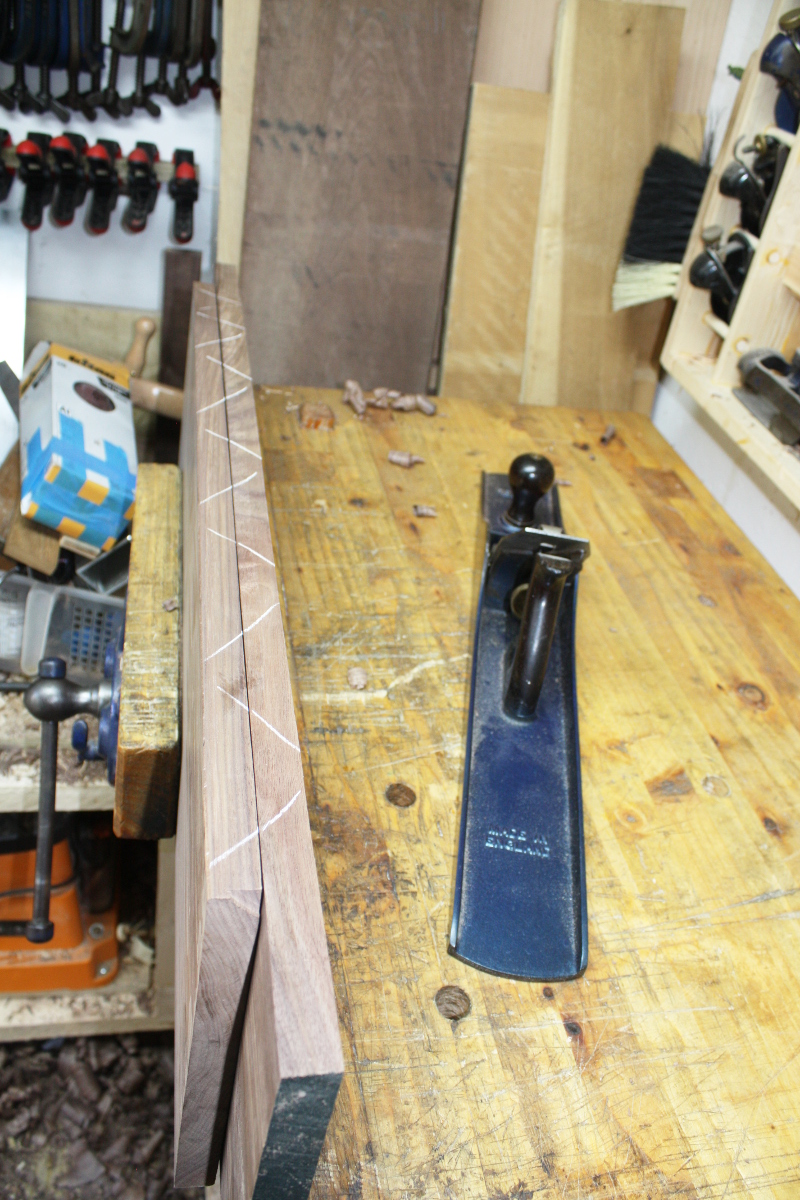
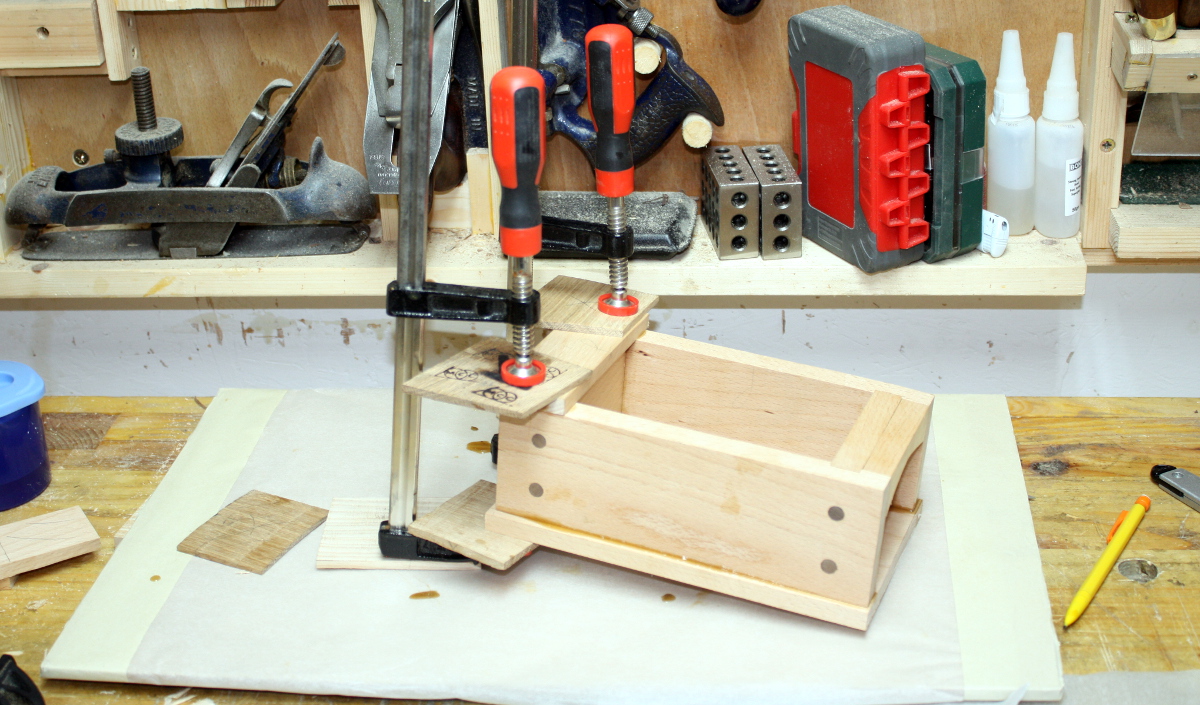
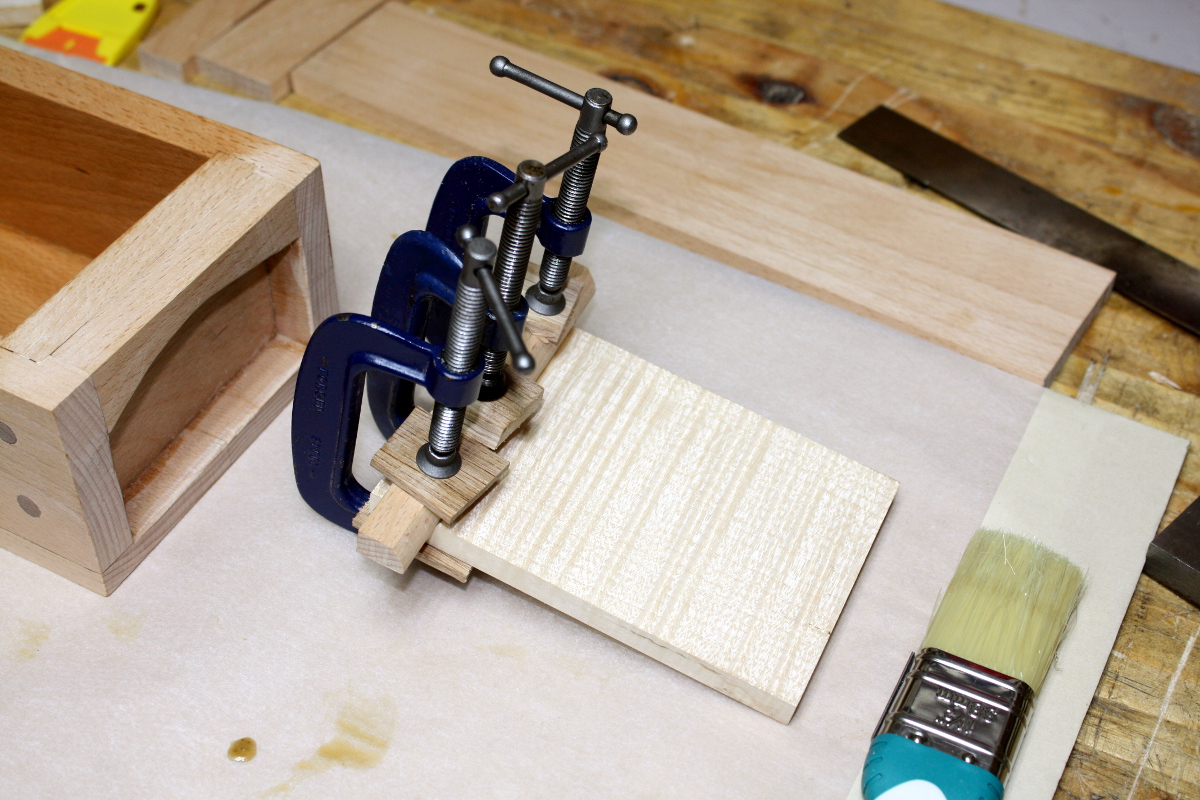
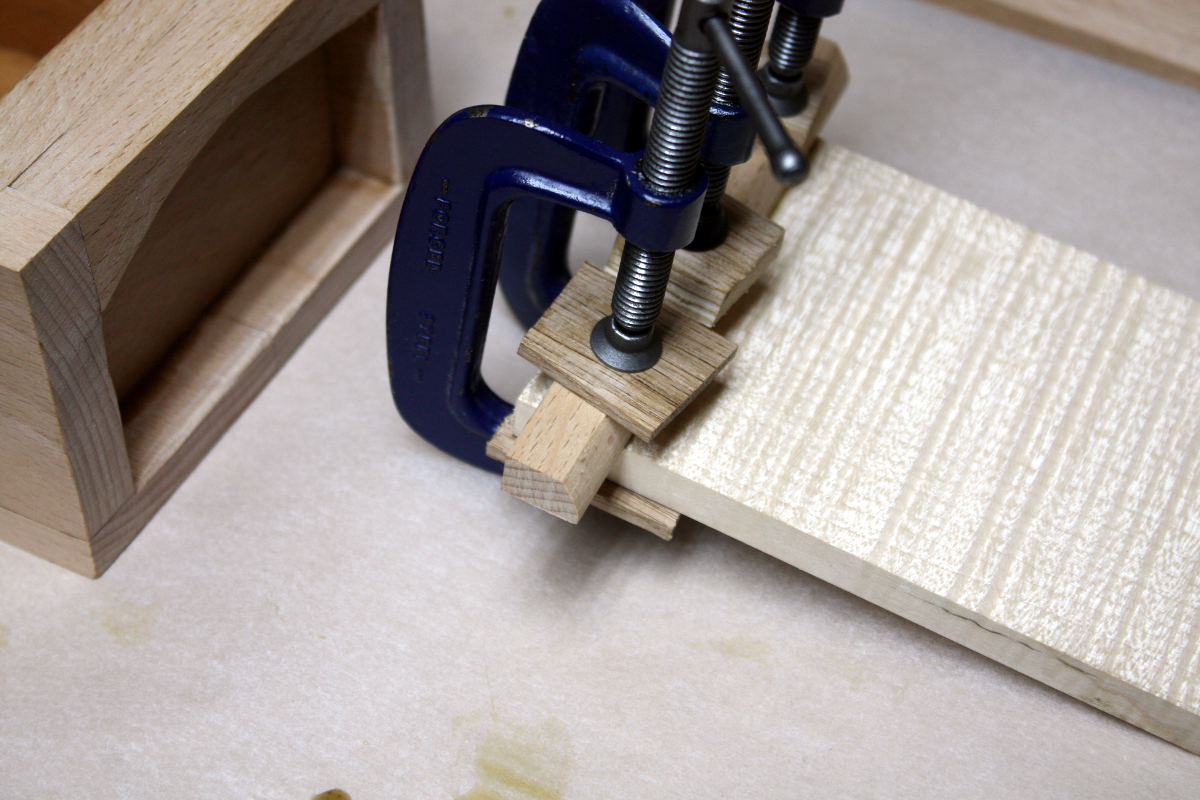
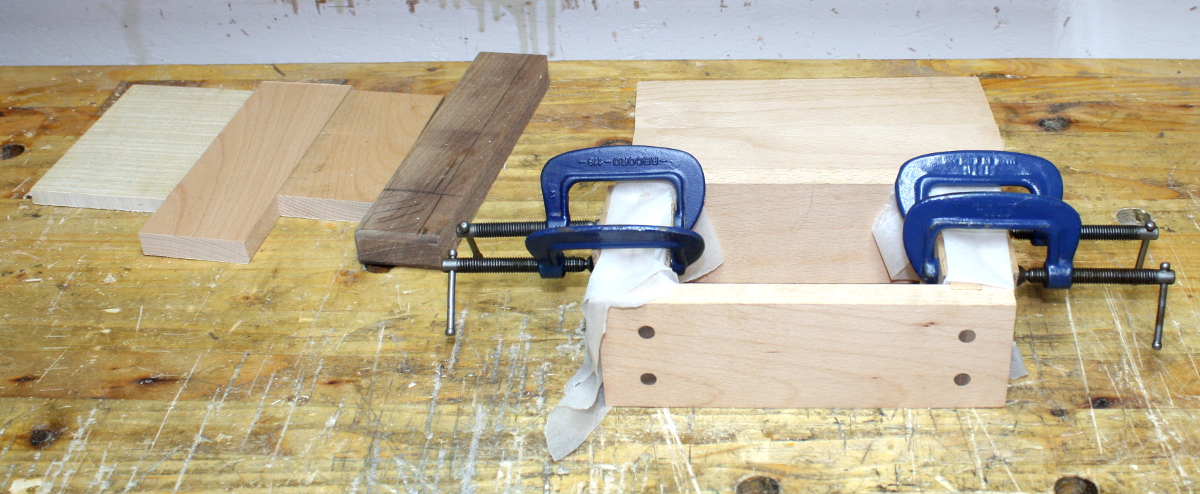
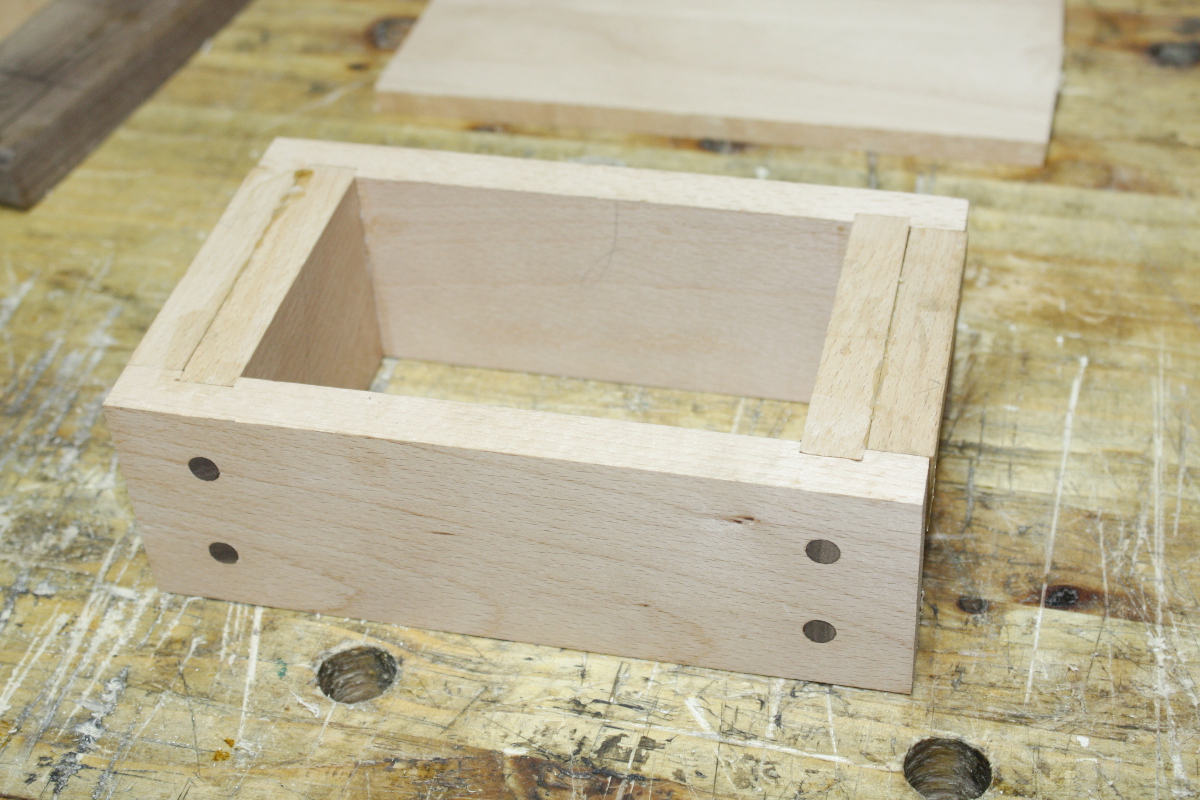
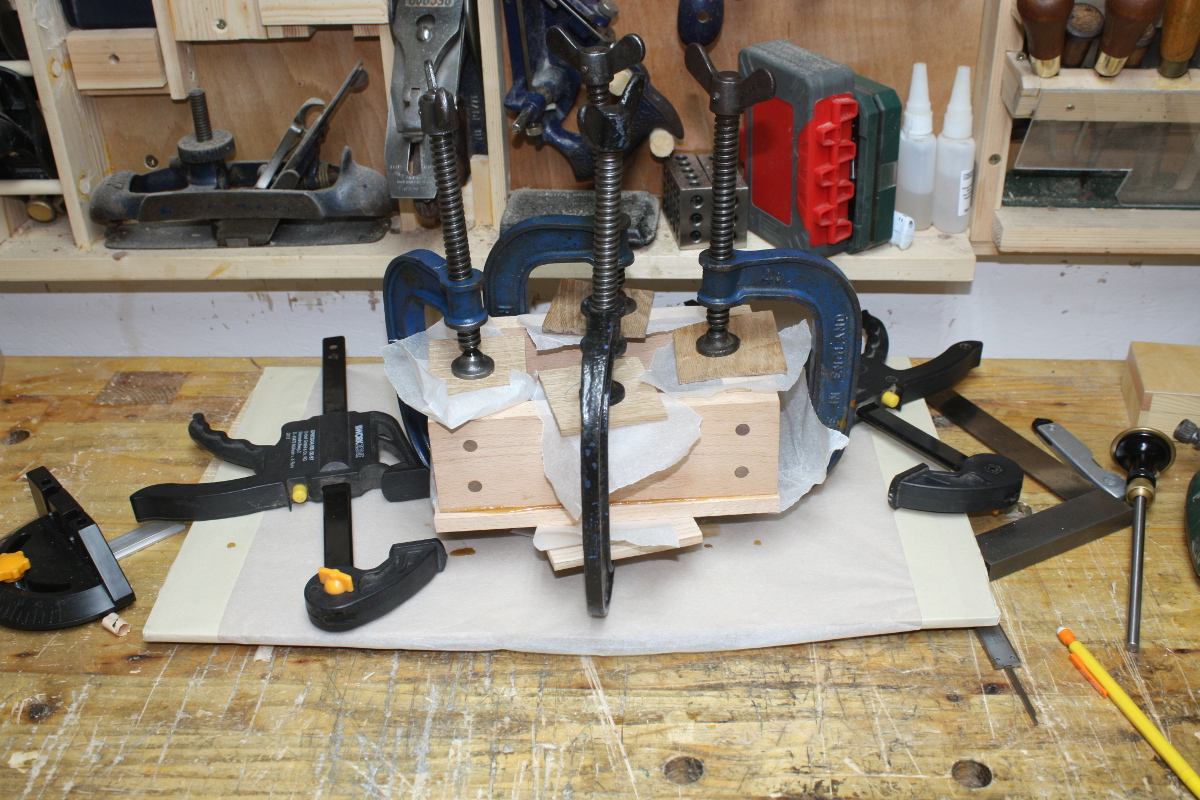
The crosshatching is to watch material removal again. It took a bit of tweaking to get a joint I was okay with, and then a tad more planing of the boards individually to get a nice joint with a spring joint space in it, and then, glue-up…

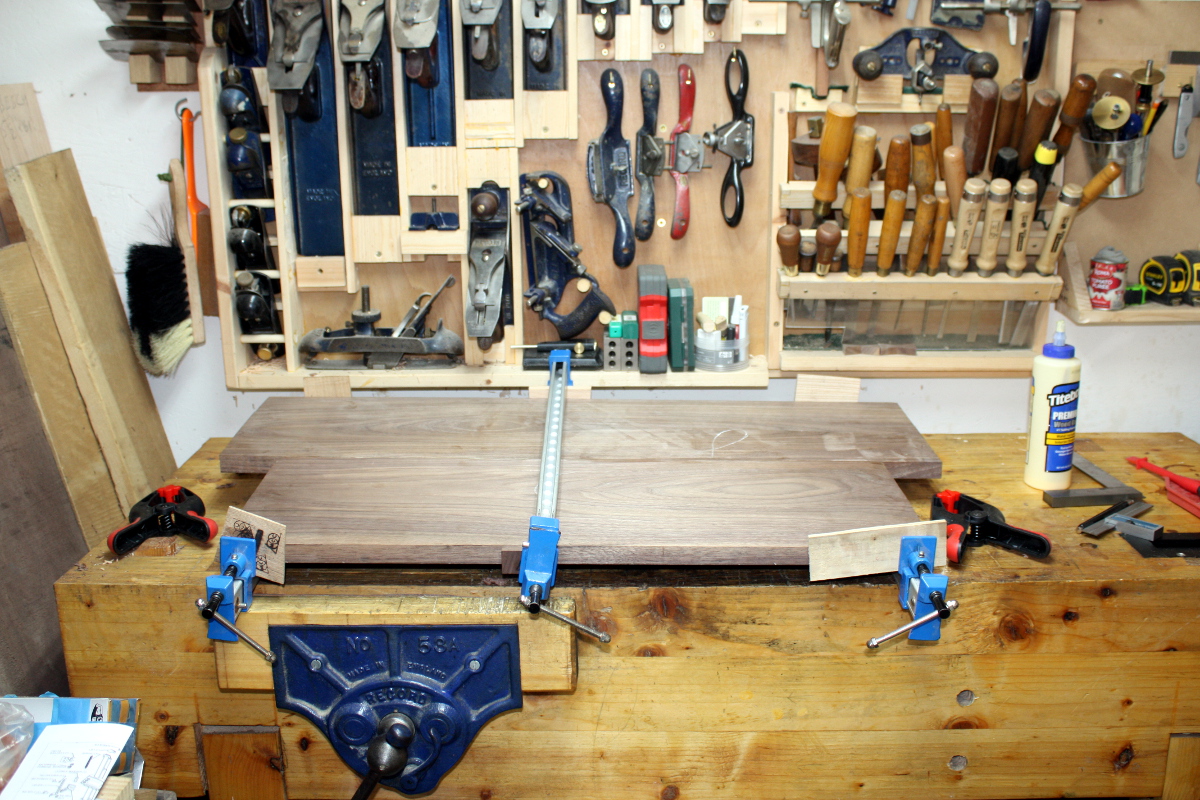
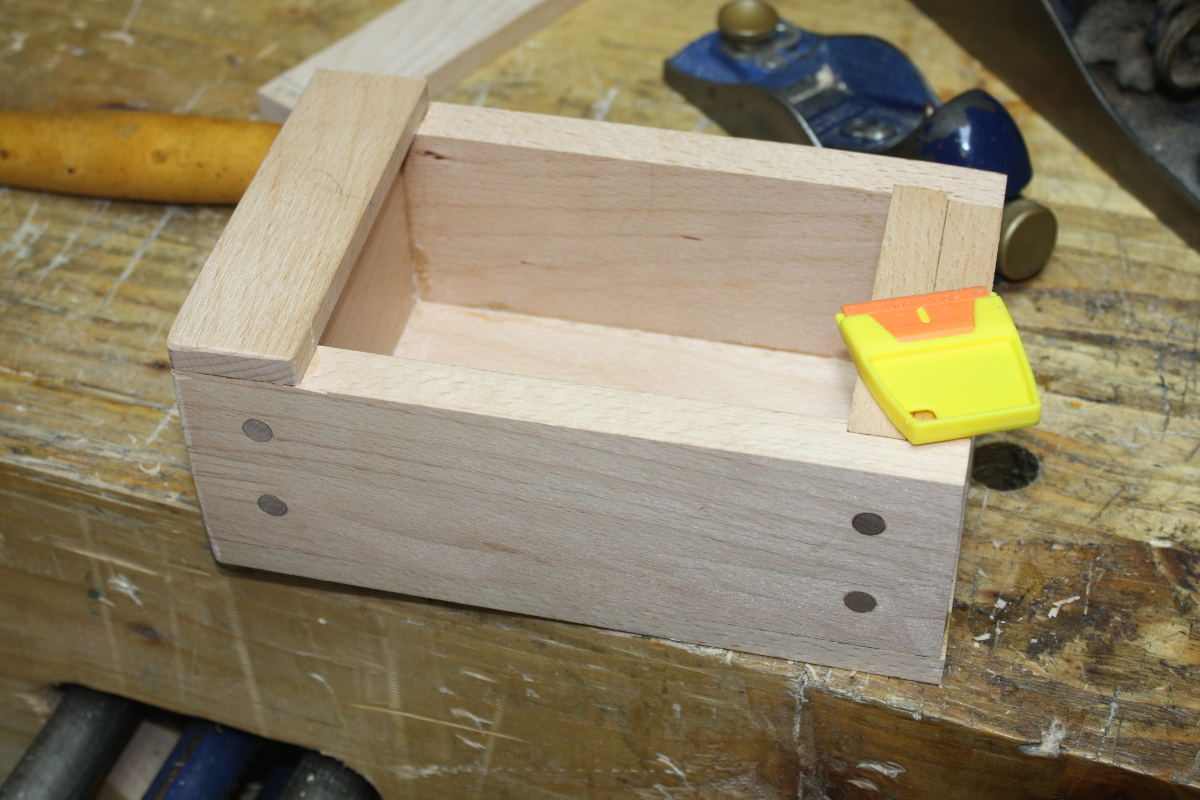
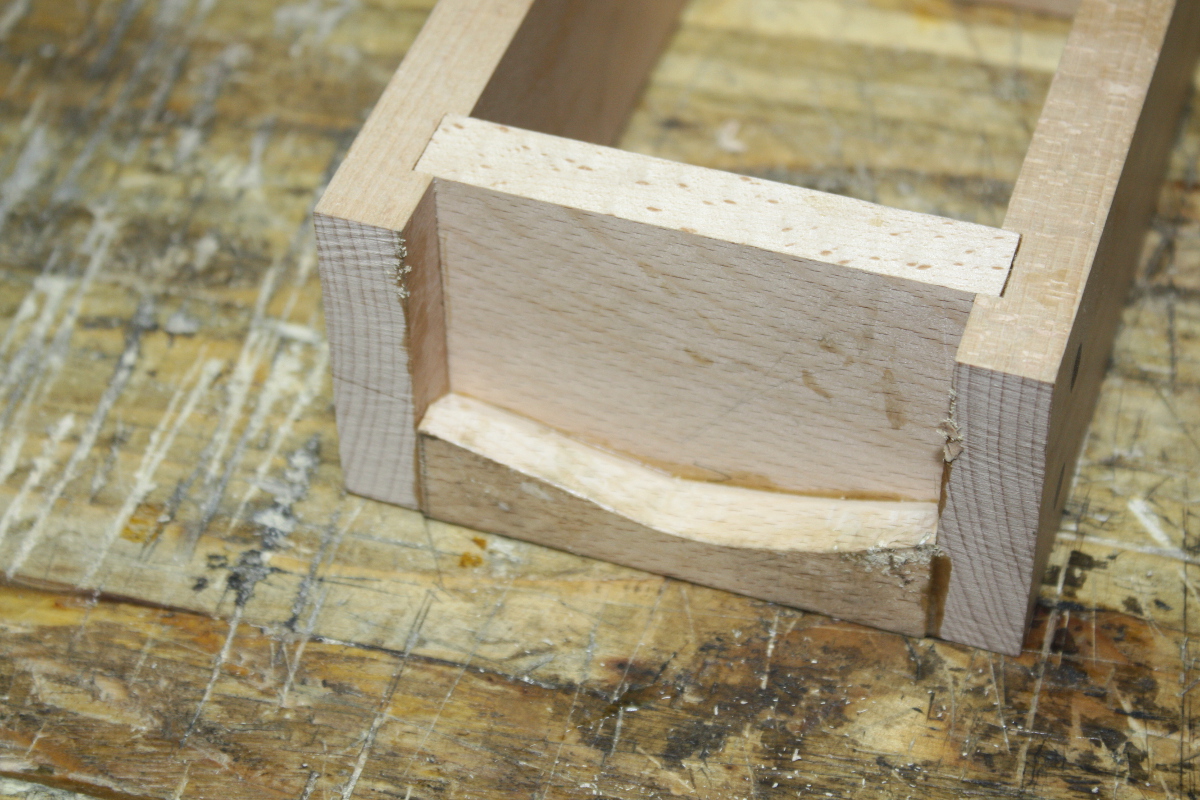
Should be okay in the morning (the panel will have angled sides so those offsets are fine). The joint isn’t bad but the top will need some work with the plane to get a nice flat surface….

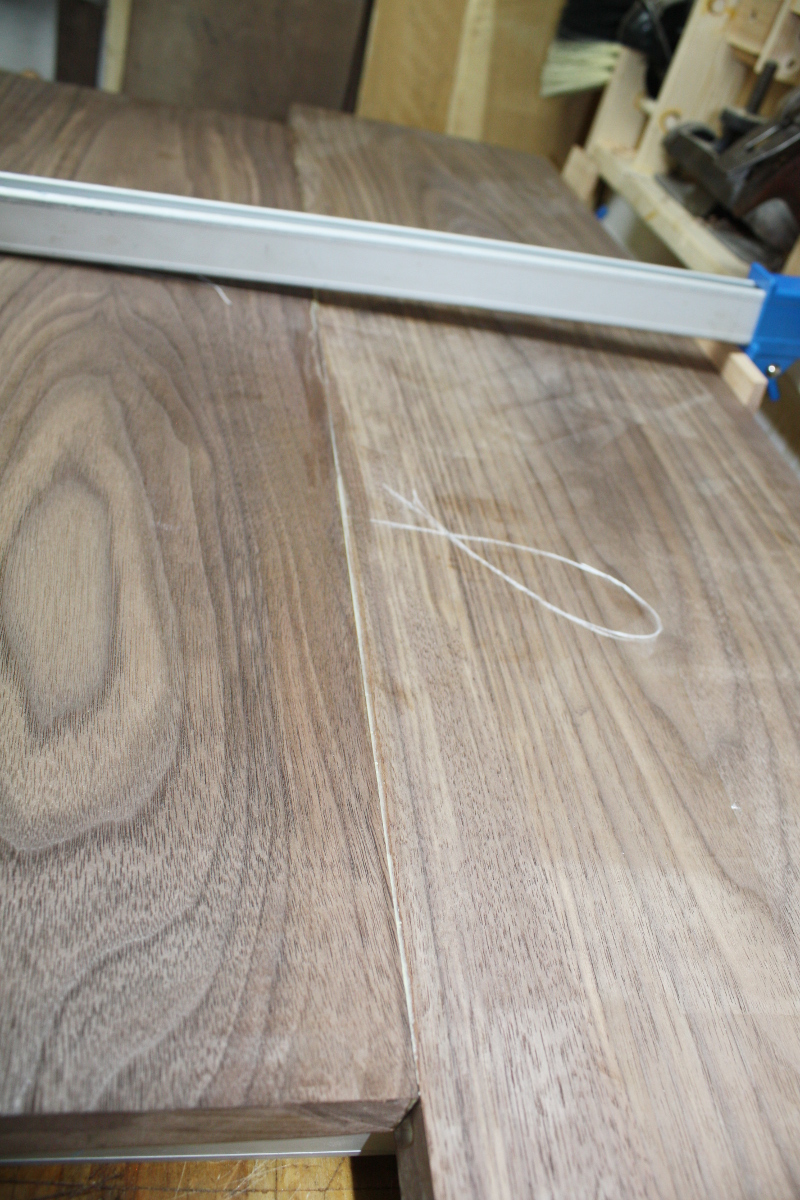
There’s almost a half-mm step there in the middle and we’re flush at the corners. Well, I’ve had worse and this is what hand planes are for…


13
Jun 18

Almost there…

So I was a bit sneaky this morning and went to the shed for ten minutes before heading off to work. I’d prepped the part for the end cap on the toolbox last night but because I’d clamped up the base I couldn’t glue it on without risking either it or the base shifting when clamping. So this morning I went out, took off the clamps from the base, made sure I had clean gluing surfaces and glued up the end cap and clamped it. And of course, as you’re in a hurry, everything gets irksome and fiddly.

Why on earth did it choose this morning to lose it’s head? 😀

But I got it clamped in the end.

Then off I went to work and later this evening…

Sawed the end cap flush with the flushcut saw, planed the base flush (with lots of chamfering to prevent spelching – not sure how you’d fix that at this stage) and then started cleaning up squeezeout.

Y’know, I thought those plastic razor blade things would be a total gimmick, but for stuff like this they’re actually quite useful. I did still have to do some careful chisel work but the bulk of the removal was very straightforward using this and the best part of the plastic blades is that you really have to abuse them to nick the piece so you don’t have to be quite so careful as you do with a chisel.

All nice and clean. I do still have to pass over the sides with a last smoothing plane pass and probably some sandpaper, but that’s for later.

Next up, glueing the first stop on the lid after trimming it carefully to length. I’ve shaped the inner edge of that stop so it’s a little less abrupt.

This is all going to make more sense when it’s done.

Also, I gave the inside of the box a quick swipe with some danish oil – it’ll be easier to do it now when I have access. The other end cap will go on tomorrow and after that it’ll be harder to not have any missed bits inside, so I’ve done the one inner coat I was planning on now. Should make it easier.

And done for the day. Material for the other endcap prepped in the background, but I still need to find material for the key – it and the lid will be distinctive and everything else will be beech or the walnut pegs. It doesn’t look too bad so far.

Speaking of finish, time to check how those purple stains dried…

Interesting. The neat stain is definitely too dark, as is the light purple over dark blue; and the lightest purple just looks like the wood’s grubby, but the higher concentration of the stain doesn’t look too bad. Needs to be even more concentrated but I think we have a good possible there. I won’t get back to the locker till next week though, but it gives the joinery and the wood for the door time to rest and move if they’re going to. And gives me time to think about decoration. What happens if you cut very white stringing into a stained wood I wonder…?


12
Jun 18

Bases and colours

So the camera battery complained about being empty on Sunday and it got a few hours in the charger, but then come Monday, it said it was flat again. Hmmm. A replacement knockoff has been ebay’d. However, the fabrication of the handles and the glueup got missed. It wasn’t that hard, cut a piece of beech to width so it fits in the end of the box, then make a 1cm deep cross cut in the middle of the piece and chisel out a curve in it, then give up because the piece is too small to work on with the vices I have (I really need a sculptor’s vice sort of thing for a job like that) and cut the curve with the bandsaw and clean up by hand with chisels, small wooden spokeshave and sandpaper, then glue it in place. The following day (ie. today)…

Oh, and I cut the pegs flush and planed down a bit as well. They came out nice. Now to check the handles.

In need of a swipe with the #04…

And some squinting. Yikes that looks grotty. It’s nowhere near that bad in real life, but the handle is proud of the ends and top so it’ll be planed back flush.

All nice and neat again. I also glued up a panel for the base when I added the handles, so I planed that clean as well…

I spent a few minutes planing the lid to width and picking out wood for the end caps and the locking parts. I’m leaning towards all beech for those parts, with maybe just the key being something distinctive. We’ll see. First, the base…

And back to waiting on glue again. There’s a lot of that in this build I’m noticing. These boxes aren’t so much difficult as they are slow because stuff has to be done step by step and you can’t really do stuff ahead of assembly or in parallel – or at least, I haven’t figured out how to. If you were making them in batches you could crank them out I imagine, but one-offs seem to just be a slow thing by their nature.

Tomorrow, one end cap gets glued on and the lid gets its non-locking support bit. I don’t know the name for the part, but you’ll know what I mean when you see it.

Oh, and boss lady chimed in and she wants her locker purple. Good thing I have some stuff from crimson guitars…

The idea is you use the eyedropper to add the stain drop by drop to water to build up the colour, right?

Looks okay…

Hm. That looks thin as skim milk. Ugh. Added a drop more, still quite thin. Mixed with the blue stain underneath it’s too dark.

Rubbed on directly, the stain’s too dark as well, it definitely needs some dilution.

There might be a stain level in there somewhere that works, but it’s as messy as all get-out. But the purple *does* work if you add it to the cloth and then add water by spray can to the cloth before you rub it in, you get results like this:

I think that hue on the far left is what we want here, and to avoid going too dark. Might need to practice more, the planed beech surface doesn’t absorb water too readily.

Of course I may need to do some brazing first, my water can fell prey to the cold spell and an accidental knock. But I have brazing rod and a propane torch…