02
Sep 18

More shaping

So I decided to go ahead and shape the front curve today, since it was going to be awkward to cut and might be noisy so it’d have to be a weekend job really.

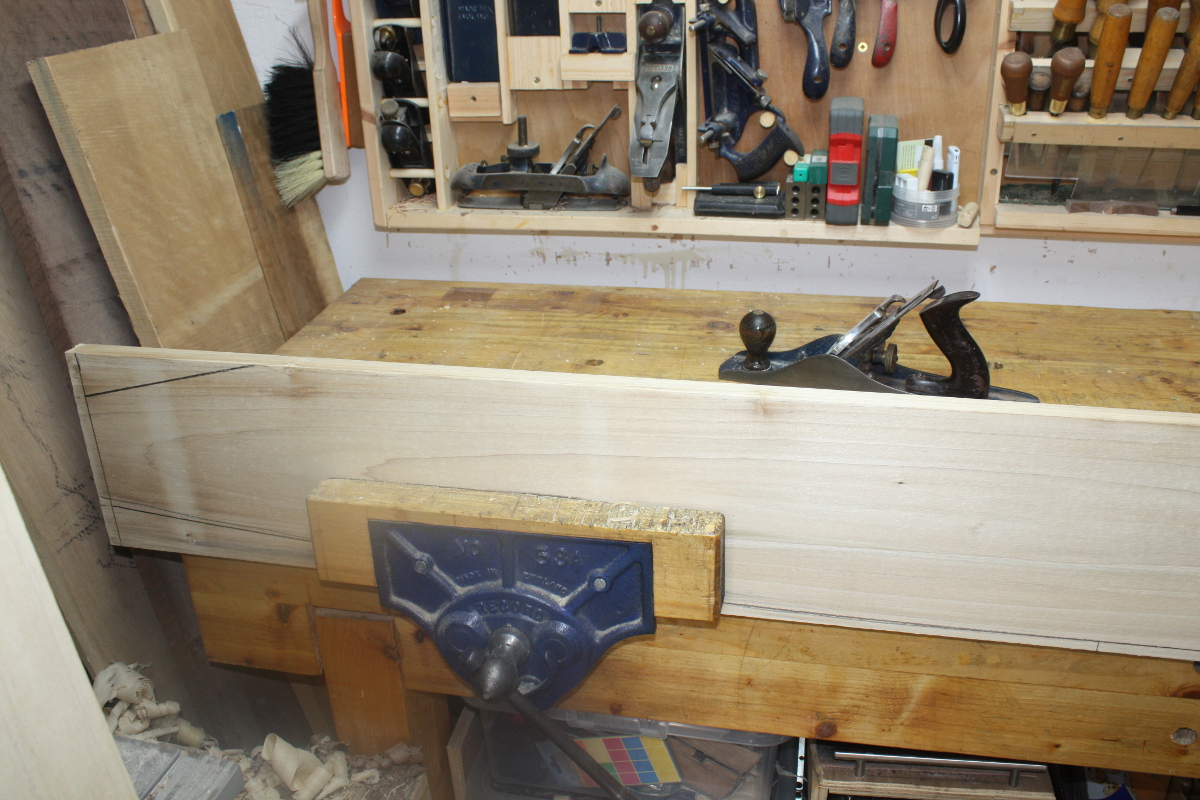
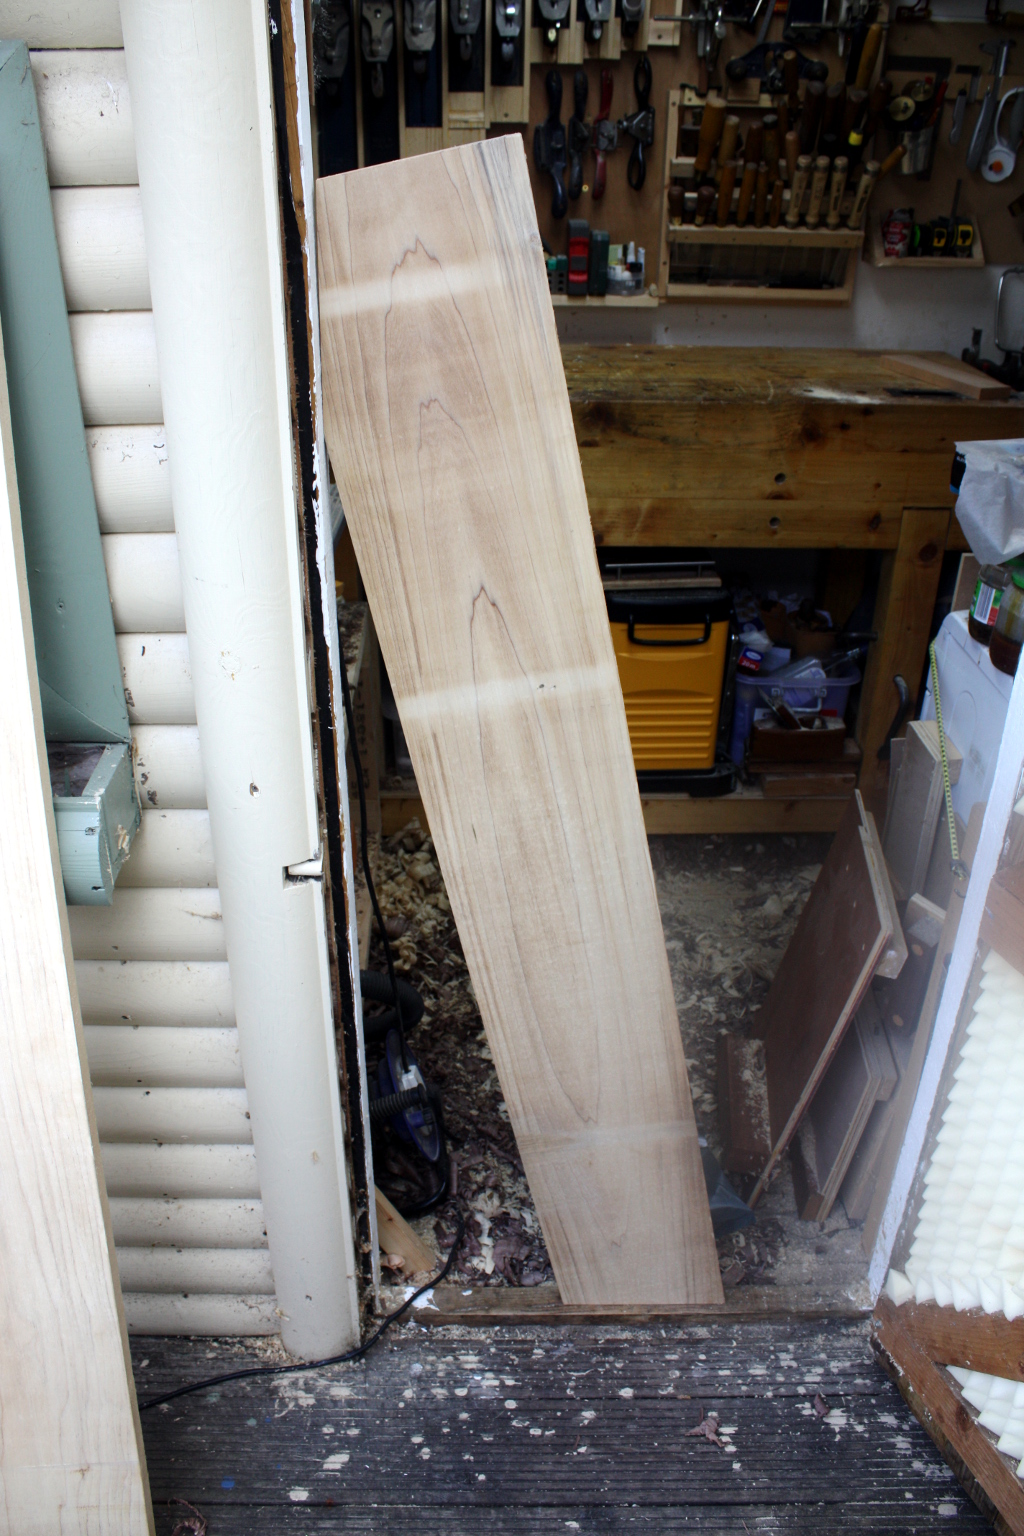
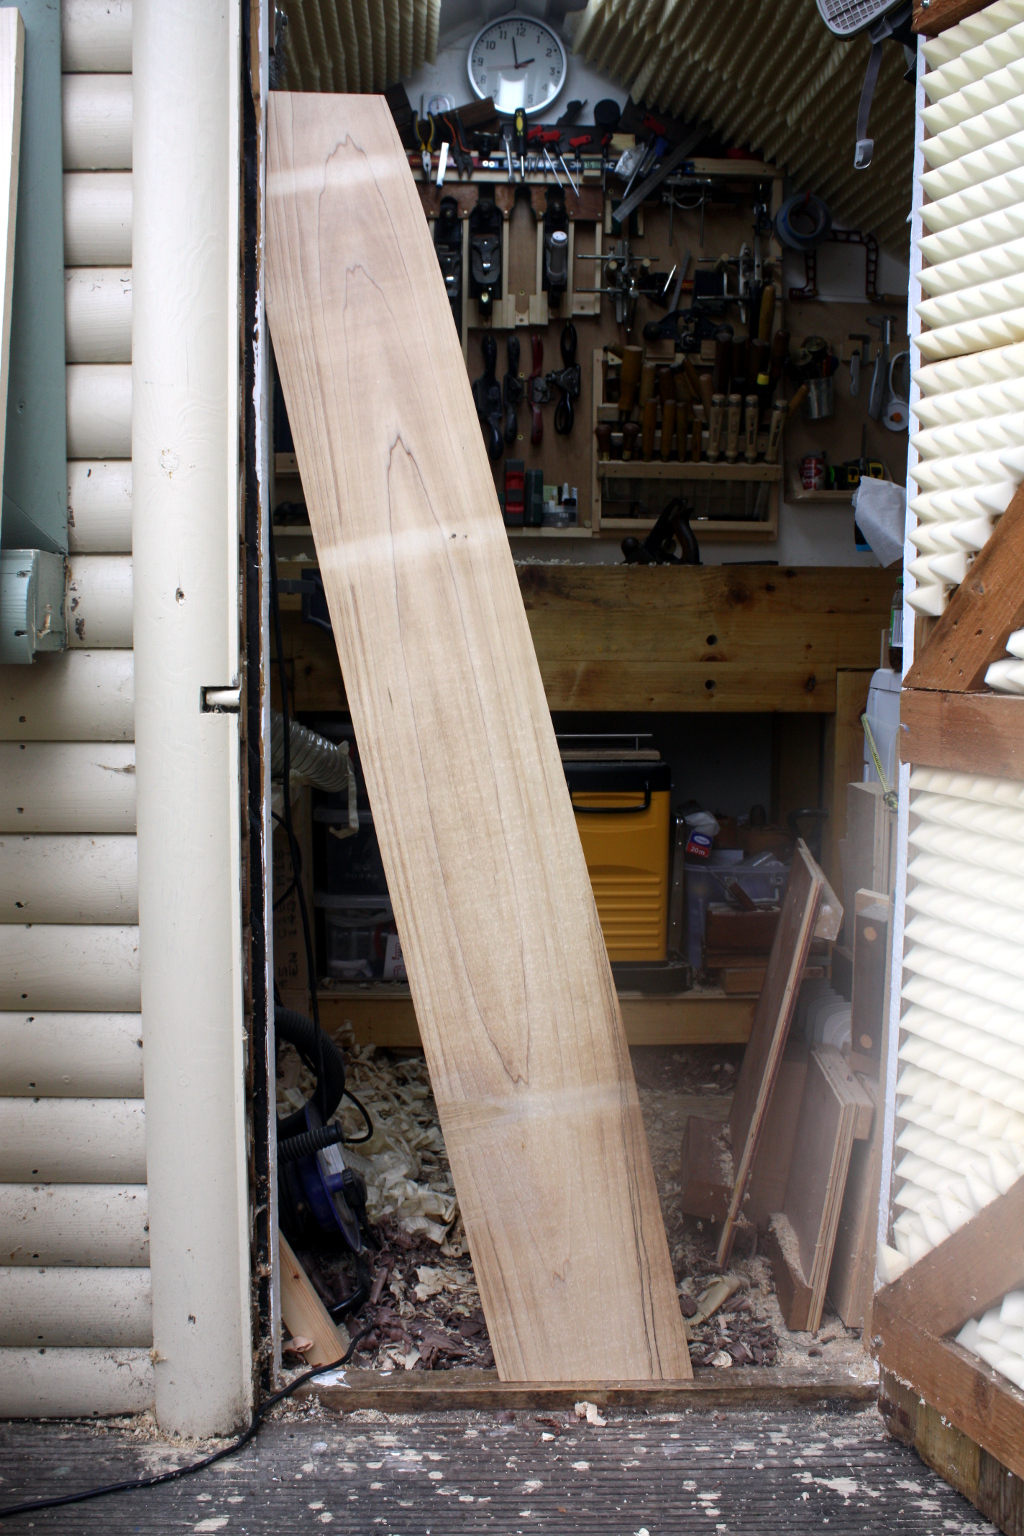
Why is it awkward? Well, the plan is to make the first rough cut with the bandsaw and then to get down to the line with the compass plane and the board is long enough that swinging it around through the bandsaw inside the shed would be awkward and would probably need the door open and the plank sticking out at some point.

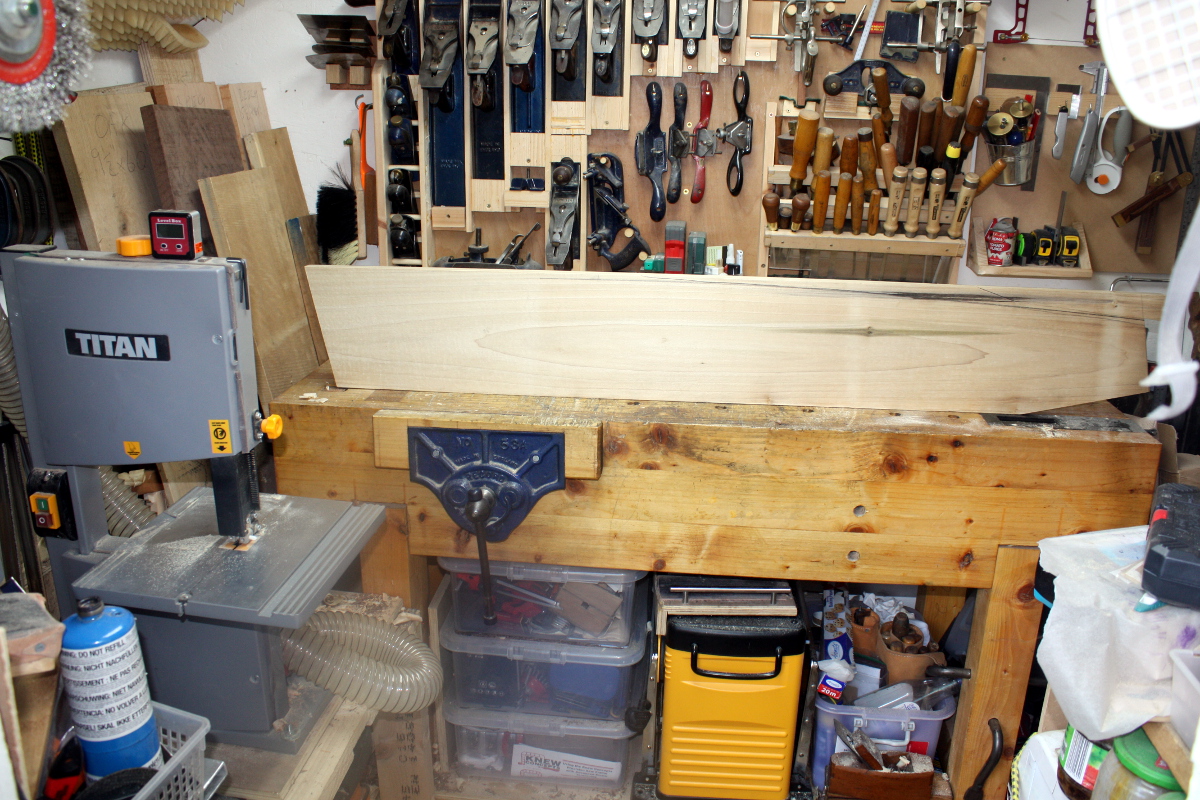
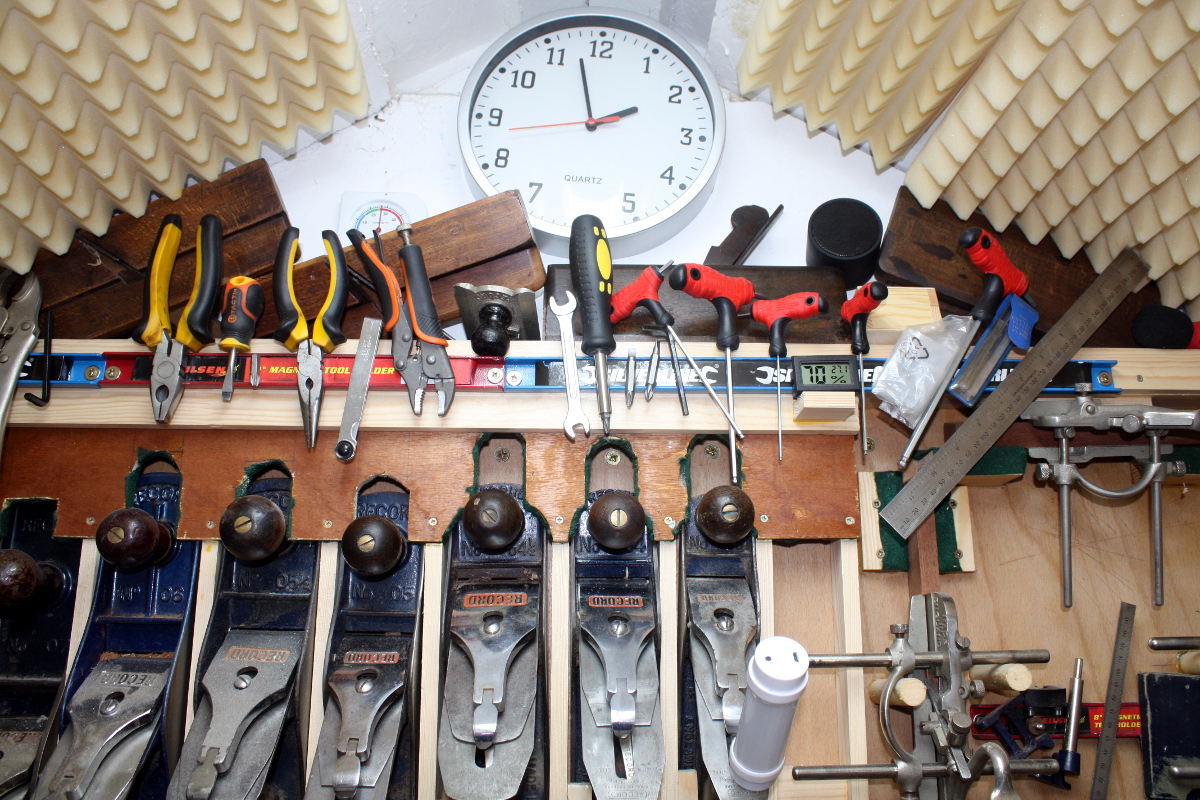
See what I mean? There’s not enough room for a cat to stand in here, let alone be swung around. But, with much swearing and cursing and with the door open and the plank sticking out for at least half the cut, it got done.

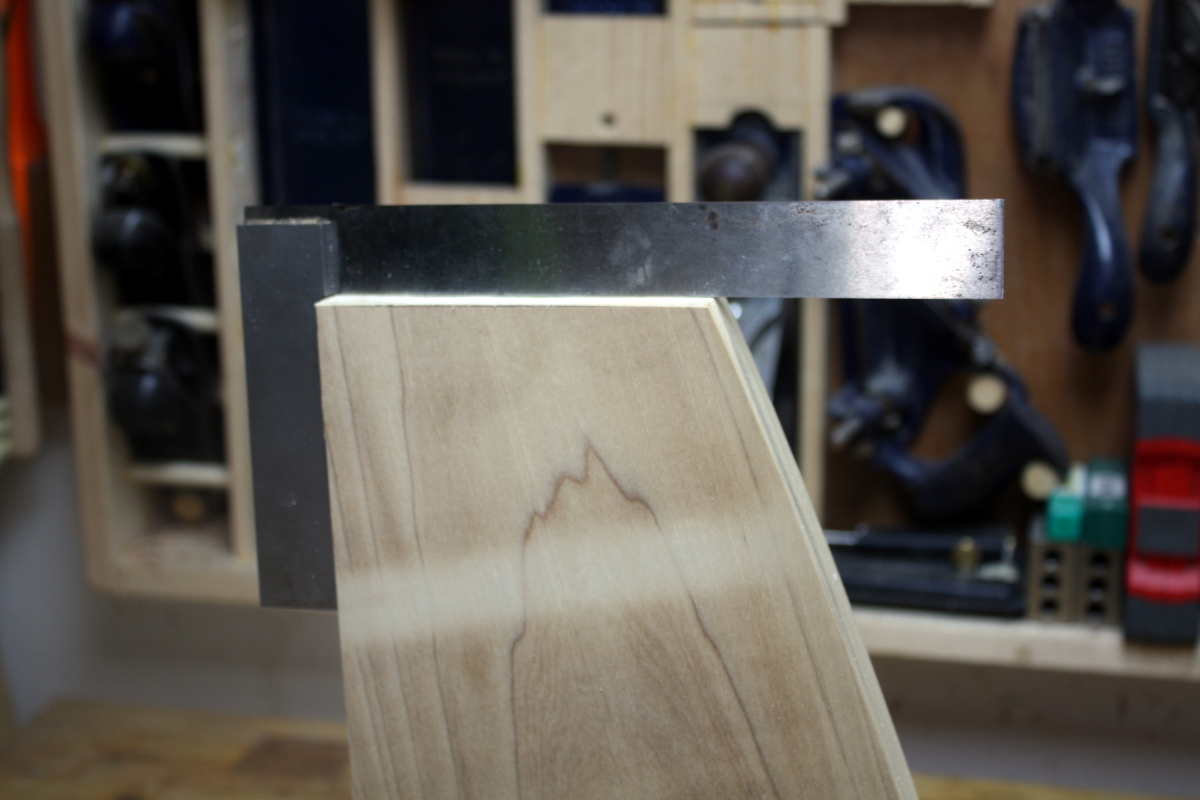
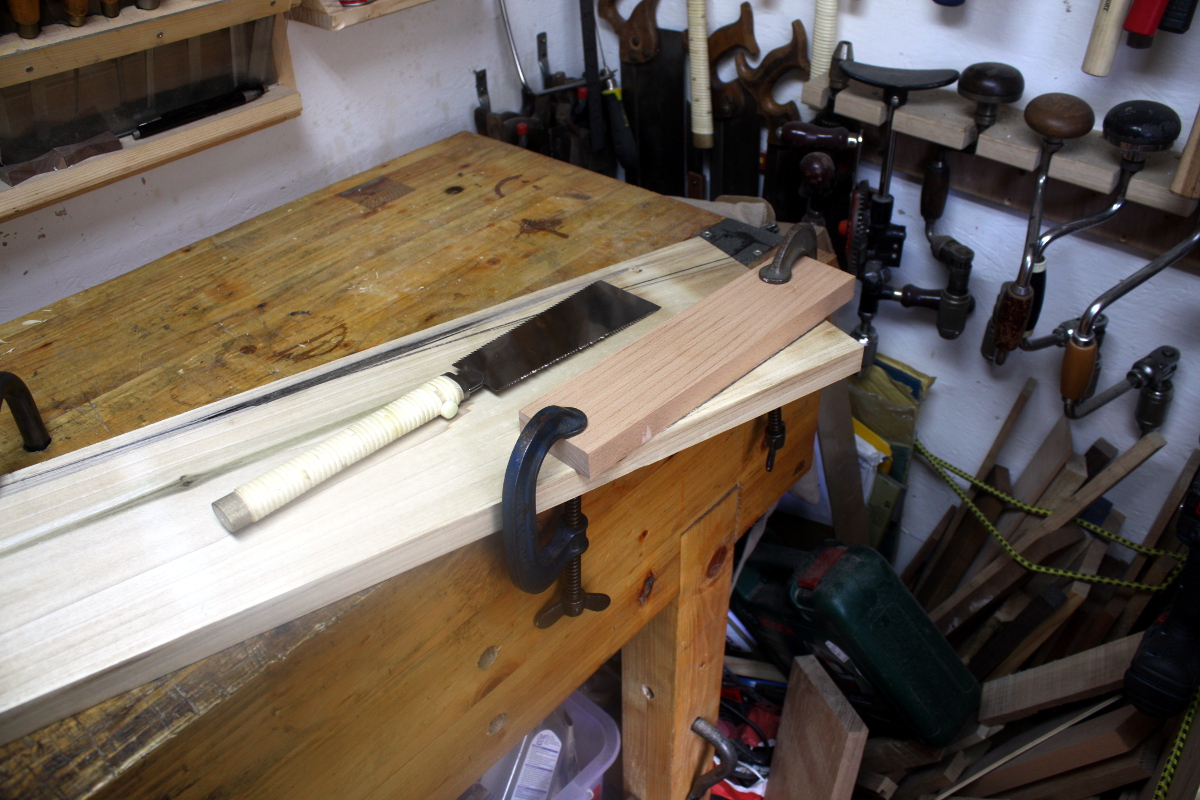
I even cut the top of the side to be parallel to the floor again while I was at it.

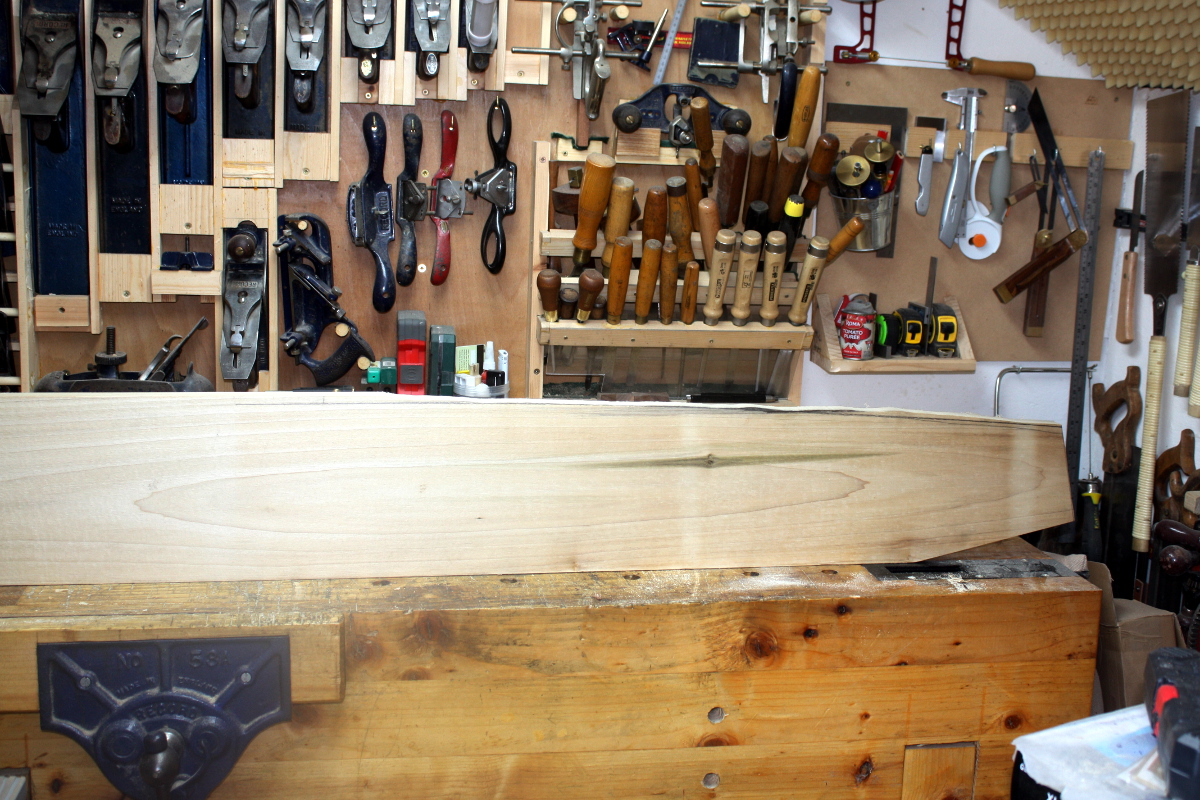
You will notice the artisan scalloped edge, and I’ll have you know that it takes a lot more effort to create such an artistic statement than it does to just cut a straight clean boring line.

Or something.

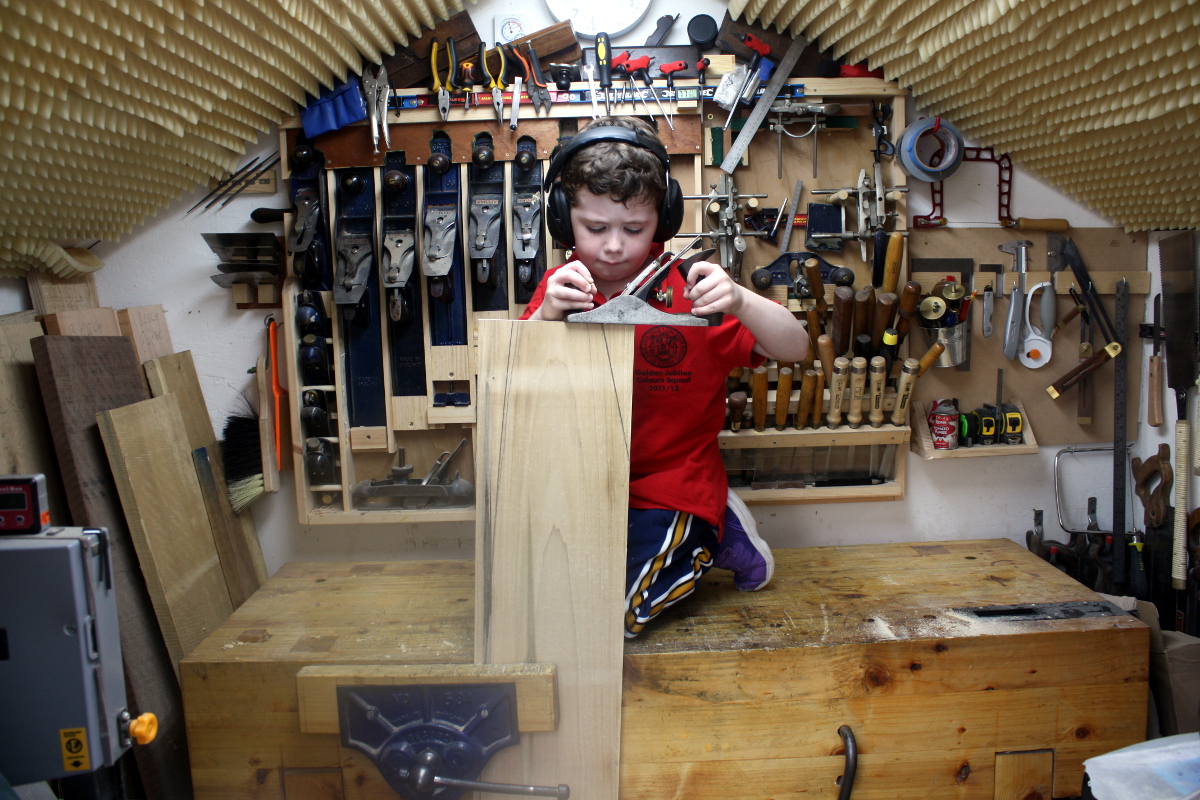
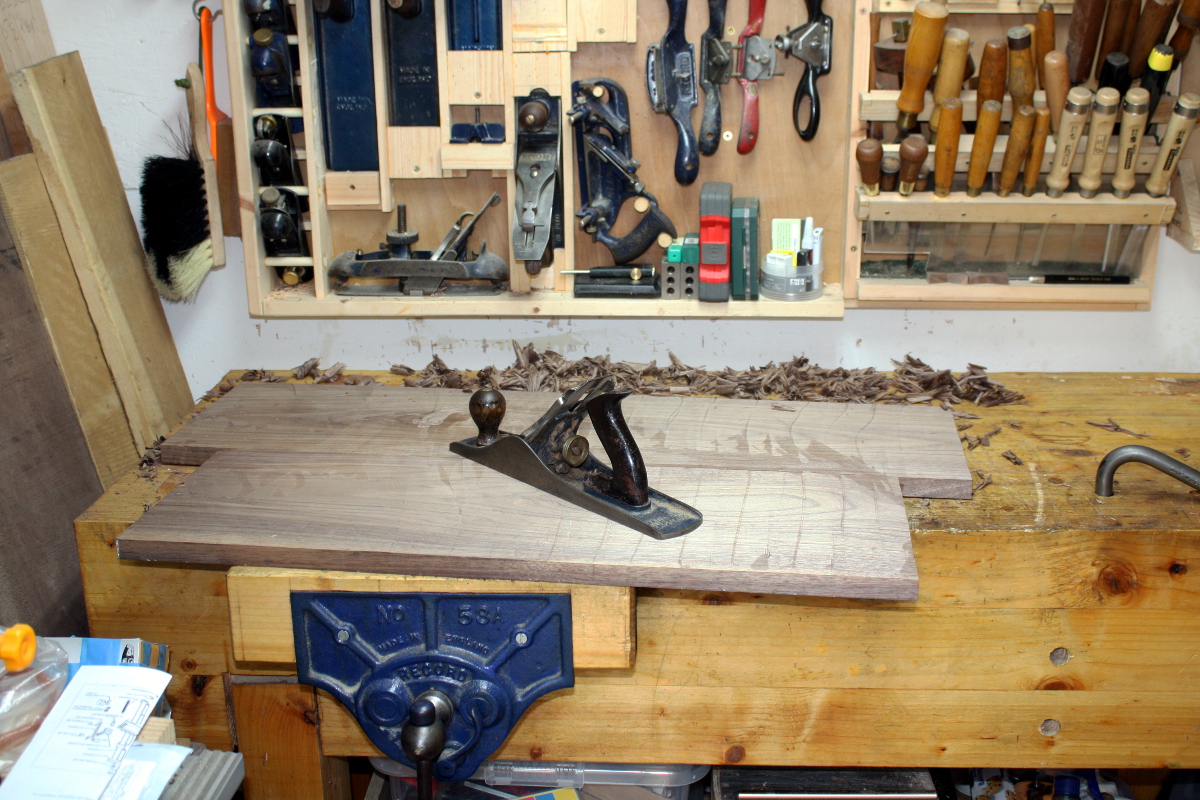
Anyway, it’s just a rough cut, so out with the #05 to knock off the absolute worst of the knobbly bits and then time for the fun tool.

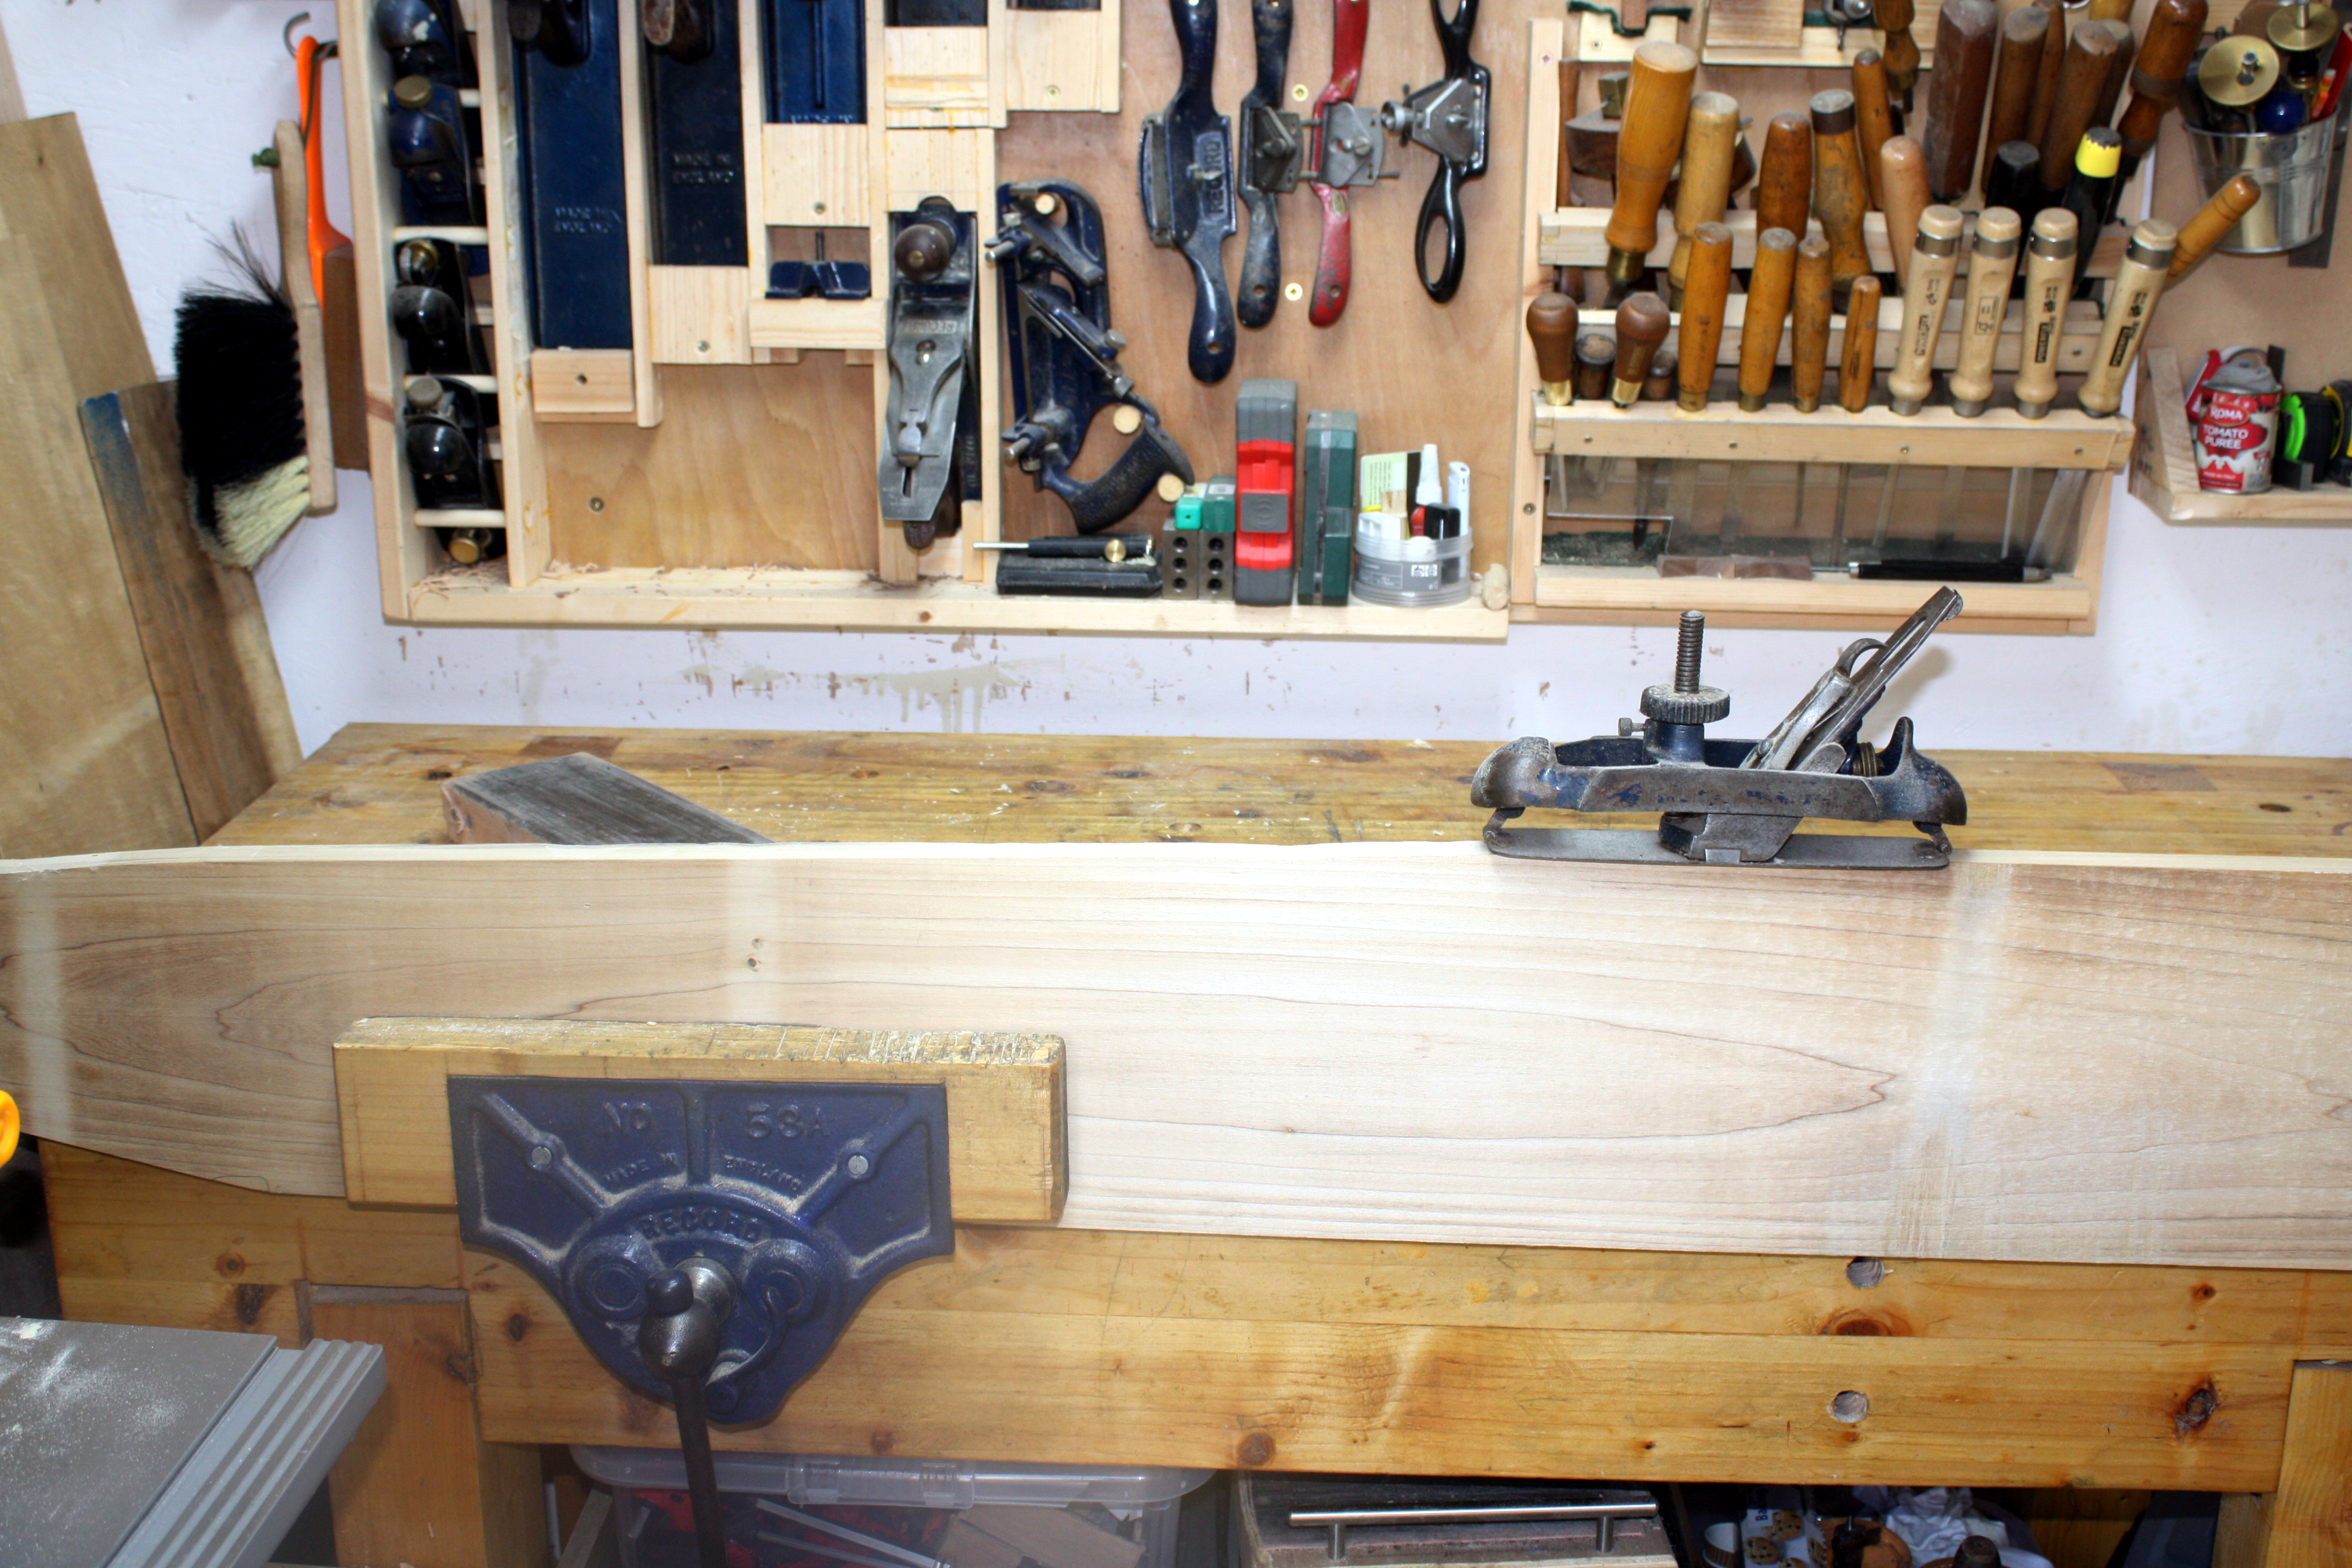
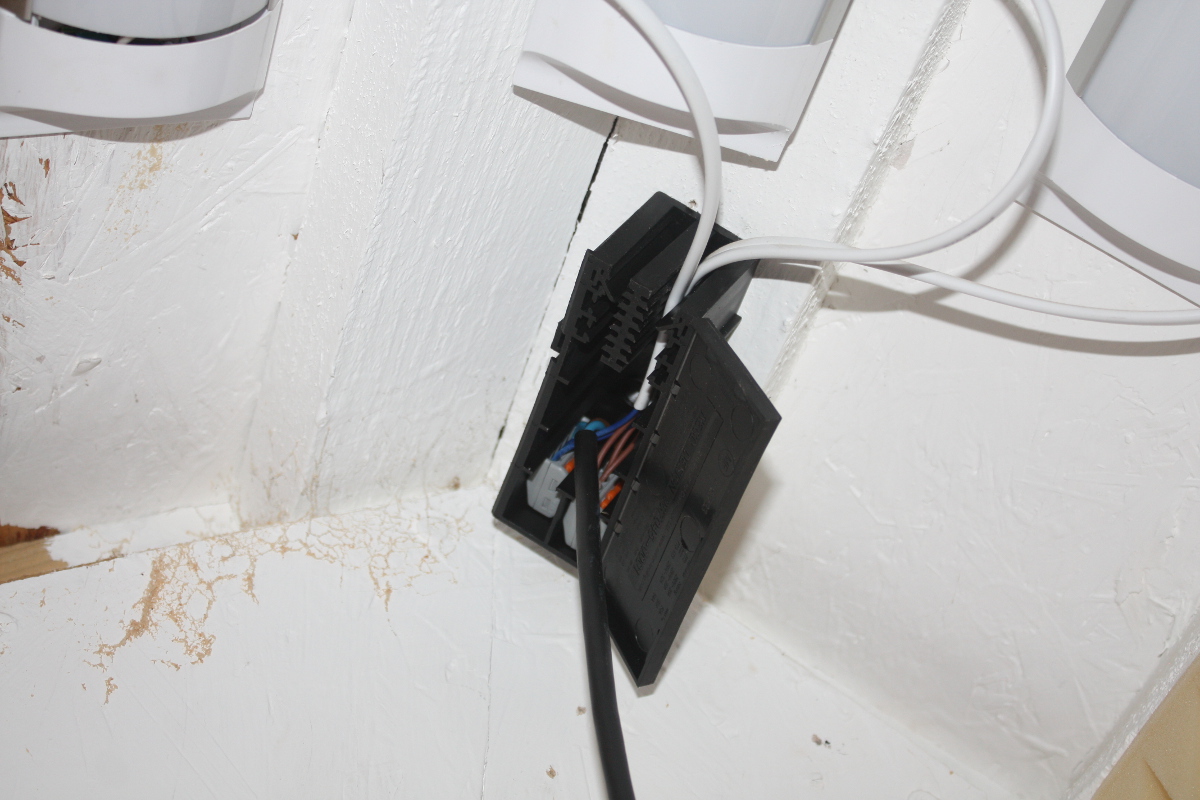
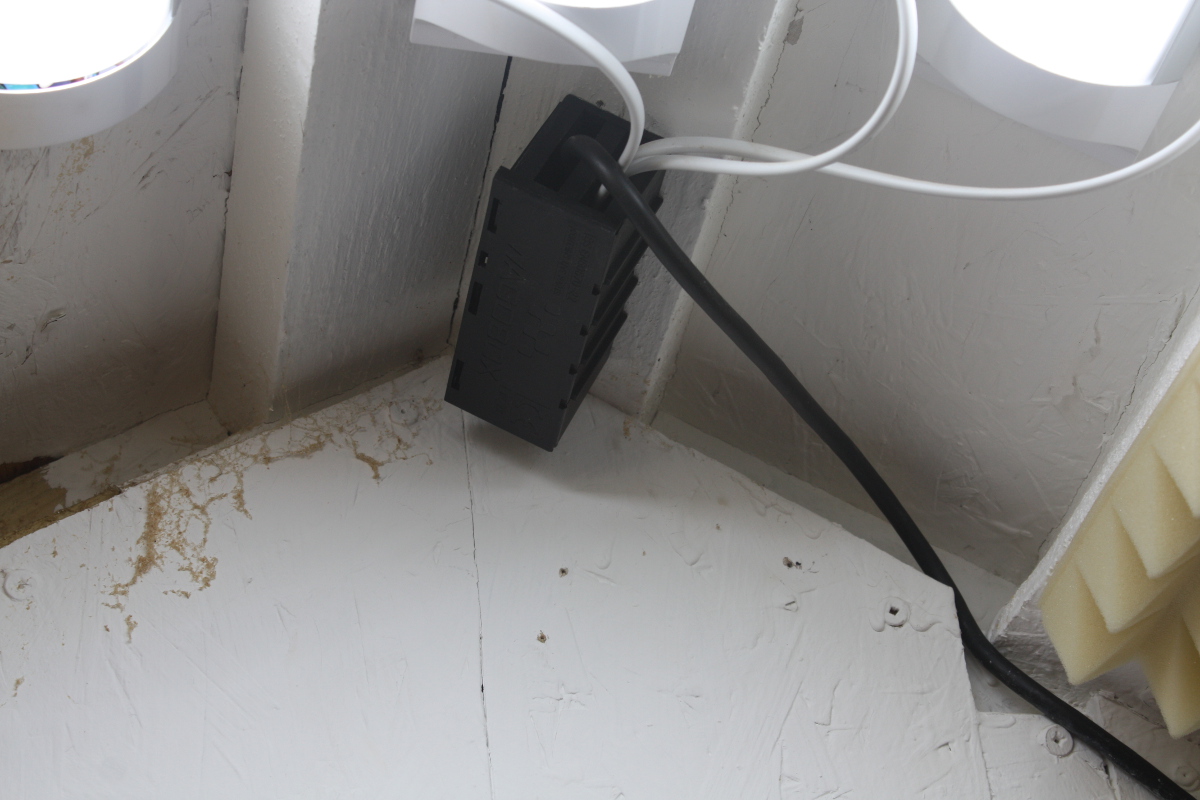
The Record #020, variously known as a compass plane, a circular plane, a radius plane or a shipwright’s plane, it’s basically just a plane for curves. That big spinny dial yoke on top pulls the bit with the blade up or down relative to the ends of the sole, and the sole being flexible, takes on a curve that you can then plane into the wood. It’s a natty little tool, and while there are limits to how curved you can go, within those limits it’s great.

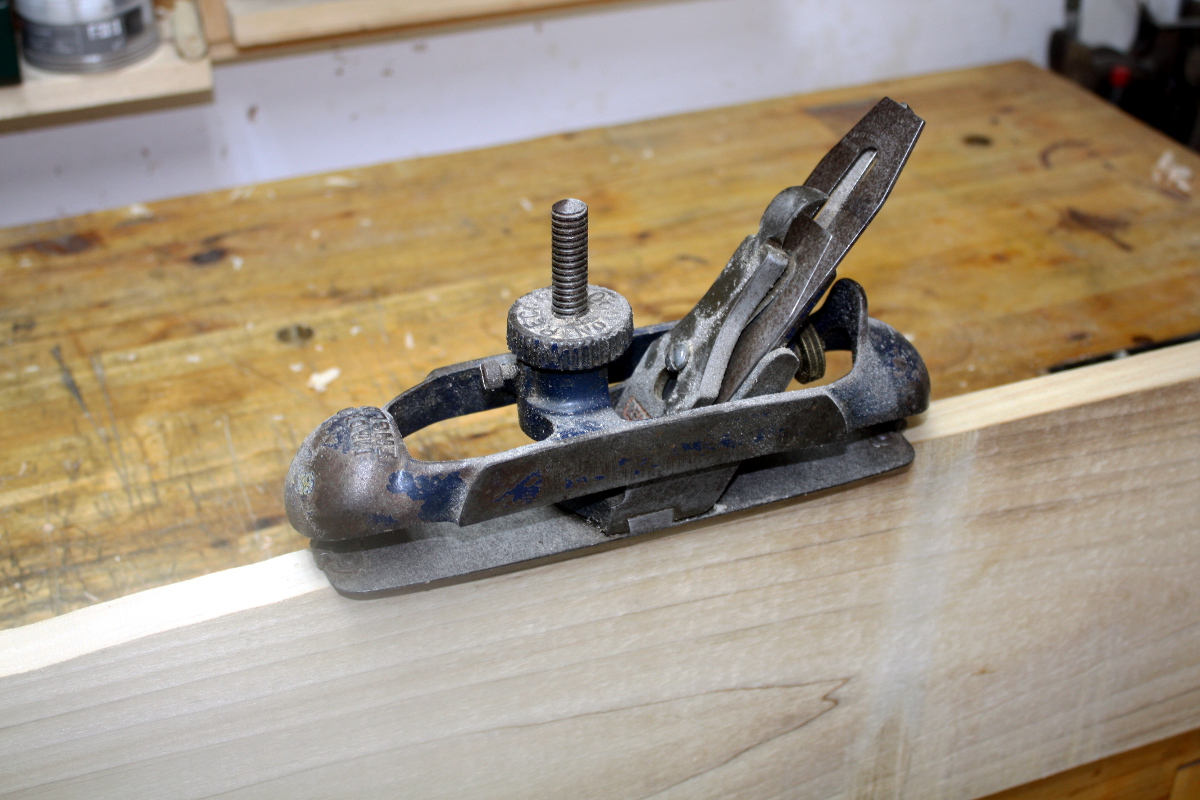
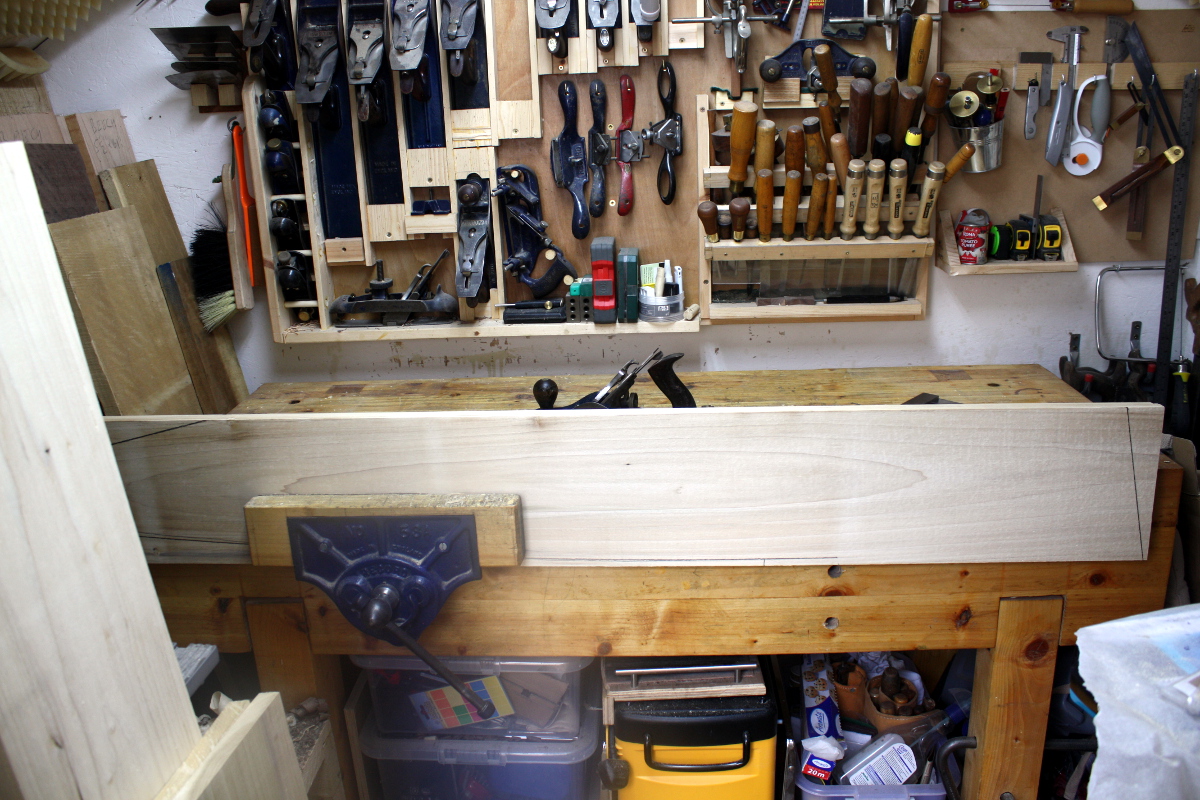
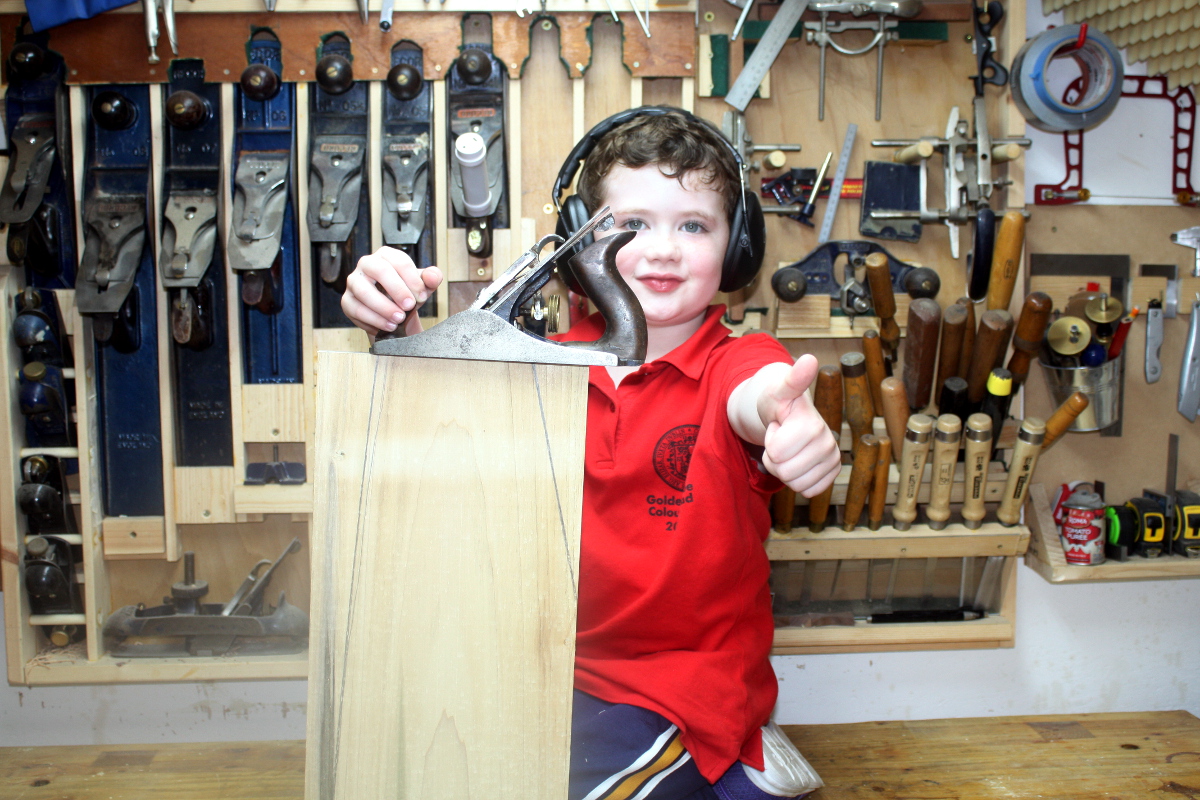
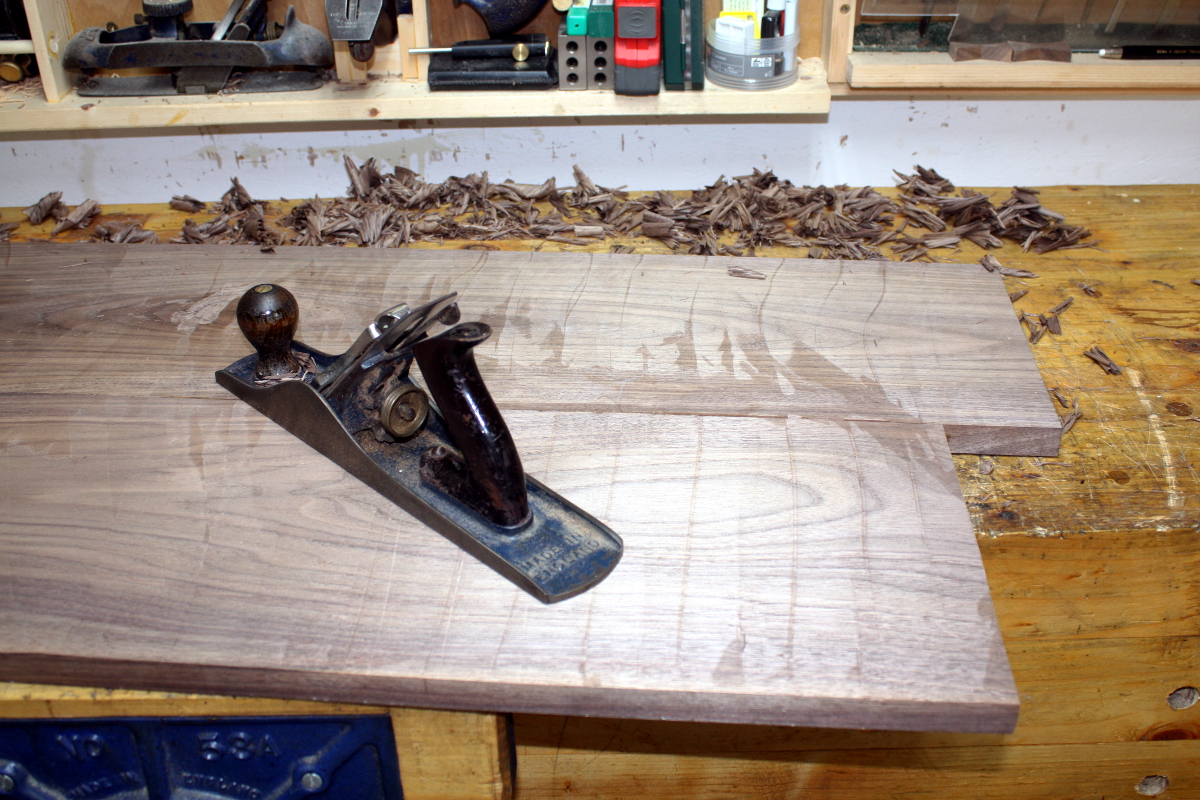
Mine is a little worse for wear in appearance. Everything works, I had it apart, cleaned, oiled and resharpened everything, but it’s had some light surface rust over the summer and the enamel’s long gone (and I still haven’t figured out a good way to restore that with the kit I have or can use). But anyway, it’s more than good enough to do the job and between that and the spokeshave I soon had a smooth curve instead of a decaying sine wave.

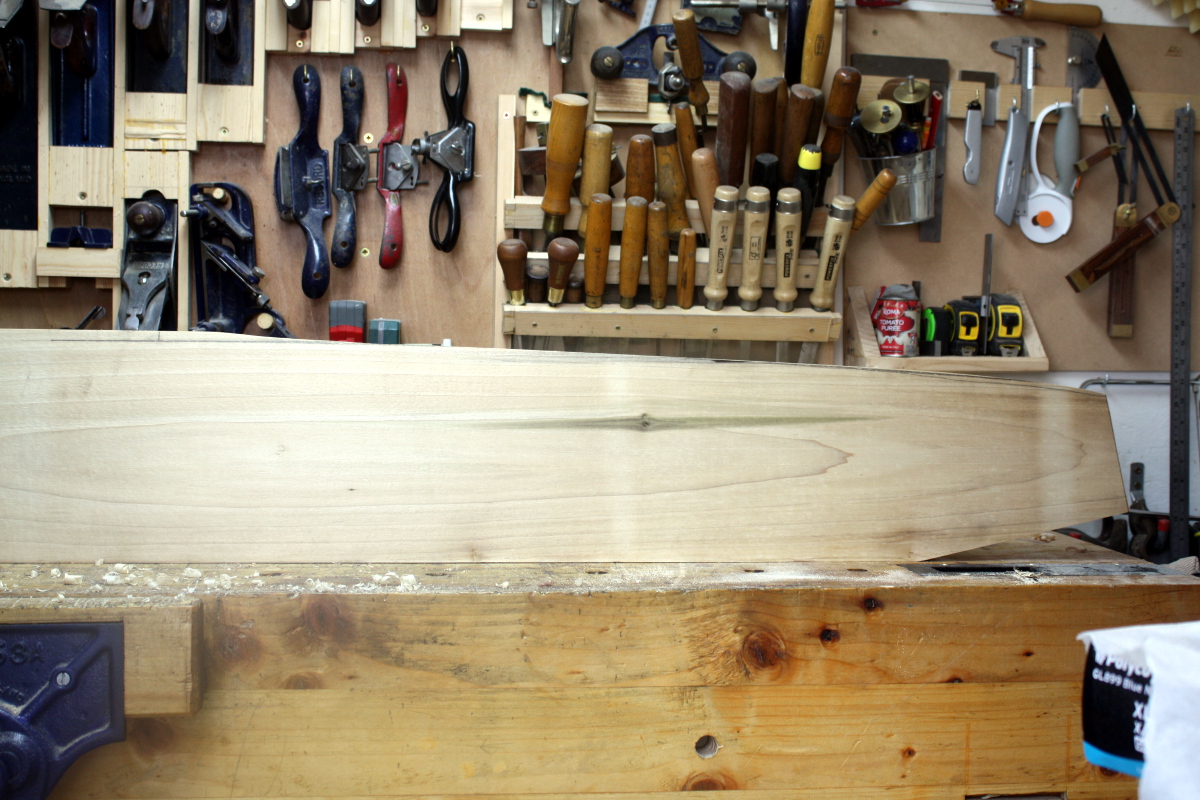
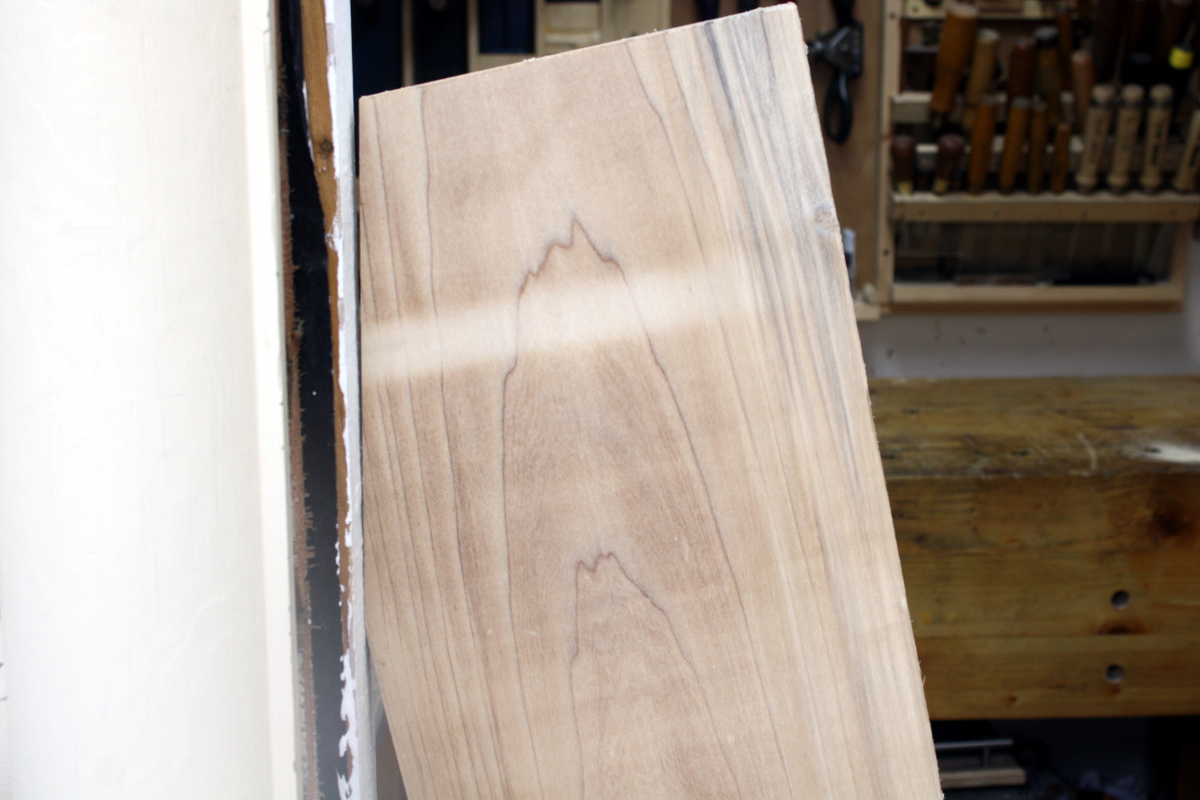
And I hate the look of it completely. The curve itself is more or less okay, I got rid of almost all that ugly damaged bit, but that little flare-out at the point where the desk will be just doesn’t work. It looks wrong in several different ways. So I ran the plane over the entire edge to get a nice single smooth curve instead of that little flare-out.

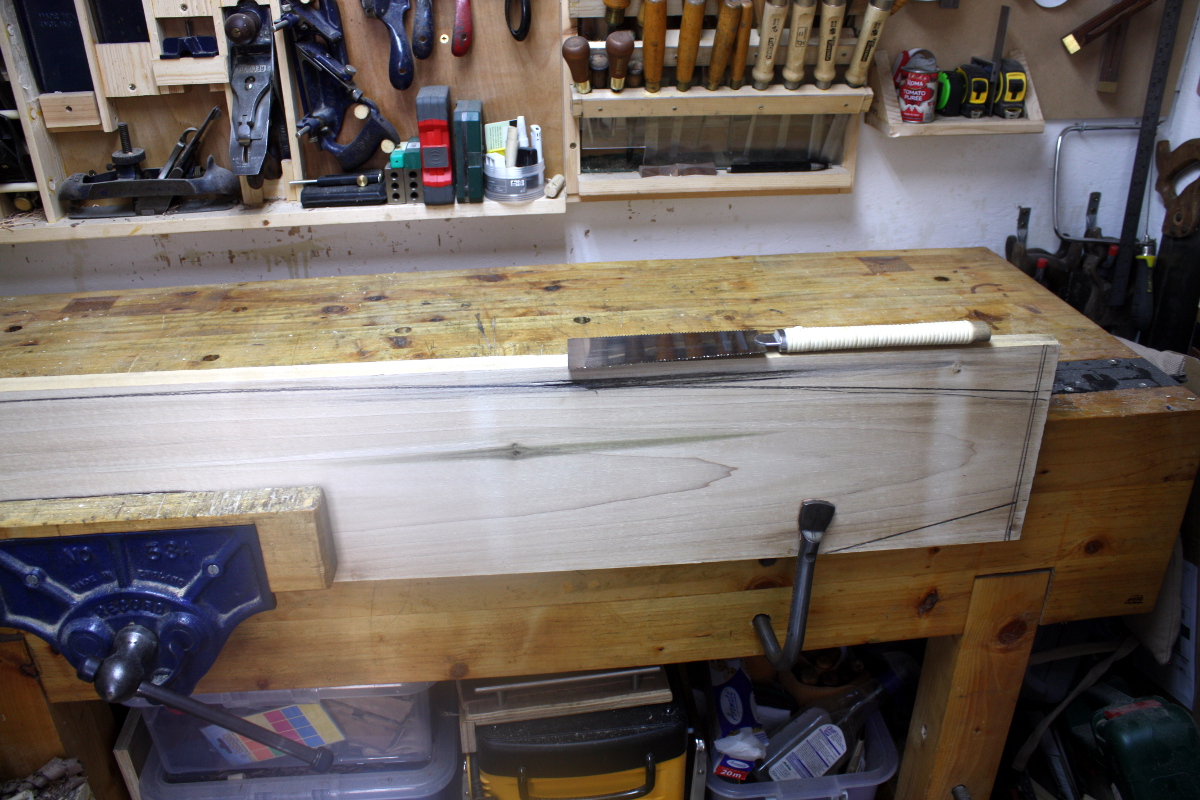
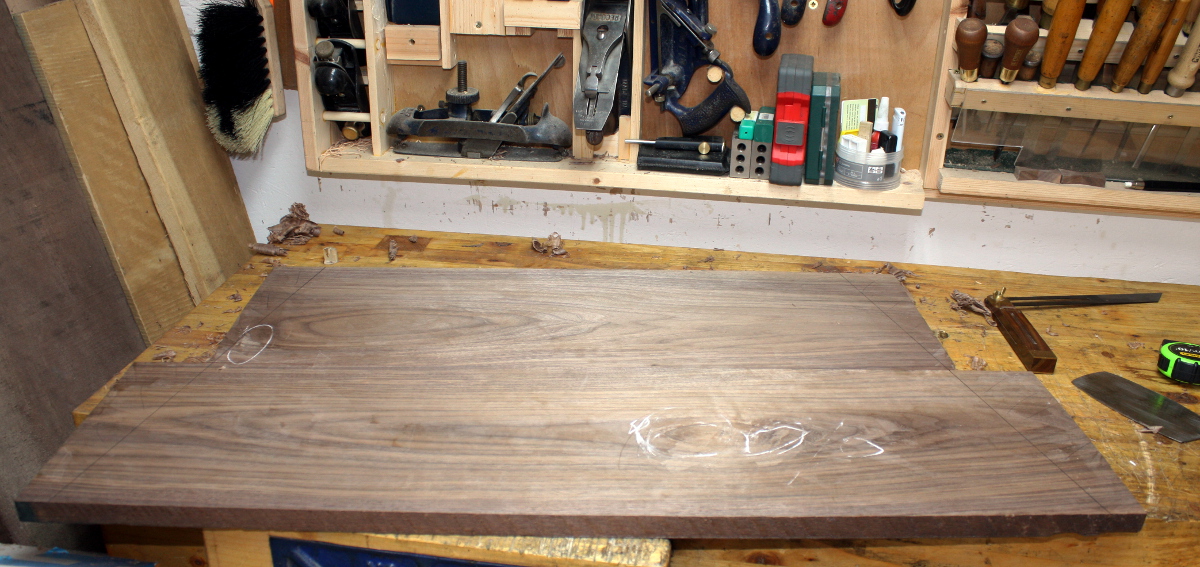
I’m more or less happy with this. I was thinking of making that curve into a bow rather than a sweep, so that the front edge would be almost vertical at the foot (that’s what those black lines there are for, they’re not spalting even though they’re following the grain line, I was just trying to see what it would look like). I’m not sure about this though. I’m worrying about the width of the sides and the strength of the piece if I start hacking off that much, but I might just be getting paranoid.

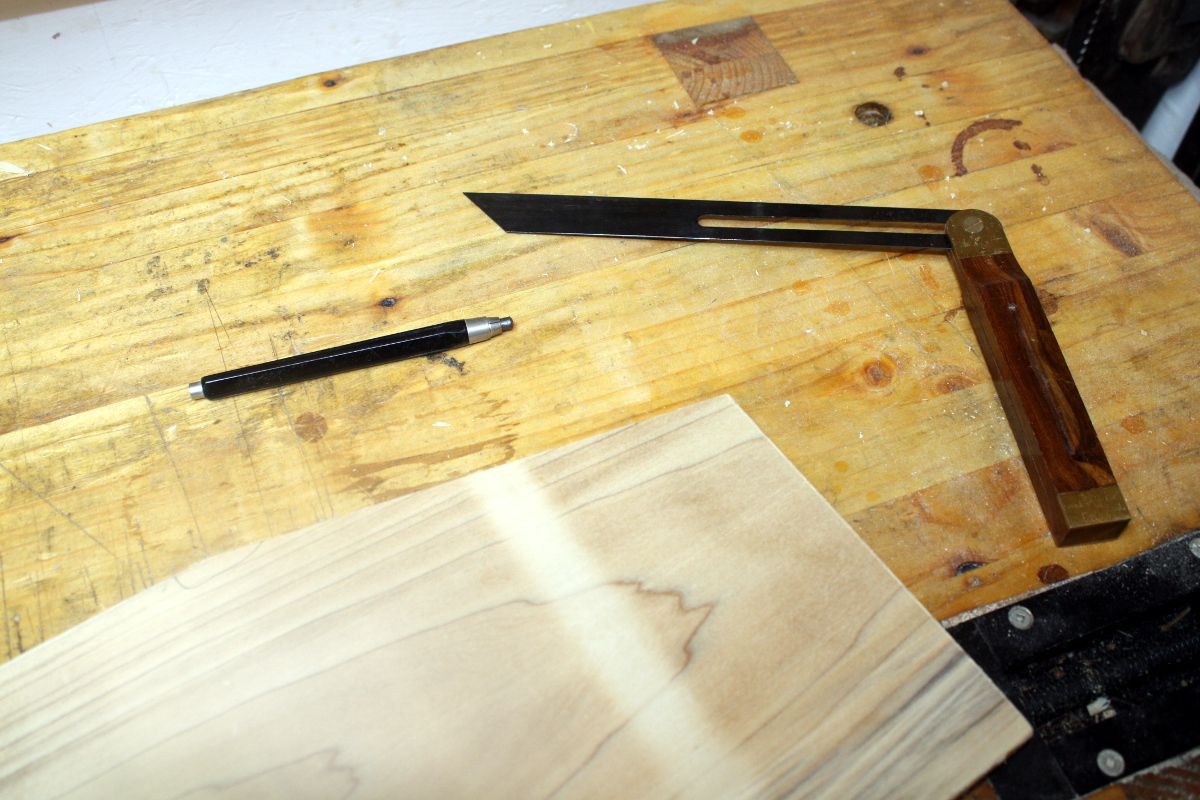
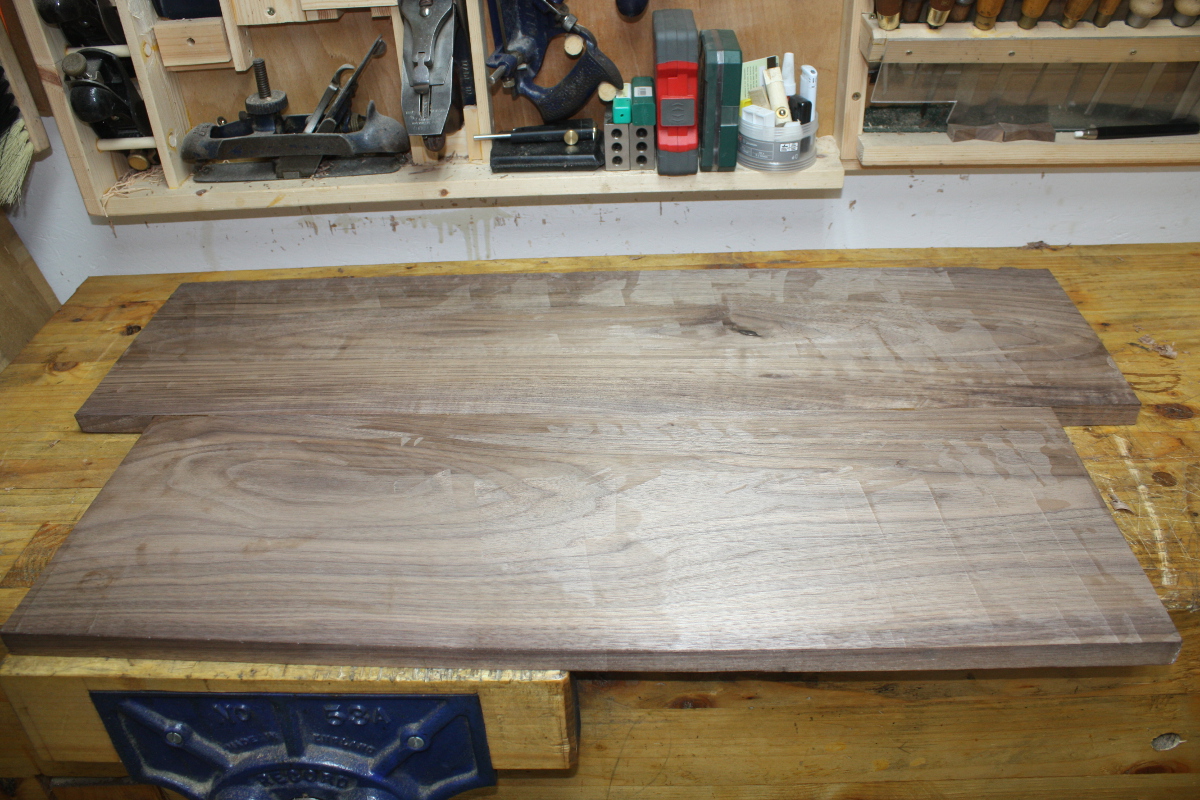
Anyway, I’ll leave it at that for now and maybe think about it again later before I cut the sliding dovetails (which will be the point of no return for the shaping I think). Next job, start to transfer the shape from this side to the other one…

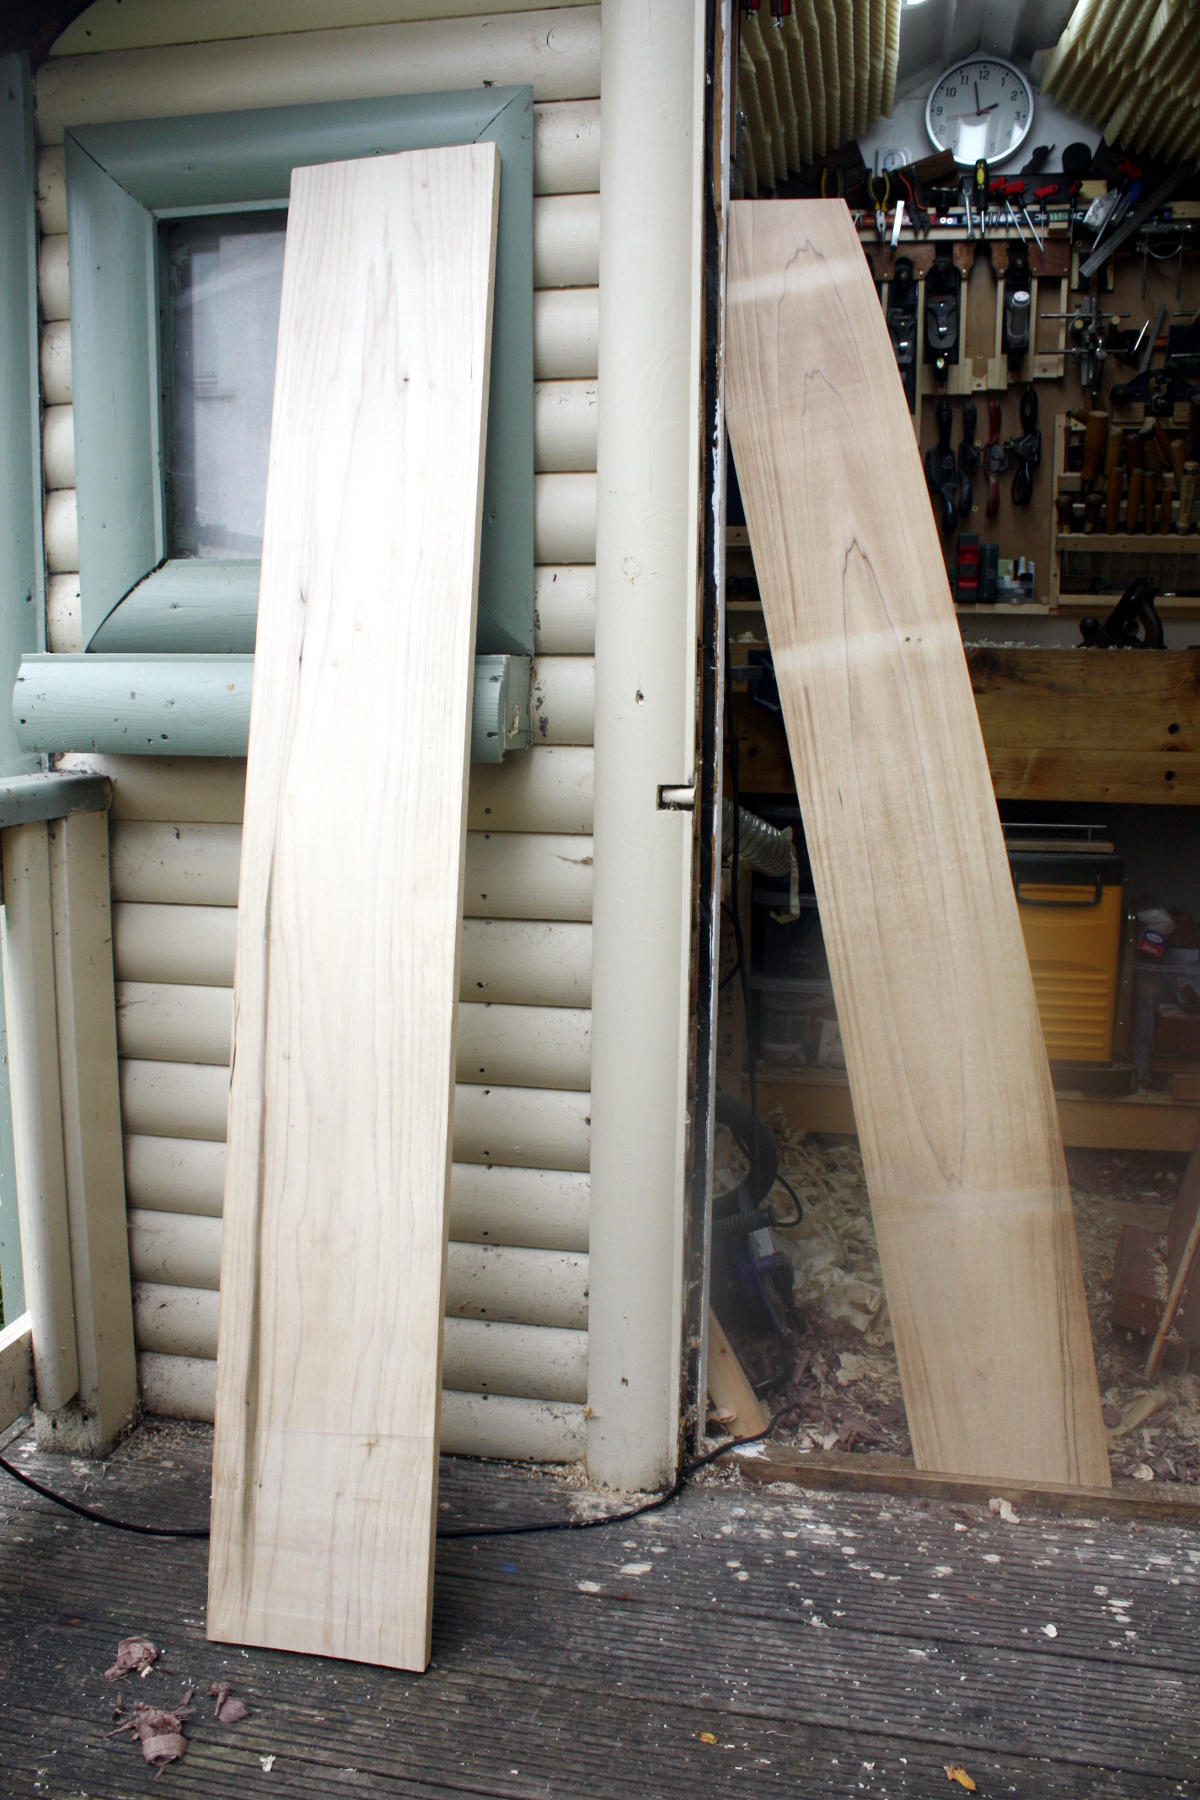
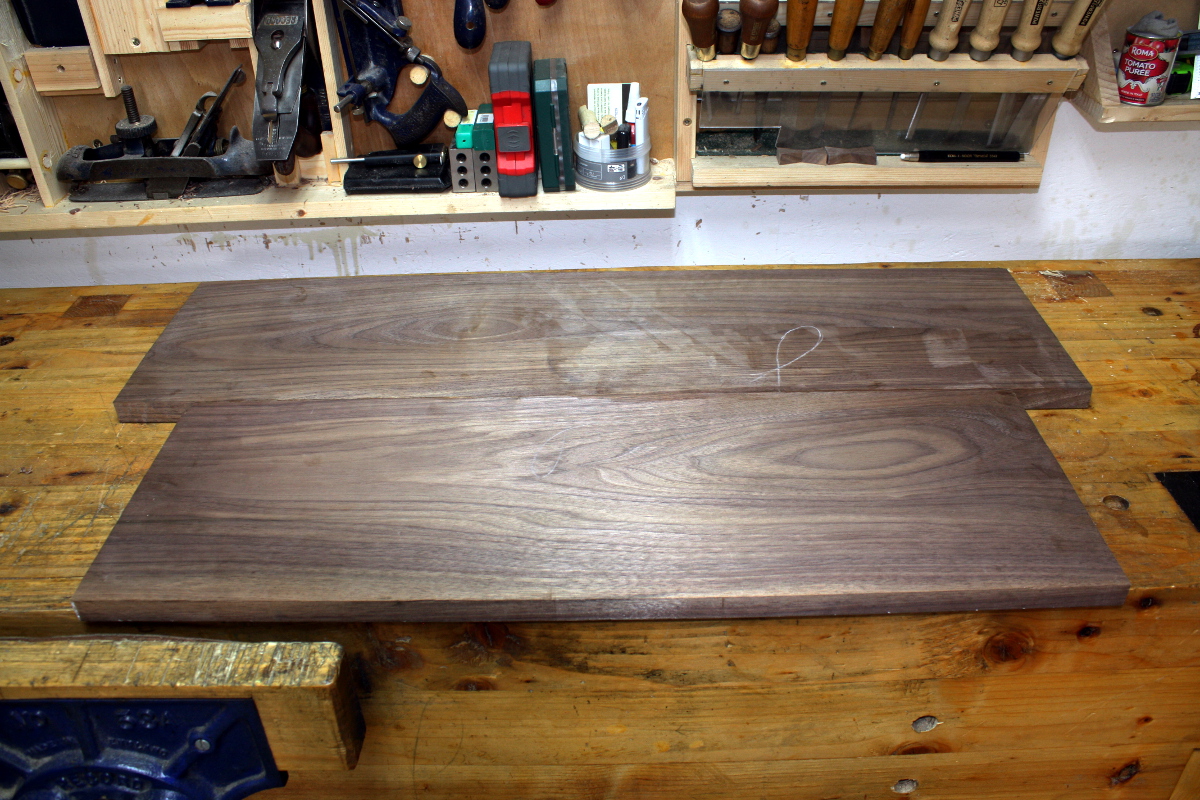
I’ve already gotten the foot done (and it matches its counterpart well) and a reference edge planed on the back edge, but I haven’t finished the top straight-line cuts yet and then there’s the second front edge to shape. That should be interesting. I haven’t changed the compass plane’s setting so in theory it’s going to be grand…


01
Sep 18

Short day’s shaping

Not much time in the shed today, but enough to make a start. First, new toys!

So some catches to help with the mod to the Dewalt extraction hood (I think I have everything I need for that now, I’ll get to it soon), an incredibly cheap handplane ($4.30 from Aliexpress delivered) which is more to play with and laugh at than to seriously try to use as a tool, and two interesting tape measures. Both of those are small (1m and 2m) which is handy for using in the shed, and I’ve just wanted to play with them for a while now ever since seeing them in action.

They’re a bit gimmicky and I’m not throwing away my stanley tape measures, but they’re fun to play with and that’s the point.

Anyway, that done, on to the sides. I wanted to get a start on these today. One’s developed some twist since I milled them. Not a huge amount, but noticeable – 3-4mm at the worst point. A lot of that twisted portion might be cut away so I don’t know if it’s something I need to get out of the board yet (or even if the shelf joinery will pull it back to straight). But I’m starting on the untwisted one and I’ll see how we go.

Marked up the cuts for the foot and the wall rest sections using the bevel, and the front curve by bending a long piece of dowel stock (didn’t have anything else that was long enough and thin enough to act as a batten). And then started making a reference edge from the back edge. The sides are long enough to make this awkward…

There’s barely enough room to do this. Really, there isn’t enough, but by being fiddly enough about it you can just about get away with it. Then, with the reference edge established, out with the bevel and the marking knife and time to mark off the final line to cut to for the feet and wall rest. First though, need to take off the last half-inch or so of board, give me another reference edge square to the back edge.

And cut off and then plane to flat.

This is where having an apprentice can help (incidentally, for anyone who was wondering, this is why I have a Record #03).

Once we’ve passed QA, it’s time to mark out the wall rest with the knife and bevel and then cut it (using a short batten to help guide the saw because the cut’s awkward due to the lack of space).

And then a few swipes with the #04 to clean up the cut surface when done. Do the same on the other end for the foot and now it’s time to check. I don’t have a five-foot-tall try square, so I’m just using the door frame of the shed.

So-so. There’s a gap at the wall rest.

Thing is, I’m pretty sure my door frame is as square as a rhombus, so I’ll check this with the bevel and might tune it slightly, but I don’t believe the door frame is a reference surface you’d trust too much 😀

Yup, bevel says the wall rest is slightly out. A few swipes with the #05 will sort that, but I’ll check against the actual wall it’s going up against before I do that.

Had to stop there, but tomorrow there’s a few more hours and the next step may be to cut the curved section at the top. Maybe. I’m not 100% certain if I want to do that yet, the parallel sides might make workholding easier. Have to think about that one…


06
Aug 18

Wires and panel

So the walnut panel glueup went as well as I had hoped. The clamps did deform slightly – I need to do that trick of Paul Sellers and stuff them with wood – but the panel came together reasonably well.

There’s a step in the middle where one of the boards bowed though, of just over a mm, so there was some flattening to do before worrying about the surface much.

Ugly. Cross-grain planing required, so out with the #05…

At least it’s easy to see where I’m planing…

That proto-knot there in the back caused some issues with tearout that I’ll have to fix later. But the board is flat to the touch now and was smooth again after a few minutes with the #04 1/2

The chalk’s highlighting areas where even the cabinet scraper wasn’t handing the tear-out because actual lumps had been taken out during the cross-grain flattening. There may be epoxy filling required there, or putting in some inlay to hide it or something.

Also, the sides will be slanted, the shape of the desk is trapezoidal, not rectangular because the sides of the shelves splay outwards (and by the same amount as the sides angle back towards the wall by random chance). I haven’t made the cut yet because I have more boards to prep, and while the board is kicking about on the floor of the shed, that extra material is protecting what will become the edge of the desk.

Incidentally, as the desk is only 17″ off the floor and is for a six-year-old and so forth, I’m not too fussed about the underside…

So the scrub plane was used to get rid of that step on this side, and I didn’t really bother taking down the scallops afterwards. I mean, I gave it a few swipes with the #05 so it’s not “textured”, but I won’t be smoothing it with the #04 or scrapers and I might seal that knot but that’s about it for this side.

Mind you, despite this lack of worry, I’m still miffed at a certain phillips screwdriver…

Yeah, that smug looking git right there in the middle. I was putting away the #04 1/2 and the vibration of seating that back home in the till shook it off the magbar and…

Lousy git of a thing. Well, there’s another site that’ll need inlay…


At this point I fixed something small that’s been bugging me for a while. The LED lights I put up in the shed work well, but I hooked them up temporarily while I waited to get the shed properly wired with sockets and such, and I still haven’t gotten to that so all three of them are running into a single cable that plugs into the extension cable that has been running power to the shed as a temporary measure for over two years now…

I mean, for a day or three that’s… well, okay but not great even with cable clips giving the cable some strain relief, but it’s been up for ages because I was busy, so enough already…

Those are wago terminals and a wagobox to house them. I’d never even heard of these until I saw Big Clive’s video on them

I’m so used to terminal blocks that they seemed like overly expensive gimmicky things to me at first, but after the first time you use them, holy crap they’re great. Those are the reusable version (there’s a permanent version that you can technically reuse but nobody does) because I still want to do this right, but this is so much better than the temporary lash-up I had waiting to fall on my head if I kicked the line by accident and run 240V across my scalp. Which, y’know, is suboptimal. So I undid the terminal block and linked everything up with the wago blocks…

And stuffed those into the wagobox and mounted it…

And reran the cable clips and put the cables into the wagobox’s strain relief glands and sealed it all up.

Nice and neat(er) and all working again and no exposed points where you could accidentally grab or poke something and there’s a lot more strain relief on that black mains cable. Much better.

Back to work after the long weekend and a few days’ holidays tomorrow so I’m expecting a long day or two in the office, and then when I get shed time again it’ll be on to the other shelves. Being poplar, they should be both easier working and less pretty than the walnut. Not sure if they have a date with the thicknesser, but if so that’ll be delayed until a Saturday afternoon and I’m not sure how the sides would be done as there’s no way I can run those through the thicknesser inside the shed, there’s just no room; and it’s way too loud to run outside on the decking. They may need to be done by hand with the scrub plane, but at least they’re poplar so it’ll be lighter work.