24
Feb 19

Resin results and carving again

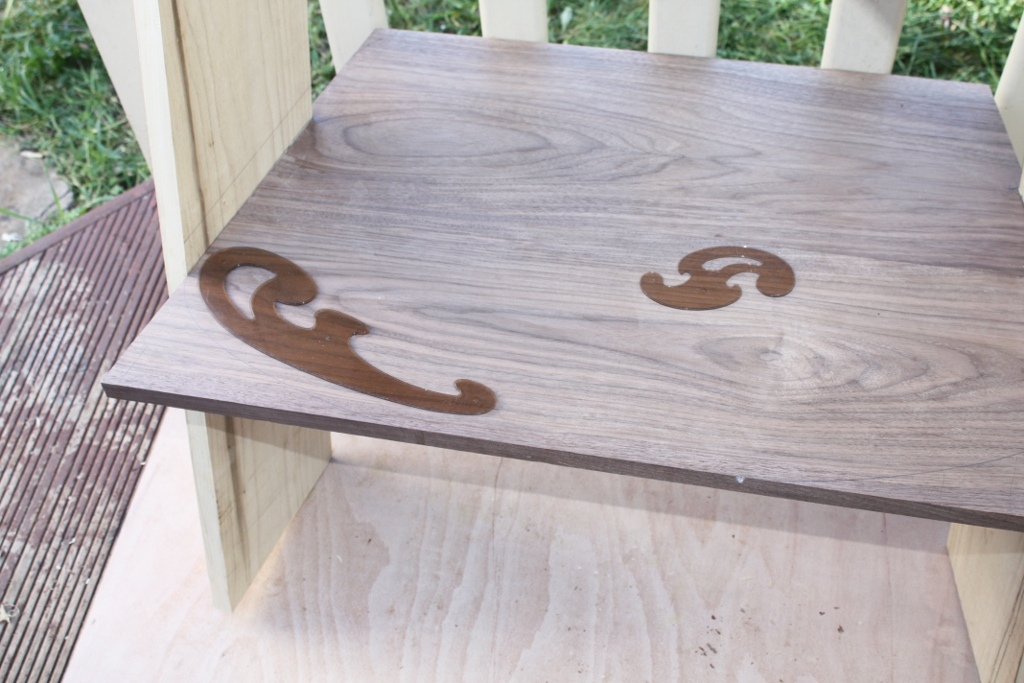
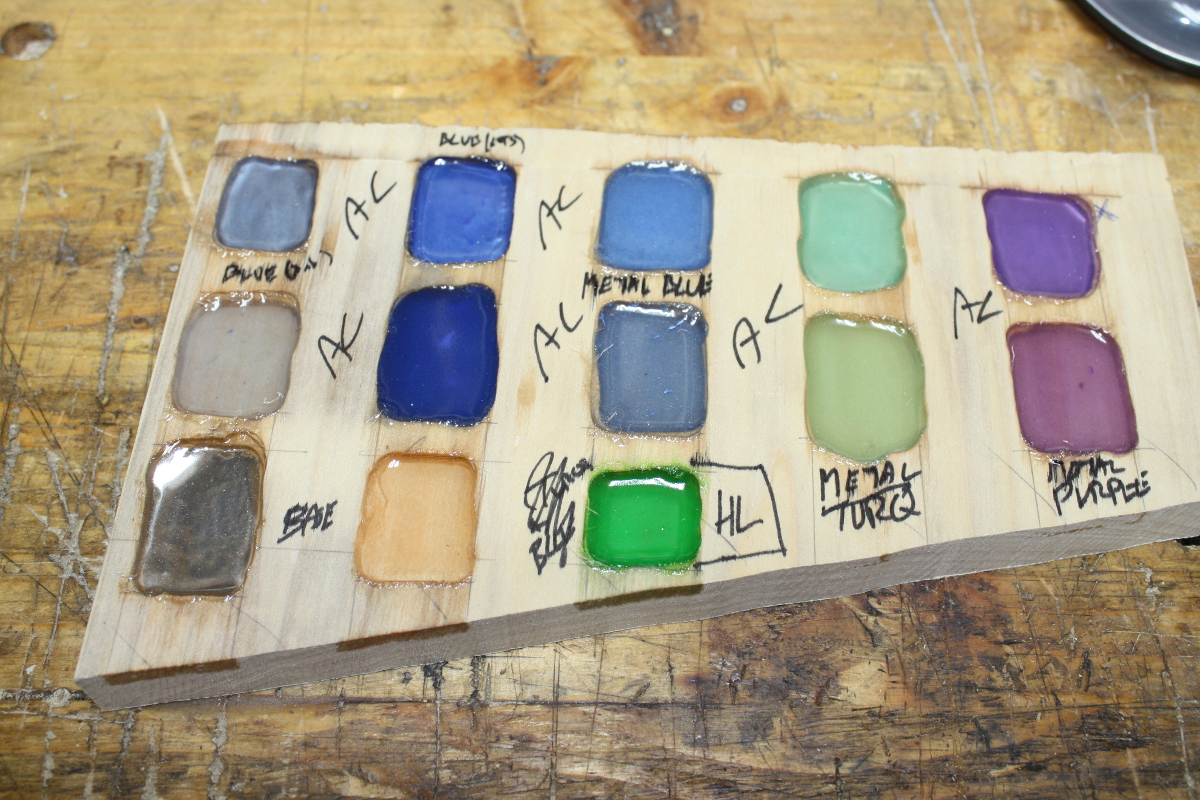
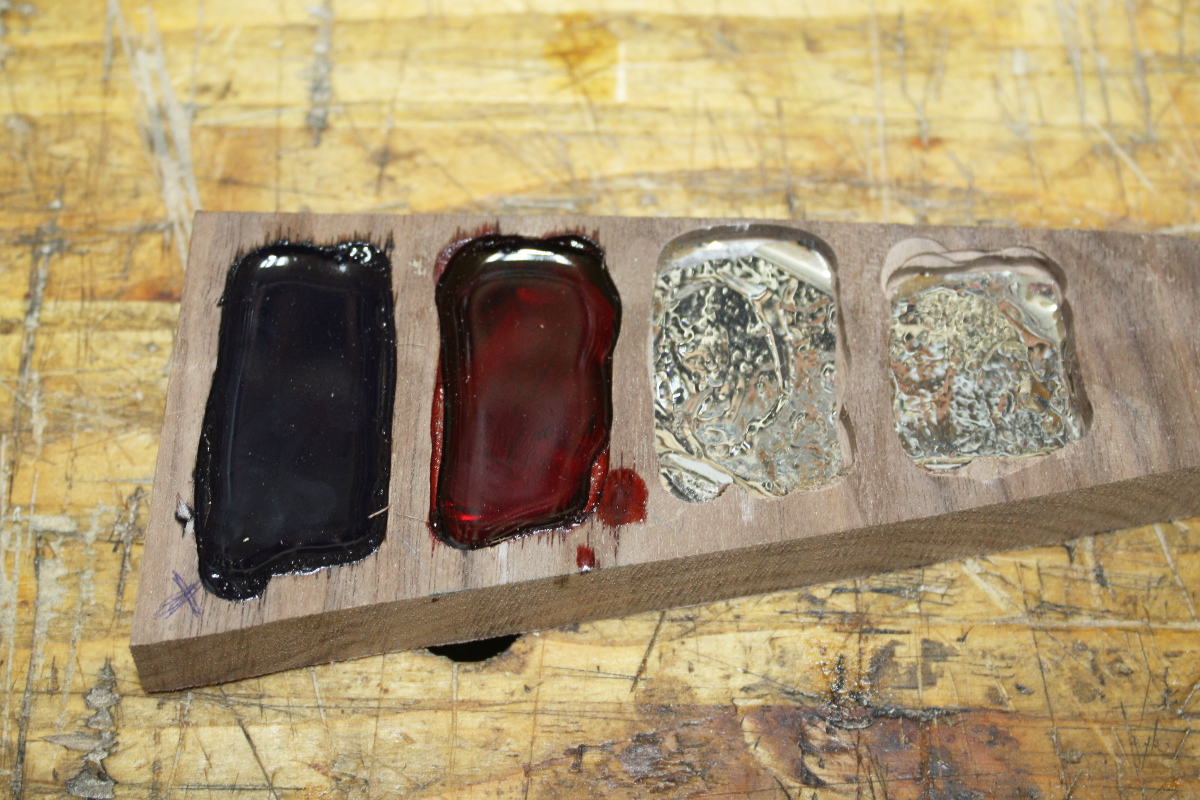
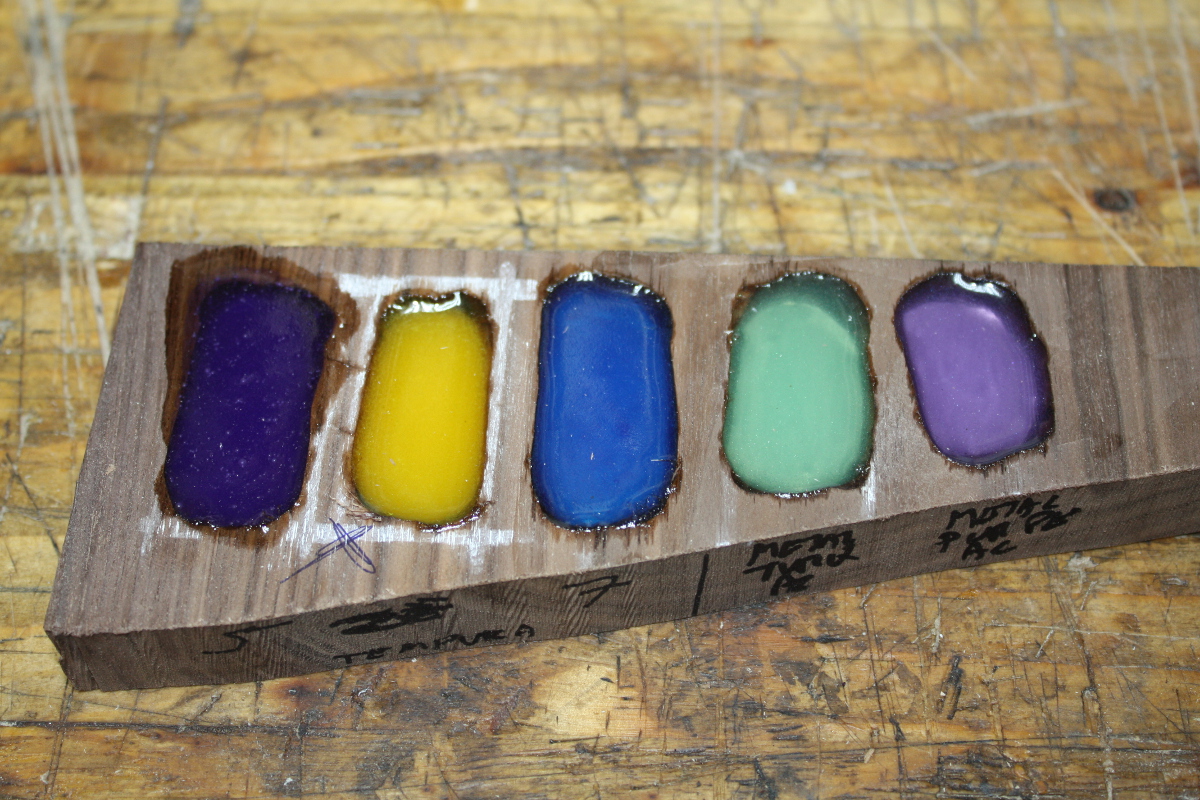
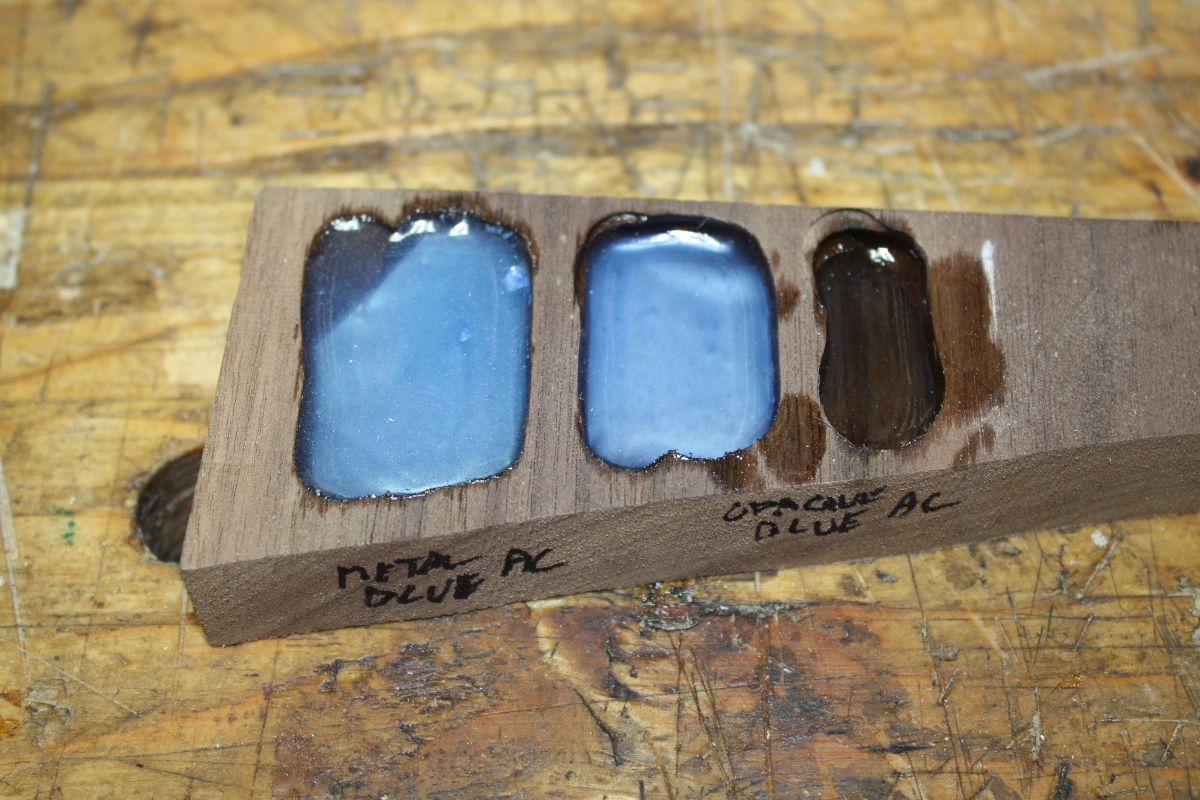
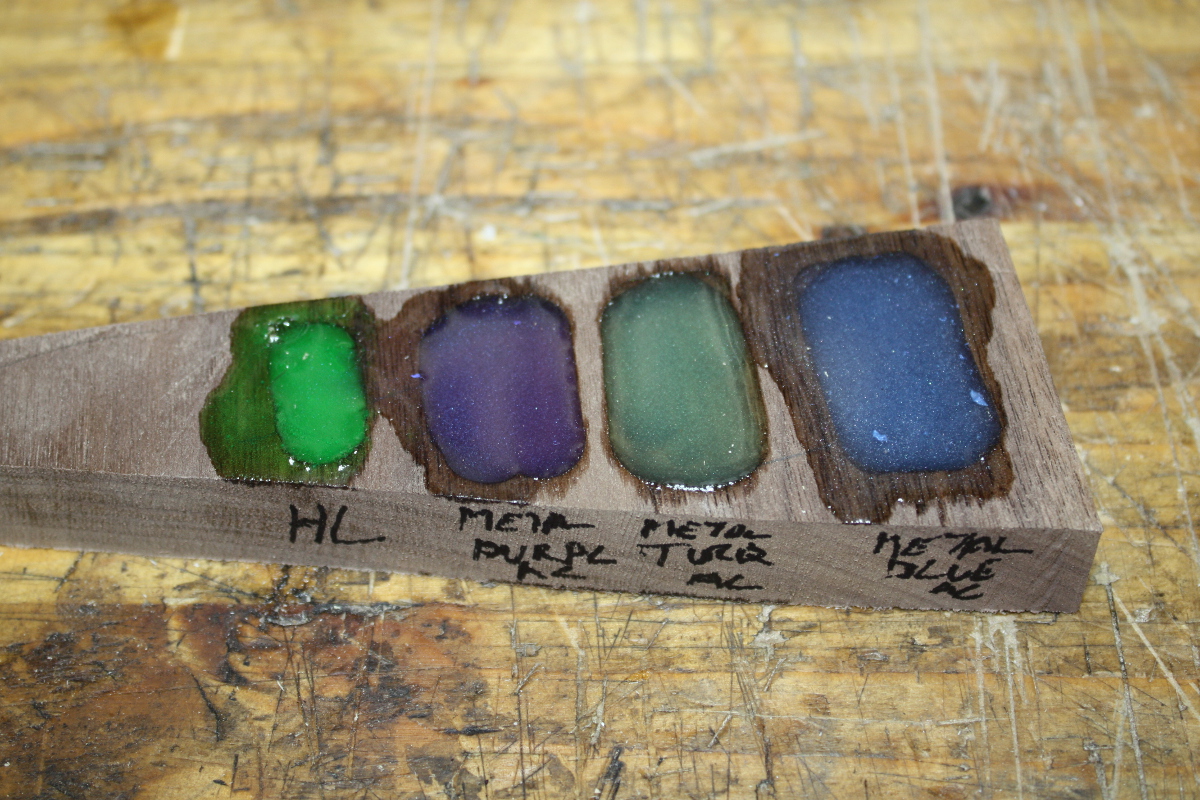
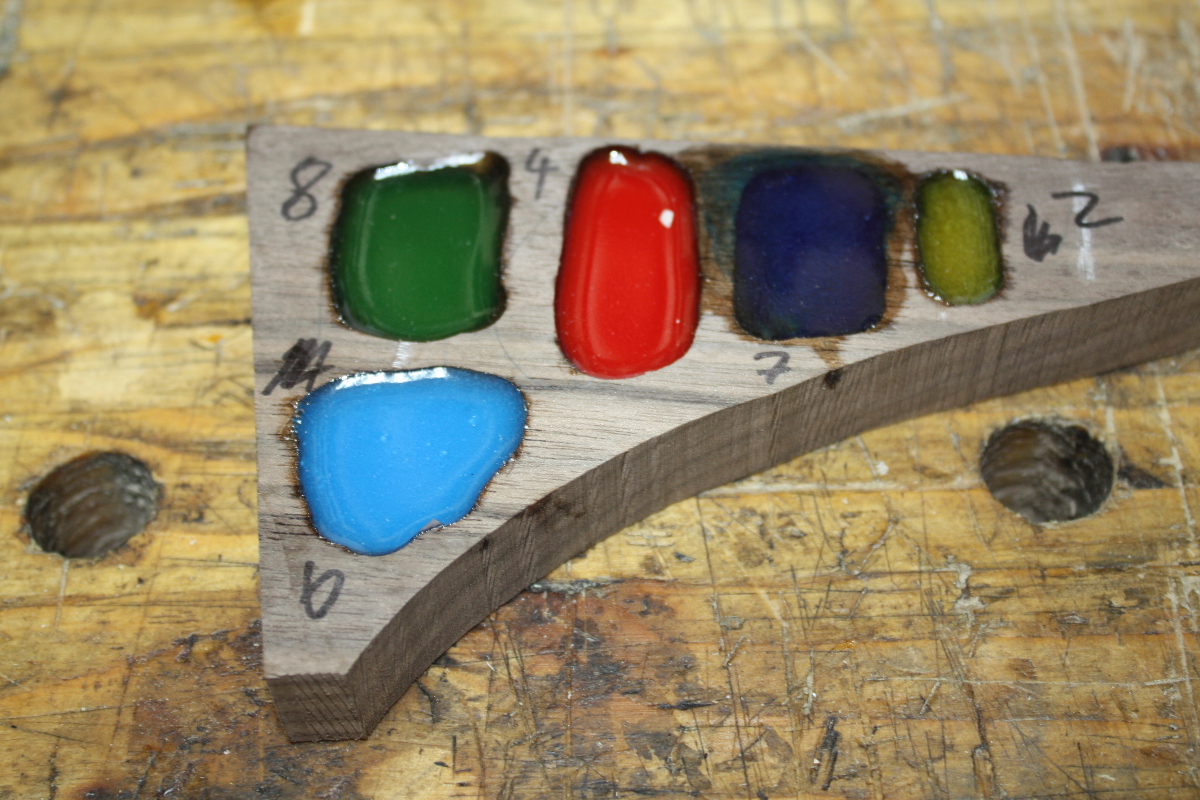
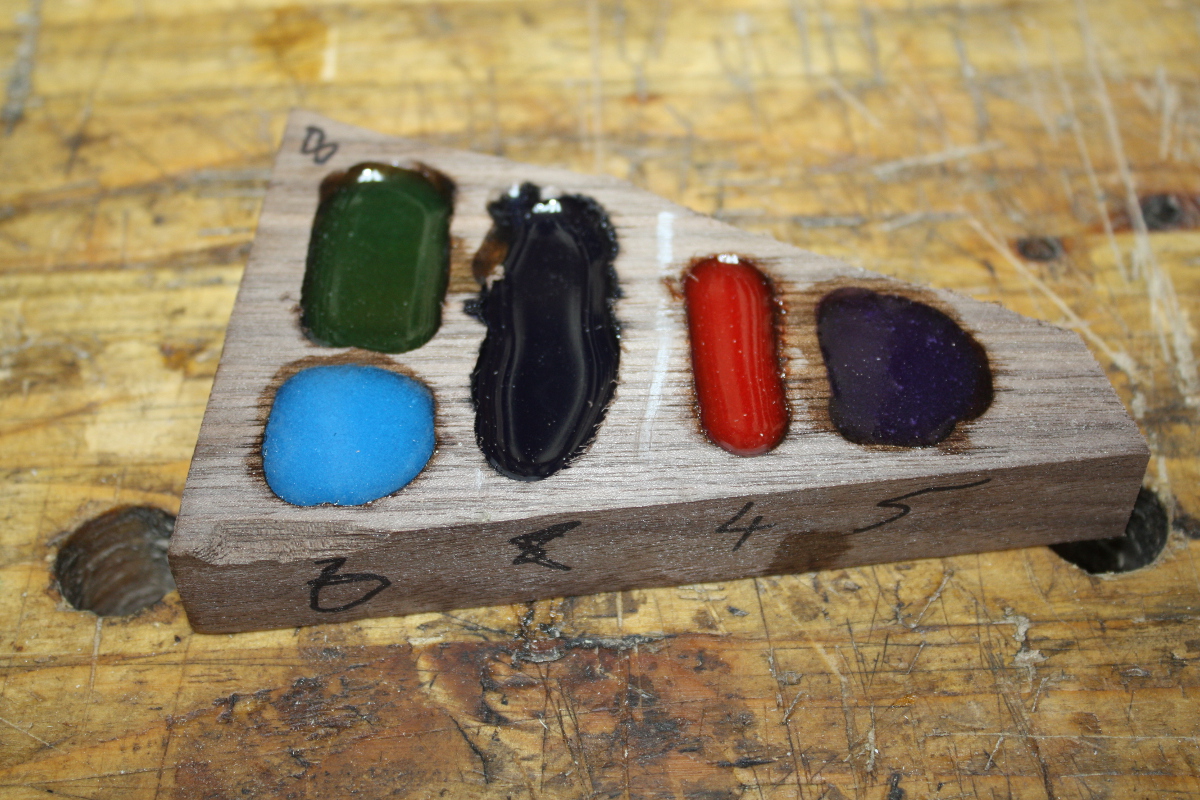
So the resin tests came out pretty damn good. The idea of putting the reflector under the resin worked quite well, and most of the colours came out well (the crimson guitars stains didn’t really pop but that was more down to the dark background – the way the red especially looked over the reflector suggests it’d be lovely over poplar).

Crimson guitars stains in walnut

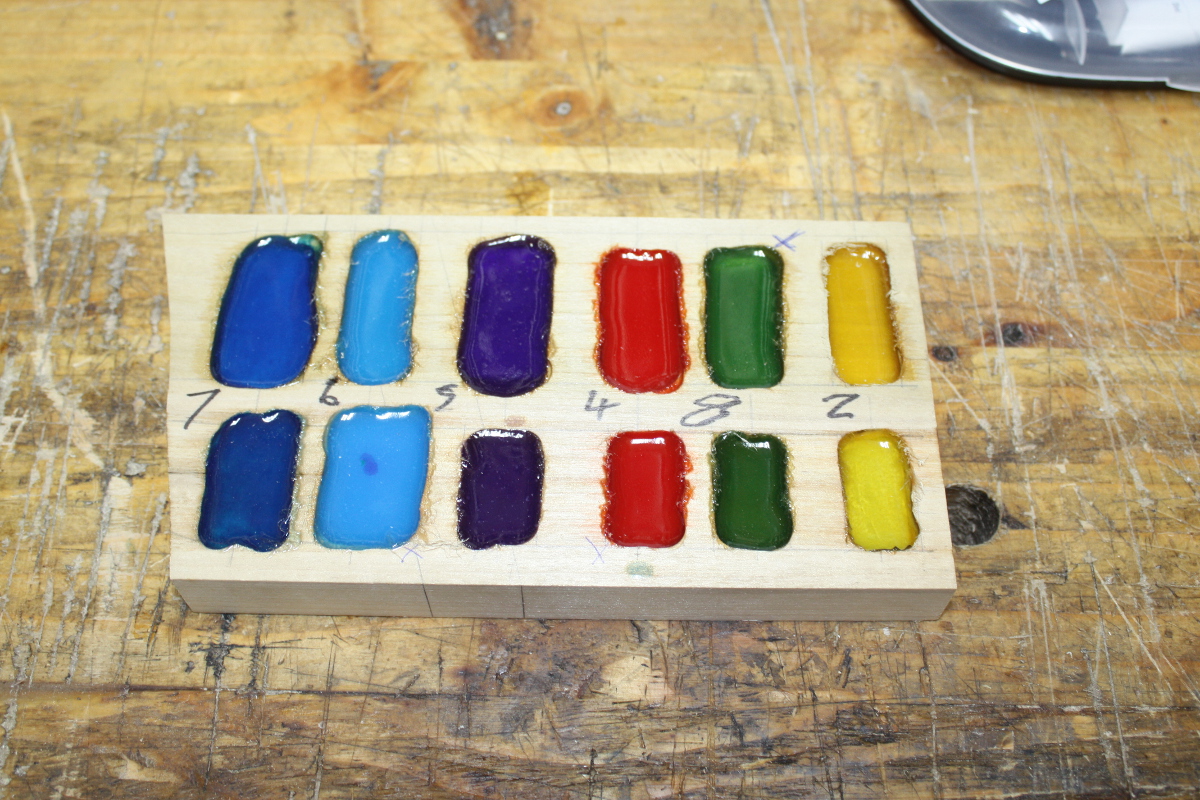
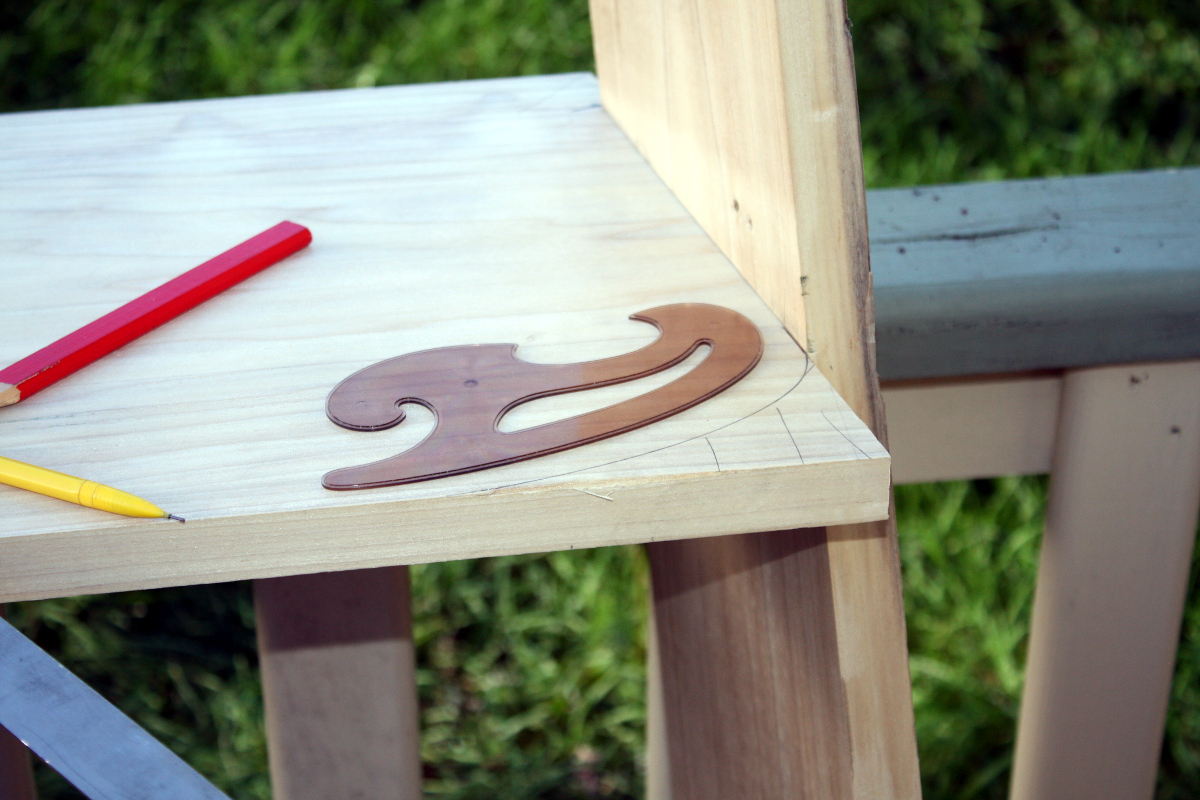
Calum picked out a few he liked as well (the ones with crosses beside them in pen). So now I’m just picking out designs to do for the various parts of the desk, shelves and sides. I need to print a few out and find some transfer paper, then some will be done by inlay and some with resin and some with a mix. I also ordered two new inlay handtools for a few curves I can see coming that will have to be done freehand (yeah, you could get router inlay bits but I think we’ve established by now that I don’t like the router very much).

Think I’ll skip banding this time though. For a later project, that one (and I have one in mind).

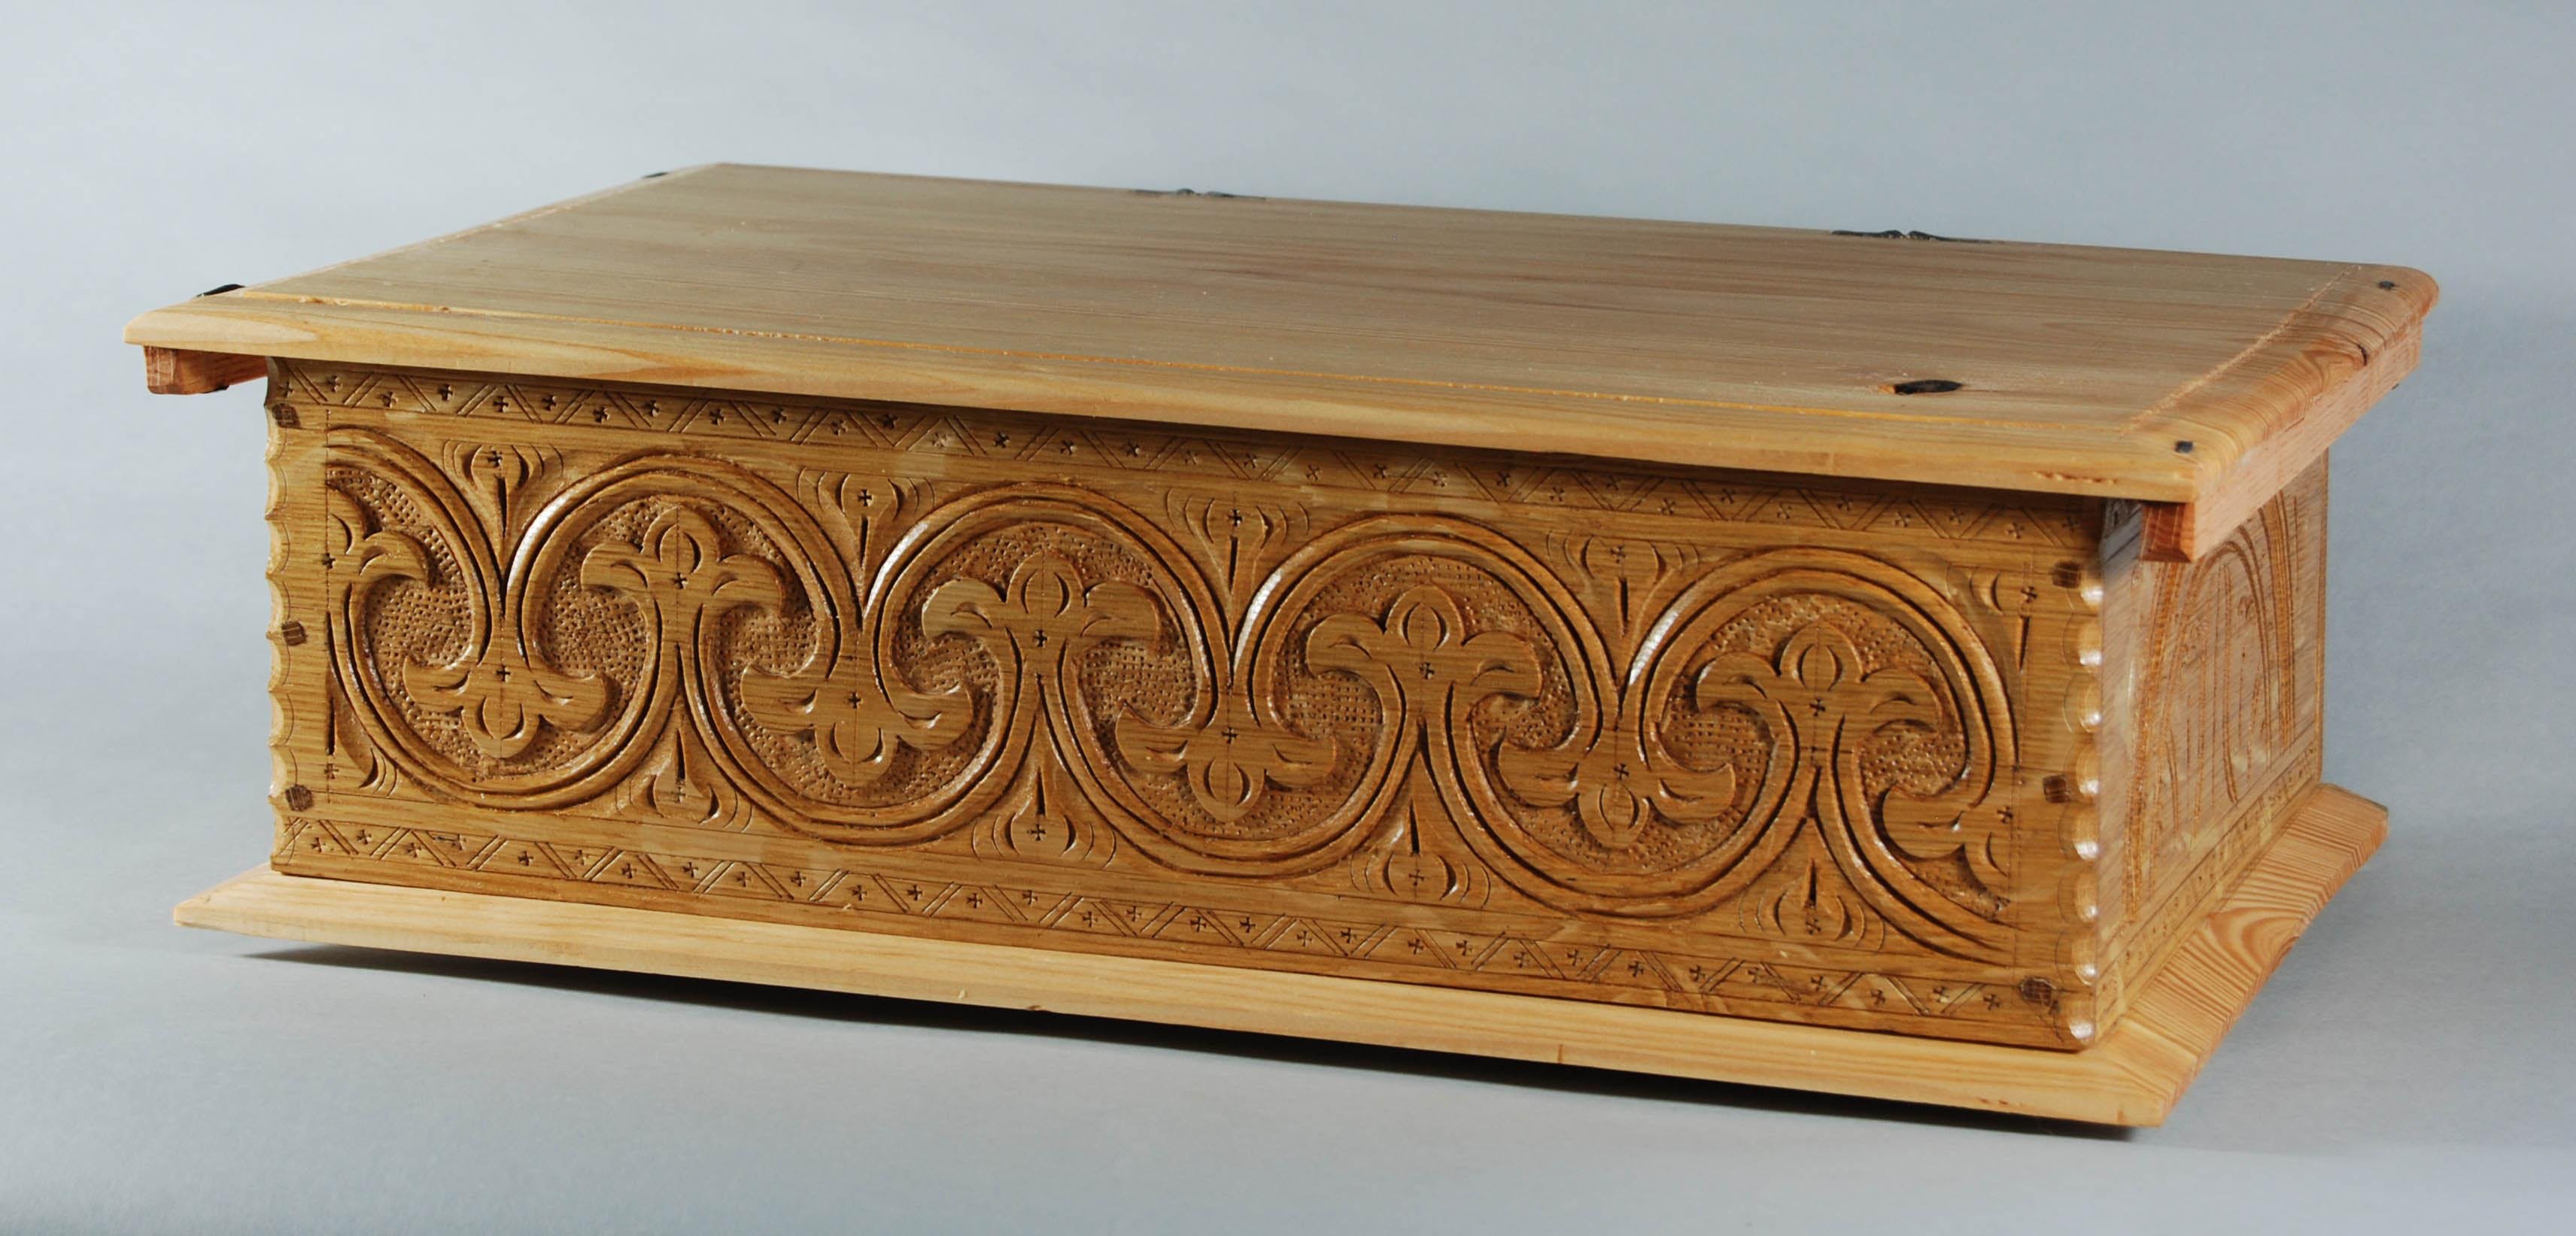
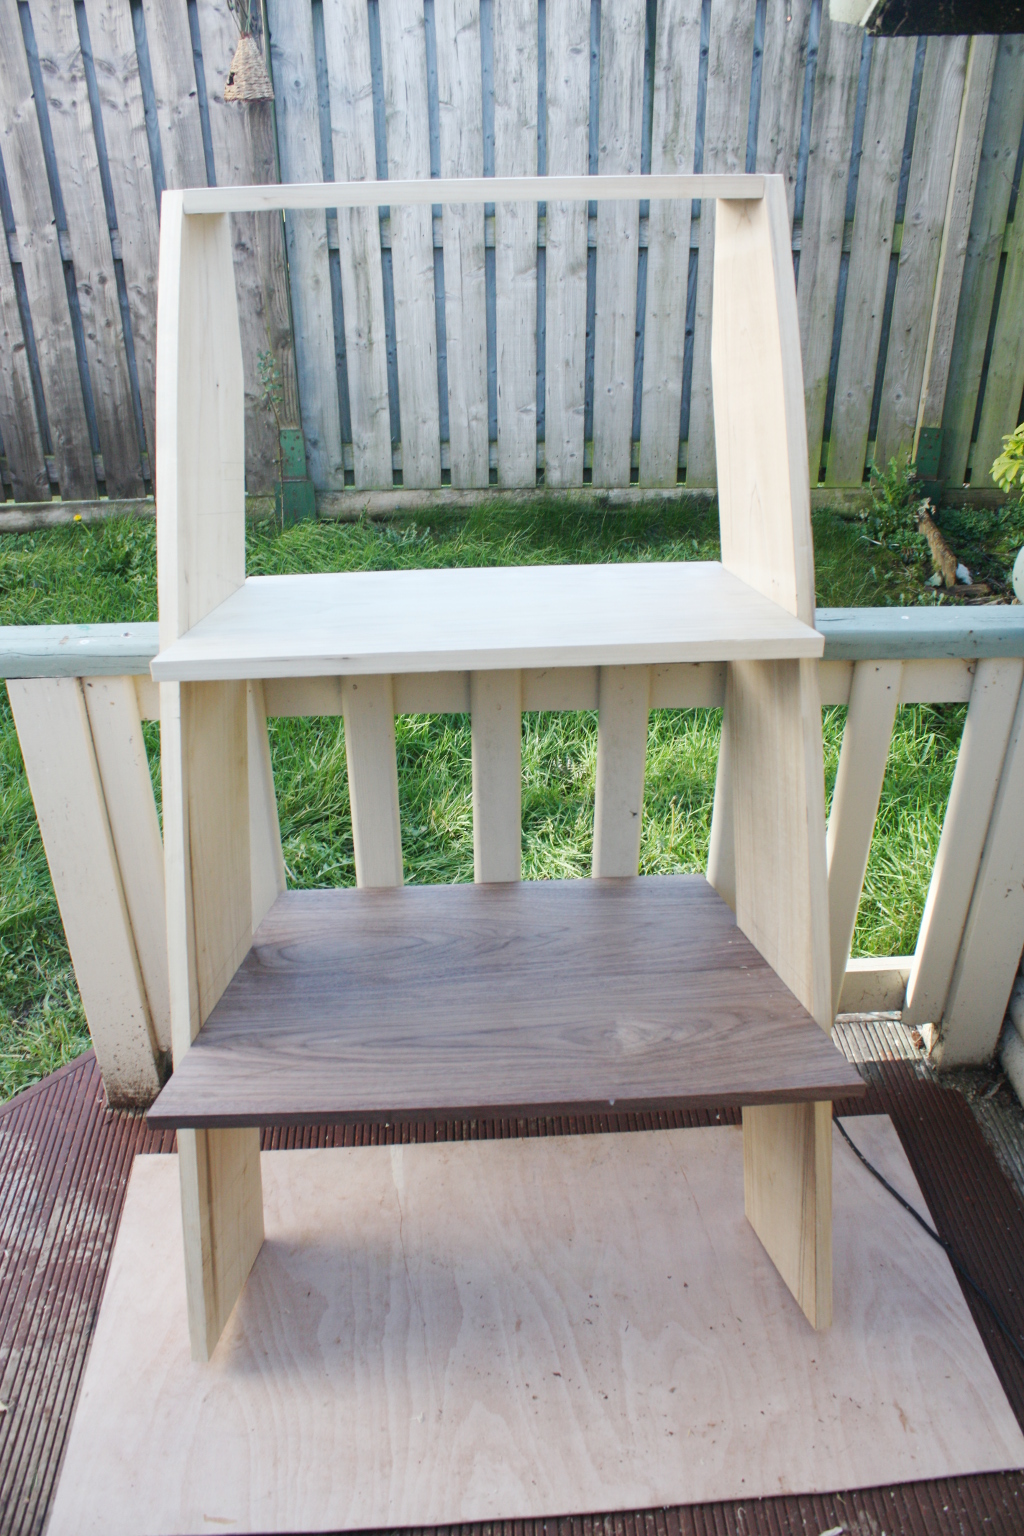
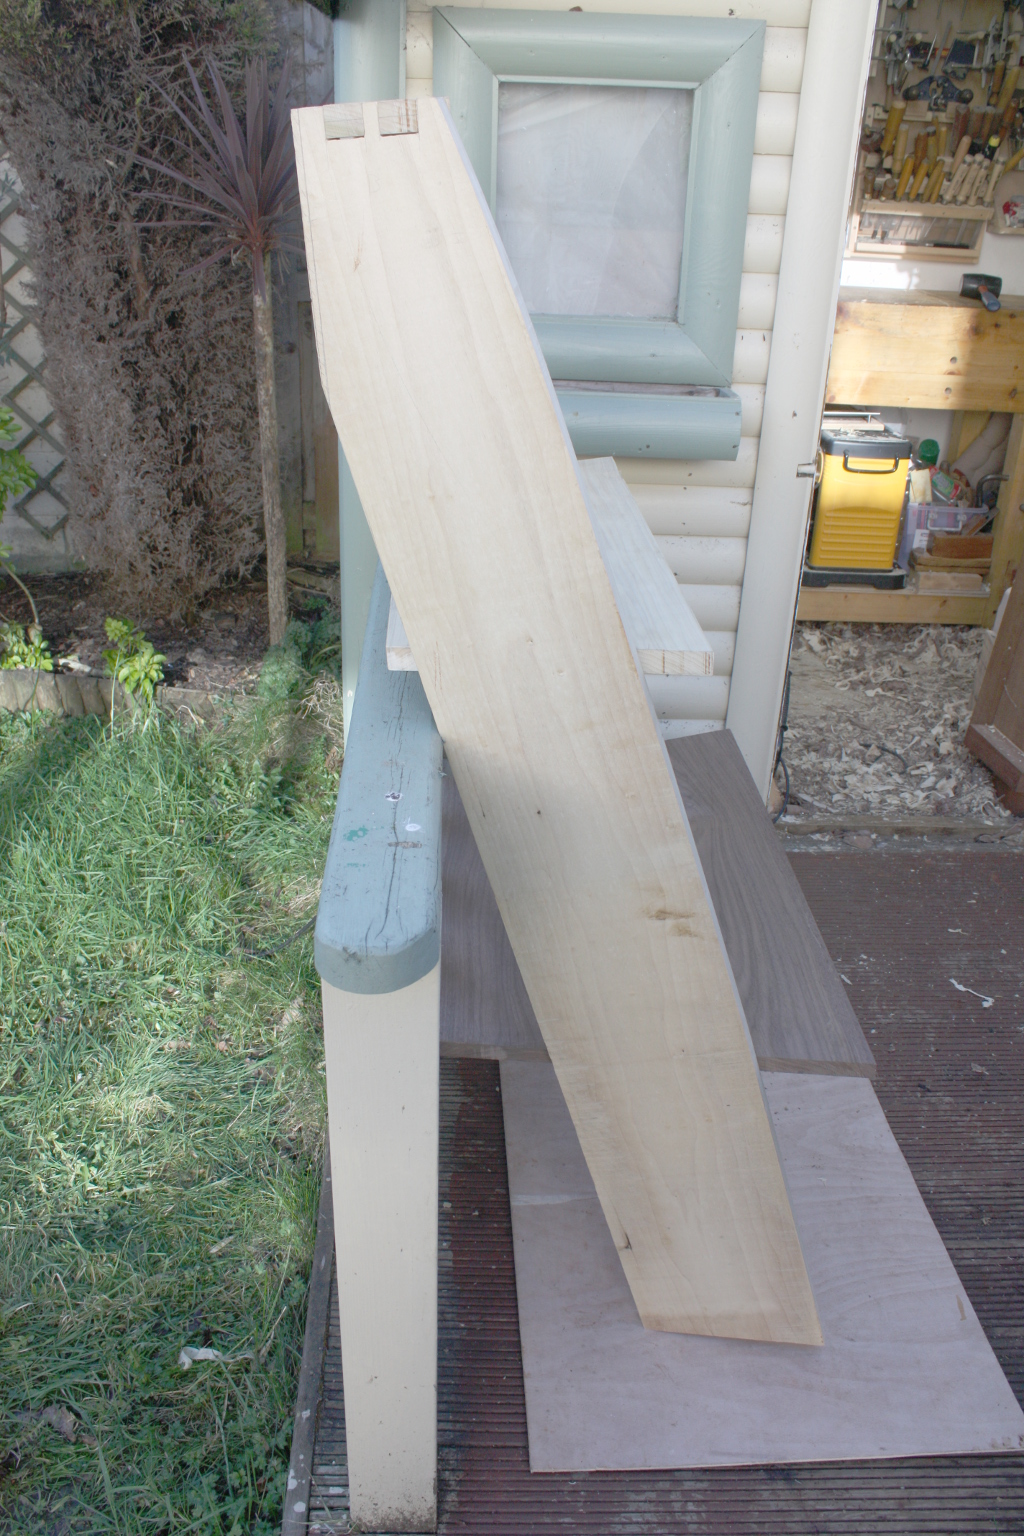
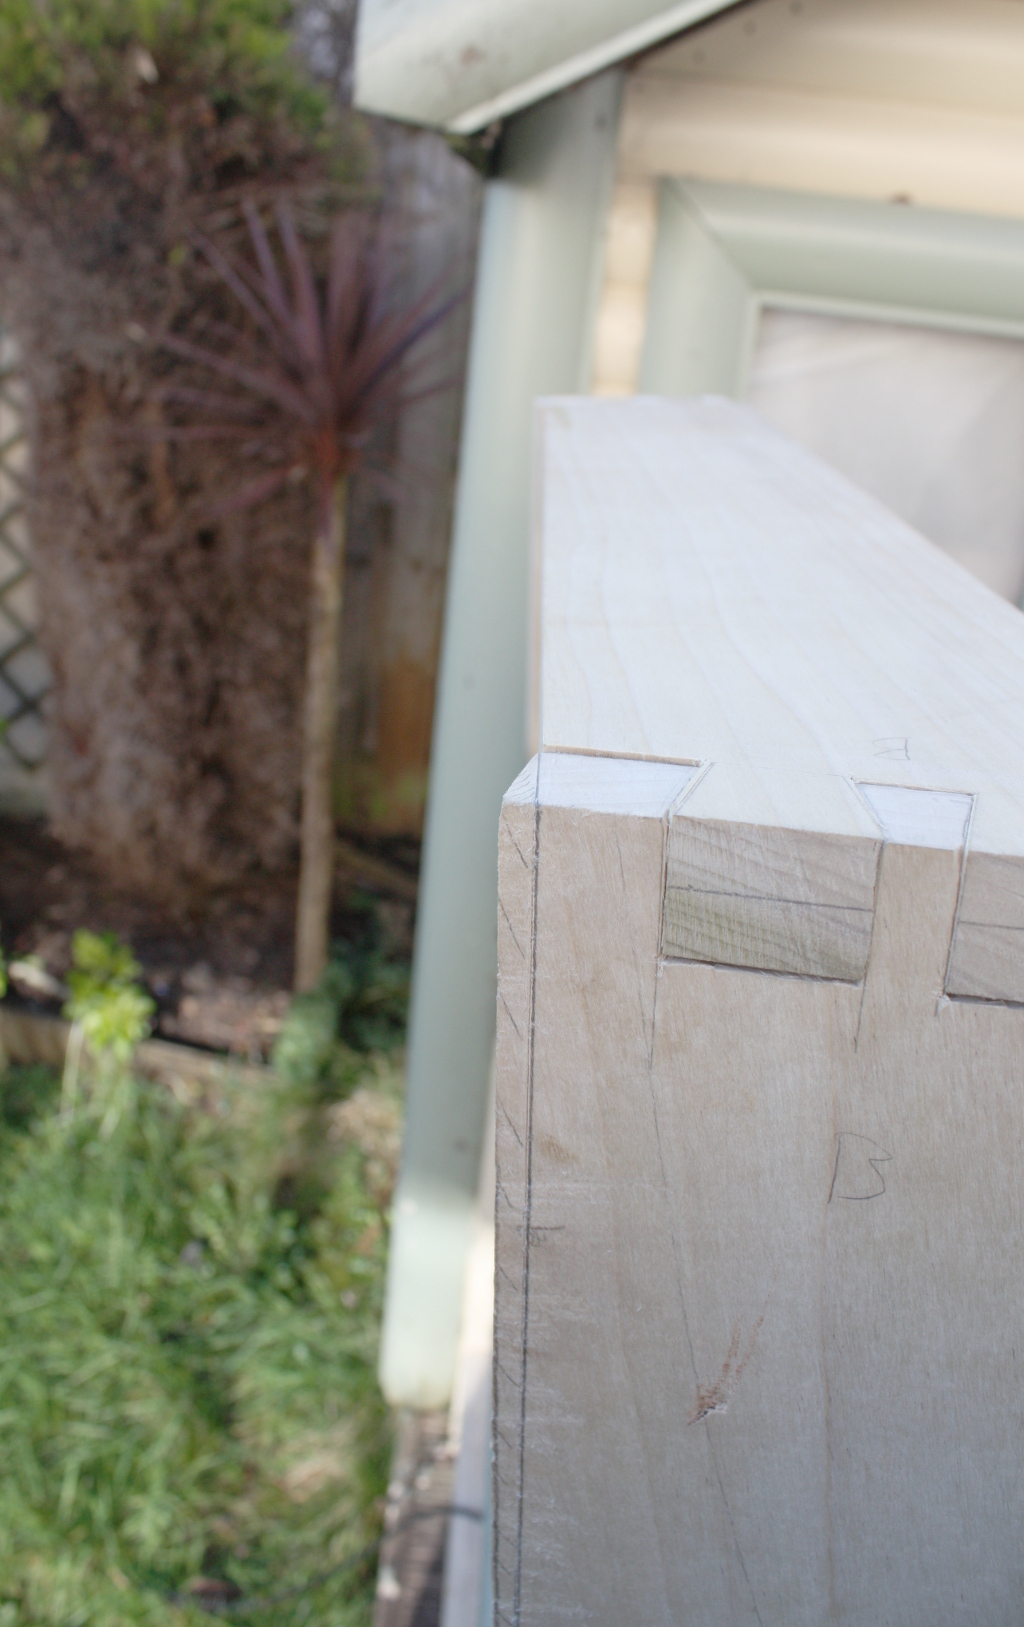
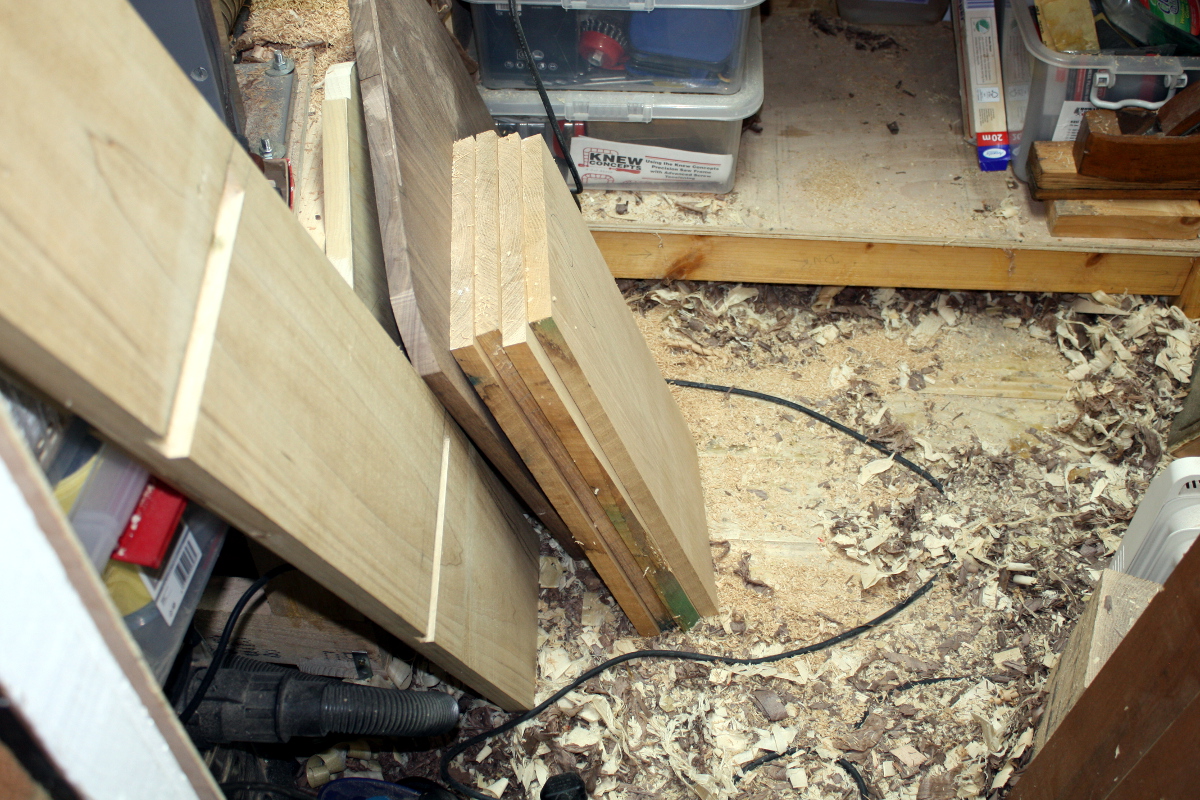
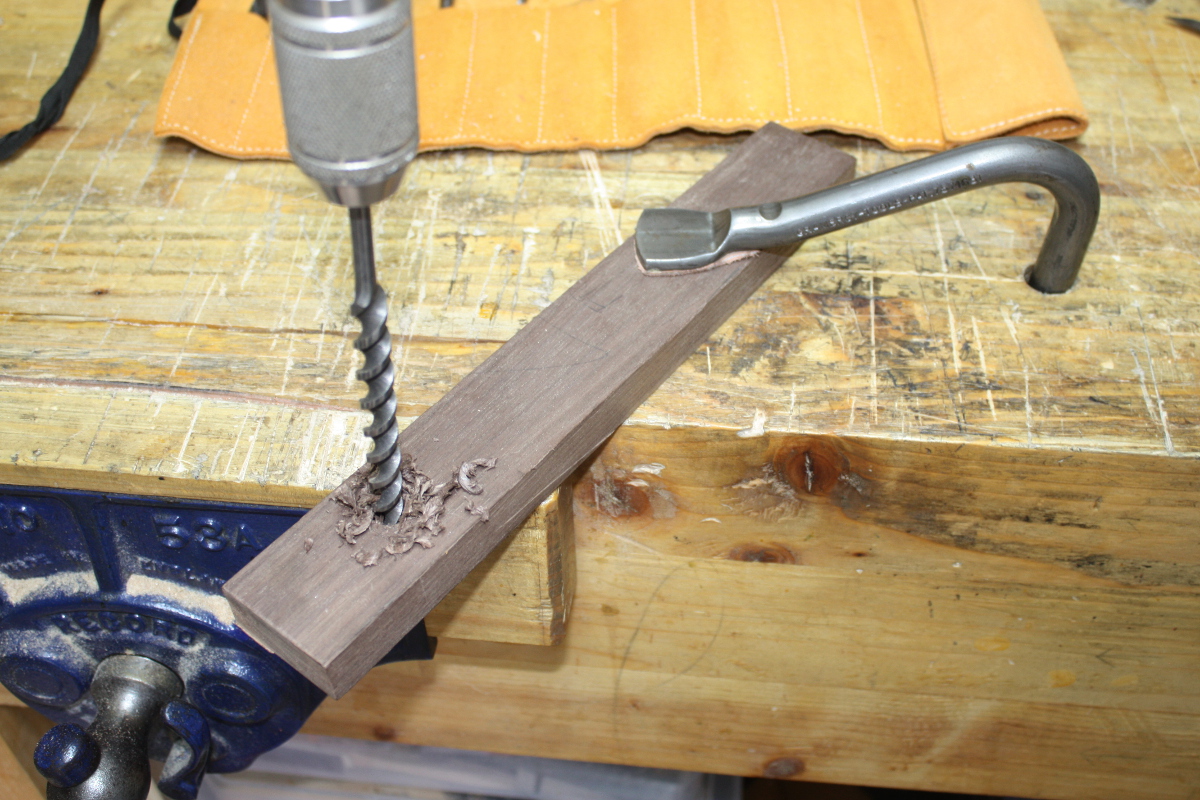
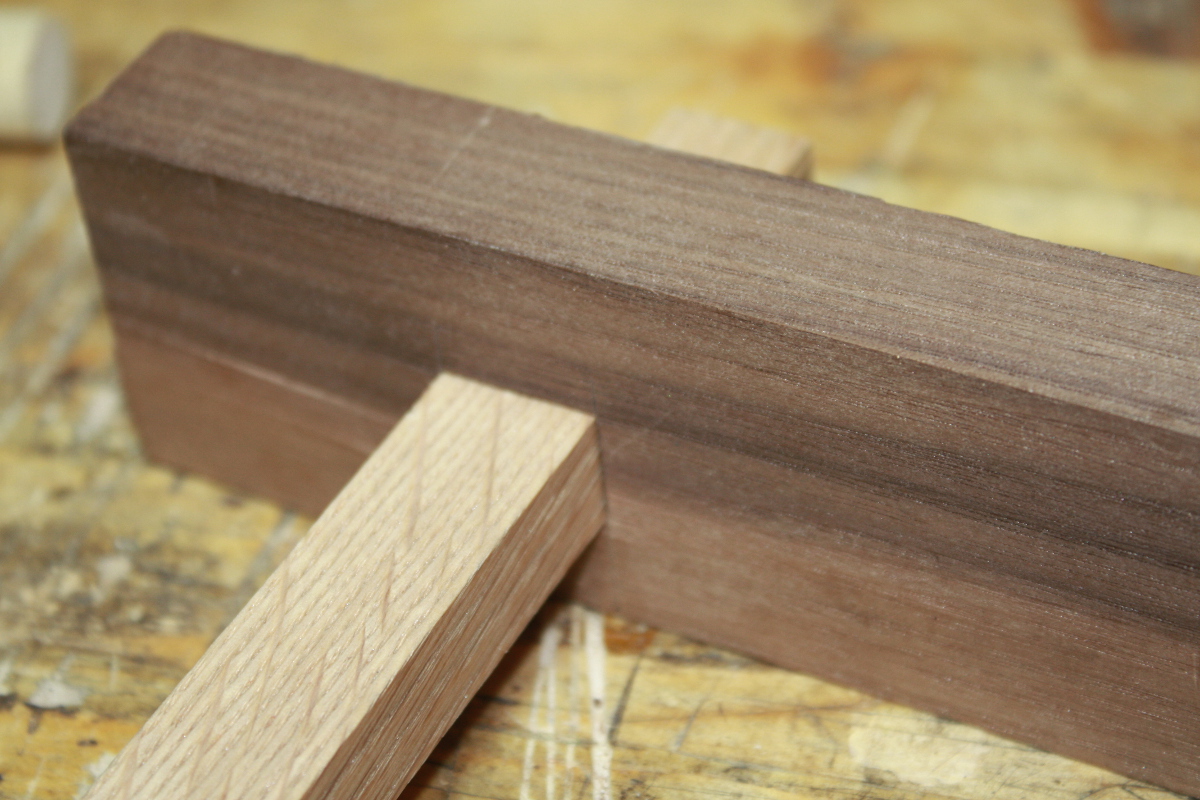
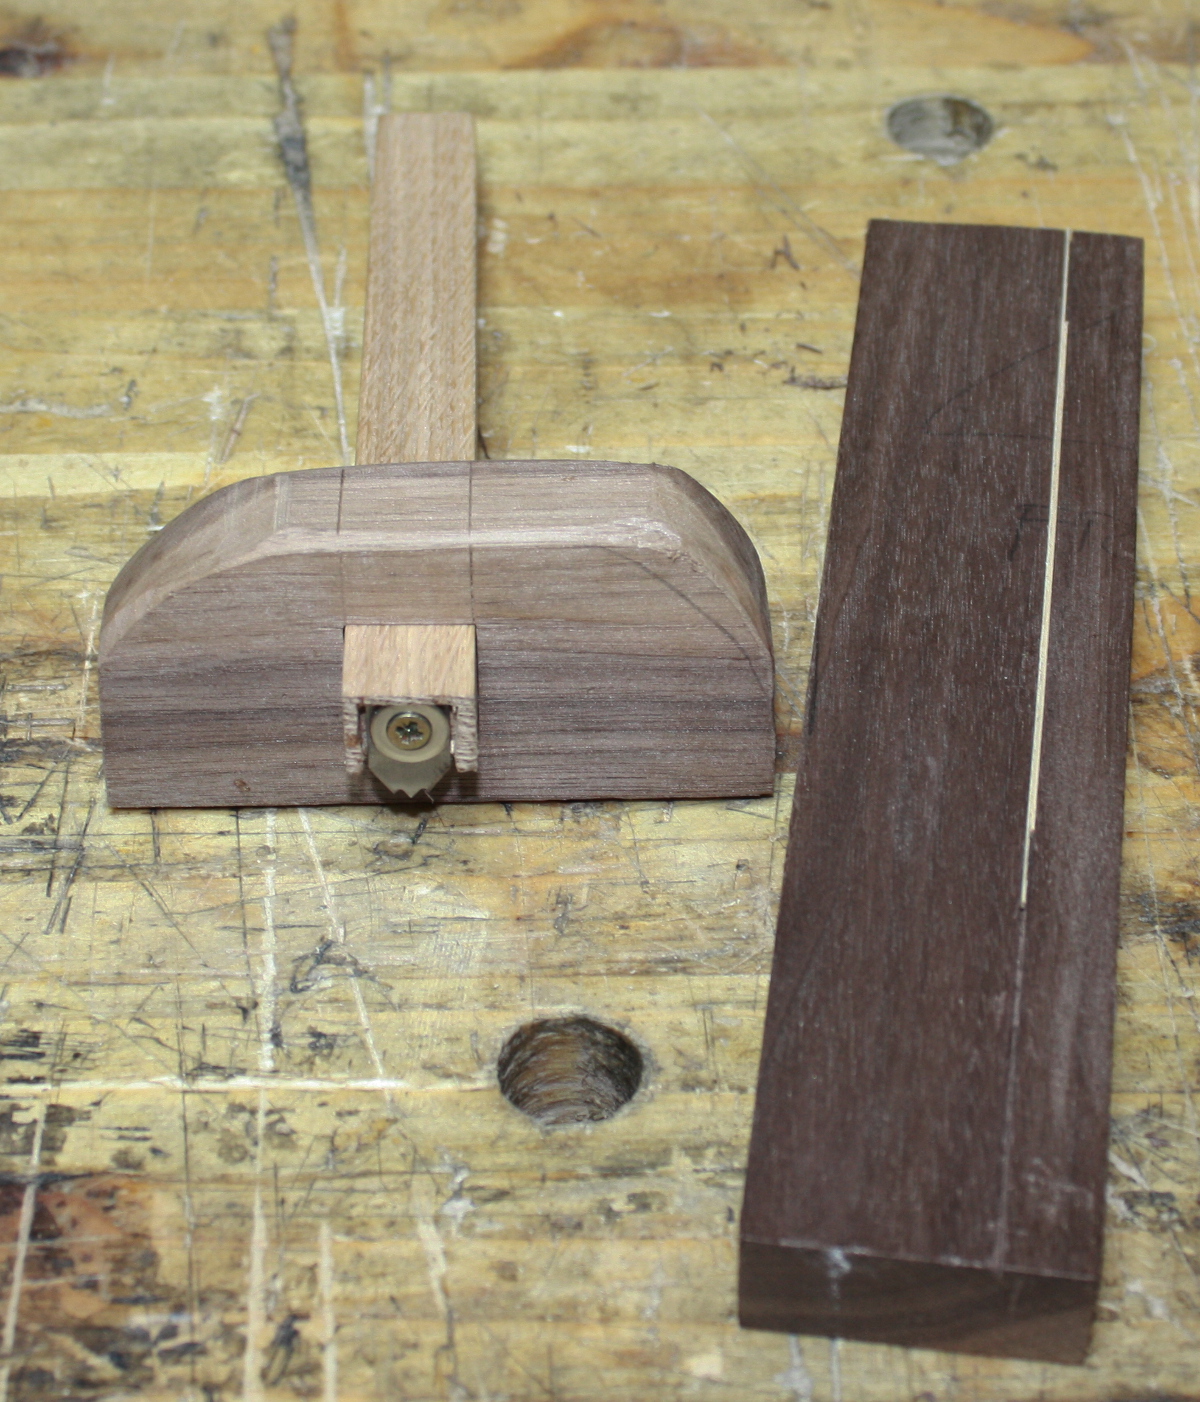
Meanwhile, I’m blocked for a few days so I made some progress on the oak box. Cutting the component parts was easy enough…

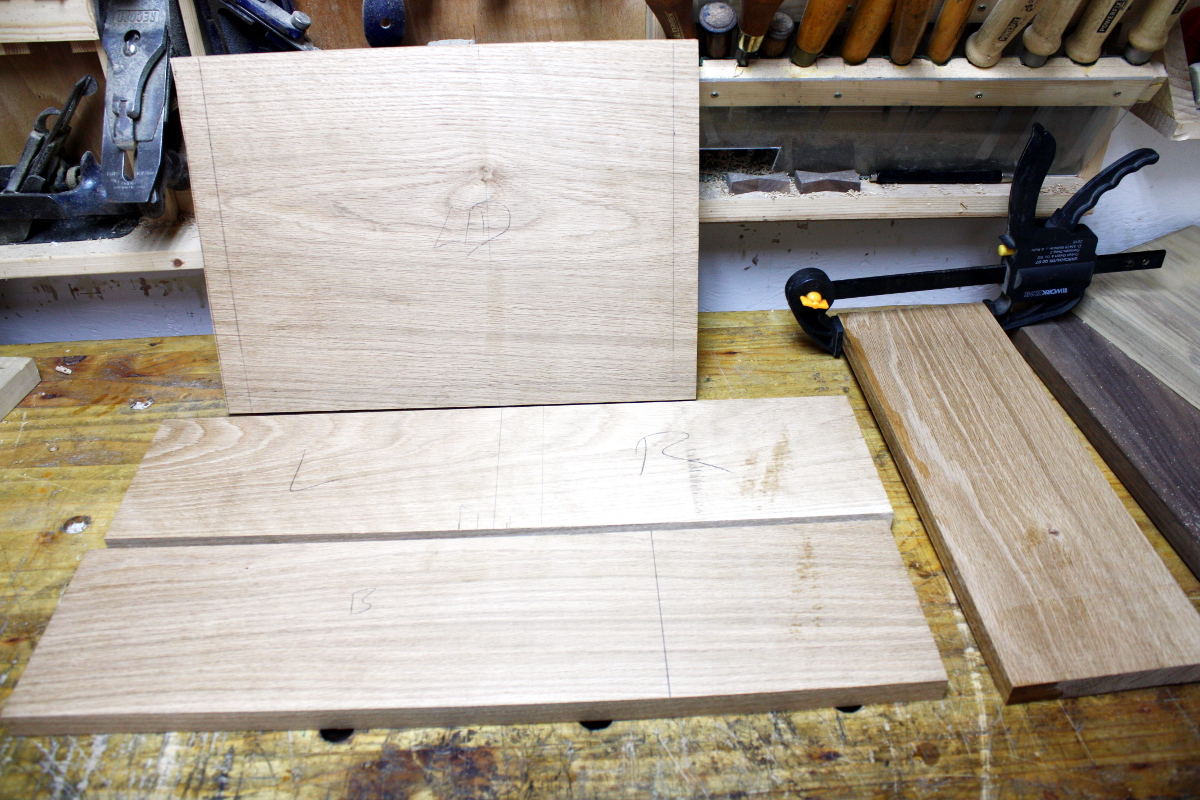
If anything I shouldn’t have cut them so early, but left that till after the carving. And I mucked up shooting the end of one…

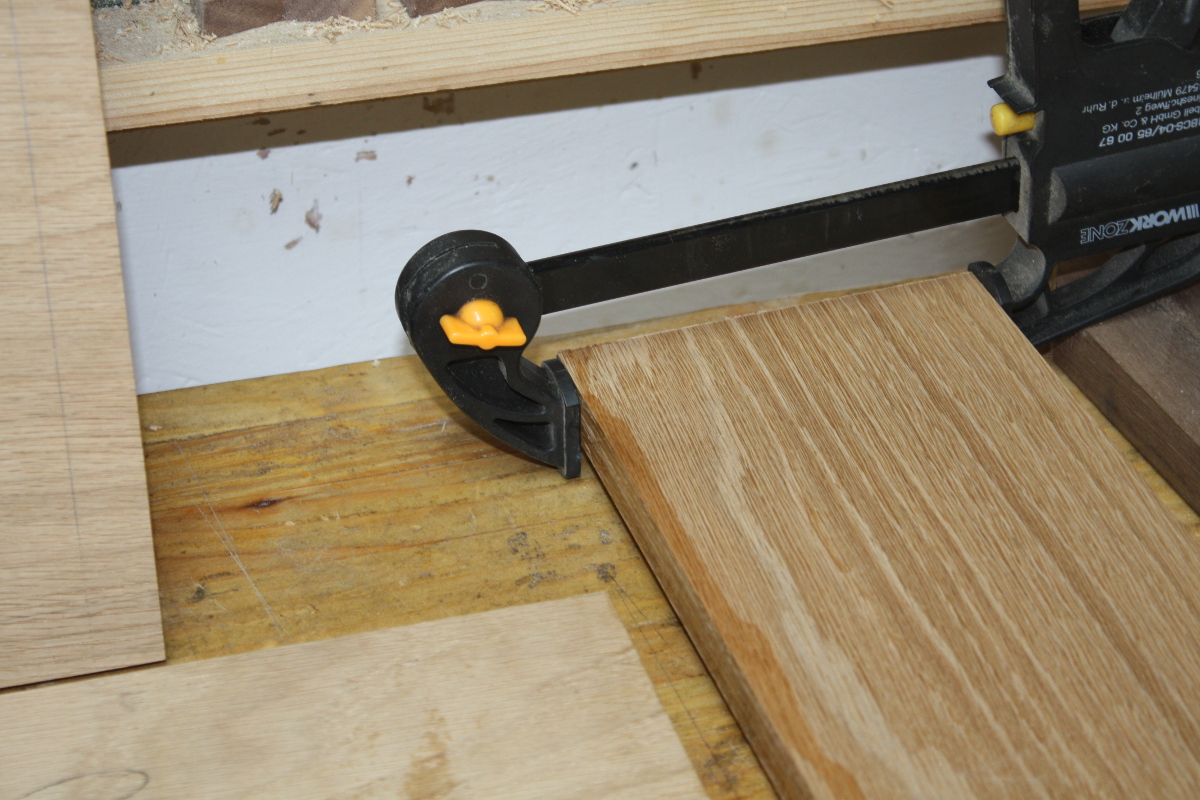
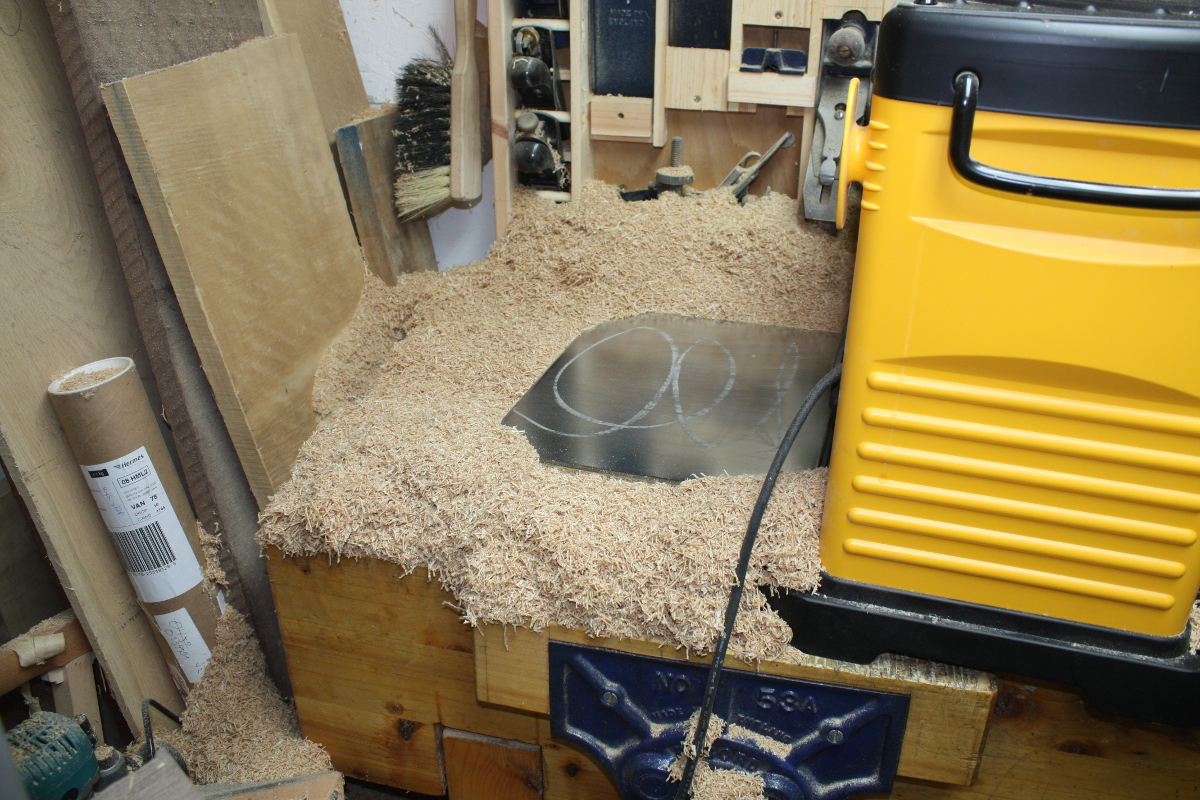
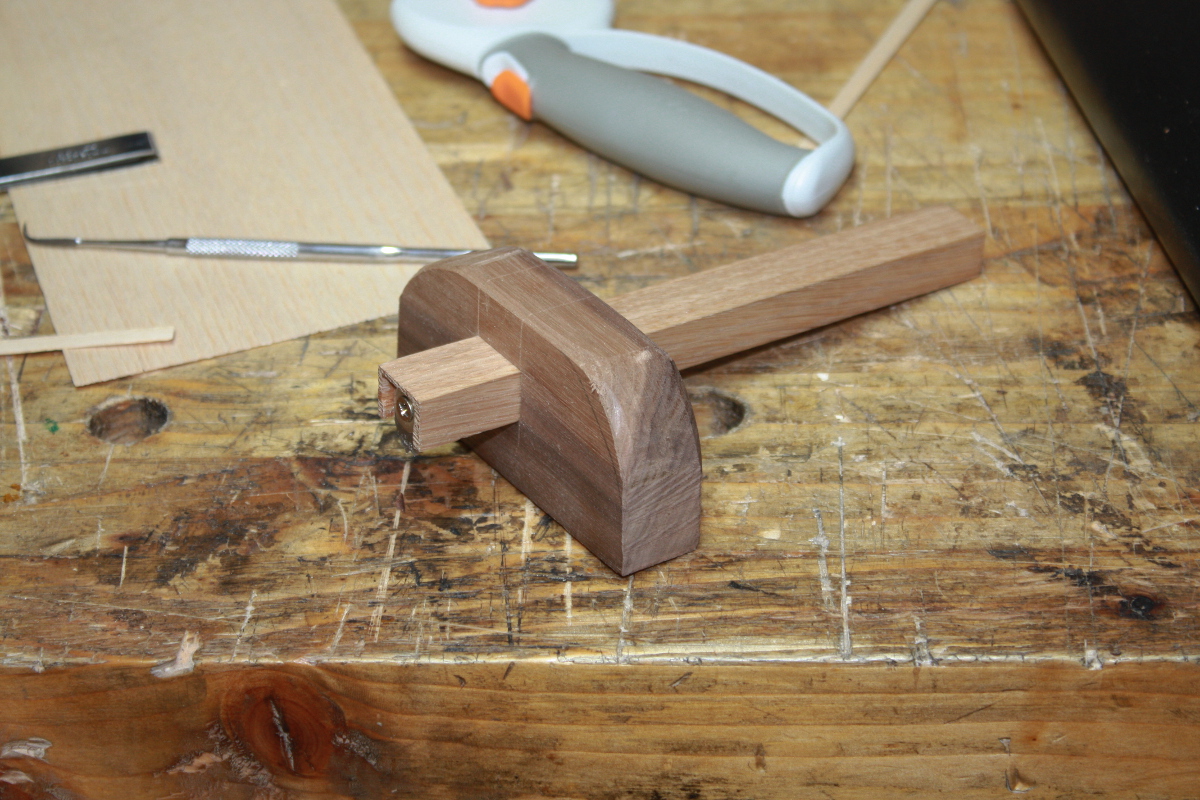
And of course the CA glue stuck to the clamp so unclamping chipped the board anyway. Le sigh.

But never mind, on to the fun stuff..

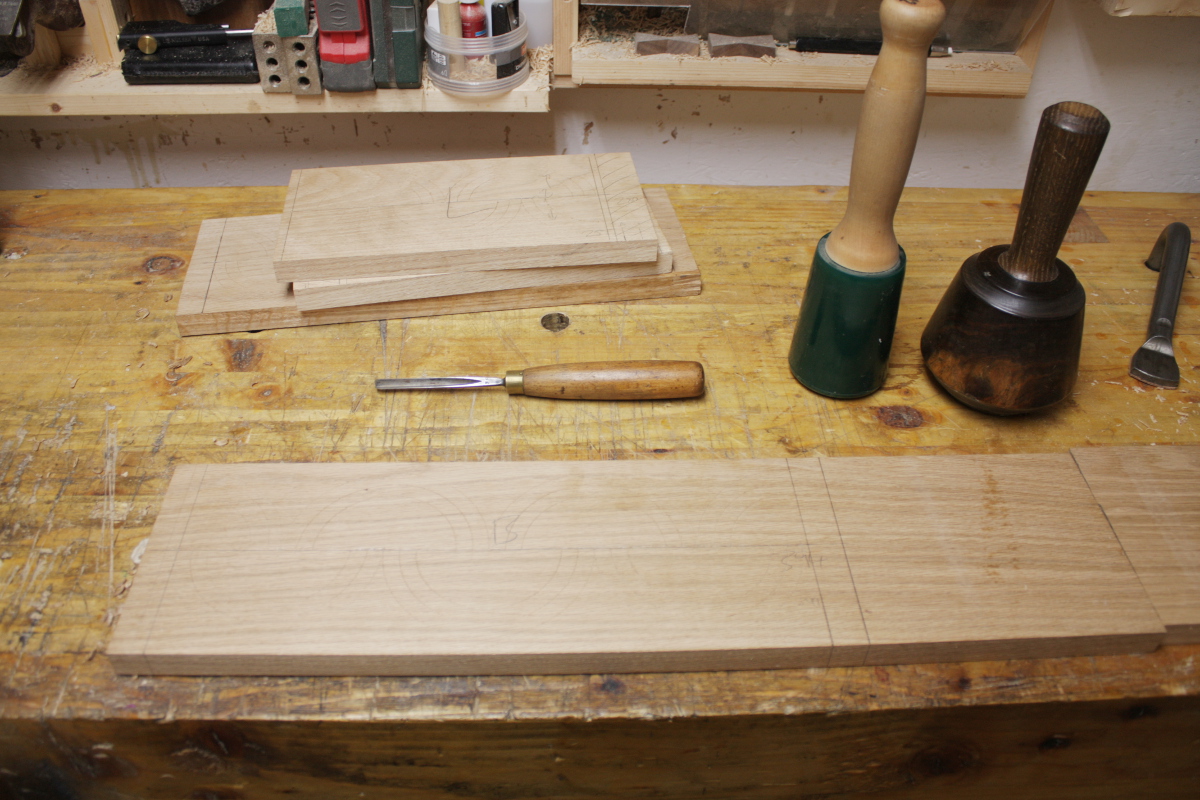
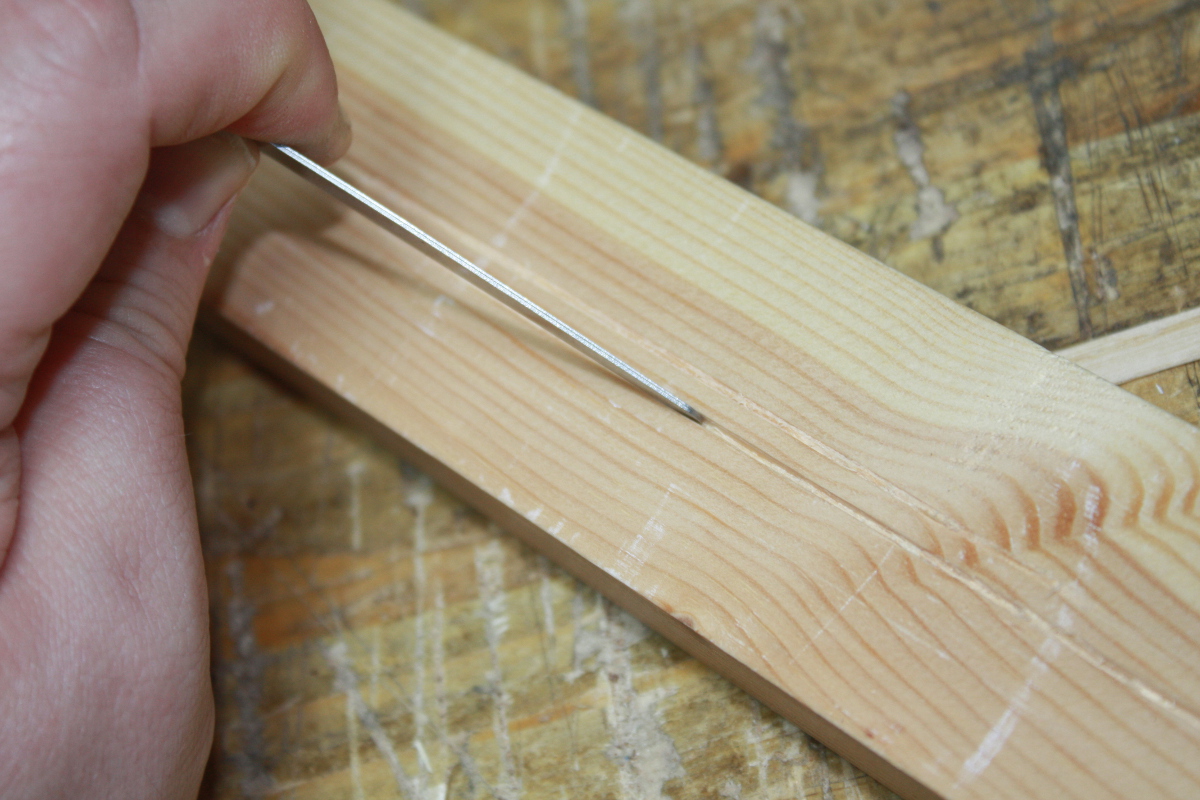
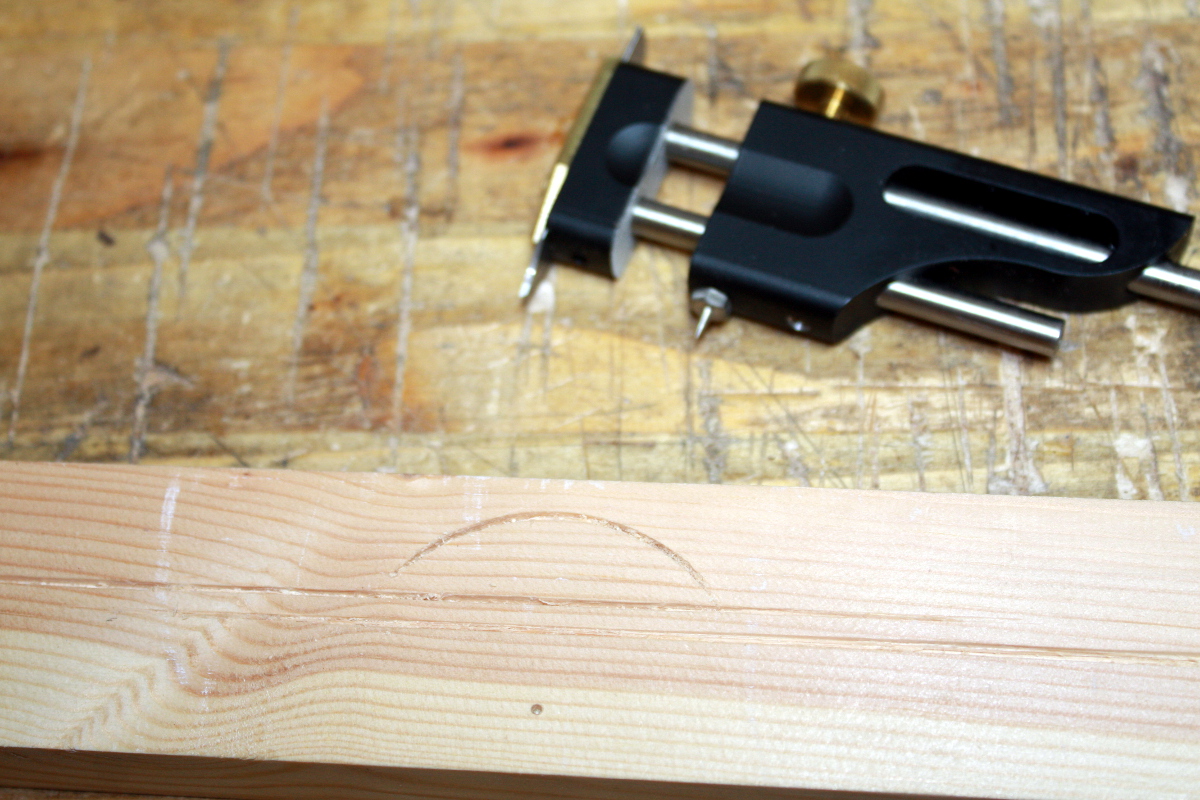
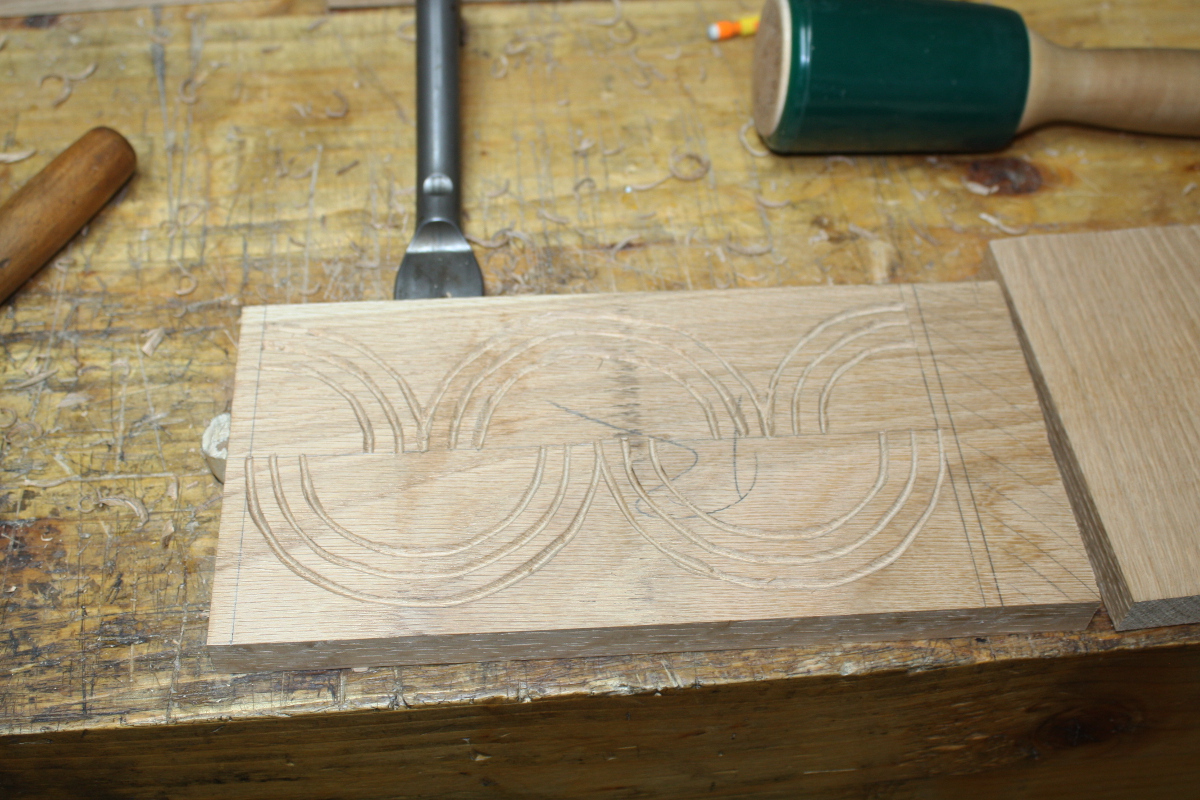
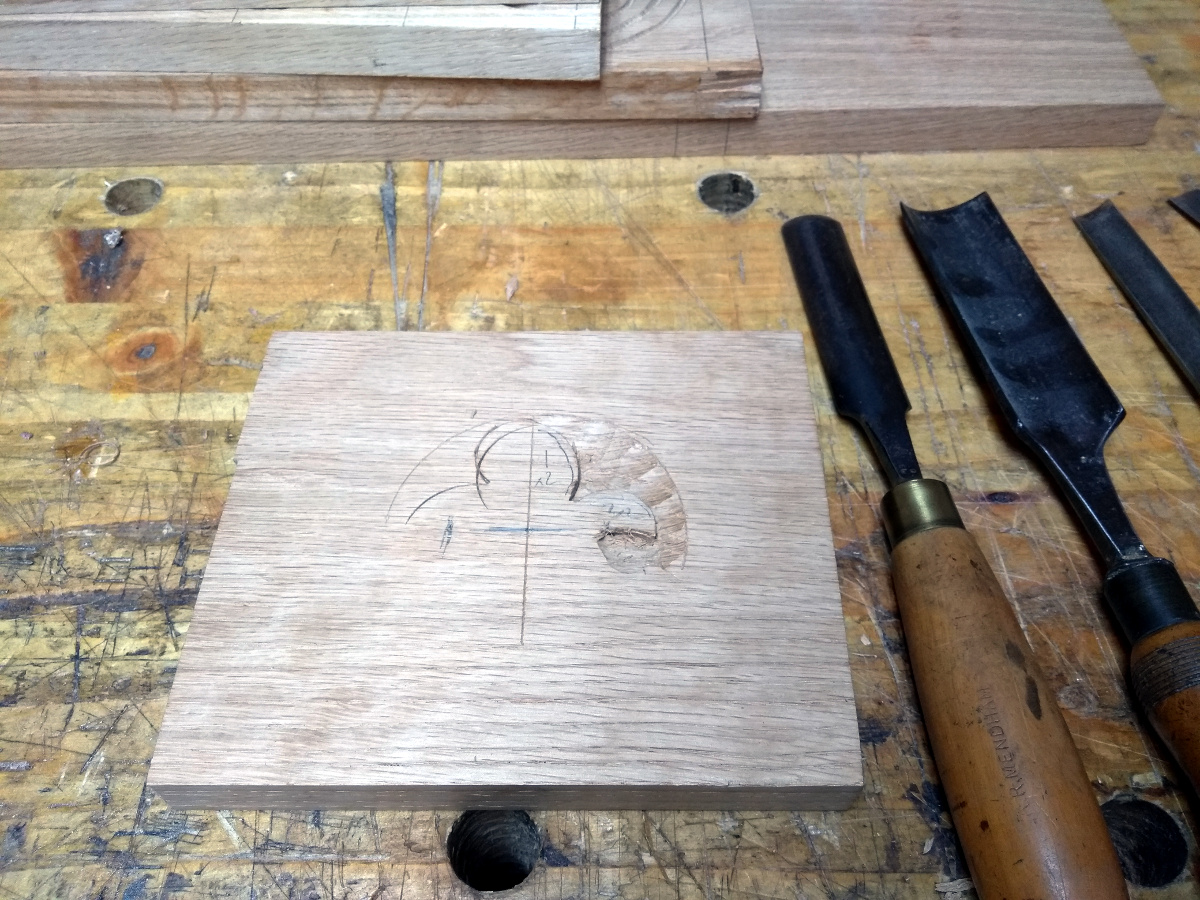
It might be hard to spot there because scratches on oak are, but I’ve marked a centerline and scratched in a series of opposing lunettes (to borrow Peter Follansbee’s term) and next up is cutting them with a V-tool. Well. Actually next up is spending some time with the diamond plates, slipstones and strops sharpening that V-tool and trying to sharpen a second one I had but which actually needs to be reground. Those V-tools are a little small but it’s a small box and the larger V-tool I have is an incanel one which, when used for this, bites in and heads for the far side of the piece. I can’t get it to work for this sort of thing. I’ll keep an eye out on ebay, but for now this V-tool will suffice.

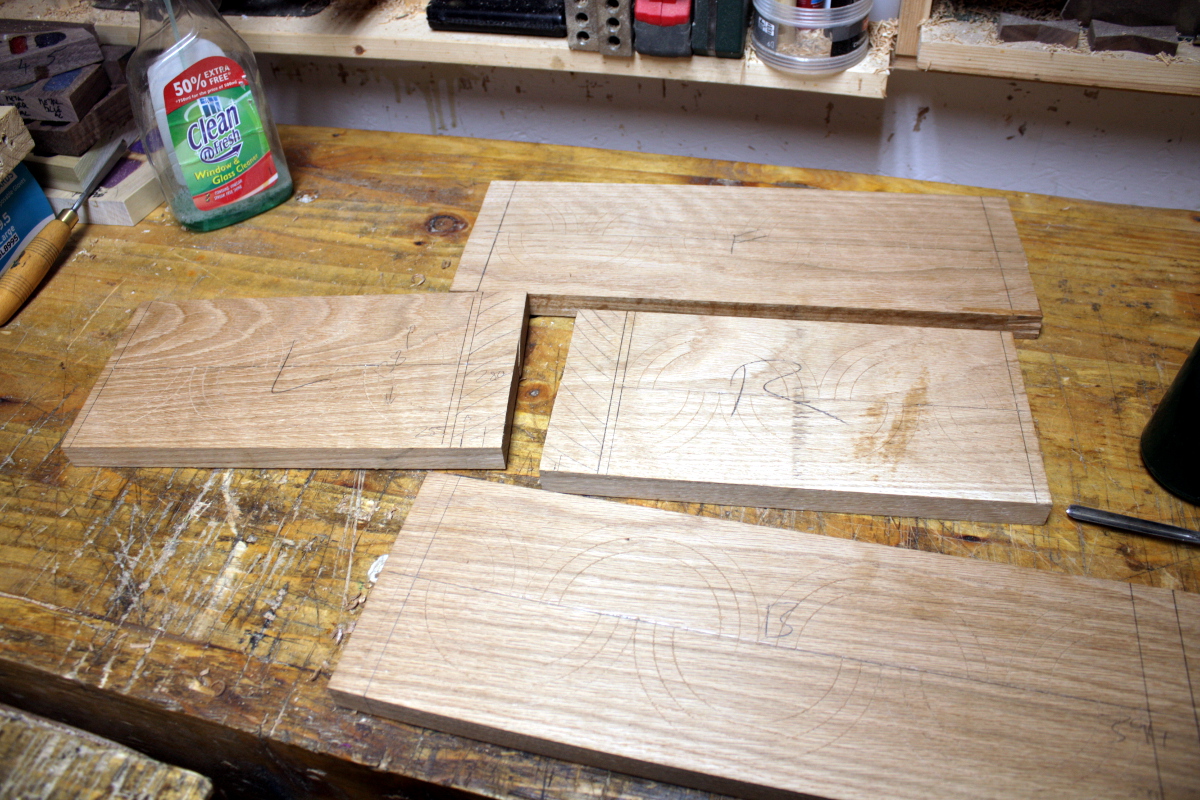
That’s all of them marked out in fact.

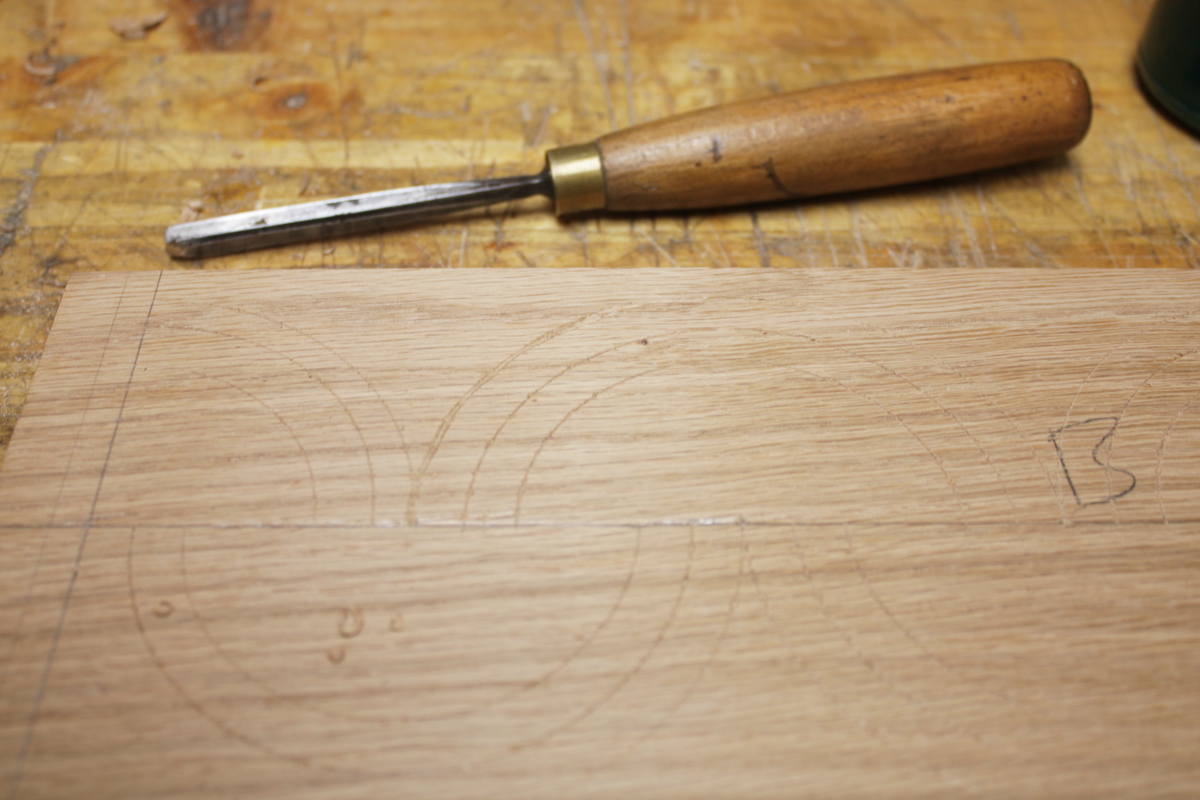
You can make out the scratches up close, but they’re still hard to see even standing in the shed. I wonder if Follansbee has it easier seeing these because he uses riven oak instead of this flatsawn stock. He’s said himself this is carvable but not the best.

After a few minutes in fact, I gave up and just ran a pencil line around the scratches. They’re being carved out so it won’t mar the work.

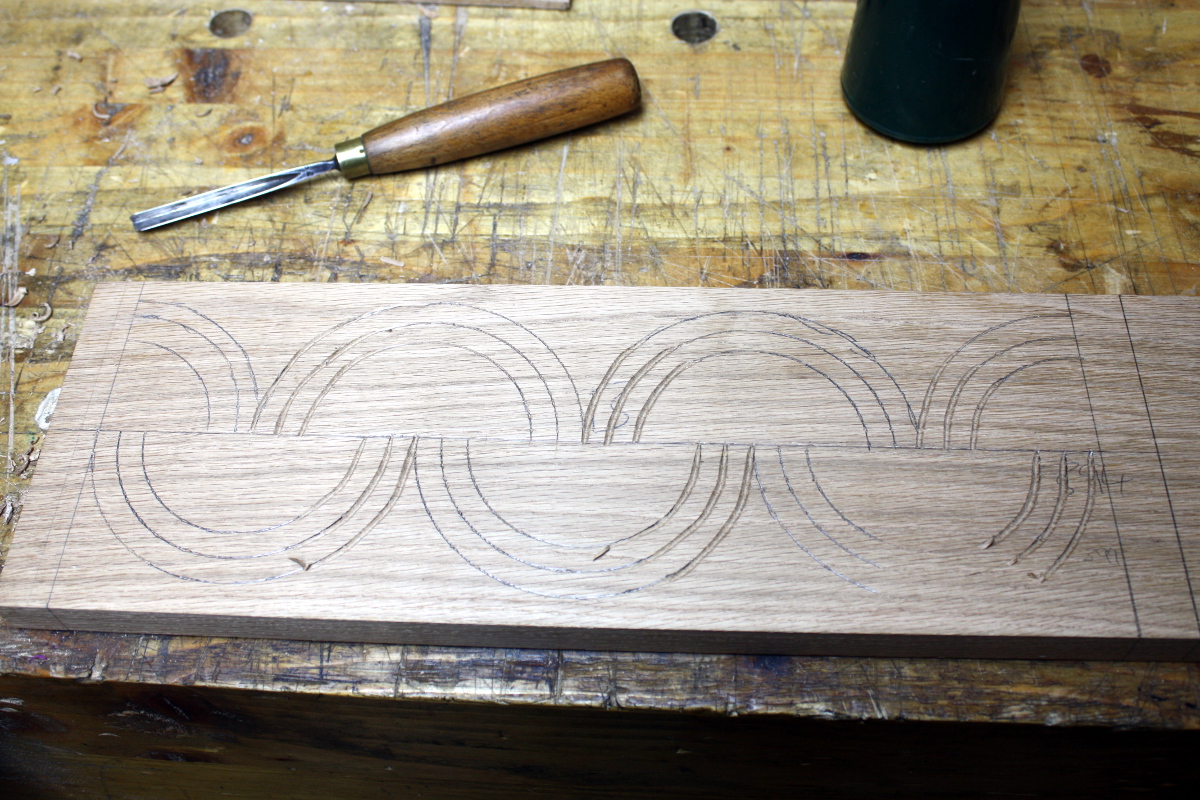
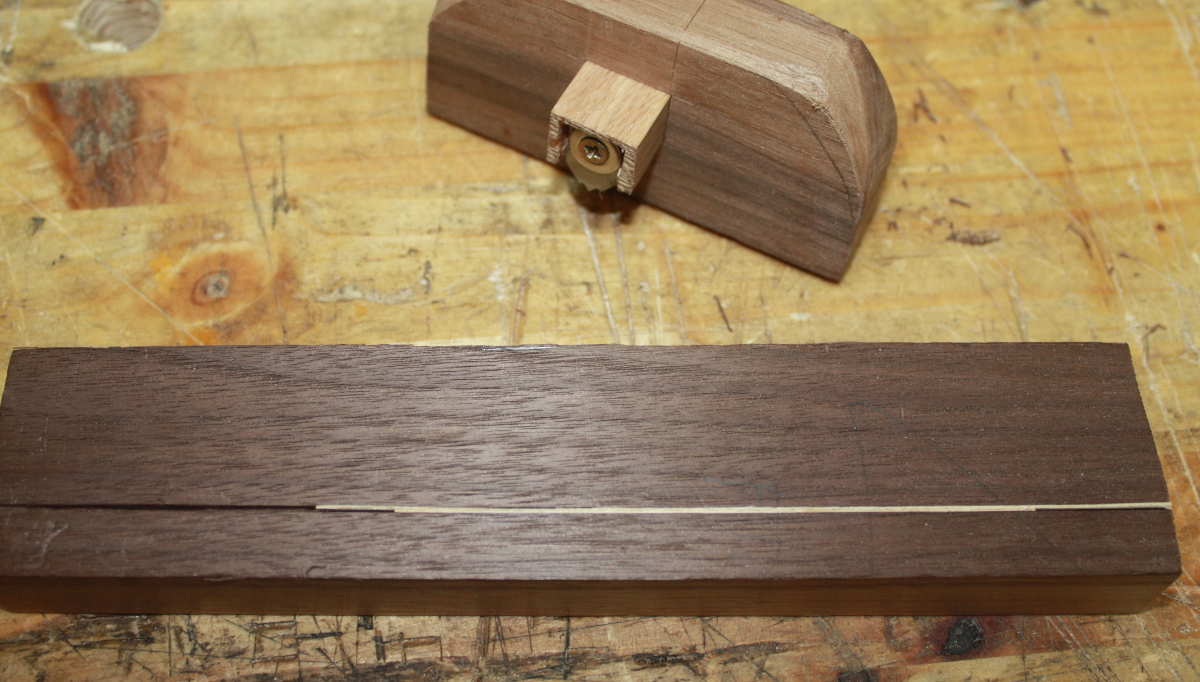
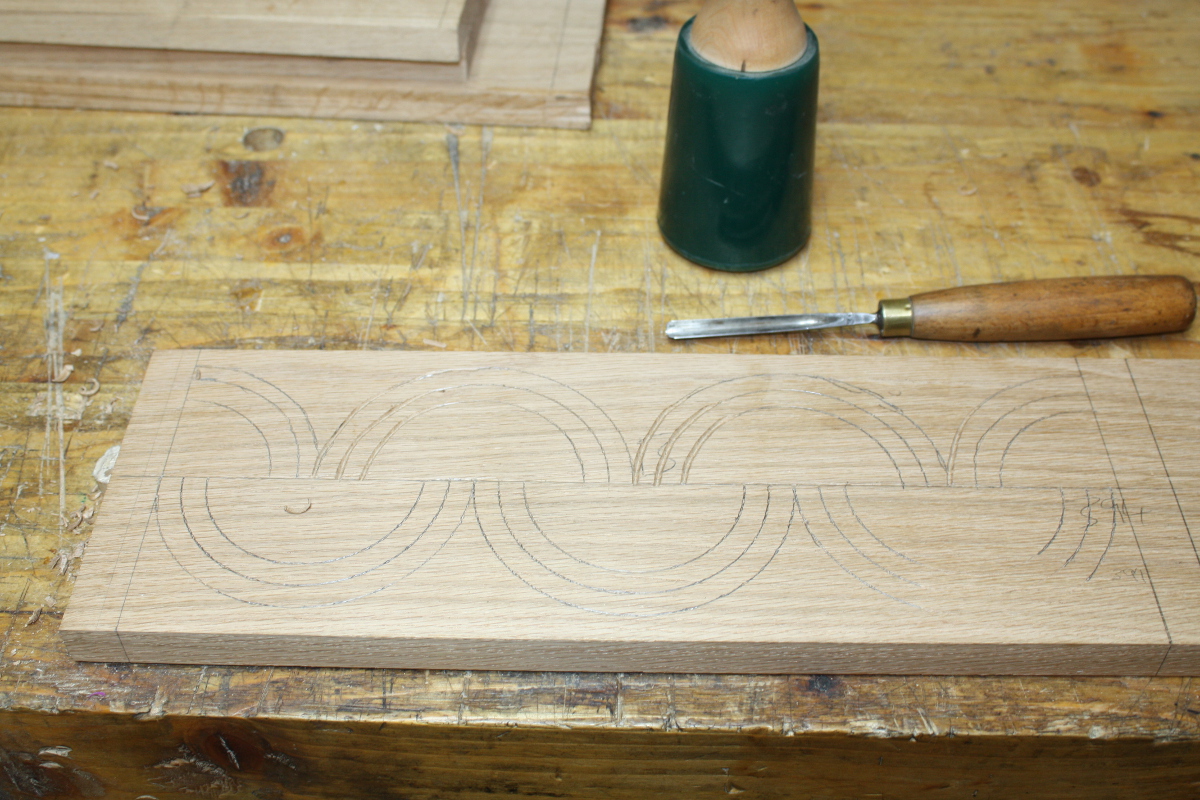
Then I just work my way along, cutting out the same part of the curve on every curve, then moving on to the next until all the lines are cut out. You have to cut in sections so you can brace your V-tool arm and control the cut. I say that like I’m cutting perfectly regular lines, but I have to go over everything once or twice already and it’s still not perfect.

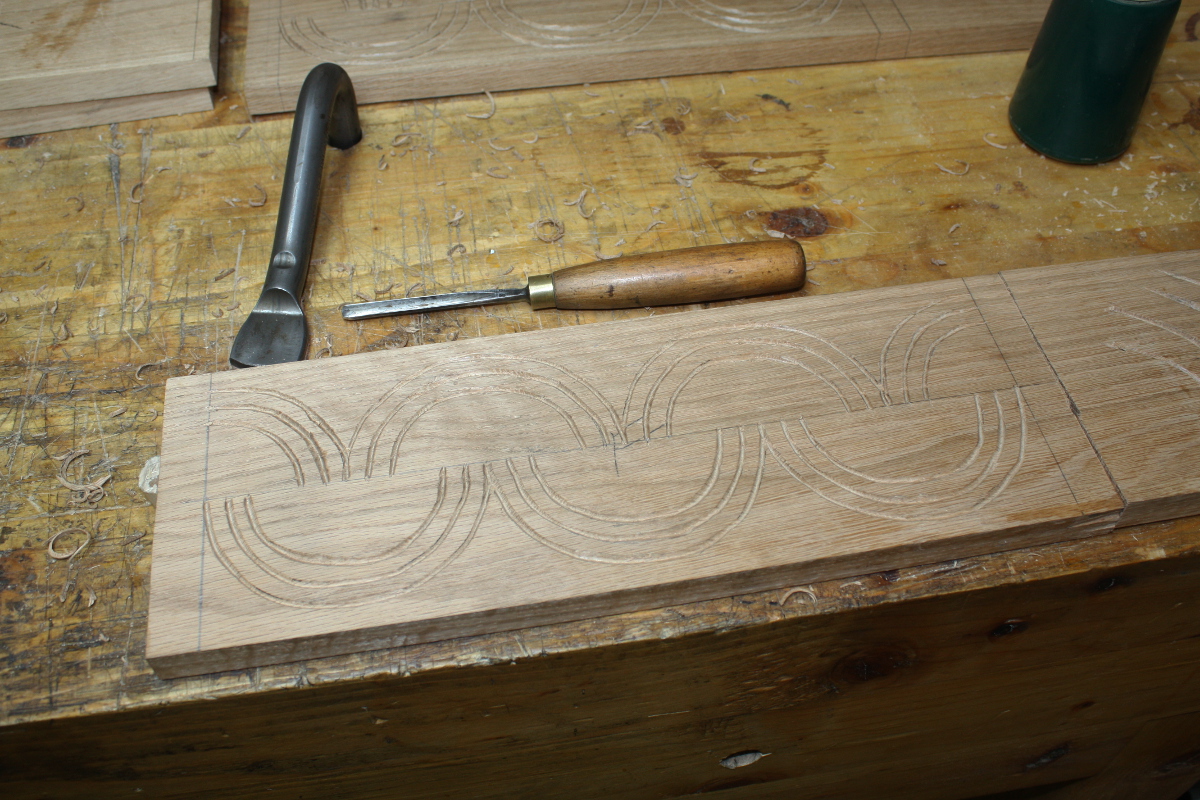
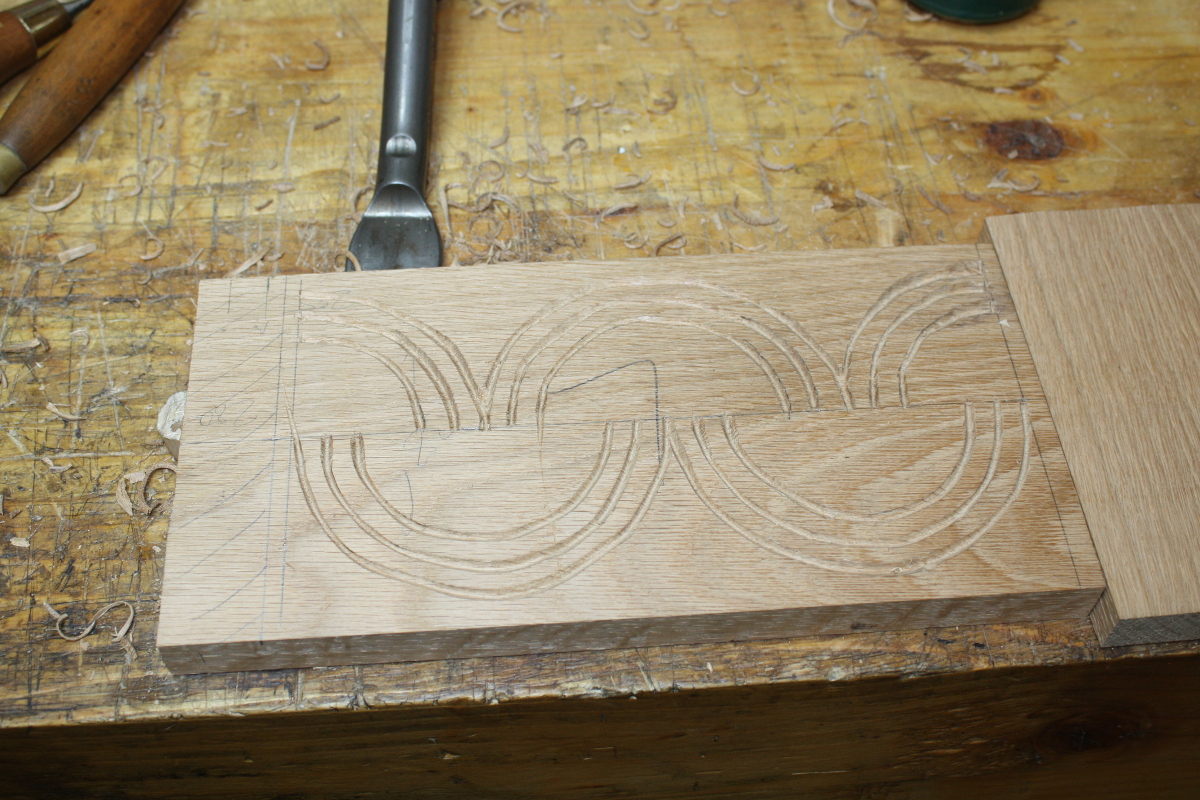
I mean, it’s not terrible, it’s just rough. Still though. Got all the V-tool work done on all the sides.

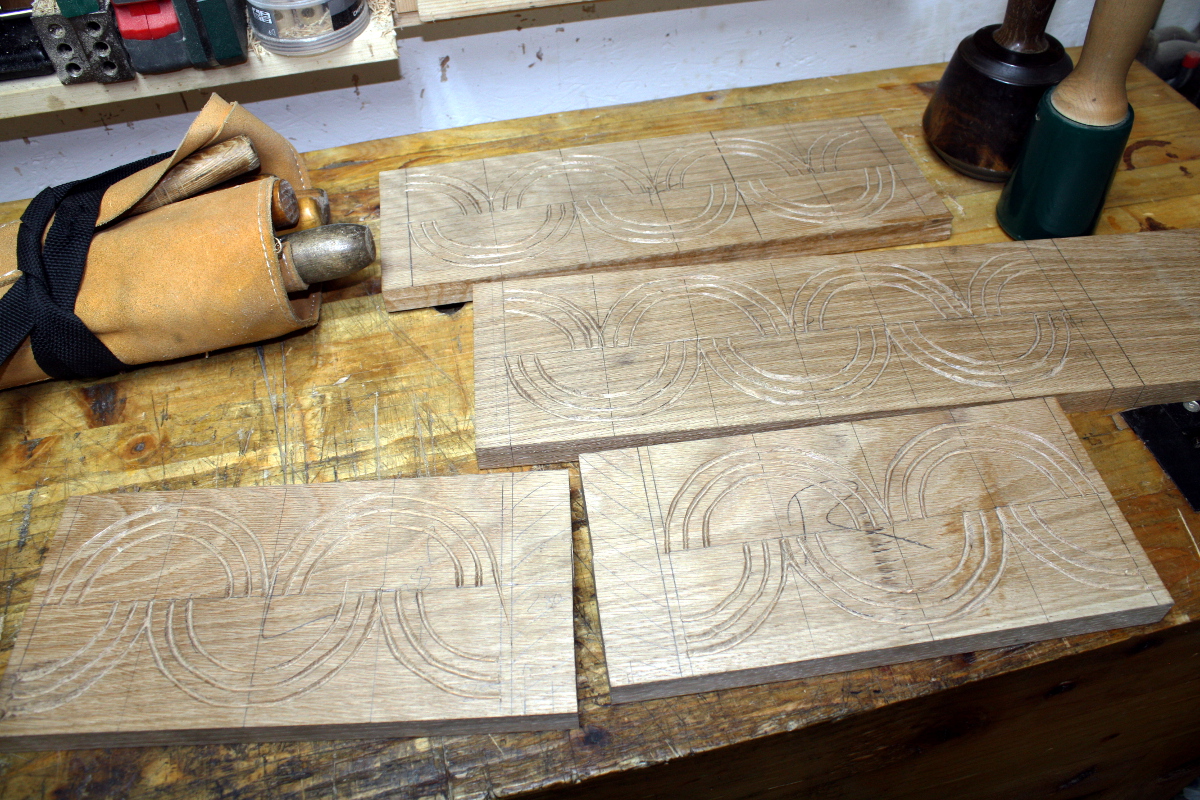
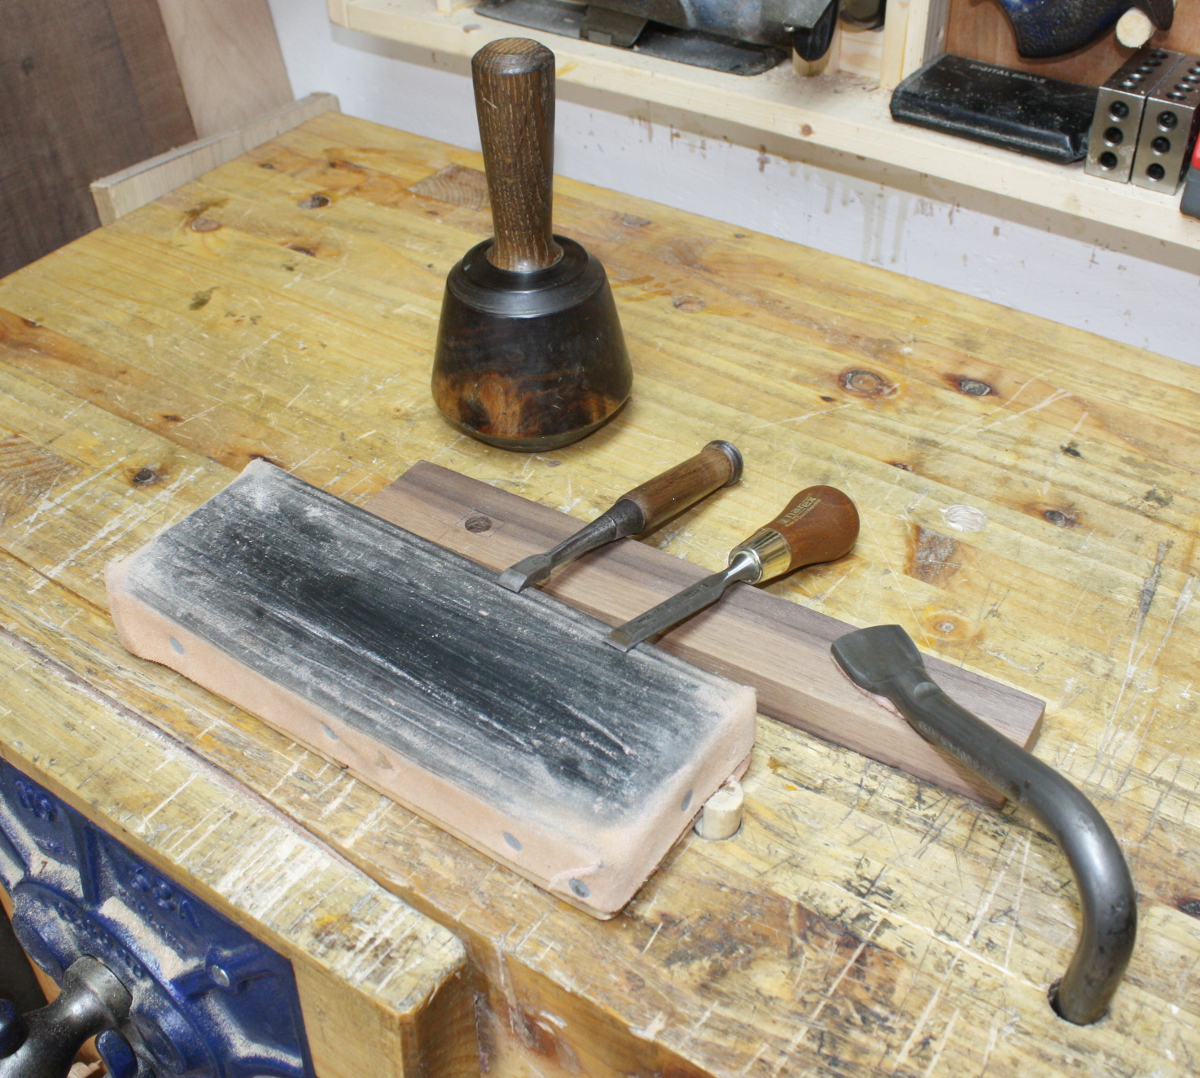
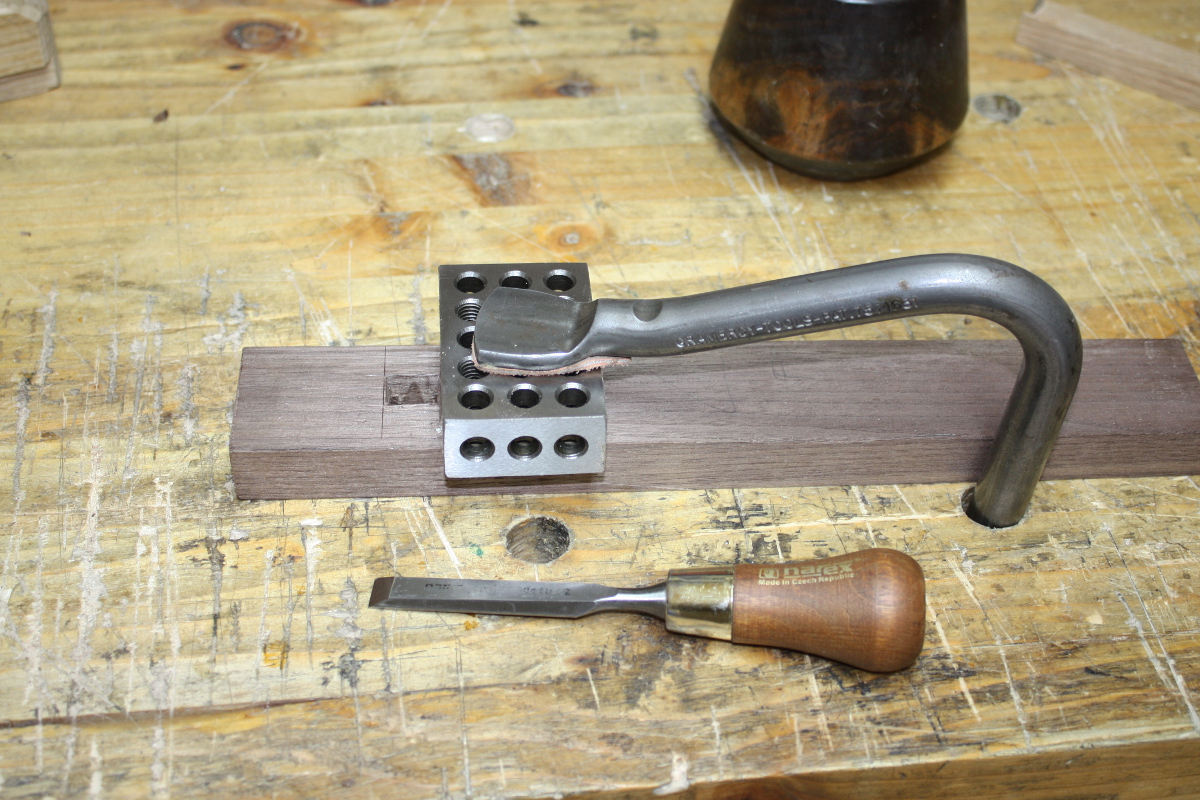
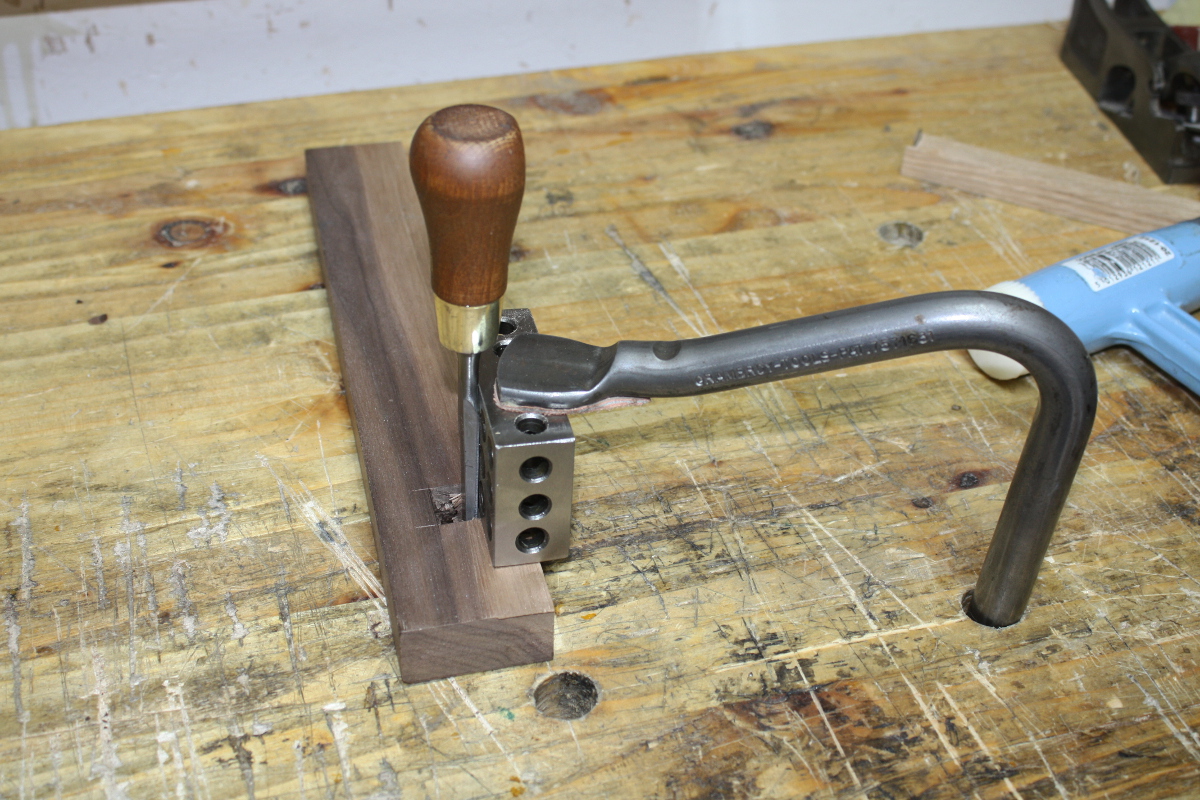
Next will be cutting the floral decoration. That’s done with a few gouges, so got some out to figure out what fits.

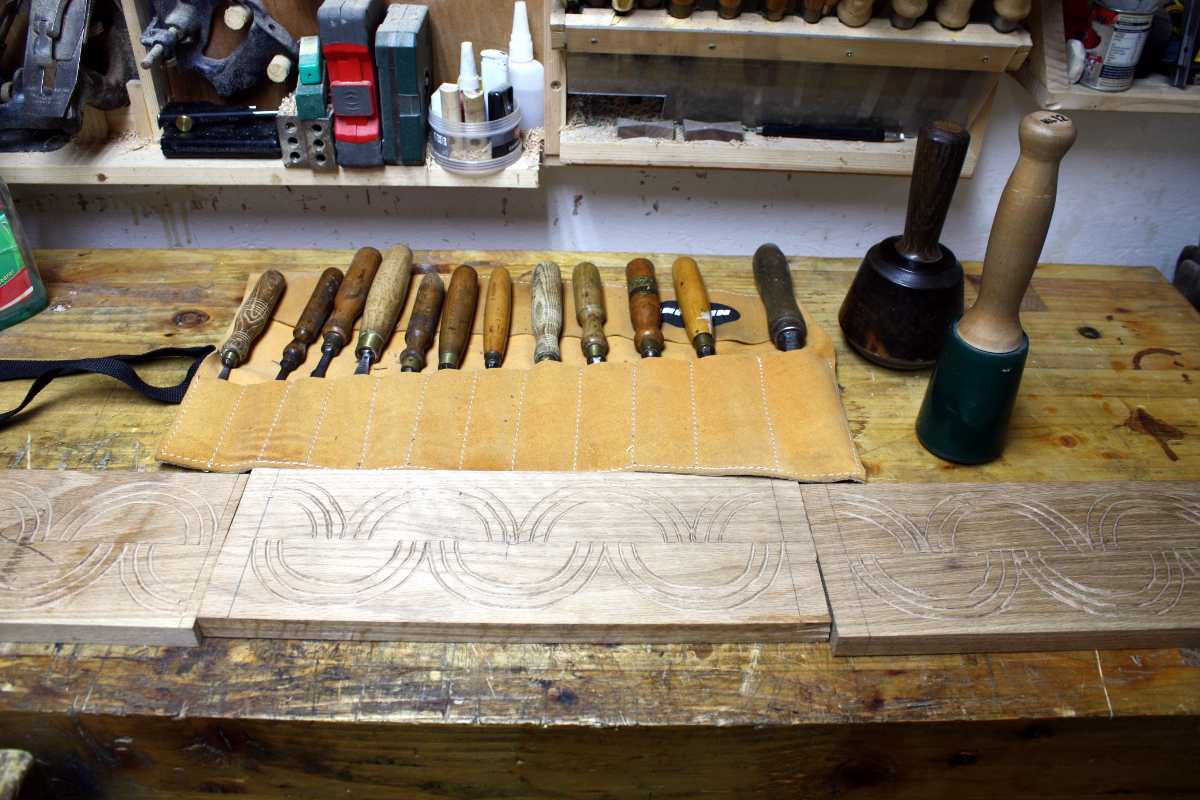
They’re all a bit small though. I suppose “you can never have enough gouges” is a thing as well. Still, bit of experimenting and I found some that’ll work. A few chops with each will act as stop cuts, then some removing of background up to those stop cuts with a shallow gouge, and you get this.

Bit of tidying up, some extra bits and pieces as decoration, and that should be reasonable enough so long as nobody looks at an original Follansbee for comparison…


17
Feb 19

Fettling

More shed time today, and I spent the first half of it fettling the middle shelf in the desk. Straightforward, if repetitive process – assemble, check what’s too tight and what’s too loose, cut or pare the shelf a little narrower with saw and chisel, reassemble, recheck, repeat until the dovetail joint that was horribly stressed by the shelf being too wide:

…is no longer stressed, but just snug:

And doublecheck all the other joints to be sure nothing else is opening up.

Okay, I’m happy with that.

I’m also happy because before assembling this, I marked out the back of the top of the sides to show which bits had to be cut off to give a straight line across the back (because the top goes up against the wall for support), and when I assembled it:

Nice straight line.

So, now time to get rid of all the straight lines! Out with the French curves and the compass.

And also did a bit of marking with pencil of various things to know what goes where when assembled. Then I broke it all down and spent some time with the bandsaw, various handsaws, chisels and my favorite spokeshave to shape the shelves.

Not done yet, but nearly there for the walnut desk, and a little behind that for the middle shelf. Once they’re done, it’ll be time for inlay and decorative stuff. I need to order some resin for that, and do some testing. And there’s be the light fitting and cable chasing and then finishing and then final assembly and that’ll be that.

Meanwhile, there’s another project I want to start on because I’ve been watching Ron Aylor’s latest bout of carving recently and I’ve been wanting to go do some. But that will require some oak to be prepped. I have some but…

Well, I’ll have to dig it out…

…with a JCB. Le sigh. Also, it’s a bit thick for the size of box I have in mind. Time for the DeWalt 734 to earn it’s pay…

I’m kindof shocked really. I pulled four boards (because why dig that much for just one?) and with the #05 got one face to sit flat on the bench. That took about 25 minutes in total.

Then I fed all four through the 734, dropping thickness by about 0.4-0.5mm on each pass, and alternating sides once the first uppermost side was flat. That took 20 minutes to give the boards above. That would normally have taken all of this week’s evenings with the scrub plane. That’s a massive boon, I think it’s obvious the 734 is going nowhere. I mean, it’s not my idea of a finish planing, it’s very rough milling but still. That’s damn useful.

Now, I want them a few mm thinner, but it was getting late and the 734’s noisy, so I’m leaving them to warp and cup overnight before doing the last few passes in the 734. And also, I think I need to (a) clean up and (b) sort out something about extraction…

Yikes.


26
Mar 18

Groovin’ tools

So the last try to make a straight line cutter for stringing didn’t work so well, the fence mortice was too sloppy. So today I cut a new one. Simple process; pick a scrap of wood from the bin (in this case a piece of walnut because I’m not averse to cheating when it comes to mortices 😀 ). I’ll reuse the beam so I mark off a line on the fence with a square, drop one edge of the beam into it and then mark the width off on the fence and carry the line around with a square; mark top and bottom of the beam with a wheel gauge using the same reference face you used for the square, and that gives you the outline of the beam on the front and back of the fence and aligned. Then drill out the middle to get rid of most of the waste:

I know it looks off-vertical, that’s because I let go to take the photo 😀
Once the hole is drilled (and from both sides, no blowout involved), it’s chopping time.

Quick touch-up on the strop first, that little dog being useful to keep the strop from dancing much, and I use the japanese chisel to chop out the mortice from both sides roughly, leaving just a small half-millimeter or so of material between the lines and the mortice. Then pare the last bit using the narex butt chisel. But I wanted a guide so the paring chisel was done at right angles and it just so happens I bought some 1-2-3 blocks recently, so…

Make sure the back of the chisel runs flat on the 1-2-3 block. You could just use a wooden block for this if you have one that’s square, but I had the 1-2-3 blocks so why not.

And when you’ve trimmed to the line, it’s time to start test fitting and fettling. The beam doesn’t initially fit; once I’m satisfied (using a square) that the inside of the mortice is square and the corners are clean, I’ll take a fine-set #4 and take a swipe off the beam, test fit it again, and then another swipe and so on. It takes a while because you’re sneaking up on a snug fit, but eventually…

It’s not bad. It’s not perfect – the beam still has more play than I’d like when it’s out at full extension, but since this cutter won’t really be asked to reach more than an inch or two in from an edge, that’s no major worry. At some point I expect it’ll loosen up due to wear and tear, and when/if that happens, I’ll cut a slot in there for a wedge like in a traditional english marking gauge and fit it with a wedge.

Not too shabby. Time for some testing.

Just cutting a groove here in a scrap piece of pine. The pizza-cutter thing and the dental pick are for cutting a slice off the veneer to test with and to clean out the groove, respectively.

Groove looks clean and parallel to the edge, feeler gauge says the width is 0.8mm as expected, and it’s not too ragged. I think that’s good.

And looking at the professionally-made radius cutter, the groove appears to be solidly comparable. I’m happy with that for now.

I’m not happy with the veneer I have though – it’s 0.6mm, or at least it claims it is (the calipers says it’s closer to 0.5), so if I test on a small scrap of walnut…

The groove is too large for one thickness of veneer and even if I put in two layers of veneer, you can still make out the hairline (and ragged) line caused by the gap between them.

I need to find a source of constructional veneer that doesn’t expect me to buy an entire tree’s worth…