10
Mar 19

The problem with having lots of gouges…

…is that you have to sharpen lots of gouges.
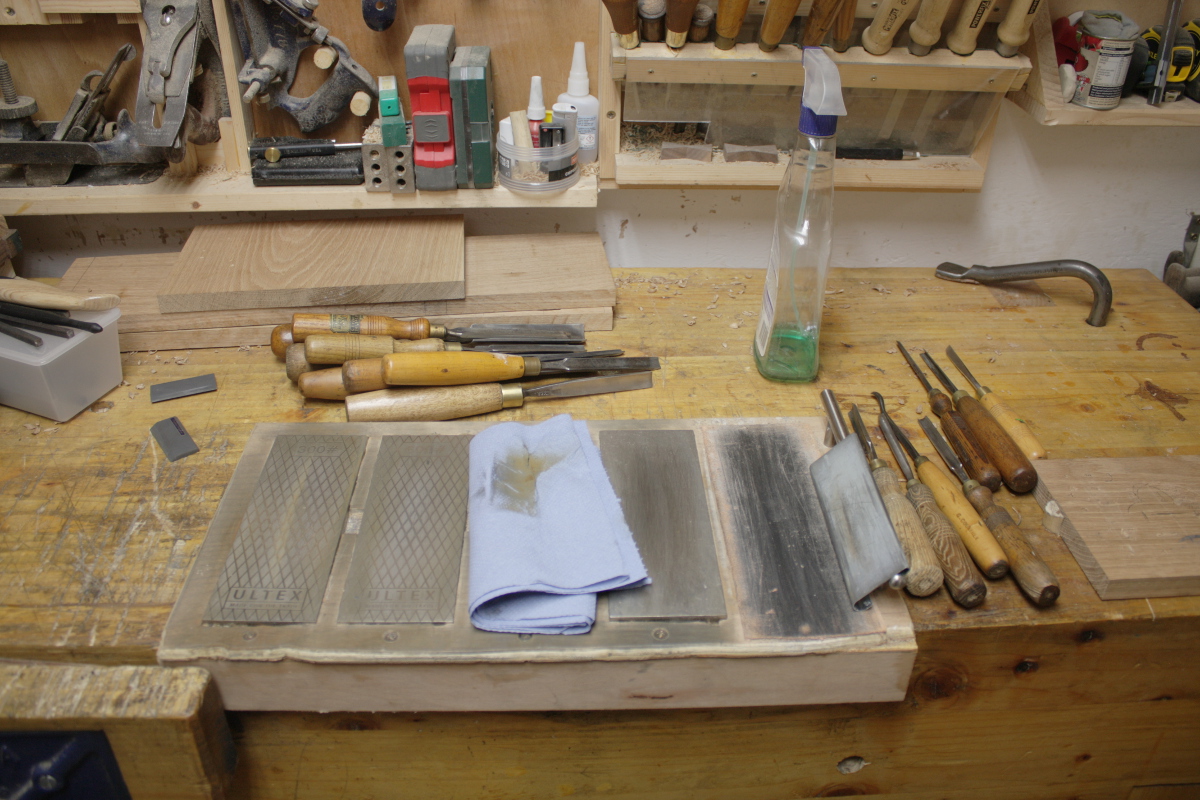
After noticing all the chipping out I was getting, and some awkwardness with the v-tool work, I took the entire carving toolroll out and took the grinder off the wall.

Then I pushed my luck by squaring the ends of the gouges and v-tools on the side of the stone. Don’t do this, it’s not a great idea for anything stressful and figuring out what qualifies as stressful isn’t clear. In my case I took off less than a half-mm or so of length at most and the thickness was minimal because it was at the edge.
After that, reground the bevel on everything to a more acute angle (around about 25 degrees or so) and even more acute on one of the v-tools for an experiment.

And then out with the diamond plates and lots and lots of rubbing stuff back and forth at a consistent angle while rotating the tool to grind the faces evenly – I’m understanding why things like Tormeks and Sorby’s belt grinder yoke are so popular with woodturners, this would be hellish if you had to be doing it every hour or two. Mind you, you can endure a fair bit of hell before shelling out €400 or so…

After all that, back to carving.
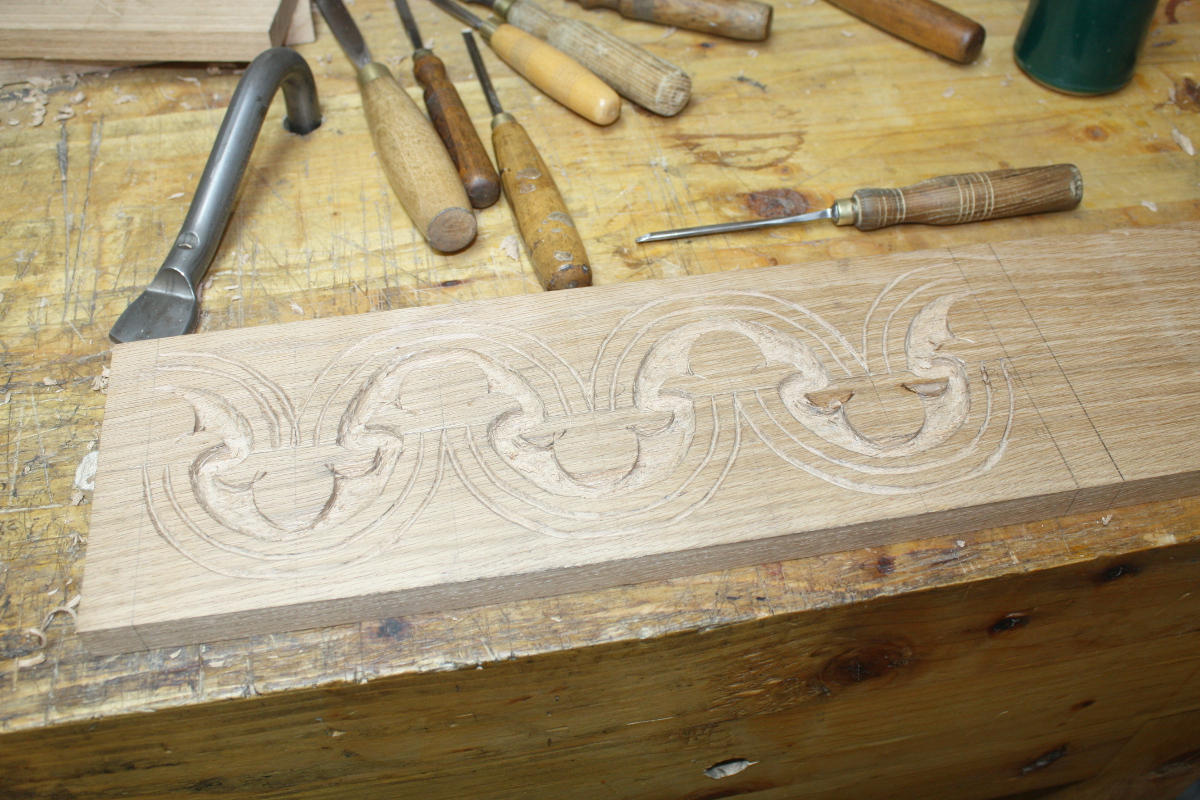
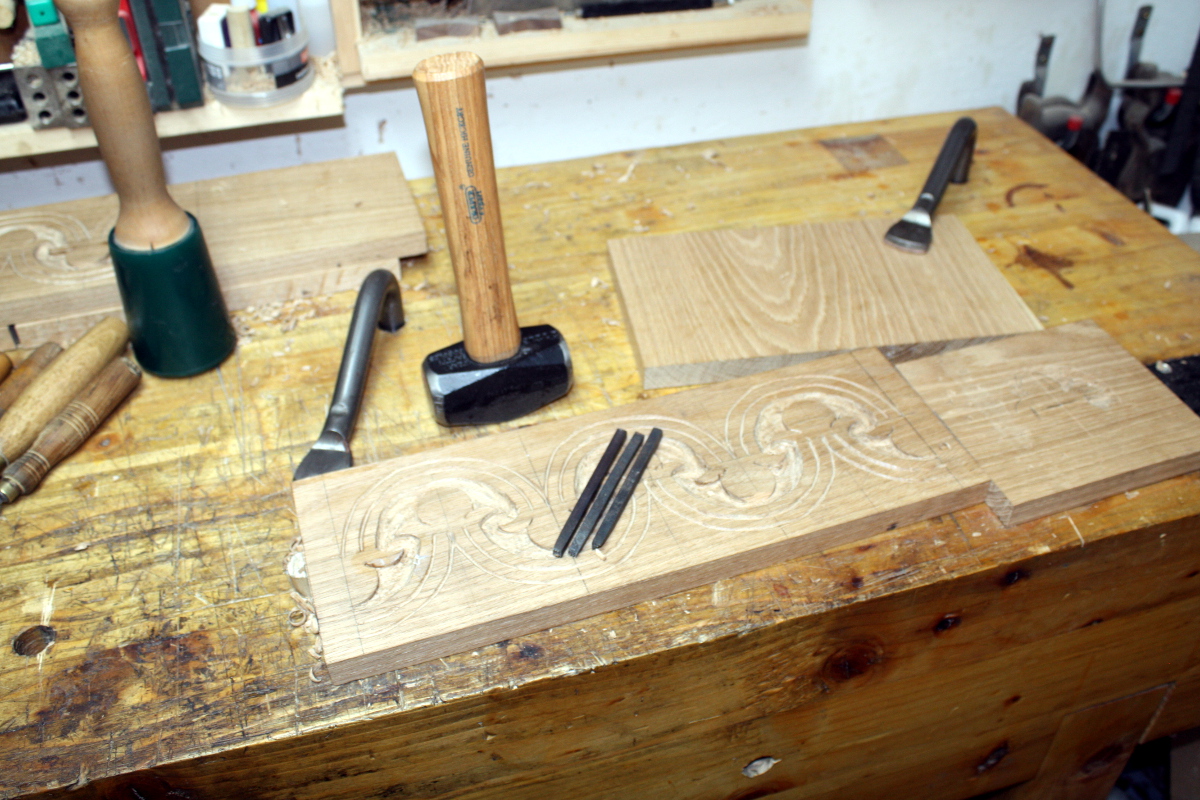
Mostly it was cleaning up the outline a bit (rechopping with sharp gouges did help) and taking down the background a bit further helped as well. Then stippling, but the main punch I use for that was in need of a touch-up as well. In case you’re wondering how that’s done, it’s not exactly complicated:
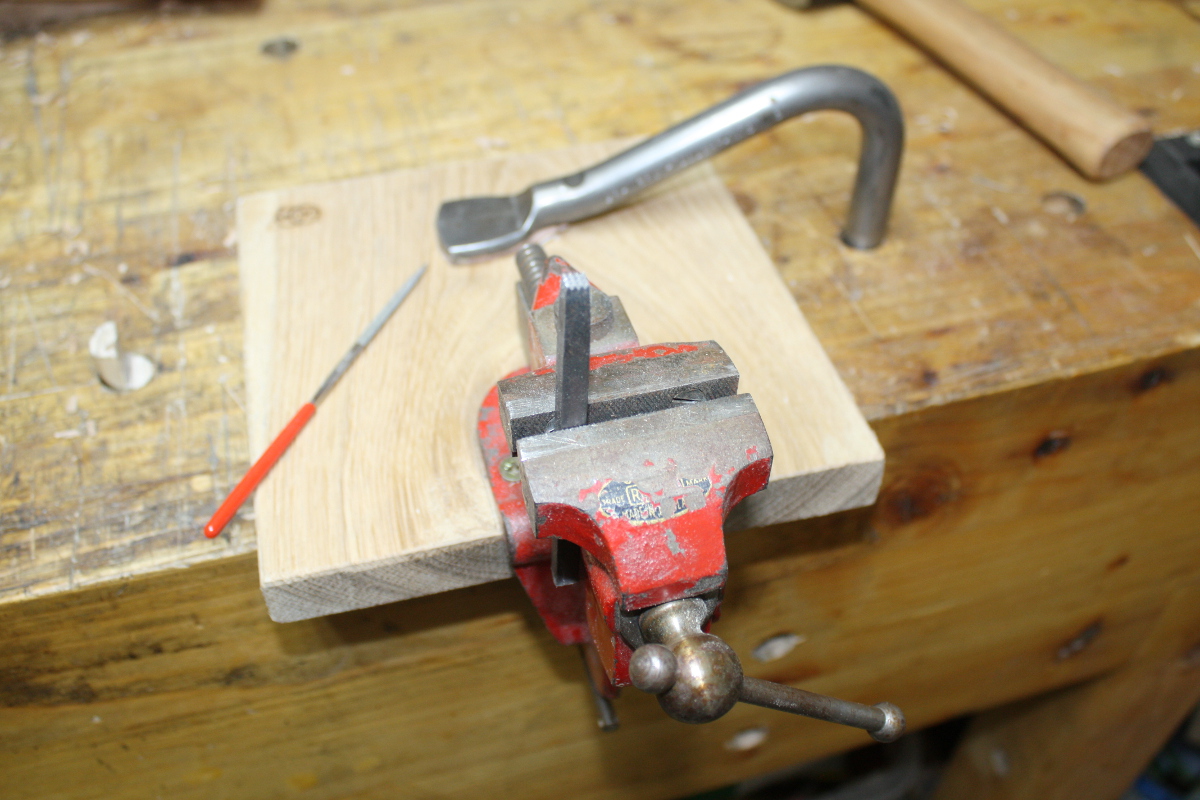
I do like that imp vice. Handy little thing. The diamond file is Lidl’s cheapest but it did the job well enough, and you have enough diamond coating left on it afterwards to do at least one more touch-up…
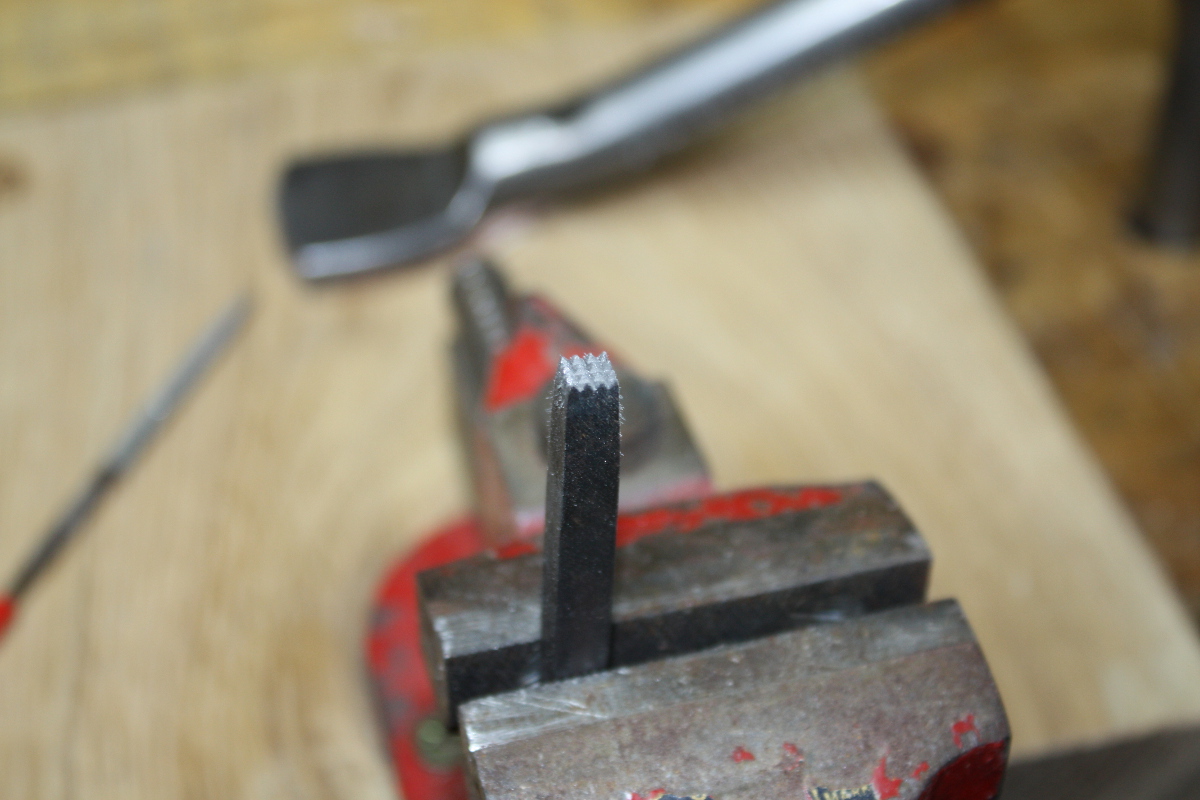
Still, did the job and I know I have a better set of needle files somewhere, I just couldn’t find them (having two projects in flight at once in a shed of this size is a mistake).
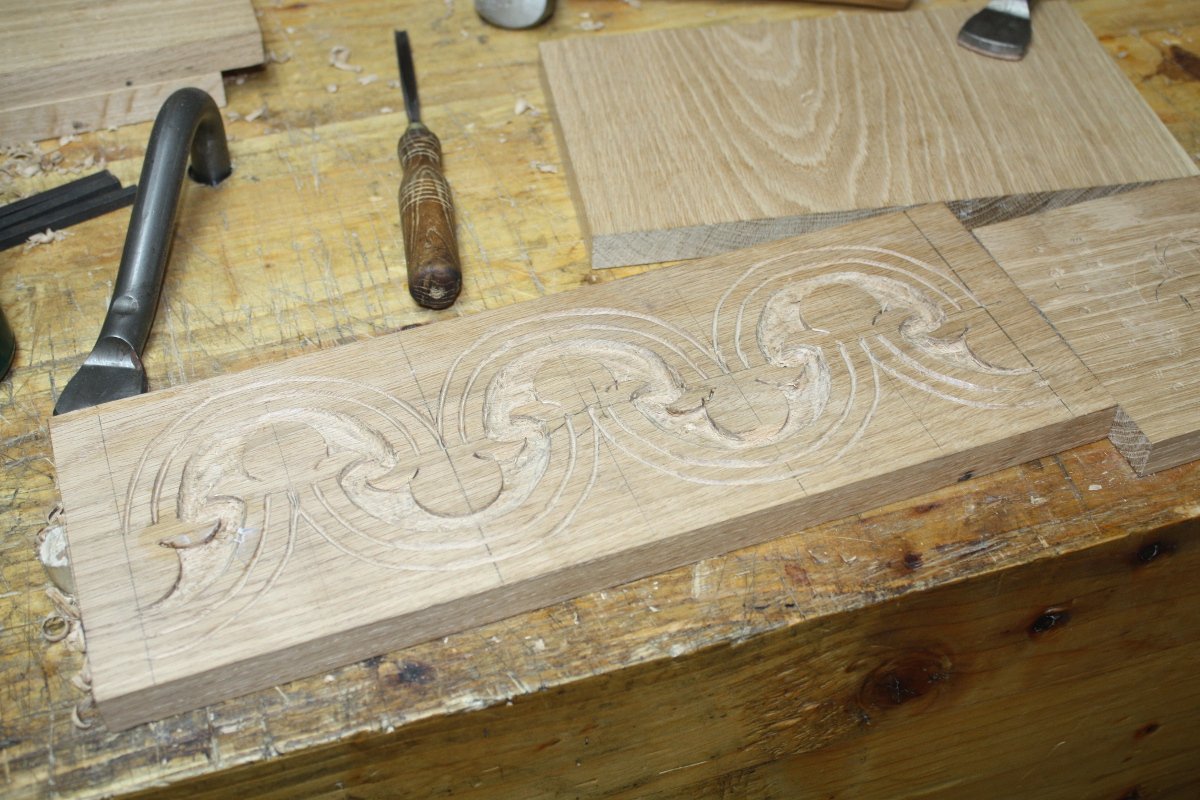
Then stippled the background and added a few small details like another v-tool cut and some stop-cut chips and so on, then daubed on some linseed oil to see what it looked like.
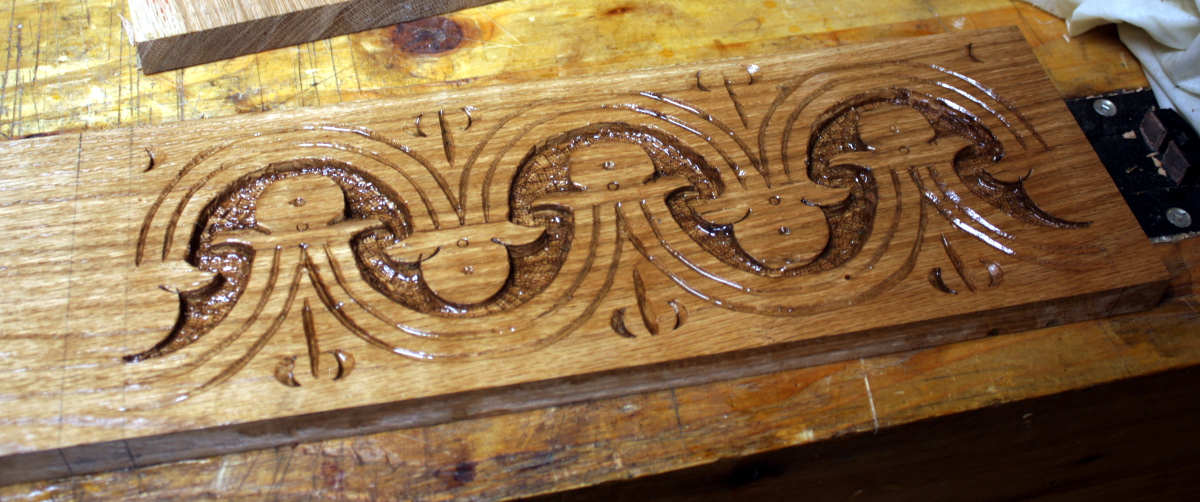
It’s okay… I’m not convinced yet. I do have another idea in the back of my mind that I did some testing with today but it’ll be a few days before I know what that turns out like. More on that later. Unless it’s embarrassingly terrible…
03
Mar 19

Chop, chop, swear, pare, swear more, stamp, stamp…

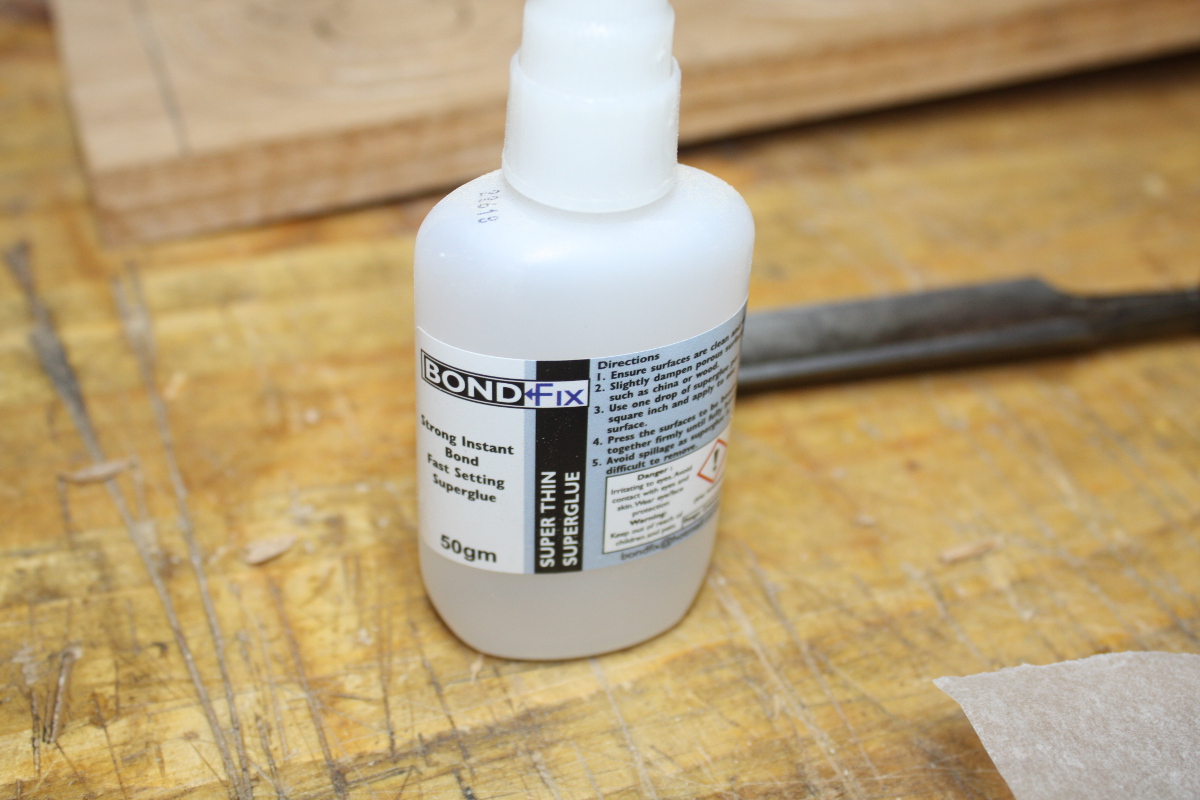
The title is annoyingly descriptive of the process, but on we go. Unwrapped the boards, and discovered silicone will stick to CA glue and oak…

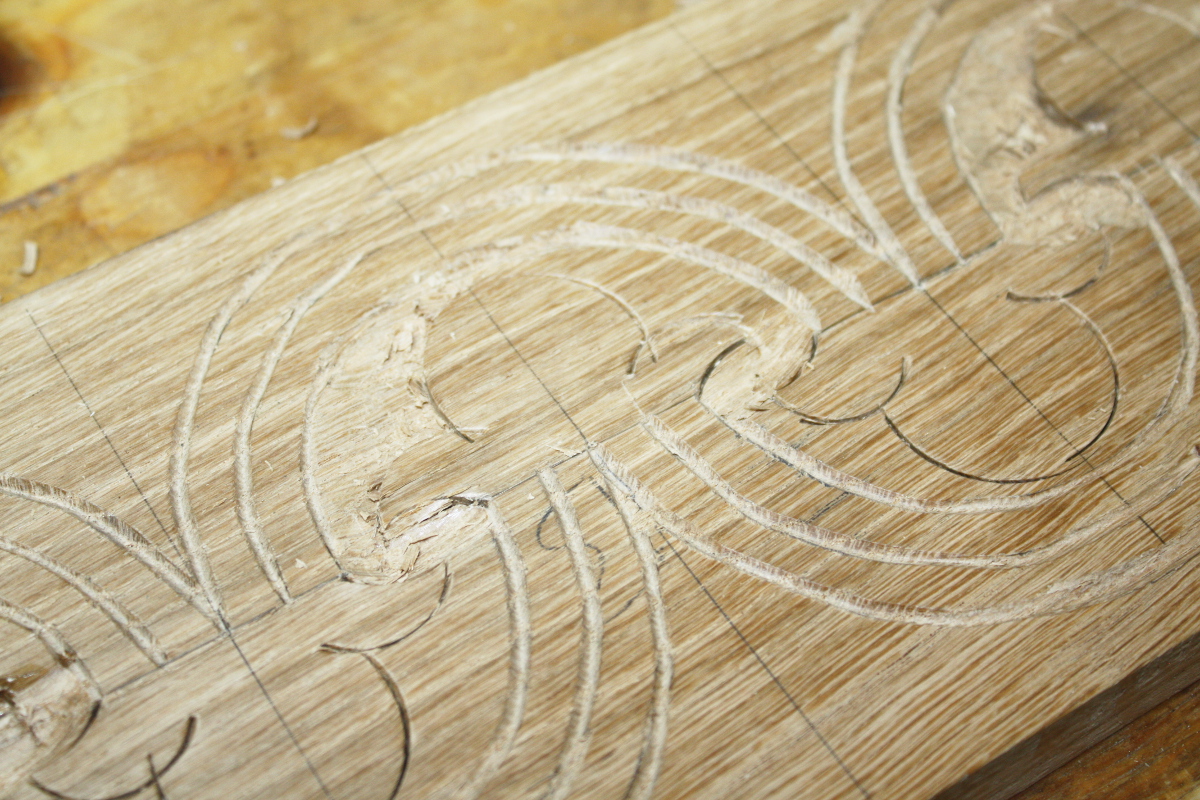
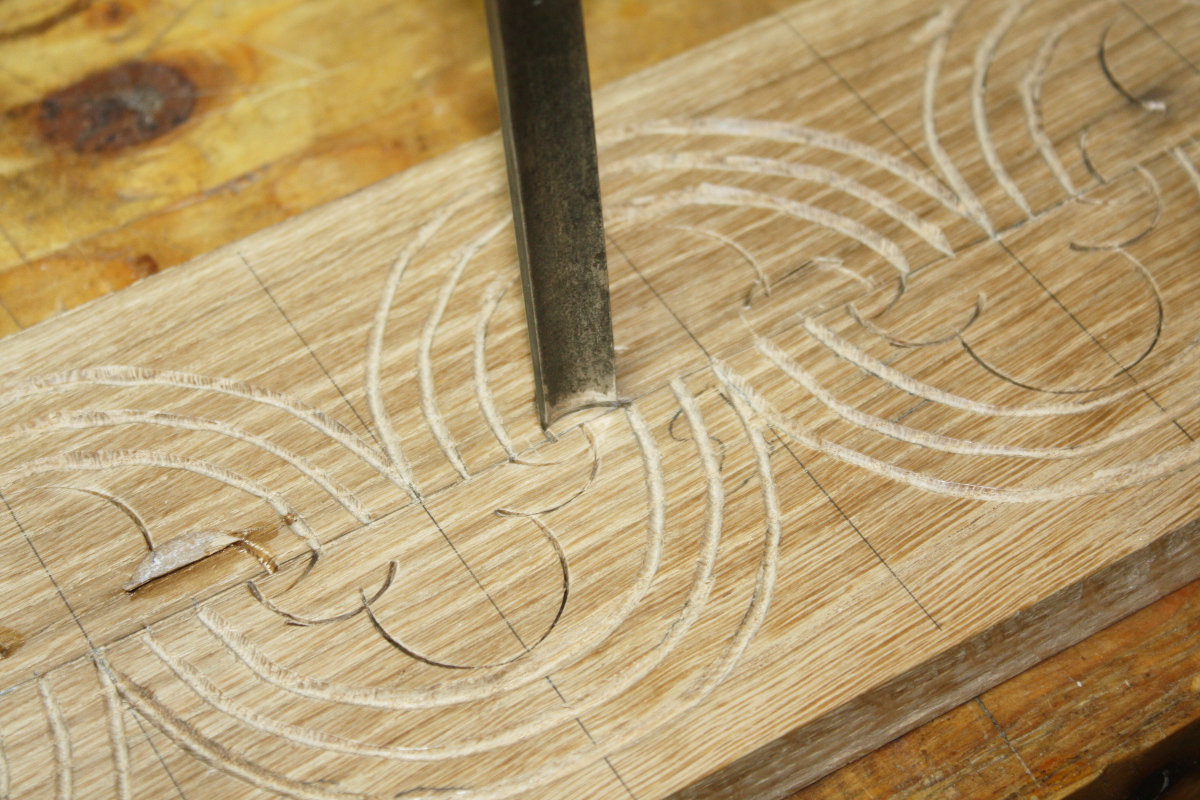
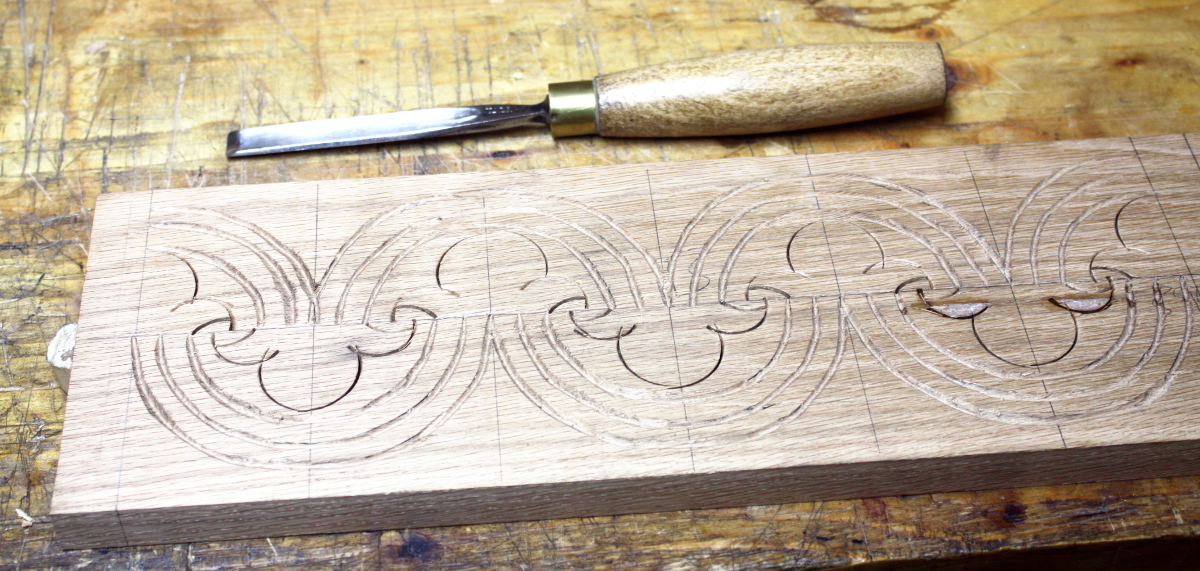
Chopped the last line of the outline with a third gouge (this one was in-canel, so I chipped out waaaaay too many pieces on the back of the box before getting to grips with it).

It looks a bit confused because you have a few lines crossing but those areas are going away so that’s okay. Now out with a shallow gouge to remove the backdrop and I know it’s what Follansbee’s tutorials say is the right tool but it was next to useless for this design for me. I don’t know if it was because the design is small compared to his norm and it’d be better on a larger pattern, but I stopped using it almost immediately and resorted to two smaller gouges with tighter sweeps. I think I need to start stalking ebay for gouges and V-tools again, this shouldn’t be this hard.

Chip, chip chip. The surface keeps chipping with even the slightest slip. I get the feeling this is down to material as well – Follansbee rives out green oak and lets it dry for only a week or four; I’m using flatsawn kiln-dried oak.

One of these days, when I have a bigger shed and a way to handle forty pounds of wood shavings, I’ll find a source for oak logs and then we’ll see how badly I can muck this up…

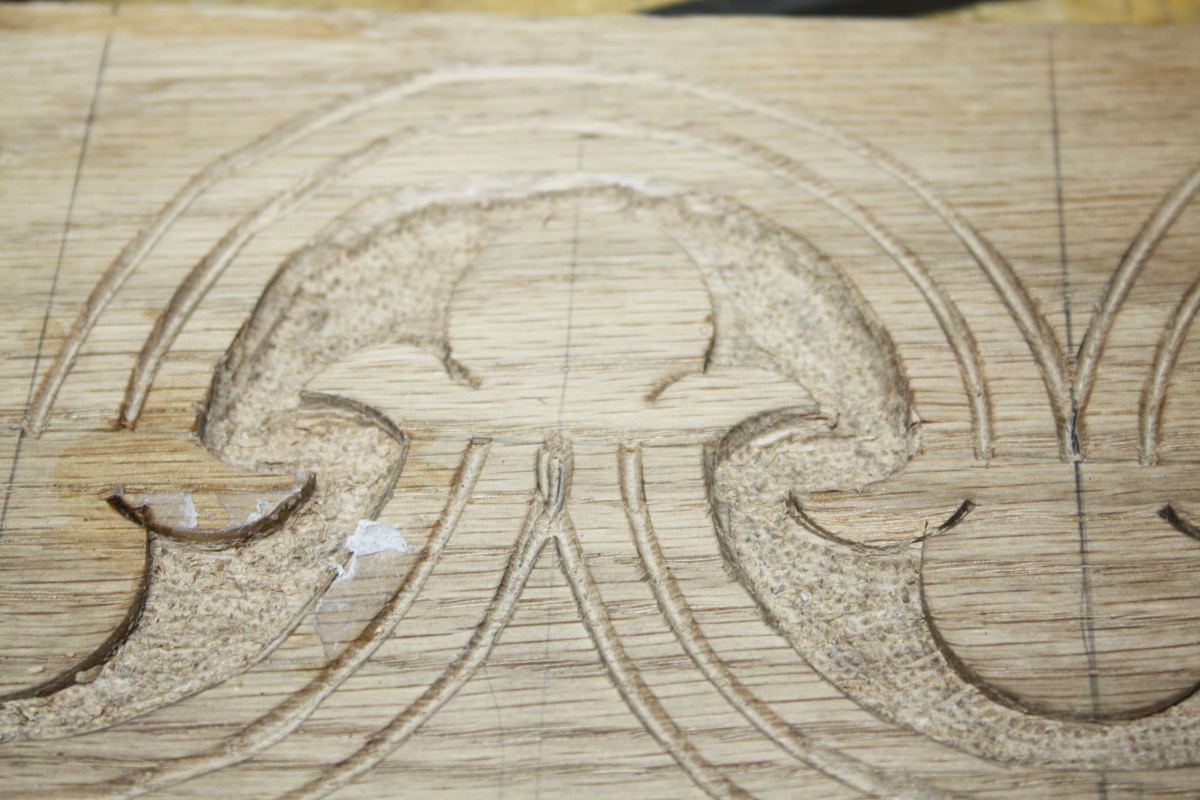
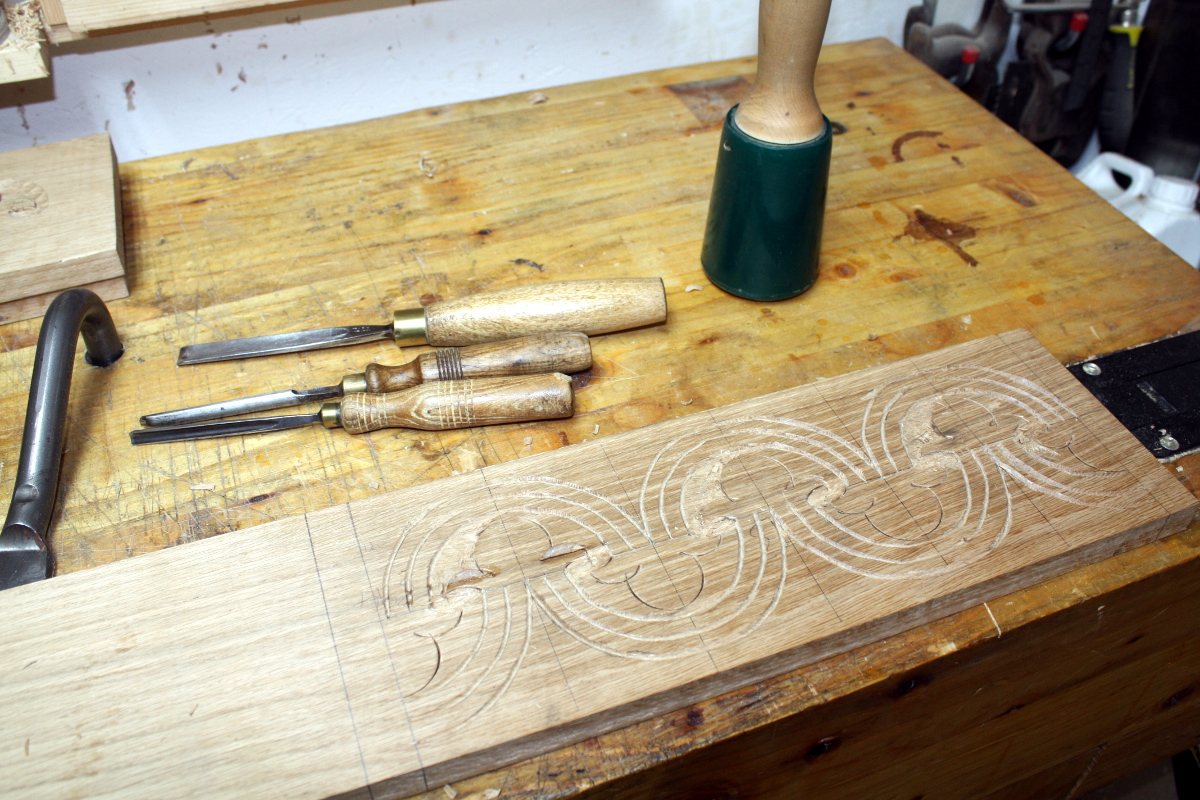
I thought taking down the background would be the simple part of this, and that the V-tool and outline would be far harder. Not that I got either of those right, but they were a lot less work. Three hours, I got the front and back boards done, but not the sides. I figured I’d do those on Sunday and I dug out the punches for stippling the background because that should be simple enough…

And actually, this part wasn’t too bad. Before I do the stippling for the other sides I want to refile the teeth on the end of the punches though, they’re getting a little dull (not from this, they’re just old).

It does make a difference. The chipping and the colour (which isn’t great, the oak looks kinda grubby, I think it’s picking up sweat from my hands, and I need to clean that up at the end) did give me a neat idea for something to do with this and I might carve another scrap piece of oak to test that idea out, more on that later.

The idea was to finish all this up on Sunday, after doing the weekly shopping run, but Freya had other ideas…


Yeah, nope. I’ll get to it later…


25
Feb 19

Chop chop

So V-tool work done, time for the vertical gouge chops that make up the design on the box. After ten minutes of sharpening and stoning and stropping of course.

Chops one and two. I kindof wanted this to be more pointy at the top, but I didn’t have a gouge of the right curvature and size. Anyway, do this for all the boards...

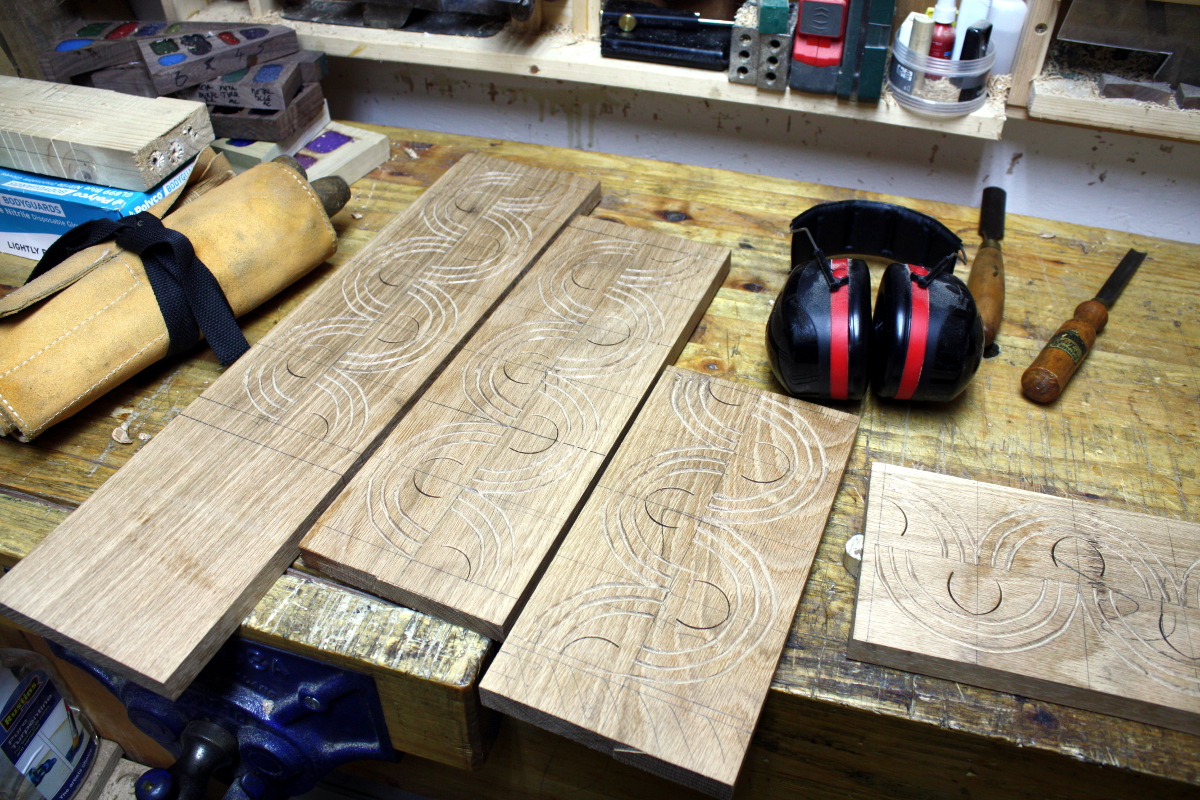
Yes, you need the Peltors. Small shed, loud echos. On to the next gouge and chops three through six…

Yeah, the size of that central lobe looks a bit off. Well, we’ll see. Why the clamps and greaseproof paper? Because on a few gouge chops, the top later of the oak fractured (I bet Peter Follansbee doesn’t have to put up with this), and out came one of the more used tools in the shed…

How often is it used? Er…

Yeah. All four sides. Le sigh. Well, that’s me done for the evening so. Next time, next gouge and the last heavy chops to establish the pattern.