06
May 19

Finished!

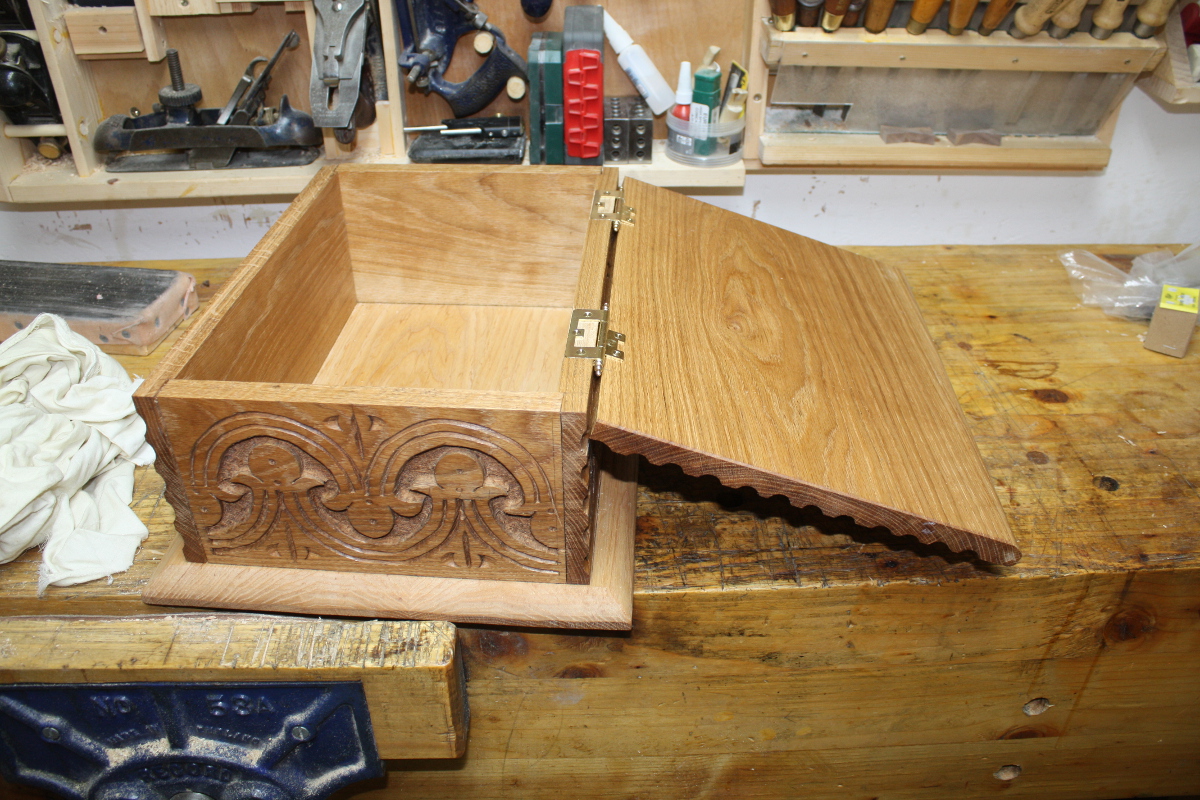
Adding the hinges actually worked this time. I have no idea why. I morticed them the same way I usually do, though I did take more time with the fitting to the lid and setting up for workholding with shims and such. I still think I have particularly cheap hardware to work with though – one set of Brusso hinges probably costs more than my entire little stock of hinges and hardware. And I think they’re all too shiny as well; a 17thC style oak box should have black or at most bronze hardware; and really a forged or cast iron set would be ideal. But this is faux-17thC so I can get away with blue murder 😀

Honestly, they’re garish. But they’re all I have and the deadline for delivery was over a week ago – the baby this is intended to hold blankets for was born ten days ago now. One of these days I’ll get these projects done on time or convince someone to delay a deadline for once 😀

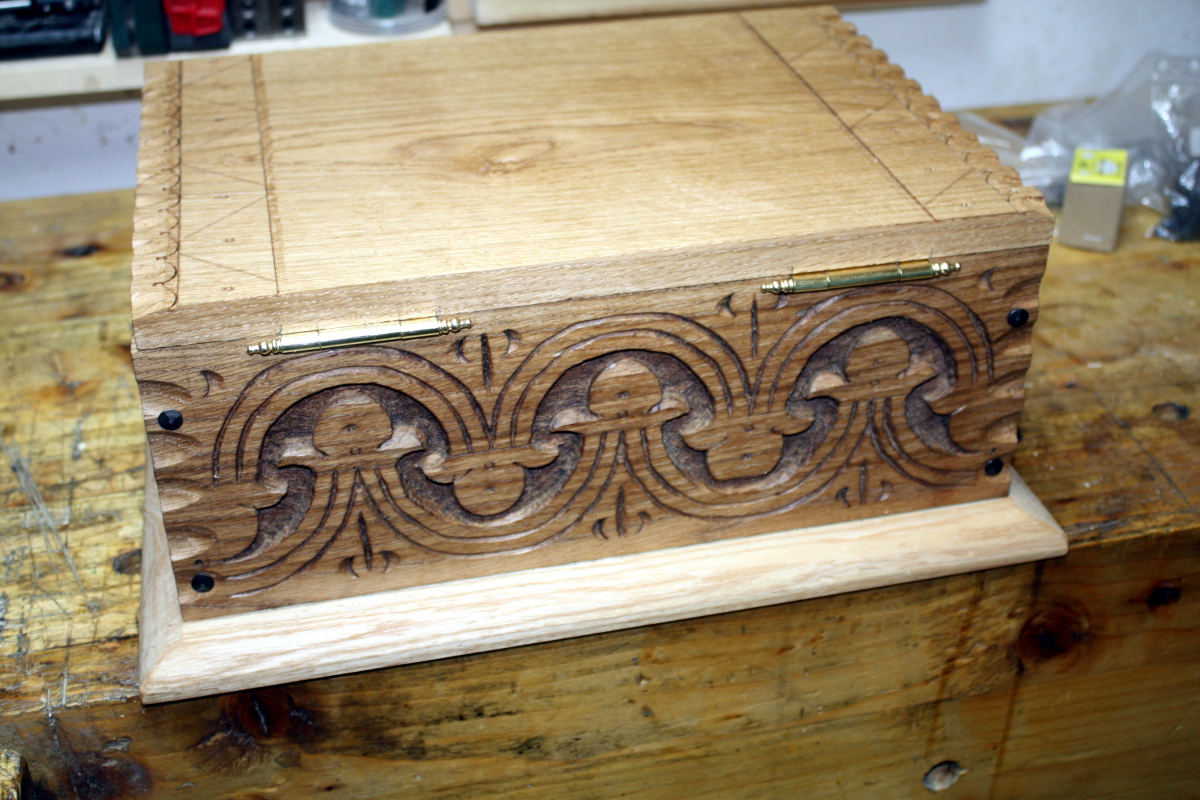
They’re not as jarring from the front, happily. But they still clash with the other ironware.

I really need to use a stay on these I think, but I don’t have one to hand. I foresee a small spending spree in the near future…

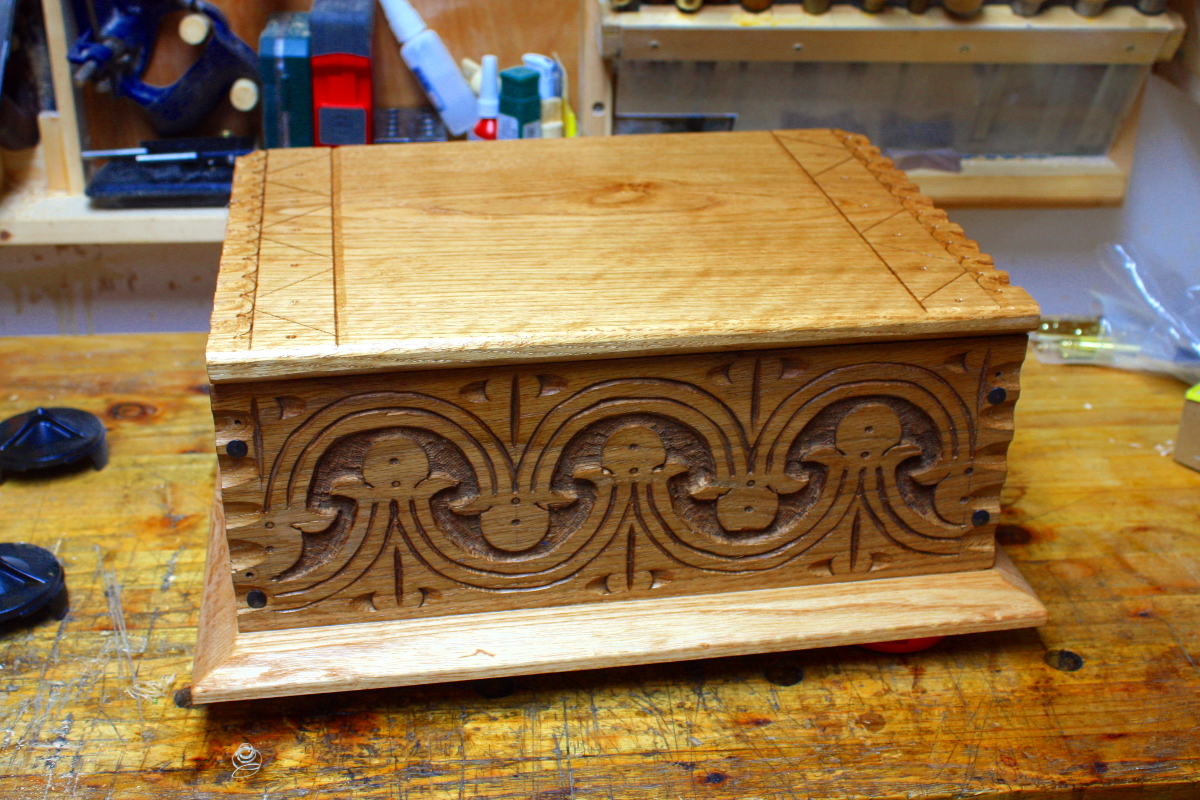
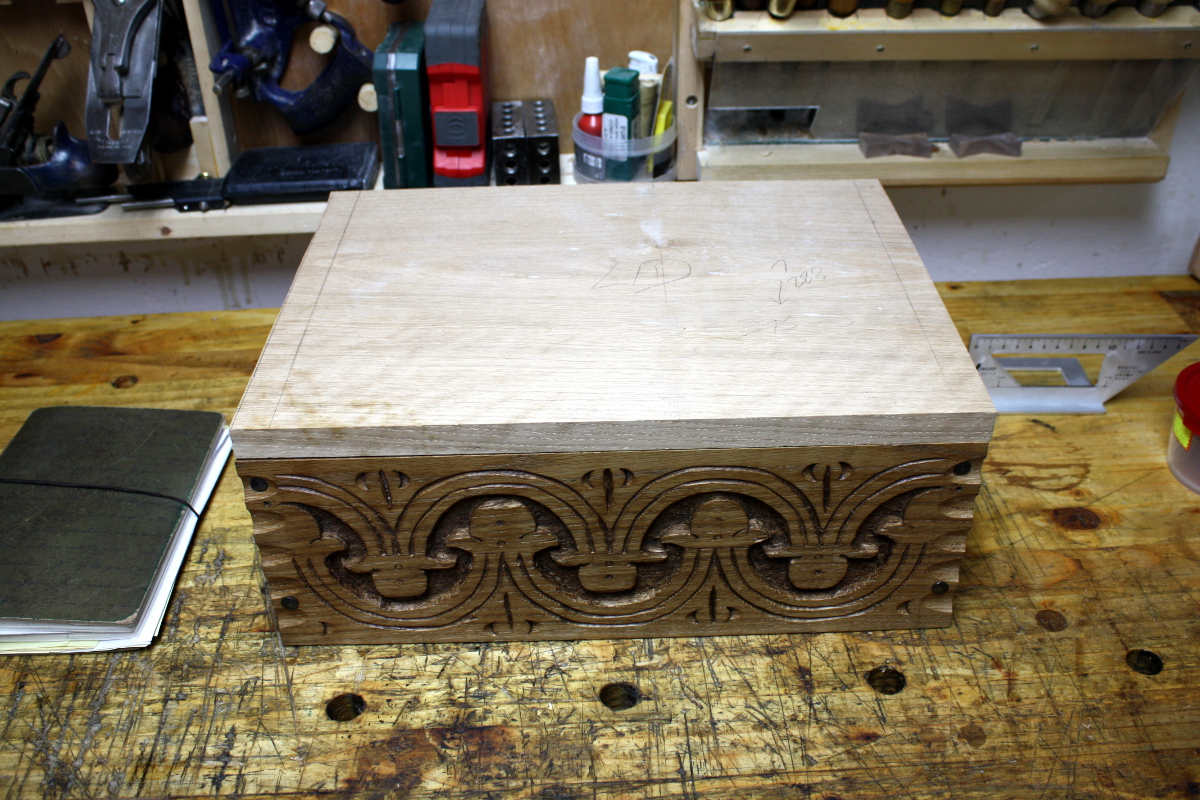
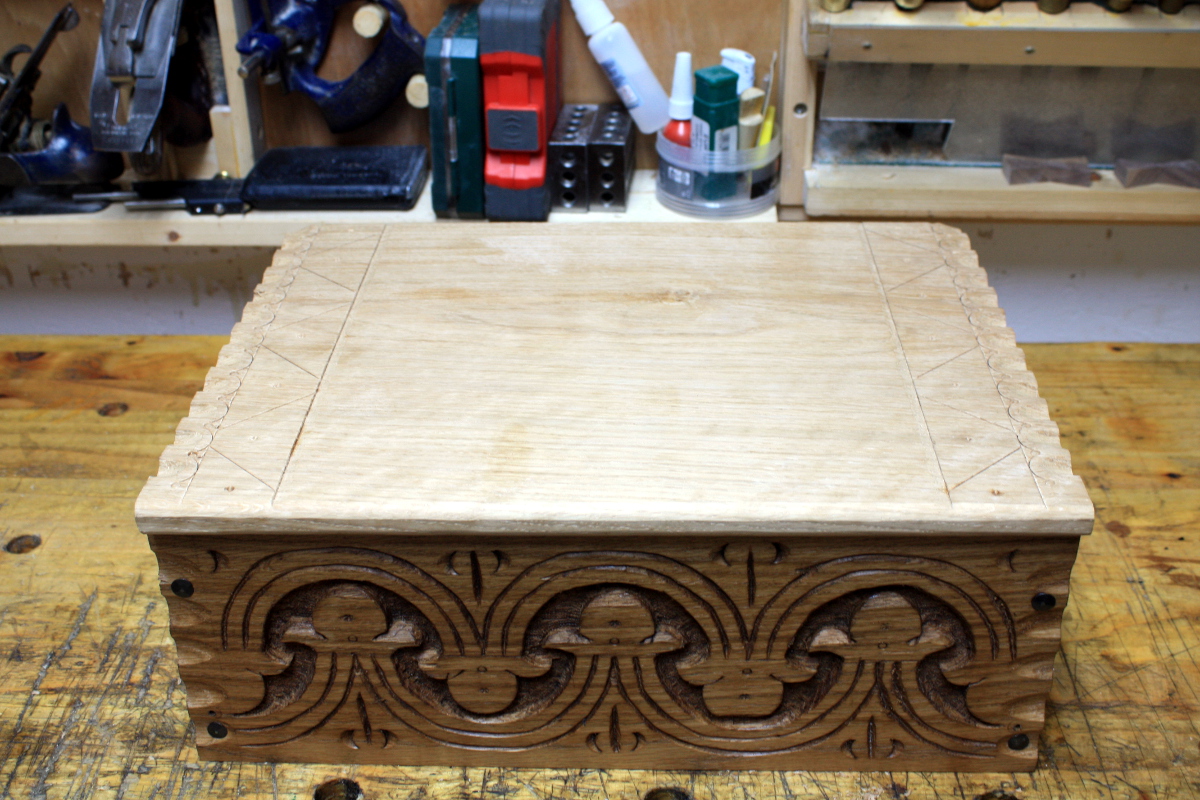
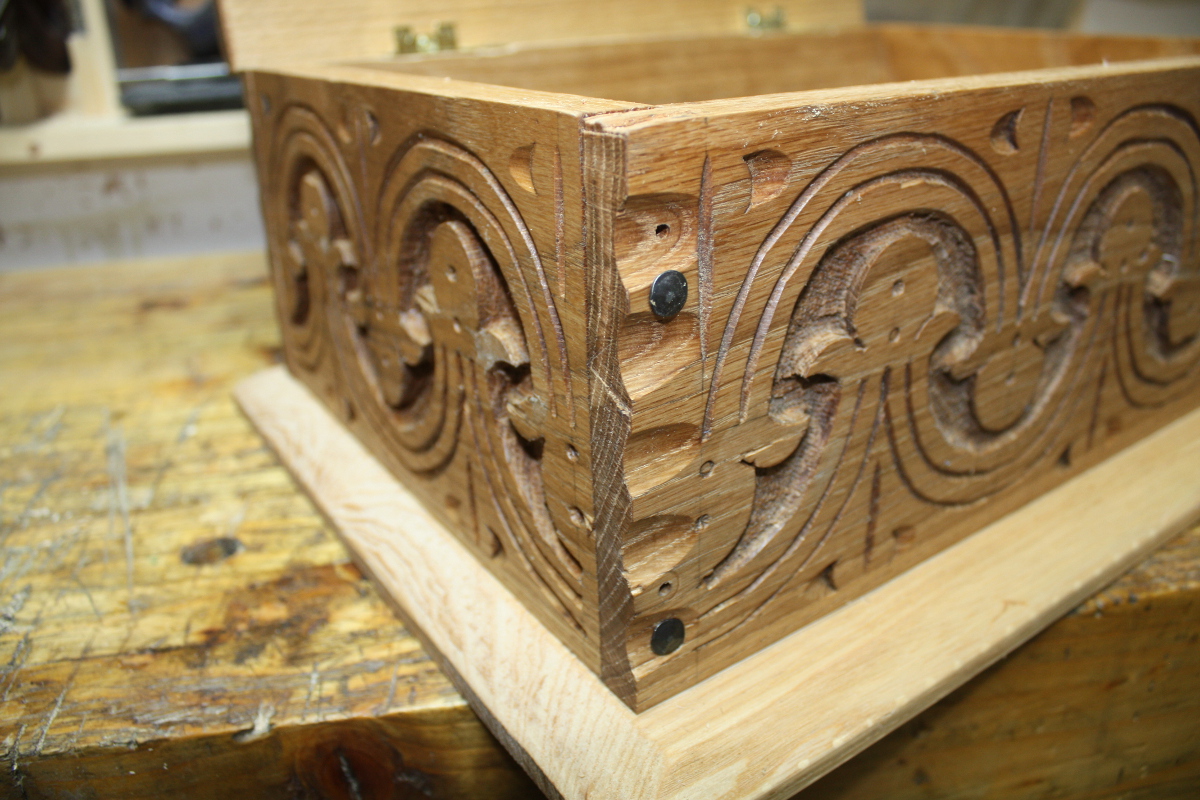
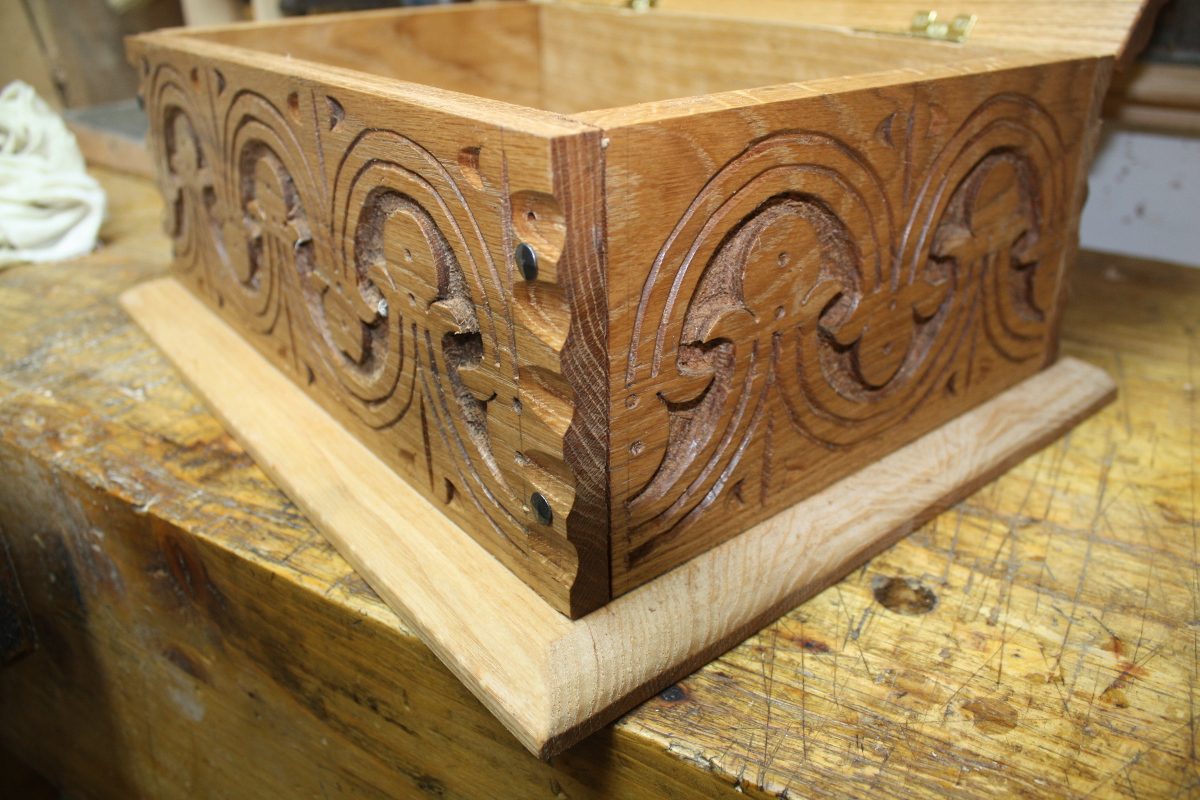
But for now, this project is done. Faux-17thC carved oak box with oak lid and ash base, finished with a simple coat of boiled linseed oil. Sized to hold mothercare cellular blankets that have been folded while you’re half-dead from exhaustion dealing with a newborn and two older siblings.

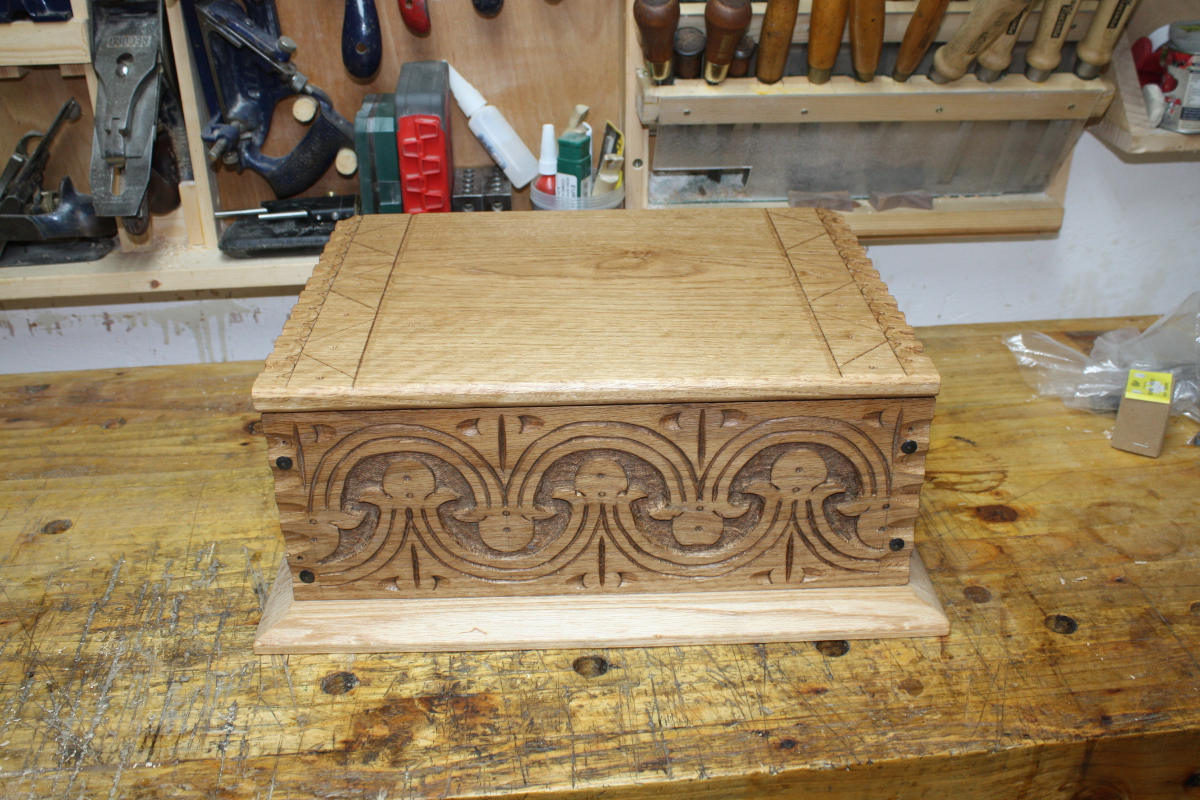
Even herself was impressed, so it must look okay 😀

Next up, cleaning down the last few bits remaining from this build, and then back to the inlay and decoration work for Calum’s desk/shelf unit. Primary school starts this autumn, so I only have a few months and at the rate I’m getting to the shed these days, that’s a tight deadline 😀

original plans

05
May 19

Getting closer…

Slightly busy day so not as much time in the shed as you’d like (which is, obviously, all of the time). But I did get the glued-up panel for the base cleaned up, marked out with the base so I could scribe the inside and outside of the walls to let the nail pilot holes be marked. Trimmed the base to size, drilled the pilot holes, shaped the edges with a simple roundover using a #05 to hog out most of the waste and a #04 to smooth a bit (and then some sandpaper and a block plane to break edges).

The hinges still have to be done, but I did get some BLO on there…

Tomorrow, hinges…


04
May 19

Lid and base

May day bank holiday weekend. Going to try to finish up the box. First up, the lid, which I already have a piece prepped for:

Also, bought two new tools, this time off aliexpress.com rather than ebay.co.uk. You wouldn’t think of aliexpress for hand woodworking tools, but there are a few…

A clone of the shinwa saddle mitre square, and…

A marking gauge. Works like a normal marking gauge on the right hand side there; on the left hand side, you have two contact points that rotate, so you can mark a line “parallel” to a curved edge. Neat.

Oh, and I want to try that resin experiment again, but this time seal the oak grain so the resin can’t wick into it.

The lid’s been sitting around for a while. It had twisted very slightly. Fixed that with a few #04 swipes and then took the #80 to the surface to clean it up nicely, with a few focussed bits from the cabinet scraper. With that done…

Just a little decoration on the top.

Some straight-chisel work, and then I want to treat the long lines like a knife wall, so there’ll be a little low relief to it.

That’ll do. Next, gouges…

A bit of experimentation and picked out two.

Right, so chopping with the larger chisel to set up the pattern:

And now use the smaller gouge to take out some scallops so the endgrain edge has some decoration.

Okay, now some punchwork to add a few decorative points.

I’m happy with that.

Okay, now just some breaking of edges and shaping of the front edge:

Gooseneck scrapers are great for this.

Okay, that’s the lid done.

Add some linseed oil and that’ll fit in nicely.

Now the base. I don’t have enough ash offcuts to make a shiplap base, annoyingly, but I have a small offcut of an ash board that I can use if I hack it in half and make it into a panel.

Flattened it with a #05, but I’m not thicknessing this by hand.

I hate the noise, the PPE, the mess and the fuss, but the speed is nice.

Done in about 15 minutes. That would have been a few days before now.
Okay, so #05 to clean the edges, then do an edge joint with the #05 and #08 and glue up with liquid hide glue.

That’ll be ready come tomorrow and I’ll just attach the board to the base and fit the hinges, douse it in a few coats of BLO and that’ll be that.