Last few days have been the first really cold ones of the year. -2C to -3C in the shed. And work was… somewhat excessive in the last few days so tonight was the first time in the shed in a few days and a to-do list was waiting. So…
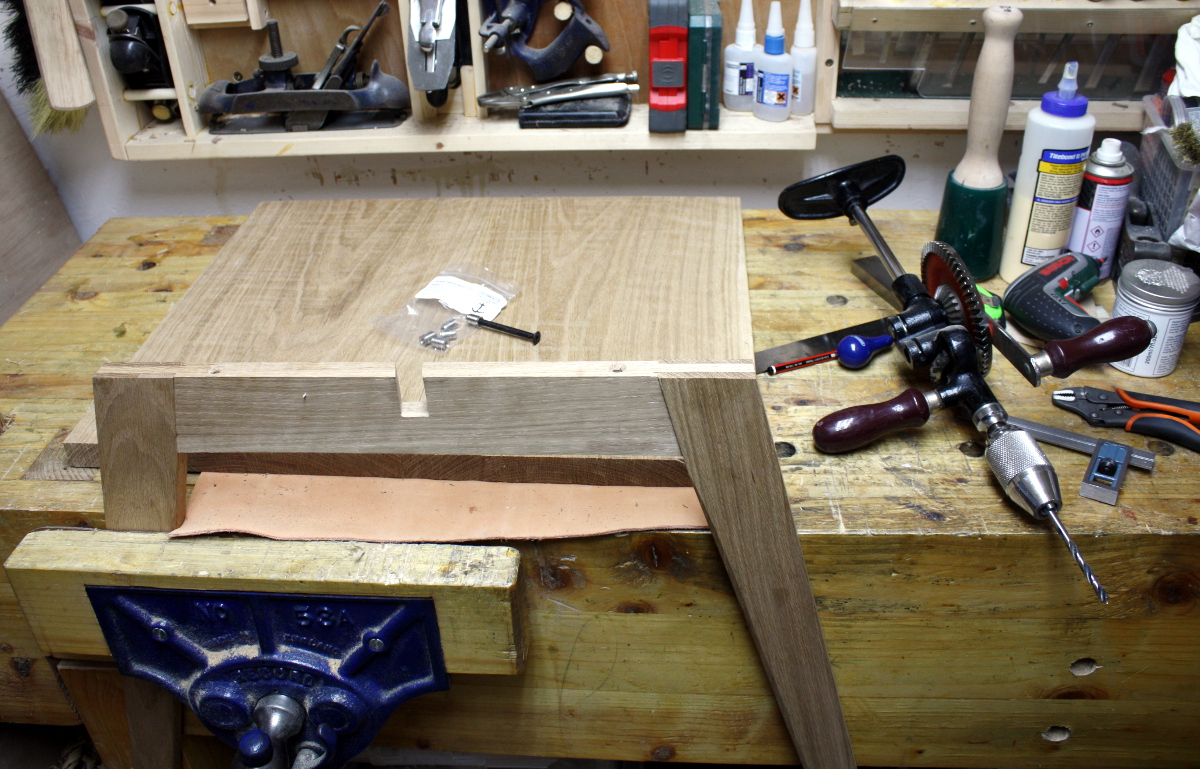
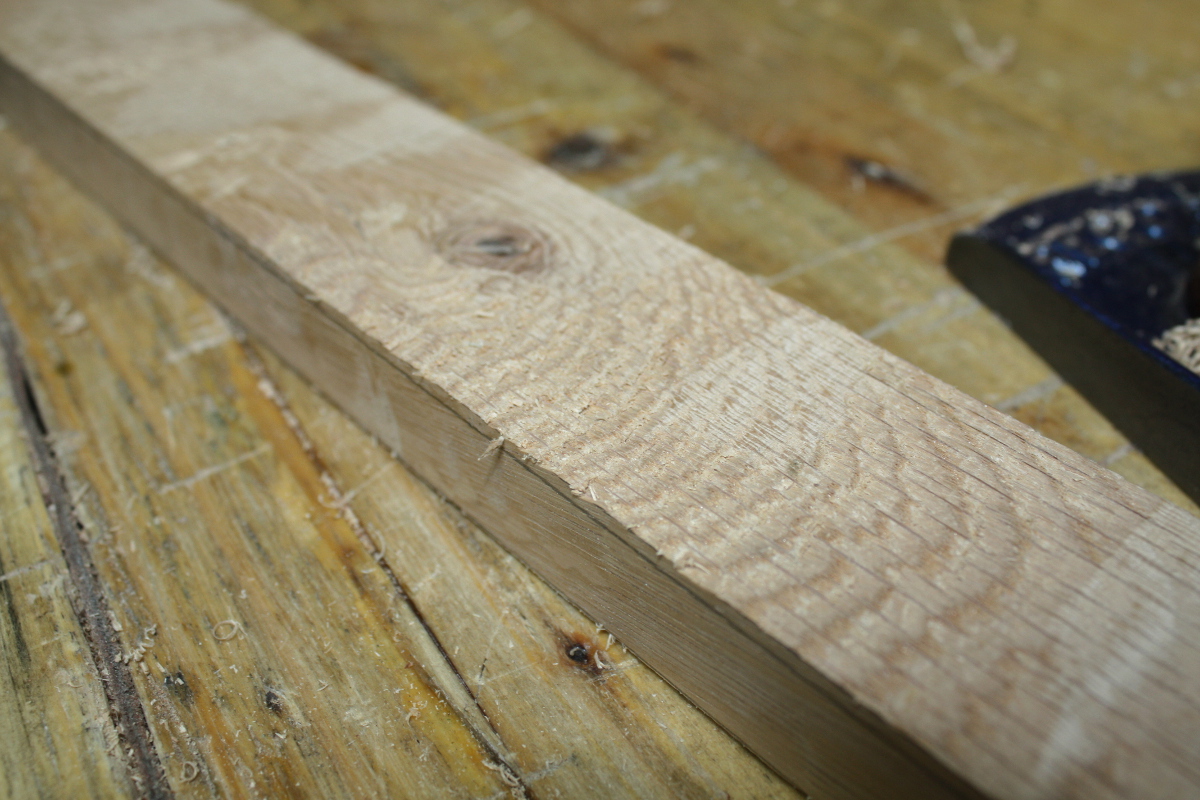
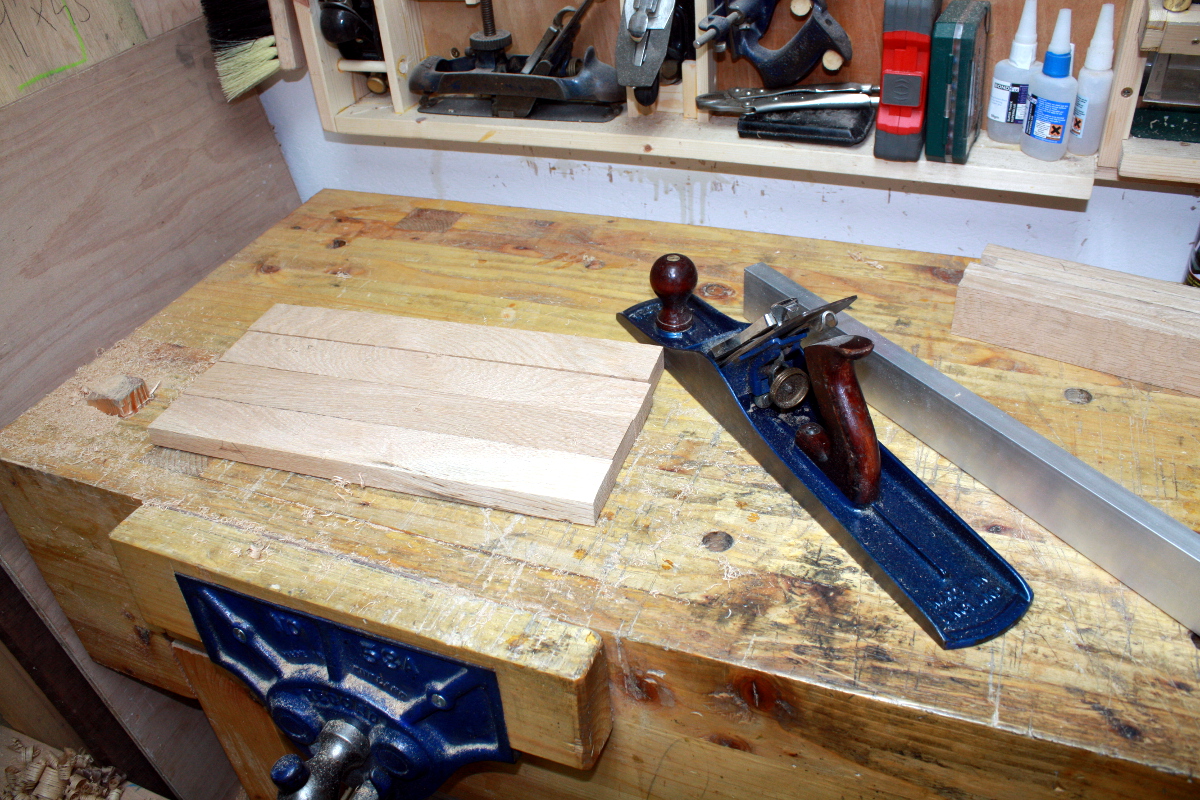
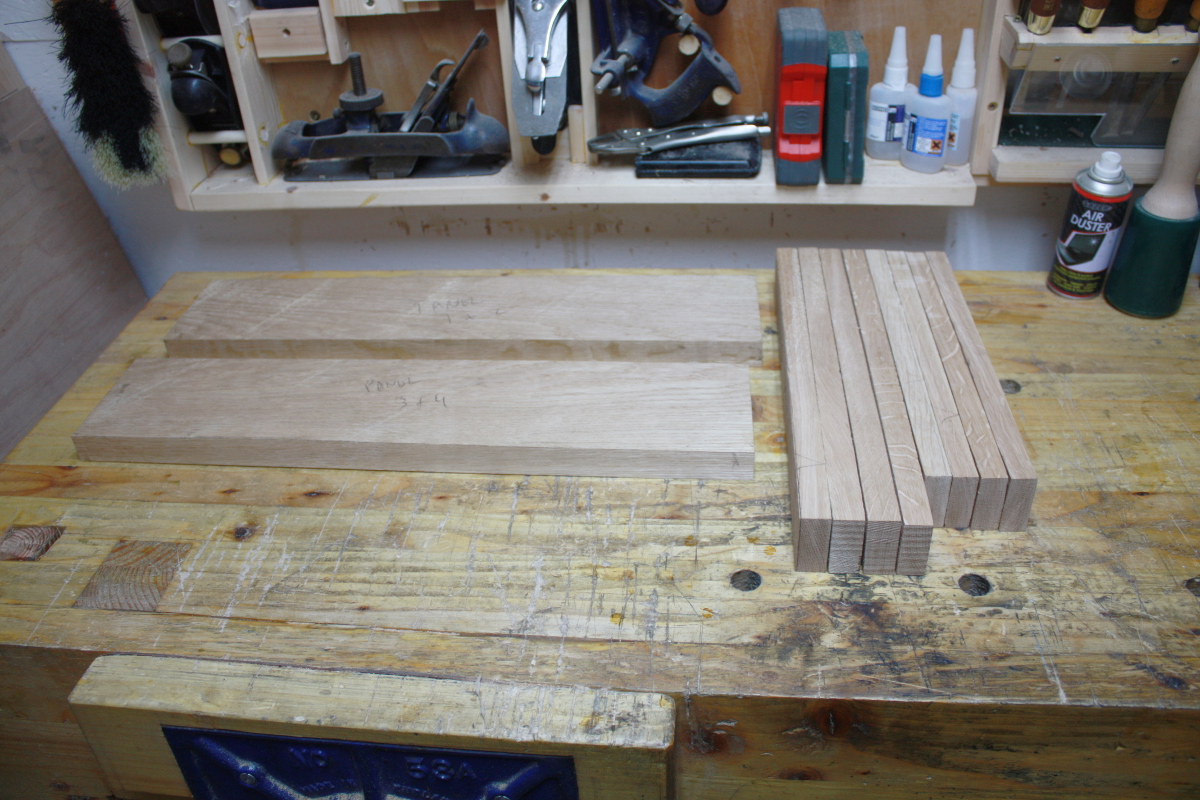
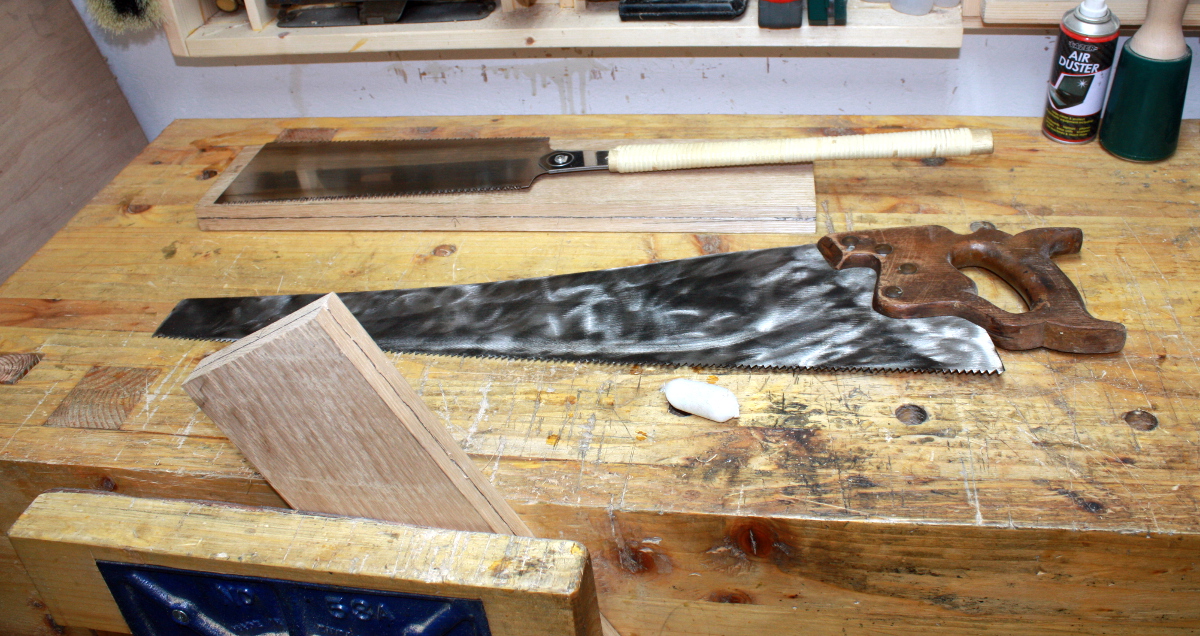
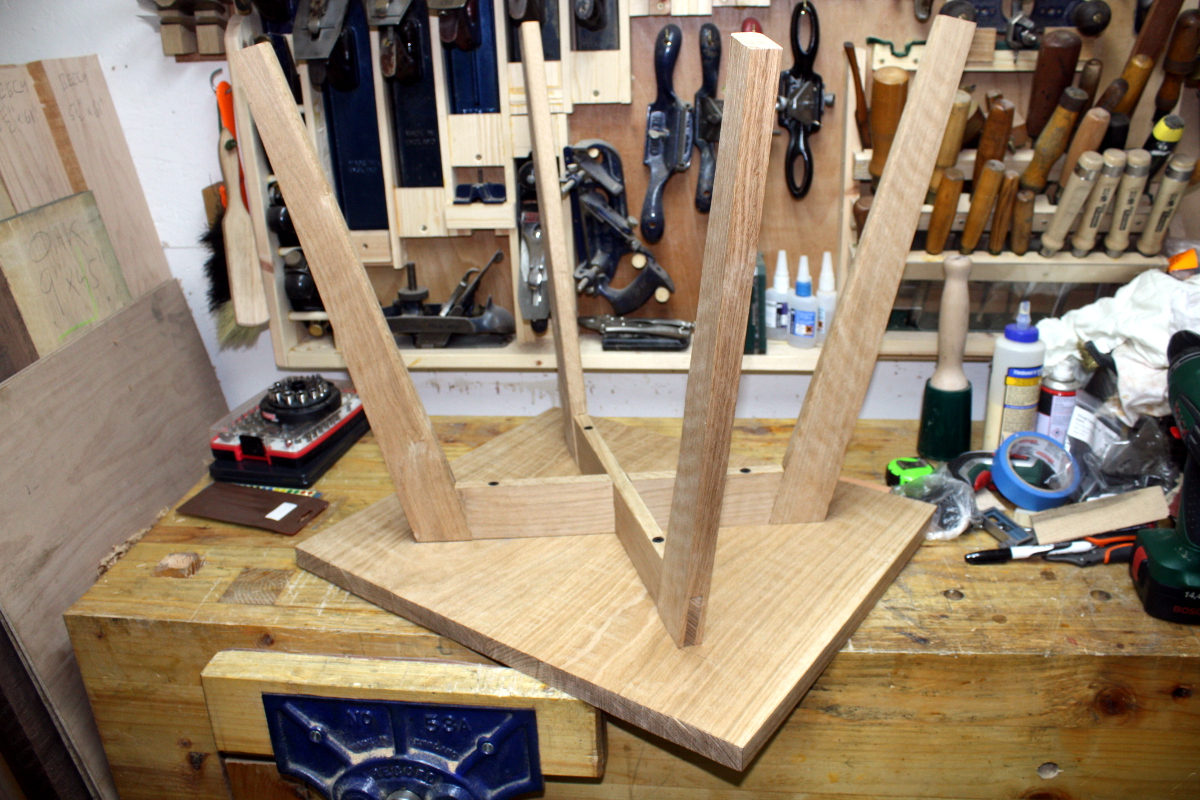
Ran a slightly larger drillbit through the aprons to give some flex room for the bolts, and flattened the top of the aprons (I also spent a half-hour before this with the scrub plane and #5 flattening the underneath of the tabletop and hand-cutting the panel to width to trim out the worst of the bandsaw wobble).
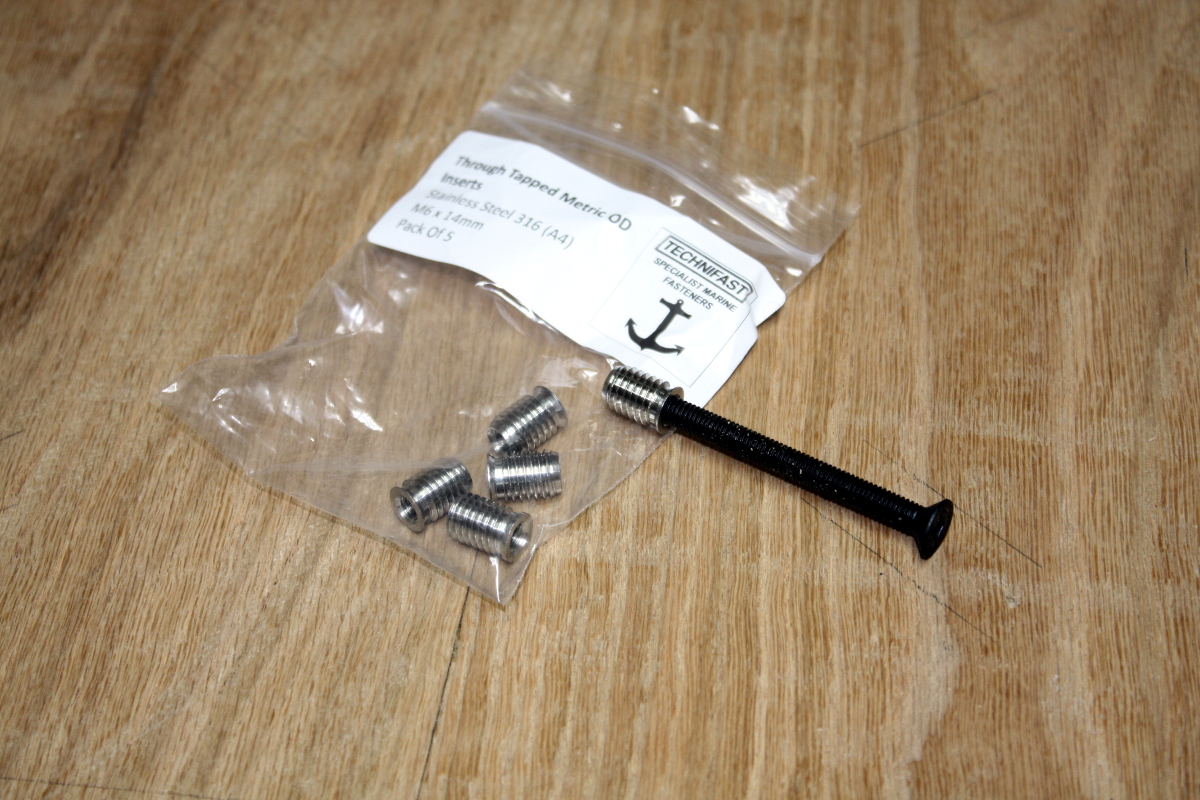
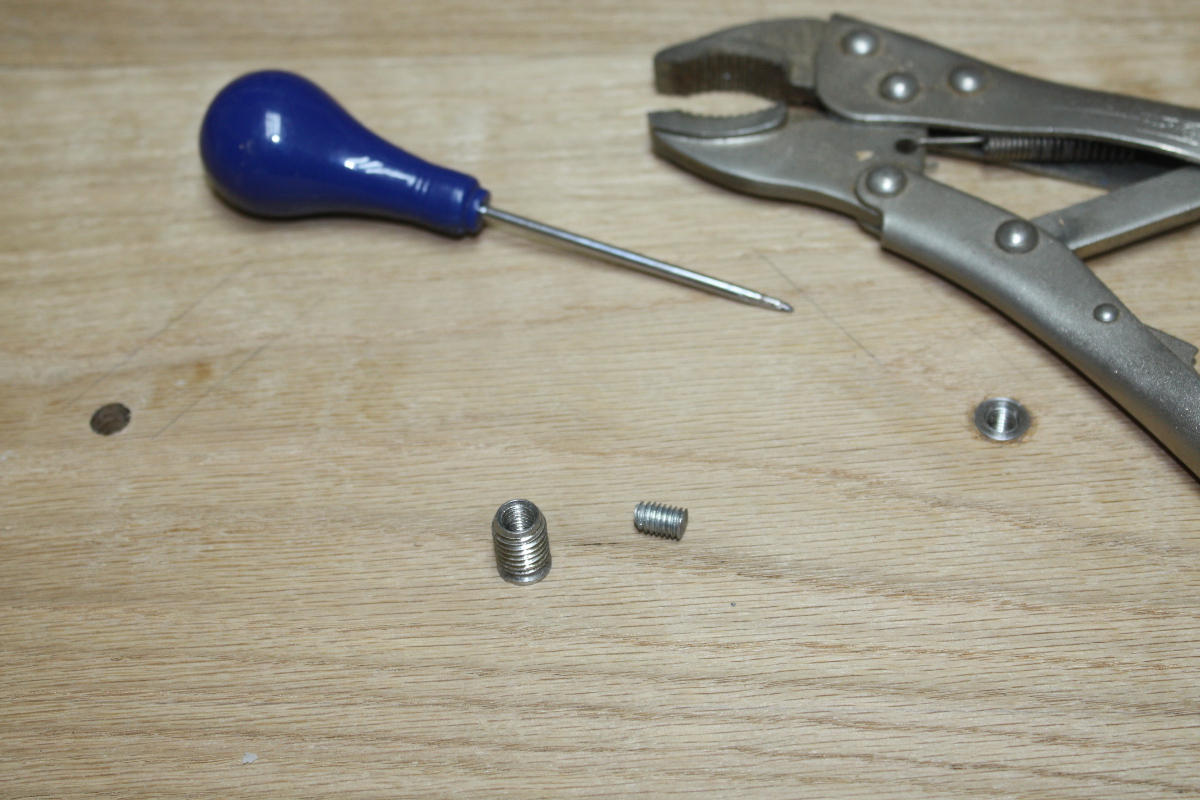
The stainless steel inserts arrived on Thursday in the post, thankfully. Seems everyone makes these in zinc-plated steel, but actual stainless is a bit hard to find.

Bit of faffing about getting the legs centered on the tabletop, then putting in the drill bit and thwacking it to mark the drilling point with the drill bit (it’s a brad boint bit).
And now it’s time to drill the holes for the inserts. Look closely enough and you can see the marked point.
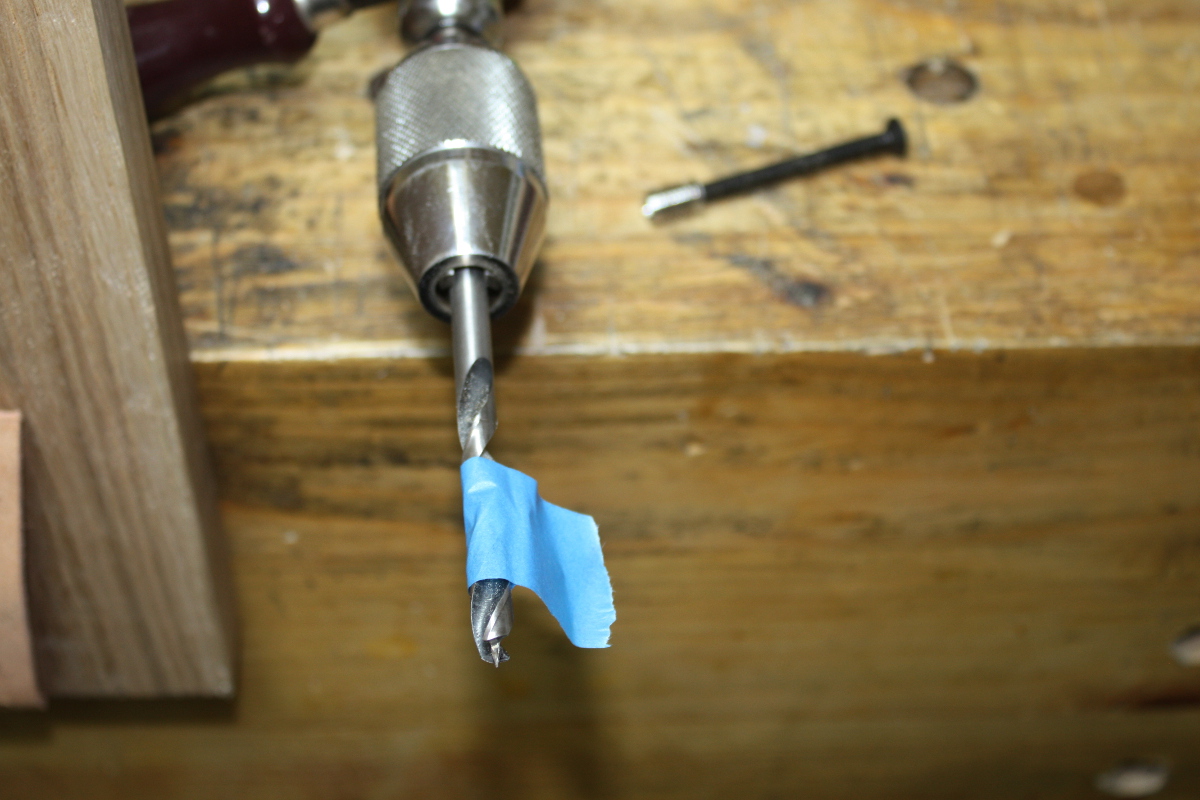
El cheapo drill bit depth stop so I don’t drill through the table. I have a fancy one for auger bits, but for drill bits, it’s blue tape time. What could possibly go wrong?
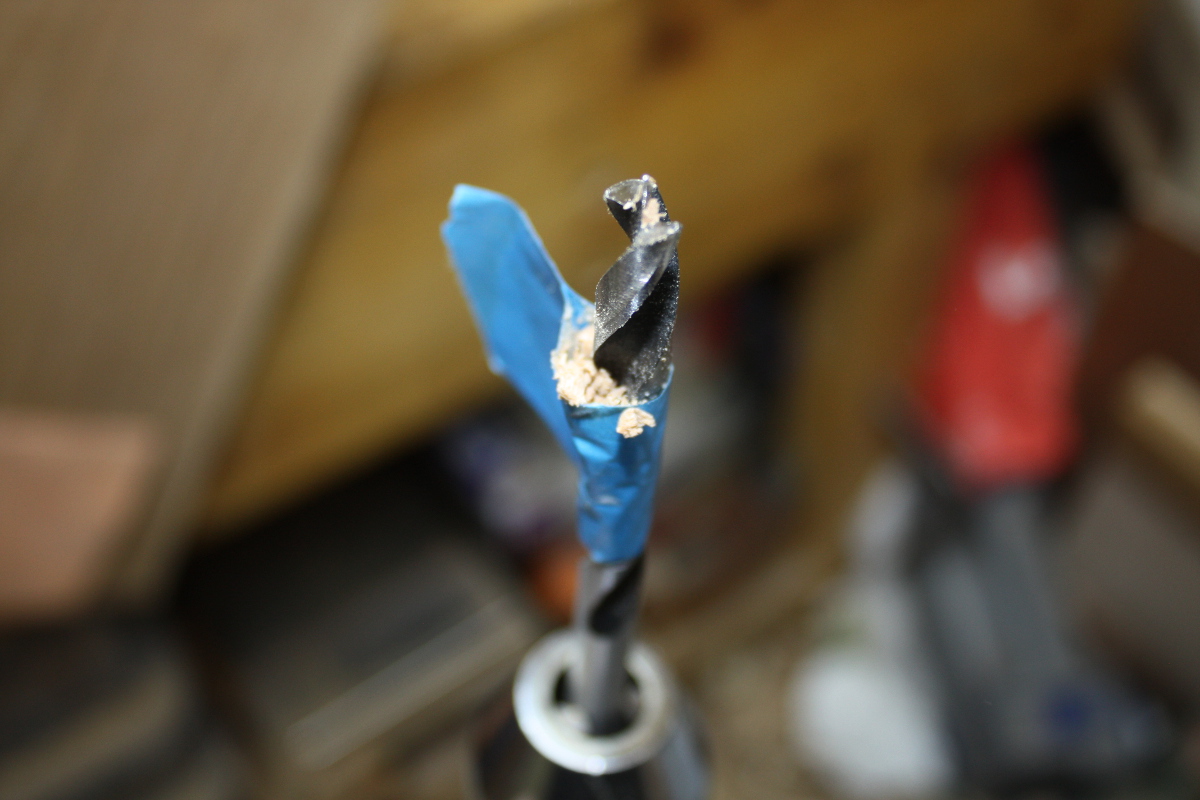
Oh. Right. Well, at least I noticed the shavings were shoving the tape backwards before I chased it right through the table.
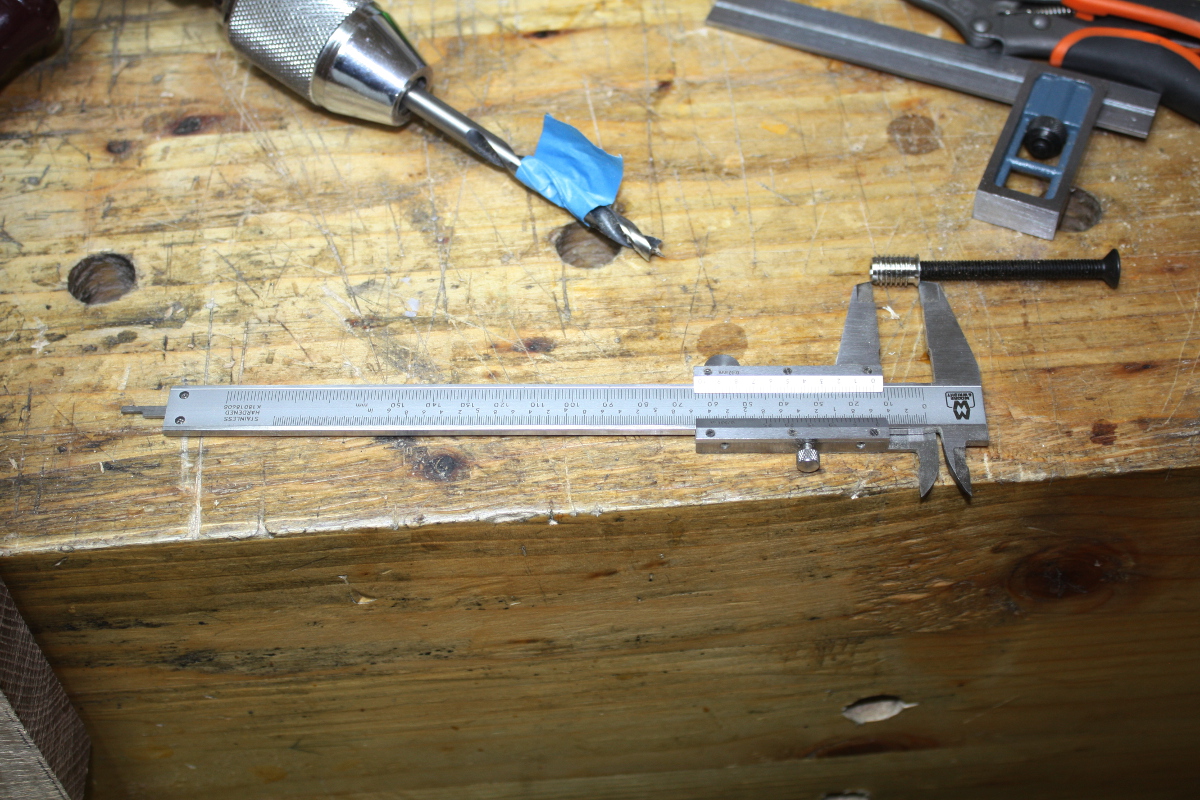
Who says calipers aren’t good for woodworking? Check length of insert with calipers, get automatic depth gauge setting on the other, stabby end of the calipers. So I drilled the rest of the insert holes, stopping to poke the stabby bit in the hole until I had my depth.
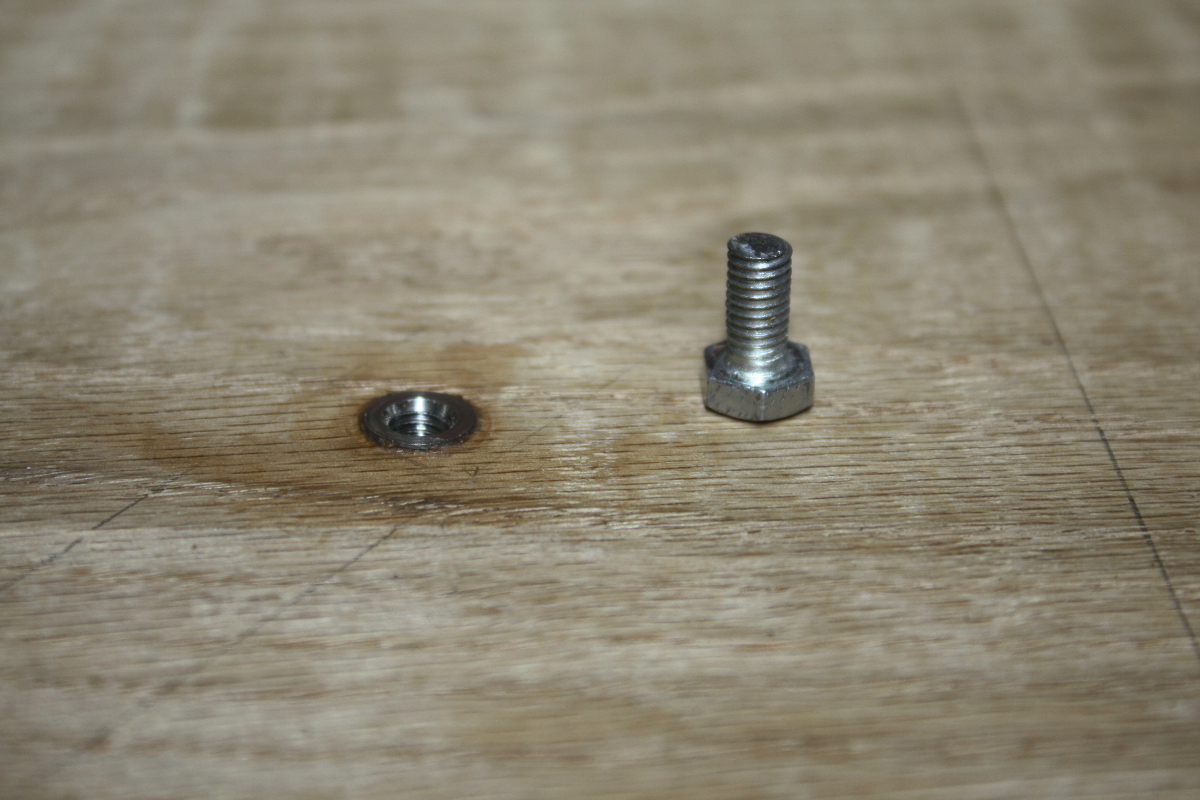
Then it was time to realise that Richard Maguire had gotten inserts that you put a hex key directly into in order to drive home, but these sodding things need a bolt put into them and you drive them home with that. And since they’re going into a blind hole, the bolt has to be shorter than the insert. I managed to find some short M6 bolts (they came with the Triton sander as the bolts to bolt it down to the table with but I had my own), but they were too long. So. Time to break out my metalworking setup 😀
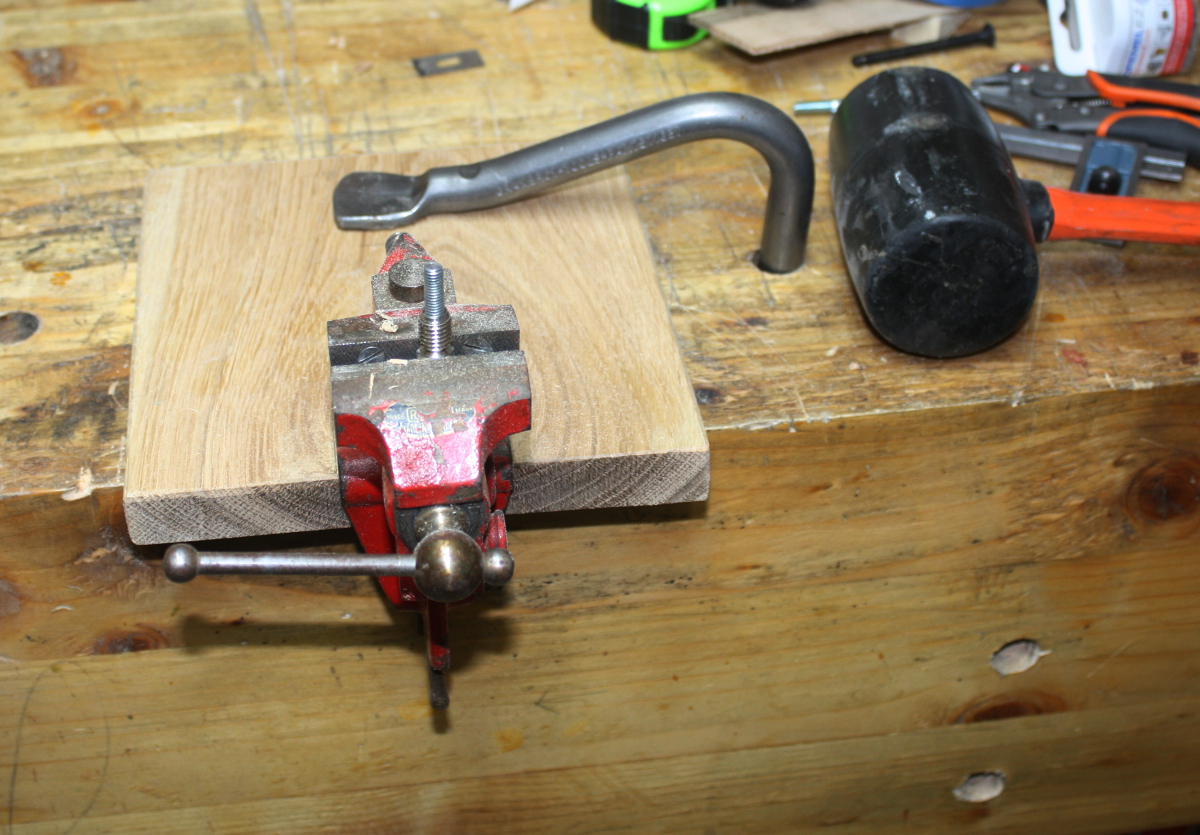
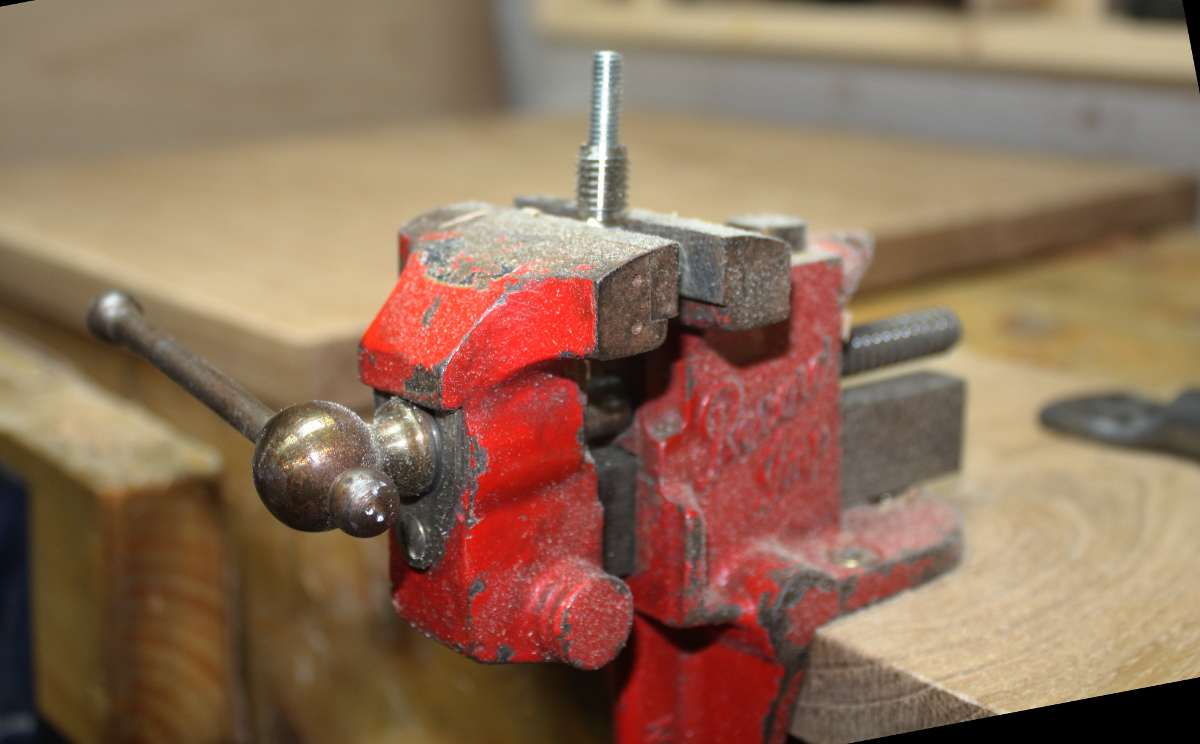
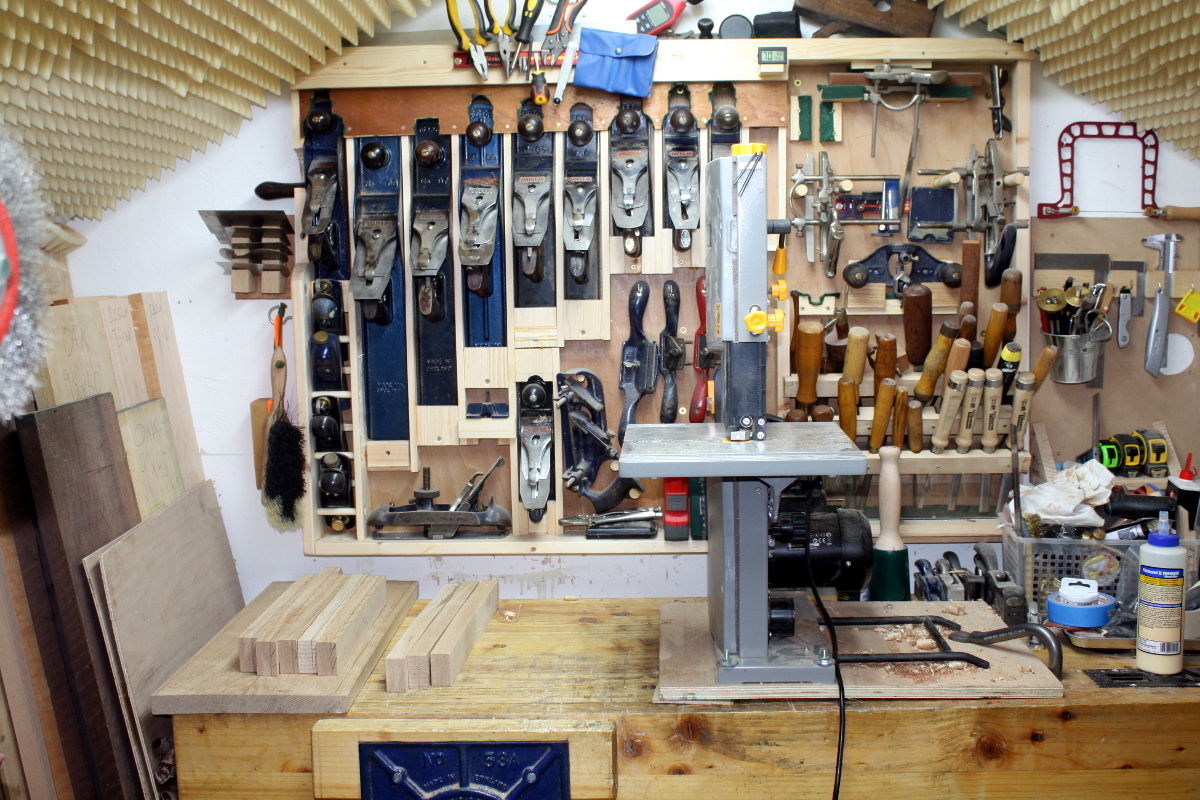
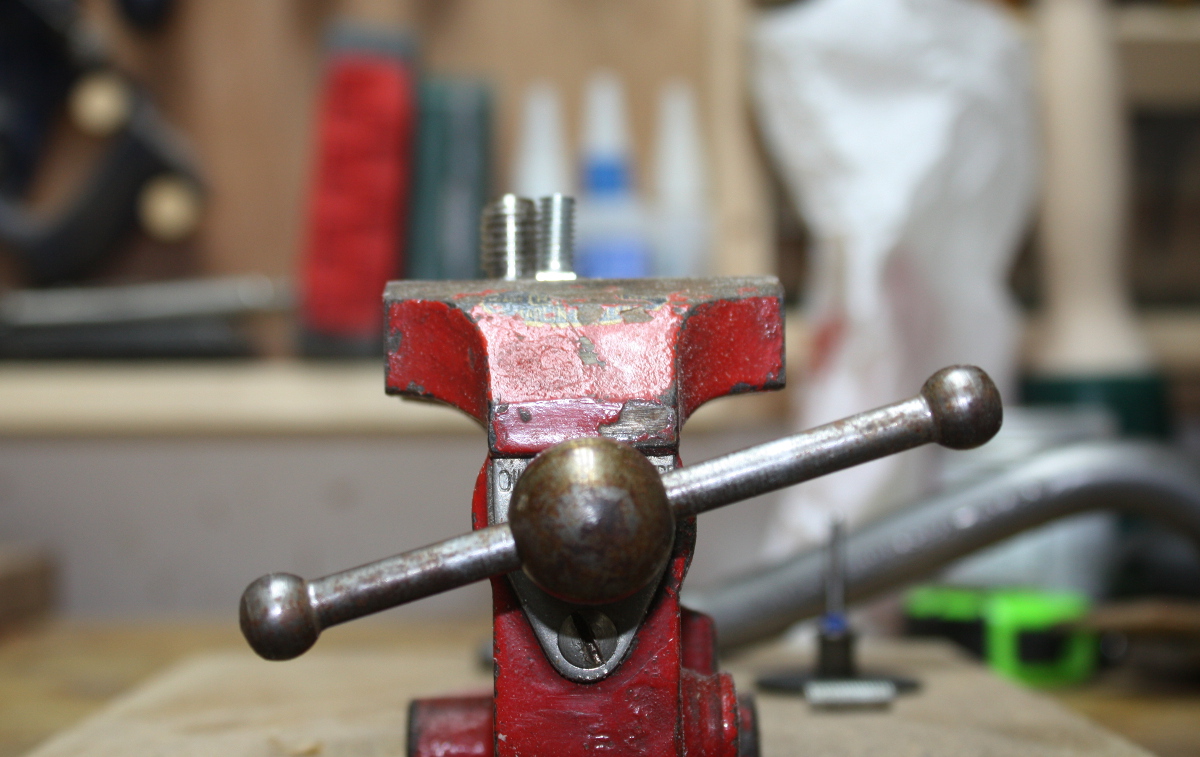
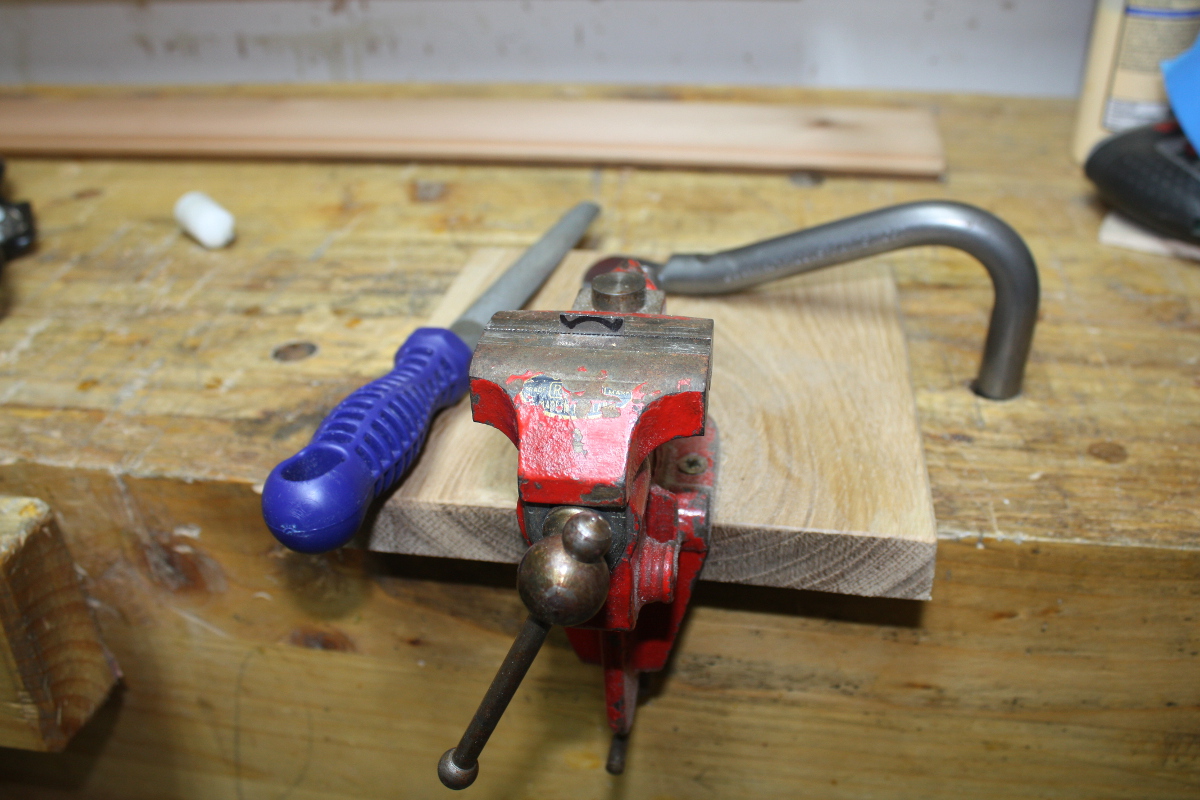
This is my metalworking setup. It’s a Record Imp, which I got back in February. It’s a nice lightweight metalworking vice designed to be clamped to a bench by people who didn’t need a full-size machinist’s vice. And it has nice features – you can bend pipe with it, you have a small anvil at the back and a striking surface (that small round thing just behind the jaws) and so on. Plus, it’s old – it’s a later model so this wasn’t made in the 1930s but it would have been somewhere between the 1960s and early 1980s, before Record went downhill. This is a small vice, but it is not a toy vice. I’ve screwed and clamped it down to a scrap piece of inch-thick oak, which then gets holdfasted to the bench.
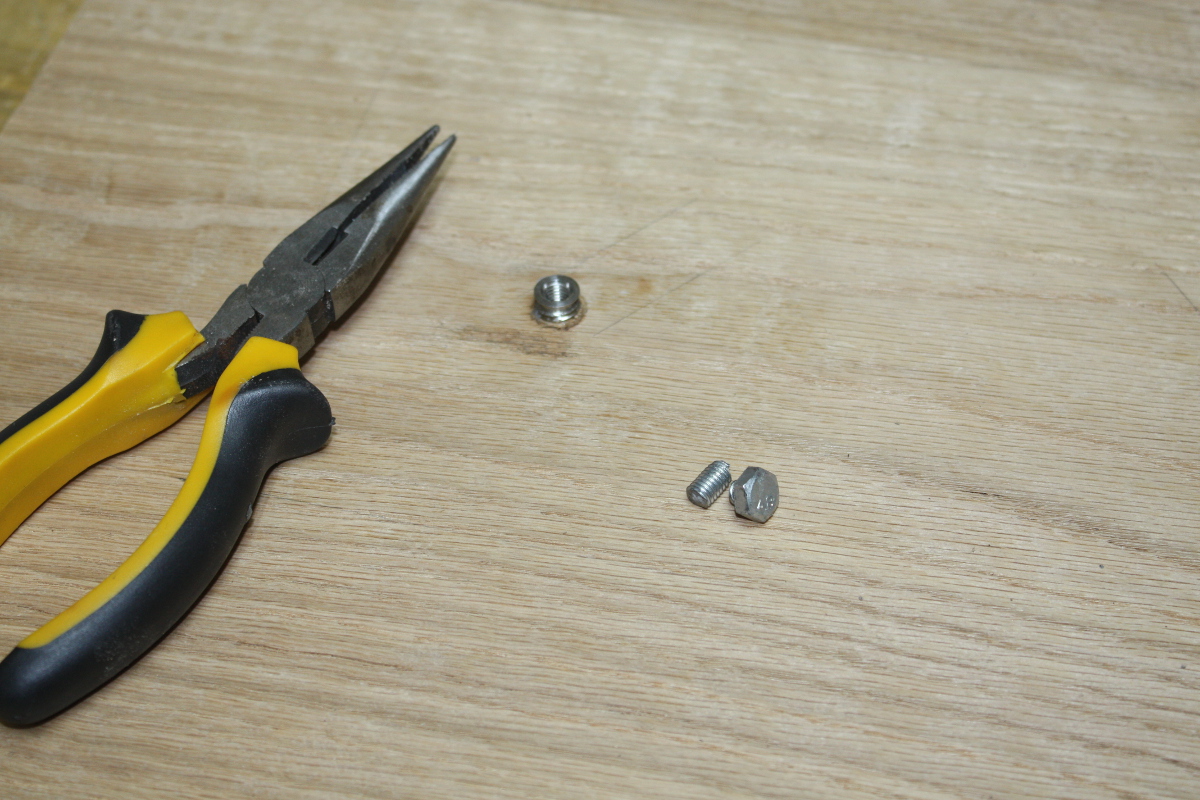
So I clamp the bolt in the vice, mark off the length I want, remove the insert from the bolt, then fire up the dremel with a cutting disk (it’s a 6mm bolt lads, if I fired up the angle grinder it’d be like firing a sandblaster at sponge cake) and nip it off.
And now, just because we can, out comes the file and the tap-and-die set…
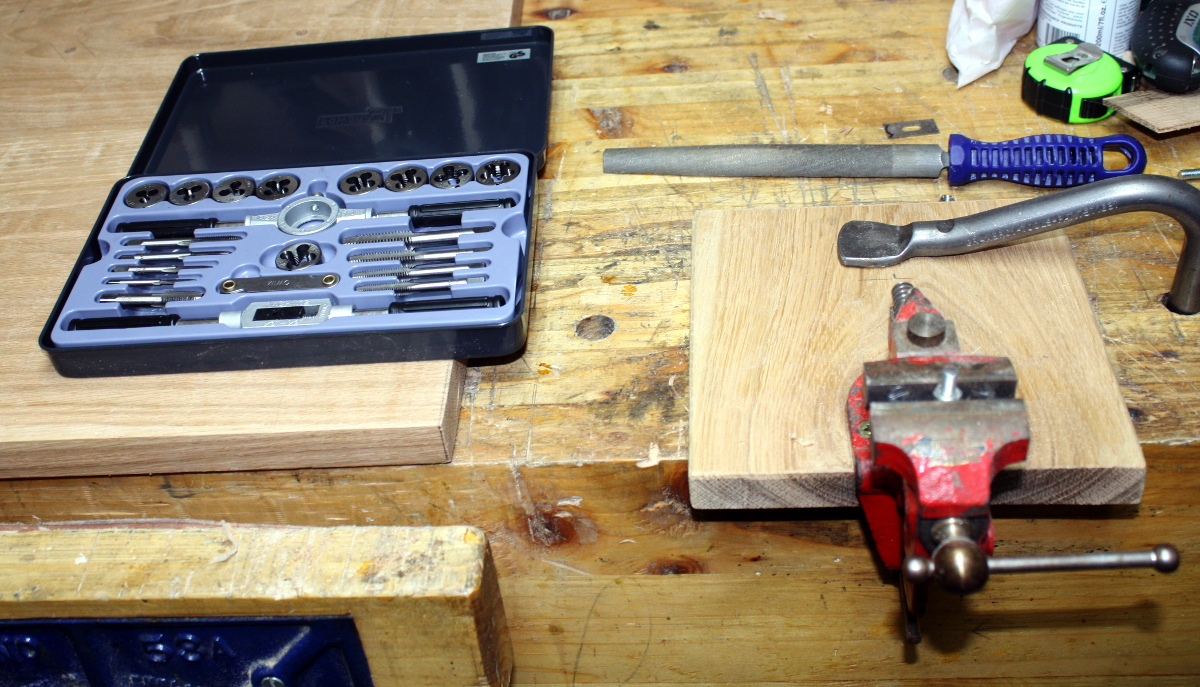
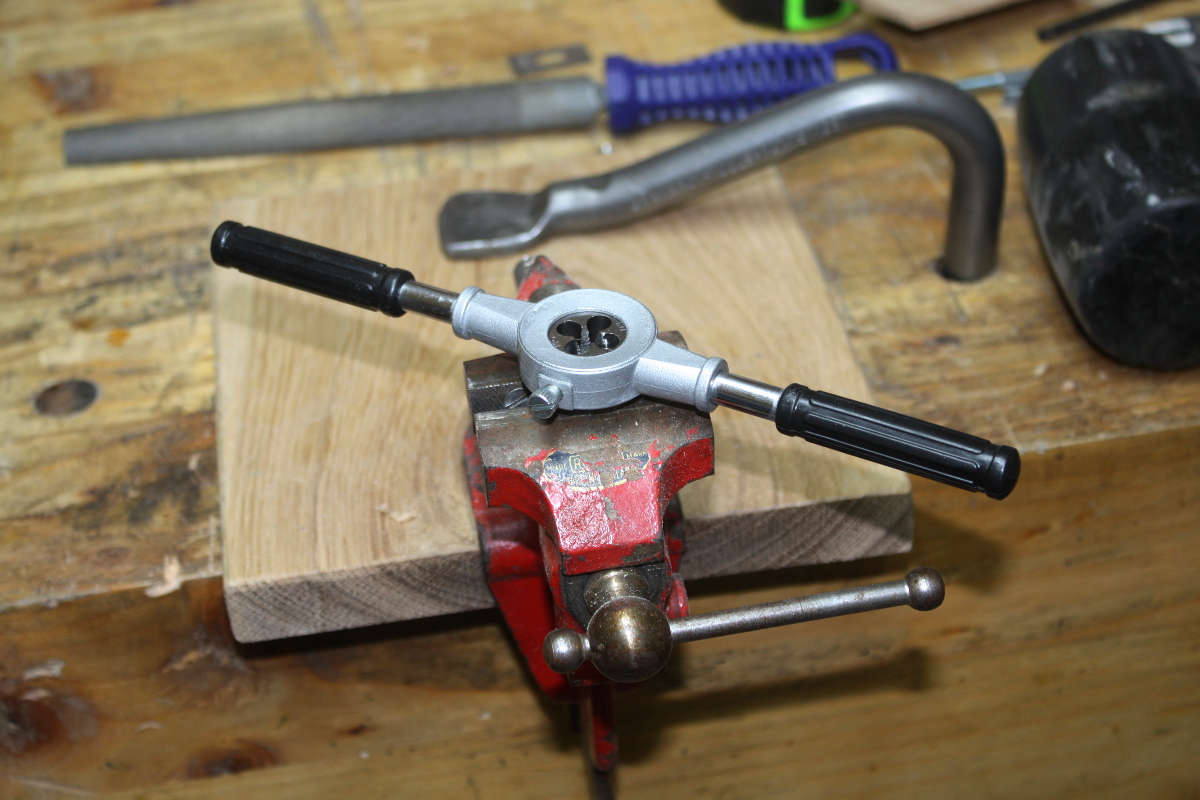
File off the sharp bits left by the dremel, recut the start of the thread after the file’s mangled it. Then thread the bolt into the insert and get out the socket driver.
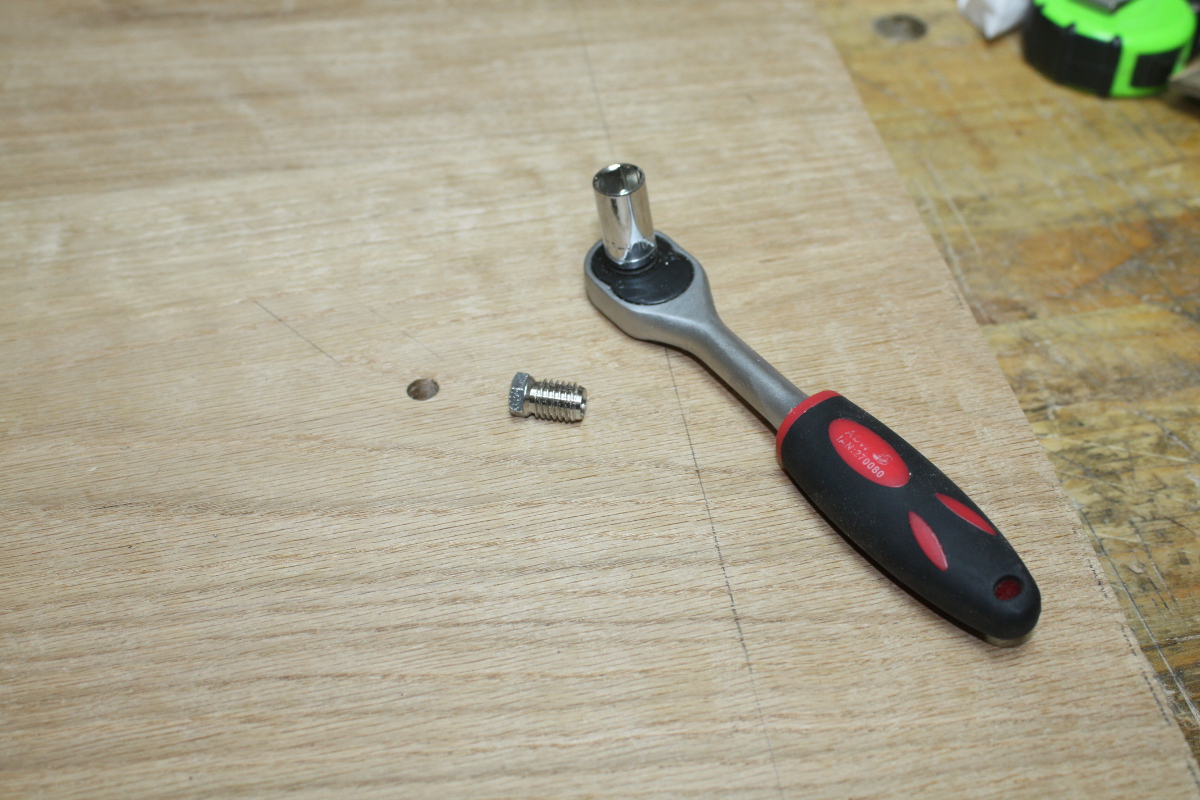
Now, pick up that 14mm long insert, in a shed where it’s around 6-7C, slip with your fingers and drop it down behind the bench into the sawdust and shavings.
Swear profusely.
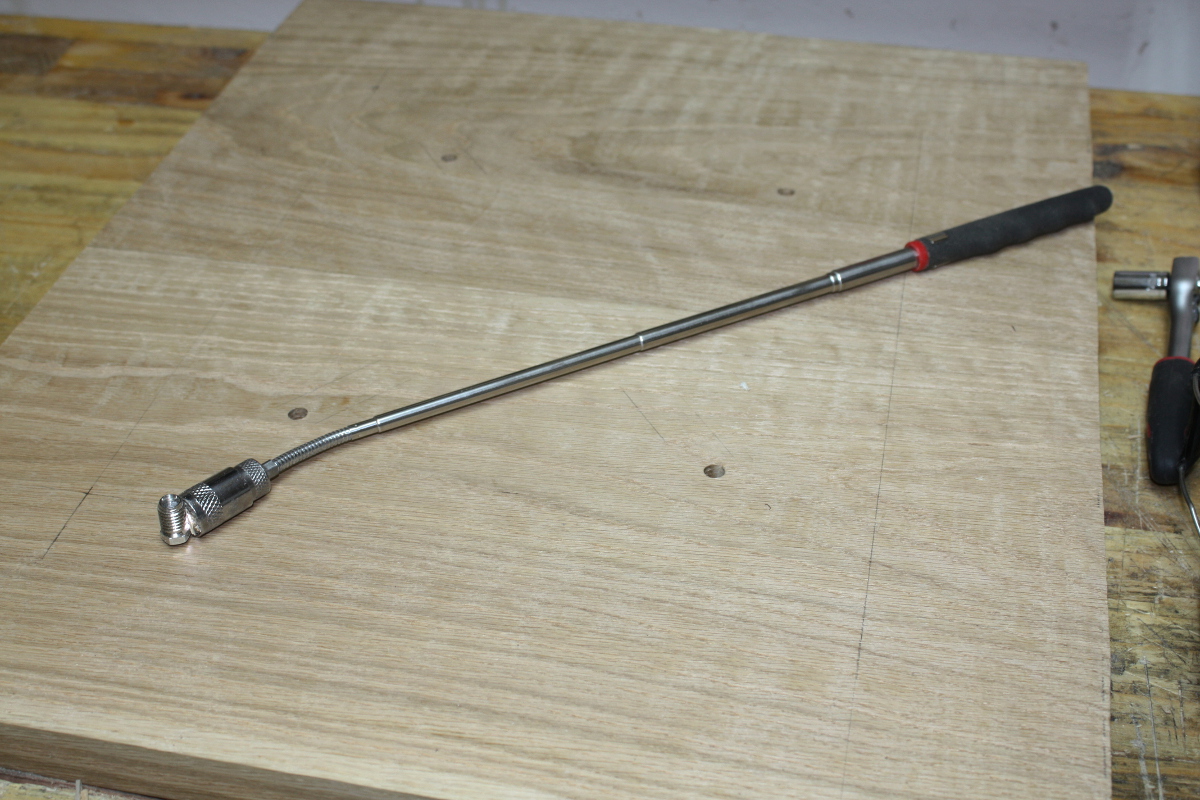
Get out the magnetic-head telescopic torch thing…
Right. Enough faffing. Paste wax to the threads and drive it on home.
Nice. Now we just do that with the other three…
Why is it spinning so easily on insert #2?
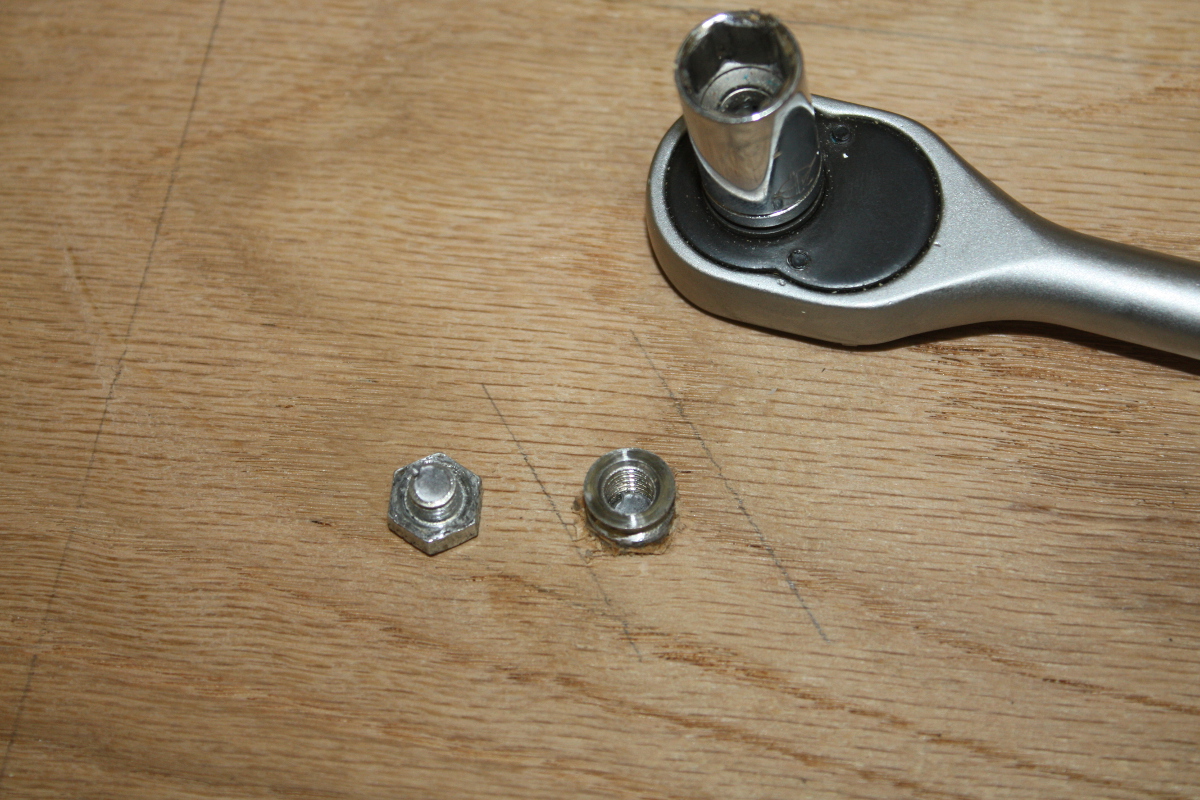
Ah, shite.
Apparently my bolts are made of particularly firm cheddar.
Mole grips to unscrew the insert, pointy thing to screw the bit of the bolt still stuck in there out the back of the insert (glad I didn’t get the blind inserts now).
Okay. Prep another bolt. Repeat all the steps above. Keep going, but be more careful this time.
Shite! At least I felt it go this time and stopped fast enough to be able to unscrew it in one part. Prep another bolt…
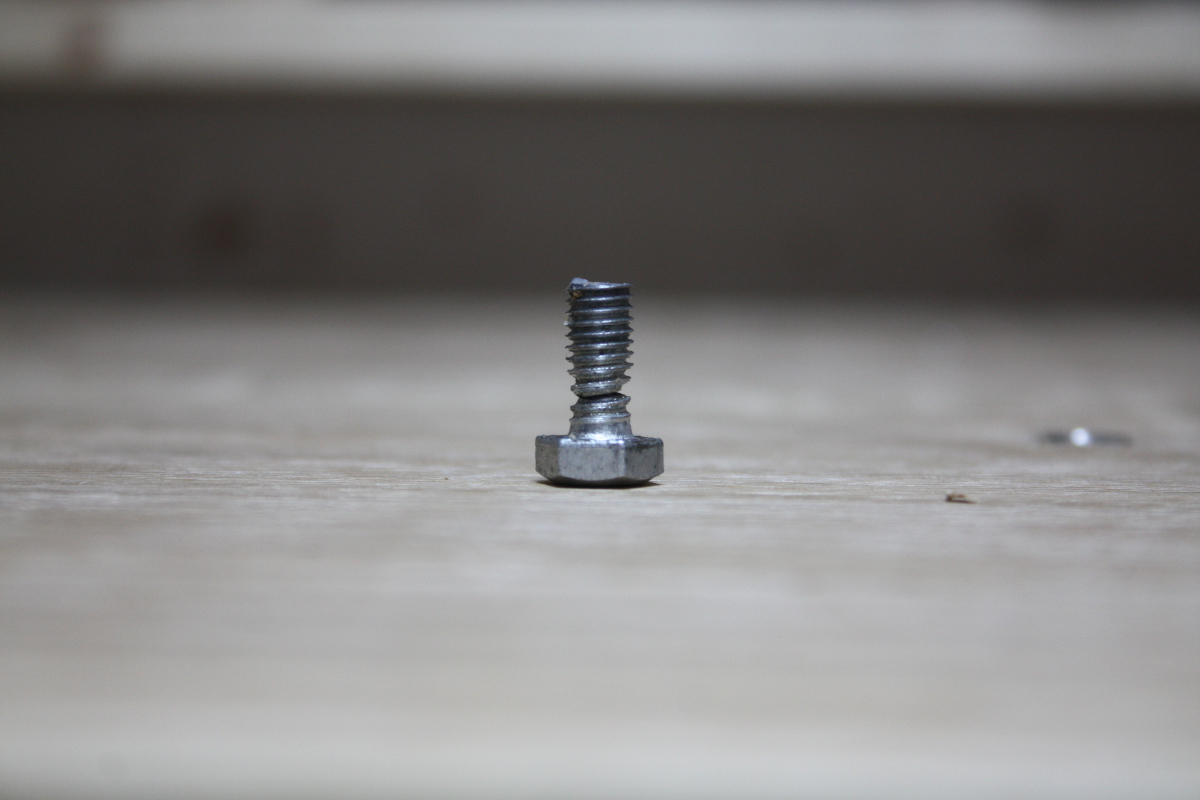
Felt this one going before it snapped. Definitely cheddar.
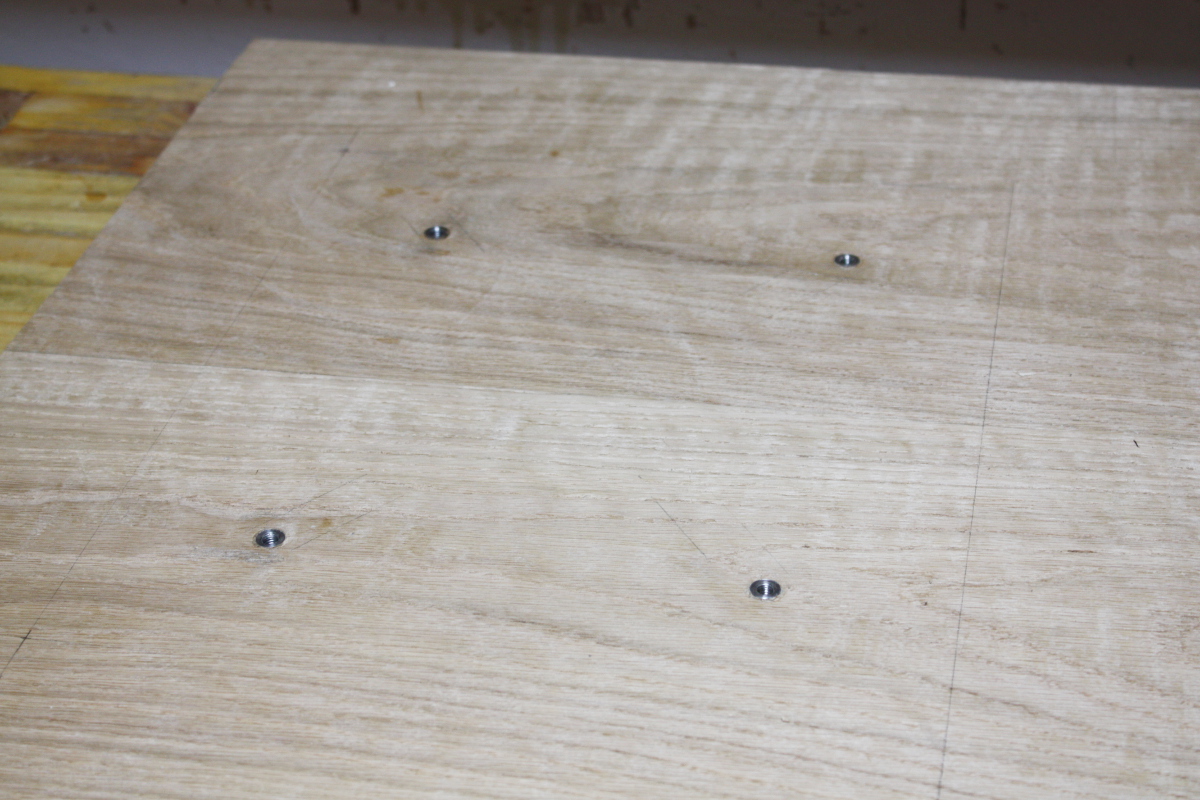
At least all four are in now. I might come back if I can find a non-cheese bolt and drive them below the surface later. For tonight, that’ll do.
Bolts in, and they fit (they’re a bit less than drop-in, but wood moves, blah, blah, blah, that’s my excuse and I’m sticking with it.
That’s a pleasant sight 🙂

Out with the MDF board at this point for a flat surface and check the rock – the front left leg there is about a millimetre out. Plus the feet are all at 12 degrees to the ground because geometry, so I mark off a flat on each leg, disassemble the table and even the legs up. And I leave it there for the evening. I’ve been up since… well, I was in work till around 0400 this morning after getting called around 2330 on friday, and I was back at work just before 0900 until 1730. On-call sucks sometimes. Oh well. There are worse complaints.
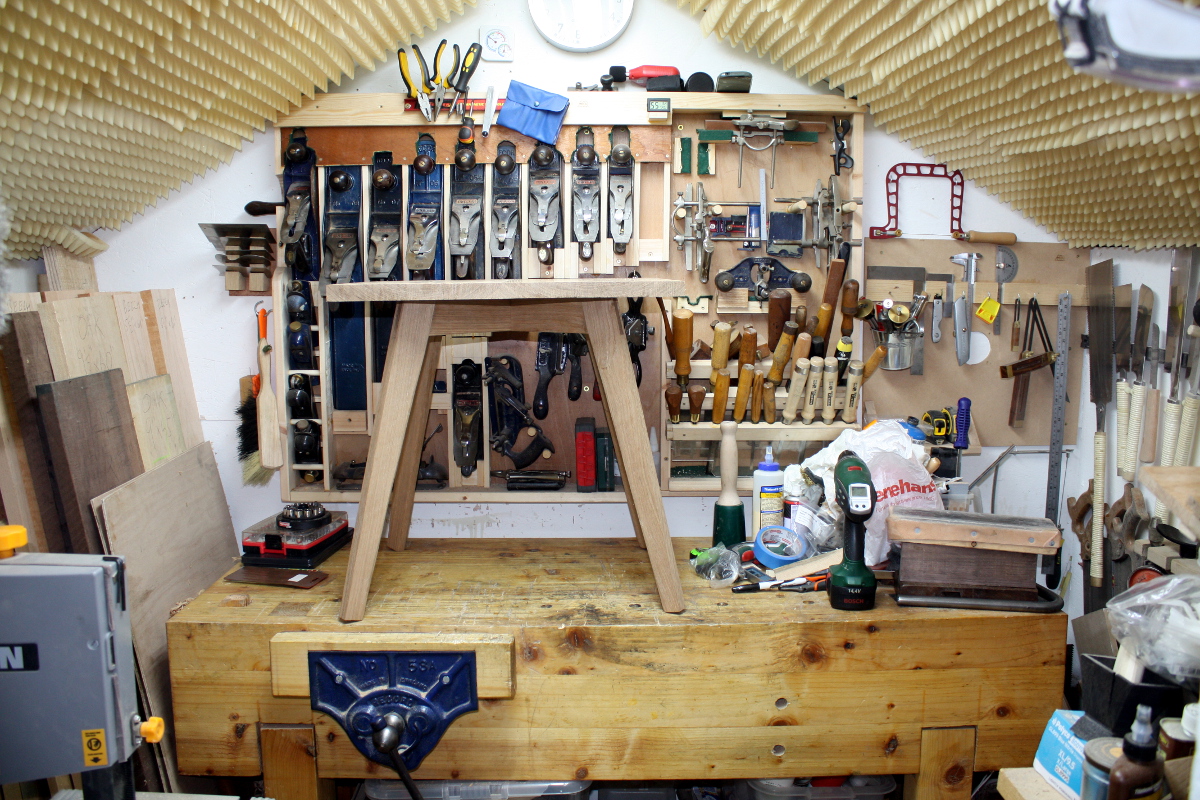
I have to shape the feet and thin the table edge and do the final smoothing of the tabletop and legs (cabinet scraper time!), all of which are finesse tasks so I’ll leave them for tomorrow, and I can be starting the finishing by tomorrow evening which is a good timetable for this.
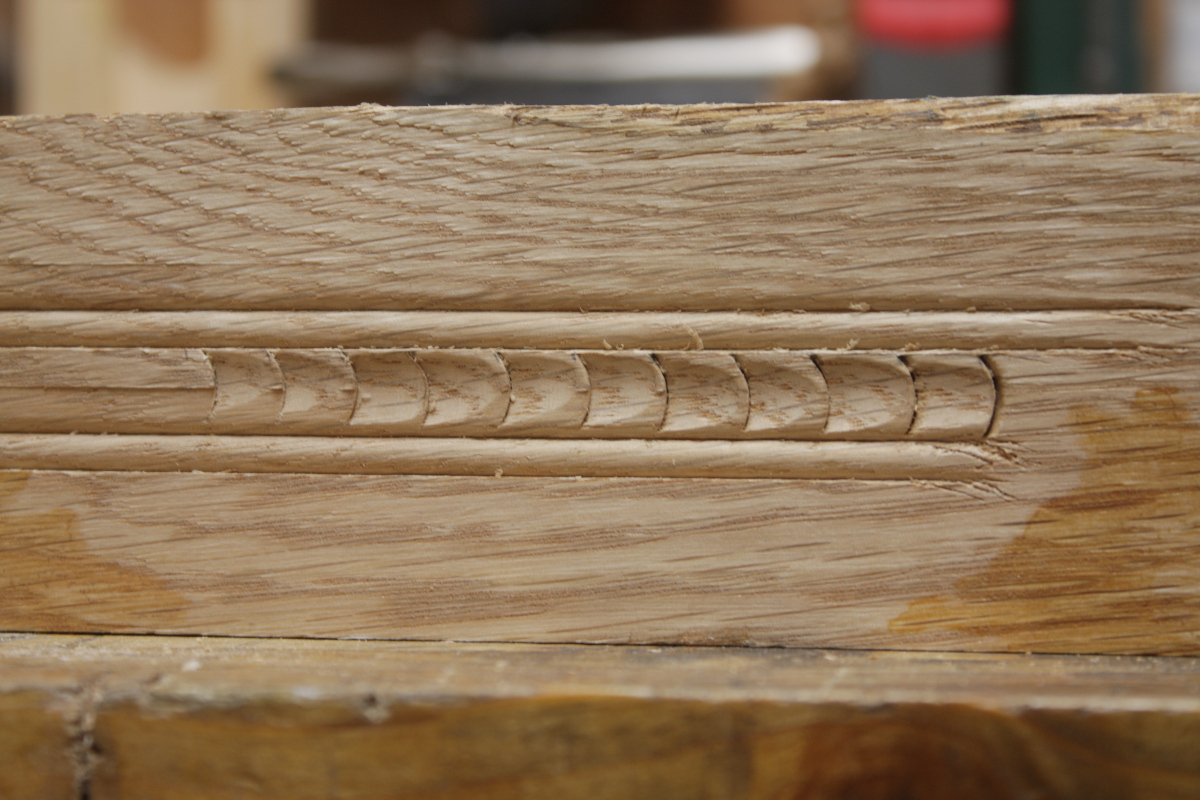
Oh, and I also have a custom scratch stock profile to file. I’d rather do this with a hollow plane, but I don’t have hollows and rounds and I know (a) how much a set costs and (b) how much space one takes up 😀 So that’s not happening for a while. Hell, that was why I got the #050C combo plane, but alas I didn’t get the special doo-dads to let it act as a hollow or round 🙁 I’ve got an eye open, but the problem with the combiplanes is that they came with a lot of bits and doodads, and that was in 1930. You can’t keep both socks together for more than six months before you’re suddenly looking at lefty pining for righty who is has returned to the fjords; what odds that someone will have all 53 pieces from the original combiplane box that they bought in 1933?
So obviously, I just need to get a set of hollows and rounds.
looks up prices

passes out
Holy crap. I could buy two cars (second-hand) for the price of a set. Sod that. I wouldn’t have the room to put them anywhere anyway and the larger ones are all for things I don’t have the physical space in the shed to build.
But on ebay, unmatched planes (“harlequins” apparently, in a rare example of nice naming) are way less expensive – you can pick them up for a pound apiece in some cases. So I’ll probably wind up buying one or six hollows/rounds/beading wooden planes over the next year. You don’t need all that many for the kind of stuff I do. I might start with one that matches the profile above, which is drawn to match one of my gouges to do some decorative carving work.
I guess I’ll just have to try my “build something and sell it to pay for the wood” plan this year to let me do that 😀