16
Feb 20

First chips!

Storm Denis, schwarm denis.

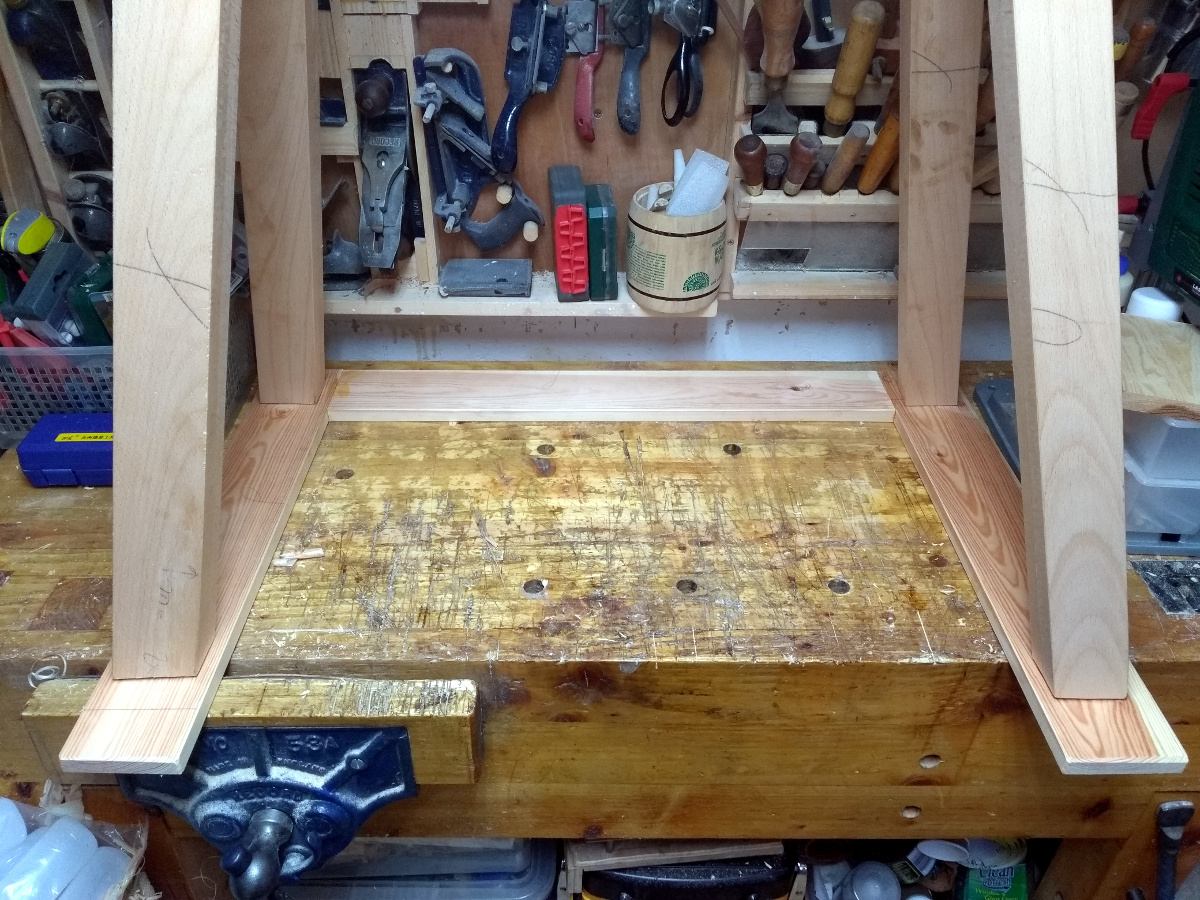
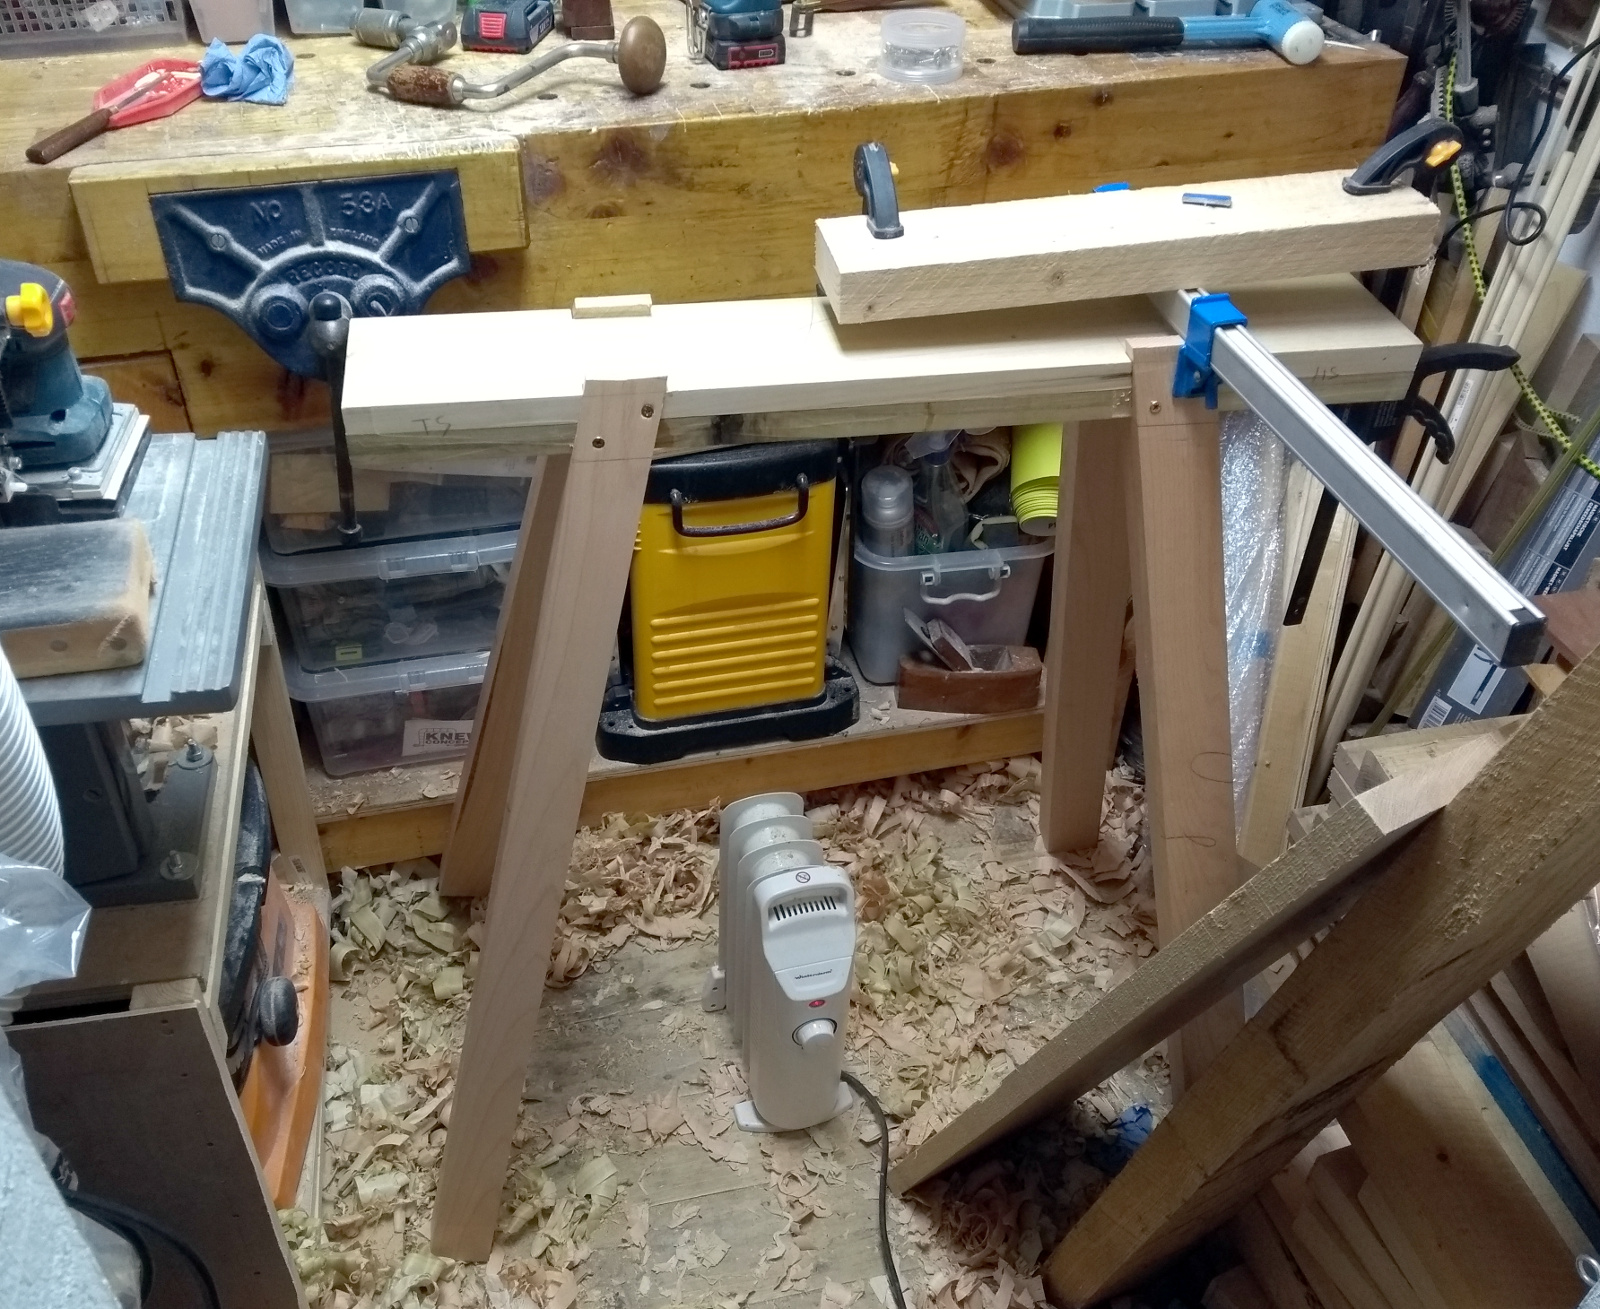
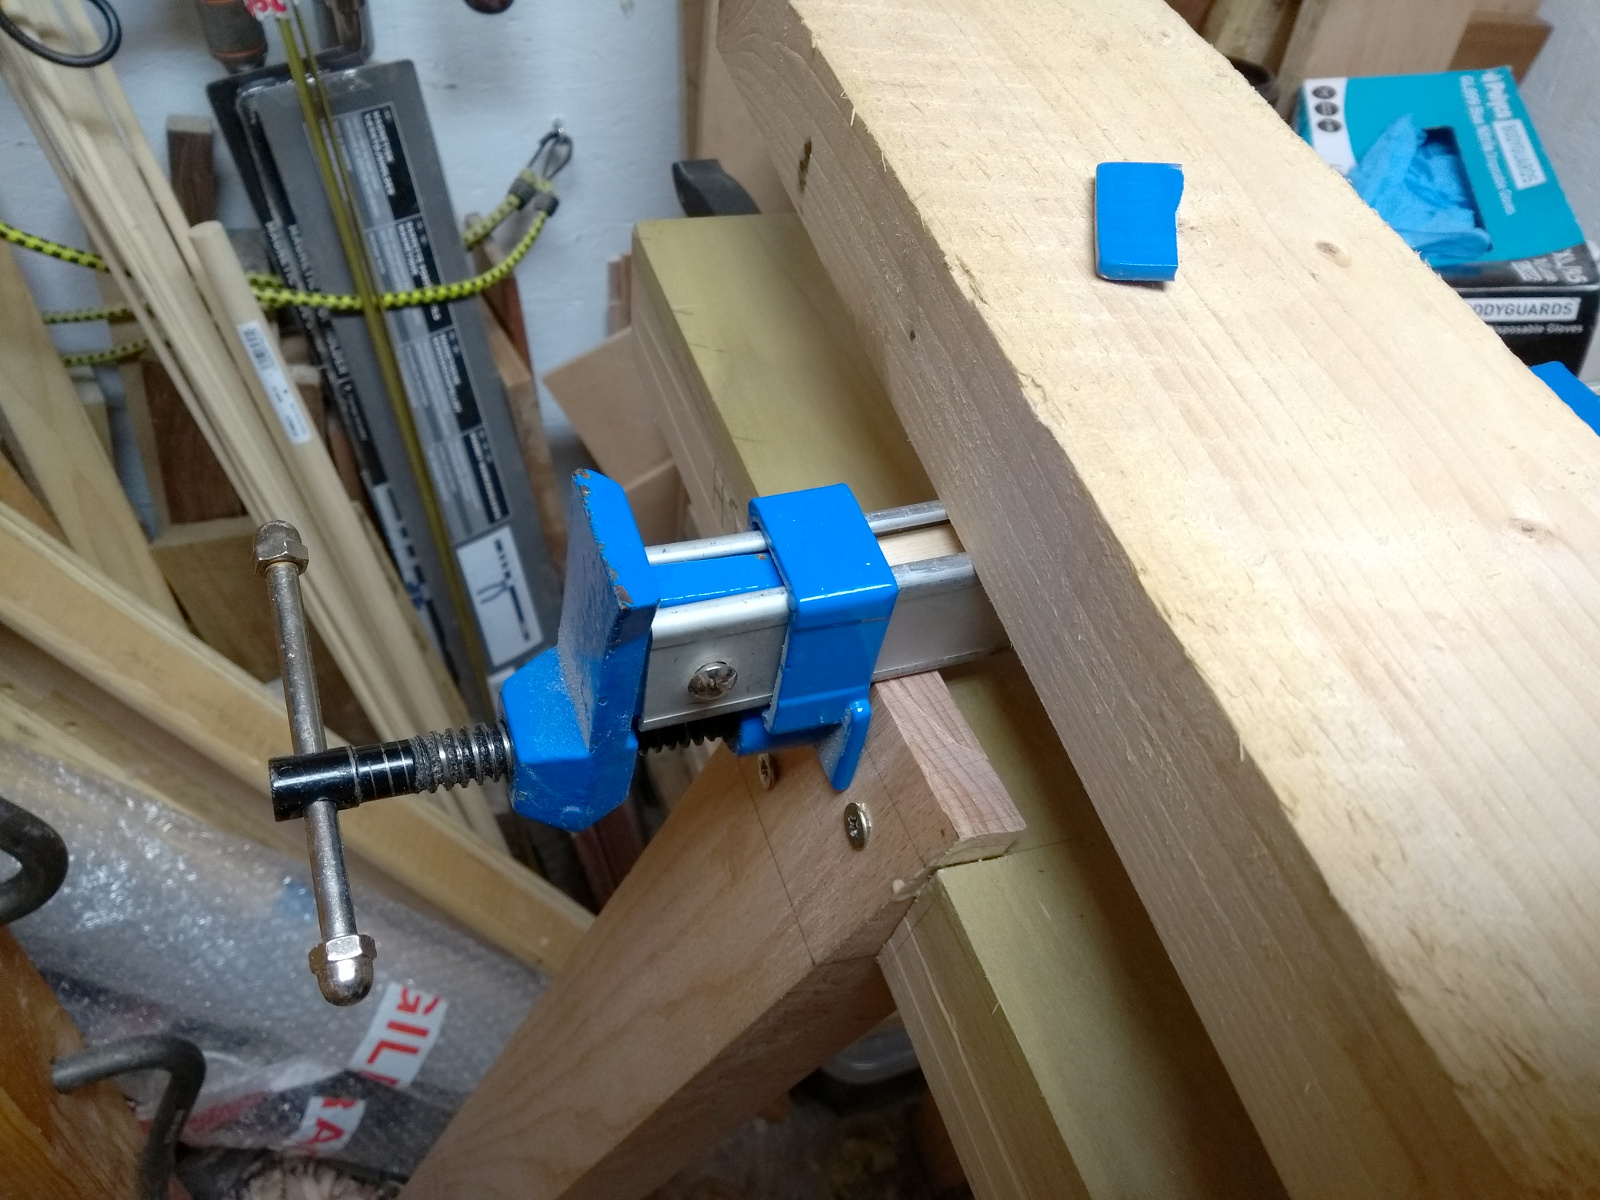
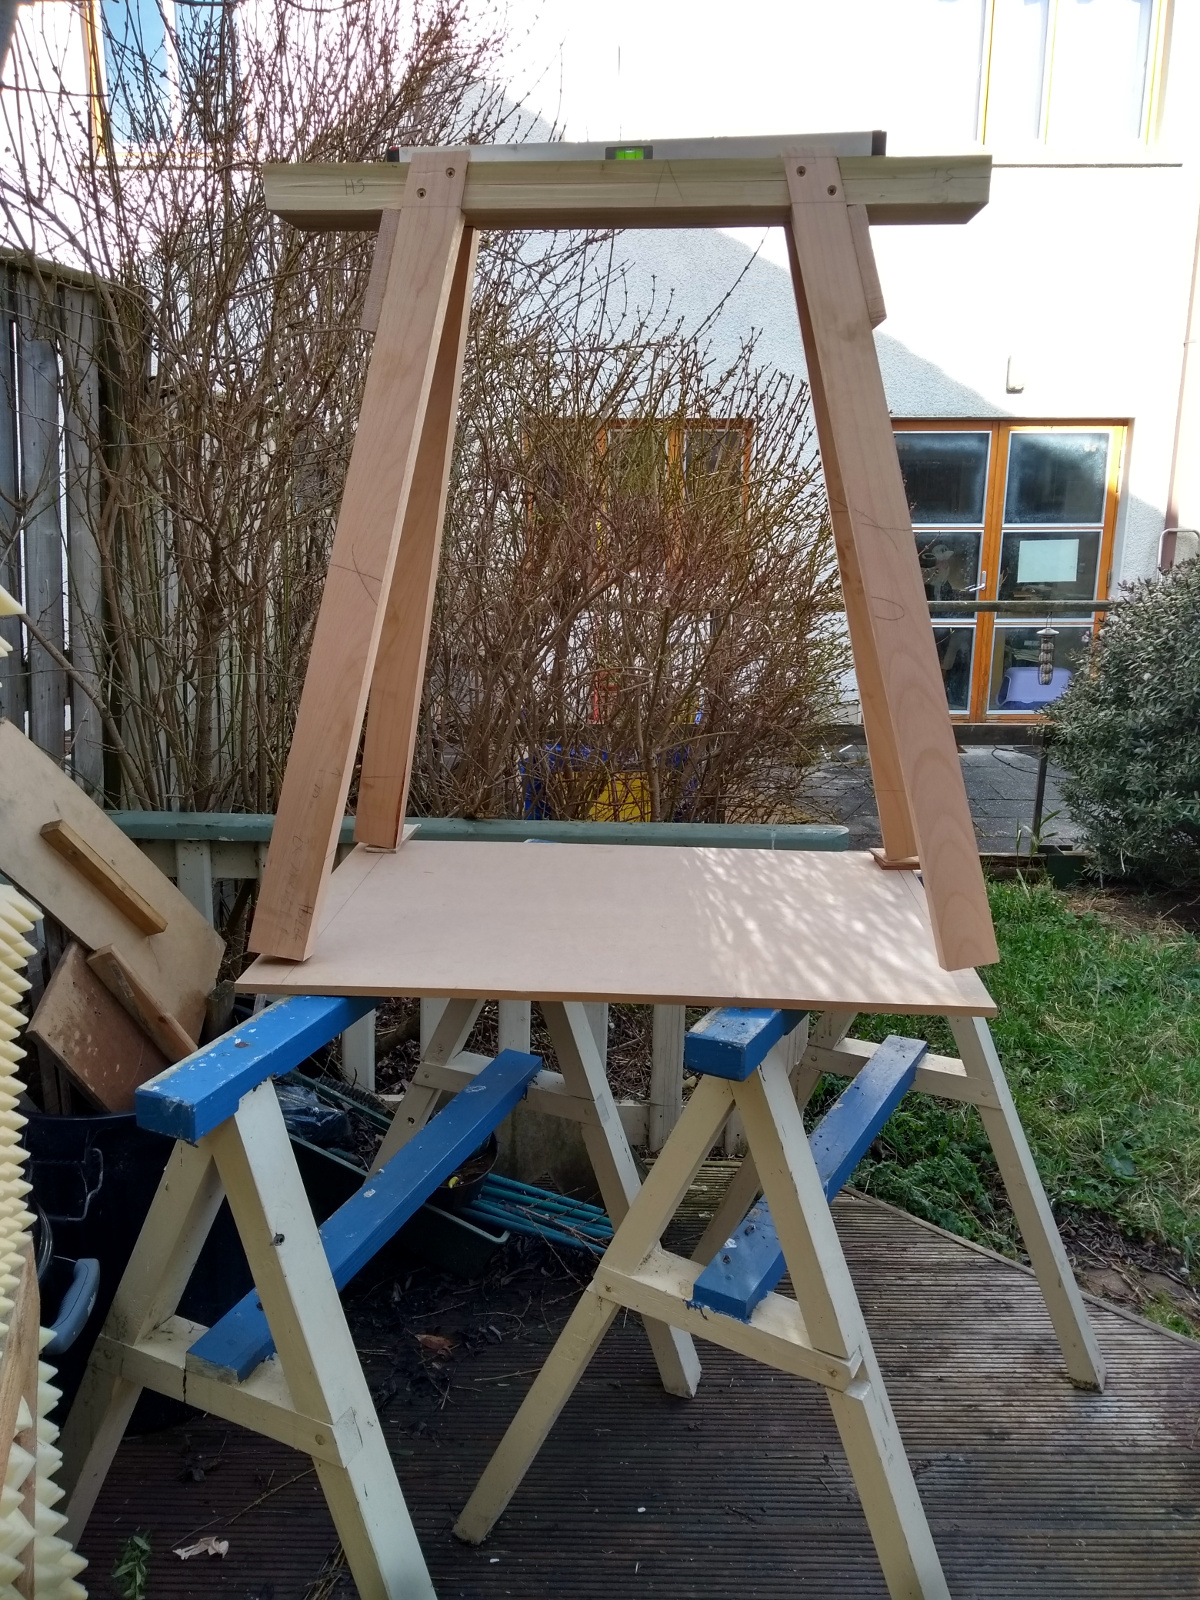
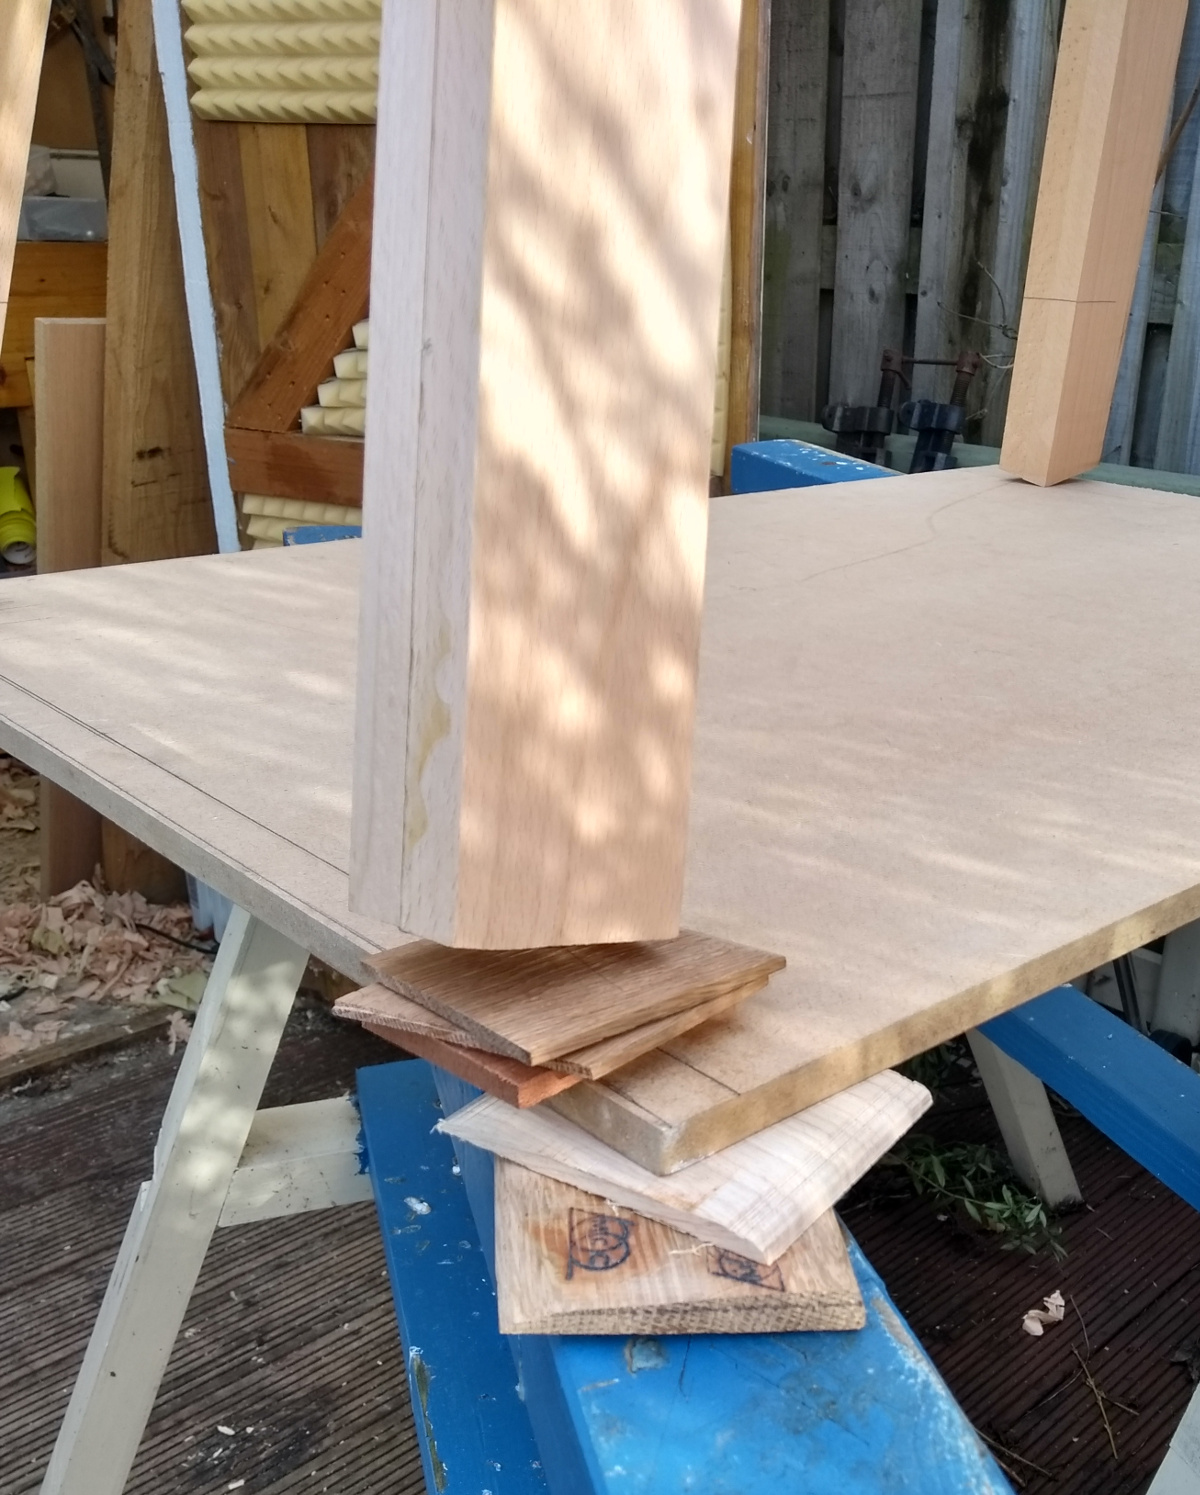
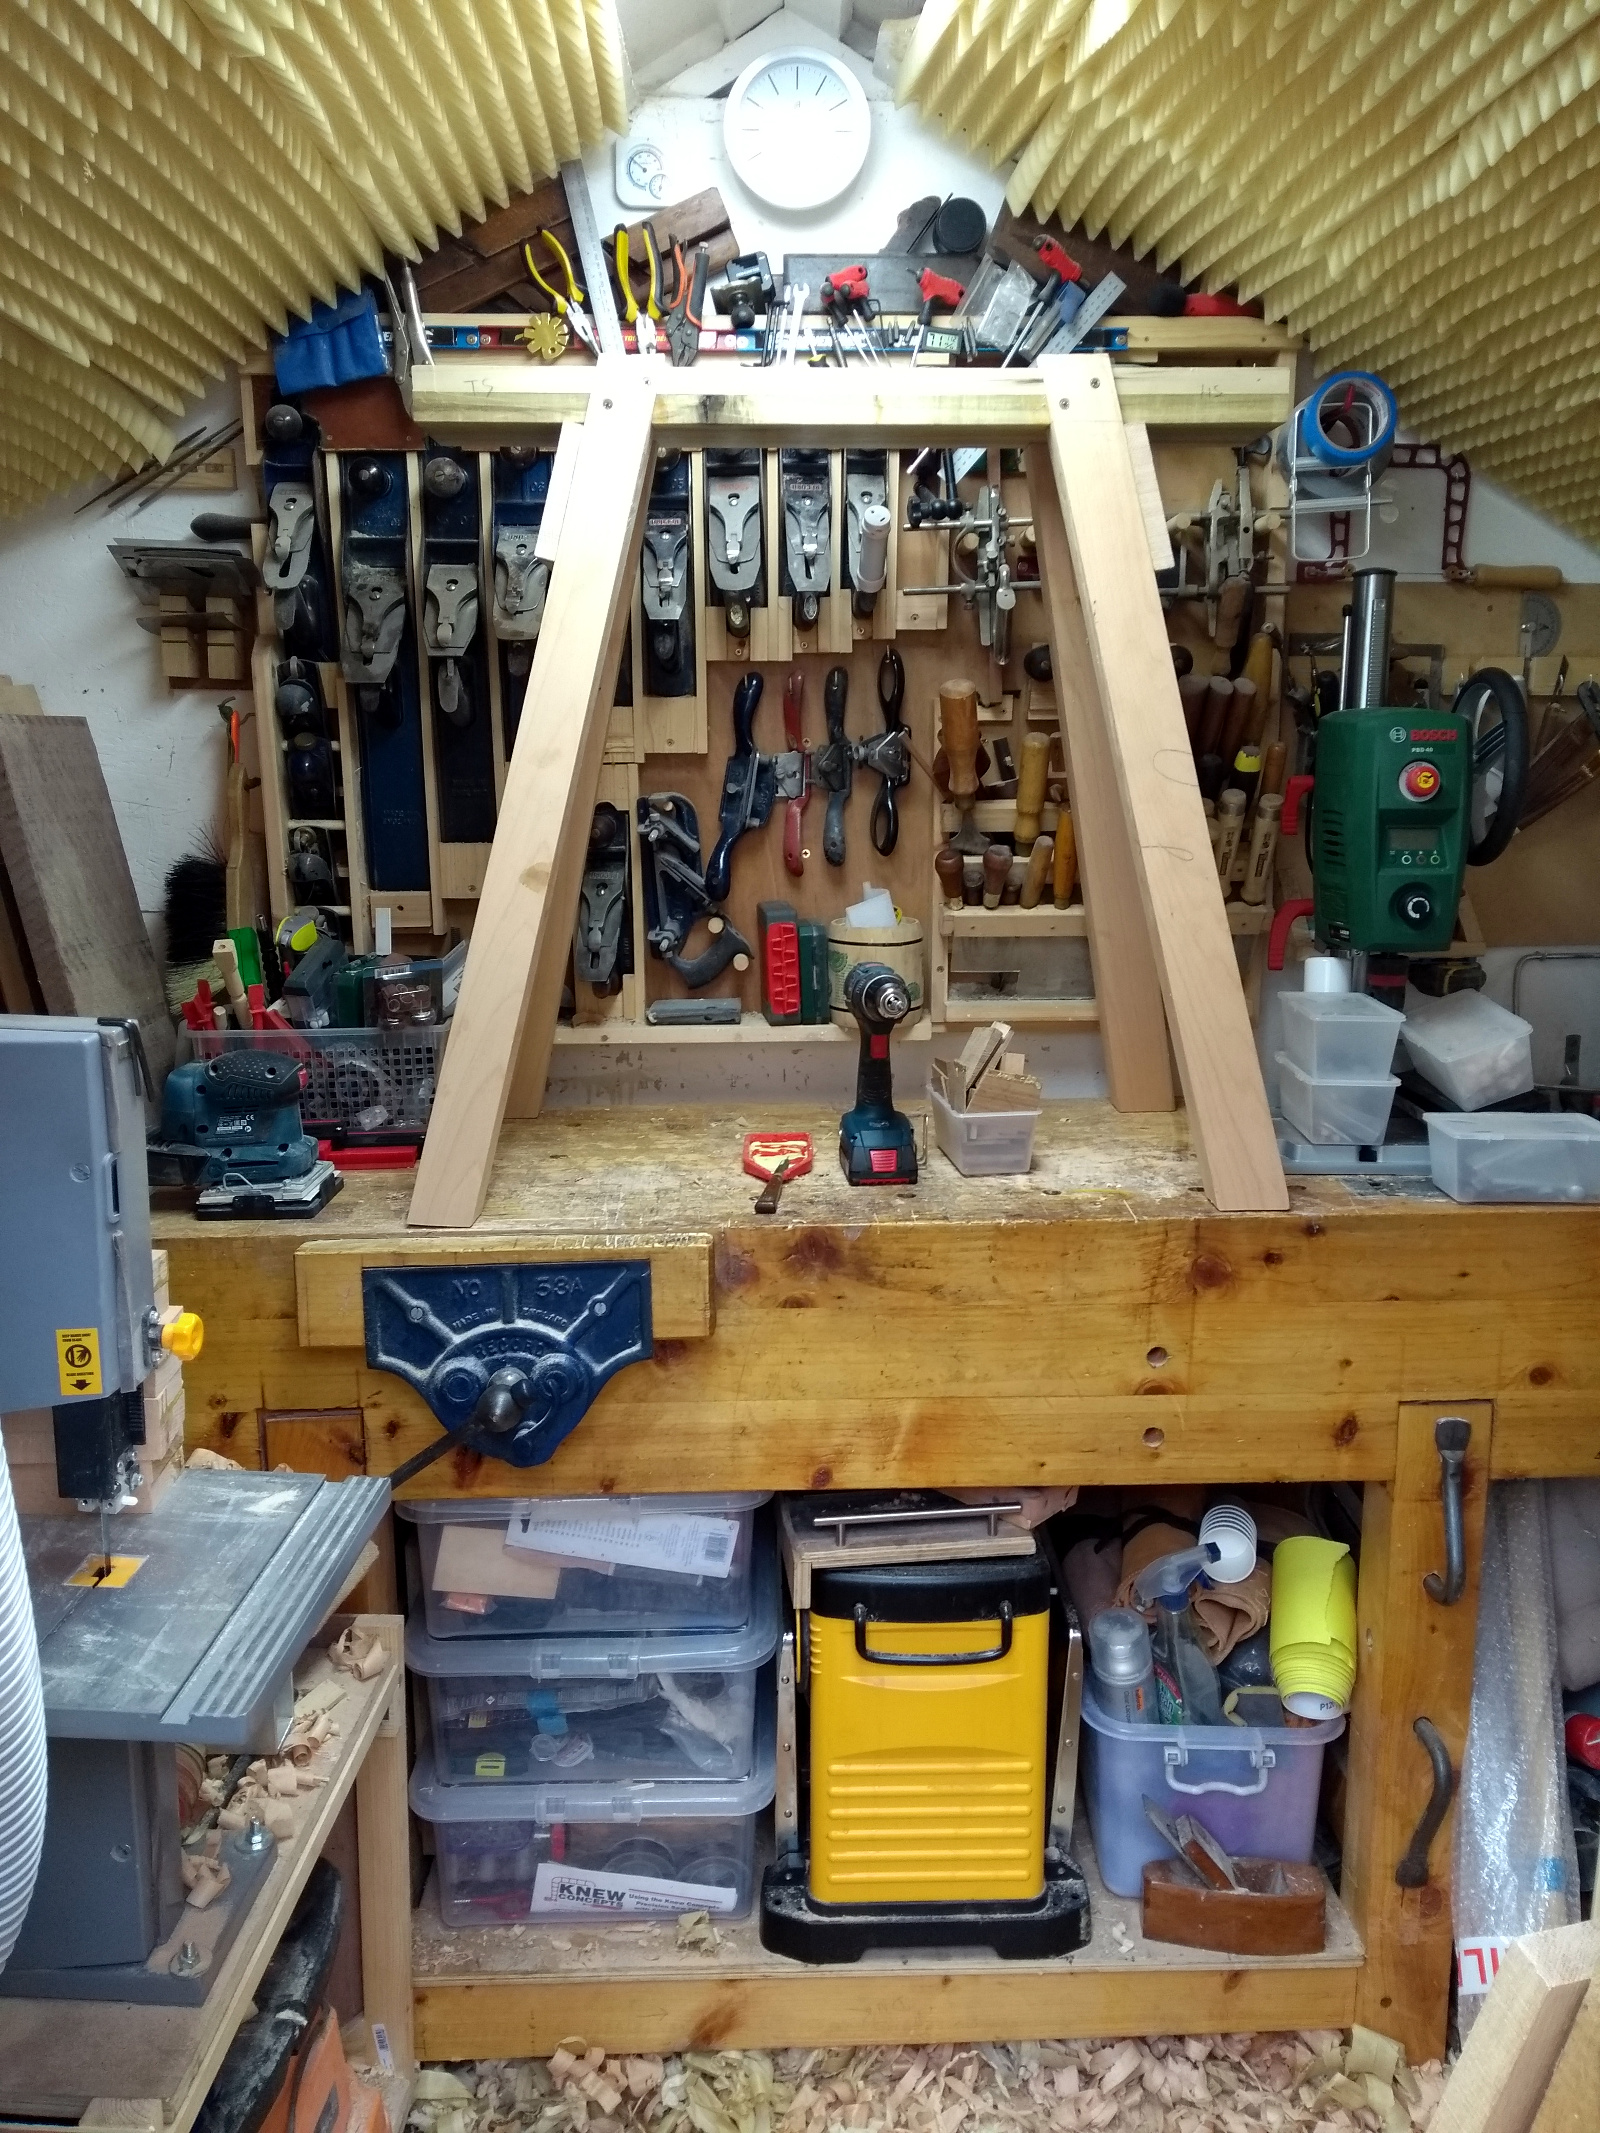
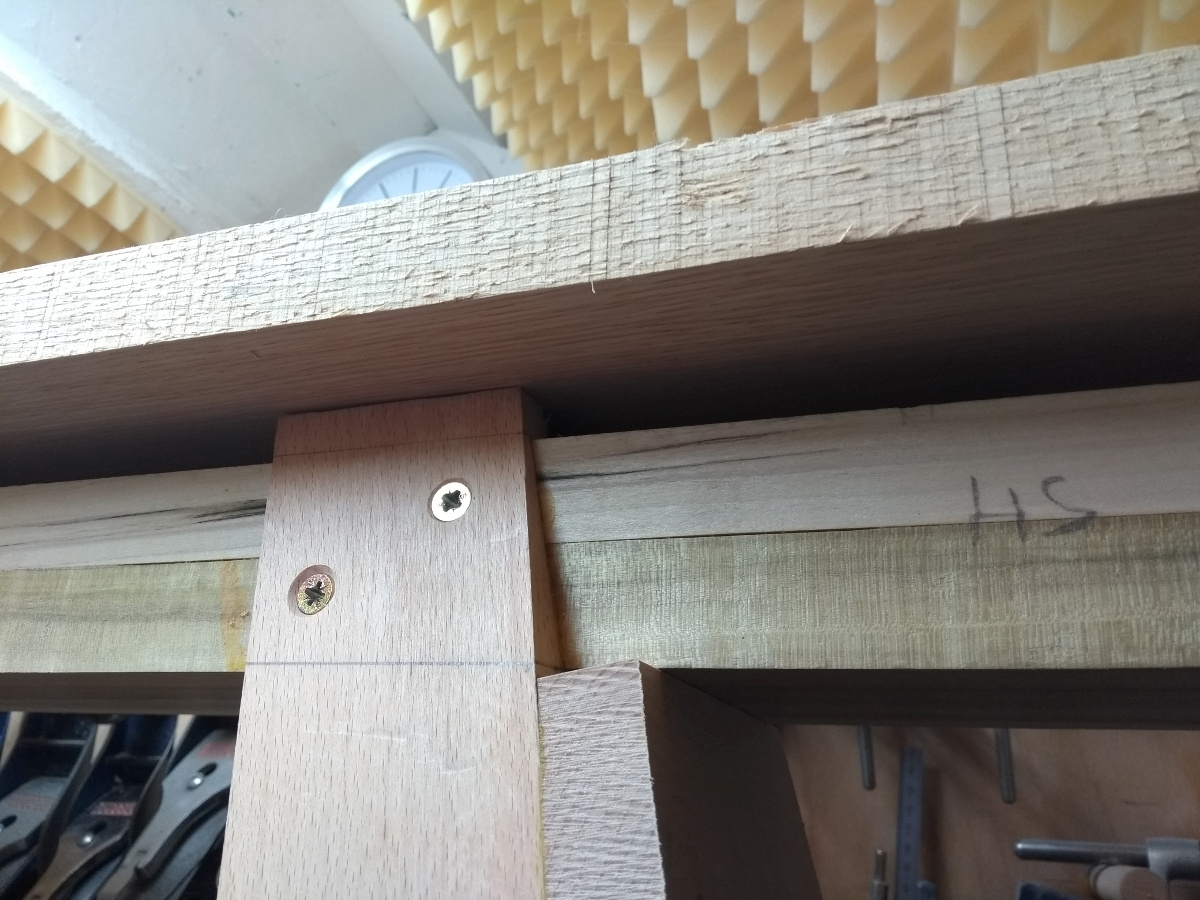
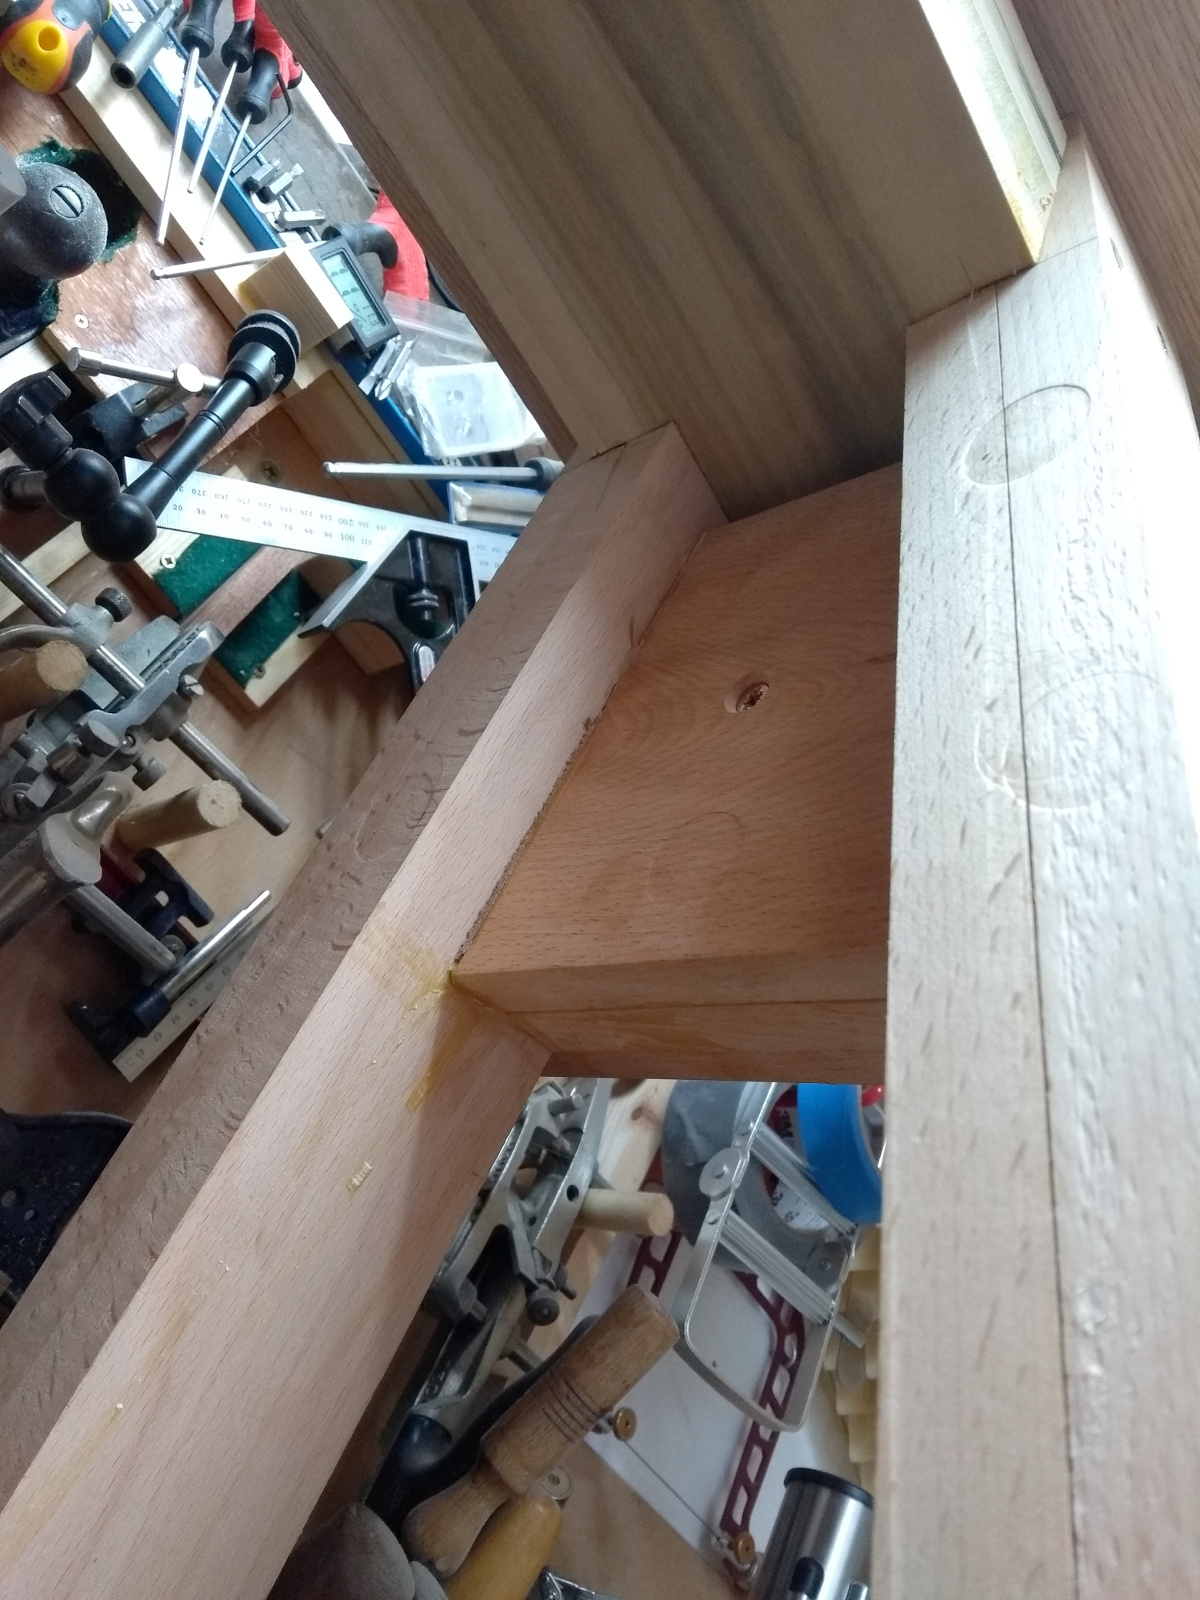
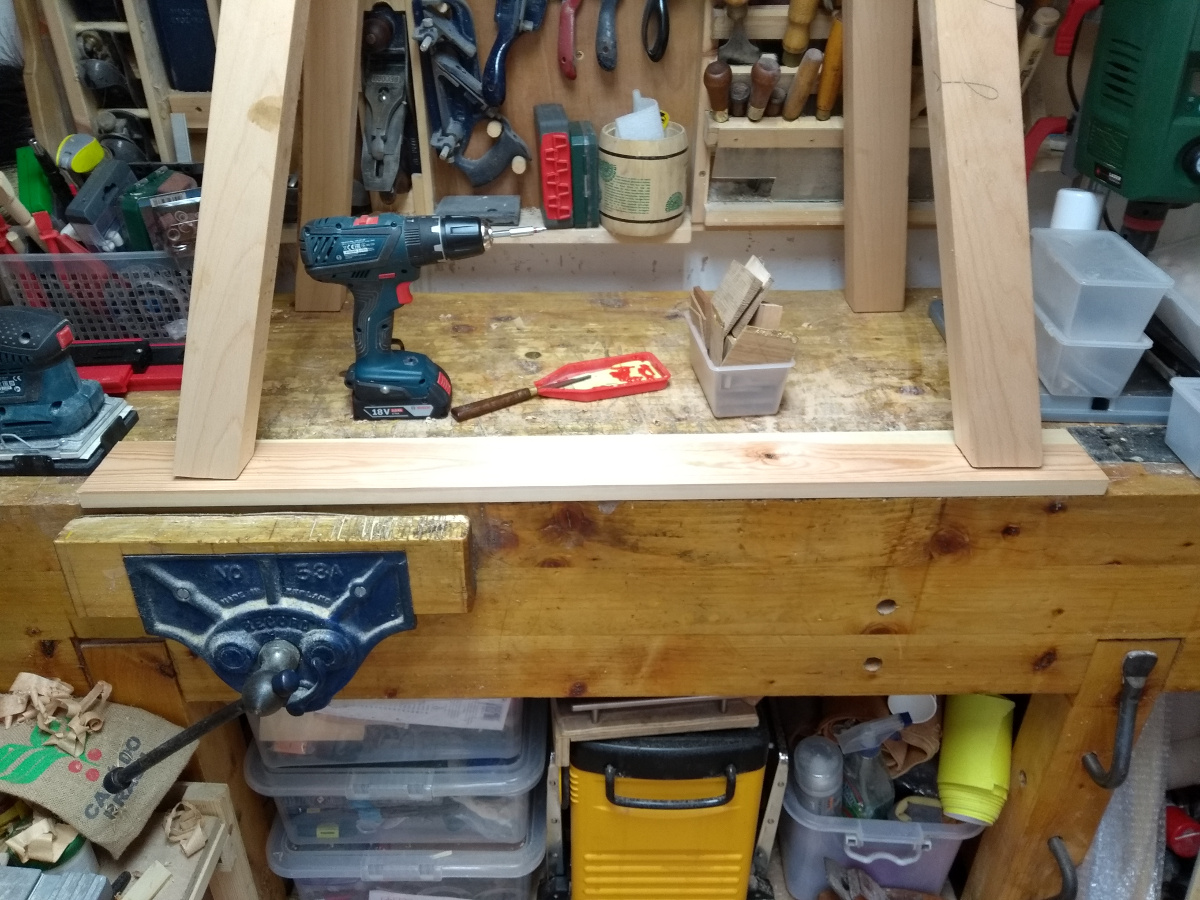
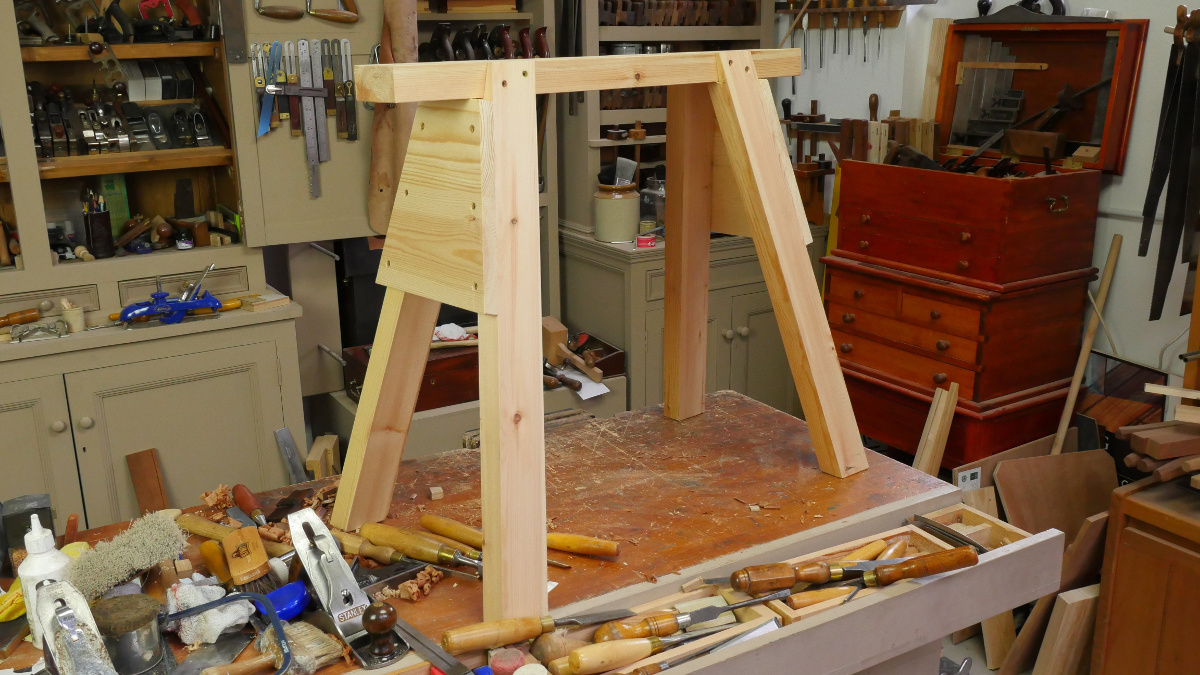
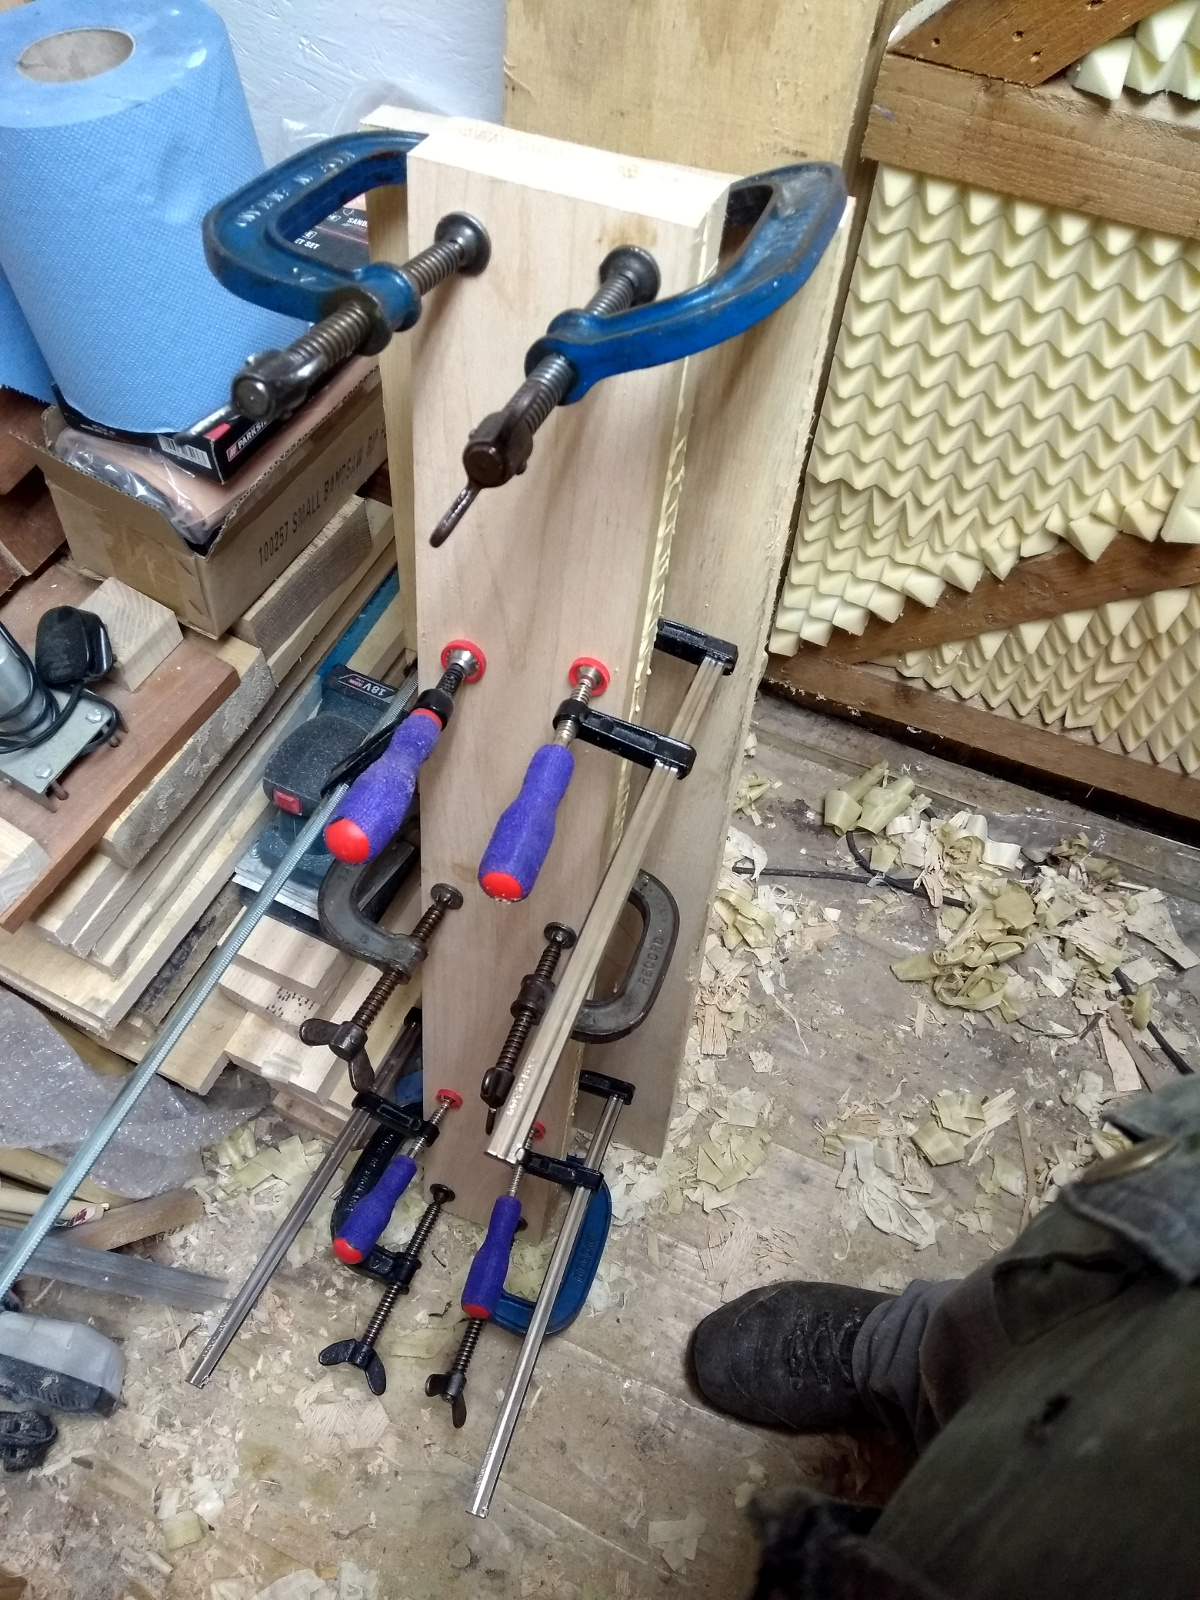
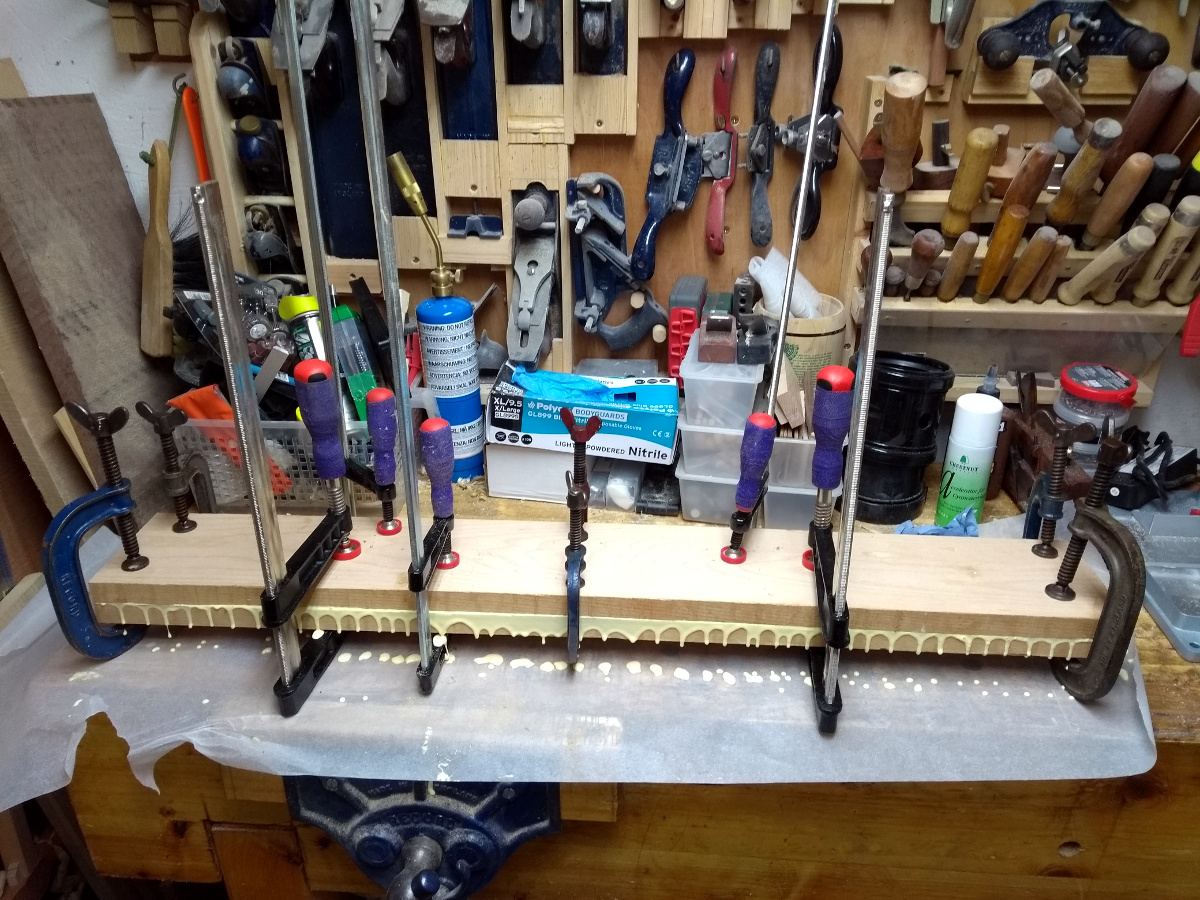
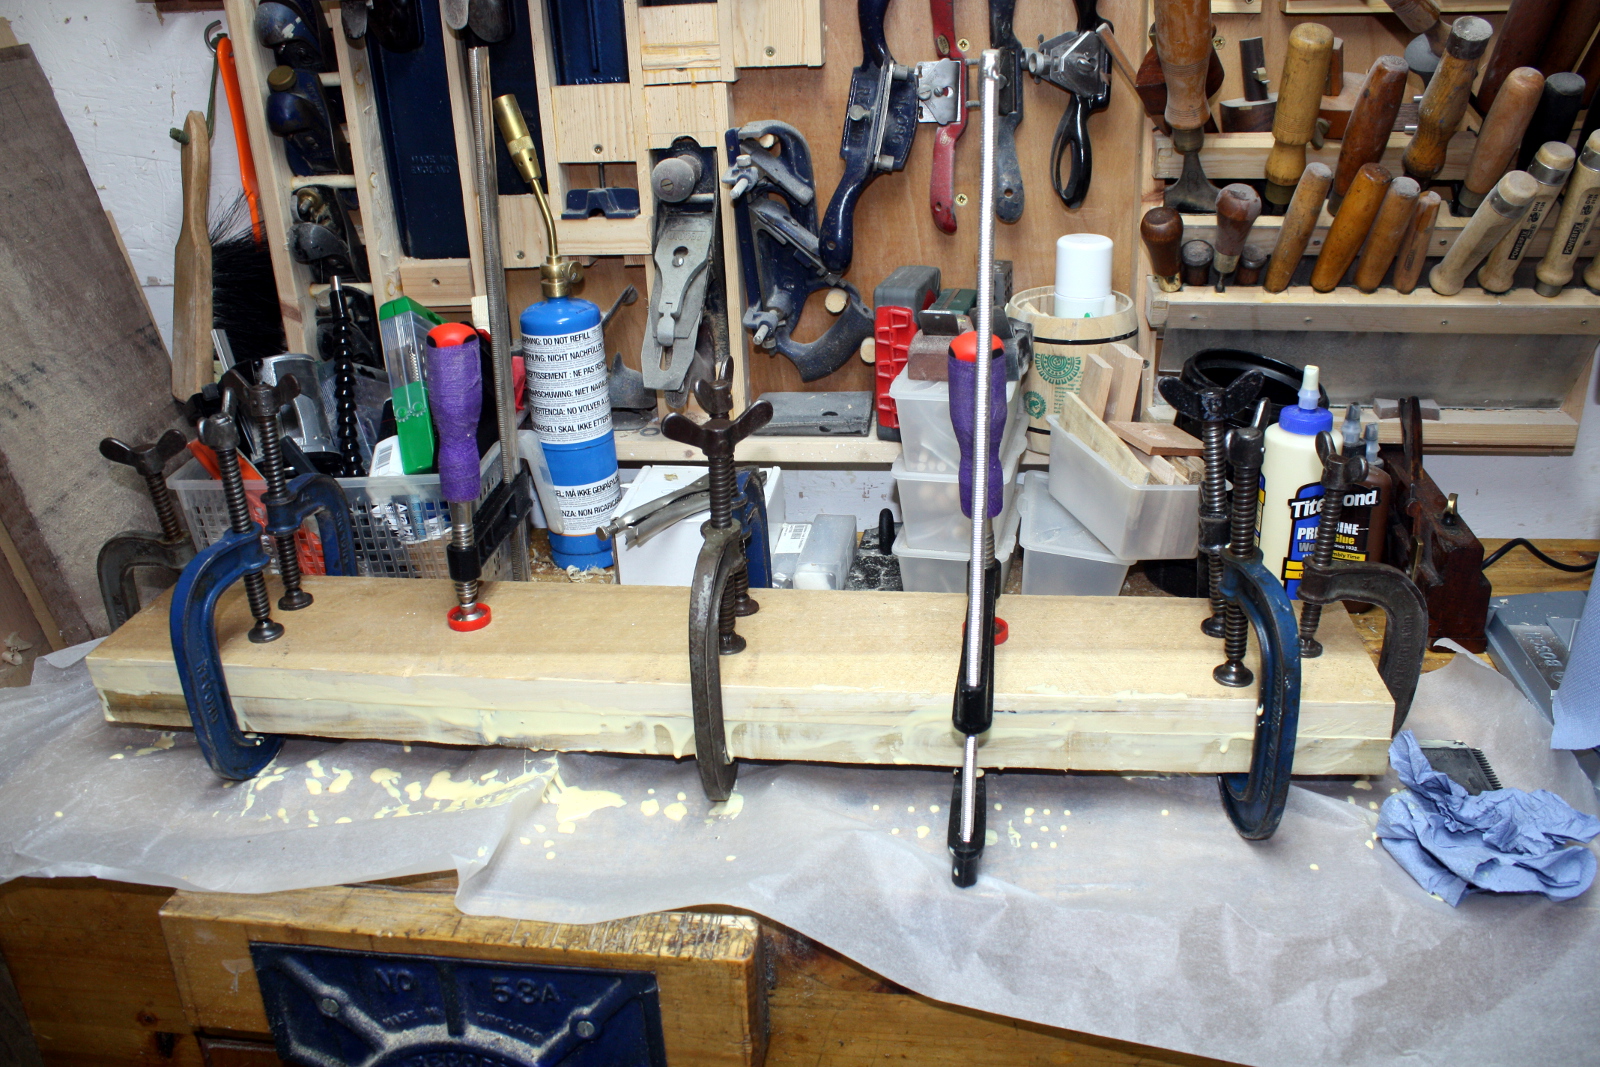
Simple 19mm pine footing for the lathe stand. Lap joints and glue at the corners. Got the feet as centered as I wanted them, then pencil around them and since the front two could overhang the bench safely, I could drill, countersink and screw up from beneath into the legs.

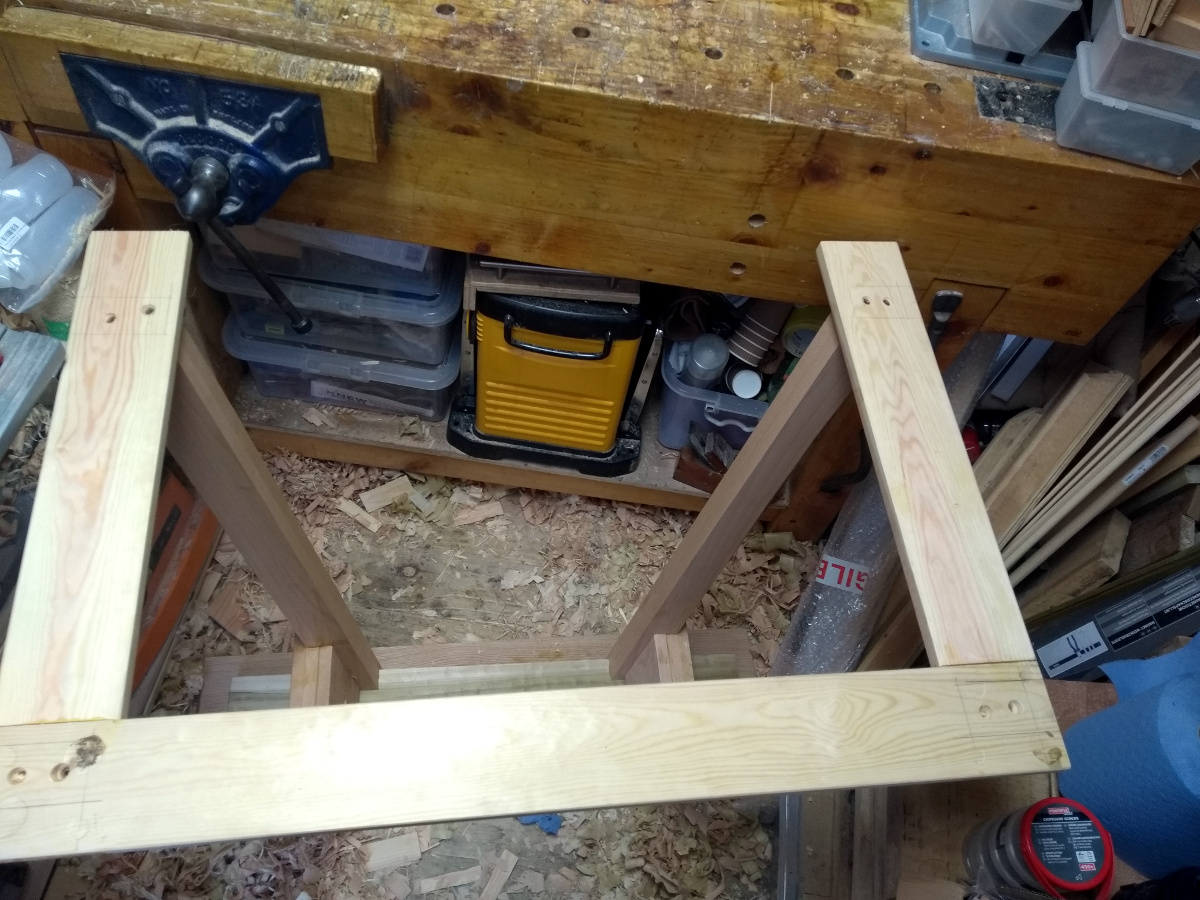
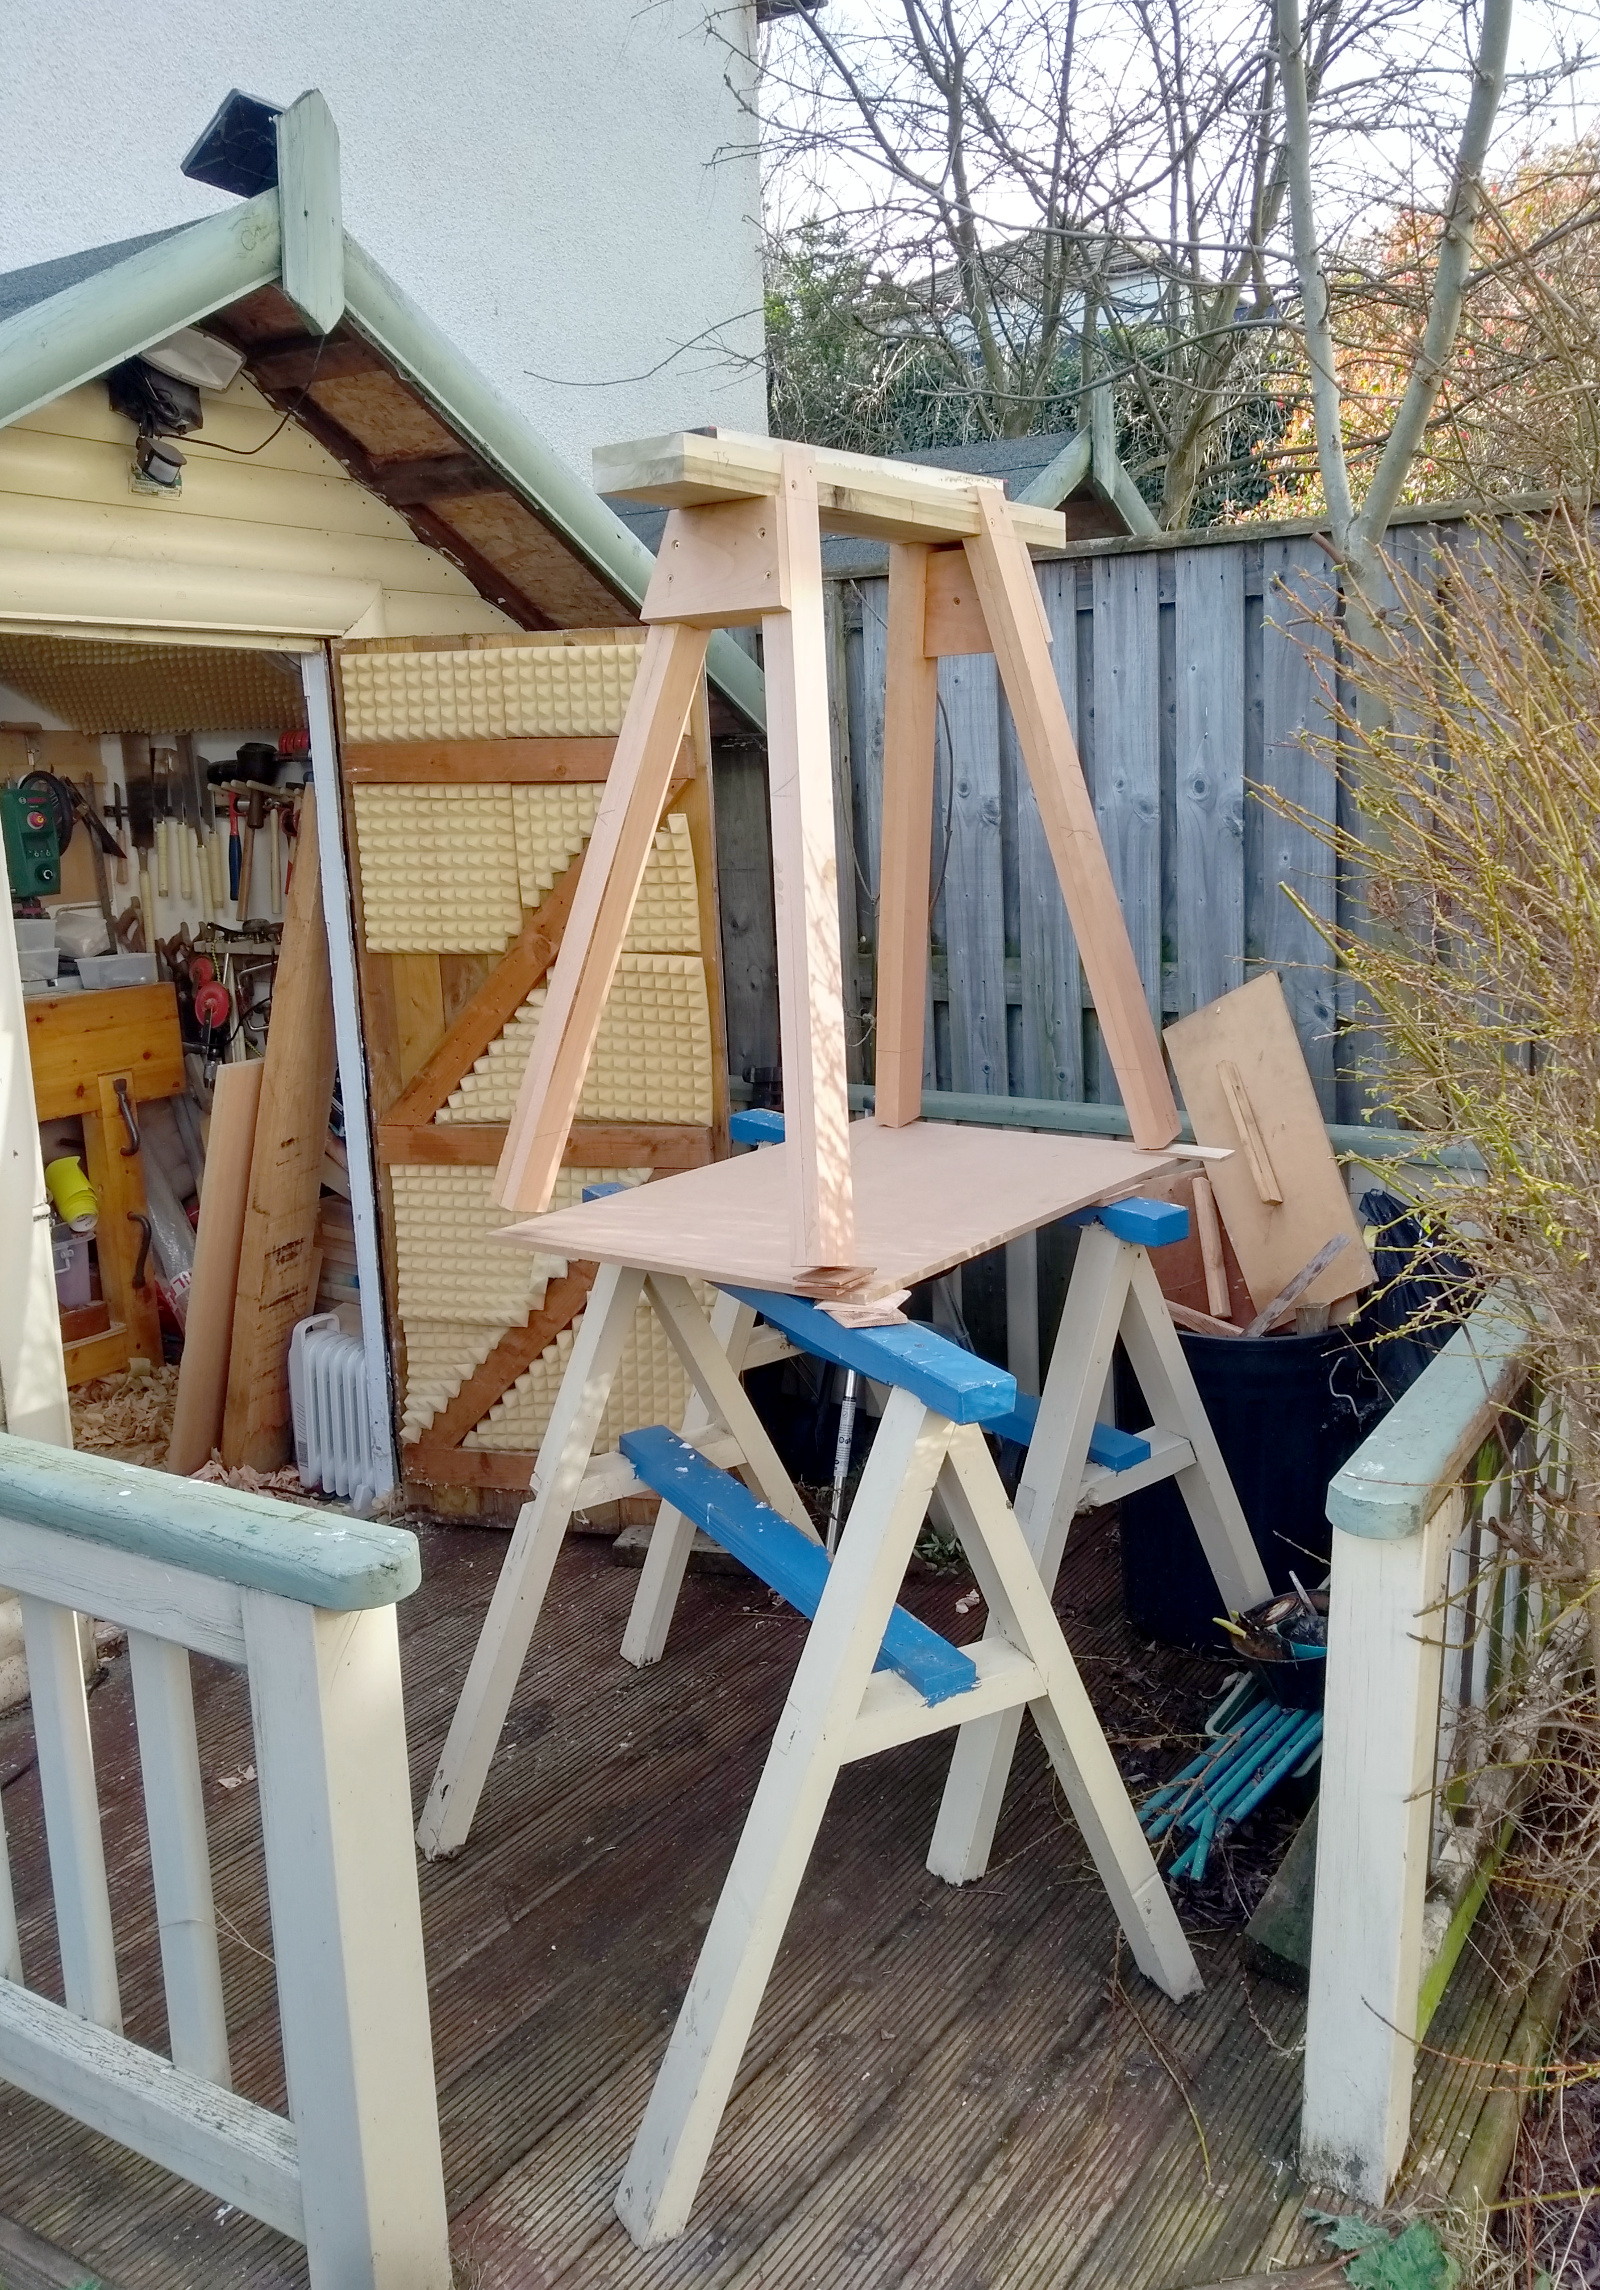
Then flipped it over onto the floor, and drilled, countersunk and screwed the other two. And that’s the stand complete, so at that point I stuck it outside for a few minutes during a break in the rain and moved stuff around and then wrestled it back inside.

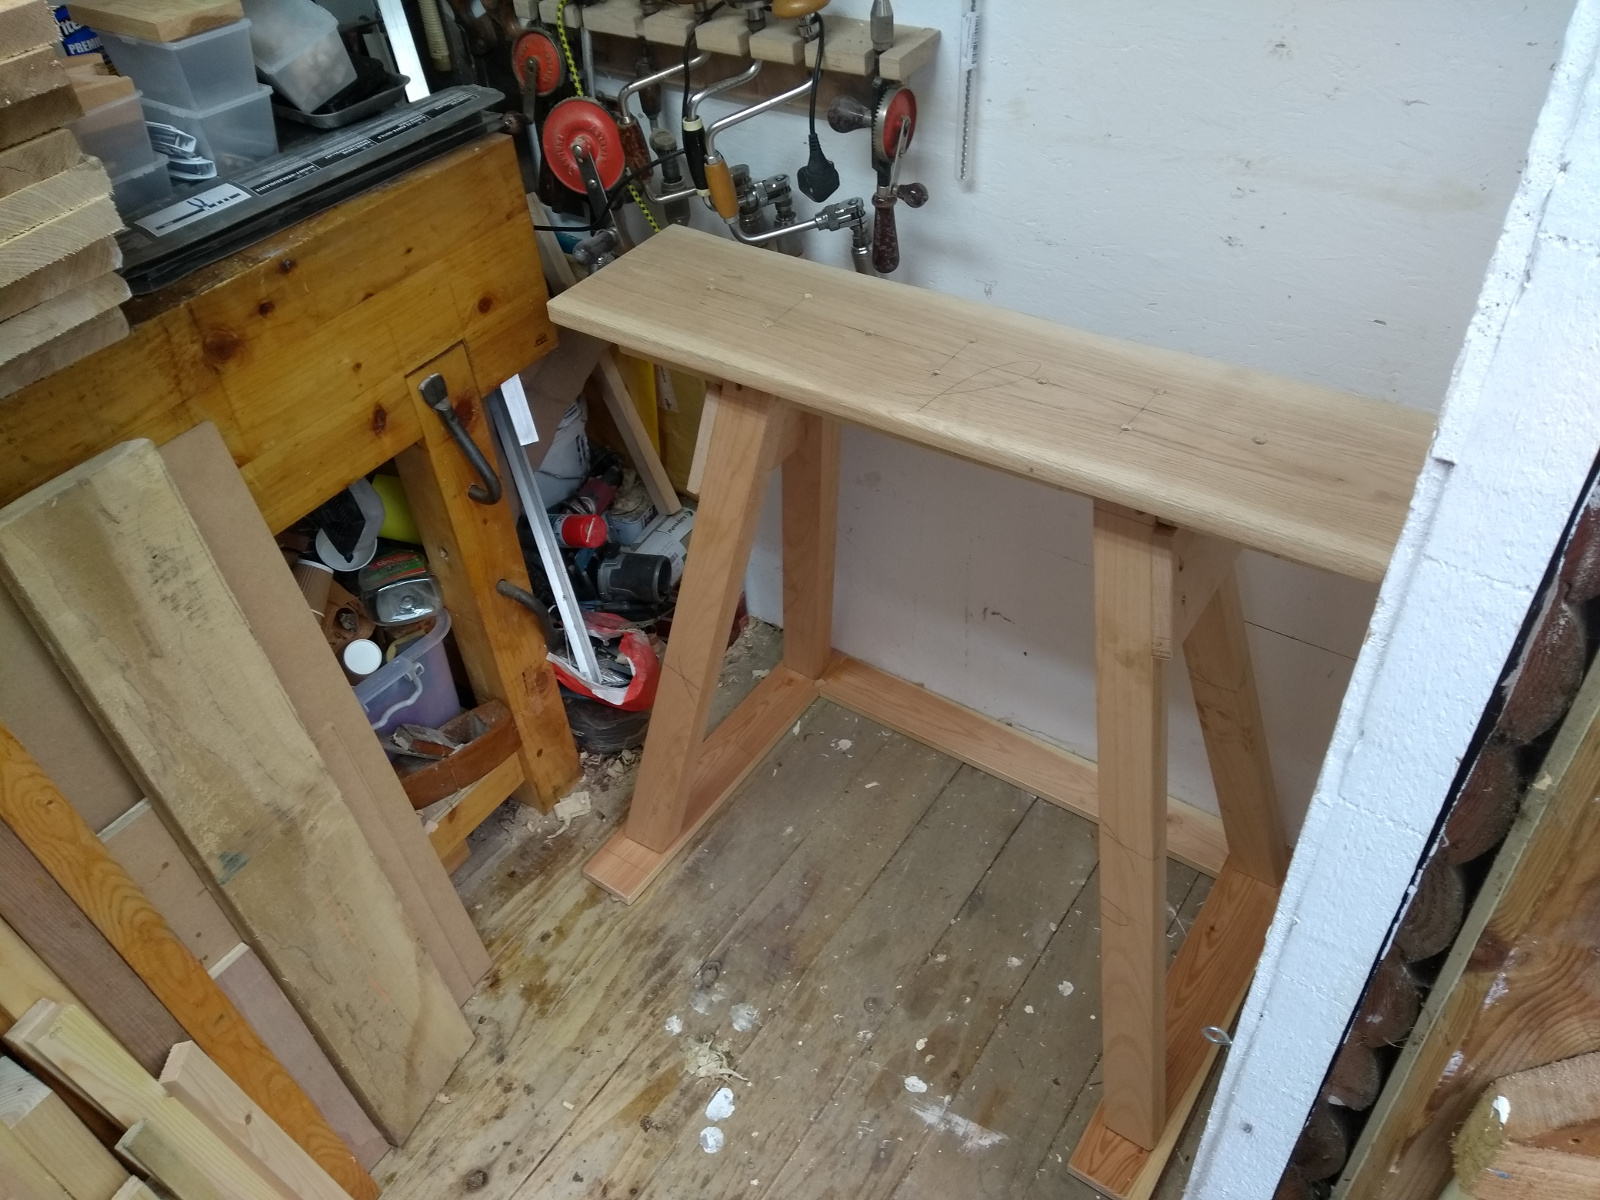
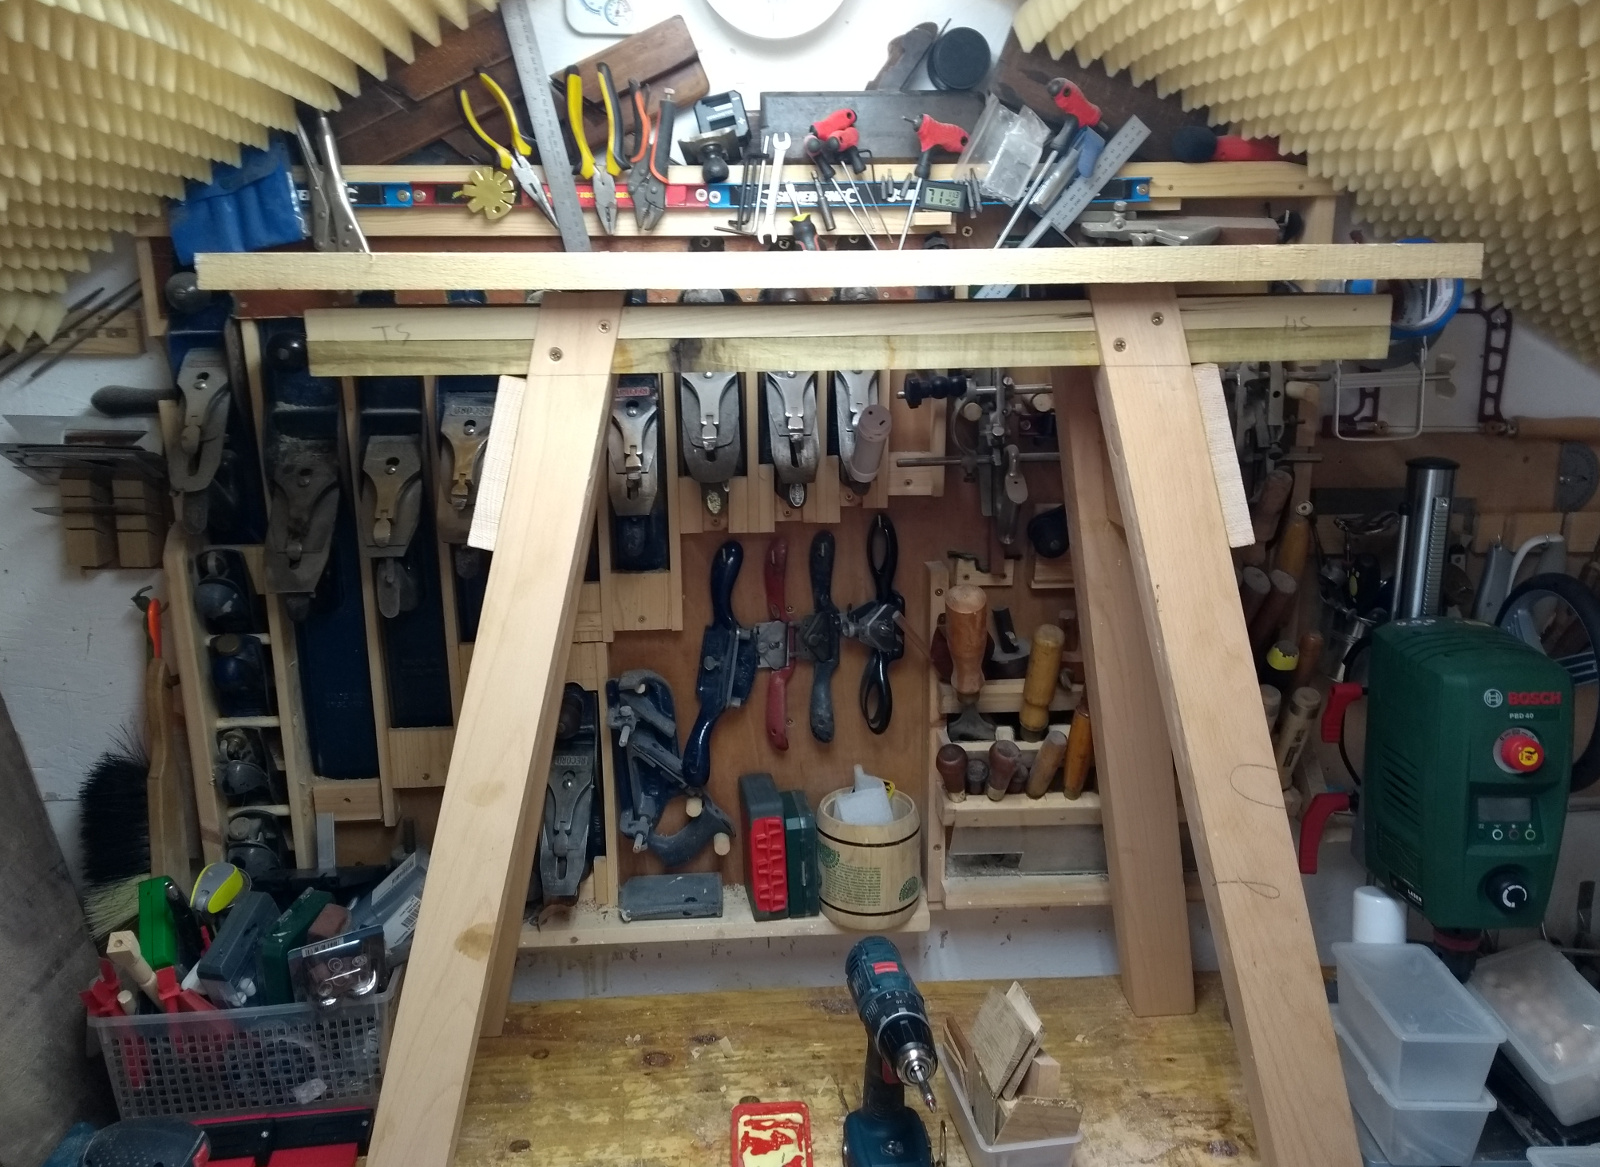
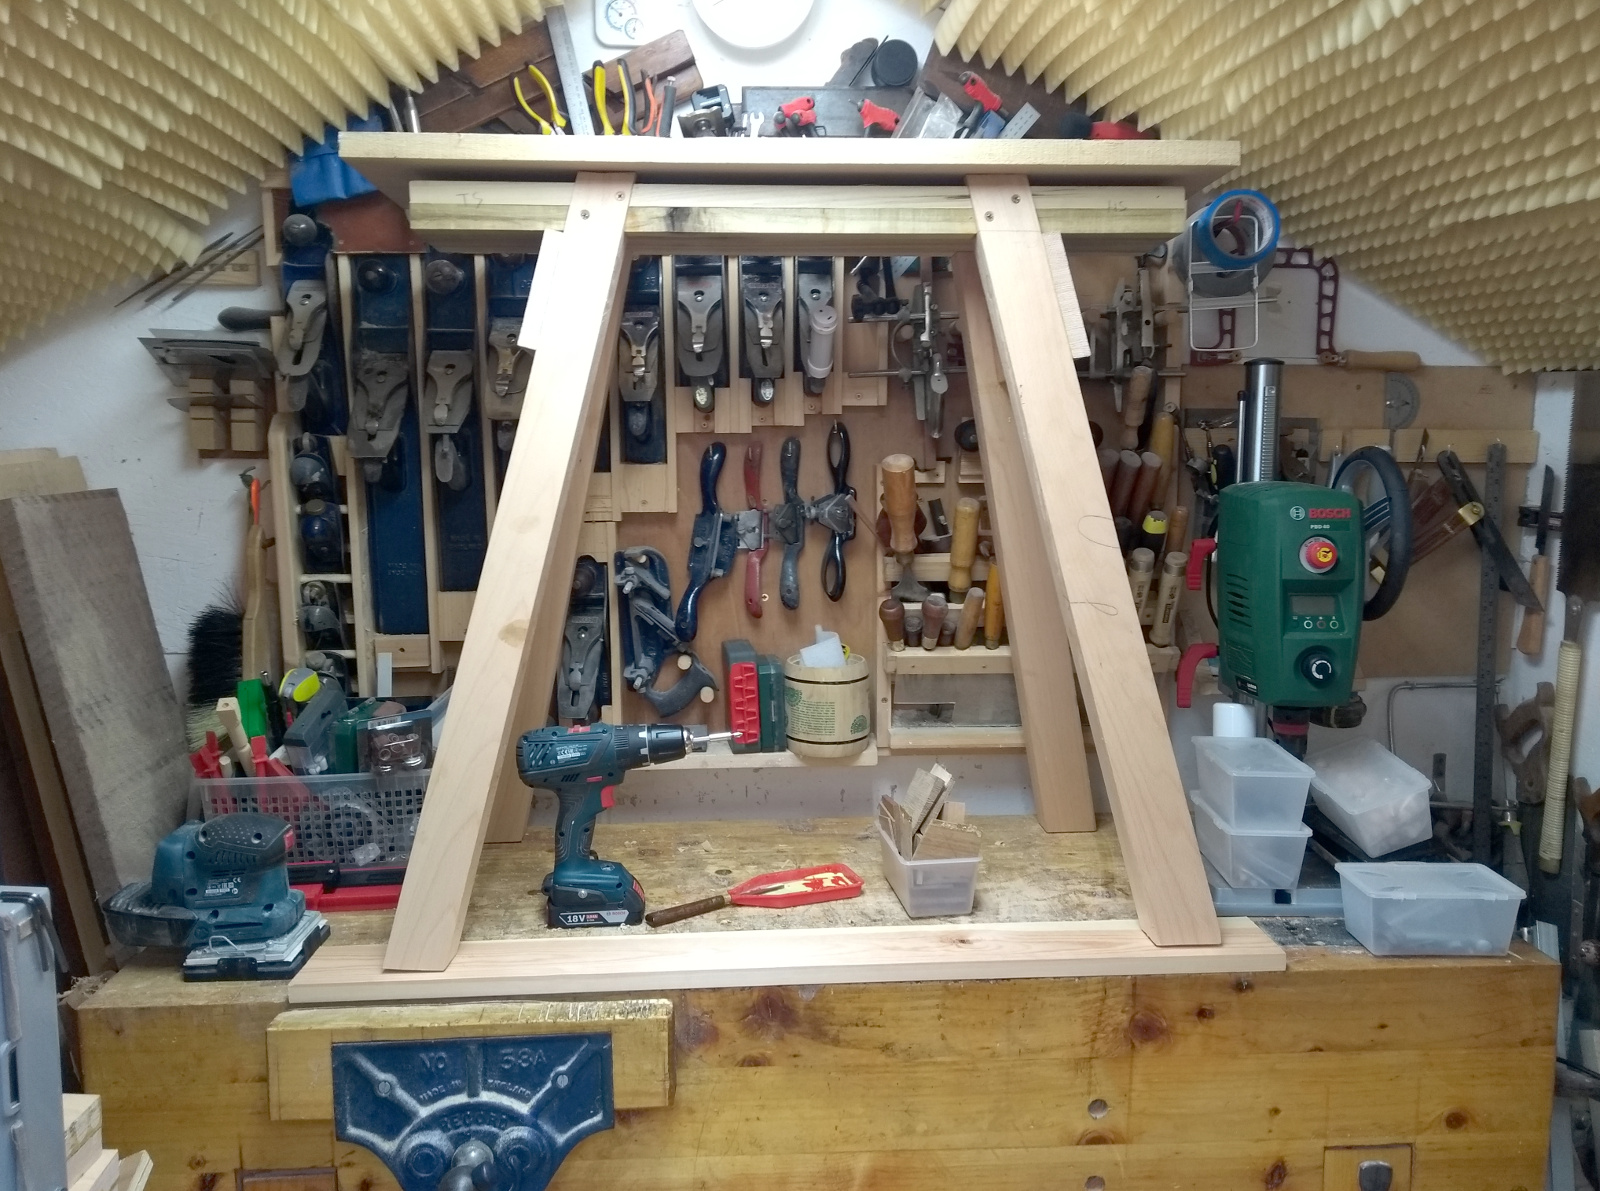
And it fits! I mean, yes, it’s built to fit but still, nice to see 😀

The back corner is a tad close to the drills and such, but it turns out it’s just far enough away to be usable.

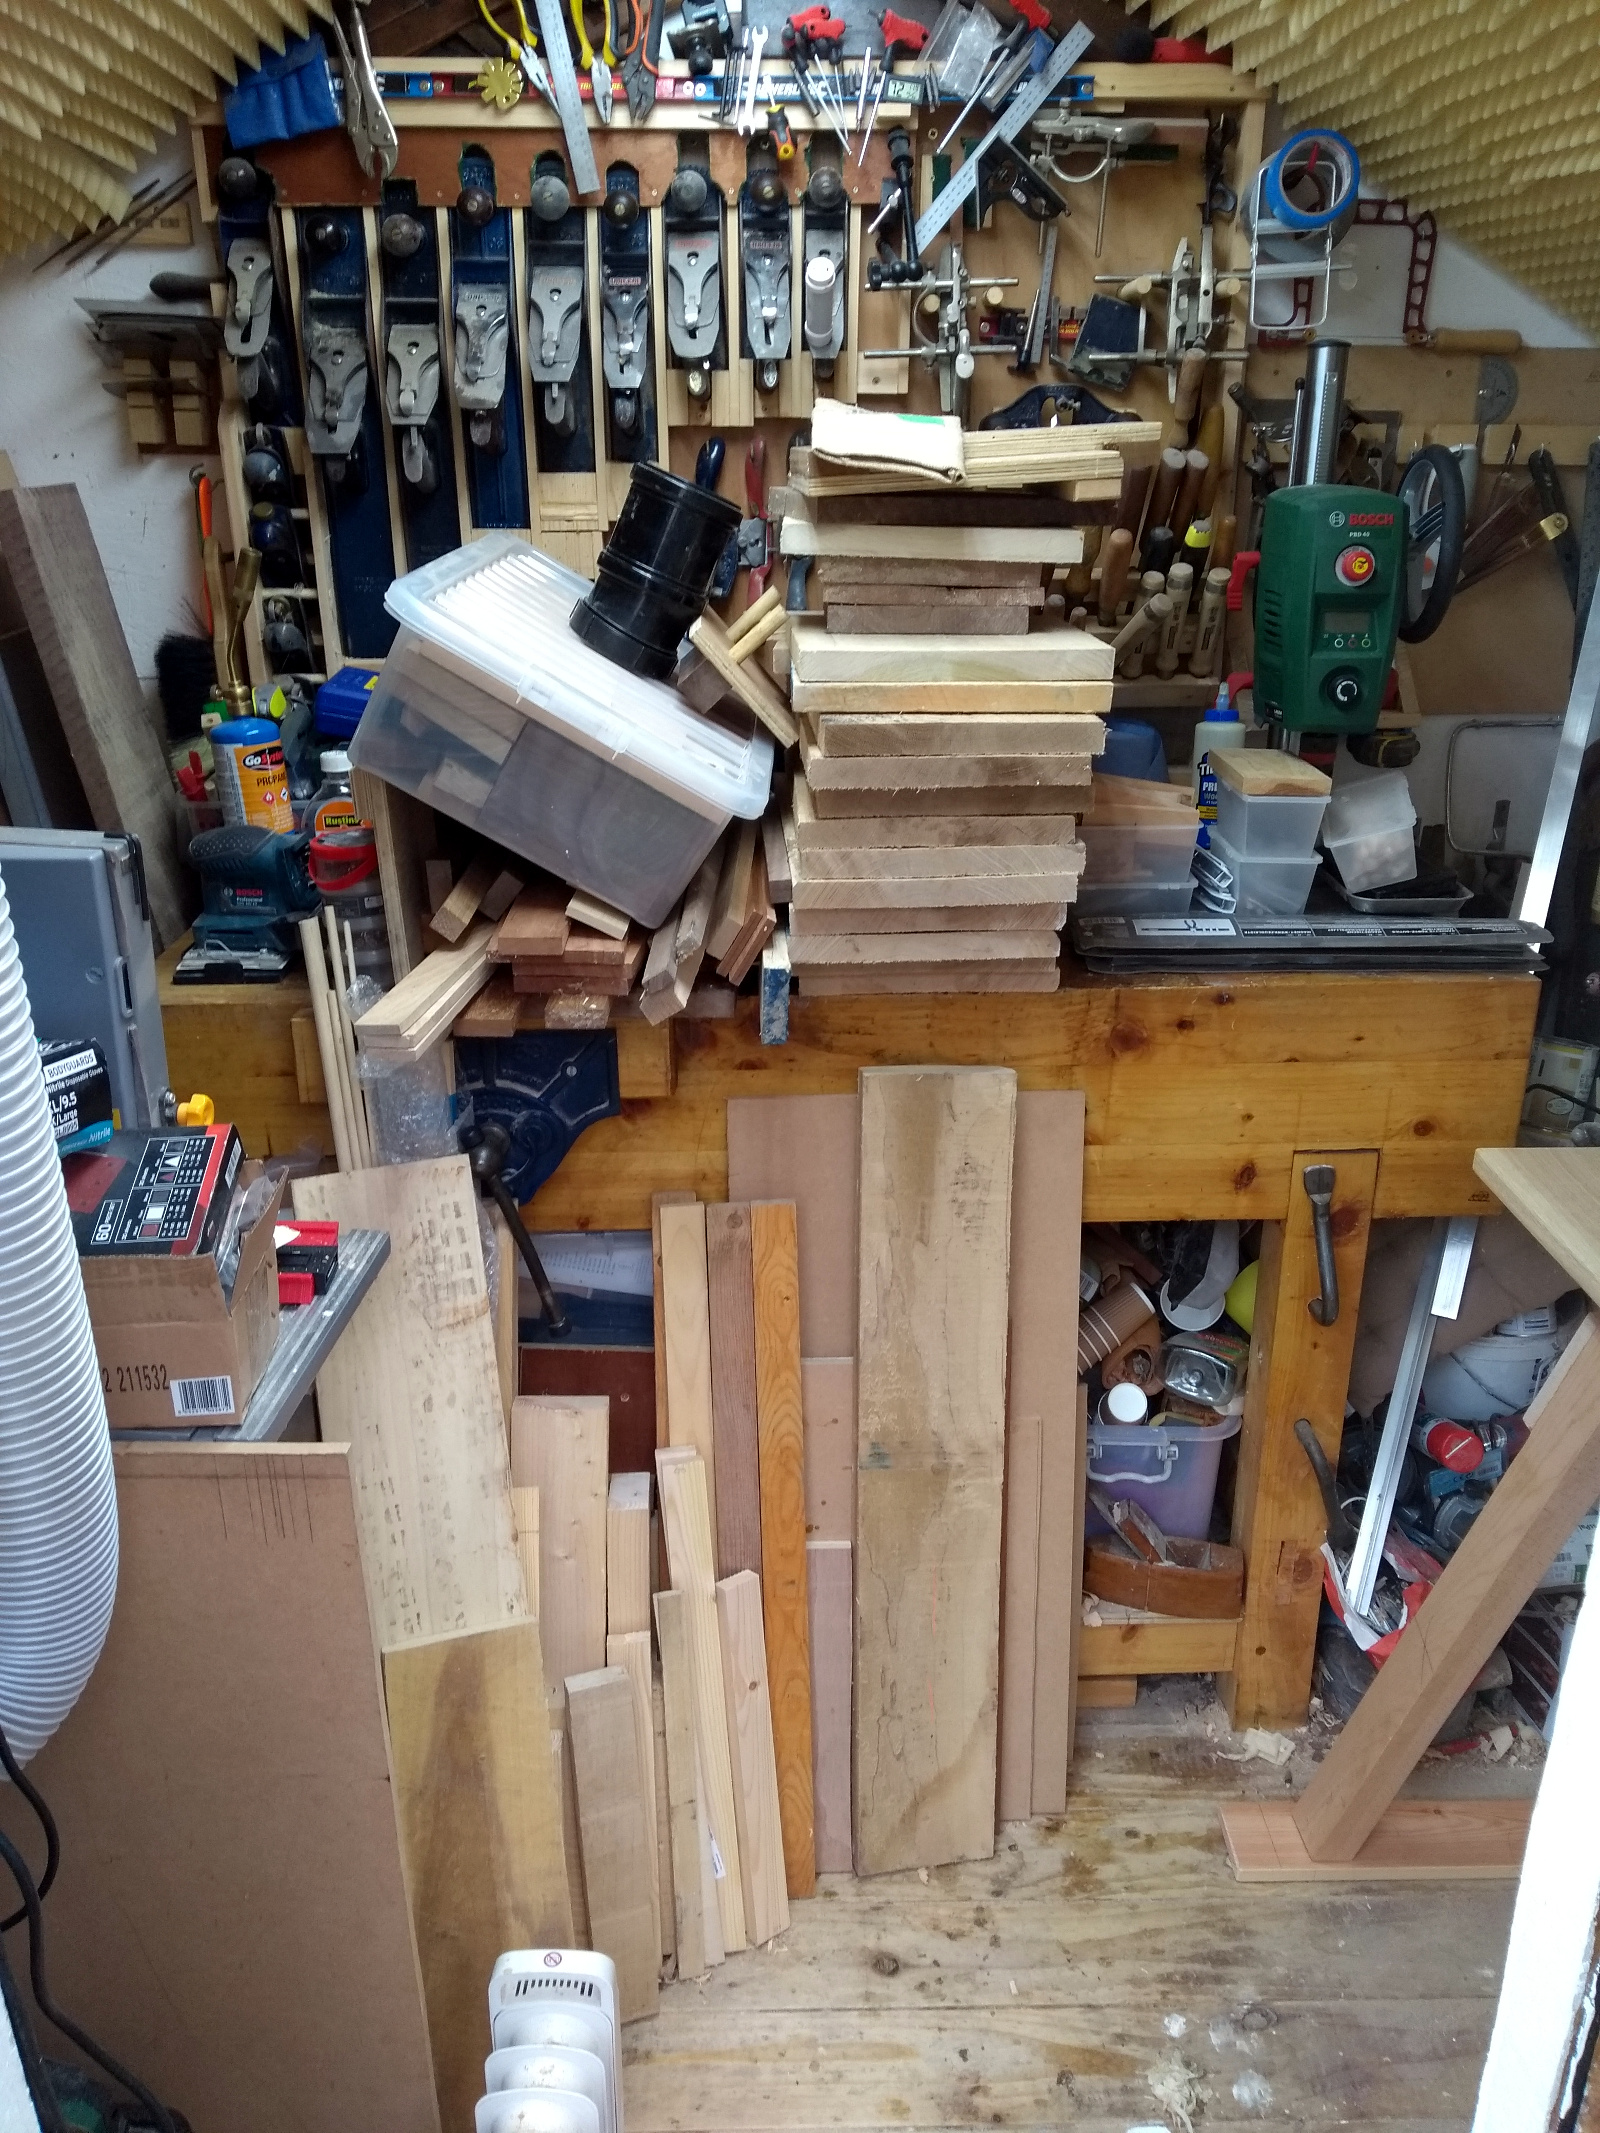
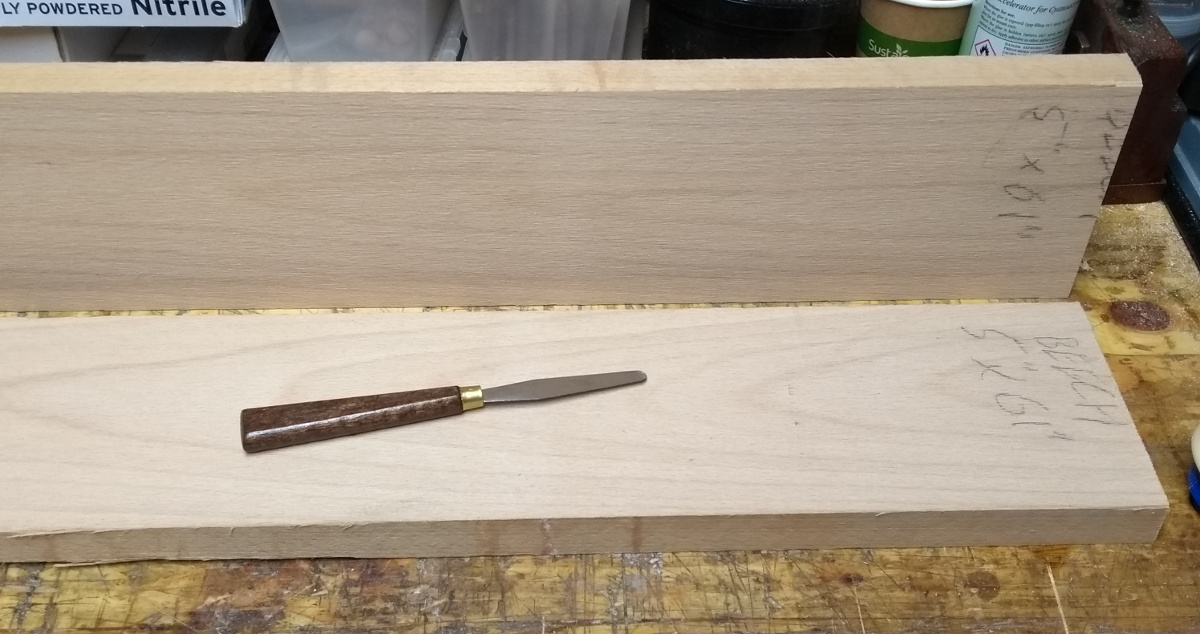
Yeah, that’s gonna take a while. I went through it today and anything that looked like I was hoarding wood got bandsawed into small pieces for the folks to burn. The 2×4 chunks are for turning practice, they’re going to go away in a hurry. The sheet stuff is getting hard to store, but the biggest challenge are those 12×30 ash and oak boards. I cut those to size to make some more of Richard Maguire’s coffee table designs and only ever made the one.

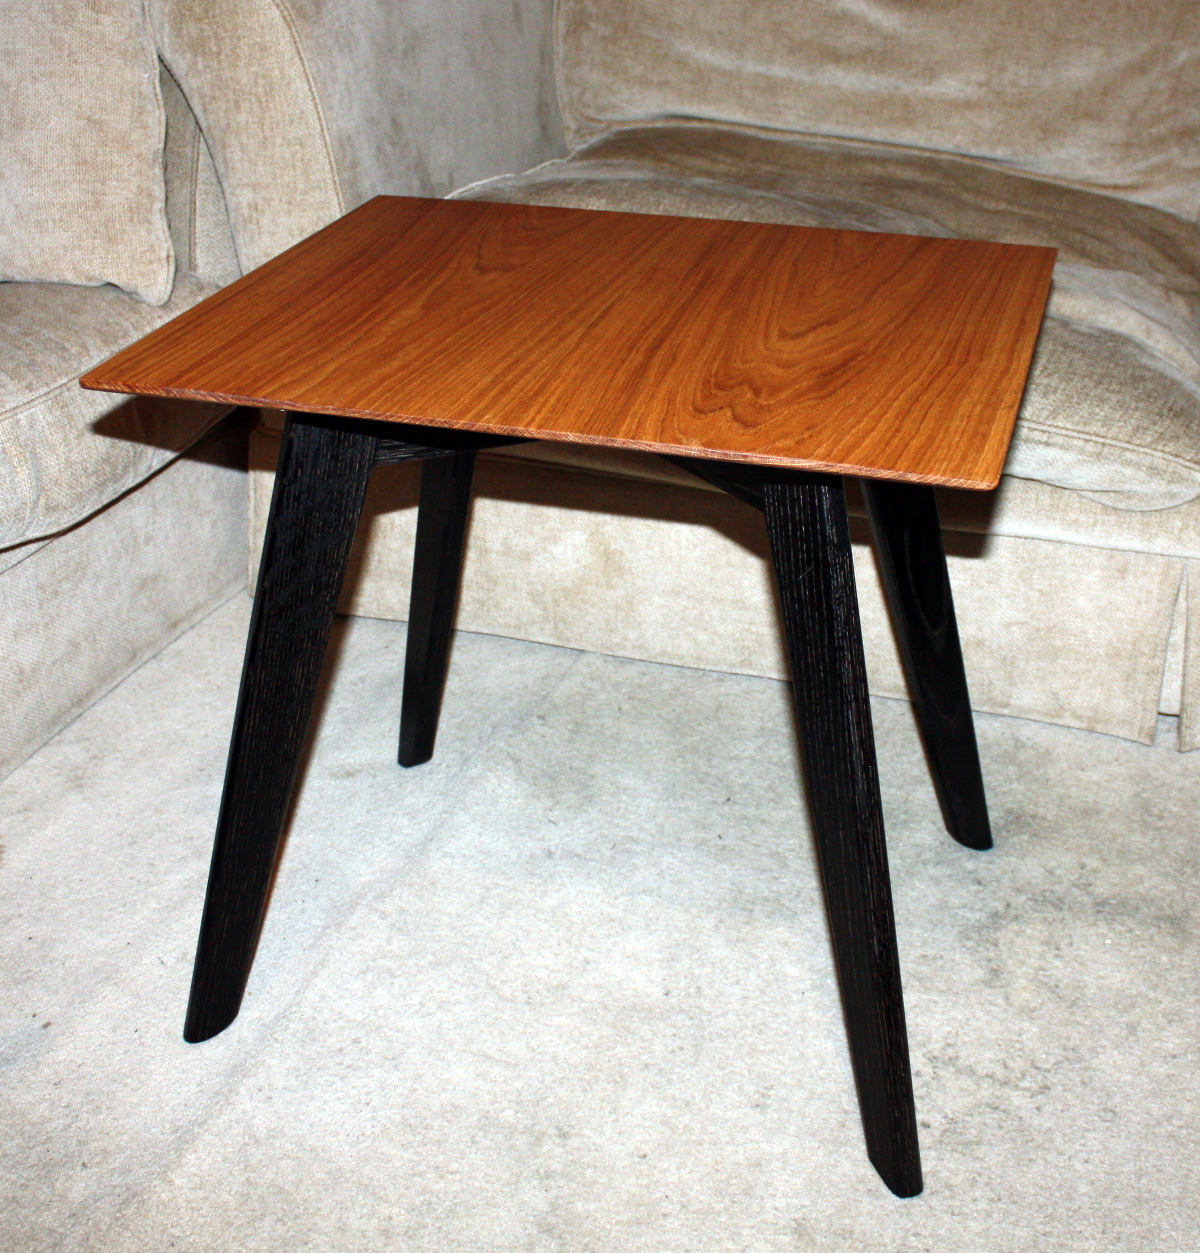
Could always make a few more I guess 😀

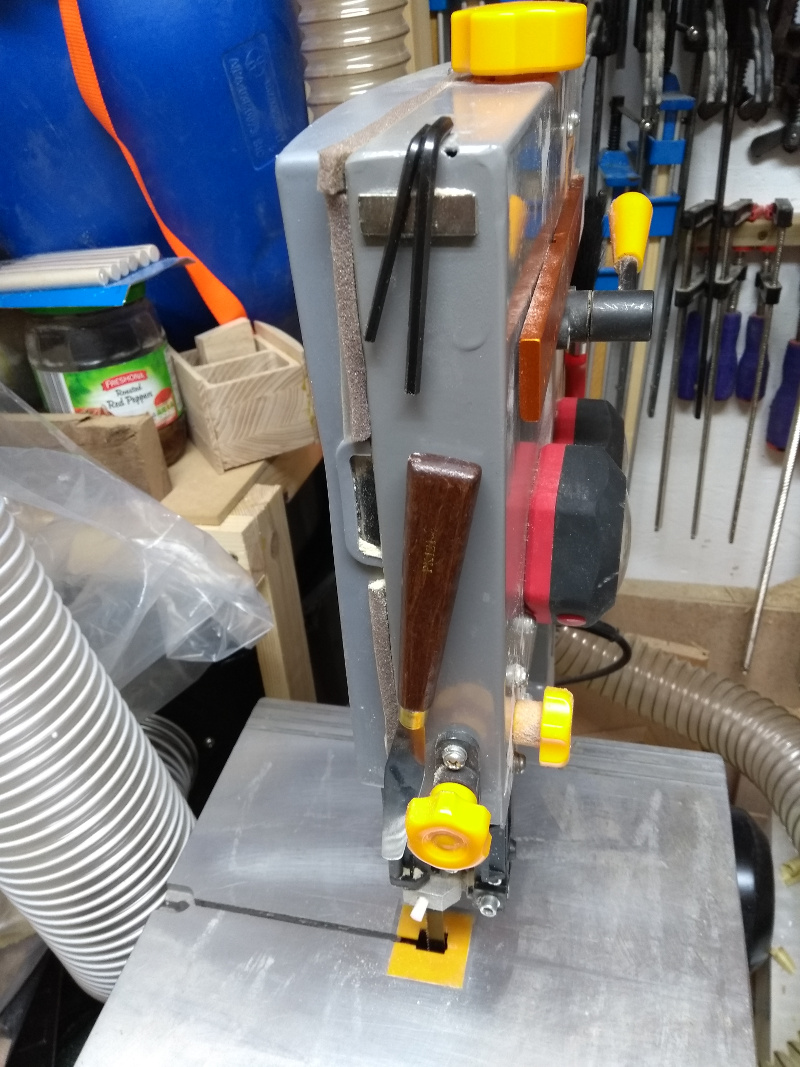
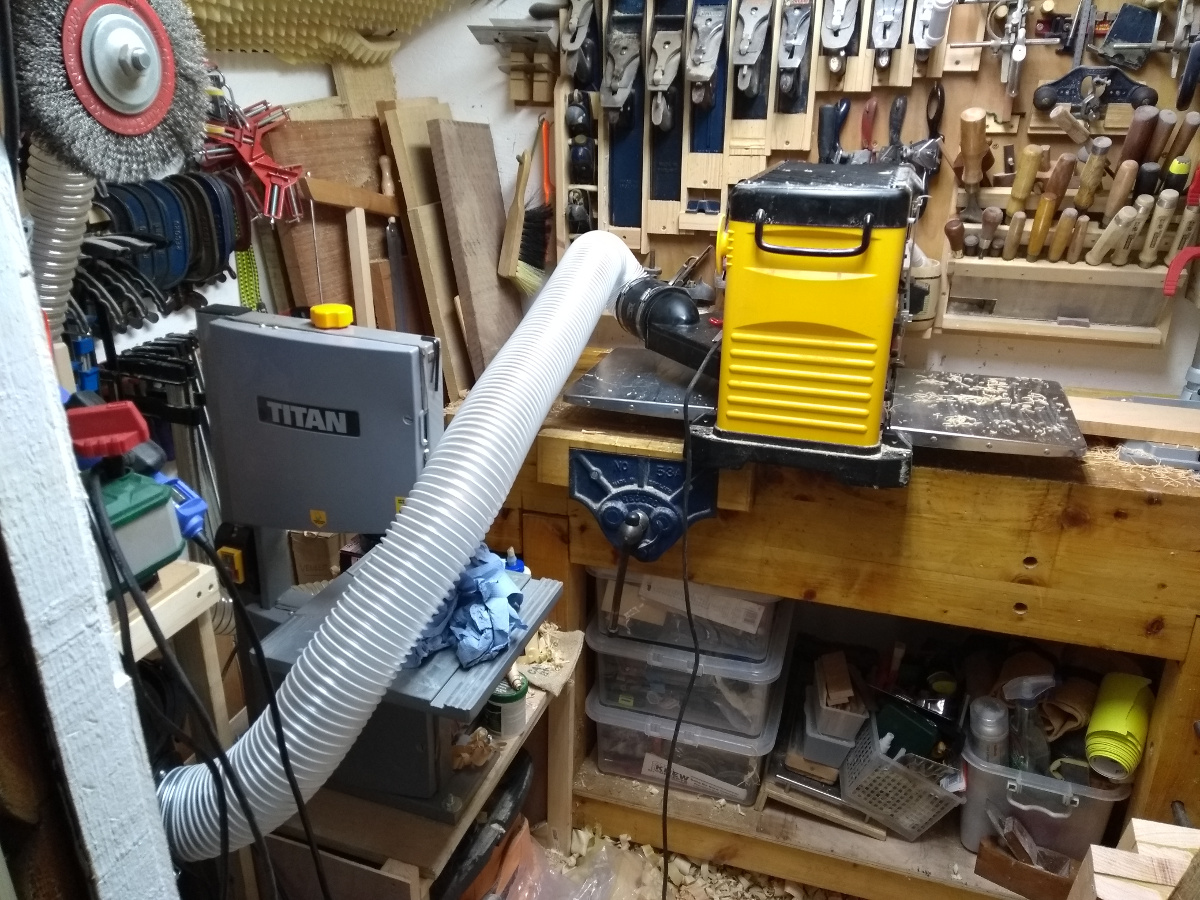
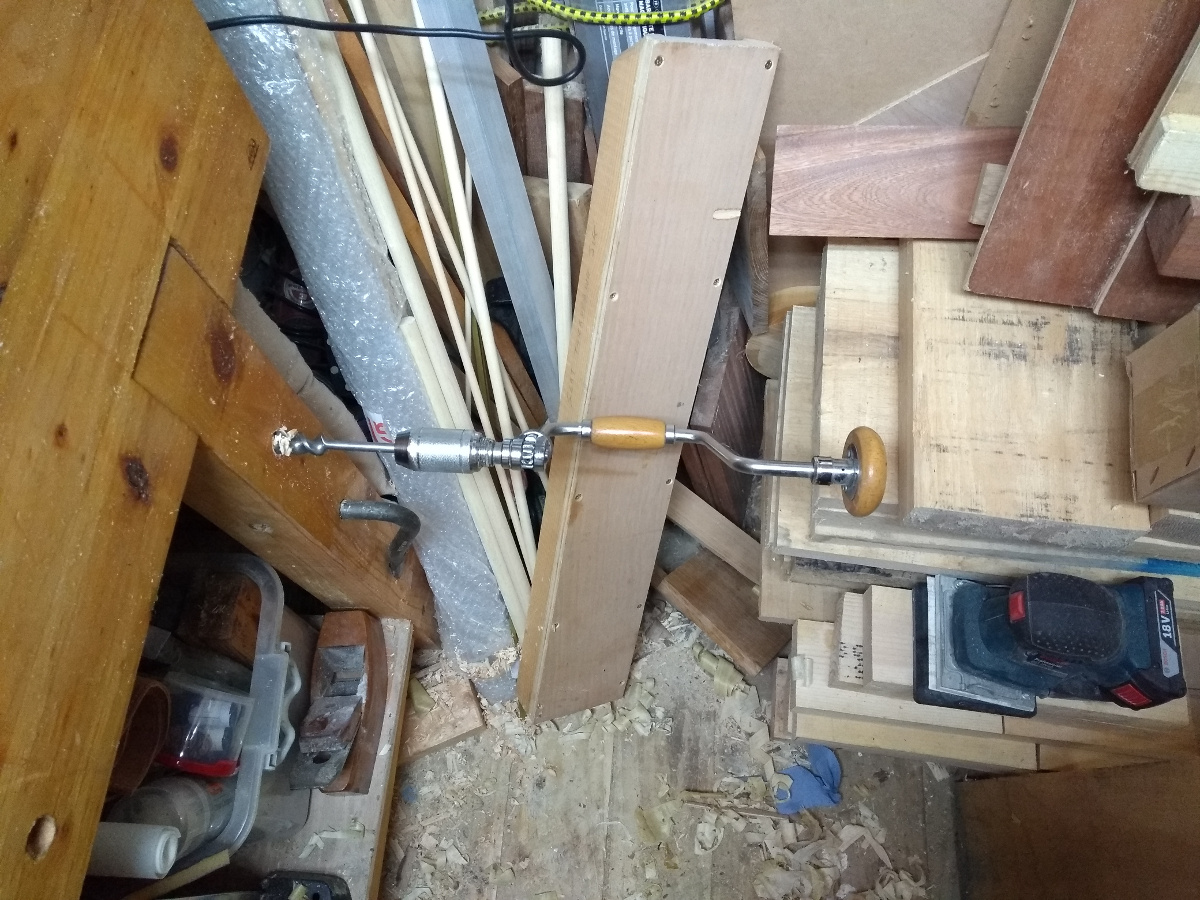
The pillar drill’s new storage spot works, which gives me that piece of the bench back at least.

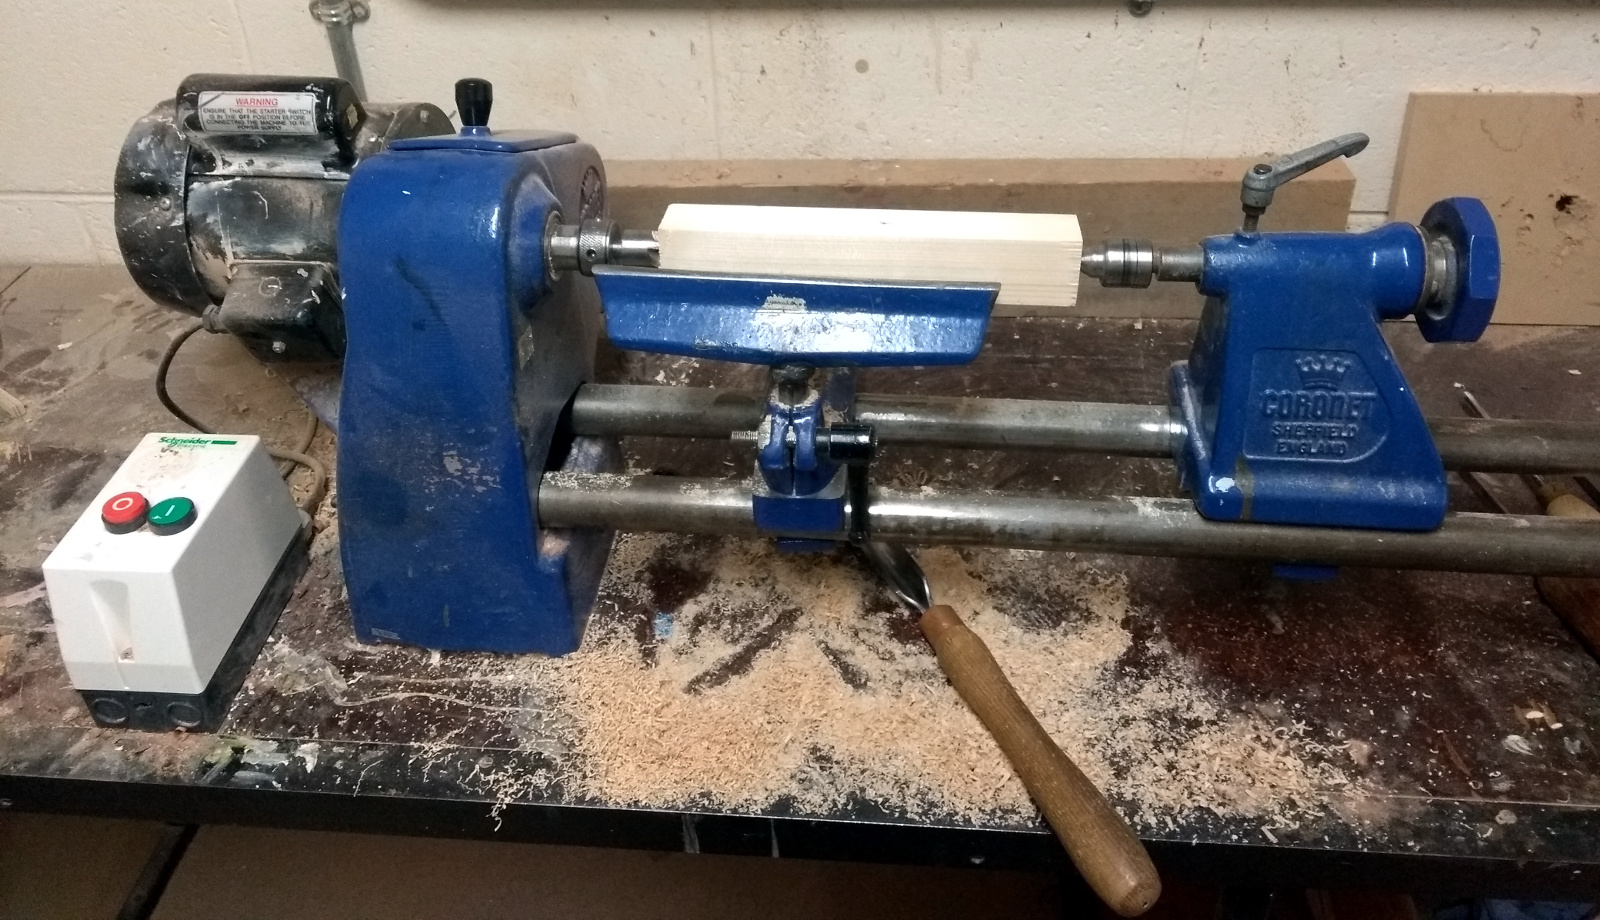
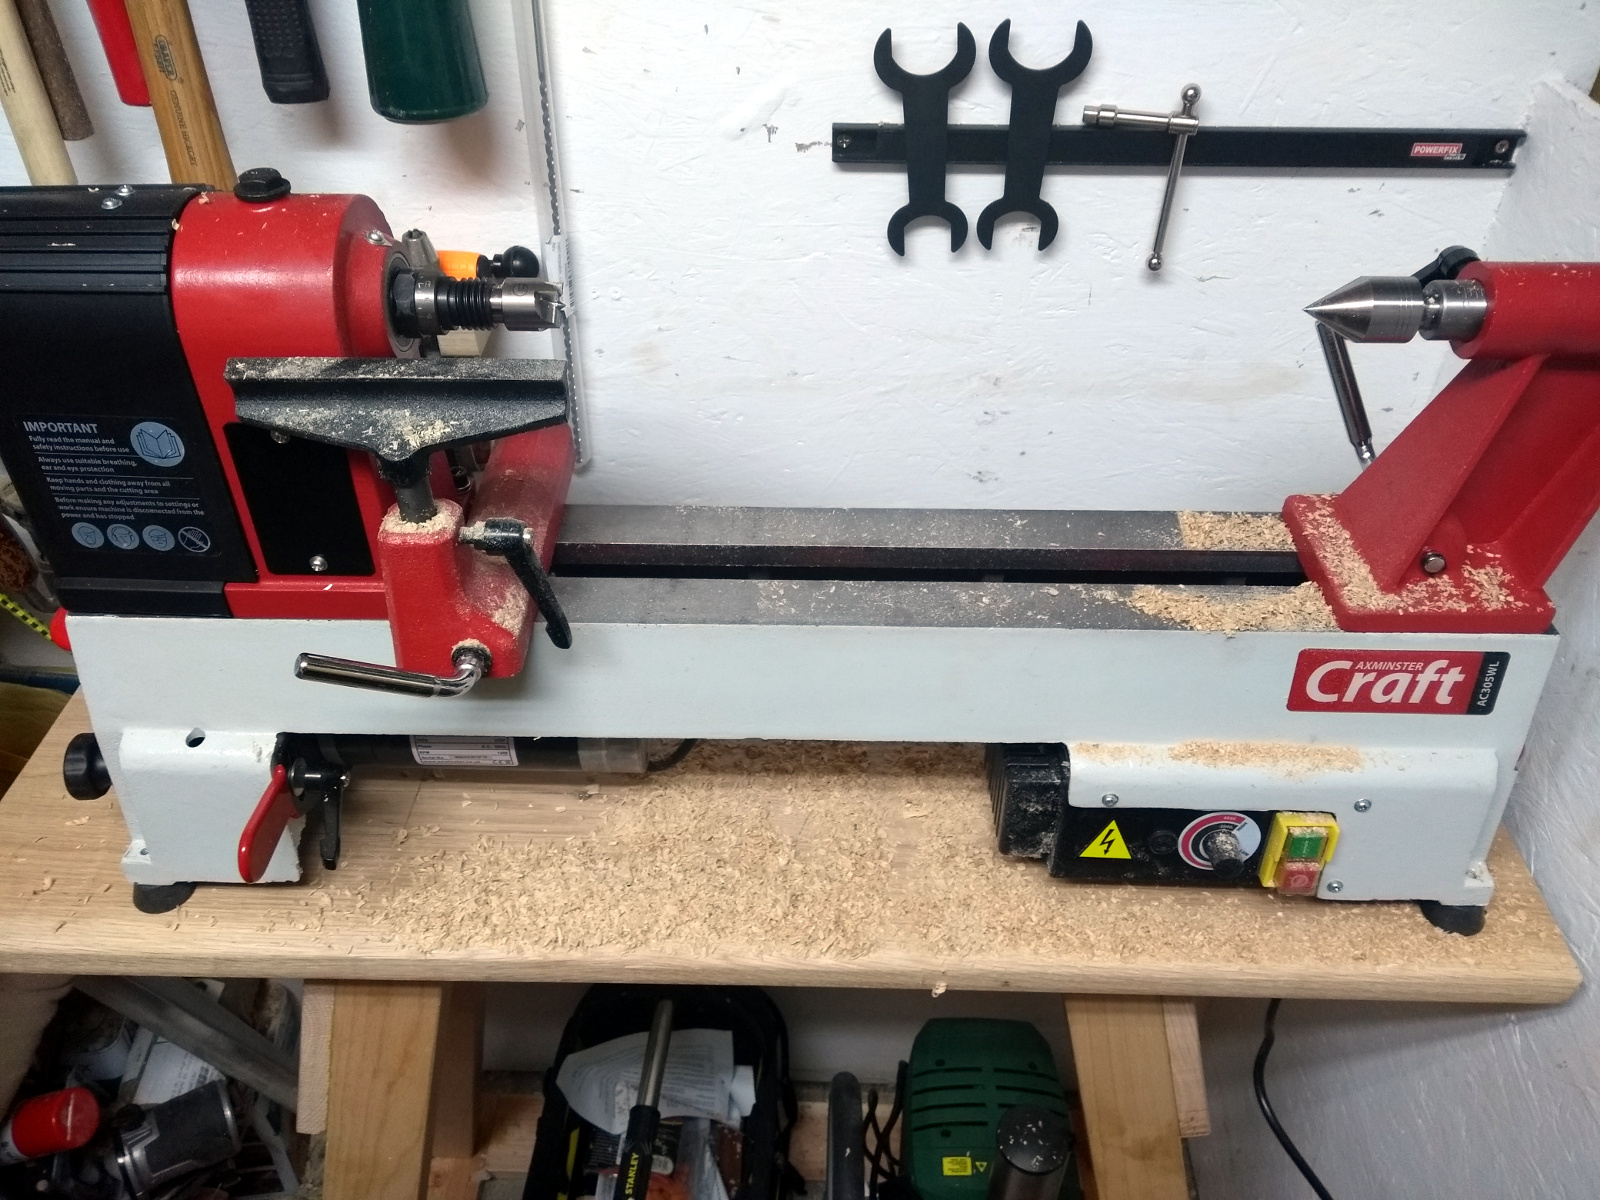
And yes, the lathe does fit on the stand 🙂

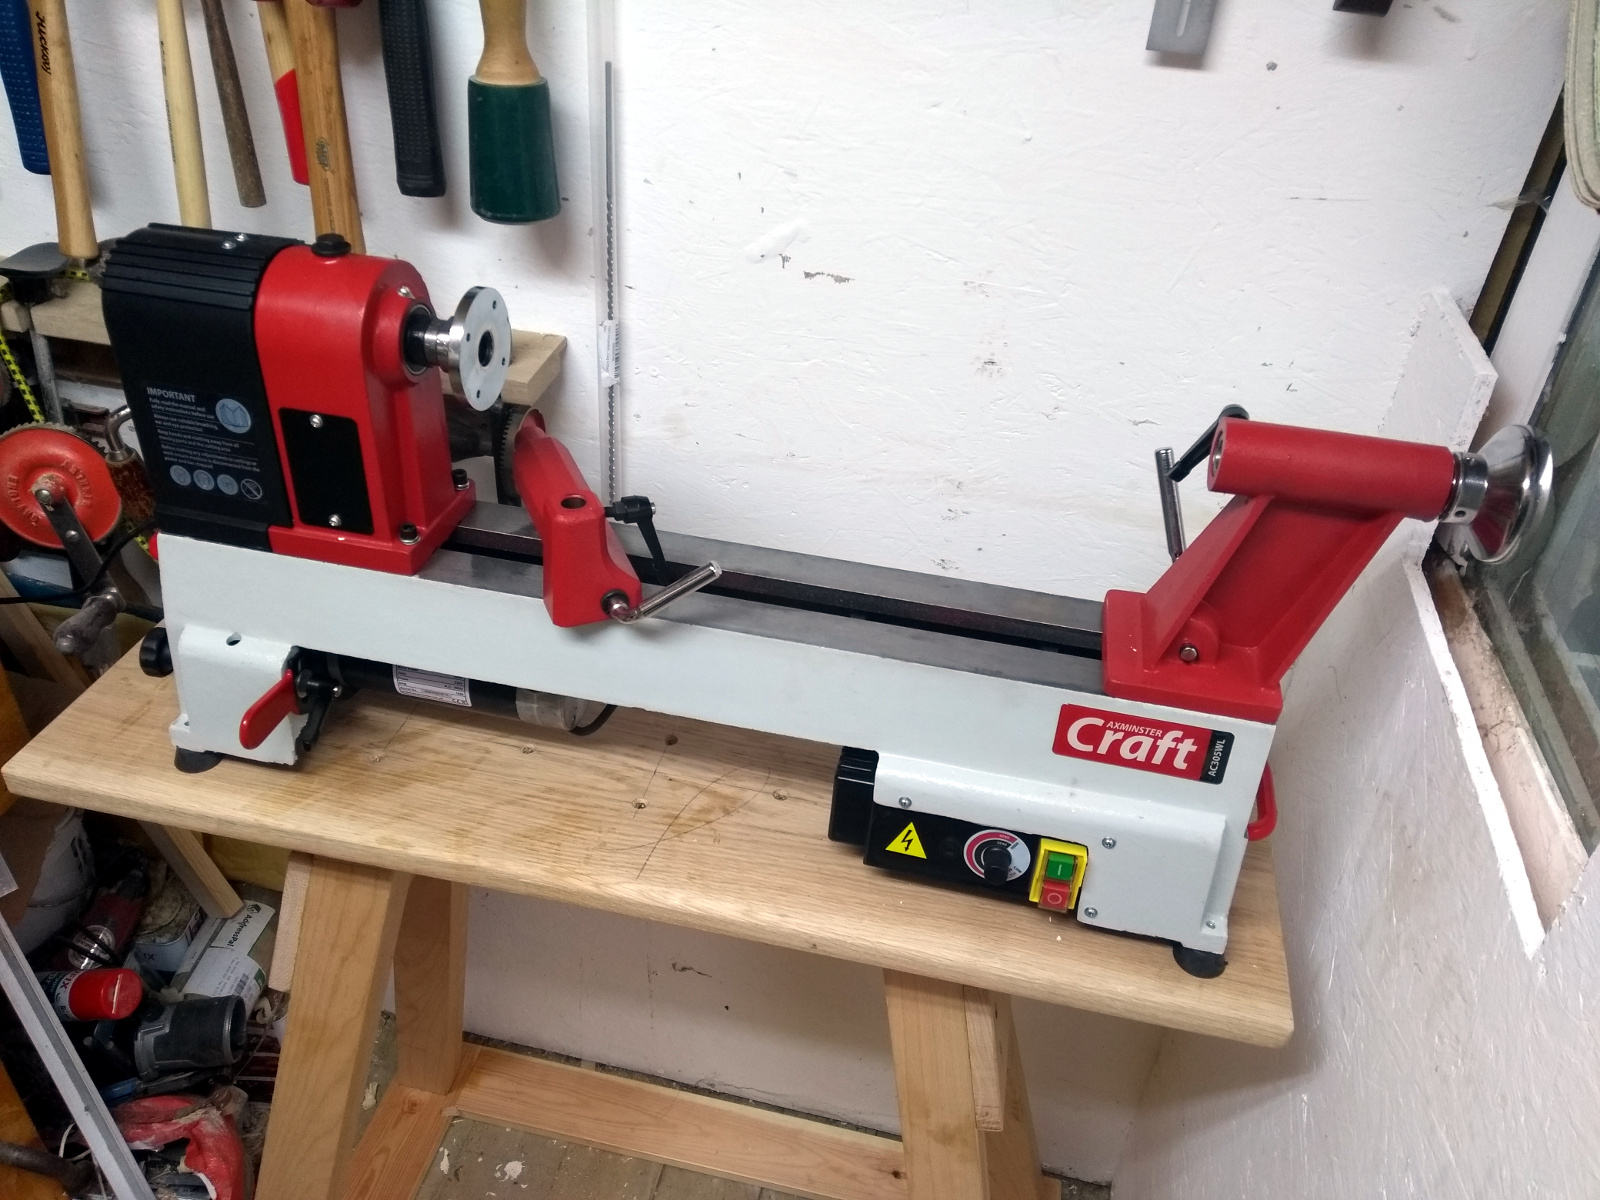
It was a fair amount of fun getting that from the front of the house to the shed, and then Denis opened up with hail and rain right as I was unboxing it outside the shed to move it inside and onto the stand. That was fun.

I know it looks tight on the tailstock end there and it definitely is, but it does fit, you can get the tailstock off without smashing the window and you can wind the tailstock even without the handle sticking out the back (the record and coronet lathes we’re using in the course all just have a wheel with no handle, it’s grand, works fine).

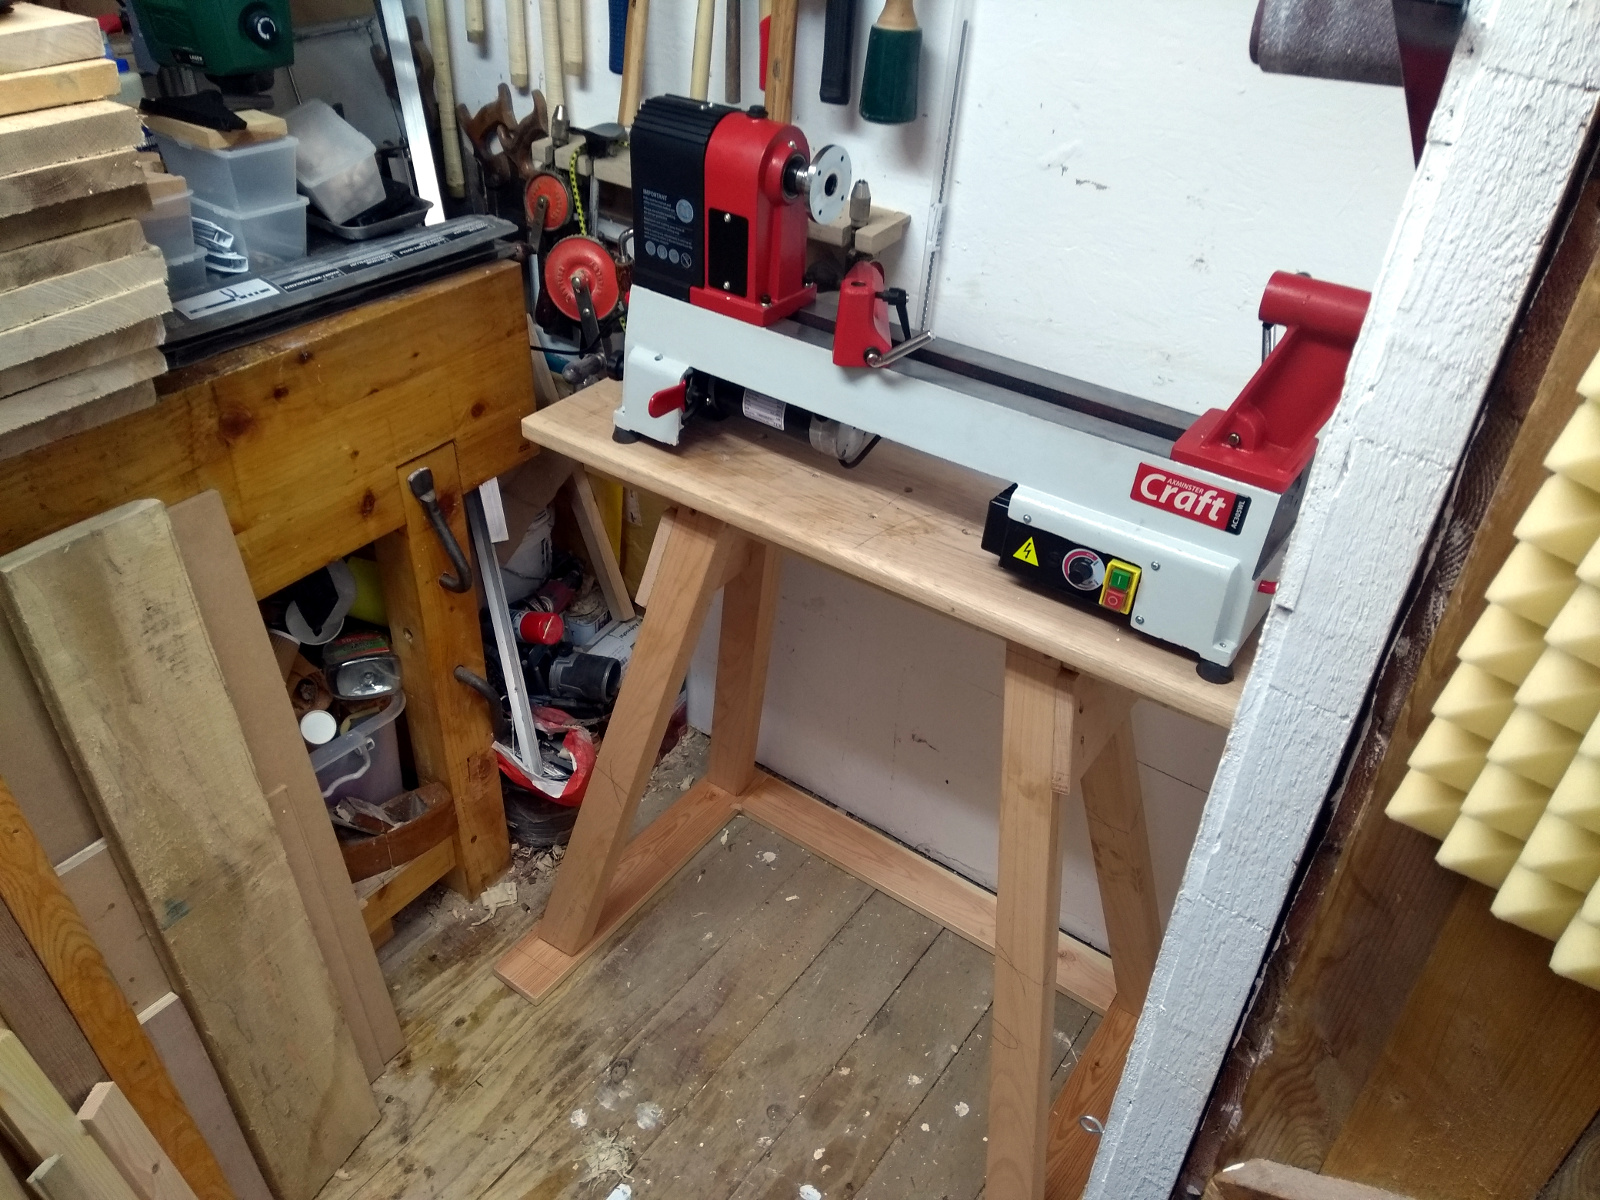
And there’s enough space there to work with. Removing that tumbledrier has made a major difference 😀

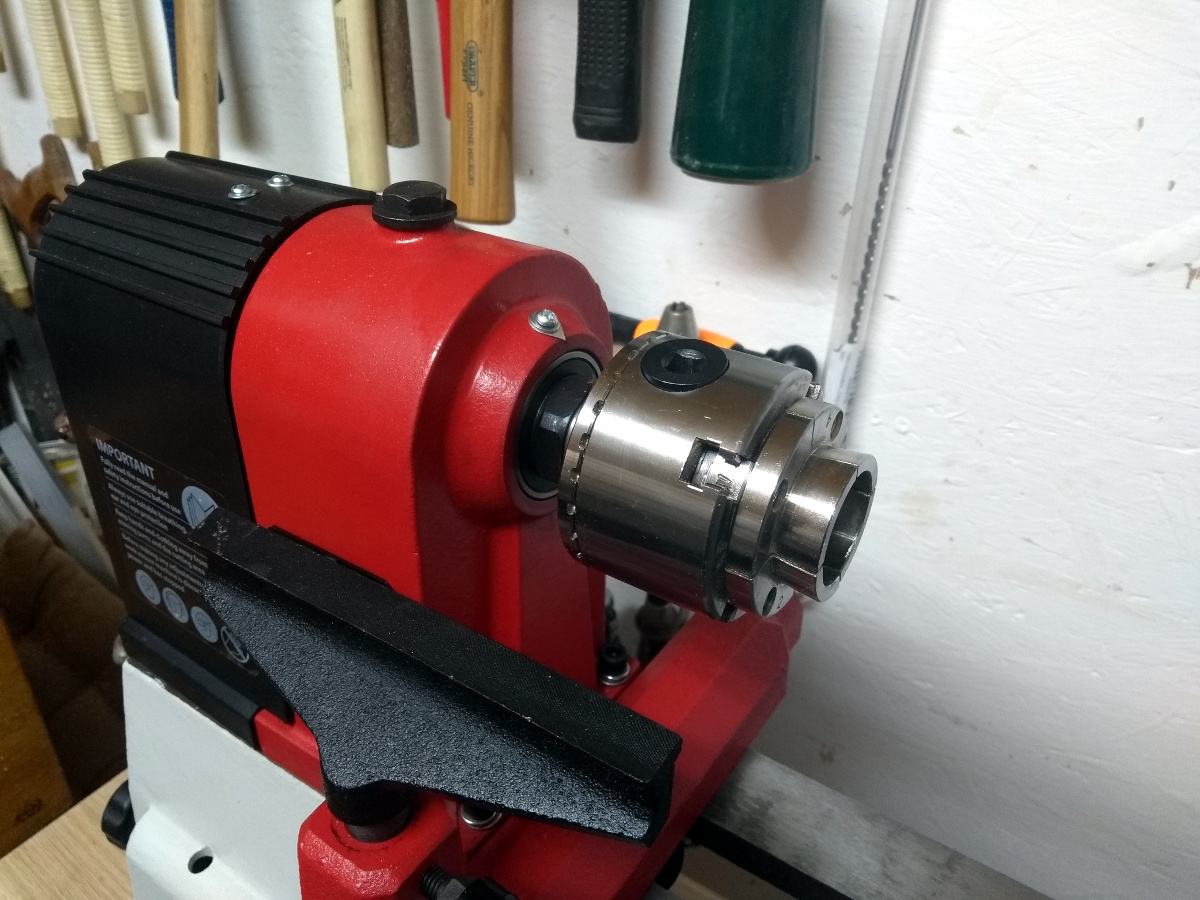
And it fits! I bought this chuck off Rutlands in a black friday sale and it was demo kit, so it can stick winding it in and out – must take it apart later and see if that can be fixed – but it fits nicely on the spindle nose and I was half-afraid I’d have gotten some weird TPI and would need an adapter.

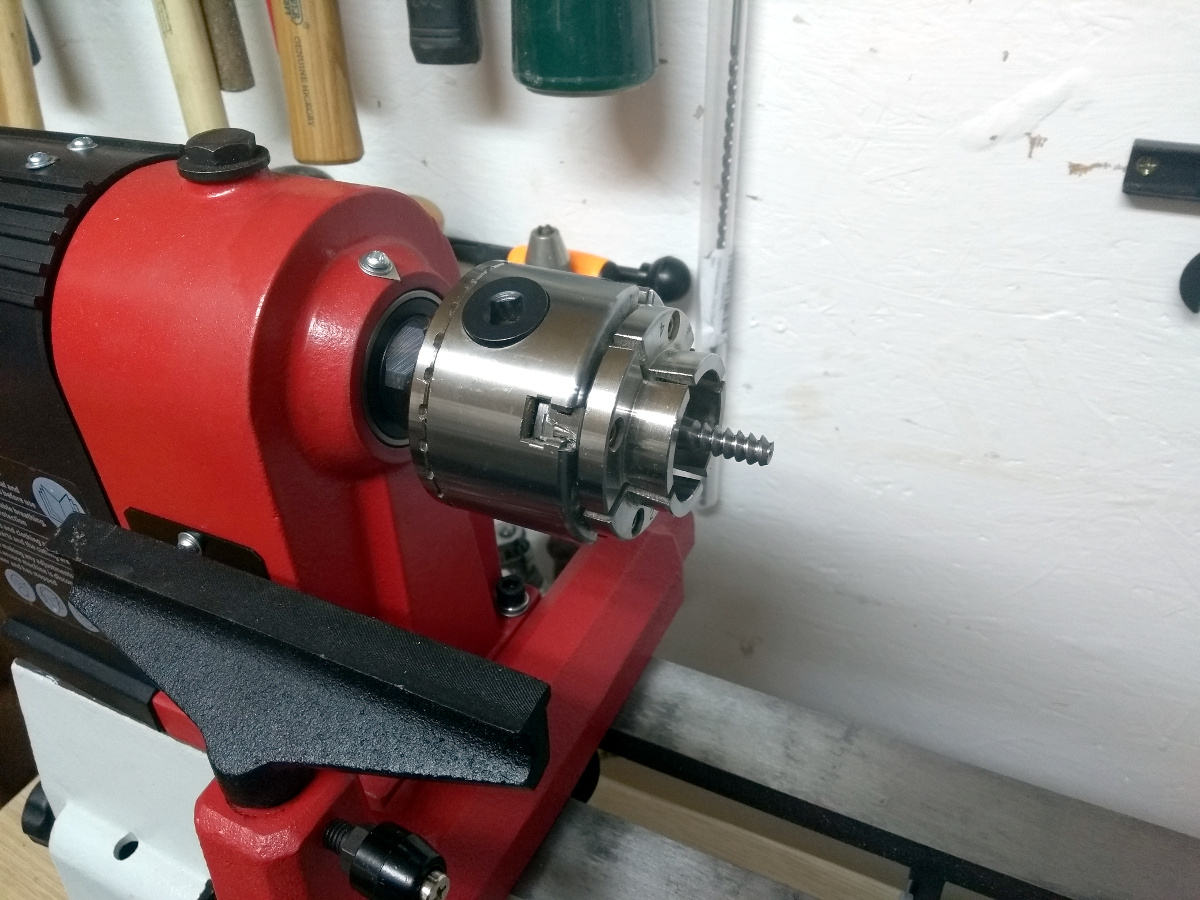
And it came with a screw center in case I want to be lazy 😀
Think I’m going to want to get a slightly longer tool rest at some stage mind.

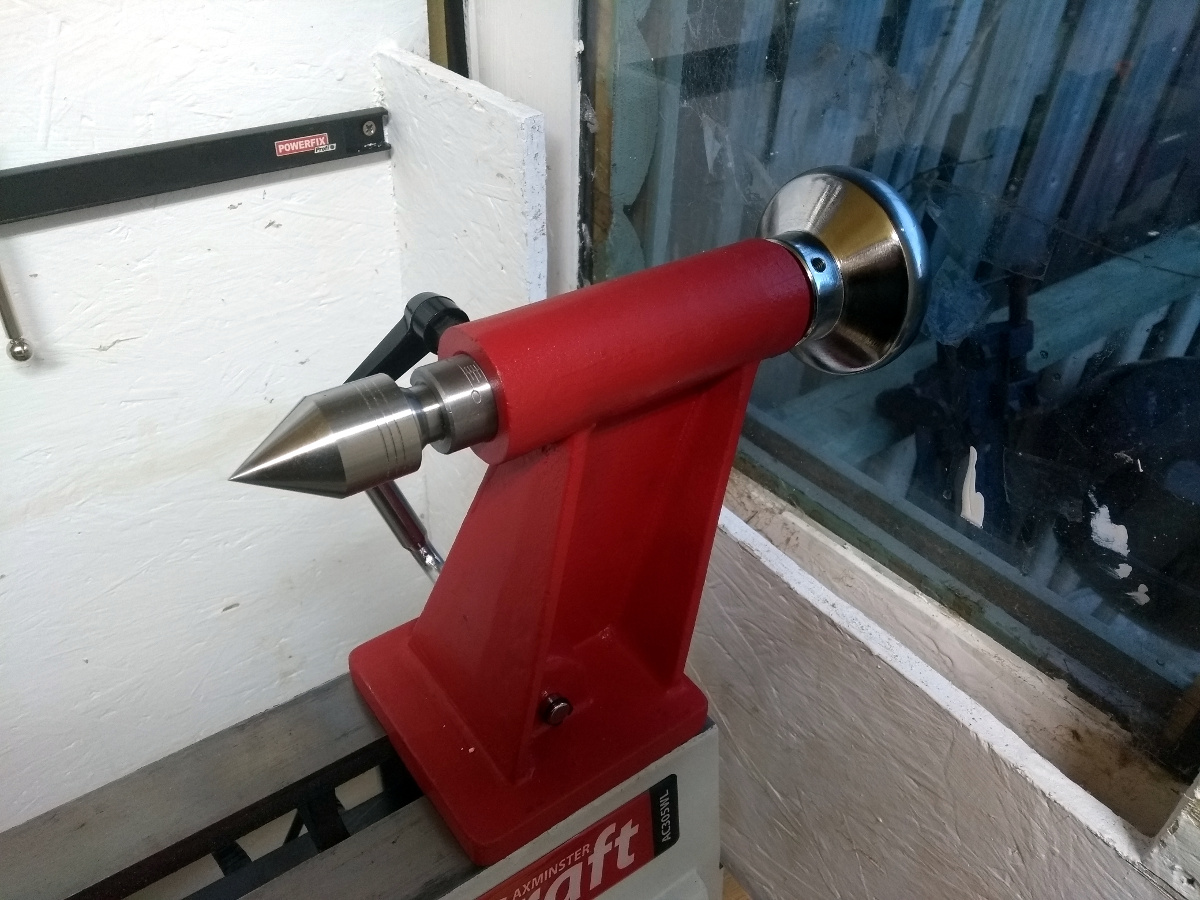
Live center fits as well. I mean, that came with it, but I figured I’d check just in case 😀 It’d be just my luck for the 1MT and 2MT live centers to get mixed up in the box and me get stuck with the wrong size 😀

That back wall will need a bit more work. I want to put up some dust collection there (gonna need to run some more 4″ pipe for that and also sort out the power cabling better). I don’t think that wall is going to get hit with a lot of chips in normal use, so it might be safe to leave small tools up there or a small shelf for chucks and faceplates and the like, though reaching across the lathe isn’t exactly the best of ideas. But, 8×12 shed, so I could stand on the far side and still be in a hazard area anyway 😀

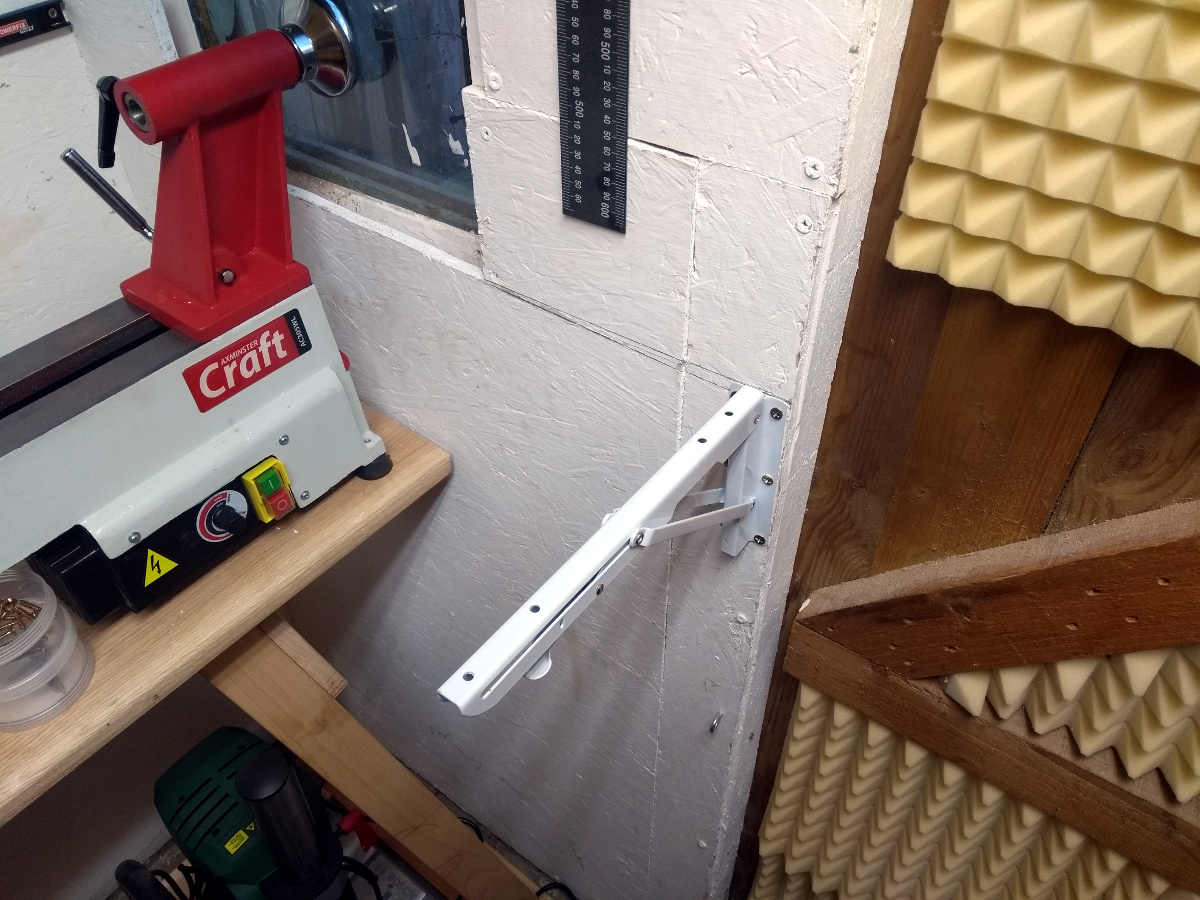
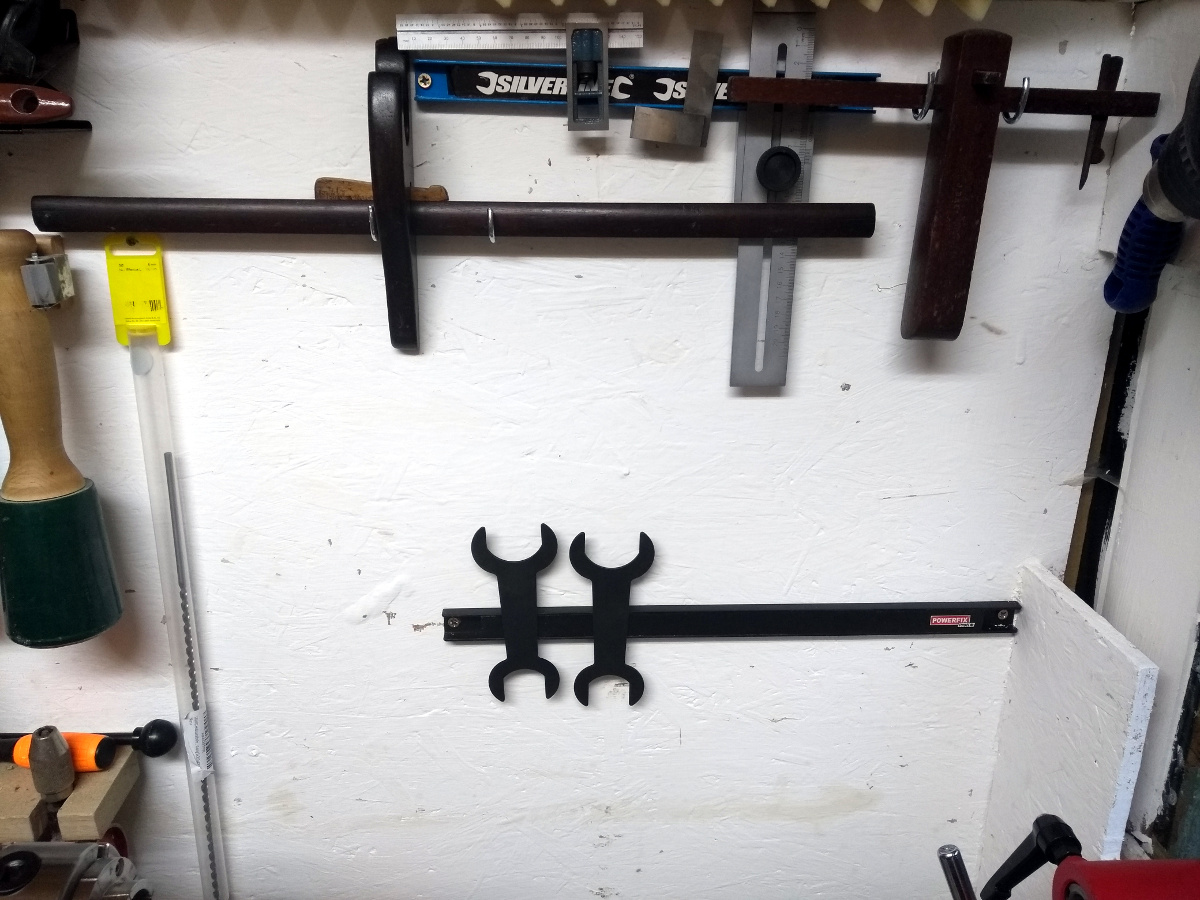
And there’s now just enough room between door and lathe stand to put up two of these, stick a 9″ wide board on top and embed the diamond stones in there so I’ll finally have a dedicated (albeit fold-down) sharpening station for the chisels and stuff 😀

Ironically, sharpening the lathe tools will need something completely different that will probably have to live on a french cleat most of the time and on the bench when in use. Oh well.

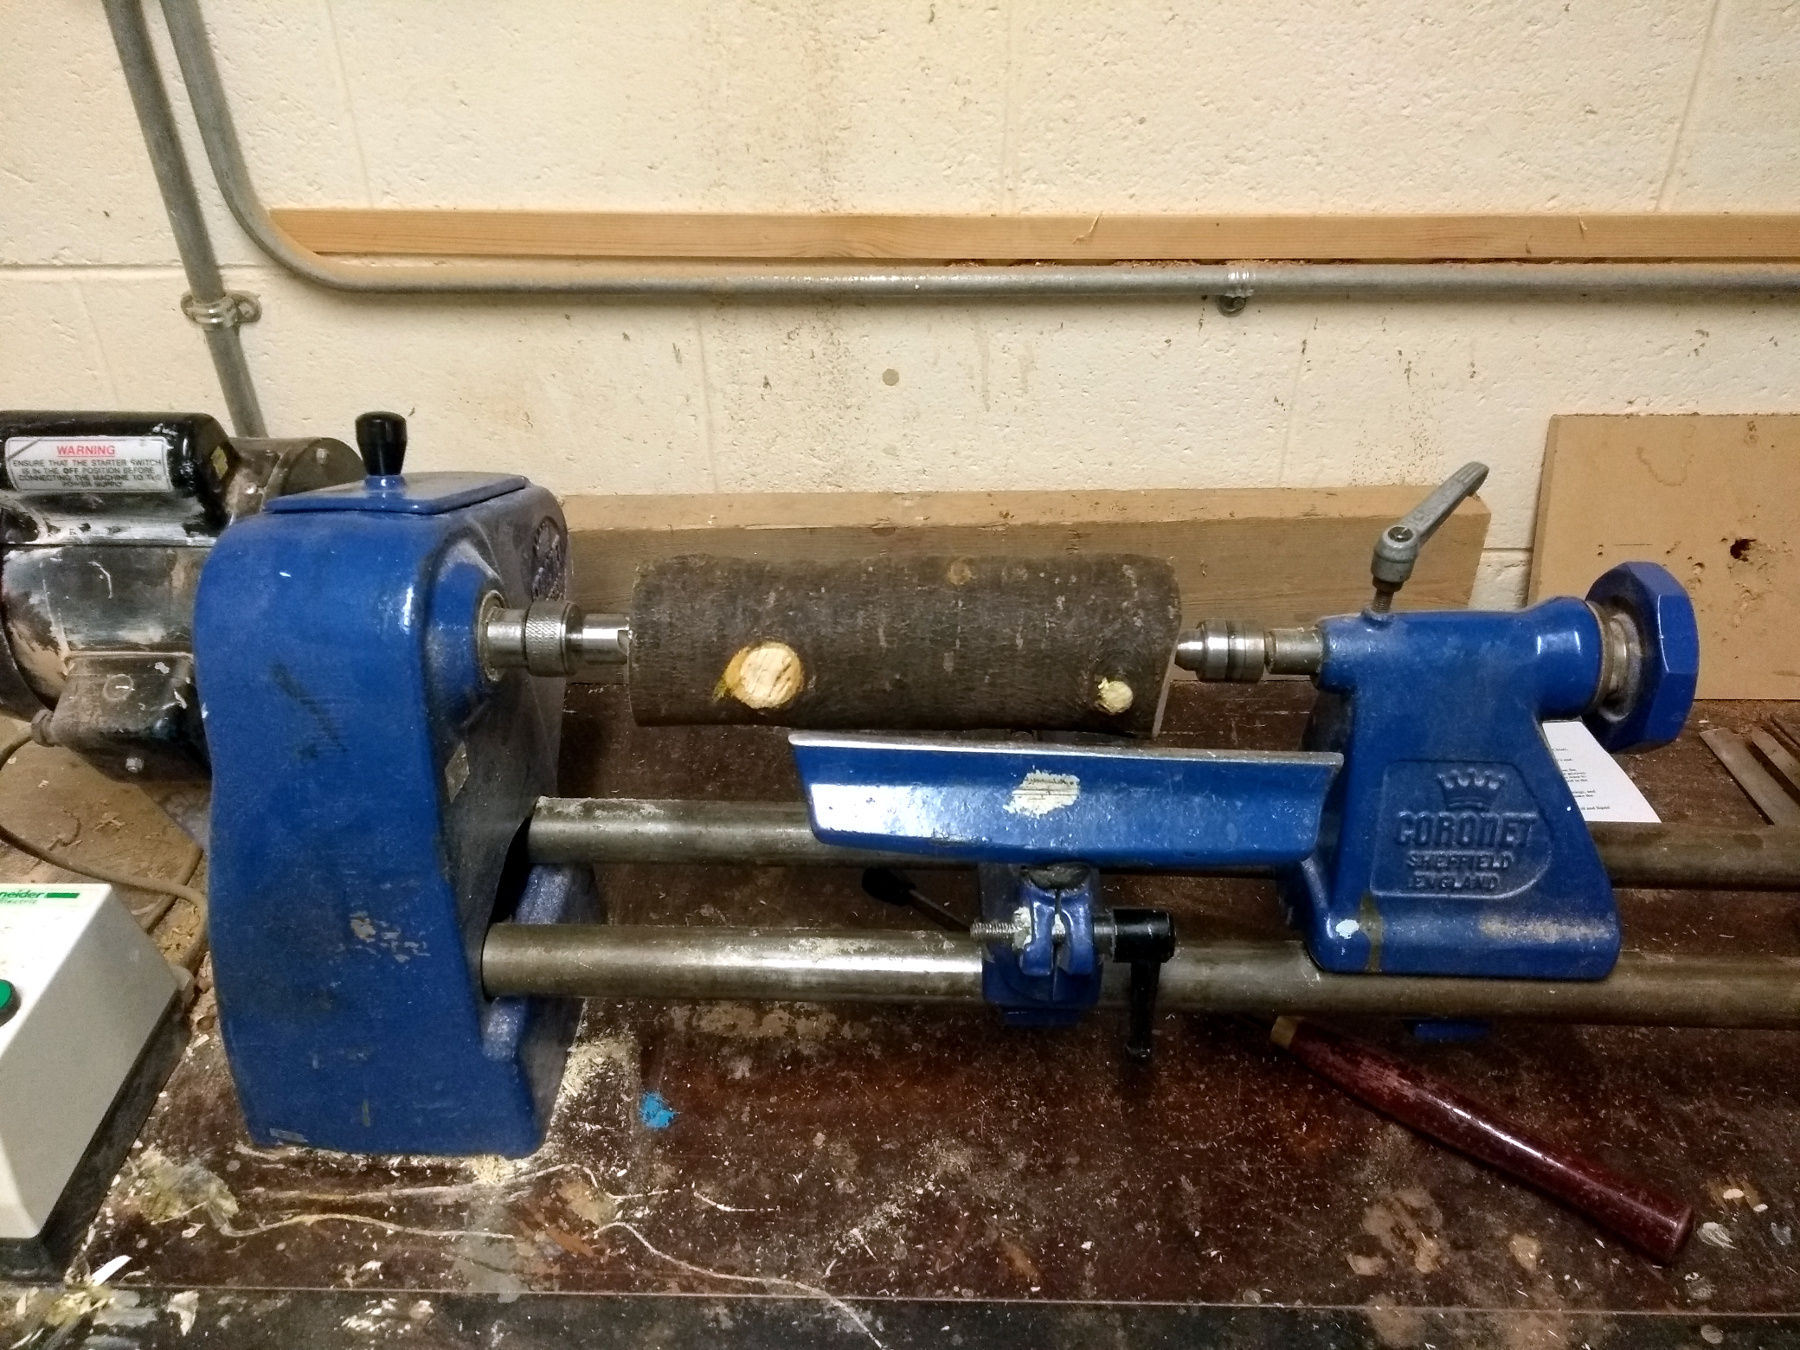
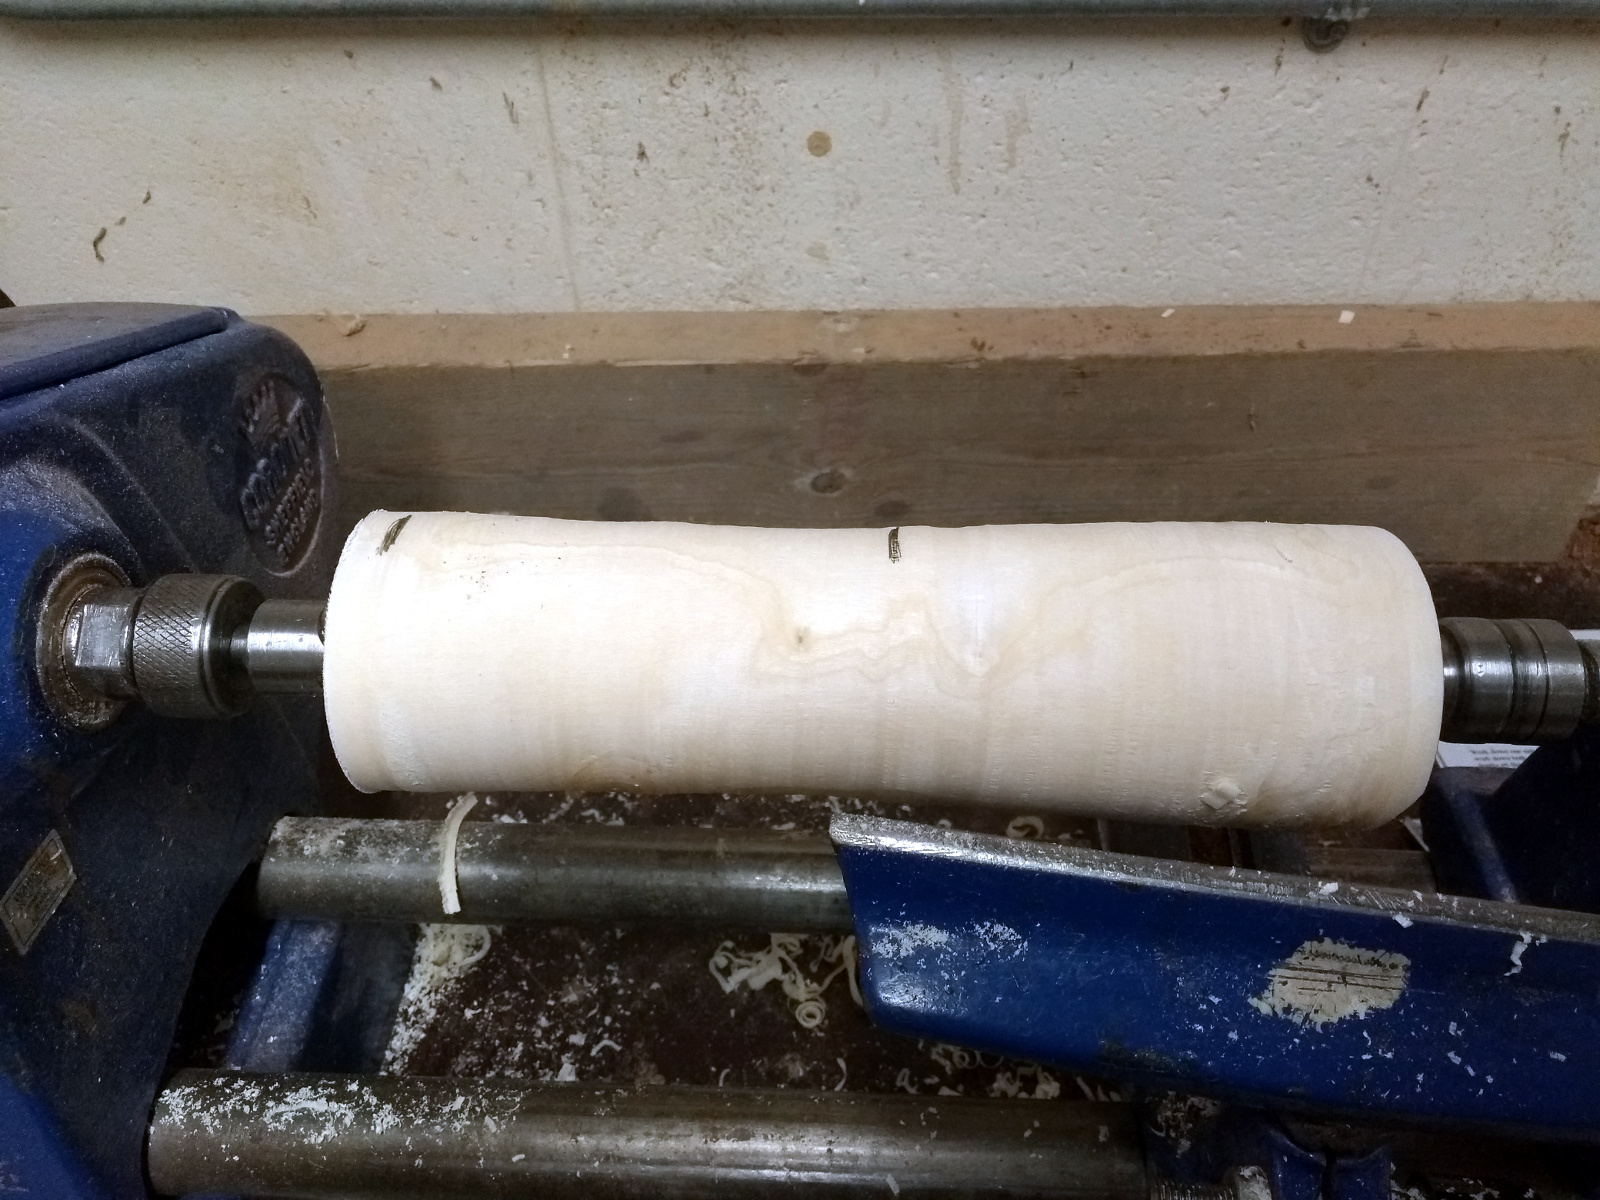
Anyway, couldn’t put the lathe in and not test it…

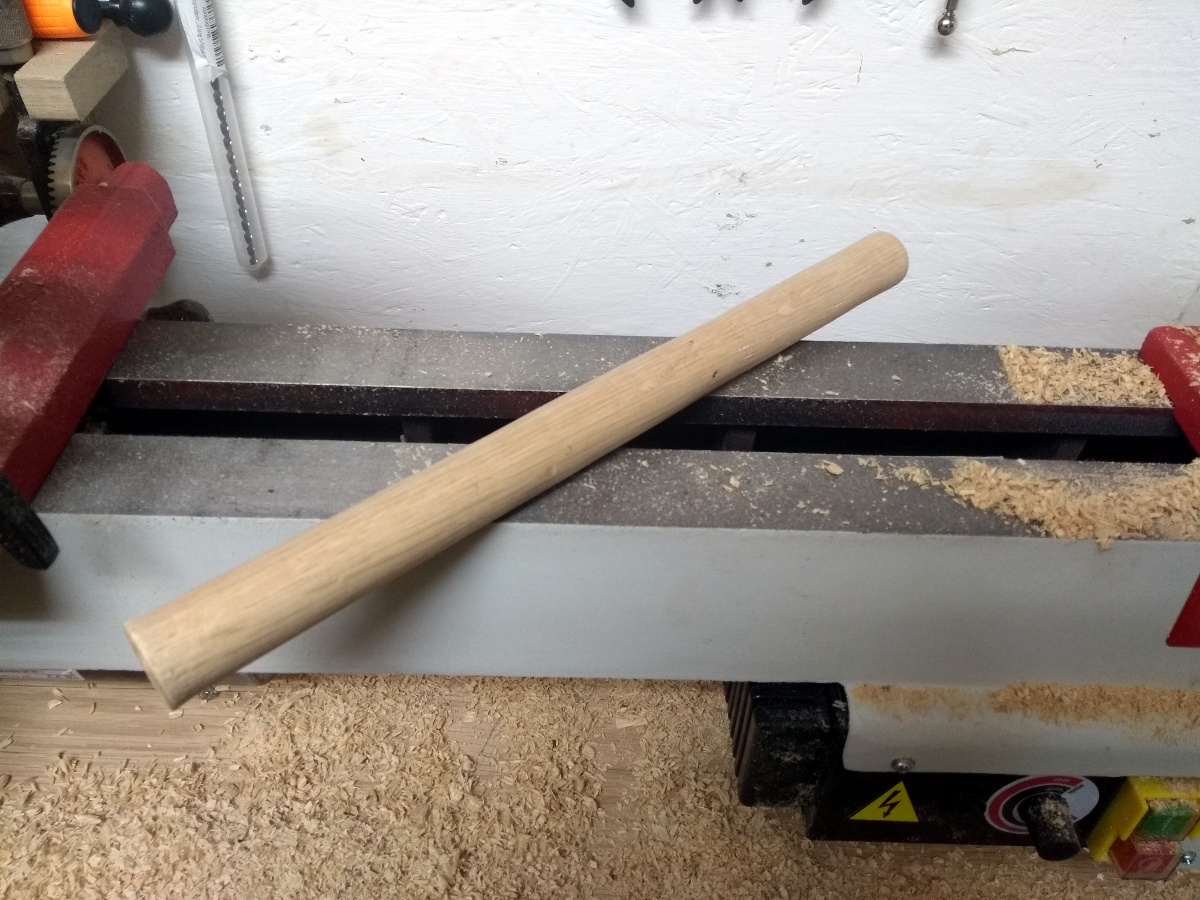
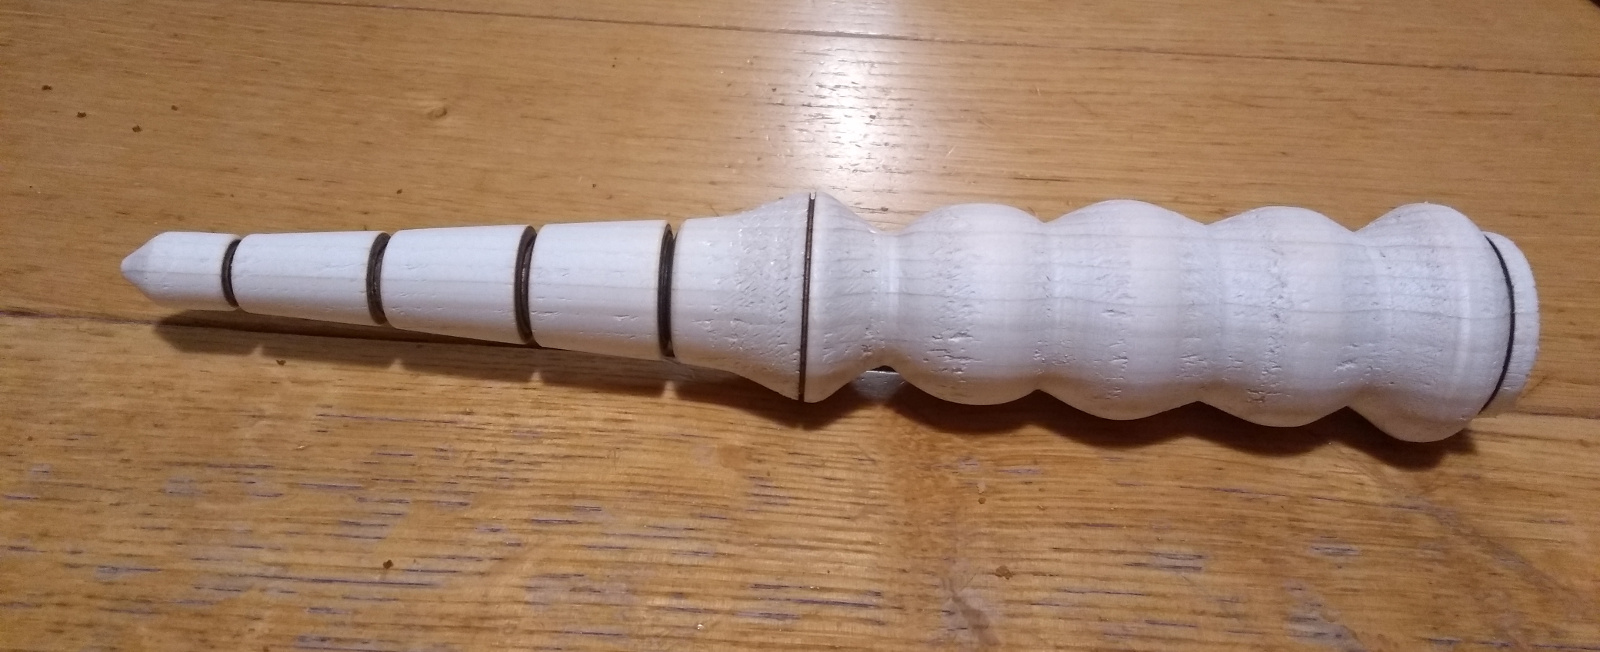
It works! 😀 First chips! And soooooo many of them….


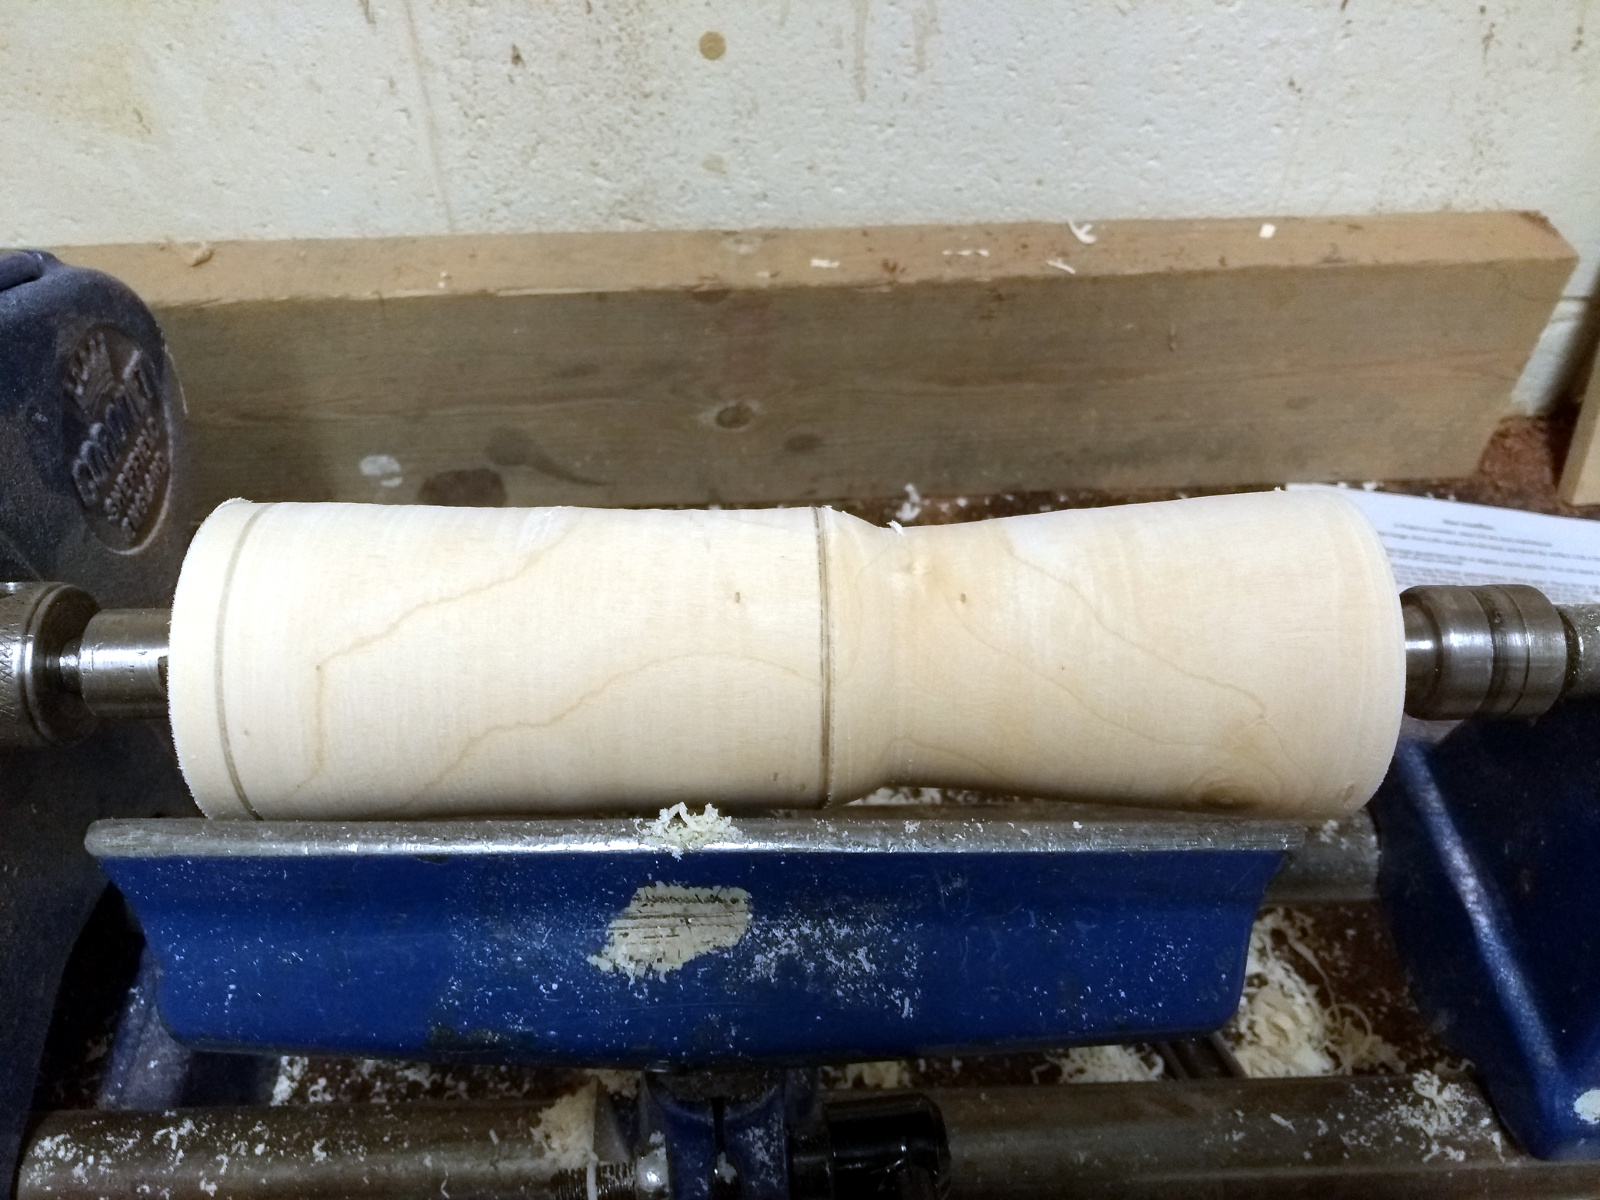
Had a small offcut of oak so it was this or burn it. And as tests go, it was useful because I learned a few things. It showed where most of the chips go…

Everywhere, basically. Though not much against the back wall, which is useful. That’s not where the tool tote is going to live btw, I just had to stash it somewhere temporarily. Also, the extractor can just about reach to the lathe at the moment so cleanup was fairly painless.

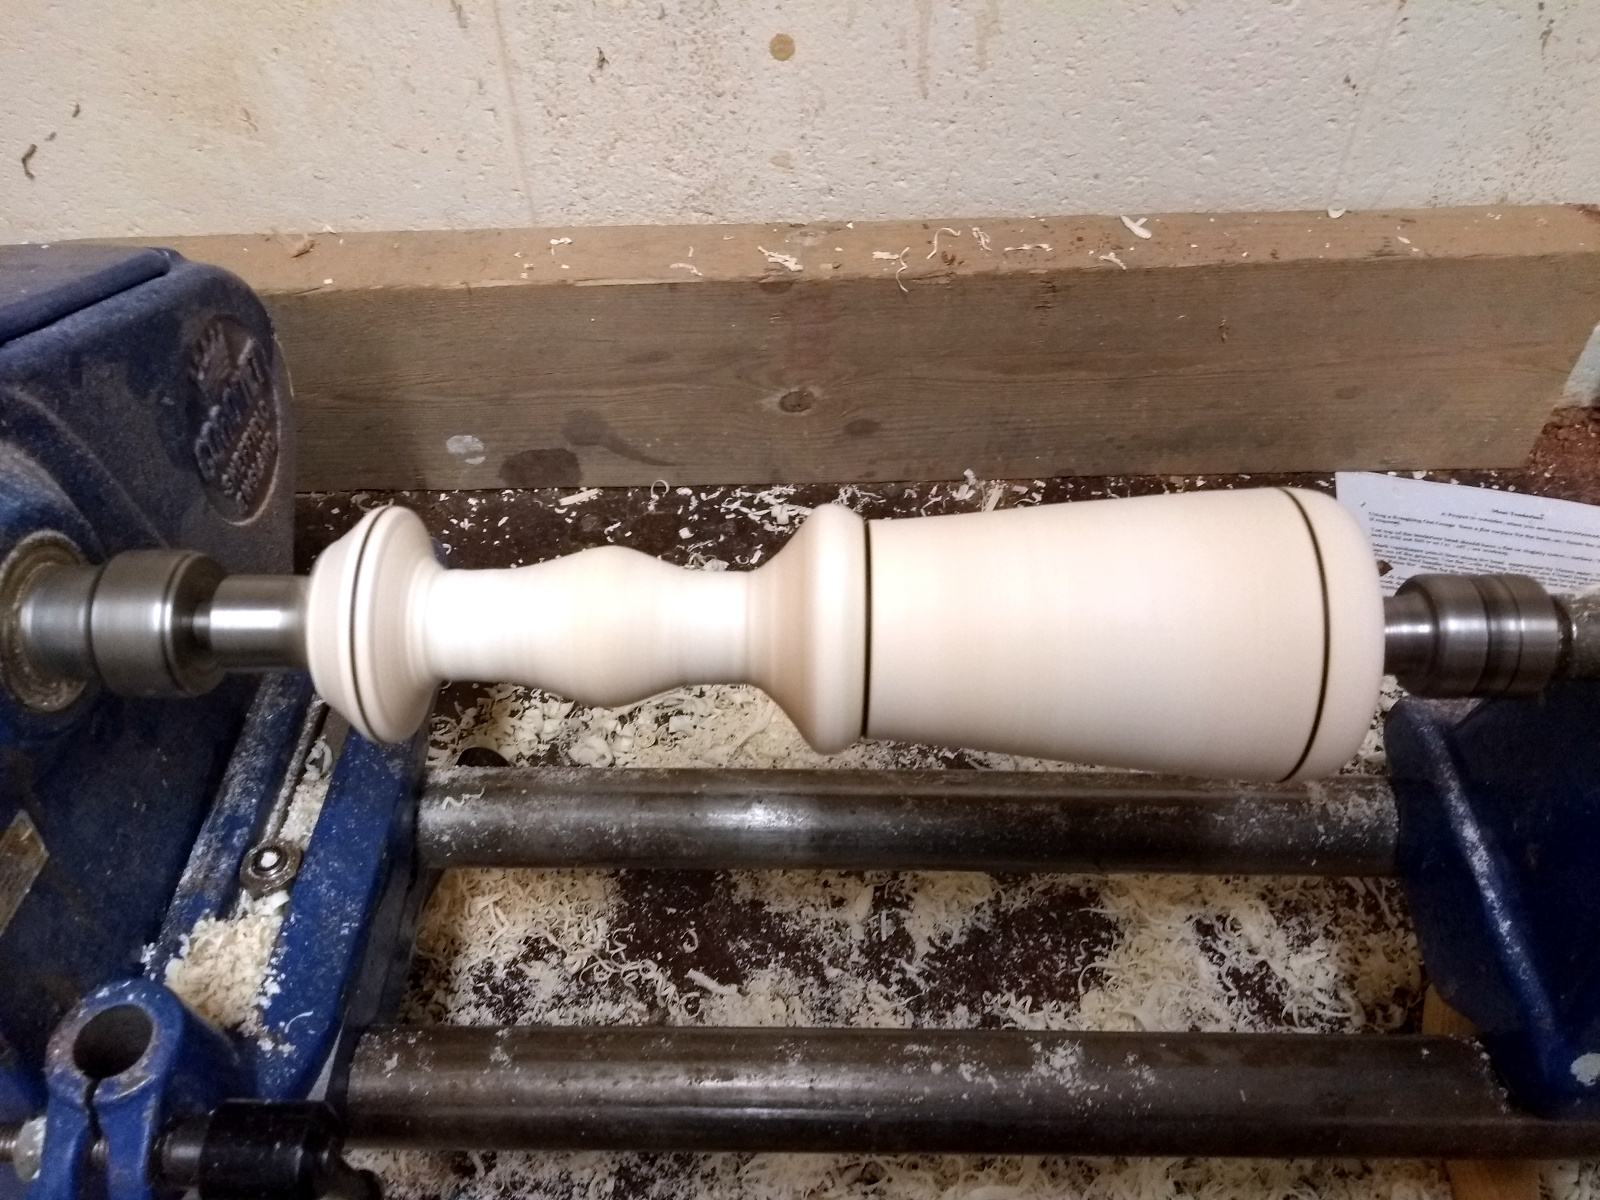
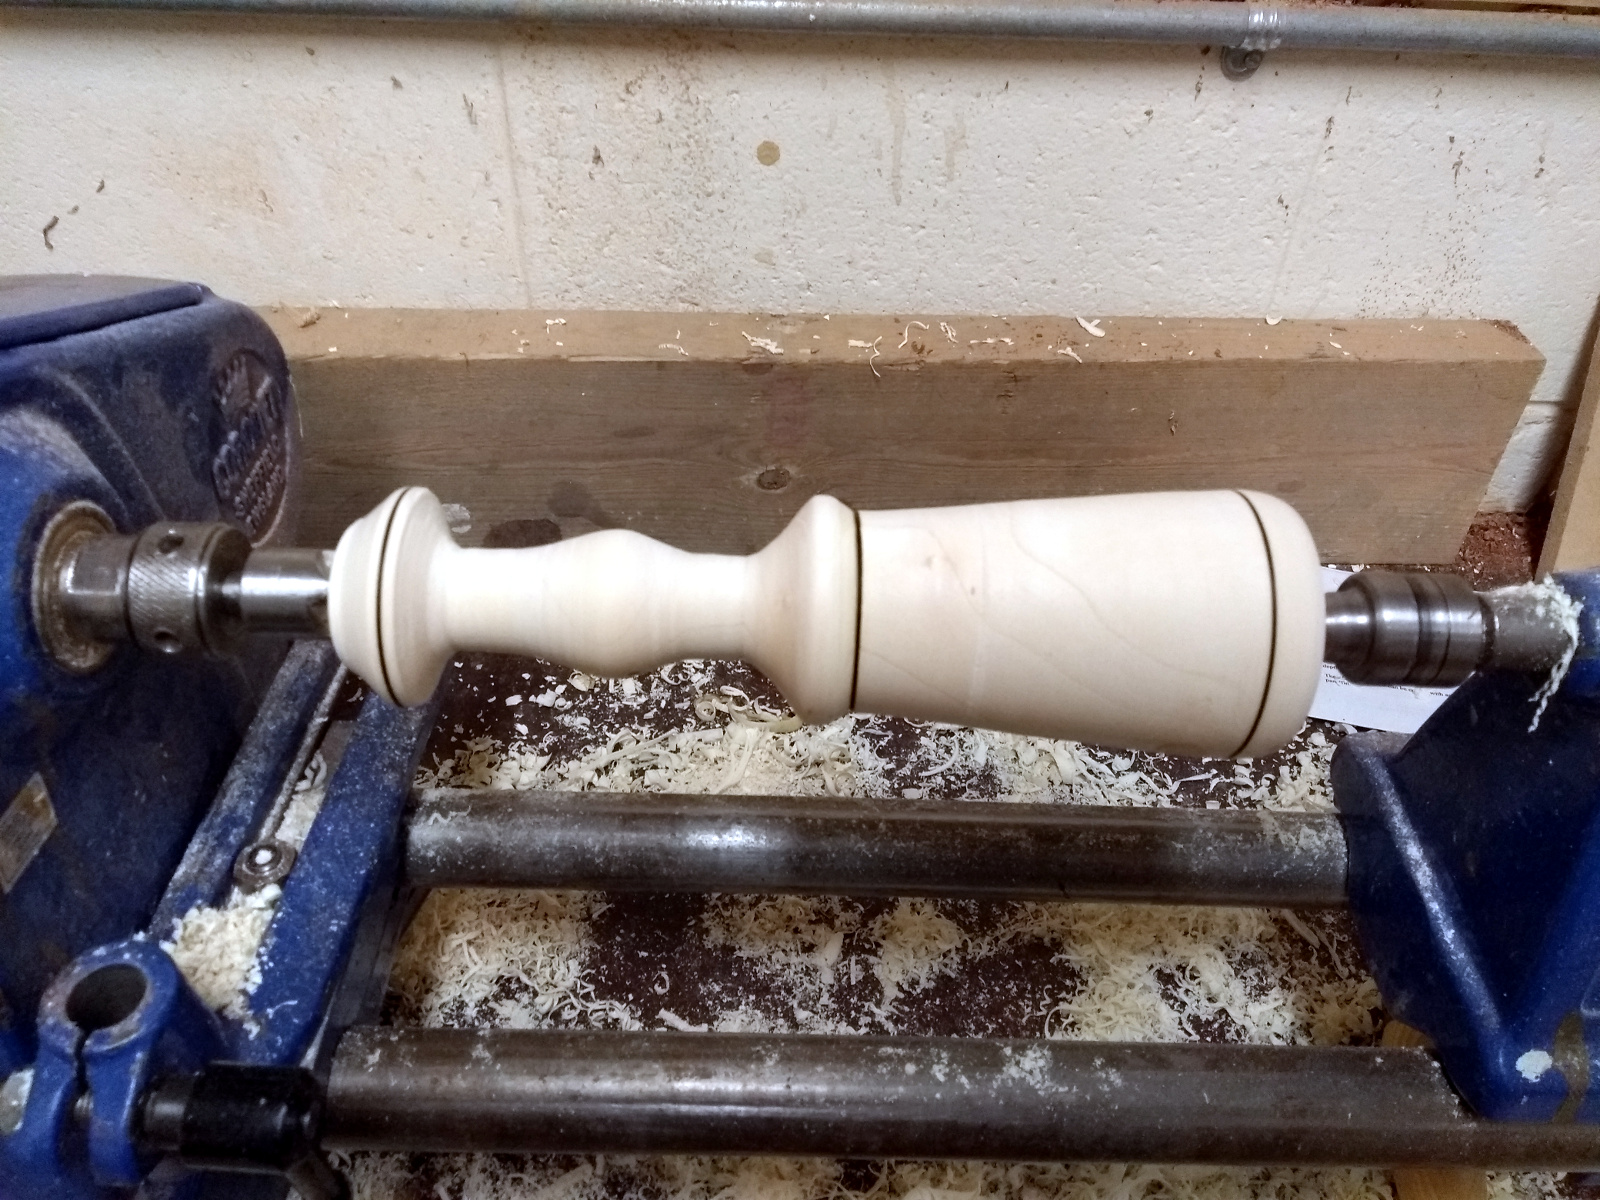
The other thing, and this was odd, was that there wasn’t any vibration. The lathe didn’t vibrate on the stand and the stand didn’t vibrate around the place.  I mean, it’s a mini-lathe and it was spindle turning, but still, it was kiln-dried oak, not green lime. I expected some vibration, but it was solid as a rock. I need to mount the lathe to the stand for certain, and I need to find some hard rubber washers to go between lathe and stand, but I’m going to hold off on screwing the stand to the floor for now. May need to do this when turning bowls, but for now it looks like we’re okay.

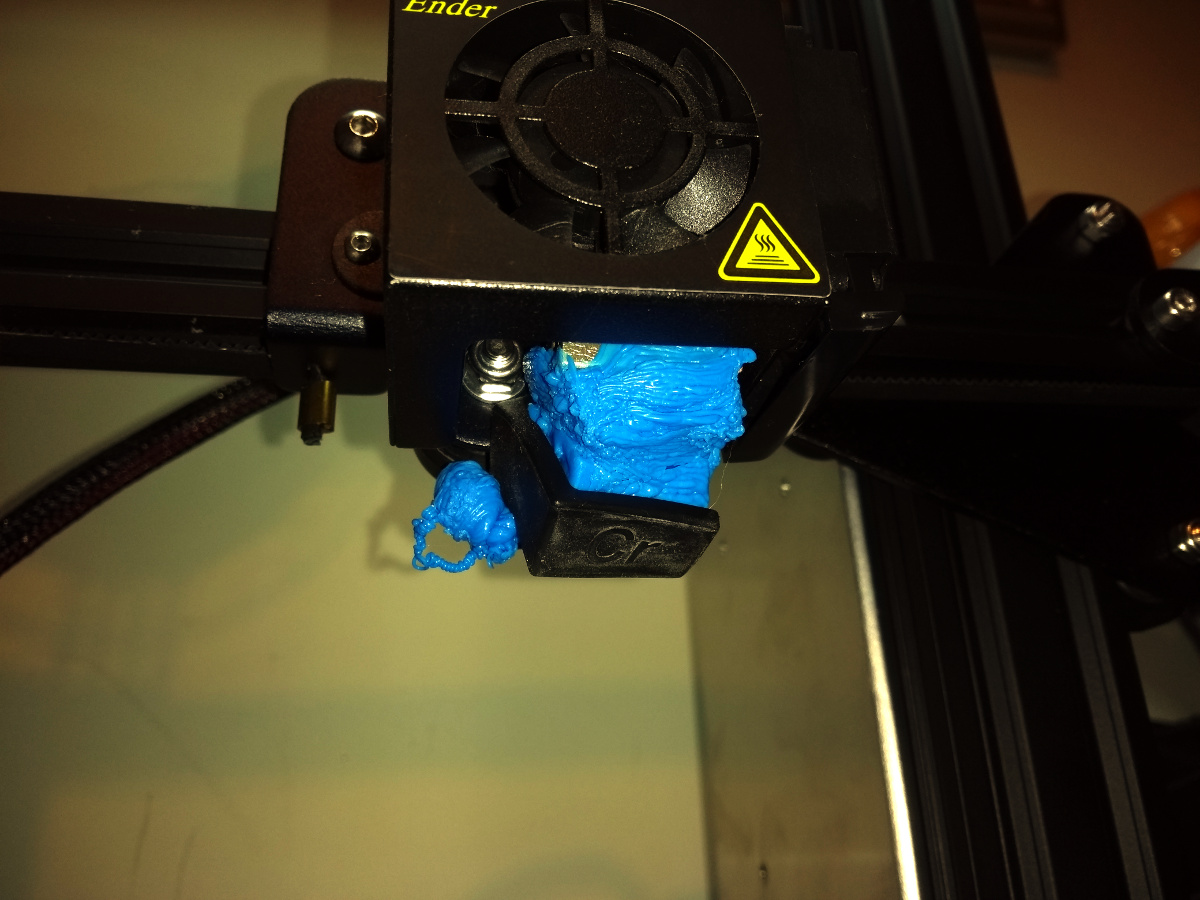
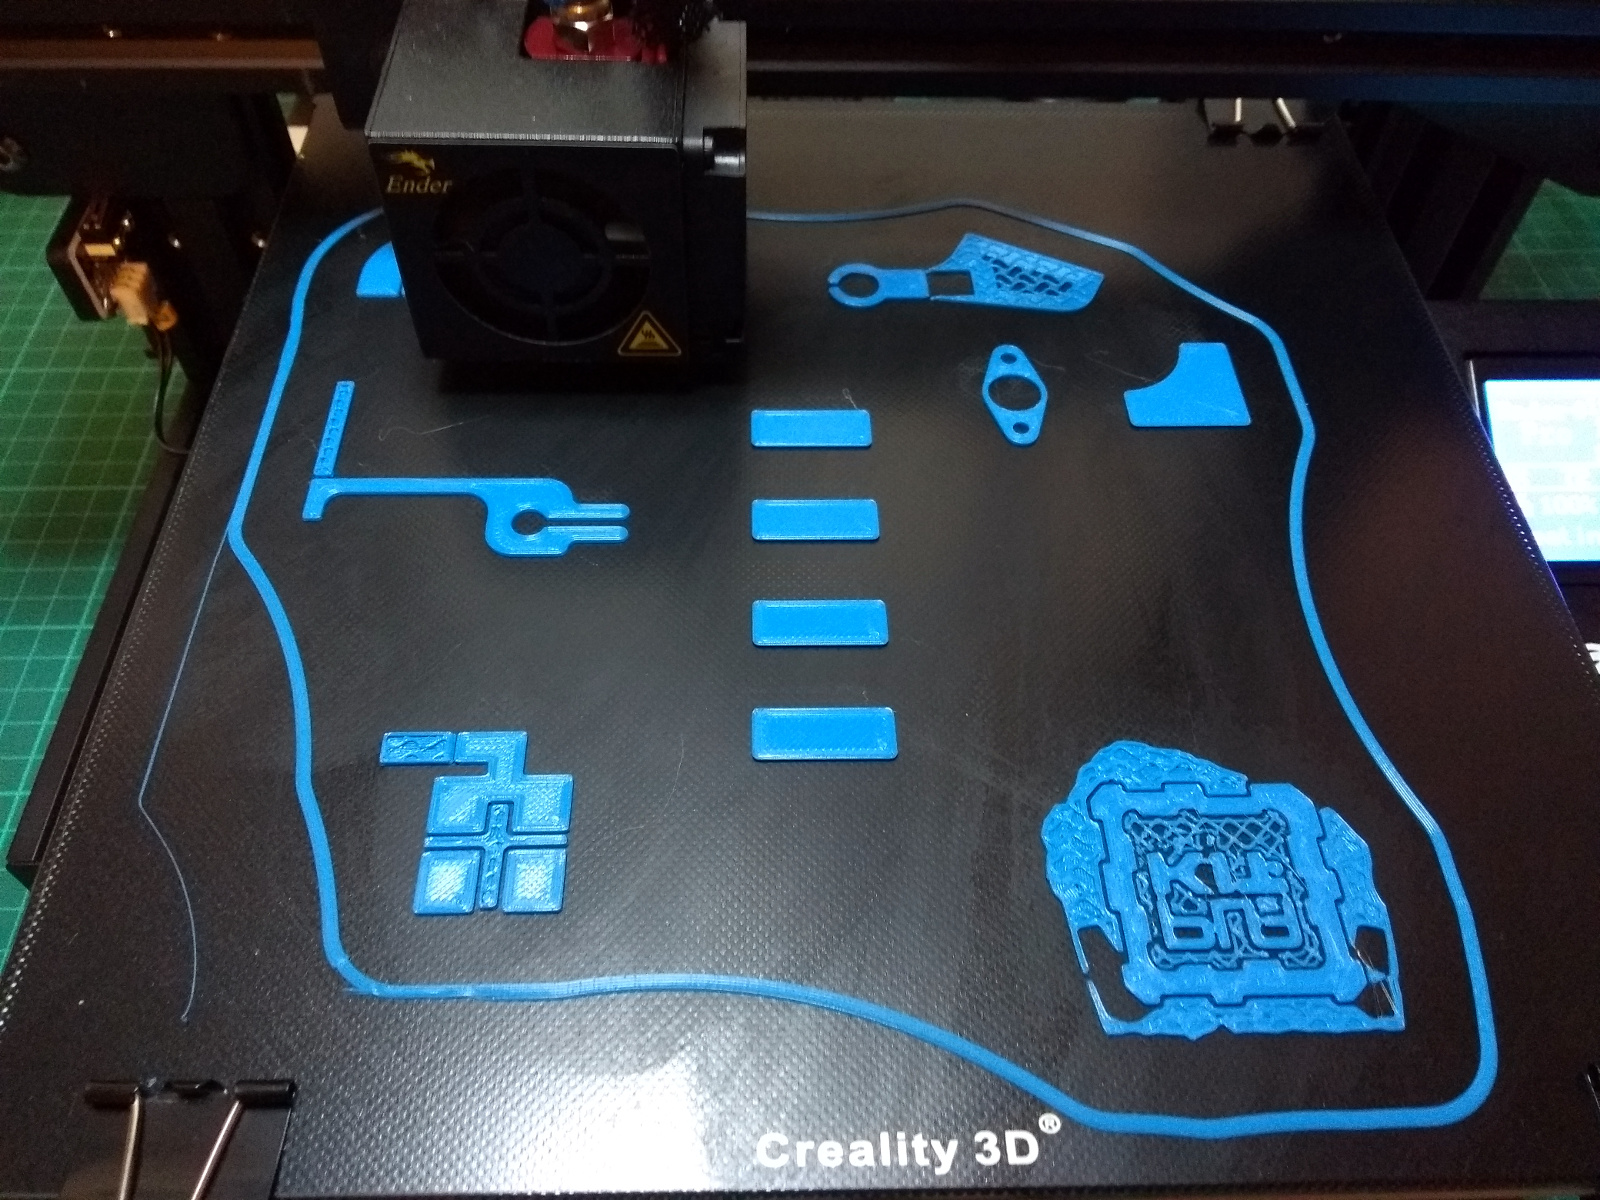
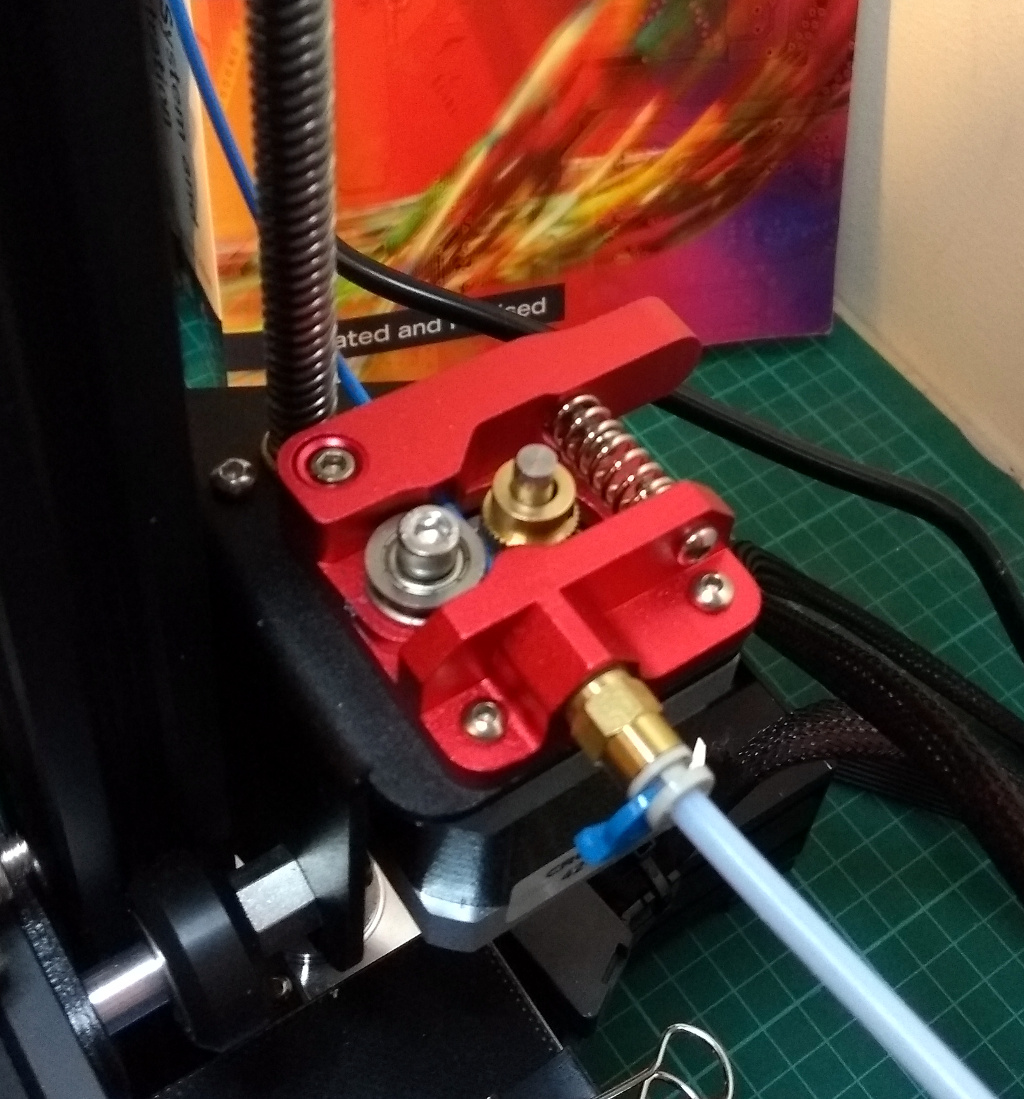
Another thing I need to do is to start printing off some fittings for the extractor – I’ve been having issues with the extruder nozzle on the 3D printer completely jamming up and splooging everywhere this week. It looks like it was a mix of too low a hot end temperature (so the filament wasn’t as fully plasticised as you’d like causing more back pressure) and the PTFE tube on the printer being a bit damaged…

And the end wasn’t square-cut either. So I upped the temperature in the slicer settings and got a replacement tube and fitted that.

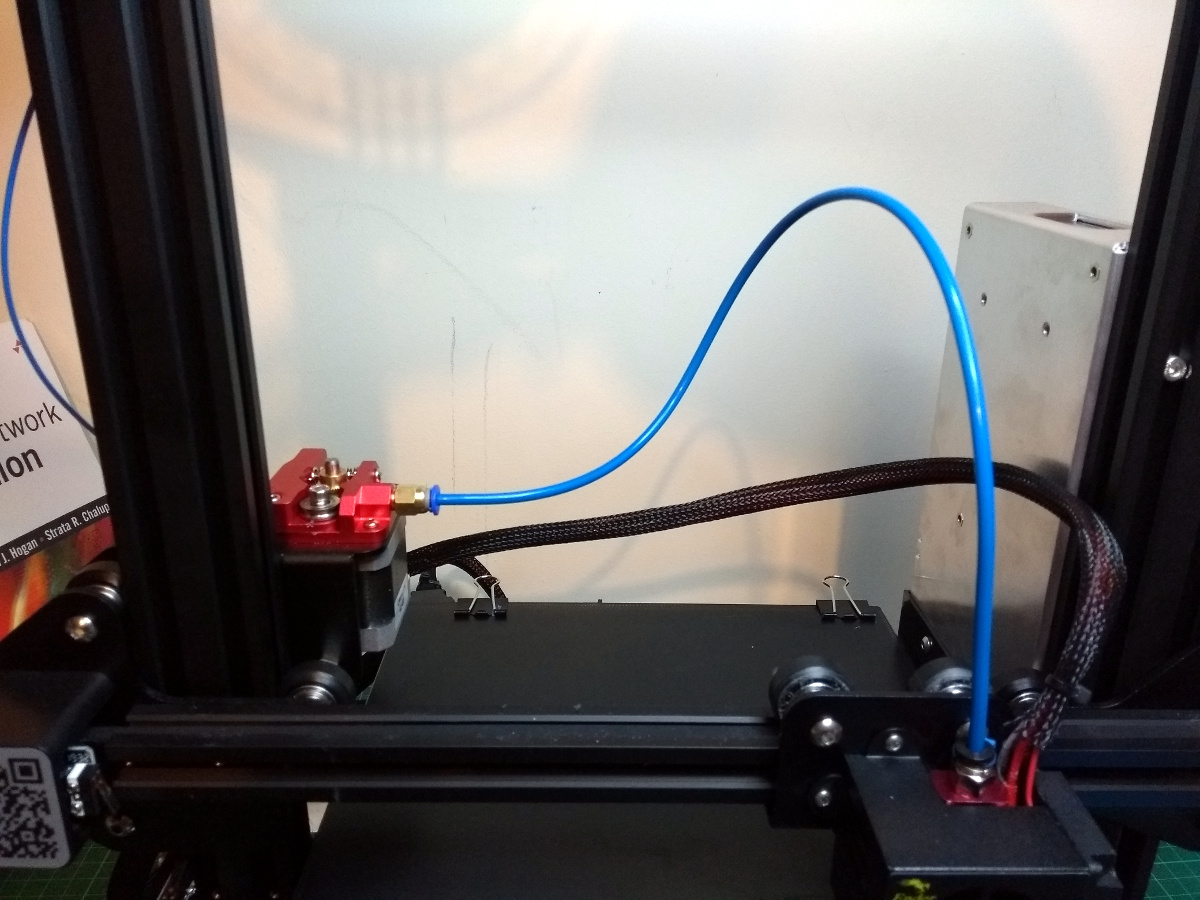
And that worked reasonably well.

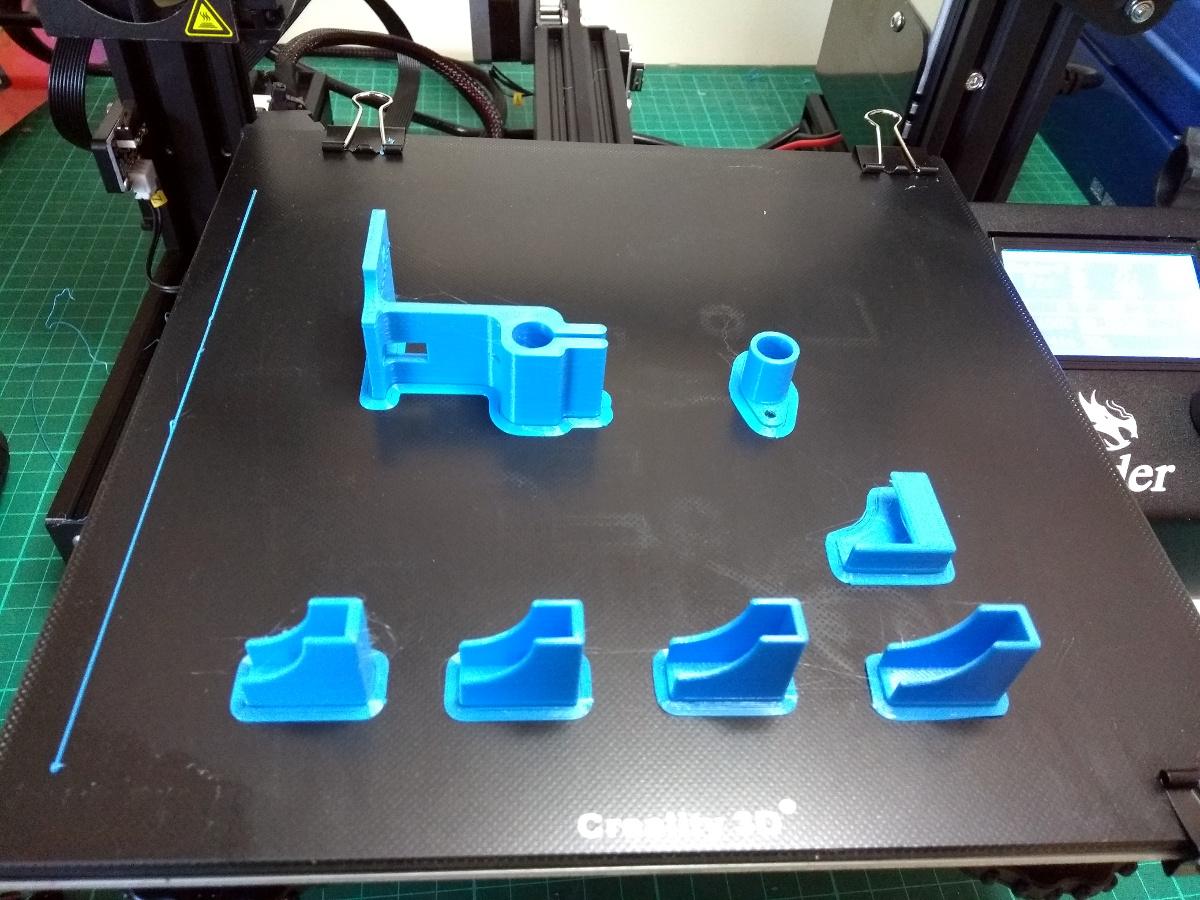
No spaghetti, just parts. But now I need to look to the dimensioning because those parts all came out the wrong size…

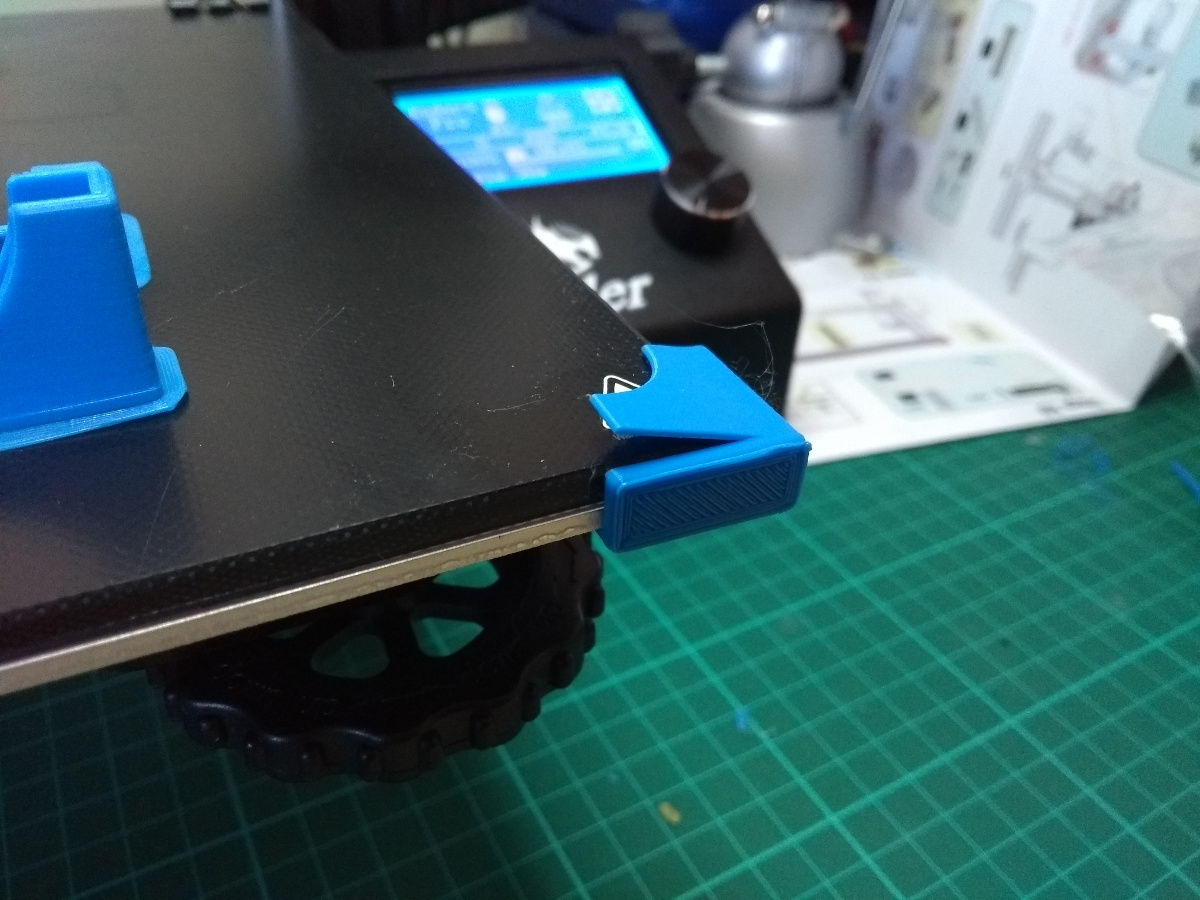
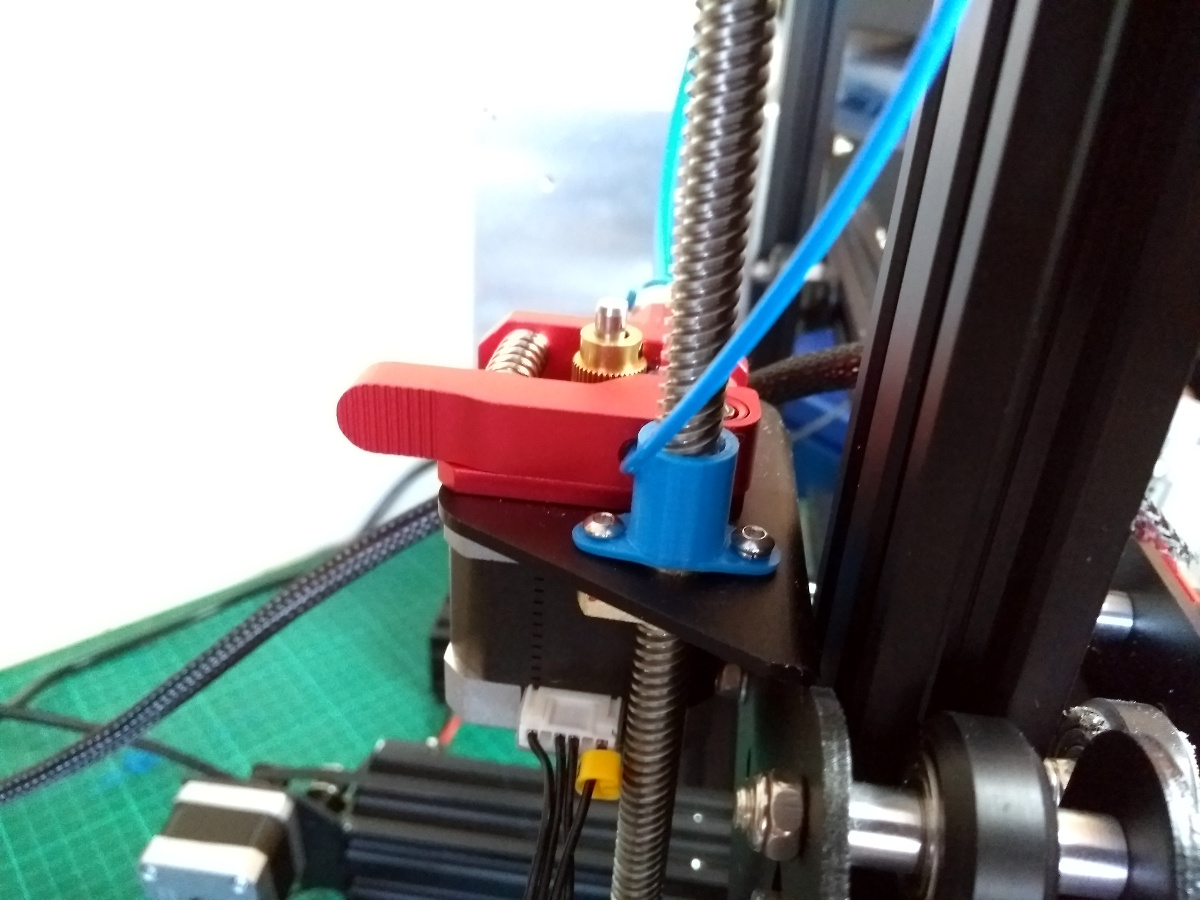
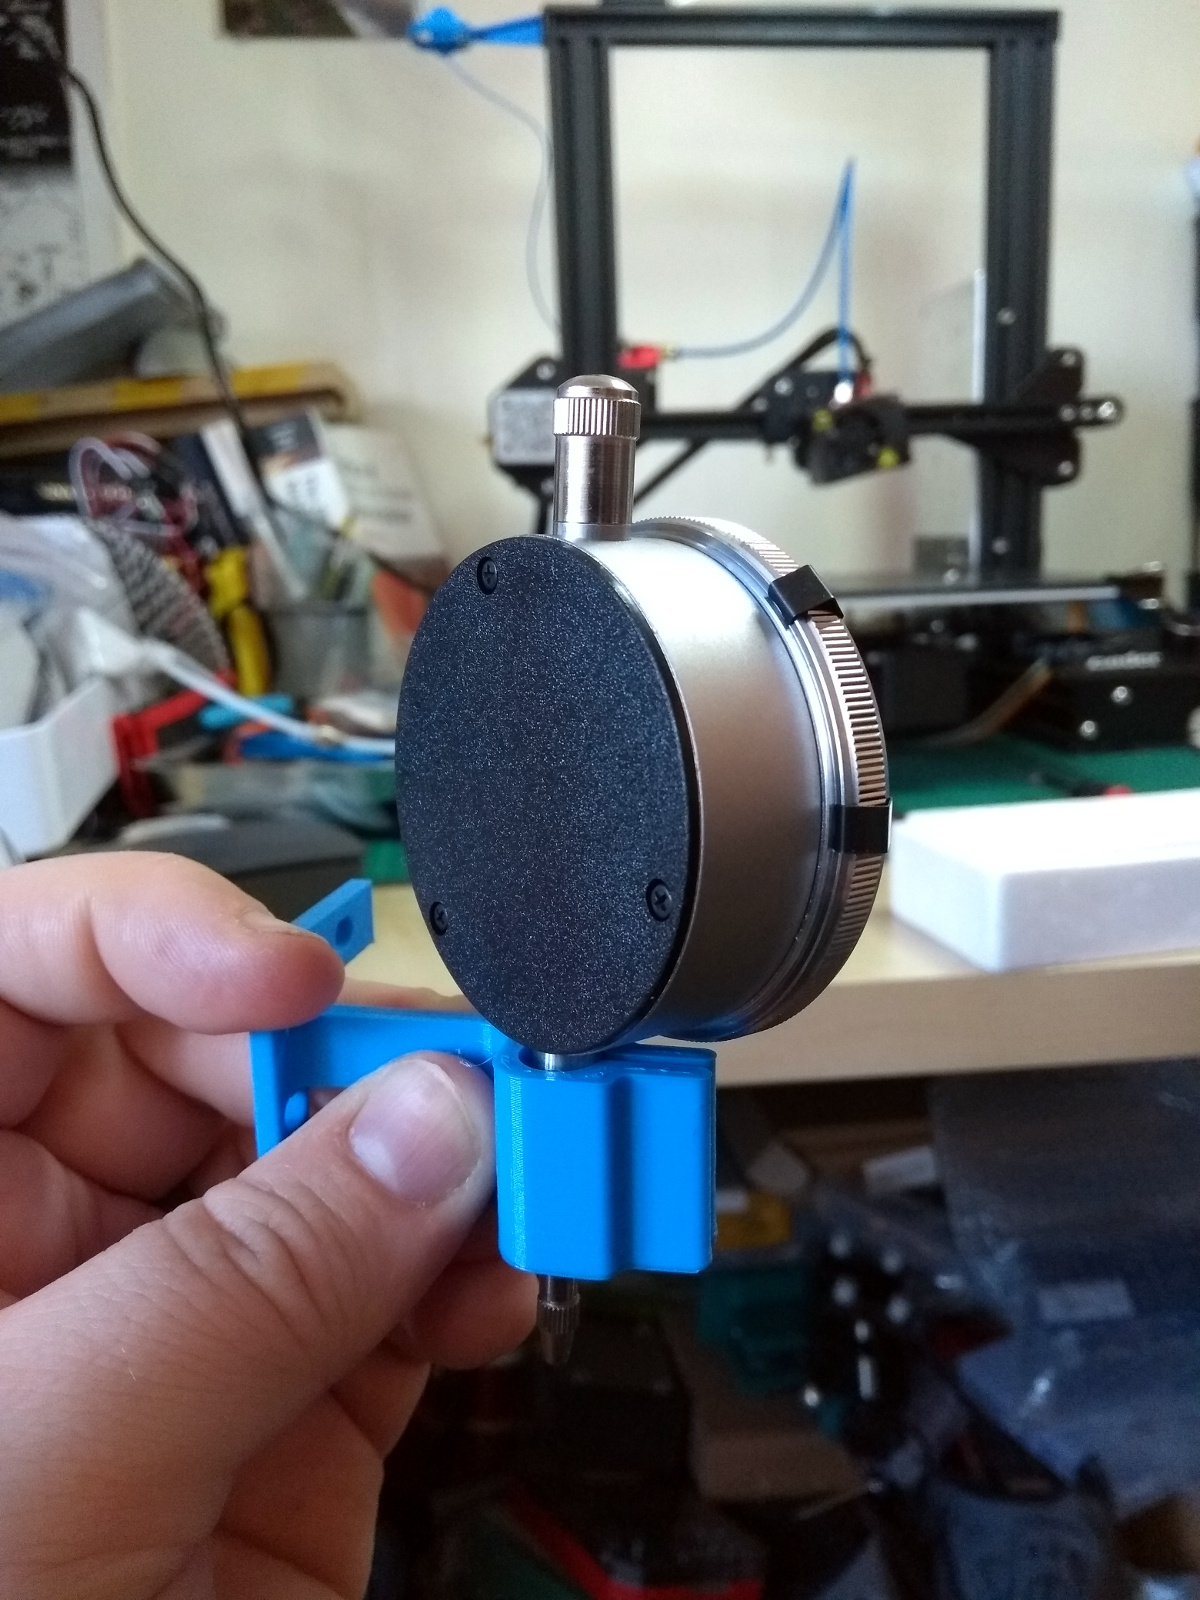
That should sit down more over the bearing but nope. I have a few things to print off for the printer for things like stabilising that Z-axis screw and a better filament guide and so on, but they’ll have ball bearings as component parts (I’ve a bag of those sitting there at the moment) and if they’re not coming out at the right dimension, then the bearings won’t fit and it’ll just be a waste of plastic, like the dial indicator stand which left the dial indicator swivel freely instead of holding it.


09
Feb 20

Almost ready to start turning

Two more nights in the woodturning class since last time. And I’m still not dead, which has surprised everyone.

Lay off the jokes, it’s a dibber. You stick it in the ground, wiggle it about to make a hole, drop in a daffodil bulb. The burn lines indicate how far down you’ve gone becuase that matters for some bulbs (specifically, the ones you want to not rot in the ground). Sanding on a lathe btw, is immensely fun, because you just hold the sandpaper and the lathe does the work. Holy hell is that better than sanding a resin&walnut desk….

And then this week….

Yes, that thing was a branch in Marley Park the morning before. Green wood. Fantastic to work with, like cutting cheddar cheese. Woodcarving videos of green wood are now ruined for me, those lads are just cheating 😀

Tapered head…

Turn a handle and put in some burn lines for fun…

Check the fit, refine it a bit…

And that’s it done. And I needed a new carvers’ mallet because I only have two of those and three other mallets (and a few hammers).

And then of course, the part woodturners don’t tell you about…

I’m going to have to figure out how to cope with this in the shed 😀

Meanwhile, the lathe stand progresses. I got the compound cuts in the legs and crossbar done.

Then once that had cured, out of the clamps and out of the shed to get levelled.

First level the MDF on the sawhorses, then level the legs with shims so that the spirit level says flat on both the MDF and the crossbar of the stand.

That’s a wee bit tall to check the spirit level btw, so mirror-on-a-stick came in useful…

So with the legs marked, out with the ryoba and cut to the line and a bit of chisel-paring for the bits where I missed the line, and…

And built up the webs (which were already 3/4″ beech) with offcuts and glue and screws to make that whole area into a solid block for stability.

And it’ll have stretchers under the feet to lock them at the bottom and I can optionally screw the stretchers to the floor if I have to. I might have to, lathes vibrate a lot…

And while it’s still not done (cheers Storm Ciara and having to go vote), I do get to take my new toys to turning class tomorrow night…

Cheap and cheerful set from Rutlands. Now I need to finish the lathe.


And maybe get some stuff printed for the shed on the 3D printer, but I’m having issues with that at the moment.

That took almost an hour to clear. Jaysus. And it did it again on the next print so I obviously didn’t get it right either. Le sigh. And that was *after* I’d bought it a new tempered glass bed.

And a new aluminum thingy for the extruder feeder yoke.

It can be a tempermental little bugger, so it can. And it might just be the filament, I’ve heard that some people found this stuff to be a bear but if you bought decent filament all the issues went away. Well, I guess we’ll see…


19
Jan 20

Lathe stand

Slow week for the shed, not much time spent there. The lathe stand is the thing at the moment, have to get that built so I can get the lathe out of the hallway, and start to tidy the shed back up again. So the plan is to make something that is a bit minimalist instead of overbuilding the carp out of it. Most of the designs I came across were basically an inverted T with the lathe mounted on top and all the weight available piled on the bottom in the form of sandbags, bricks, concrete and so on, which is okay, but if I do that I won’t have room to get into the shed afterwards and it’d still be tippy even if I bolted the thing to the floor because I’m a bit taller than the average 1930s person and so the centers of the lathe should be 47″ above the floor.

So instead I’m going to build what will effectively be a tall sawhorse following Paul Seller’s plans:

Since the tops of the legs get a birdsmouth cut in them, the weight of the lathe goes down via compression into the legs and since they’re both spayed and raked, they resist vibration via geometry. I’ll also have the legs standing on some 19mm thick boards that will tie the front legs to the back legs and the two back legs together (the two front legs won’t be so I can stand closer to the lathe), and there will be an inch-thick board on top of the whole affair that the lathe bolts to and I’ll try to let the legs come up above the crossbar to mortice-and-tenon into that board to lock it all together.

Since I’m trying to get space in the shed, I’m using whatever material I have to hand, which means laminating inch-thick beech for the legs…

New toy idea here, that’s a #4 artist’s pallette knife, the blade is a bit flexible. Trying it as a glue spreader. It’s quite good, though this entire face was a big large for it really. Also, drill small hole in the handle, fill with superglue and a neodymium magnet and you can stick it on any old surface…

Works for paintbrushes too. Handy for places where you can’t screw a magnet bar to the wall.
Anyway, on with the glue-up and out with all of the clamps.

Getting good squeezeout here.

The purple hockeystick grip tape on the handles of those F-clamps was a good idea it turns out, it helps quite a bit. I’d done the glue-up for the crossbar earlier in the week from some 38″x6″ poplar boards that were about 5/4″ thick.

Once they’d all cured, the new record scrub plane (sid would have been overkill) got the sides into some sort of level affair and the #05 flattened one face on all the laminated parts. Did the same for the beech offcuts for the webs (I used 5″x61″ boards for the legs, but cut down to 40″ so I had some offcuts to hand) and the oak board for the top (I wanted something very rigid for that and that board was the closest thing available – it’s probably overkill but the idea was to free up space as well).

That laminated poplar crossbar is the one part I’m not so happy about, poplar being a little soft, but it was the only thing I had that was the right size unless I cut down a 16″ wide sapele board and I just couldn’t bring myself to do that. That sapele is just screaming out to be made into a desk or a table or something nice.

With one face flattened by hand on all the parts, I’m letting the donkey do the other side because I’m being lazy (I’ll do the edges by hand later).

Not happy about that hose run, I need to buy some more 100mm hose I think and maybe 3D print off some quick-couplers for them, but I tested this with a single board this evening (all I had time for) and it worked. No massive amounts of dust and shavings everywhere, so that was a massive improvement.

Not sure how I’ll do the longer leg, top and crossbar boards though, I might need to do that outside, which would be rather antisocial after I get home during the week (when it’s usually after seven) so it may have to wait for the weekend. Or maybe I can get 40″ infeed and outfeed if I line it all up carefully. I mean, 40″ infeed, 40″ outfeed, 8′ wide shed, that’s a whole 16″ to play with there, right? Yeesh.

Oh, and also finally drilled that second holdfast hole in the leg of the vice now that the tumbledrier is out of the way…

I’ve only been wanting to do that job since, oh, 2016? Progress…