27
Oct 19

Done

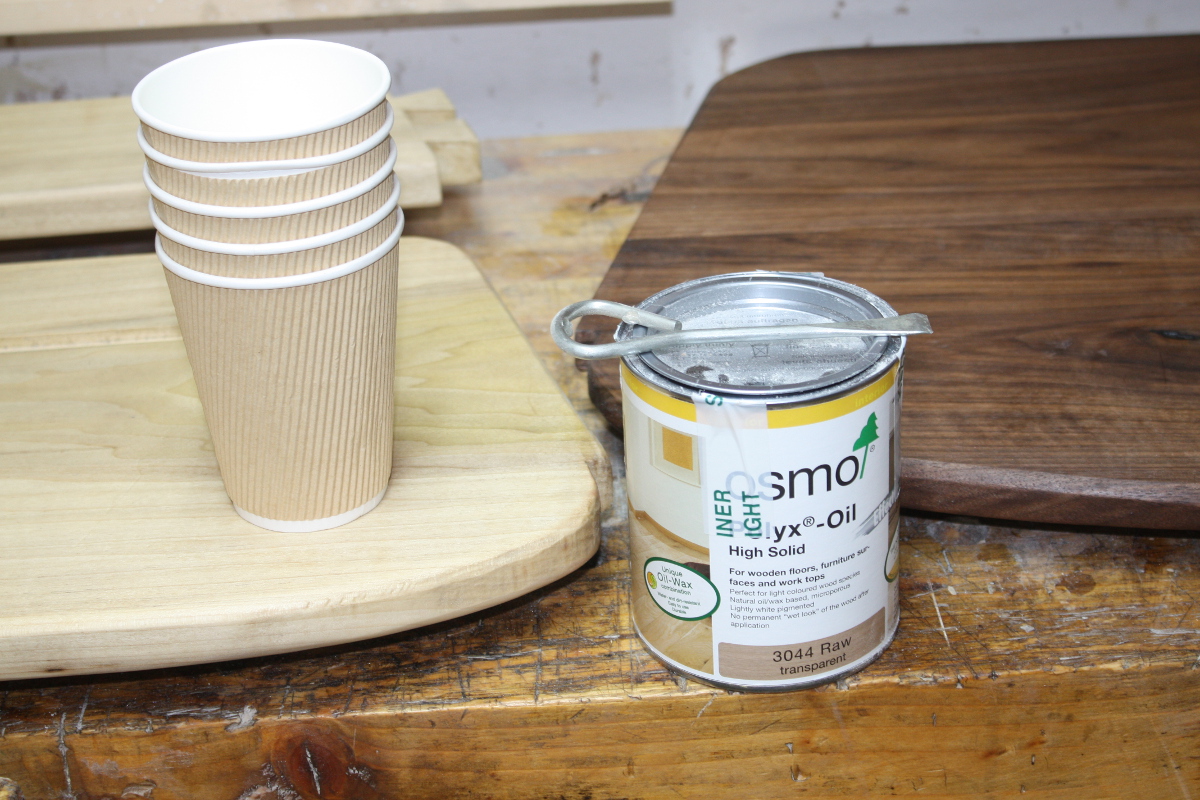
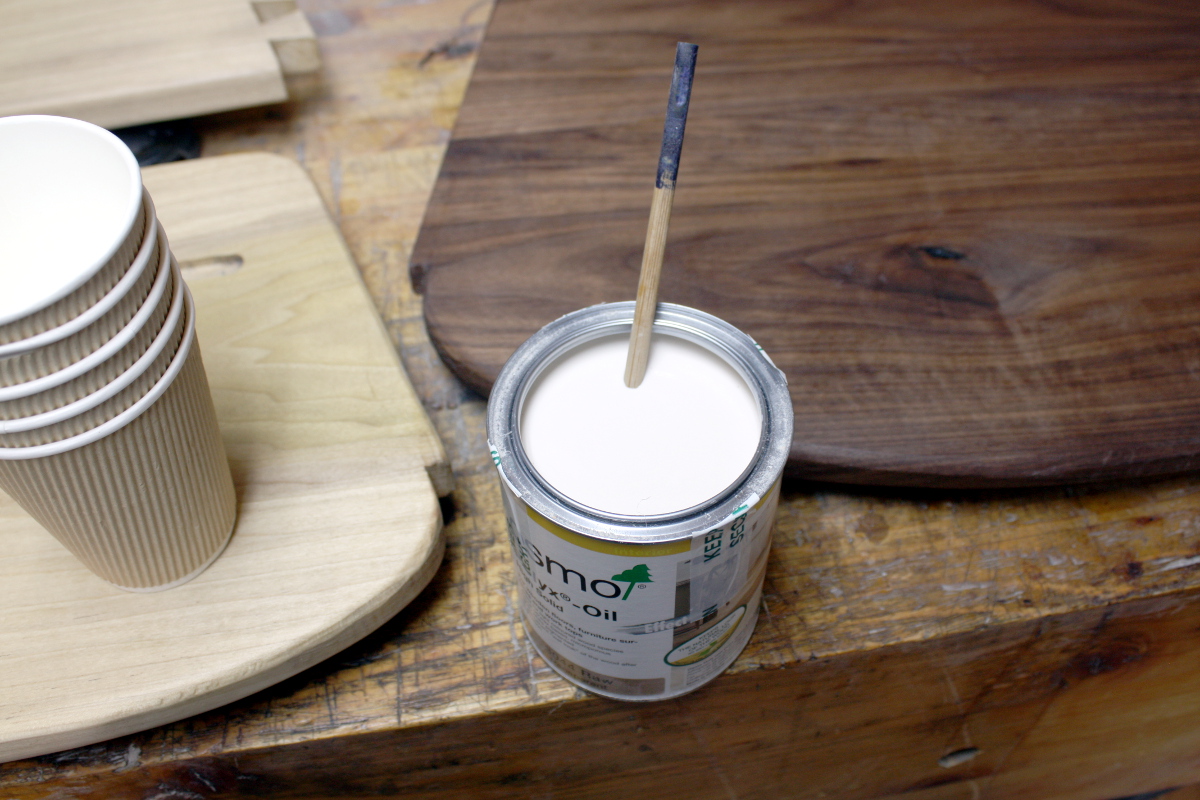
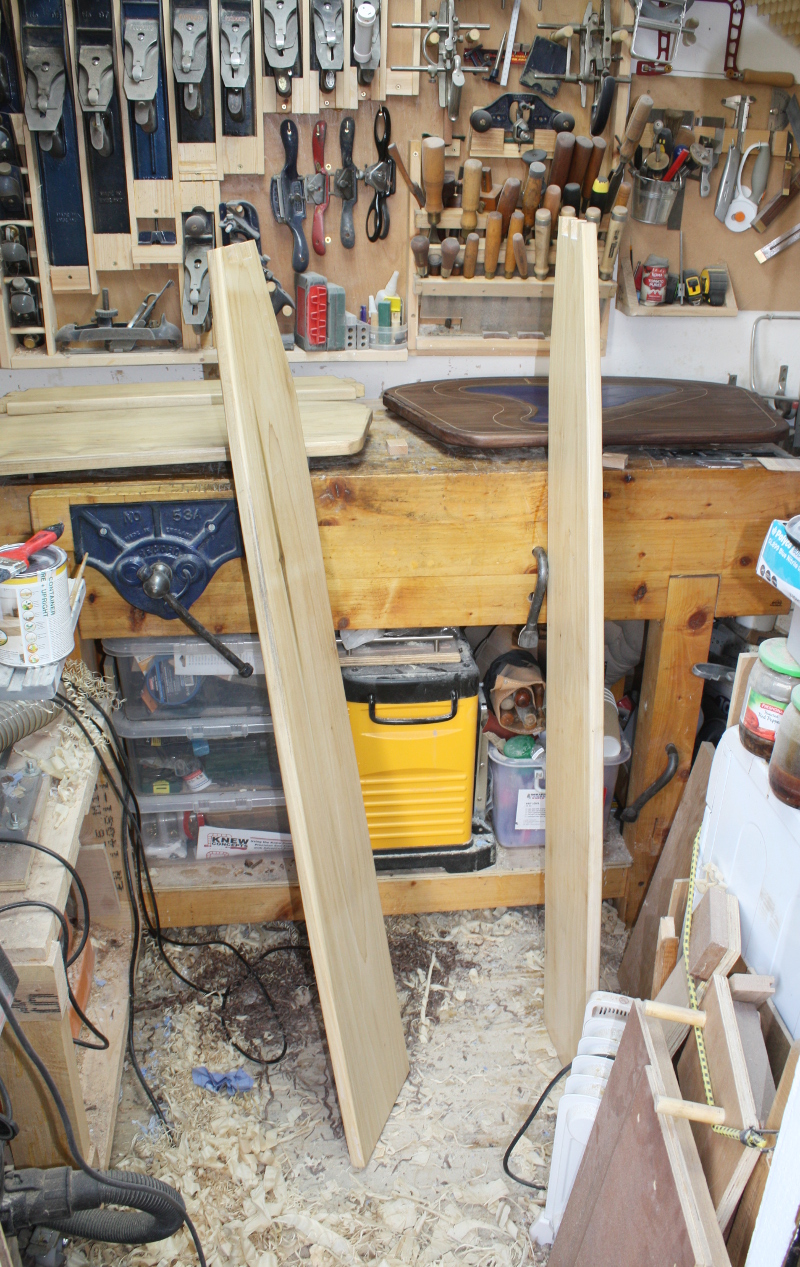
So during the week I had to work from home for a day, so while doing that I took my lunch break to pull the shelves out of the shed and put a second coat of Polyx on them. They didn’t look too bad.


And after they’d cured for a few days in the shed, I went out again and glued on some leather pads on the contact points between the shelves and the wall so that they wouldn’t rub against the wall and destroy the paint. Awkward to clamp though.

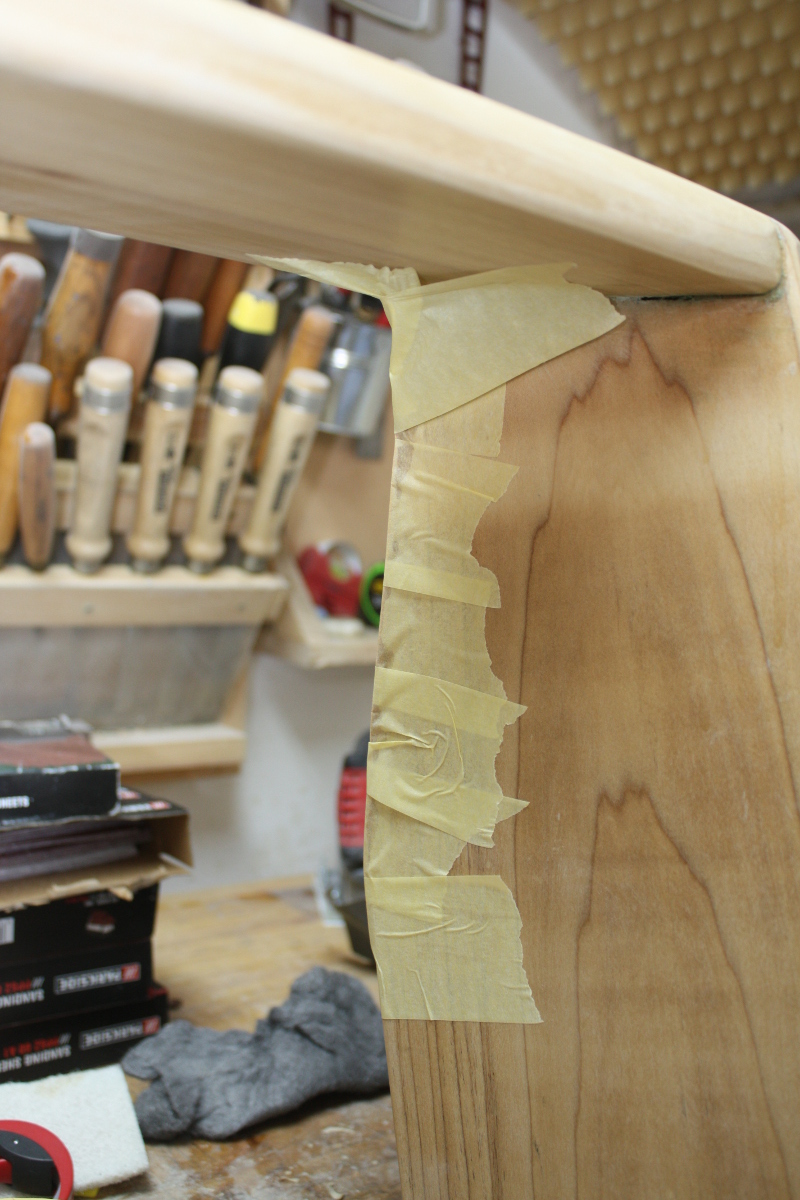
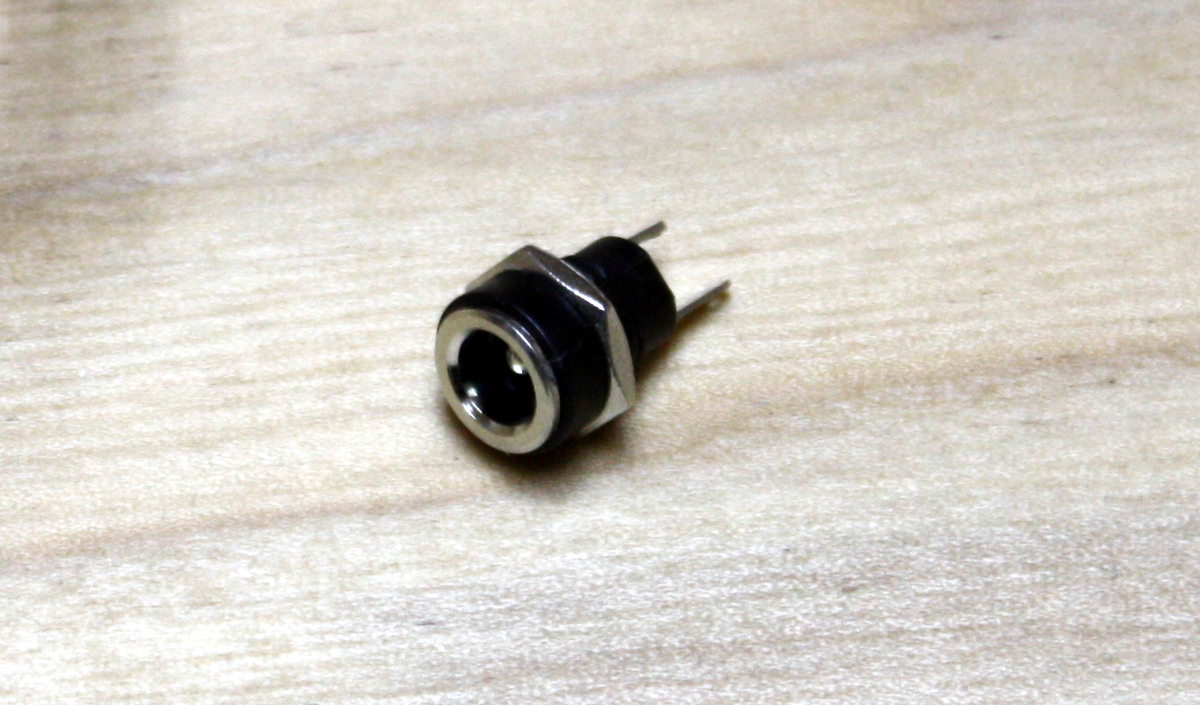
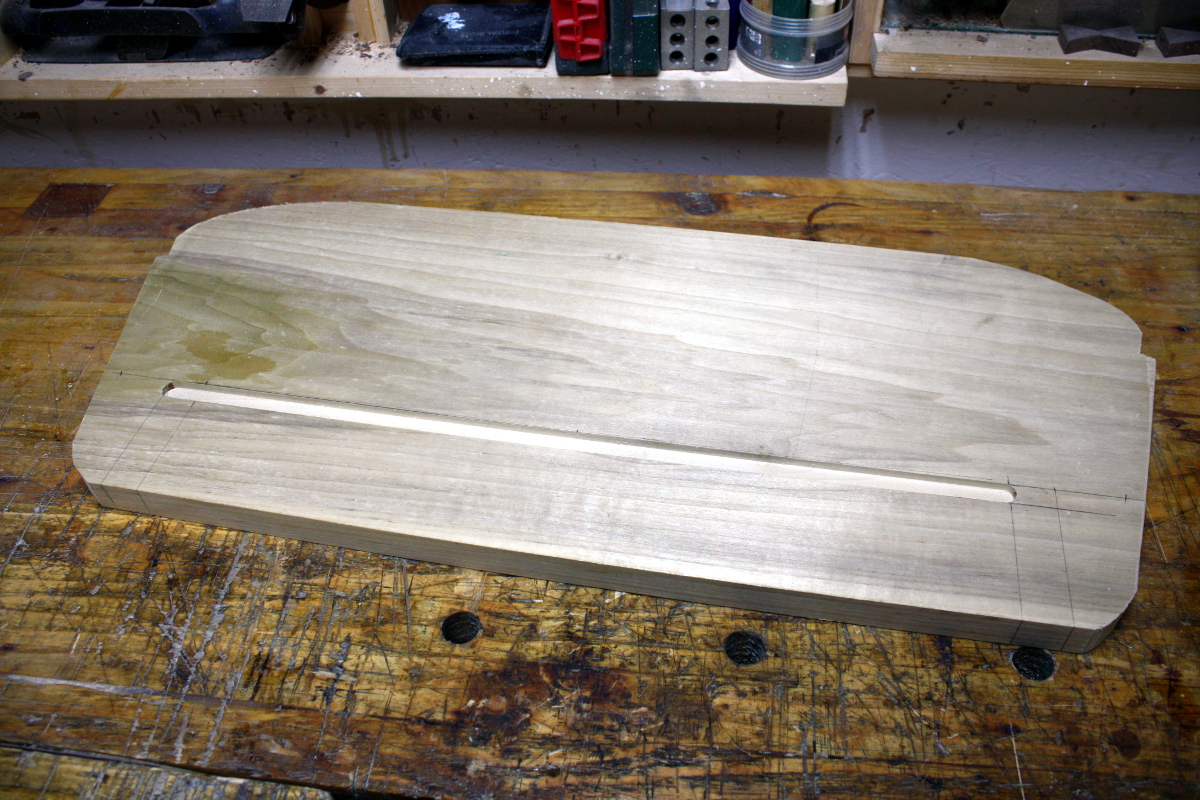
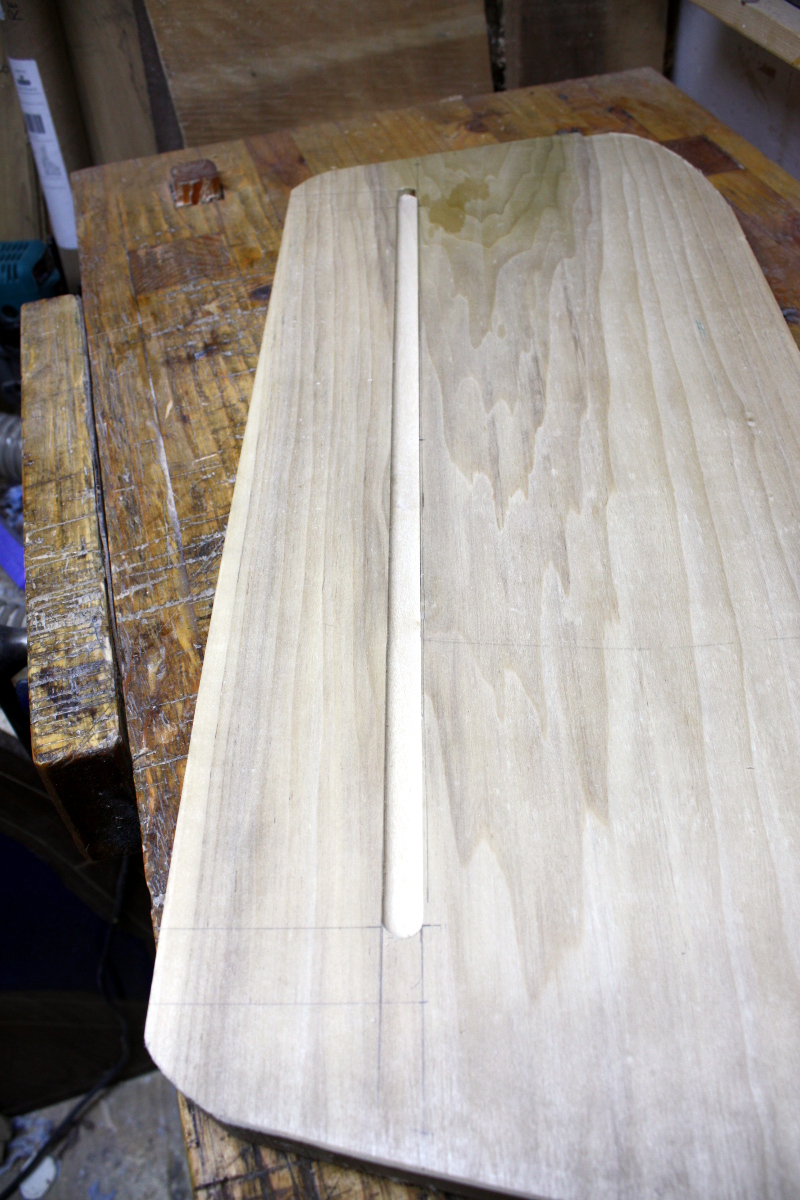
And then today while Calum was out at a birthday party, I snuck out to the shed, took off the tape and trimmed the leather pads, drilled the first inch or so of the wiring channel out so the barrel socket would fit and then brought the shelves indoors.

It looks very very empty now 😀

Some manhandling of the shelves later and I got them into the lab and soldered the socket to the LEDs and then finished fitting the LED lights; then more manhandling of the shelves to get them into Calum’s room and a quick coat of beeswax which looked about a shiny as sand. Guess I need to rub harder.

And that’s it. Done.

Yikes, that only took a year and four months. To the day.

Okay, granted some other stuff happened in the middle of all that, like making a carved oak box, getting a promotion at work and embedding a mug in resin, but still. Yikes. And I can’t help but think it’d have gone faster with a larger shed…

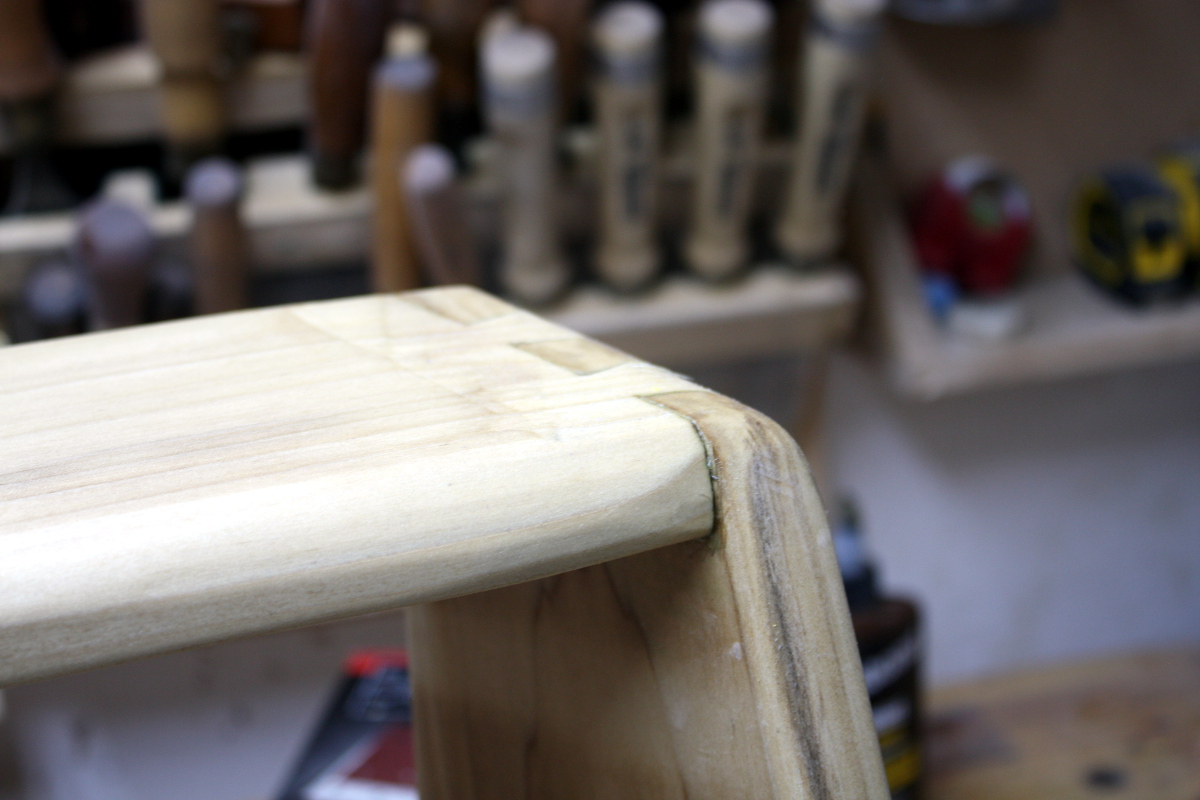
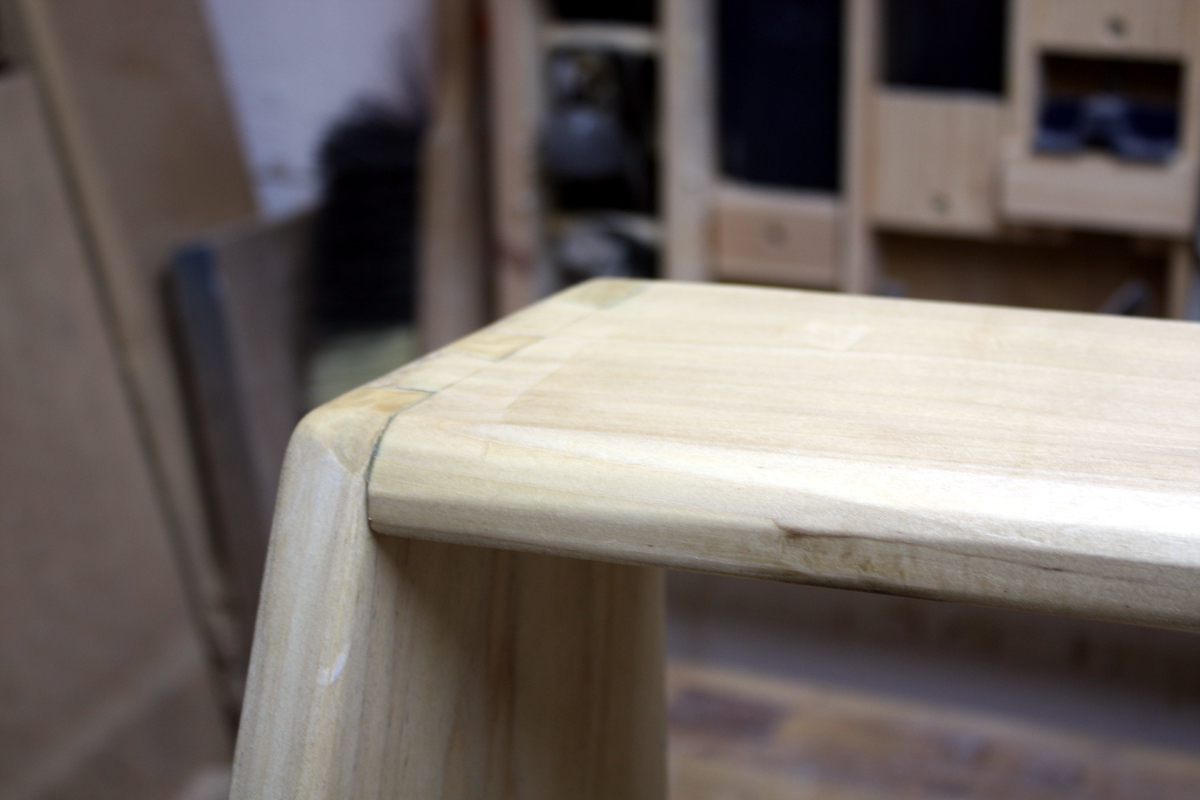
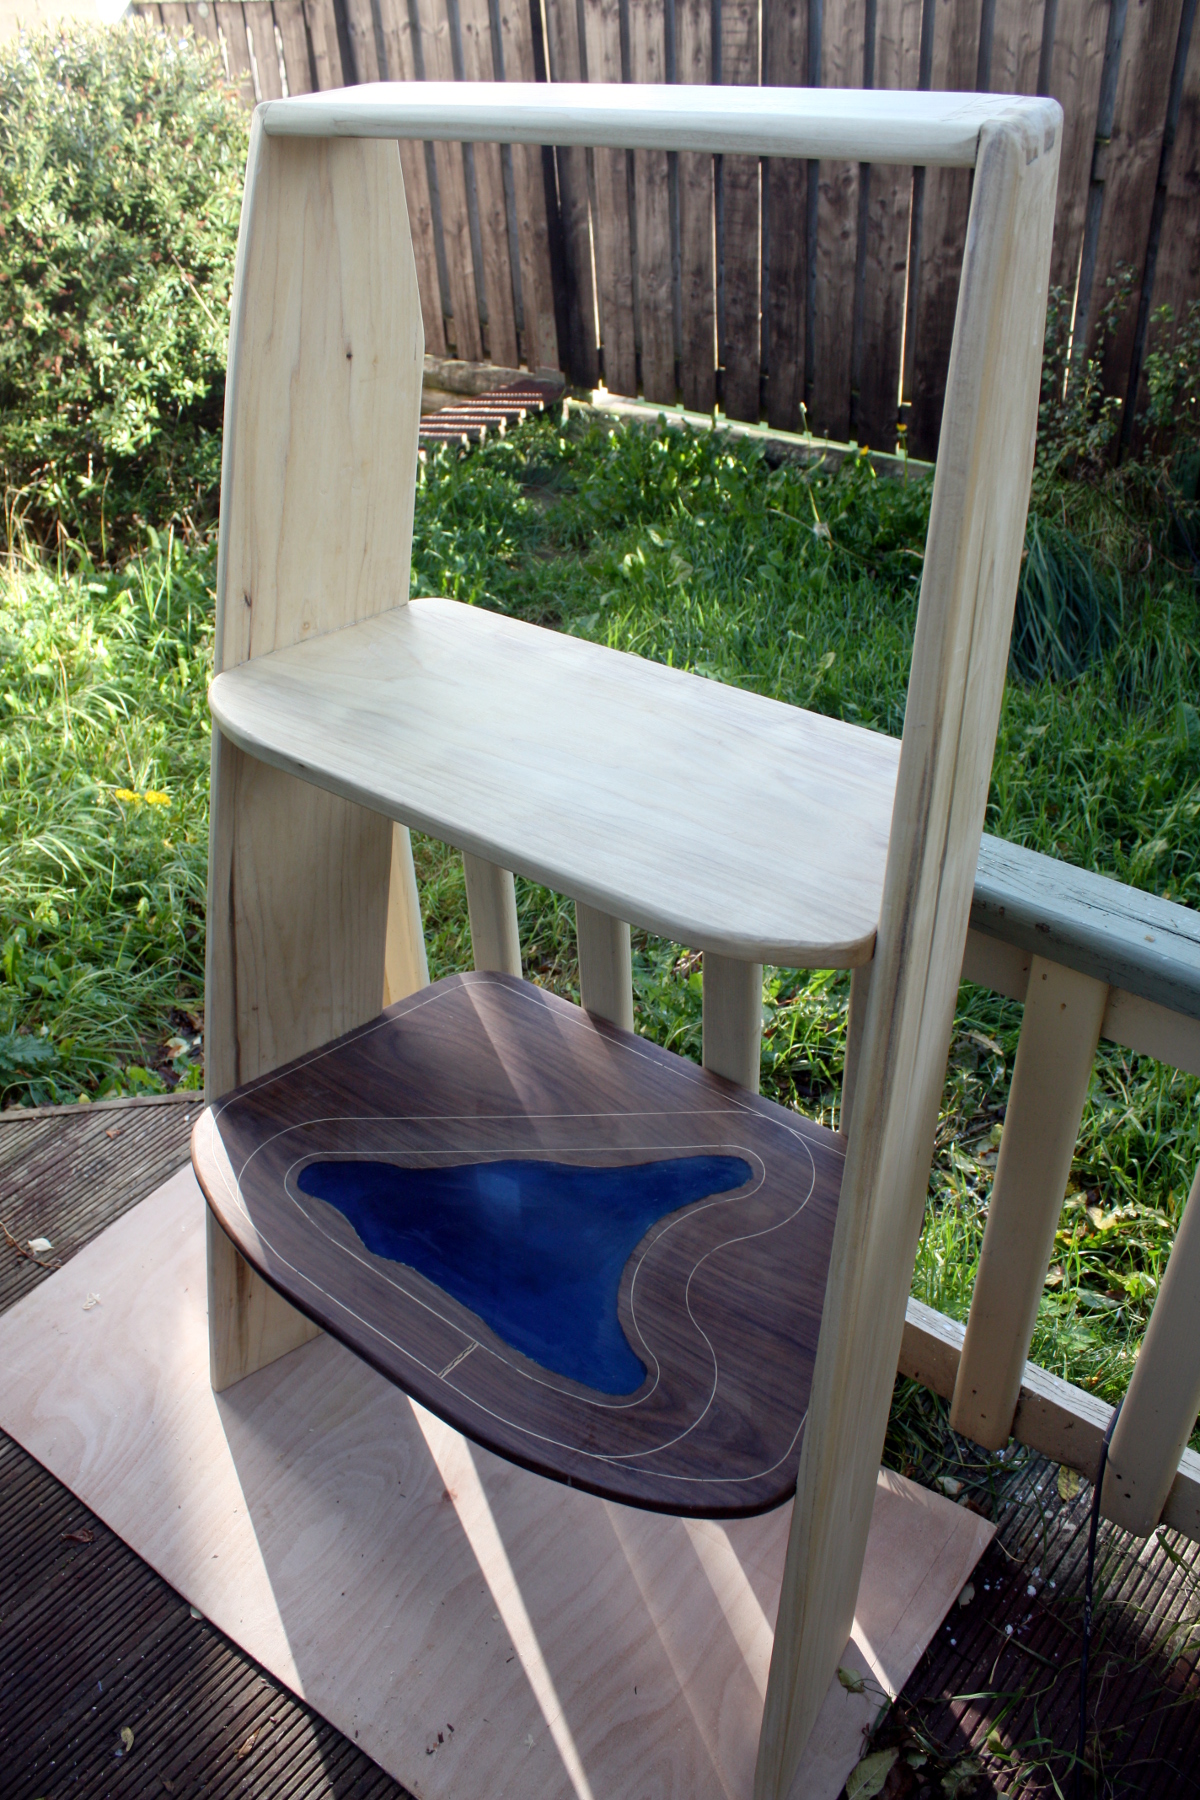
Still though, end result is nice.

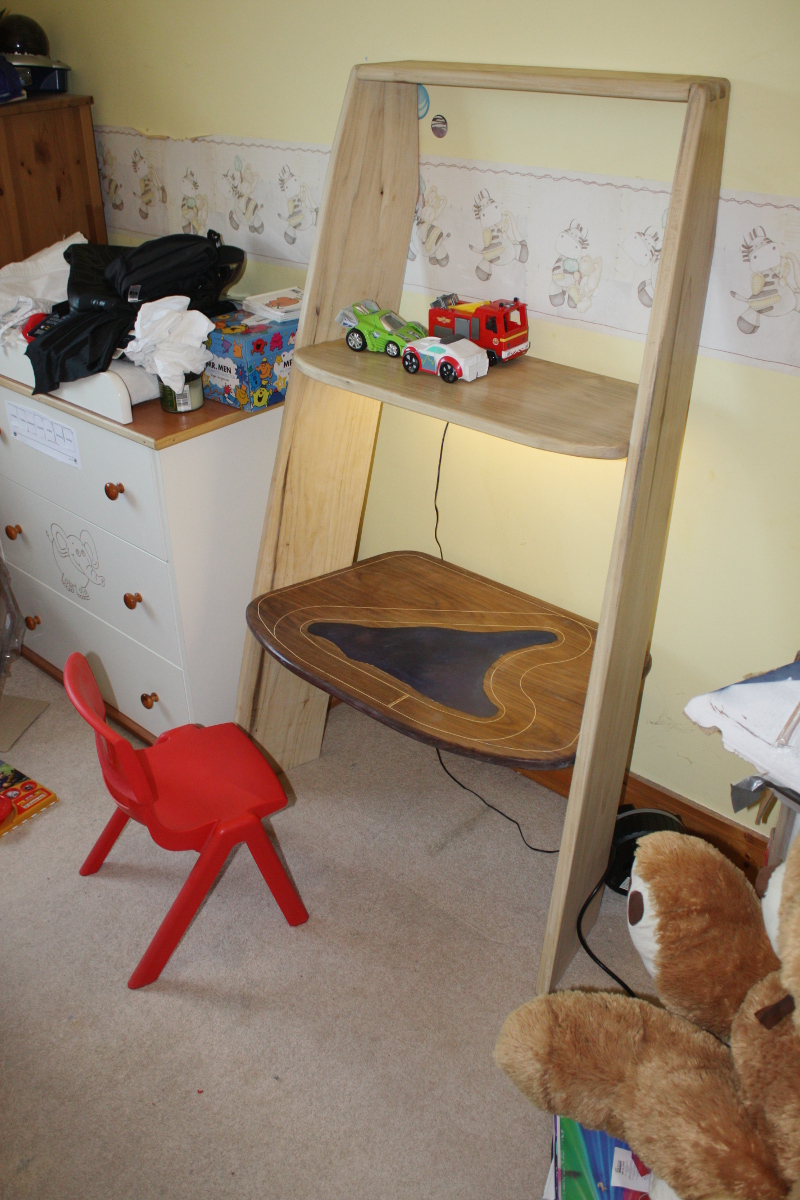
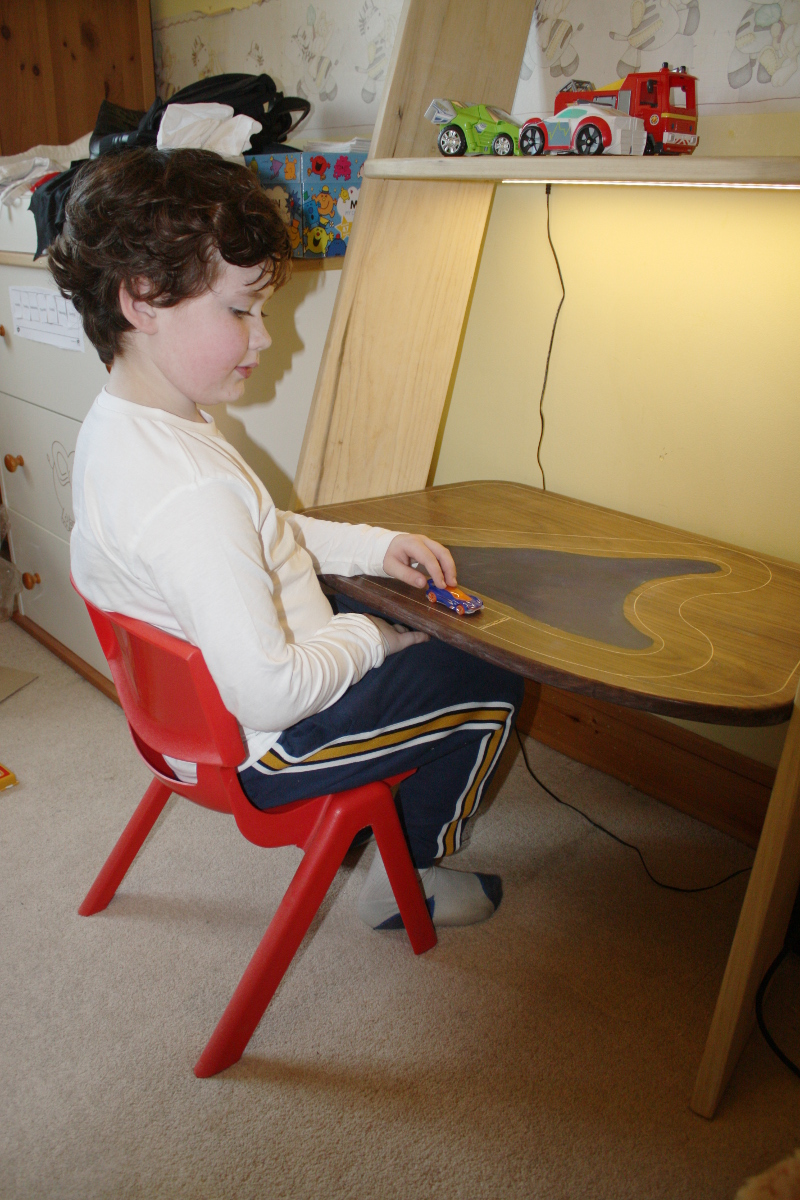
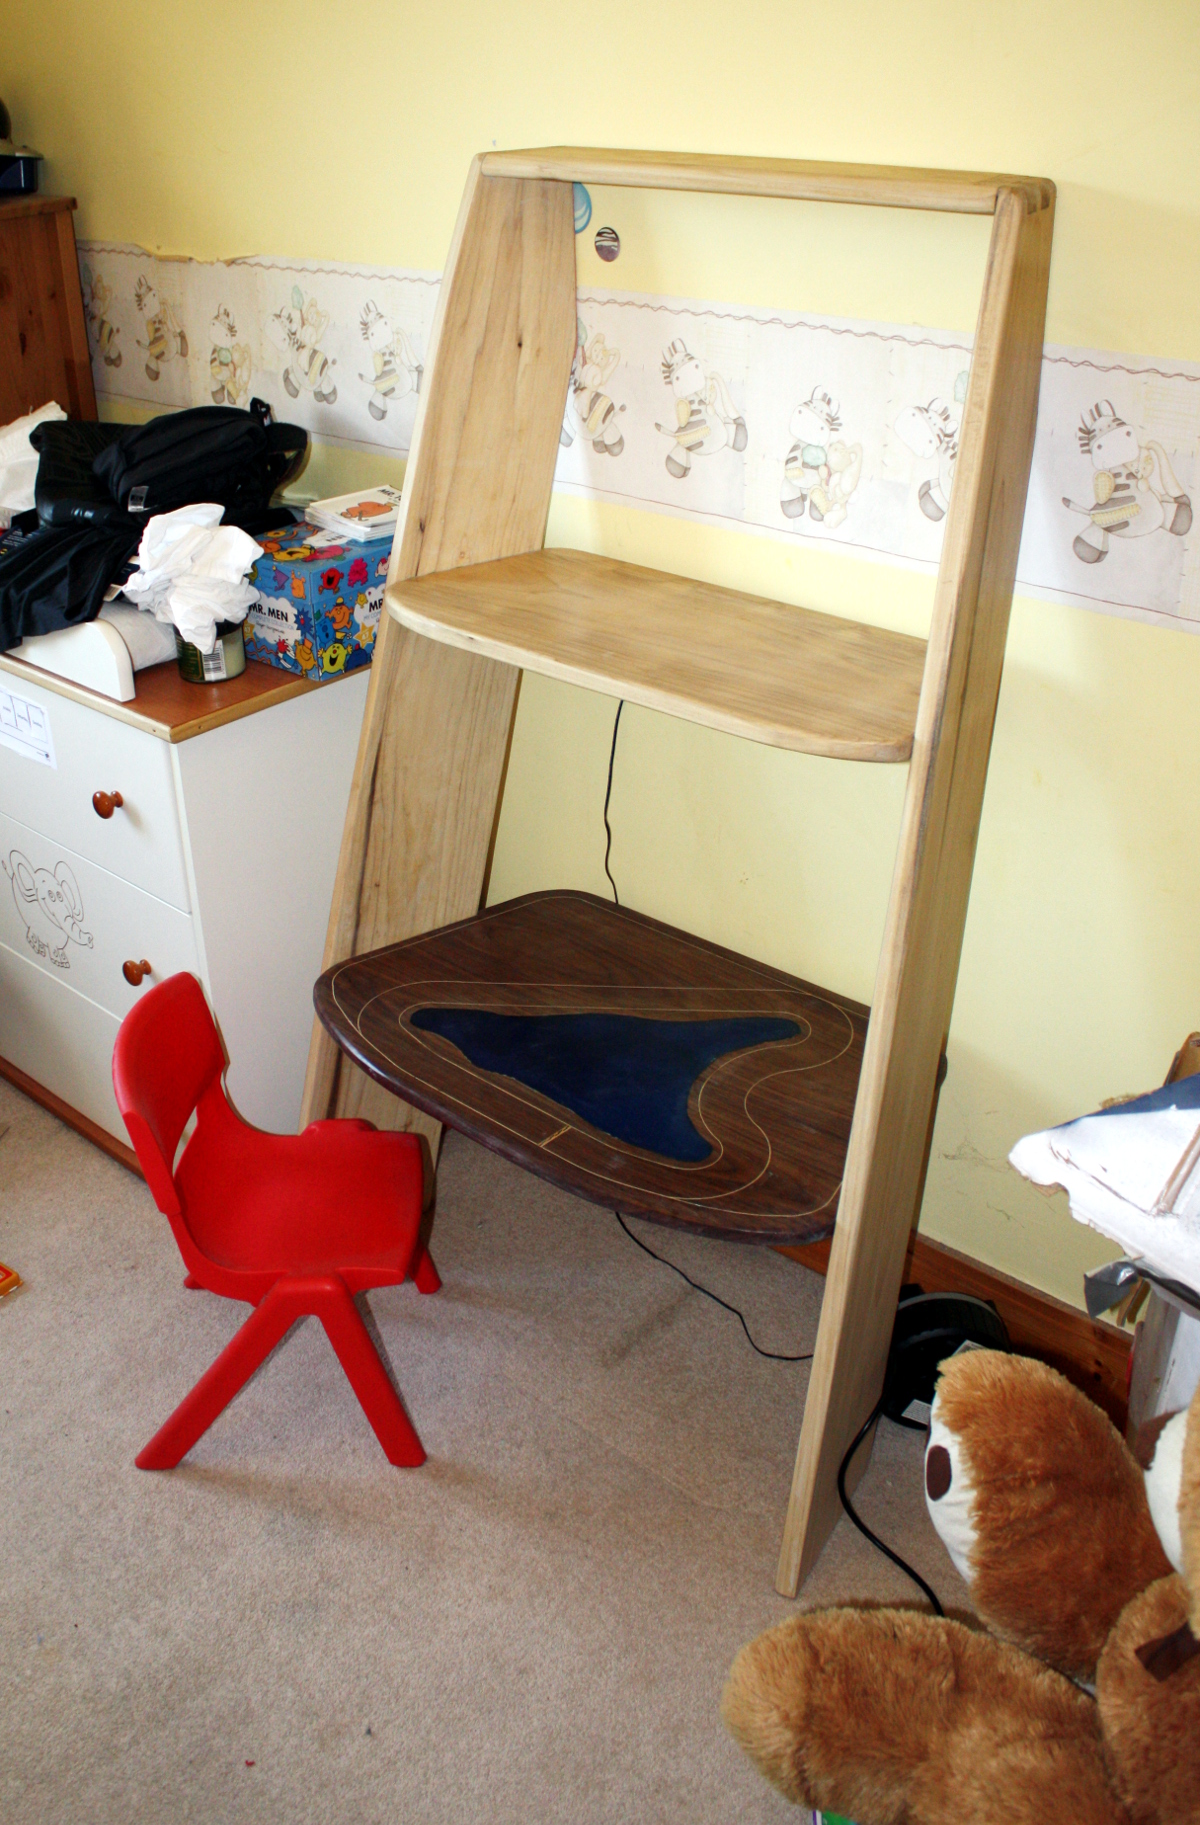
At least he hasn’t grown enough to not fit it anymore. According to the growth charts and the various furniture design books, it’ll last him about two more years before his knees won’t fit under the desk; at that point, I’ll make a pair of feet to go under the uprights and raise the whole thing up by a few inches and we’ll get another few years out of it. 

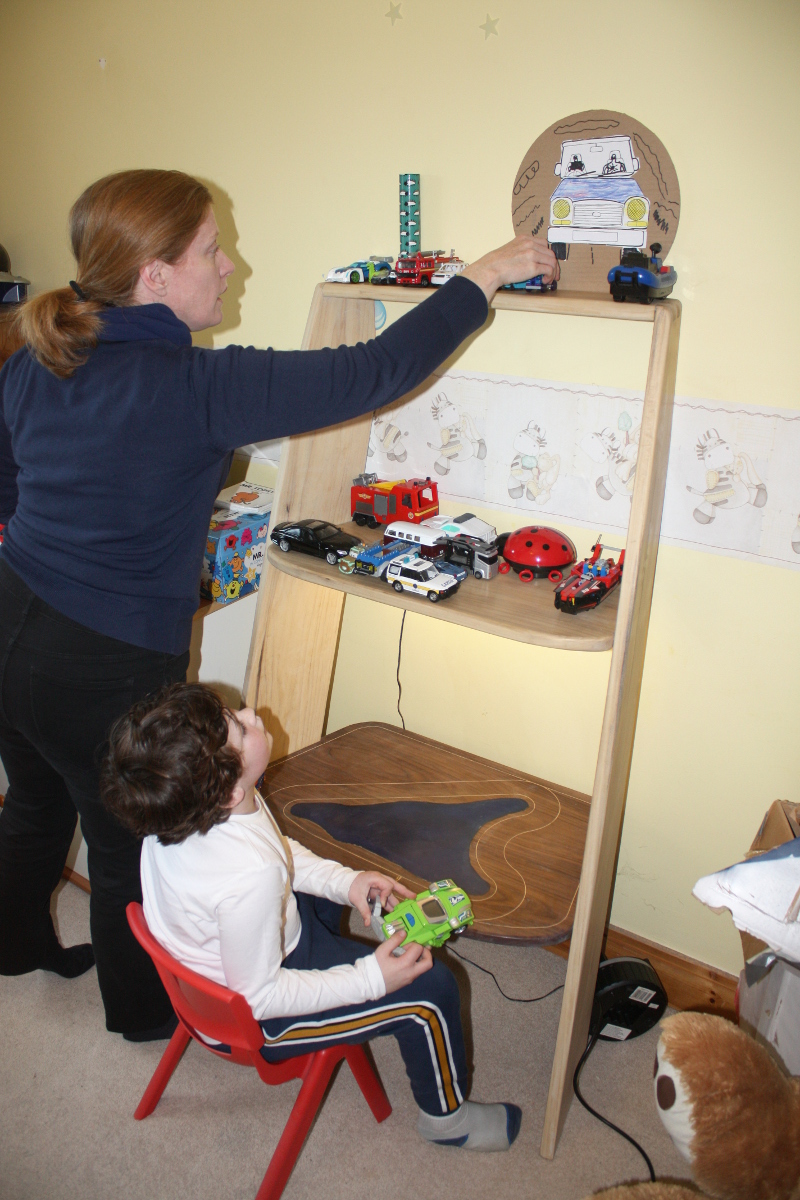
Stocking the shelves.

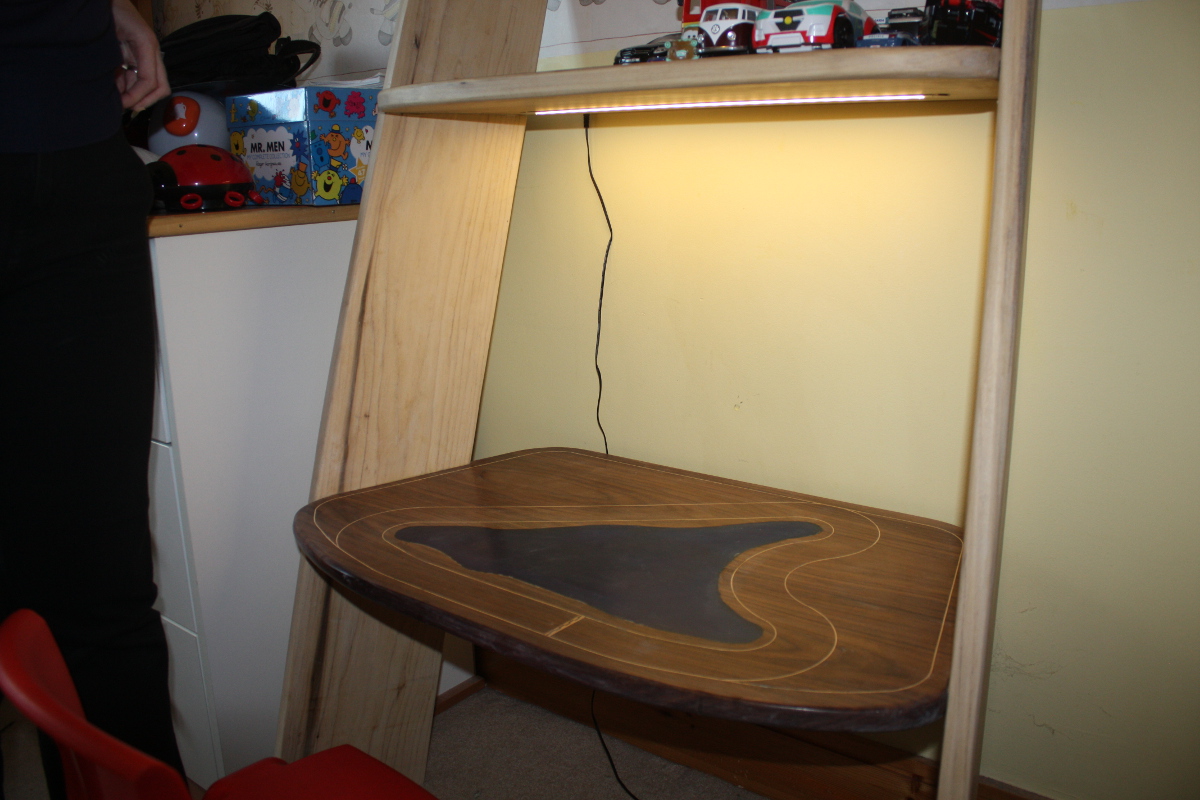
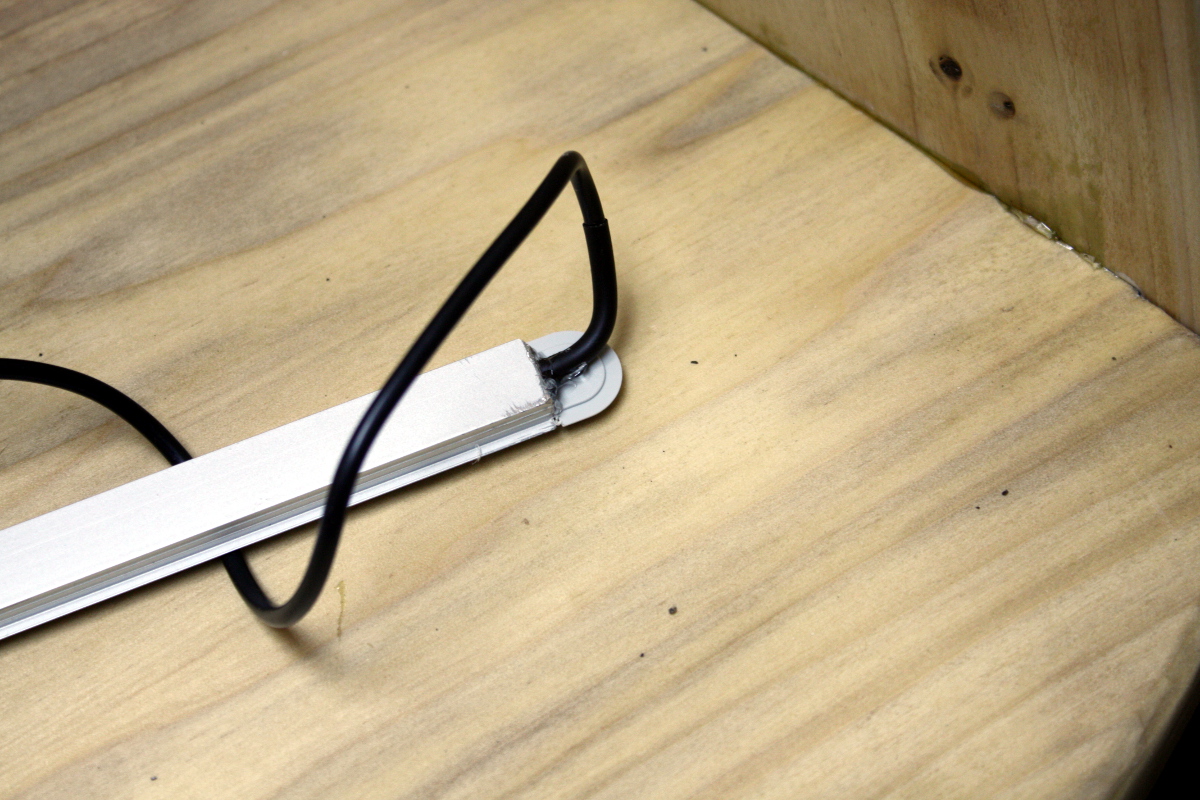
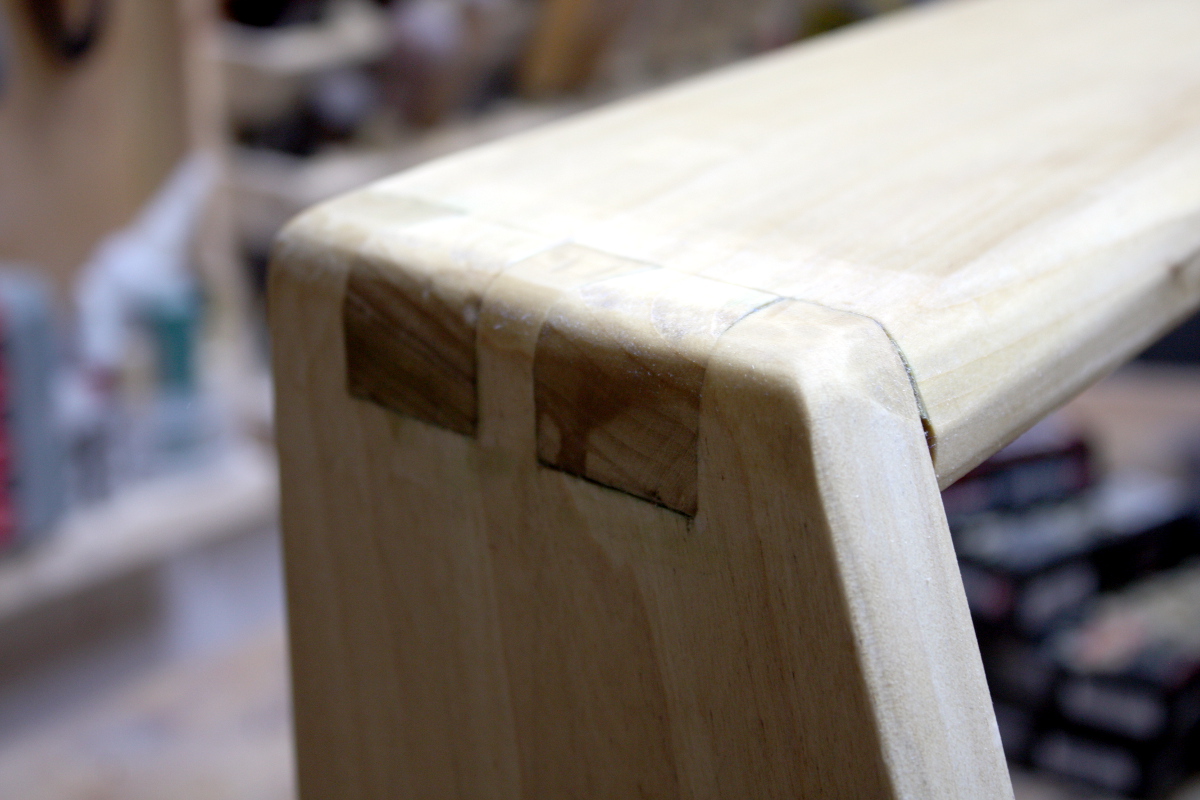
And of course, there’s the LED lighting. Need to tidy that cable away a bit yet. 

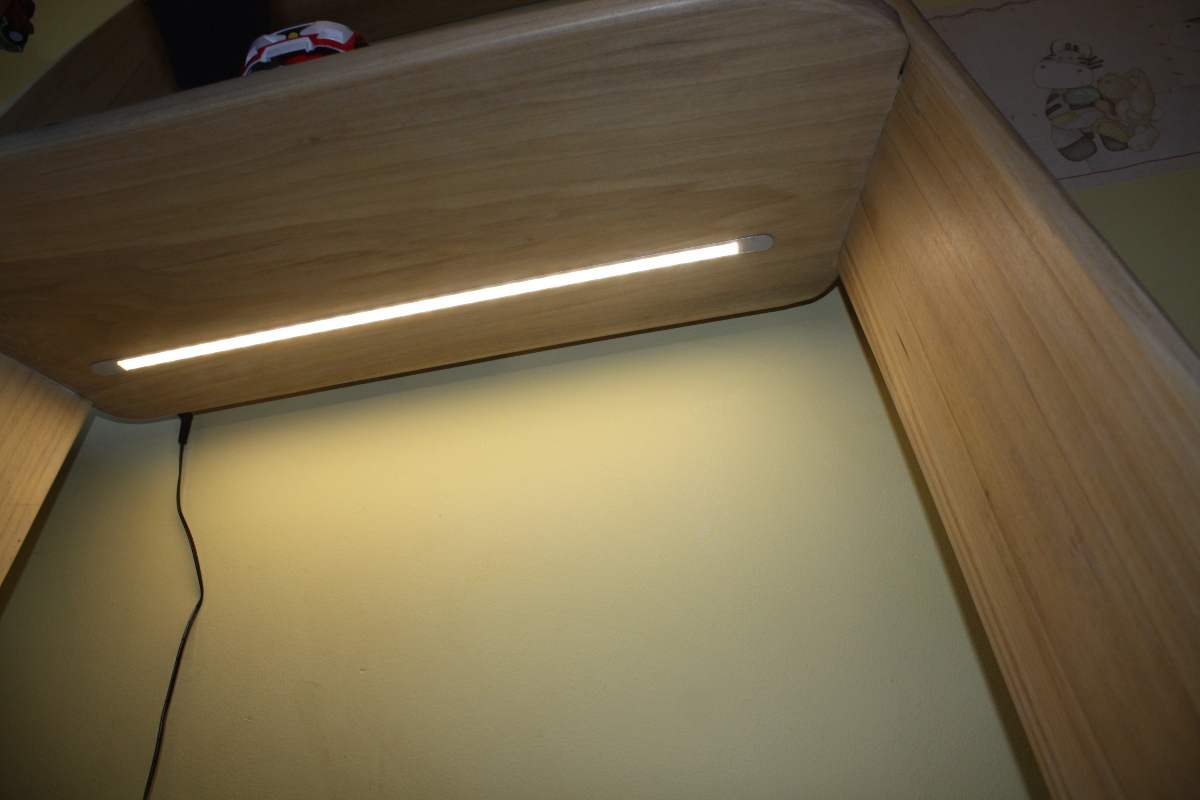
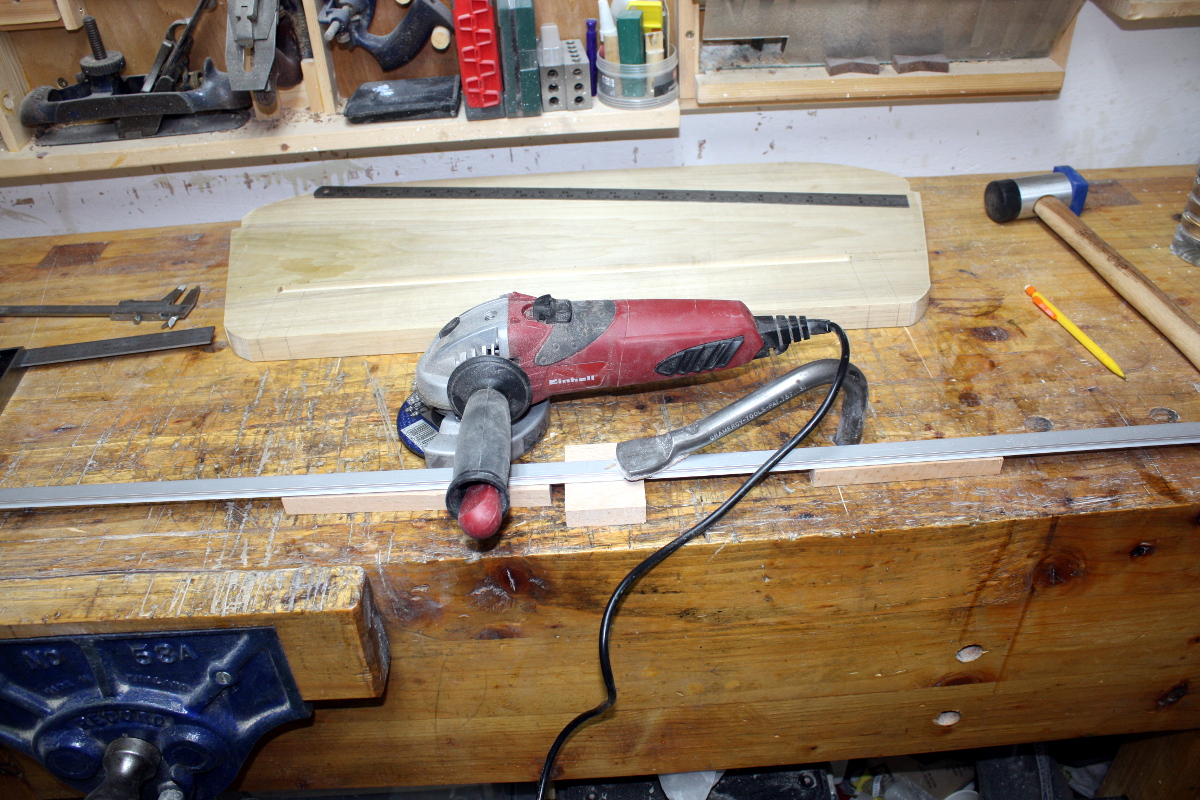
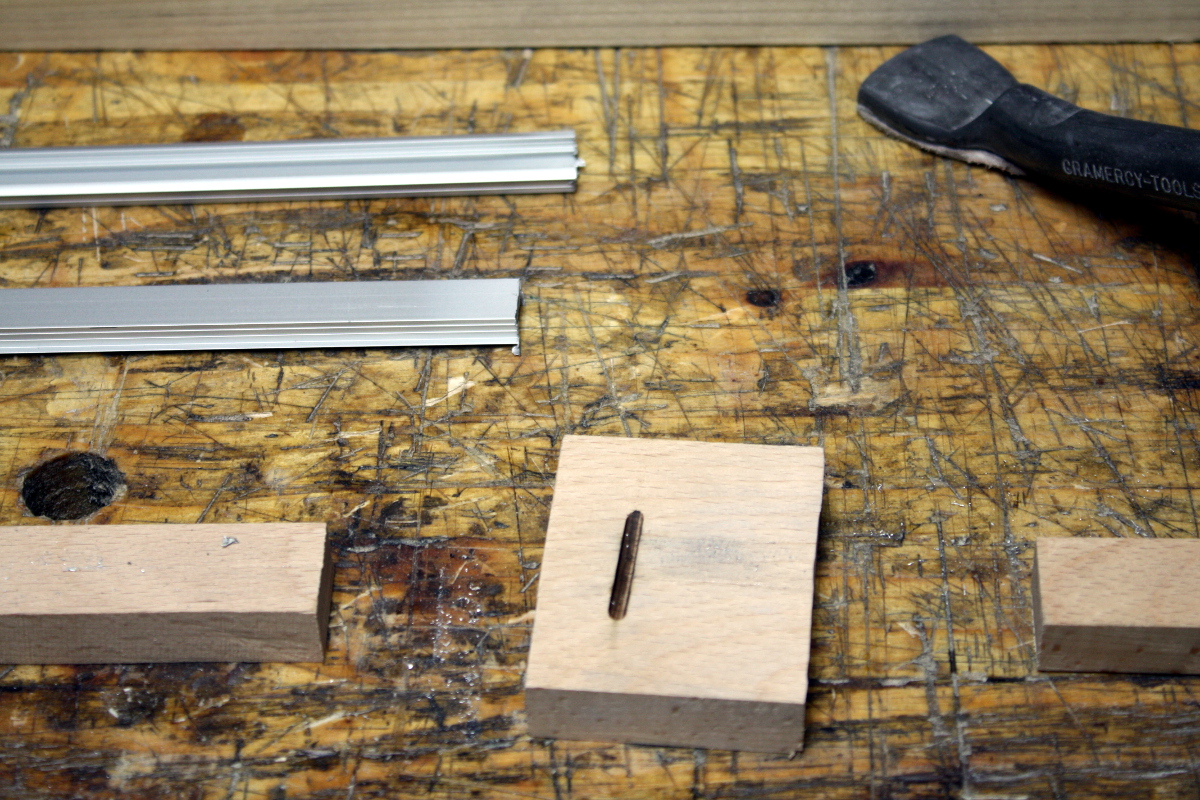
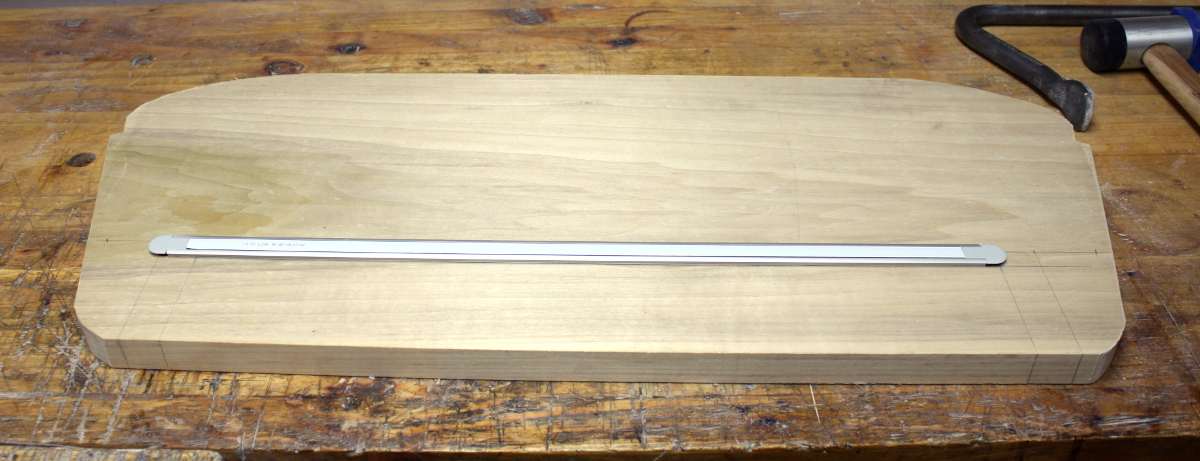
Didn’t even need glue, the slot was just the right size and the aluminium extrusion had small ridges to act as barbs to hold it in place.

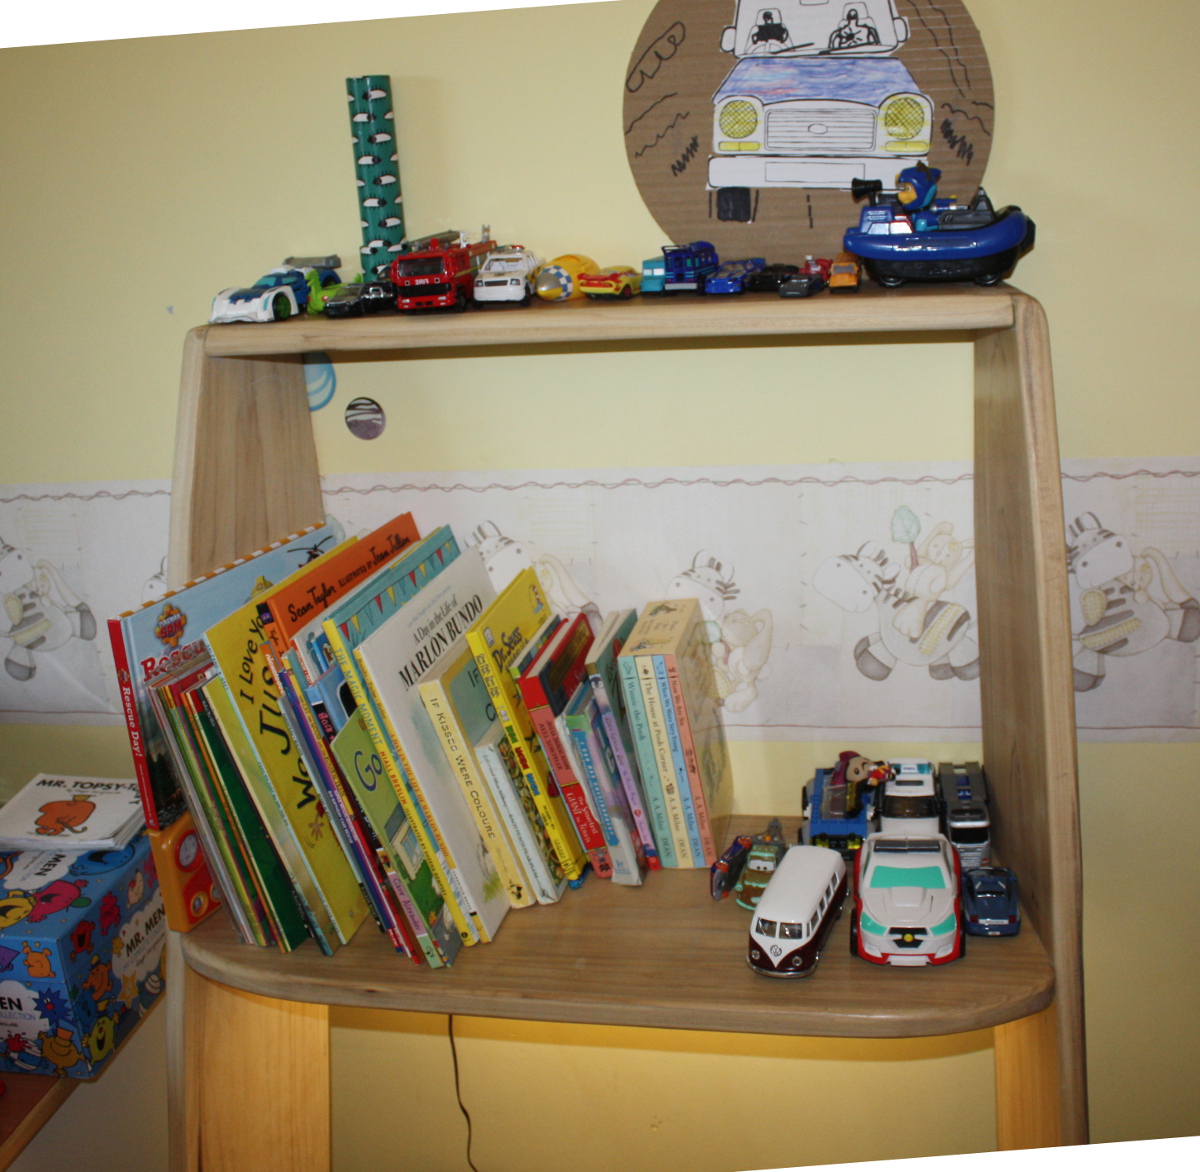
And finally all the books have a place to live.

(Nobody tell him, but this is going to be covered in homework in a few years 😀 )

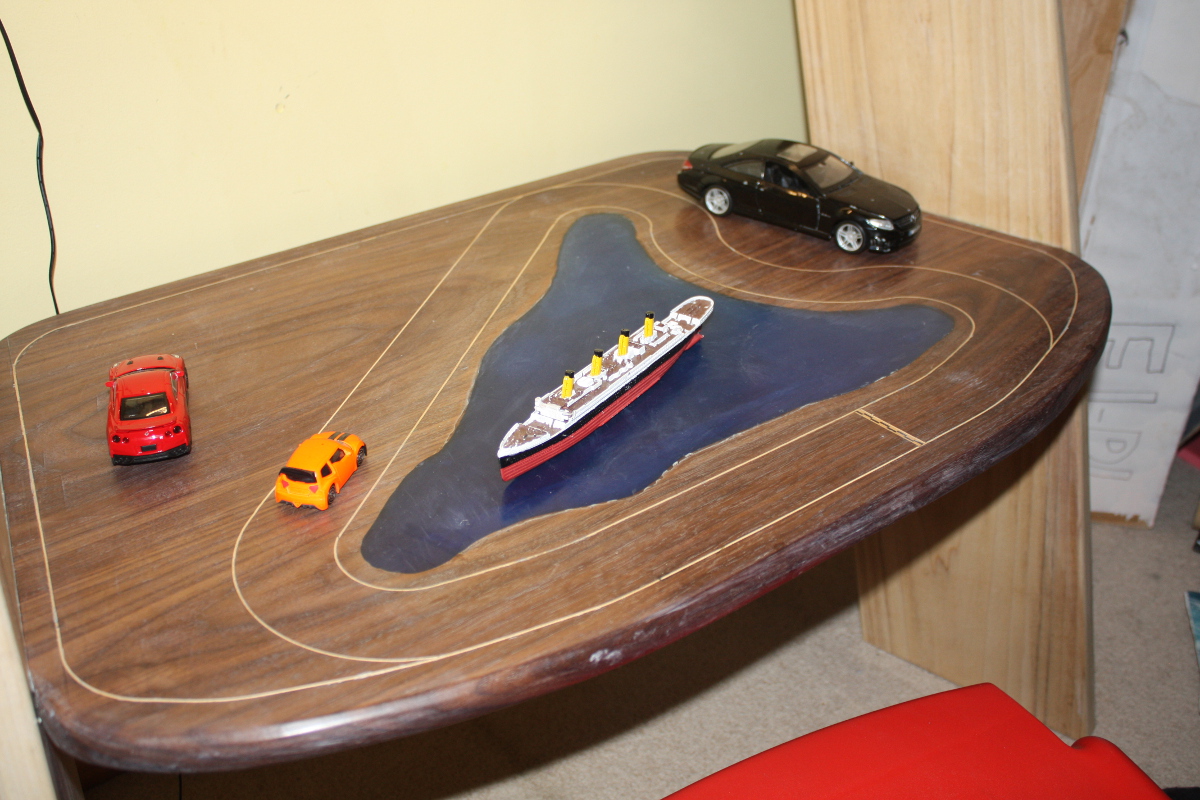
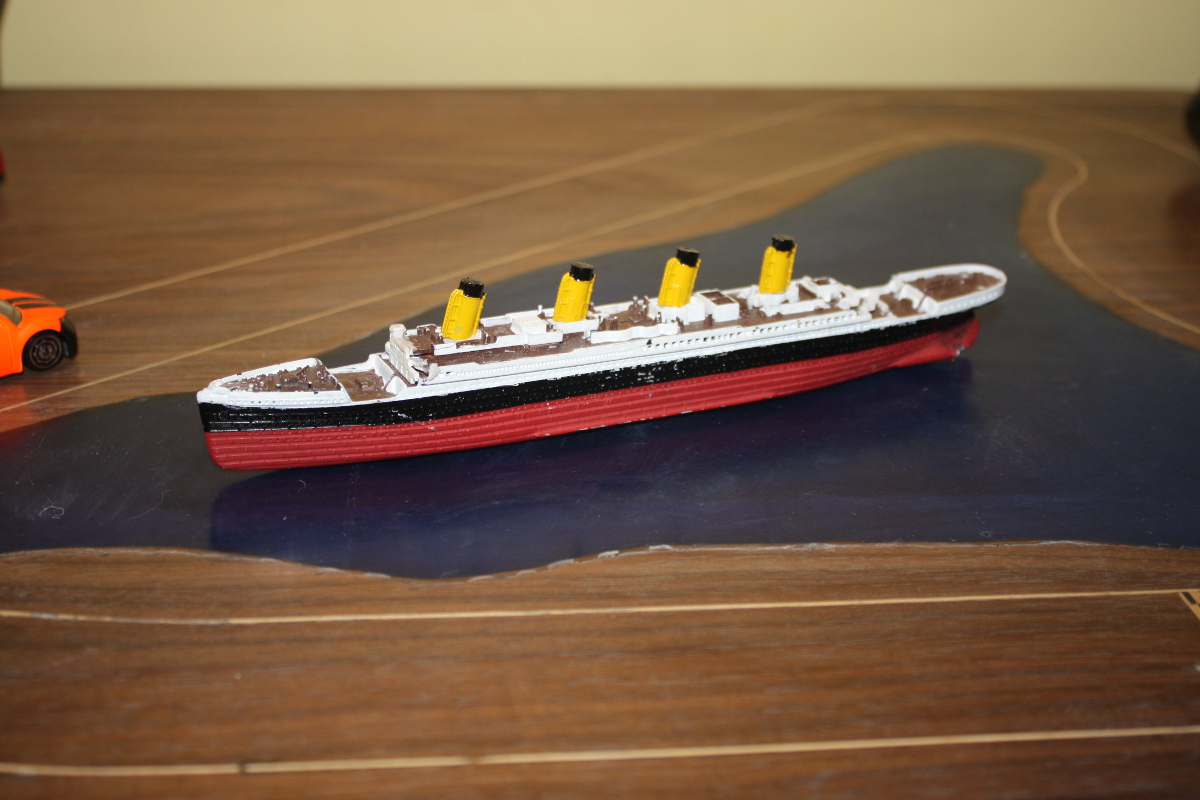
Yes, that’s the model of the titanic that Calum made. Why do you think he had me build a sea in the middle of the racetrack on the desk? 😀

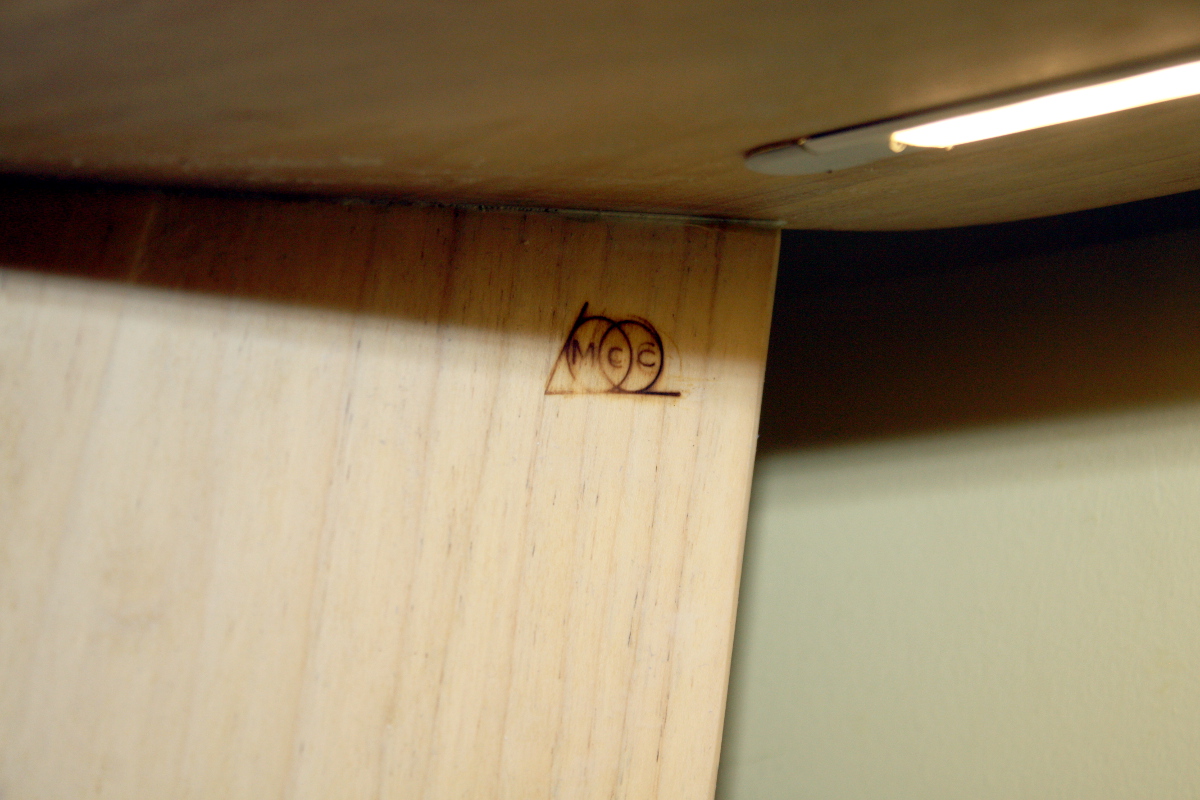
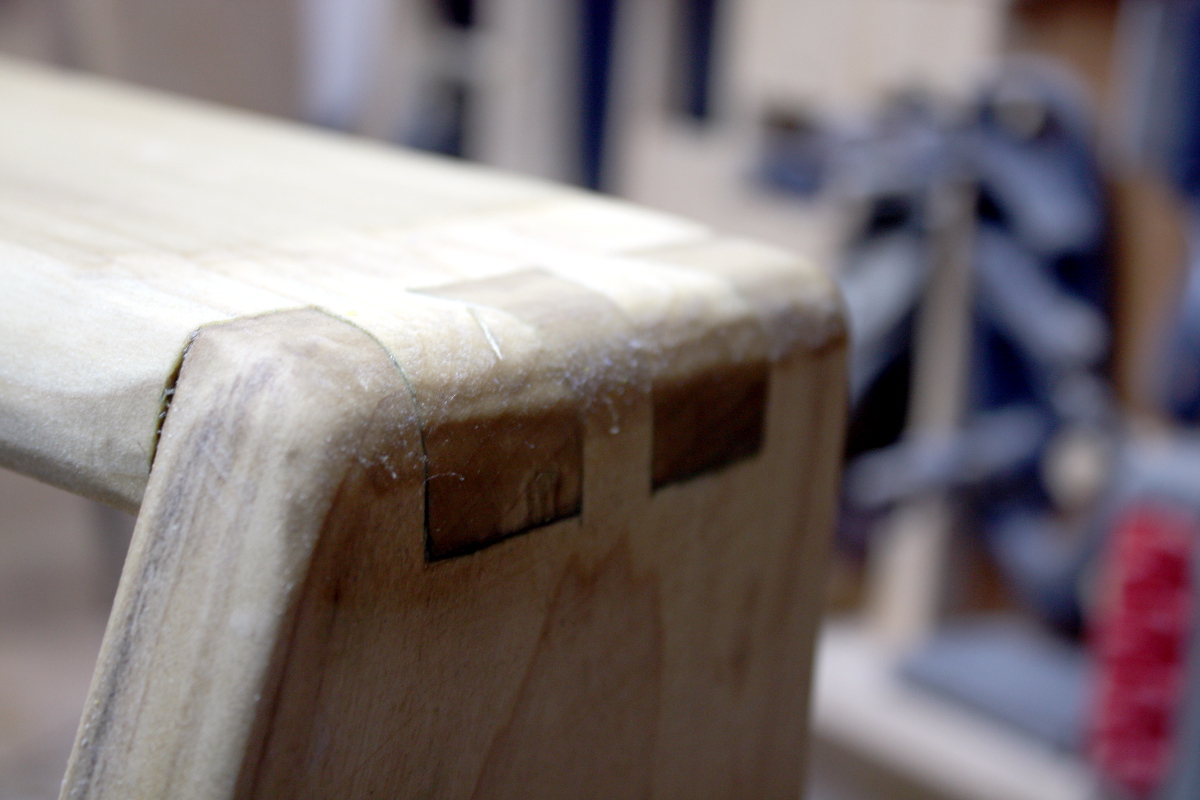
I even remembered to sign it. Though my blowtorch ran out of propane at the worst possible moment so it could be darker. Oh well. 

So, what’s next?

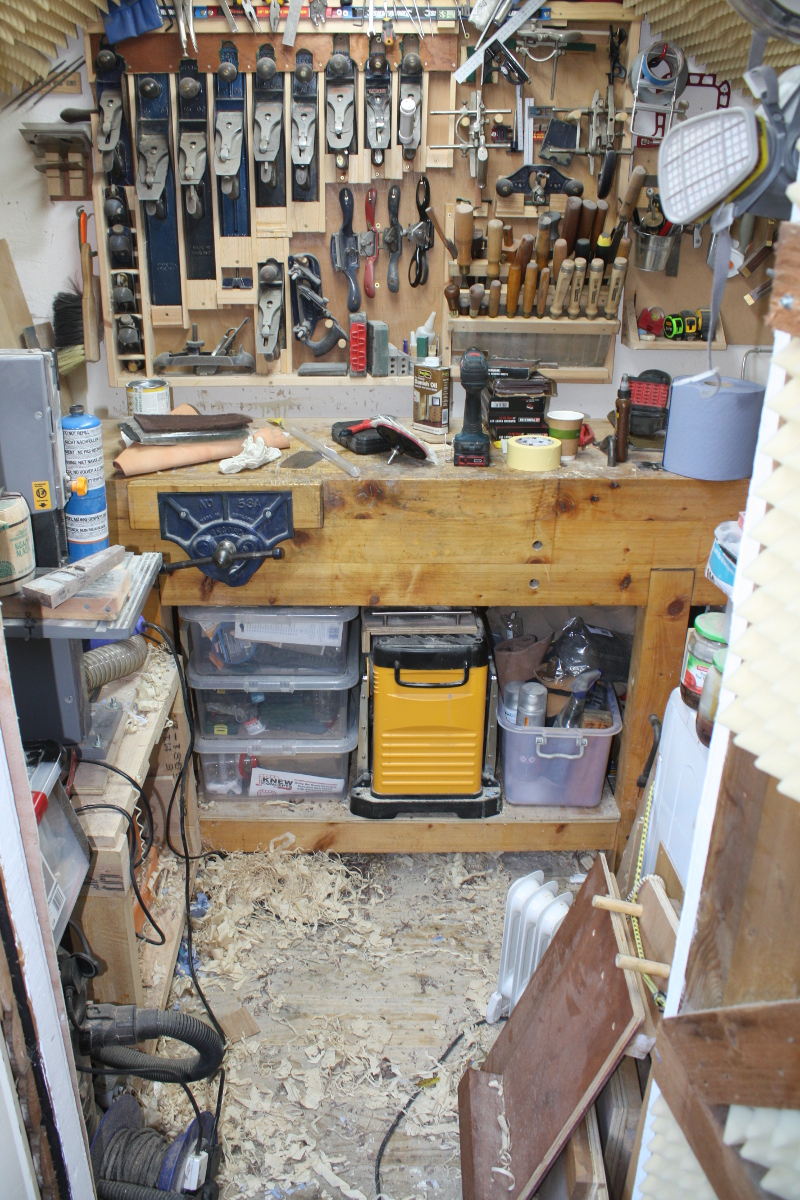
Tidying up, that’s what’s next! The shed is a serious mess and there are a dozen five-minute jobs that have piled up. So, that should only take six months to sort out…


16
Oct 19

Lights, corners, more oil…

Got the LED strip during the week, cut a length off, soldered on the wire, tested it in the lab and it all lit up well, so I pulled off the paper on the back (the strip is self-adhesive) and stuck it in place inside the aluminium extrusion with some heatshrink around the cable end for strain relief and put the diffuser and endcaps in place…

The cable fits in the hole that I drilled for it, so that’s grand, but the connector for the 12V power supply on the other hand, is just a little too big so I’ll have to expand that hole, then cut the wire to length, solder the connector on and then install it. That’s going to be a bit fiddly and I might even wait till it’s indoors before doing that. 

So with that checked, I went round the joints with a chisel and a plastic razor and cleaned up the excess glue. The joints under the desk I couldn’t reach, so that might be for the weekend when I can take it out of the shed in the daylight.

Next job was to shape the dovetail joints at the top, which is a damn sight easier when the workpiece is small enough to be able to walk around it. When it’s taking up the entire floor space of the shed and you’re literally climbing on stuff to reach the tools on the wall behind it, not so much. Still, an hour of cursing and swearing and the #04 and two chisels and some 120 grit sandpaper later, and another application of danish oil…

I don’t think I’m completely done with sanding for that shelf and those joints though. But I can’t reach them to work on them properly so I may need to take the desk out of the shed to work on it with the sander, give it another dose of danish oil, let that cure up then do another coat or two of polyx until it looks done. Then I’ll take it indoors, fit the light and that’ll be it done. I hope.


06
Oct 19

Final stretch…

Few hours in the shed this Saturday. Put the inlaid desk to one side, got out the hated router and set it up and dug a shallow trench along the underside of the first shelf.

Next, had to cut the length of aluminium extrusion I had to length, so spent a few fiddly minutes getting the right length including the end caps, and then discovered I didn’t have a hacksaw to hand. The bandsaw might be able to cut aluminium in a pinch, but the throat’s not deep enough to get to where the cut had to be made, so… angle grinder?

Angle grinder. Fiddly to set up, very fast cut.

Almost too fast really. And of course, messy. So time for hand filing. Out with imp to hold it and the files to clean up the cut and deburr everything.

And then test fit. The extrusion has small ribs to act as barbs when you drive it into the slot so I’ve not seated it home yet (plus I need to drill in from the back of the shelf to run the cord in for power and I don’t yet have the LED strip to go into the extrusion, so this is as far as we go with this step for now).

I’ll drill in from here in the middle of this marked channel back to a slightly deeper part of the trench that I’ll cut before drilling and then it’s a wiring job. I was wondering about chasing the cord down the leg of the shelf and having the plug emerge at the base, but I might just have a 12V DC socket at this point and let the plug go directly to it. We’ll see.

Next, planed the surfaces at the rear of the top of the uprights which will actually contact the wall. This is a straightforward, if slightly exact, chamfer with a handplane. 

Before and after. Not much to see, but it’s the difference between leaning against the wall and being driven into it like a chisel. I’ll put a leather pad on these surfaces as well (and maybe the back of the top shelf too) after finishing is done. 

And now shaping and finish planing. The #04 and my favourite spokeshave come out and all the sharp corners that have been left alone till now go away so every edge is rounded and safe, and the surfaces all get a final planing to take all the pencil lines and dust off, though with this board (you can just about see the worst of it in the photo), there’s been some damage where things have just been banged off the board throughout the last year. Consequences of too large a project in too small a space – it’s not just working on a component that gets affected, storing a component is just as difficult and stuff gets damaged. All the ironing in the world wasn’t making any odds here. Moral of the story: work on smaller projects.

A quick run-over with 240 grit sandpaper later and it’s the last coat of Danish oil (and the first for the uprights). This is the last application of Danish oil for this project, but not the end of the finishing process. 

I don’t know why one of these boards is darker than the other. I’m guessing one was on the top of the pack when it was in the timber yard, hence the pale stripe near the top where the strap held the pack together while the UV in daylight tanned the rest of the board. I’m hoping that’s it because if so the wood will naturally equalise in colour over a few months or so. 

Next morning rolls around and it’s time for the poly part of the finishing. None of the US brands of wipe-on poly I would know are available here, but Osmo Polyx gets recommended a lot and I used another Osmo finish for other projects before with good results, so we’ll spin the wheel on this one. Instructions are simple: open tin, stir well, apply a very very thin coat, repeat coats after 24 hours, 2-3 coats is all that’s needed.

Cue re-watching several videos on polyx wondering if some joker snuck white paint into my transparent poly finish, but no, it’s just that colour (apparently it’s the waxes in the finish – polyx isn’t exactly a liquid polyurethane finish, it’s a blend of oils, waxes and eleven secret herbs and spices that’s allegedly as durable as wipe-on poly but without looking like you sprayed plastic on wood. I’m dubious, but we’ll see). Okay. Now cue a lot of trial to get that thin coat just right. In the end, I apply a thin but still very white-looking coat with a brush and don’t coat everything; then I use a white scotchbrite pad to rub it smooth over the whole surface by which time it’s pretty thin; and then I give it a last wipe-down with a paper towel to get any excess and ensure the layer is nice and thin (if the layer’s thick, it won’t cure right and now you have a gummy tacky layer of oil and wax that’s hard to remove for a retry). 

Not an ideal drying setup, but the best I can manage for now with the size of the shed. It’ll have cured in 24 hours and that’ll be all that I do with it for this stage; next will be drilling the cable route for the light, fitting the LEDs, and when all of that is done, the final assembly and glue-up; and then I’ll do the final two coats of polyx to finish. I might even give an extra coat on top of that to the top of the desk, as it’ll see the most abuse. Hell, I may need to refinish that in a year or two, but I’ll drown that in resin when I get there…