Well, that empty In Progress… list lasted a while, didn’t it?
Though I actually went back through my notebook…

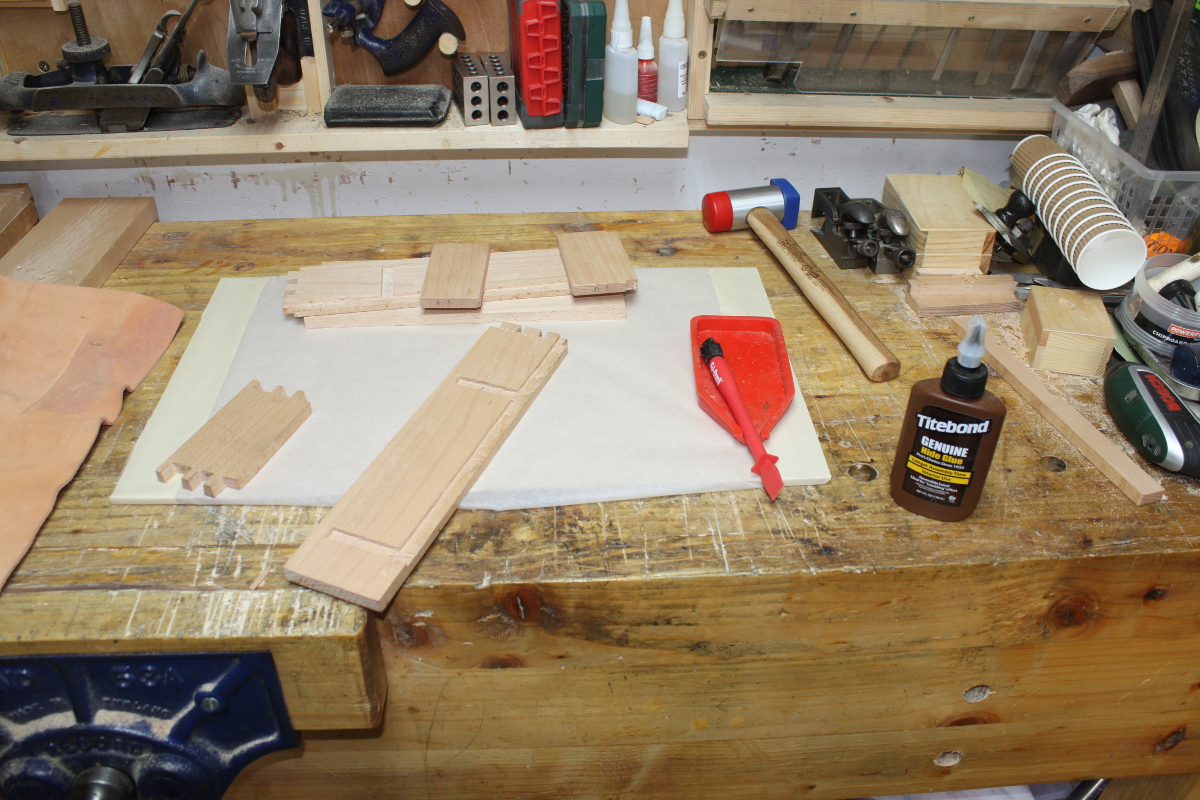
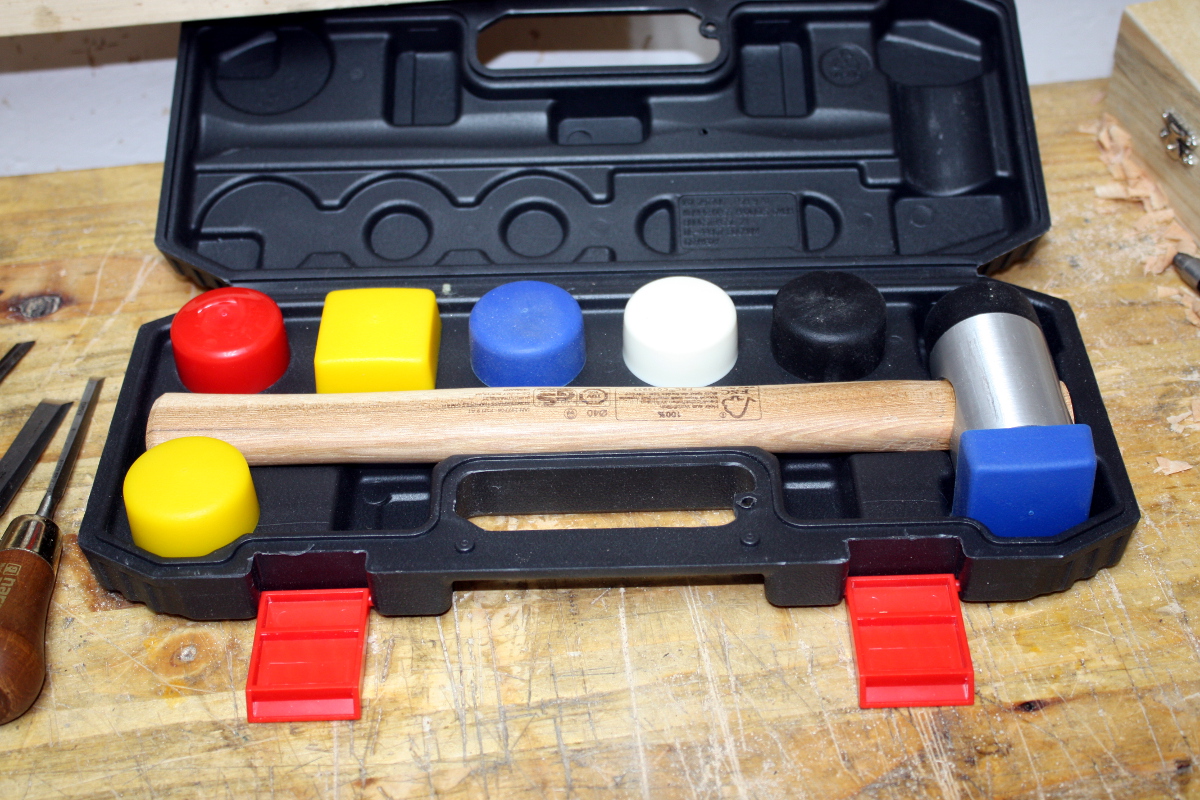
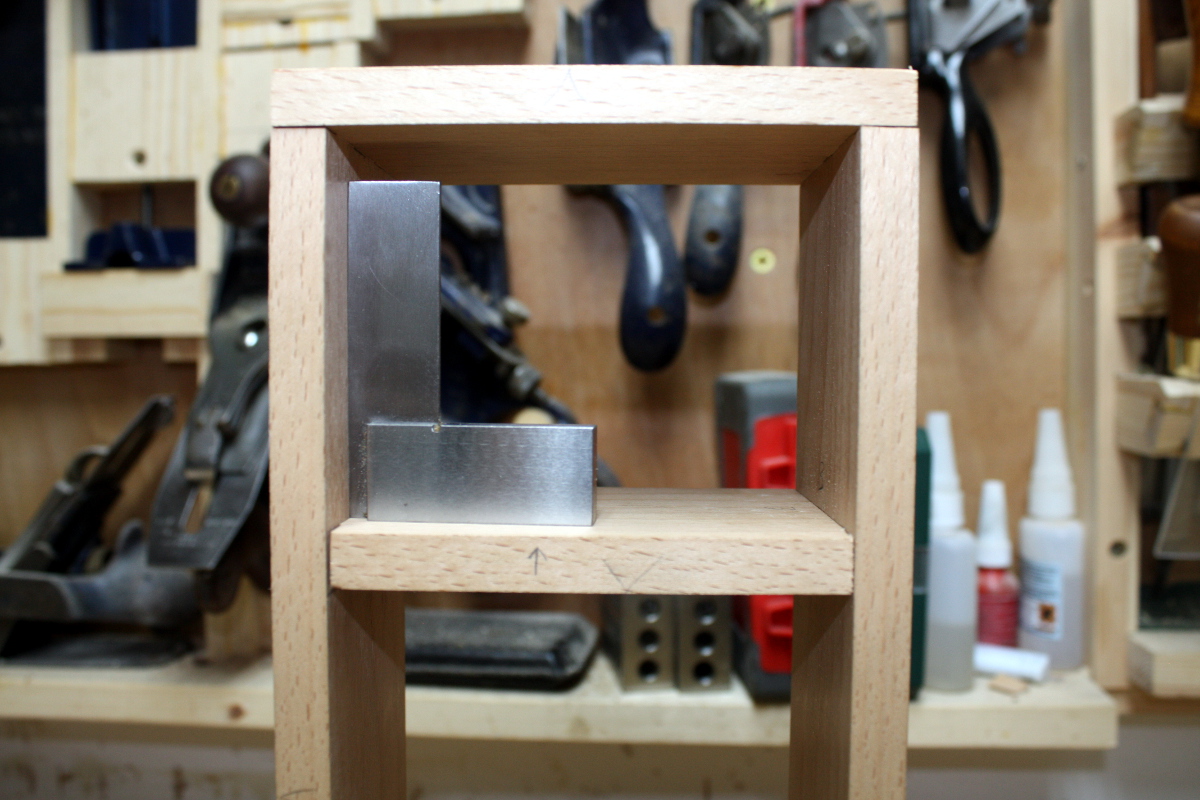
Five euro or so in TK Maxx, the very height of bohemian luxury
…and every project in there bar this one is marked as Done or (in one or two cases) marked as Won’t Do, What Was I Thinking. This one will be a small bookshelf for Calum. Well, small to you and me, but not to him. The idea is this will have his books and toys and assorted child-related detritus now (he’s six and between kindergarten and vorschule so just learning to read and write at the moment) and we figure he really won’t have “homework” in the traditional I-need-a-proper-desk-and-I-still-don’t-want-to-do-it sense until he’s nine or ten, so off to the internet I go and I grab the UK90 based growth rate charts for boys aged 2 to 18, and find Calum’s centrile, so now I have his current height and his predicted height until he’s nine (it’s not that accurate, they change centriles faster than they change their socks if you don’t tell them to, but it’s better than pulling a number completely out of thin air.
Then I grab my copy of The Woodworker’s Guide to Furniture Design (thanks to a Richard Maguire recommendation and so far well worth buying) and dig out the bits on figuring out things like how high the underside of a table has to be from someone’s height and how high someone can reach given their height and so on and I spend a few minutes sketching stick figures and working out the height of the top of the very top shelf (which is to be the highest part of the build) and come up with 48″.
Then I dig out my copy of the bible…
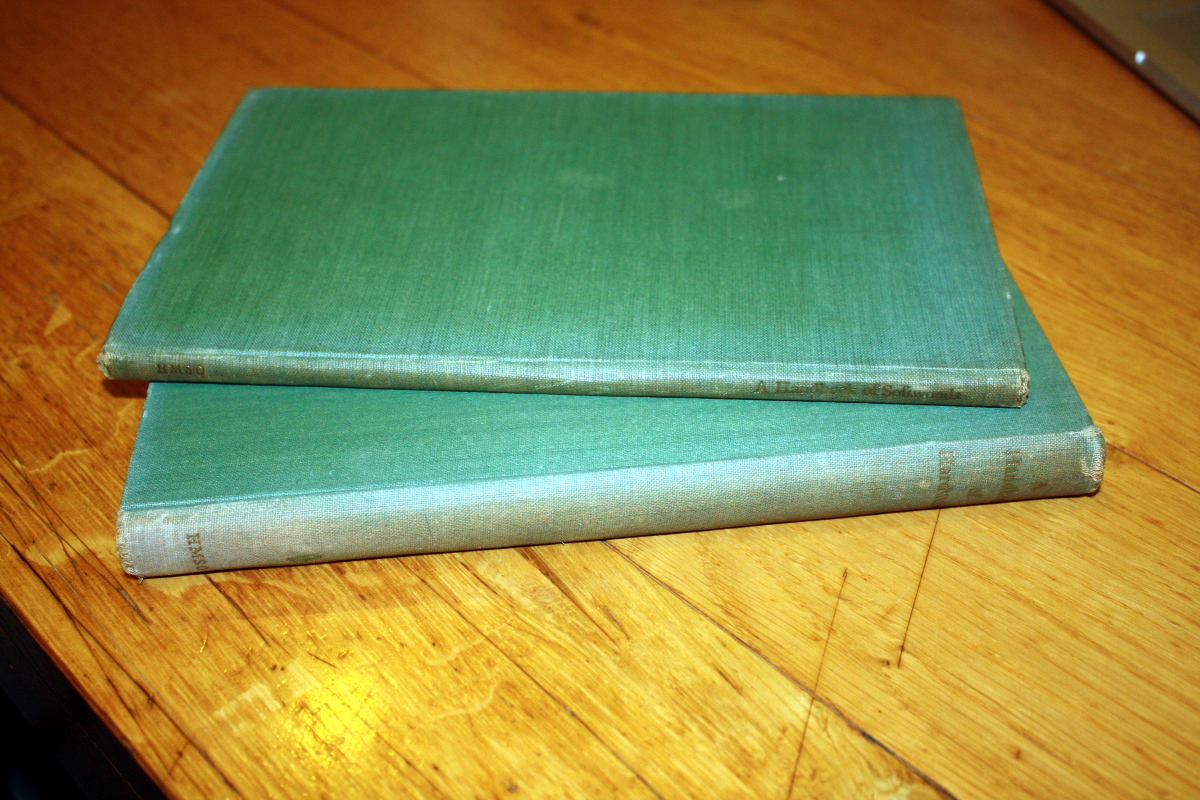

And grab the tangential and radial expansion rates for poplar over the 30% relative humidity span you see in an Irish home in the average year (3.2% and 1.2% respectively), discover that my copy of the bibles is too old to have that data for american black walnut (7.8% and 5.5% respectively according to the woodbin’s online calculator but it lists 8.2% and 4.6% shrinkage rates for poplar respectively so I’m now doubting the bible, again).
Then to the sagulator to quickly see if the shelves would snap if Calum stood in the middle of them when he’s nine and no, should be fine – 0.05in deflection so that’s grand.
For the general design, I don’t yet have it nailed down. I’ve been looking carefully at Paul Seller’s leaning wallshelves because they have a lot of elements I want to steal:

But I don’t want the half-lap joints he uses because this is going to be abused by a six-year-old boy who likes hammers and those joints seemed to be giving up a lot of the strength of the boards. Plus I hate the little end bits off the sides of the bookshelf because anything you put there is just going to wind up on the floor. And I want the bottom shelf to come forward from the sides by a fair few inches and to have a curve across the front that’s echoed in the upper shelves; and I might want to put a cantilevered support element or two under the desk as well to add strength once the shelf is forward of the sides, but we’ll see – the sagulator is saying I don’t need it, but it might look better for it.
That gives me :
- Top shelf at 48″
- Bottom shelf at 17″ (it’ll double as a play surface/desk)
- One intermediate shelf about 18″ above the bottom shelf
- Poplar for everything bar the bottom shelf
- Stringing on the bottom shelf to inlay things like a racing track for toy cars into the surface as well as things like letters and the like in various places
- Curves everywhere instead of sharp edges and corners for little eyeballs
- A serious set of problems with clamping curved bits into housing joints during construction.
So, time to think it over for a few days, do some sketches on paper, maybe a few SketchUp cad sketches, get a sense for it in my head, and ask a few construction-related question on the woodworking forums to see if I can steal more good ideas.
Until then though, the stock of poplar that I have needs to be dug out and looked at for stocktaking, and the stock of walnut…
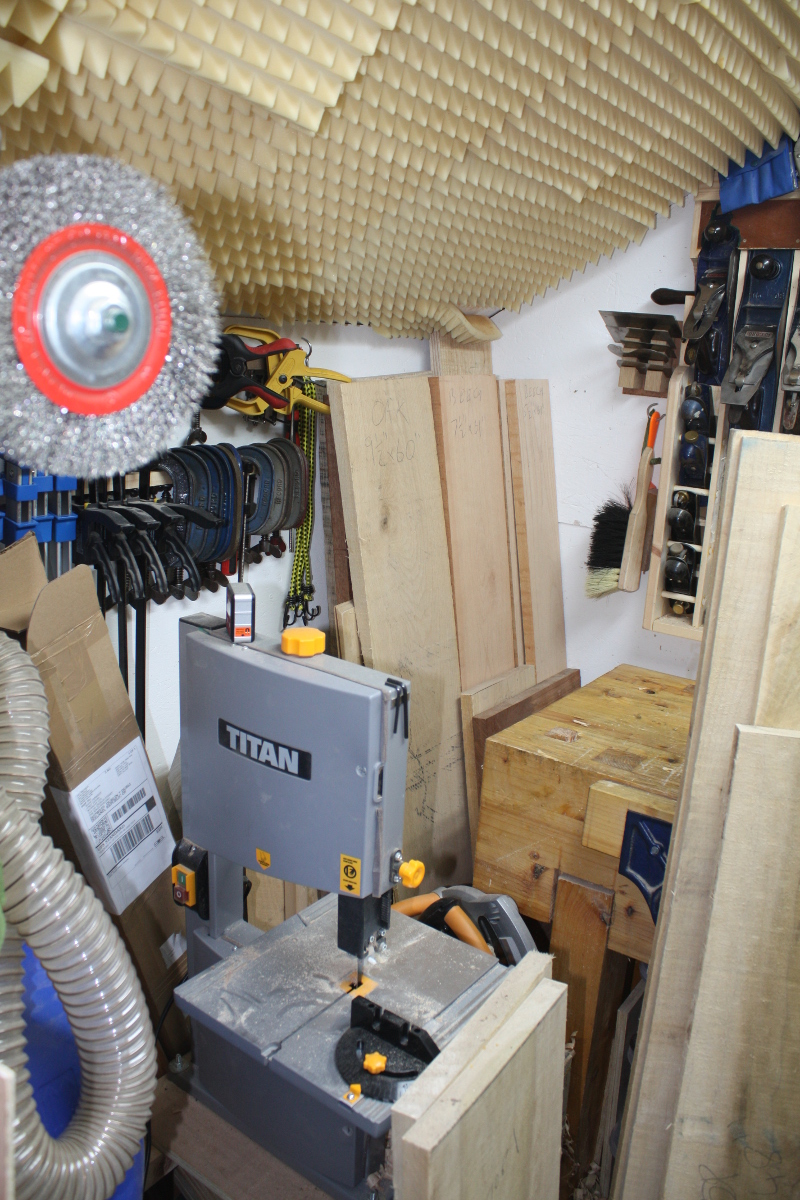
It’s a mess back there and that’s after I extracted the boards and tidied it back up. Now, let’s see….
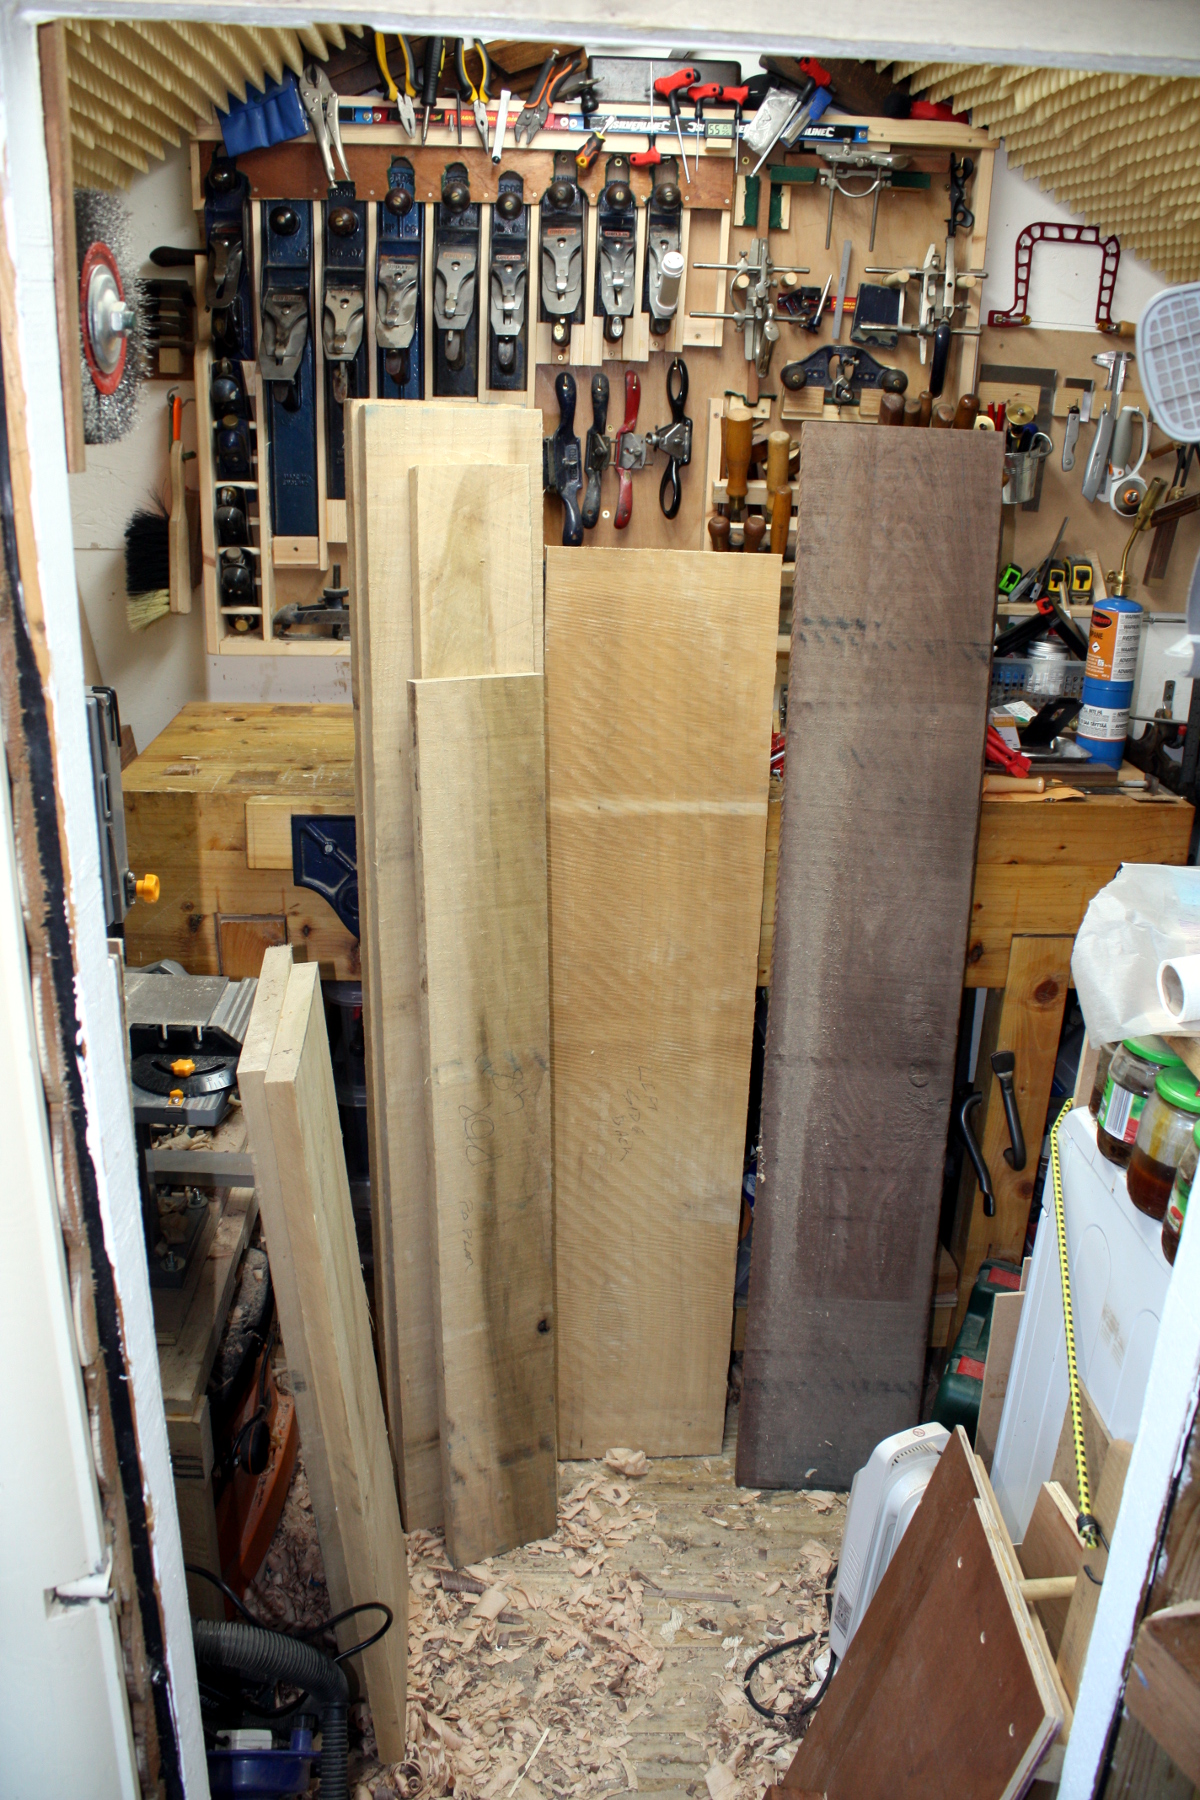
Right. We’re shy on wide long boards of poplar, but we have some just-about-9″ wide ones that would do for sides, a few 12″ wide boards that could be picked from for the intermediate shelf, and some choices for the top shelf as well, even if we didn’t get that from an offcut. I’ll have to leave them out in the sun for a day or so though, that green staining on the boards will dissipate into that yellow honey colour of the wider boards there in a few days with the 30C weather we’re getting at the moment here.
The bottom shelf though – if I want it to be 36″ wide, I pretty much have to cut into both my remaining walnut boards to make up the panel. Or I could settle for 30″ and hack one board in half and edge joint it to itself. Or if the sides splayed out from ~30″ at the back to ~36″ at the front of the shelf, I could probably get that from one board as well.
Decisions, decisions…