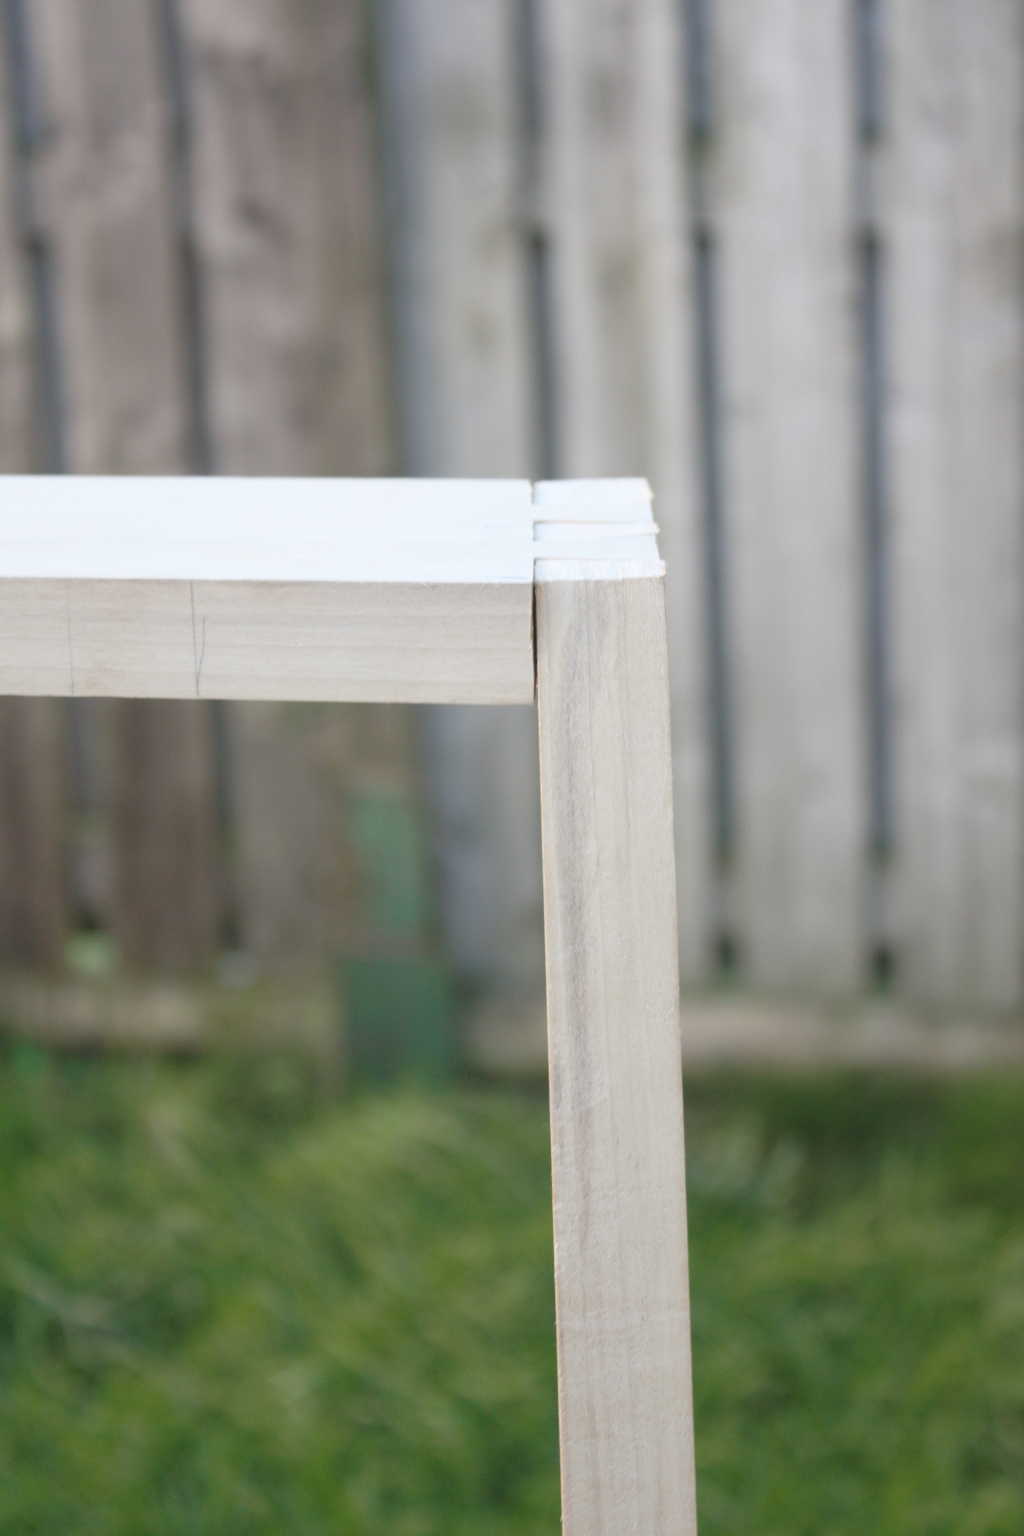
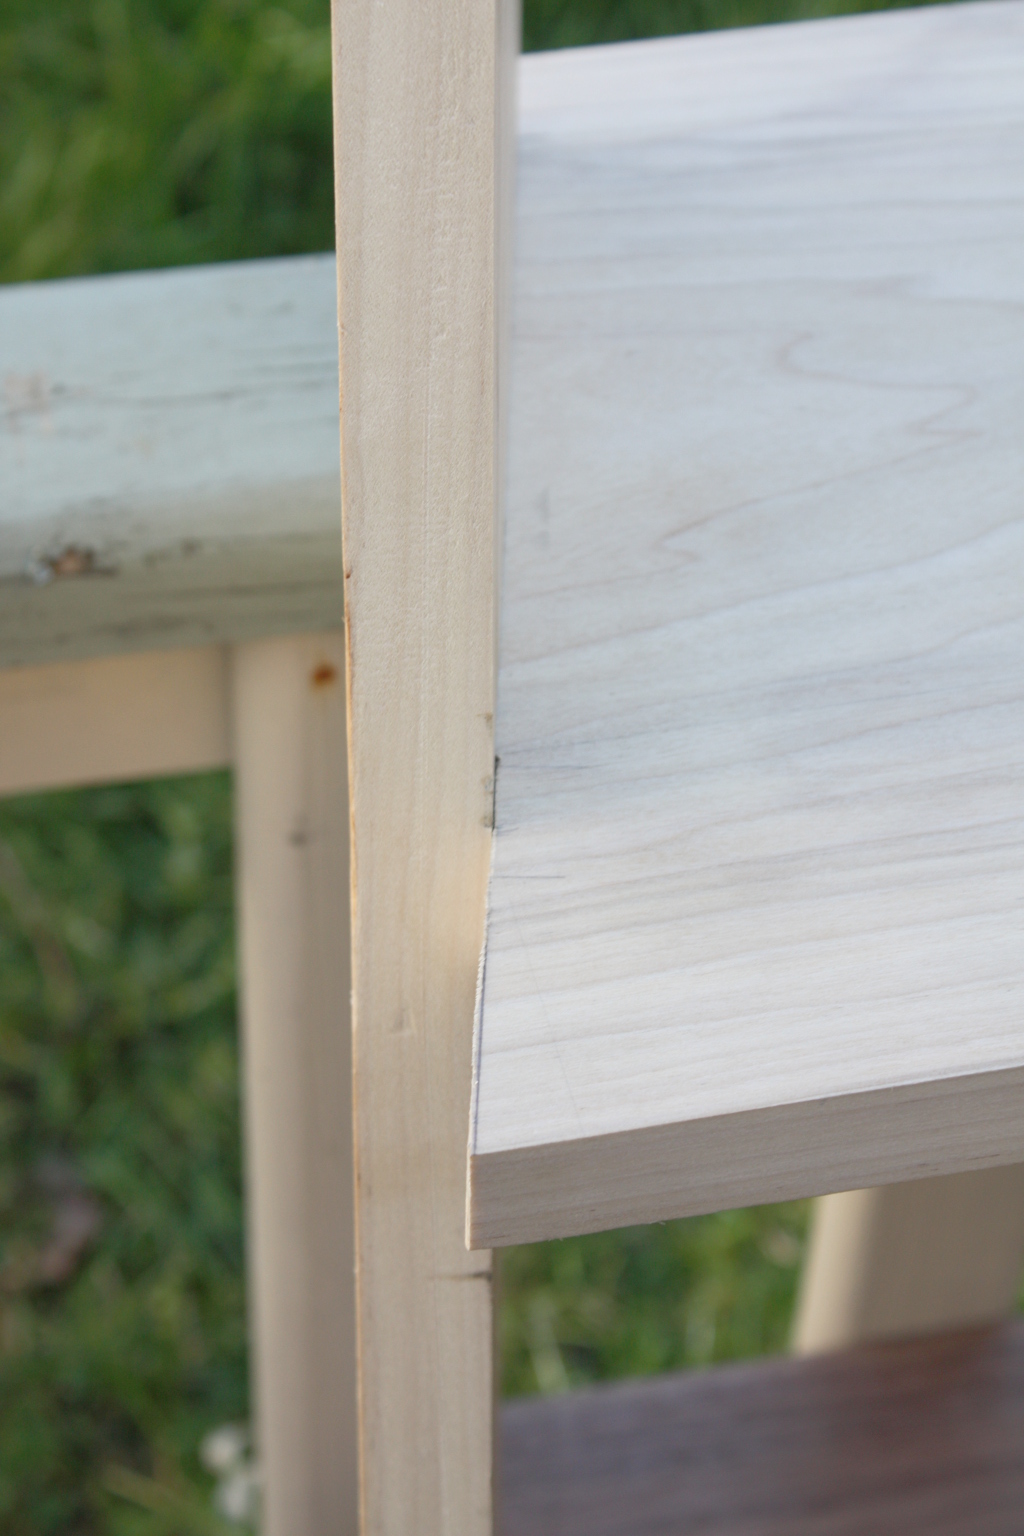
More shed time today, and I spent the first half of it fettling the middle shelf in the desk. Straightforward, if repetitive process – assemble, check what’s too tight and what’s too loose, cut or pare the shelf a little narrower with saw and chisel, reassemble, recheck, repeat until the dovetail joint that was horribly stressed by the shelf being too wide:
…is no longer stressed, but just snug:
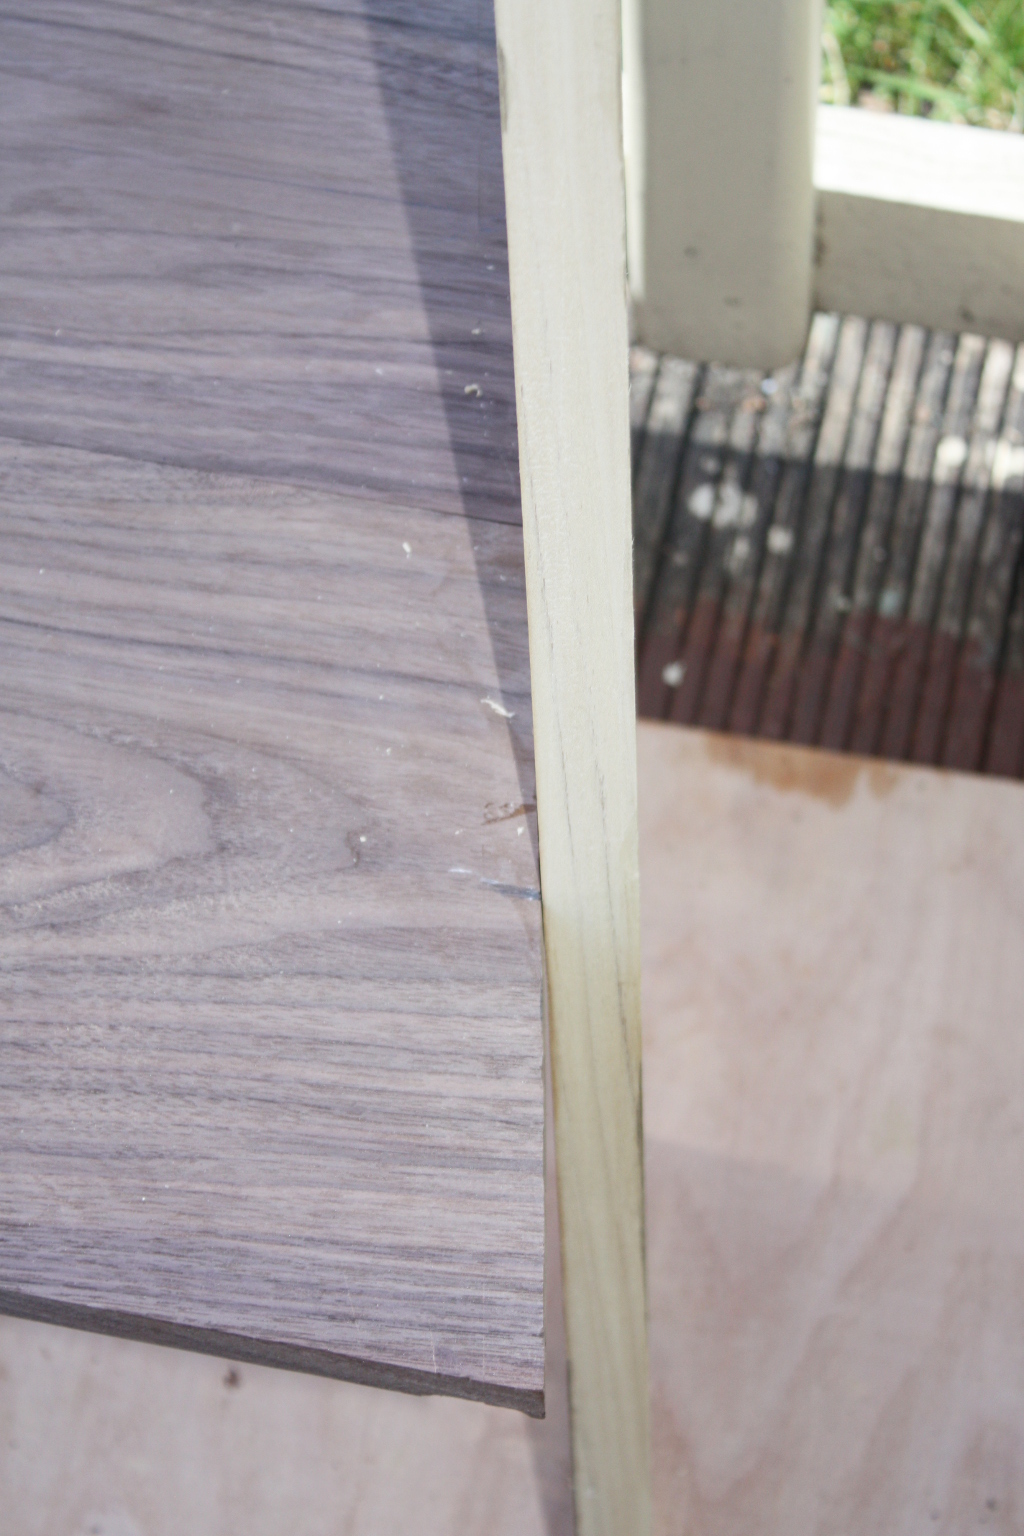
And doublecheck all the other joints to be sure nothing else is opening up.
Okay, I’m happy with that.
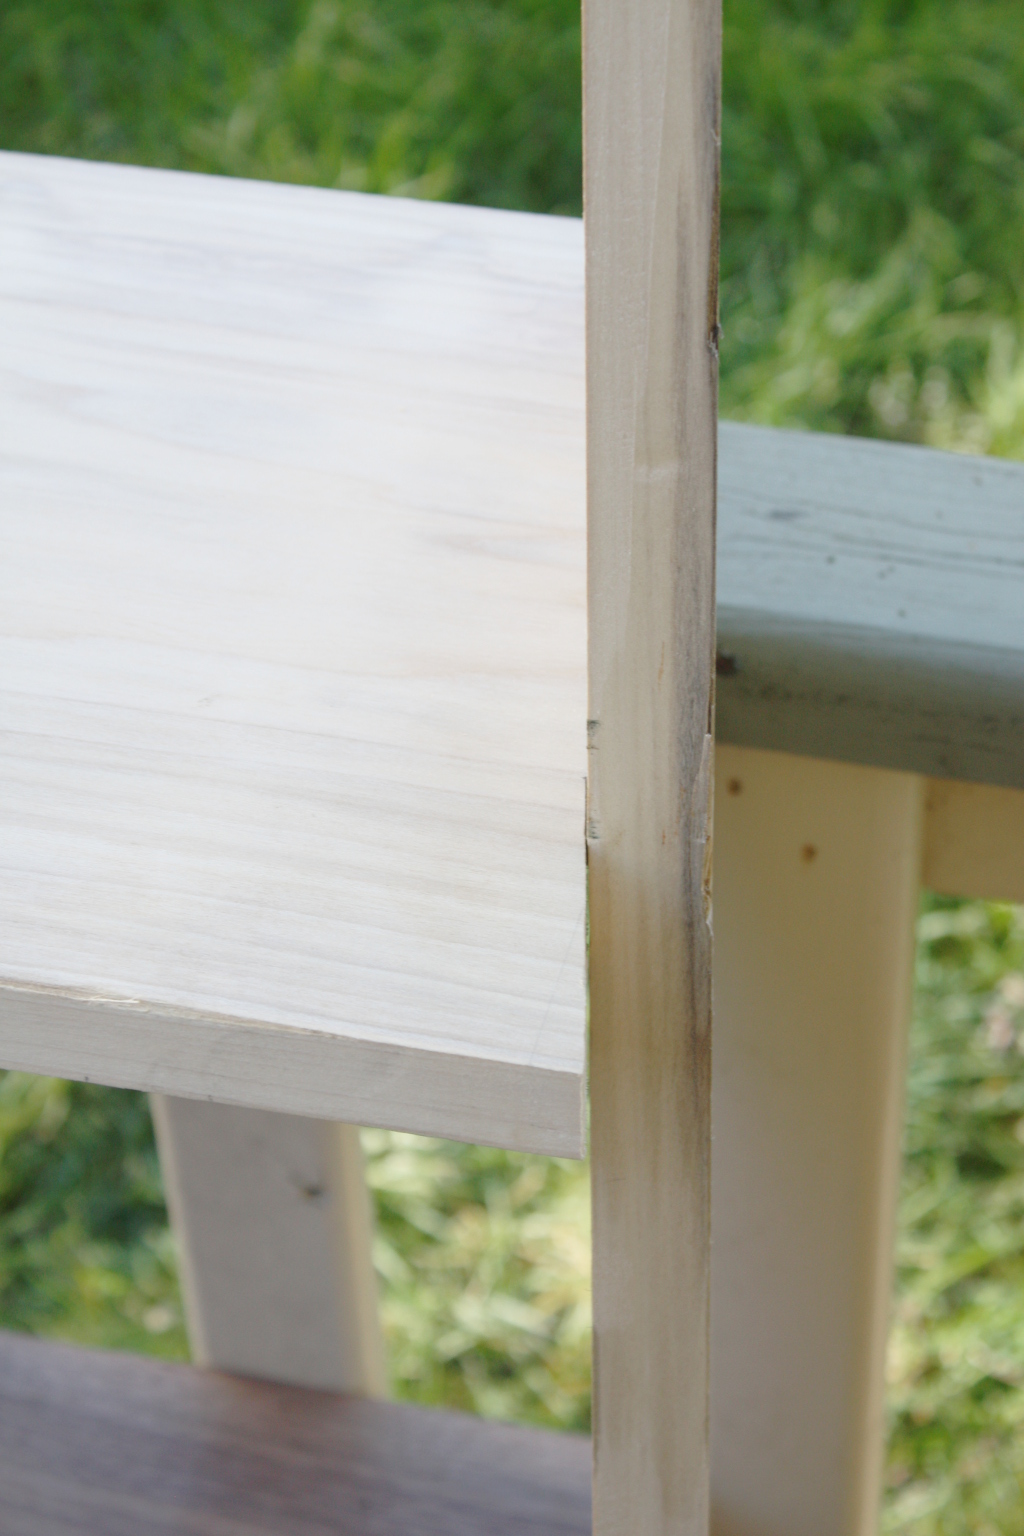
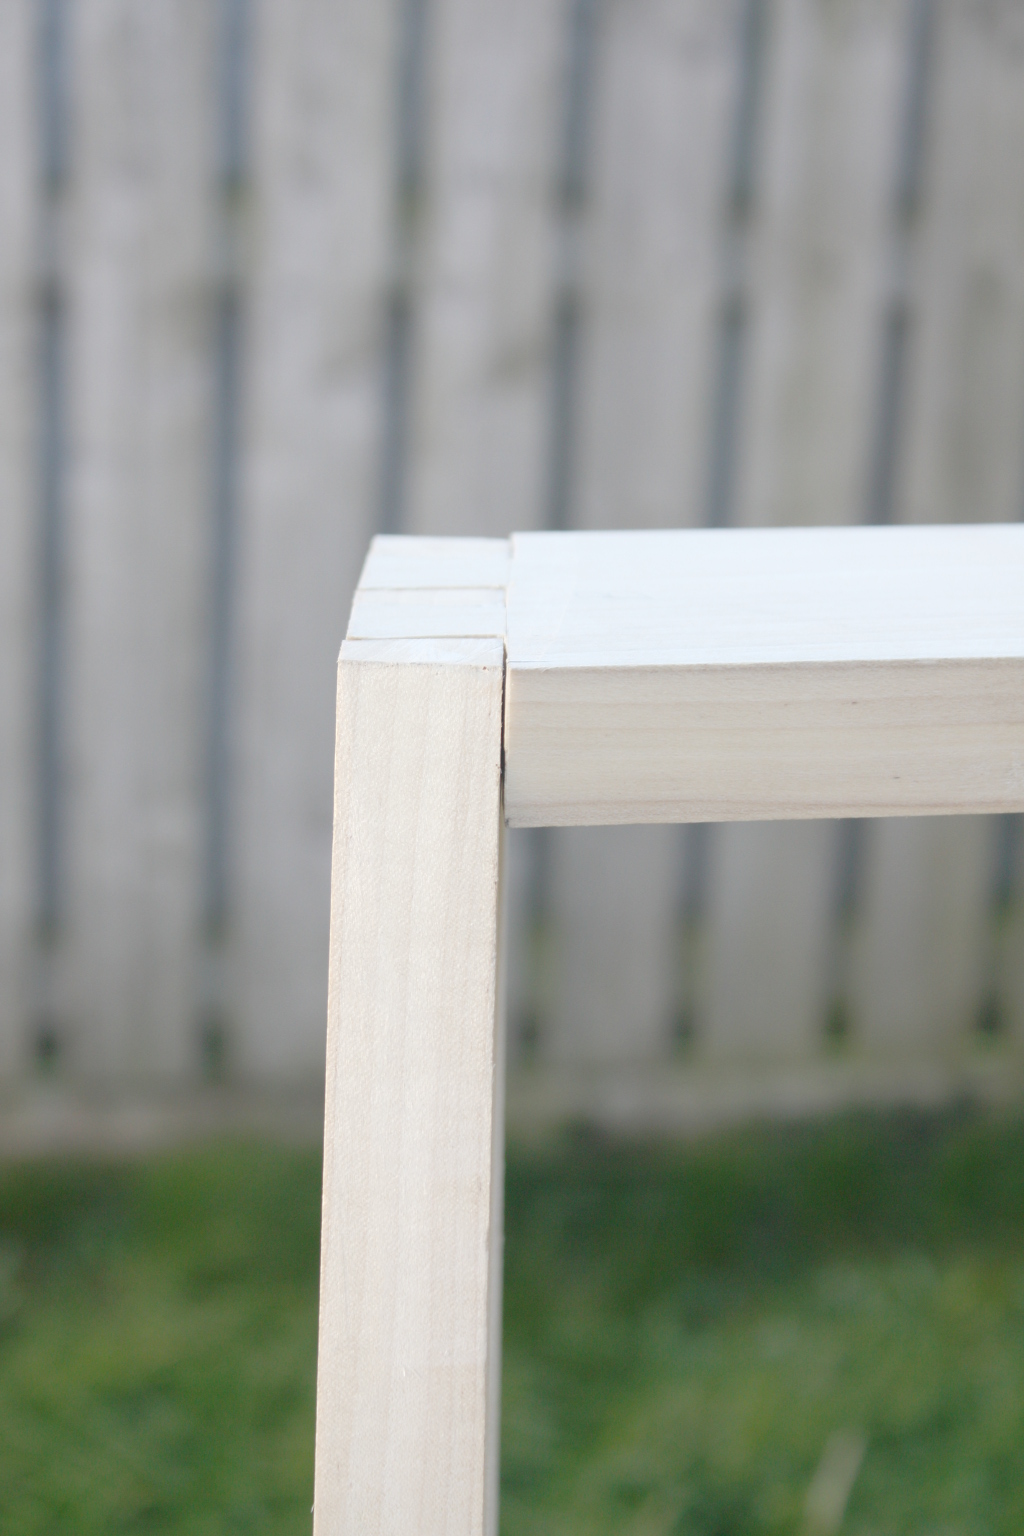
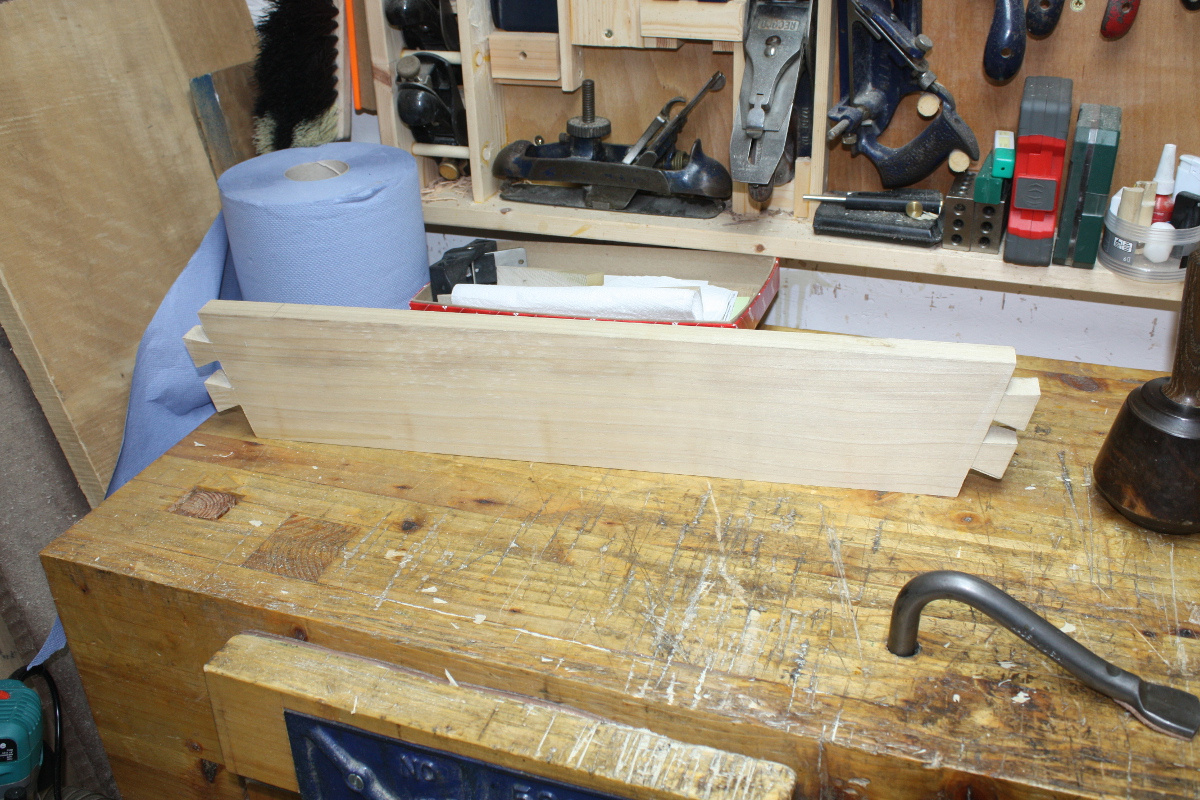
I’m also happy because before assembling this, I marked out the back of the top of the sides to show which bits had to be cut off to give a straight line across the back (because the top goes up against the wall for support), and when I assembled it:
Nice straight line.
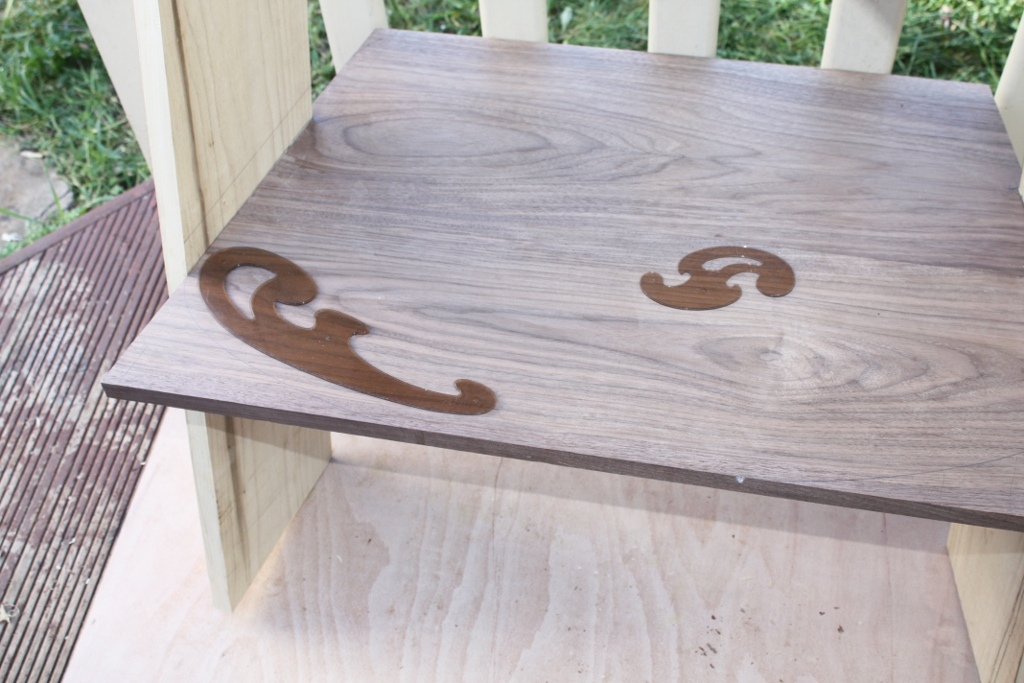
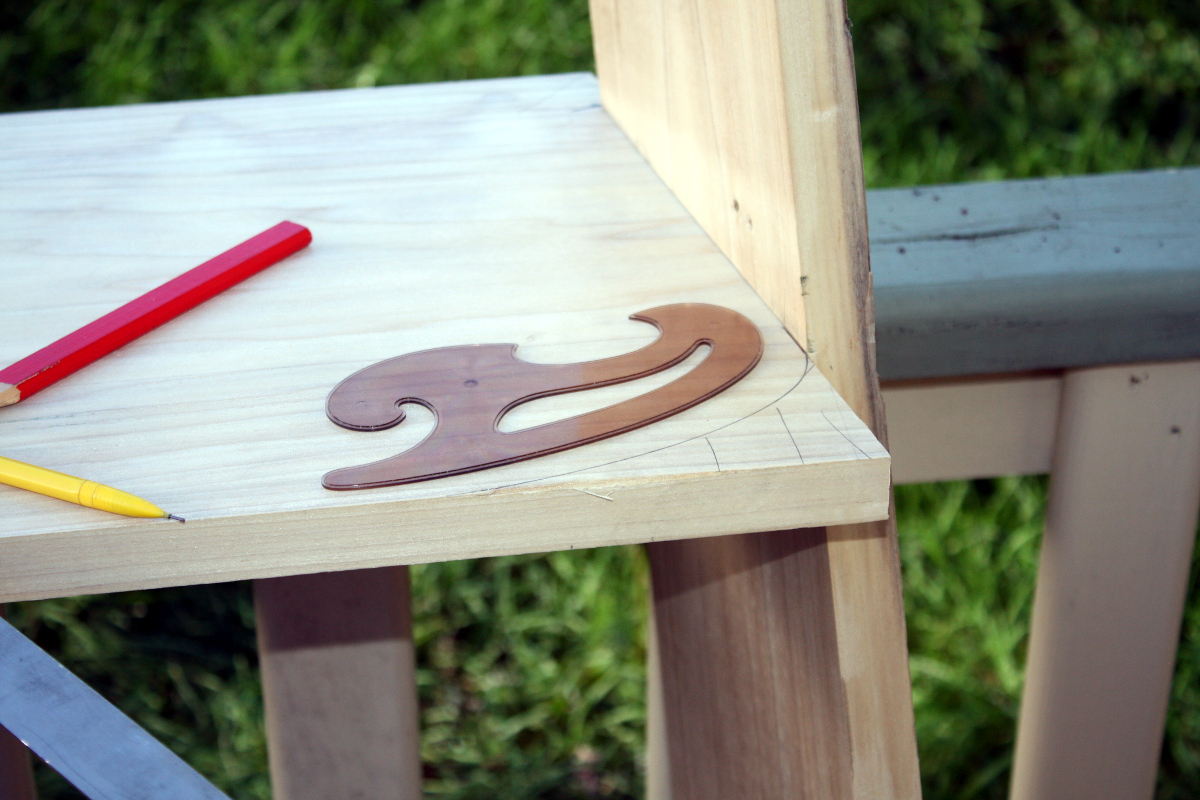
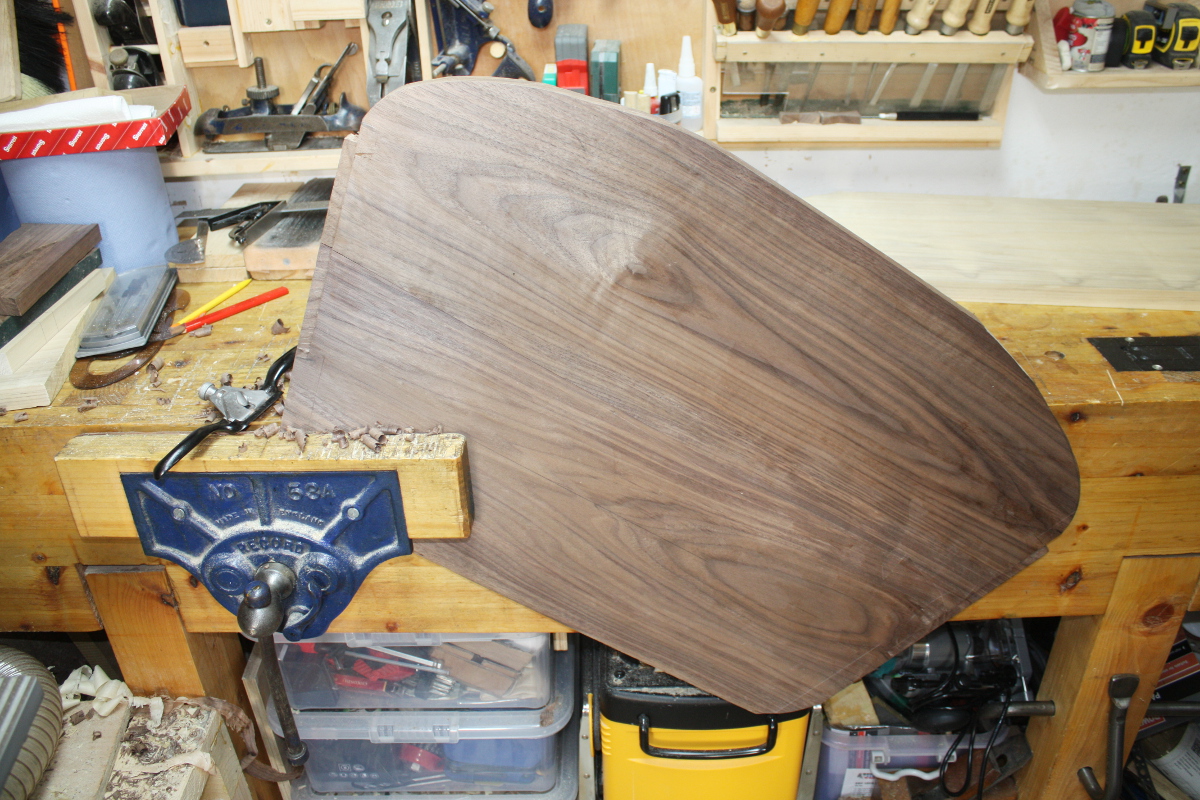
So, now time to get rid of all the straight lines! Out with the French curves and the compass.
And also did a bit of marking with pencil of various things to know what goes where when assembled. Then I broke it all down and spent some time with the bandsaw, various handsaws, chisels and my favorite spokeshave to shape the shelves.
Not done yet, but nearly there for the walnut desk, and a little behind that for the middle shelf. Once they’re done, it’ll be time for inlay and decorative stuff. I need to order some resin for that, and do some testing. And there’s be the light fitting and cable chasing and then finishing and then final assembly and that’ll be that.
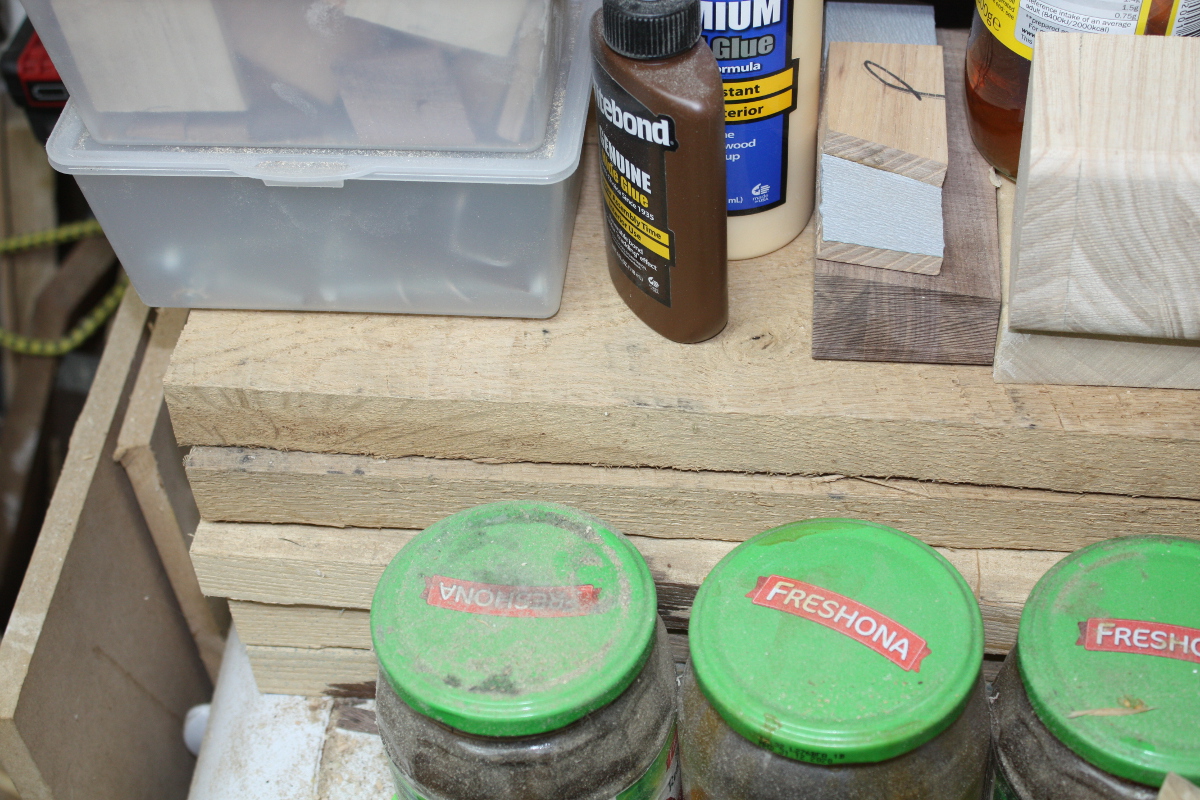
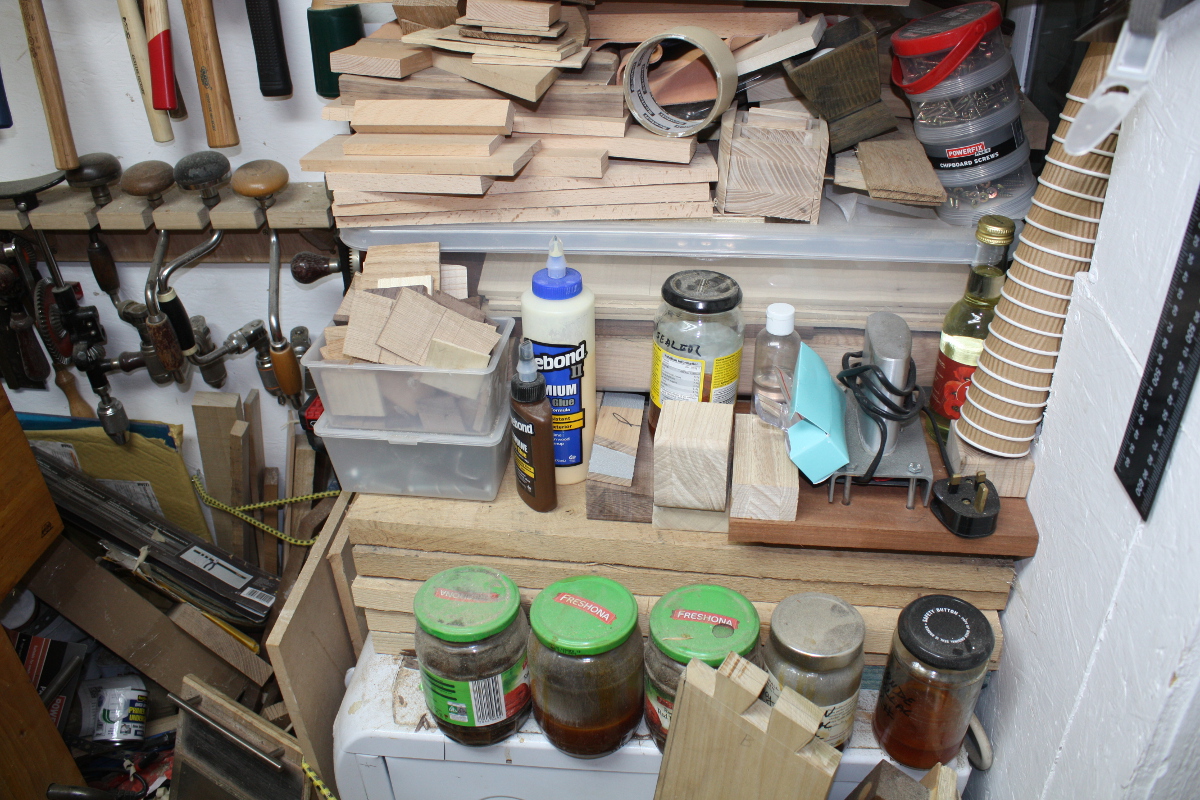
Meanwhile, there’s another project I want to start on because I’ve been watching Ron Aylor’s latest bout of carving recently and I’ve been wanting to go do some. But that will require some oak to be prepped. I have some but…
Well, I’ll have to dig it out…
…with a JCB. Le sigh. Also, it’s a bit thick for the size of box I have in mind. Time for the DeWalt 734 to earn it’s pay…
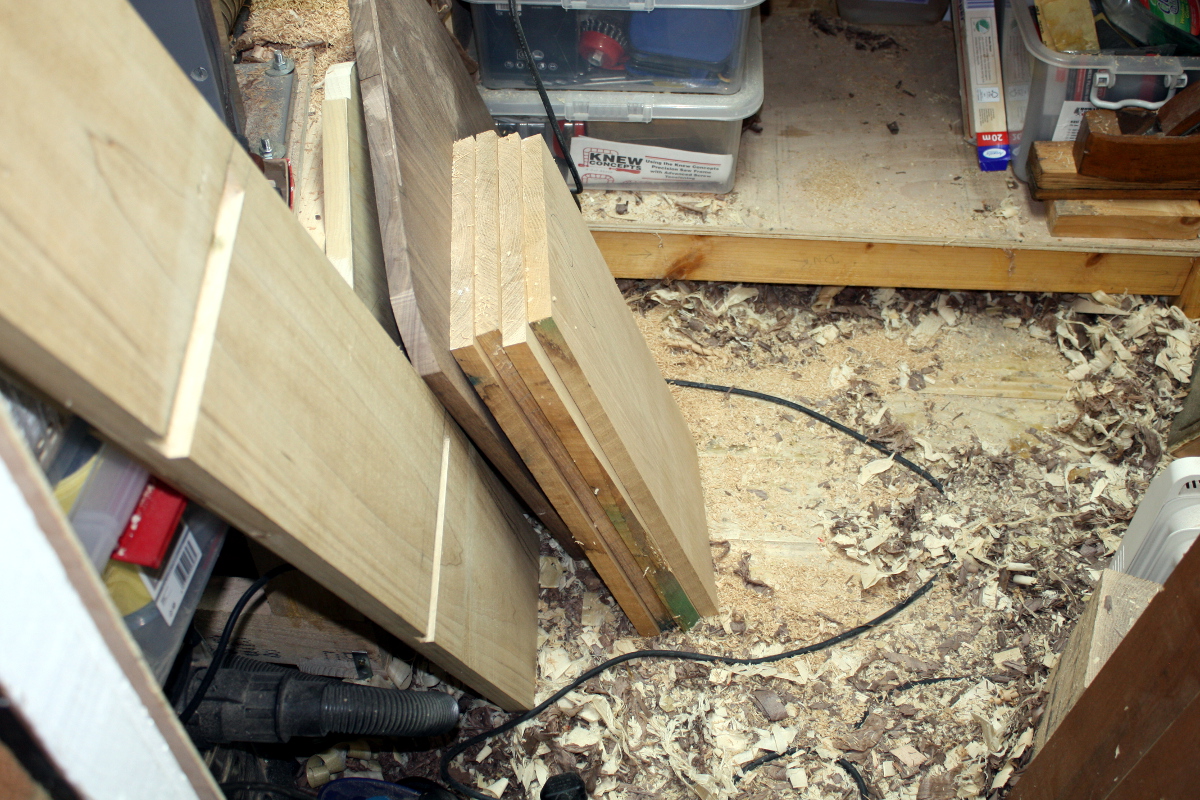
I’m kindof shocked really. I pulled four boards (because why dig that much for just one?) and with the #05 got one face to sit flat on the bench. That took about 25 minutes in total.
Then I fed all four through the 734, dropping thickness by about 0.4-0.5mm on each pass, and alternating sides once the first uppermost side was flat. That took 20 minutes to give the boards above. That would normally have taken all of this week’s evenings with the scrub plane. That’s a massive boon, I think it’s obvious the 734 is going nowhere. I mean, it’s not my idea of a finish planing, it’s very rough milling but still. That’s damn useful.
Now, I want them a few mm thinner, but it was getting late and the 734’s noisy, so I’m leaving them to warp and cup overnight before doing the last few passes in the 734. And also, I think I need to (a) clean up and (b) sort out something about extraction…
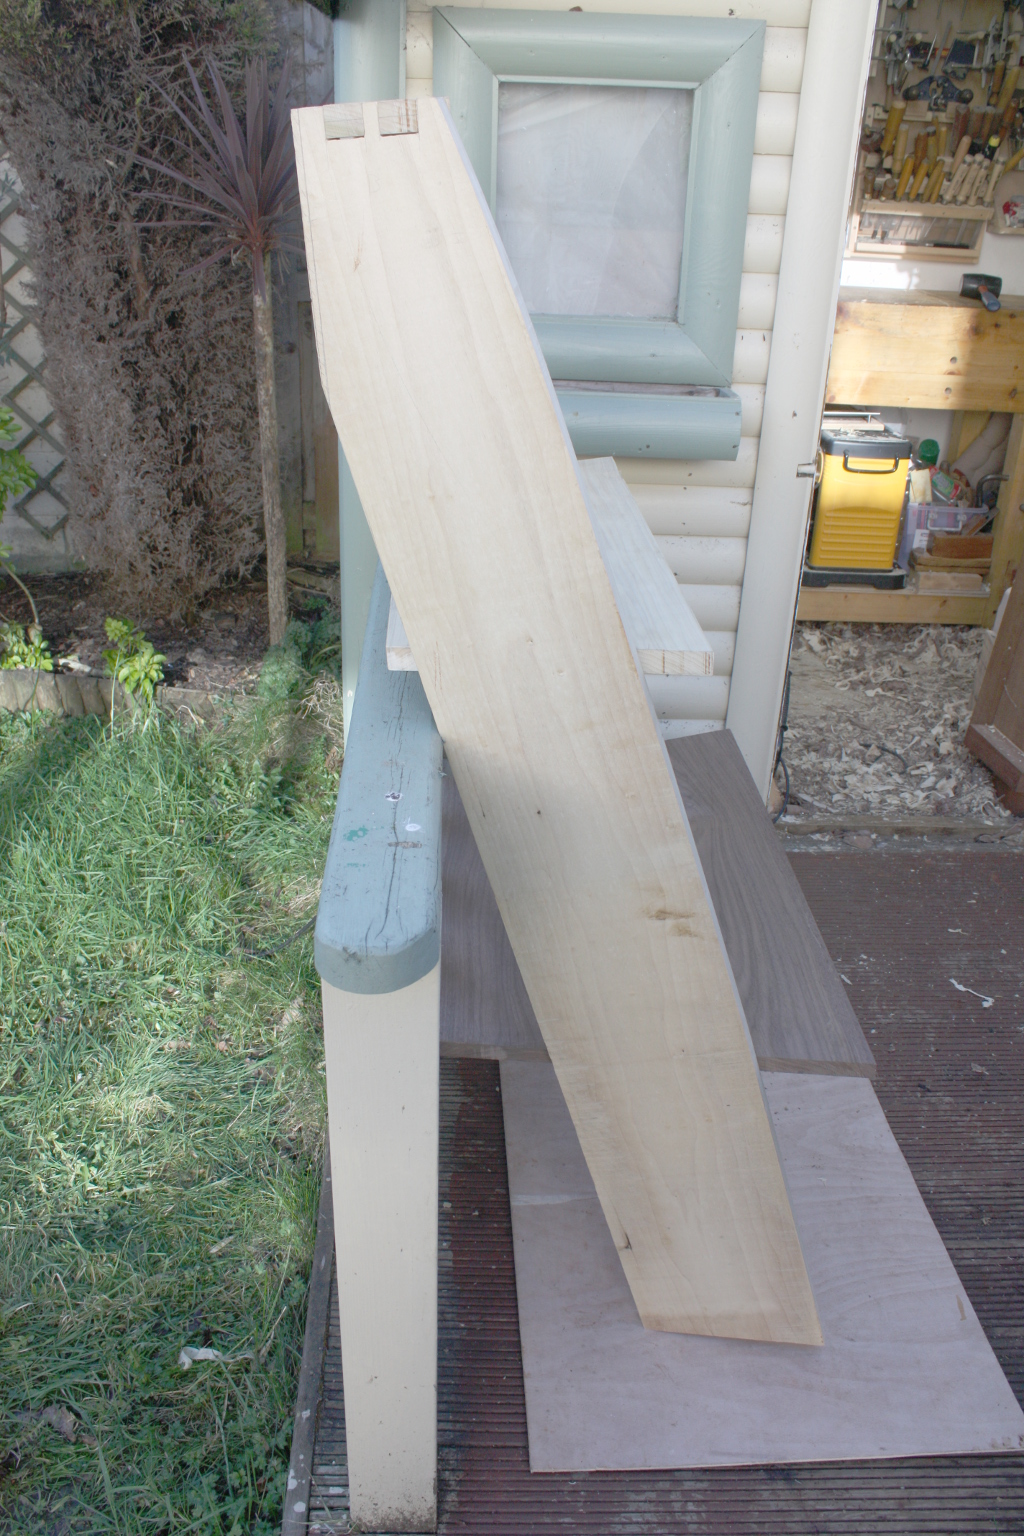
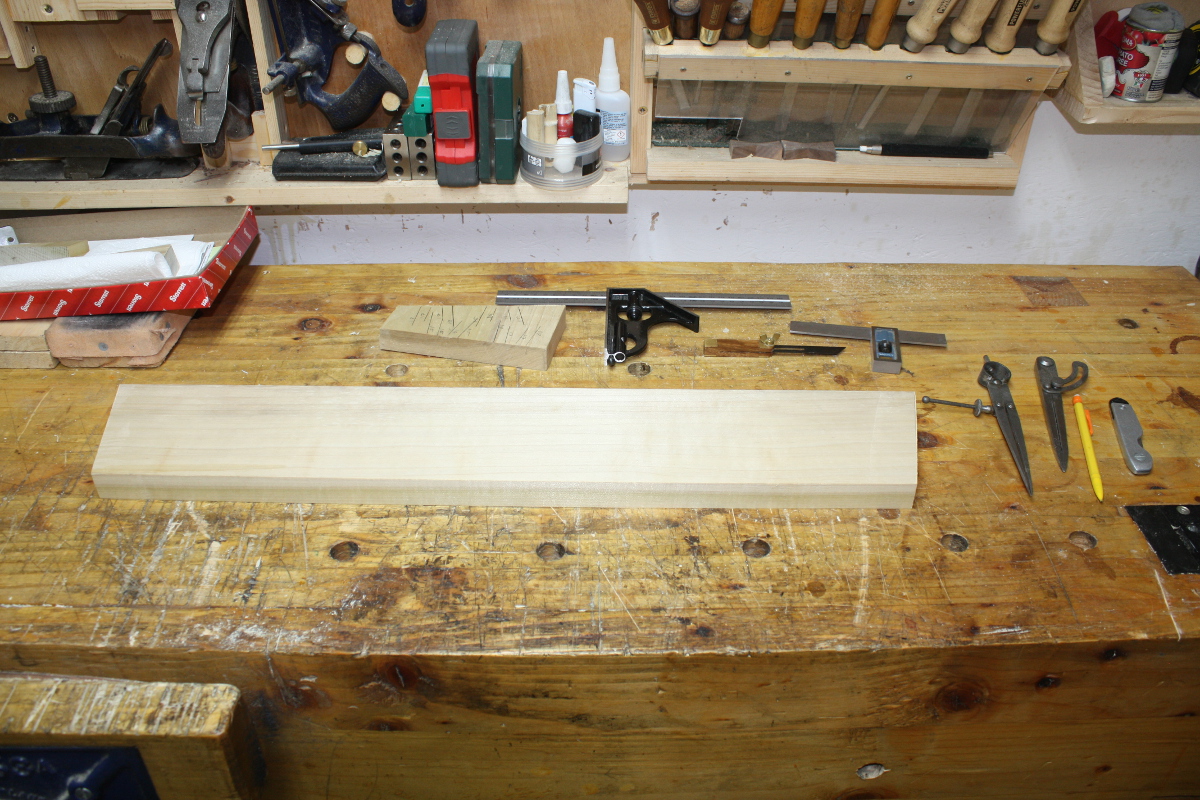
Some more – increasingly rare – time in the shed over the last week or so, and I started cutting the top shelf for the desk.
While I had the desk assembled to this stage the last day, I scribed the top shelf angles with pencil and set the board aside. Then this week, after thinking about it a bit, I double-checked the angles of the sides of the walnut board – because it’s the core around which all this is built – and then I used the angles of the walnut board, and the width from the scribe marks (and yes, I double-checked that the sides were plumb to the desk before scribing), and used those two to cut the top shelf.
I didn’t cut them according to the scribe marks’ angles because there’s a little bit of twist in the sides (not much, maybe 4-5mm over the full length of the sides, and the sides are poplar, not oak) so the top shelf should be pulling them back to the walnut board’s angles, not locking in their twist.
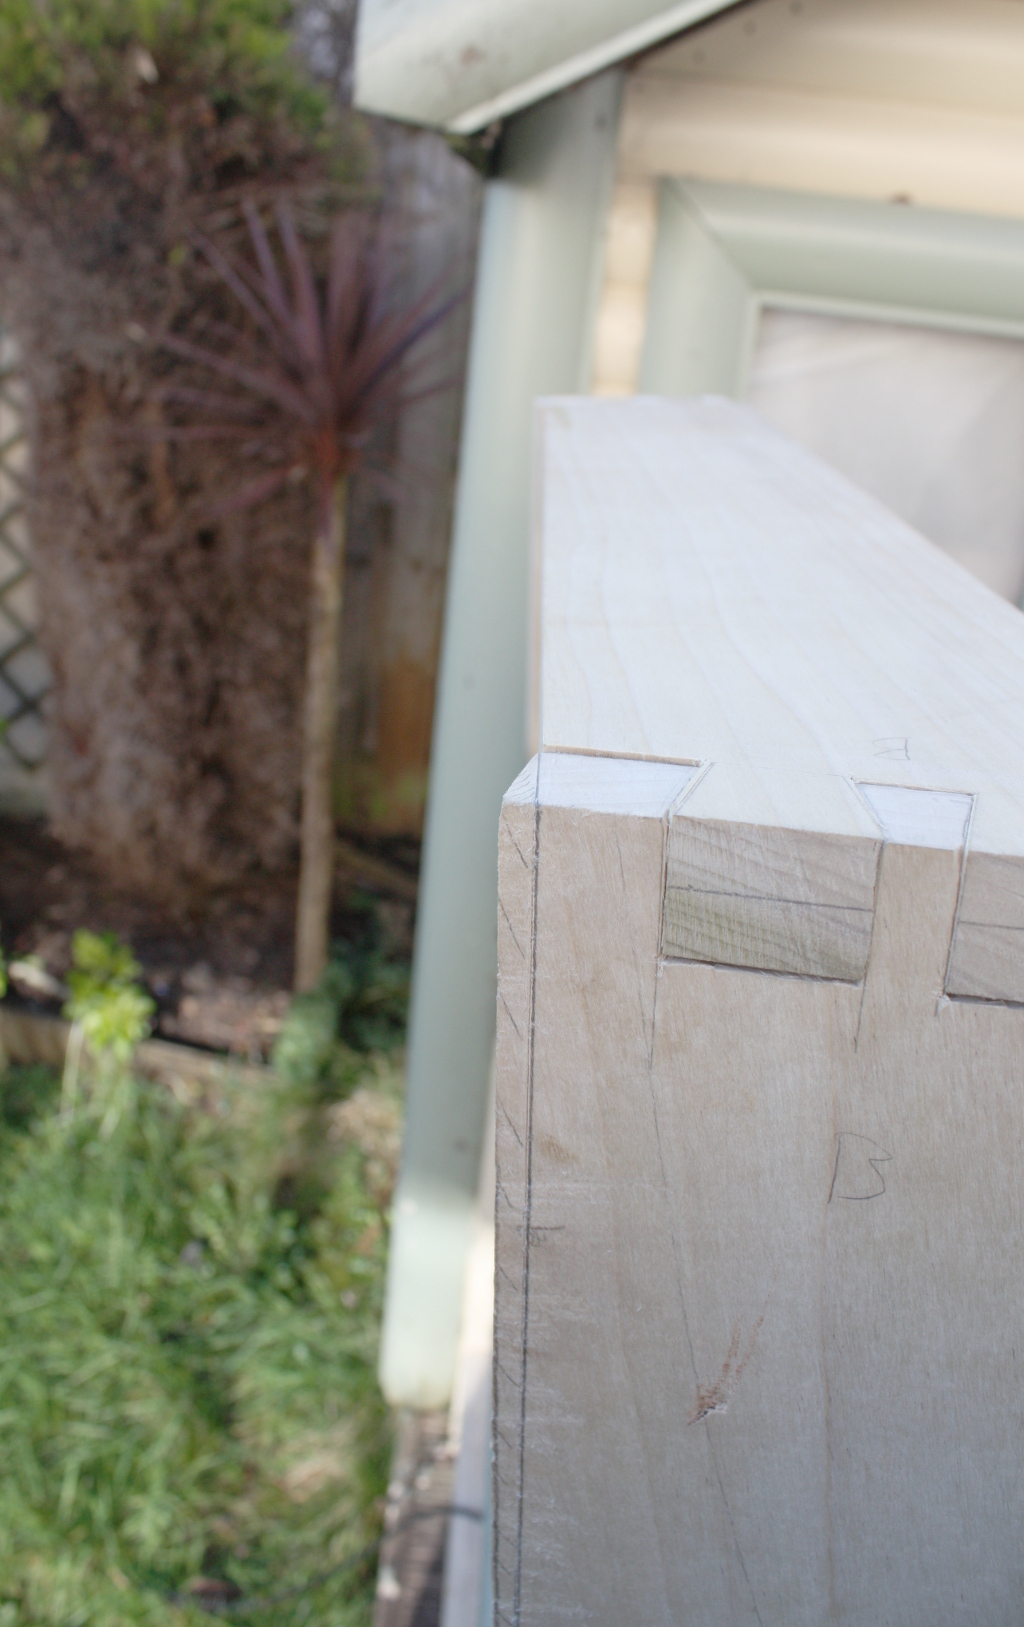
And of course, because it’s an angled cut on the end of the board, the dovetails get interesting.
The angles that would work on a straight edge obviously do not work on an angled edge because the line of the grain is no longer at right angles to the end – if you just cut the dovetails with no change to the angles, you’d get all manner of issues with the look of the joint, and with its mechanical strength due to some horrible short grain issues. So, like with everything, there’s a complex way to do it where you do all sorts of maths to figure out what the angles should be, or, there’s a trick (actually, there are two tricks, but one involves spending a few hundred euro on a Bridge City Toolworks bevel and sod that for a lark).
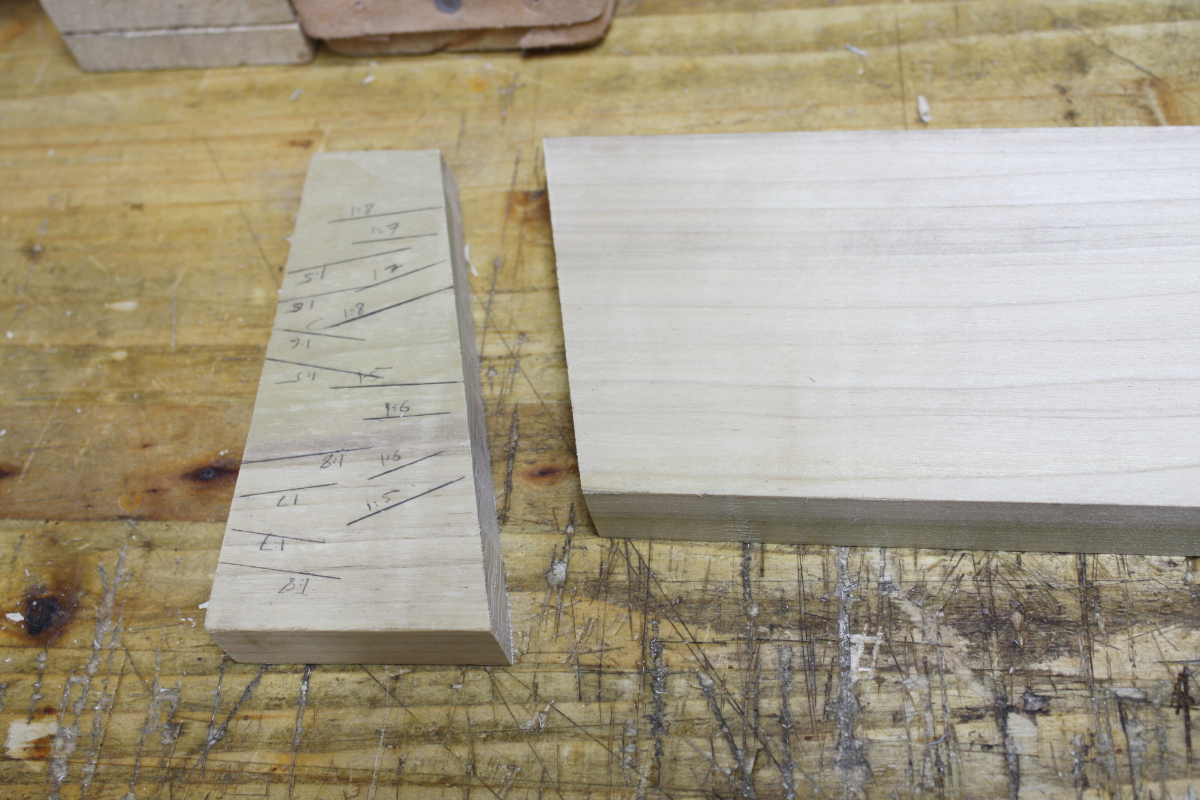
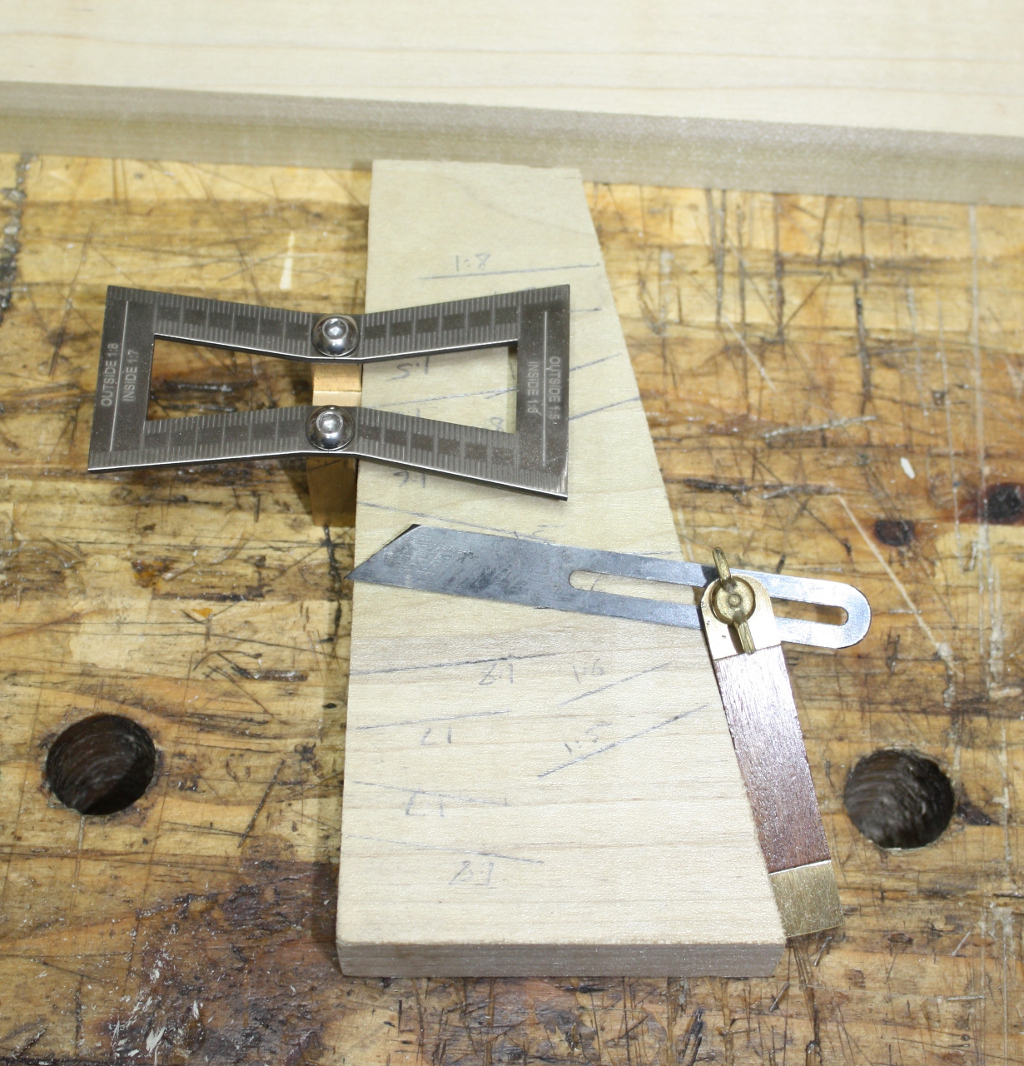
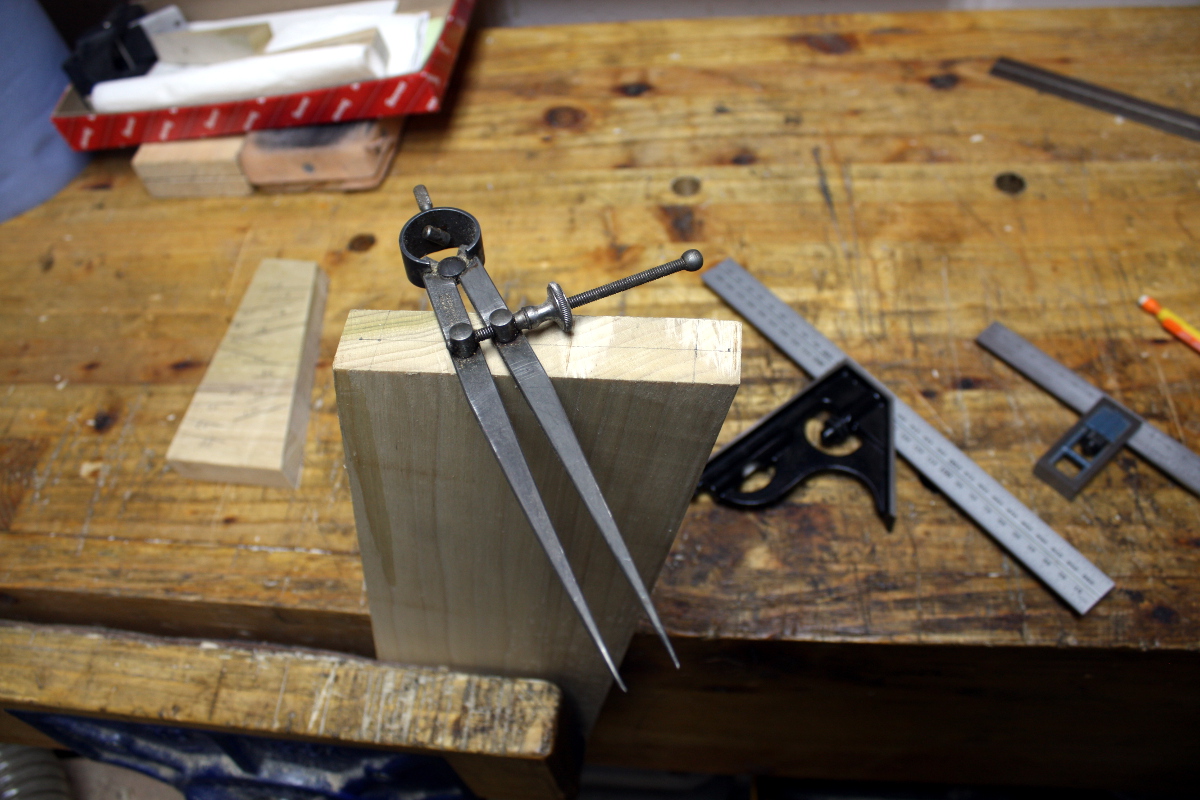
The sane trick is that you keep the offcut from the board when you cut the angled edge, then you mark off the dovetails with a normal dovetail marker against the straight edge on the offcut and you put a bevel against the angled edge and set it to the angle you marked off on the straight edge.
You also don’t cut both sides to the same angle – one side (in my case) is a 1:6 slope and the other side is a 1:8 slope. It doesn’t look right otherwise because of the angles.
I marked off the spacings using the normal two-dividers approach though.
With the marking out done, the sawing is nothing fancy (you can’t use guides, you have to saw to the line by hand – but that’s not that hard so long as you take your time).
Some tidying up with chisels and that’s the board ready. Next, hold it in place on the top of the relevant side, misalign it, swear a lot, erase pencil marks and retry until you eventually manage to hold a two-foot-plus board at a perfect right angle to an edge that’s five feet up in the air while drawing around it with a pencil. I mean, it’s doable, but you learn new swear words.
After getting the transfer of lines done, the rest is standard dovetail fare. Cut them, fettle a lot with chisels, swear at gaps, the usual dance. And then repeat for the other side.
At that point, I assembled the carcass and found that the left dovetail fitted fine, and the right dovetail was hanging in mid-air an inch clear of the right side of the desk. What the…
Turns out, the middle shelf was too wide by a few mm. Out with the #04 and I shaved down the width by 2mm on each side (not all at once, it was a pare-and-fit job) and eventually I could assemble the entire carcass.
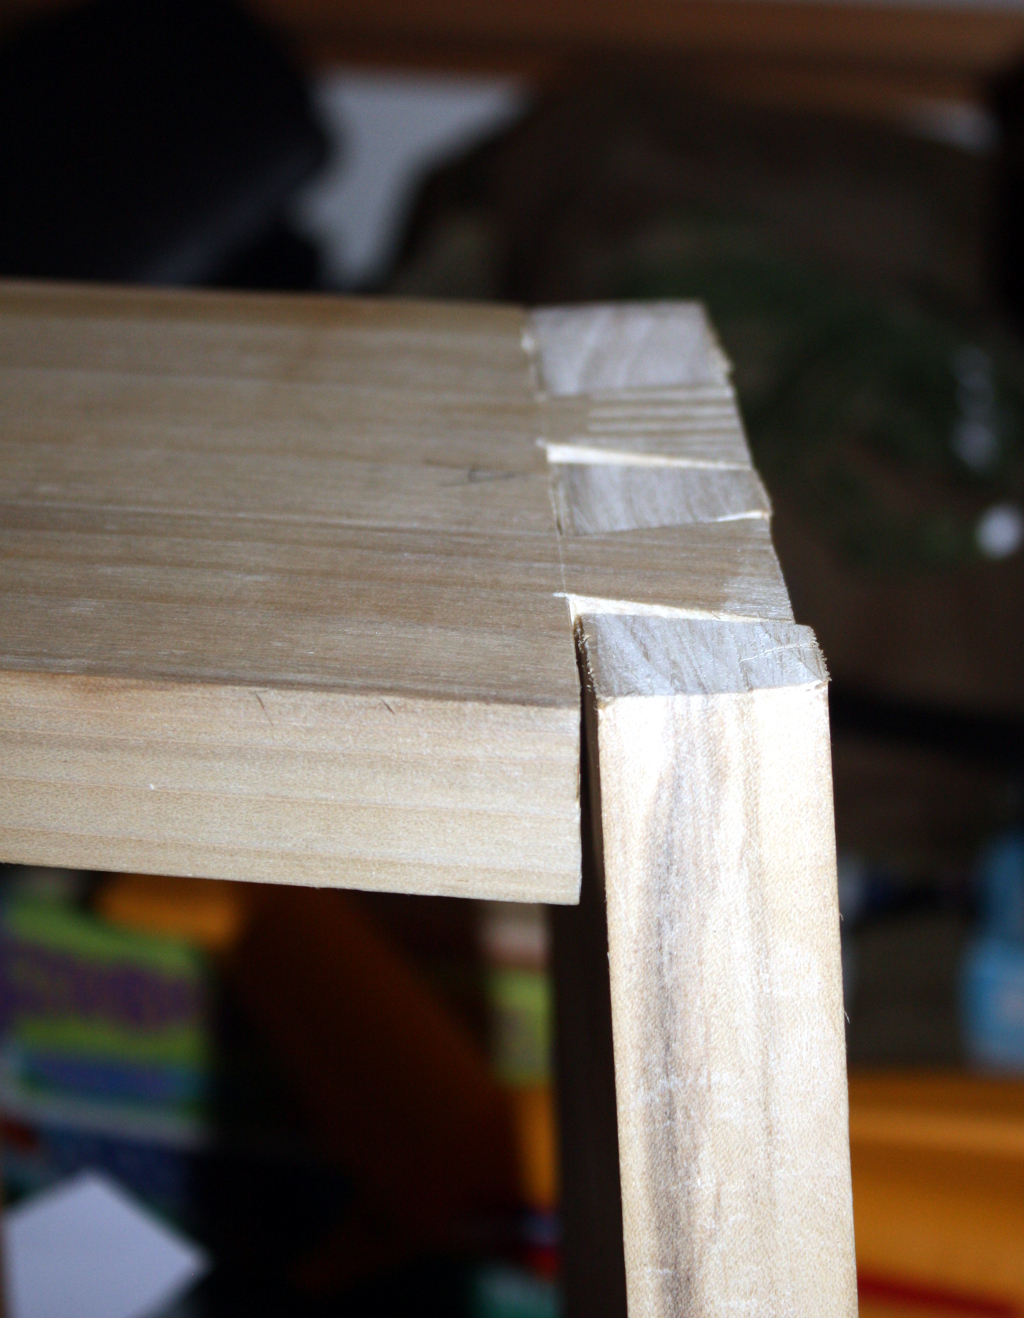
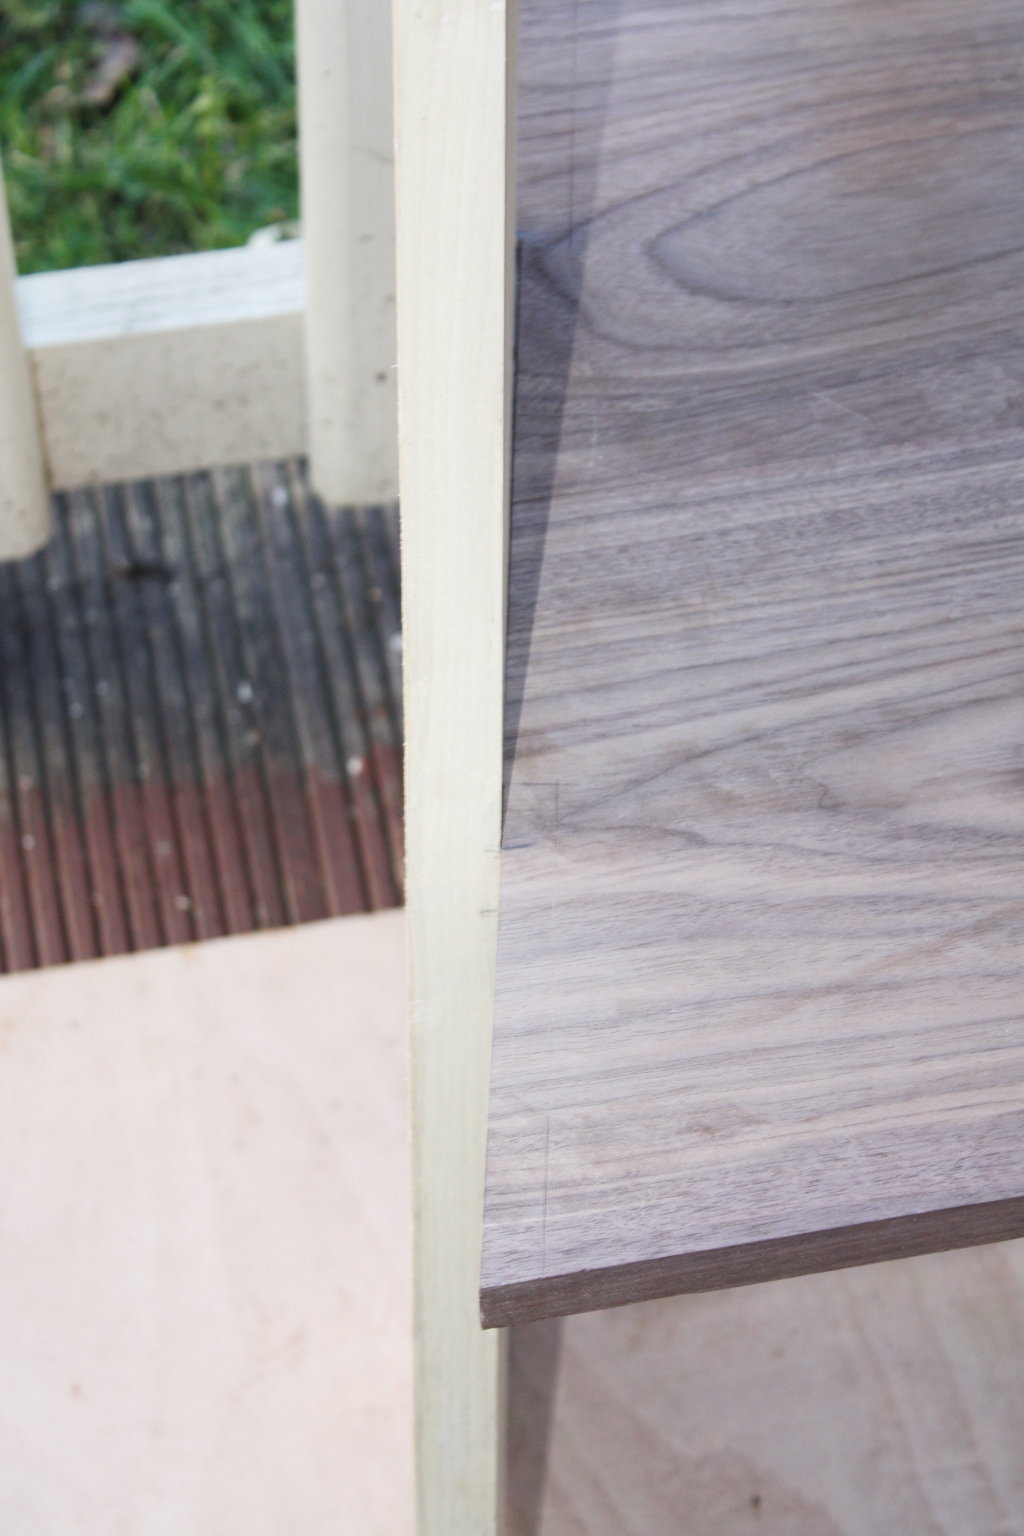
That middle shelf is not done yet though; it’s still a few mm too wide at the back, while being about right at the front but the end result is that there’s a lot of stress on the right hand dovetail joint:
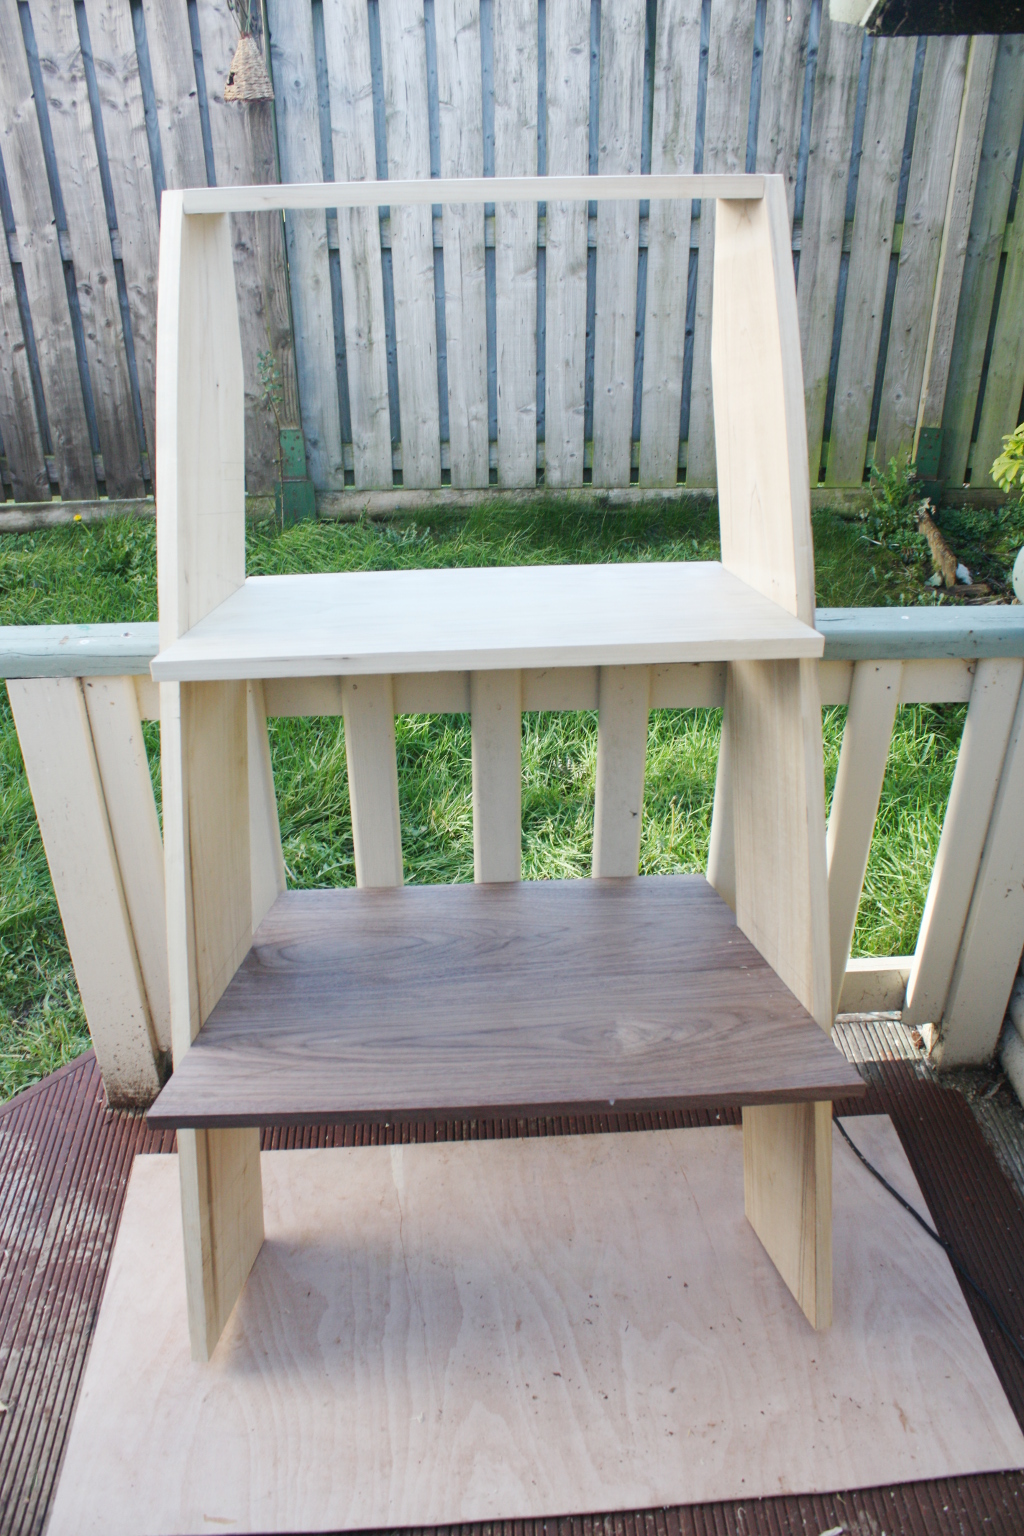
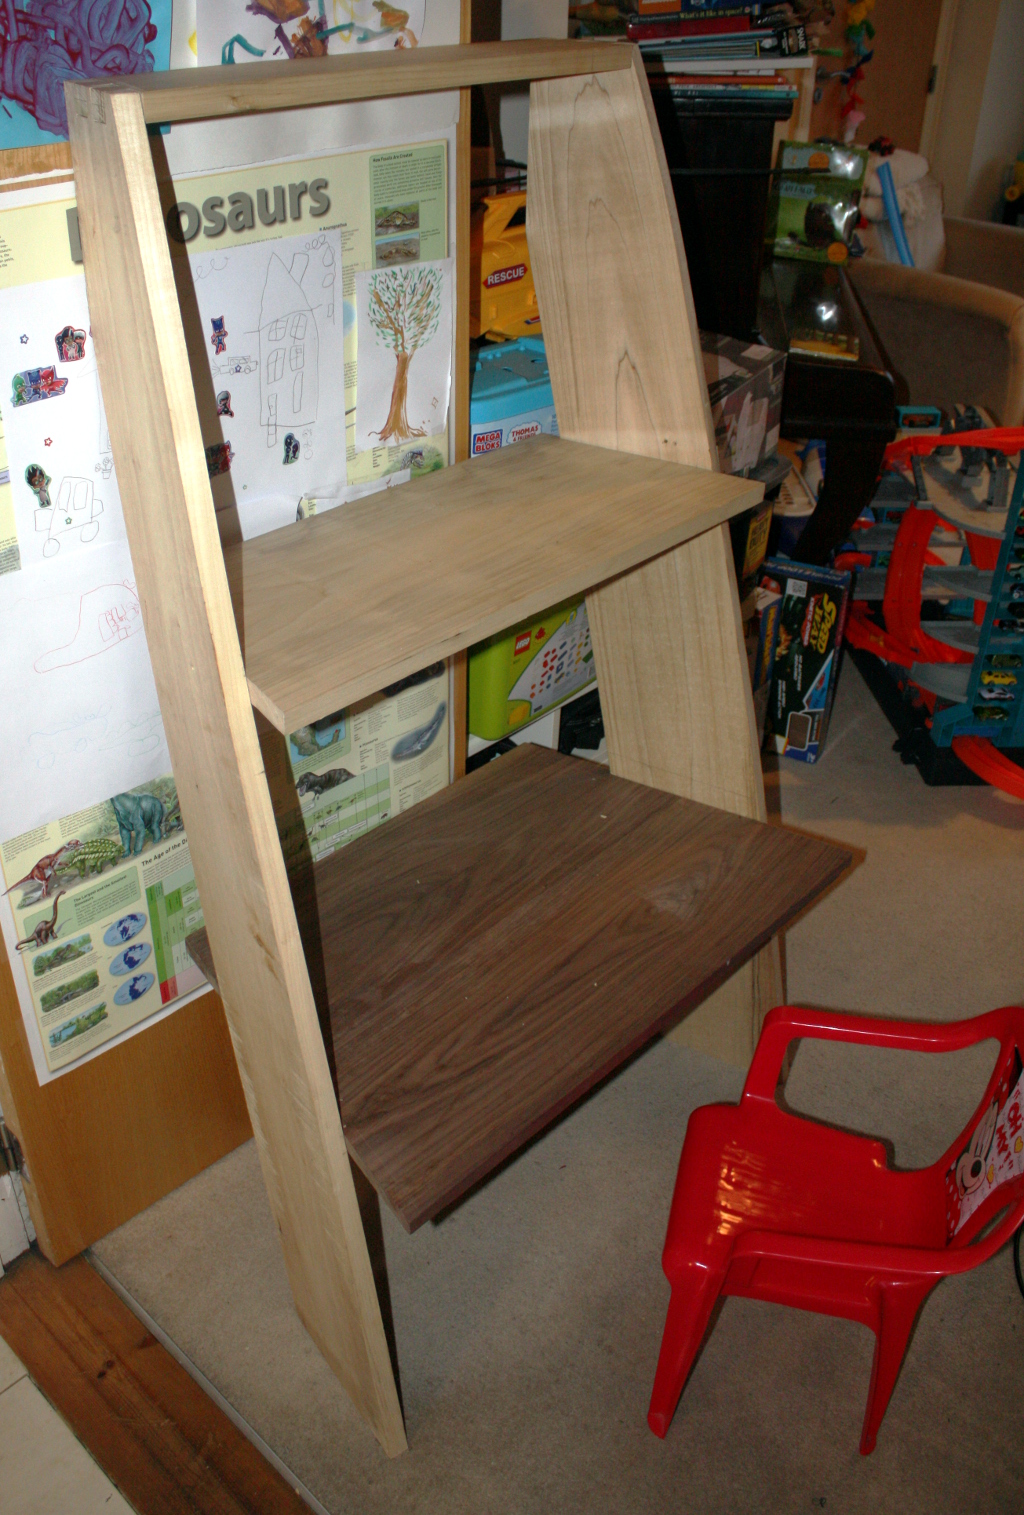
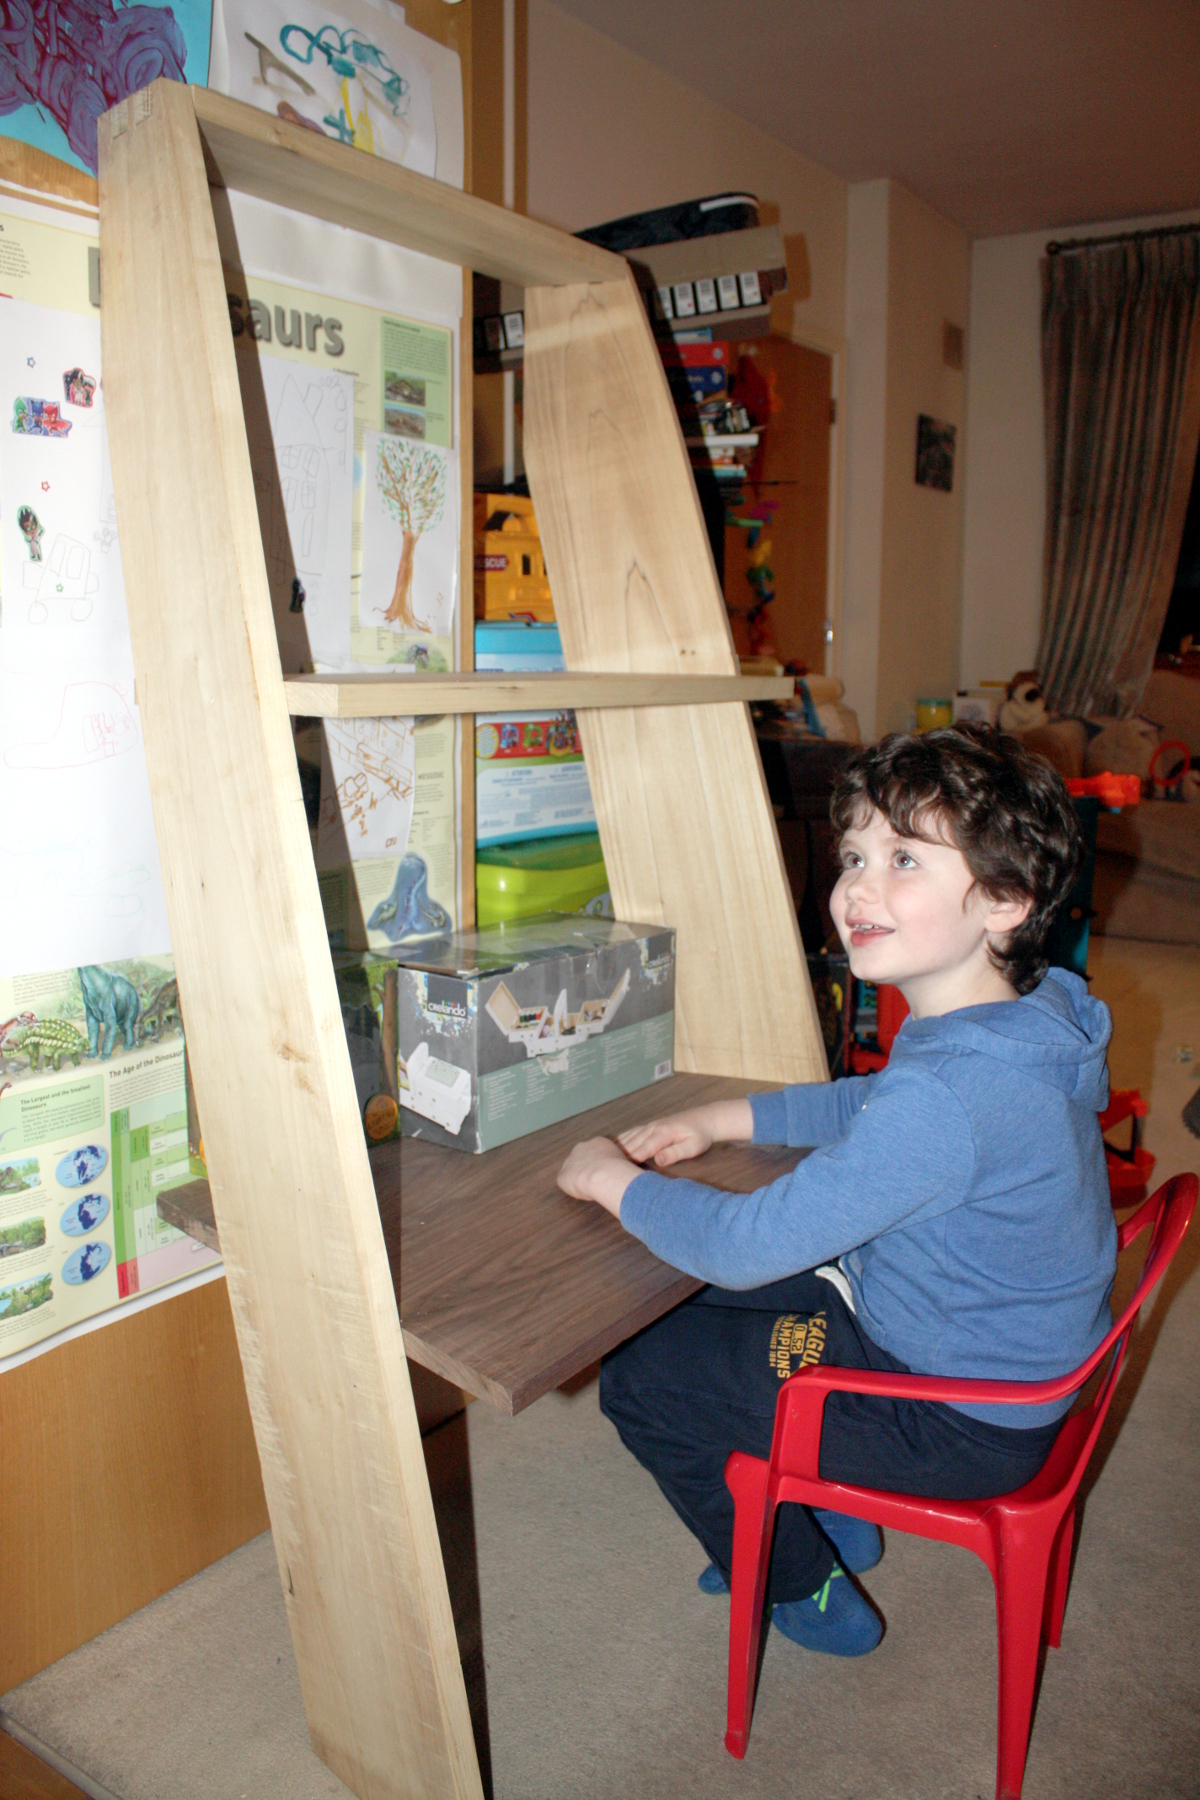
There’s a whole 2.4mm of a gap there at the bottom, purely because the shelf is spreading the sides (I assembled without the middle shelf – it went together perfect square and true). I have some more fettling to do there tomorrow. But that wasn’t the point of this assembly (or bringing it indoors for that matter), it was more to check sizes. That desk seems so low off the ground that there’s no way it’s right, right?
Nah, it’s grand, the client is happy.
It’s now all back in the shed with the middle shelf removed. Tomorrow I’ll work on fettling that middle shelf fit and when that’s good enough, I’ll take the desk all apart and begin work on inlays and decoration and shaping. The inlay won’t be entirely conservative – the client isn’t a huge fan of traditional marquetry because he can’t spell “traditional marquetry” yet, but an inlaid race track for cars would be cool, and an inlaid blue ocean on which to recreate the death of several hundred people in the freezing waters of the north atlantic would be a very desirable feature apparently. I don’t know, don’t ask.
I also want to cut a 7mmx13mm channel in the underside of the middle shelf – that’ll house an LED strip in an recessed aluminium channel with diffuser (ebay’s a great tool these days). That does mean I need to figure out a way to run a mains cable from that shelf to the ground, in a way that doesn’t lead to a seven-year-old finding a way to pull it out of the desk and strangle the cat with it. Anyone know of a neat way to chase a cable through a piece of wooden furniture over a distance of around five feet in total? No, cable clips are not okay, and just routing out a channel and epoxying the cable in seems somewhat unmaintainable…
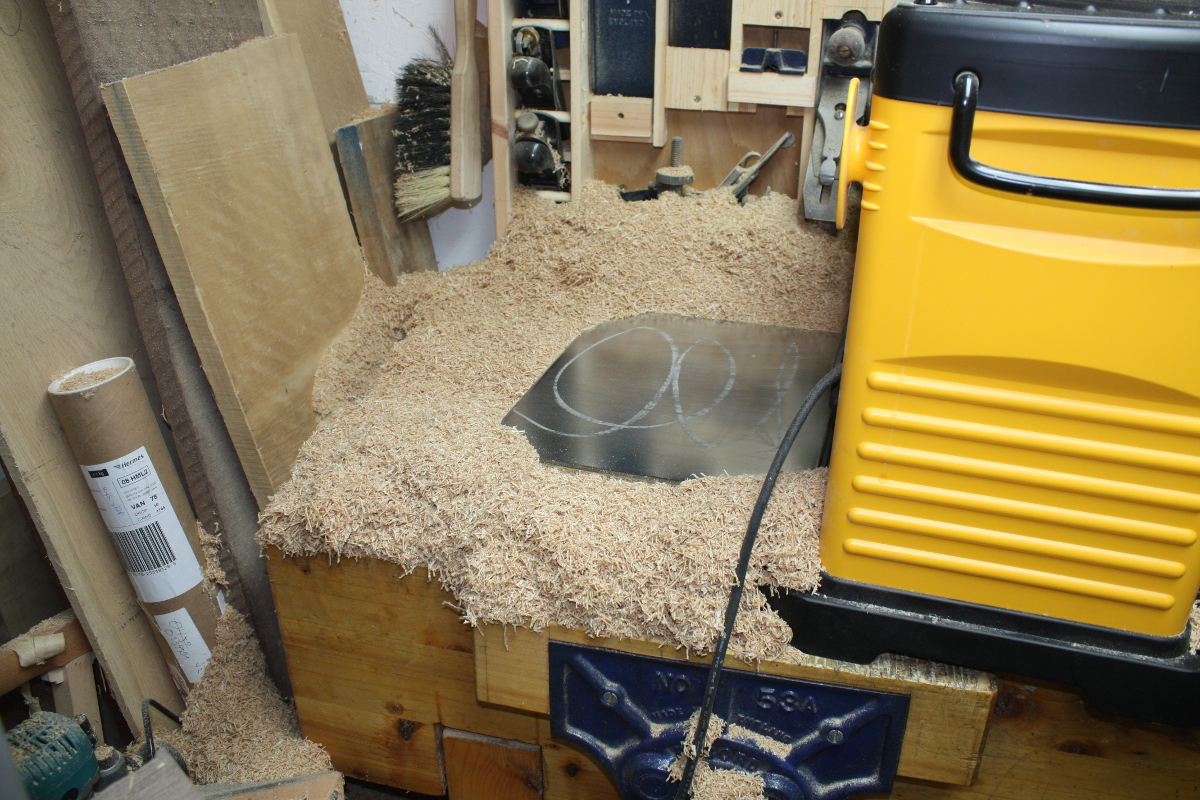
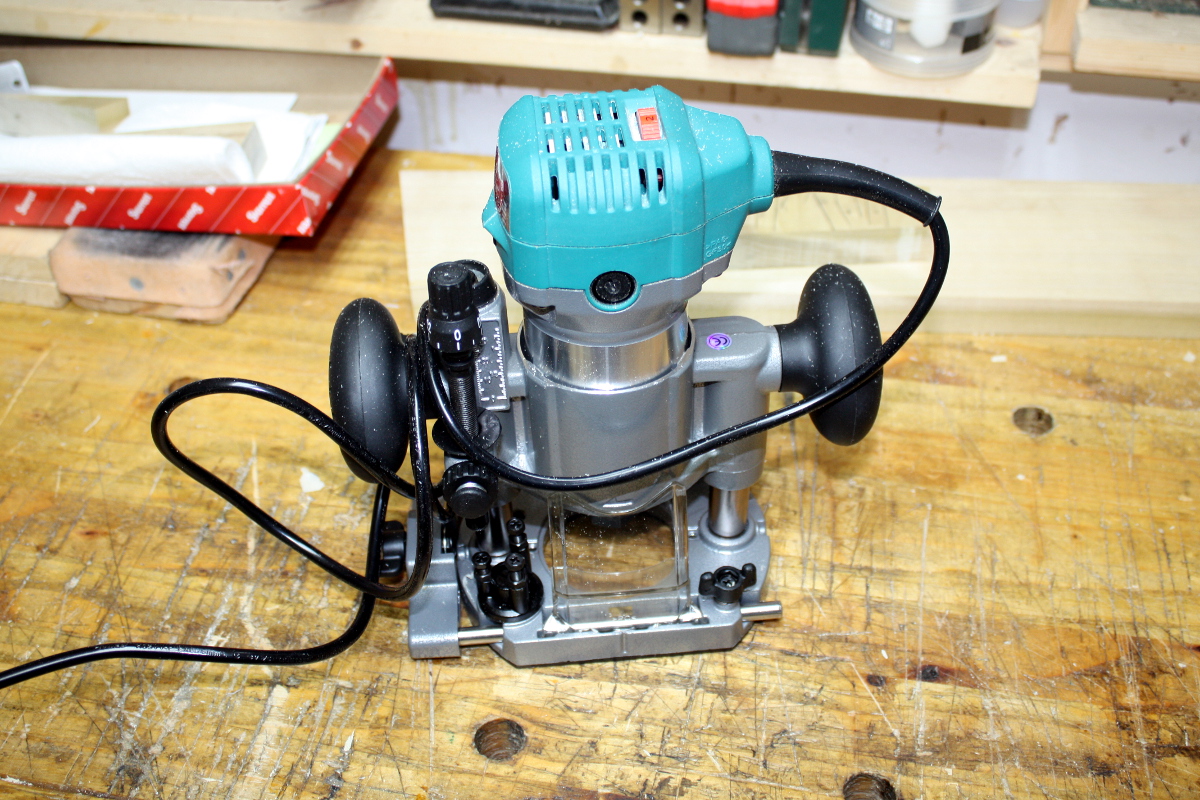
Speaking of routing, for some of the resin and the LED channel, I thought I might go back to the beast and try that again, but this time with a better way to hang on to it.
For the rectangular channel for the LEDs, a chisel would be just as good really, but for irregular pools of freezing-cold-north-atlantic-ocean blue resin, the router does make life a little easier.
Speaking of, I need to experiment a little with the resin. I have some ideas…
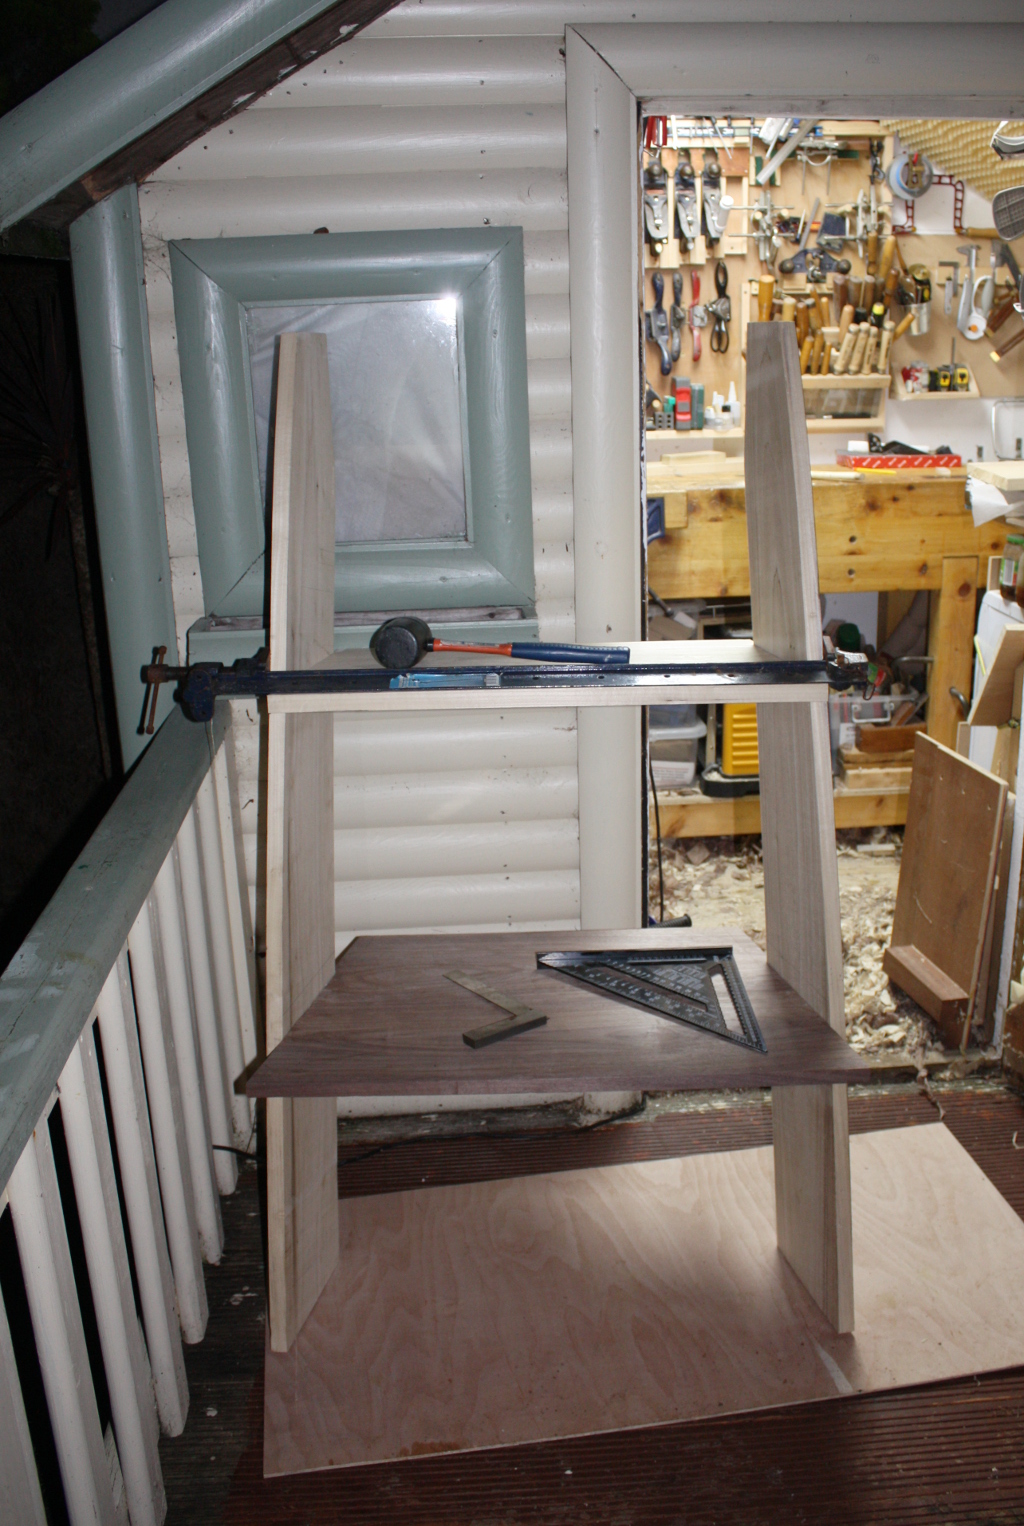
Shed time again (yes, it’s been a while, work stepped up a notch and it’s been a bit miserable and chilly here (granted, not -40C but you can’t move in my shed very much so you feel the cold rather a bit). Chopped the last housing joint and then spent some time wrestling with pieces that are definitely too large for the shed to do a test assembly.
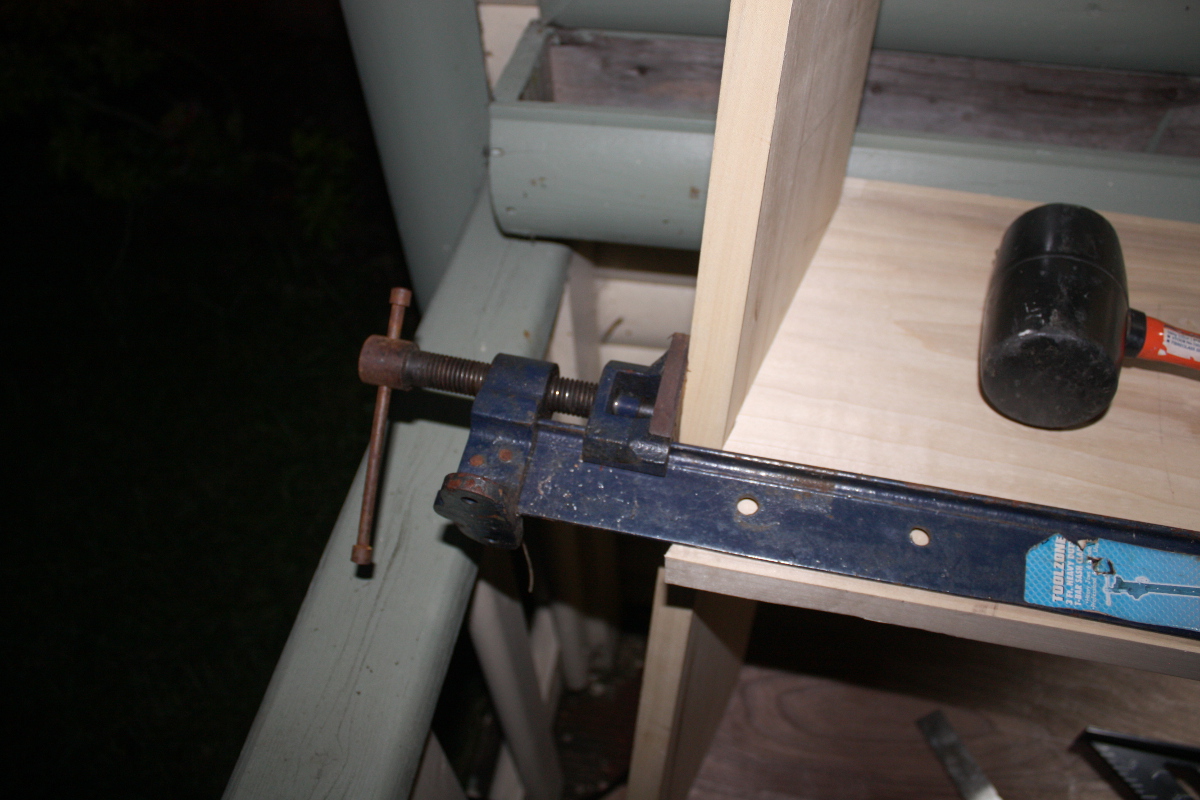
Rather awkward to put together (and those clamps are the largest I have, they were comfortably large enough to make the workbench with padding on the clamps and still they only barely make it).
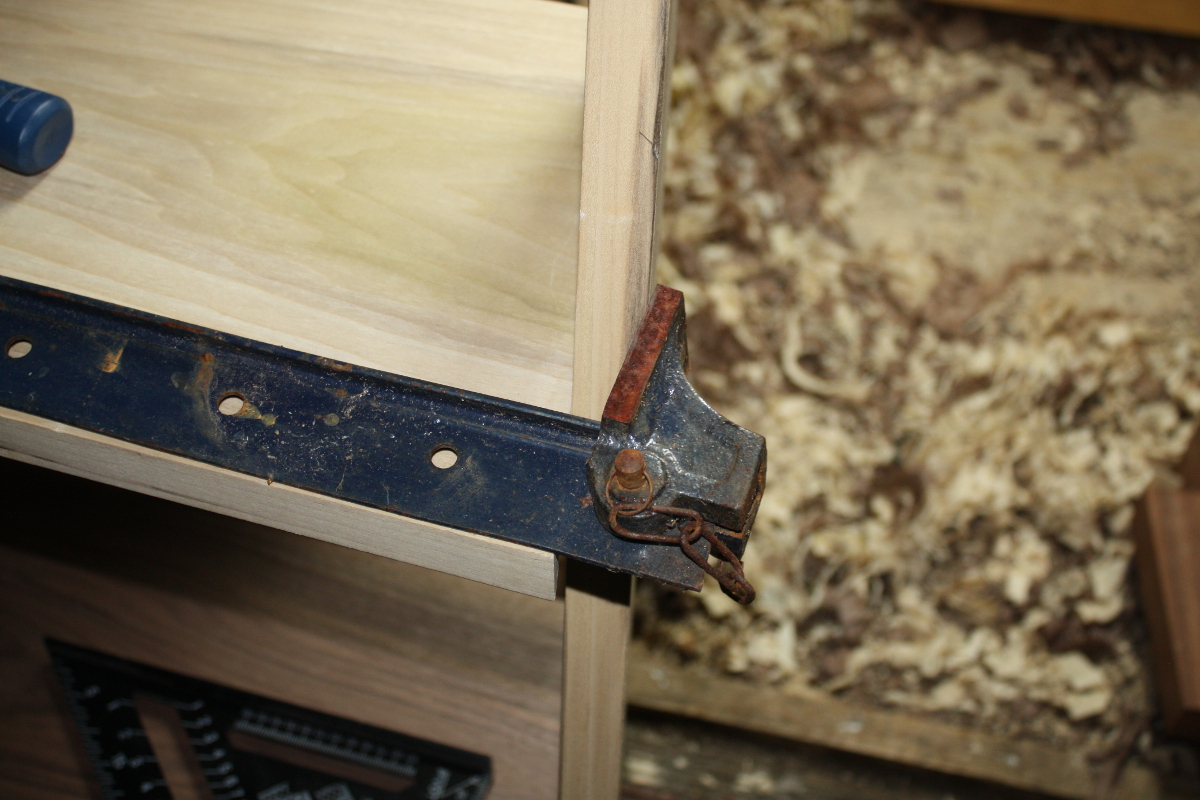
That’s going to dent the outside corners of the edges, but that’s okay, they’ll be shaped to a round profile and those corners are coming off anyway. I will need to take the angle grinder and flapdisk to the clamps though, they’ve been “stored” outdoors for some time and the rust is criminal (don’t judge me, there was noplace else to put them and the job of rehabbing them has been on the list for a while now).
More worryingly, the housing joints don’t fit very well…
And as a result, the sides are pushed out of true.
I mean, the fix for that is pretty straightforward (fettle the joints) but it’s going to be a bit of a pain disassembling and reassembling the whole carcass. But, once that is done, I can get on with cutting the dovetails for the top shelf, and once that is done, I can take the whole thing back to pieces again and trim the left side’s foot (it’s a mm long, which might well get hidden by the carpet, but it’ll annoy me…) and then there’s a long bout of inlay work and shaping before the final assembly and glue-up and finishing process.
And then I’m doing small stuff for a while. This building furniture that won’t fit through the door nonsense is a pain in the fundament.
This is not even a little surprising, but it's getting exhausting.
A party running on the platform of "we won't do the right thing when it matters, but we promise that we will later, if you just hand us completely unearned power once again."