So routed down another 8-9mm in the groove for the LED at one end to give a target zone to aim for.
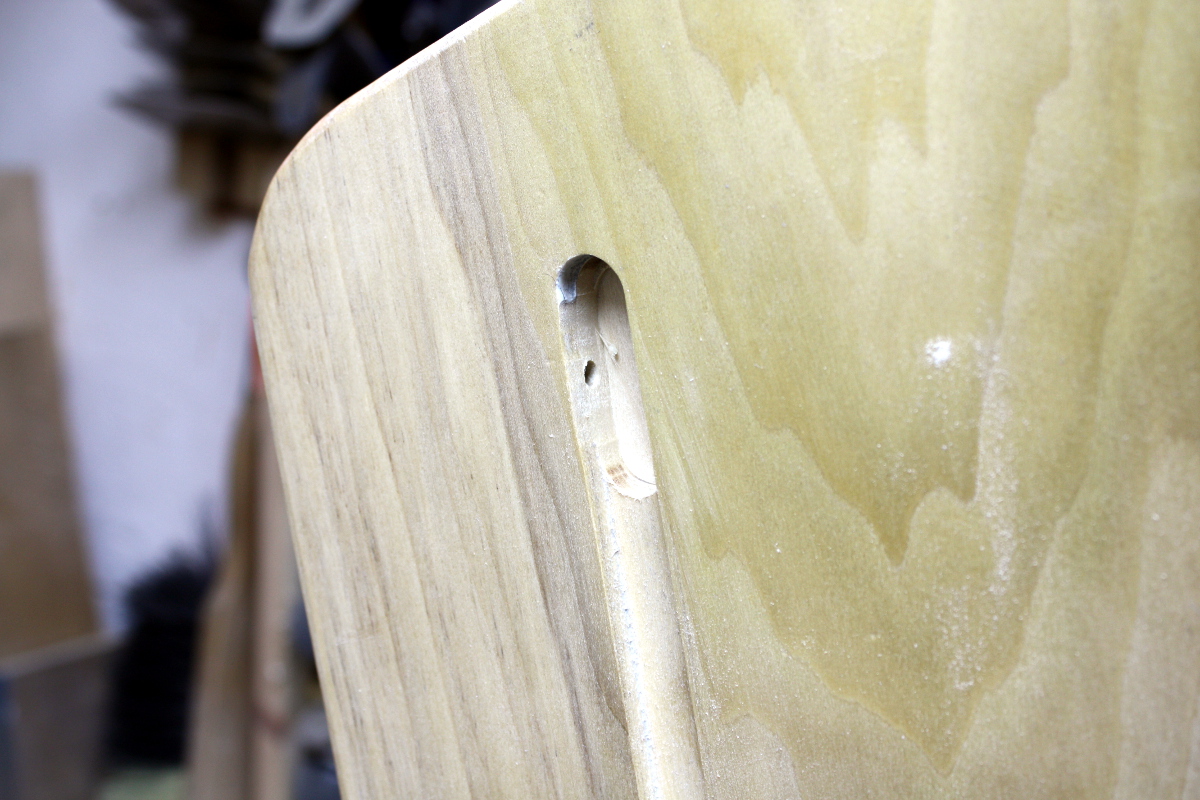
Now to drill in from the back of the shelf to meet that point. None of my drill bits are really long enough bar some of my auger bits, but I’m not hugely confident of my ability to drill straight-on with the bit and brace when I can’t drill downwards which I thought would be awkward here, so I went off and bought a long drill bit from FAMAG (who got recommended by Crimson Guitars a while back, and I thought for long drill bits, well, they’d know).
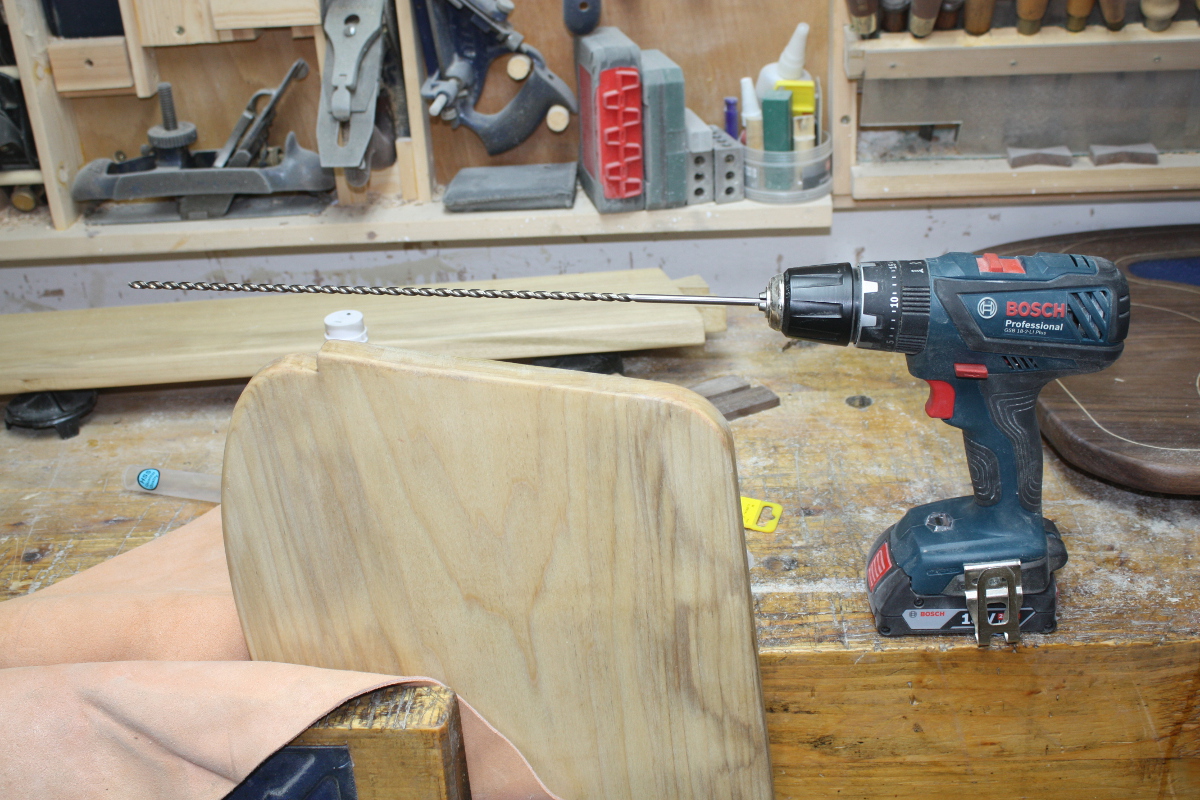
Ever feel like you’ve over-spec’d a tool for a job? Oh well. A few minutes of very careful drilling later, and…
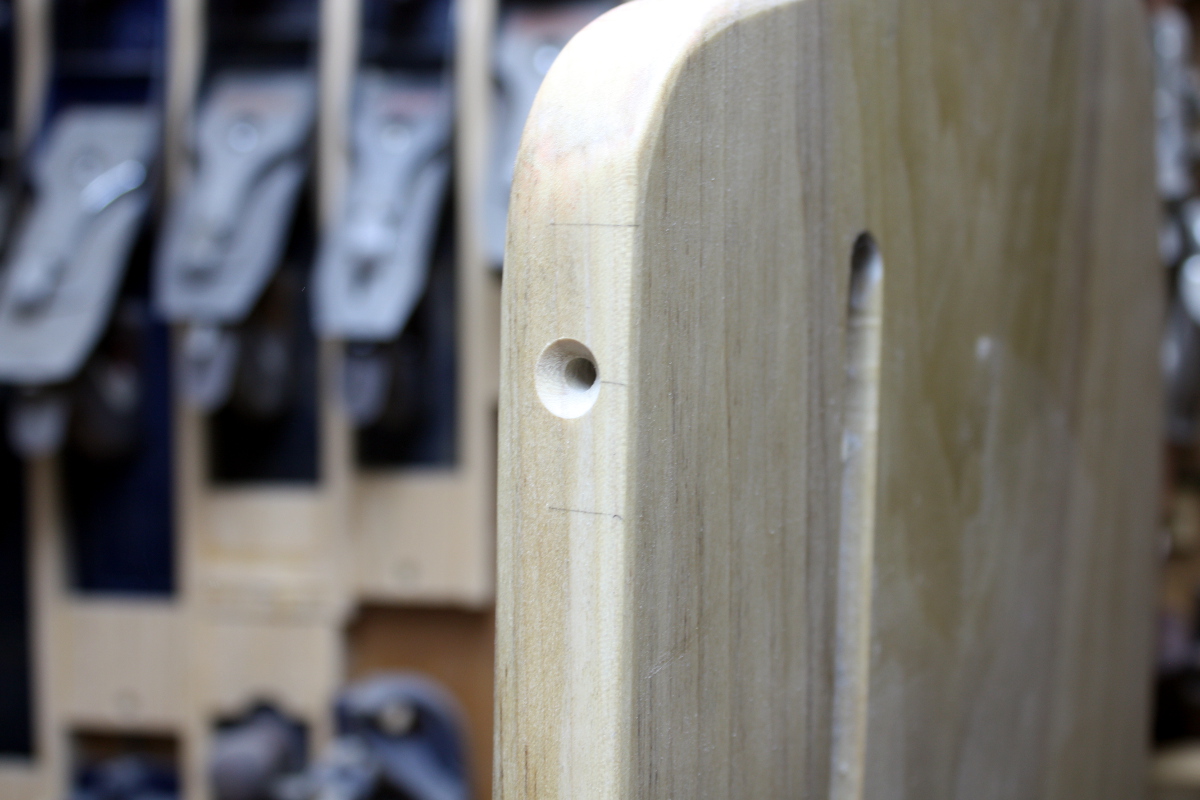
And that’s the last bit to do before the glue-up. I’d fit the LED, but, well, the LEDs didn’t arrive (or rather, the wrong ones did – but I’ll take a look later and see if I couldn’t modify them. Might not do so though because the socket meant to go in that countersunk hole in the back of the shelf has not arrived either.
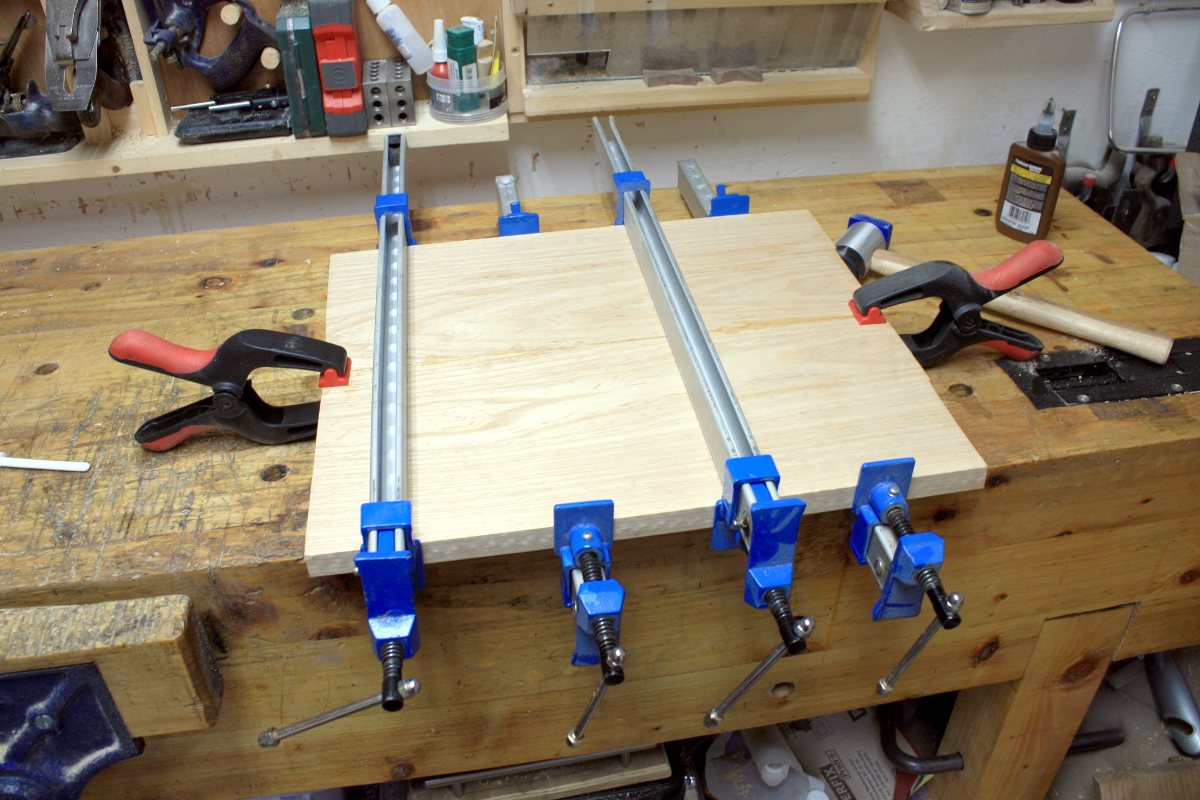
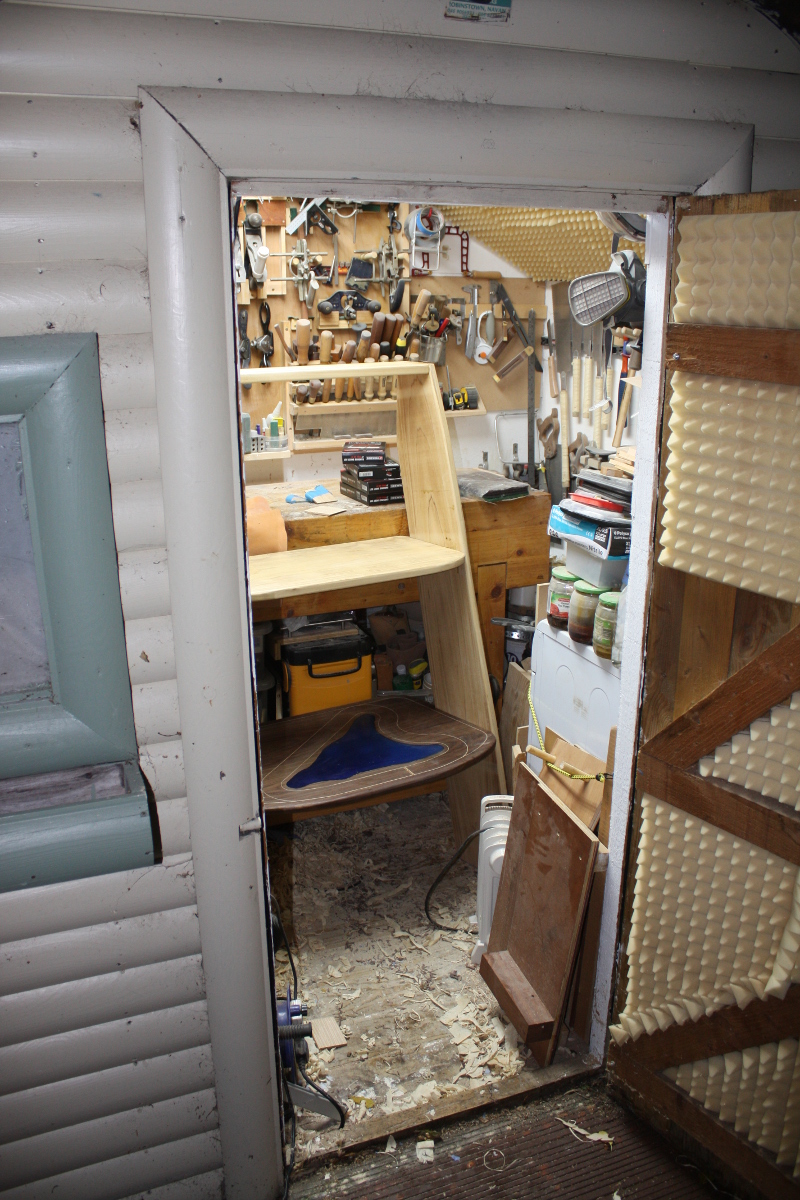
So, I can’t glue-up in the shed, it’s not big enough. There’s a small deck outside the shed I use for this sort of thing.
That reminds me, there’s a rather large cleanup due once this is finished. But for now, out with the hide glue, the clamps, the cauls, and the hammers. 20 minutes of cursing, belting, giving up and getting more clamps and sticky tape and a lot of confused staring at joints that were no longer as snug as they used to be later and…
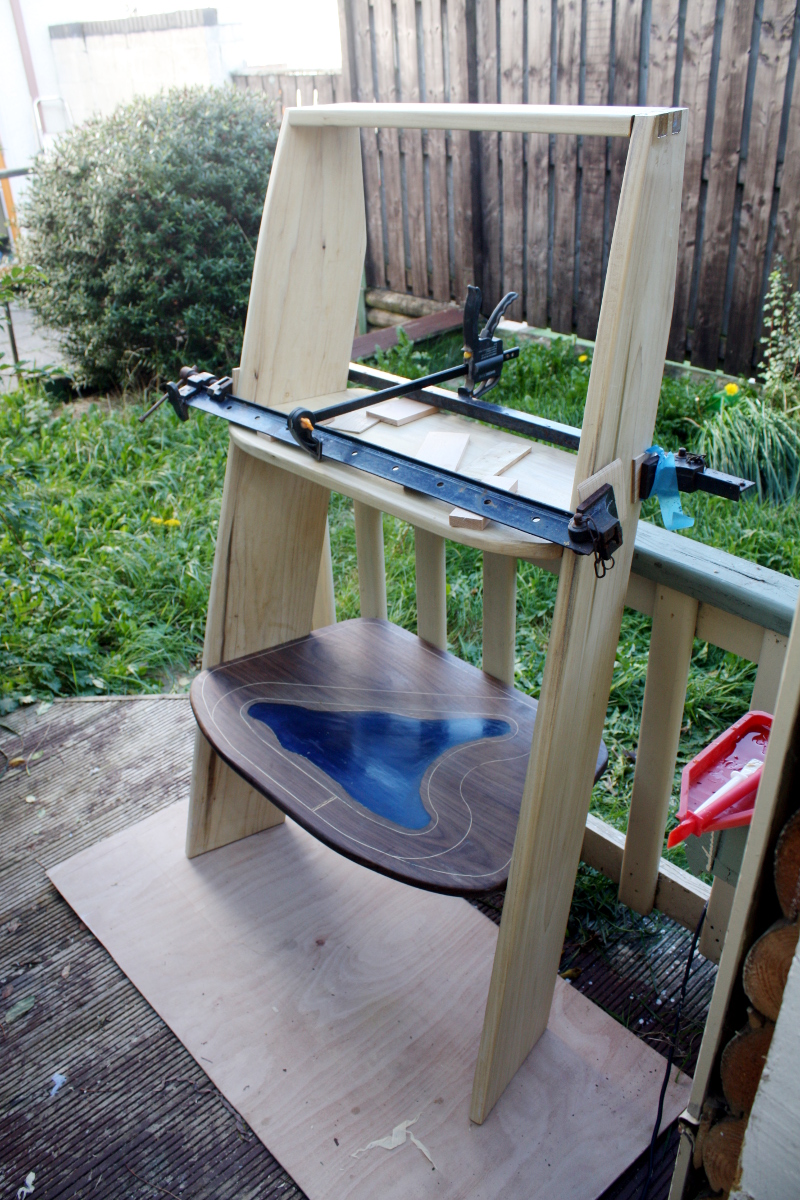
It’s not… terrible. Though that was one of the more annoying glue-ups I’ve ever done.
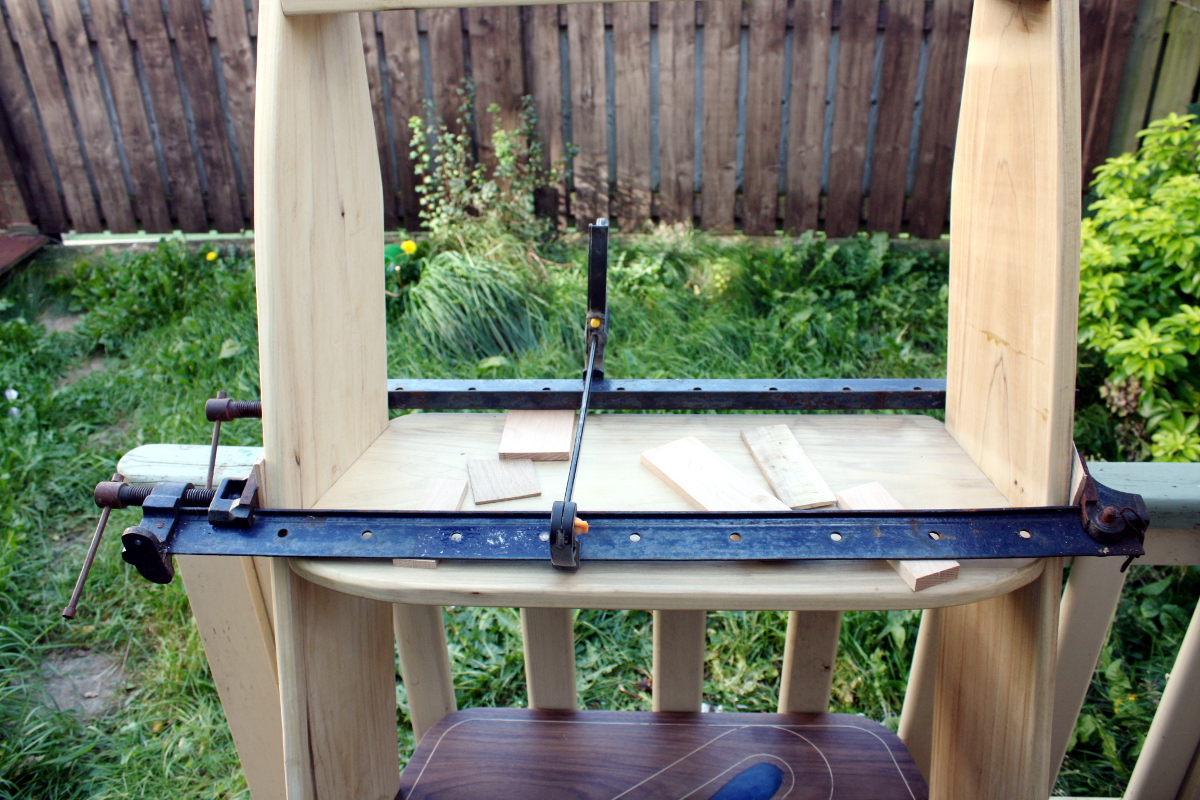
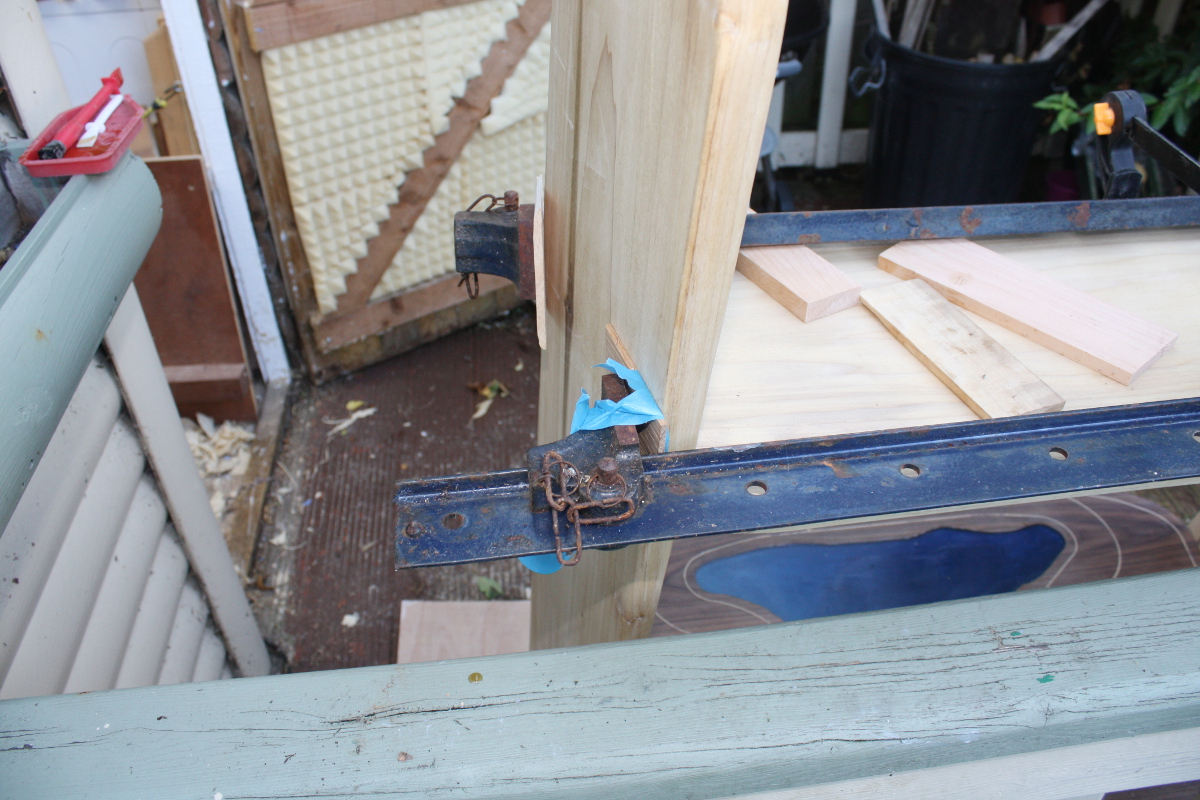
I mean, I knew before day one of this project that this clamping setup would be terrible, but still, this was painful. Also, I really need to spend some time reviving those clamps, they’re fantastic things but they’ve been in the elements unprotected for too long and they’ve rusted.
Having six hands would have been useful too…
Somehow those dovetails are now less well-fitting than when last fettled. It has been some time, there would have been some wood movement but it’s still surprising. Oh well.
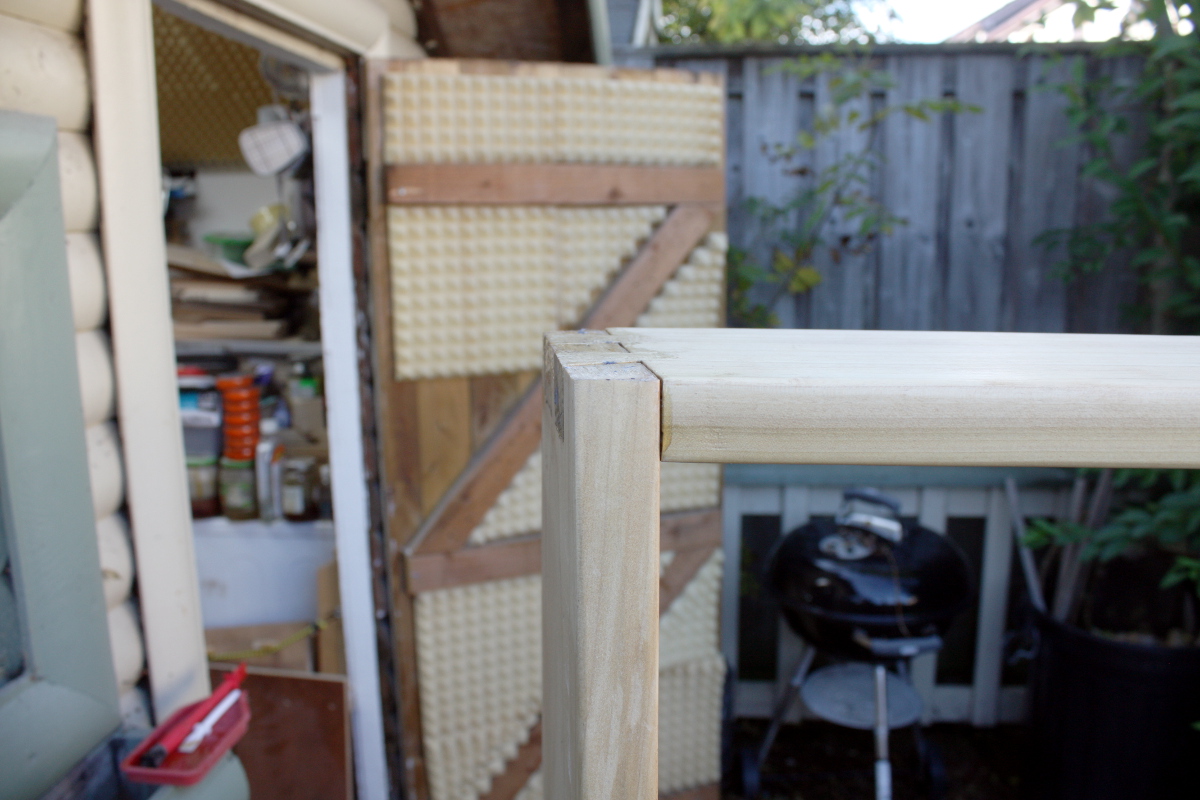
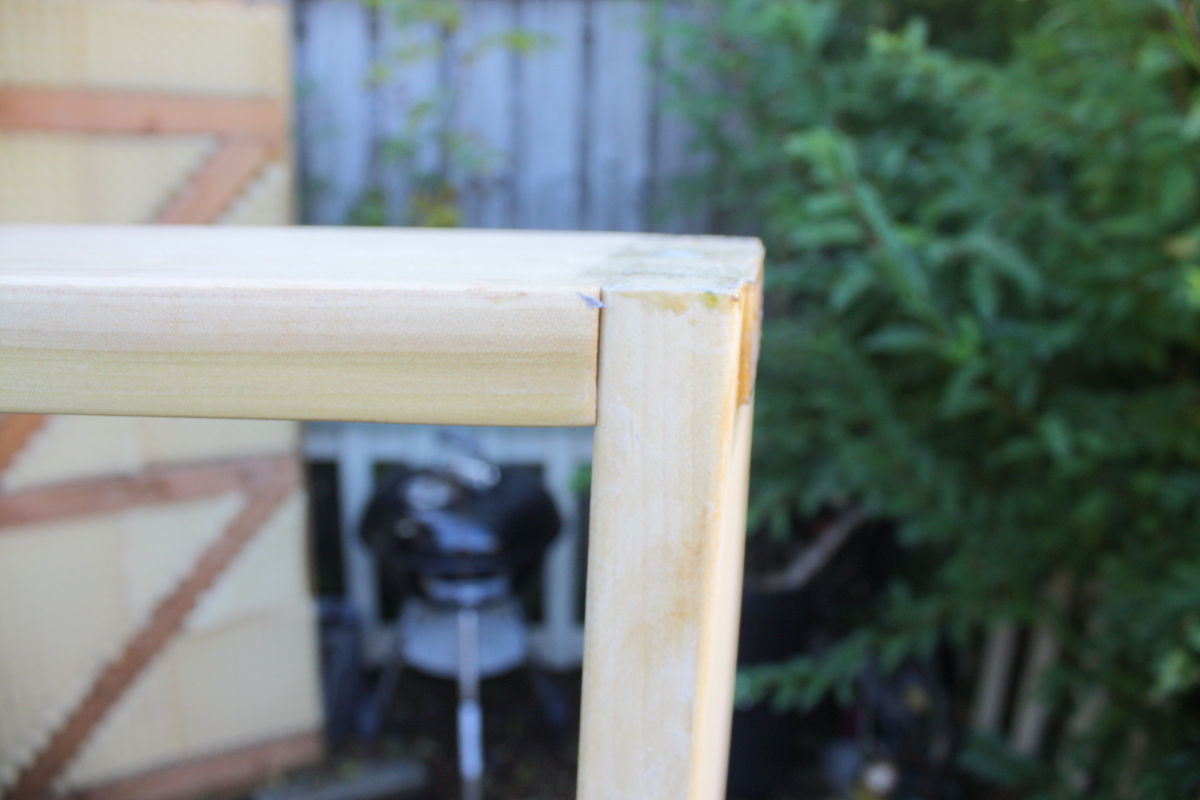
This one’s the worse of the two, but even at that, it looks worse than it really is because of the shadowlines – I need to spend a while rounding this corner off and fettling the flow from upright to shelf. Glue should be cured by tomorrow, I can take a stab at it then.
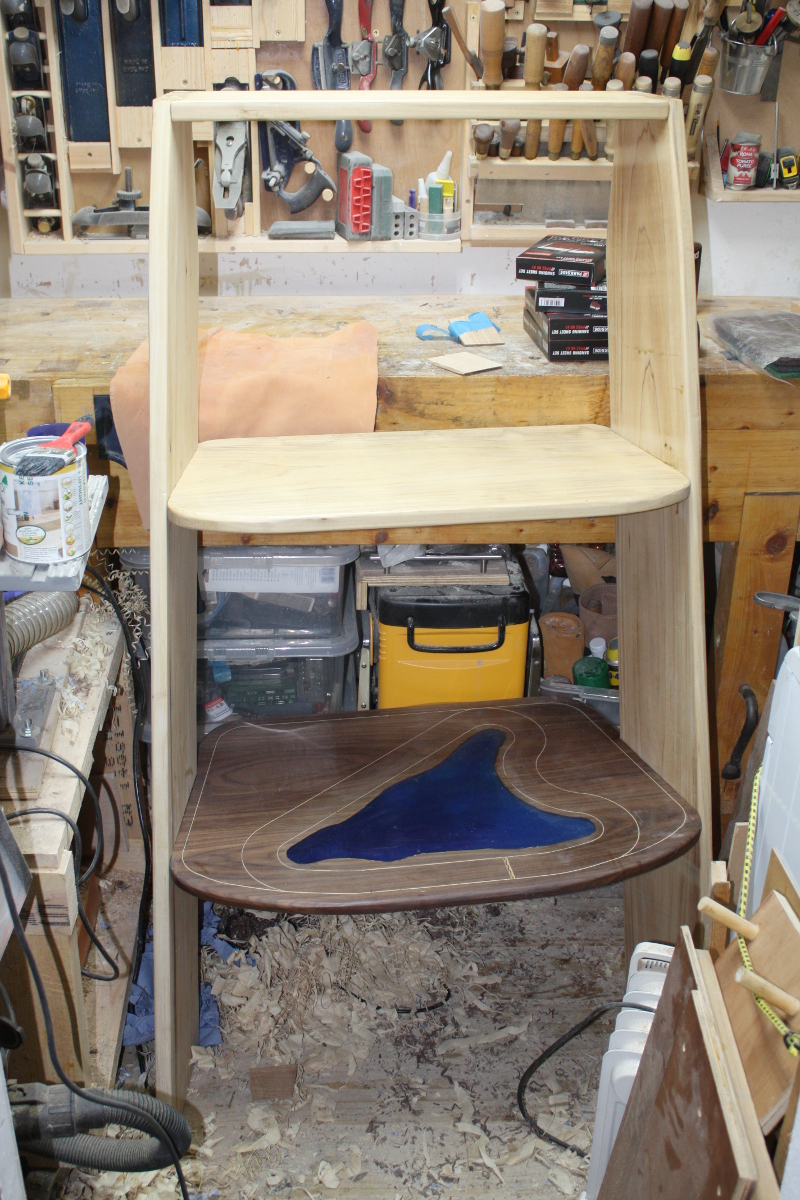
Six or seven hours in the clamps later, I removed the clamps and let the shelf sit in the shed to cure fully. It doesn’t look terrible yet.
Looks even enough…
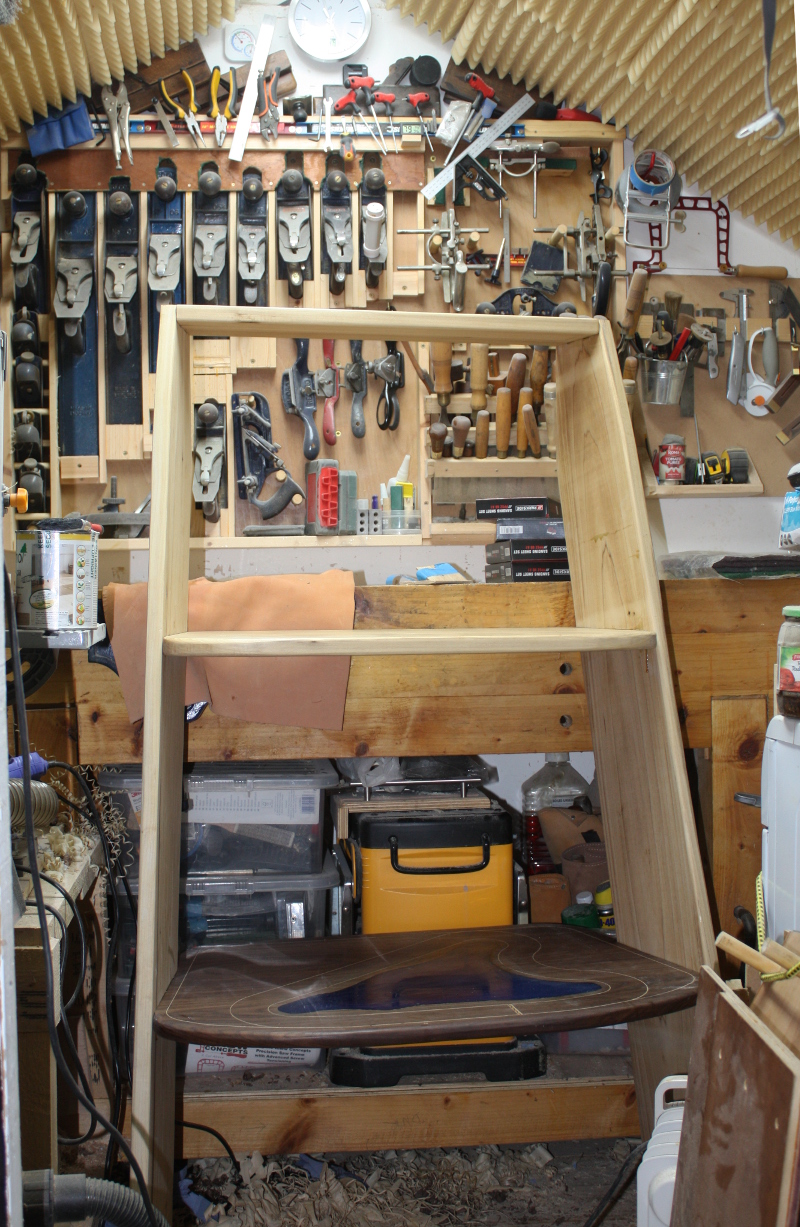
Definitely too big for my shed though. Yikes.
So, still needs to cure off overnight, then shape the top corners, glue some leather to the contact points where it leans against the wall, add another coat or two of polyx (the one coat on it so far is actually quite nice-looking), polish the resin a bit, fit the LED lights… but those are mostly small jobs compared to this. We’re easily more 95% of the way there. Of course, that last 5% can ruin everything still…