18
Oct 11

N9 v N900

So I’ve been using the N9 for a few days now, and wanted to compare it to the N900 I normally use, the same way I compared the N900 and E71 before. So I’m going to go through the points of comparison from then and apply them here.

First off, boot time – the N900 wins here, by a good ten seconds, both in time from power-on to PIN entry and from power-on to able-to-make-a-call, with the N9 taking a good minute to get ready to call out.

Quality of the screen? The N9 wins here. Hands down, no contest whatsoever. The display is crisp and bright and vivid, and just a joy to work with. The N900 screen is by comparison drab and washed out, though the resolution isn’t awful in comparison.

The touchscreen, on the other hand, is an interesting comparison, and oddly, one that I think the N9 loses. It’s not that there’s a flaw in the touchscreen – it works at least as well as the iPad/iPhone/iPod touchscreens that I’ve used in the past – it’s just that for those of us whose fingers couldn’t be called “dainty” with a straight face, capacitative touchscreens are a clunky sort of thing at times.

Ease of use? Hm. Hard to call for me here because I’m so used to the N900. I think I’d have to give it to the N9 though – it might not be the easier of the two for me, but for anyone who’s not gotten used to the N900, the N9 has to be the easier to use of the two. Though I will say that the swipe features are sometimes a bit… finicky about what is a swipe and what’s not. But that’s a minor quibble at best. And it’s not like the N900 doesn’t have glitches either (I’m getting tired of the widgets vanishing from the screen, for a start), but I’ve not had the N9 long enough to see its glitches so that’s not a fair comparison to try to make. The UI on the N9 does seem much more responsive… when it correctly picks up your input, that is. The N900 is definitely slower, but I’ve not had it misinterpret a swipe or a poke at an onscreen button yet.

In terms of audio quality, it’s a very slight and hesitant win for the N9. Honestly, I don’t think the difference is very noticable, and it could easily be something random (like the actual line quality) but it felt like the N9 slightly edged it here. However, the N900’s audio is perfectly fine itself, so it’s a fairly academic point at best.

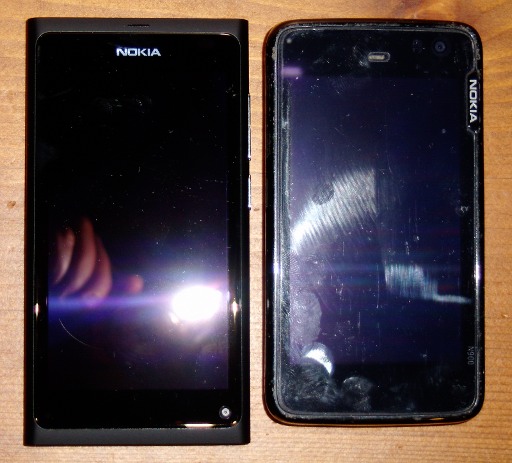
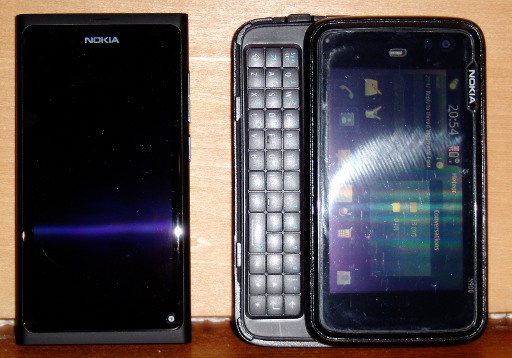
Physically, side by side, here they are:

N9 and N900

N9 and N900 (keyboard open)

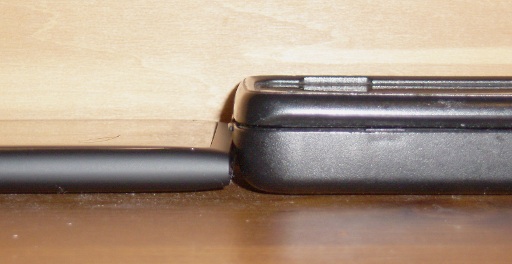
N9 and N900, thickness (with otterbox)

The thickness comparison isn’t really fair with the N900’s otterbox on though, so removing it:

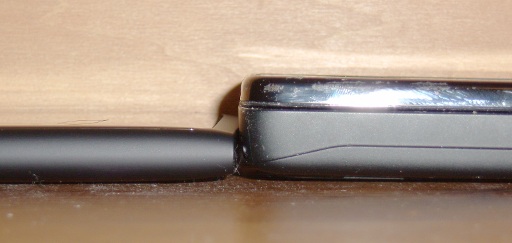
N9 and N900, thickness

So physically, they’re about the same footprint but radically different thicknesses, with the N900 twice as thick. However, for some reason, the N900 actually feels smaller in the hand (that footprint must be near the tipping point between “okay” and “big” for my hands I suppose).

I will say that the N900’s taken a year’s abuse or more, and even with an otterbox to protect most of it, it’s weathered it very well indeed. But I don’t think I’d feel comfortable using the N900 without a protective screen cover and something like the silicon case that it comes with (or an otterbox of some kind). Not when it’s selling for around the €600 mark. And that brings up a point I think is a design flaw with the N9 and it’s the camera:

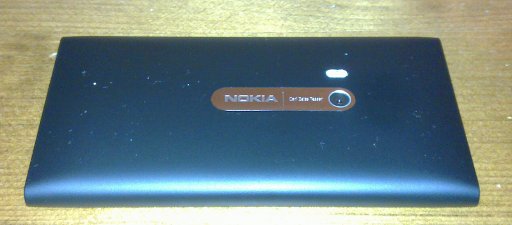
N9 Camera

N9 Camera

The lens for the camera is right there, exposed on the back continually. There’s no protection for it. One good scratch from your keys, and that camera is toast. Every image from then on will be ruined. To me, that’s a bad idea, and it’s one the N900 avoided with a lens cover:

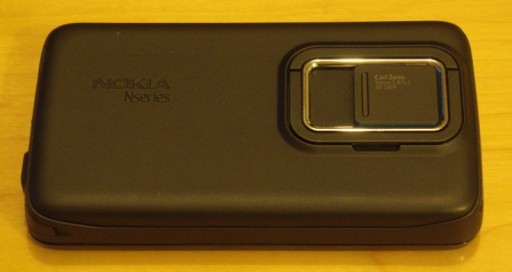
N900 Back Panel

That cover’s worked perfectly for the N900 for a year for me now. The lens on the camera is as good as the day it arrived and all that’s needed is an occasional dusting. Why they ditched a perfectly good feature like that, I don’t know. I will say though, that the actual camera software in the N9 is a massive improvement on the N900’s, which wasn’t all that bad to start with. Being able to select an off-center point for the autofocus by touch is very useful, the options screen is well-executed, and while I found the lock button not doubling as a shutter button to be annoying and daft, once you get used to the operation of the camera, it works really well.

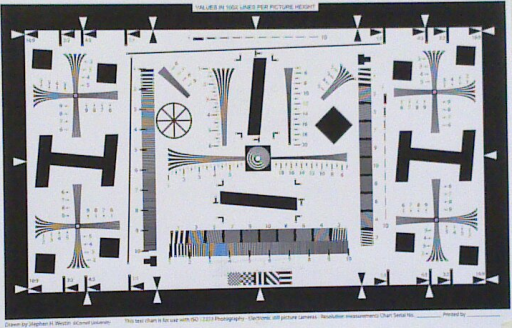
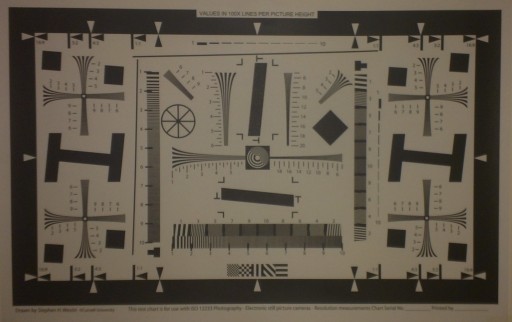
So, what about the camera’s image quality then? Well, it’s the N9 here I think, and not by a small margin:

N900 ISO 12233 test image

N900 ISO 12233 test image

N9 ISO 12223 test image

N9 ISO 12223 test image

Yes, the N9 looks darker (it was shot under artificial light while the N900 was shot in brighter natural light) – but look at the moire patterns in the bottom center and the crosses above and below the slanted H’s on either side – far more definition and resolution there. Click on the image to see the full size for comparison.

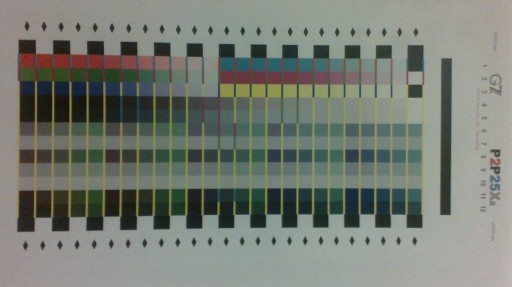
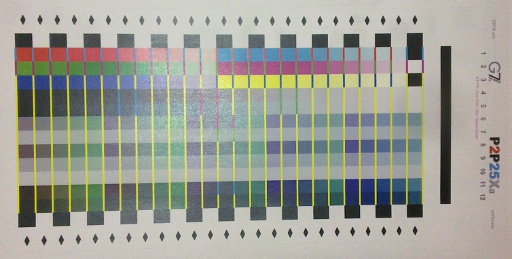
You can also see the colour reproduction is better:

N900 color test image

N900 color test image

N9 color test image

N9 color test image

Colors are just brighter and more vivid with the N9’s camera. That might be down to lighting for the test, but looking at sample images taken in the last week, it holds up:

N900 Target image

N900 Target image

N9 Target image

N9 Target image

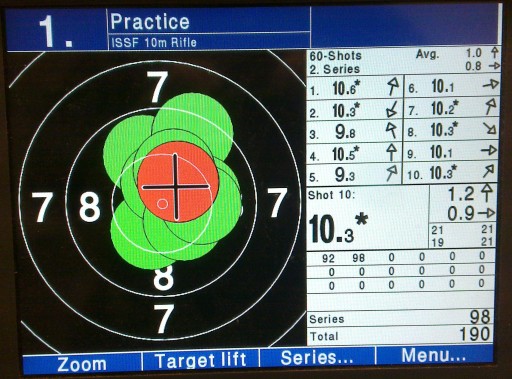
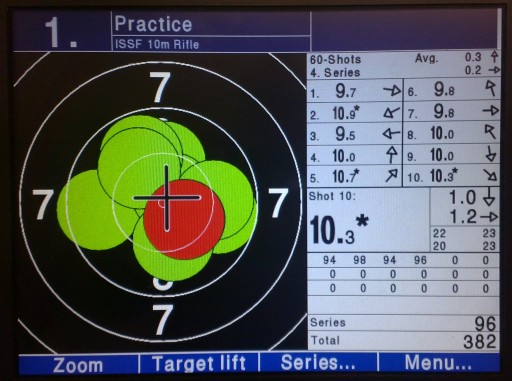
Compare the colours’ vividness and the lack of moire stripes in the N9’s image, and the N9’s the clear winner here. Also, what you can’t see is that the N9 can get the same quality of image without the moire effect kicking in from a lot closer to the screen than the N900, which is a lot more convenient. And in wider-field shots of non-emissive targets (ie. what you normally take photos of):

N900 portrait test

N900 portrait test

N9 portrait test

N9 portrait test

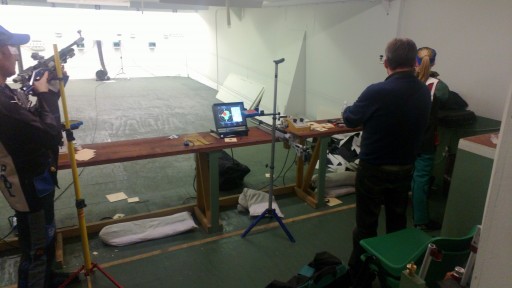
Even with the seriously demanding lighting challange the firing range always gives, the N9’s image just holds up better under examination.

So, which wins?

Well, for use as just a phone, the N9. Hands down. Easier to use, smaller, lighter, longer battery life (longest I’ve ever gotten from the N900 is 36 hours of idle – the N9’s already gotten past that with 40-odd hours), and slightly better audio (though that last one’s a very, very slight advantage at best).

For the camera, it’s the N9 by a country mile.

But as a smartphone/communications device, it’s a tie at best and it’s more likely that the N900 wins here. Even after a week, I can’t send a single SMS message on the N9’s on-screen keyboard with ease, and email is out of the question. And it’s not a question of more practice – onscreen keyboards really are just inferior to the real thing, so the N900’s physical keyboard – small and clunky though it may be – just wins. Not to mention that the resistive touchscreen, while definitely not as slick and pretty as the N9’s capacitative screen, is easier to use for us fat-fingered folk. And the N9’s browser, while good, isn’t as good as the N900’s default browser or Opera Mobile (which doesn’t seem to be available for the N9 and I’ve looked).

So would I trade in my N900 for an N9?

No. I’m too used to what the N900 lets me do, and my fingers don’t get on with the N9 – but (a) that’s me, not someone with normal-sized fingers, and (b) if I was still using the E71 or something similar, then hell yes, I’d trade them in for the N9. It’s a wonderfully polished end product that’s very usable for the average user, it does everything it says on the tin and more, and honestly, it’s a monumental kick in the crotch from Nokia’s engineering team to the Nokia management decision to drop the Maemo/Meego platform in favour of Microsoft’s Windows Phone.
N9 Target image

N9 Target image


05
Aug 11

Home server build, part two – assembly

Continuing on from part one

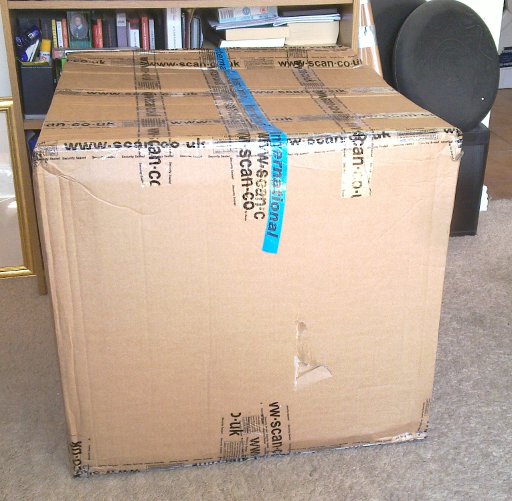
The arrival!

The arrival!

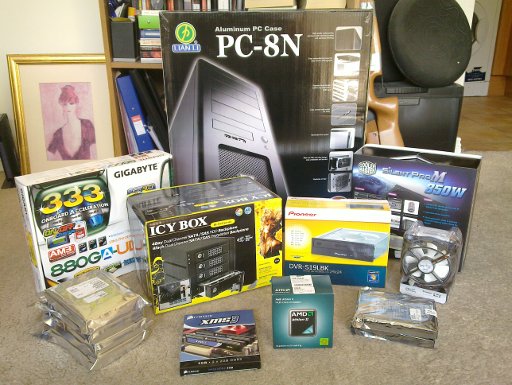
Happily the server component parts arrived during my week off, which allowed me to get most of the work on the server done quickly rather than spreading it out over several evenings. Plus, what else would you do on your time off? :)First things first, unpack the very large box, and haul out all its smaller boxes…

Components

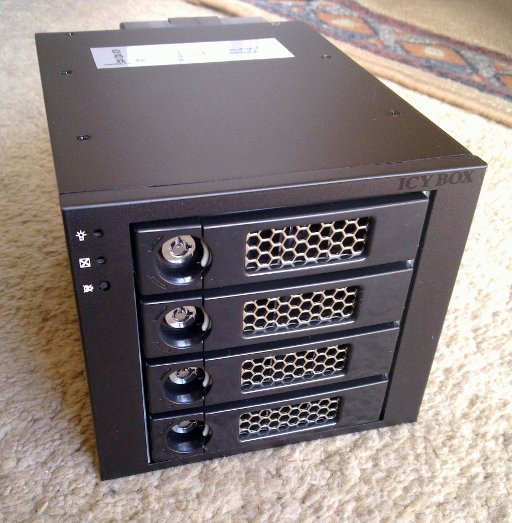
I thought I’d start off with the RAID storage subassembly, so I opened up the Icy Box packaging to take a look:

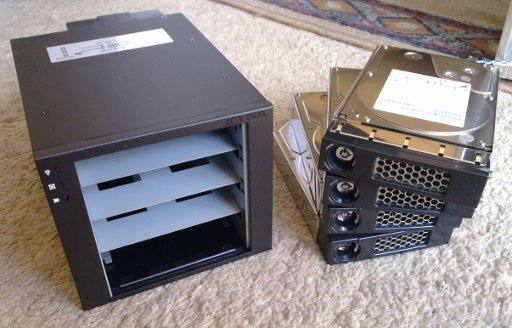
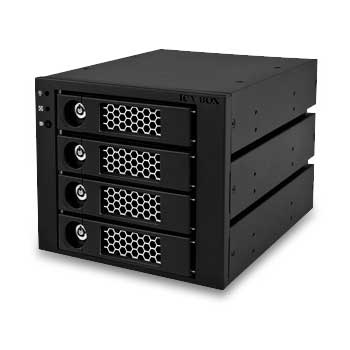
Icy Box IB-554SK

Icy Box IB-554SK

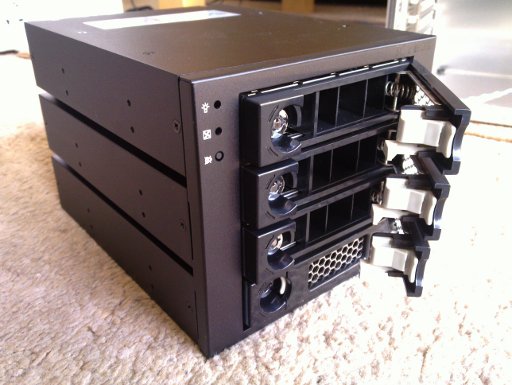
Each tray in the Icy Box can be locked with the bicycle lock you see there; the lock’s purely mechanical, it doesn’t activate power to the drive or anything. The small white catch you can just see to the right of the locks will pop open the handle for the drawer, and allow the hard drive to be removed.


Icy Box IB-554SK opened

The overall build quality is pretty decent – this is no IBM xSeries rackmount server, but for a home server, it’s more than adequate. It wouldn’t do for SSD drives though as the backplane is only rated to SATAII speeds (even SATAIII hard drives won’t get up past the 3Gb/s limit of SATAII, so a SATAII backplane for a hard drive based RAID array is fine).
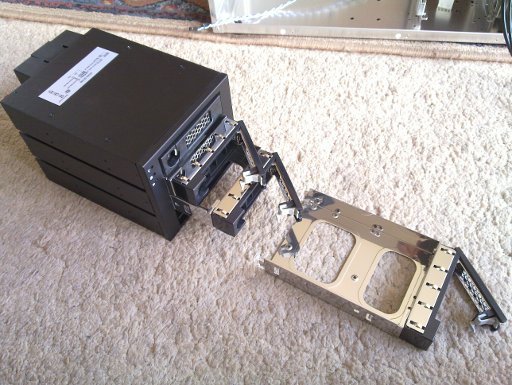
Icy Box IB-554SK and caddy

Icy Box IB-554SK and caddy

The caddys, for example, get their mechanical rigidity from the hard drive in them; that’s perfectly fine in a home server. With the drives installed, the whole unit is quite solid and vibration hasn’t proved to be an issue. The standard jumper settings on the back of the IB-554SK are also perfectly fine for normal home use, which is a pleasantly common-sense approach.

Icy Box IB-554SK and drives

Icy Box IB-554SK and drives

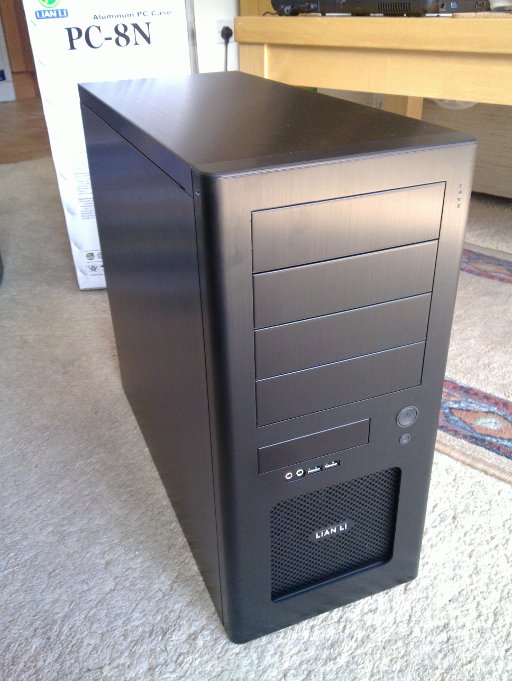
With the RAID subassembly complete, I opened up the box for the overall case. I spent a few extra euros on the case choosing a Lian Li over a more generic tower case because I hate cutting my hands on cases.

Lian Li PC-8N

Lian Li PC-8N

It’s quite a pretty thing in its own right, but more importantly, it has enough 5½” external drive bays to take both the Icy Box and an optical drive (yes, you can install linux off a USB stick, I just find it handy to have an optical drive, especially when it can burn disks, which comes in handy quite a lot more than you think it will when you buy it). The reputation for high build quality on the Lian Li cases, by the way, is well deserved if this case is anything to go by:

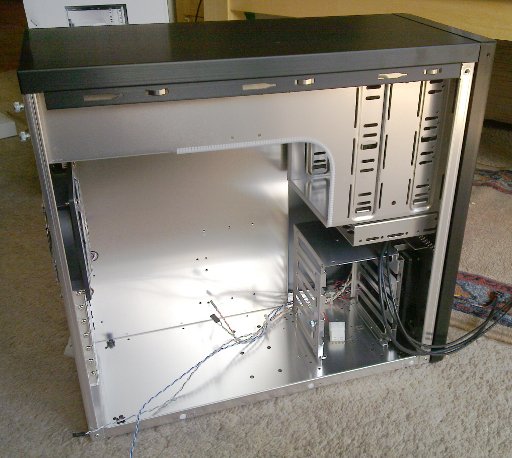
Lian Li PC-8N interior

Lian Li PC-8N interior

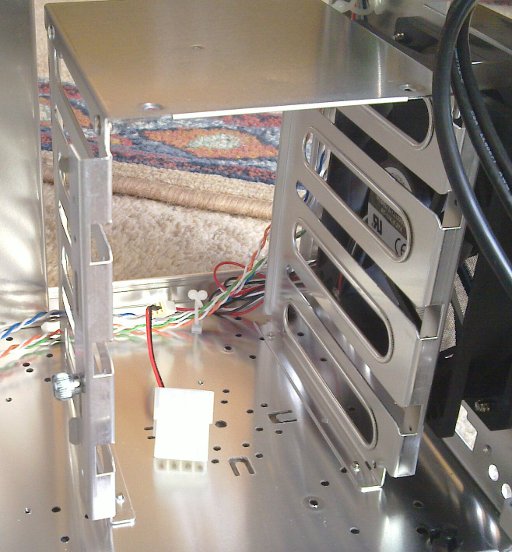
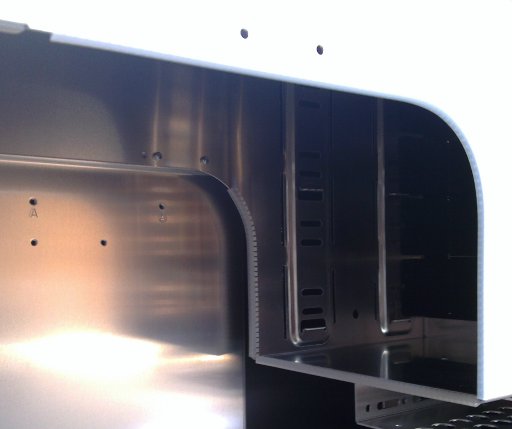
It’s a well-made, clean design. There are thing I’d like to see that aren’t there, such as vents and fan mounting points in the base, but you can see there’s a single clean line for airflow from the bottom front fan to the top rear fan, and both fans are whisper-quiet (the hard drives are louder than the fans) and effective (the server’s been running 24/7 for a week since the build without heating issues). For a basic mid-sized tower case, this really is an excellent piece of work. Even the little details, like the folded edges all round and the rubber or plastic grommeting on the edges that couldn’t be folded to save hands from unpleasant nicks and cuts, are done solidly and properly – for example, it wasn’t skipped even in areas you’re not likely to be handling often, such as on the lip of the base behind the 3.5″ hard drive cage or the far edge of the 5½” drive bays (where the motherboard tray almost prevents you from getting your hand into to get cut anyway):

Lian Li PC-8N 3.5" hard drive cage

Lian Li PC-8N 3.5" hard drive cage

Lian Li PC-8N 5.25" drive bays

Lian Li PC-8N 5.25" drive bays

It’s little details like that that make the difference between good workmanship and really excellent workmanship.

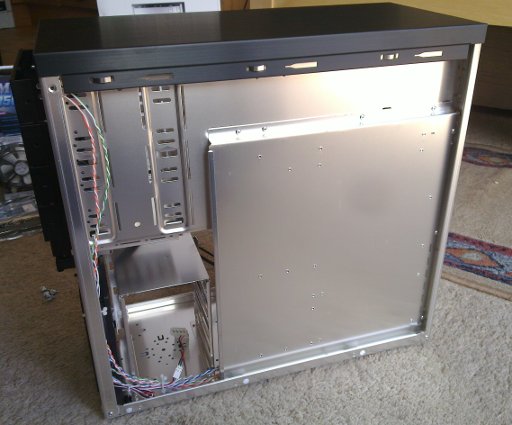
You do, however miss the lack of cable ducts on the motherboard tray:

Lian Li PC-8N motherboard tray, rear

Lian Li PC-8N motherboard tray, rear

Without them, you have to mount the 3.5″ drives with the SATA connectors facing away from the tray, or your SATA cable routing would be a right pain as the ATX motherboard design usually has them right up alongside where the 3.5″ cage is placed. However, given the quality of the rest of the case, that seems a small problem at best.

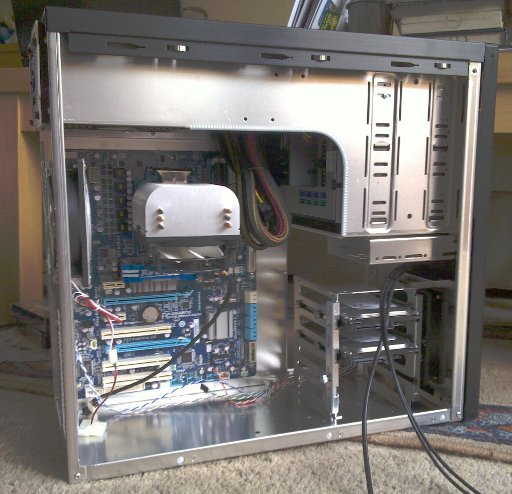
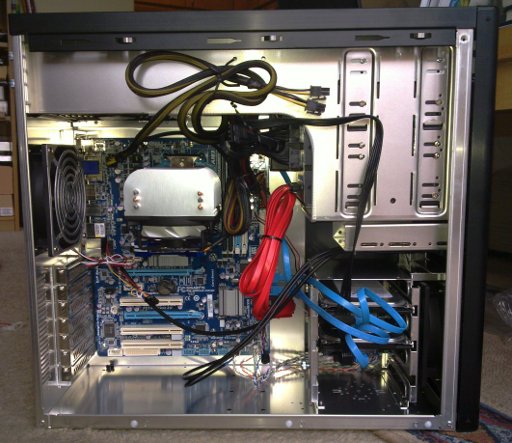
Assembling the motherboard was the usual kind of routine – think lego, but more carefully assembled. Once the CPU and RAM were clipped in, and the CPU cooler was ready to be attached, I laid the case on its side, installed the connector panel into the slot at the rear of the case (the usual push-to-fit affair), then installed the motherboard standoffs, slotted the ATX motherboard into place and screwed it down, then clipped on the cooler and stood the case back upright again. Installing the 3.5″ HDDs was very easy, the special mounting screws with anti-vibration grommets go into the drive and have a built-in channel that slides onto the guides in the drive cage. The Icy Box, the Optical drive and the PSU all slid into their respective bays, but weren’t screwed into place just yet:

Server components mounted

Server components mounted

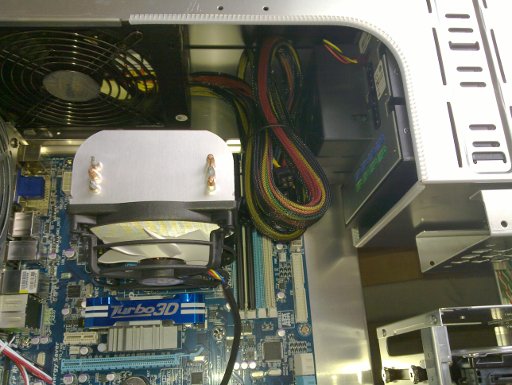
Once this was done, the cabling came next. Again, I’m never going to win awards for my neatness in these builds, but at least the modular nature of the PSU kept the number of spare power cables floating about to a minimum this time.  Which is a good thing – with a full-size ATX motherboard, a large CPU cooler and all the 5½” bays occupied, there’s not much room for PSU cables in this case:

Tight fit in some places...

A fair amount of swearing, much cross-checking of manuals and not enough tie-wraps later, and the hardware section of the build was done:

Server components fixed and wired in

Server components fixed and wired in

Now for the smoke test…

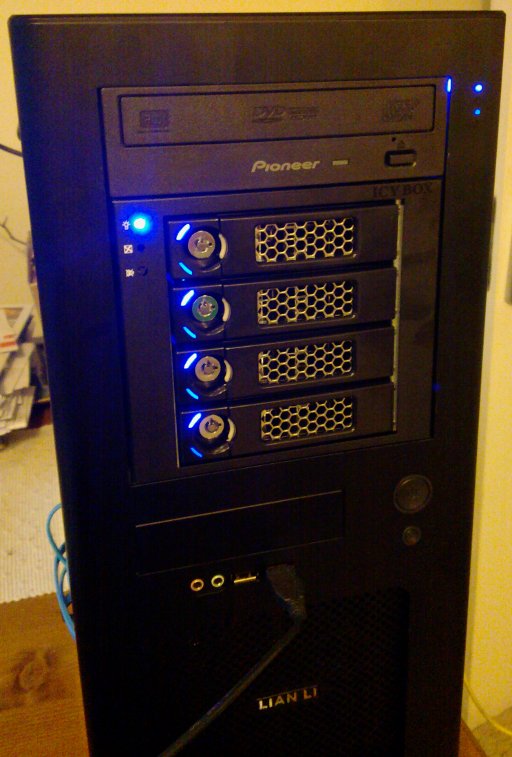
Der blinkenlighten!

Der blinkenlighten!

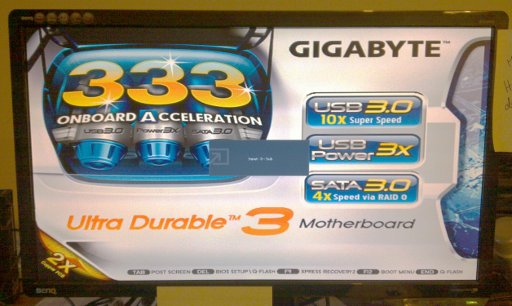
And unlike the last build, we actually get slightly more than just a few LEDs to show for all our money:

POST screen

POST screen

So that took most of an afternoon and an evening to do (mainly because I wasn’t rushing and had dinner half-way through). Next step is to install Debian and start configuring the server – but that’s another post….


27
Jul 11

Home server build, part one – specifications

So between my laptop and herself’s, we have a fair amount of valuable (to us) data – MSc essays and coursework, book manuscripts, half a gigabyte of open source projects, Phd programming work, wedding photos and video, and about 19 gigabytes of other photos and video, eight gigabytes of target shooting documents and images, half a gigabyte of academic papers… well, you get the idea. So when my laptop hard drive started to hiccup and its SMART report started complaining of bad blocks and imminent failure within 24 hours… well, it prompted some concern 🙂 Most of the important data was backed up on my server (which is not just off-site, but out of the country) using rsnapshot, but there’s nothing like an incipient disaster to make you review your disaster recovery protocols 😀

Besides, I had been planning for some time to offload the bulk data storage (video files and so forth) to a NAS, and while buying an off-the-shelf NAS box is certainly an option:

  • building your own can give you more capability for less outlay;
  • building your own allows you more functionality than just NAS storage – in this case, I had a few other tasks in mind for this box;
  • building your own is something every sysadmin should do for CPD if nothing else. 🙂

So, what’s the specification? The list of tasks is fairly straightforward to start with:

  • NAS storage
  • Central print server (and scanner at some point)
  • Backups of both laptops and off-site storage of those backups
  • Central downloading server for bittorrents and so on
  • Media server

None of these need much in the way of CPU oomph, though we would need multiple cores as the storage will be some form of software RAID array (and having multiple cores would give more performance than a faster single-core, at least for a given amount of outlay). Not a huge amount of RAM is needed either. But we do need a number of disk interfaces, gigabyte ethernet (and the central router for the network has since been upgraded from the standard ISP’s Zyxel to a gigabyte ethernet Netgear router), and if this is all on the motherboard, so much the better.

And obviously, outlay’s an issue as well. Buying an off-the-shelf NAS box (a Synology DS411+) and stocking it with disks (4x Hitachi 2Tb Deskstar drives) would cost approximately €960 (priced on scan.co.uk) so the goal was to get in below that threshold.

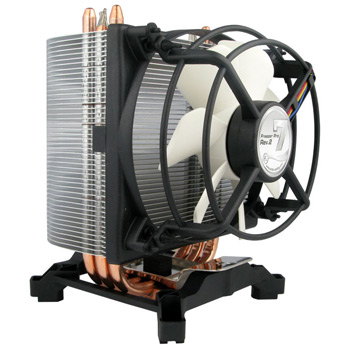
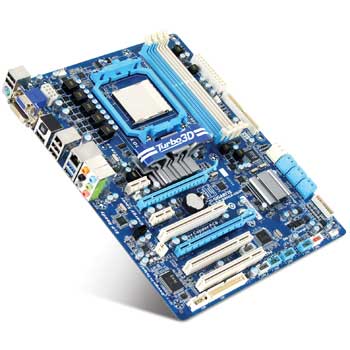
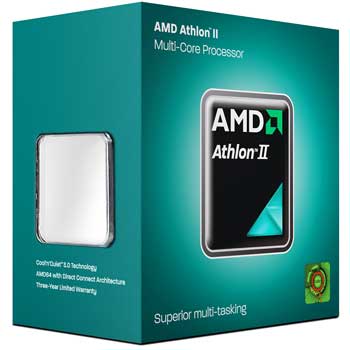
First off, the CPU. I’m going with the AMD Athlon II X4 645. It’s a quad core processor but quite cheap. It’s a socket AM3 processor, which leads us to the selection of the motherboard, and I’ve chosen a Gigabyte GA-880GA-UD3H, which is the cheapest Gigabyte AM3 board which had six SATA ports and Gigabyte ethernet ports. Add in a fairly cheap 4Gb of RAM (and pause to remember the time back in ’97 just after graduation when we watched with some degree of awe when the TCD sysadmins showed off a whole gigabyte of RAM, which cost about three months disposable income…) and a fairly standard Artic Cooling Freezer 7 for the CPU and that’s the guts of the thing.

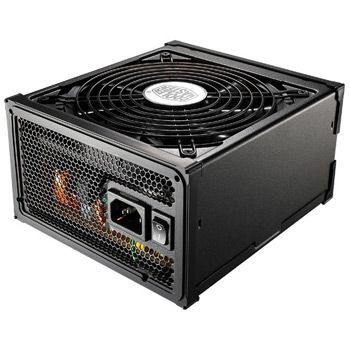
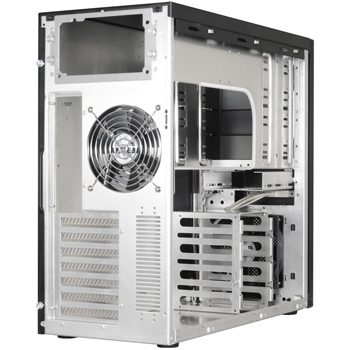
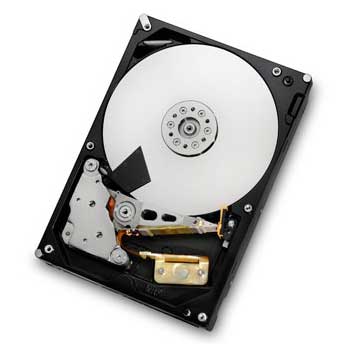
Now for storage. The idea here is a degree of future-proofing, and a lot of I-never-want-to-lose-any-data-or-have-much-downtime 😀 So, the OS is going on two 320Gb Seagate Barracuda hard drives in a RAID 1 array. The main data storage will go on four 2TB Hitachi CoolSpin 5K3000 drives, which were chosen after this particularly excellent article from Backblaze about their 135Tb storage pods. And to try to keep stable power lines, an 850W Coolermaster modular PSU. And since this rig will have to last for a while and I hate slicing my hands open on cheap cases, a Lian Li PC-8NB case to mount all of this in, together with an Icy Box IB554SK SATA RAID frame because when the hard drives fail (and all drives will), I don’t want to have to disassemble the entire box to fix the problem (though, yes, if the OS drives I might have to, but you could always add another Icy Box or similar frame – I was watching the outlay myself). And then just to top it off, a DVD RW drive to make installation a bit easier.

For those who’ve been asking on Hacker News, yes, the PSU here is over-specified. That’s a deliberate choice, because I’d rather come nowhere near the limits (or even the 50% mark if possible) of the PSU for two reasons – stability of voltage lines and cooling. And yes, the CPU could be an Atom, but I’ve chosen instead to go with something a bit more conventional and old and unfashionable and debugged because this is an infrastructure box and I’m willing to pay a few euros more upfront to avoid spending a week of my time trying to fix it in a years time, or having to buy more new hardware because it turned out we needed it to do something more than it can do right now and an Atom couldn’t cut it. And yes, 320Gb hard drives. Actually, I changed my mind and went with the 500Gb ones after writing this post; they turned out to be 6 pence cheaper than the 320GB model, which I had thought was the cheapest available hard drive not made by McFlakey Inc. They’re not an example of overspecification, they’re an example of consumer electronics pricing…

So the full list:

Icy Box IB-554SKIcy Box IB-554SK£83.87
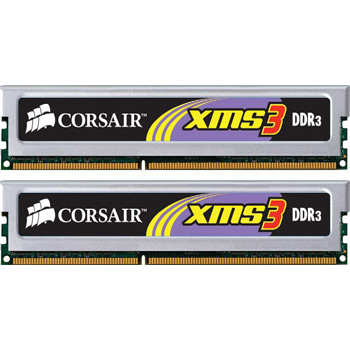
Corsair DDR3 XMS Classic4GB (2x2GB) Corsair DDR3 XMS3 Classic, PC3-10666£25.68
Artic Cooling Freezer 7 Pro Arctic Cooling Freezer 7 Pro v2£18.74
850W Coolermaster Silent Pro850W Coolermaster Silent Pro M£109.02
Lian Li PC-8NBLian Li PC-8NB£83.98
Gigabyte GA-880GA-UD3HGigabyte GA-880GA-UD3H£79.98
AMD Athlon II X4 645AMD Athlon II X4 645£77.51
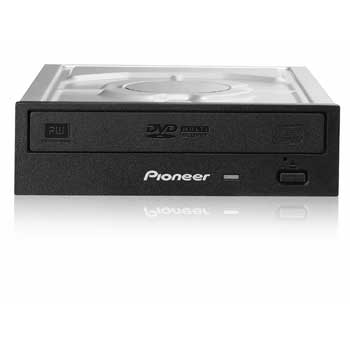
Pioneer DVR-S19LBKPioneer DVR-S19LBK 24x DVD±R£17.92
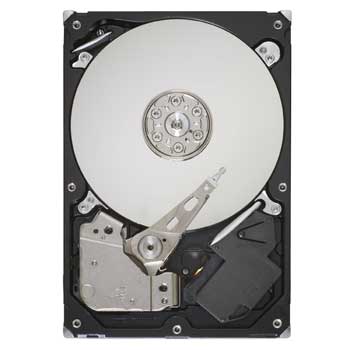
Seagate Barracuda 320Gb320GB Seagate ST3320413AS Barracuda£57.31
Hitachi Coolspin 5K3000 2Tb2TB Hitachi 0F12117CoolSpin 5K3000£209.95
Total£788.62 (€~€895)

So that’s under the target price, so the order went in on Scan this weekend and is due for delivery in a day or so…

(continued in part two)