05
Jun 18

Locker progress

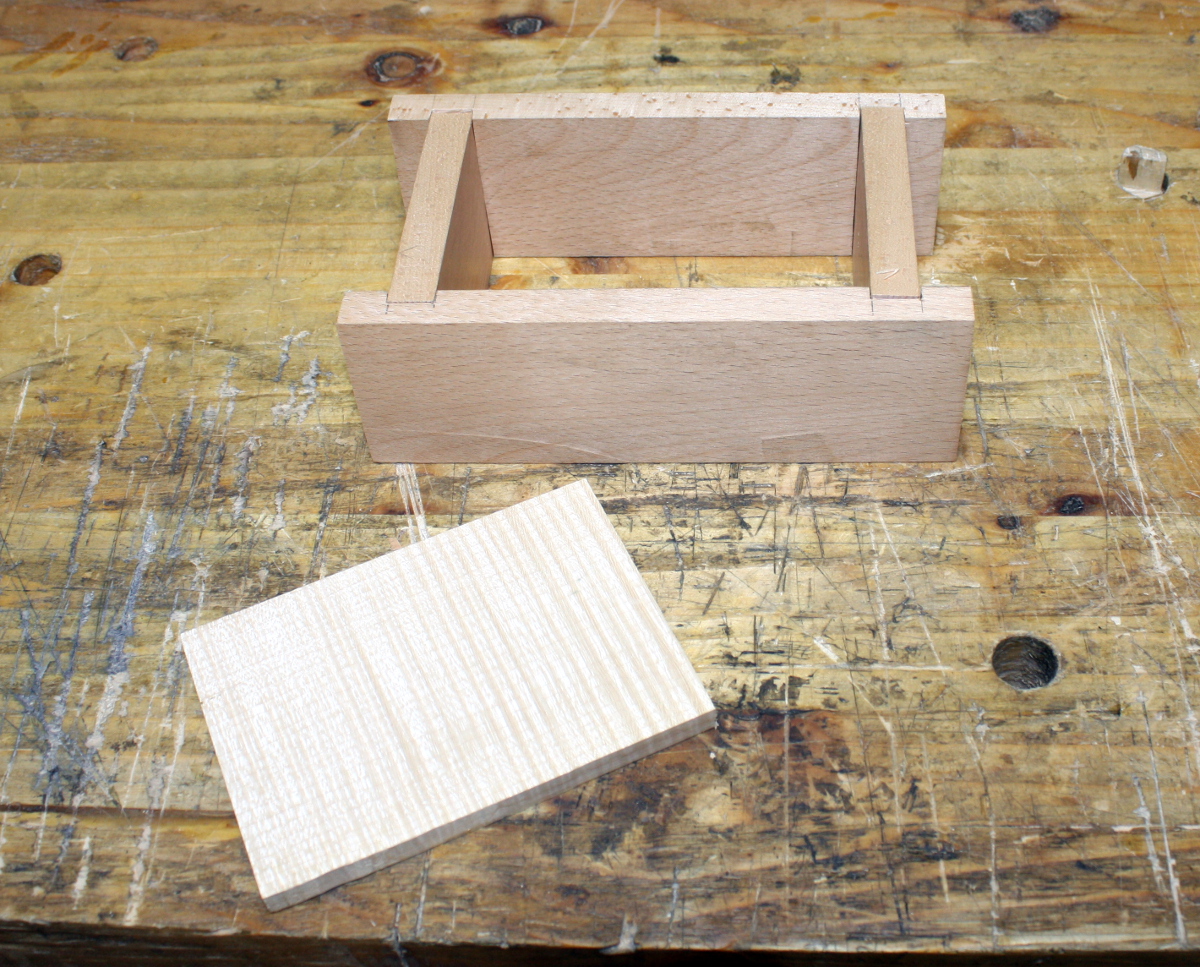
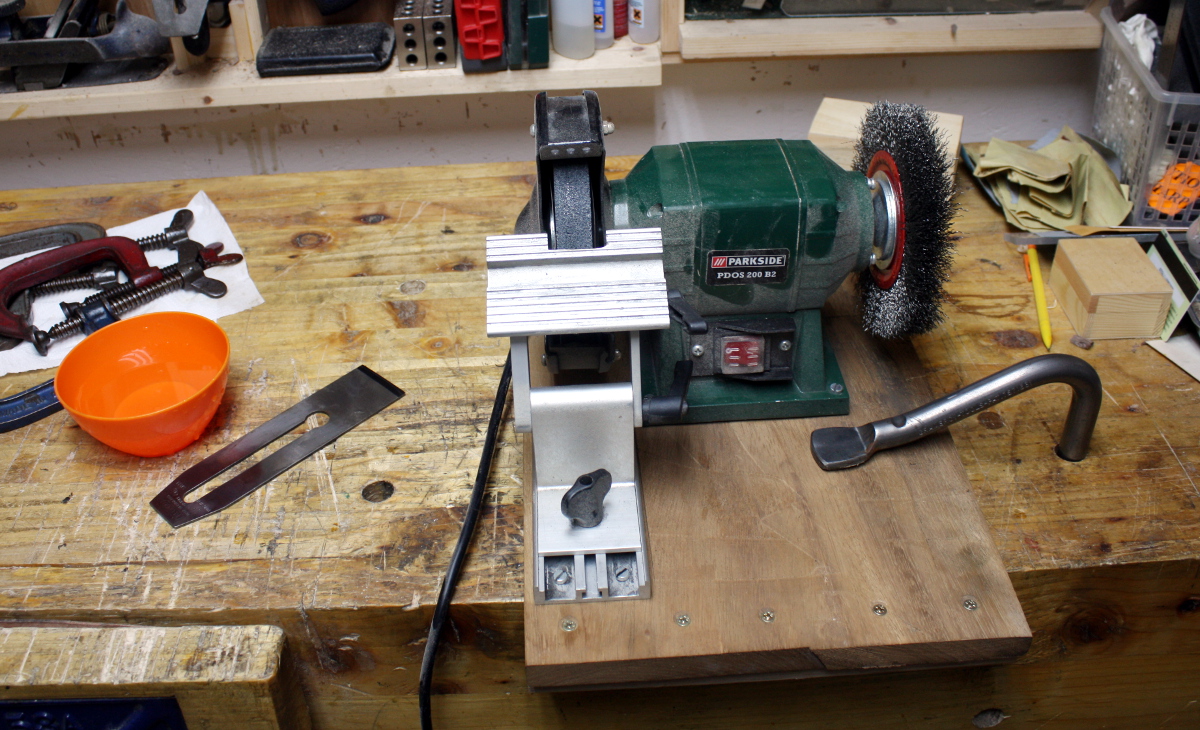
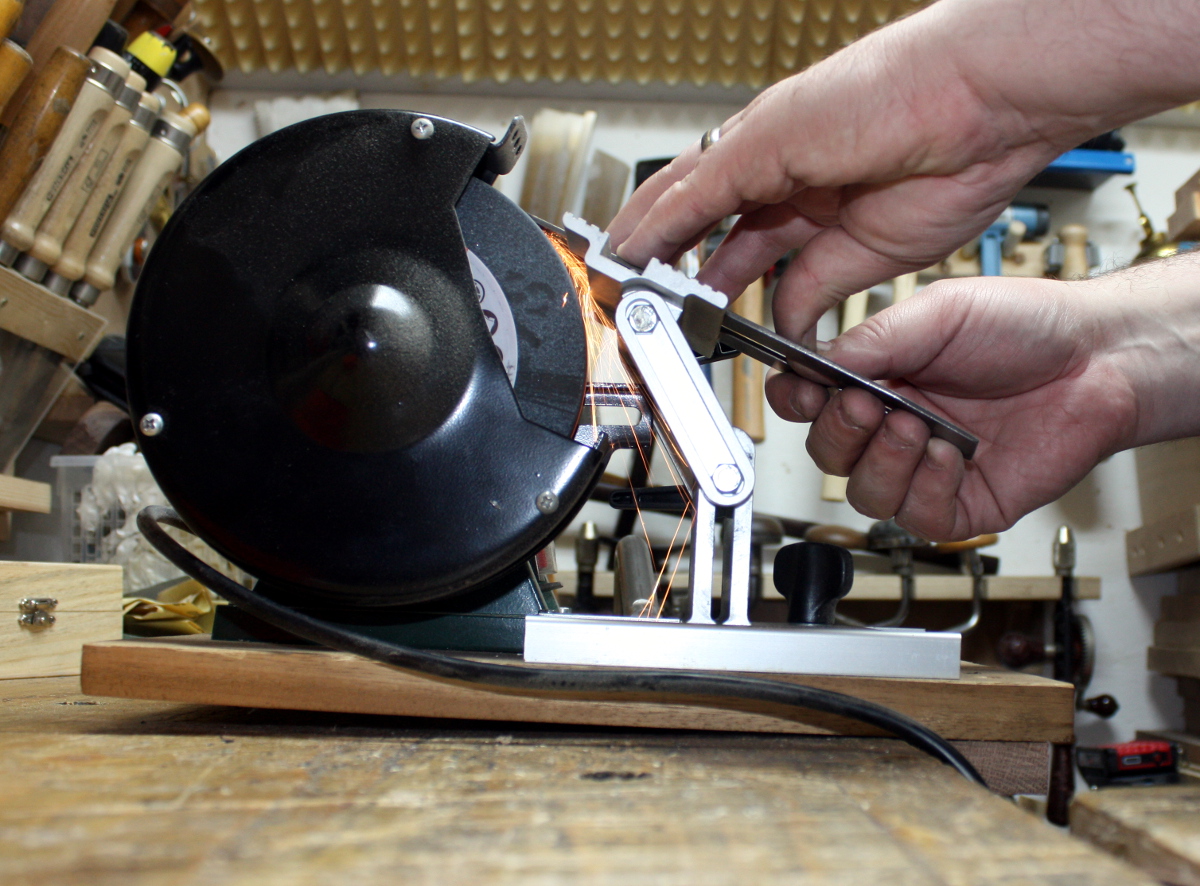
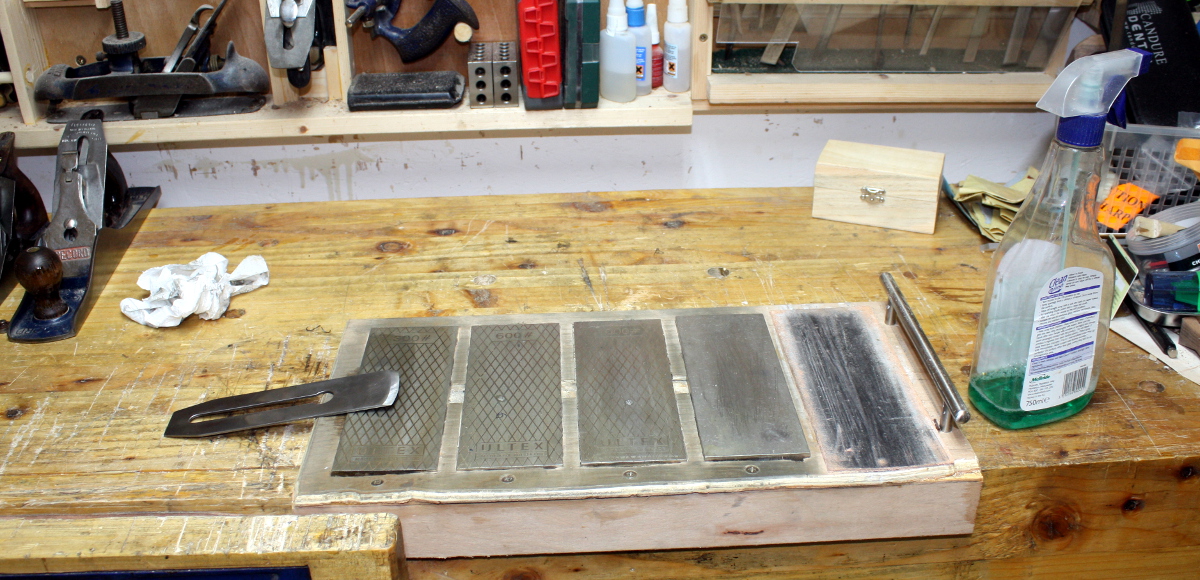
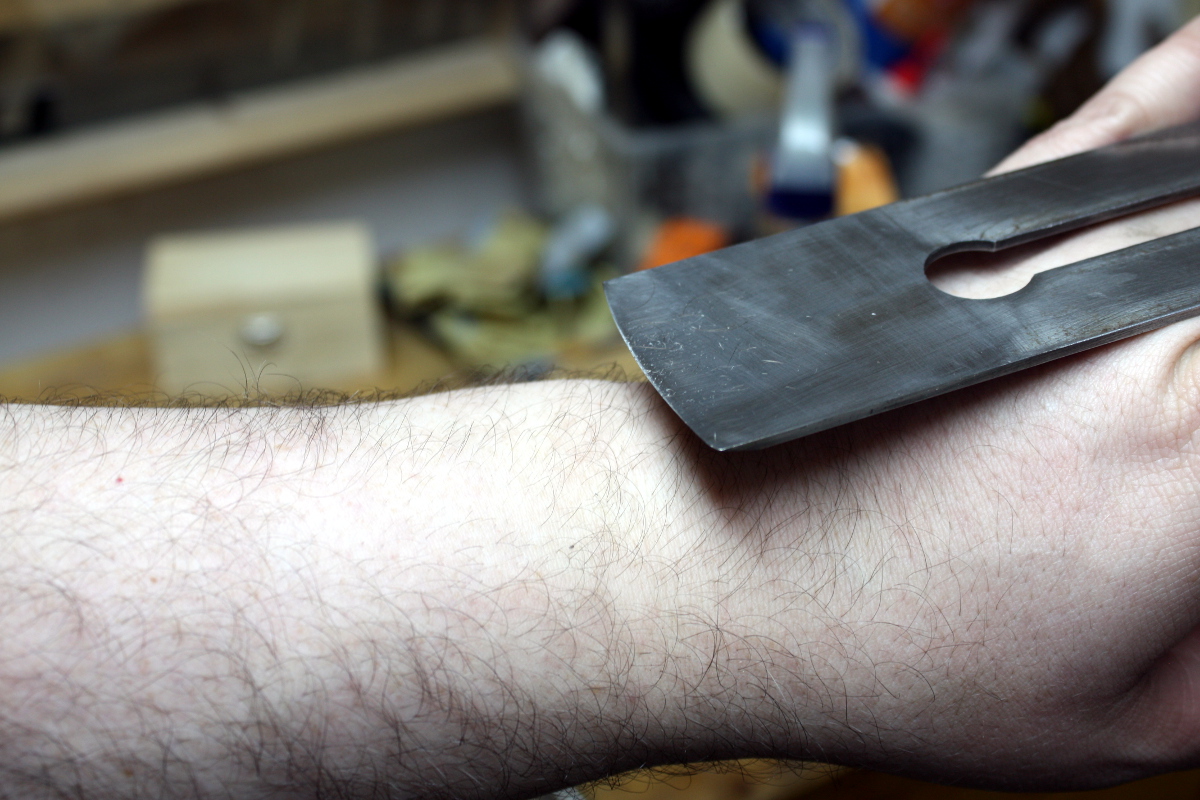
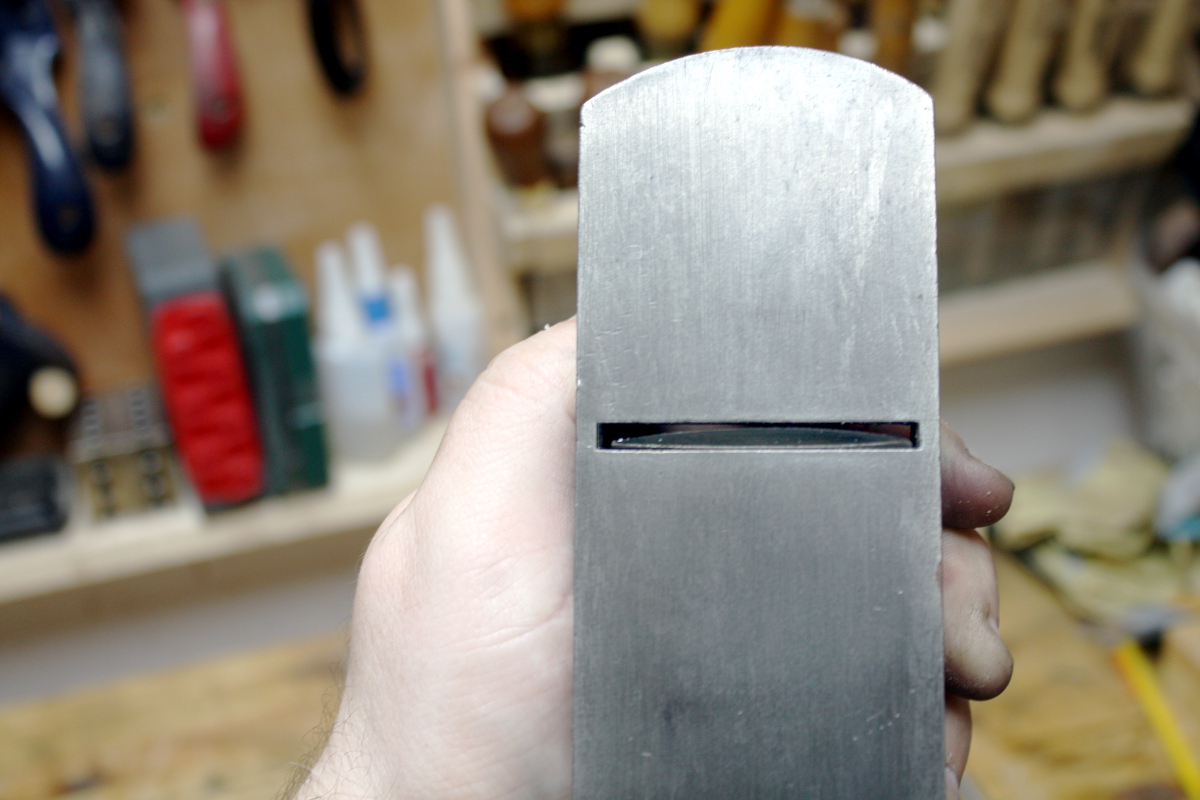
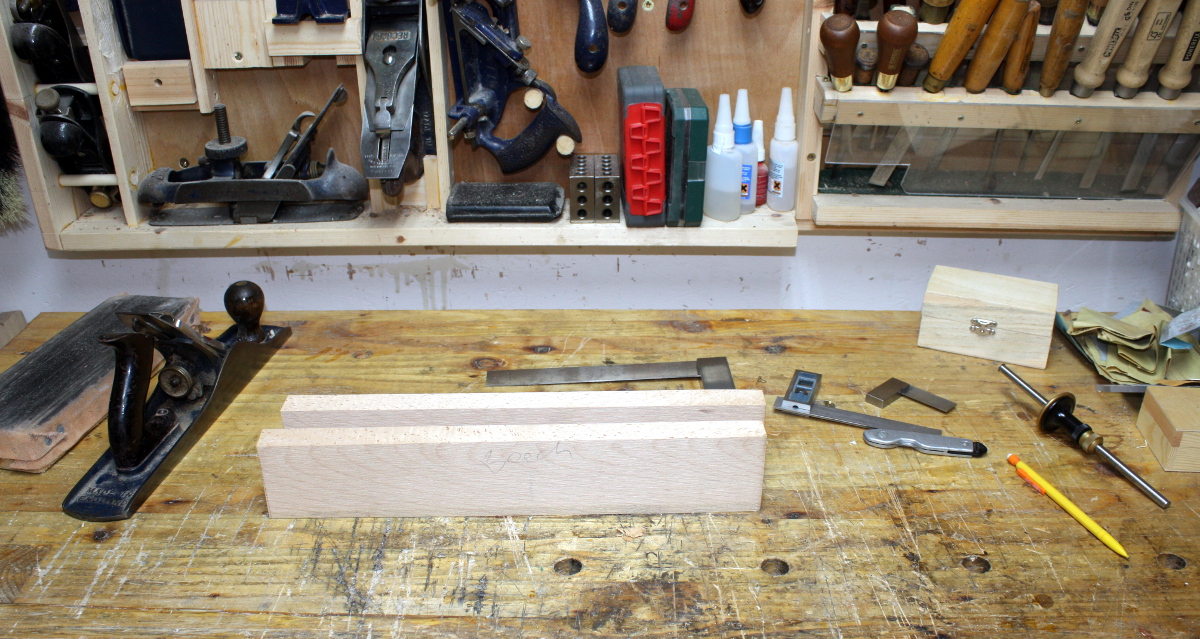
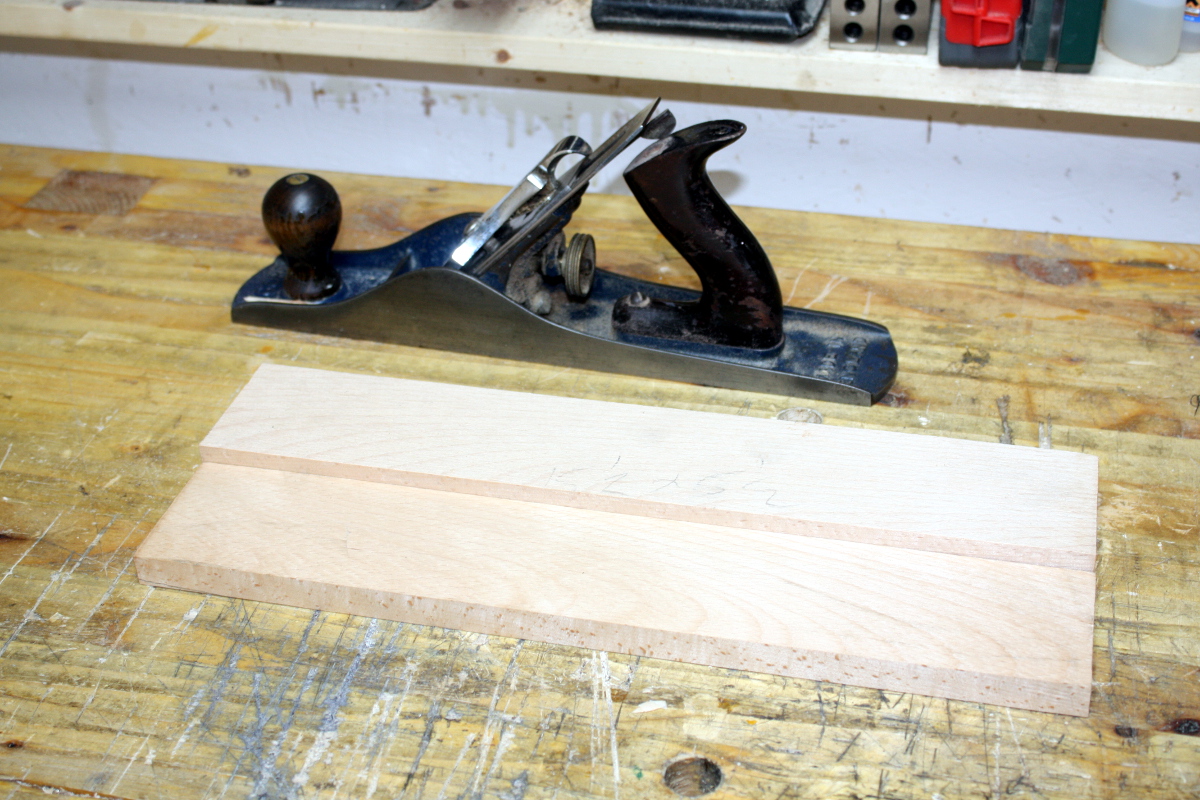
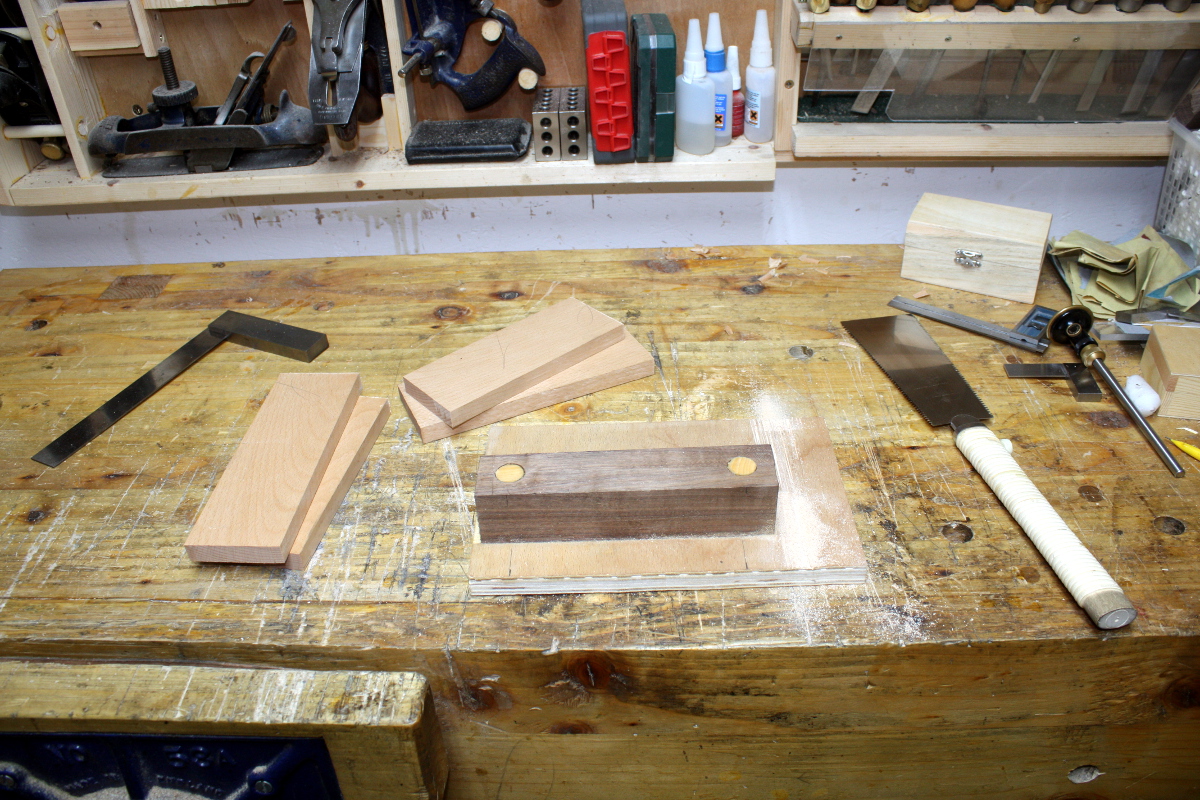
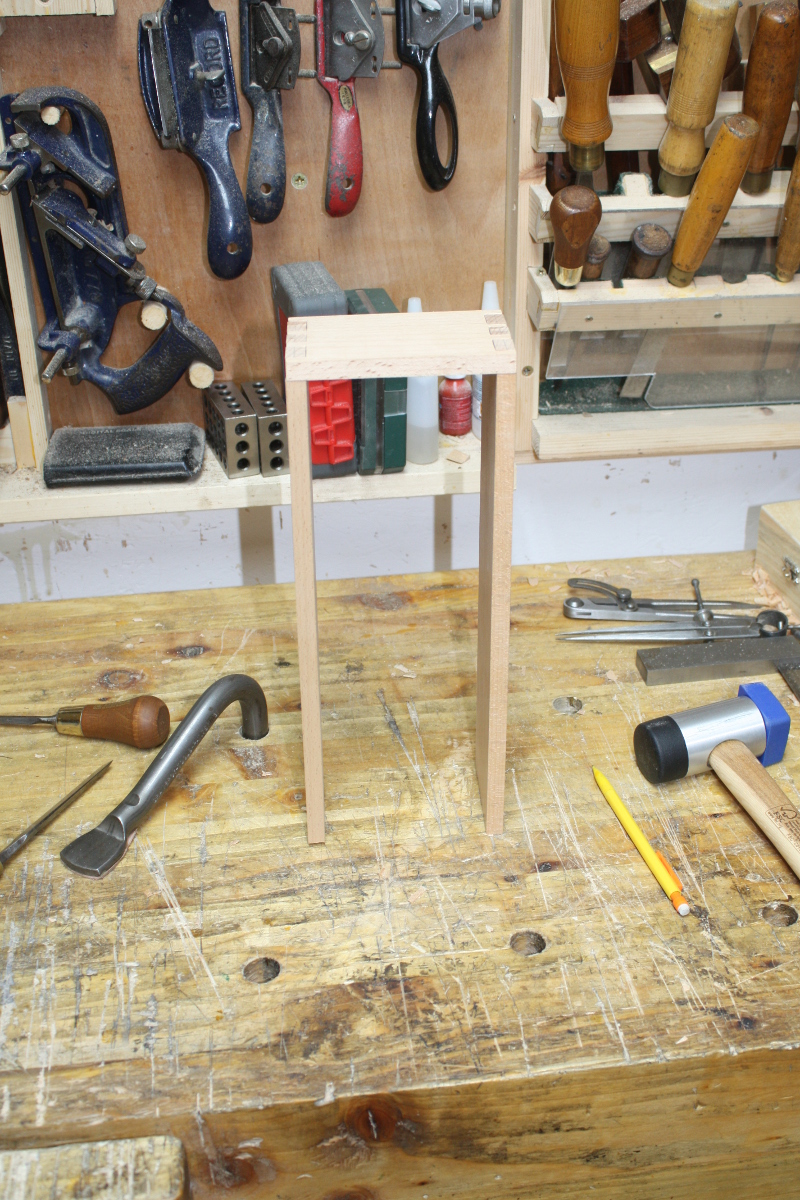
So with the bandsaw down, my plans for the box are on hold and I moved back to the locker. I started off by planing the roughcut pieces I was going to use to get them flat and smooth, then I cut the dovetails for the main carcass, and of course, that means sharpening time 😀

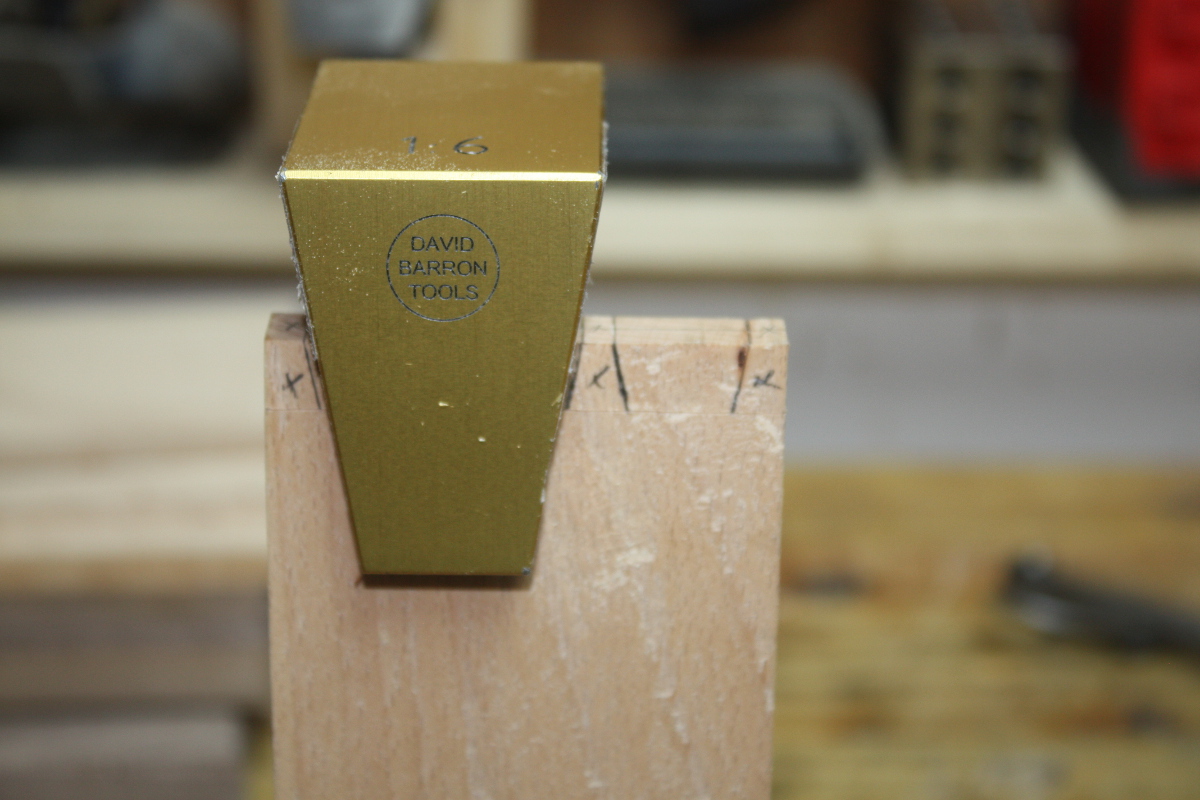
And marking up time…

And sawing time…

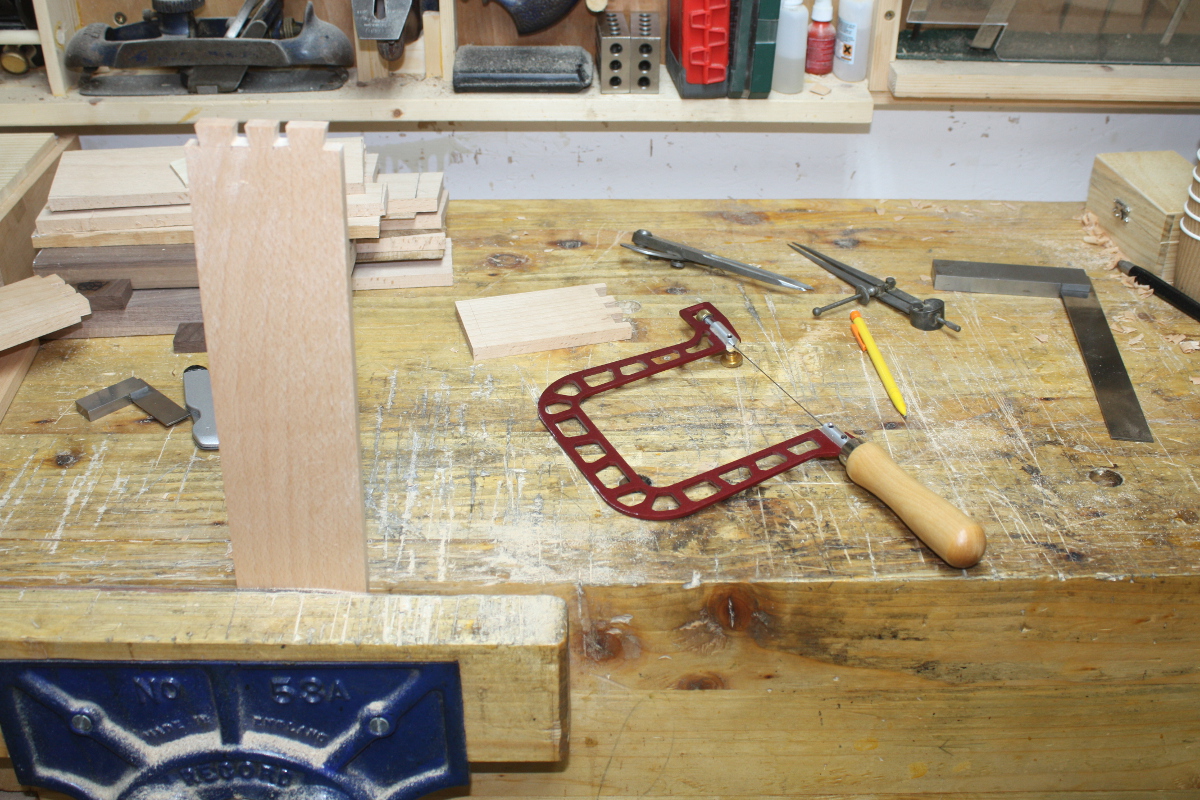
No, I didn’t do all the sawing with the fretsaw, I just used that to get the bulk of the waste out. Then it was chopping and paring time.

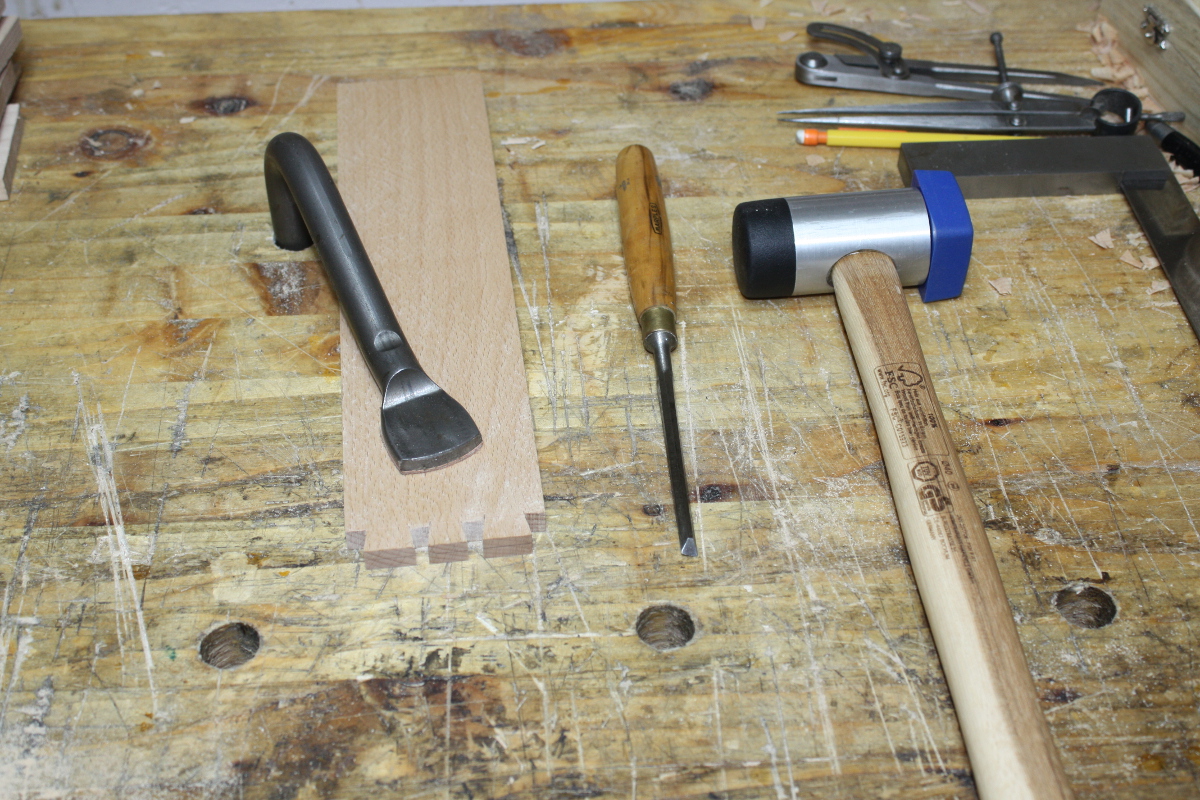
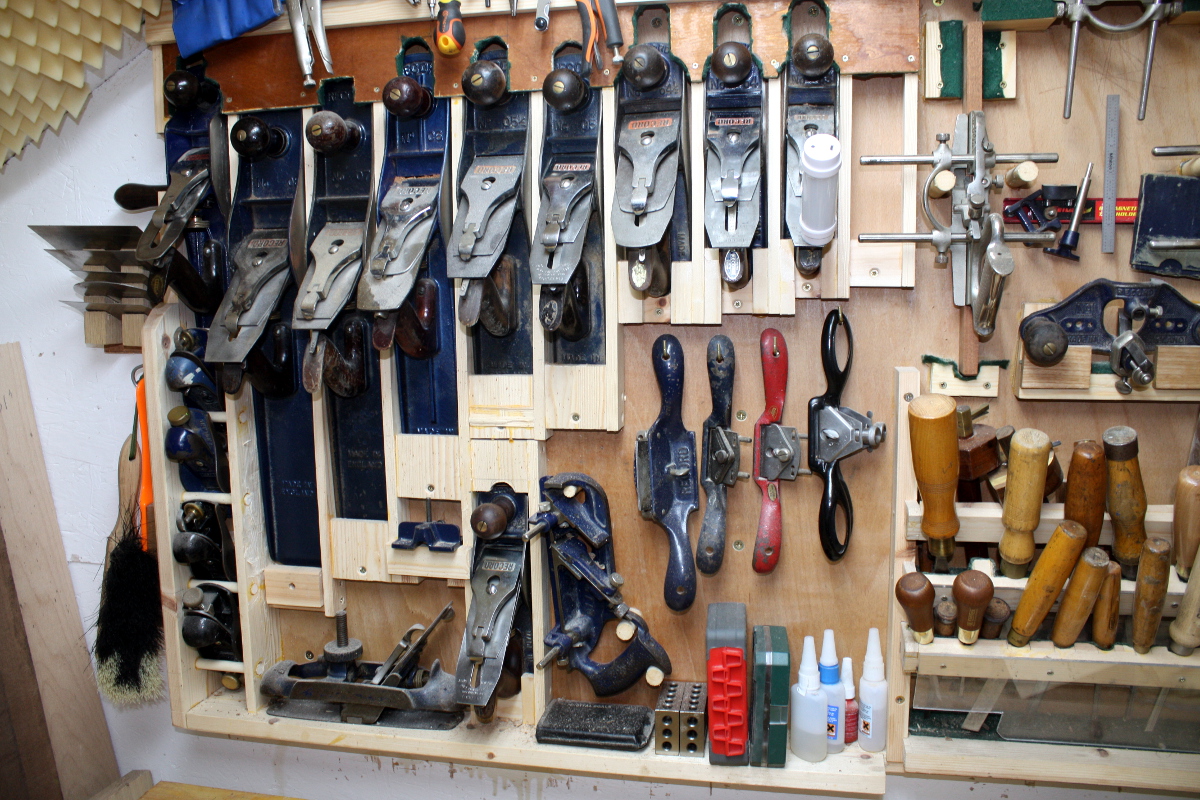
Incidentally, that chisel mallet is a nice find from lidl. I’d say I spotted it, but credit for that goes to Calum…

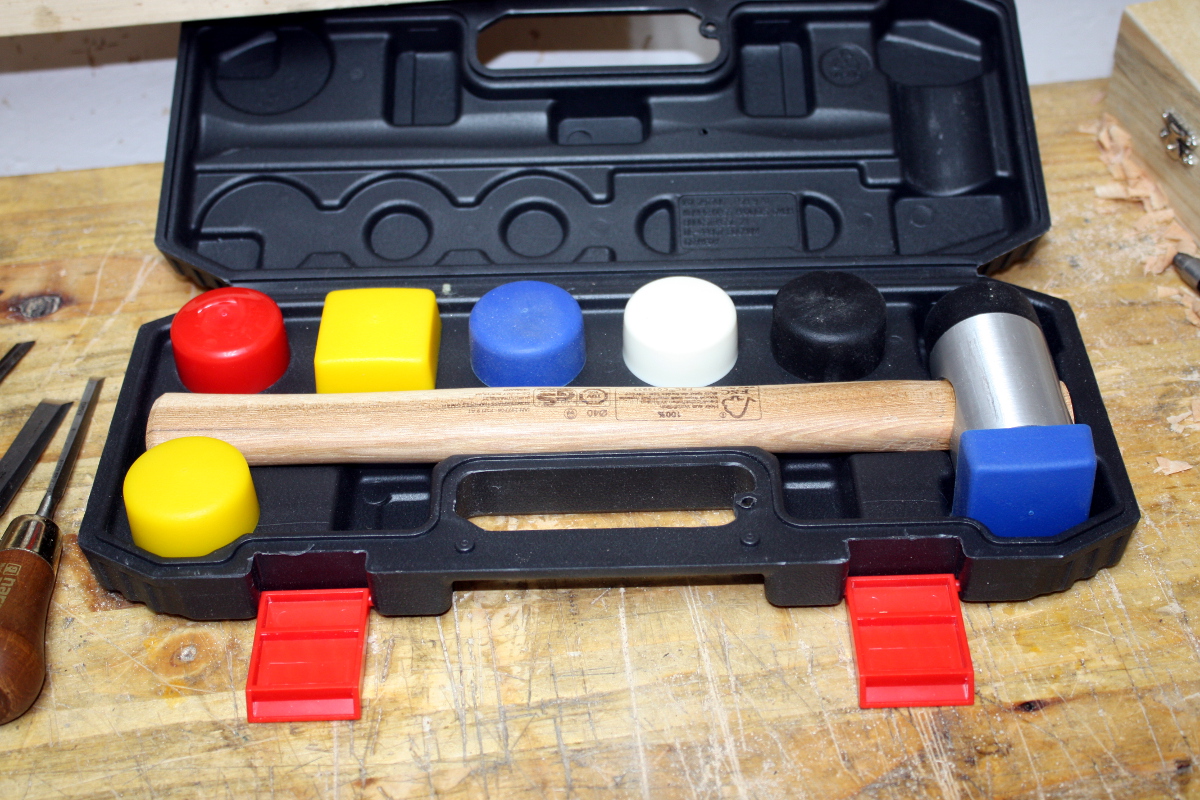
Different faces of different colour-coded hardness from white (hardest) to black to red to yellow to blue (softest), so you can have one hammer with one face for thwacking the chisel and the other face for beating the joint together or apart without either losing energy on the former or marring the work on the latter. Not bad for €14. I mean, it’s not better than the sculptors mallets for carving, but it holds its own against the deadblow hammer, at least in beech. Maybe in a harder wood it wouldn’t manage it, but we’ll see. I don’t have to give up one for the other 😀 That case has to go though, it’s daft.

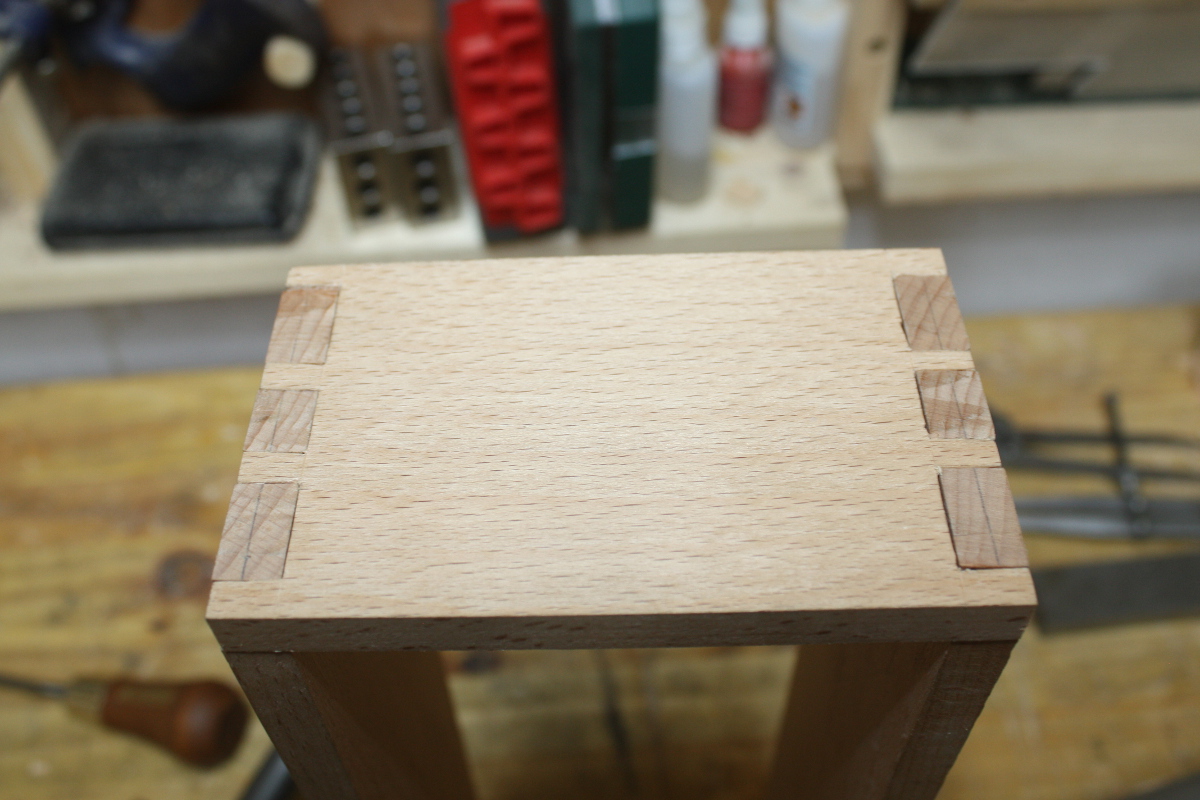
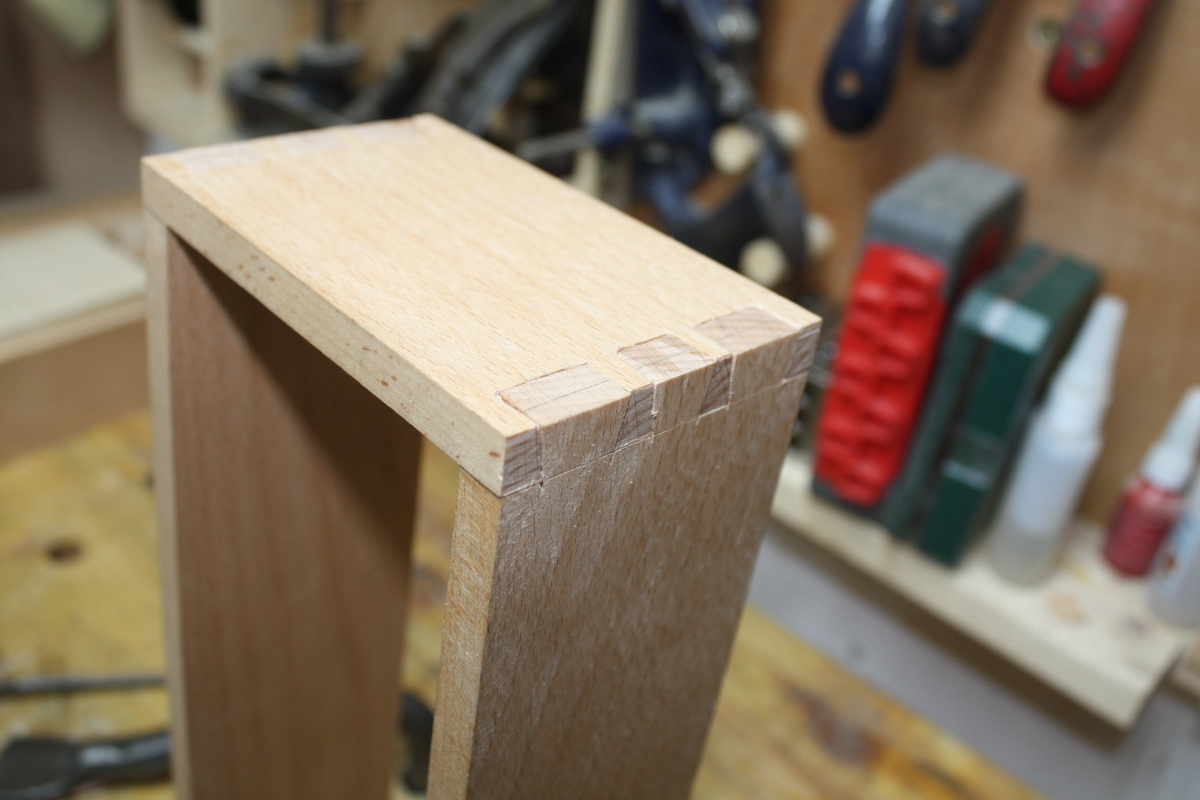
It won’t make the dovetails less gappy for you though… alas.
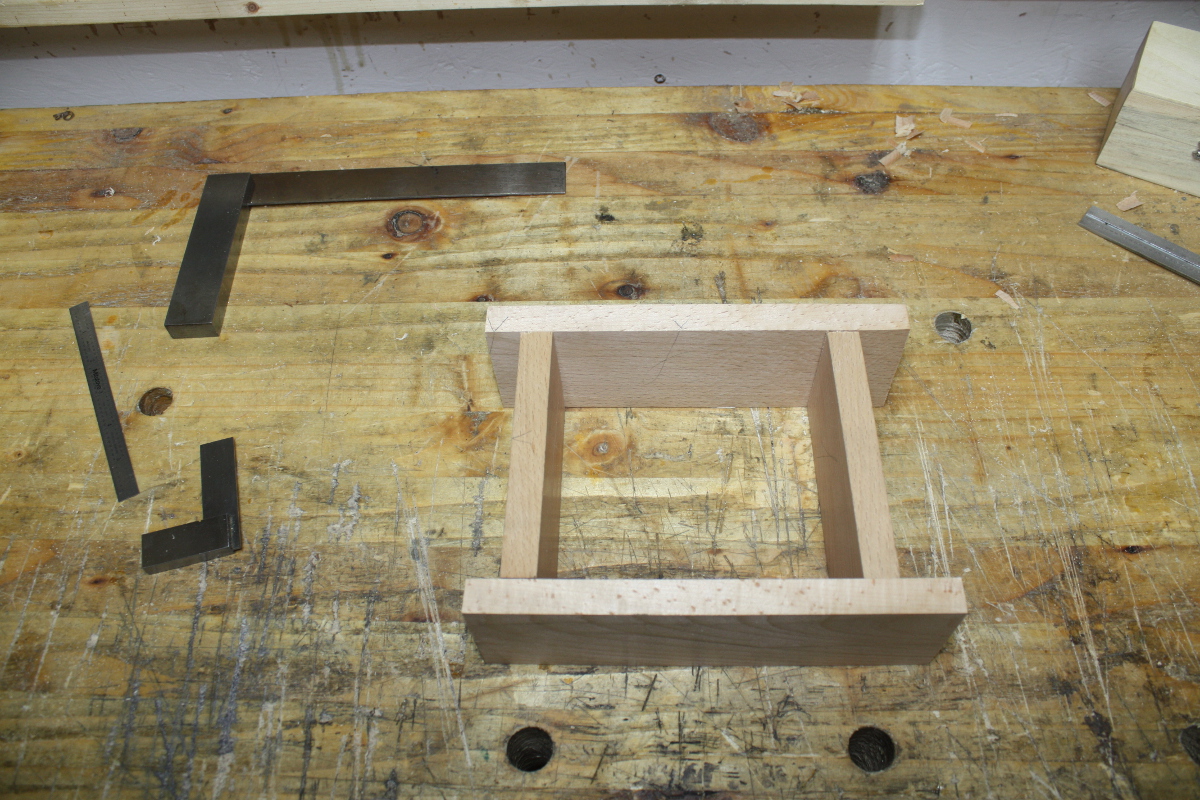
Then this evening I chopped the housing joints for the shelf in the locker.

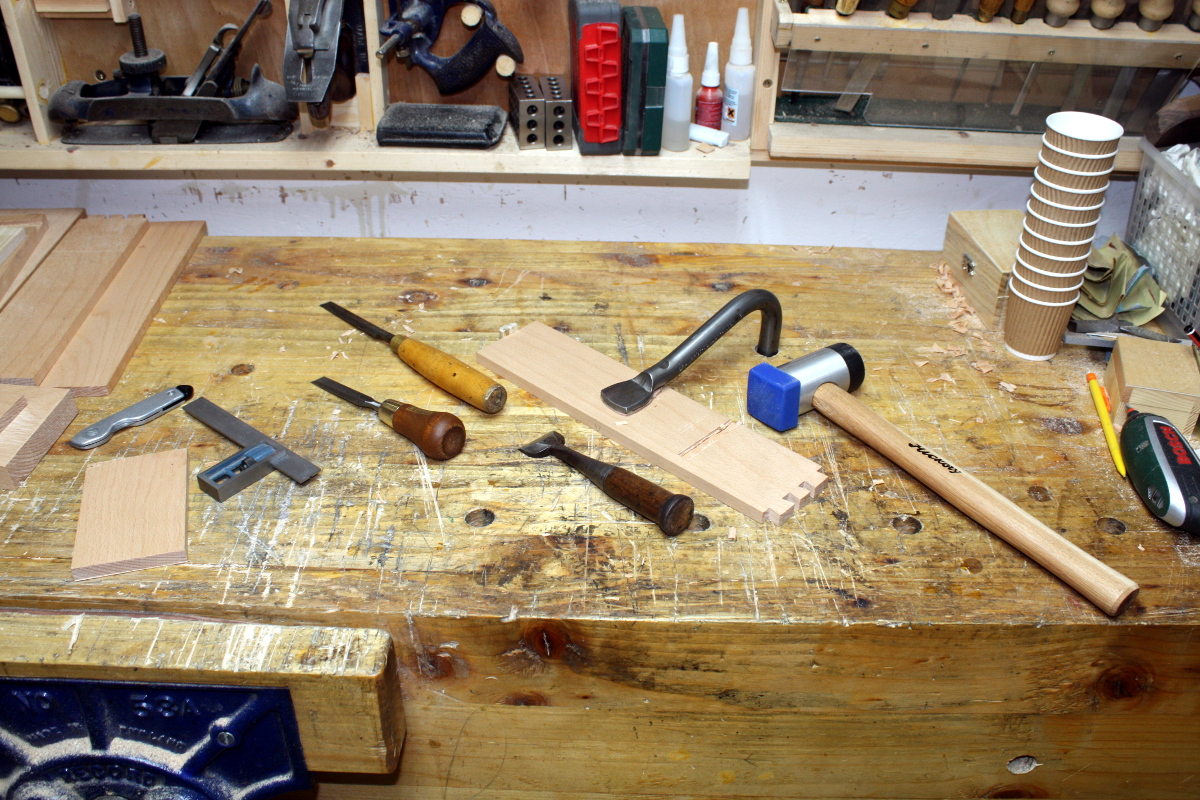
I know I’m using more chisels than I need, but I don’t care, I love the japanese one for the vertical chopping and hate it for the angled chopping, so I swap back and forth. It’s still remarkably fast, especially on a shallow housing like this. Knife the first line, chop down, chop in, brush off the chips, repeat till you’re at depth, bring in the piece of wood to be fitted and tap it up to the new wall of the joint and nick the other side with the knife, then scribe that line with the straight edge and repeat the entire process until both knife walls are at depth and there’s a ridge of waste between them, then pare most of that out with the chisel and refine it with the router plane until it’s all nice and smooth on the inside of the joint. Then pound the shelf home with the mallet to check for fit, and then do the other side…

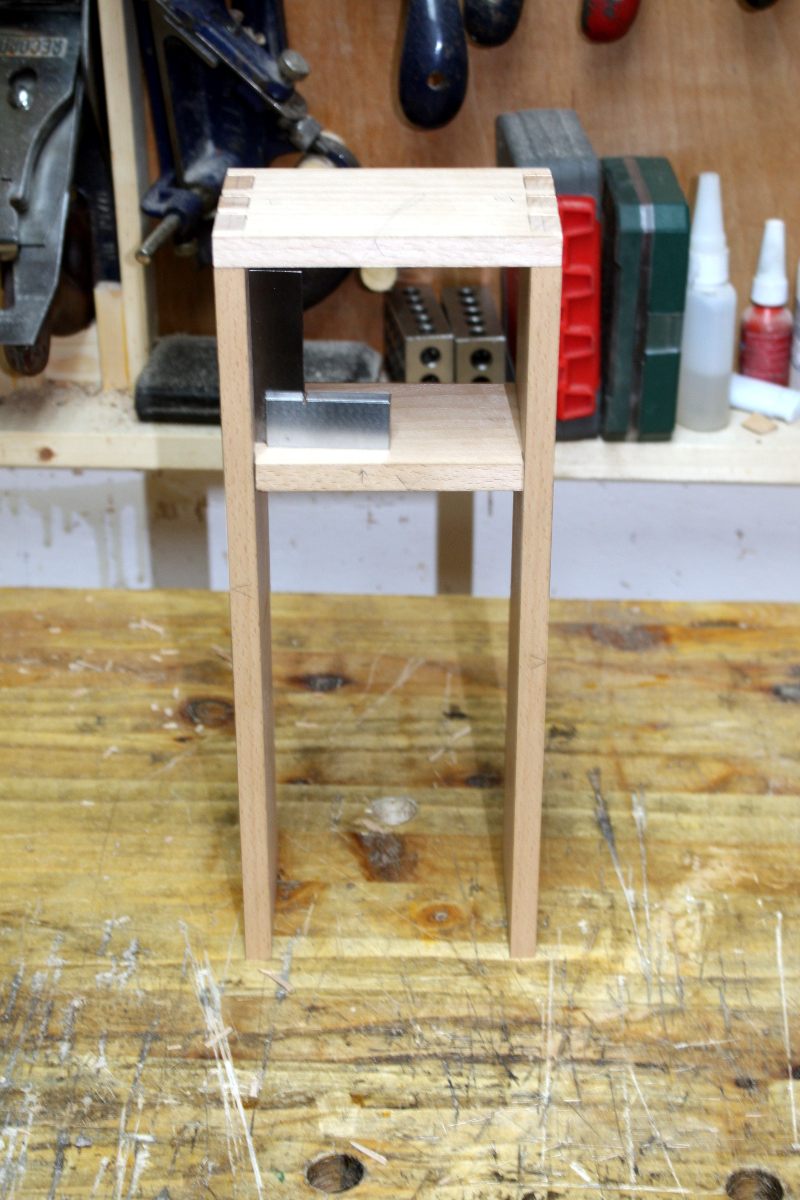
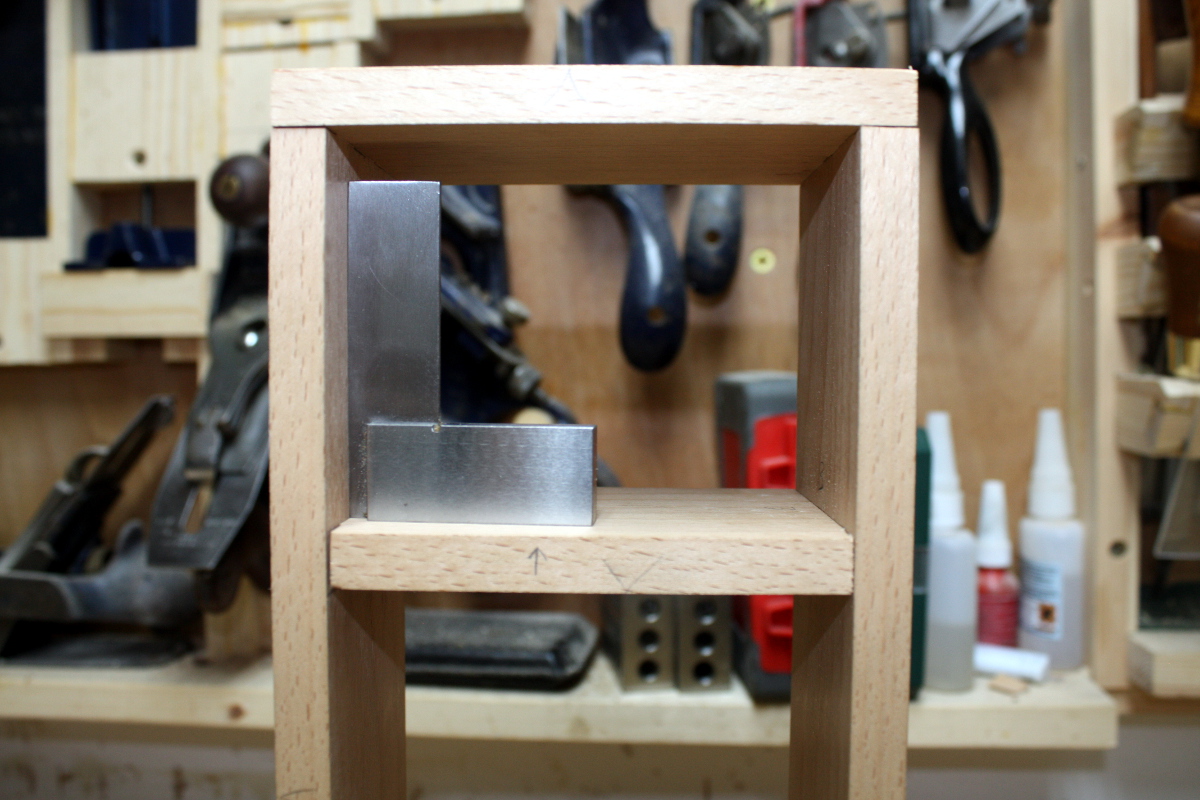
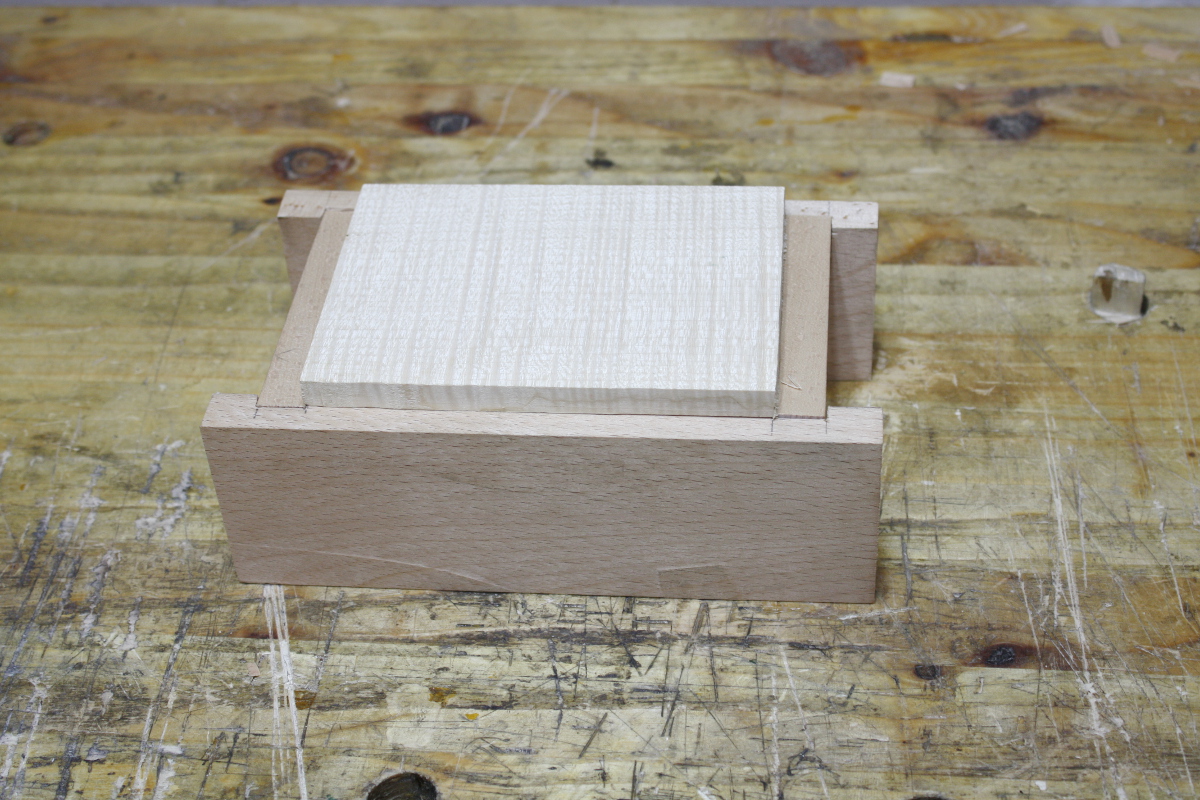
It’s gappy on the dovetails, but the housing joints are fine (that small gap on the left there is something I’ll fettle out, there’s too much width on the shelf yet by about a half-mm or so).

One more housing joint to do and that’ll be the carcass roughed out. Then I have to decide how to attach the back panel and figure out the door (that shelf and the bottom of the locker will have to be recessed for it on the front slightly, but should I rabbet the back to fit the back panel and avoid nails? And I have to figure out the legs as well…


28
May 18

Tweaking…

Just minor tweaking to the dimensions of the small box tonight, and the housing joints (but I think I’ll be fettling those).

And I cut the length of rippled sycamore for the lid, with a few mm spare on all sides so it’ll get planed to fit the box when it’s assembled. There’s enough here to do the lid and have about an inch of waste at most (I hope).

I’ll say this, beech is no walnut when it comes to cutting joints, but it’s not bad. I do need to fettle those a little, but it’s not horrible for a first pass. And I like the way the two species work together. This might actually be pretty…


27
May 18

A busy weekend…

…and almost none of it spent in the shed, but for once that wasn’t a bad thing 🙂

(I know this might be confusing if you’re reading this outside Ireland, but check the international news, we wound up in it almost everywhere). Herself was canvassing and leafletting and doing her part for this for the last few weeks, and we were all a bit on edge throughout because the No campaign were being violent and abusive and just plain nasty in an attempt to drive down turnout for the vote, but in the end people remembered thirty-five years of suffering and overwhelmingly voted yes. After which, to be frank, we were all a bit weepy and wiped out. Herself went in to Dublin Castle for the official announcement, and I went off with Junior to the grandparents to decompress and grill some hamburgers, and we all went home and crashed that evening with a plan to not even move the next day if we didn’t have to.

But I figured the shed might help me unwind a little so…

First things first, grind a camber onto the new scrub plane…

I’m always convinced this stage is going to ignite six litres of shellac and finishes so I’m not hugely fond of it but needs must…

Then on to the stones to fine tune the bevel and hone it.

Well, that worked…

And a slightly less aggressive camber than Sid’s. So, Sid gets relegated to the toolbox for the foreseeable; he may be dug out again if I ever need to thickness a lot of pine or something like that, but he tended to bite me as much as he’d bite the wood, so I’d rather stick with the new plane, it lets me bleed less on the work which will hopefully improve the final finish of pieces. Happily, I didn’t have to do anything to the mouth, so the guilt of mangling an old but perfectly fine Record #04 wasn’t triggered.

In its new home.

And now my wall is almost 100% record (bar the two stanley block planes and the preston spokeshaves). Which is odd because I didn’t start out looking to make a collection, but I seem to have wound up with one anyway.

Oh well. Time to actually use the sodding things now. I have some rough cut pieces still ready to start in on…

But I’m not actually touching those today, I wanted to get a feel for what beech is like to work so I’m prepping some pieces for a simple box first from the offcut left over from doing those rough cuts.

Ripped the offcut in half and planed to matching width.

Then flattened one side and thicknessed with the new scrub plane. Honestly, this is not my favourite part of this hobby.

And it generates a lot of mess…

But I got the pieces thicknessed and flattened on both sides, and shot the ends square and then cut out 8″ and 5″ lengths for the sides of the box.

…and I don’t like the proportions. Hm. I wanted to use the rippled sycamore for the lid here, so I think I’ll let it dictate the proportions; that should shrink the width by a solid inch here which I think might work. It’ll be a japanese style tool box thing when its done, if a little bit fancier than those normally get made because I want to use pegs instead of nails and try to make it pretty. We’ll see if it works 😀

I’ll probably just futz with the proportions stuff and maybe cut the housing joints here tomorrow, and then I want to get on with the resawing and prep work on the pile of rough cuts for the box, it’s for a present and I’d like to get a start on it. And I’m seriously thinking about taking this Friday off as it’s the June bank holiday weekend and a four day weekend right now sounds almost scandalously luxurious…