29
Jun 18

Sunbathing poplar

So asking on UKworkshop about that clamping problem I was thinking about with the shelf/desk project led to the conclusion that housing joints won’t work and tapered sliding dovetail joints are the better choice. That will probably mean some router work because of the precision needed – I could probably make a tapered dovetail joint that wouldn’t pull out, but one that would be precise enough to maintain the shelves against racking would be beyond me. So a new router bit, get that router table out of storage and actually assemble it (I basically picked it up in Lidl intending to use parts of it in a proper router table at some point and then just developed a dislike for routers in general 😀 ), and that sorts two of the shelves out; the third gets dovetailed into the top shelf which will also help with racking.

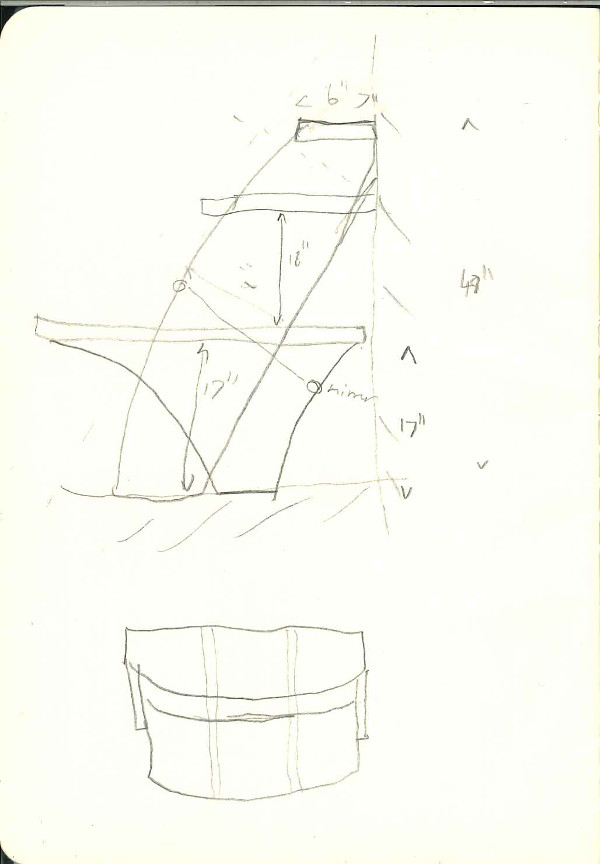
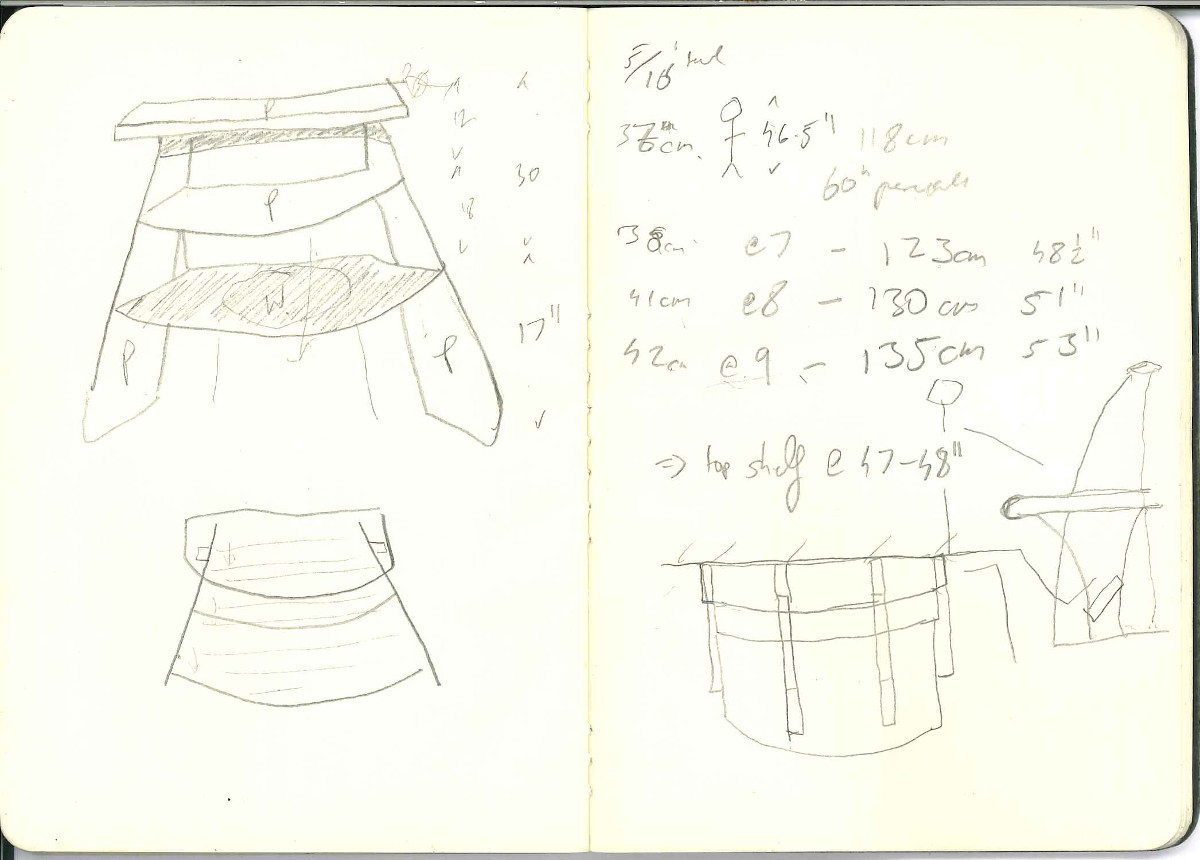
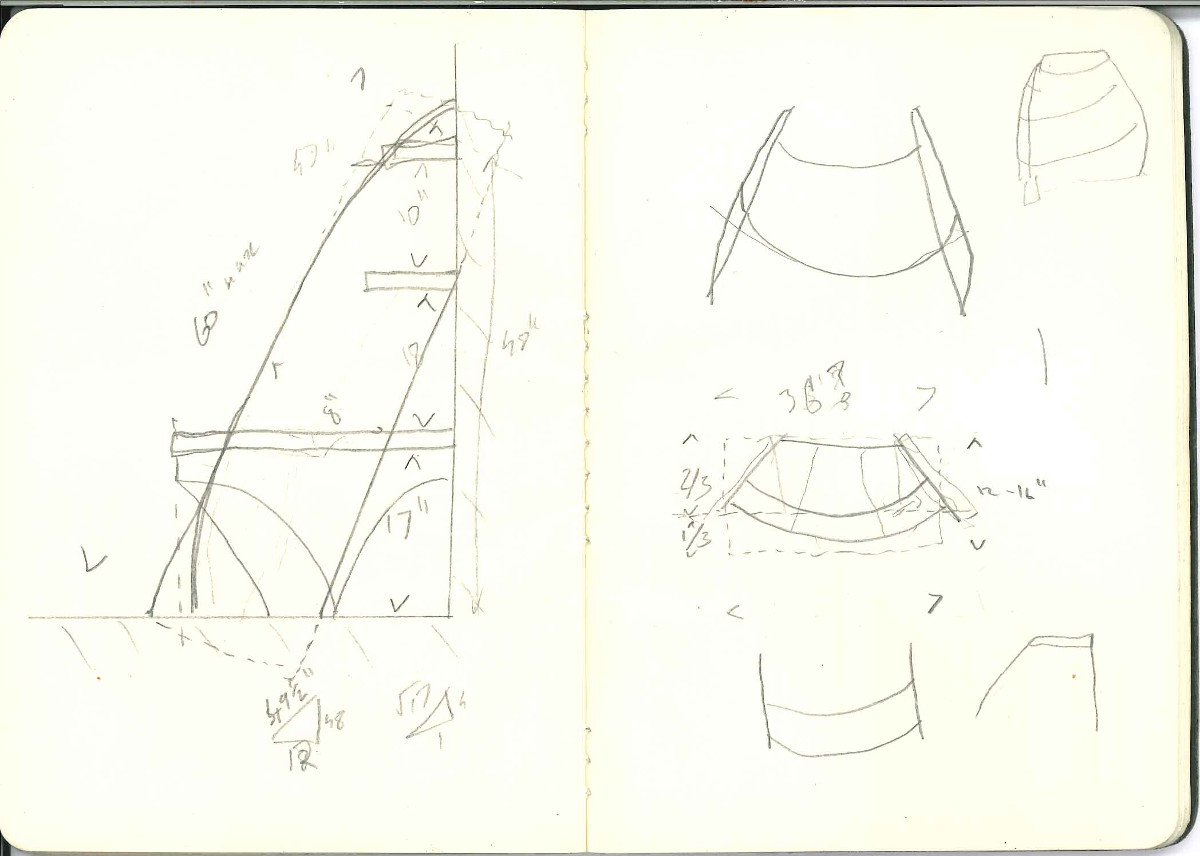
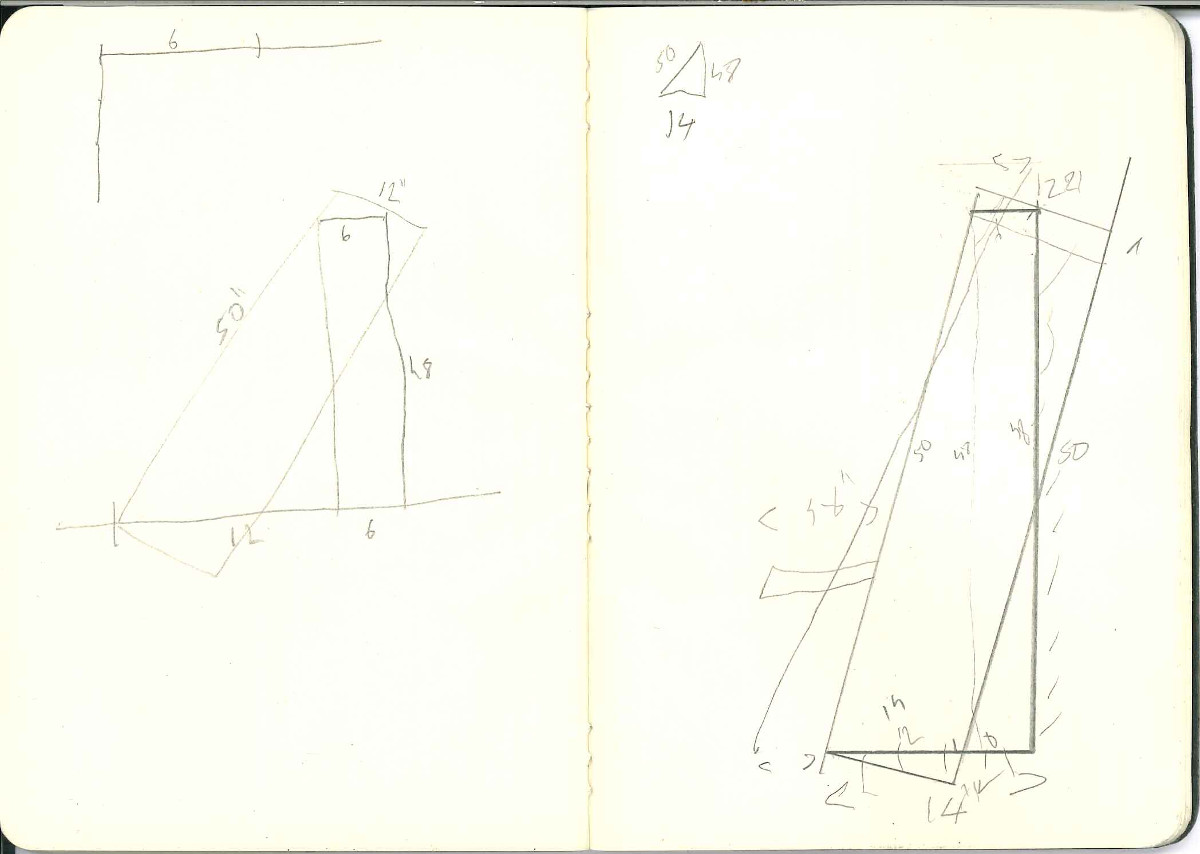
And I keep sketching the idea in my head to try to nail down the bits of it.

It does feel like I’m trying to squeeze the shape I want out of almost not enough wood; the 8″ wide poplar planks I have might not be wide enough and I might need to do a run to the timber yard for some 12″ wide boards. Which would mean a half-day off work and I’d wind up buying a lot more than one board because if you’re giving up vacation time, you buy in batches. So I’d rather get the pieces out of what I have, but if I can’t, there will be more walnut and poplar and maybe some utile to see what that’s like to work with… see, this is the problem with going to the timber yard 😀

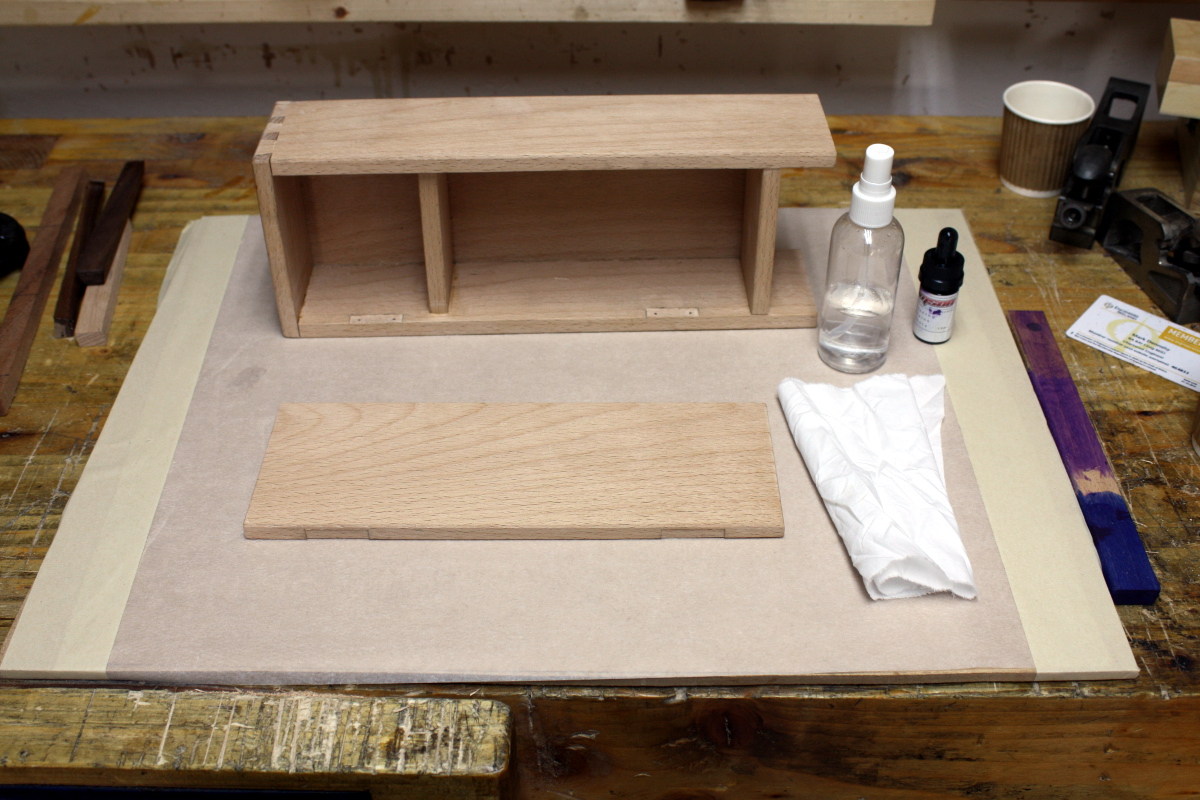
Meanwhile, we’re in a heat wave here and the poplar I have has these green streaks, so I figure I’d let it sunbathe for a few days to get rid of them and get that lovely honey colour poplar gets…

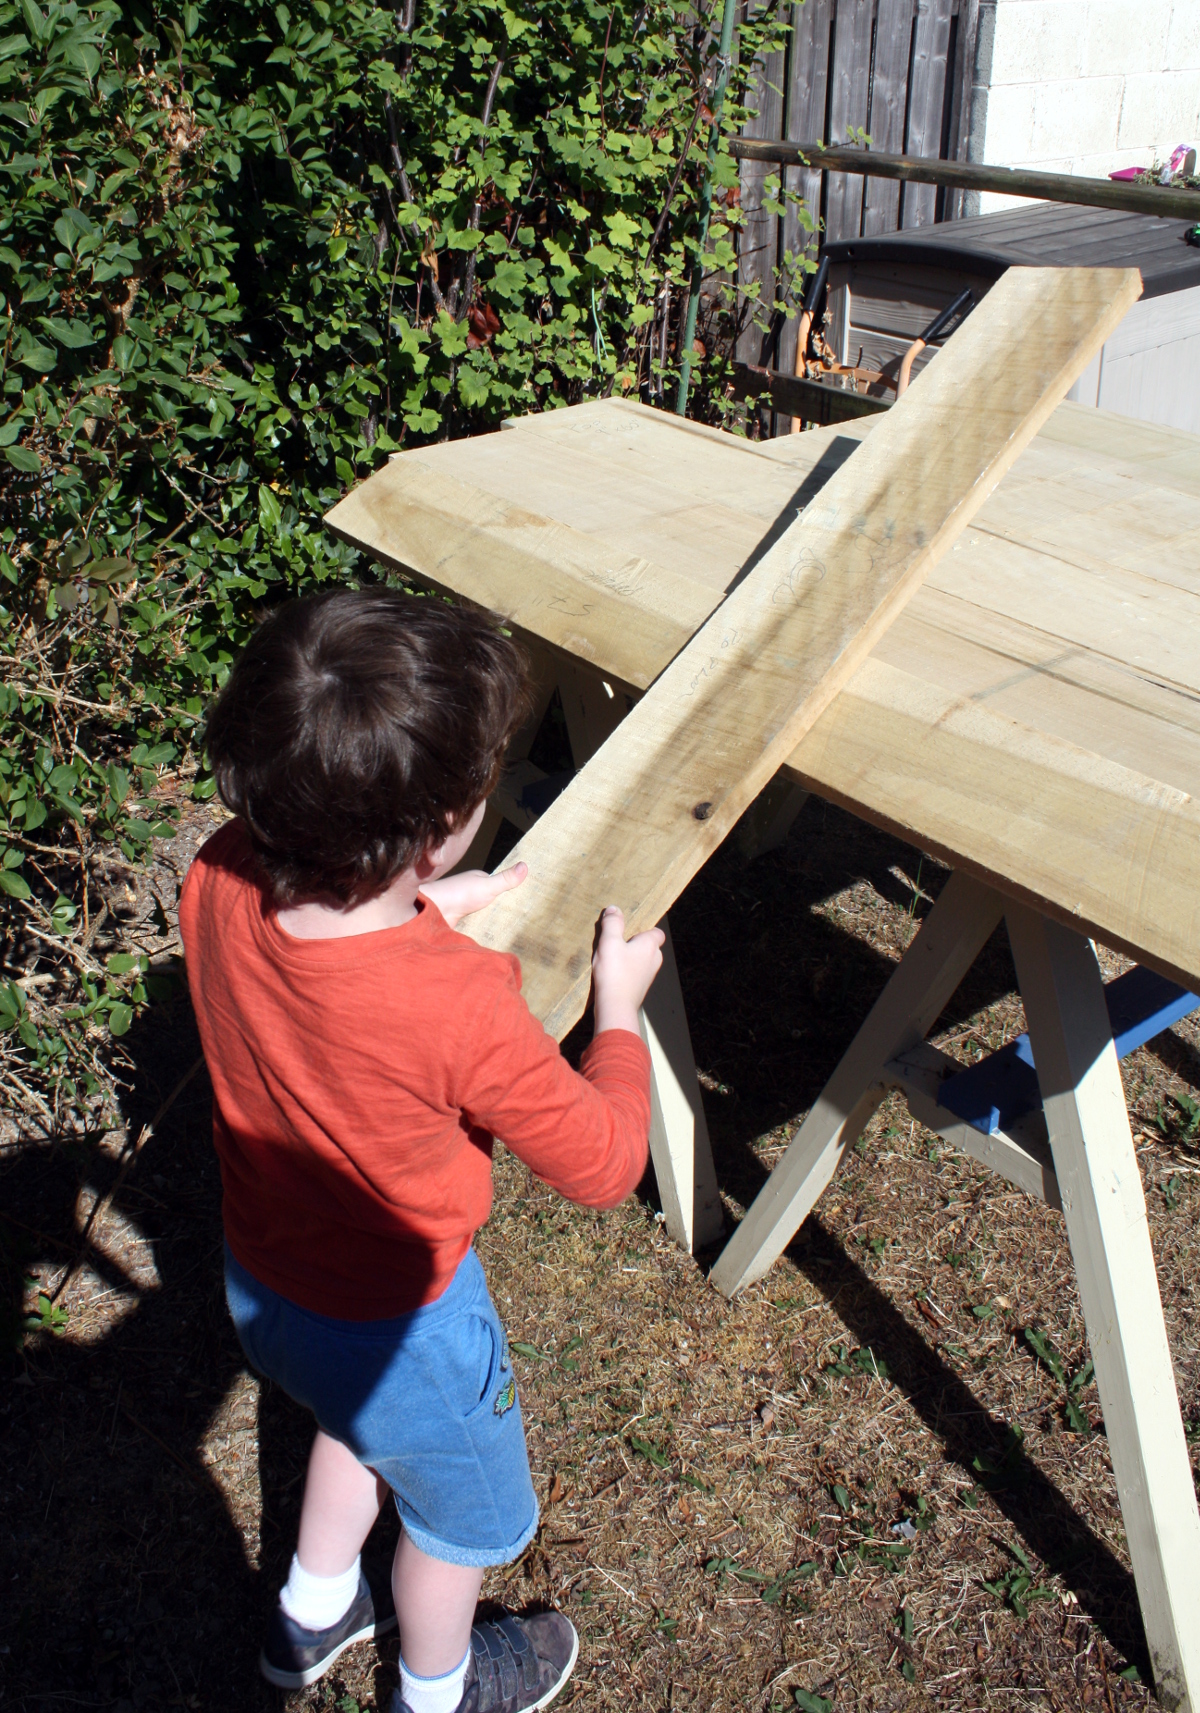
Better than a shop dog 😀

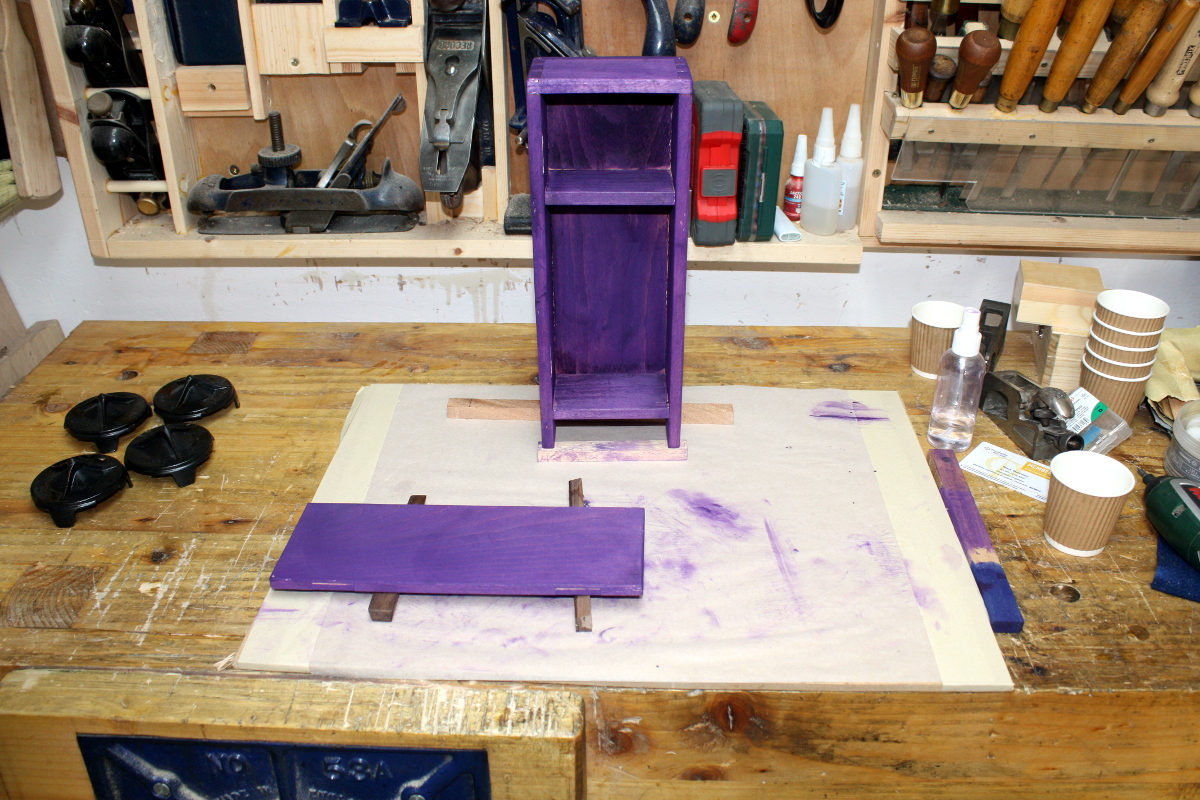
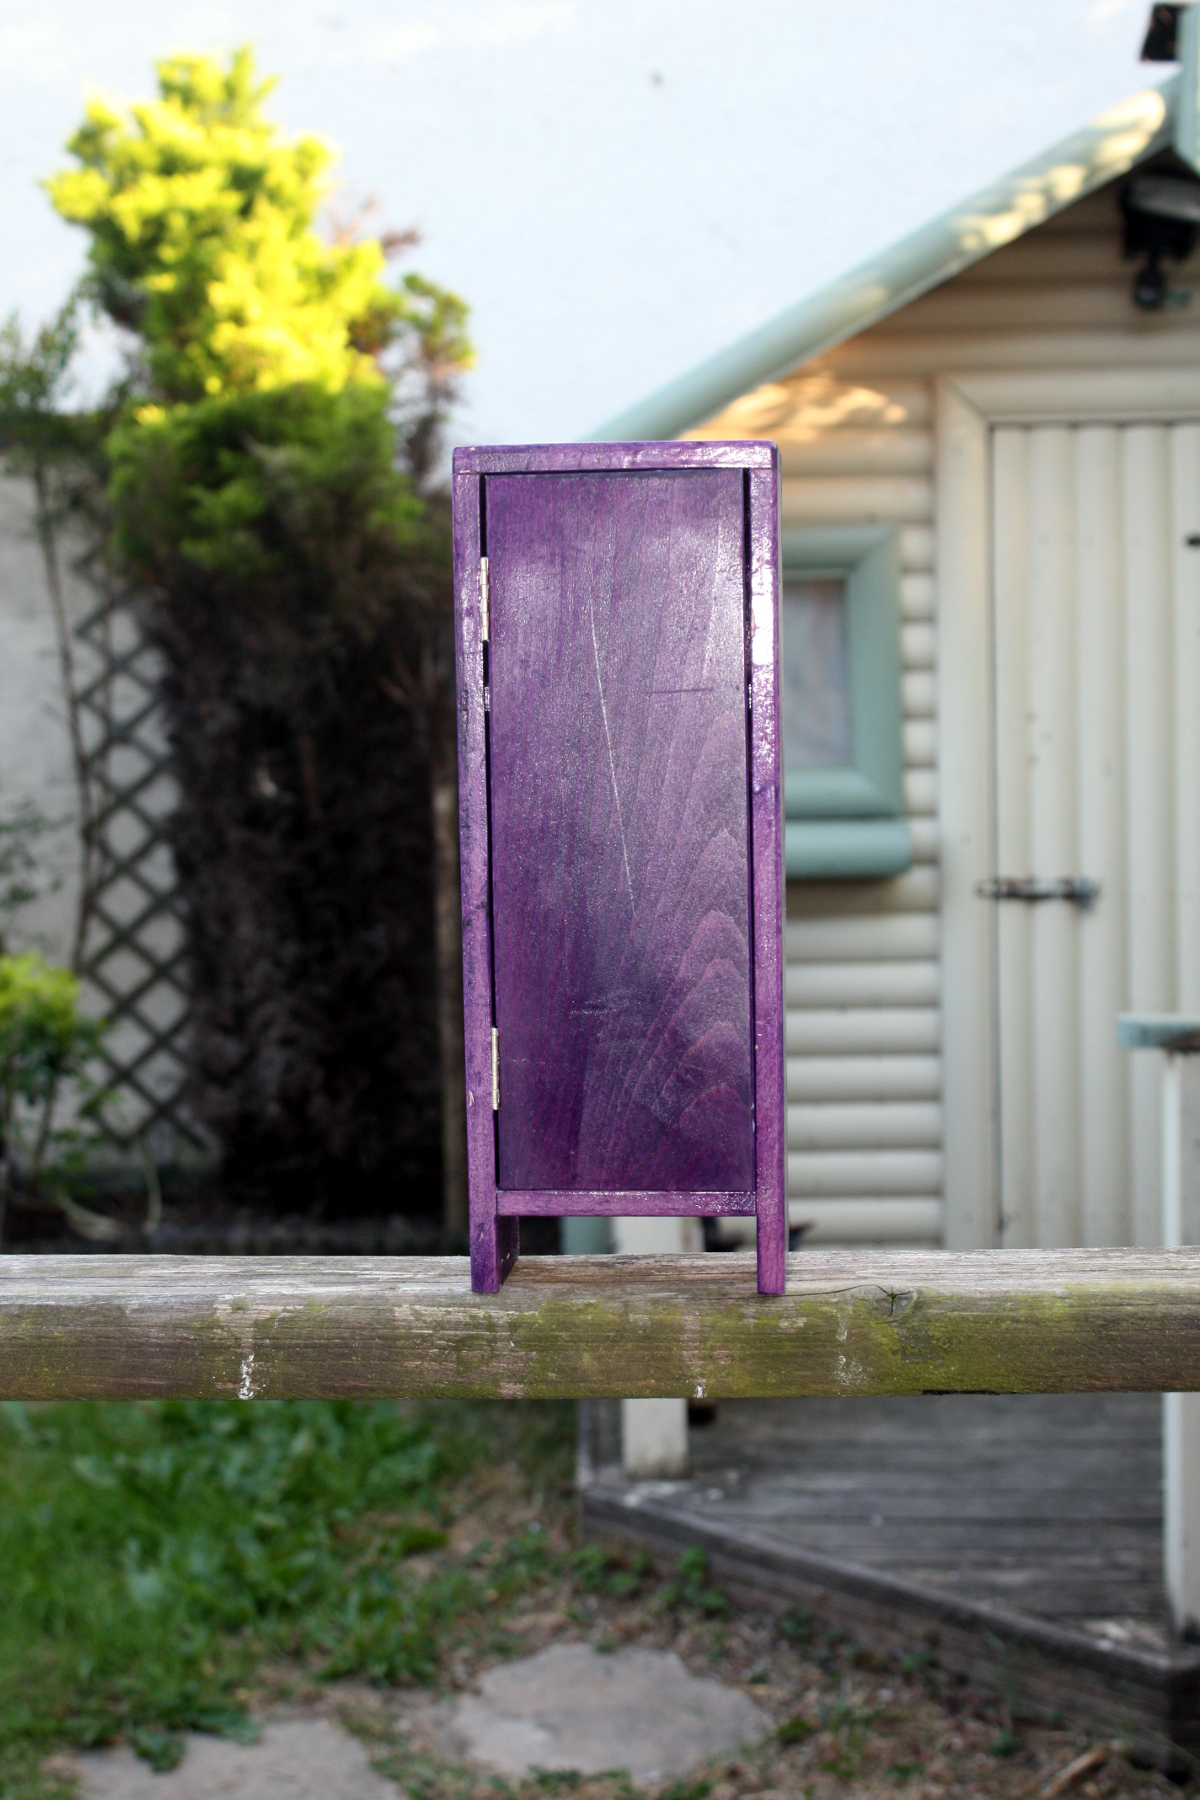
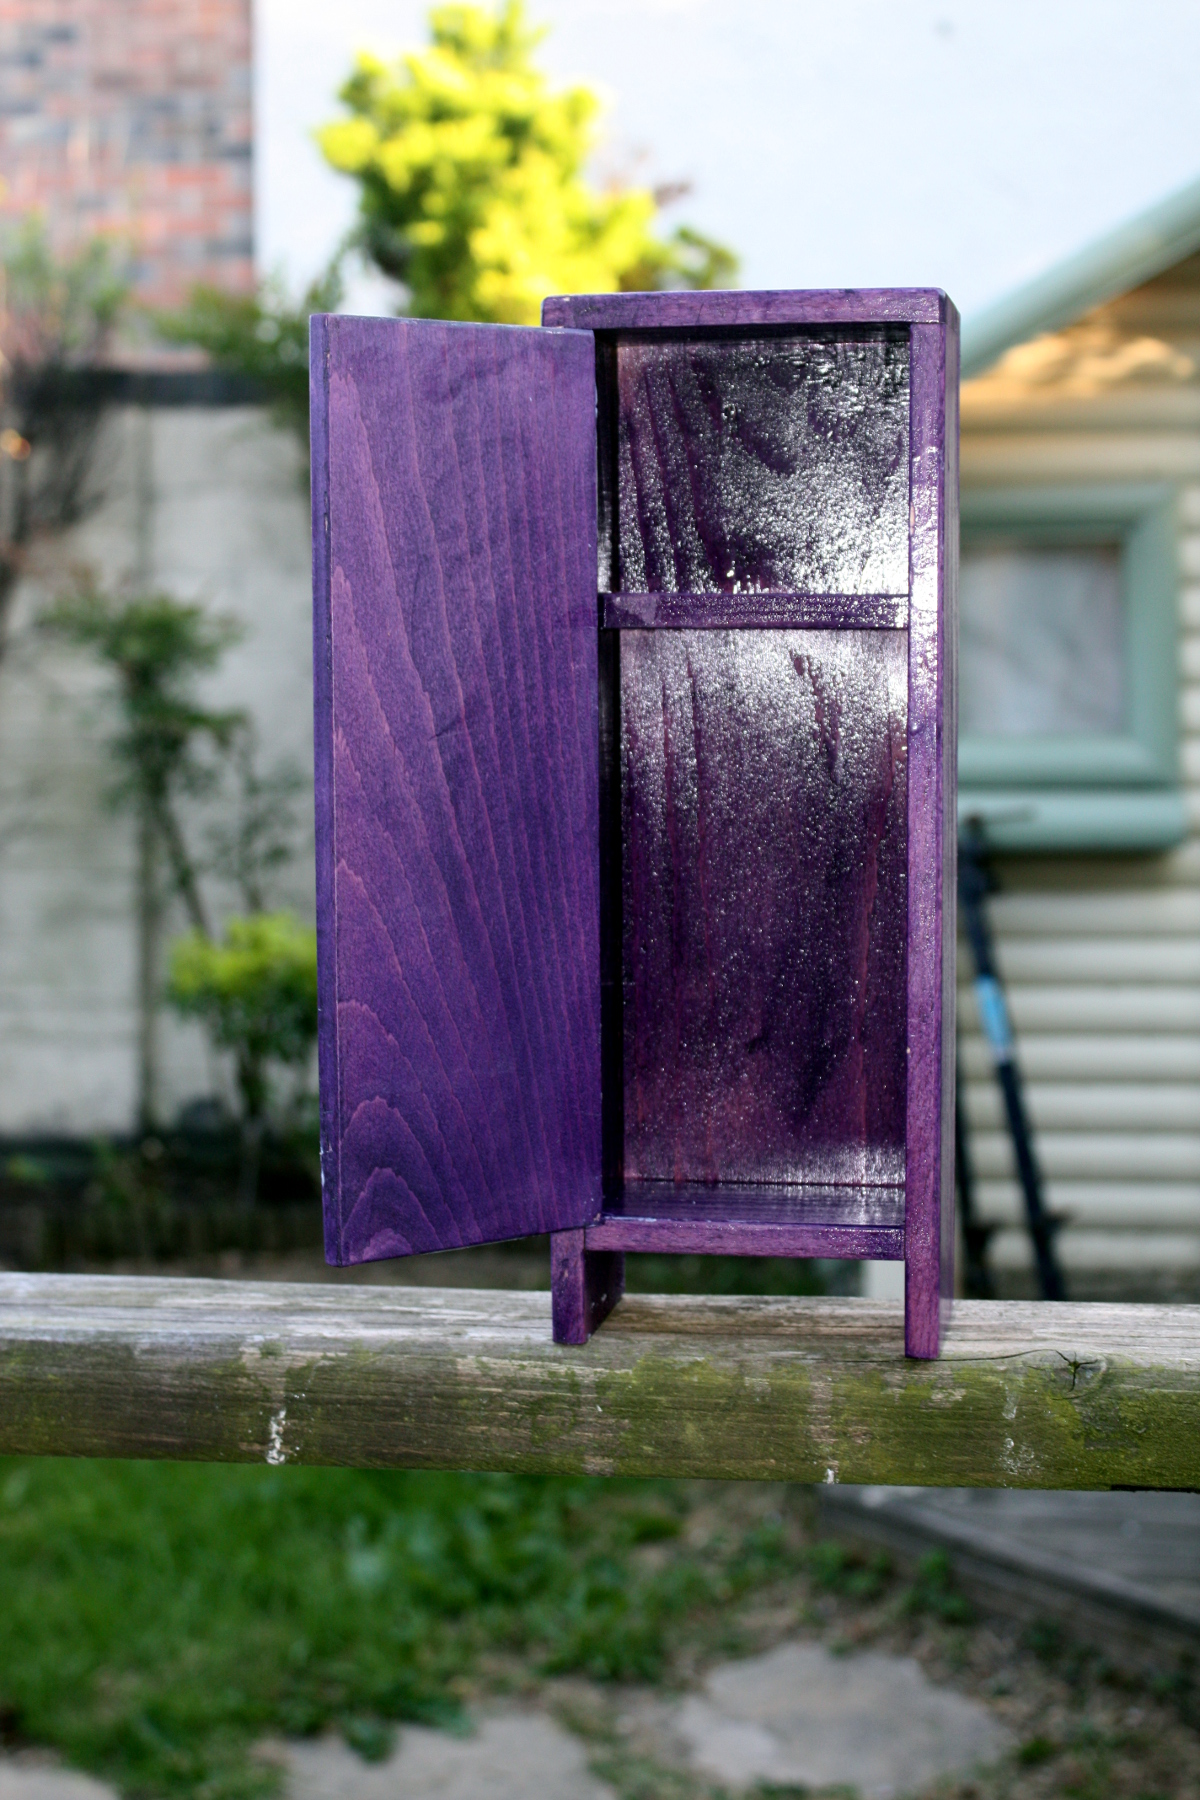
The colour of the wood is easing but it’s not a one-day thing…

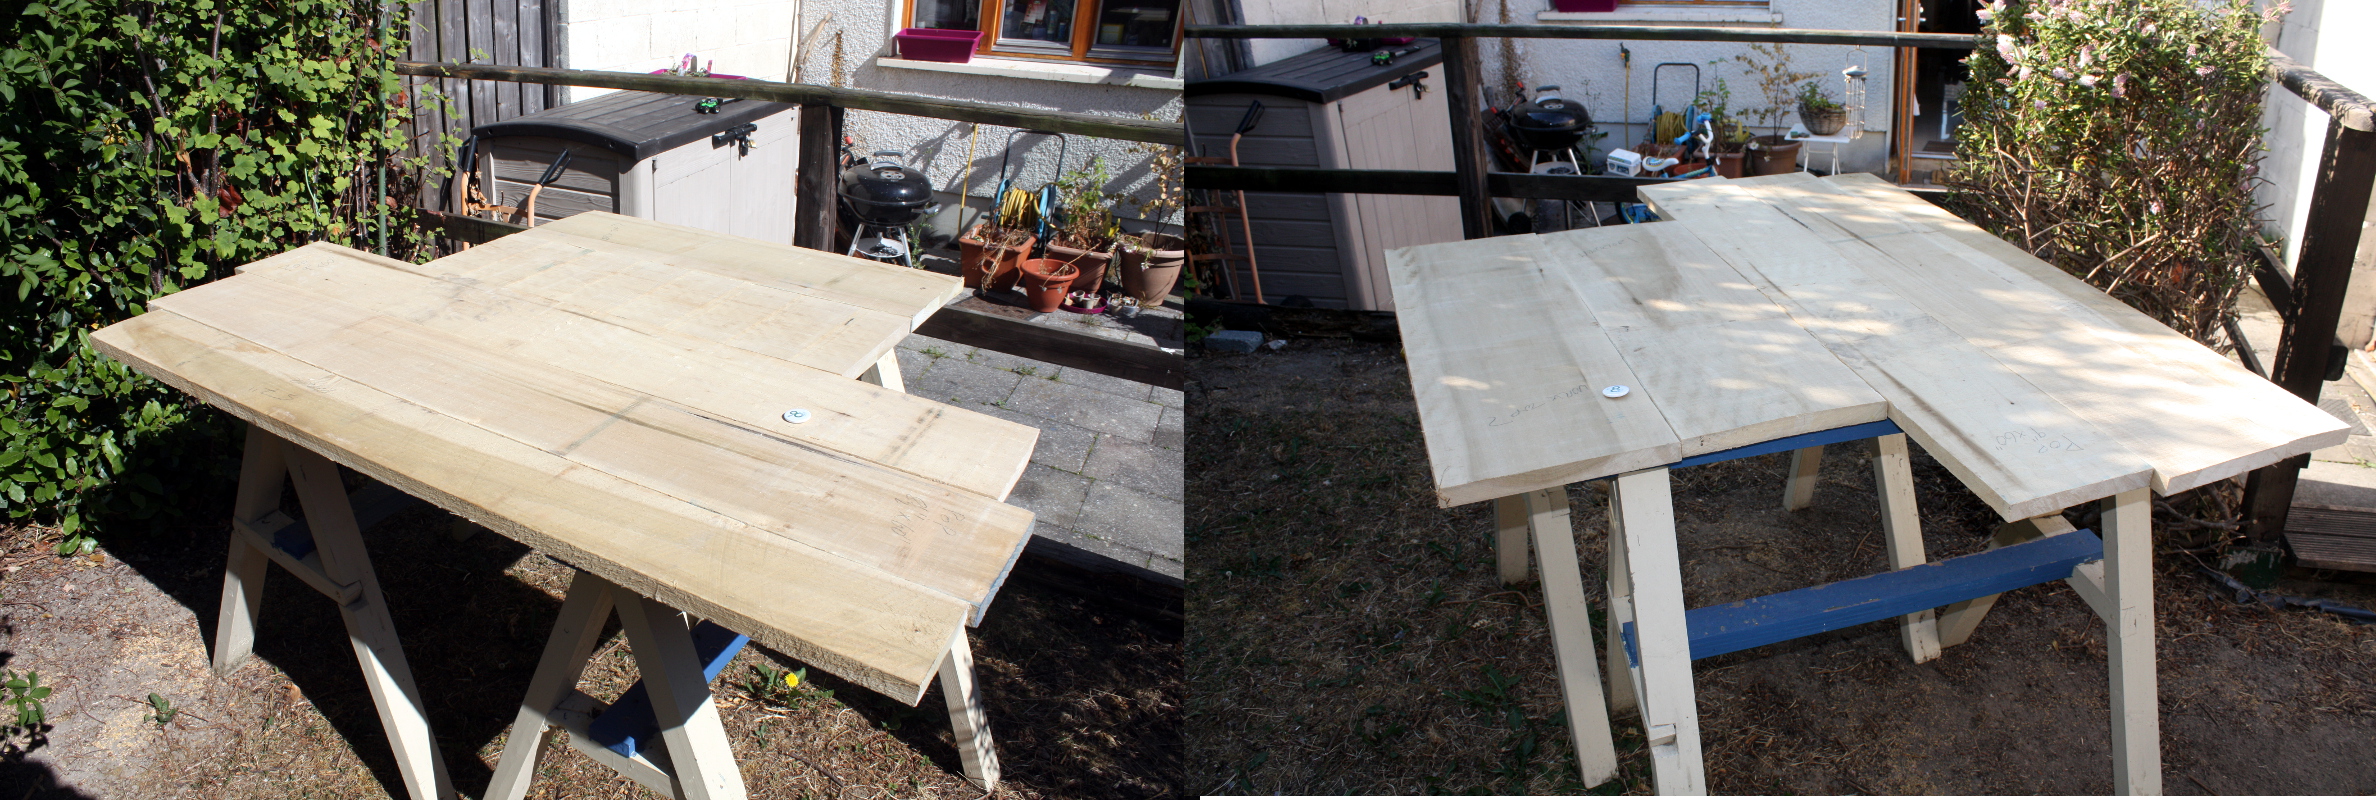
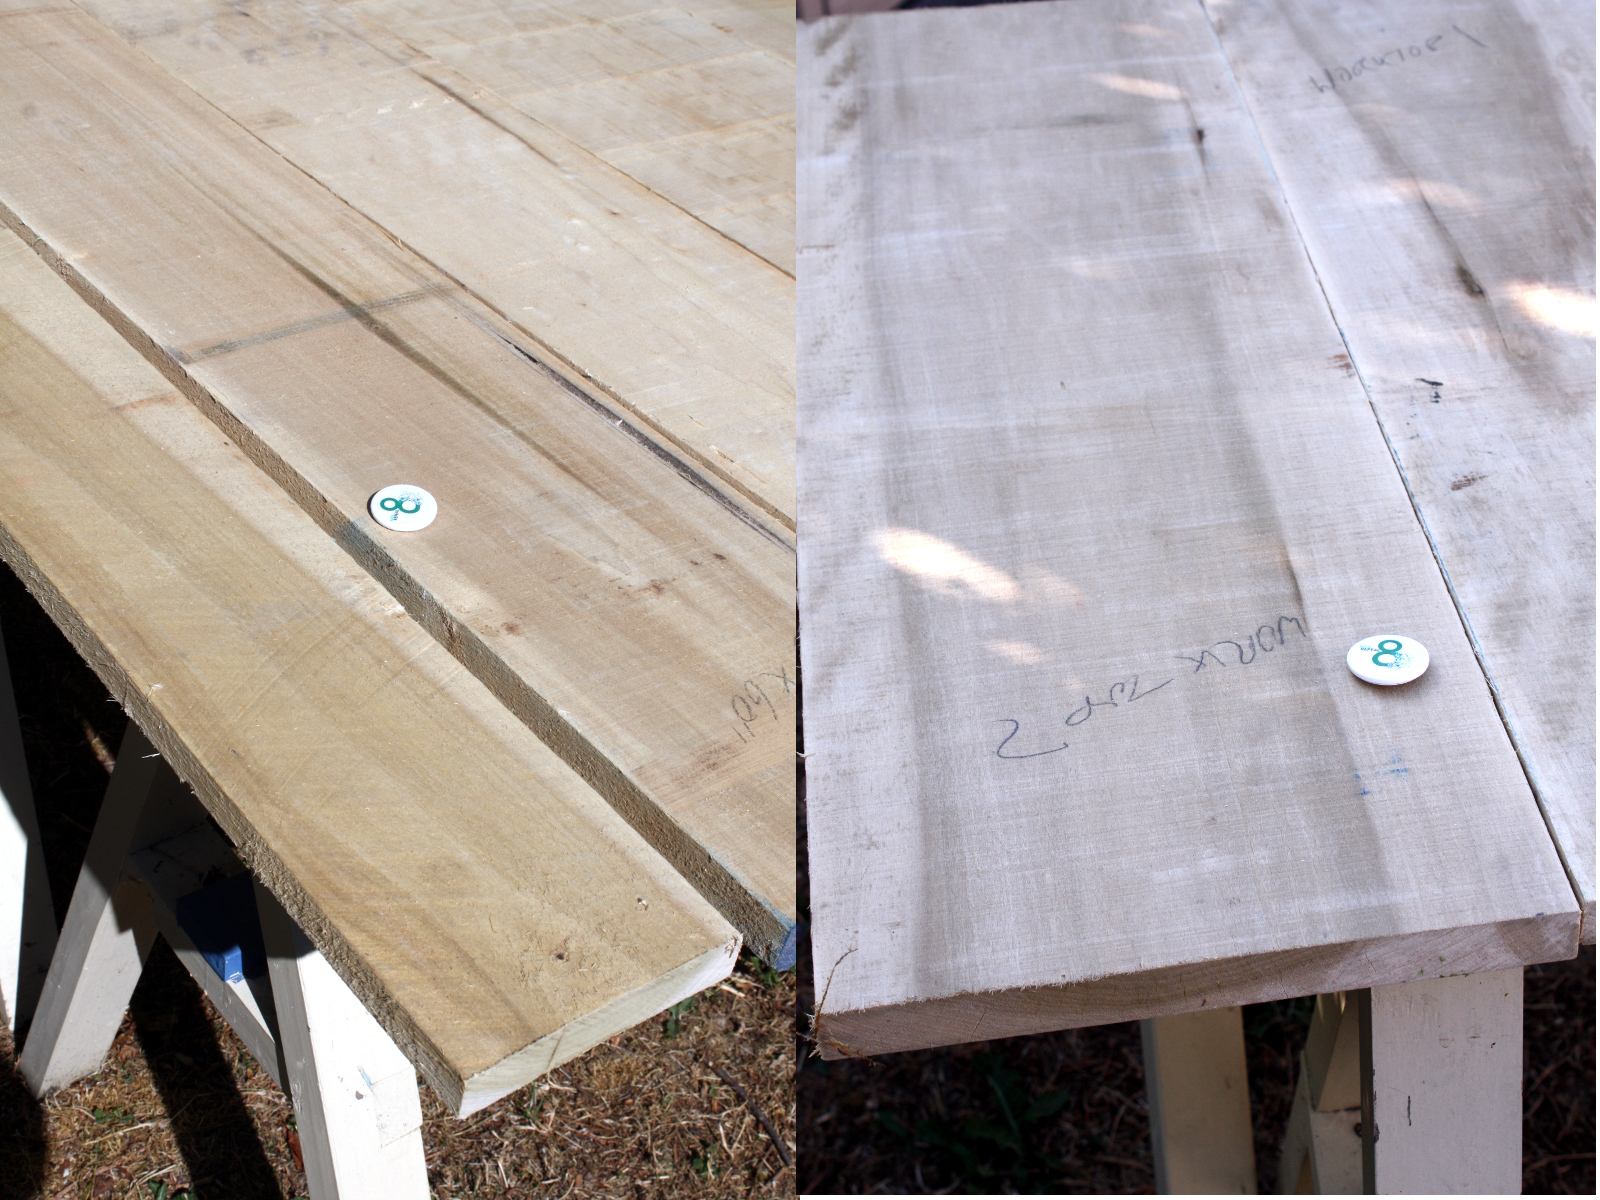
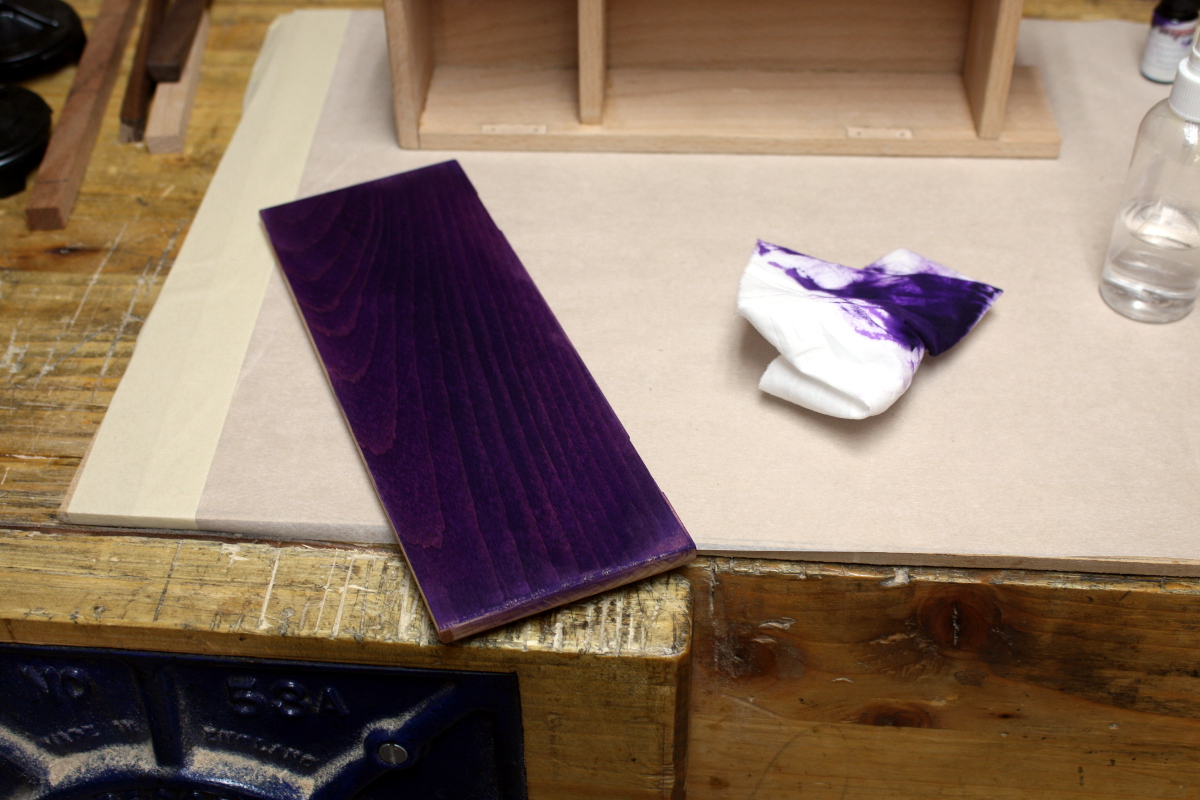
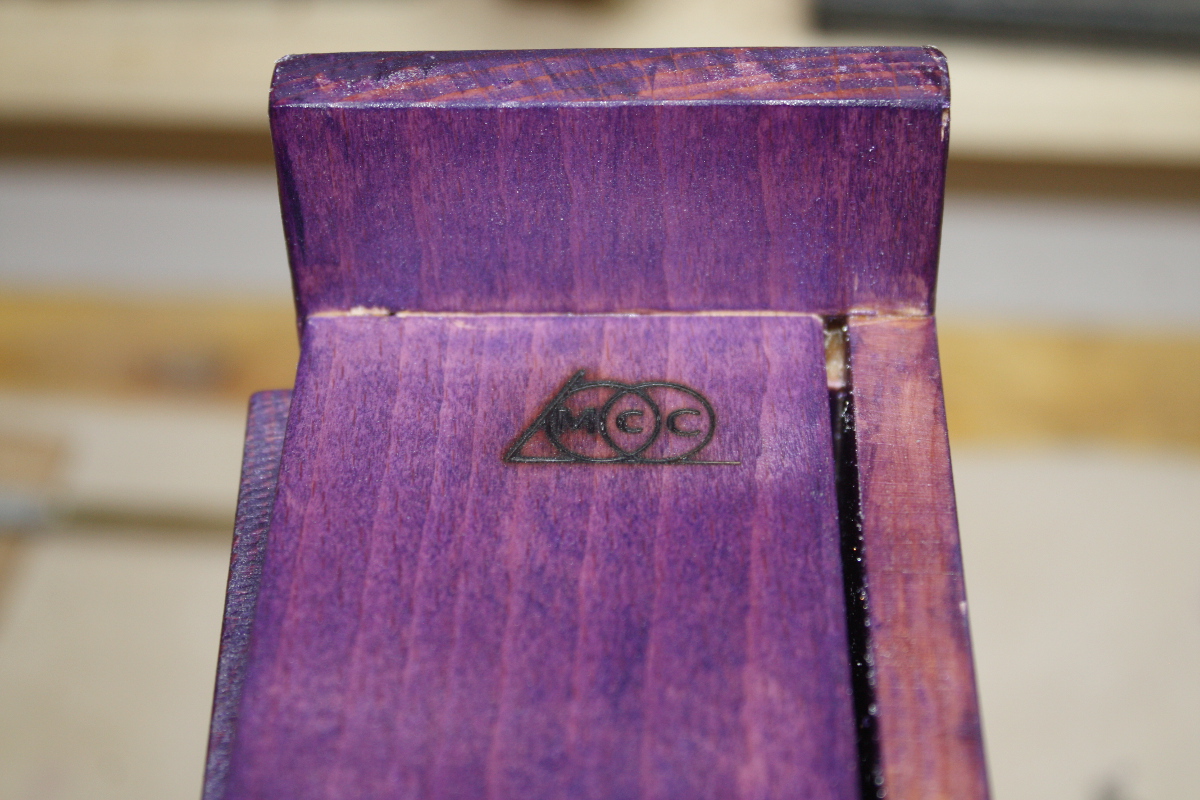
Before on the left, after on the right in both cases there (the badge is to get a white balance reference but even that didn’t help much, the direct sunlight just blows the camera away).

I’ll keep doing that for a few days, see if it helps.

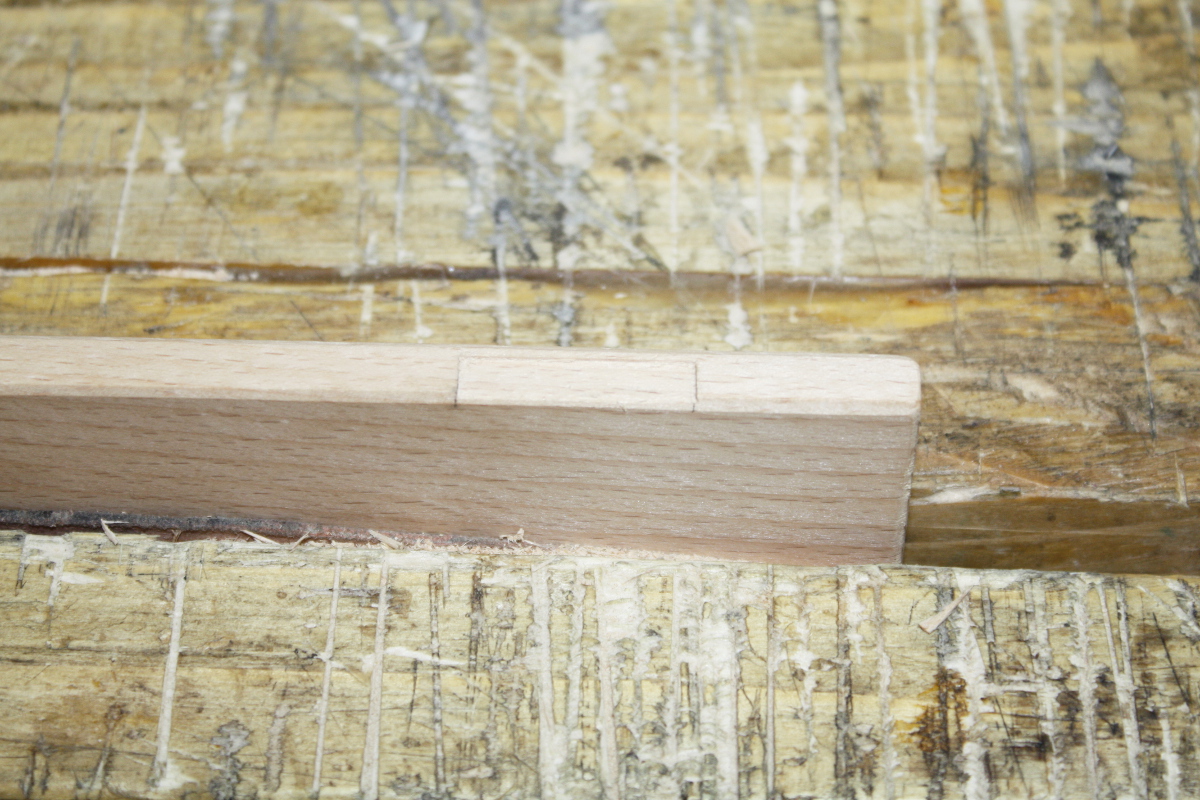
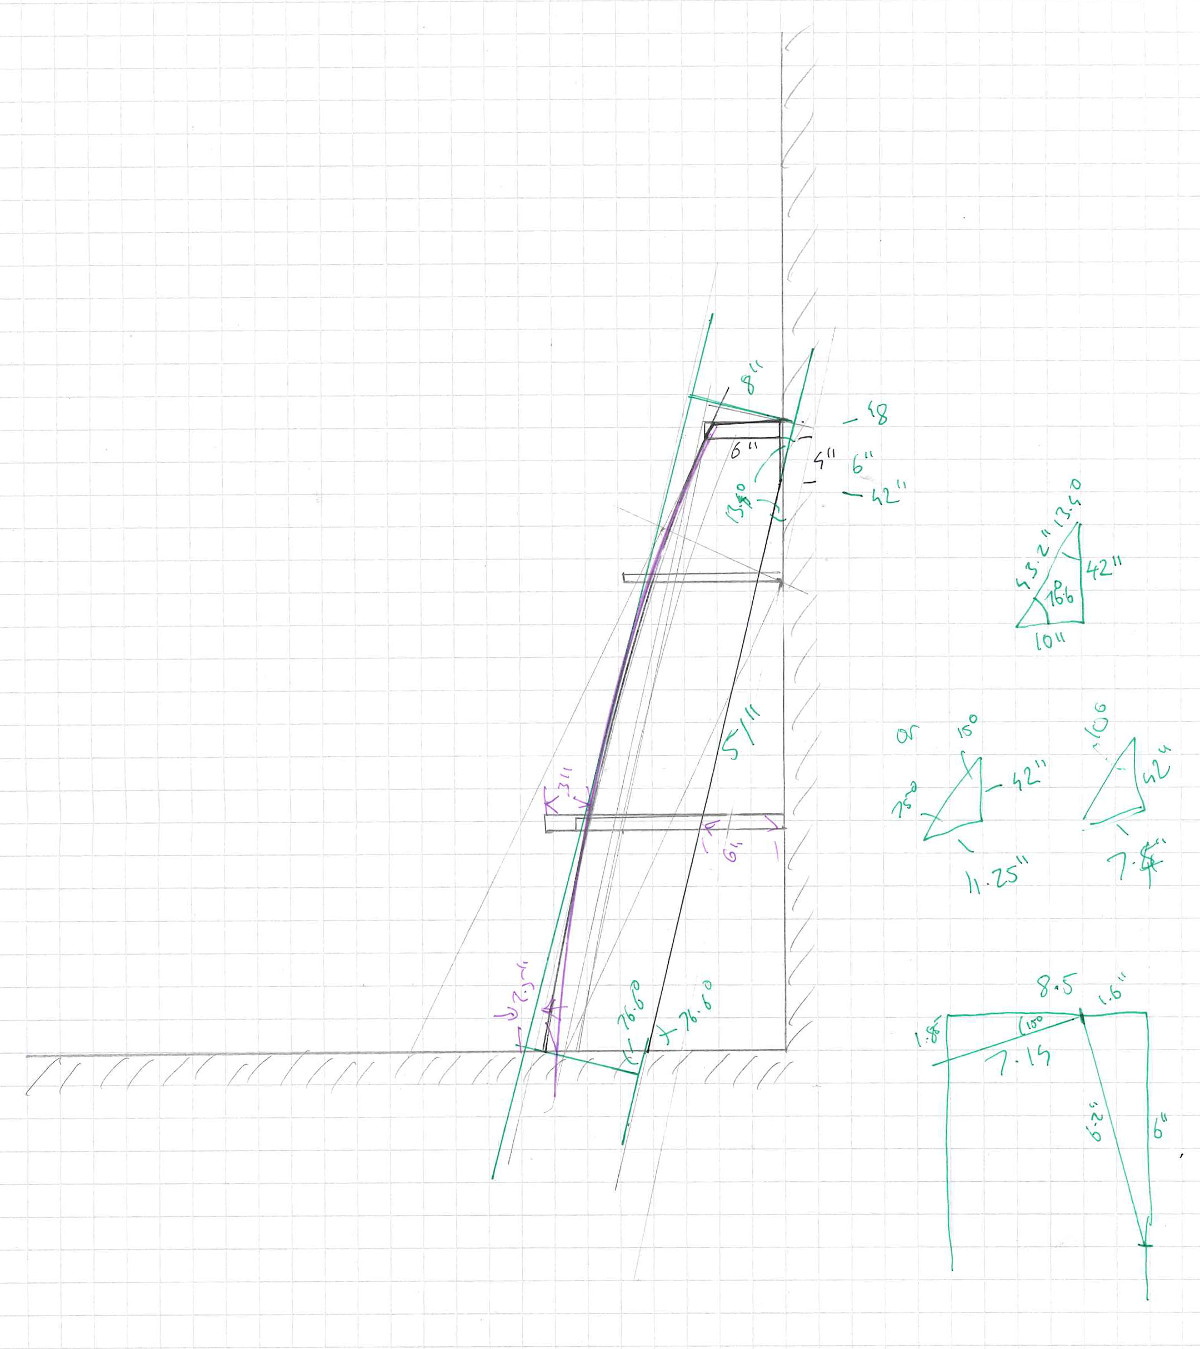
I also took the opportunity to see what the side would look like with a 1:1 sketch.

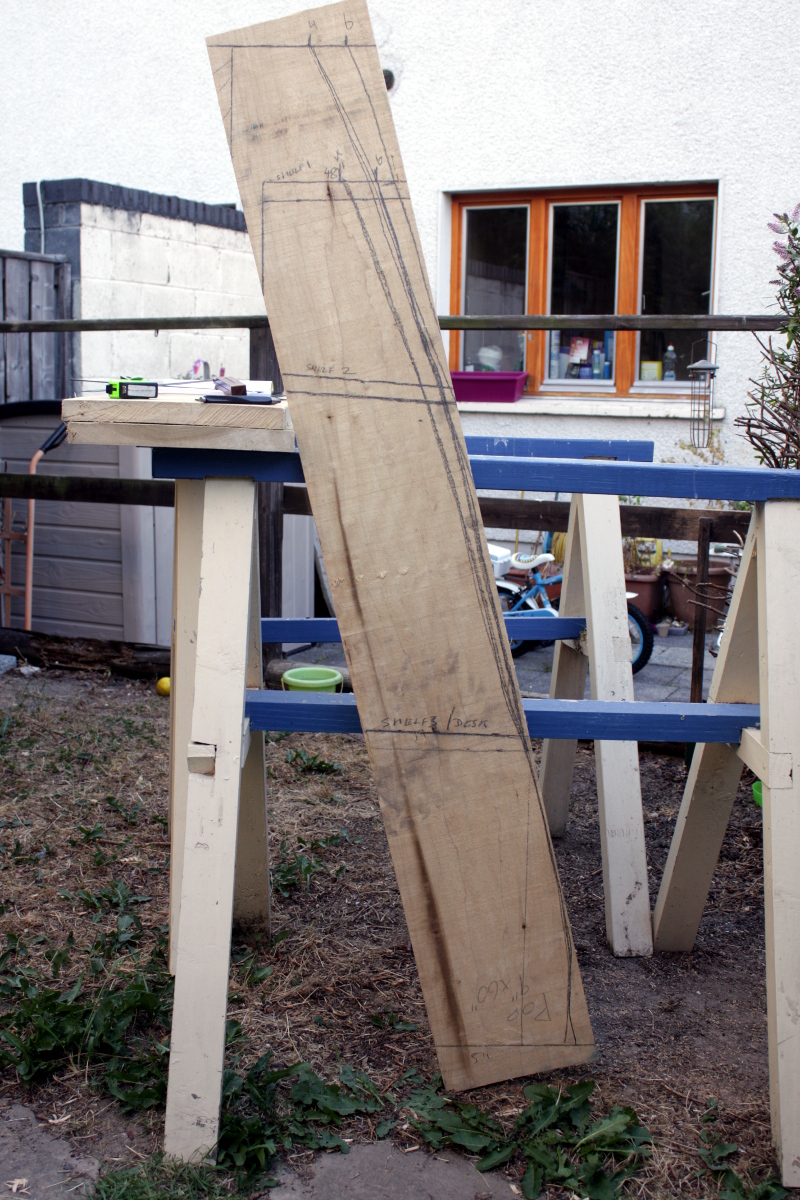
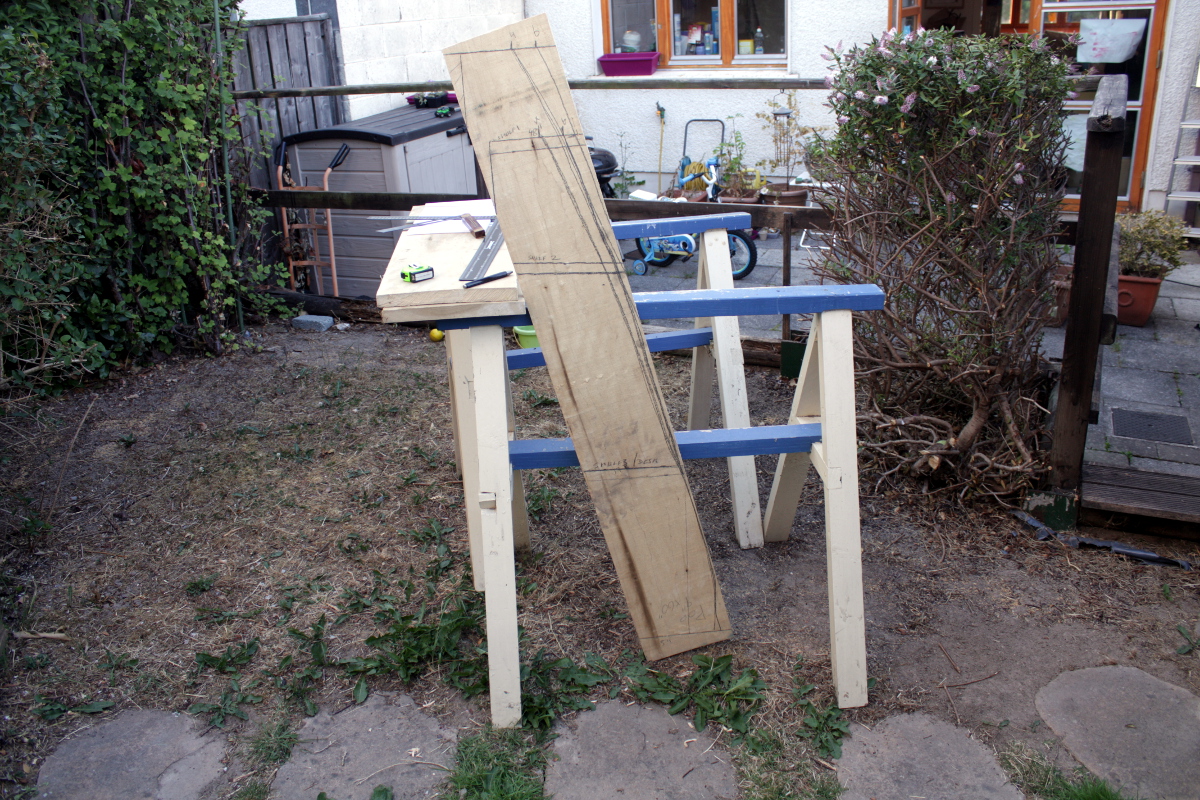
(Yes, we’re reseeding that bit of the lawn, we’re just waiting for the weather to break next week or the seeds wouldn’t have a chance).

That bottom desk shelf really looks too low, I know, but I measured Junior’s knees when he was sitting down and nope, that’s the right height. Kids are just small and the scale looks all wrong 😀

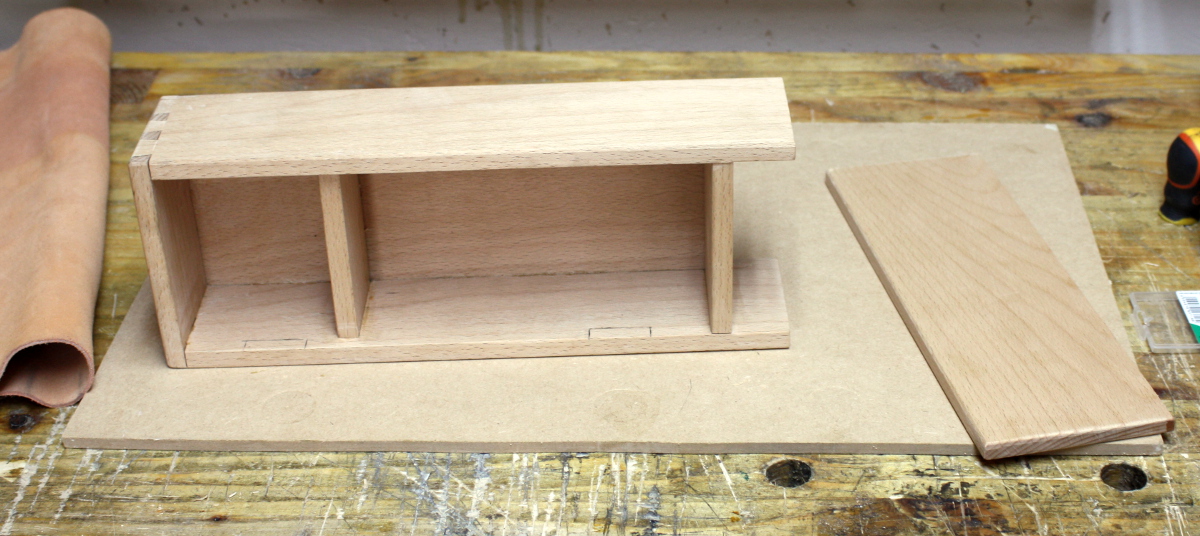
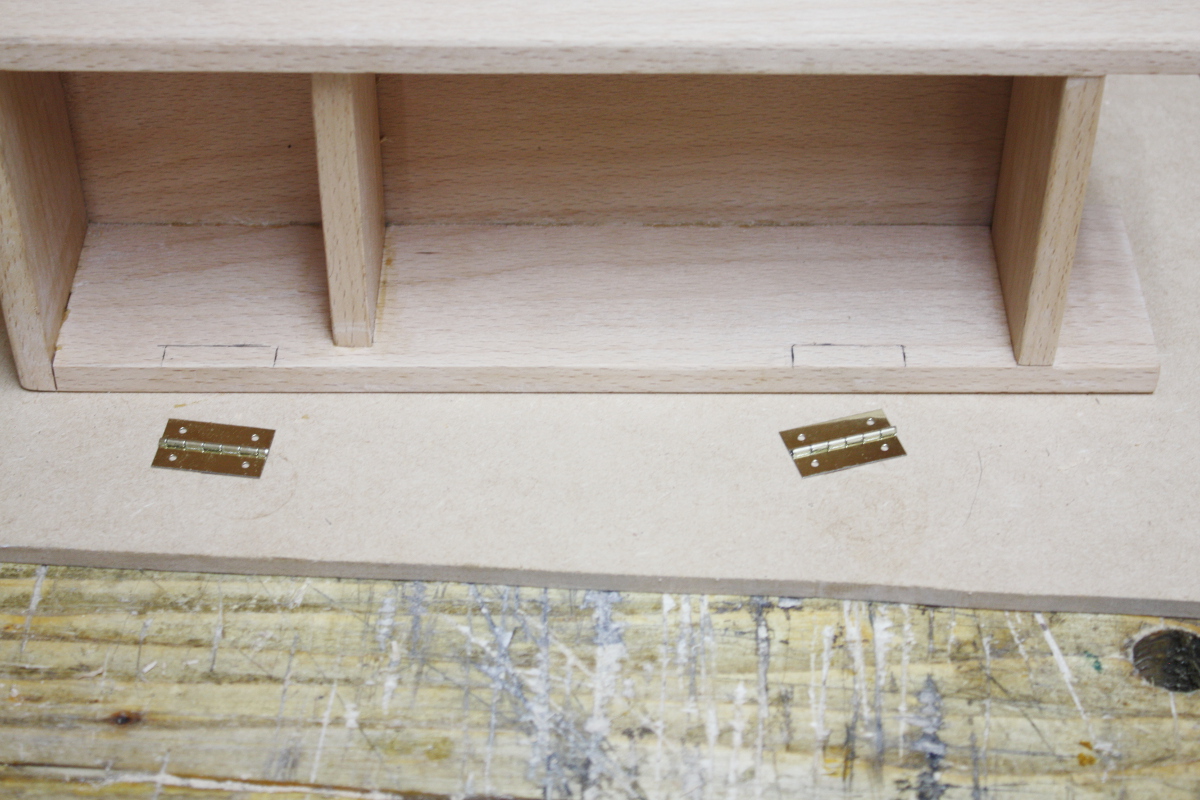
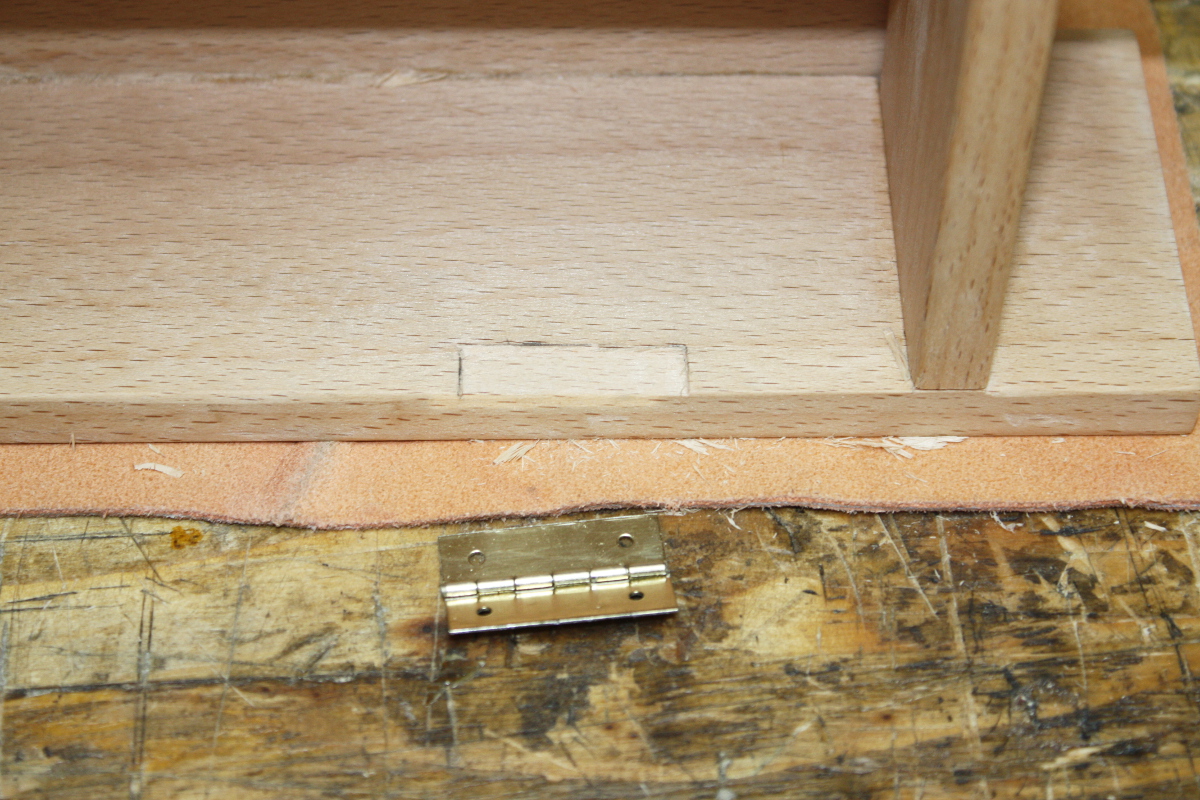
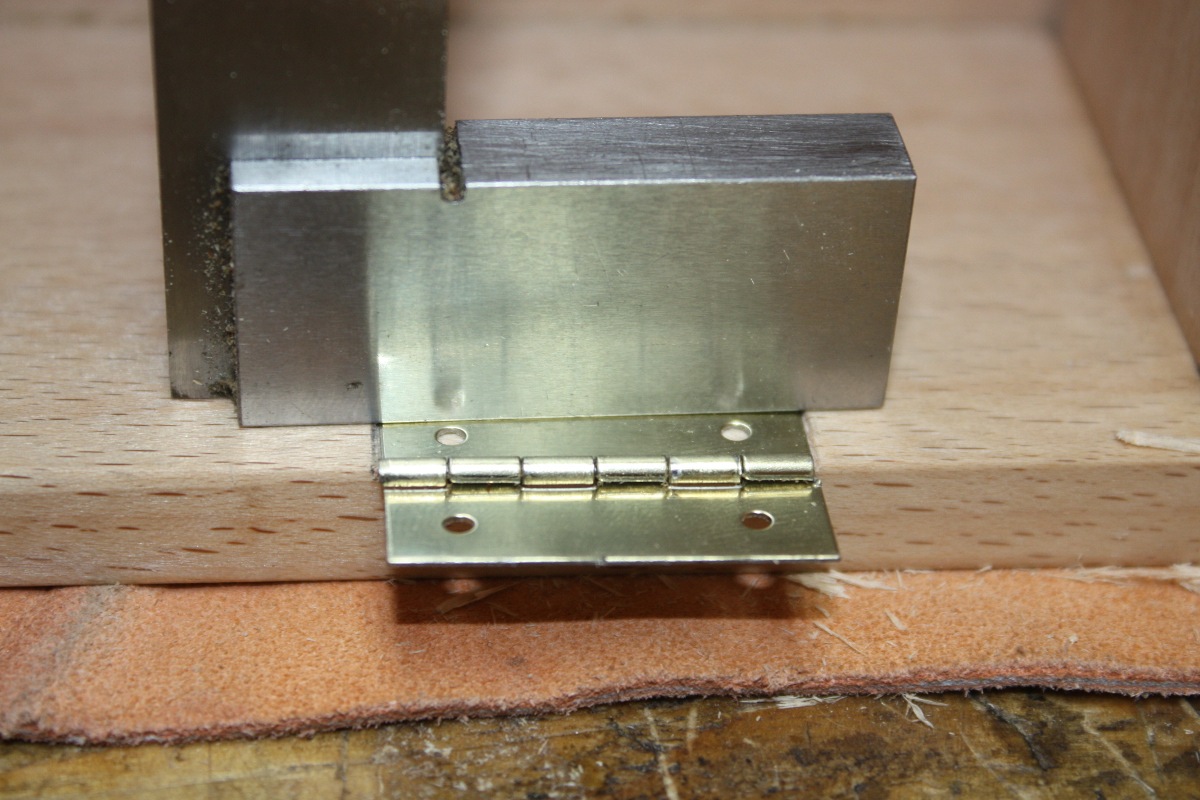
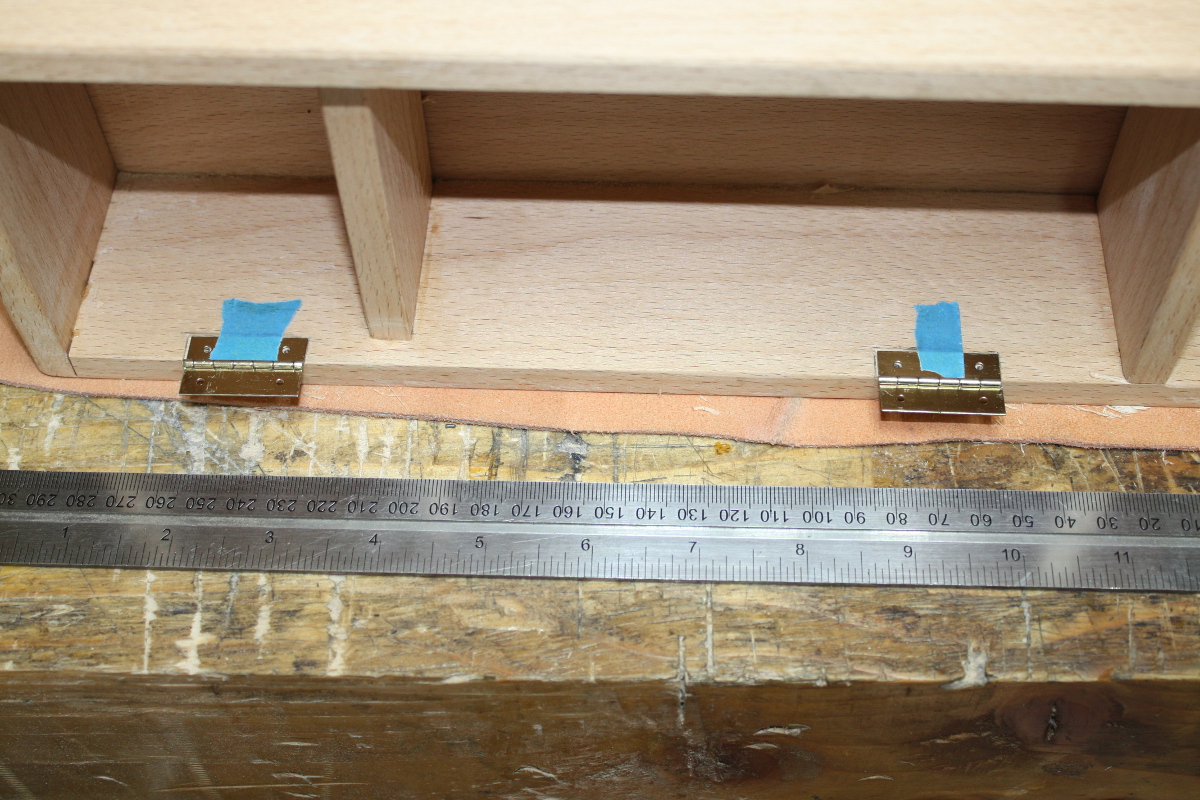
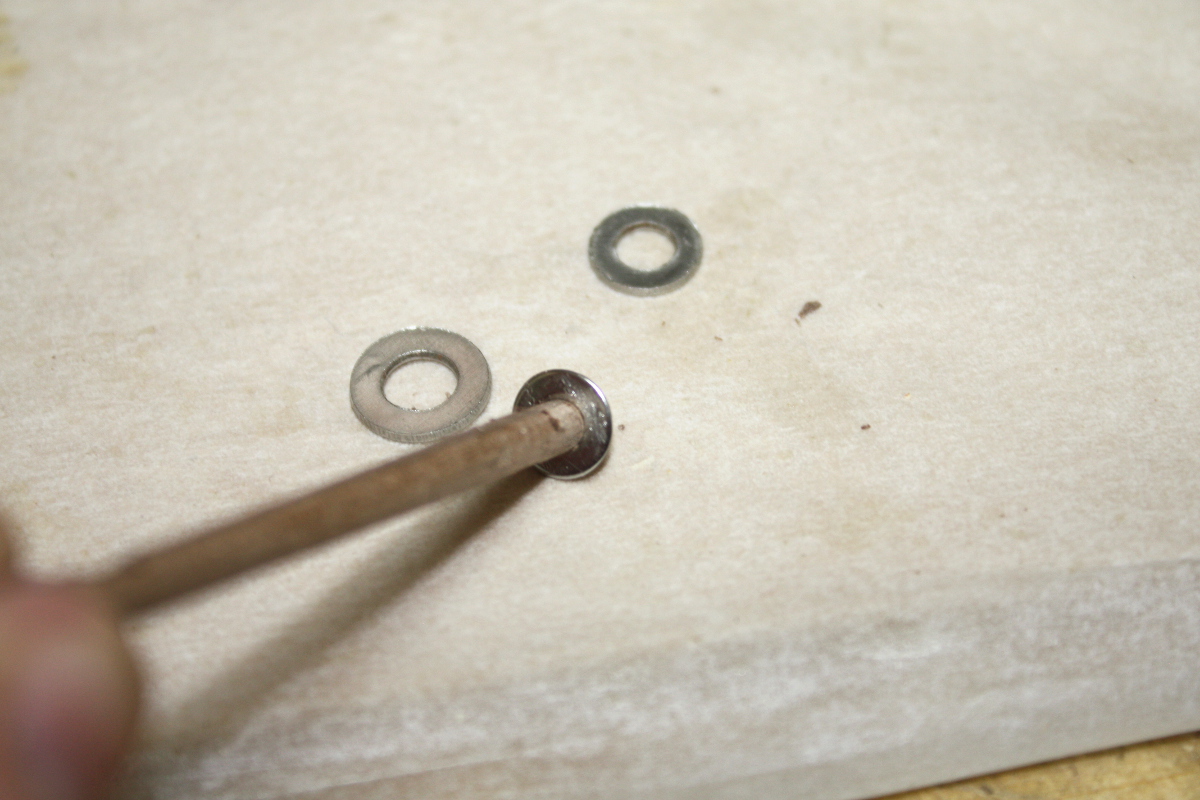
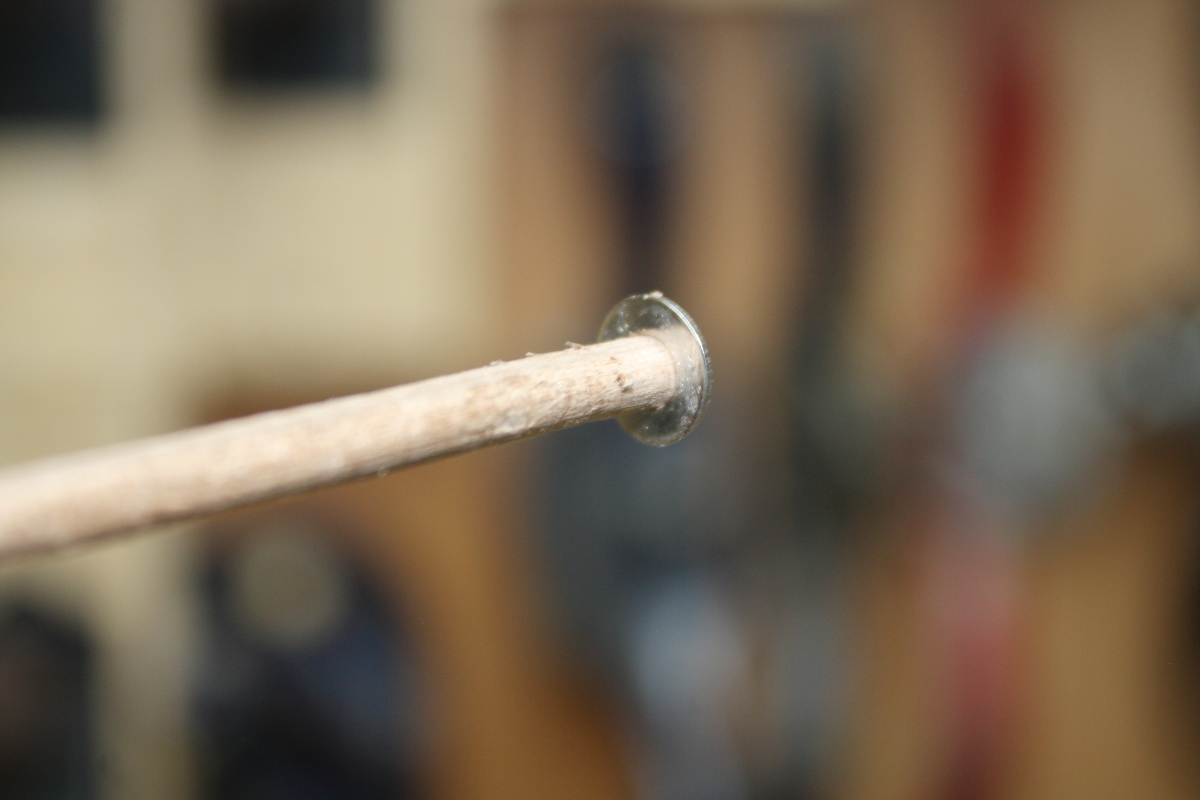
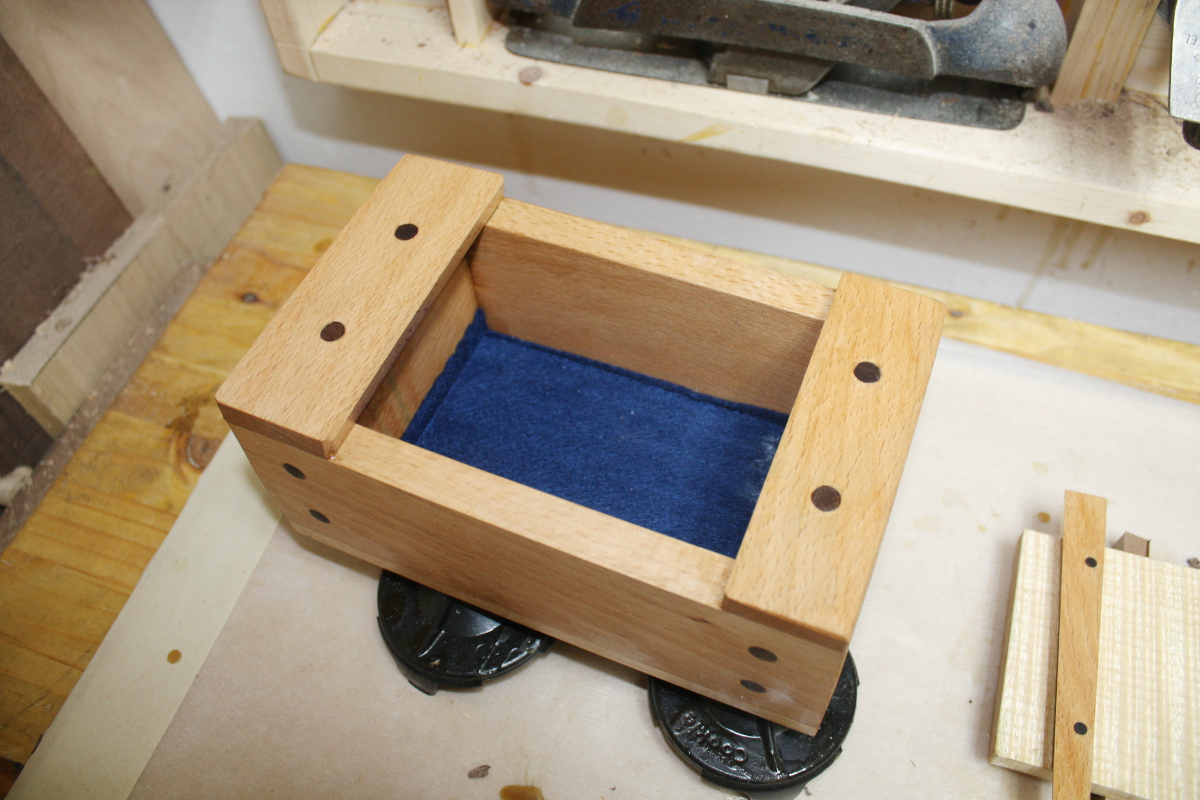
And today, since it was the middle of a heatwave, I had some hardware, tools and a chunk of a tree shipped to the office so I could carry them home…

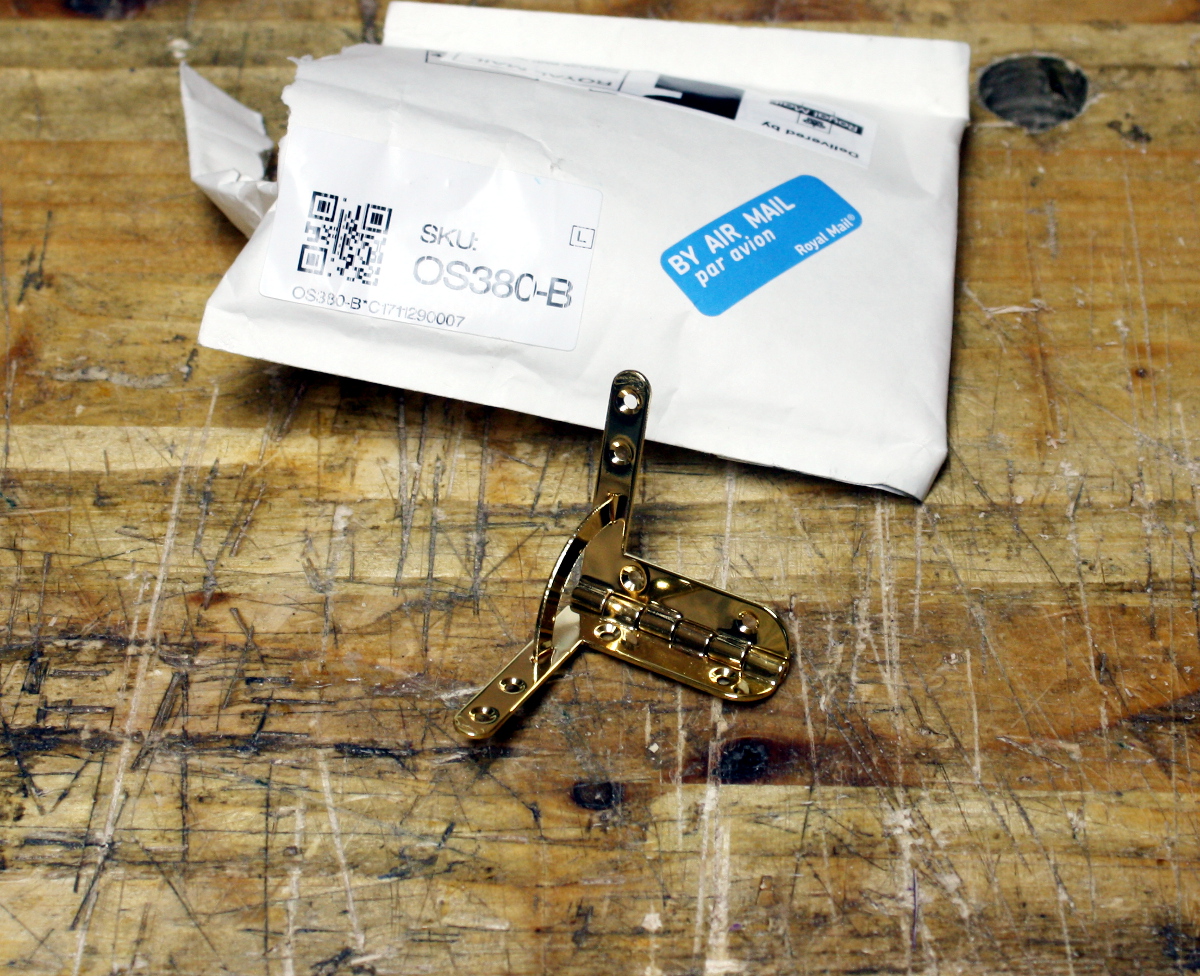
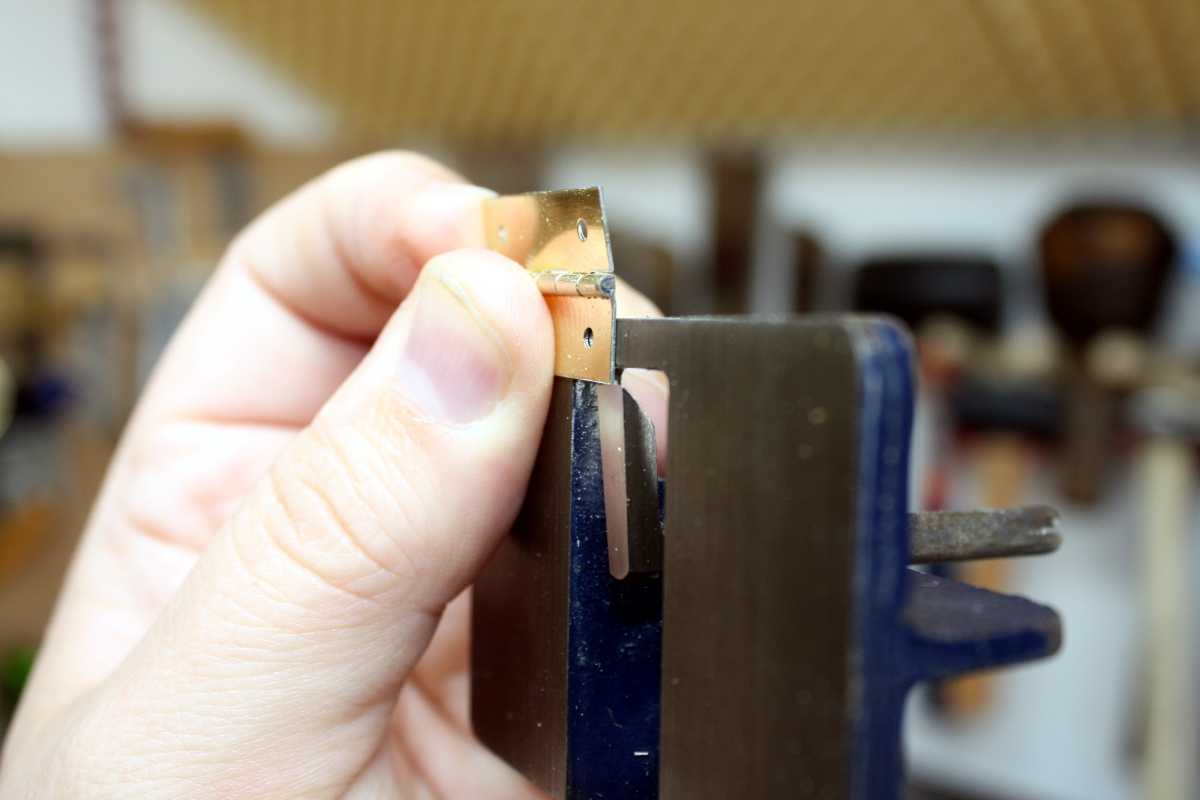
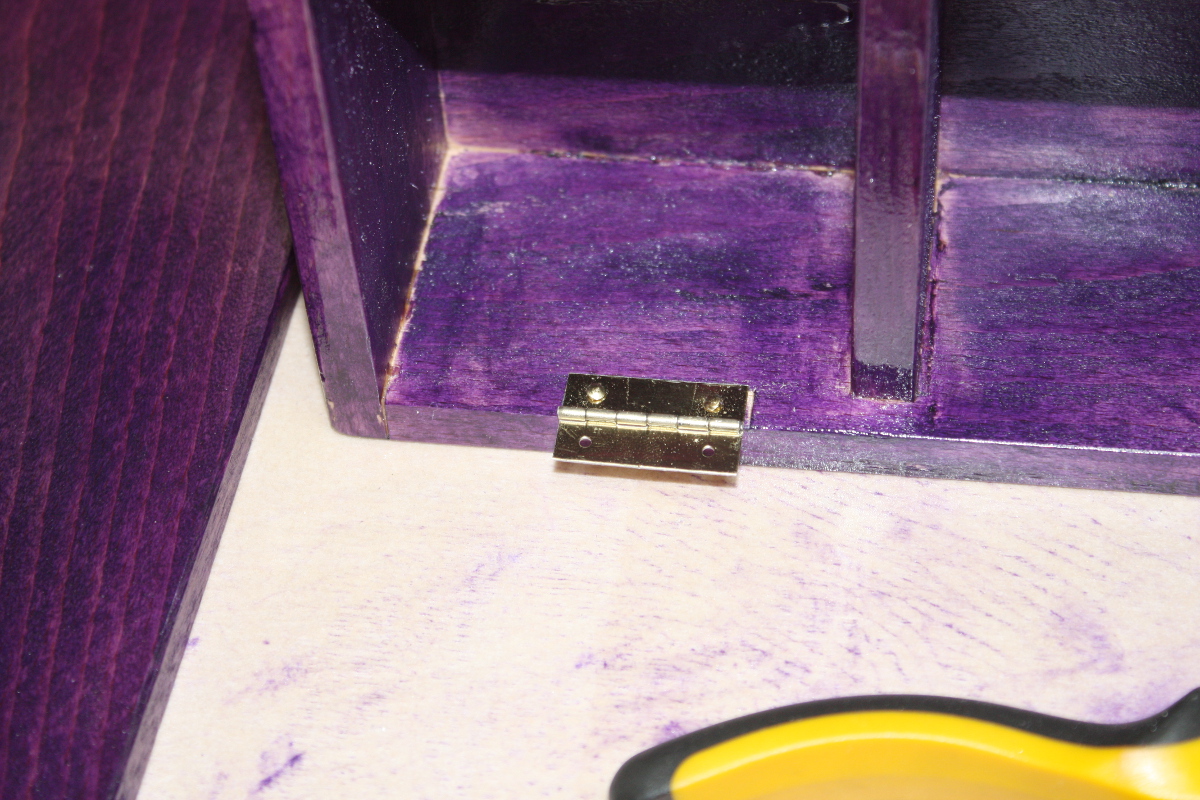
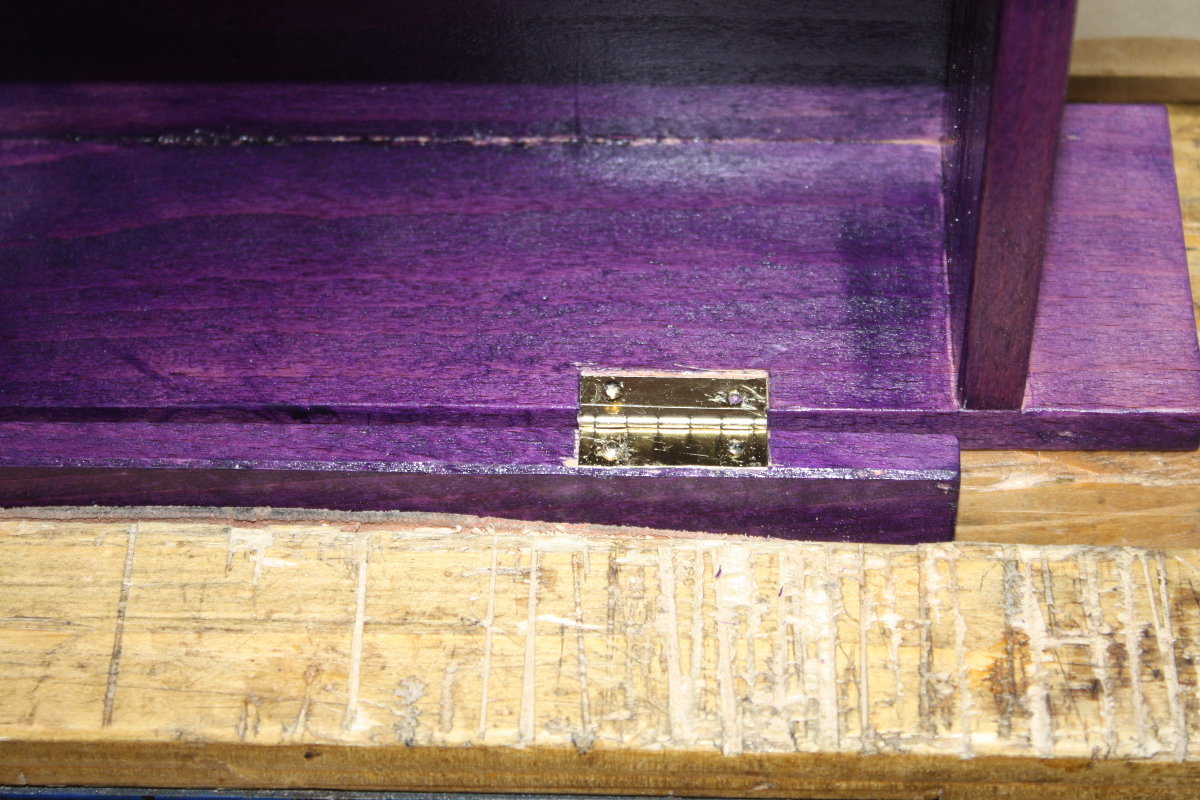
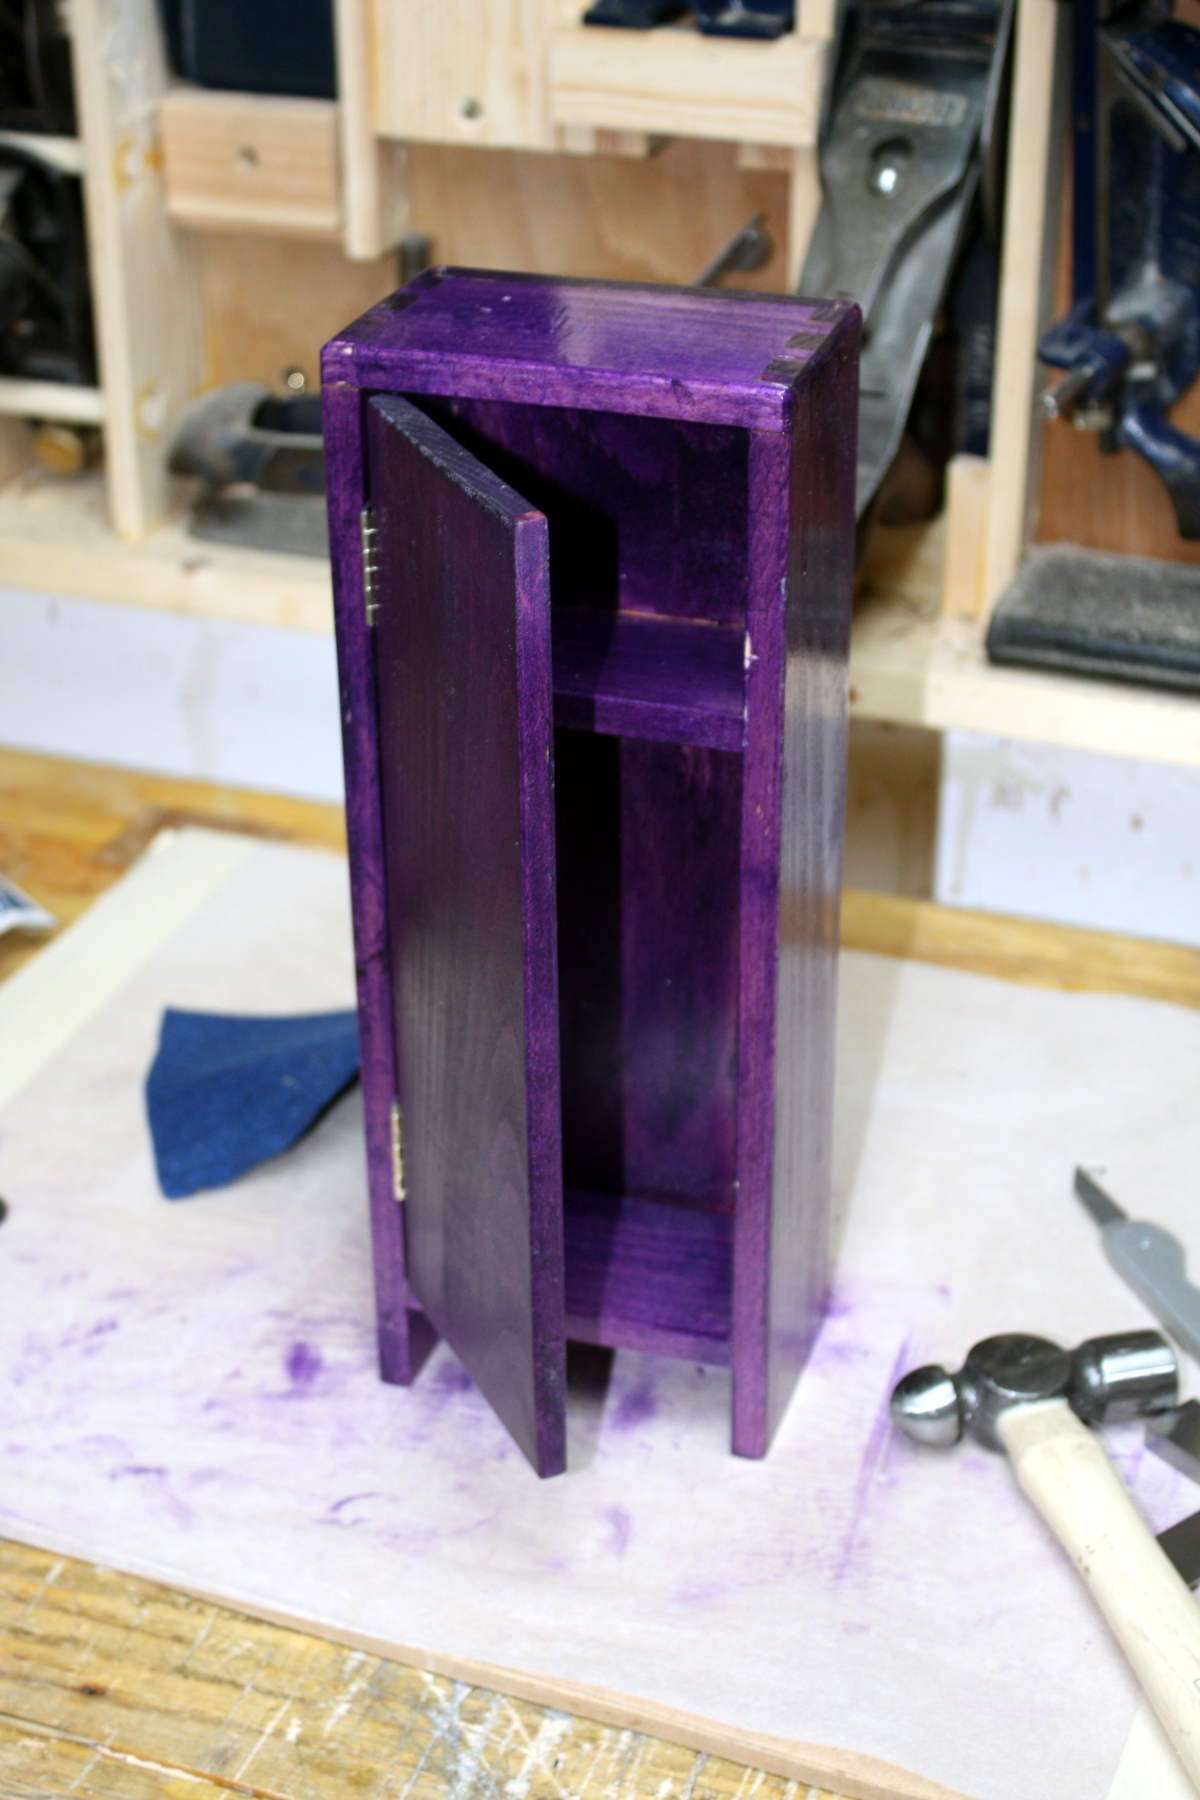
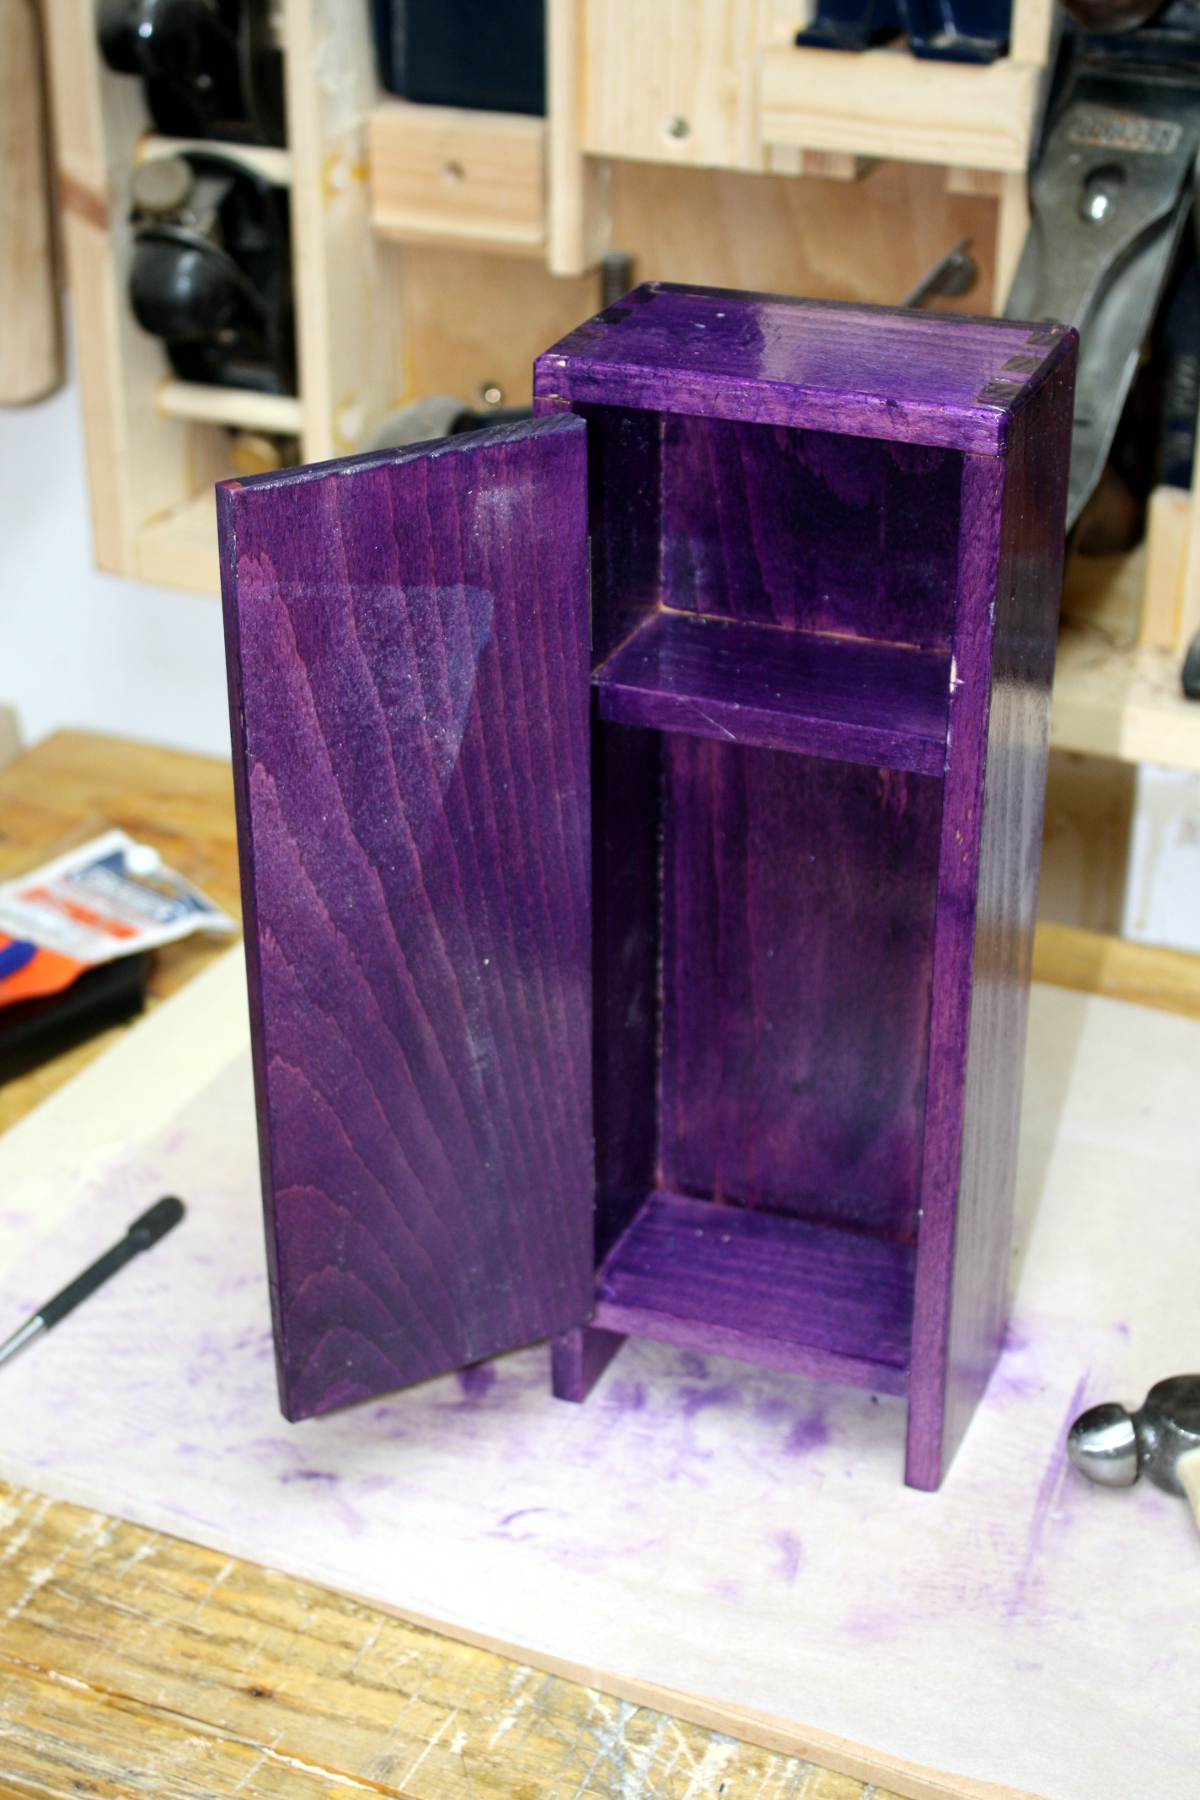
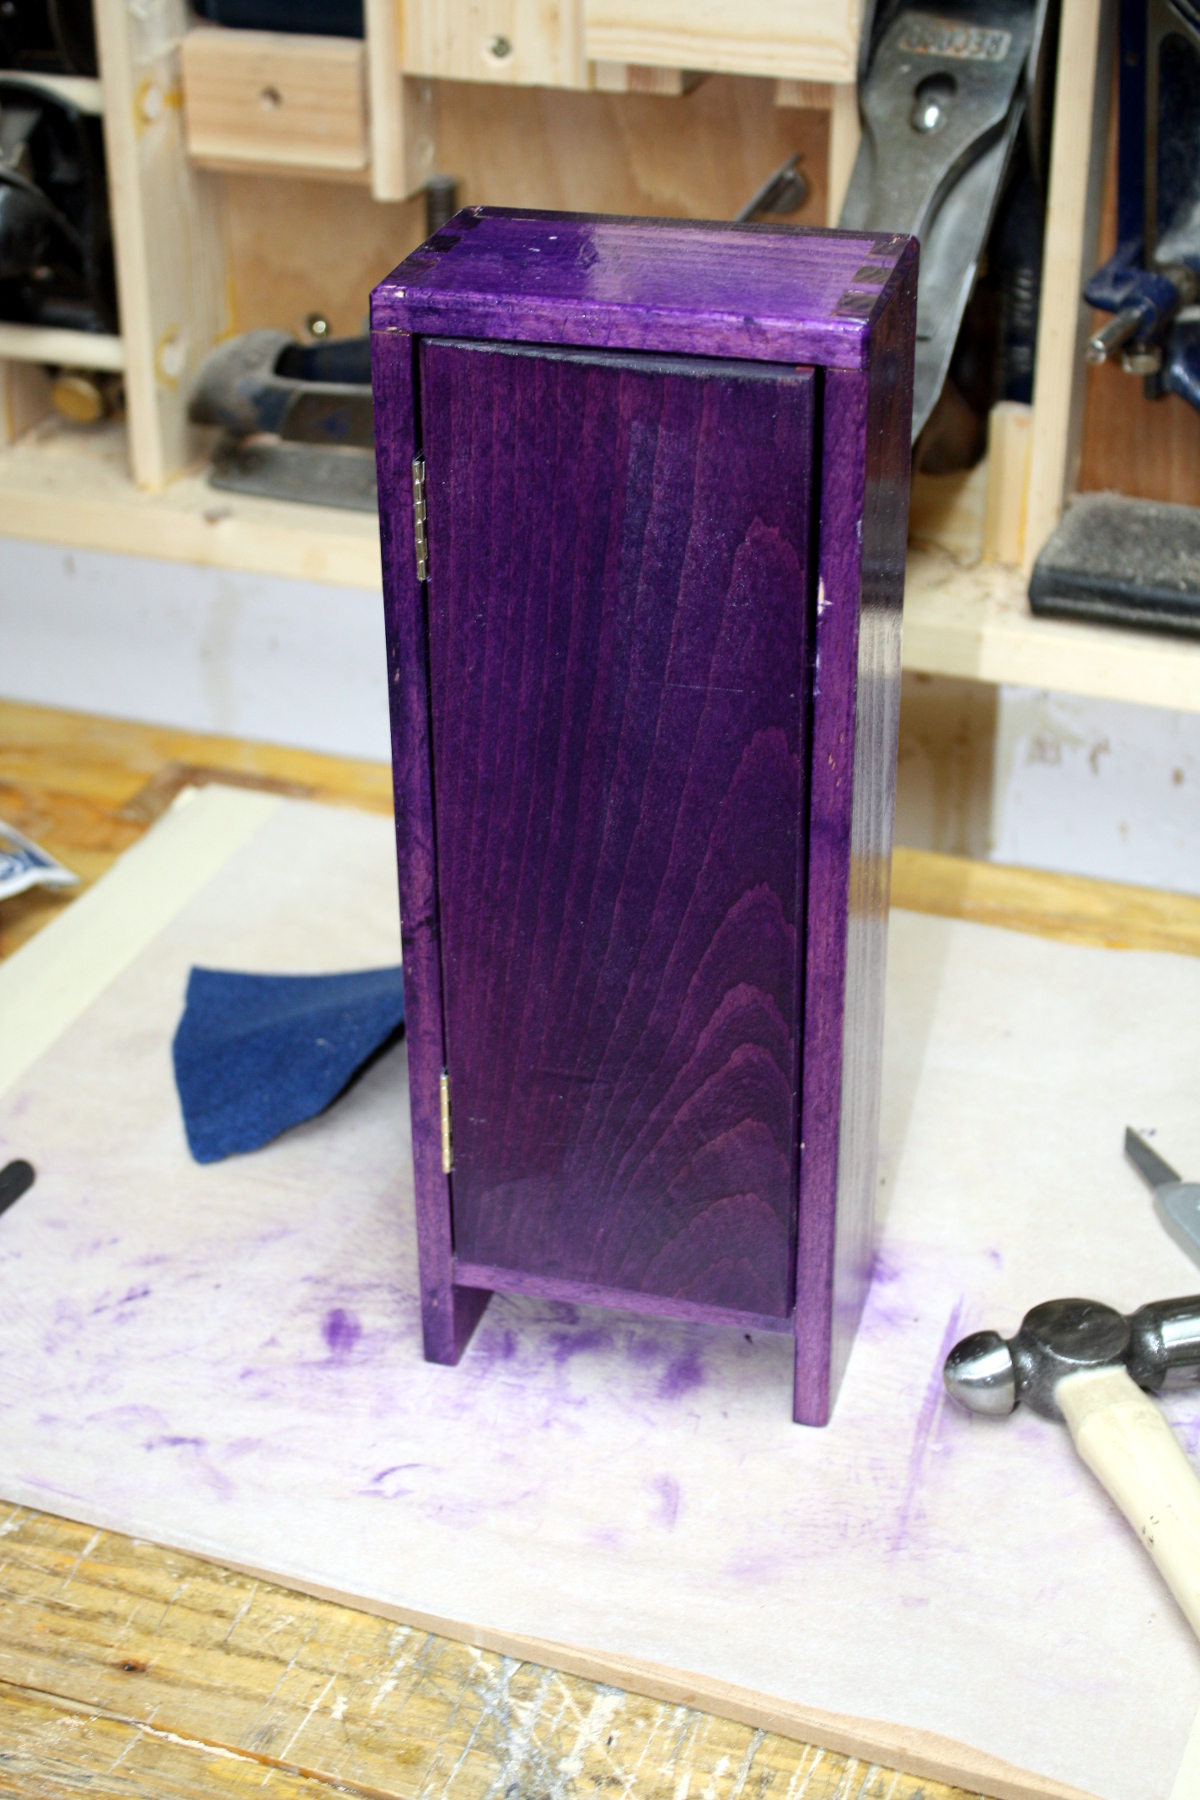
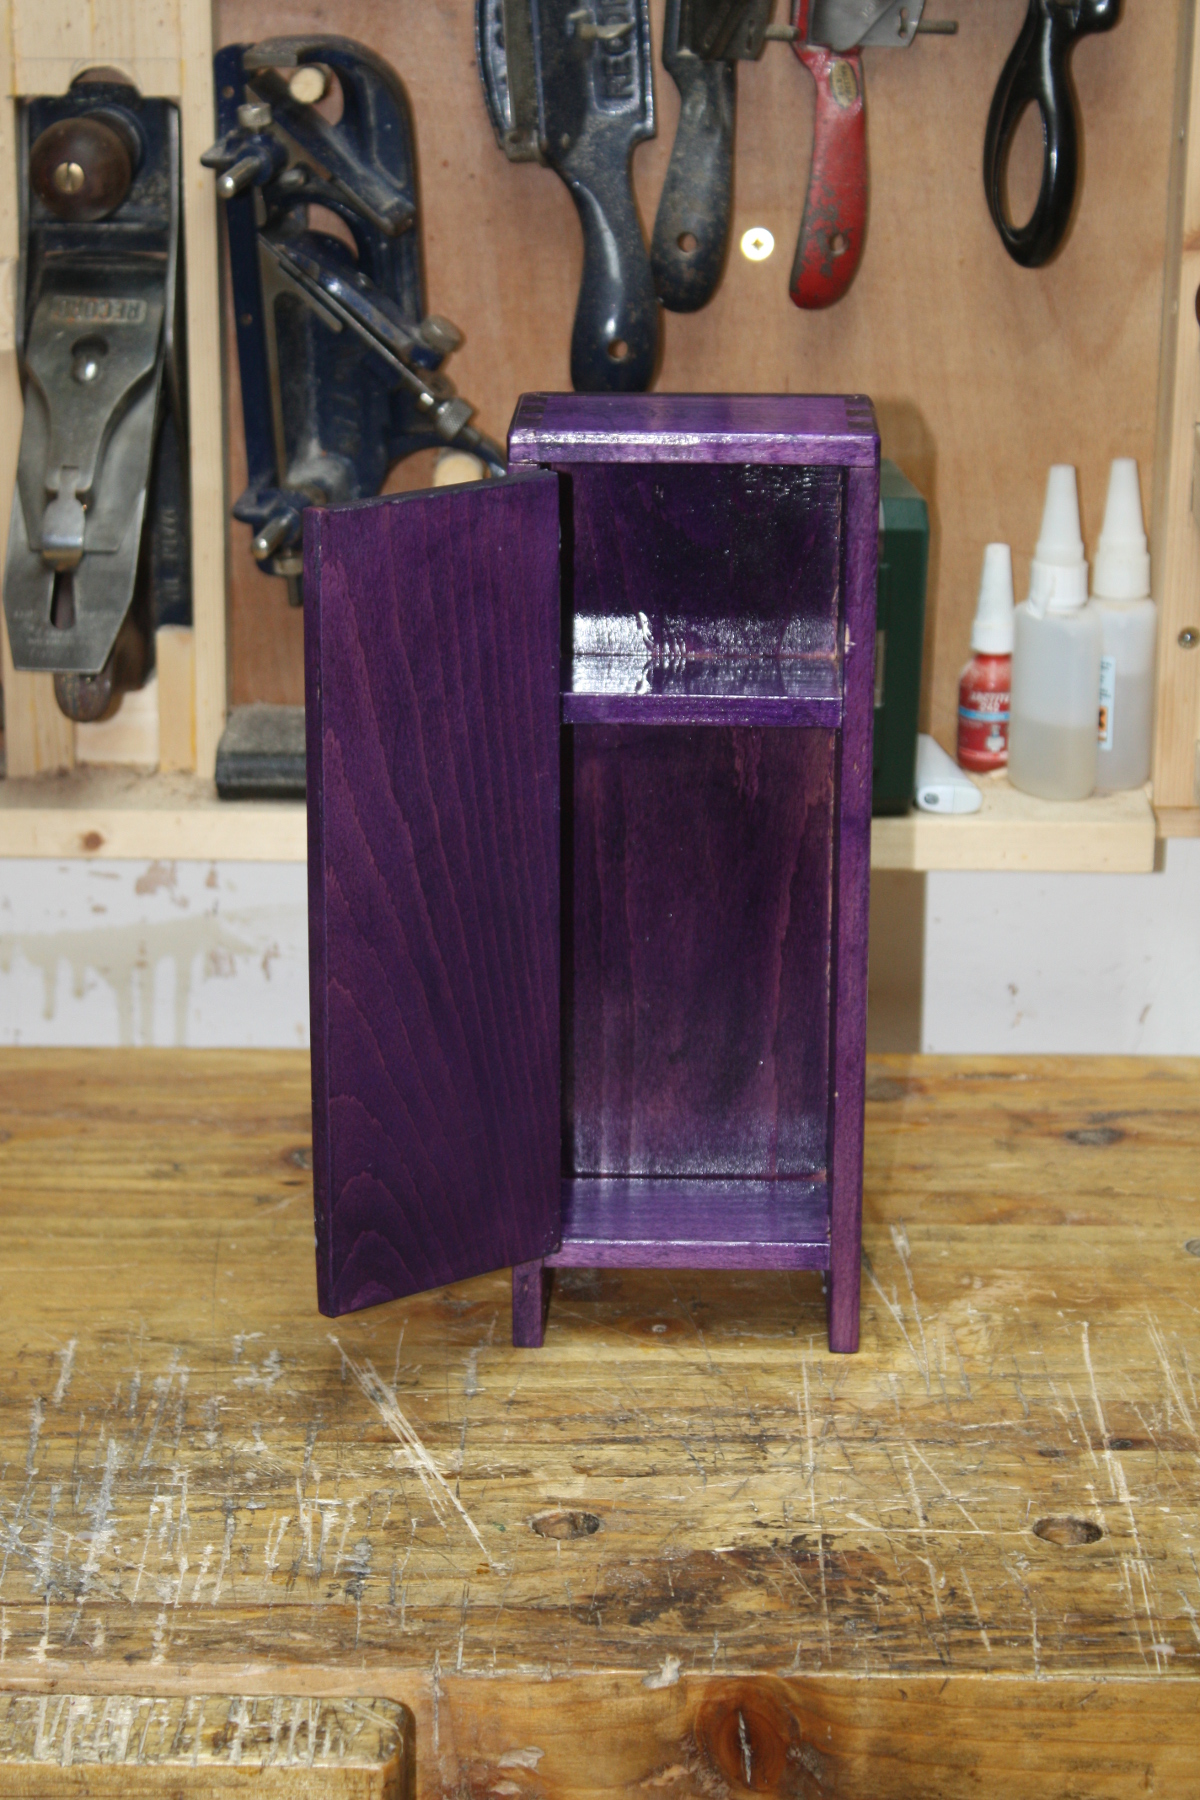
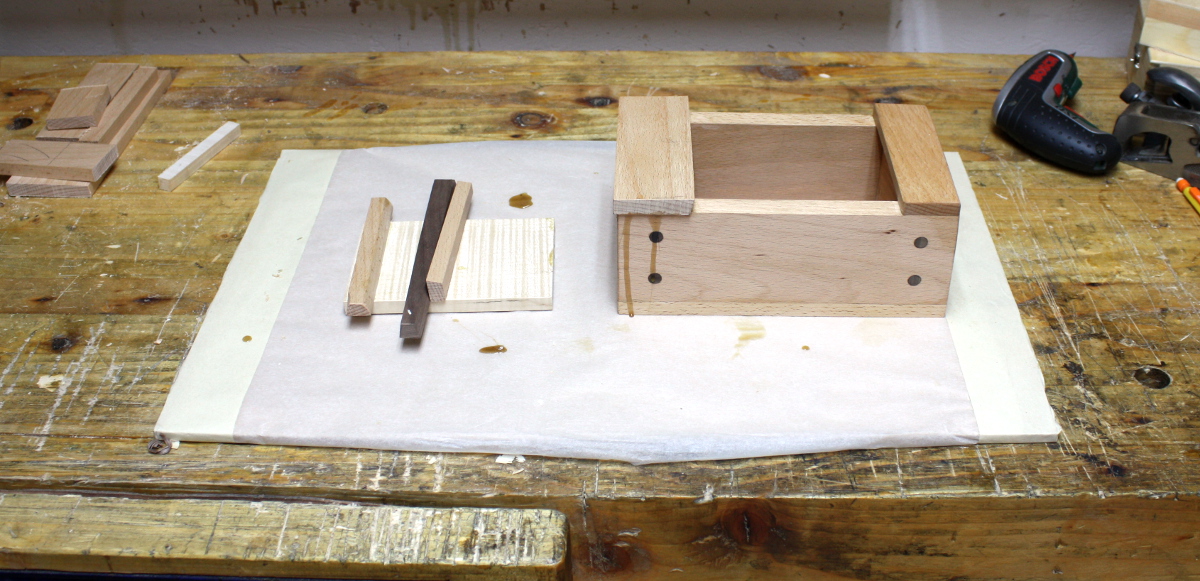
These quadrant hinges are very definitely *not* brusso hinges 😀 But they will suffice to learn and experiment with. Plus, no damned nails, so hopefully less fiddly.

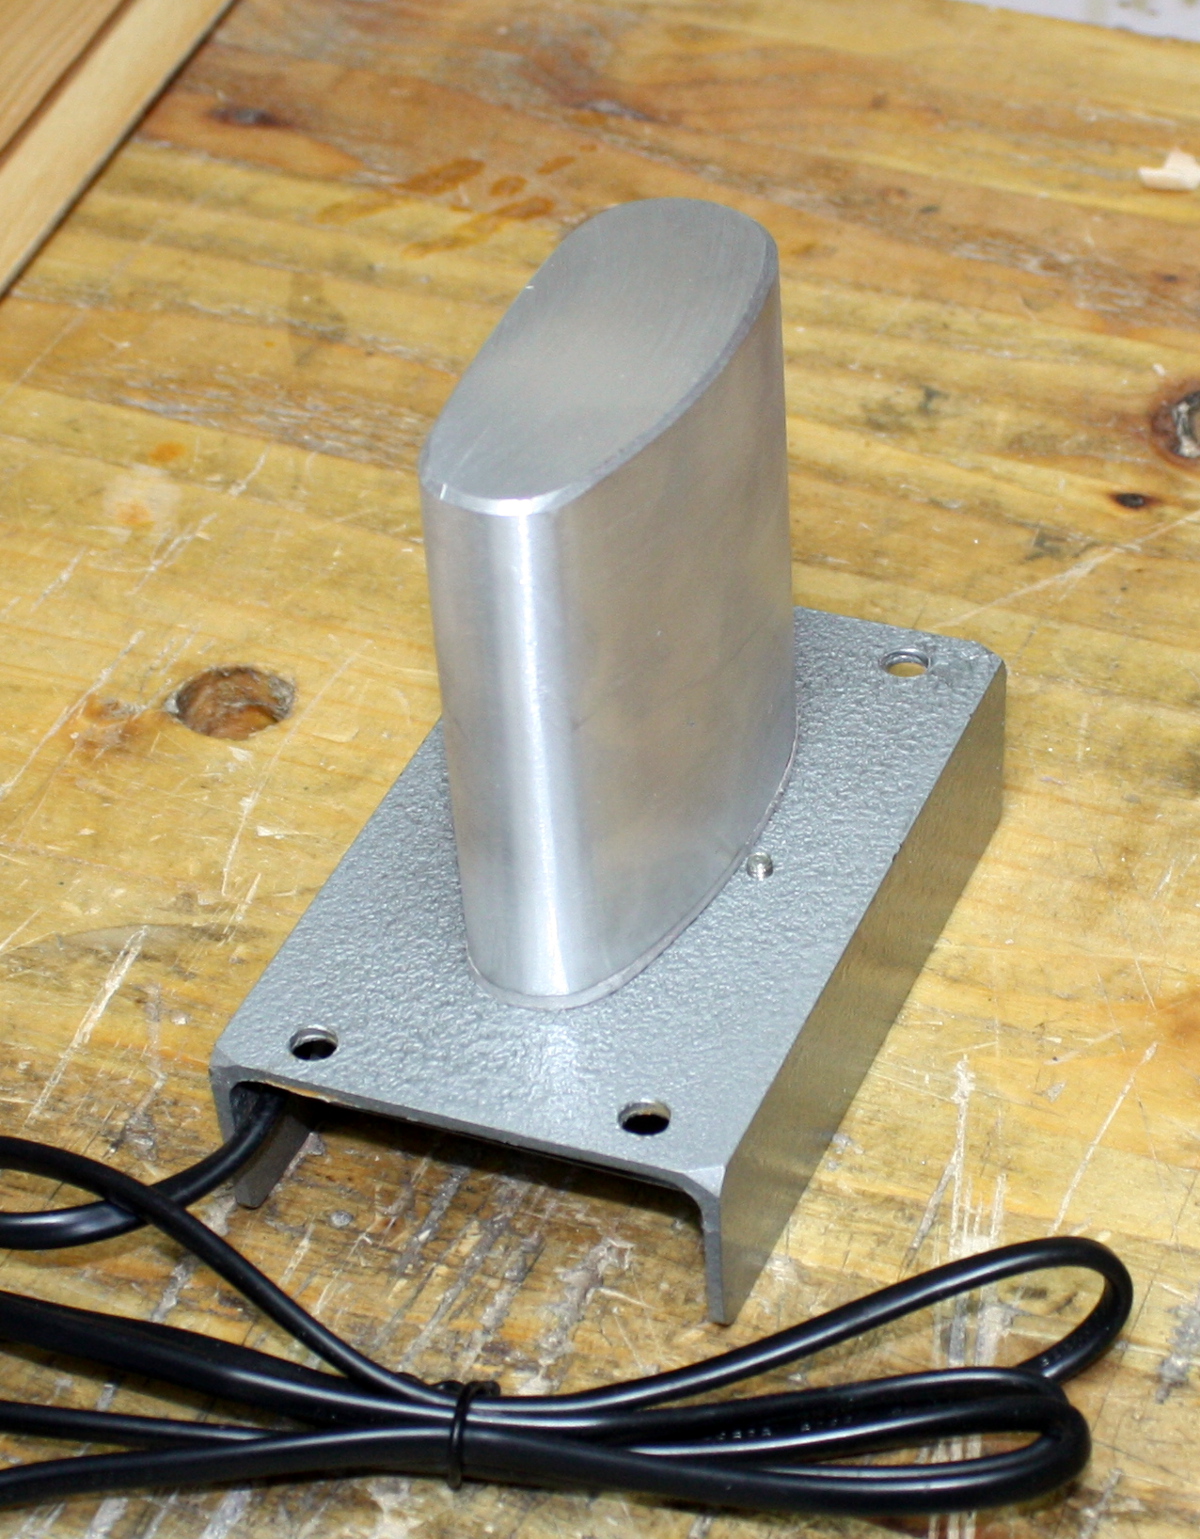
Nobody in the office could identify this 😀
It’s an electric heated bending iron, normally used for making violins. This one’s not temperature controlled, it’s just a PTC resistor in a metal housing that you plug into the mains. The fin bit heats up and then I can use that to bend stringing around sharper corners. Yeah, I could have used a hot air gun, but here’s the thing – in an 8×6 shed, any hot air (at 100C or so) that leaves the gun tends to hit something while still hot enough to damage stuff, especially with foam on the roof for soundproofing, so I decided to go buy this thing (hey, it cost a total of €37 delivered from China via the customs department) instead.

But.

There’s a rule I have for electric stuff you buy off aliexpress (or ebay). If it’s on batteries, it’s probably okay. But if it plugs into the mains, you take the thing apart and check it before it ever goes into a socket, so this got disassembled in the electronics lab and tested for shorts, for the case being connected to the live wire, all that sort of stuff. But no, it seems grand, so out to the shed…

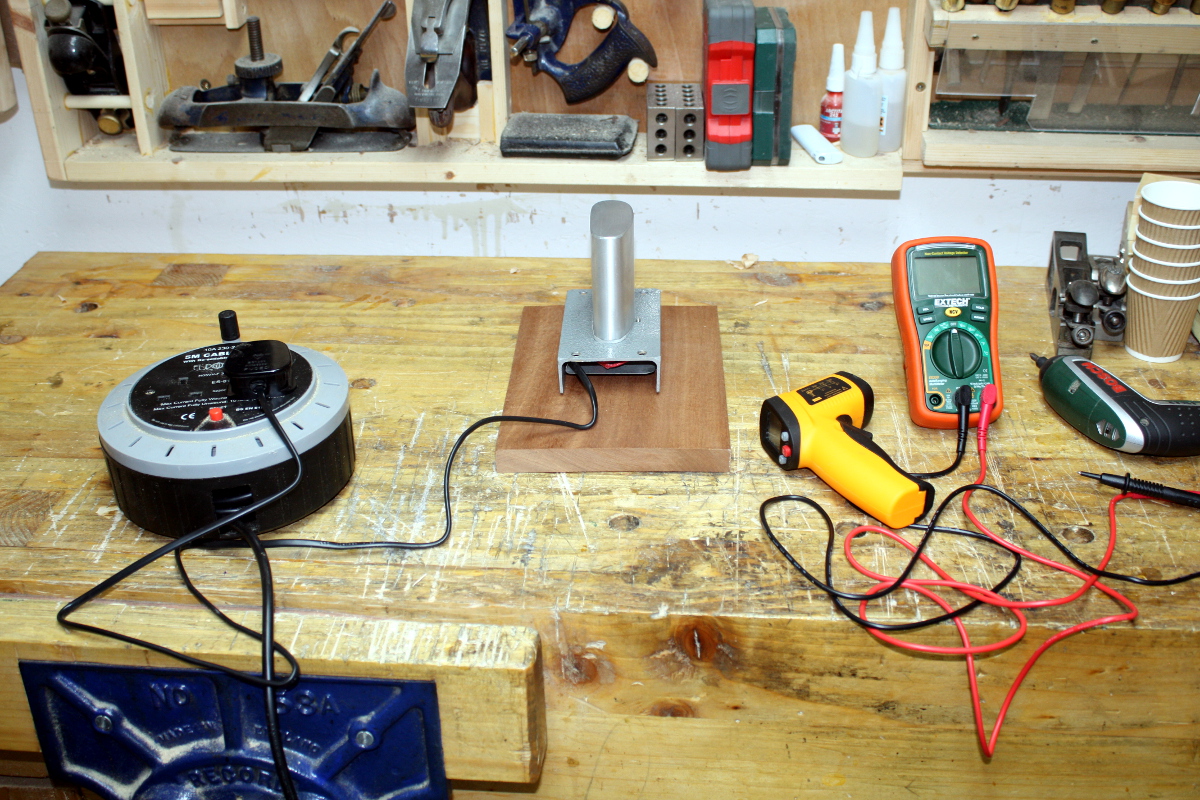
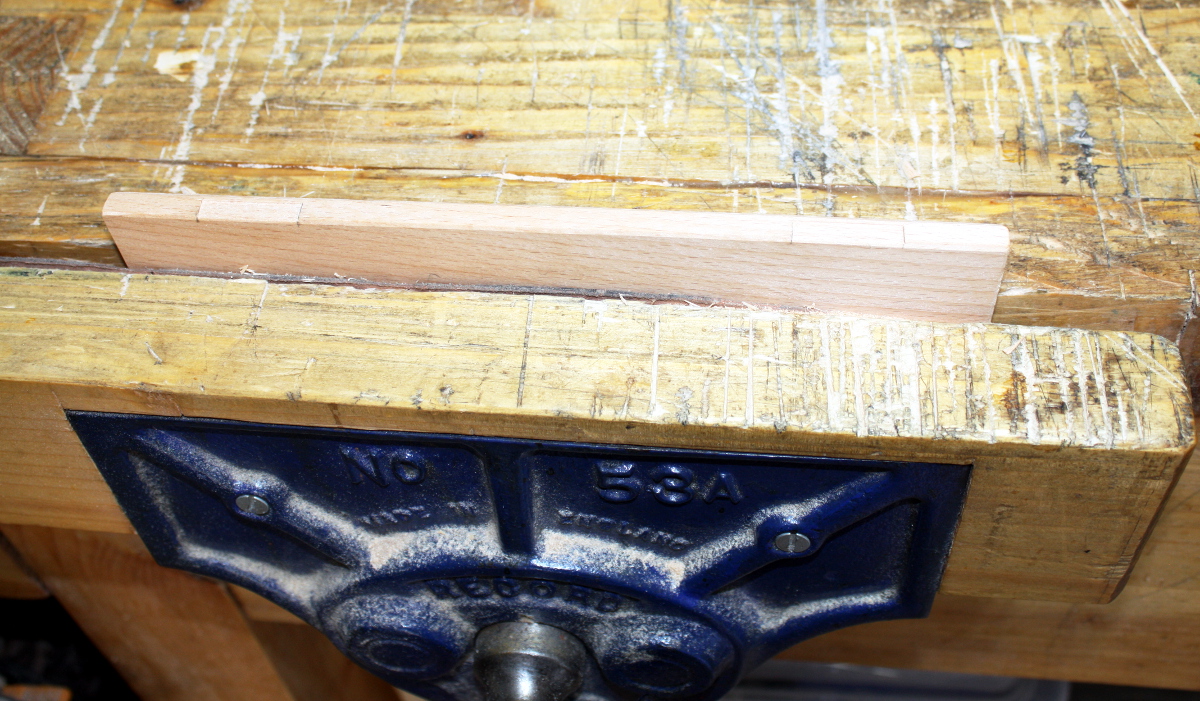
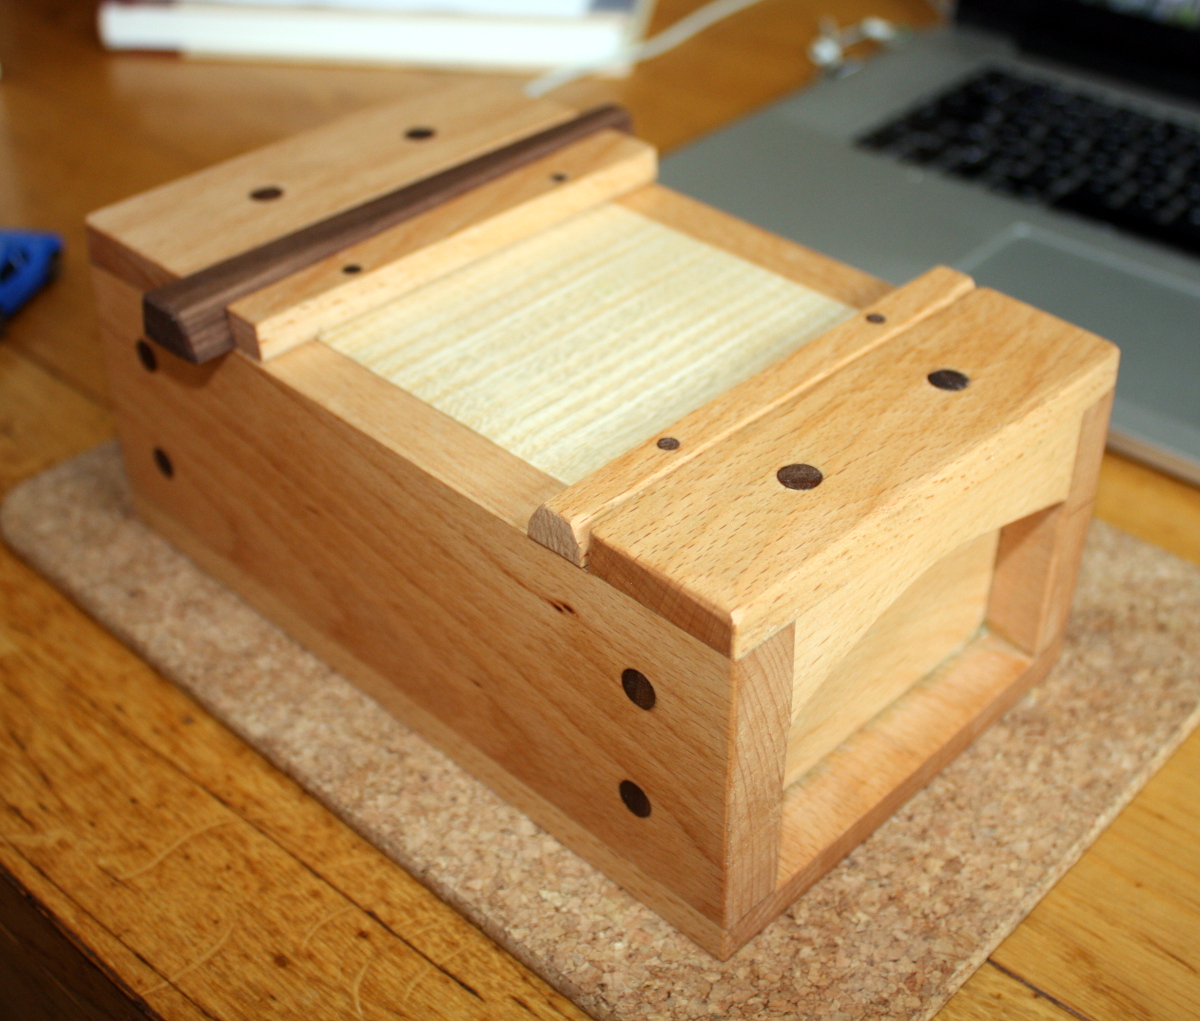
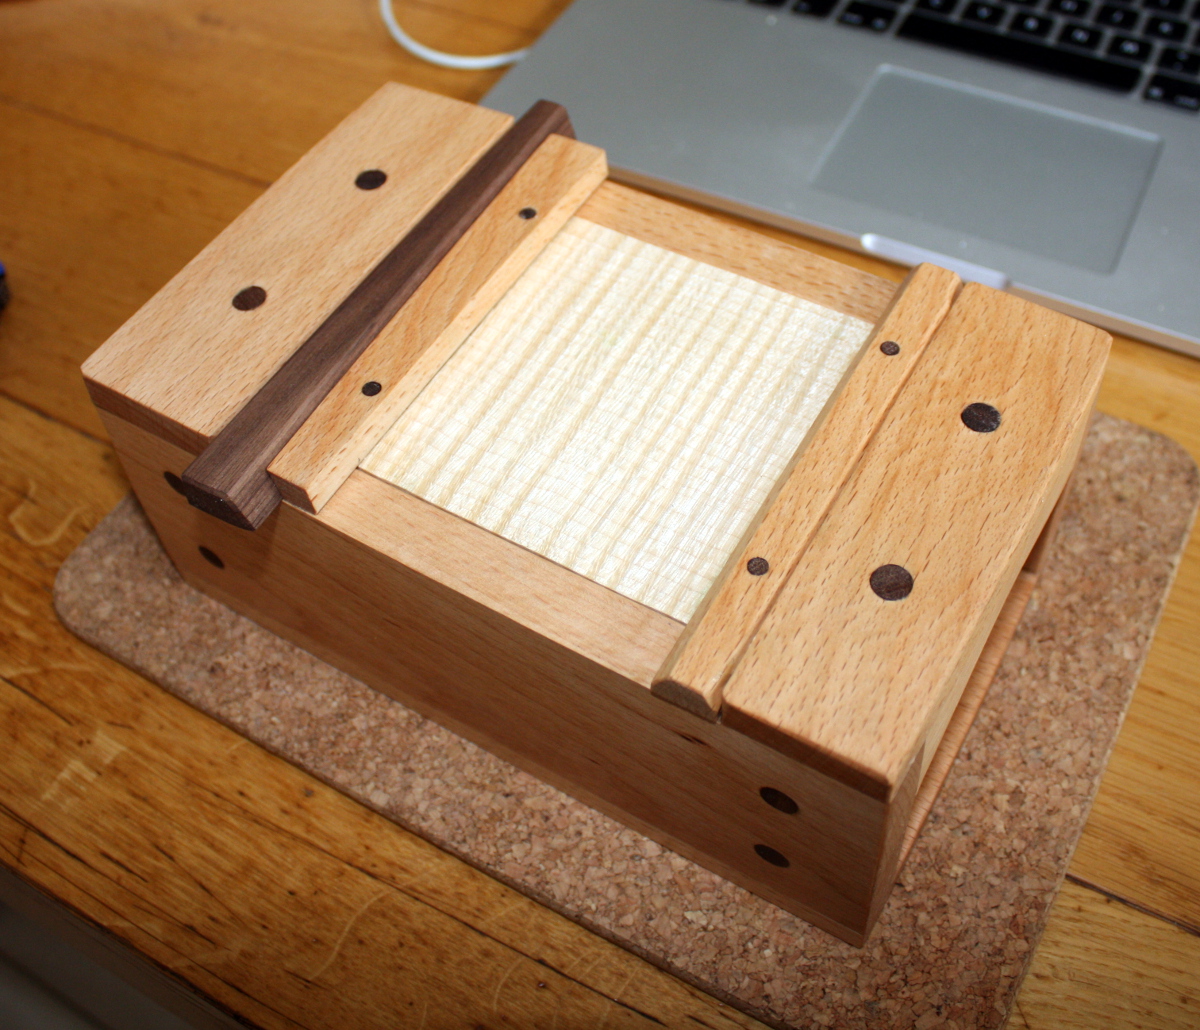
I said it looked grand, not that I trusted it yet 😀 More testing for voltages, waiting to see if the temperature stabilised properly and so forth (that bit of sapele there is to become the base it gets fastened to so I can holdfast it to the bench). All the electrical tests seem okay so far…

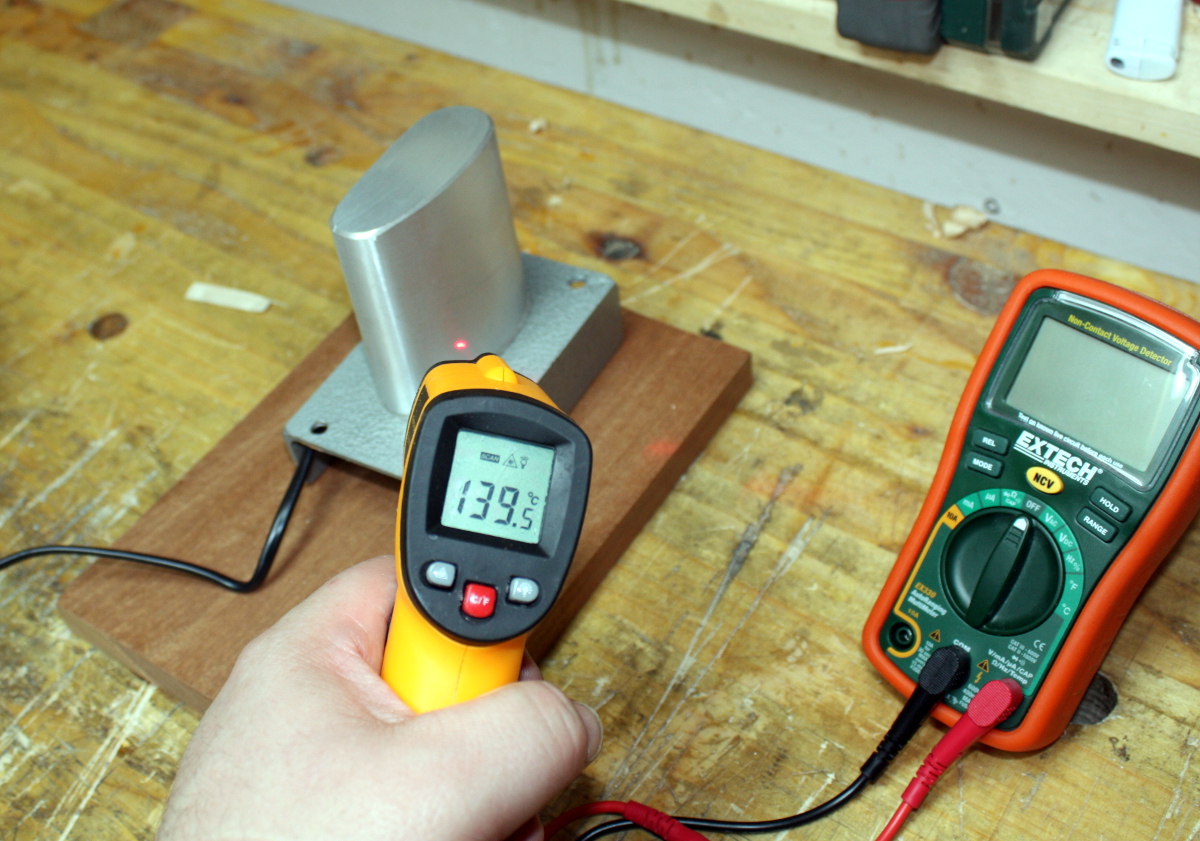
The temperature seems a little high mind you, but I think it was made for 110V rather than our 240V. More monitoring needed really and I might want to put some handles on that bit of wood because the fin is not very well isolated thermally from the base…

I worry about the temperature running away too far – if it melted insulation then the case might wind up live and that could be fun. I mean, there’s no ground in the shed really, it’s a wooden floor, but still. Not exactly ideal. Hence, add some handles to the base to pick the thing up and move it about. And maybe some wooden rails along side it to act as hand rests for when I need to steady my hands for particularly delicate bending work.

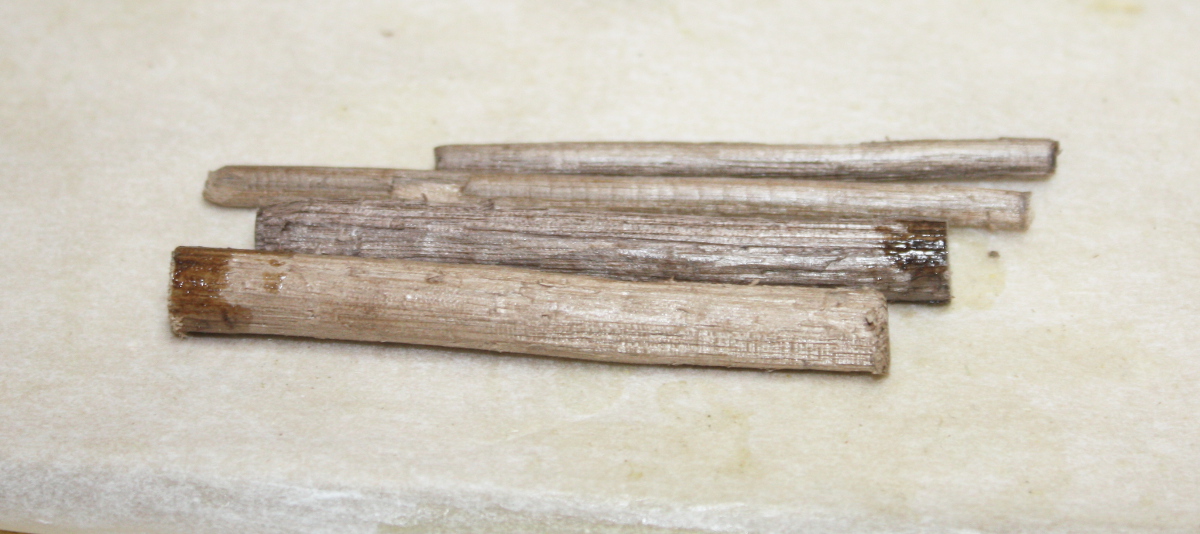
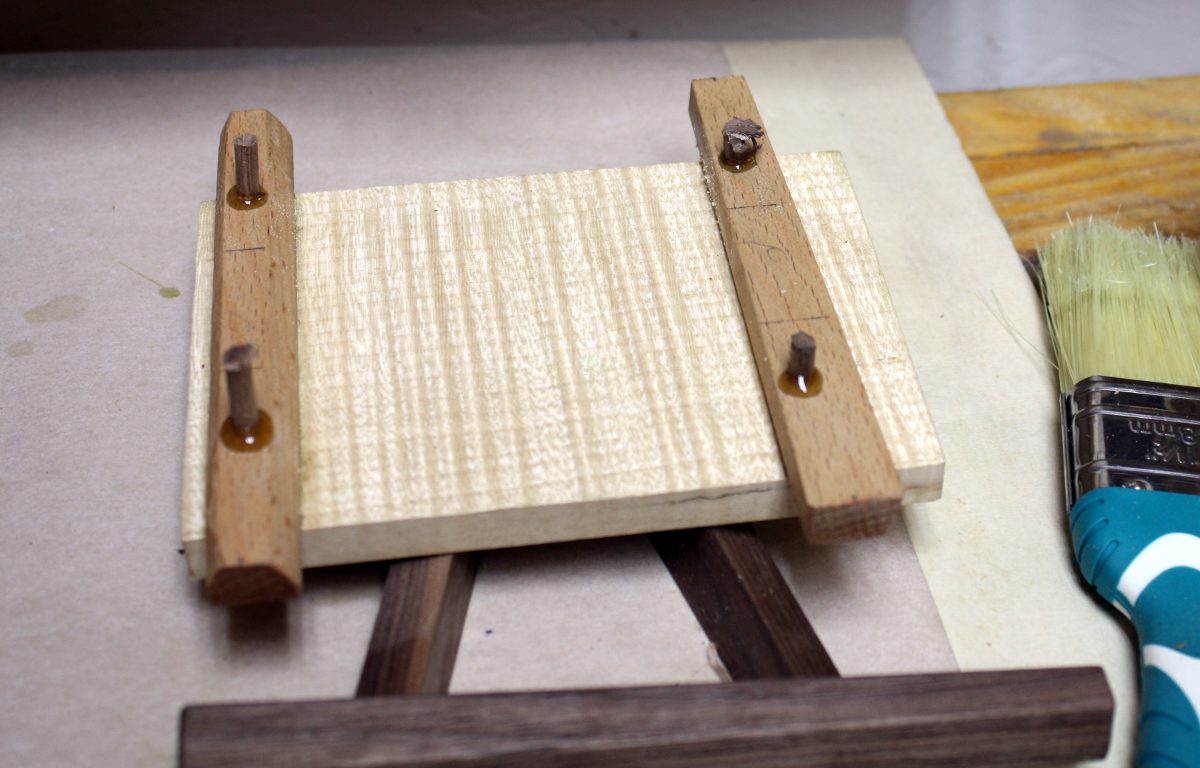
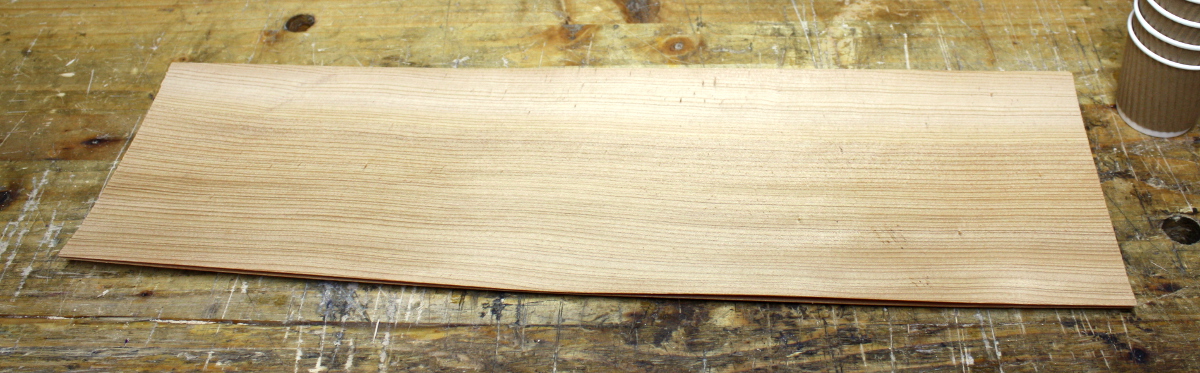
And what will it be bending? Well, I finally found a commercial source for thick veneers (in this case, 1.4mm thick which is perfect for what I want it for – it’ll get a bit of handplane work to trim it to the thickness of the groove, but with one side of the strip being thinner so it wedges in there).
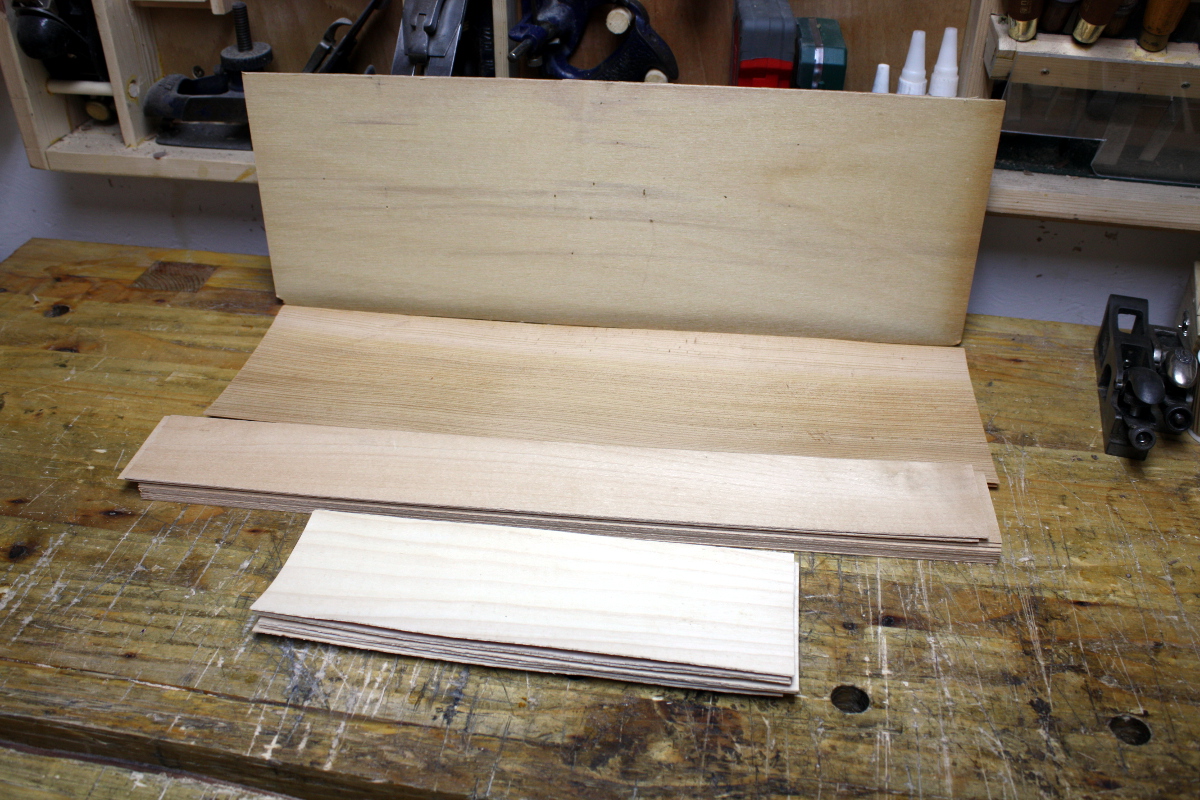
Some sycamore…

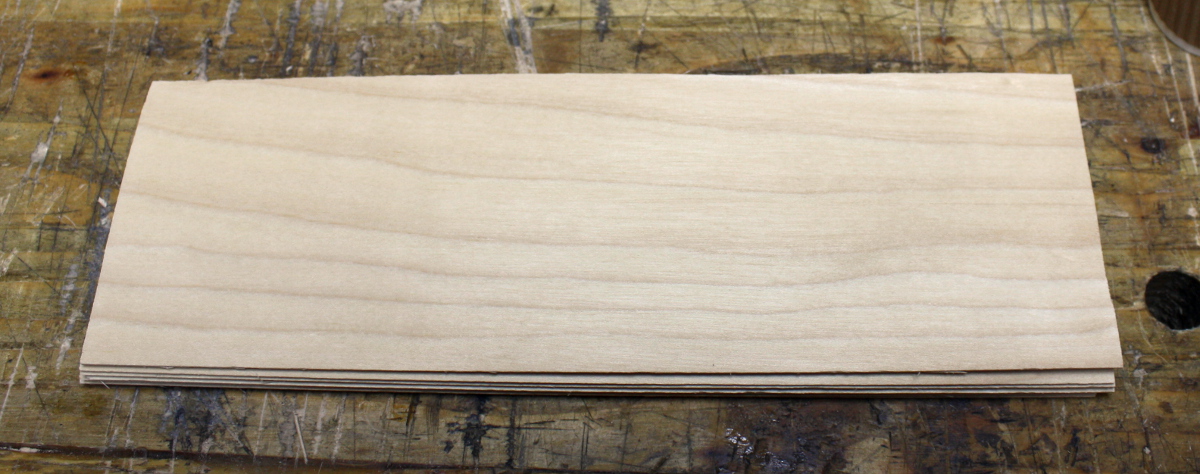
and to compare it against, some maple…

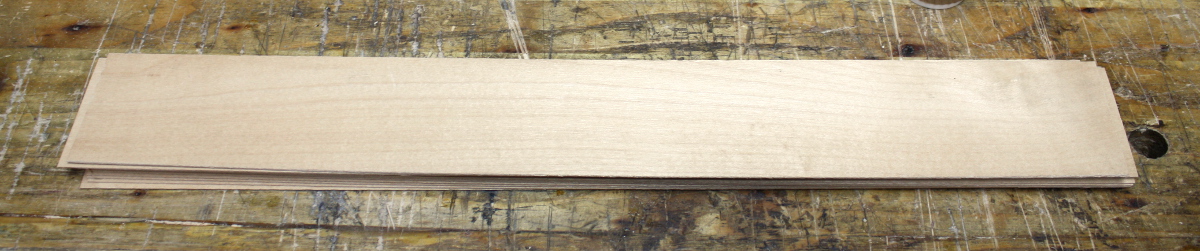
and just for fun, some cedar of lebanon…

That last one is seriously aromatic. I have got to find a source for actual boards of this to use as drawer bottoms, I now know exactly why they used to use this for that purpose. It’s a nice smell, but you know you’re not getting mothholes in your shirts if the drawer is made of this stuff.

Even the bit of hardboard they used to ship this stuff will be of use, if only for drawer bottom material and the like. Happy with that find, now I just have to wait for brexit to screw up the trade rules between here and the UK and for all this wood to become unavailable again. Hell, it might be an idea to stockpile, the way things look to be going…

(You laugh, but you know how house prices in Ireland are rising faster than a SpaceX launch? And you know how we use timber for building houses in everything from making doors and stairs to roof eaves, scaffolding and so on? That timber all comes from the UK because Irish timber yards are too small to buy on the continent because we’re just not that big a country – we have 4 million people, they have 50, and they build more so they buy wood by the hundreds of tons and we buy off their yards and ship it to here. Brexit is going to throw a huge spanner in that, stuff will either have to come from the continent meaning higher purchase prices, higher logistics cost and so on; or yards here will have to buy stuff from UK yards at enormously higher prices. And all that gets passed on to the final house price here. Stockpiling doesn’t seem so ridiculous now, does it, eh?)


24
Jun 18

Done

Time to complete the locker. The door got resawn down from 1″ to about 3/8″ thick using the bowsaw and the large ryoba when I got too annoyed at banging the bowsaw off the wall on every stroke, and resawing remains the most boring annoying thing ever, but you while you can thickness plane 3/4″ off a 1″ board with a scrub plane, it’s a pain in the fundament to do so. Roll on bigger bandsaw.

Once the door was then planed down and fitted, which was mainly just faffing about planing until the edges of the doors matched the doorframe, it was time for the worst part of every project.

I hate hinges. They’re a pain in the backside to get aligned and fitted. Maybe I’m just fitting them at the wrong time, maybe I’m doing something wrong, maybe there’s a trick to it, I don’t know. I’ve read and watched everything on them that I can find and still they’re a pain. And the ones where you have to hammer in tacks instead of using screws are the worst because everything’s tiny and fiddly and you never have the access you need.

So, we cut the mortices. Very shallow ones at least, so much so that the cuts can get done using the marking knife this time. And the #722 router helps to actually cut out the waste.

Really thin material…

It barely looks like anything’s been taken off, but no, that’s cut…

It’s even flush properly.

Making sure the barrels of the hinges are aligned with a straight-edge is fiddly unless you have six hands.

And then cut out the mortices for the door hinge mounts.

Okay, that’s fine. And that’s the last of the work, I don’t want to do the finishing when the door’s attached.

So next…

The lady wants purple, so out with the crimson guitar’s stains, a cloth and some water in a spritz bottle…

Not bad. Trick seems to be to ignore being economical with the stuff, put a drop or two on the cloth directly from the dropper, spritz that a few times with the water, then spritz the wood once, rub it in, then spritz the cloth again and rub again and repeat until the colour is reasonably even.

And maybe I should have sanded the surface back instead of the usual planed finish I have.

It dries much, much lighter than you’d think, but even a spriz with water darkens it back up again. So a top coat is needed (is it really a top coat?) and it’s a toy so it’ll take a few knocks. But I’m out of wipe-on poly, so out with the high gloss lacquer and I happen to have a half-can of this stuff left…

Mind you, the shed is little. Which means not much air. Ever inhaled spray-on lacquer in a confined space? Don’t.

So outdoors we go, and on goes the first coat while I’m wearing a respirator. I wonder what the neighbours think sometimes, but if the choice is looking funny in my back yard or looking funny while being treated for lung cancer or respiratory distress in A&E…

First coat is a bit subtle but I put on three coats (ten minutes drying between each) and brought it back into the shed to dry so leaves wouldn’t fall on it or something…

It’s not too bad with the lacquer on, it darkens the purple nicely.

Next morning, time for hinges to get attached. Been dreading this. That photo took a half hour of fiddling about with hammers, needlenose pliers, nailsets and best yet, cutting nails down in size – the nails that came with the hinges were a good mm or so longer than the wood was thick, and since the spikey look isn’t on for toys, I cut 3mm off the overall length with a snips and then filed a new point on the nail with a diamond file (because the normal files were waaay too big to bite in properly)

And then, after getting them all fitted, the door wouldn’t close. Couldn’t close. The hinges were too deep-set and the door didn’t have clearance on the shelf. So either I carved off a few mm from the shelf edge, exposing the end of the housing joint they were in and then trying to restain the edge to match the rest and re-lacquering it but I’m out of lacquer now so it’d be matt instead of gloss… or I redo the hinges.

I hate hinges.

Take two. Now uncomfortably close to the front edge of the carcass. Note the alignment scratch on the hinge – something I forgot to do during take one. And the vice marred the door’s finish slightly. But…

It opens and closes.

I hate hinges.

Anyway, it’s done, so fire up the branding iron…

And out with some wax for a final polish…

And that’s it, all done. Time for the glamour shots…

Time for some close-ups…

And some outdoors because it’s sunny…


Right. And for the first time in a long time now, I don’t have a project actually underway.

I do have about six in the notebook mind, so that may not last…


17
Jun 18

Balls

We had to run off to a graduation on Friday, but when we got back I spent a rather rushed half-hour in the shed. Thing about that sort of thing is that it gets… messy…

So first things first on Saturday, clean up a bit…

Right. Next, trim up the other end cap, and set the locking wedge position and glue it in place…

And yes, that is the finish starting to go on the box and the key; and I have jumped the gun there a bit and I pay for it later. The finish by the way, is half danish oil and half turps, mixed in the cup (the office has a snacks thing they do where you can get free peanuts and we use those little paper cups to serve them in; I just hang on to mine and they come in useful in the shed later).

I don’t use Rustins for any particular reason; it just happens to be the brand I could find in the shop. I don’t use danish oil all that much really, but the consensus was that it works well for beech when I asked around. And I have to admit, it works quite well, though it’s a strong-smelling finish for the first day or two.

All glued up and finished with the first coat of oil&turps…

And then after it had had a few hours to dry, a test fitting…

BTW, that’s the third walnut key I made. The first one I cut looked fine but by the time I’d pushed it in far enough to lock the lid, it was half-way out already. I re-cut it and somehow mixed dimensions up and had to redo the redo…

It was at this point that I realised I’d forgotten a step…

No pegs in the top. I mean, the glue would probably hold but the forces on the top pieces are all shearing forces acting across the lid so the only thing holding the pieces in place if you really shoved on the wedge would be the glue, and along what is probably its weakest axis. And I get paranoid about such things so…

Yeah, I know, drilled right through the finish too. Oh well. Now the end caps are fine, the five-sixteenths size pegs there don’t come close to blowing out the five-eighths material, but the stops on the lid themselves are far thinner, so I needed a smaller peg, somewhere around an eighth of an inch or just over. And my dowel plate only goes down as far as 1/4 inch and worse yet, with small pegs like that, matching the peg to the hole gets more critical and all my drill bits are metric (the auger bits are all imperial but don’t drop down that far). I was going to use the Bosch drill for the lid because for small thin stock and small holes, you really do want some speed with the lidl-standard drillbits I have; which means the eggbeaters can’t really cut clean holes in small stock. Which means the pegs have to be metric for two reasons.

So… steal another Paul Sellers idea. Knock a few pegs down to 1/4 inch size, then whittle an end to a point and use washers as little metric dowel plates…

Tappy-tap-tap…

Also, the Record Imp earns its pay again! I had no other way to hold those washers well. Trying to use the dowel plate would have been awkward at best. Now just work down through the sizes, running through the washers a few times to get a reasonable surface finish before dropping down a size.

End result; not too bad. Mind you I broke three getting those two made – belting something that size through a too-small opening with a lump hammer is kindof a delicate task. If your alignment is off, the peg shatters.

Worked though.

Now, wipe off the excess glue with a damp rag and wait for an hour for it to set up enough and then…

Flush-cut saw, chisel, and then a pass with the #04 to get a smooth surface on both sides of the lid and on the end caps. The lid is a tad more delicate, but…

Not too bad. And repainted that first coat of finish over the reworked parts.

I rather think that the danish oil works well on that rippled sycamore. It dulls the whiteness, but the figure really does pop.

And some CA glue and felt to line the base and that’s it all complete. Just left it overnight for the finish to dry a bit more, then on Sunday morning while herself is off at a fun-run (don’t ask, I don’t know why those two words are beside one another, it makes no sense to me either), brought it into the house, buffed it up and gave it a light coat of beeswax paste (that’s beeswax mixed with turps) and buffed that as well.


And because you can’t give a box without some contents…


Happy Fathers Day Dad!