10
Mar 19

The problem with having lots of gouges…

…is that you have to sharpen lots of gouges.
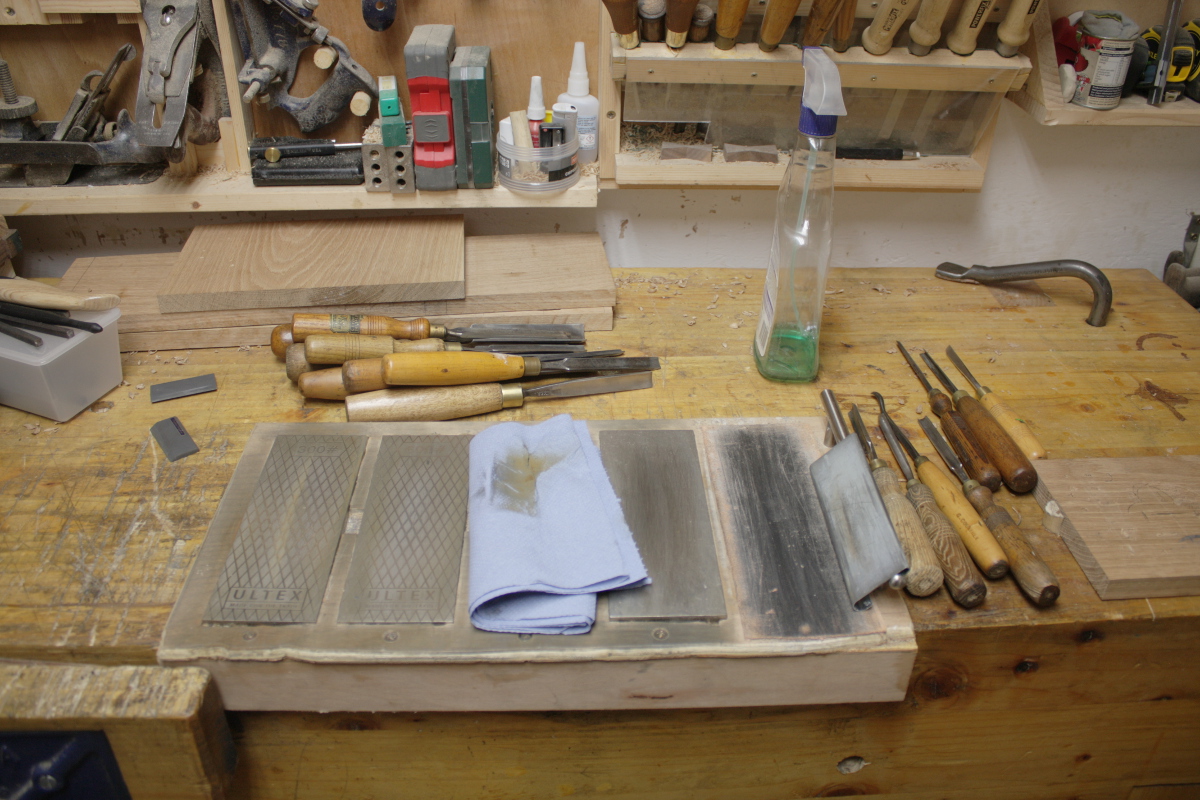
After noticing all the chipping out I was getting, and some awkwardness with the v-tool work, I took the entire carving toolroll out and took the grinder off the wall.

Then I pushed my luck by squaring the ends of the gouges and v-tools on the side of the stone. Don’t do this, it’s not a great idea for anything stressful and figuring out what qualifies as stressful isn’t clear. In my case I took off less than a half-mm or so of length at most and the thickness was minimal because it was at the edge.
After that, reground the bevel on everything to a more acute angle (around about 25 degrees or so) and even more acute on one of the v-tools for an experiment.

And then out with the diamond plates and lots and lots of rubbing stuff back and forth at a consistent angle while rotating the tool to grind the faces evenly – I’m understanding why things like Tormeks and Sorby’s belt grinder yoke are so popular with woodturners, this would be hellish if you had to be doing it every hour or two. Mind you, you can endure a fair bit of hell before shelling out €400 or so…

After all that, back to carving.
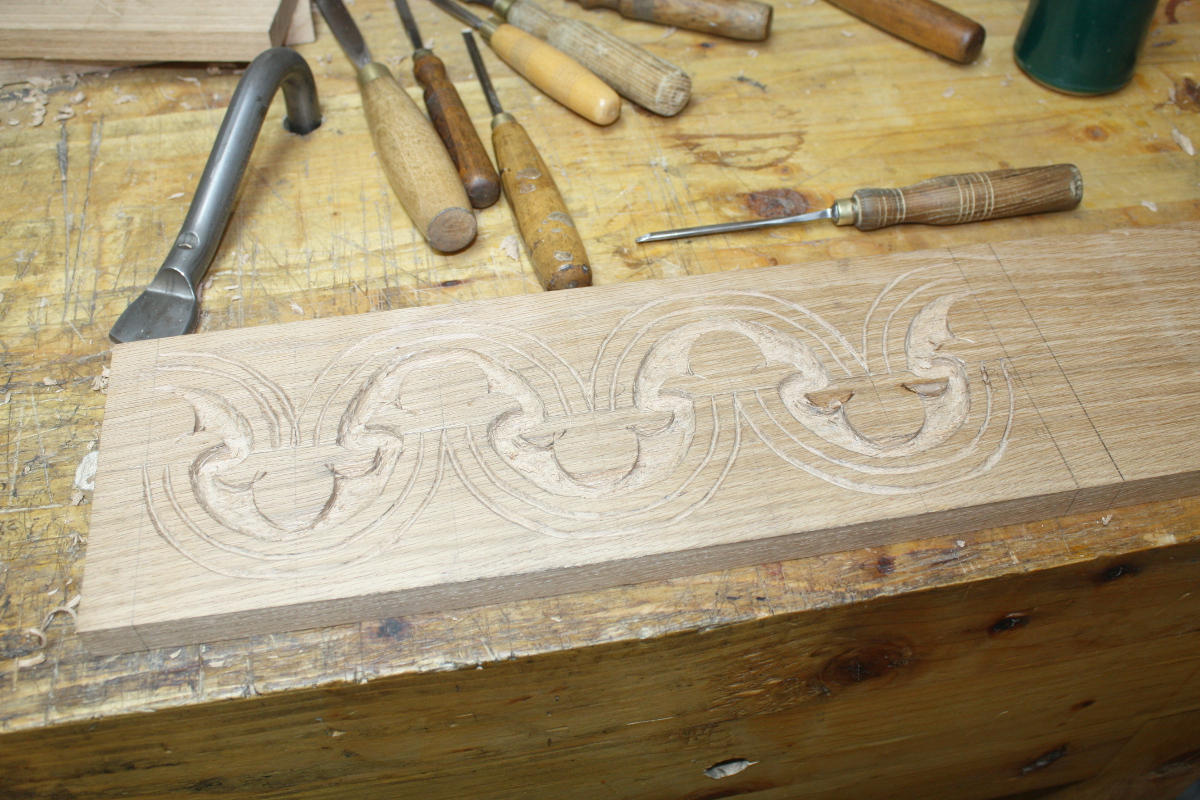
Mostly it was cleaning up the outline a bit (rechopping with sharp gouges did help) and taking down the background a bit further helped as well. Then stippling, but the main punch I use for that was in need of a touch-up as well. In case you’re wondering how that’s done, it’s not exactly complicated:
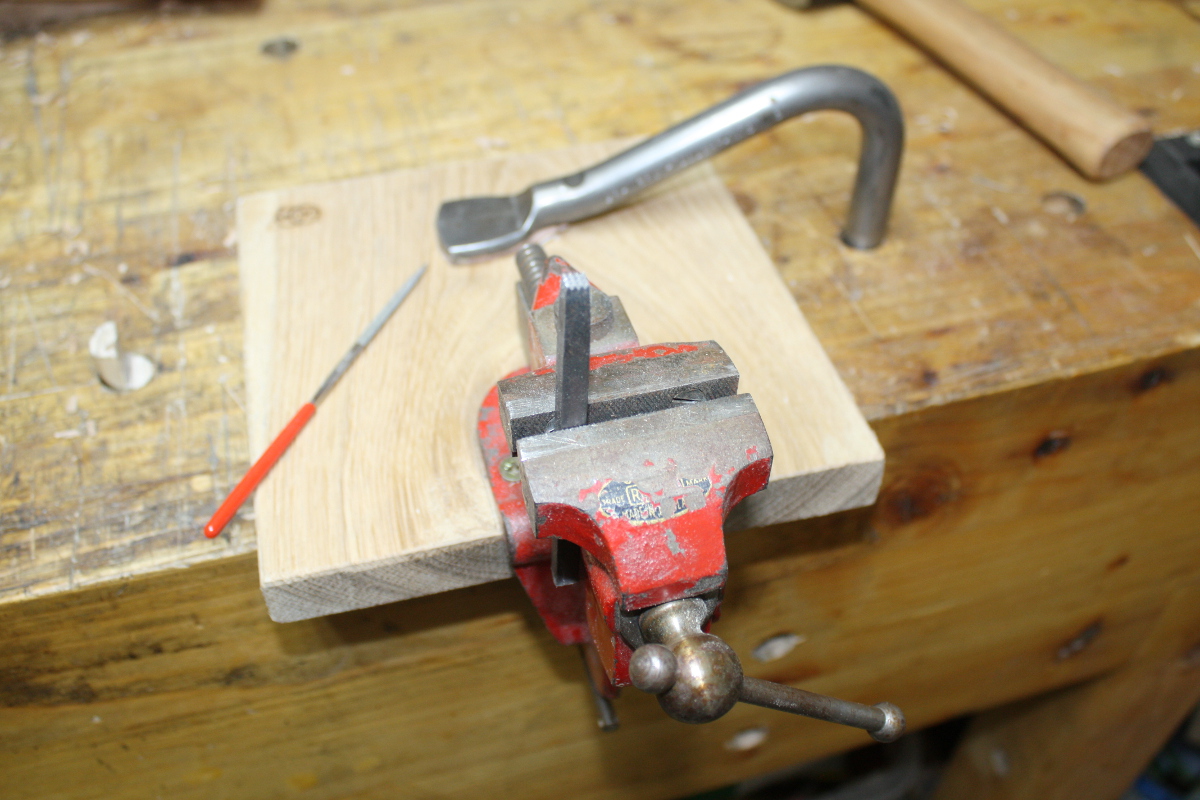
I do like that imp vice. Handy little thing. The diamond file is Lidl’s cheapest but it did the job well enough, and you have enough diamond coating left on it afterwards to do at least one more touch-up…
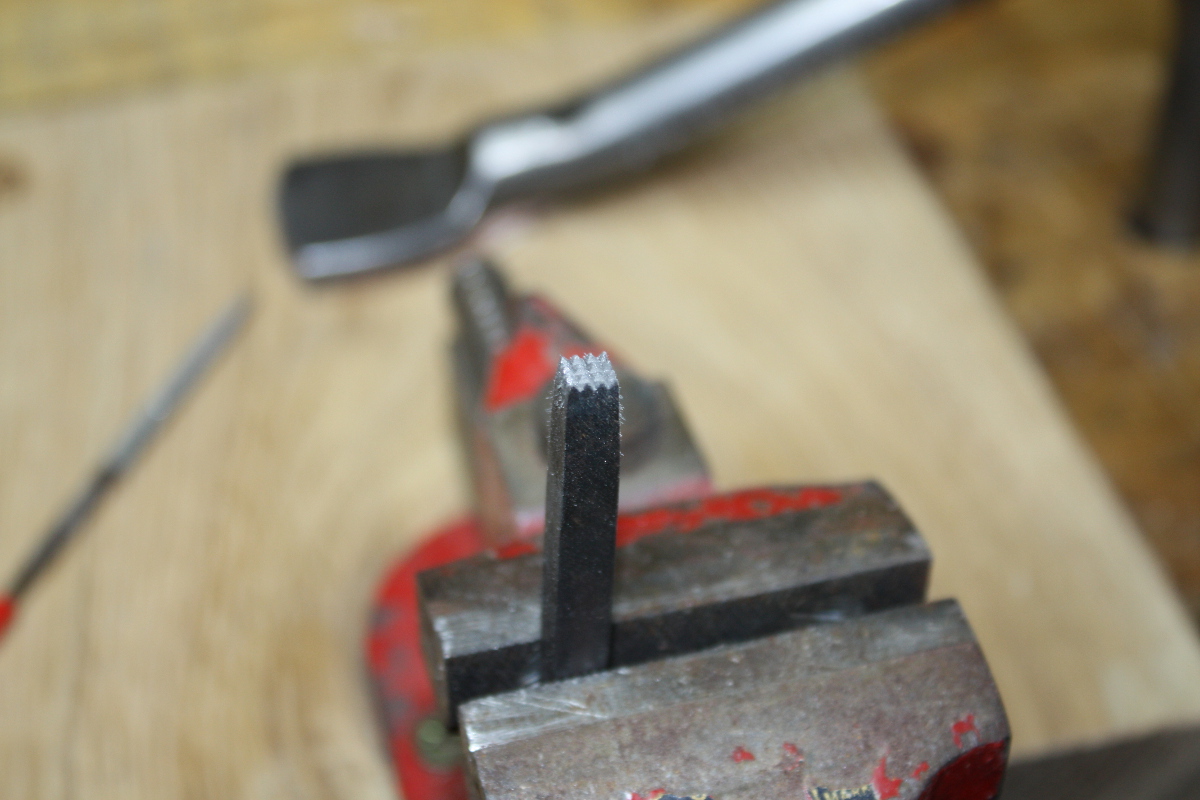
Still, did the job and I know I have a better set of needle files somewhere, I just couldn’t find them (having two projects in flight at once in a shed of this size is a mistake).
Then stippled the background and added a few small details like another v-tool cut and some stop-cut chips and so on, then daubed on some linseed oil to see what it looked like.
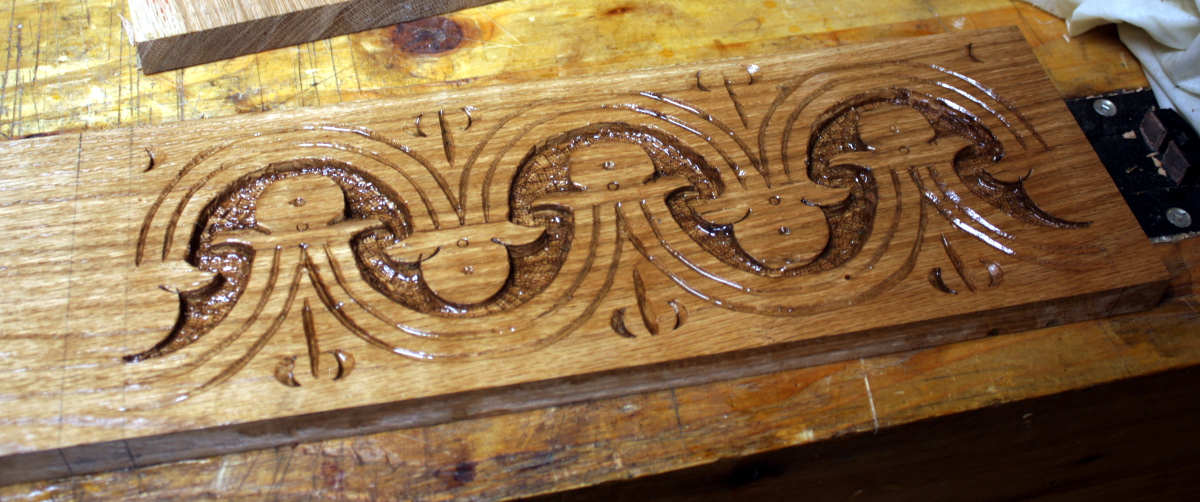
It’s okay… I’m not convinced yet. I do have another idea in the back of my mind that I did some testing with today but it’ll be a few days before I know what that turns out like. More on that later. Unless it’s embarrassingly terrible…
06
Dec 17

Resawing sucks.

Honestly, if there is a better argument out there for buying a large bandsaw I haven’t heard it yet.

Yes, I’ve heard of roubo frame saws. My shed hasn’t enough room between the face vice and the wall to use one.

Yes, I have western hand saws. I either need to resharpen them or recut their teeth because the best one I have didn’t want to cut.

Yes I have a bandsaw already – it can’t resaw anything over 75mm. That there is 115mm.

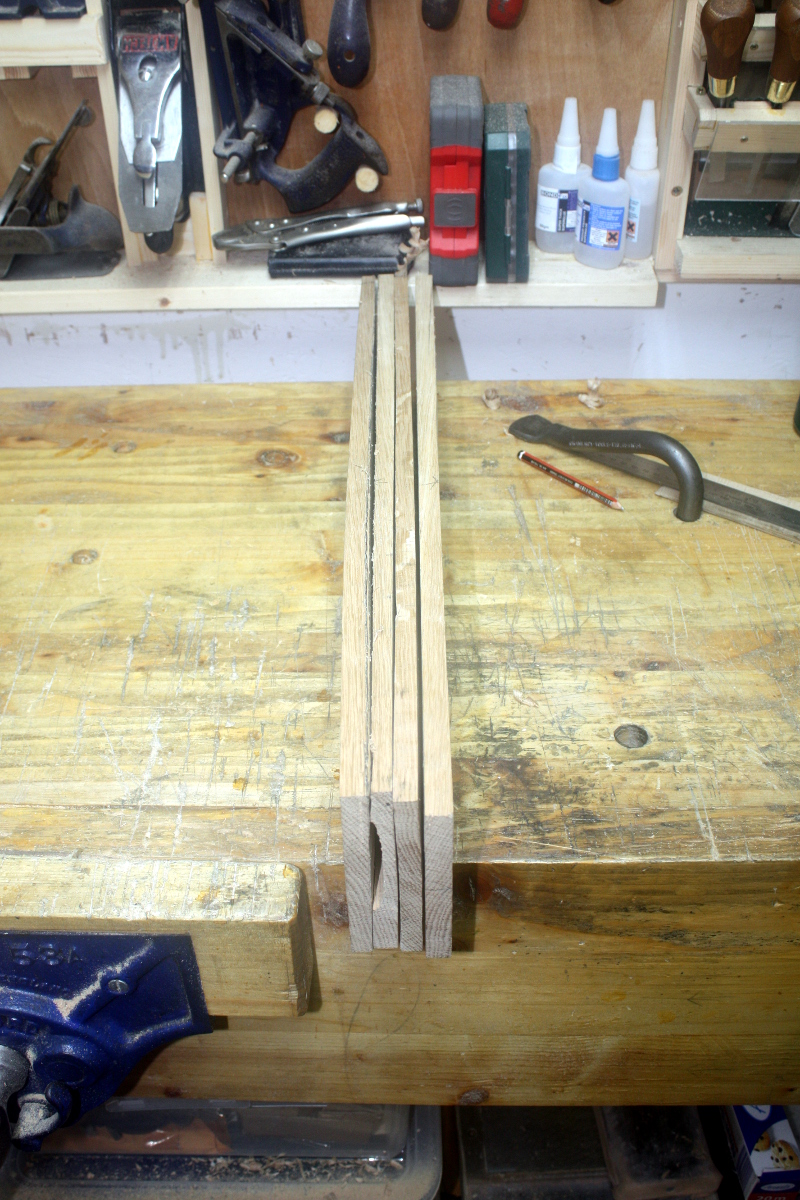
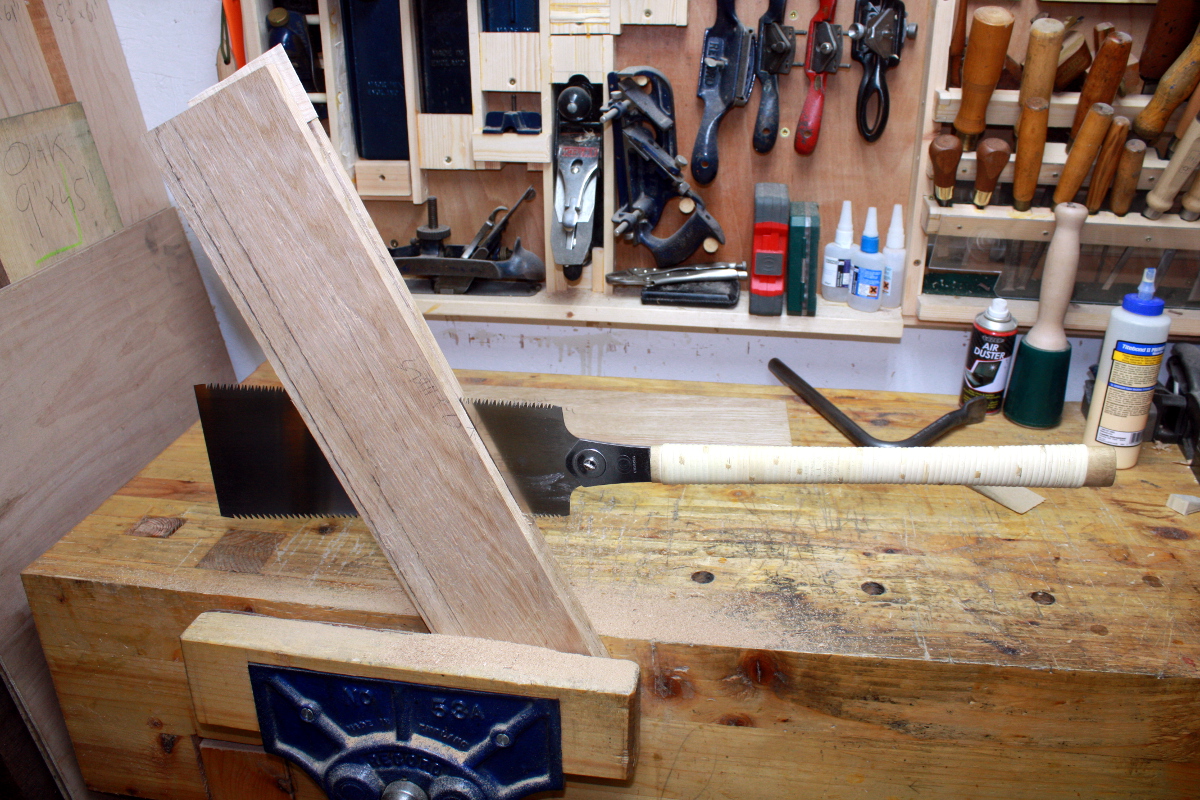
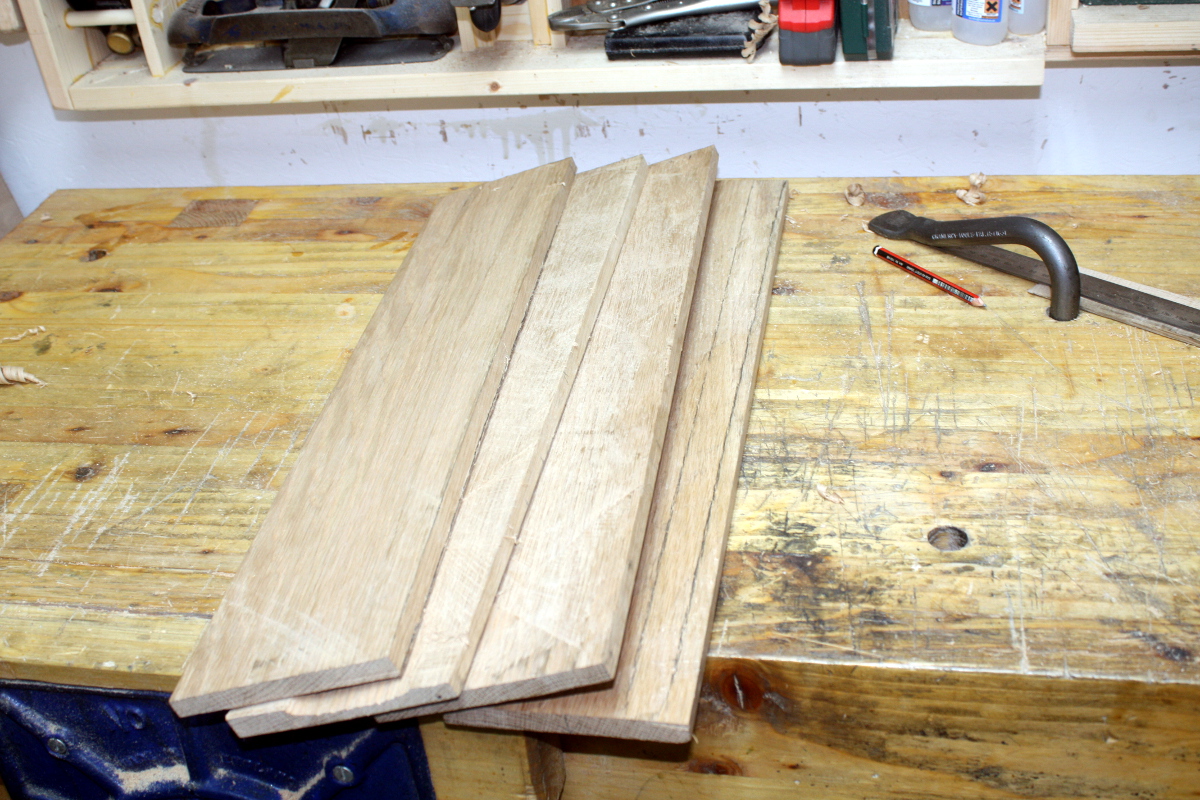
So, wax blade, yank handle, shove handle, repeat till ticked off enough to pull board halves apart by brute force, plane off worst of the gack in the middle with scrub plane, give outside a few passes to mitigate uneven drying, repeat.

What, you thought there was an art to this? No, it’s just donkey work. And if you get too ticked off and pull the board apart too early…

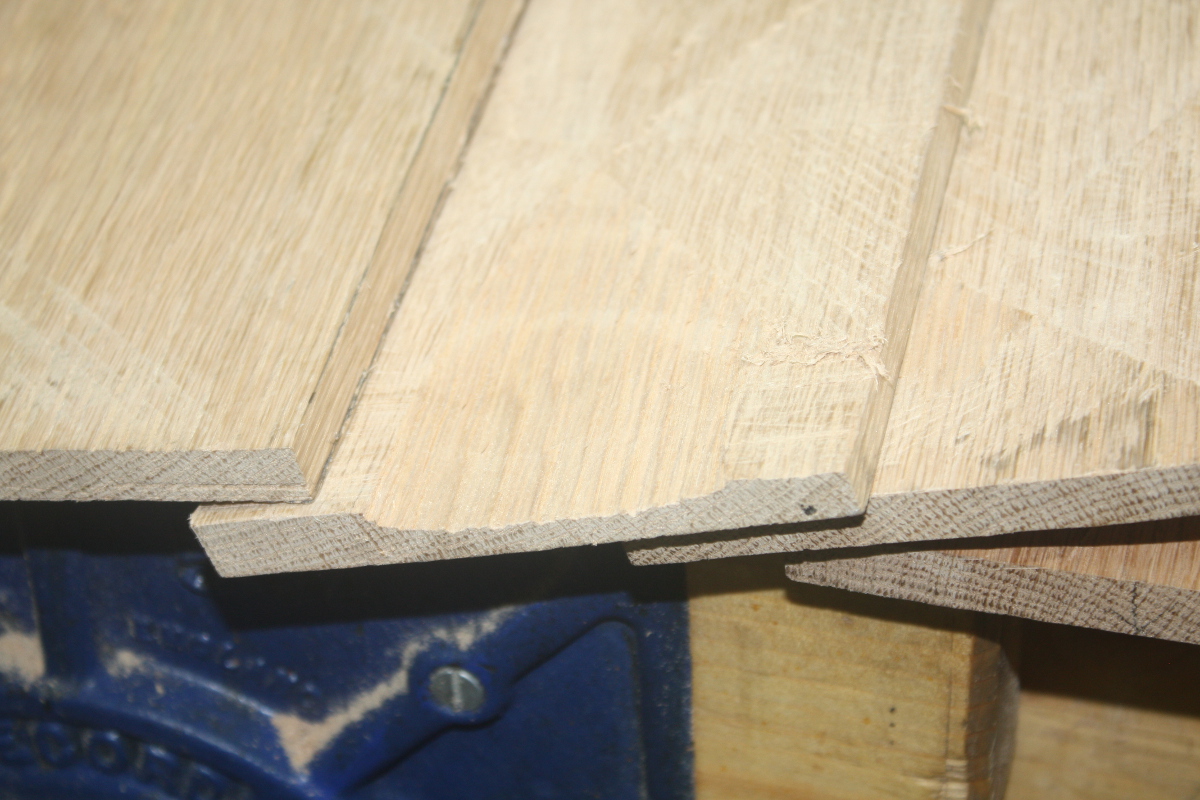
It rewards you with a great big divot out of one end. Well, at least I don’t need the full length of any of these boards.

Left them standing upright to dry and warp overnight.

At least I got both boards resawn. That was more than I had expected to do.

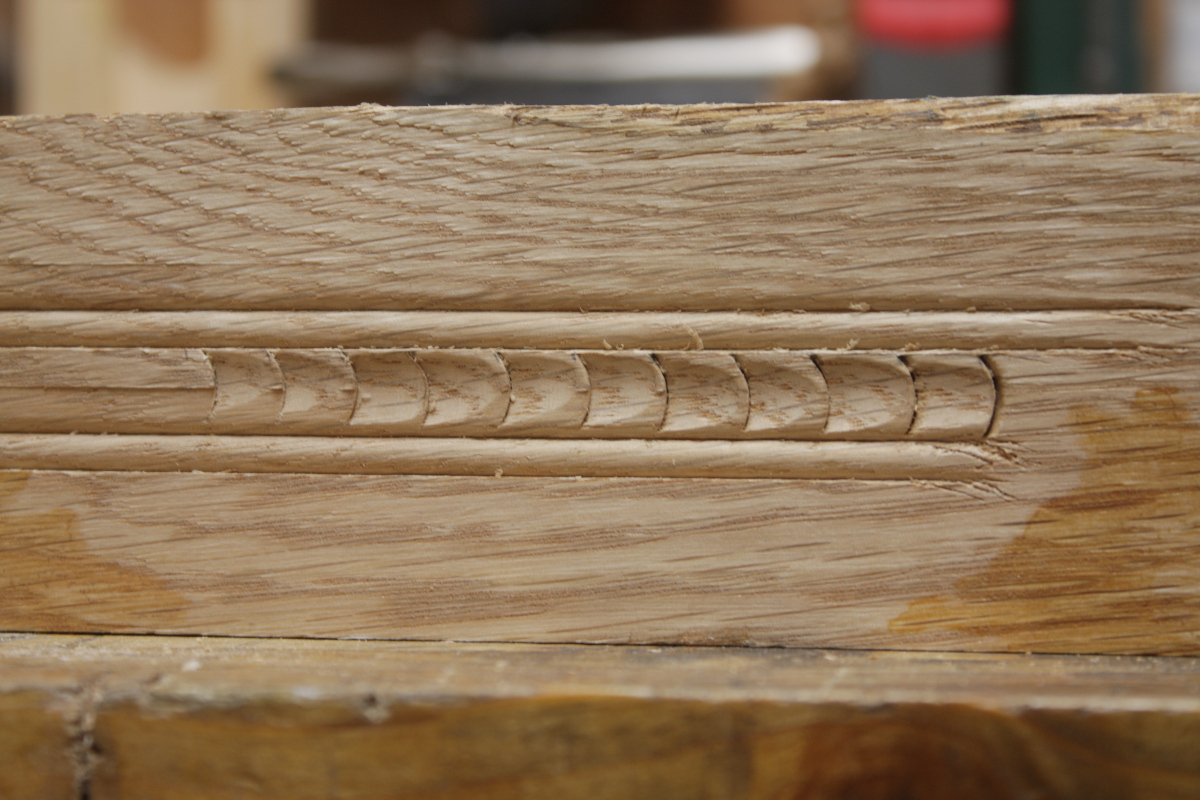
So I had a play with my Lee Valley scratch stock and a gouge. I was watching some old Peter Follansbee videos and saw what I thought would make a nice decorative element on the rails of the chest. This kind of stuff shows up on the 17th century oak furniture he specialises in and was very common in the period, and since this is basically a 17th century design tarted up a bit, it seems appropriate.

Plus it’s pretty fast and simple to do, though I do need to experiment a bit more – I really need a round or beading plane or a custom scratch stock to form the surface in the middle before cutting the segments out. This took all of five minutes or so to do by the way – it really is fast when you know how (scratch stock bead line with a fence, chop at right angles with a gouge at regular intervals on that bead line, scratch stock bead line on the other side of the chops, then carve one scoop from gouge chop to gouge chop with the same gouge). How to actually end it when the rails hit the stiles is the main problem. I’m not sure how to continue it around the stiles/posts you see. I mean, I could try freehanding it but that seems wrong somehow unless I can get the rails and stiles utterly flush.

And the threaded inserts didn’t arrive today. Bother.

Tomorrow I’ll square up the stock and try to get the panels cleaned up a bit more and do something about that lid. I’d like it to have a small curve to it if I could, but the only way I can think to do that involves taking an inch-thick board and carving it with planes. And I don’t know about that – it’d be heavy and I’d have no way to prevent it warping with movement, which a frame-and-panel lid would address. I mean, according to the bible, it’ll move by 2.8% tangentially over the 30% humidity change between a summer and winter indoors around here (gotta love central heating), that’s almost a full centimeter of movement across the width of the lid. Make that from a solid block of wood and you won’t have a lid for half the year.

What’s the bible? Fresh from abebooks.co.uk:

Basically, a few hundred species of tree, with notes on things like general working properties and data like how much it moves when seasoning and when doing a 30% humidity swing and what its density and tensile strength is and so on, all done by a UK government office back in the days when this was what governments did. Yeah, it’s 1956/7, but tree species don’t change that much that fast (other than going extinct).

Bloody useful books.