…is a rapidly approaching deadline 😀 So there’s been a lot of work and not a lot of photos and typing.
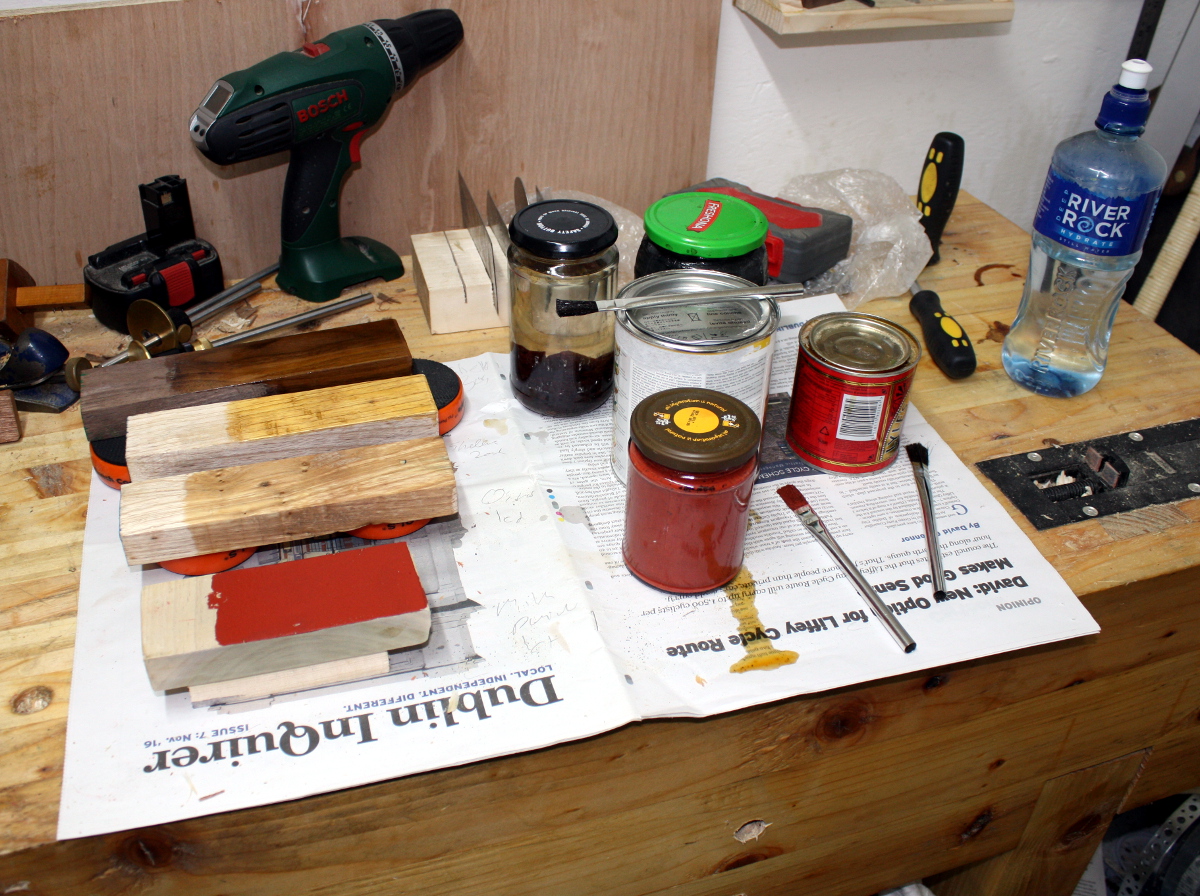
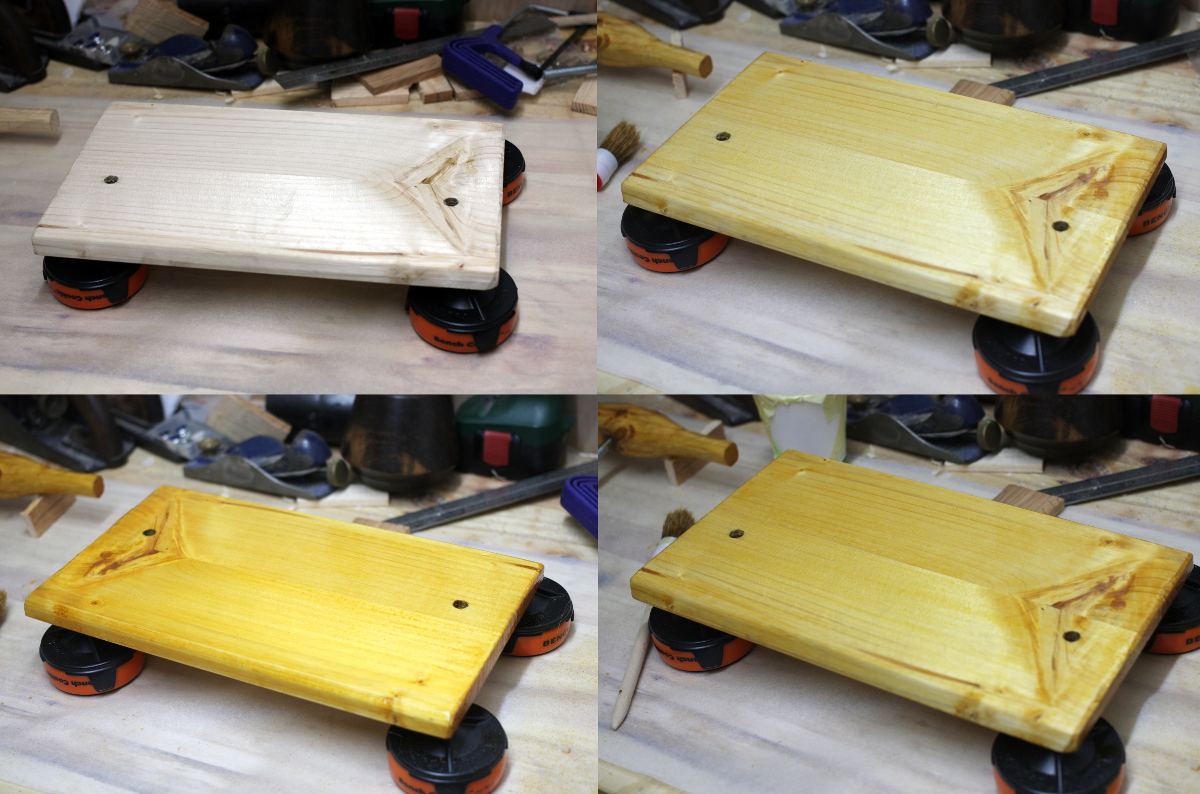
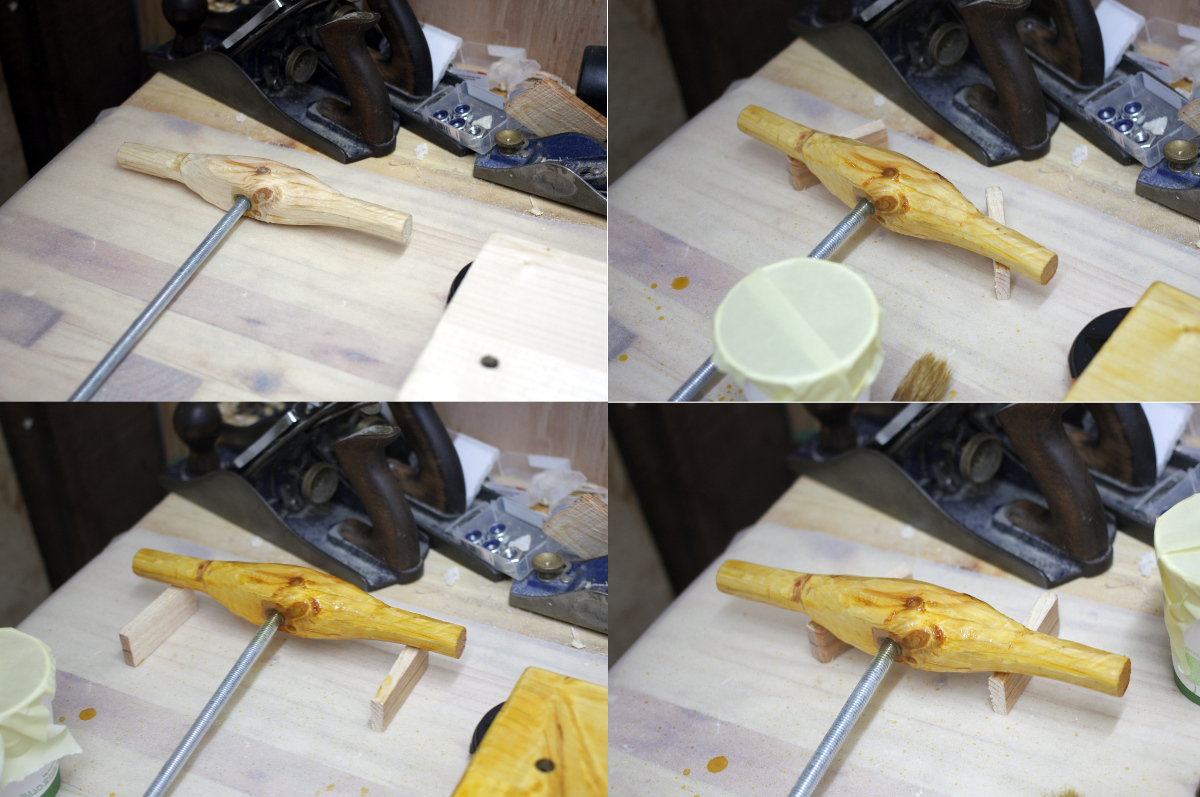
I’ve been testing some finishes…
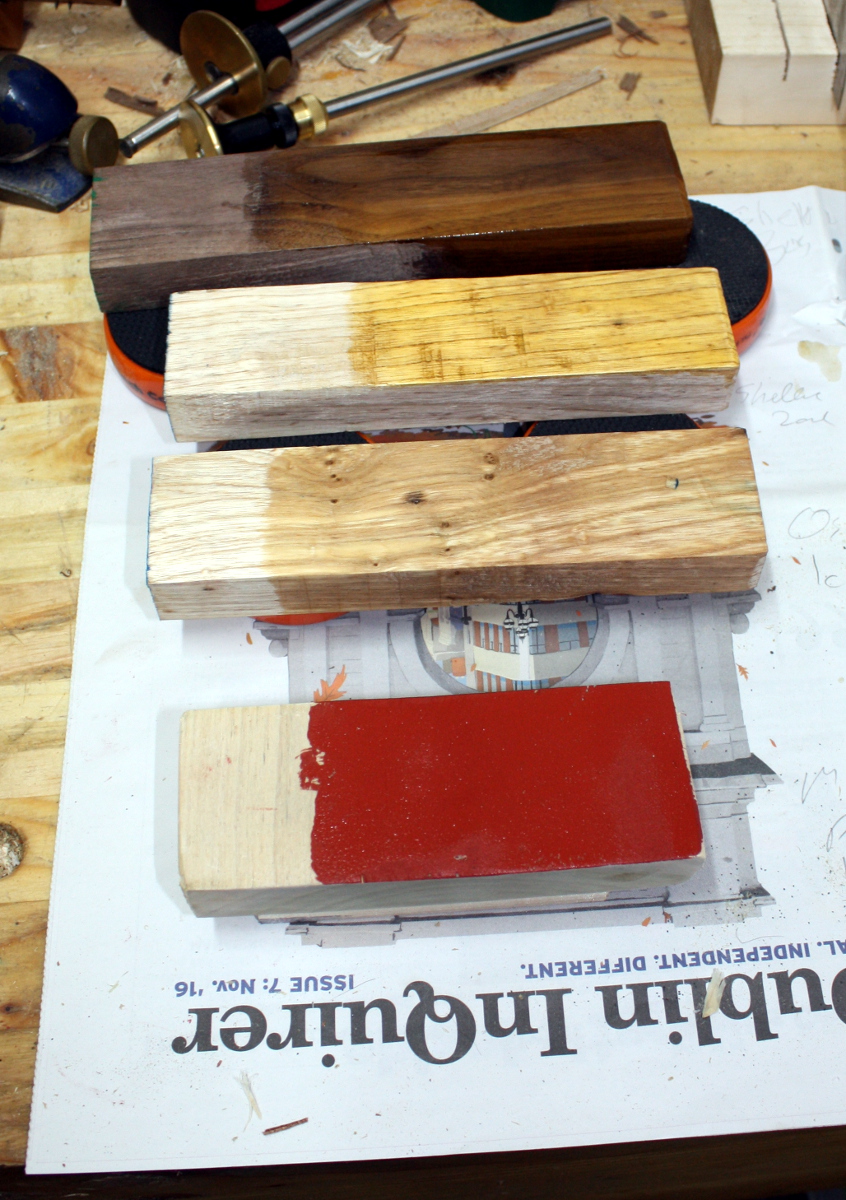
So there’s shellac on the walnut, I’m testing both shellac and osmo wax on the ash, and milk paint on the poplar. The latter is very vibrant going on…
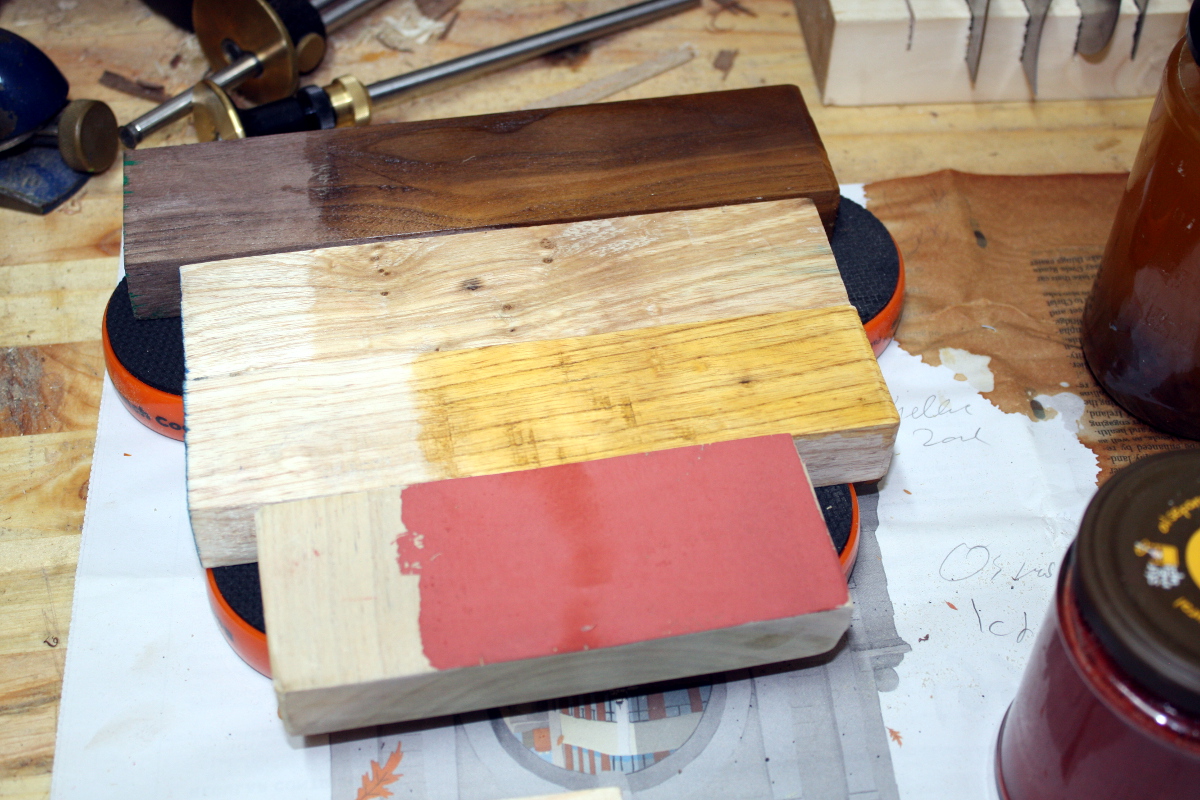
…but after it’s dried the next day, it’s faded a bit…
…which is disappointing, because I’m not a fan of this modern shabby chic chalk paint nonsense. But if you put a layer or two of osmo over the top of it, it picks back up somewhat. Well, it’ll have to do.
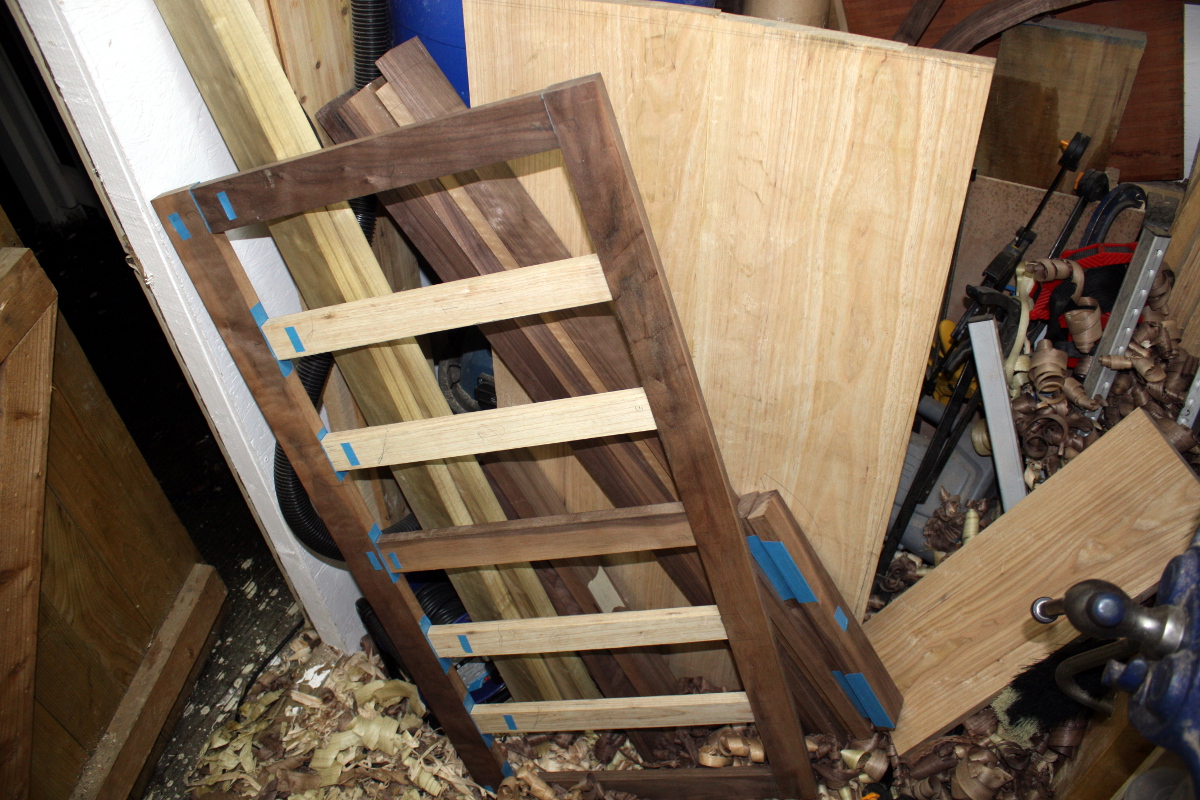
Meanwhile, all the panels are now planed (holy carp but kiln-dried ash is god-awful stuff to work with even if it does look nice, especially long heavy pieces), all the frame pieces are cut to length and we’re into the joinery and fitting stage.
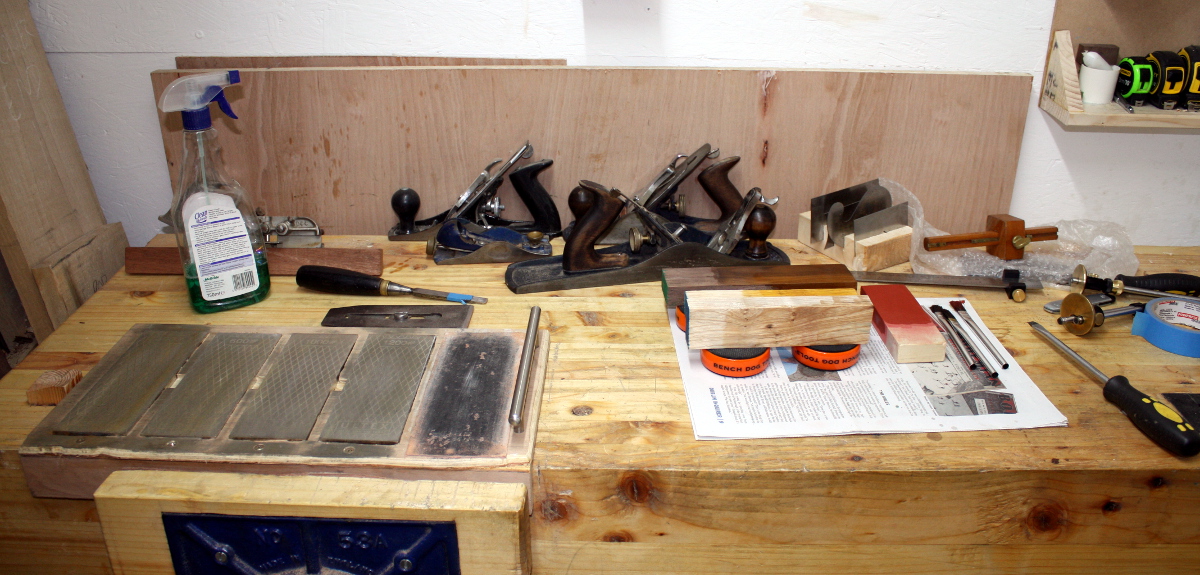
And sharpening. Soooooo much sharpening. Stupid kiln-dried ash.
I really need more storage space. And yes, the floor’s a right mess. It normally wouldn’t be, but I managed to pull something in the small of my back two days ago doing the shopping for the xmas dinner (lifting heavy things into and out of deep shopping trolleys in a rush at the checkout must do in more backs than any gym). When I can lift my left knee more than two inches without the stabbing pain in my back again, I’ll clean the floor up.
Meanwhile, I can work while standing.
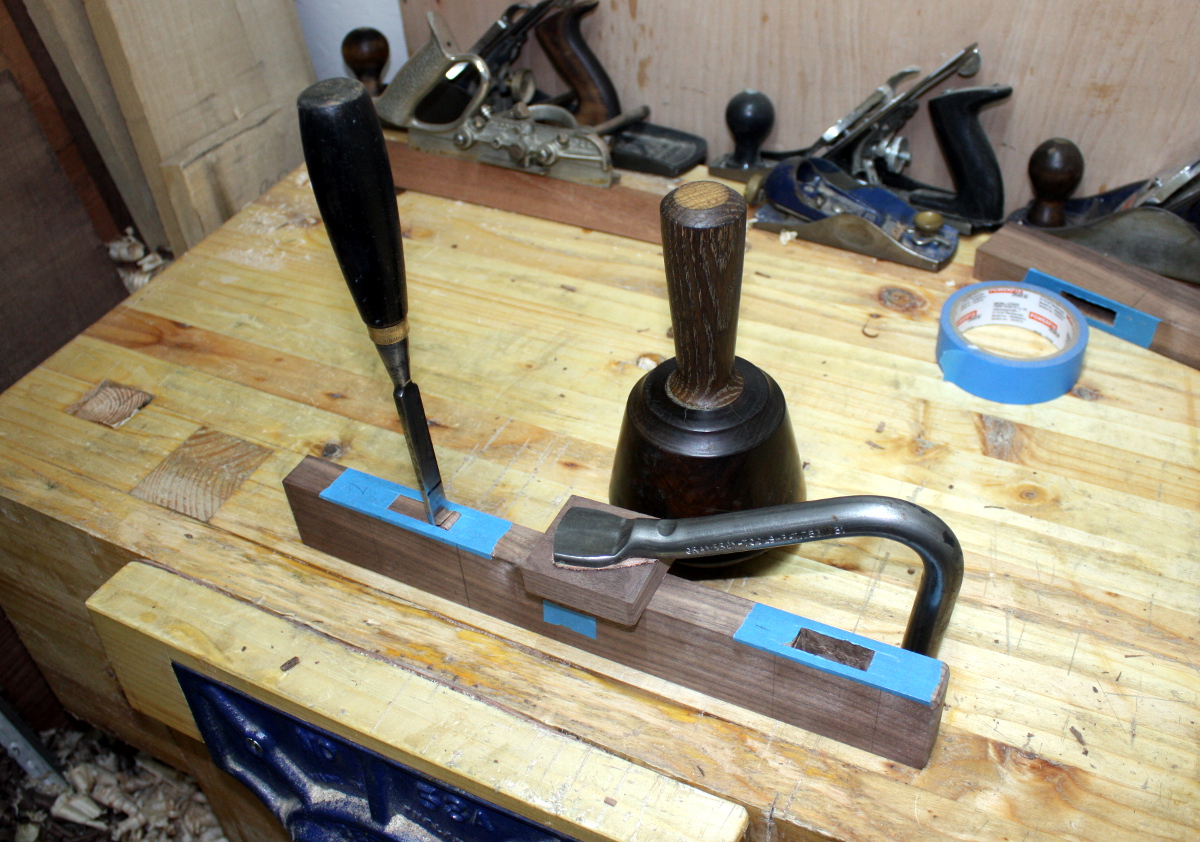
Trying out a slightly less fancy morticing method (a lot faster too, I’m becoming quite a fan of holdfasts) and it works quite well. The mortices for the slats will have to be quite a bit smaller than the ones for the frame though, there’s so many of them to do. Mind you, those slats don’t have to hold the thing together, so smaller mortices will be fine.
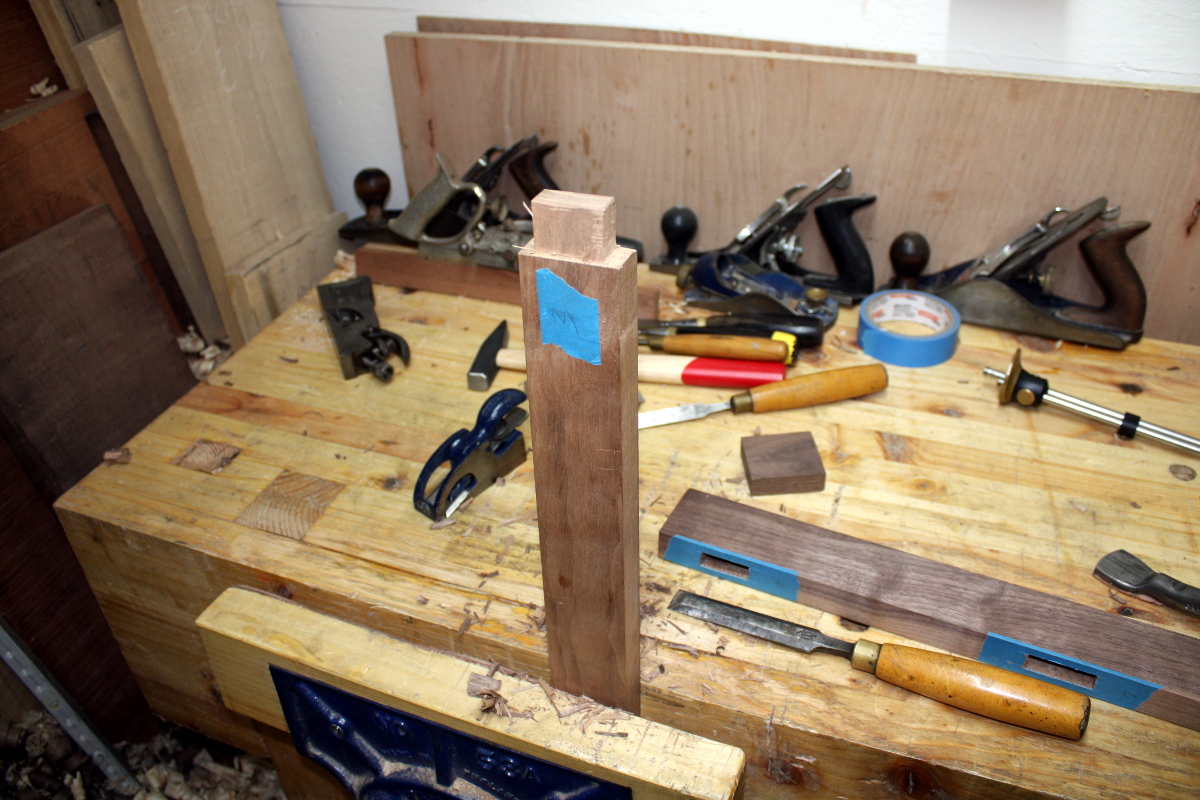
Sawed out the tenons on the waste side of the line and then snuck up on the fit with chisel work. This was a bit slow – need to saw to the line next time. The fit might be less tight, but there’s enough meat there to drawbore if needed…
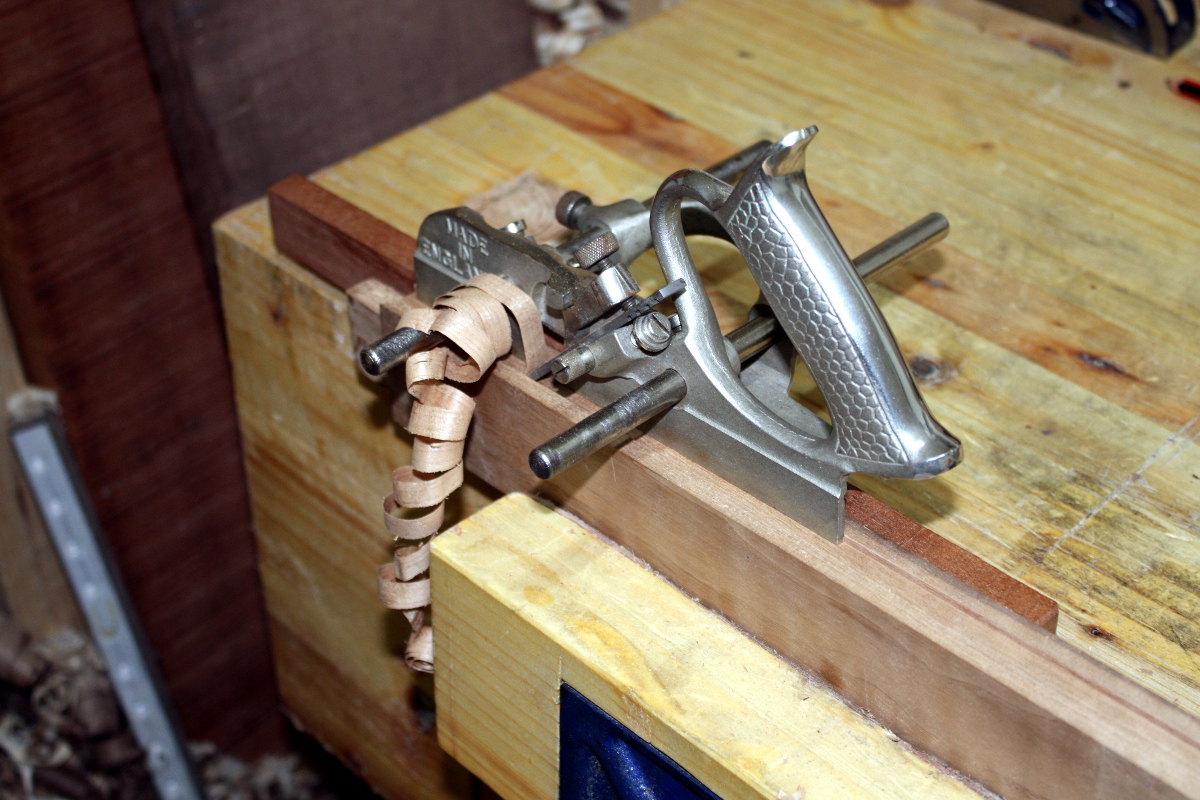
And then there’s the grooves for the panel. This was easy enough once I had the piece secured in the vice, it’s only got a grip on the bottom few millimetres of the rail so that the fence on the #44 doesn’t snag on the bench. I’d like to have the fence on the outside of the piece (but the vice chops would catch it then), but the configuration of the piece means that can’t be done. Oh well.
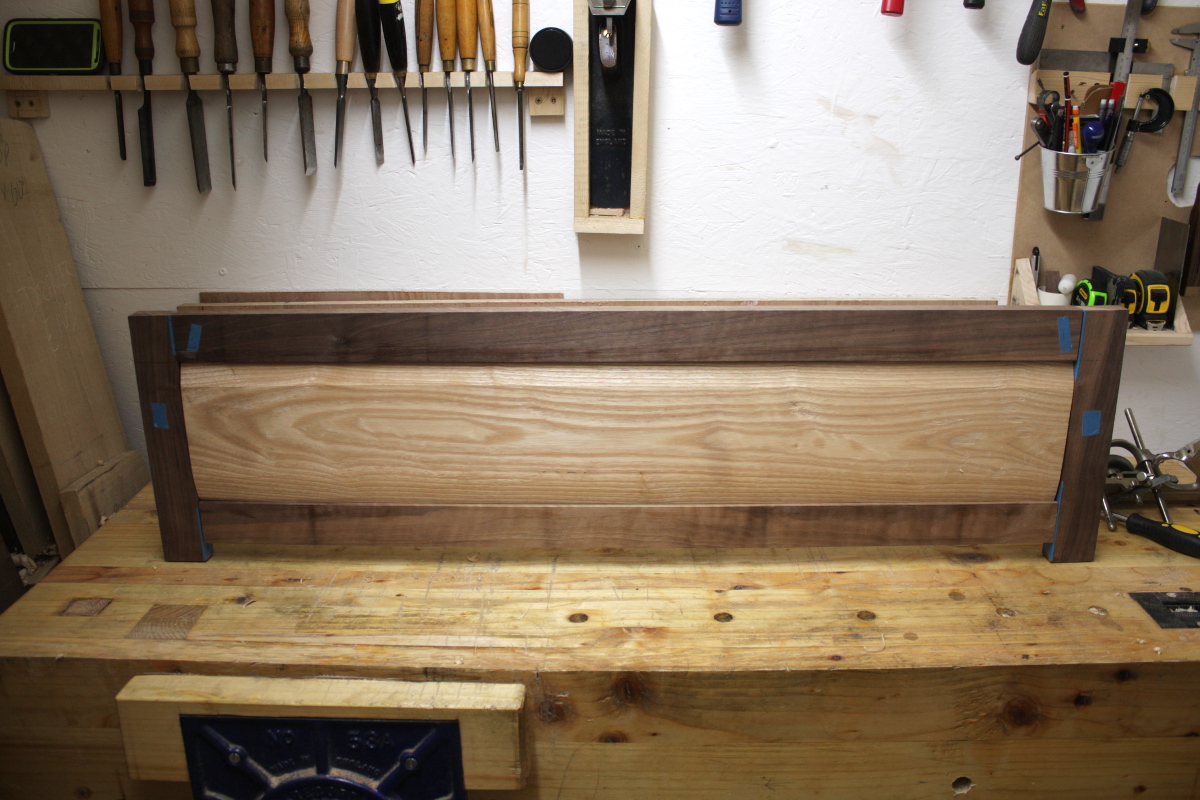
Fettling the panel was a bit of a foostering. Actually shaping it was not too shabby (though it’s not completely finished there), but getting the width perfect and the joints all closed up… yeesh. And that’s still not perfect yet, I have to trim a millimetre or so yet, that could be another half-hour tomorrow. But for now, the back panel is done…
Tomorrow I’ll finish fettling this, give the ash panel another skim with the smoothing plane to deal with the little bits of tear-out and add the bevel on the ends of the panel as well, and once it’s all perfect, I’ll take it apart again and use the pieces to mark off the various mortices and so on on the other frame and panel pieces and try to get the front panel done; then it’ll be the end frames and the end panel and the drawer front, then take it all apart again and cut the mortices for the slats; then make up the drawer and then it’s finishing and assembly.
By Christmas day? Er… hmmm… suuuuuure, no worries…
