Next year, we’re rescheduling christmas. End of discussion.
This year, Christmas Eve started with a quick run to woodies for small brass hinges. Then to the shed and…
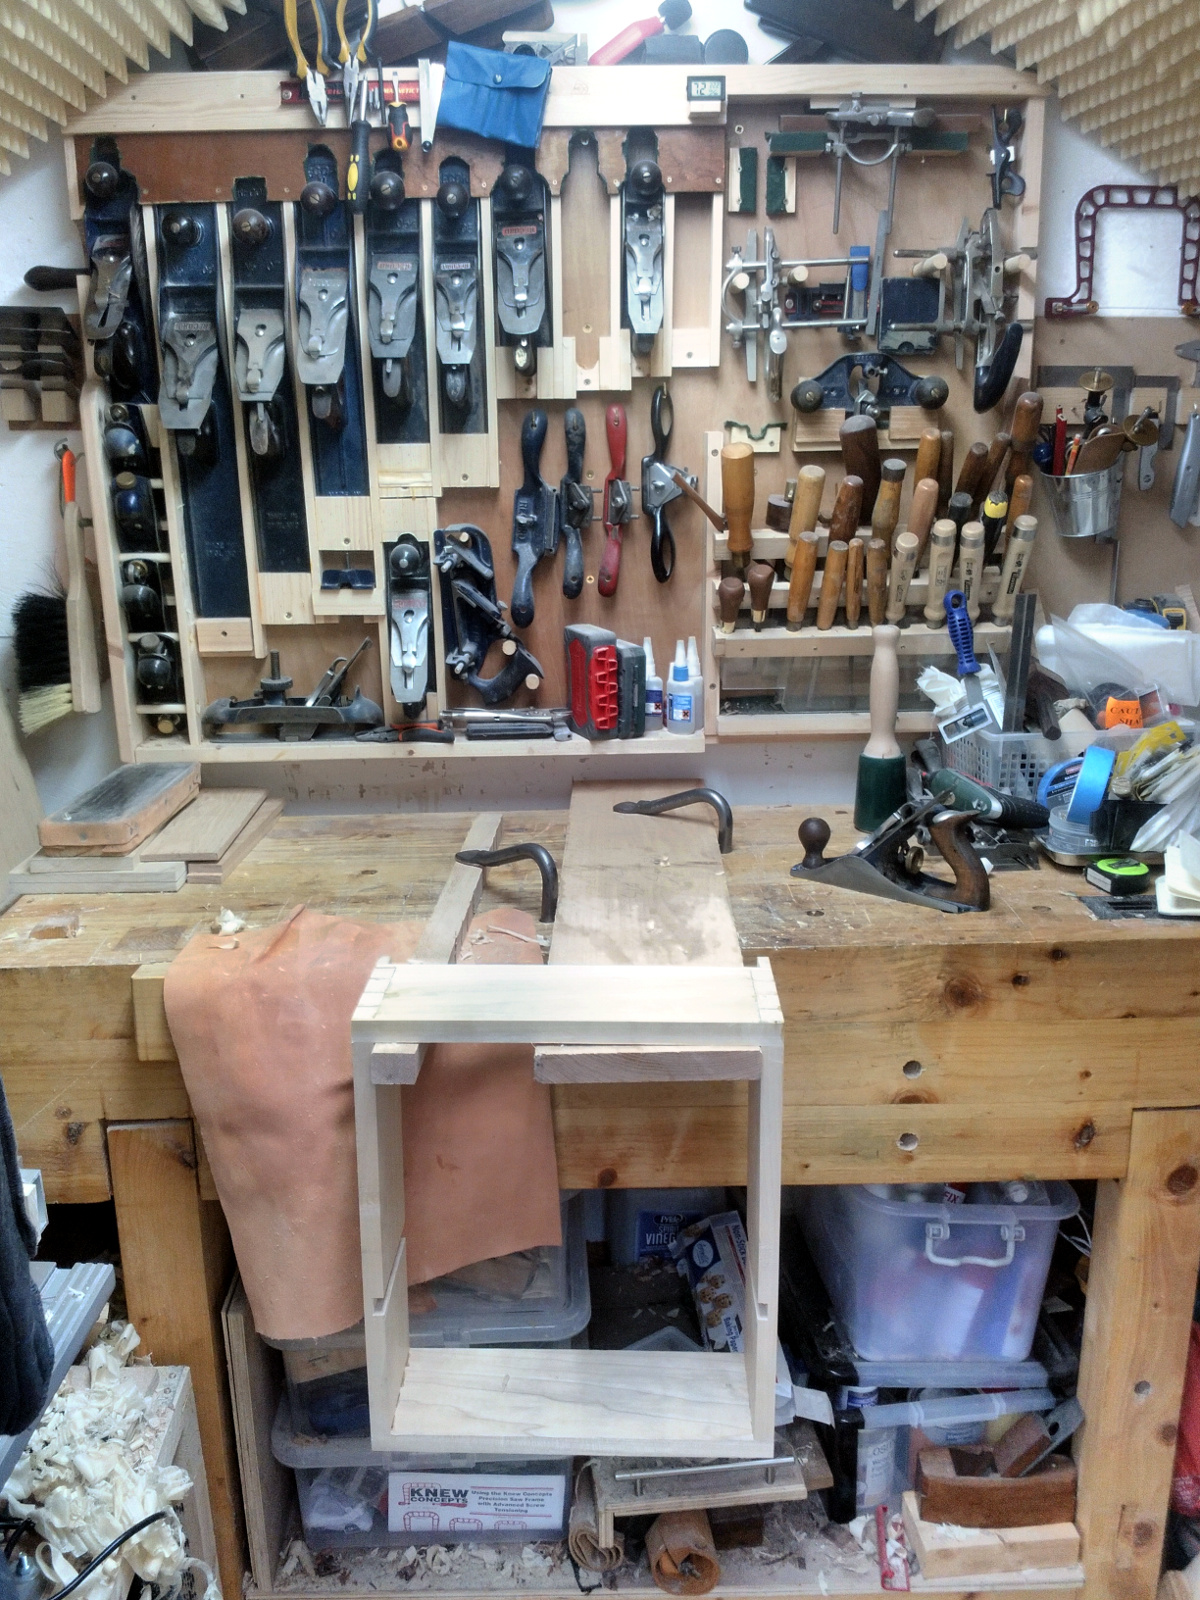 Awkward planing setup needed to plane the outside of the carcass (the inside was planed before glue-up). I know it doesn’t look too awkward, but that’s because we need to zoom out a little and let you see where you’re standing when working…
 The spot is that one there behind that small green case on the floor, between the bench and the tumbledrier but not past the leg of the bench because there’s a lot of small boards there that didn’t go in the main wood store. The joy of a small shed…
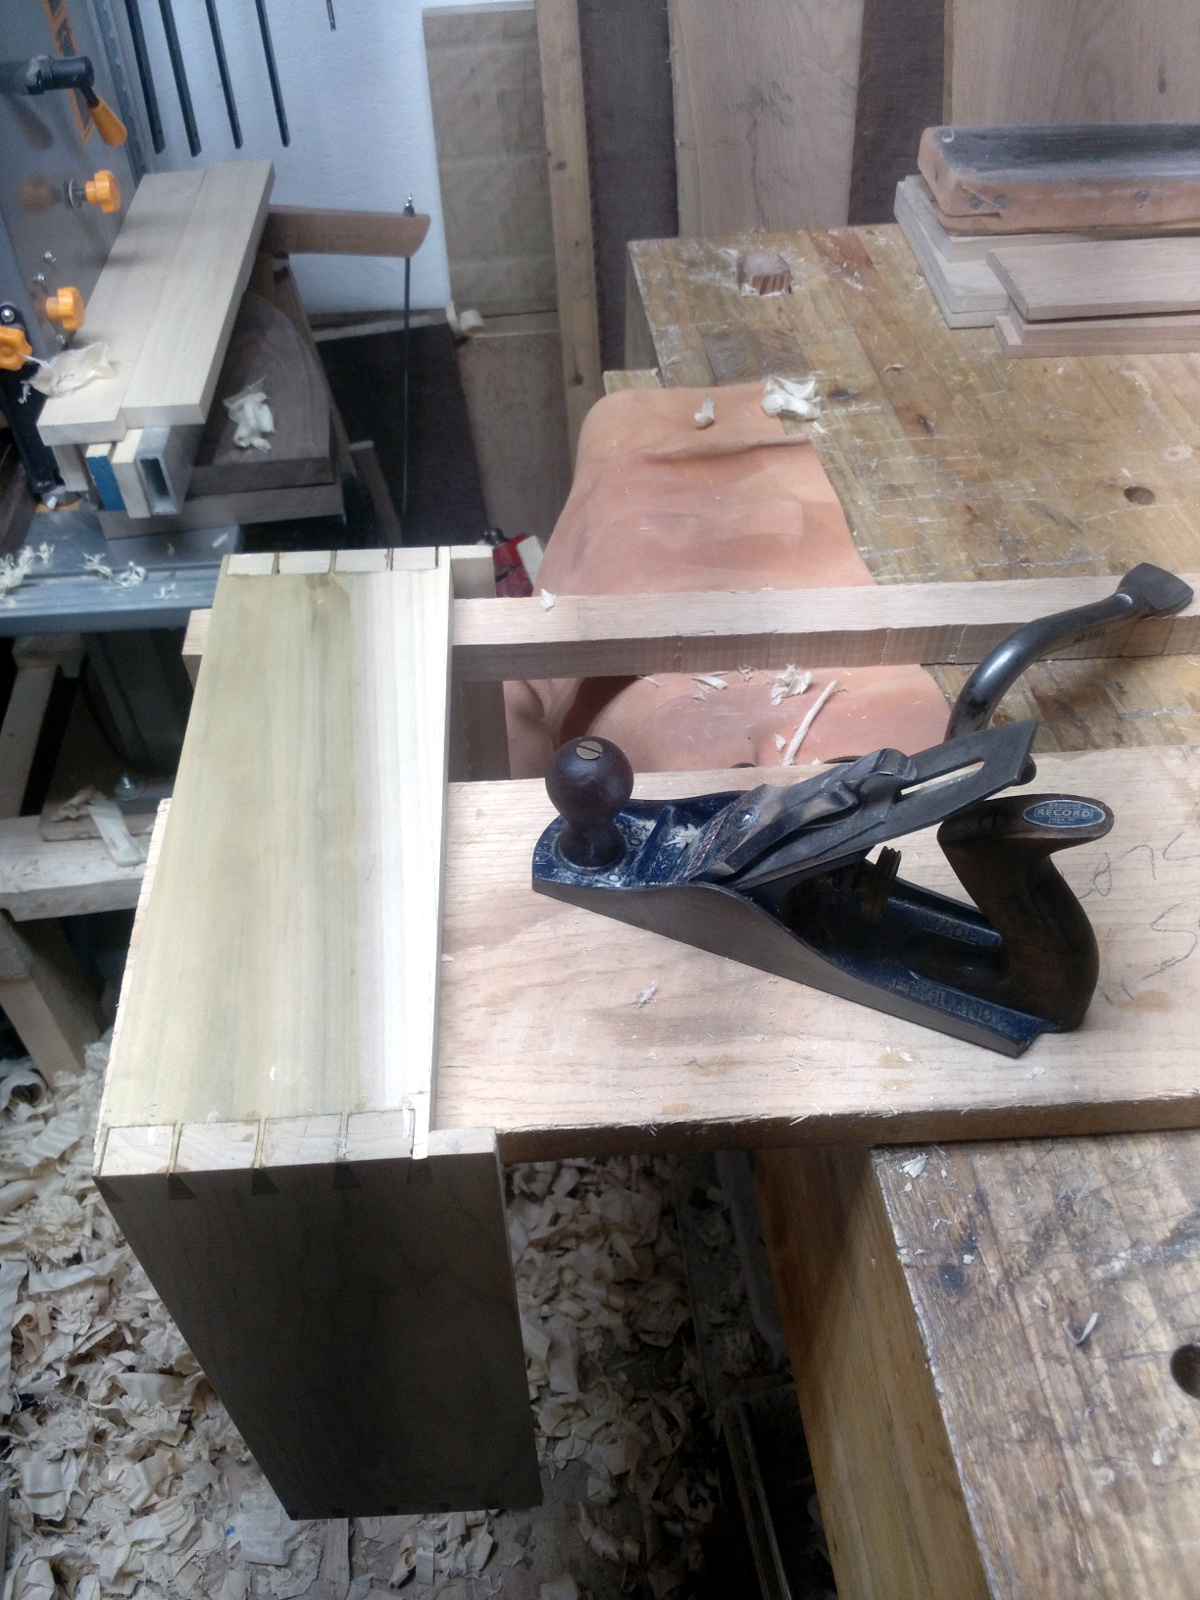
The downside is that you can’t really move when planing, so it’s all armwork rather than legwork. Also, the battery on the camera died so those are from the cameraphone hence the odd colors. Once the outside was planed, the carcass went back onto the benchtop on top of that scrap of leather and the face got planed until it was all coplanar and then the faceframes were glued and nailed on. I just wanted one nail top and bottom (the proportions of the cupboard don’t really work unless you drag the eye to the top and bottom, otherwise it looks overly wide), so after nailing and gluing, the faceframes had to be clamped for awhile, so it was on to the door frame.
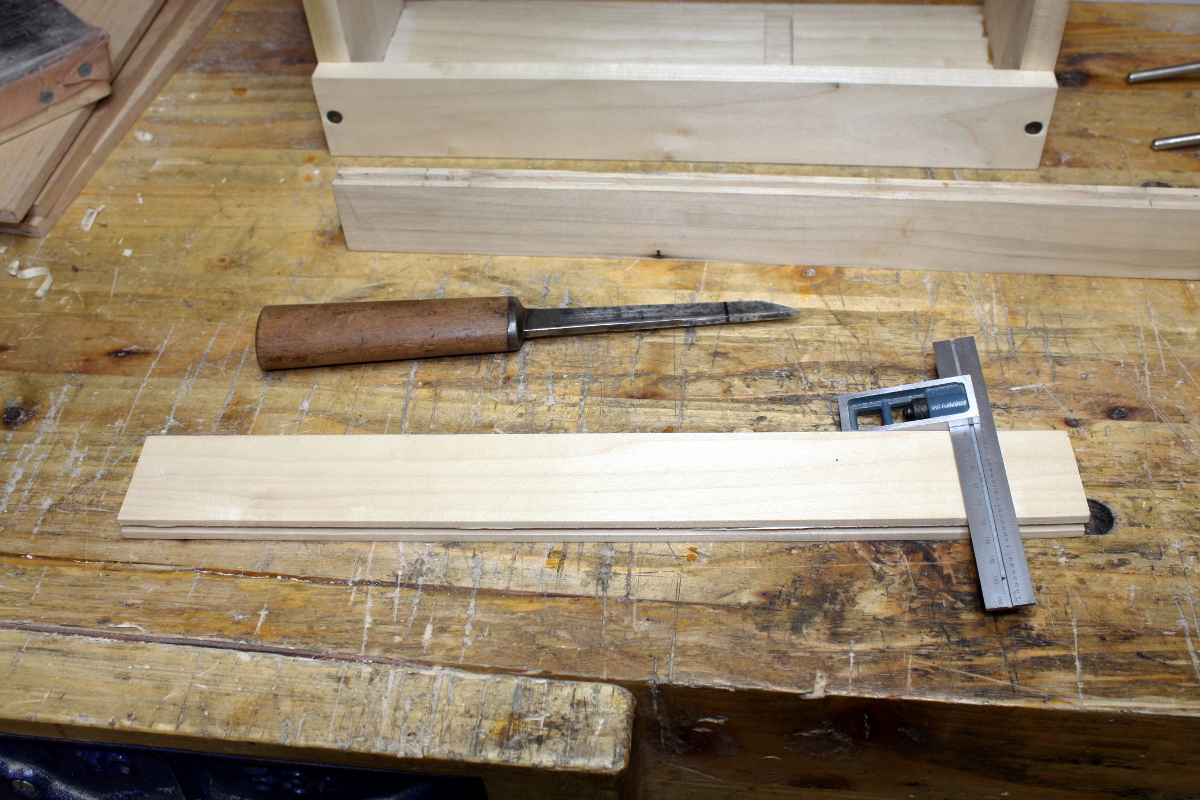
Had to thickness and square up the rails and stiles for the door, and then the #043 made short work of grooving them for the central panel with a 3/16ths cutter and then it was morticing time.
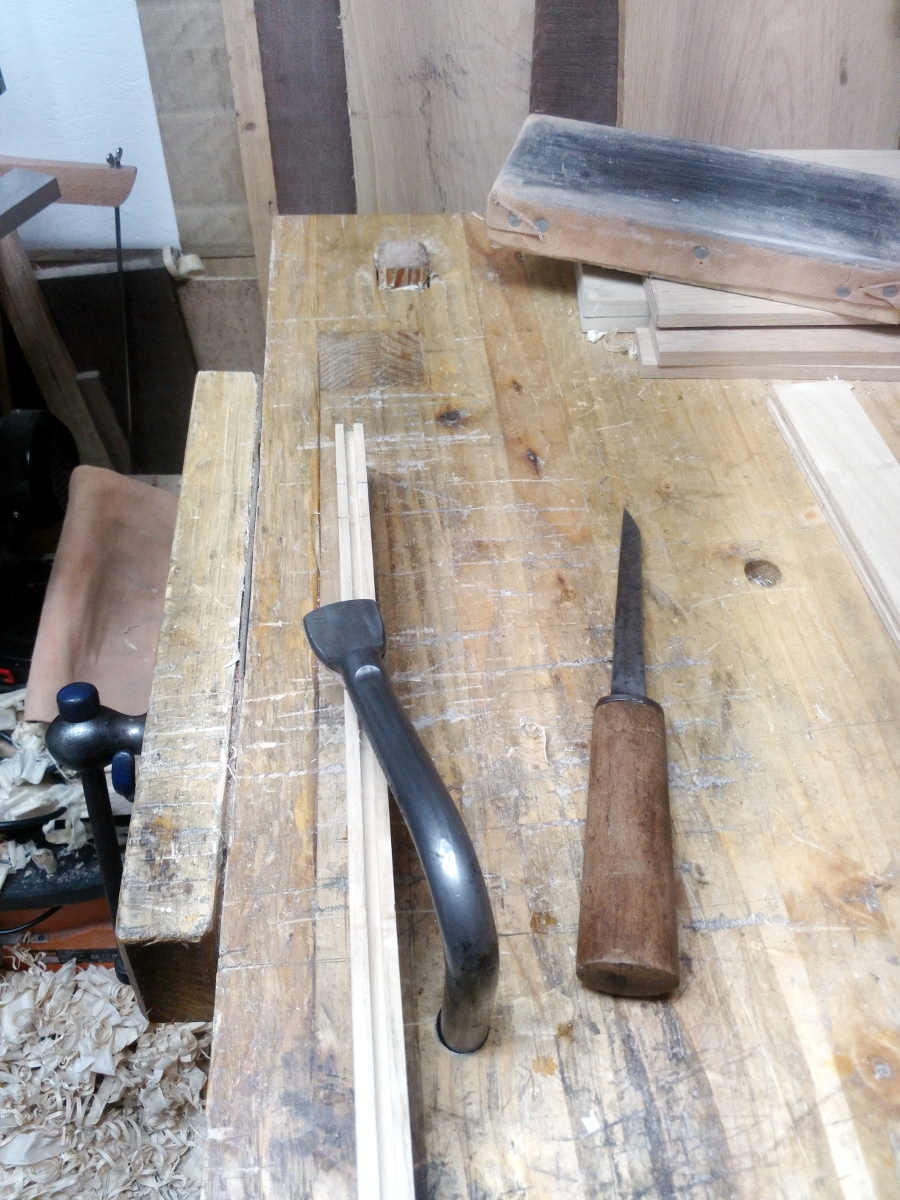 First time using a pigsticker for this; they’re a lot more controllable than the bevel-edged chisels and a bit more than the firmer chisels (and a lot more so than the 3/16ths firmer chisel because it’s got a round handle and isn’t quite so easy to keep a grip on). I still think the half-inch sized one is a railway spike passing itself off as a chisel, but the smaller sizes are a definite improvement on things. Definitely taking the smaller ones out of the box and putting them in the rack.
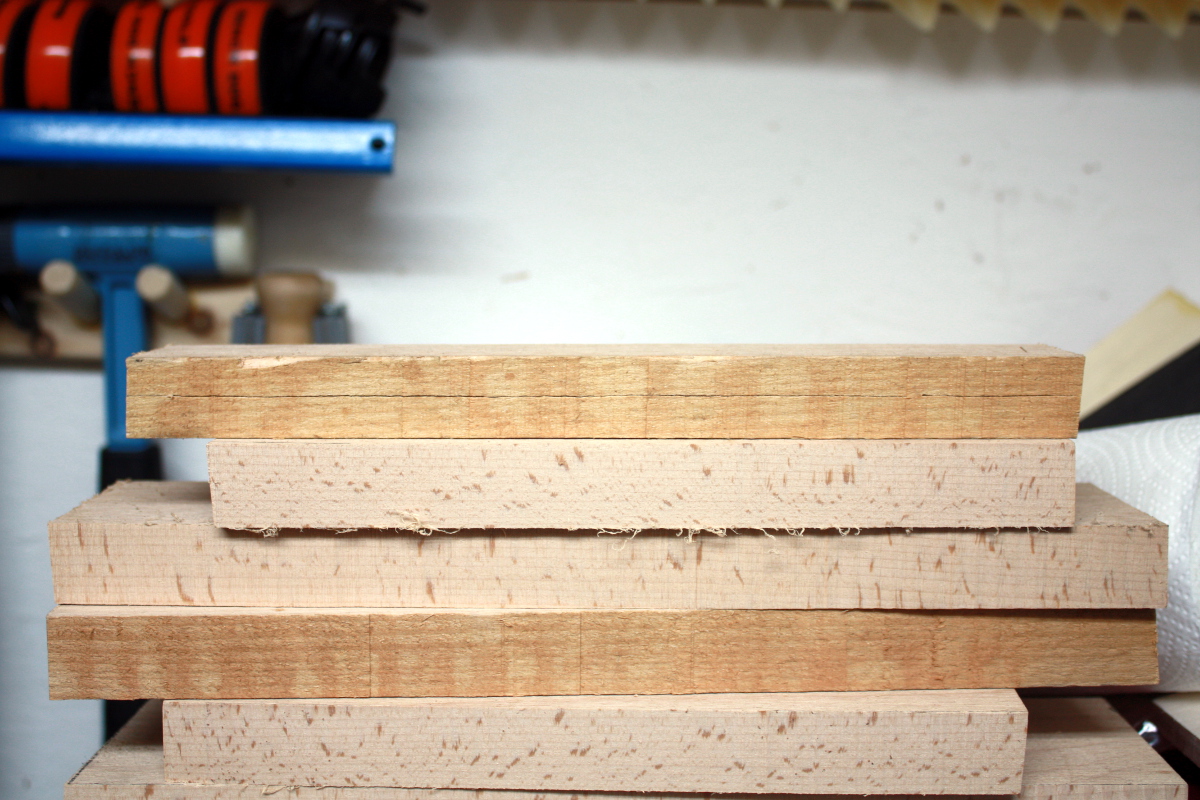
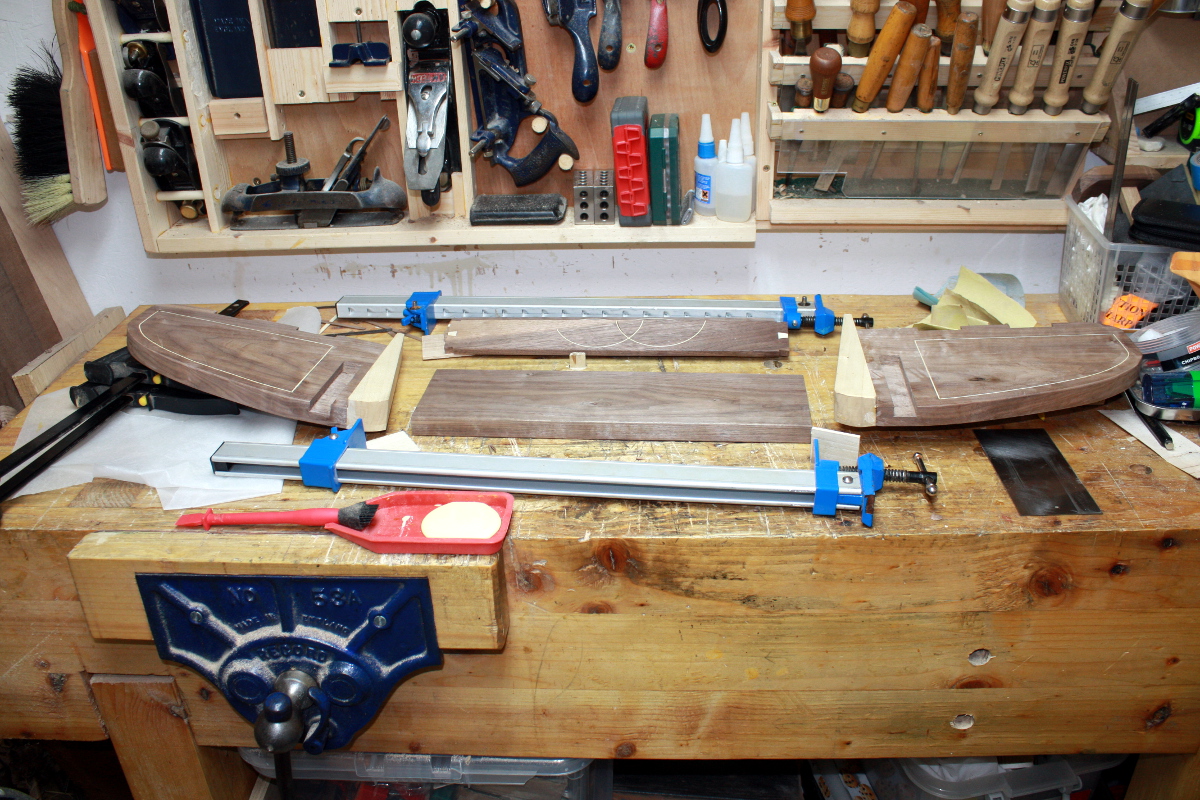
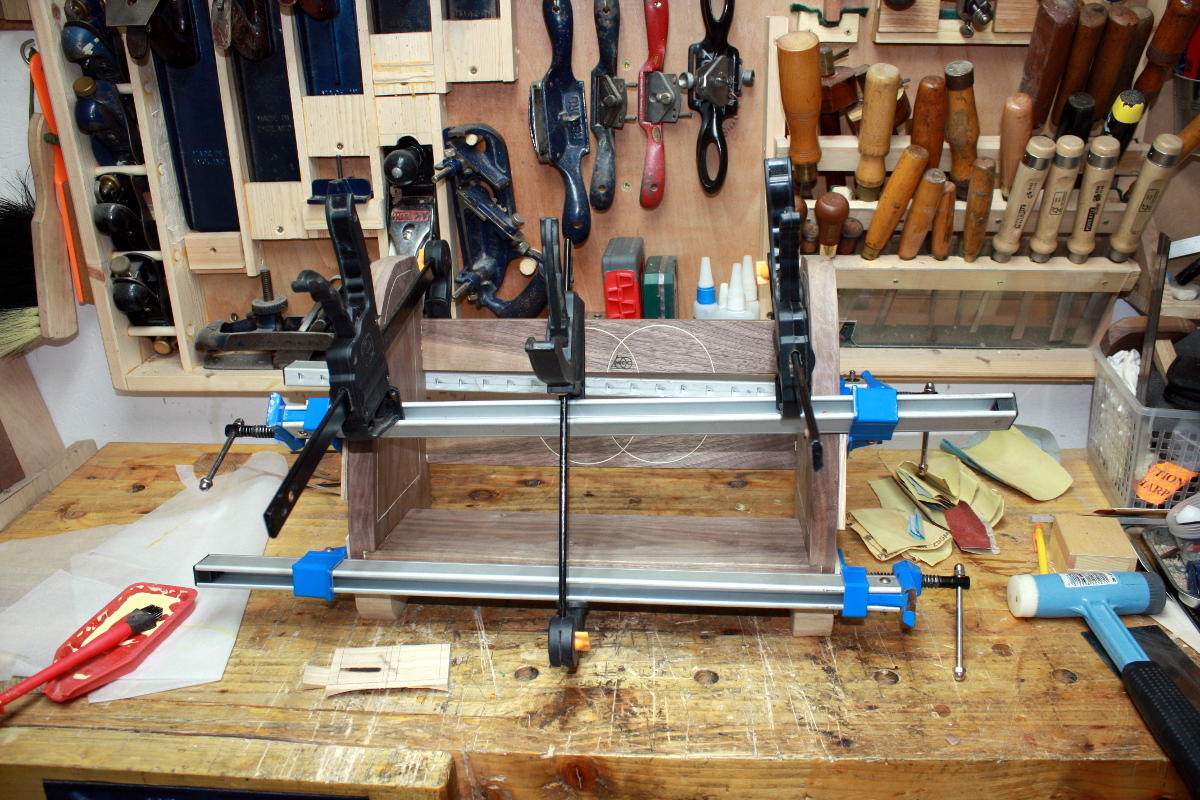
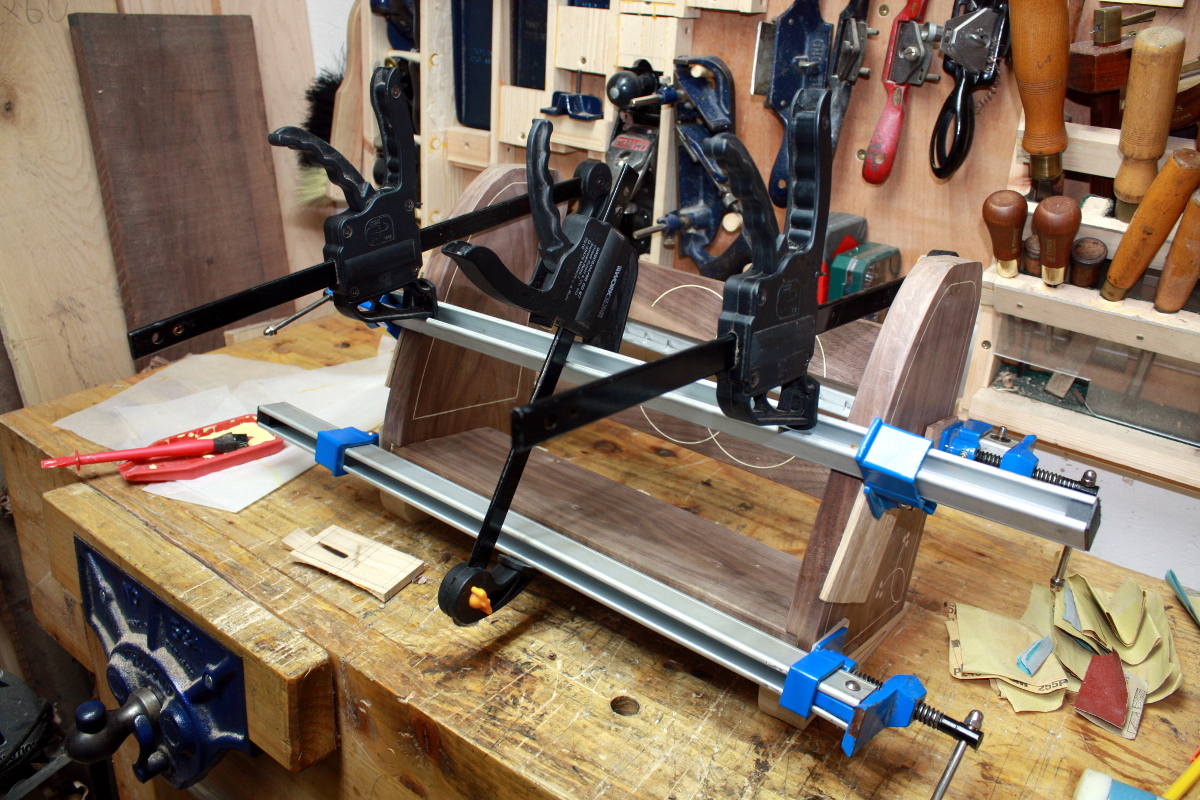
By this point the face frame is done with clamping. I cut the haunched tenons and test-fitted the rails to the stiles and when I was happy all was square, drilled through to pin the joints with a 6mm dowel (through a 5.5mm hole to keep things nice and tight). Glued and pinned the stiles to one rail ready to cut the panel, and I moved on to the backing boards, while the glue cured. The backing boards just got a quick skim-planing — they had been resawn down from one-inch to half-inch boards so one side of each was already flattened and planed and that face was facing into the cupboard, while the bandsawn side was going to face the wall so I just took the worst of the fuzz off. The #778 gave a quick shiplap to mate the boards up.
Then I installed the shelf (no glue required, nice tight fit) and resawed the top and bottom panels, rough-planed the inner surfaces and rounded over the exposed edges with a bullnose profile and at that point everything went to sit in the staging area and I moved onto bookshelves, cutting them to shape (hooray for french curves) and starting into cutting dados and dovetails (ah, Sapele, nature’s way of making you ask “why am I doing this to myself?”) and gluing up the bookshelf which got left to cure.
Then on to prepping and rounding over a presentation plate for a truncheon and cutting the mounts and gluing them in place, and then finally doing some finishing and adding hinges to bandsaw boxes.
At that point I knocked off the shed for the evening and went to bake a pecan mud pie for tomorrow’s christmas dinner and lay out mince pies and a glass of tequila for santa and so on, and finally got to bed around 0200.
The next morning (Xmas day) saw the traditional 0600 five-year-old wakeup and perimeter search for fat men in red suits or their spoor, then there was unwrapping and five hours of listening to and singing along to the Transformers:RescueBots theme tune (thank you so much Nicole Dubuc).
After that, back out to the shed, trimmed the backing boards for the cupboard to length and nailed them on, cut a 3mm perspex panel to size on the bandsaw (I don’t have glass-cutting facilities and really don’t want them because cleaning up broken glass in the shed would be a nightmare), fitted it and glued and pinned the other rail on the door, then fitted it to the cupboard opening (the pinned joints mean you don’t need to wait for the glue to cure). Then the top and bottom panels got fitted to the carcass and glued and nailed in place (after filing down the nail sizes because even the smallest cut nails I had would have punched through into the carcass interior and I just don’t like the look of clenched nails because the look like what I used to do to nails when I was five…). The presentation plate and the bookshelf feet got some CA glue and felt.
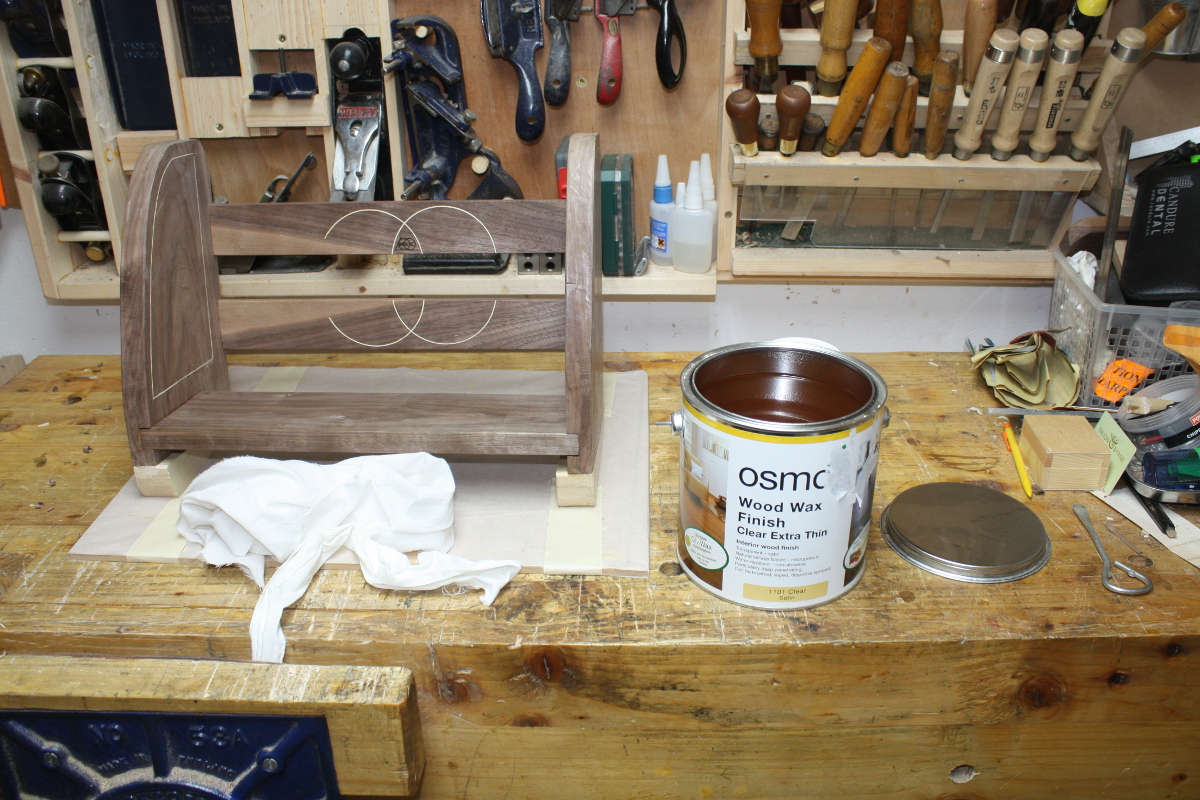
At that point, everything got a quick spray of matt or gloss lacquer depending on the project (gloss for sapele and walnut, matt for the cupboard) and left to dry for an hour or so.
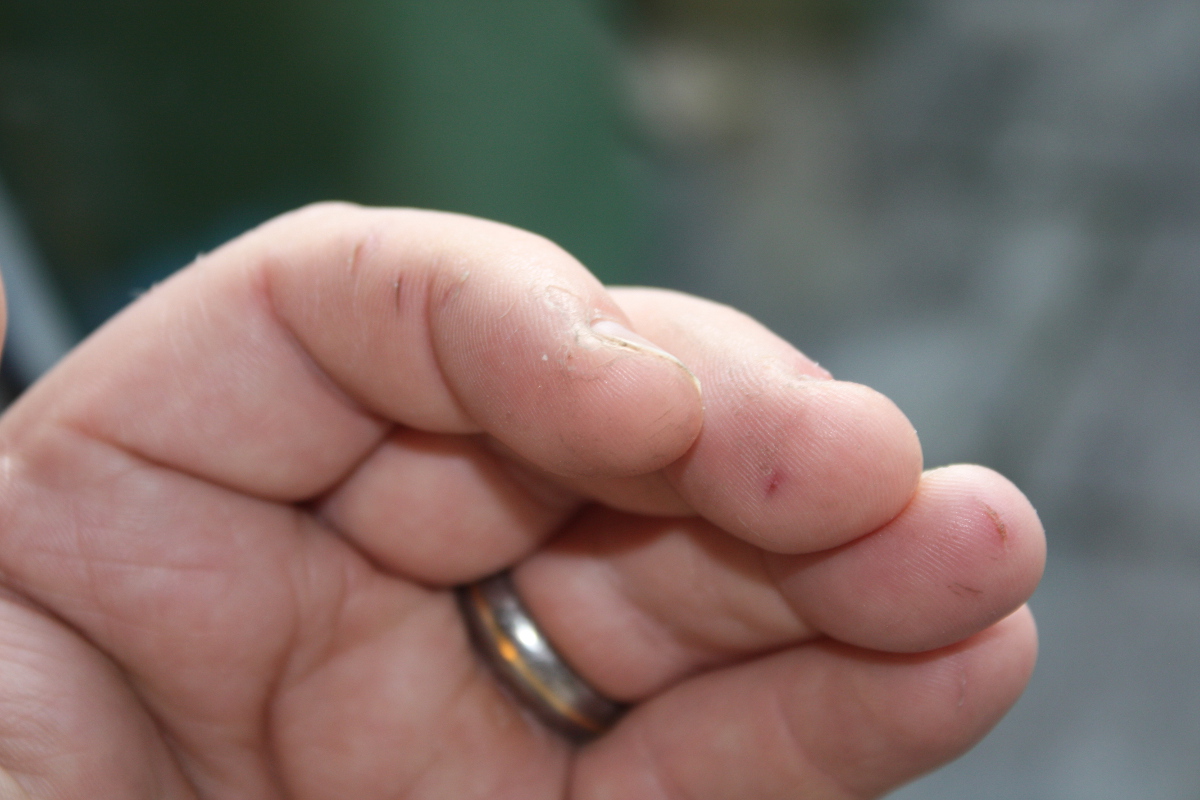
You can tell I’m right-handed – right hand has three or four small cuts, while my left hand has 23. That’s because you hold the chisel in your right hand and stab it into the left one 😀
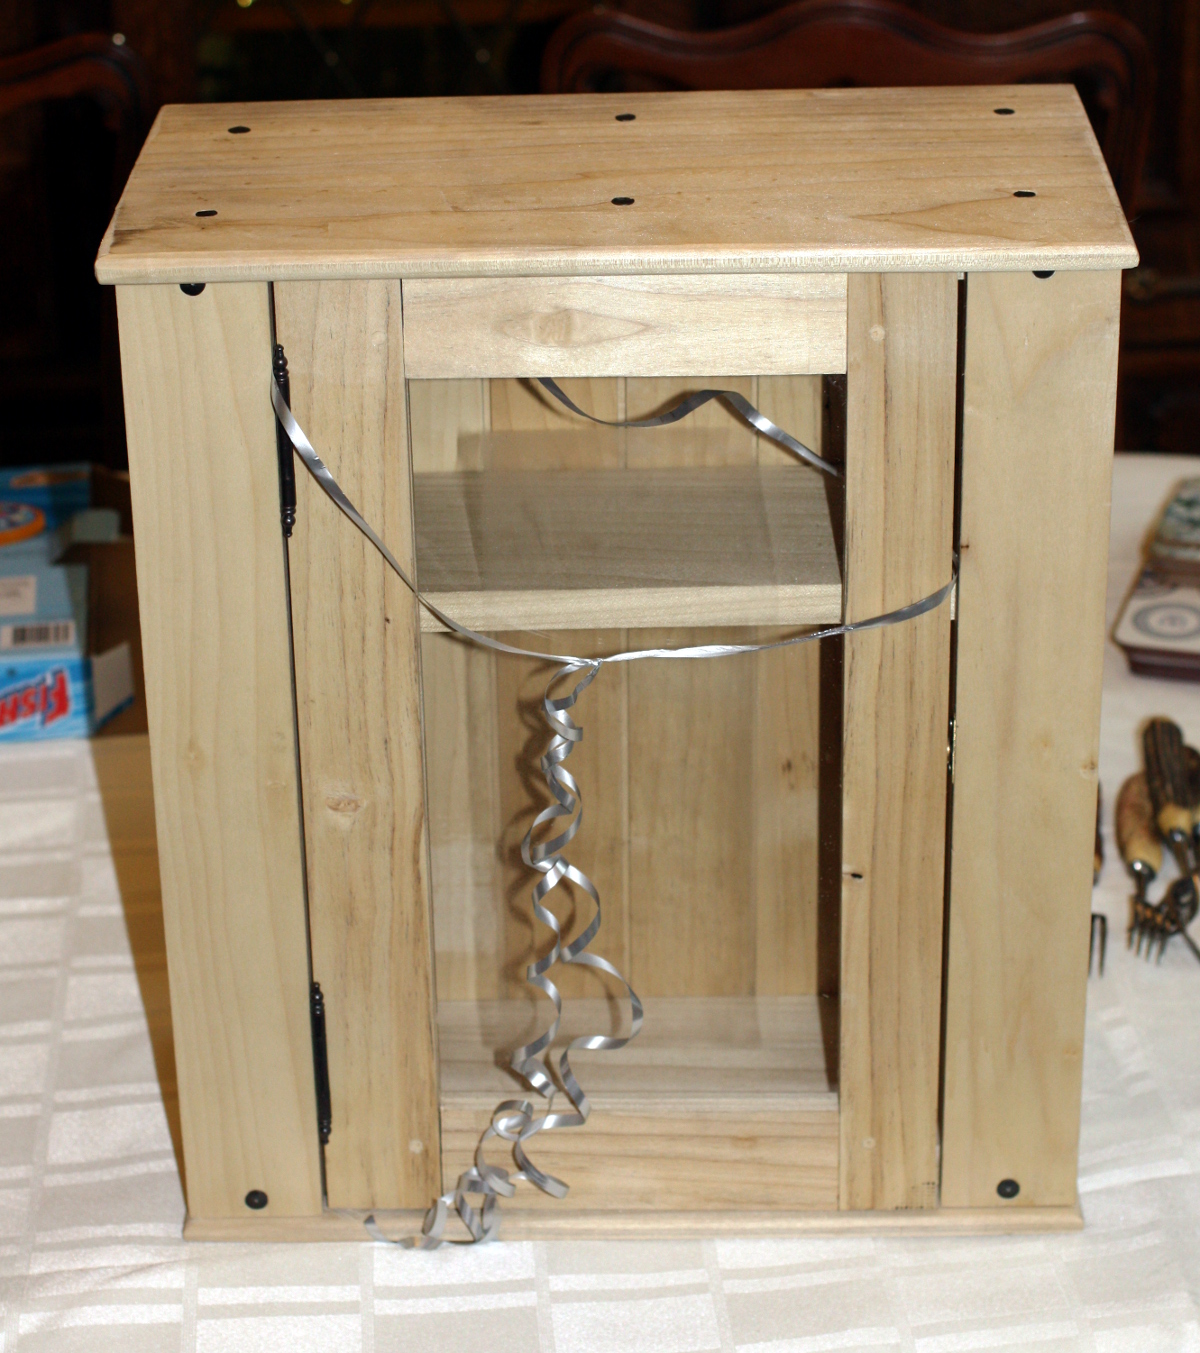
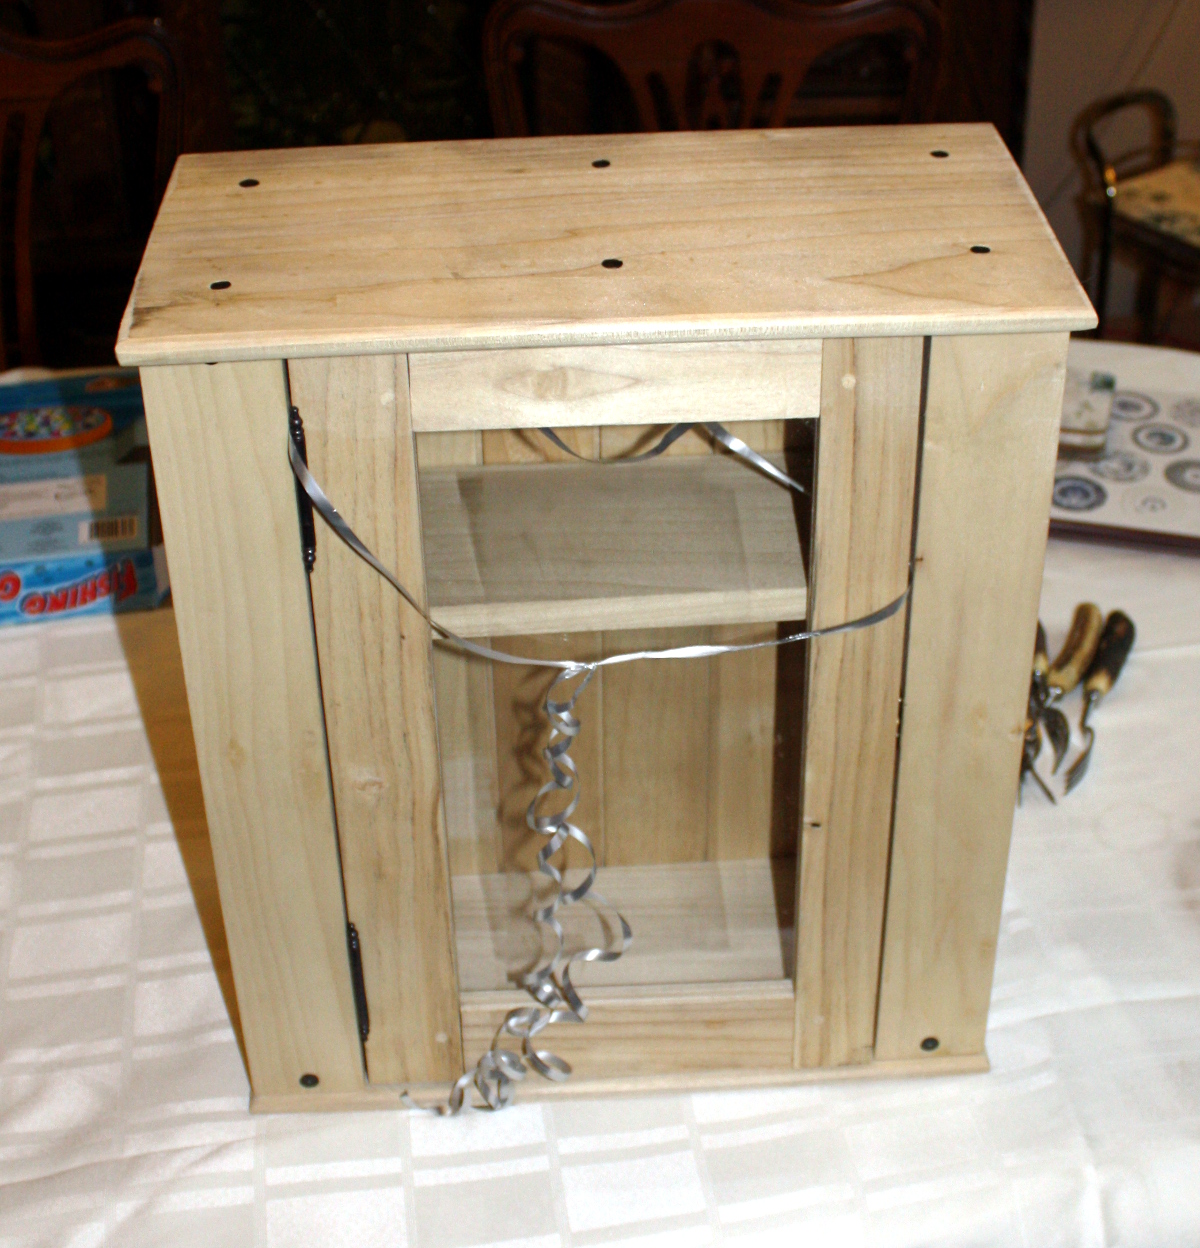
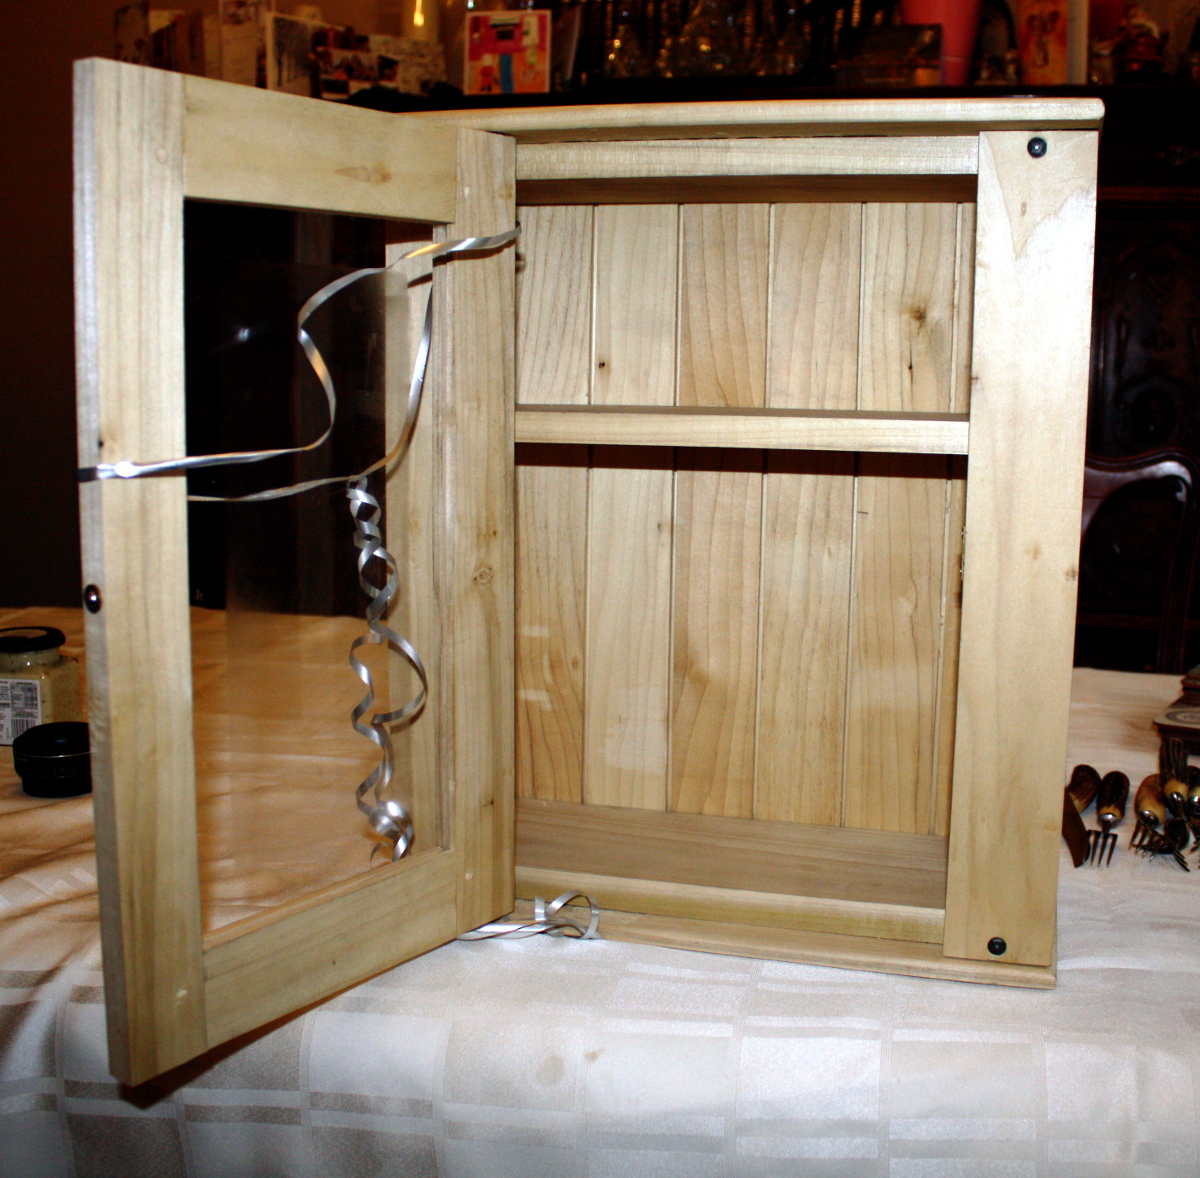
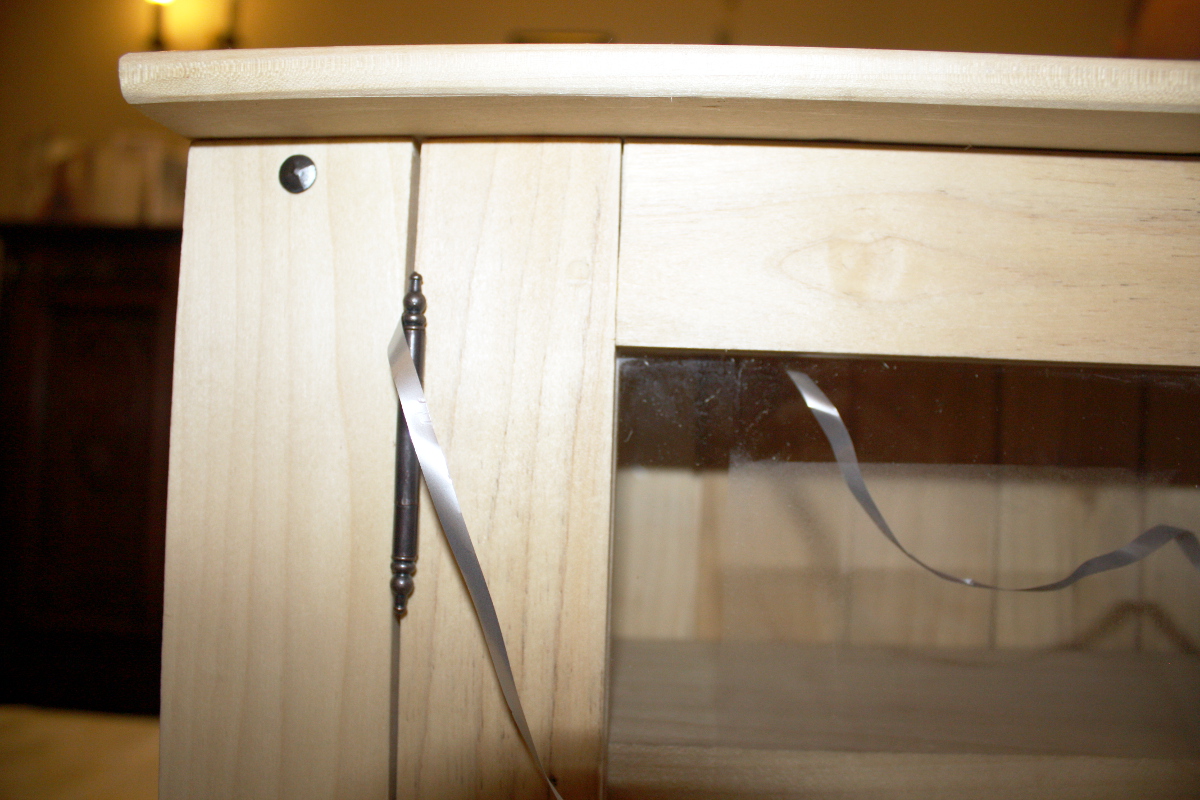
An hour and some tea later, the cupboard door got hinges and a latch and I then realised I didn’t have a handle for it even though I’d been standing beside shelves of the things yesterday in woodies… so we left some gift ribbon wrapped around the door to let it get pulled open. Oh well, screwing on a handle isn’t that hard…
And that was it. Time up and we’re off to xmas dinner at my parent’s place and delivery.
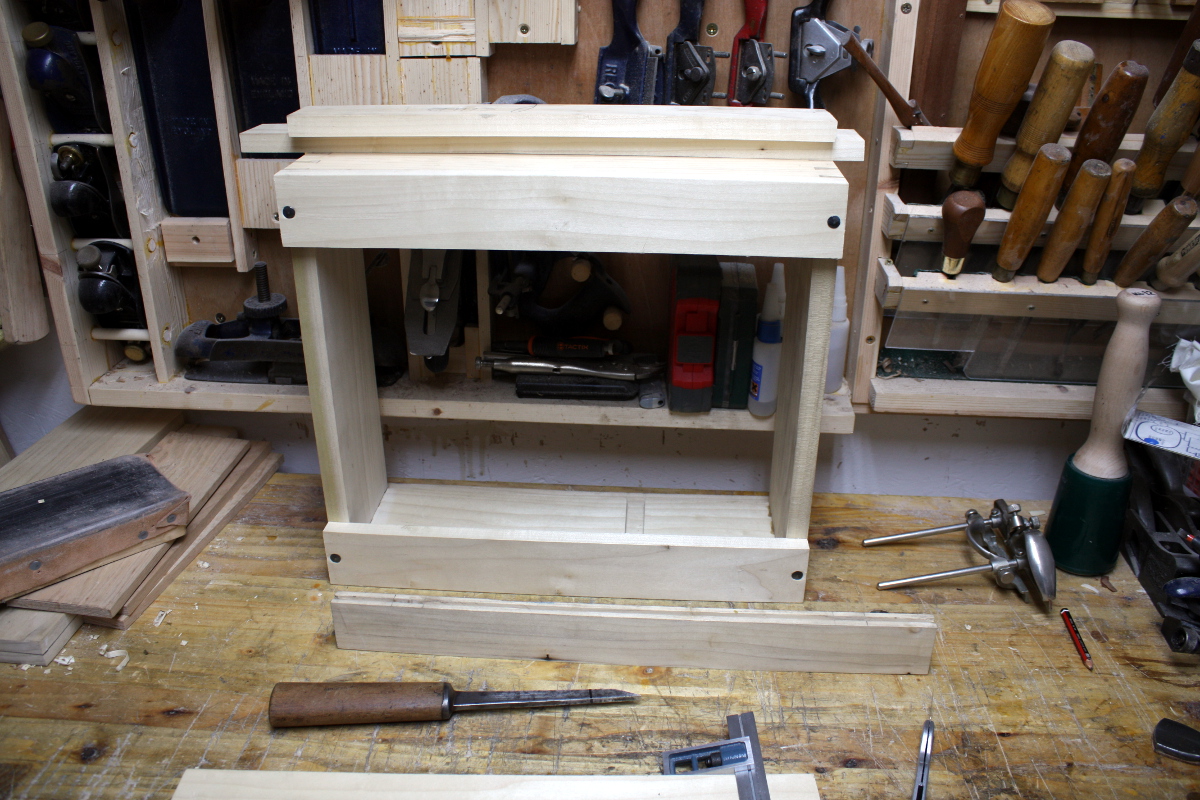
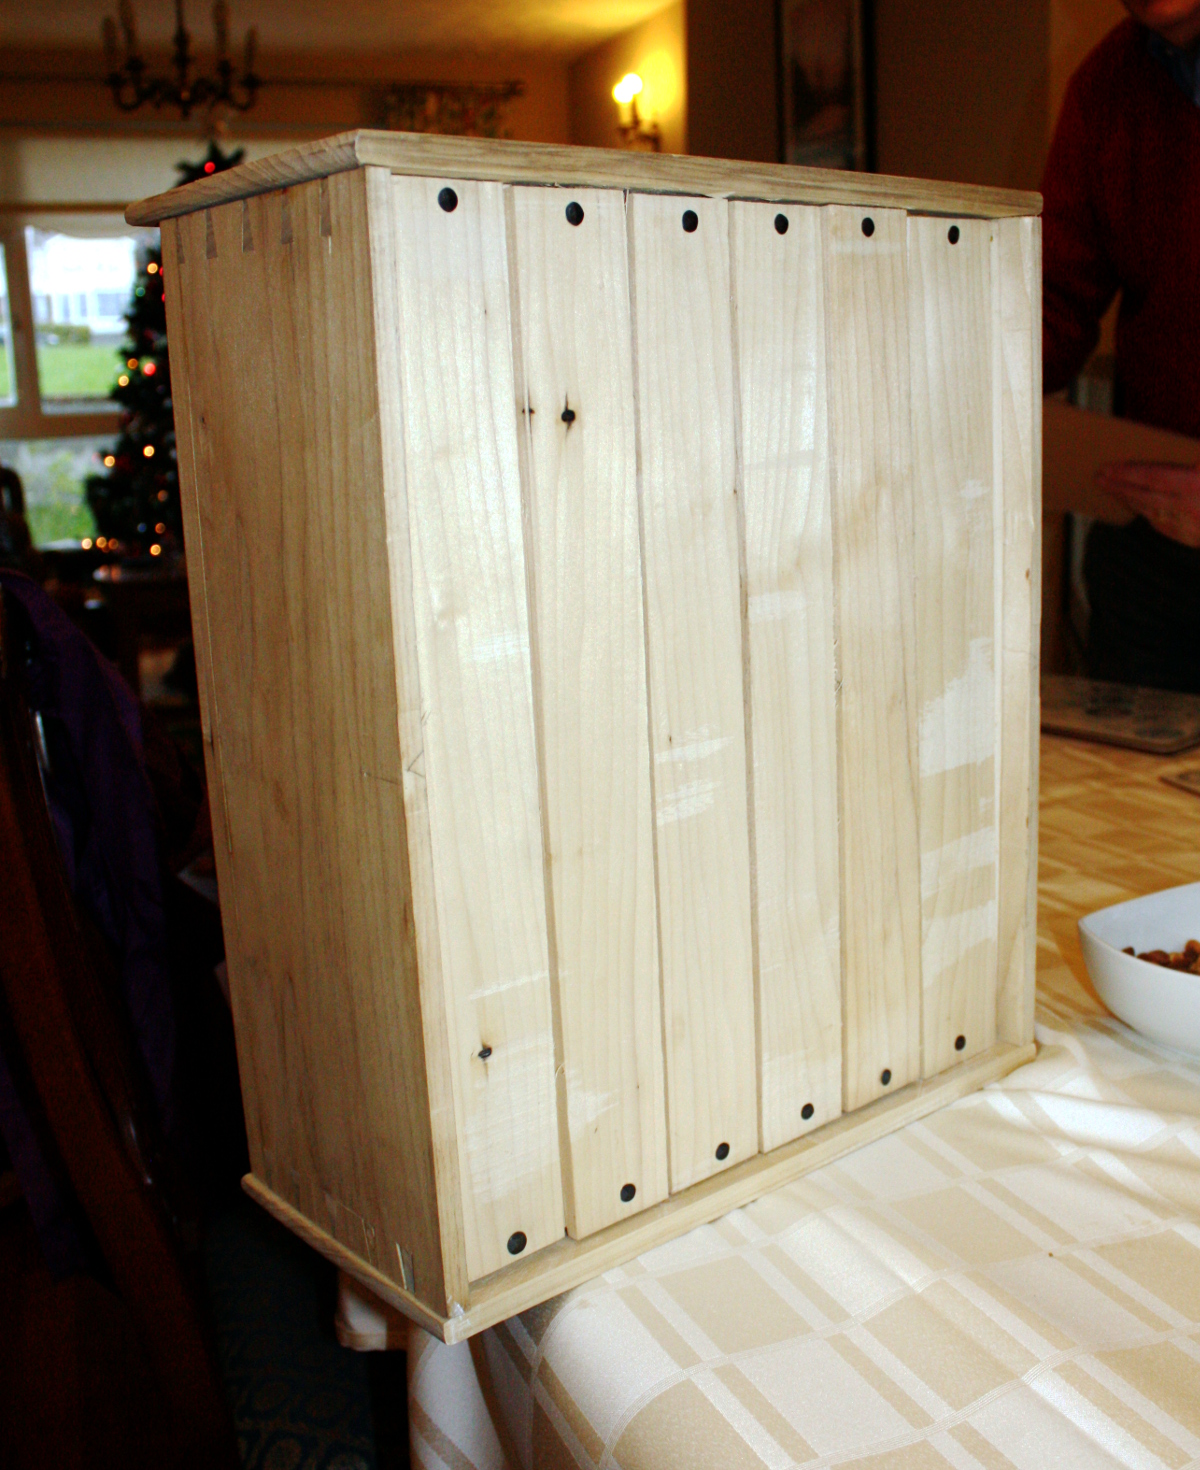
For my sister and her husband, a wall cupboard in some nice clean poplar:
 The dovetails weren’t terrible…
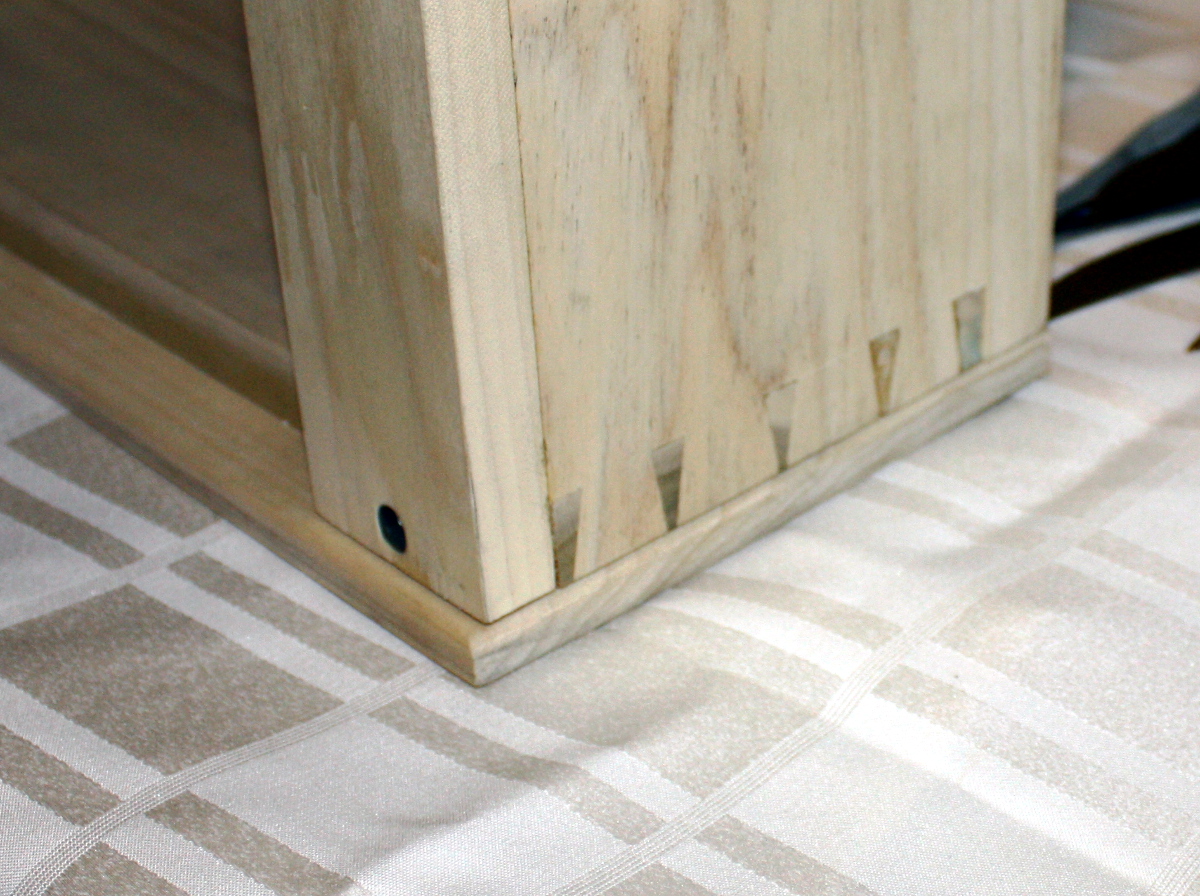
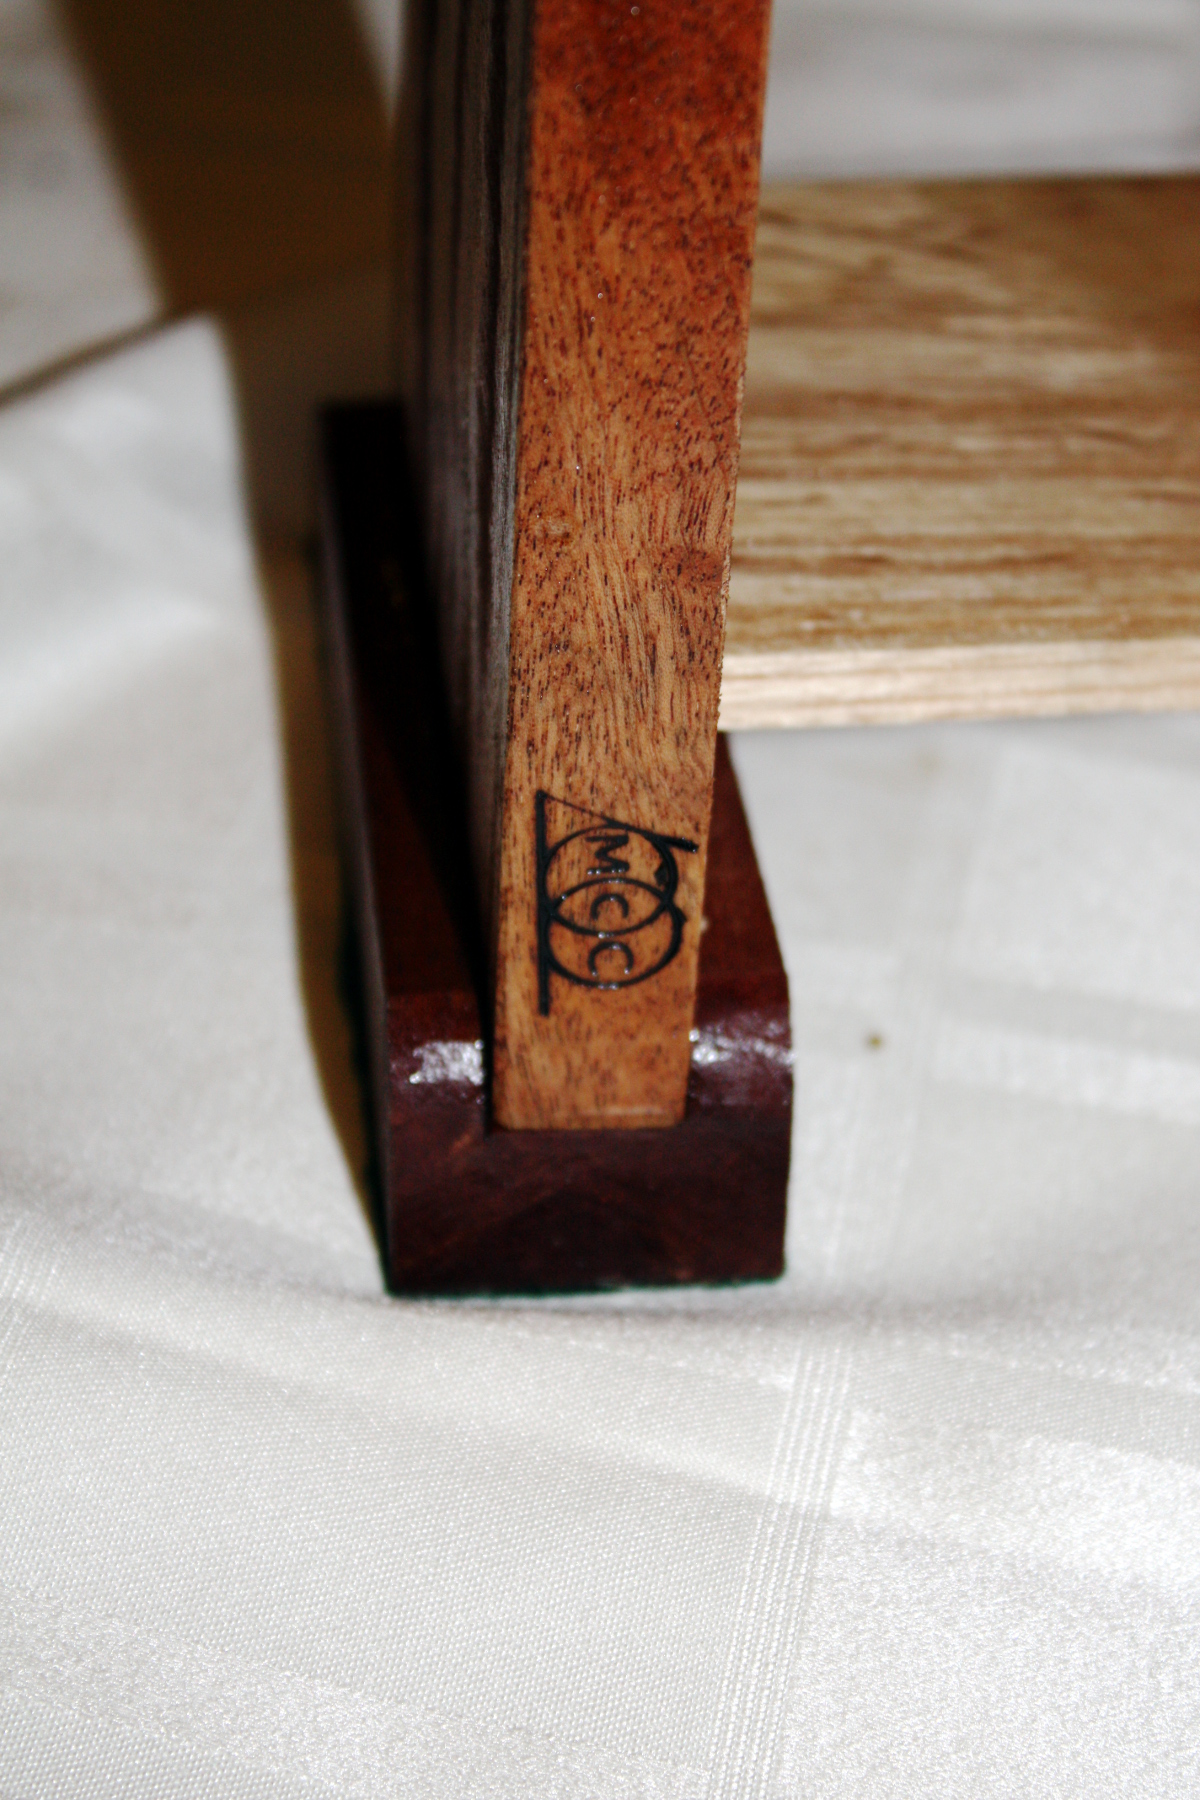
And the cut nails and the top plate worked well, I thought, especially with the bronze finish finials of the hinges and the perspex panel isn’t that terribly kitsch. There is a branded makers mark, but it’s on the bottom and I forgot to take a photo of it.
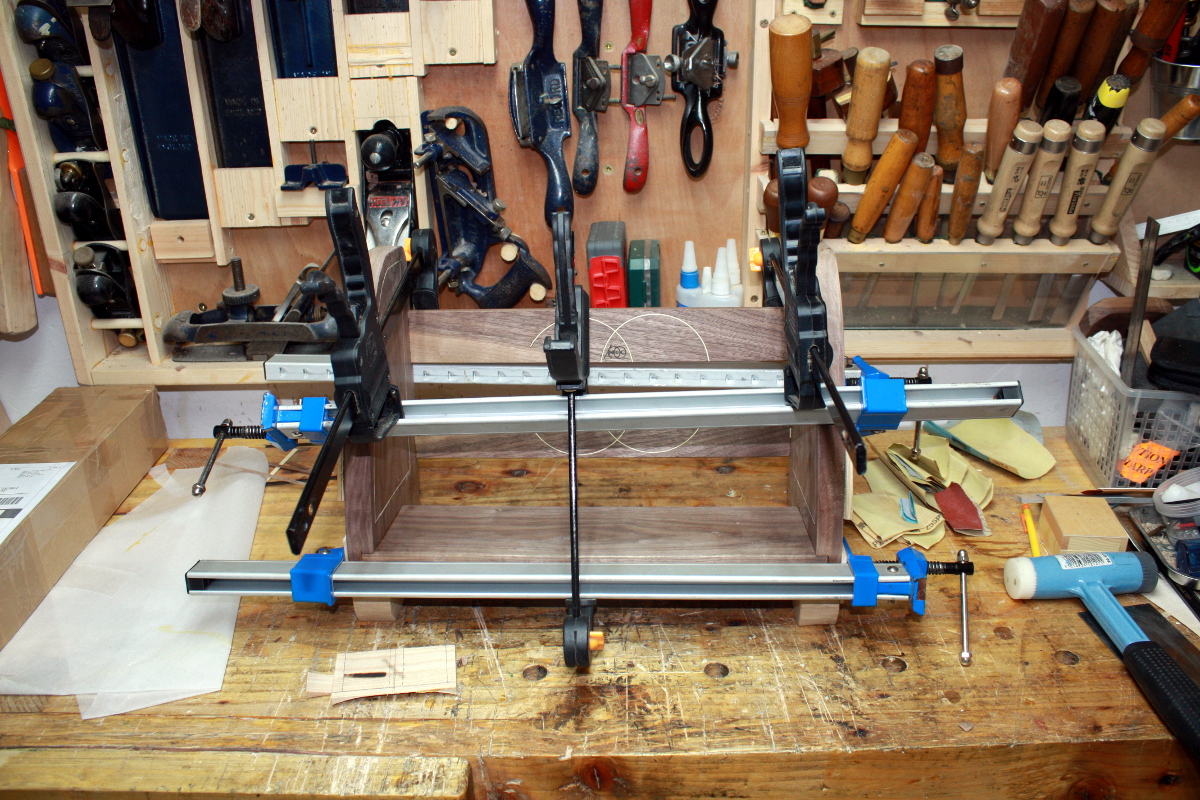
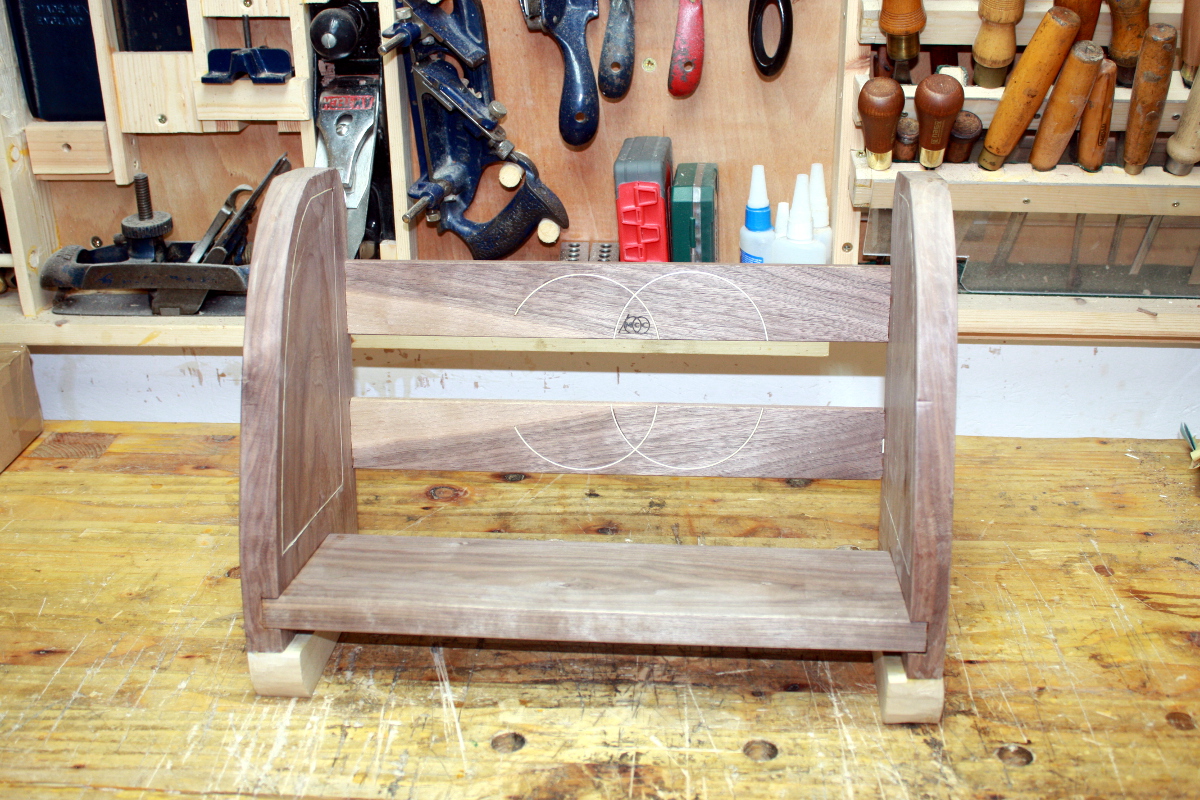
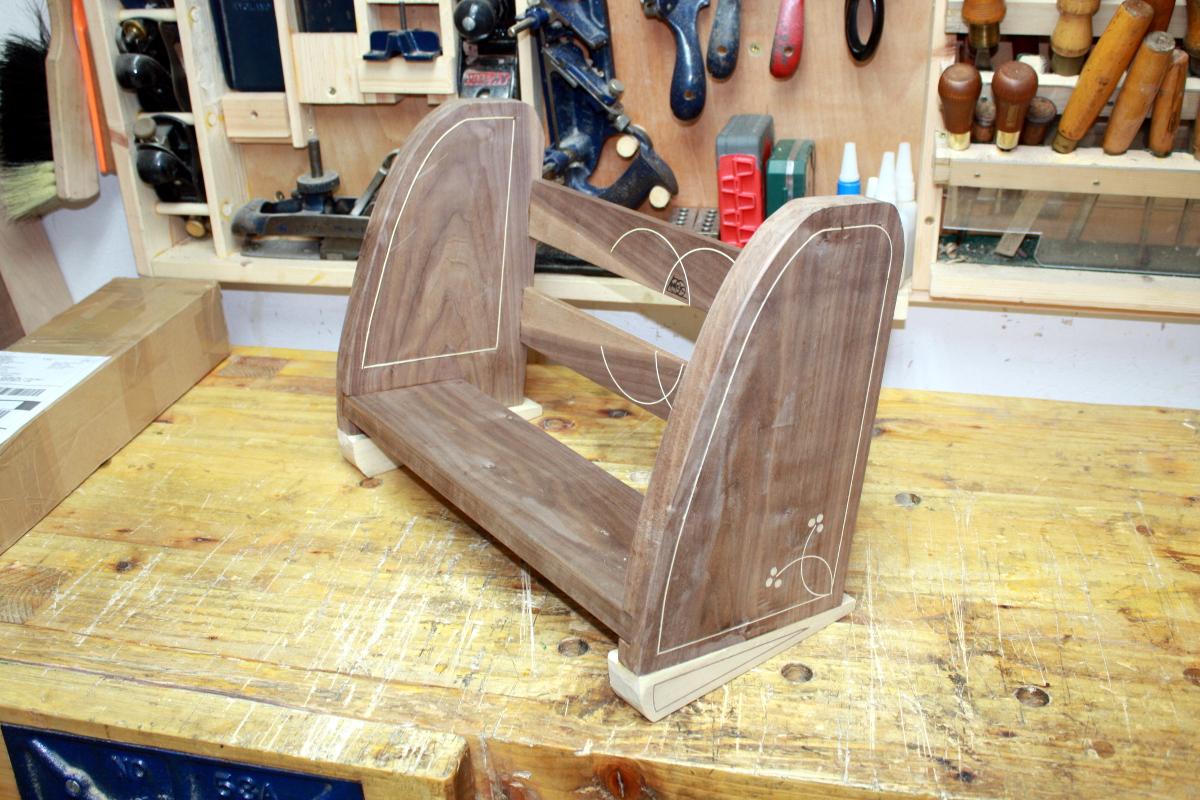
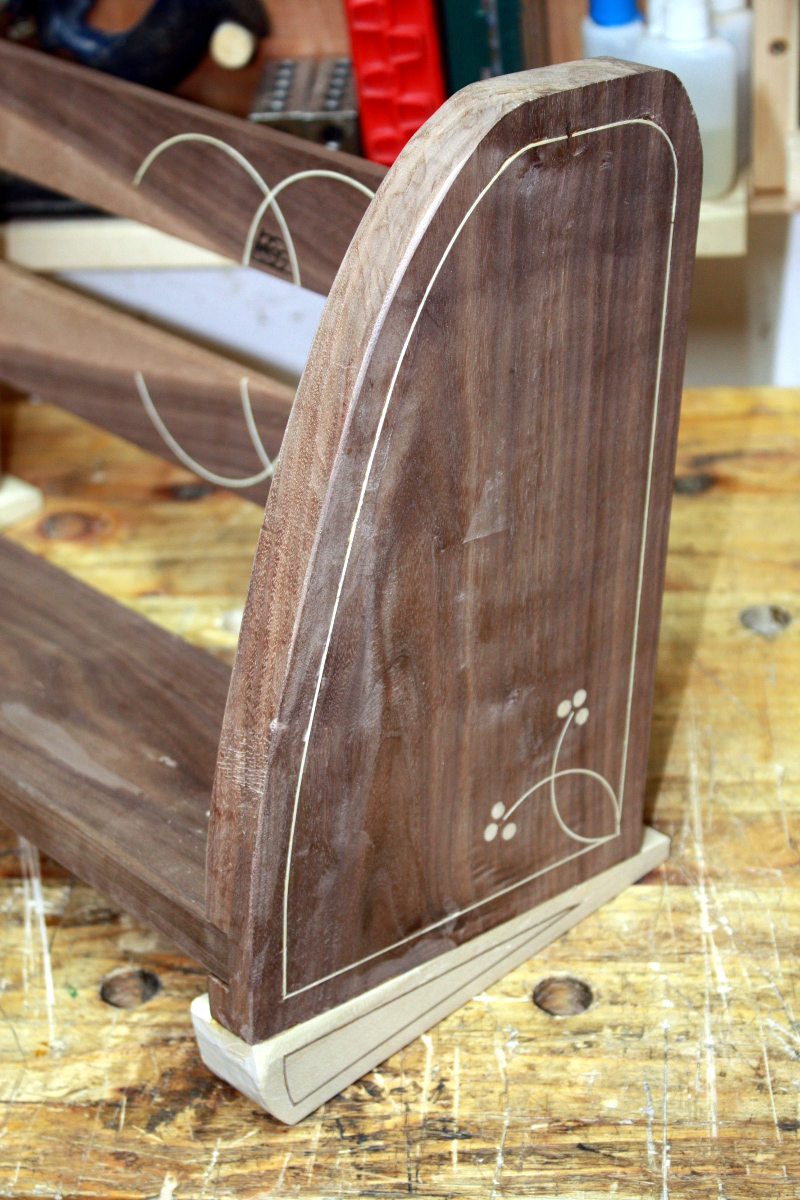
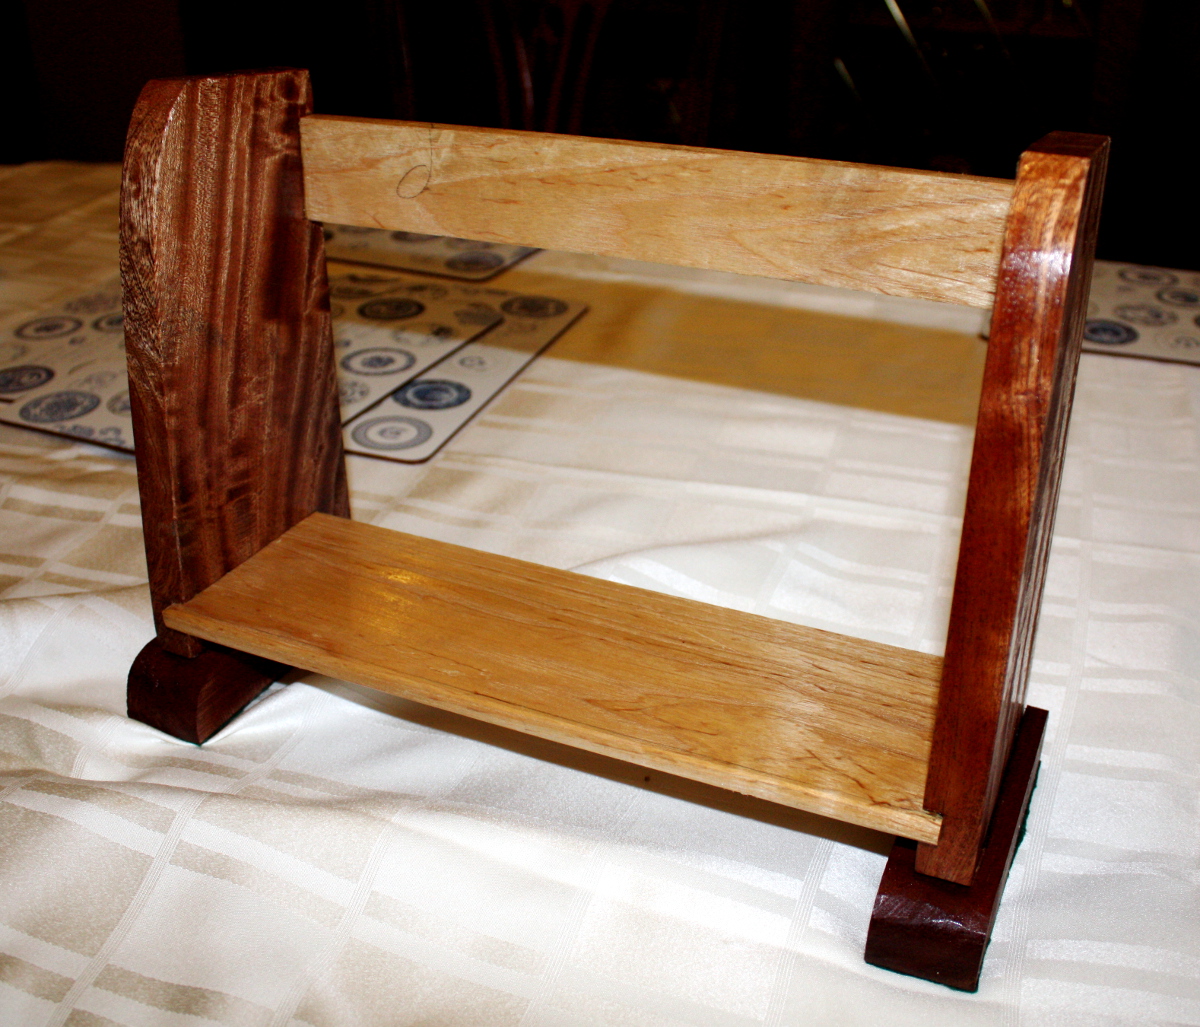
 For mom, a sapele and ash bookshelf (the ash was part of the original batch of slats for her granddaughter’s cot, so she liked that feature):
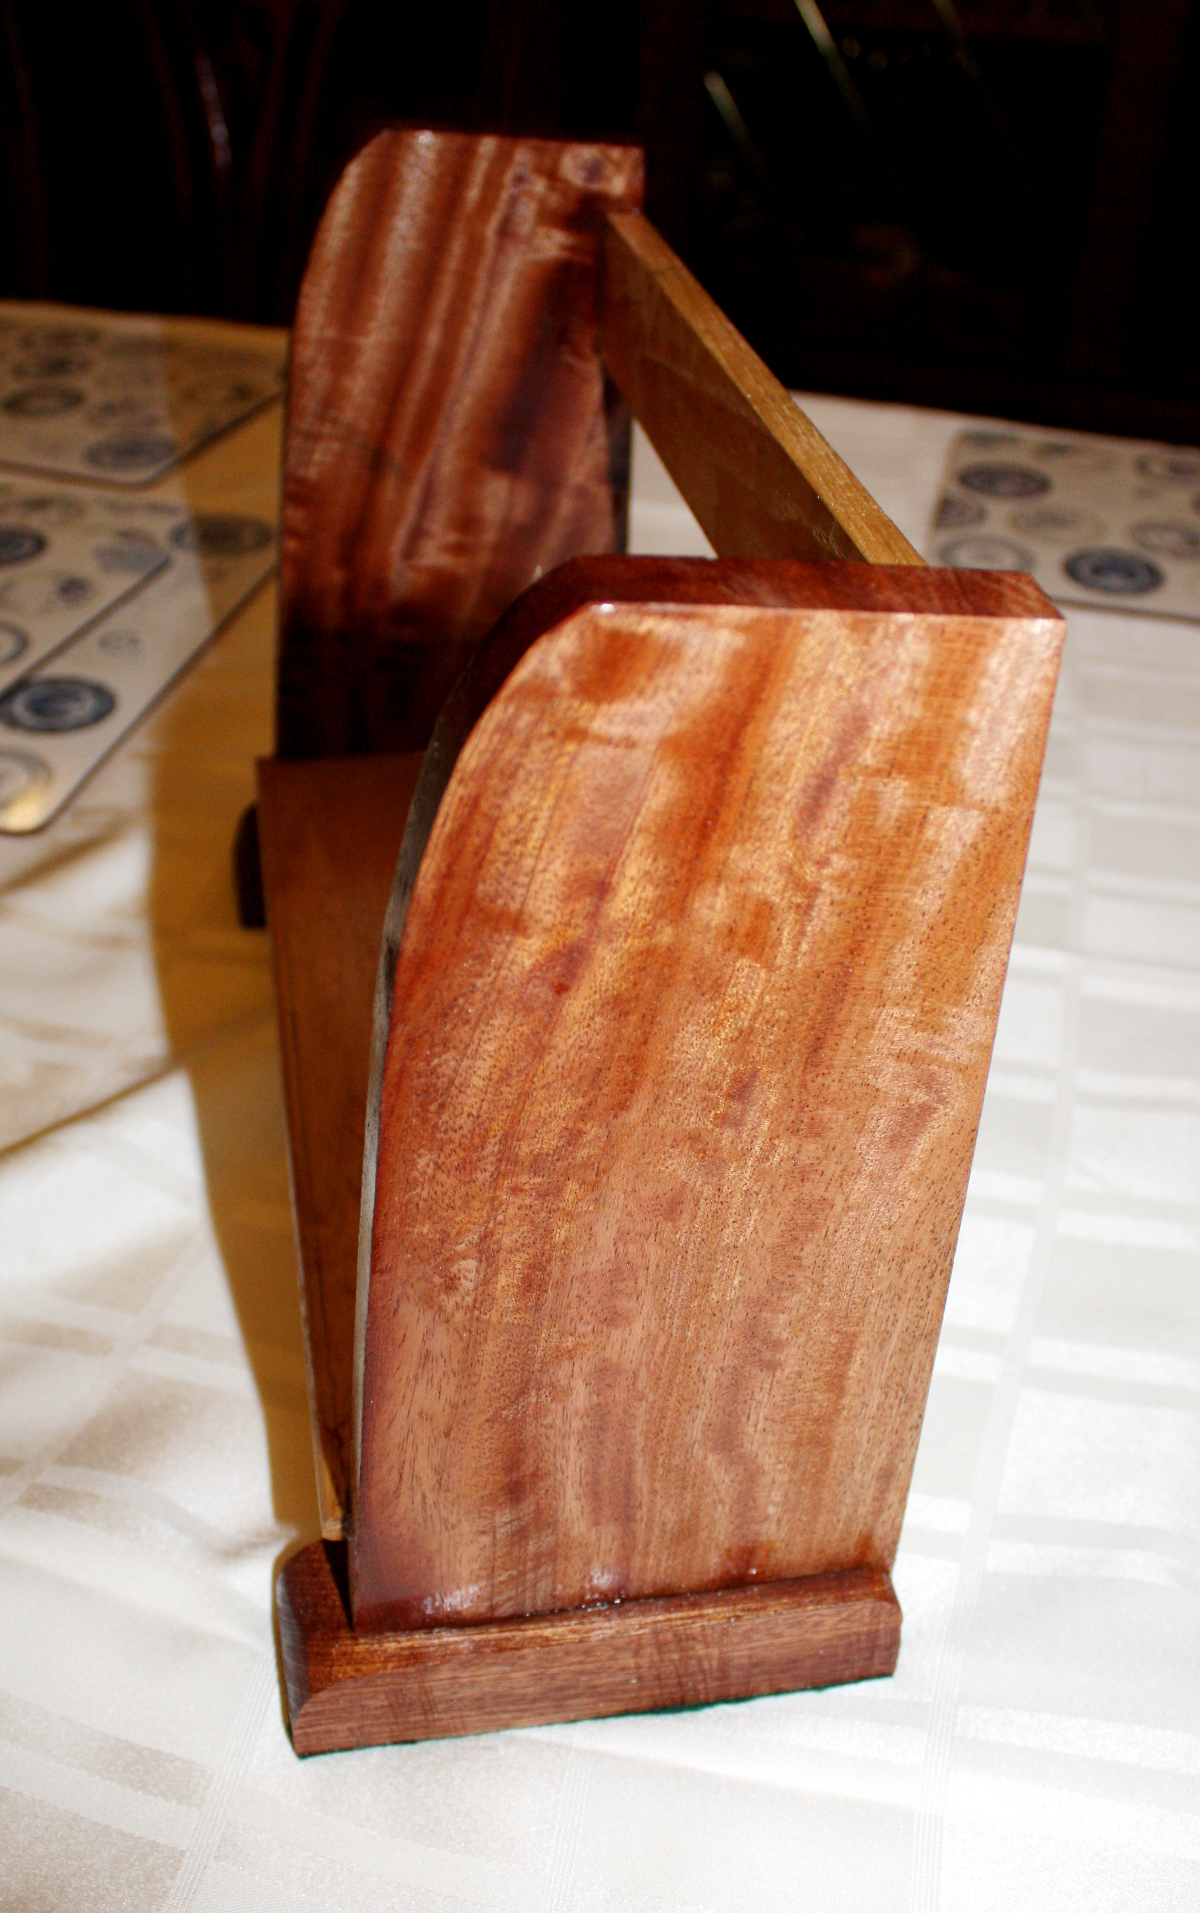

For my brother who’s now training for the Gardai…

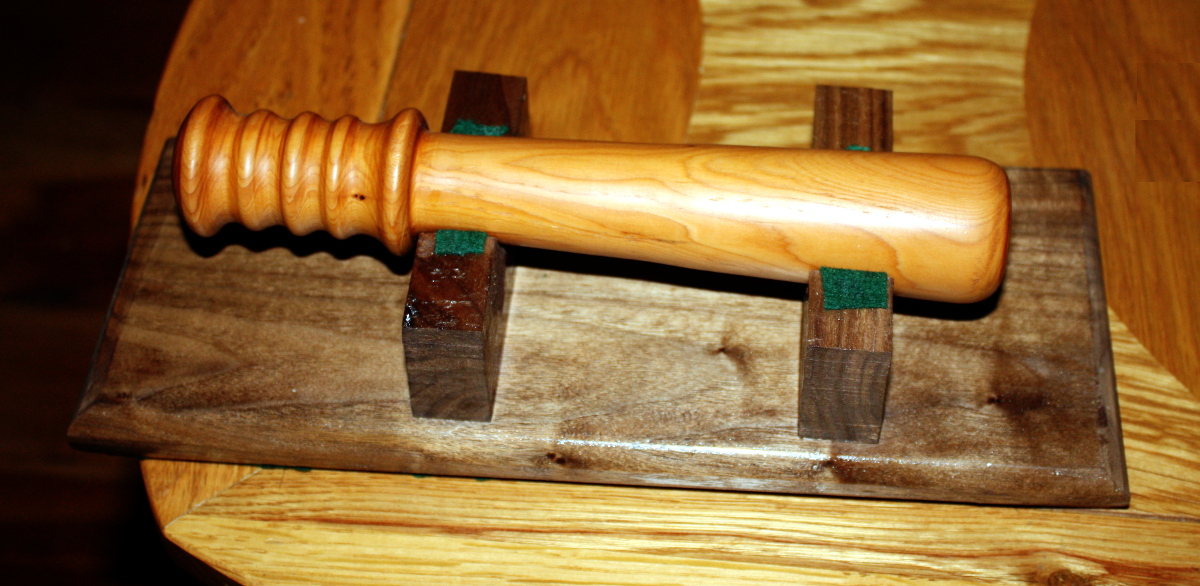
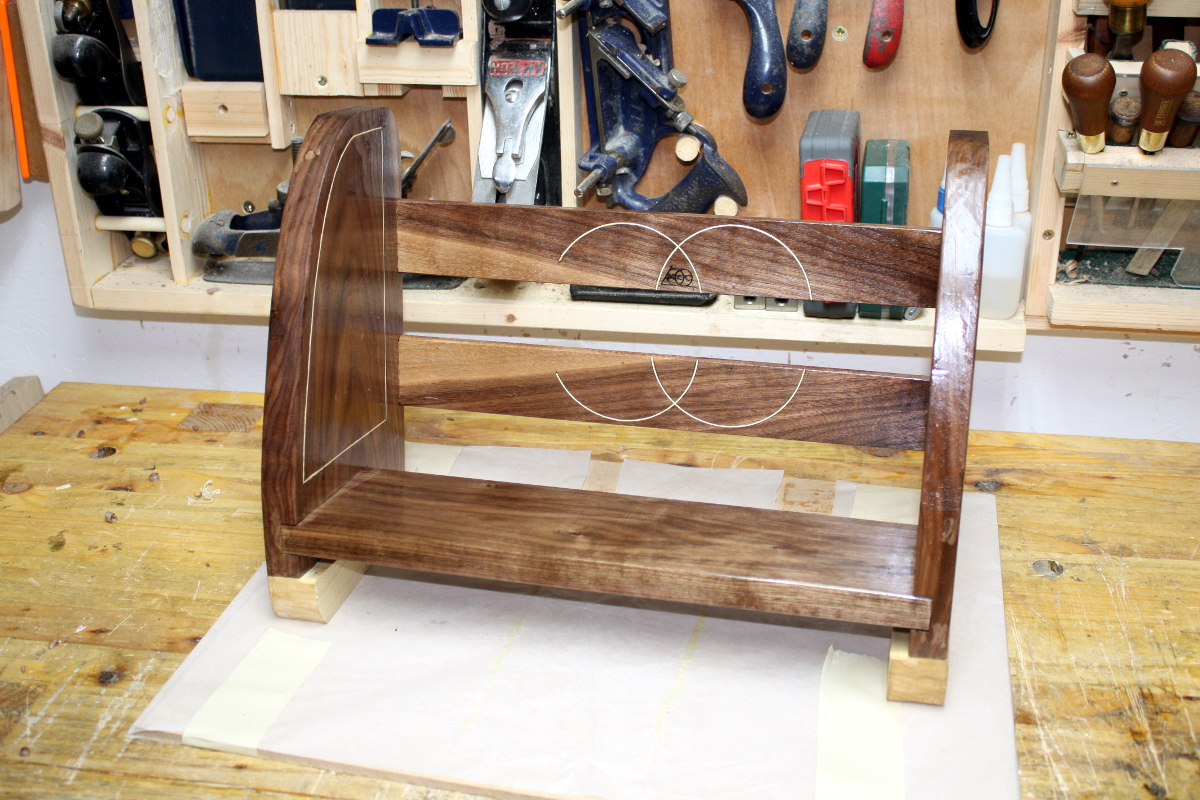
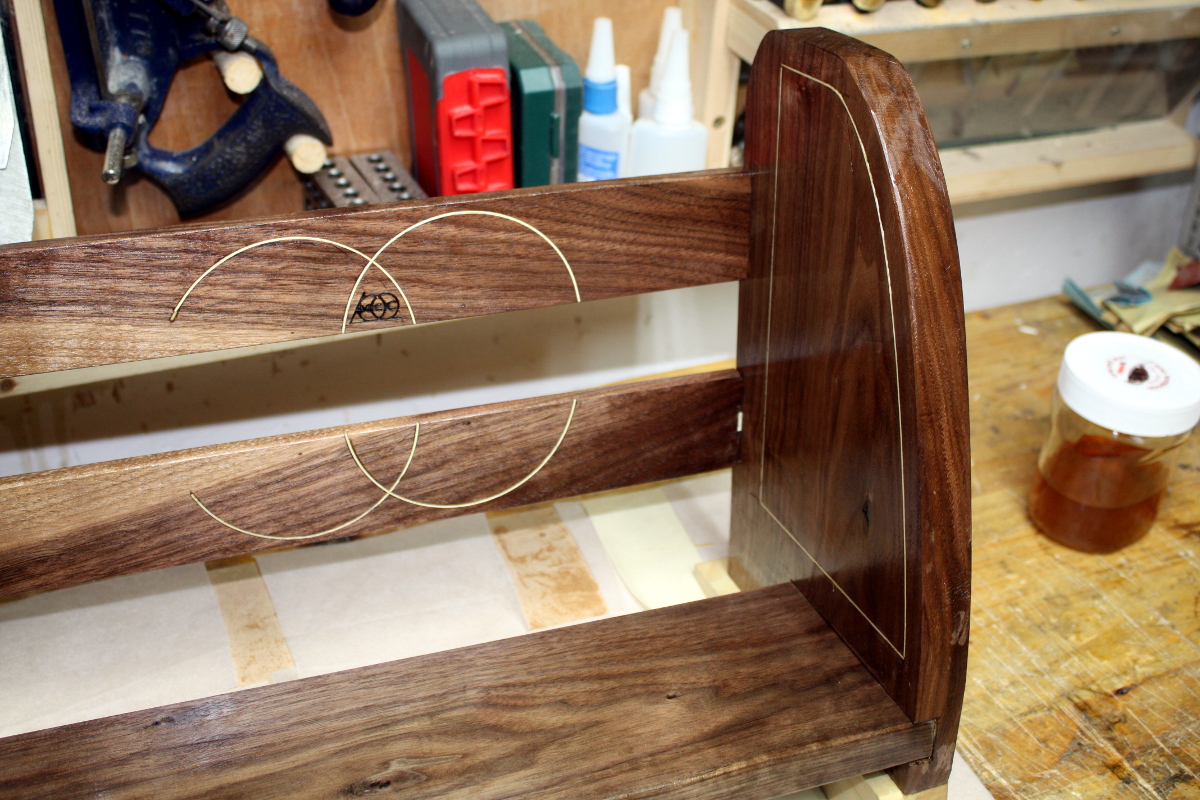
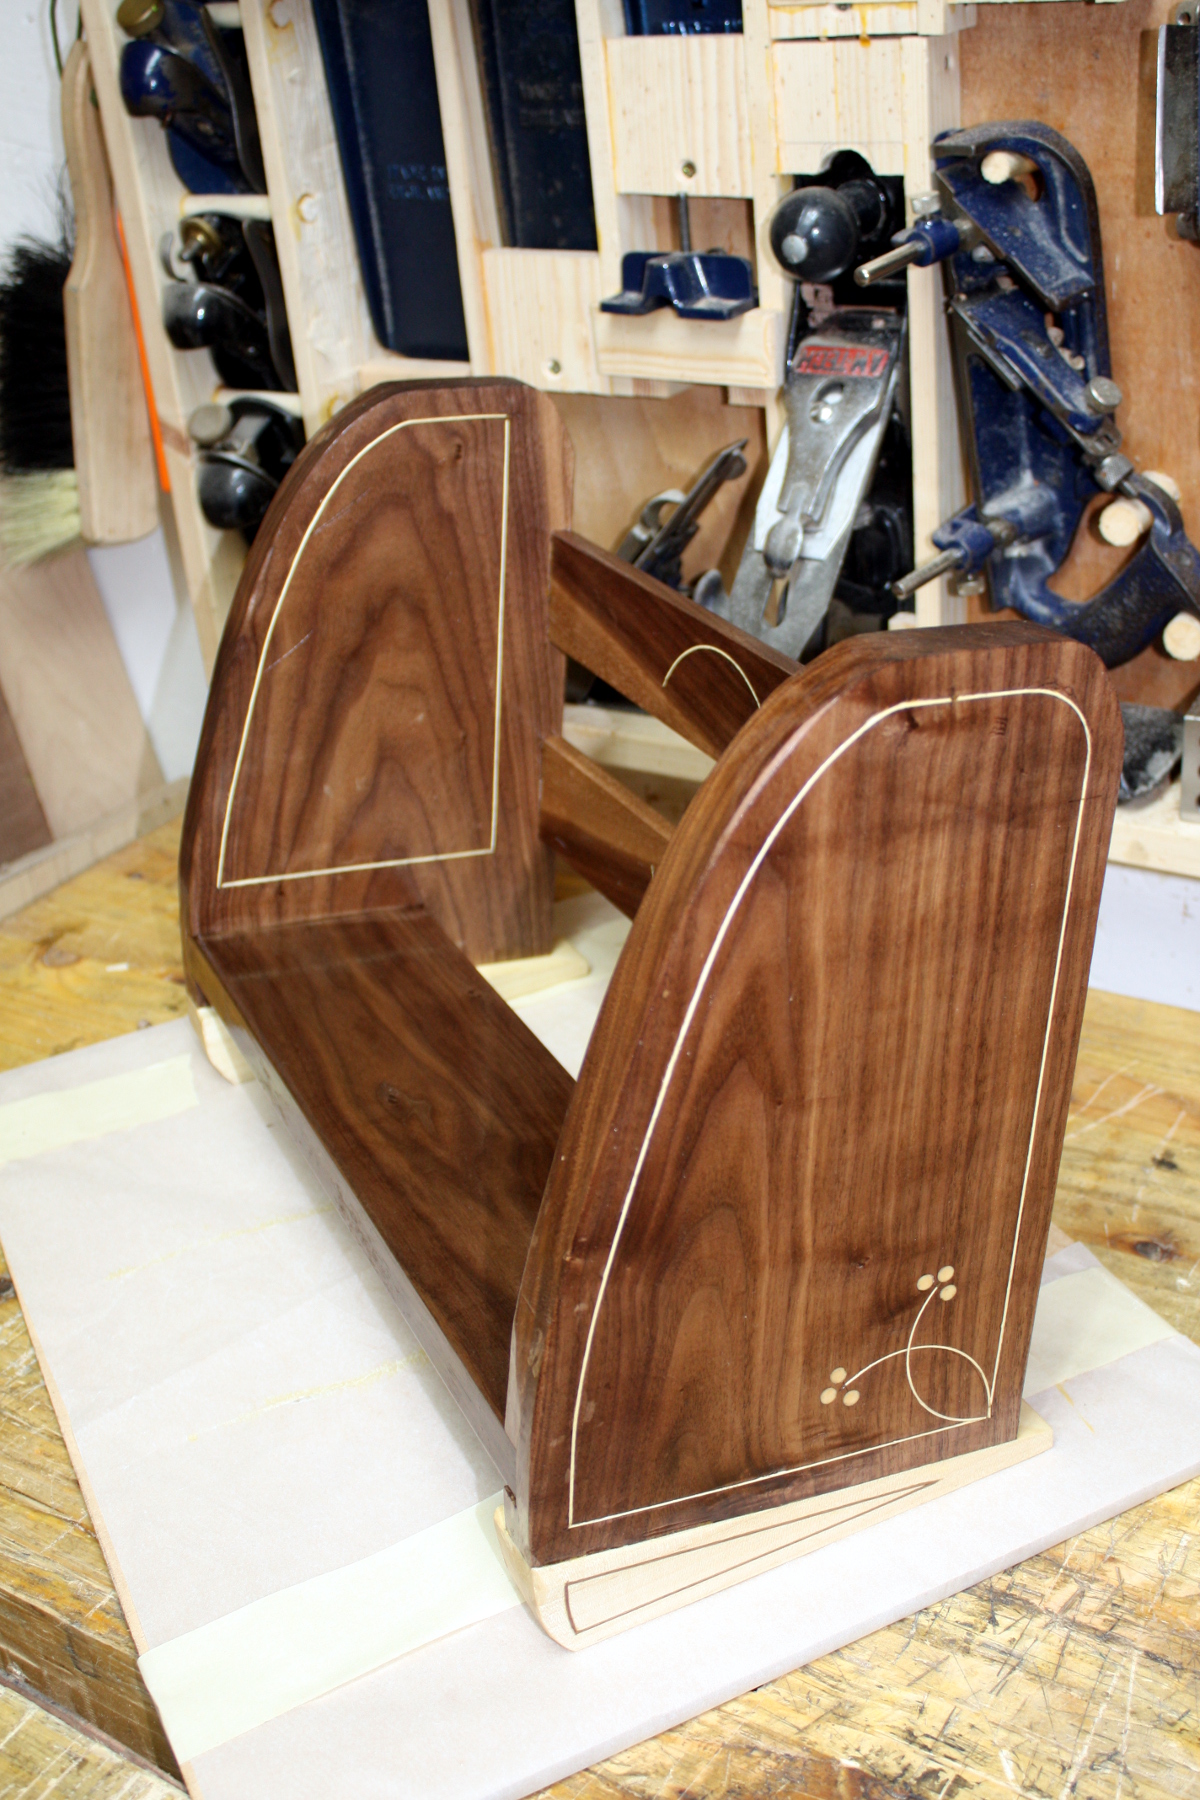
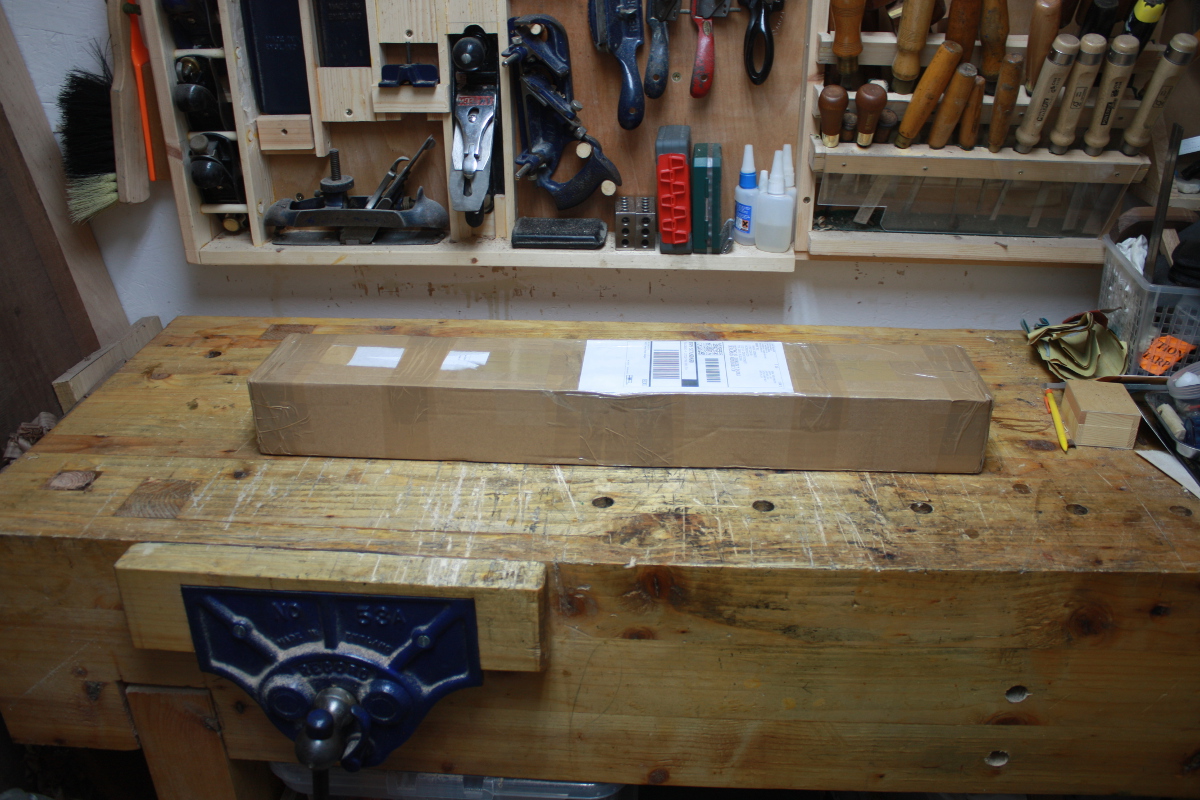
Irish Yew for the truncheon, which was the super-top-secret-squirrel commission that Tom Murphy did for me (he’s got a bit of form with turning); American black walnut for the presentation plate).
For dad, a large bottle of good single malt 😀
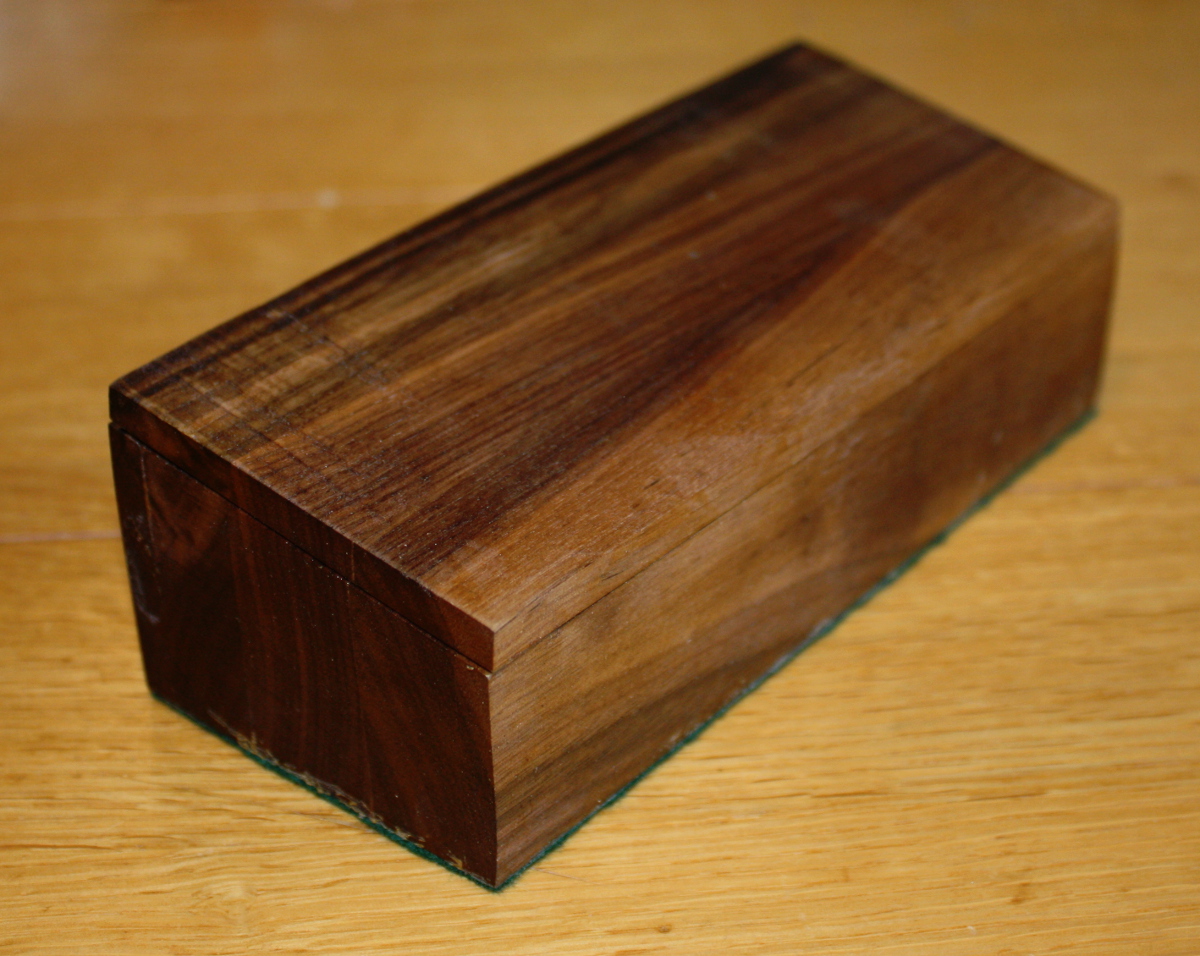
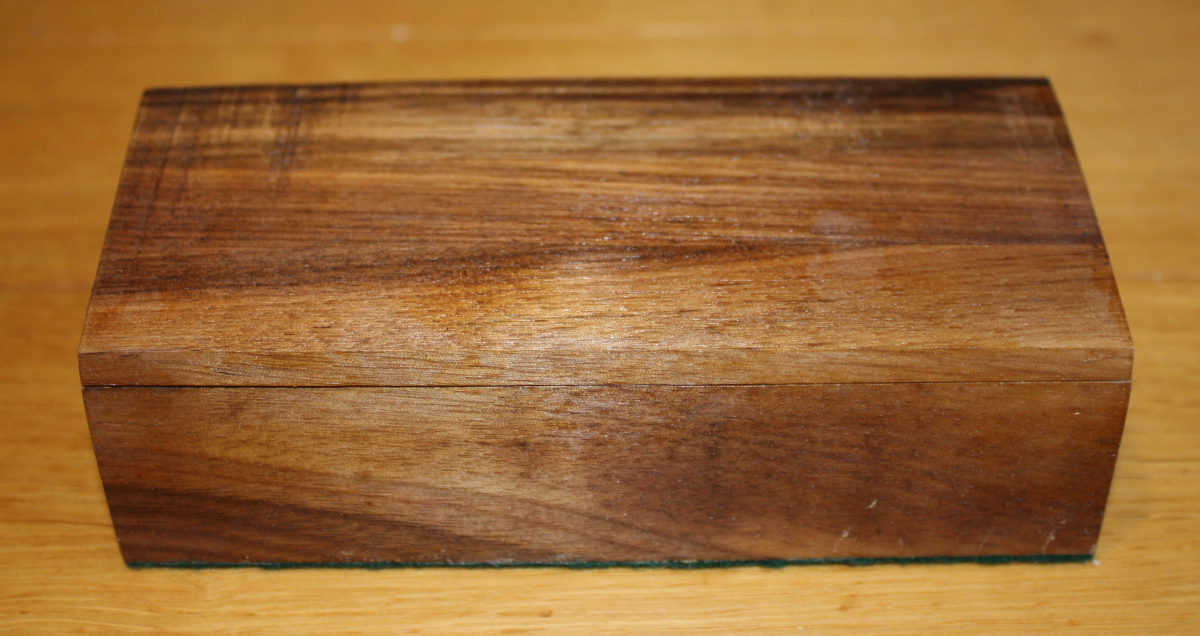
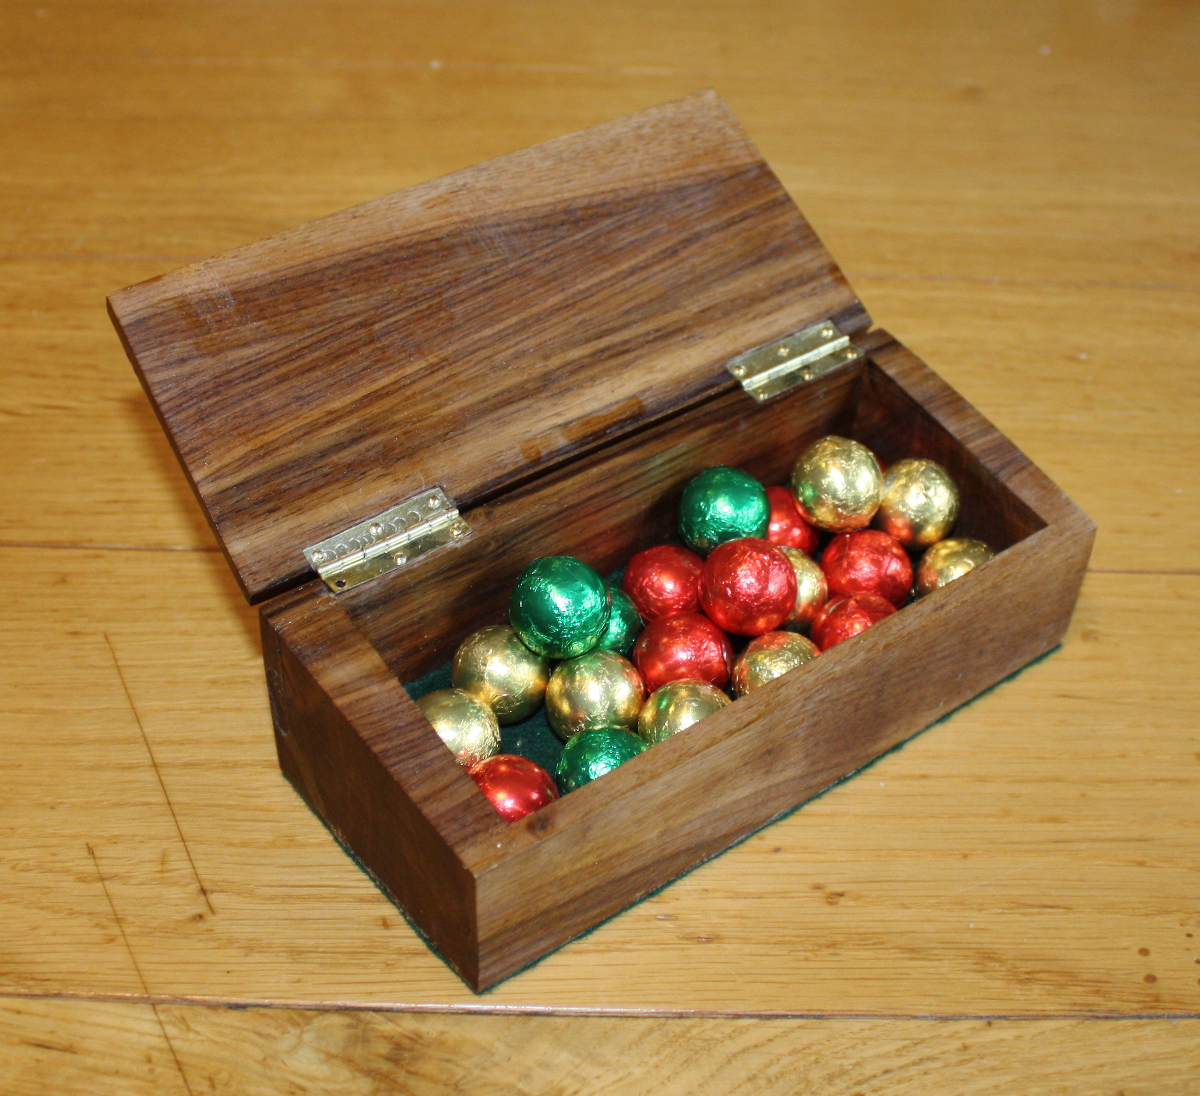
And for Claire, some chocolates:
And some nice earrings…
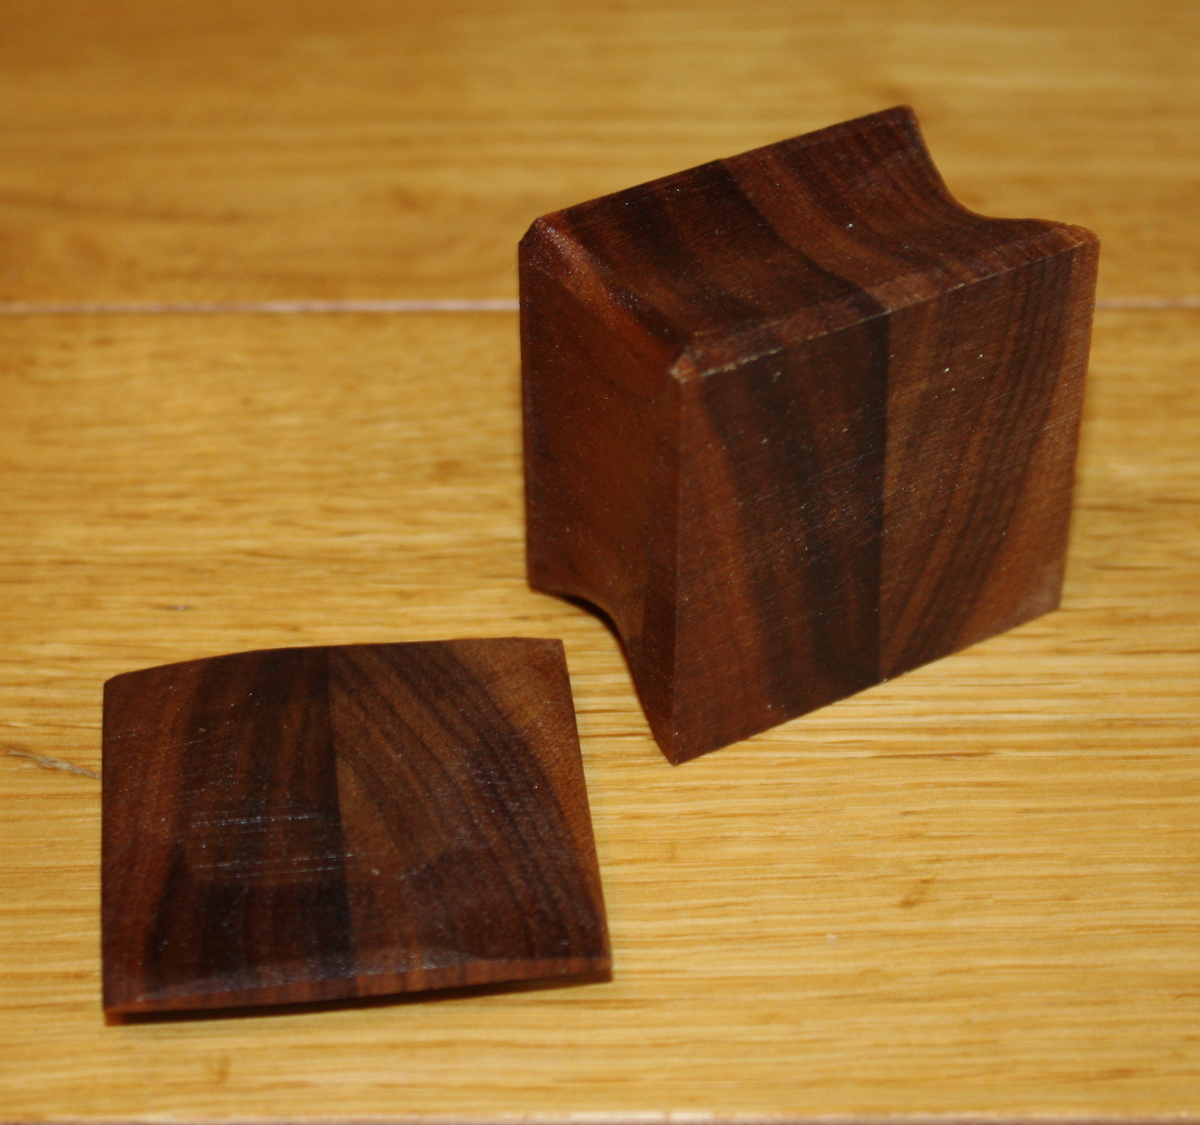
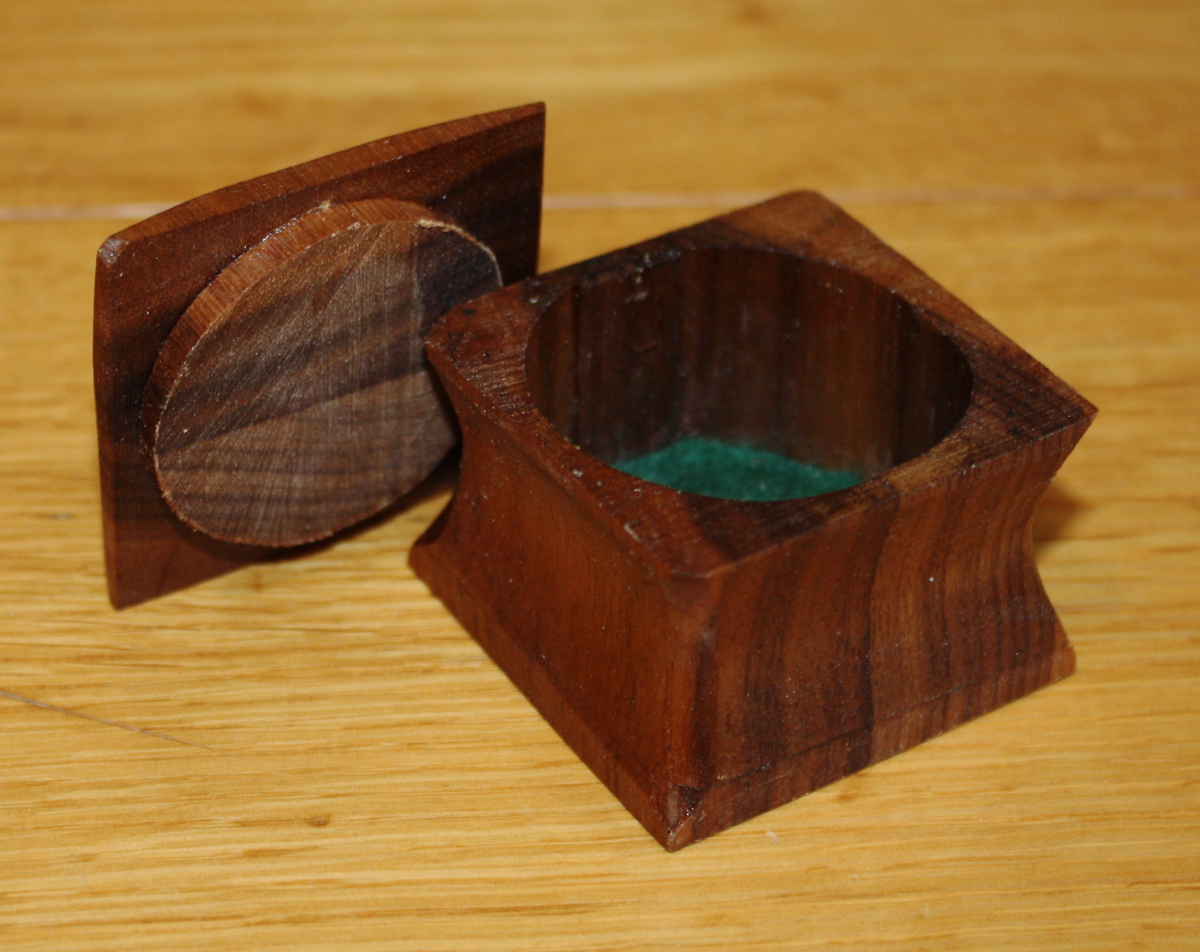
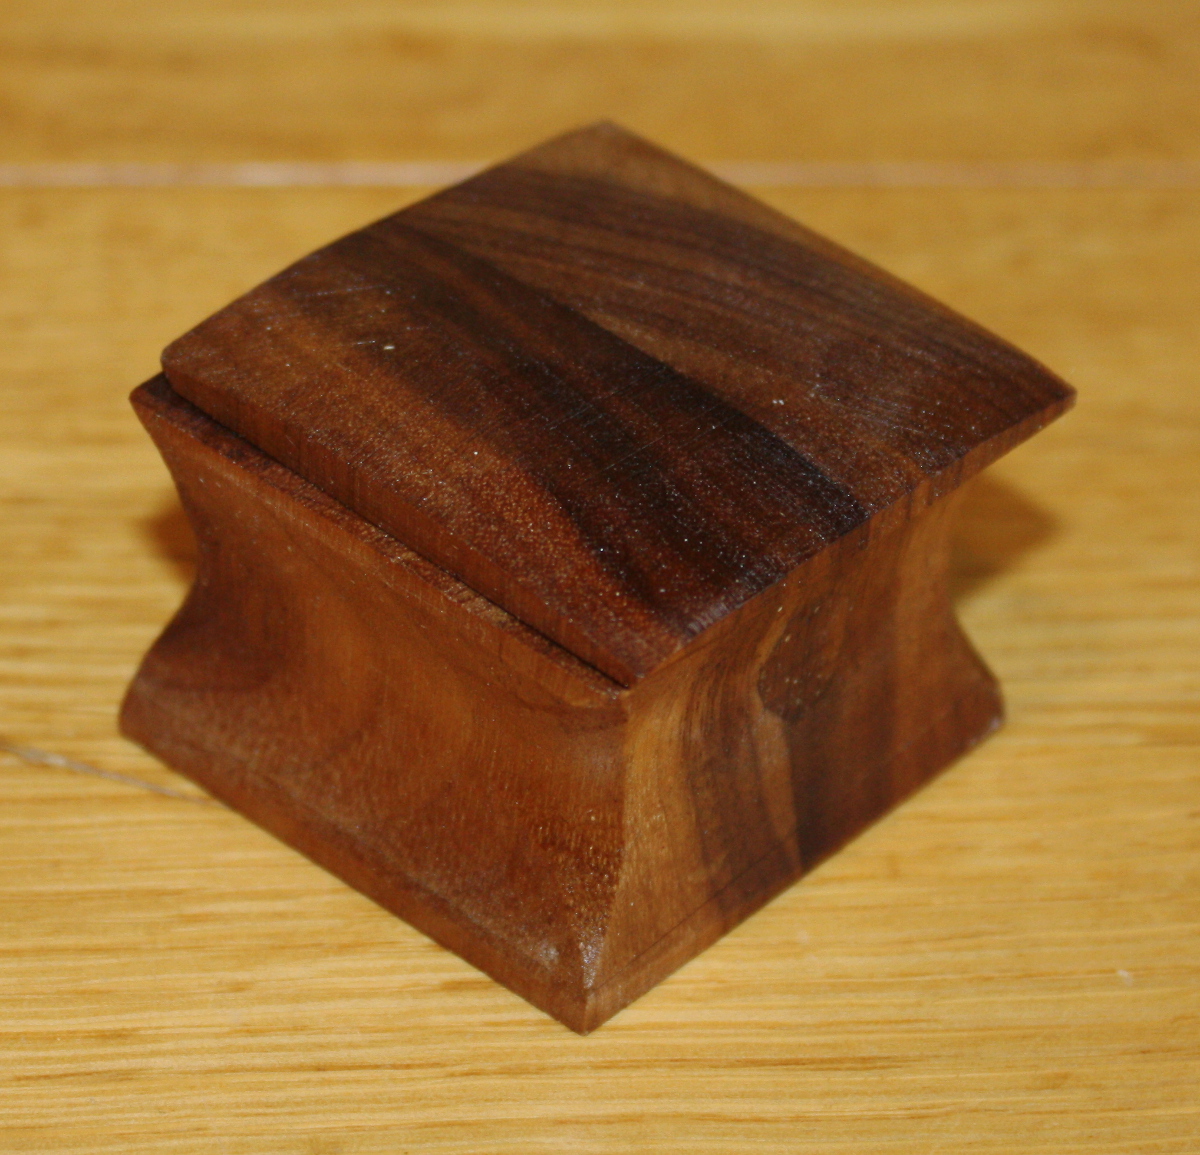
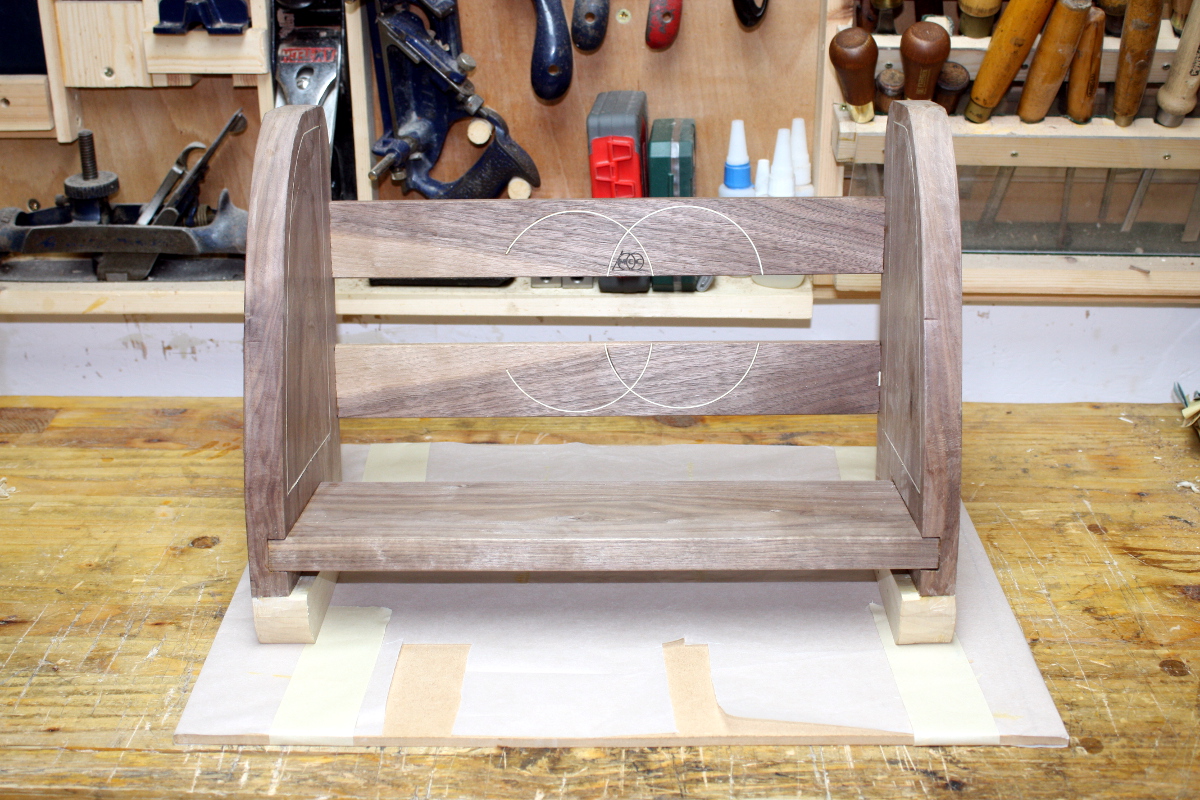
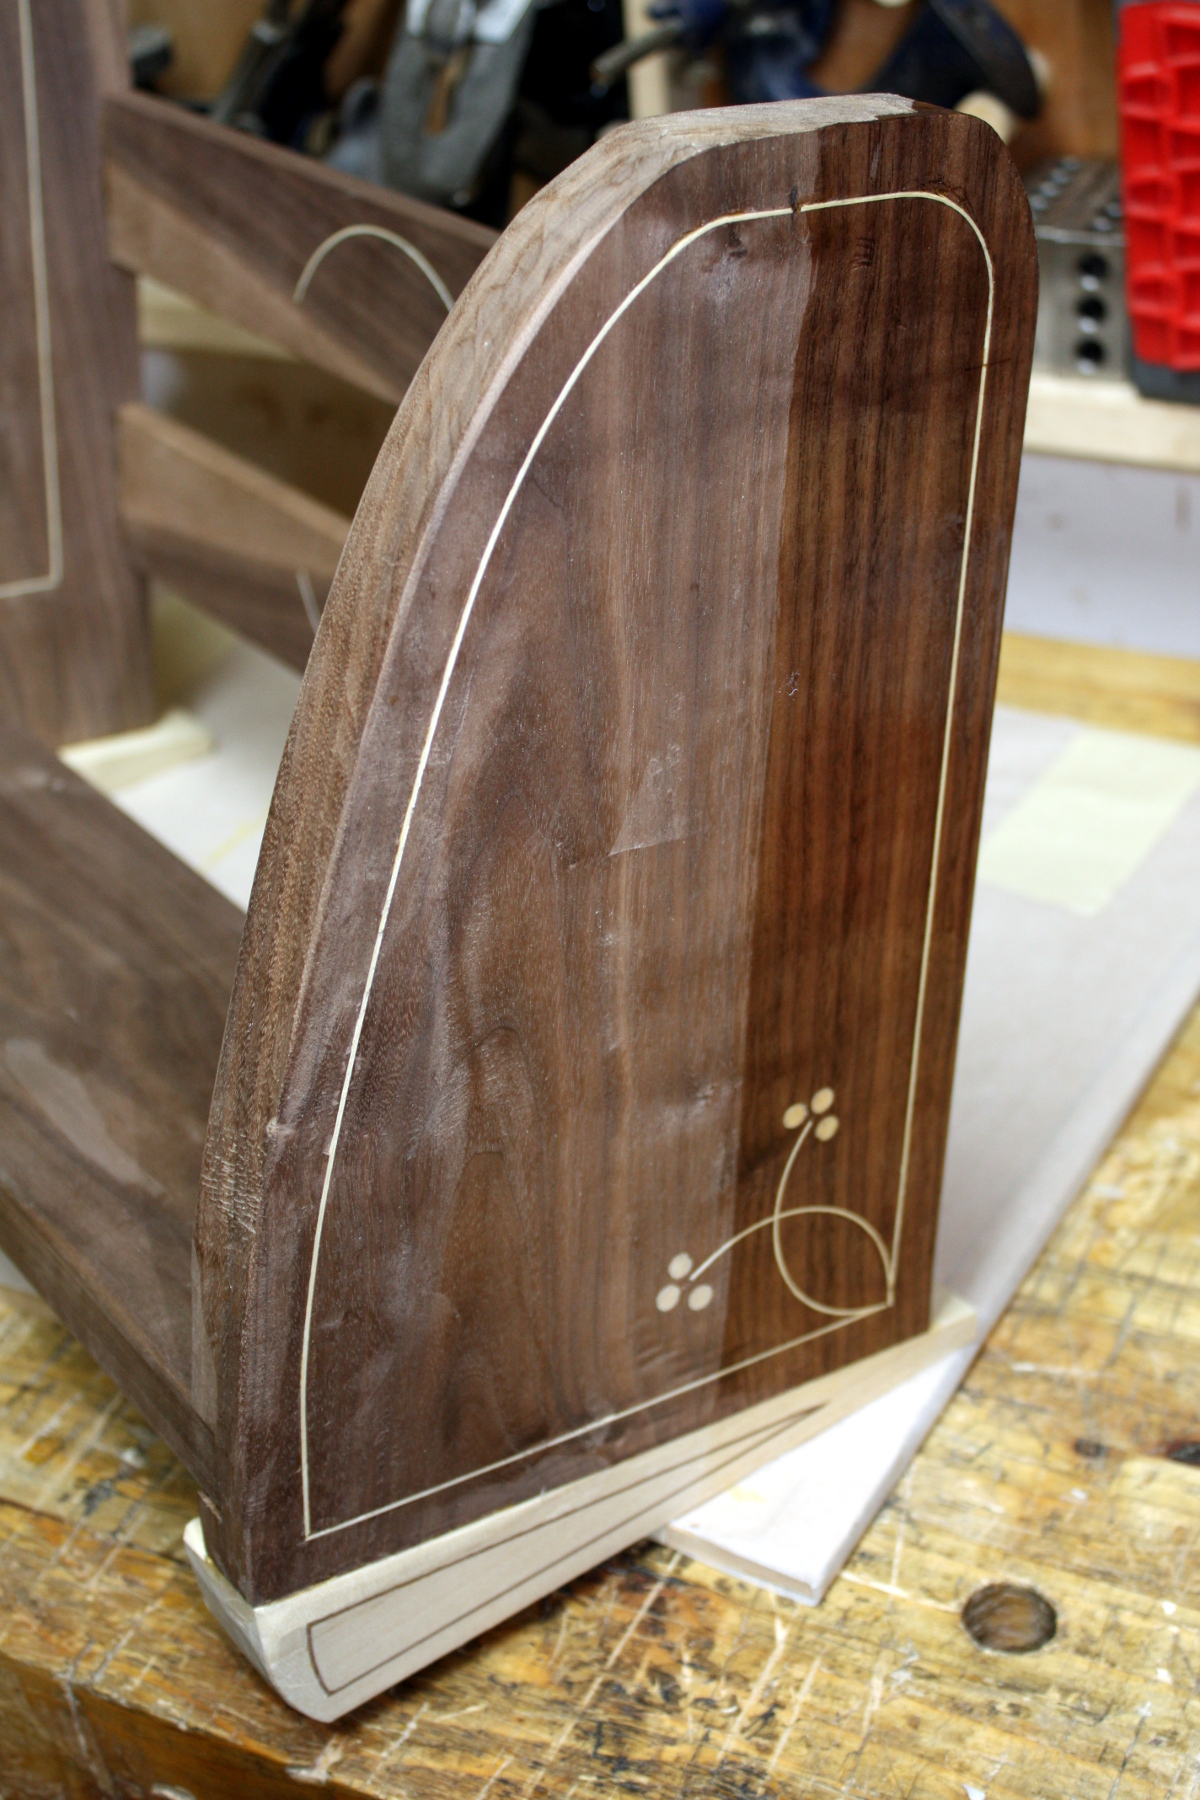
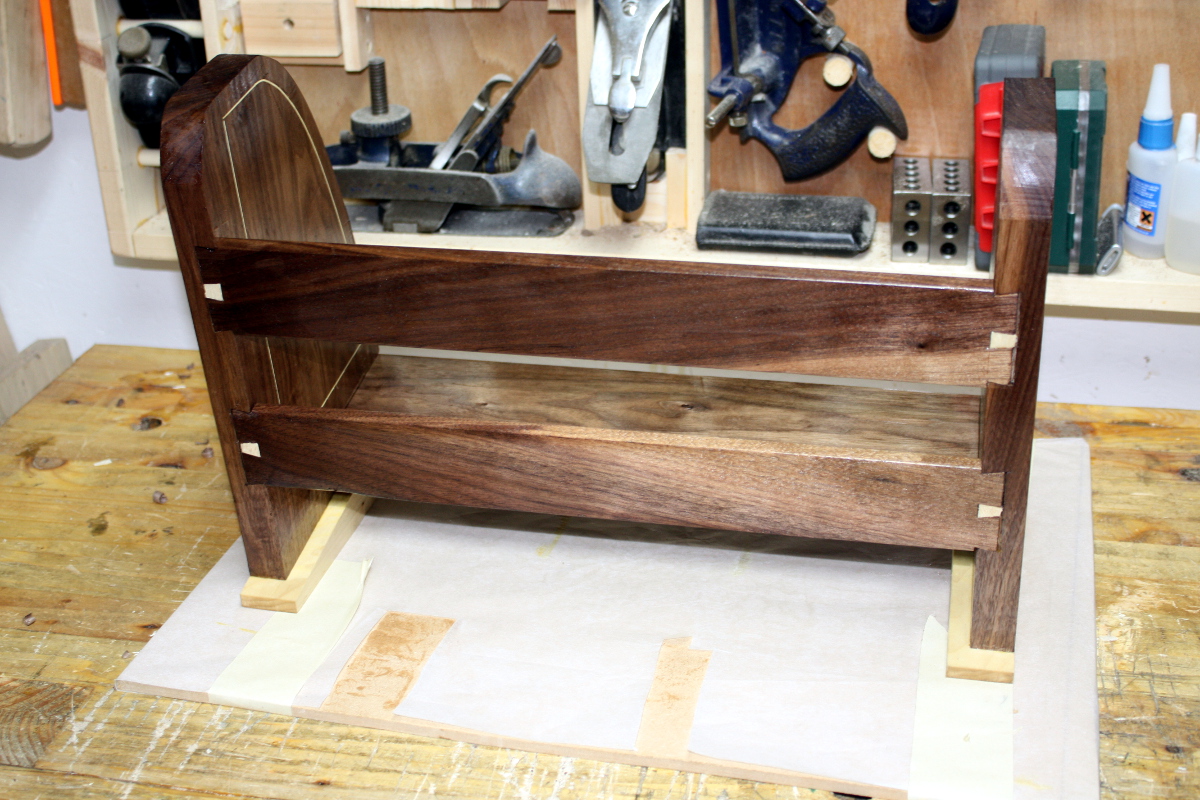
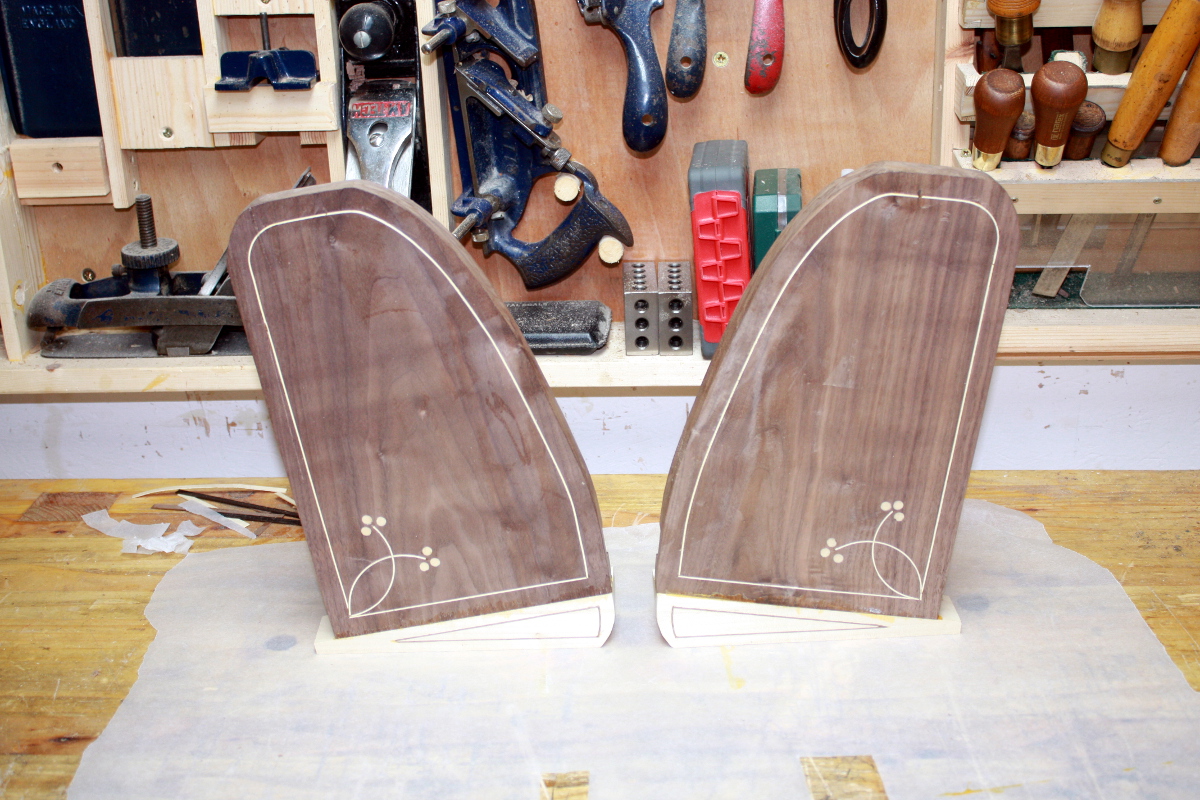
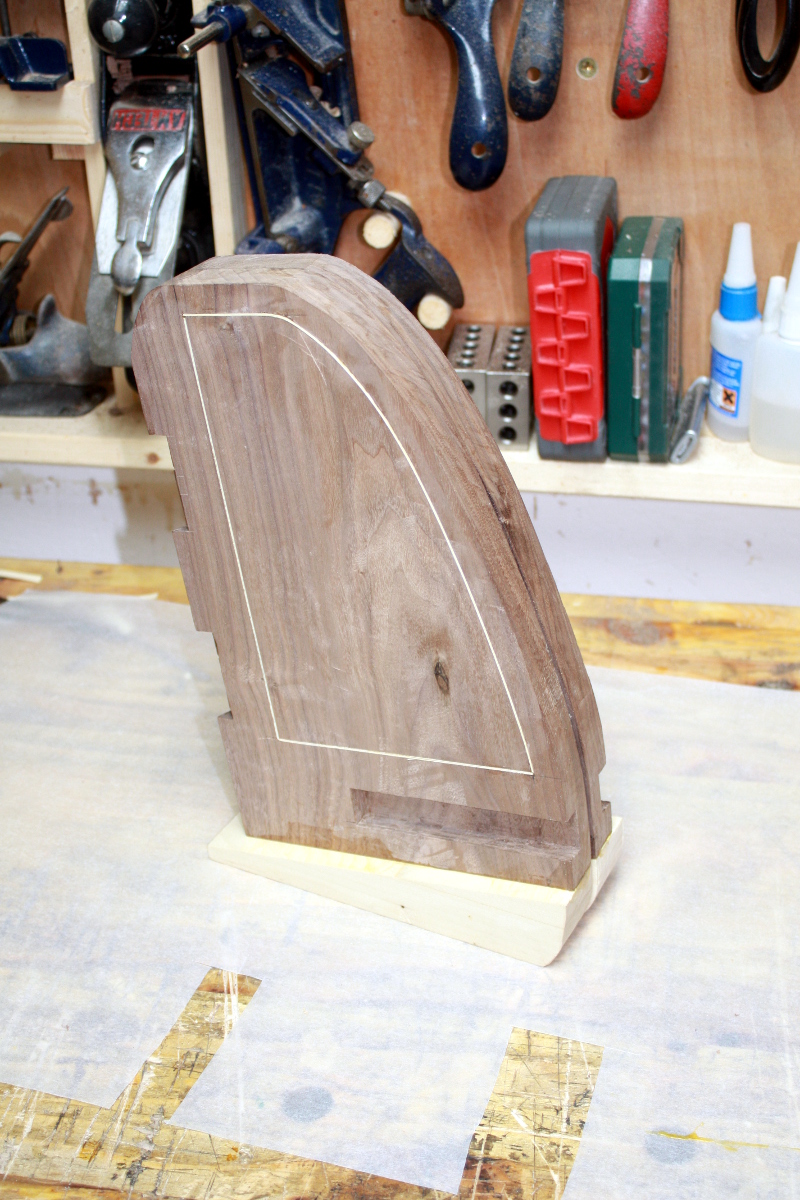
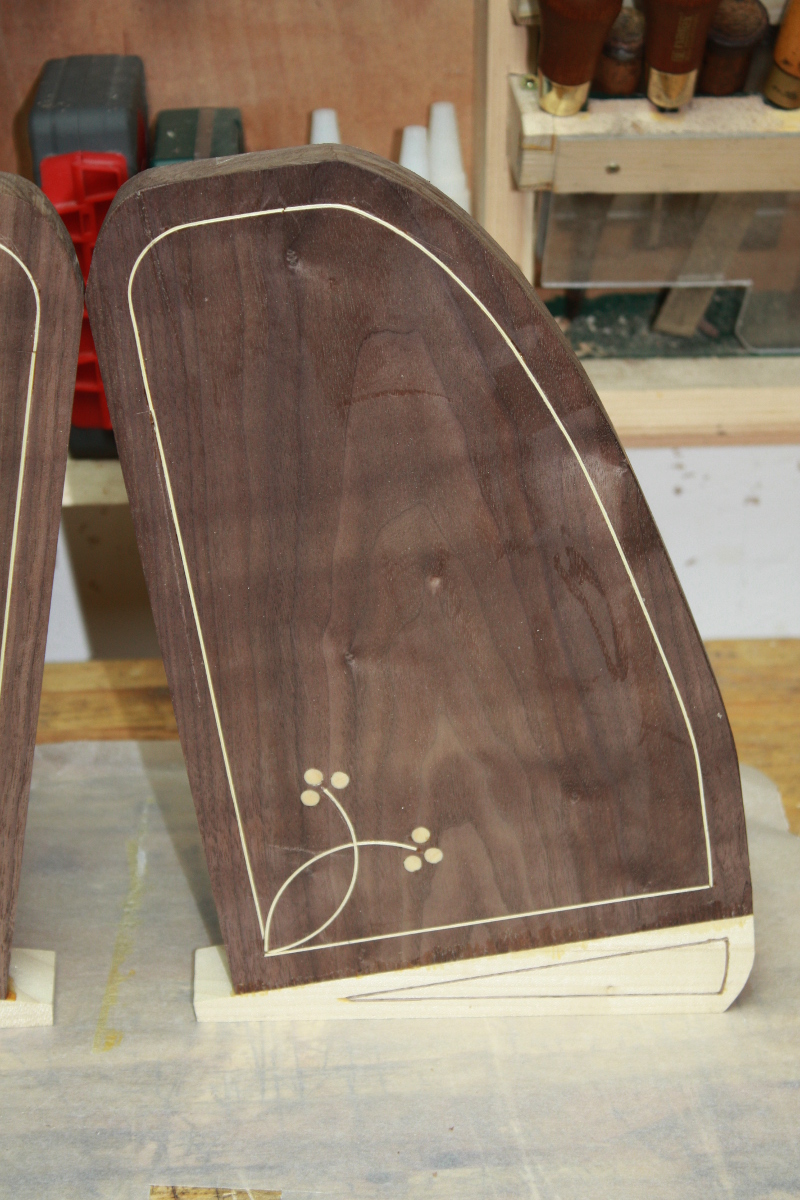
Getting slightly better at grain matching, not so much at coping with bandsaw kerf in internal plugs. There is also a nice walnut desk shelf with bookmatched back rails but it’s not finished yet (some projects got extended deadlines in favour of family time). But the next few days have no shed time planned and the next shed project will be cleaning down from the last few days while we eat all the selection boxes and stay in pyjamas drinking tea and I watch Peter Follansbee build a 17th century chest and all of the woodworking videos on youtube 😀
Happy Solstice everyone…
Like this:
Like Loading...