10
Jun 18

Plugging away…

So first things first, take the clamps off and see if the hide glue cured…
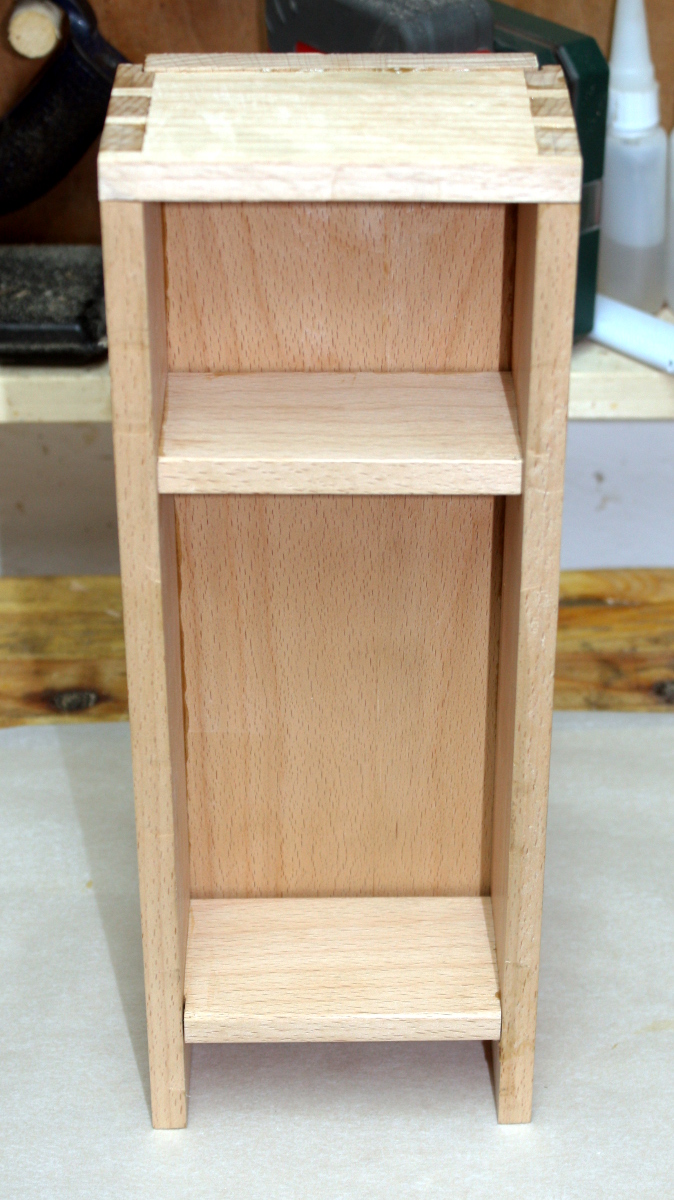
Not too bad, lots of squeezeout in places but I can deal with that.
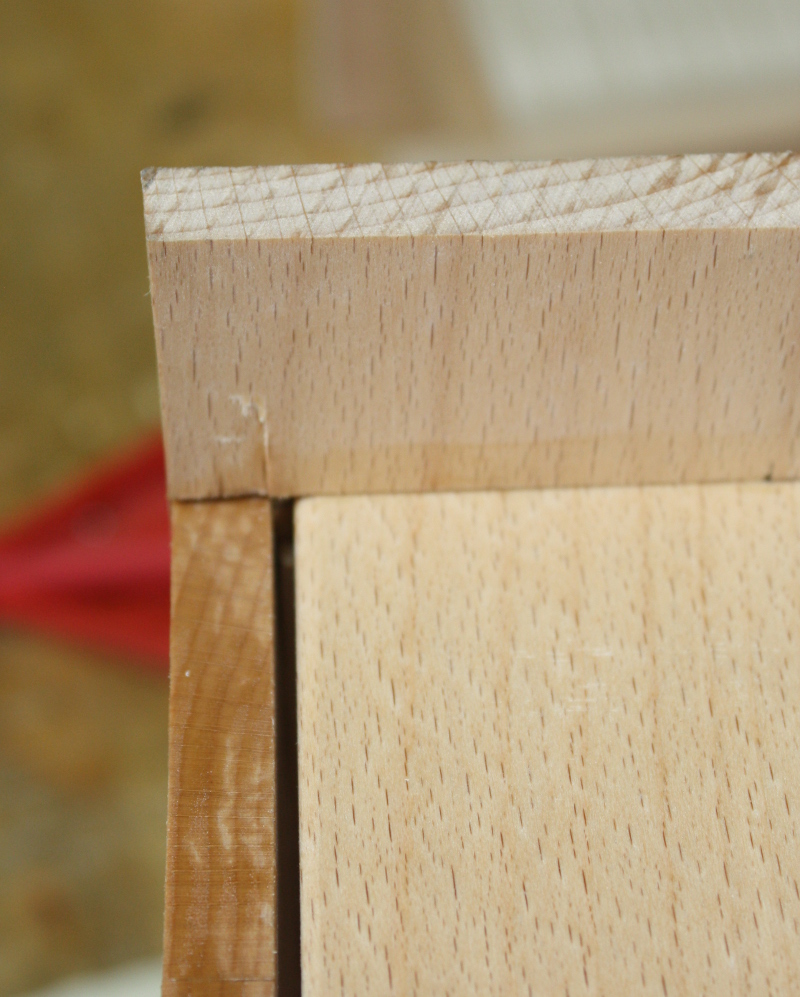
Well, bugger. I thought I had that better aligned than that and there’s no real way to fix it now. Feck.
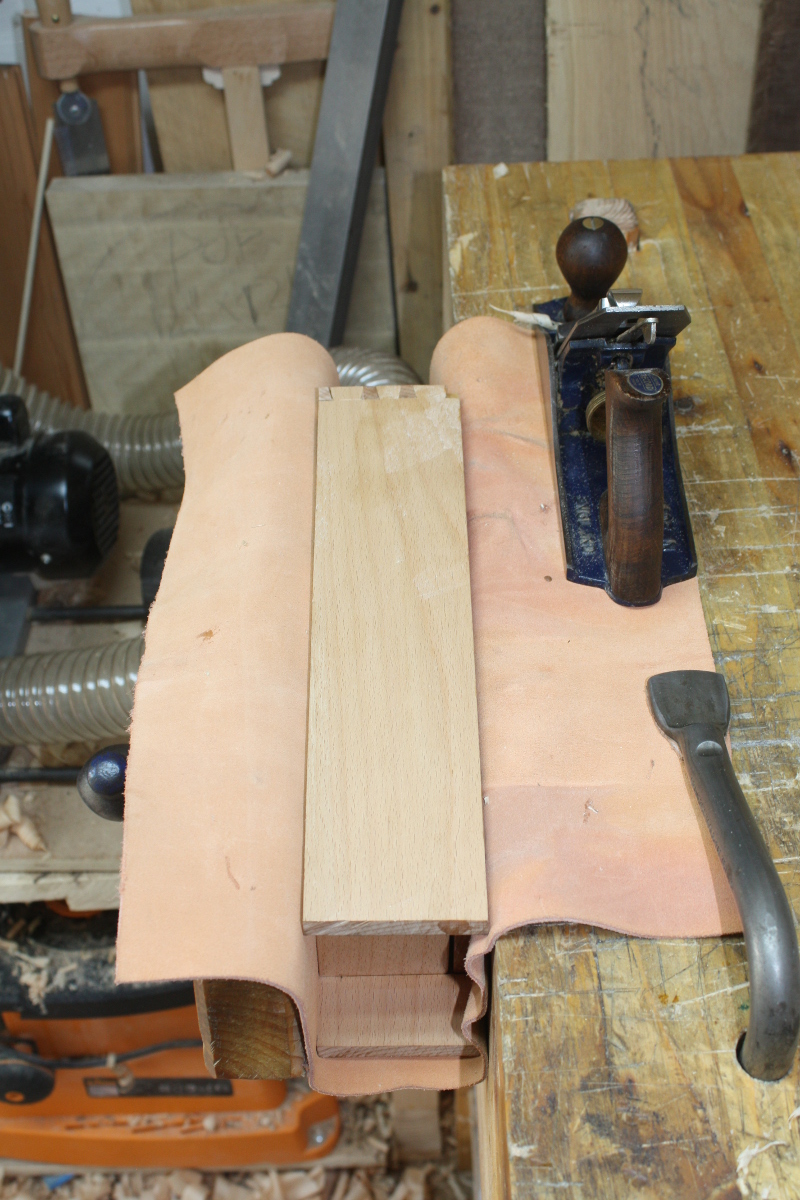
Clean up the squeezeout and smooth the surfaces. Mostly the #04 with a few pieces done by card scraper. Not too bad. Broke the sharp edges as well.
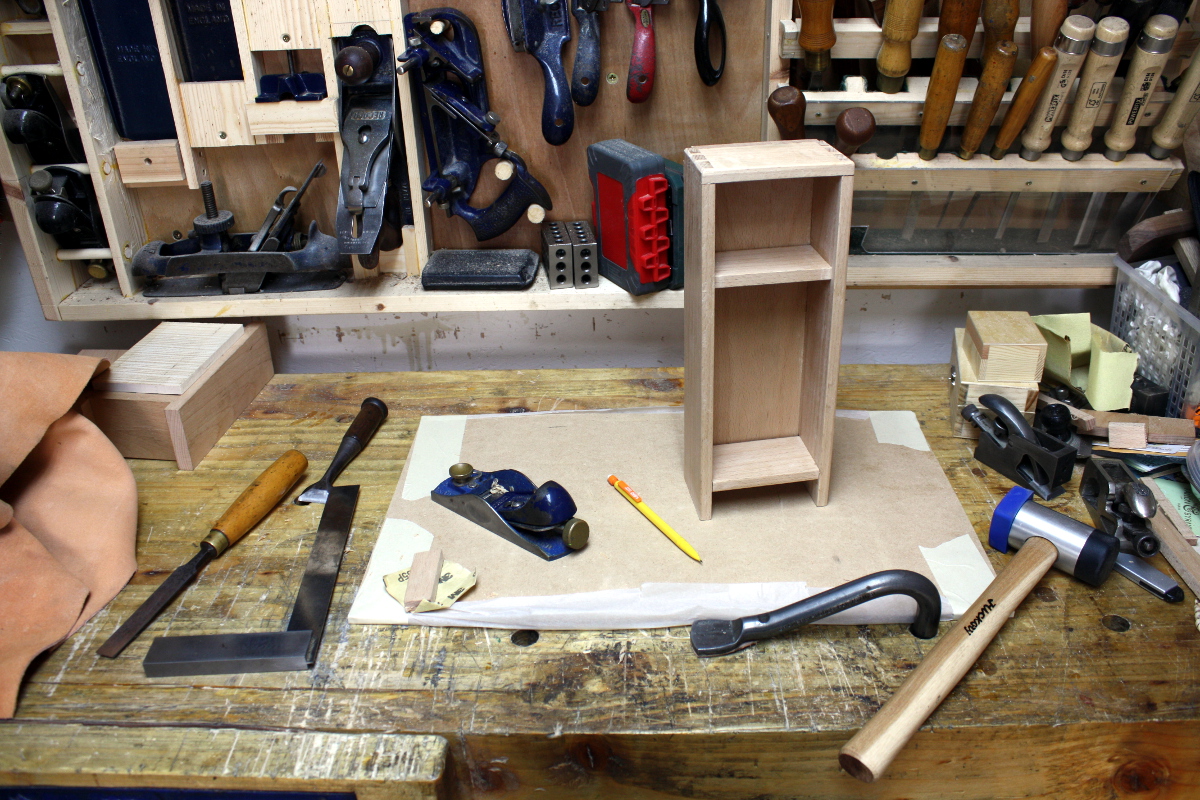
Couldn’t get all the edges with the #04 though, so various other tools made an appearance. And then leveled the legs so it didn’t rock. I don’t like MDF for, well, anything, but it is nice to have a flat surface for this sort of thing and I don’t have room for a granite slab so I do keep a piece or two of MDF handy for this task.
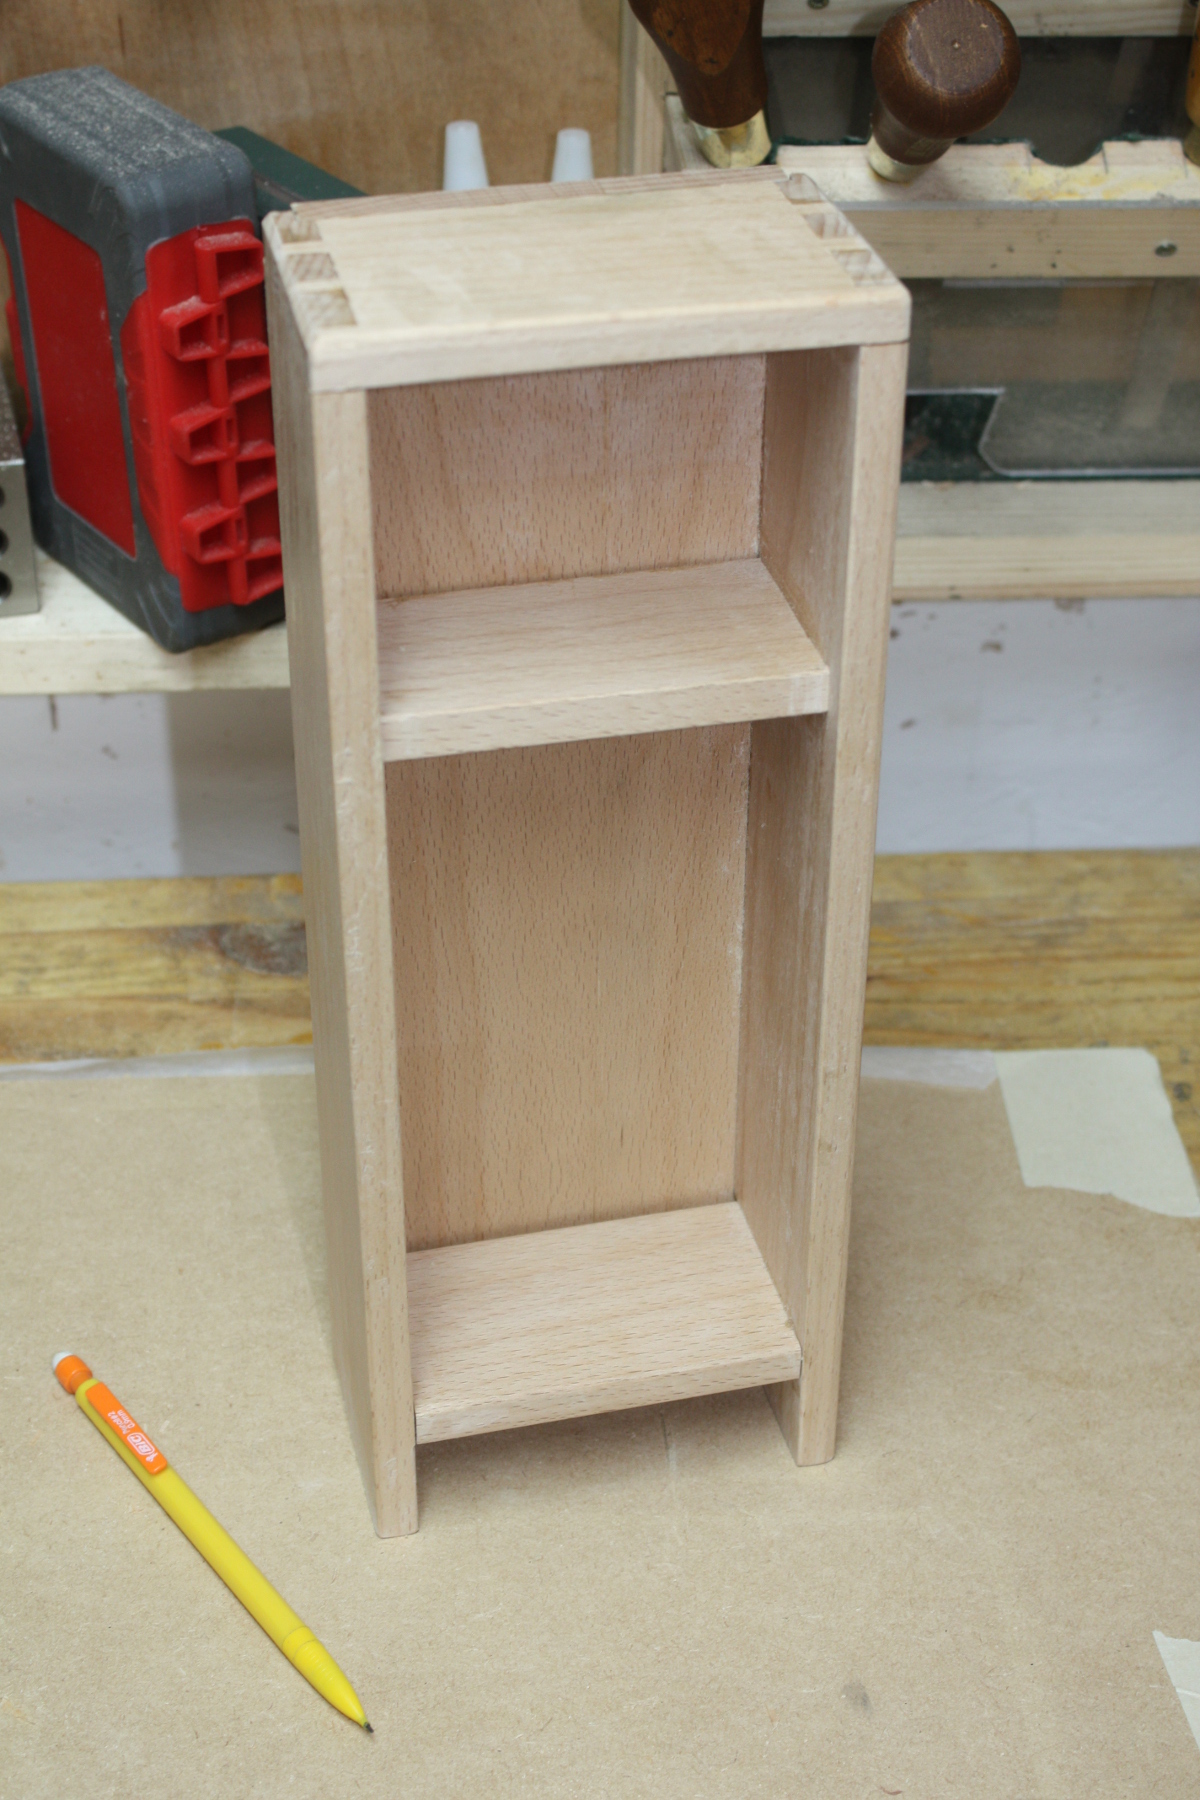
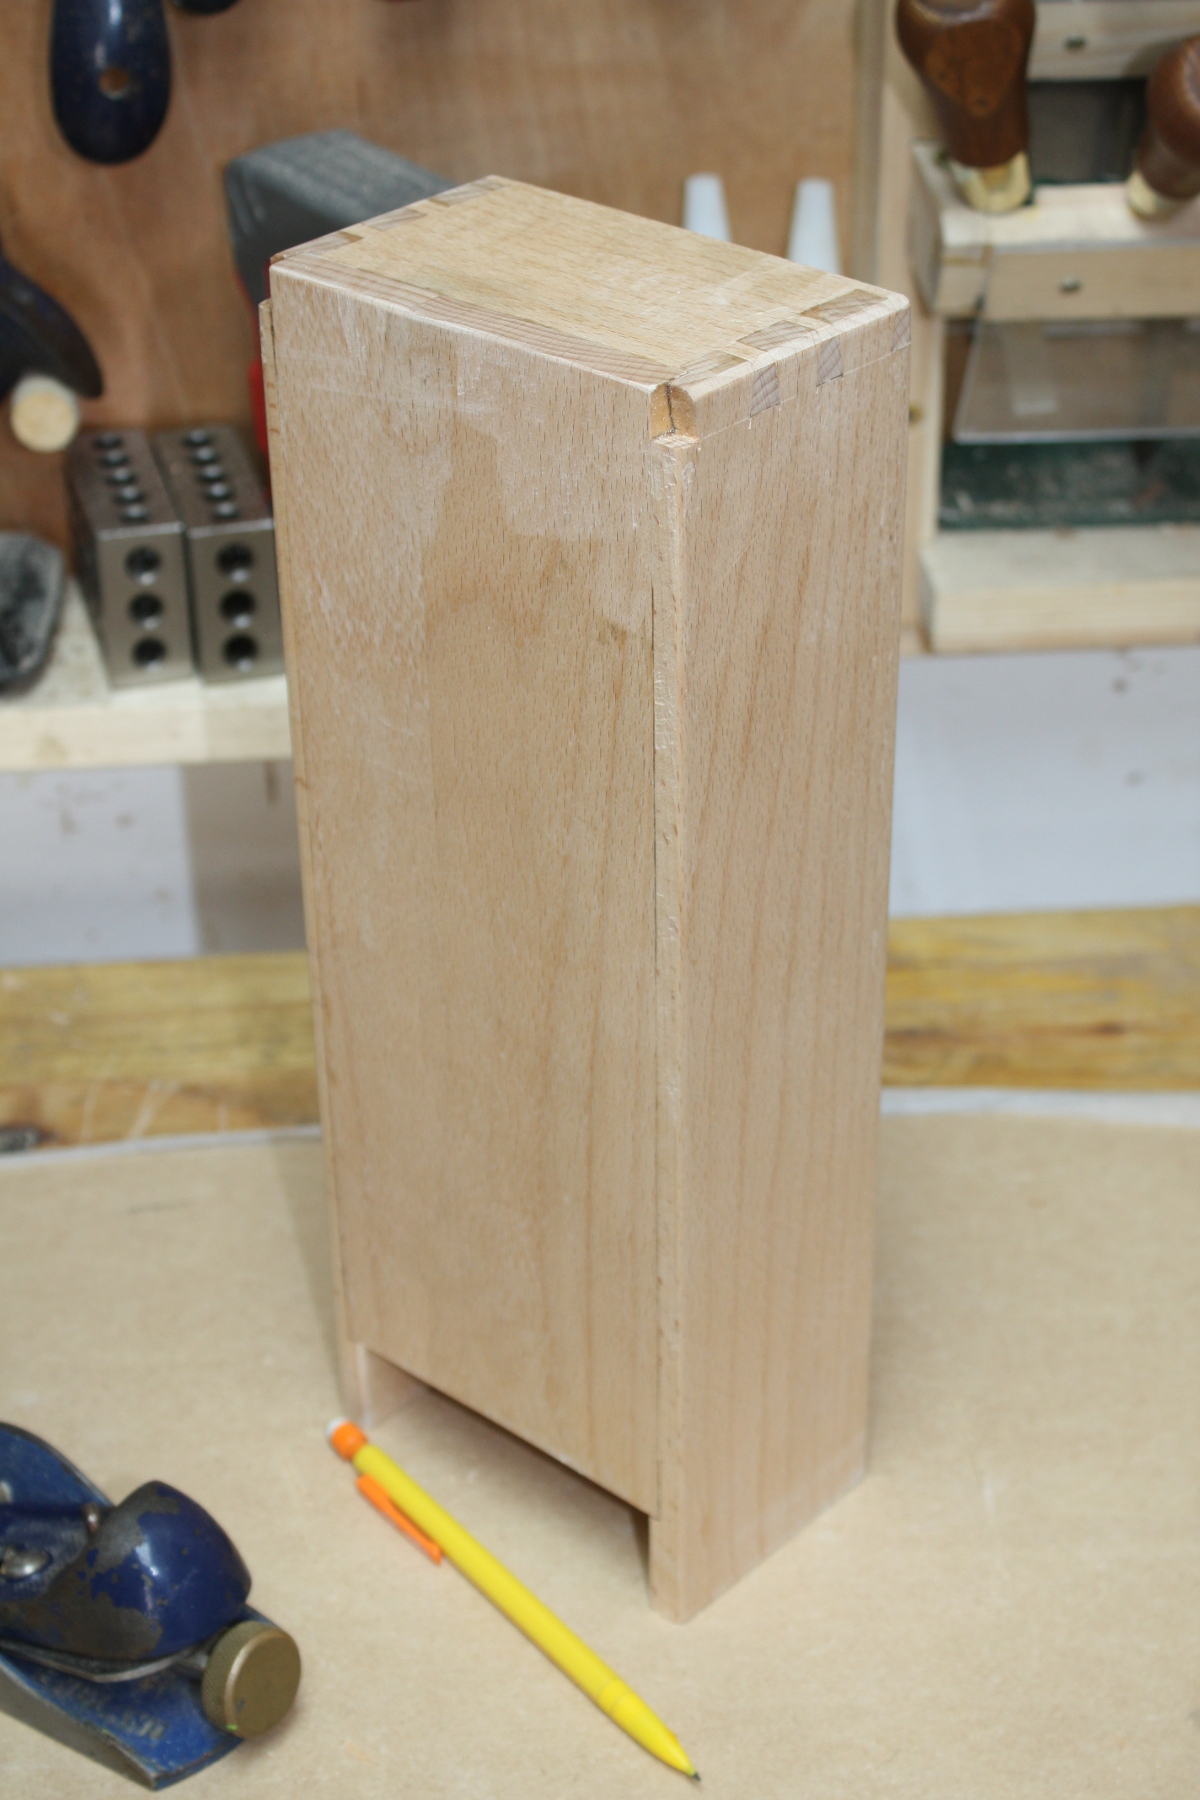
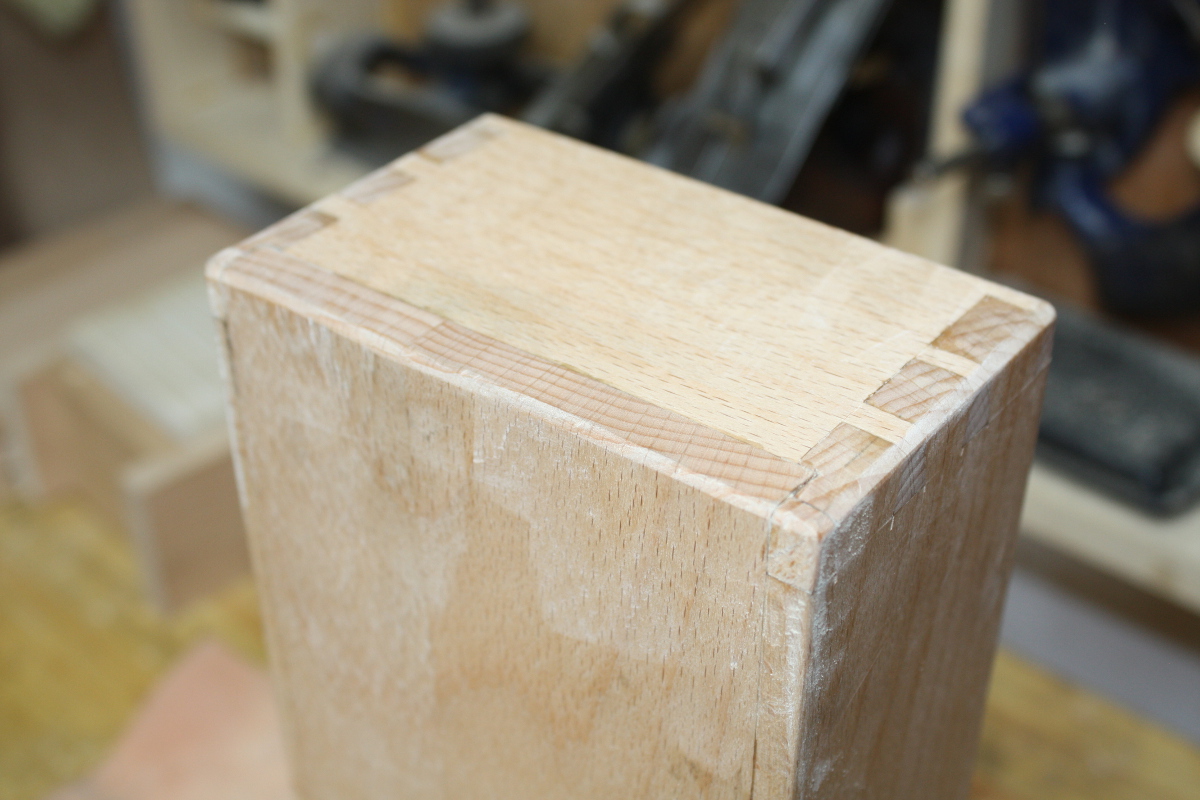
Not bad, but now I have to plug those gaps at the top rear corner where the dovetails used to be. Should be simple, cut a block of wood to fit oversize, glue it in, let the glue set, cut it flush with the flush-cut saw and then some chisel work and some sanding…
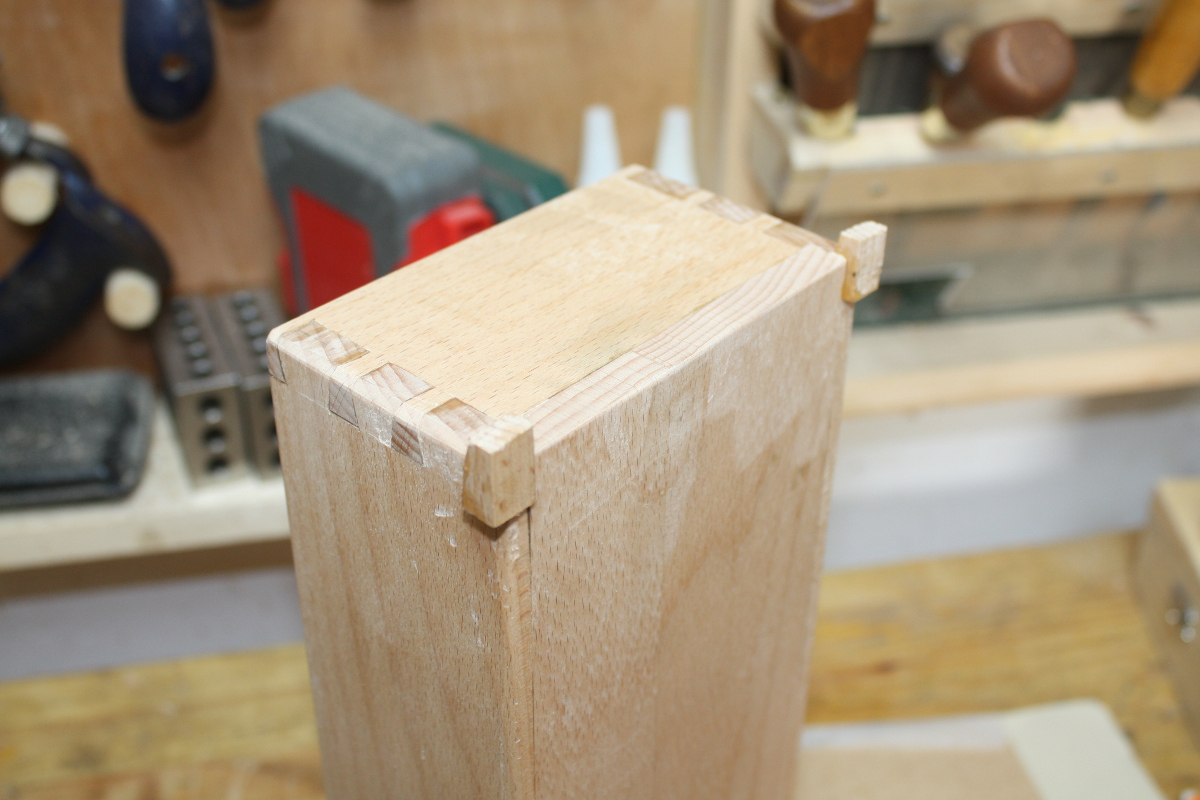
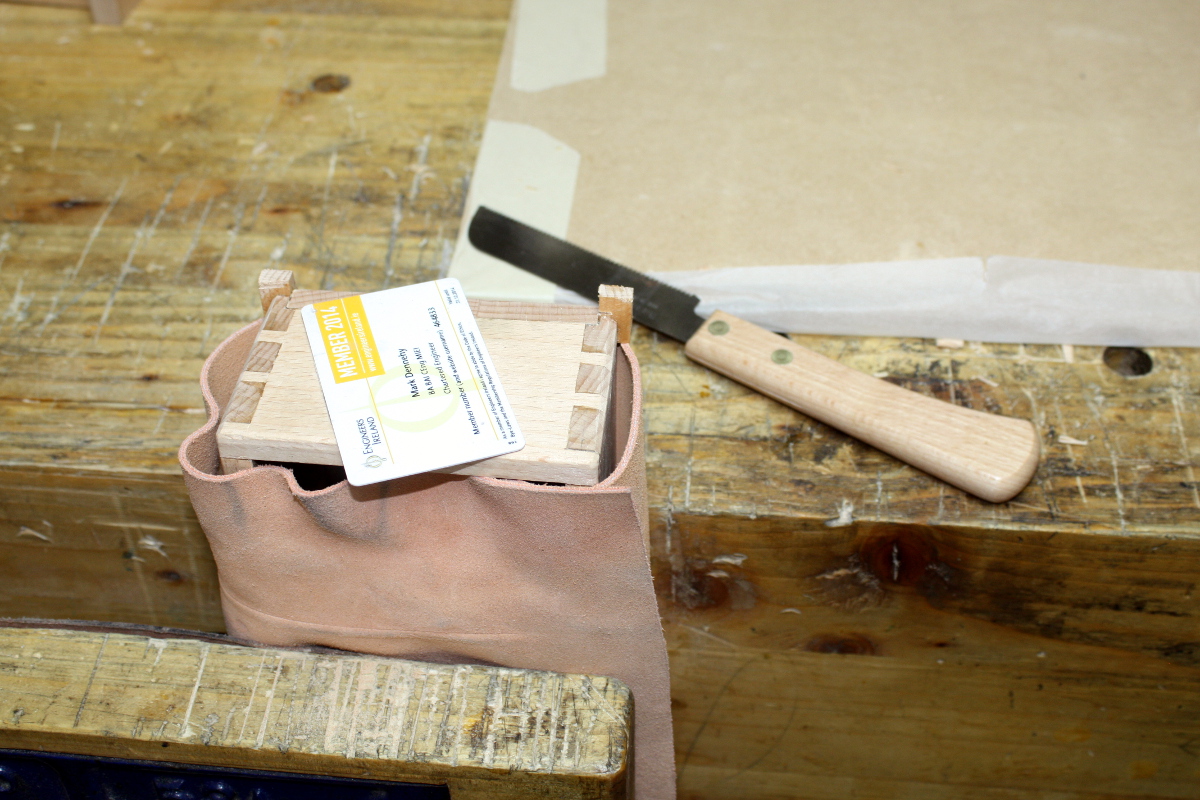
…looks okay to me!
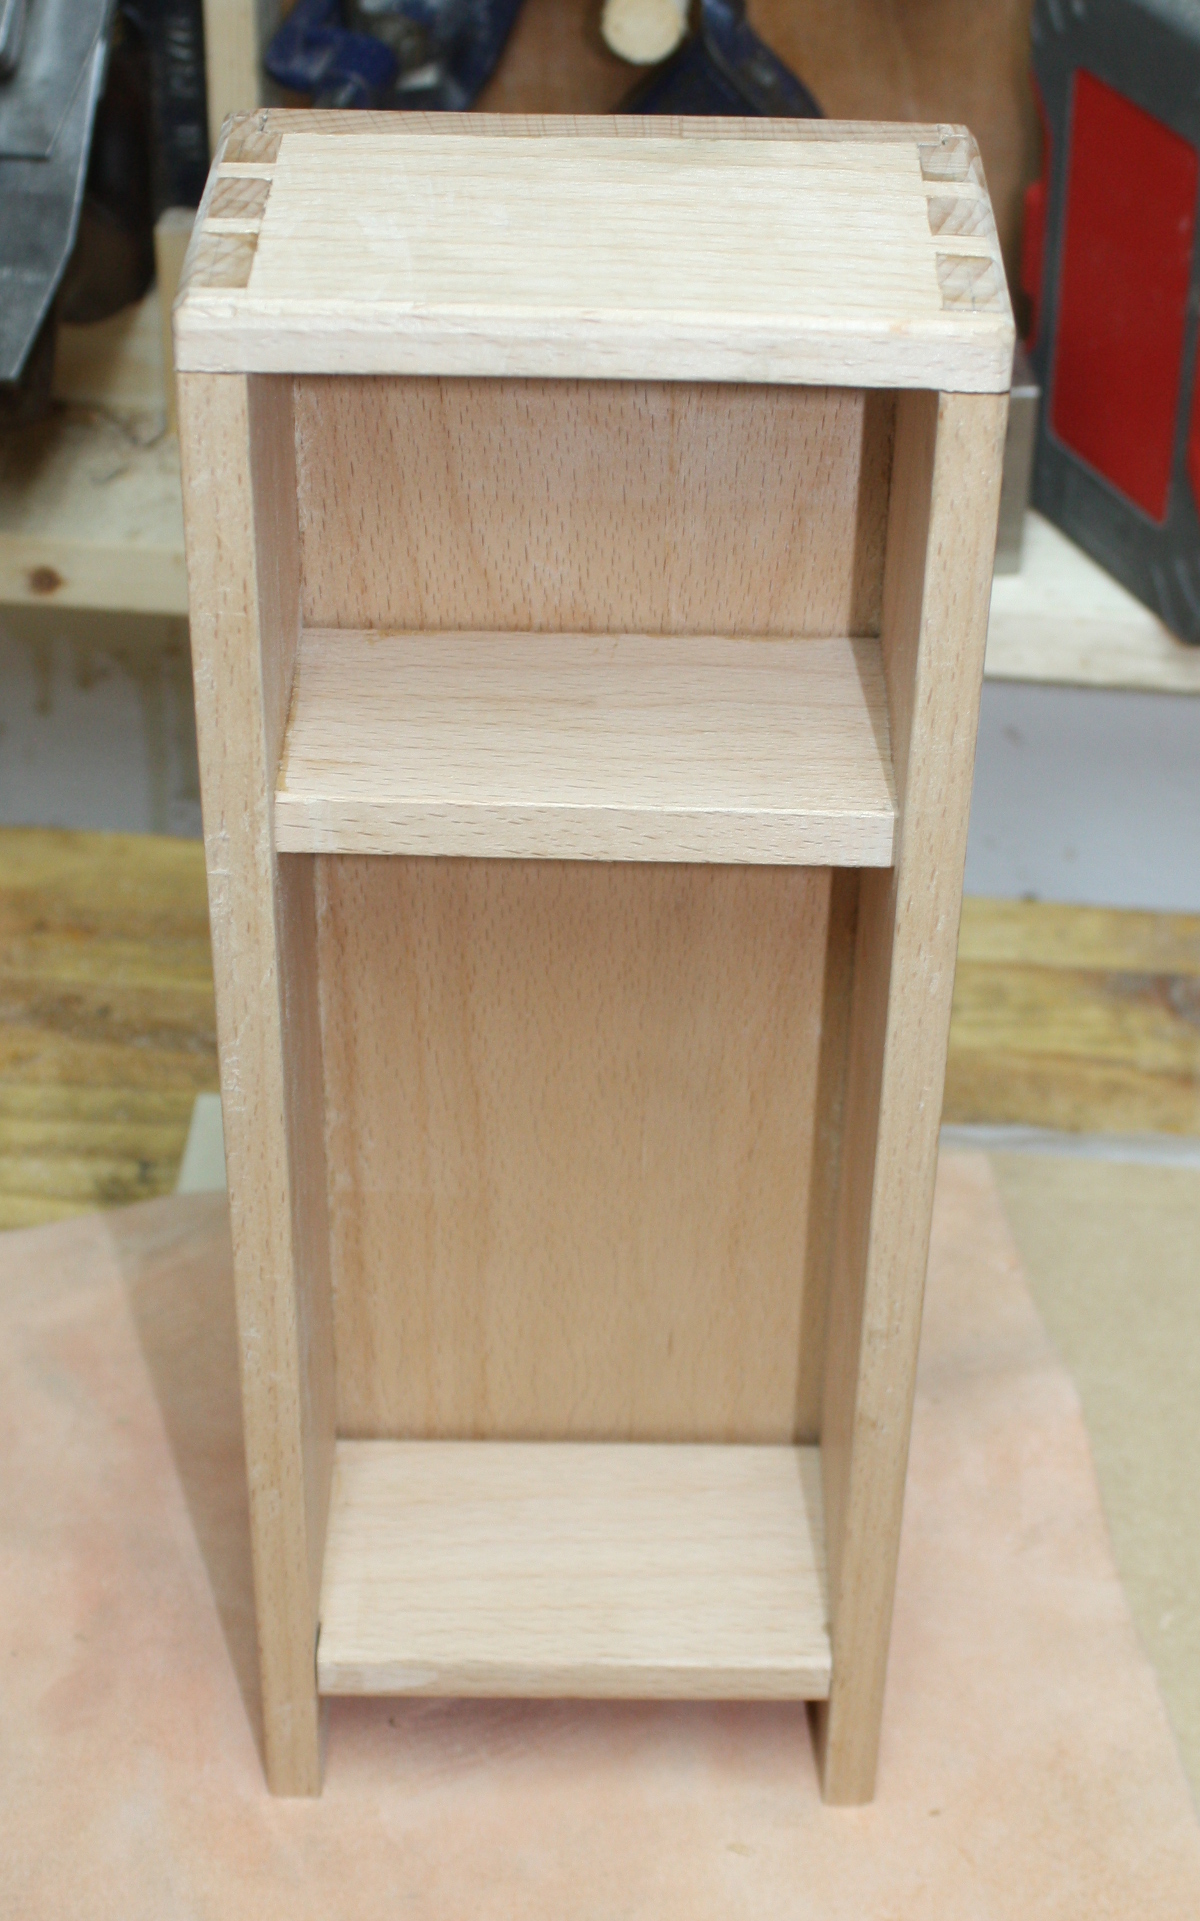
Okay, that now goes to rest for a little while so I can figure out the door, decoration, finishing and so on. I’ll have to give it another smoothing or sanding pass before finishing, but when you see it in the flesh it looks far more even than it does in the photos, and it’s smooth to the fingertips.

But first…
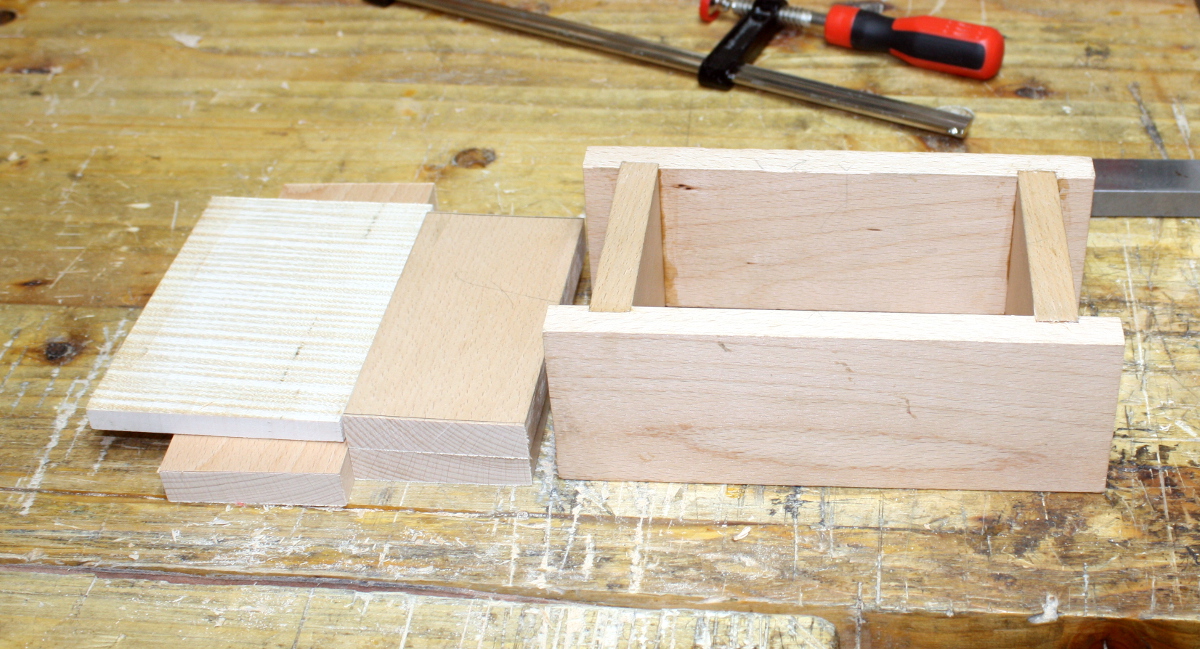
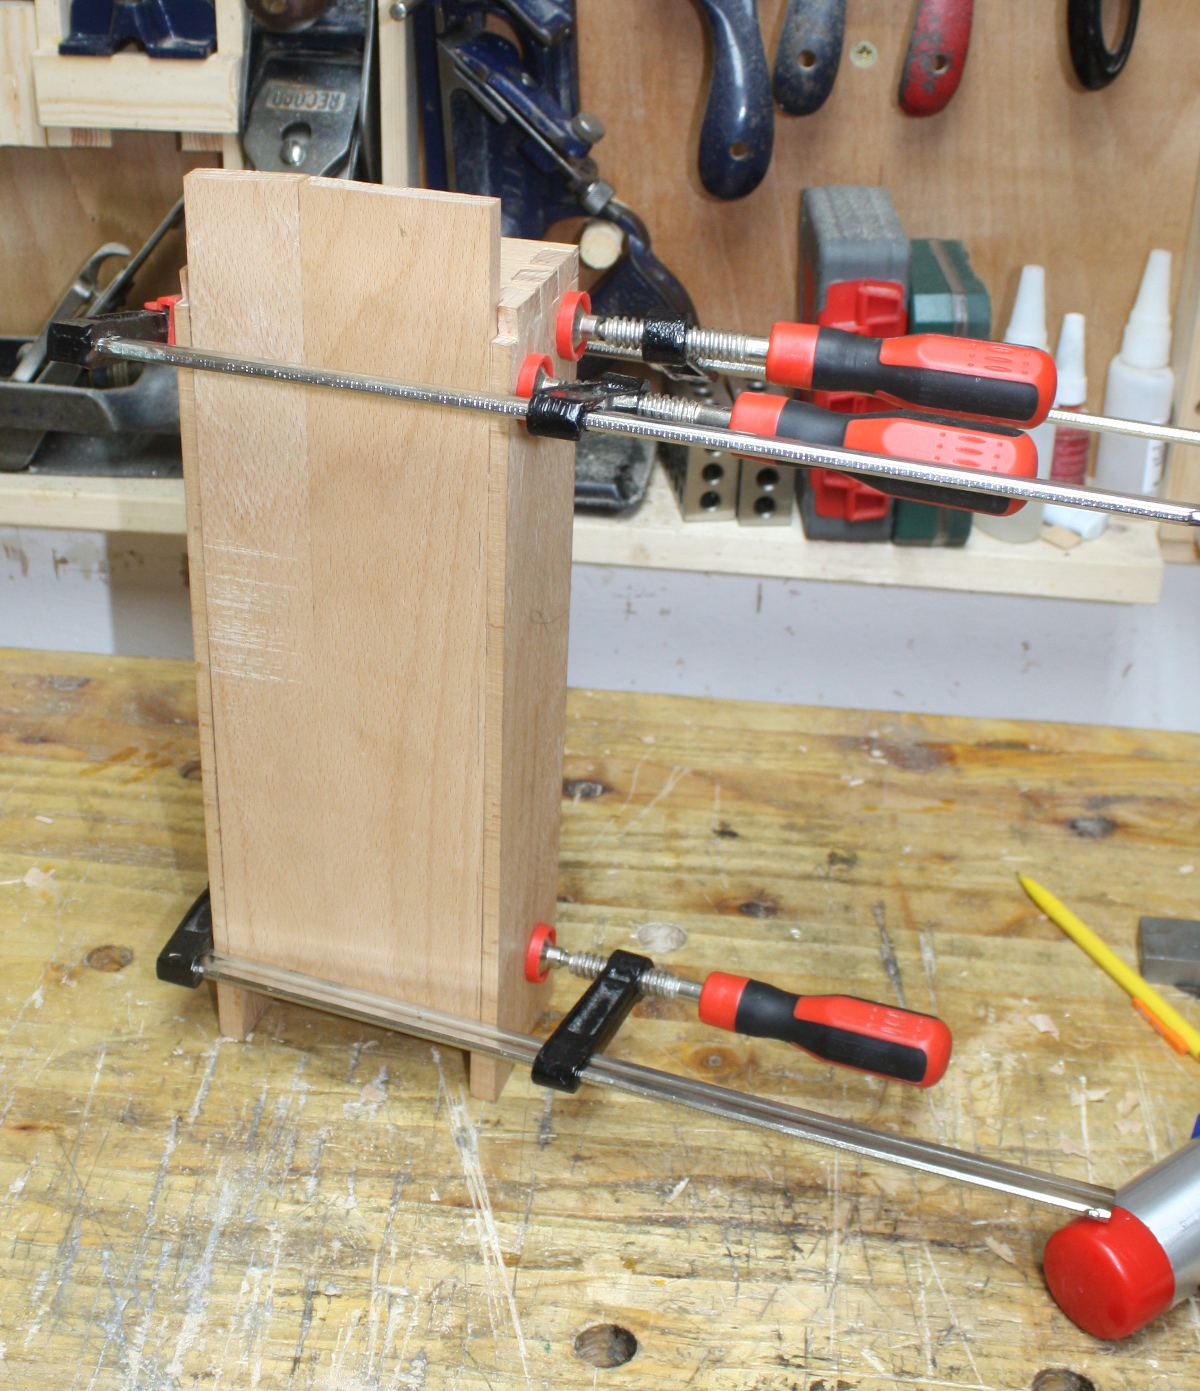
Glued up the carcass of the toolbox, and cut the mangled rebates off the old sides – they’ll make good material for handles or the top parts.
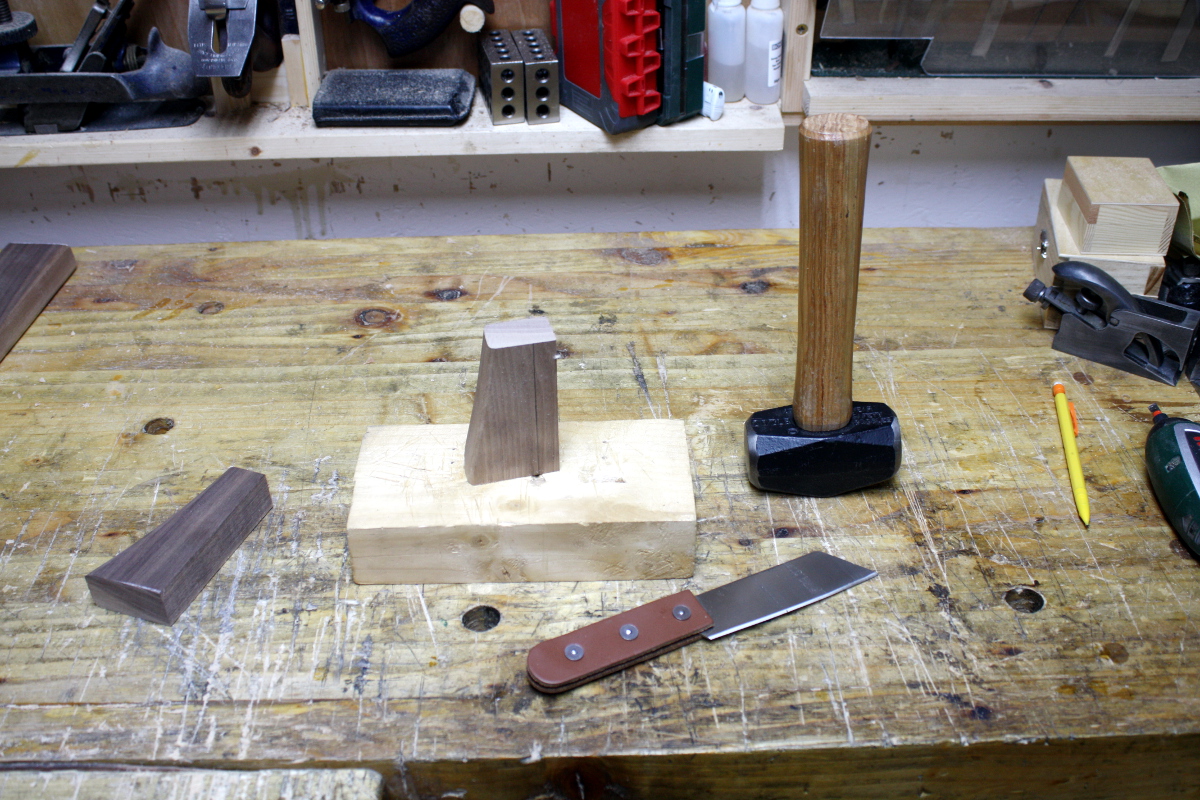
While the glue dries, it’s time to make pegs from some small offcuts of walnut that have reasonably straight grain. These are left over from making the sidecar cot from a while ago…
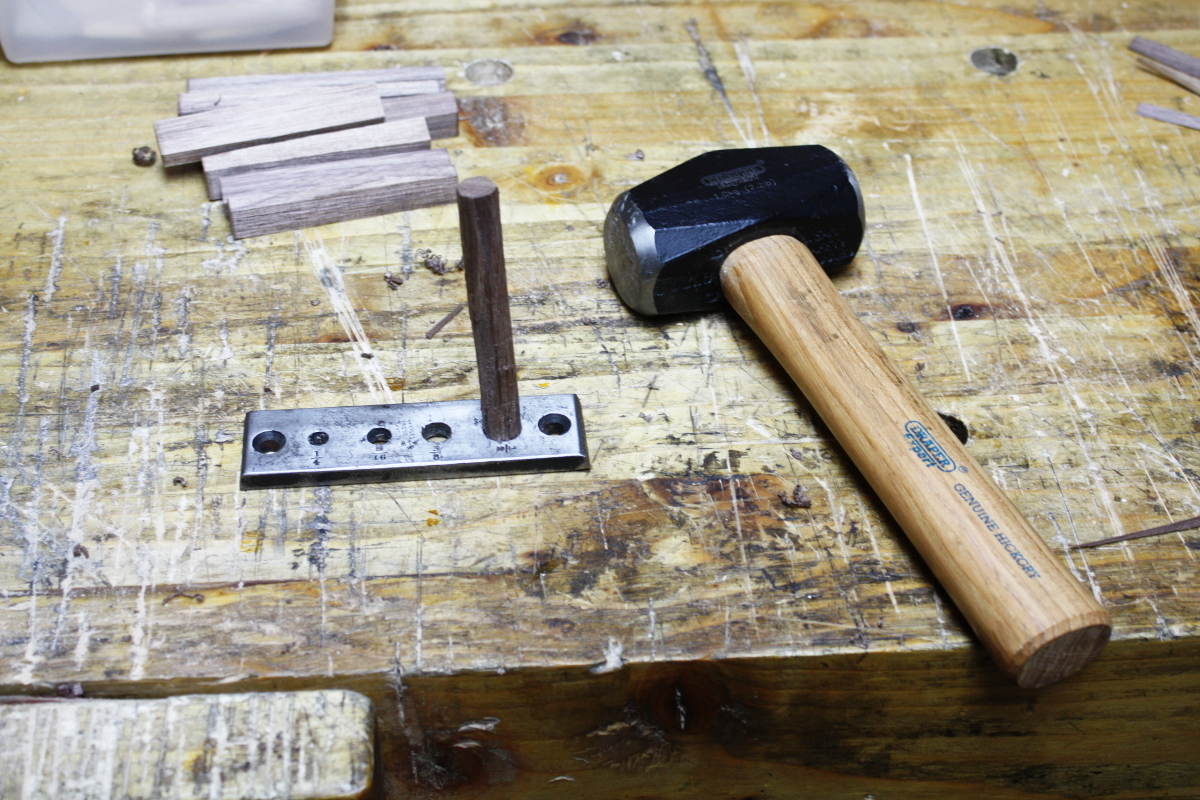
Smashy smashy!
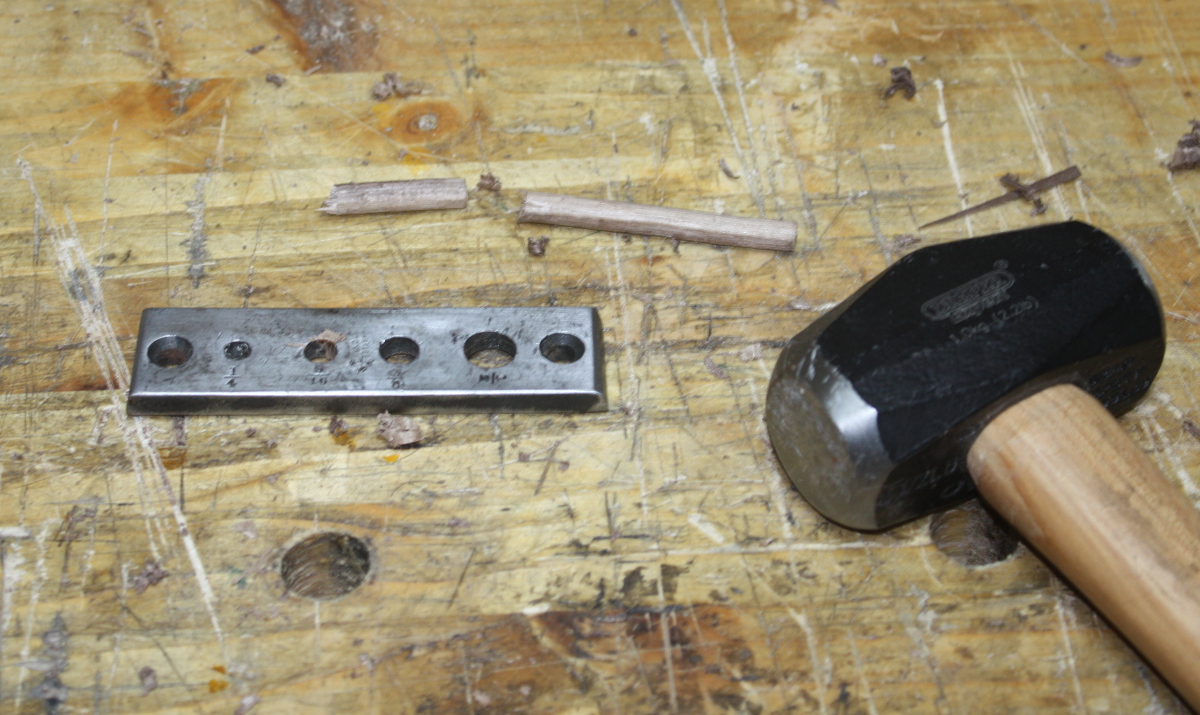
It’s always the last one….

Still, I can use those. The short one I’ll use for a test hole, I haven’t used the brace on beech before now.
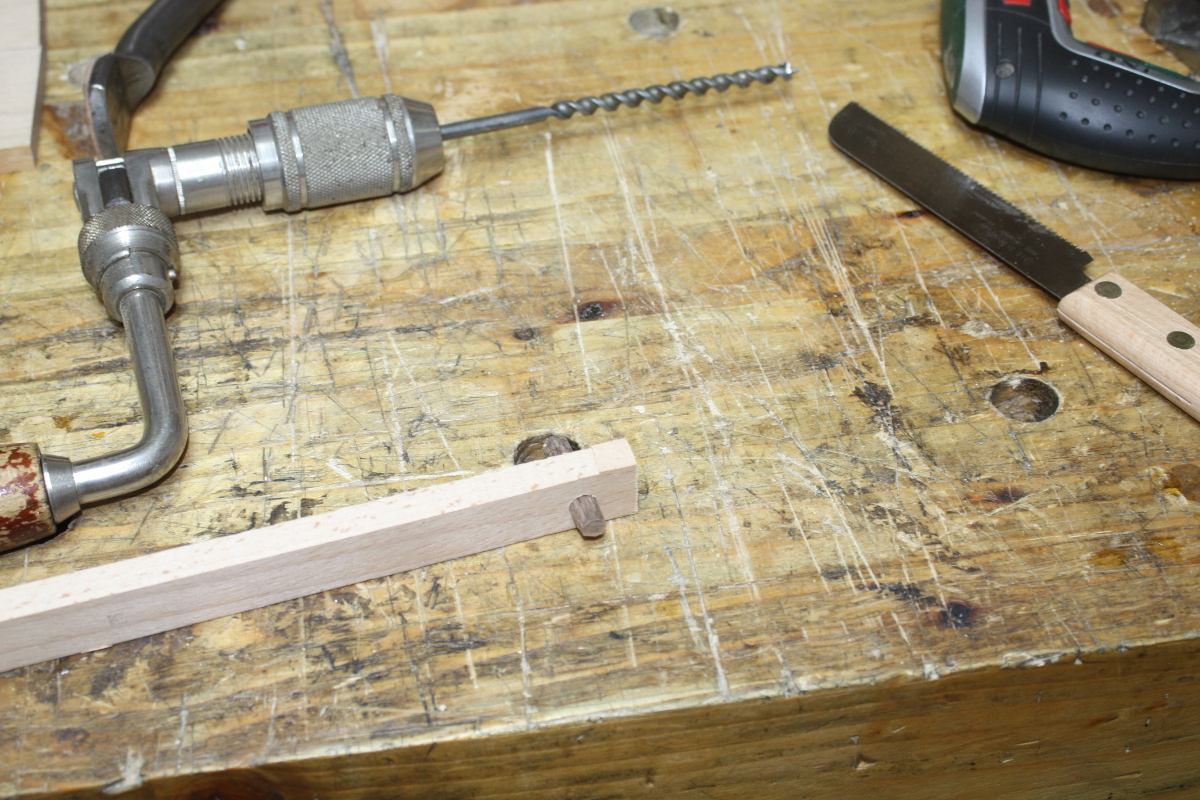
Drills reasonably well, but lots more dust than shavings off the bit than I’d see in something like oak. Takes a lot more effort to get through. I’m pretty sure that bit’s sharp as well, it definitely wanted a bite out of my fingertips. Now to flushcut and then plane down to see how well it looks…
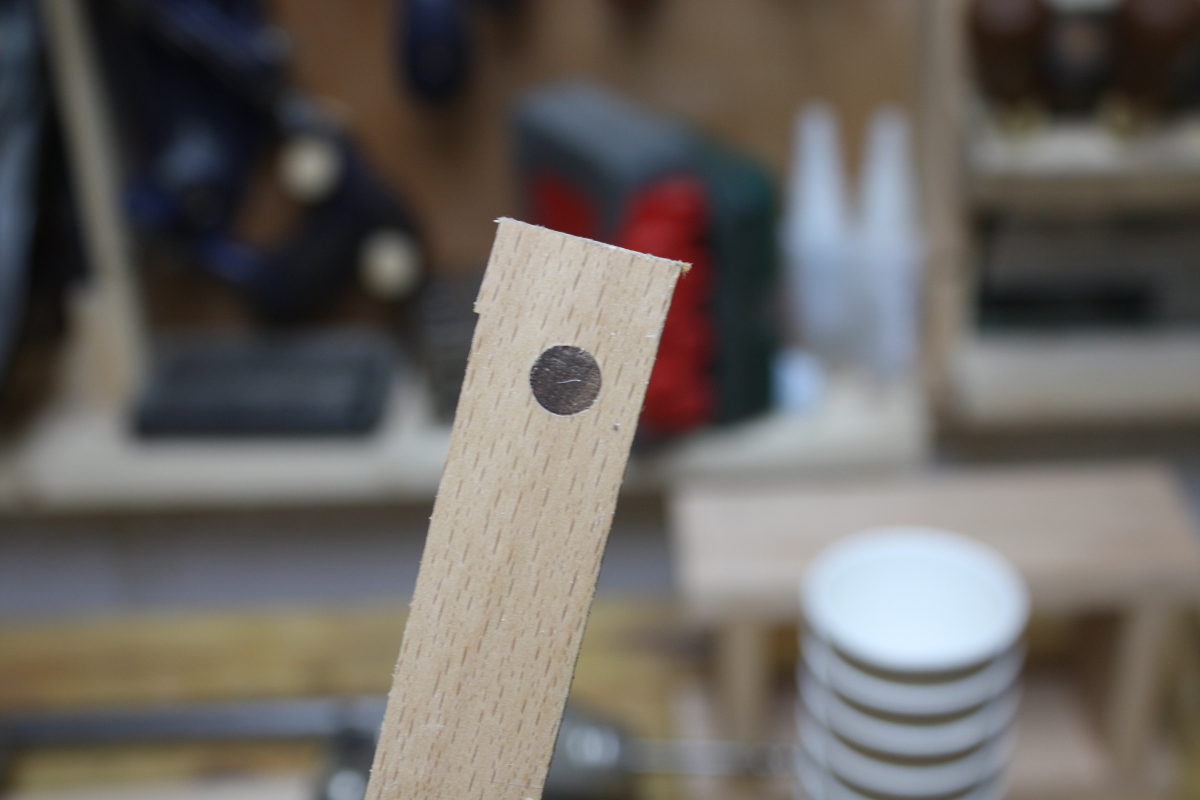
That’s quite nice actually. Good fit too.
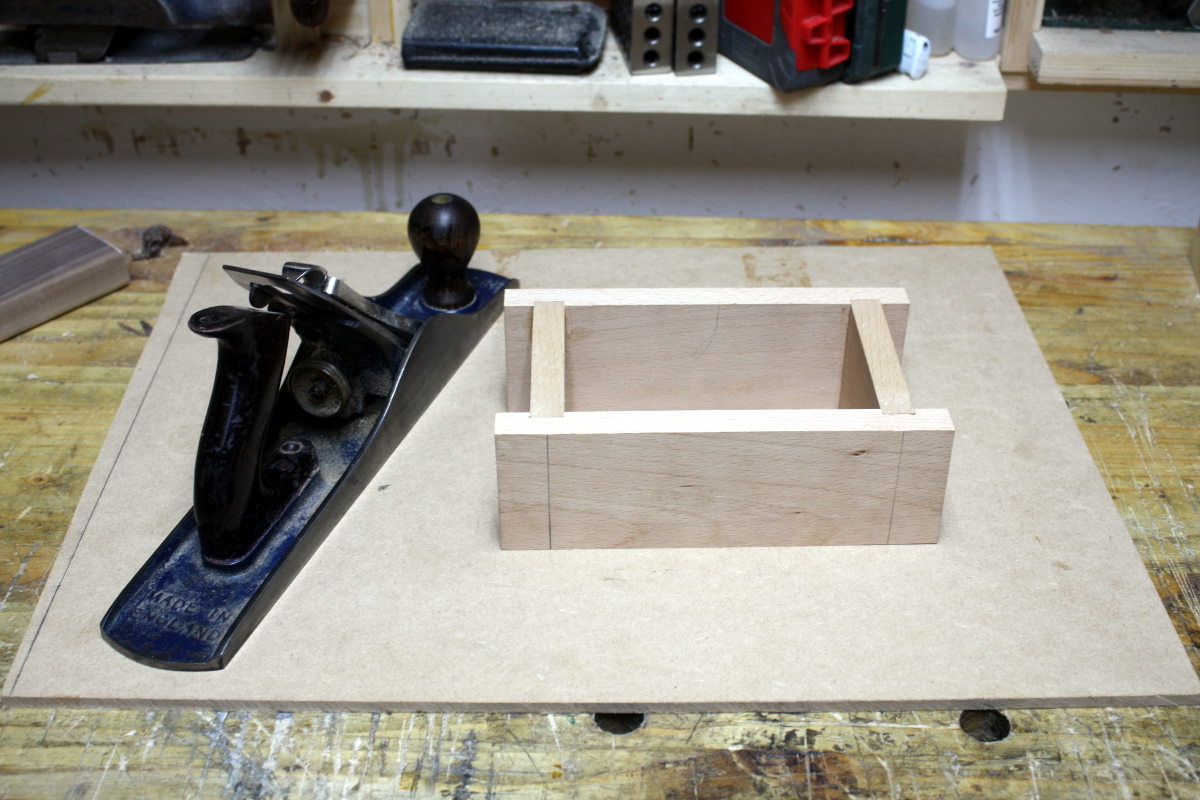
And with the glue dried, plane down the edges until we’re all level and not rocking (again, the MDF sheet’s handy as a reference surface here. I really want to flatten my benchtop but there just isn’t room to do so in the shed).
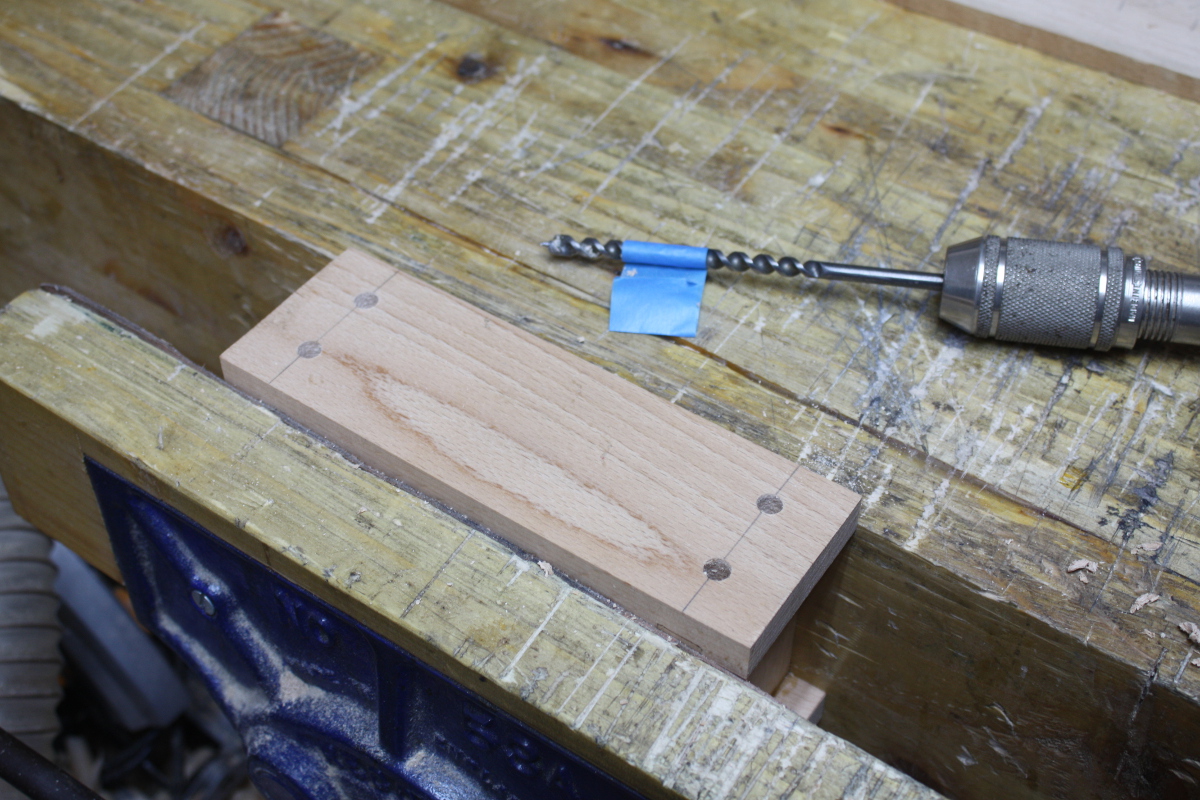
Some marking out and drilling of holes…
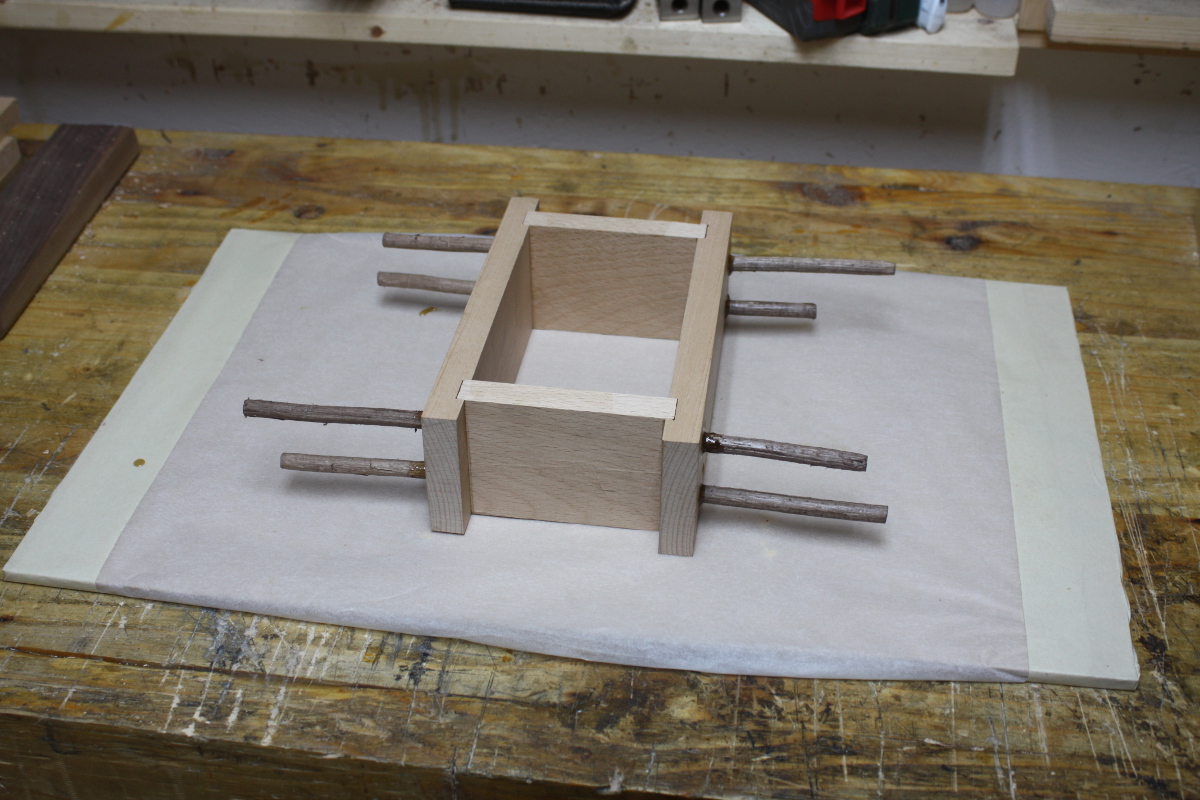
And in go the pegs and the glue. I’ll let it set up then trim off the pegs and they’ll go on to make more pegs later on.
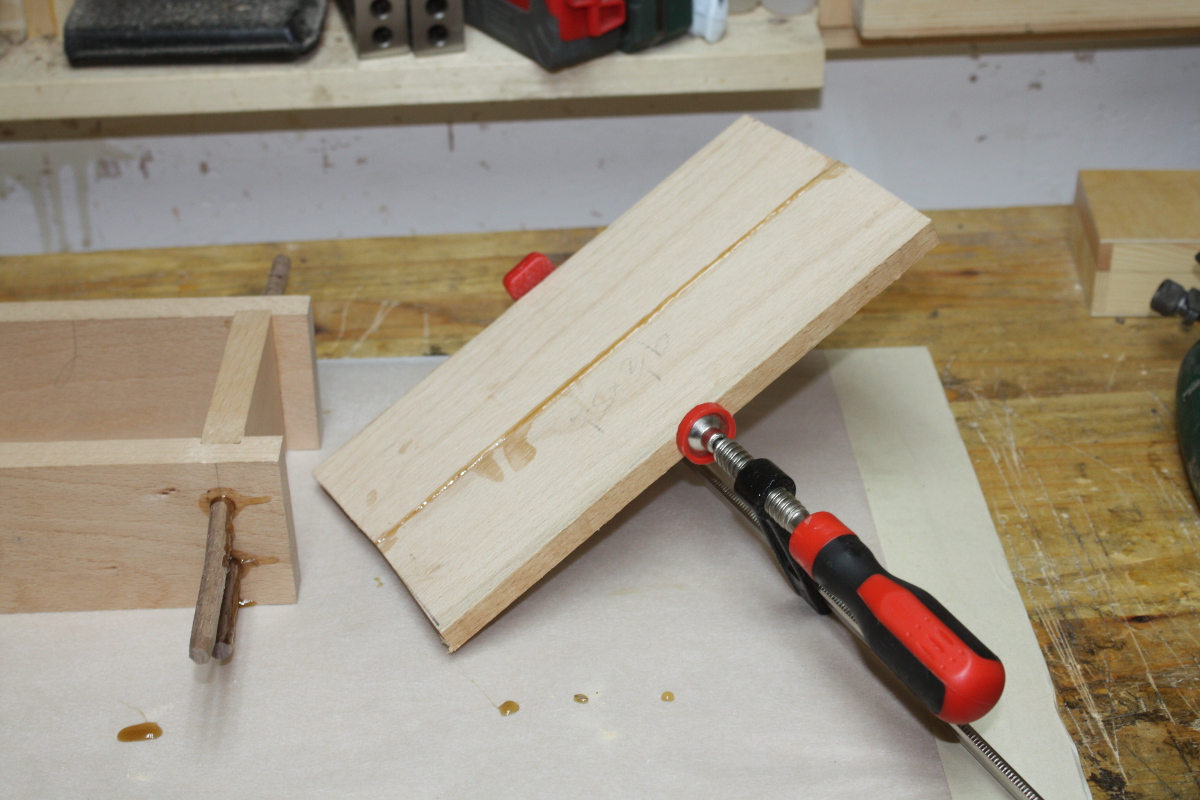
And I glued up a panel for the base. Gotta love sprung joints. I’ll plane up and cut to size tomorrow. And lastly, a quick test of finishes – on the left, danish oil; on the right, crimson guitar’s royal blue stain (just because). I must find out if boss lady wants her locker any particular colour…
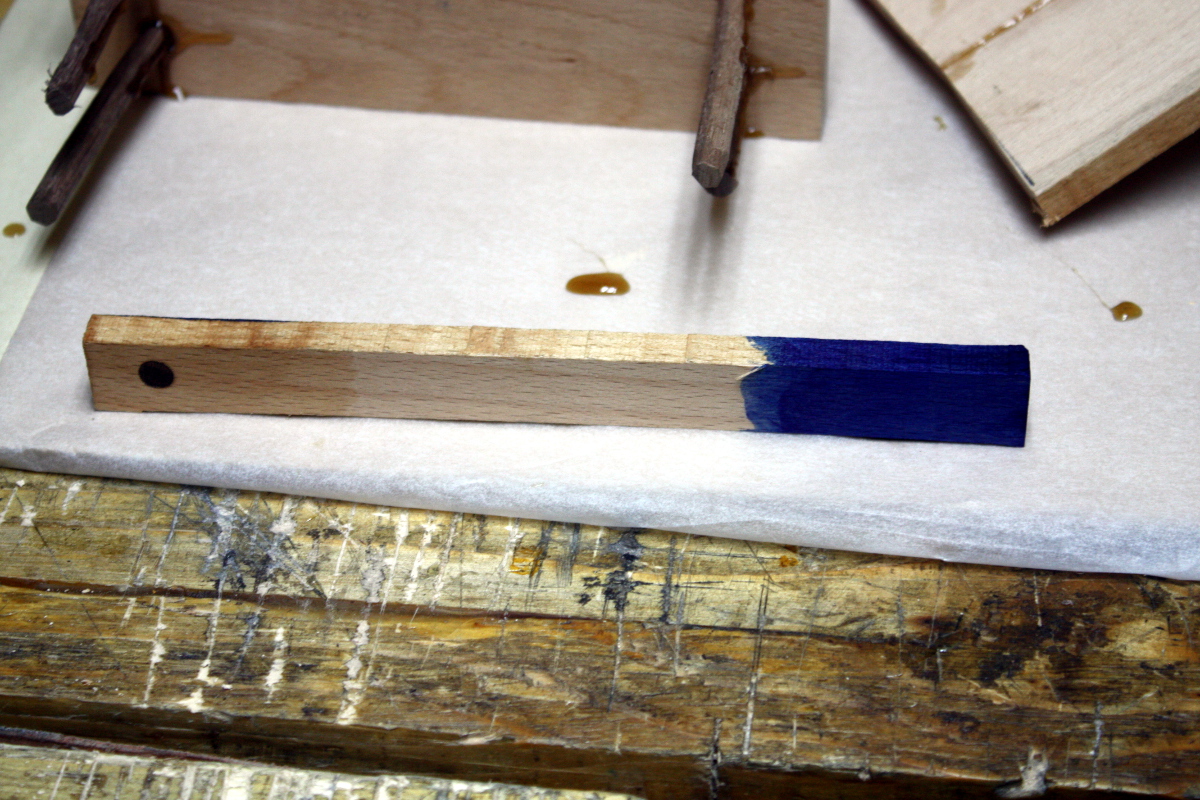
That blue is seriously intense while wet, it’s mucking up the camera’s colour balance even against a white background.


07
Jun 18

Fettling

So the repair job from yesterday went reasonably well. There’s a lot of excess CA to clean up, that took a few minutes for the face side, and a bit longer for inside the rebate itself. Lots of chisel work, some scraping, and dug out the Record 311 with the nose off and the 077 to fettle things and clean up the rabbet to get a square inside corner. Then cut the rabbet on the other side wall, which took far less time and had no drama to it, then cut the rebate in the top piece and then test fitted it and realised my mistake – by cutting the rebate in the top, I’d introduced a gap where I thought there wouldn’t be one. How I didn’t see that coming I don’t know. So I fudged, and sawed off the rebated part, right through the dovetail joint, and the back panel will do the filling.

And then, fettling. Assemble everything, stare at it, notice one wall is not parallel to the other, figure out which of the three cross-pieces is at fault, knock it all apart, shorten the offending piece (of course it’s the one with the dovetails, so cut them 2mm deeper), reassemble everything and repeat seven or eight times, sneaking up on square gradually.

Once I was finally happy with that, I took the panel for the back, squared an edge and an end (didn’t matter if it spelched out on the far side from the squared edge because that’s coming off anyway), and fitted it in place and mark off the far side against the other side wall, and then saw outside that line and plane down to it, and test fit.

And then do the fettling cycle two or three more times, taking a shaving here and a shaving there. And eventually…

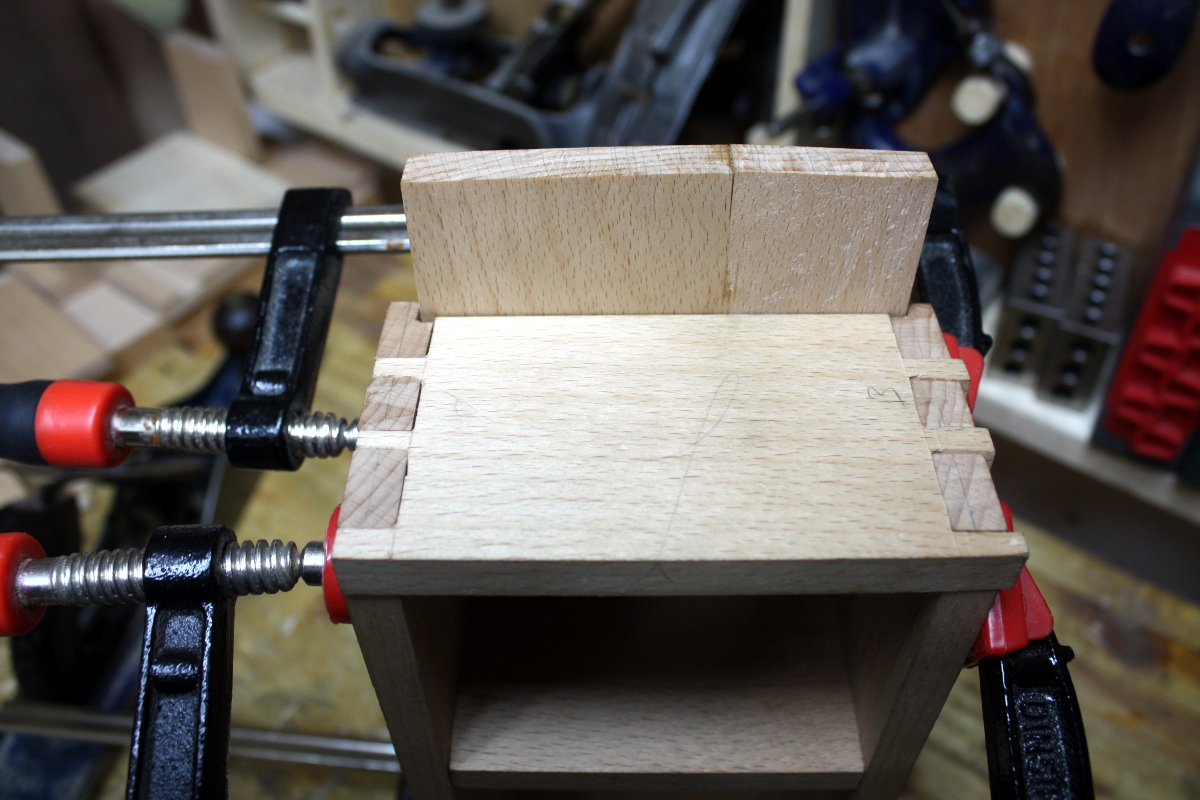
Not terrible. Some gaps here and there, so it’s not perfect, but could be a lot worse. Still have to cut the panel to length, that’s marked out for, but first check it over.

Dovetails close up (mostly). Might need to plane that top piece a bit more yet at the back to let the panel sit better on the left there. And then check for square…

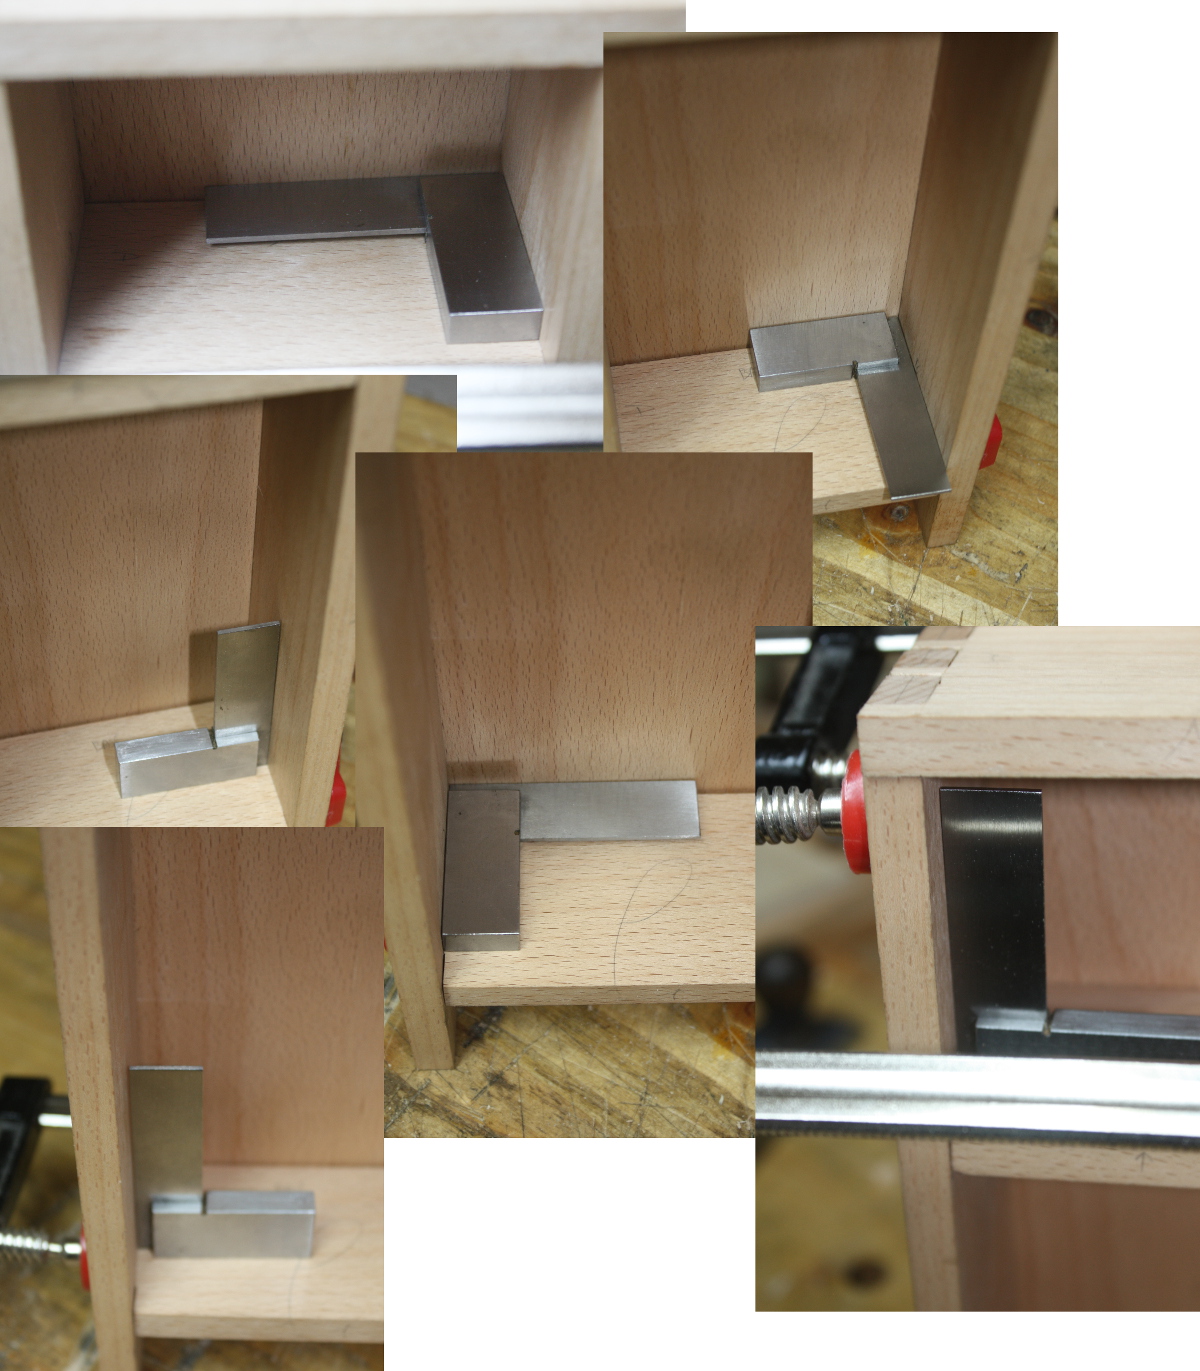
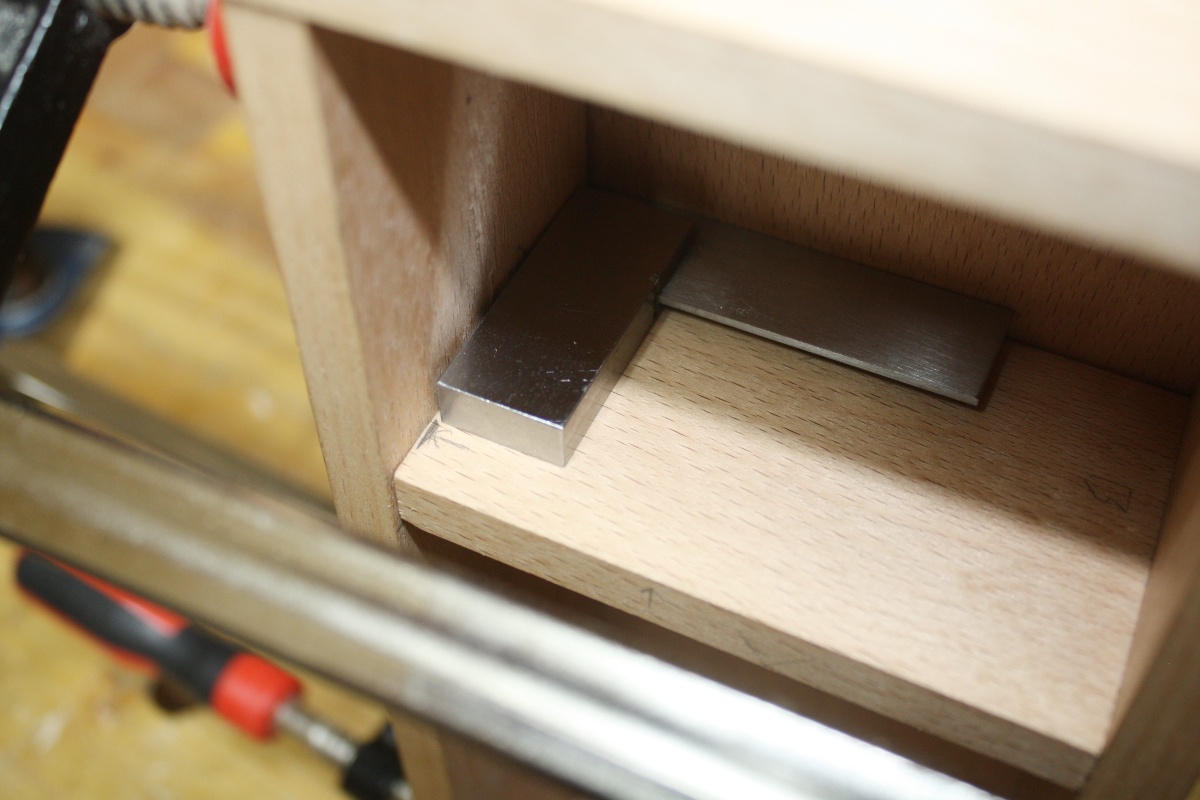
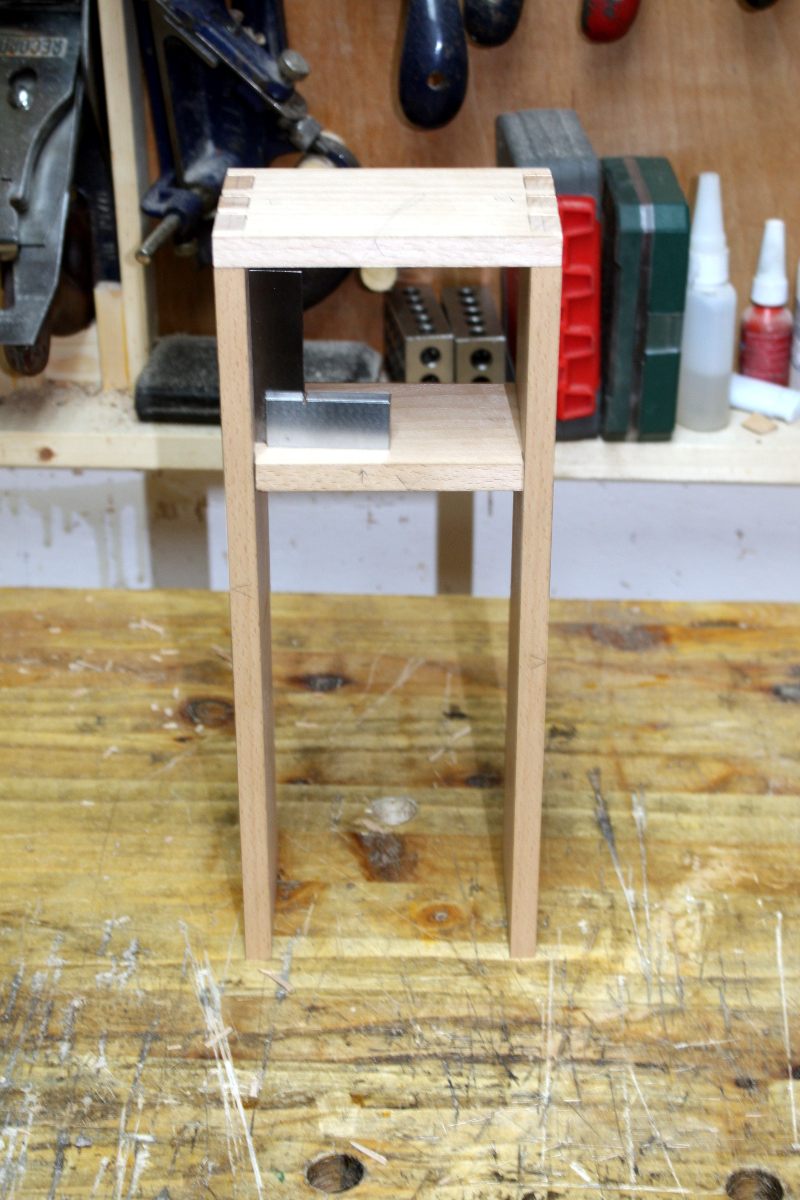
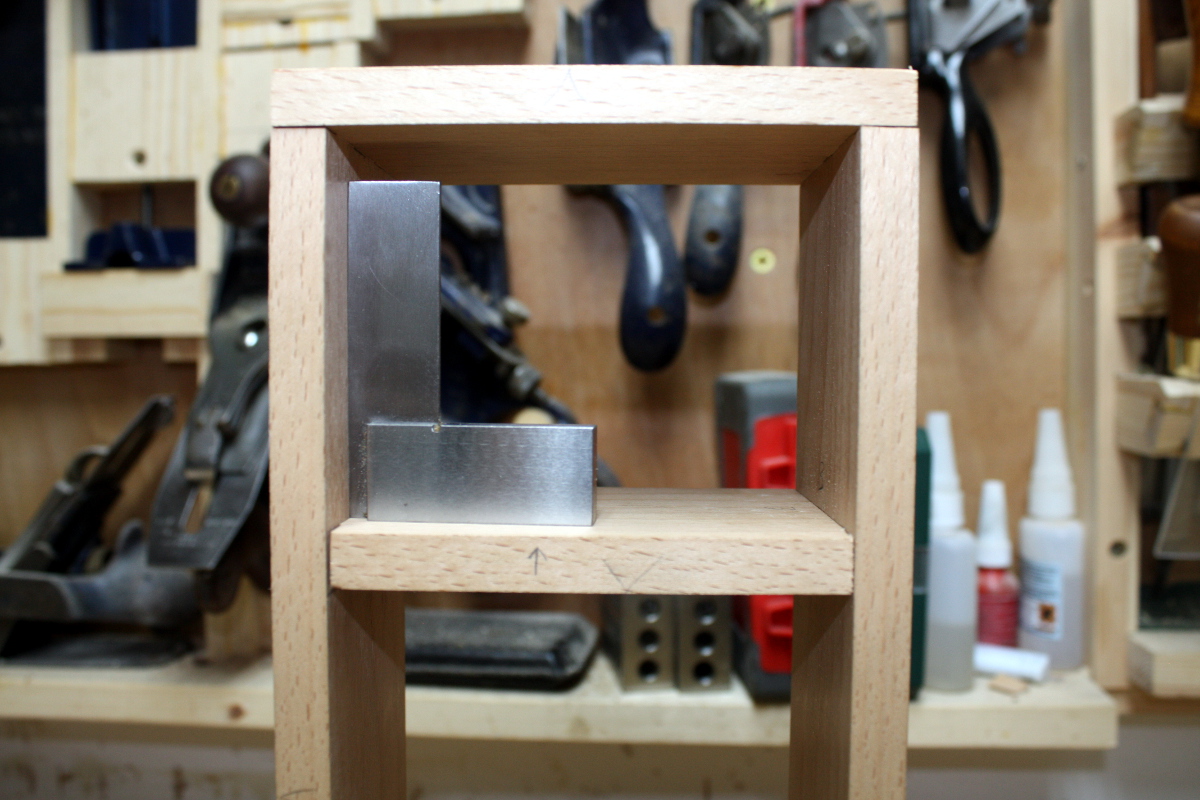
That’s all grand to within 0.2mm or so, which I’m okayish with for now (hey, I’ve never worked in beech before, I’m getting used to it, okay? Plus, that’s rather thin stock, it’s just under a half-inch there).

One last joint that I’m not happy with…

Need to knock that apart and give that marked spot a swipe with the block plane, let the front of the side panel close up there. Hm. But that wouldn’t explain those gaps in the middle and rear dovetails on that side and the front dovetail is tight up – maybe I need to pare that dovetail just a hair deeper instead. Or it could be both. The joy of fettling…


…oh, and I need to fit the door as well at some point. And I got two bandsaw belts in the post today that I need to check – they were 120XL037s instead of 124XL037s but they might be close enough to do for a few days until the proper size ones arrive…


05
Jun 18

Locker progress

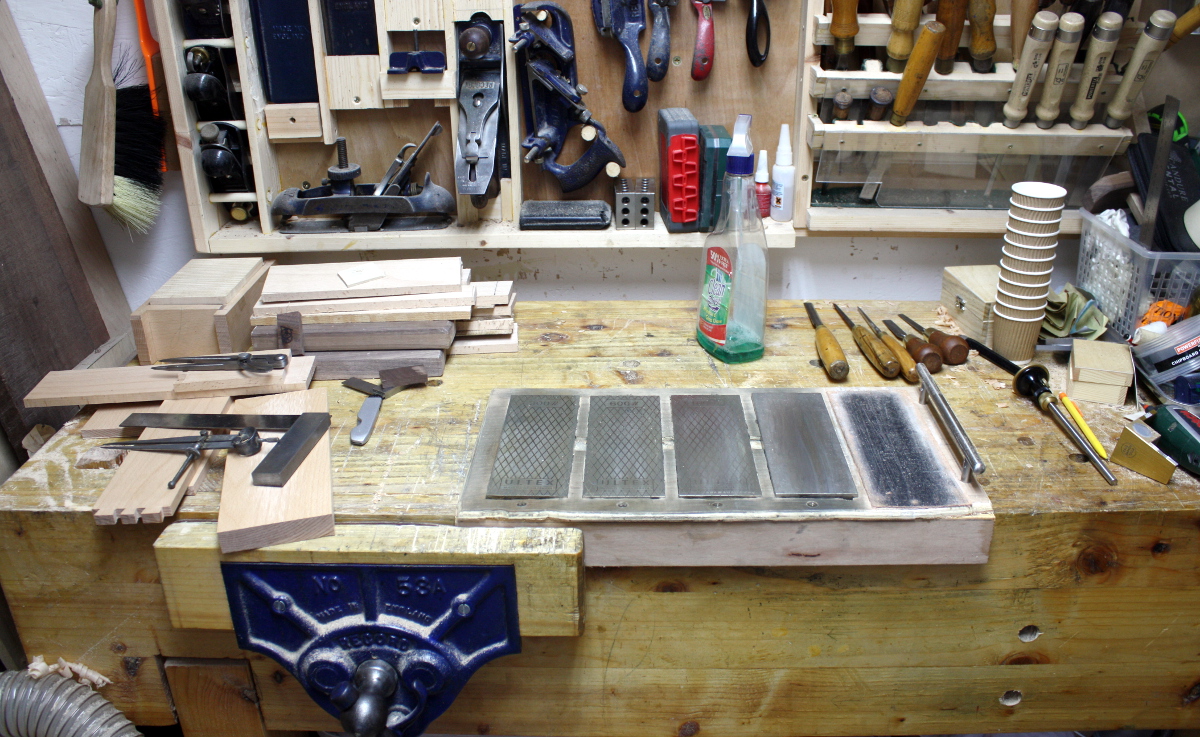
So with the bandsaw down, my plans for the box are on hold and I moved back to the locker. I started off by planing the roughcut pieces I was going to use to get them flat and smooth, then I cut the dovetails for the main carcass, and of course, that means sharpening time 😀

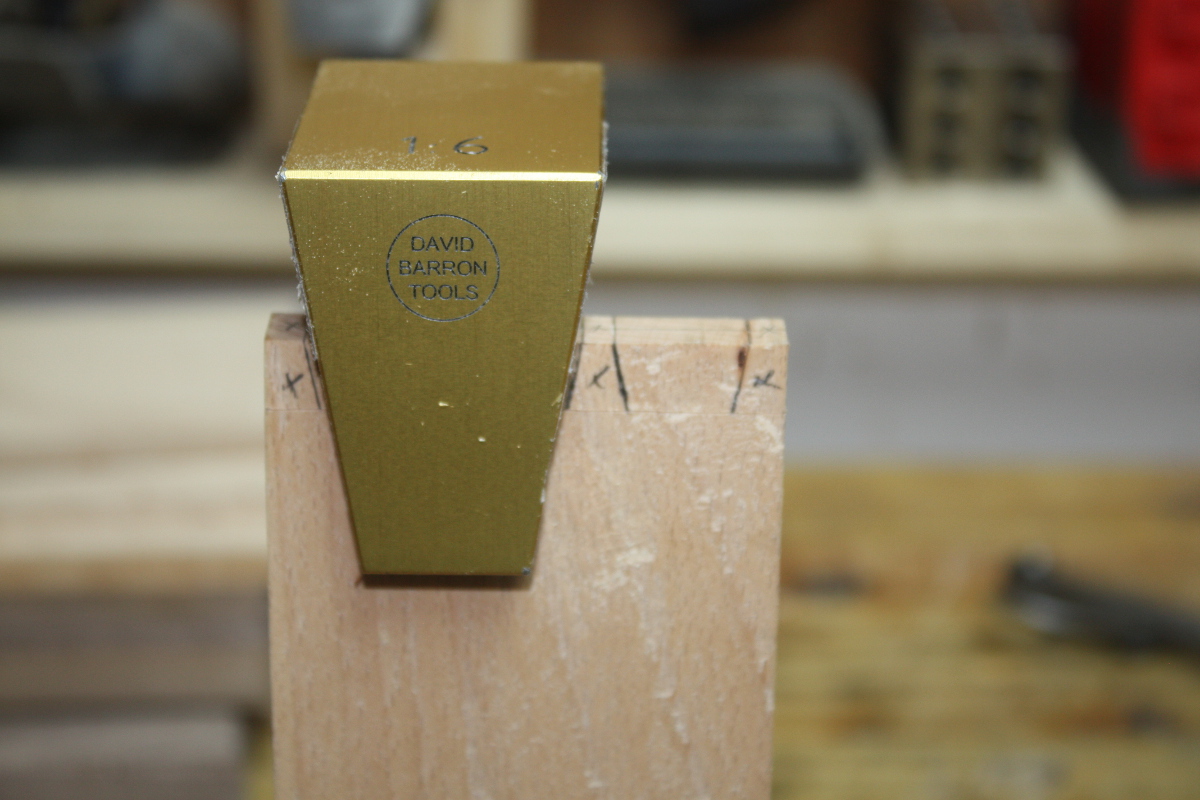
And marking up time…

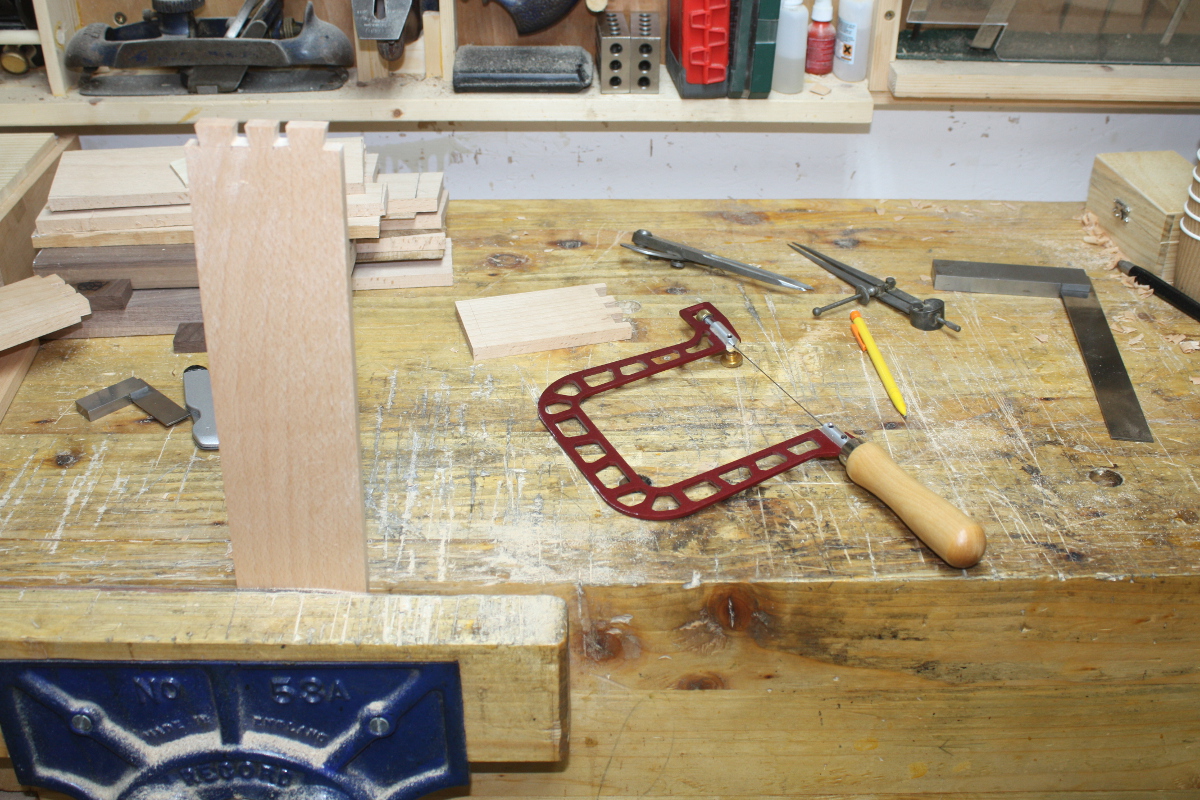
And sawing time…

No, I didn’t do all the sawing with the fretsaw, I just used that to get the bulk of the waste out. Then it was chopping and paring time.

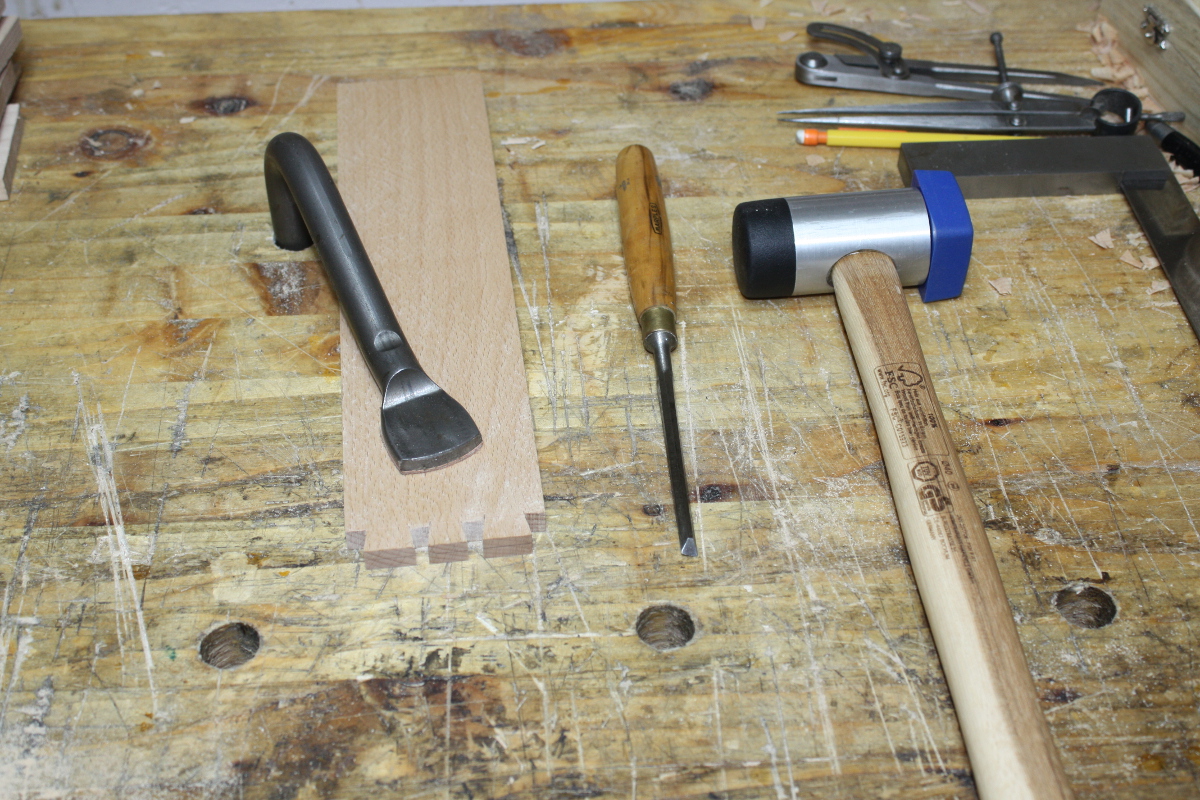
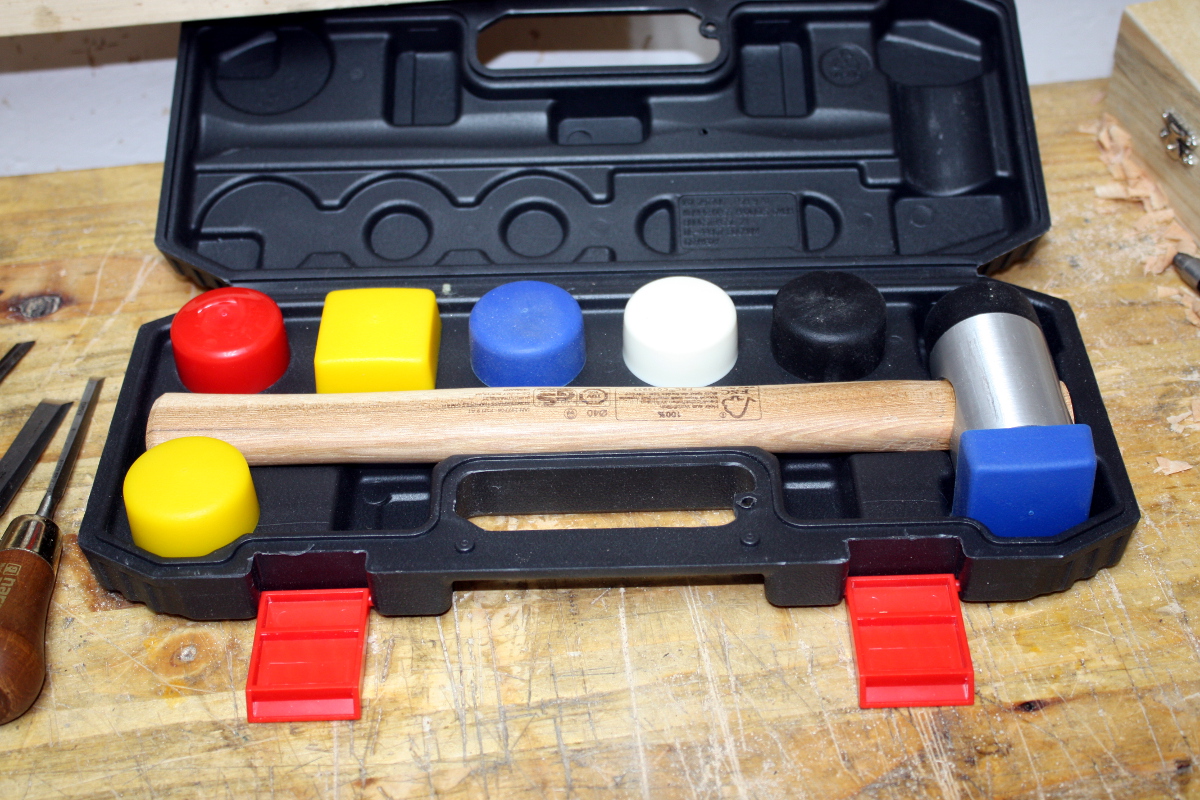
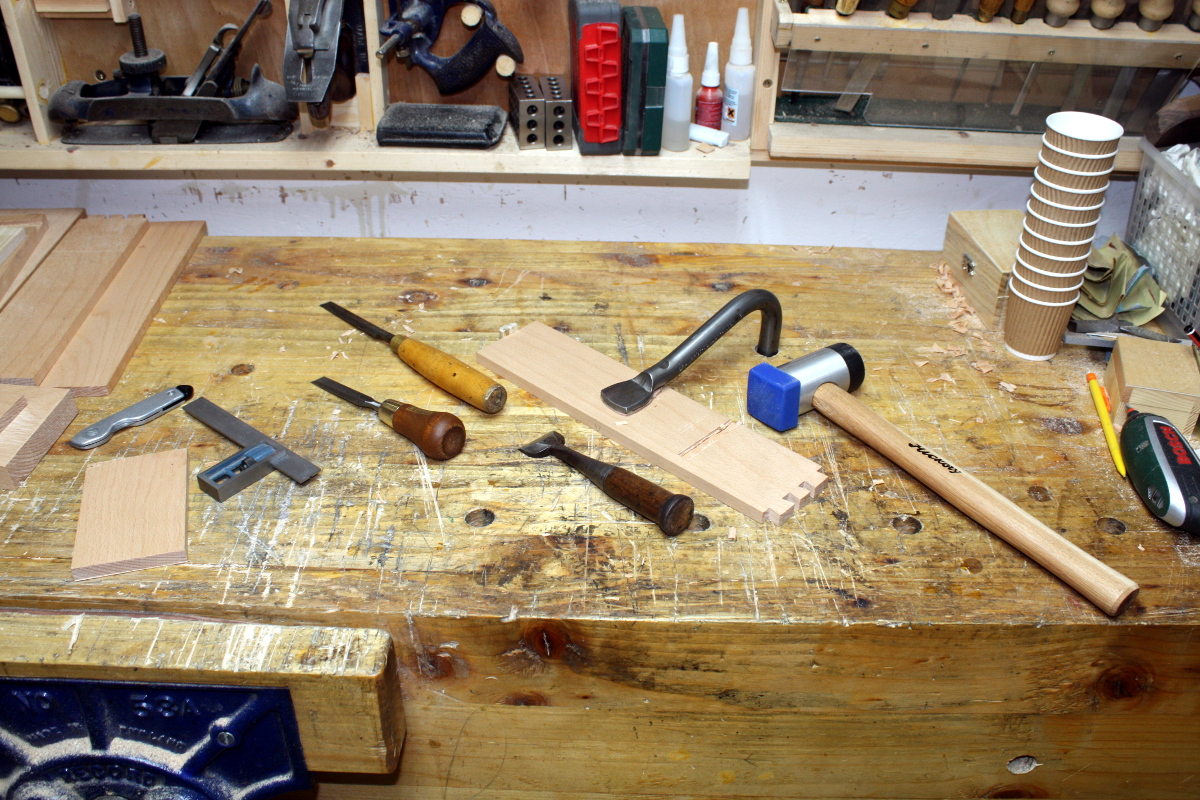
Incidentally, that chisel mallet is a nice find from lidl. I’d say I spotted it, but credit for that goes to Calum…

Different faces of different colour-coded hardness from white (hardest) to black to red to yellow to blue (softest), so you can have one hammer with one face for thwacking the chisel and the other face for beating the joint together or apart without either losing energy on the former or marring the work on the latter. Not bad for €14. I mean, it’s not better than the sculptors mallets for carving, but it holds its own against the deadblow hammer, at least in beech. Maybe in a harder wood it wouldn’t manage it, but we’ll see. I don’t have to give up one for the other 😀 That case has to go though, it’s daft.

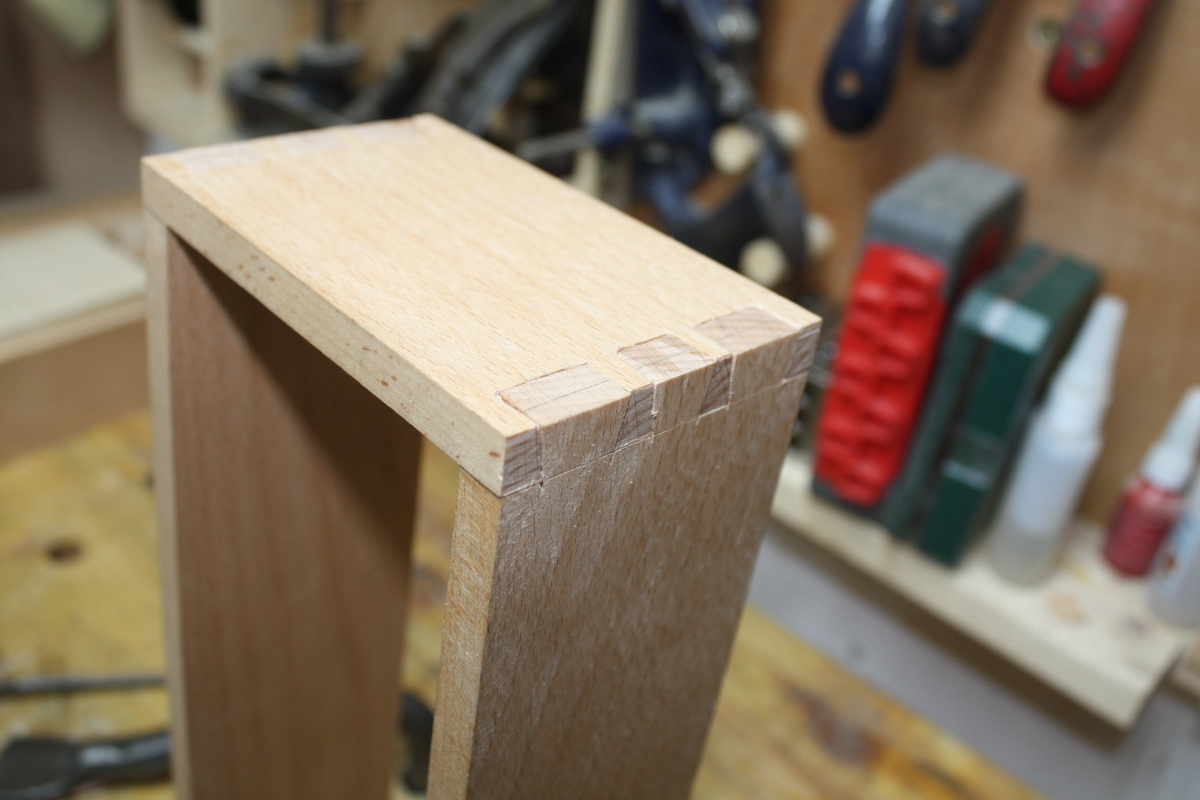
It won’t make the dovetails less gappy for you though… alas.
Then this evening I chopped the housing joints for the shelf in the locker.

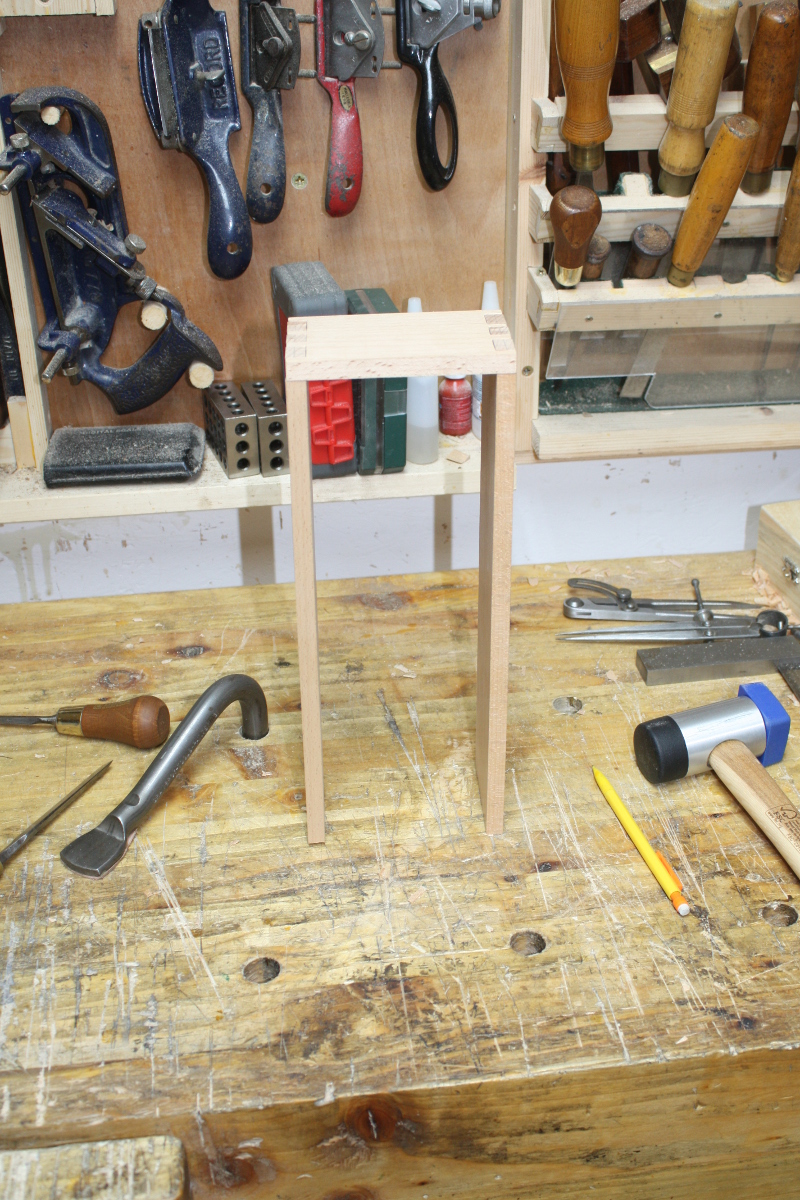
I know I’m using more chisels than I need, but I don’t care, I love the japanese one for the vertical chopping and hate it for the angled chopping, so I swap back and forth. It’s still remarkably fast, especially on a shallow housing like this. Knife the first line, chop down, chop in, brush off the chips, repeat till you’re at depth, bring in the piece of wood to be fitted and tap it up to the new wall of the joint and nick the other side with the knife, then scribe that line with the straight edge and repeat the entire process until both knife walls are at depth and there’s a ridge of waste between them, then pare most of that out with the chisel and refine it with the router plane until it’s all nice and smooth on the inside of the joint. Then pound the shelf home with the mallet to check for fit, and then do the other side…

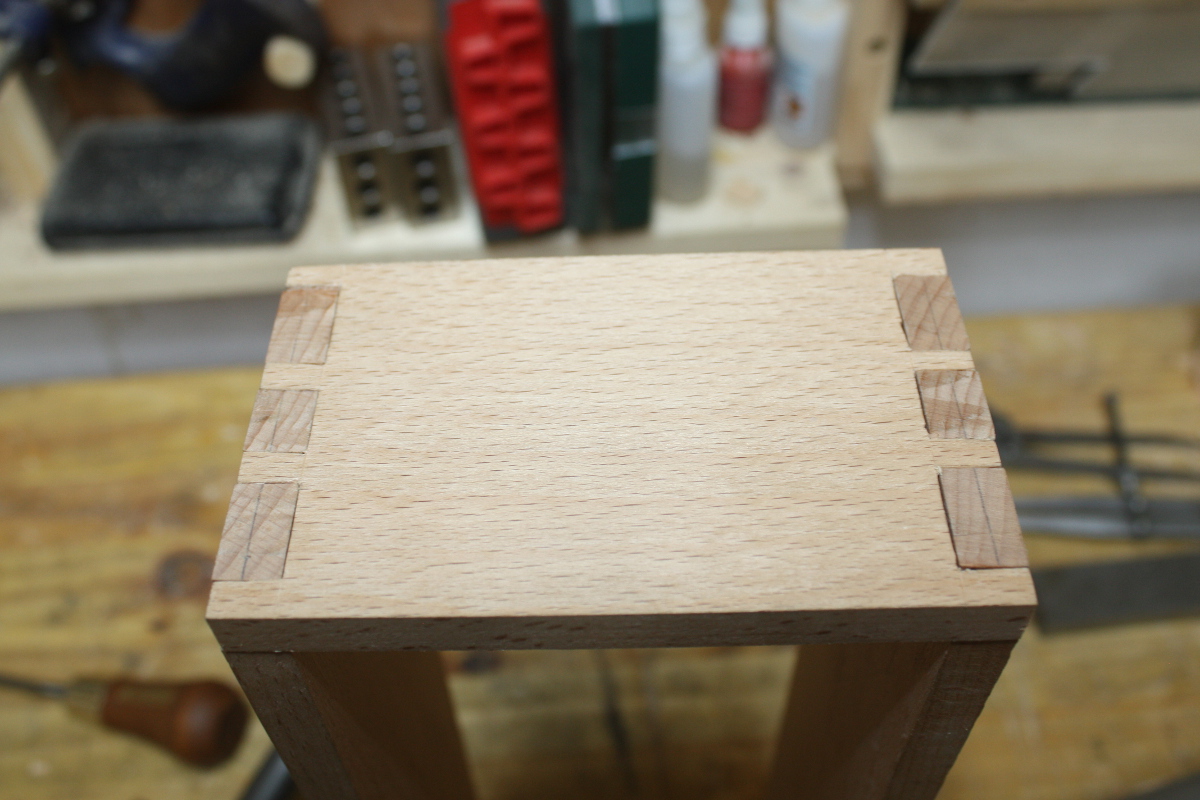
It’s gappy on the dovetails, but the housing joints are fine (that small gap on the left there is something I’ll fettle out, there’s too much width on the shelf yet by about a half-mm or so).

One more housing joint to do and that’ll be the carcass roughed out. Then I have to decide how to attach the back panel and figure out the door (that shelf and the bottom of the locker will have to be recessed for it on the front slightly, but should I rabbet the back to fit the back panel and avoid nails? And I have to figure out the legs as well…