09
Sep 18

Modelling

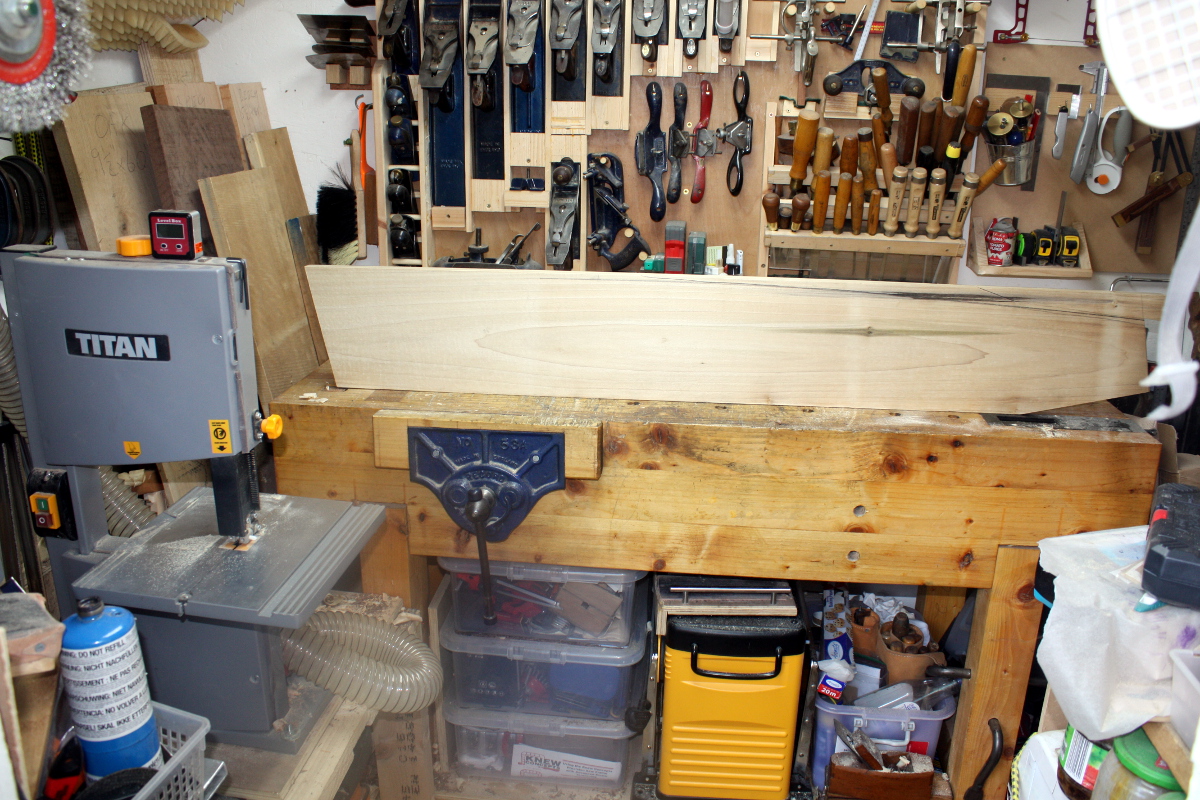
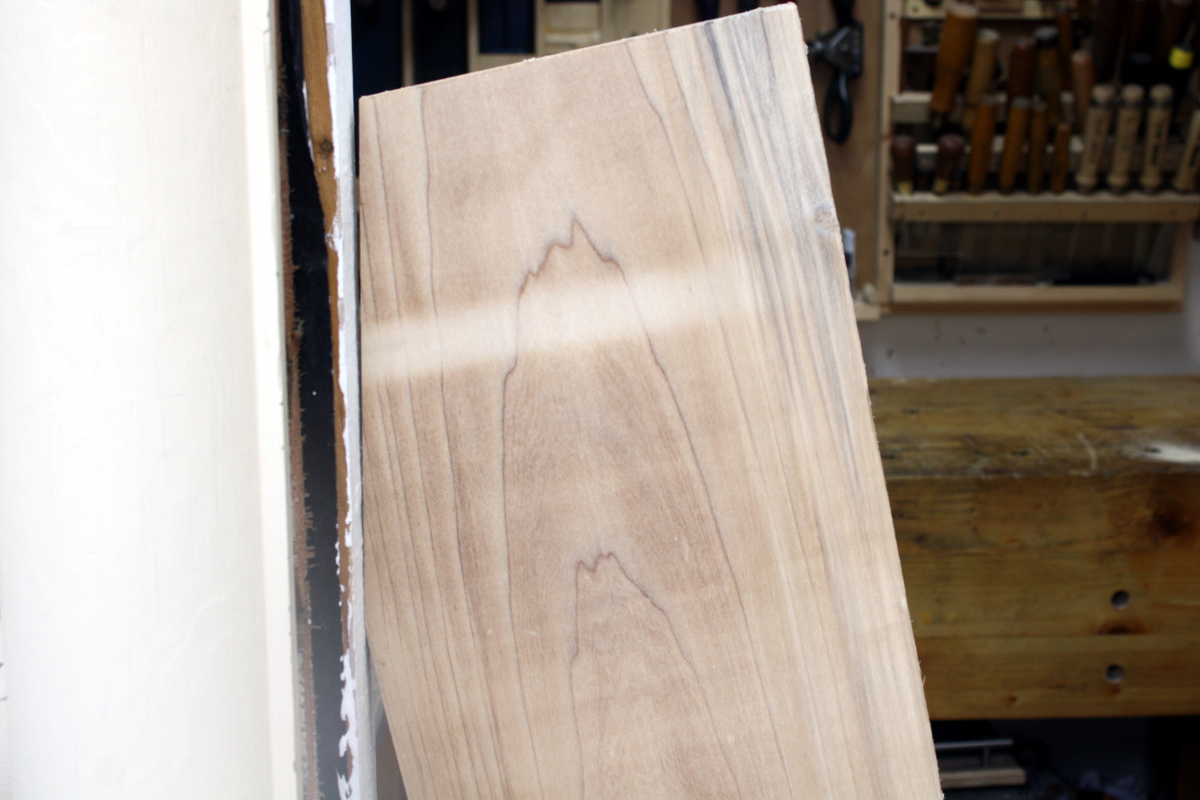
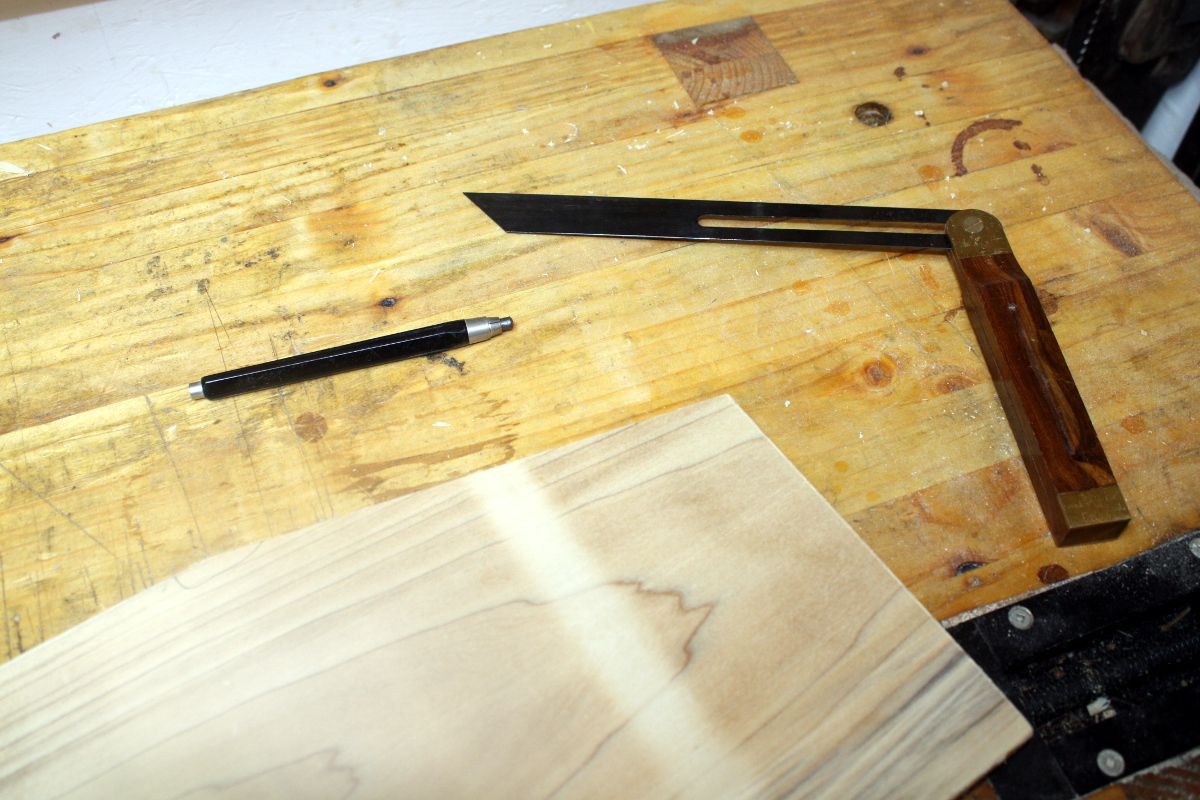
So I was really just at a low energy setting this weekend, and it was one of the first rains of the coming winter and even just looking at the shed was making me tired, but I have been wondering about something with the design of Calum’s shelves/desk thingy, which is whether or not to put a backing board behind/between the top two shelves. It’d stop stuff falling off the back of those shelves, give a larger contact area with the wall, and stiffen up the whole carcass; but it’d change the look of the unit quite a bit and the joinery might get complex unless I cheated and used a router to carve out a rabbit for the panel.

So, what do you do when you’re too tired to go to the shed and still want to see what it looks like? Well, there’s this stuff called styrene (or plasticard or ABS or any one of a dozen other names). You know it, it’s what airfix model kits are made from, and sheets of the stuff are where you start for scratch-built models. And I had a few sheets because Paul Sellers had pointed out a while ago that it was handy for templating curves and I was planning to use it for some boxes. Then this weekend I was watching an Adam Savage one-day build doing some scratch-built modelling for fun, and thought Calum might find that fun to do (because he’s kindof young for the complex airfix kits, but he’s more than ready for scratch-built stuff) and went off and got some solvent cement and we had some fun (modelling, not sniffing solvents). I mean, he’s more looking forward to painting it, so I’m off to the modelling shop for some thinner and paints for the airbrush tomorrow, but he got a kick out of seeing it built.

BTW, ignore what Savage builds there, it’ll only depress you if you try it, remember he worked professionally doing modelling for years for Industrial Light and Magic, so he might act the eejit all the time, but the man knows his modelling, and so do you if you ever watched Star Wars in the last 20 years or any one of a few dozen movies.

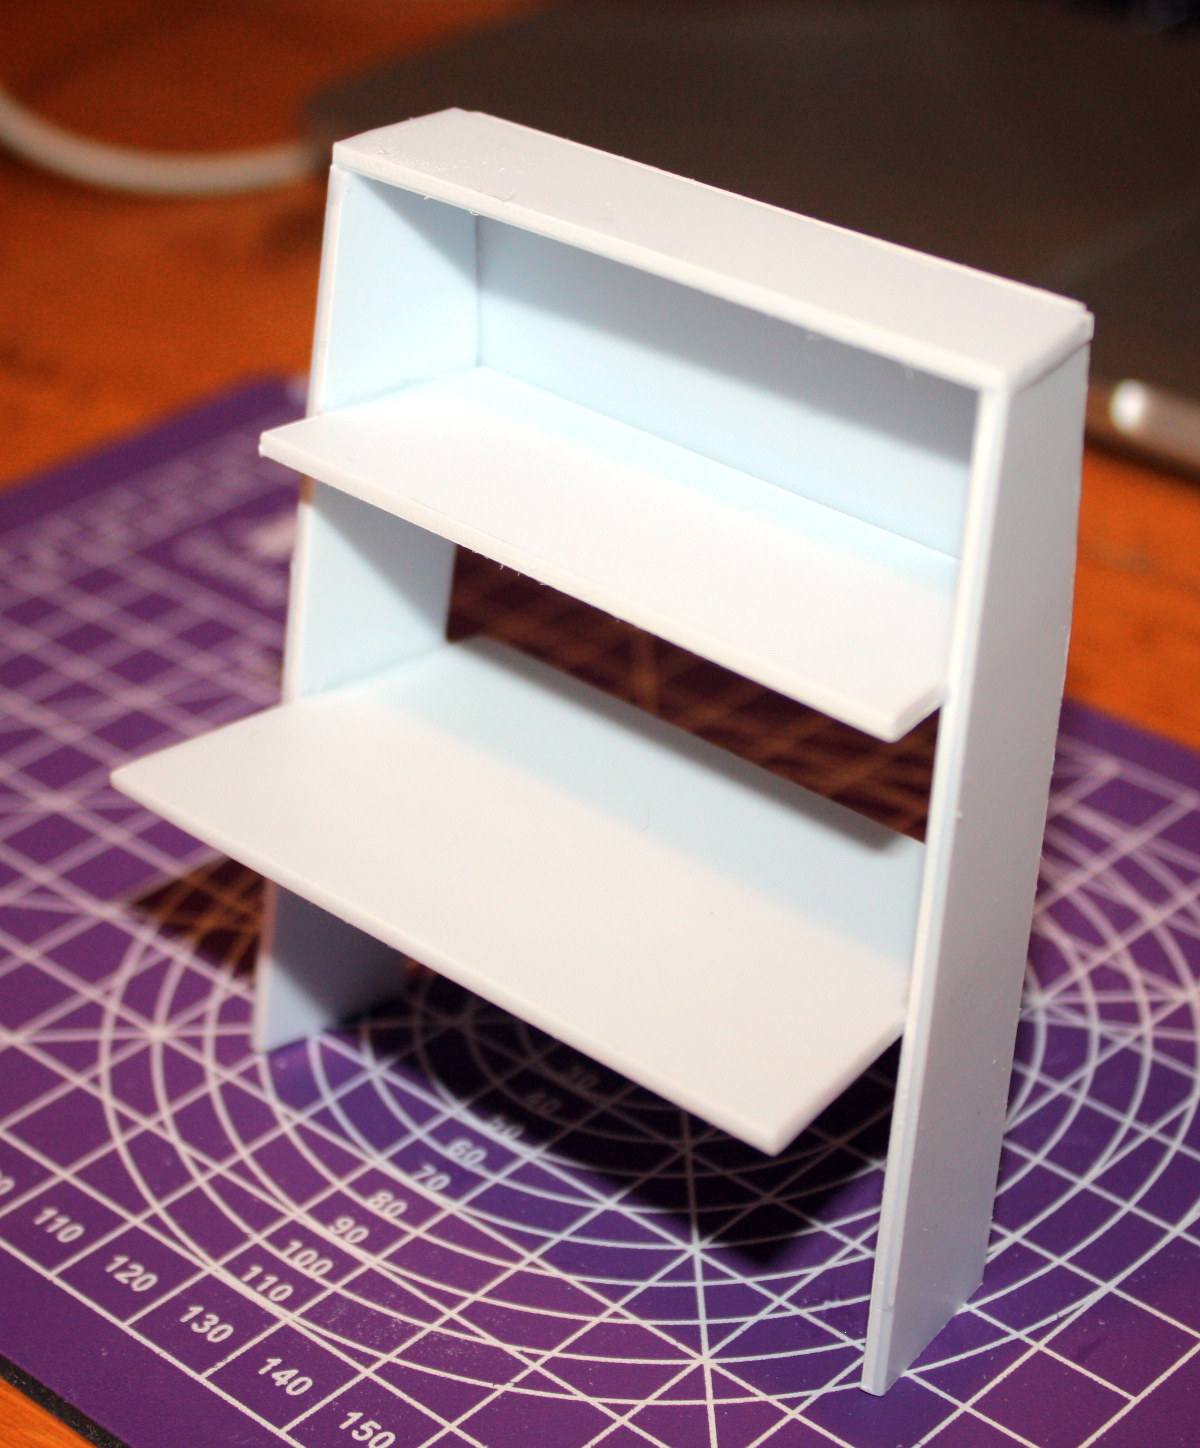
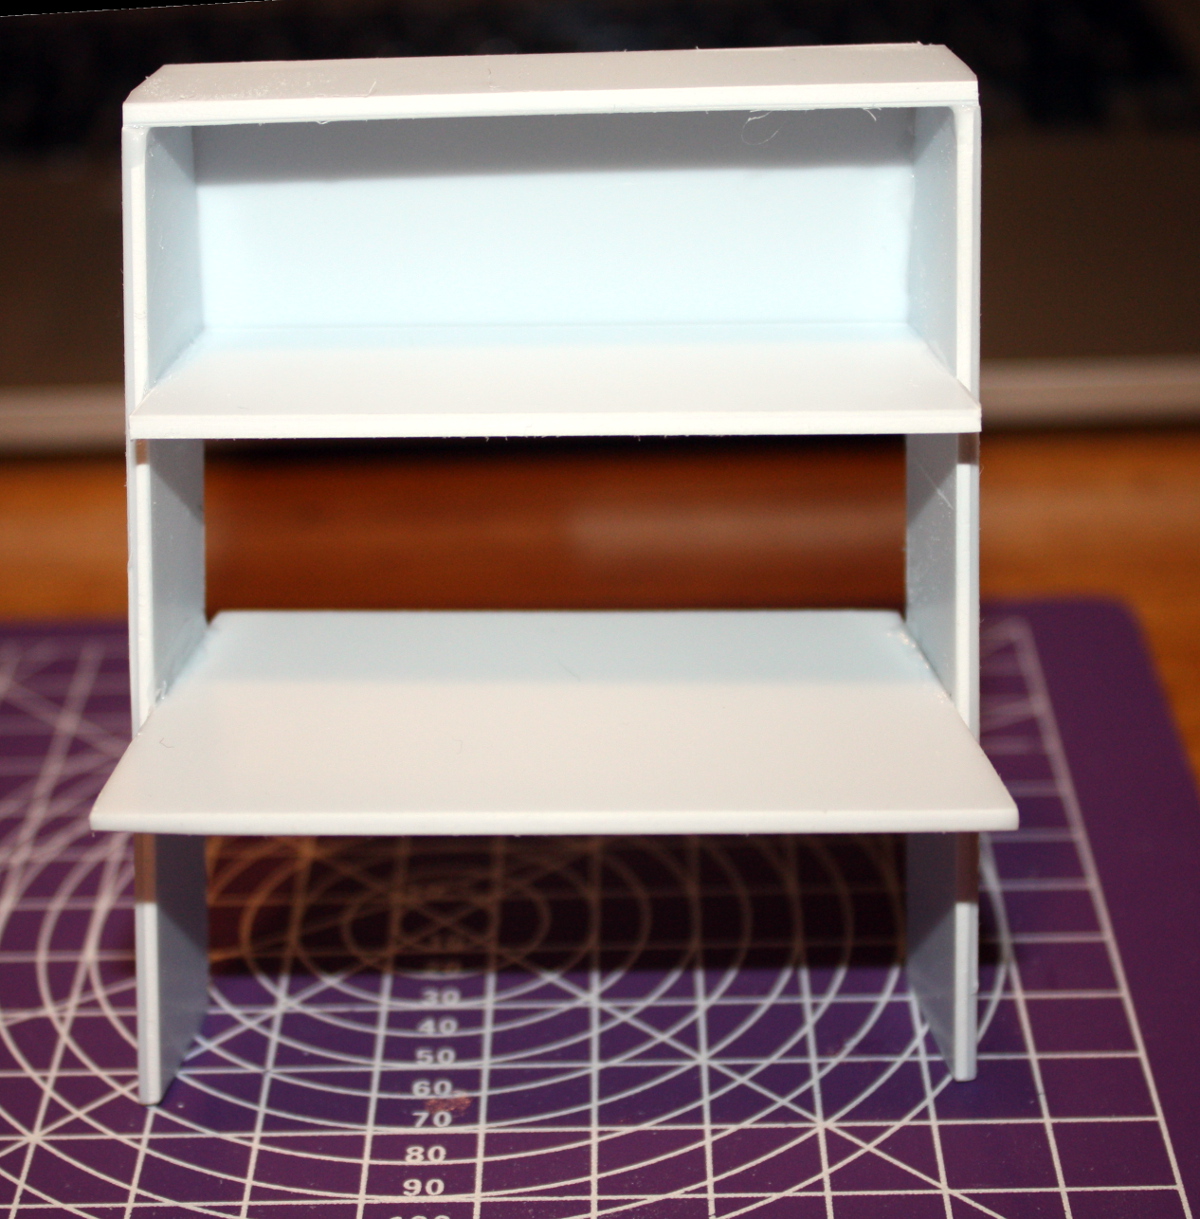
So anyway, after we’d built a little boat-spaceship-box-thing for Calum, and it was after his bedtime, I did a bit more cutting with the 2mm thick styrene sheet I had, at a 1inch to 2mm scale, and built his desk/shelves unit:

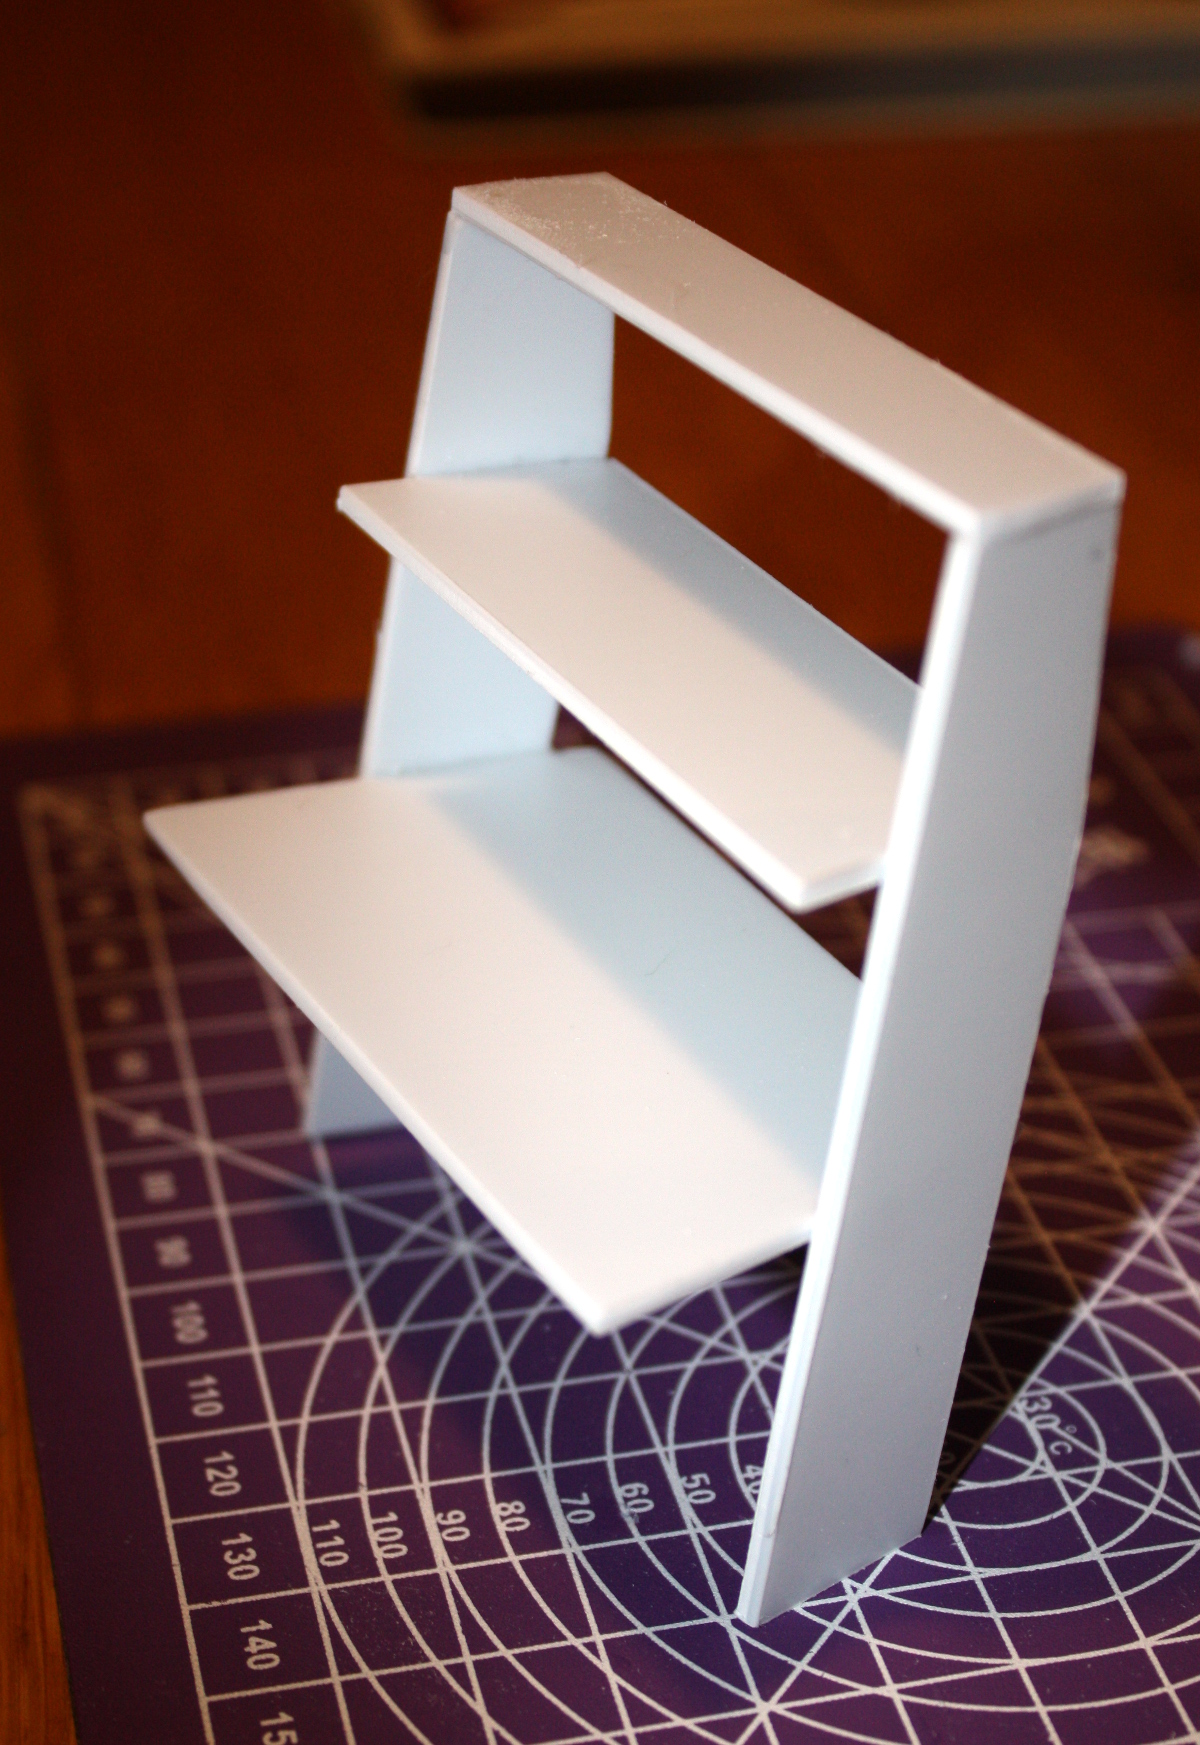
It’s nice to be able to see it from all around. It’s like CAD for old people.

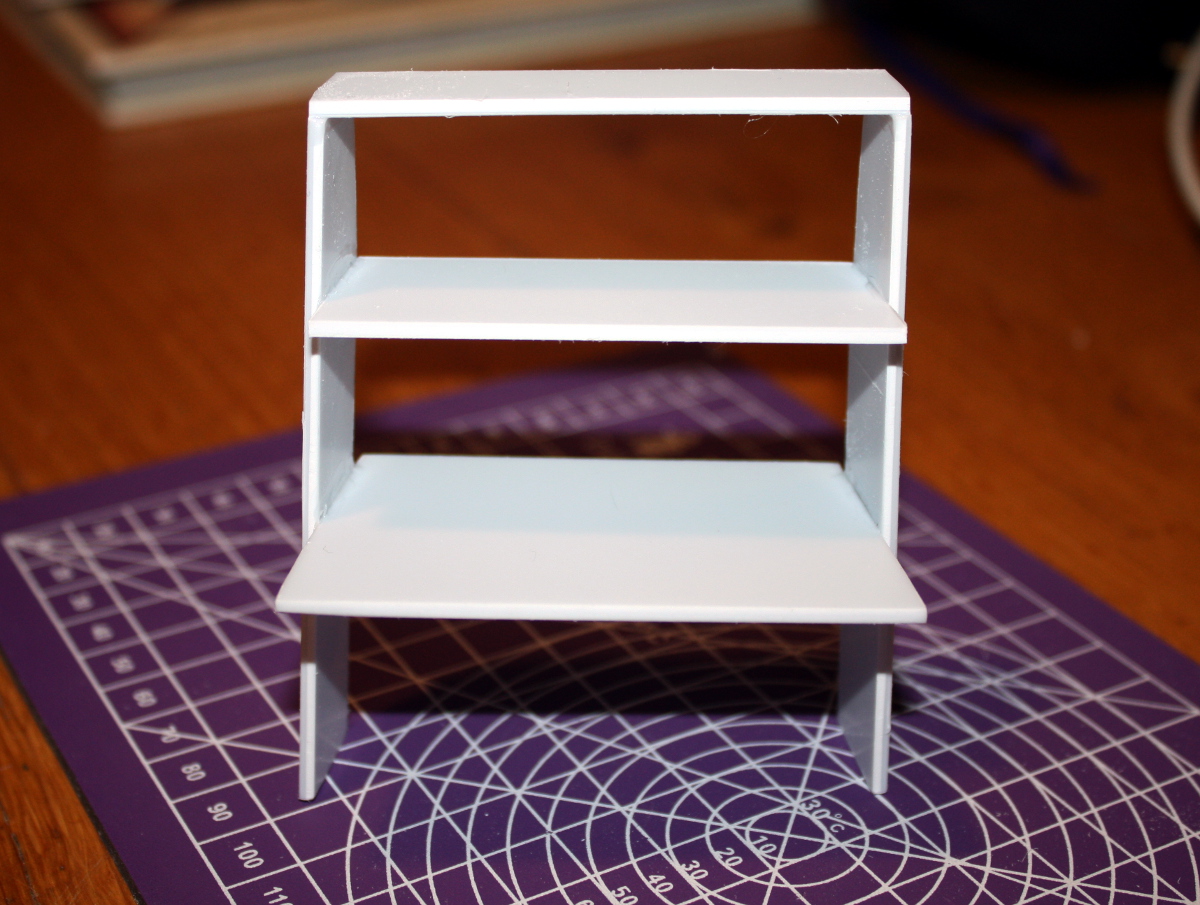
And then I could quickly add on the backing board I was wondering about and compare them:

I mean, messy as all get-out, if I was serious about modelling it there’d be a lot more sanding and some painting (hell, might do that just for fun with Calum later), but it’s not terrible for 15 minutes of work at the kitchen table with a ruler, scalpel, emery board and solvent cement.

I must remember to do this next time I build something and don’t have a full picture of it in my head (or even if I do, it’d be an interesting thing to see how close the model matches the final product).


02
Sep 18

More shaping

So I decided to go ahead and shape the front curve today, since it was going to be awkward to cut and might be noisy so it’d have to be a weekend job really.

Why is it awkward? Well, the plan is to make the first rough cut with the bandsaw and then to get down to the line with the compass plane and the board is long enough that swinging it around through the bandsaw inside the shed would be awkward and would probably need the door open and the plank sticking out at some point.

See what I mean? There’s not enough room for a cat to stand in here, let alone be swung around. But, with much swearing and cursing and with the door open and the plank sticking out for at least half the cut, it got done.

I even cut the top of the side to be parallel to the floor again while I was at it.

You will notice the artisan scalloped edge, and I’ll have you know that it takes a lot more effort to create such an artistic statement than it does to just cut a straight clean boring line.

Or something.

Anyway, it’s just a rough cut, so out with the #05 to knock off the absolute worst of the knobbly bits and then time for the fun tool.

The Record #020, variously known as a compass plane, a circular plane, a radius plane or a shipwright’s plane, it’s basically just a plane for curves. That big spinny dial yoke on top pulls the bit with the blade up or down relative to the ends of the sole, and the sole being flexible, takes on a curve that you can then plane into the wood. It’s a natty little tool, and while there are limits to how curved you can go, within those limits it’s great.

Mine is a little worse for wear in appearance. Everything works, I had it apart, cleaned, oiled and resharpened everything, but it’s had some light surface rust over the summer and the enamel’s long gone (and I still haven’t figured out a good way to restore that with the kit I have or can use). But anyway, it’s more than good enough to do the job and between that and the spokeshave I soon had a smooth curve instead of a decaying sine wave.

And I hate the look of it completely. The curve itself is more or less okay, I got rid of almost all that ugly damaged bit, but that little flare-out at the point where the desk will be just doesn’t work. It looks wrong in several different ways. So I ran the plane over the entire edge to get a nice single smooth curve instead of that little flare-out.

I’m more or less happy with this. I was thinking of making that curve into a bow rather than a sweep, so that the front edge would be almost vertical at the foot (that’s what those black lines there are for, they’re not spalting even though they’re following the grain line, I was just trying to see what it would look like). I’m not sure about this though. I’m worrying about the width of the sides and the strength of the piece if I start hacking off that much, but I might just be getting paranoid.

Anyway, I’ll leave it at that for now and maybe think about it again later before I cut the sliding dovetails (which will be the point of no return for the shaping I think). Next job, start to transfer the shape from this side to the other one…

I’ve already gotten the foot done (and it matches its counterpart well) and a reference edge planed on the back edge, but I haven’t finished the top straight-line cuts yet and then there’s the second front edge to shape. That should be interesting. I haven’t changed the compass plane’s setting so in theory it’s going to be grand…


01
Sep 18

Short day’s shaping

Not much time in the shed today, but enough to make a start. First, new toys!

So some catches to help with the mod to the Dewalt extraction hood (I think I have everything I need for that now, I’ll get to it soon), an incredibly cheap handplane ($4.30 from Aliexpress delivered) which is more to play with and laugh at than to seriously try to use as a tool, and two interesting tape measures. Both of those are small (1m and 2m) which is handy for using in the shed, and I’ve just wanted to play with them for a while now ever since seeing them in action.

They’re a bit gimmicky and I’m not throwing away my stanley tape measures, but they’re fun to play with and that’s the point.

Anyway, that done, on to the sides. I wanted to get a start on these today. One’s developed some twist since I milled them. Not a huge amount, but noticeable – 3-4mm at the worst point. A lot of that twisted portion might be cut away so I don’t know if it’s something I need to get out of the board yet (or even if the shelf joinery will pull it back to straight). But I’m starting on the untwisted one and I’ll see how we go.

Marked up the cuts for the foot and the wall rest sections using the bevel, and the front curve by bending a long piece of dowel stock (didn’t have anything else that was long enough and thin enough to act as a batten). And then started making a reference edge from the back edge. The sides are long enough to make this awkward…

There’s barely enough room to do this. Really, there isn’t enough, but by being fiddly enough about it you can just about get away with it. Then, with the reference edge established, out with the bevel and the marking knife and time to mark off the final line to cut to for the feet and wall rest. First though, need to take off the last half-inch or so of board, give me another reference edge square to the back edge.

And cut off and then plane to flat.

This is where having an apprentice can help (incidentally, for anyone who was wondering, this is why I have a Record #03).

Once we’ve passed QA, it’s time to mark out the wall rest with the knife and bevel and then cut it (using a short batten to help guide the saw because the cut’s awkward due to the lack of space).

And then a few swipes with the #04 to clean up the cut surface when done. Do the same on the other end for the foot and now it’s time to check. I don’t have a five-foot-tall try square, so I’m just using the door frame of the shed.

So-so. There’s a gap at the wall rest.

Thing is, I’m pretty sure my door frame is as square as a rhombus, so I’ll check this with the bevel and might tune it slightly, but I don’t believe the door frame is a reference surface you’d trust too much 😀

Yup, bevel says the wall rest is slightly out. A few swipes with the #05 will sort that, but I’ll check against the actual wall it’s going up against before I do that.

Had to stop there, but tomorrow there’s a few more hours and the next step may be to cut the curved section at the top. Maybe. I’m not 100% certain if I want to do that yet, the parallel sides might make workholding easier. Have to think about that one…