16
Oct 19

Lights, corners, more oil…

Got the LED strip during the week, cut a length off, soldered on the wire, tested it in the lab and it all lit up well, so I pulled off the paper on the back (the strip is self-adhesive) and stuck it in place inside the aluminium extrusion with some heatshrink around the cable end for strain relief and put the diffuser and endcaps in place…

The cable fits in the hole that I drilled for it, so that’s grand, but the connector for the 12V power supply on the other hand, is just a little too big so I’ll have to expand that hole, then cut the wire to length, solder the connector on and then install it. That’s going to be a bit fiddly and I might even wait till it’s indoors before doing that. 

So with that checked, I went round the joints with a chisel and a plastic razor and cleaned up the excess glue. The joints under the desk I couldn’t reach, so that might be for the weekend when I can take it out of the shed in the daylight.

Next job was to shape the dovetail joints at the top, which is a damn sight easier when the workpiece is small enough to be able to walk around it. When it’s taking up the entire floor space of the shed and you’re literally climbing on stuff to reach the tools on the wall behind it, not so much. Still, an hour of cursing and swearing and the #04 and two chisels and some 120 grit sandpaper later, and another application of danish oil…

I don’t think I’m completely done with sanding for that shelf and those joints though. But I can’t reach them to work on them properly so I may need to take the desk out of the shed to work on it with the sander, give it another dose of danish oil, let that cure up then do another coat or two of polyx until it looks done. Then I’ll take it indoors, fit the light and that’ll be it done. I hope.


17
Jun 18

Balls

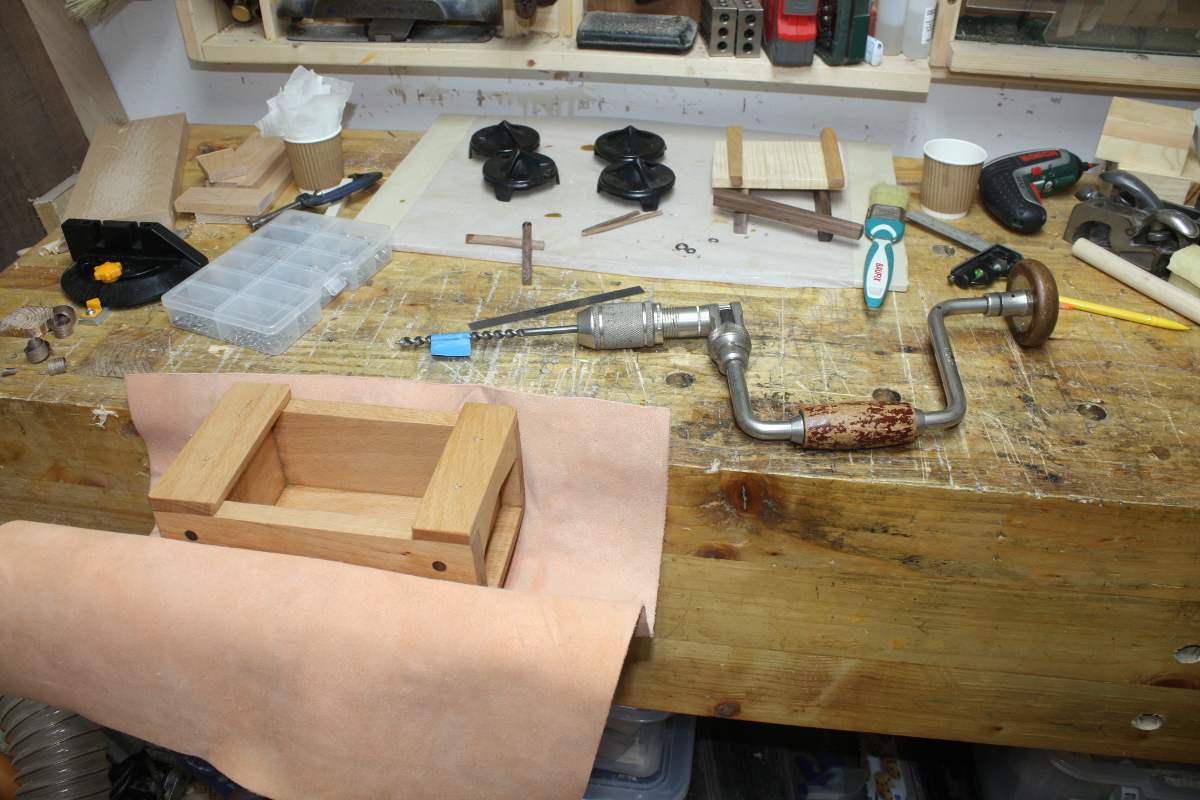
We had to run off to a graduation on Friday, but when we got back I spent a rather rushed half-hour in the shed. Thing about that sort of thing is that it gets… messy…

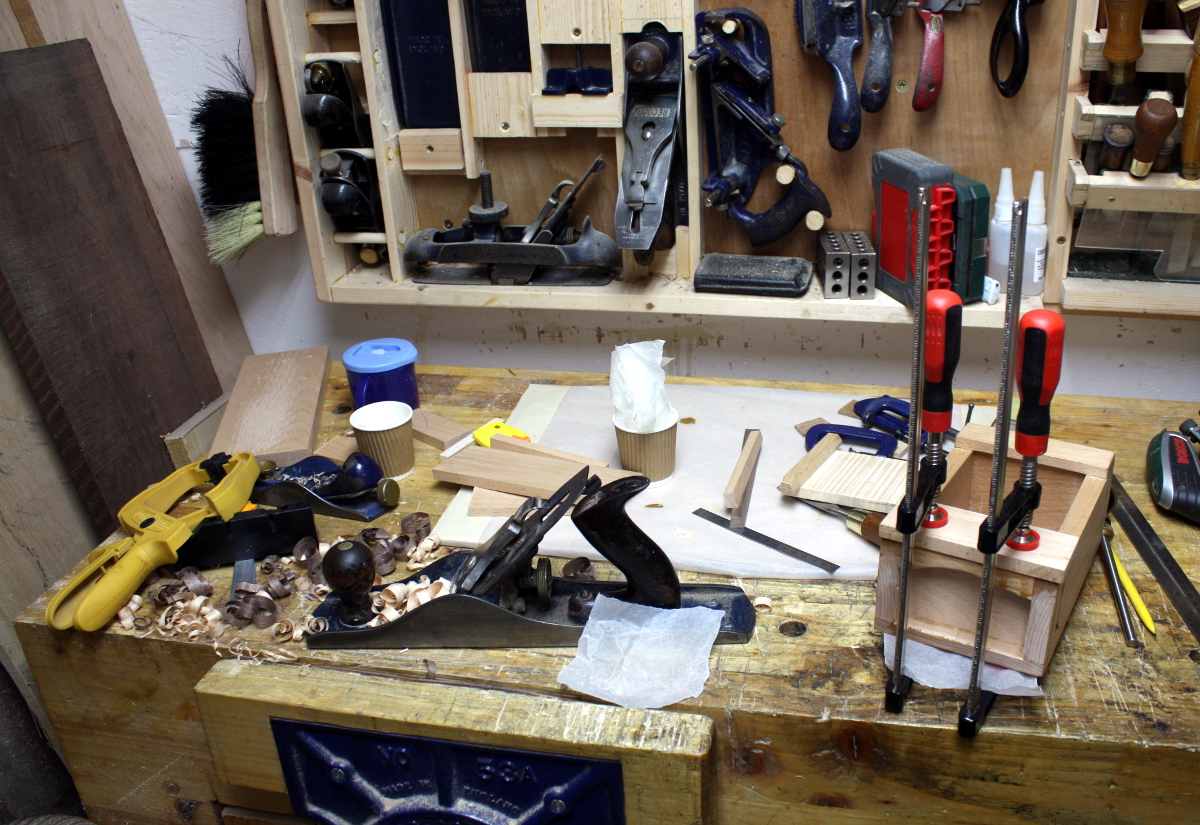
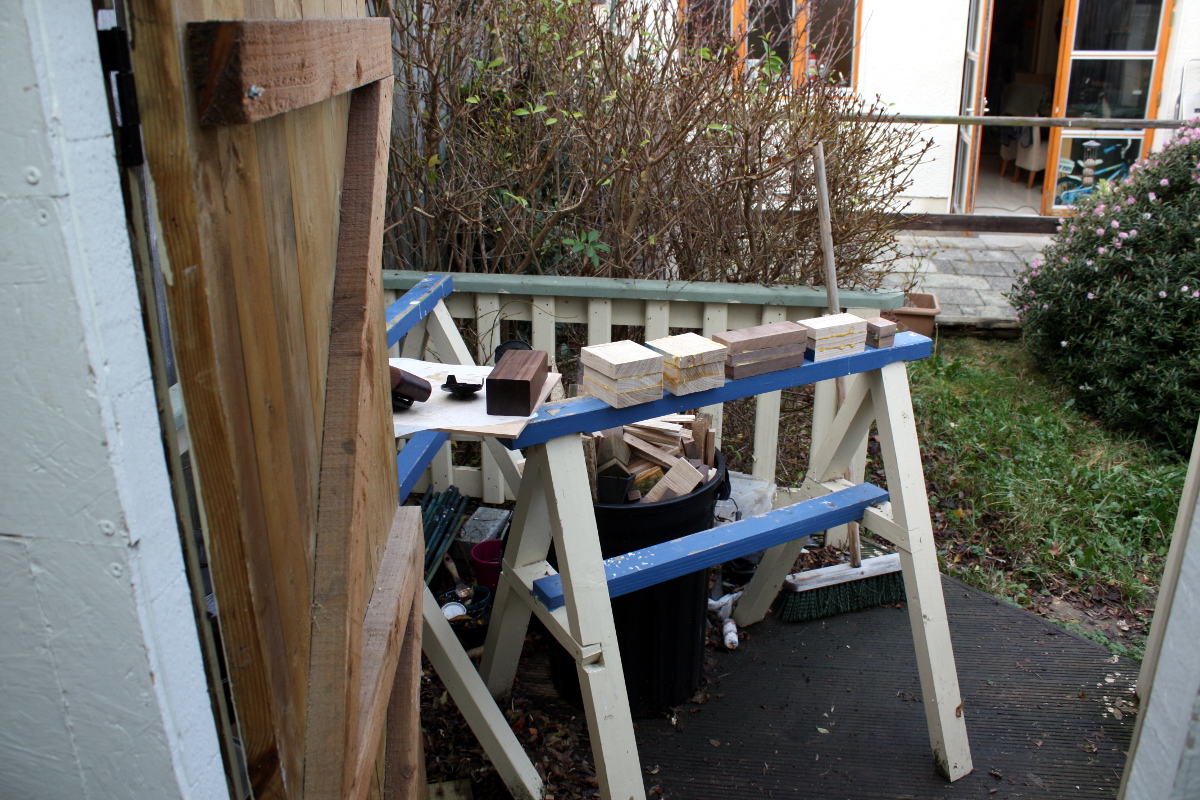
So first things first on Saturday, clean up a bit…

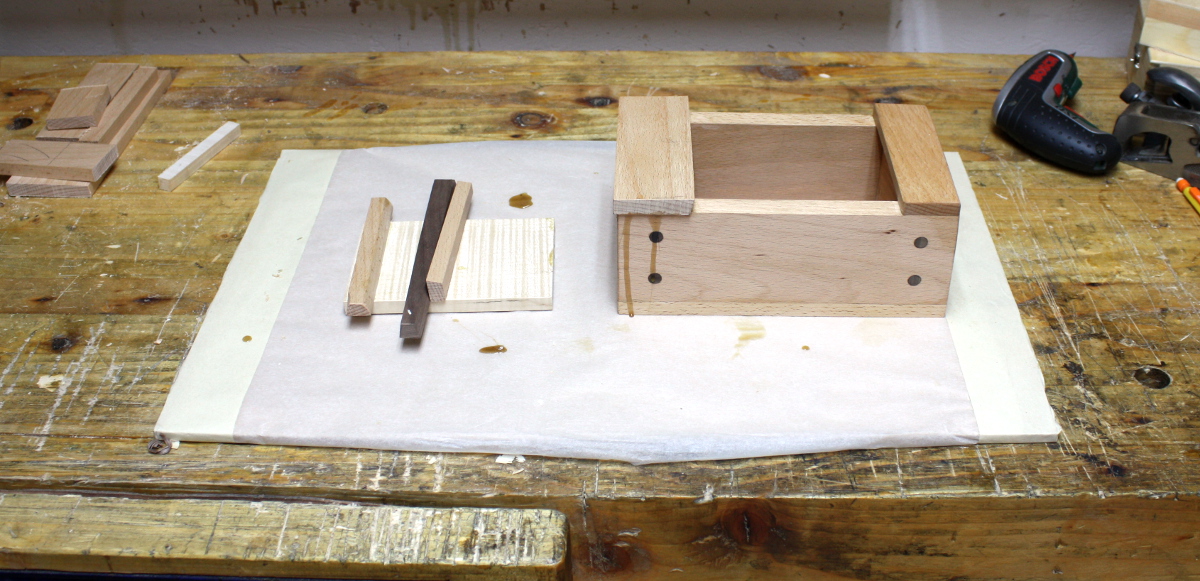
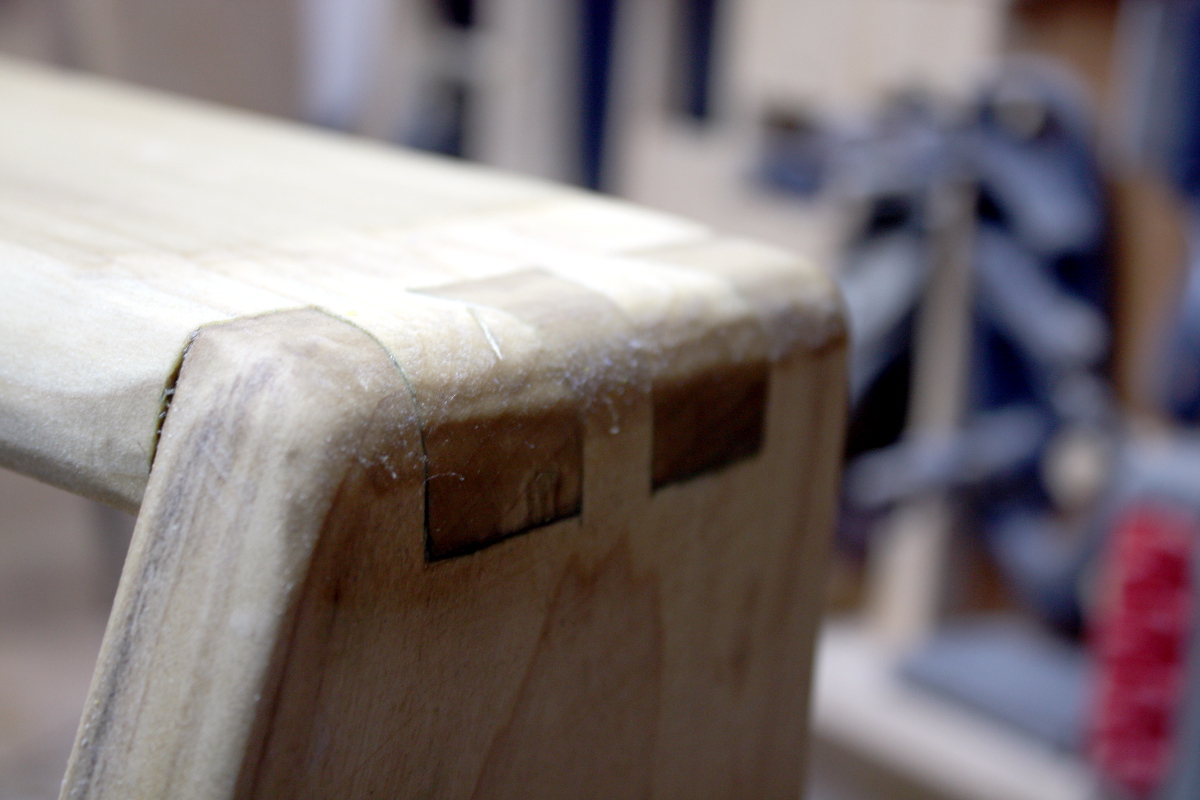
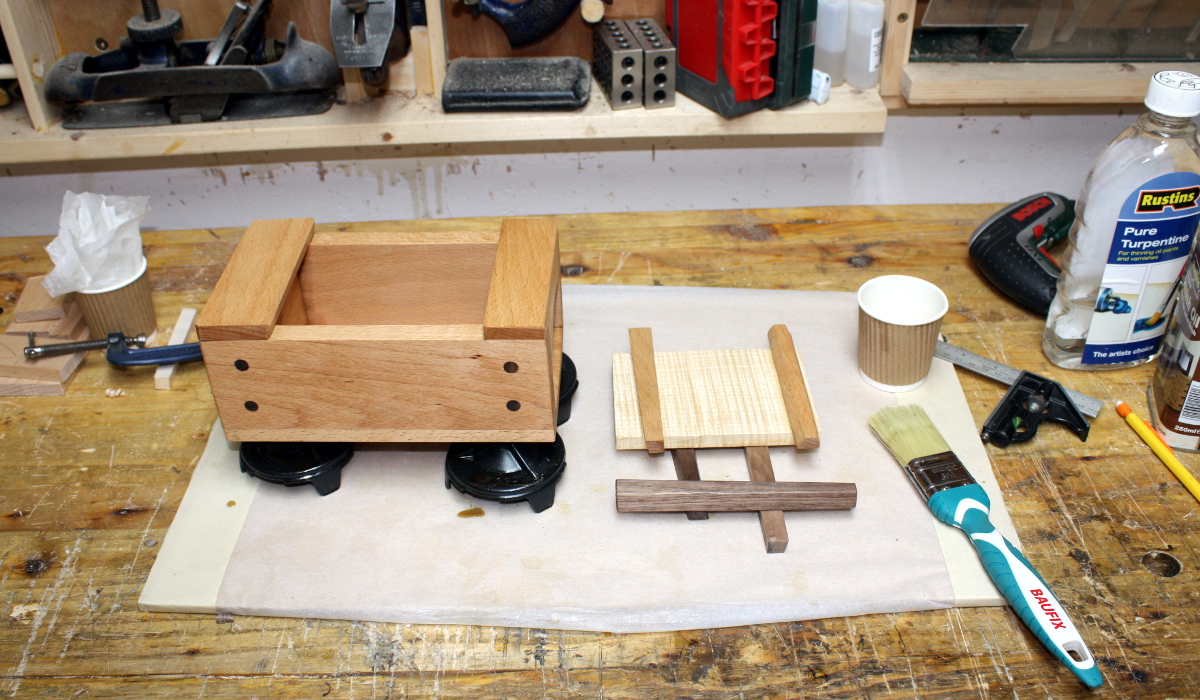
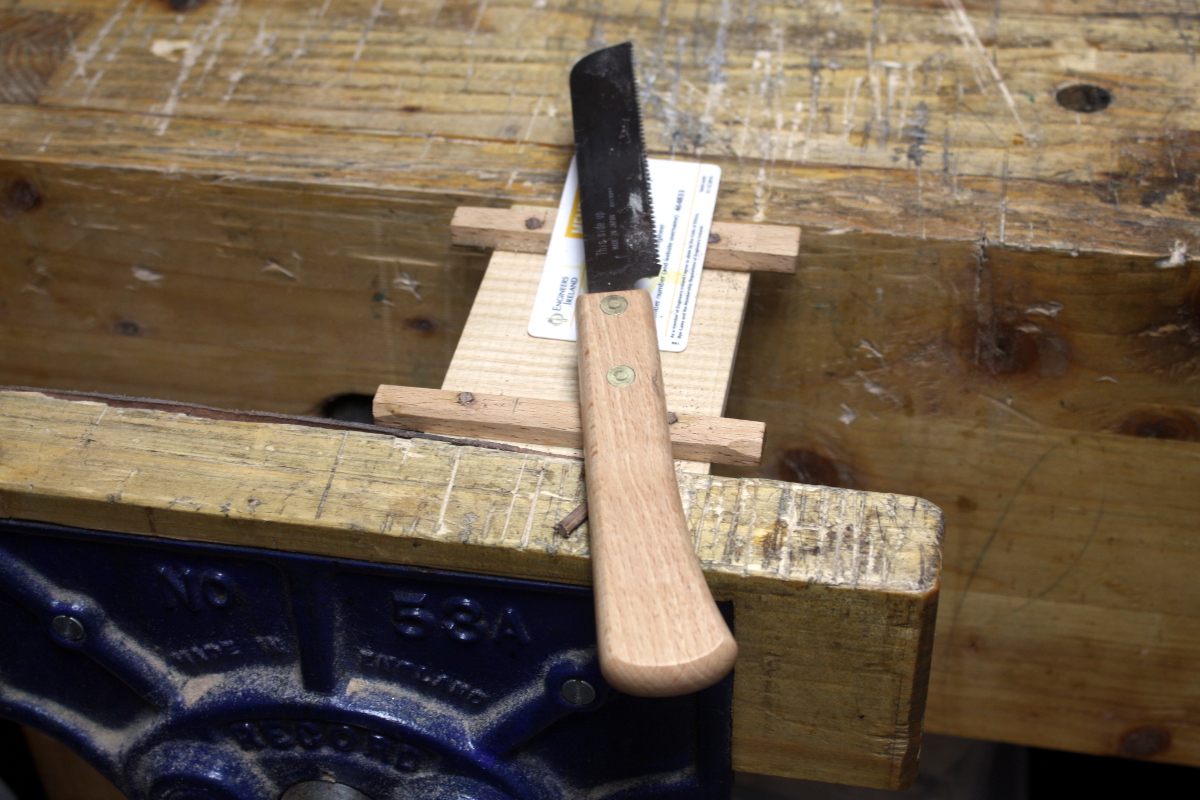
Right. Next, trim up the other end cap, and set the locking wedge position and glue it in place…

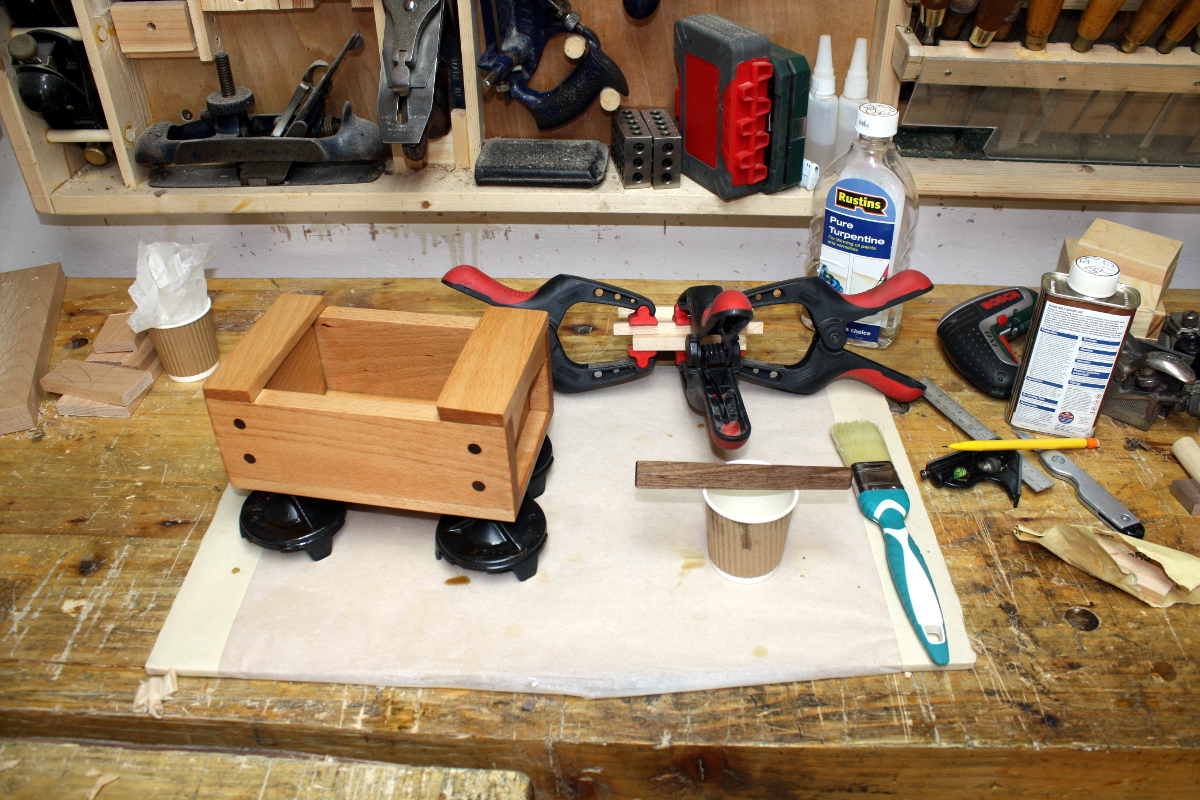
And yes, that is the finish starting to go on the box and the key; and I have jumped the gun there a bit and I pay for it later. The finish by the way, is half danish oil and half turps, mixed in the cup (the office has a snacks thing they do where you can get free peanuts and we use those little paper cups to serve them in; I just hang on to mine and they come in useful in the shed later).

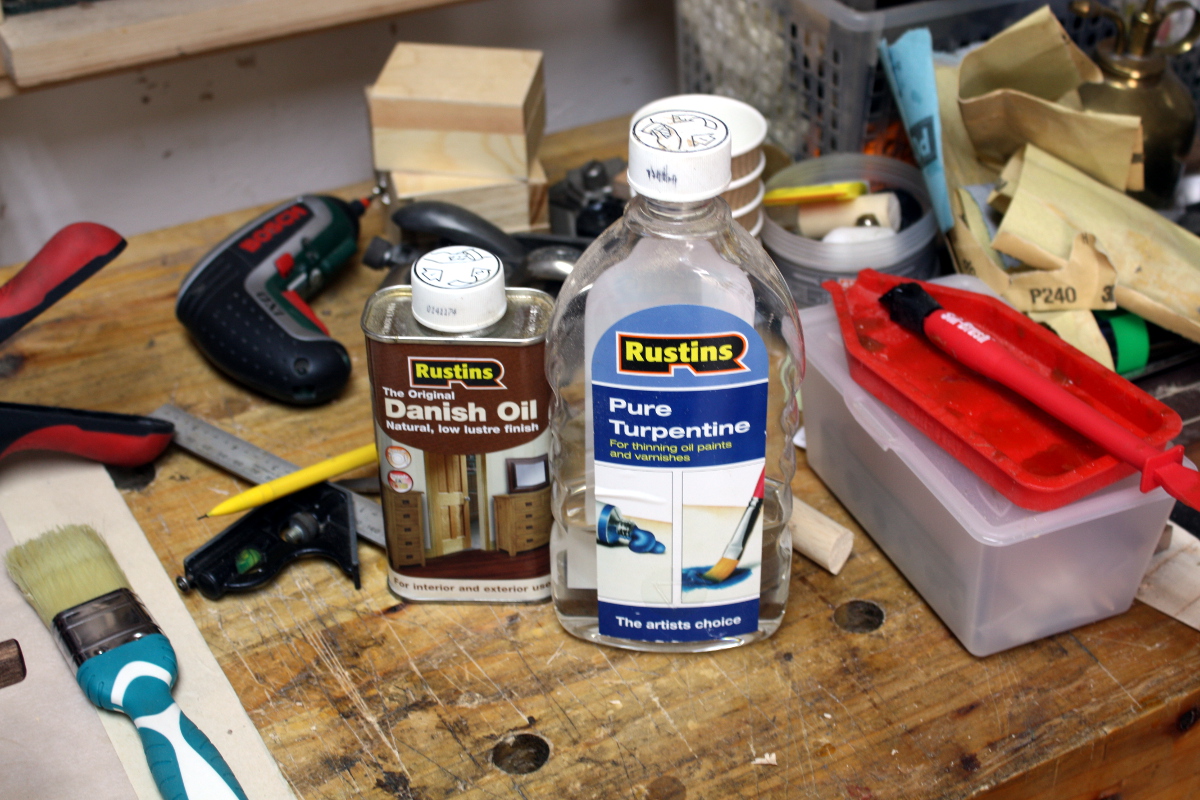
I don’t use Rustins for any particular reason; it just happens to be the brand I could find in the shop. I don’t use danish oil all that much really, but the consensus was that it works well for beech when I asked around. And I have to admit, it works quite well, though it’s a strong-smelling finish for the first day or two.

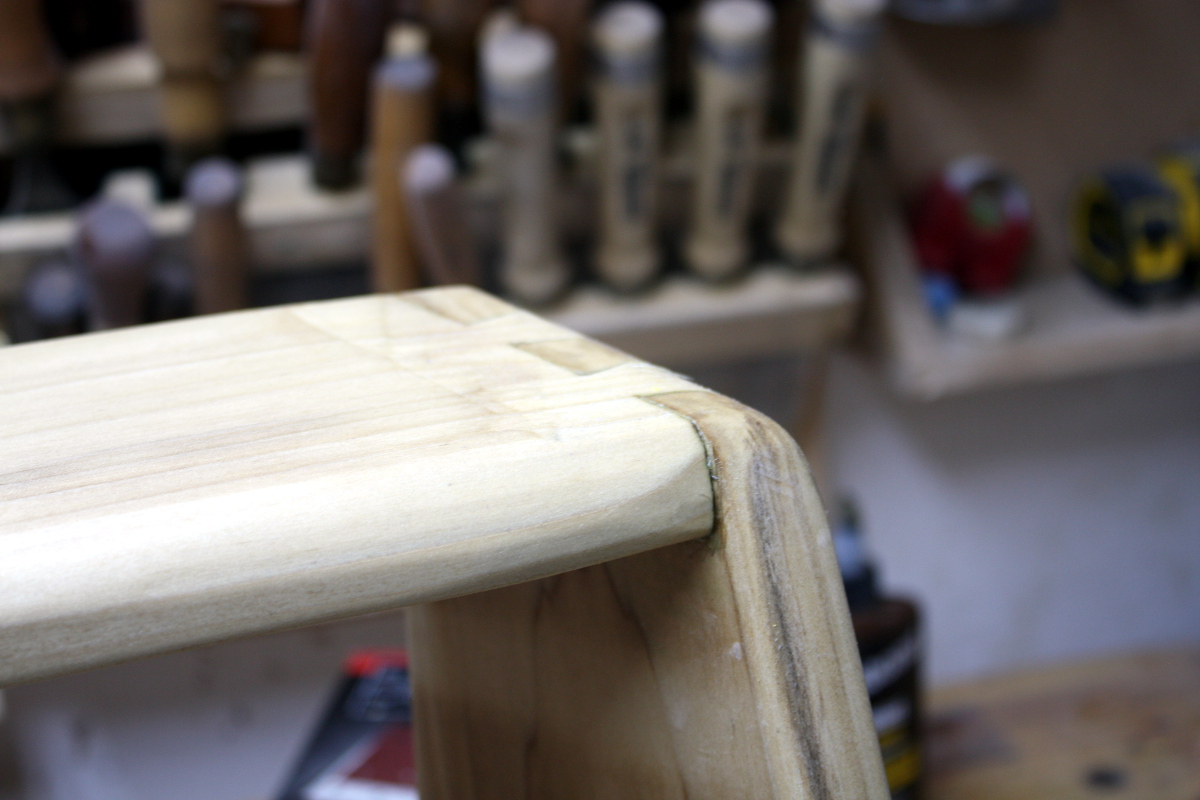
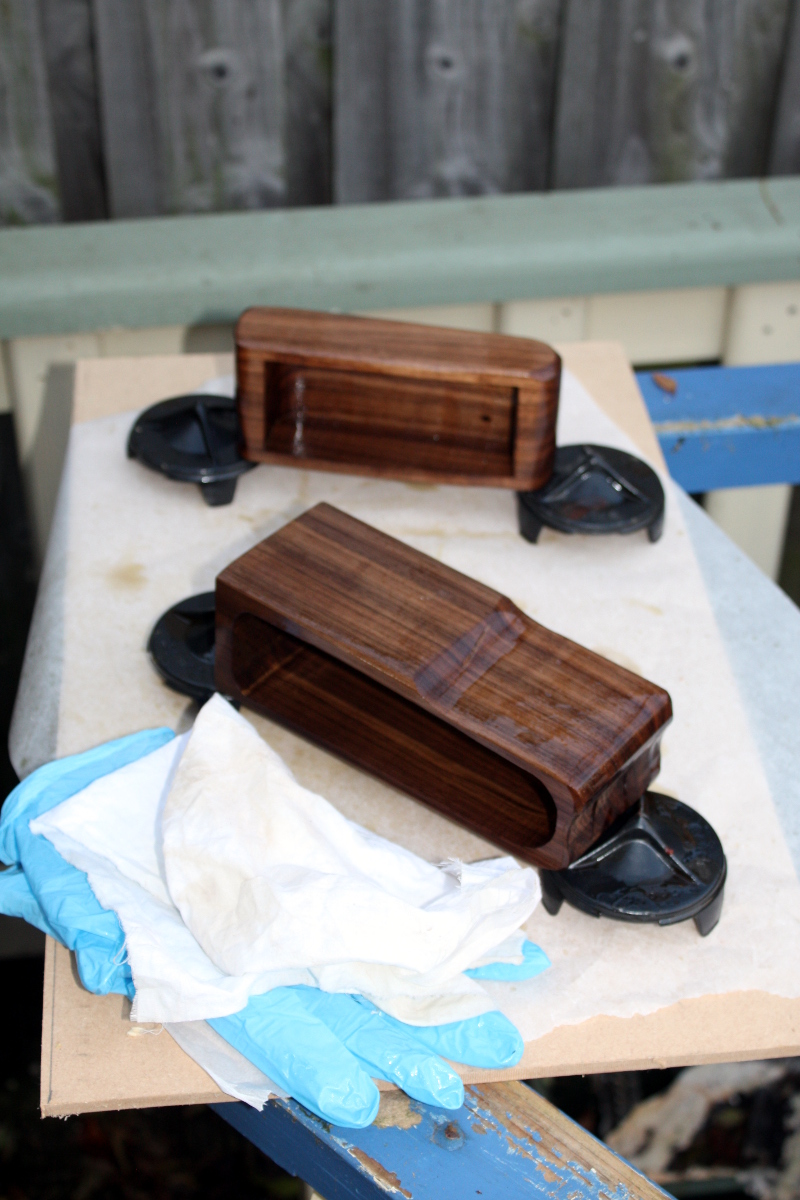
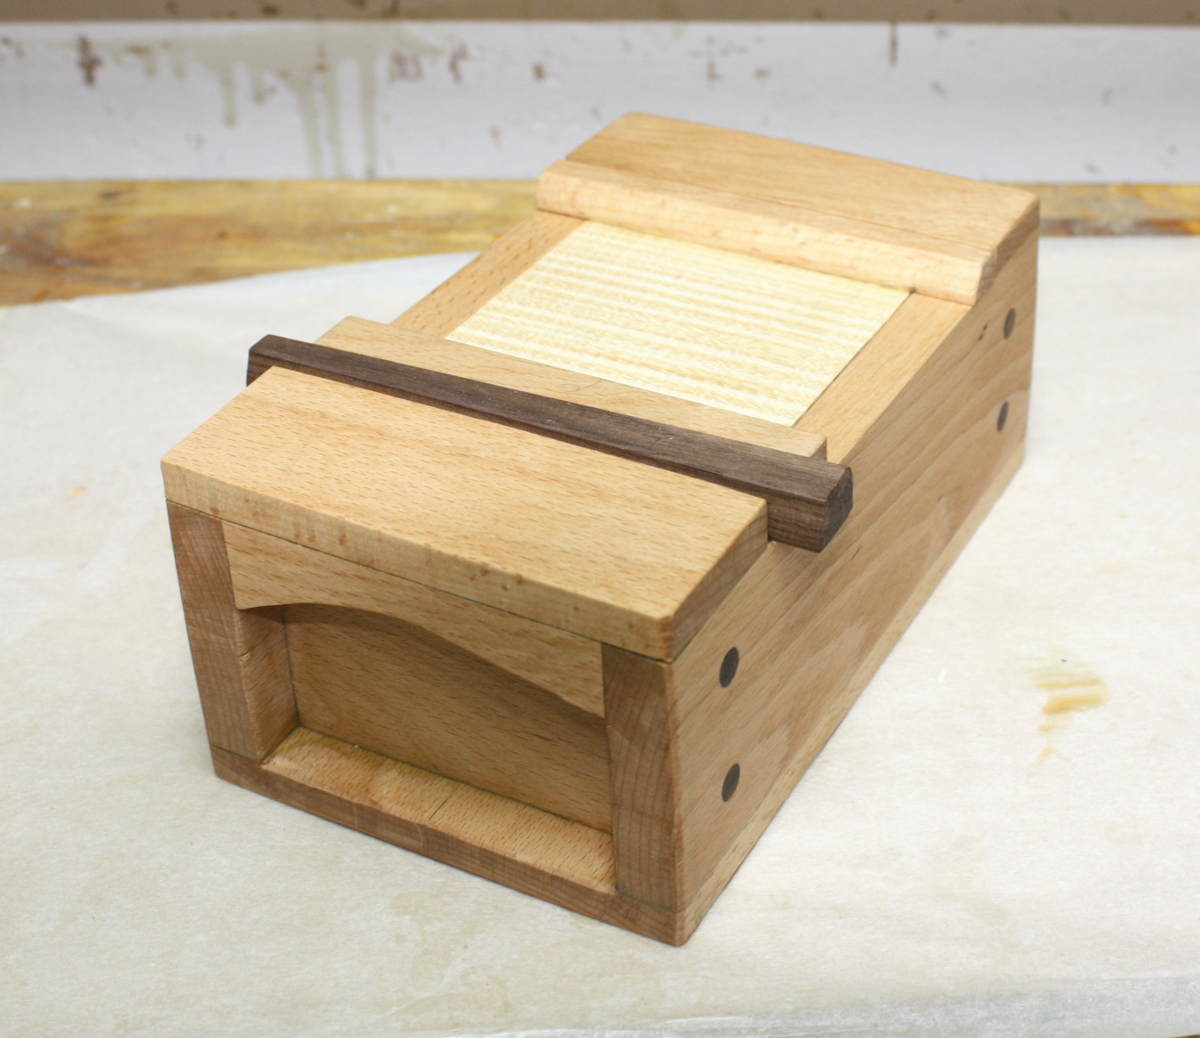
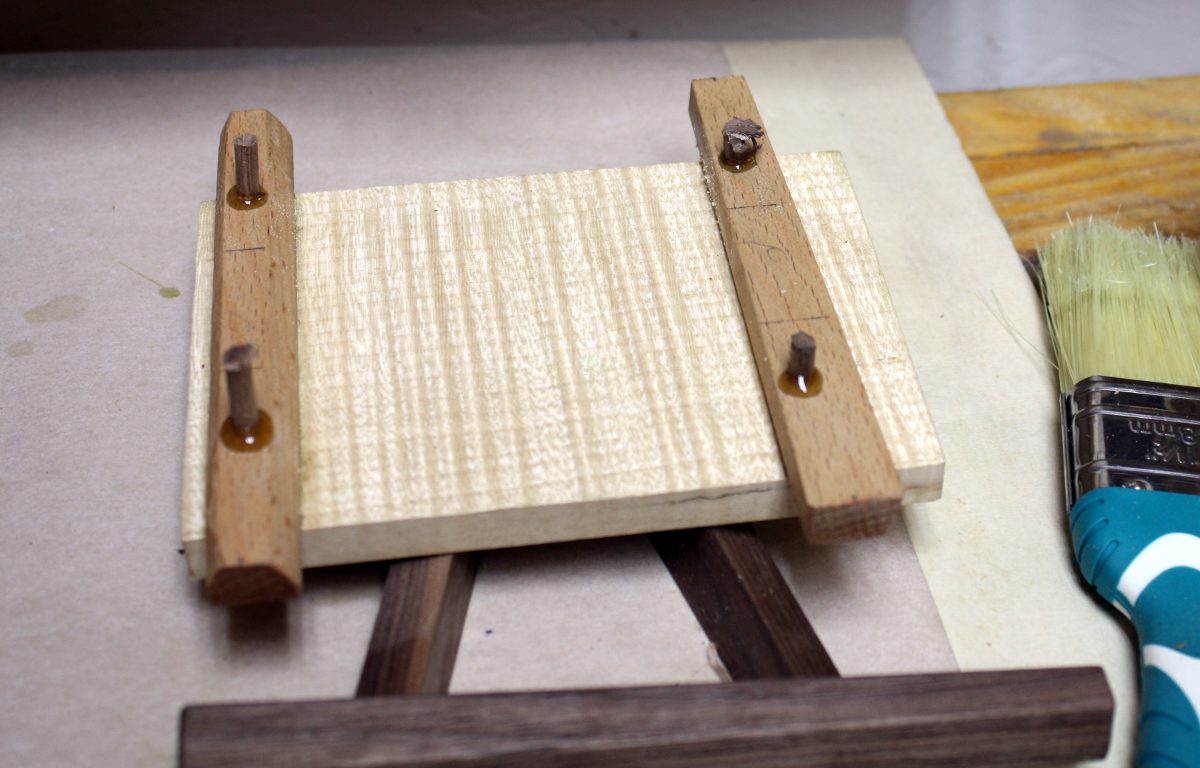
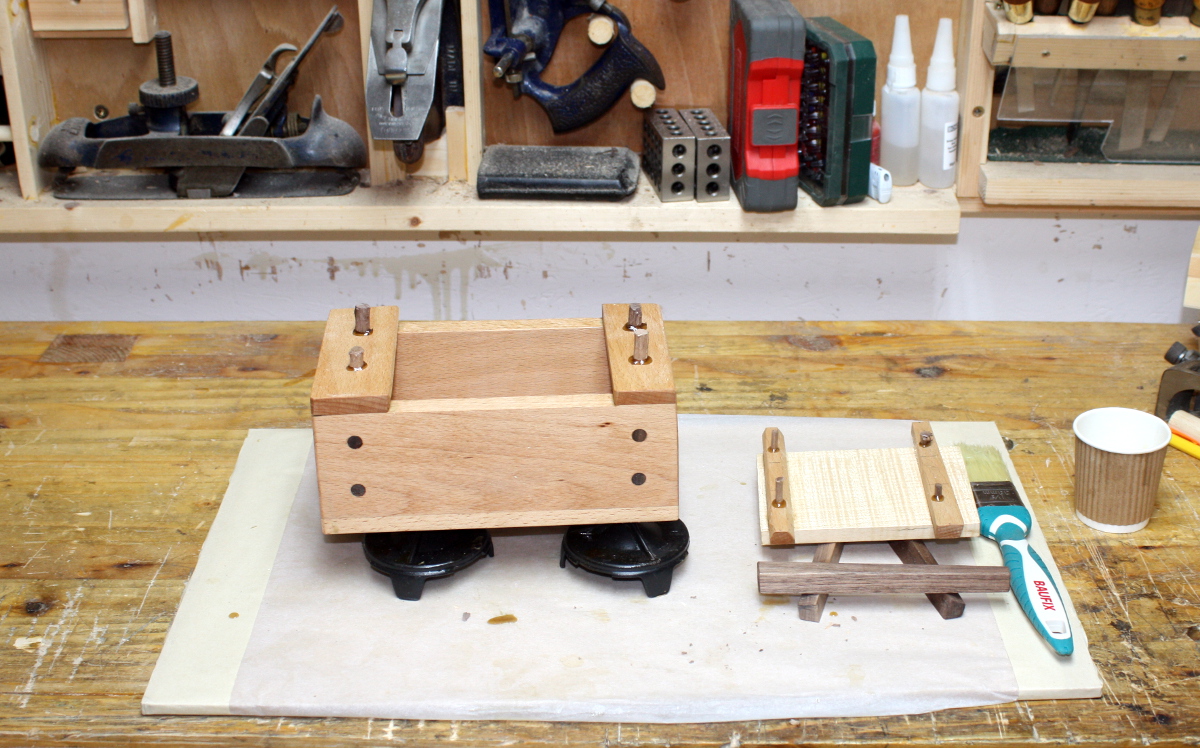
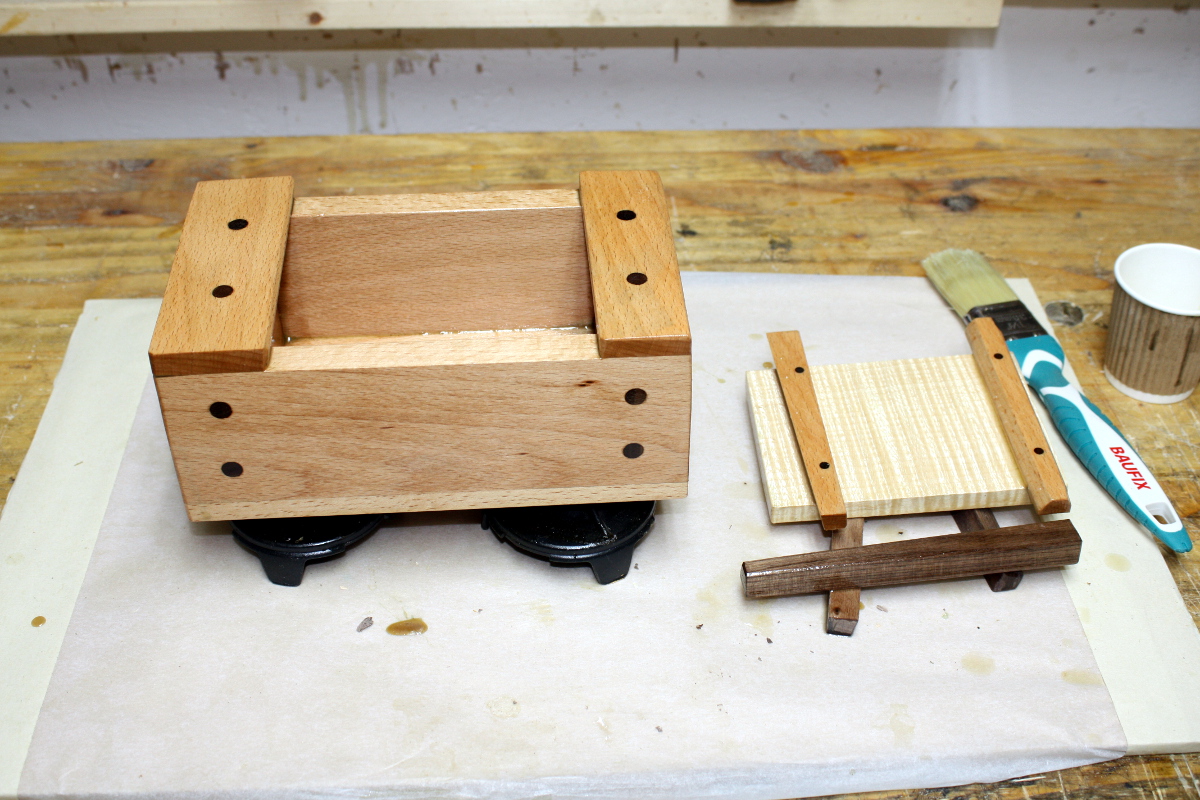
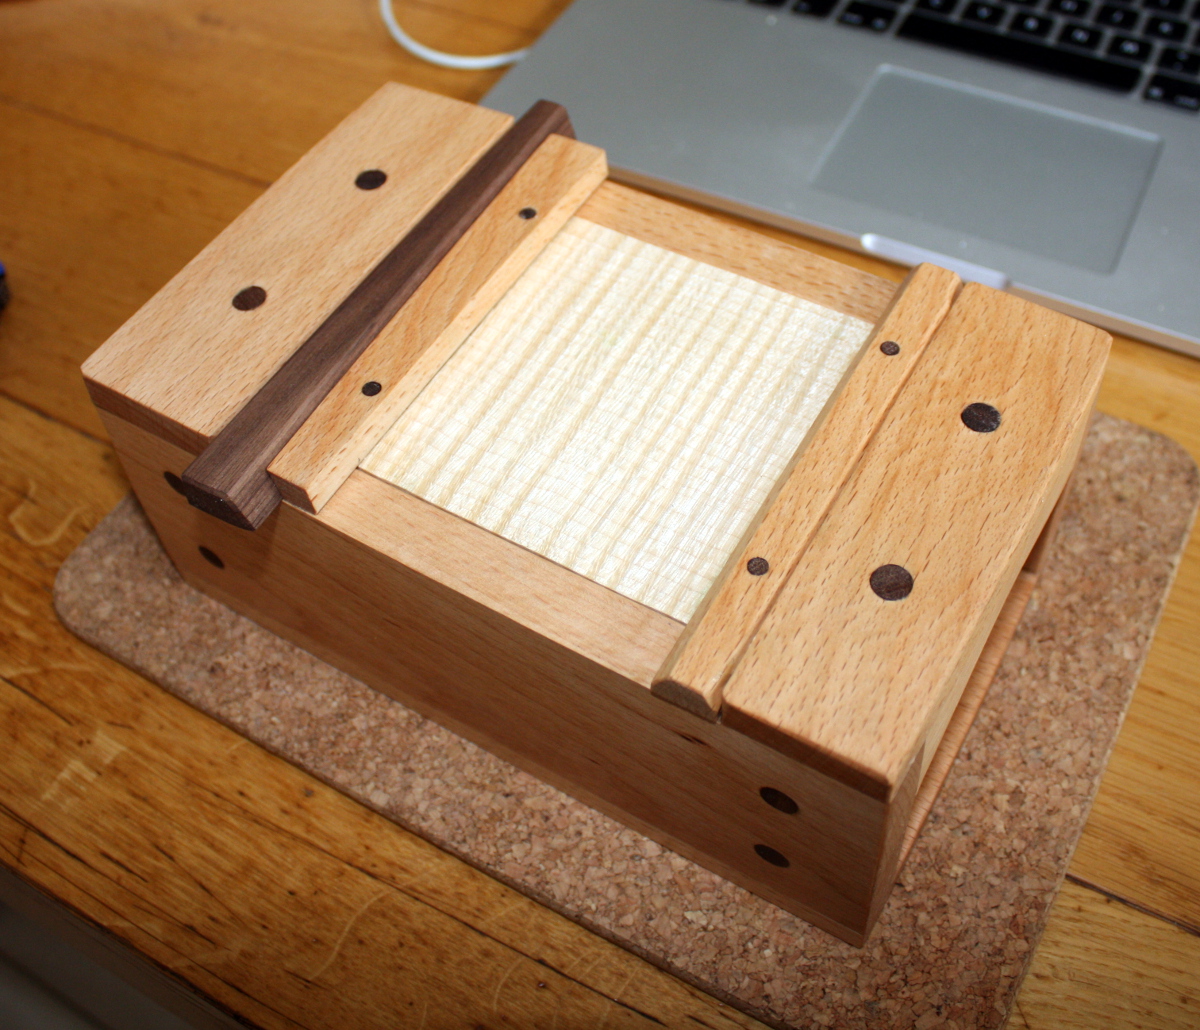
All glued up and finished with the first coat of oil&turps…

And then after it had had a few hours to dry, a test fitting…

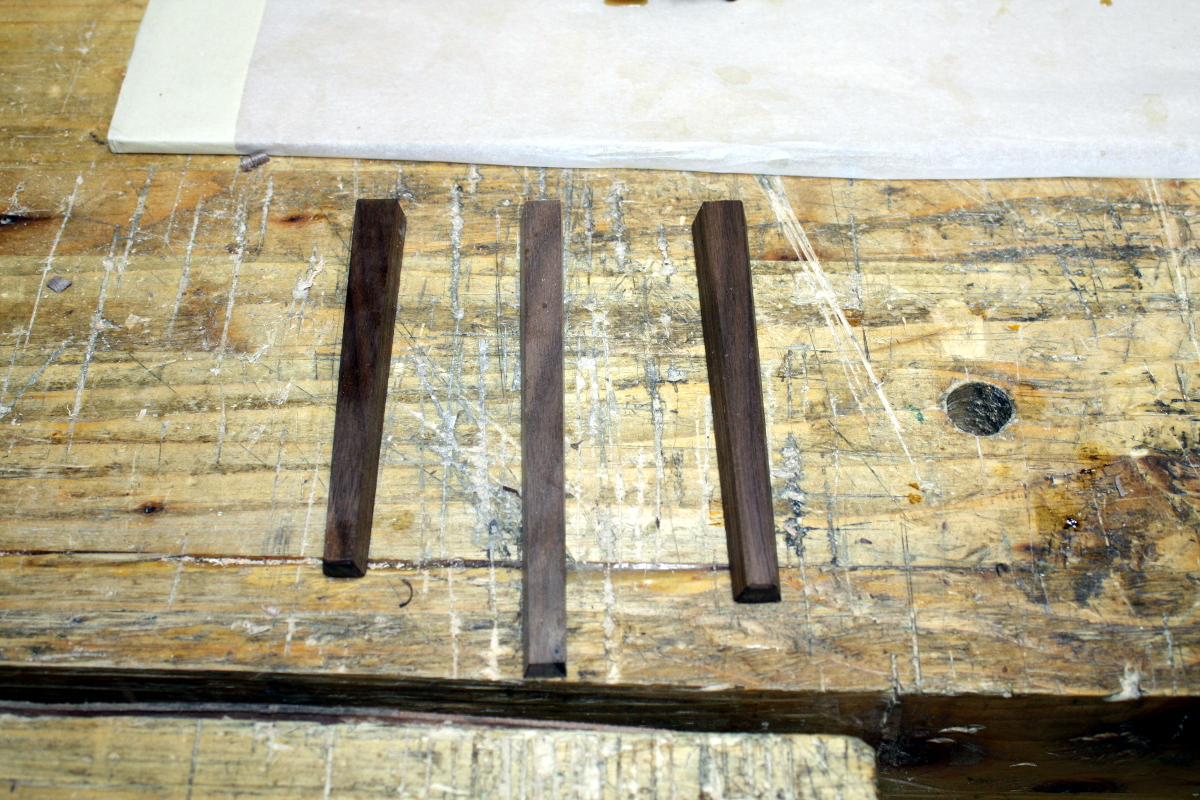
BTW, that’s the third walnut key I made. The first one I cut looked fine but by the time I’d pushed it in far enough to lock the lid, it was half-way out already. I re-cut it and somehow mixed dimensions up and had to redo the redo…

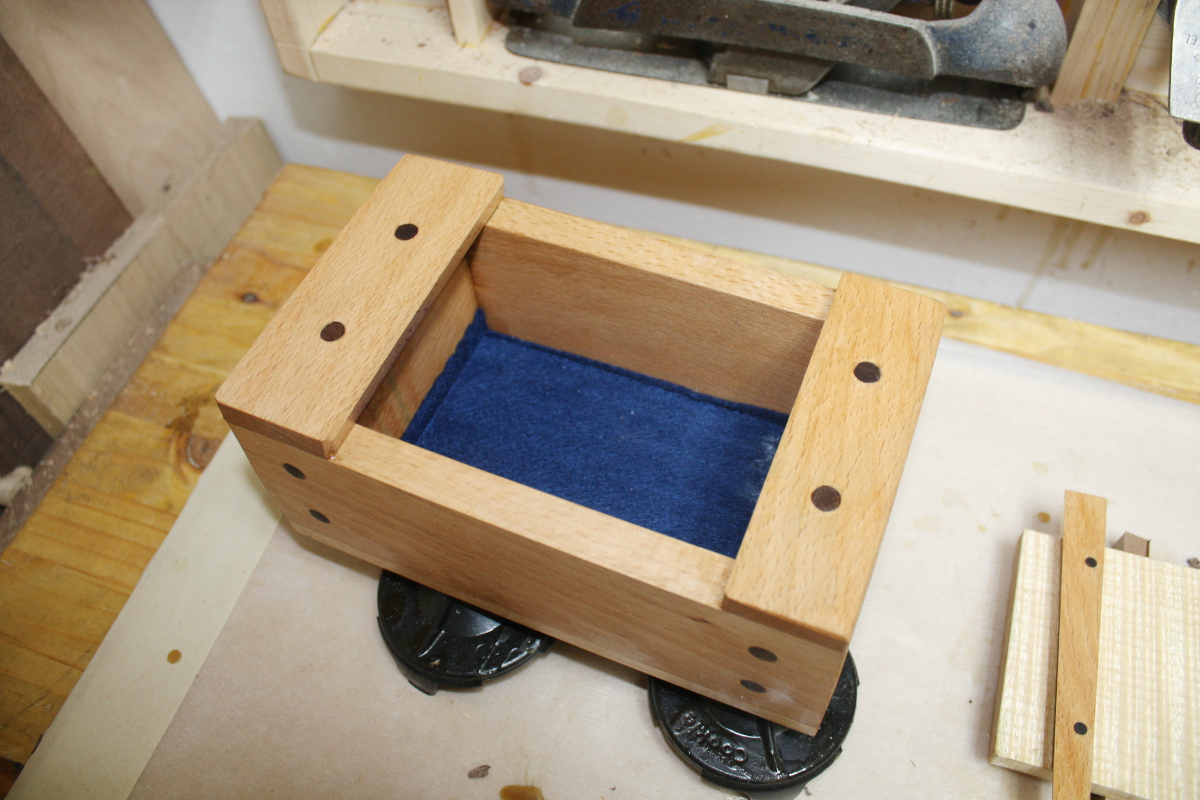
It was at this point that I realised I’d forgotten a step…

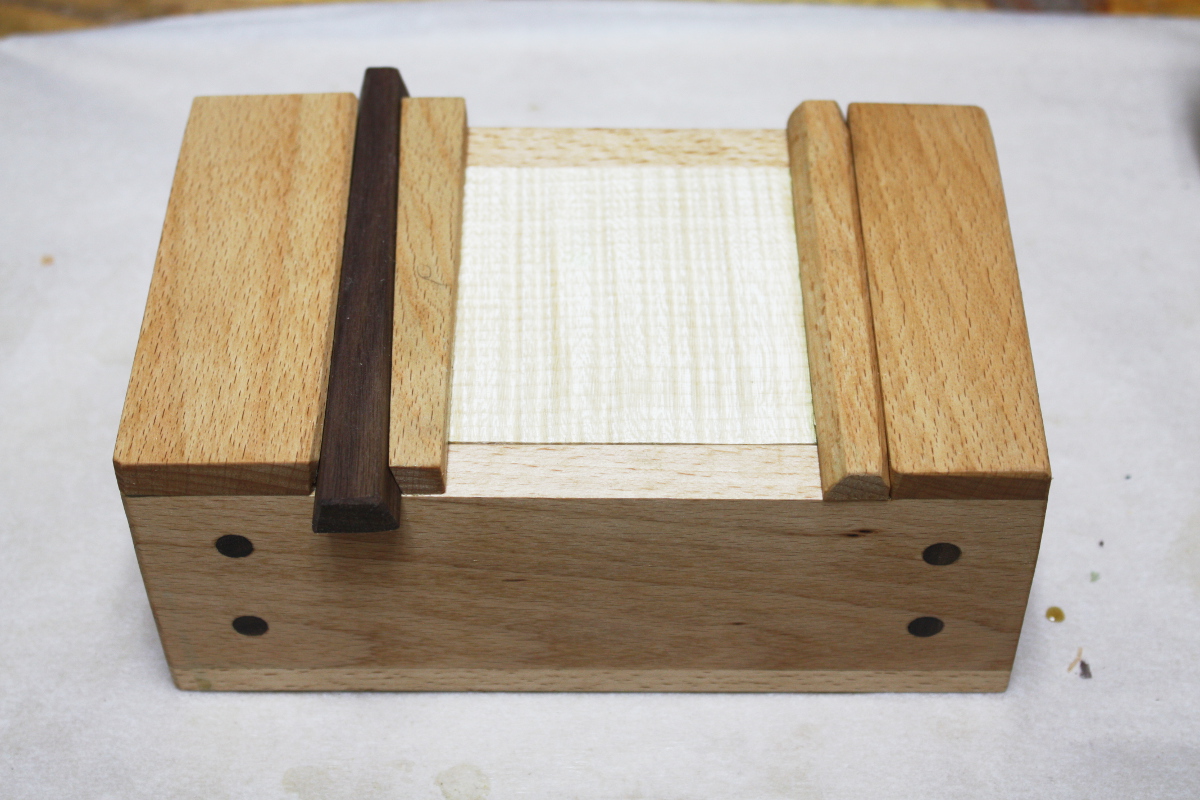
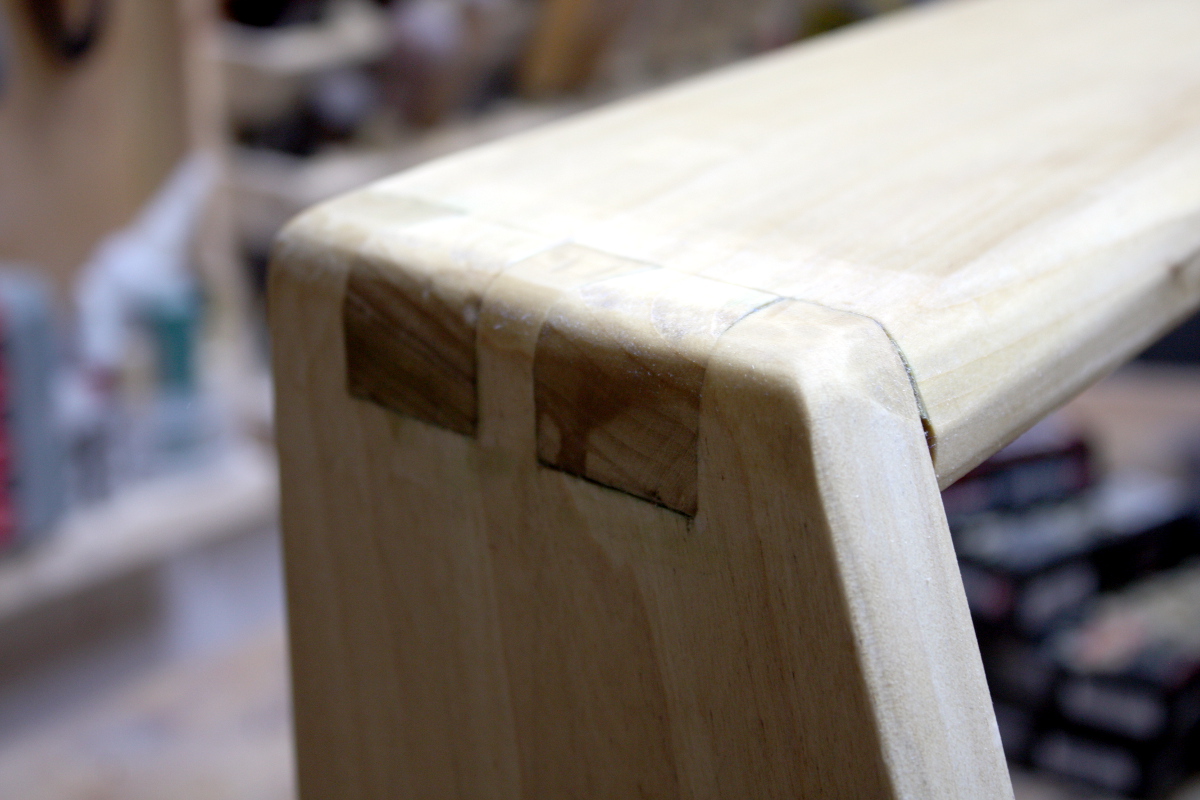
No pegs in the top. I mean, the glue would probably hold but the forces on the top pieces are all shearing forces acting across the lid so the only thing holding the pieces in place if you really shoved on the wedge would be the glue, and along what is probably its weakest axis. And I get paranoid about such things so…

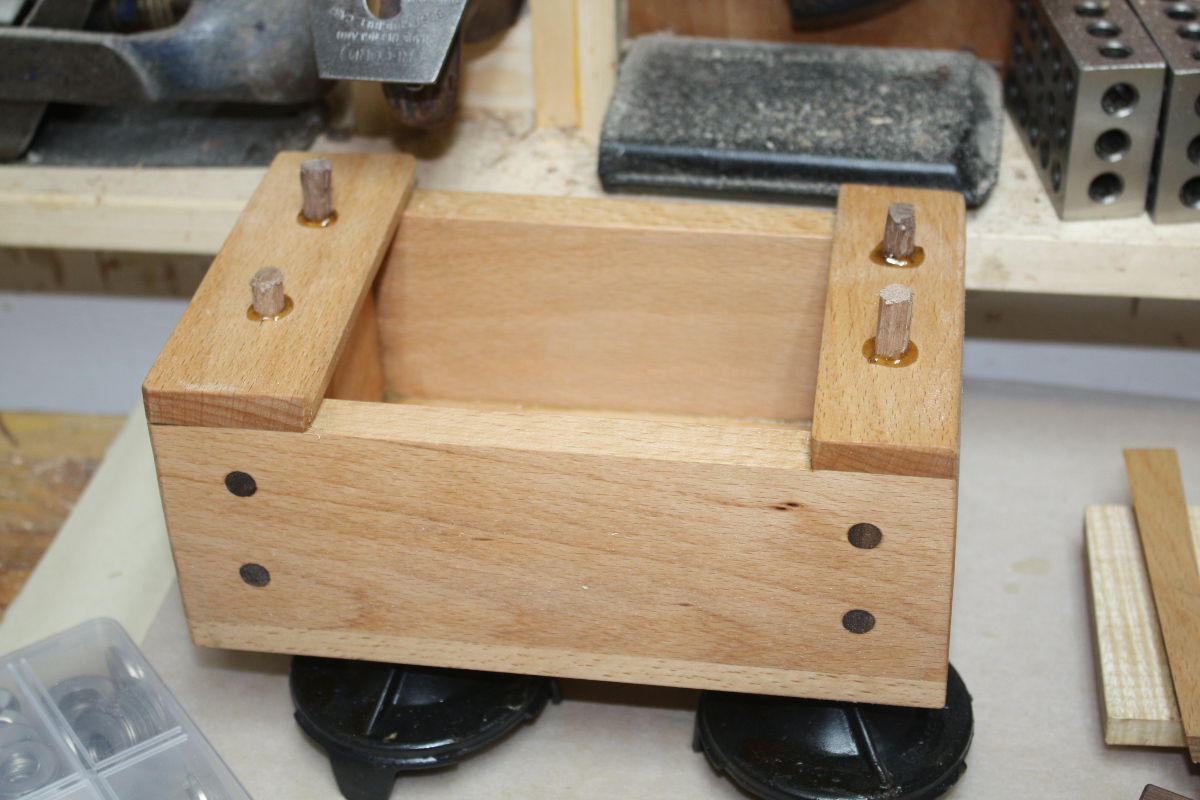
Yeah, I know, drilled right through the finish too. Oh well. Now the end caps are fine, the five-sixteenths size pegs there don’t come close to blowing out the five-eighths material, but the stops on the lid themselves are far thinner, so I needed a smaller peg, somewhere around an eighth of an inch or just over. And my dowel plate only goes down as far as 1/4 inch and worse yet, with small pegs like that, matching the peg to the hole gets more critical and all my drill bits are metric (the auger bits are all imperial but don’t drop down that far). I was going to use the Bosch drill for the lid because for small thin stock and small holes, you really do want some speed with the lidl-standard drillbits I have; which means the eggbeaters can’t really cut clean holes in small stock. Which means the pegs have to be metric for two reasons.

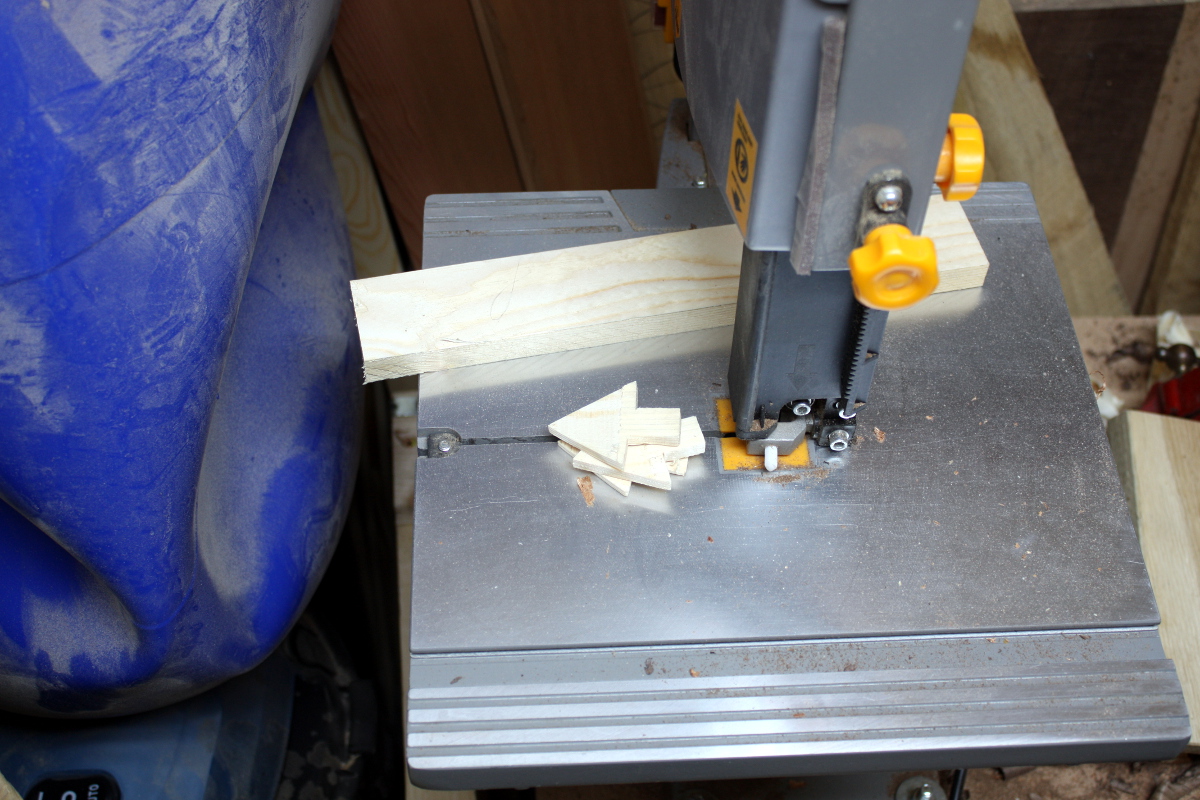
So… steal another Paul Sellers idea. Knock a few pegs down to 1/4 inch size, then whittle an end to a point and use washers as little metric dowel plates…
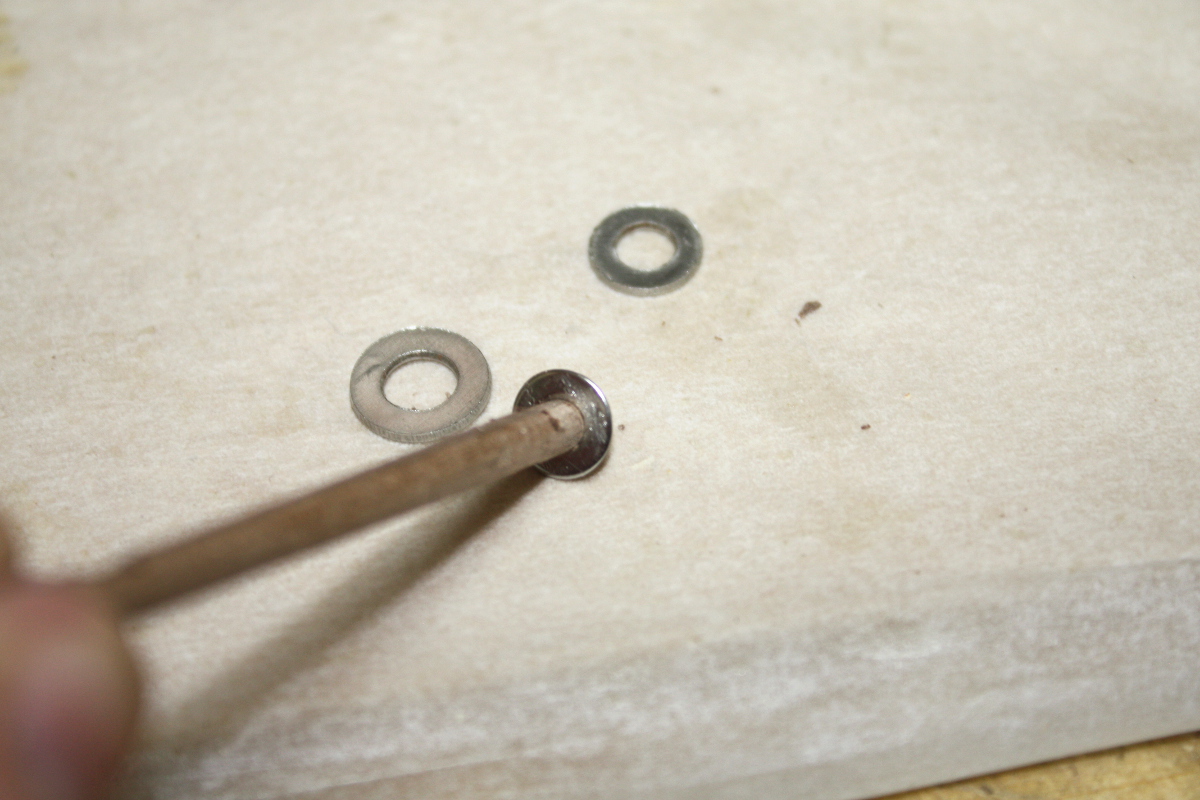
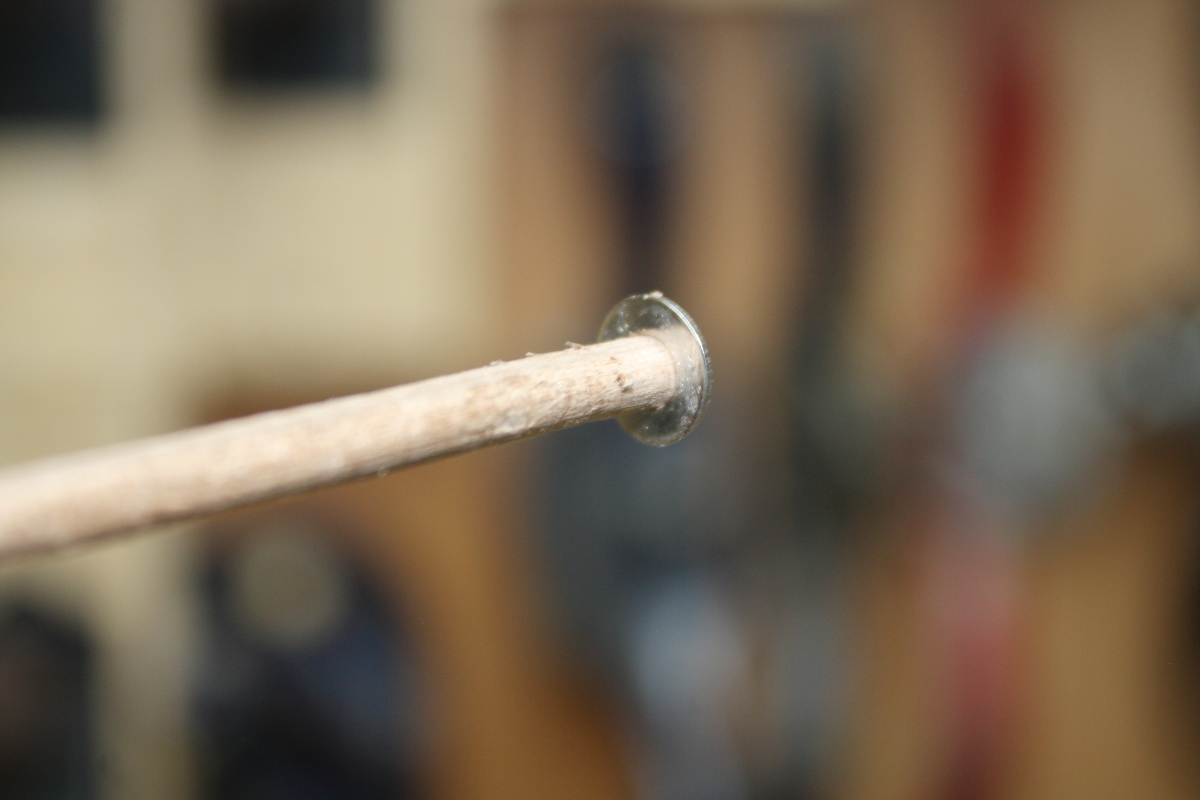
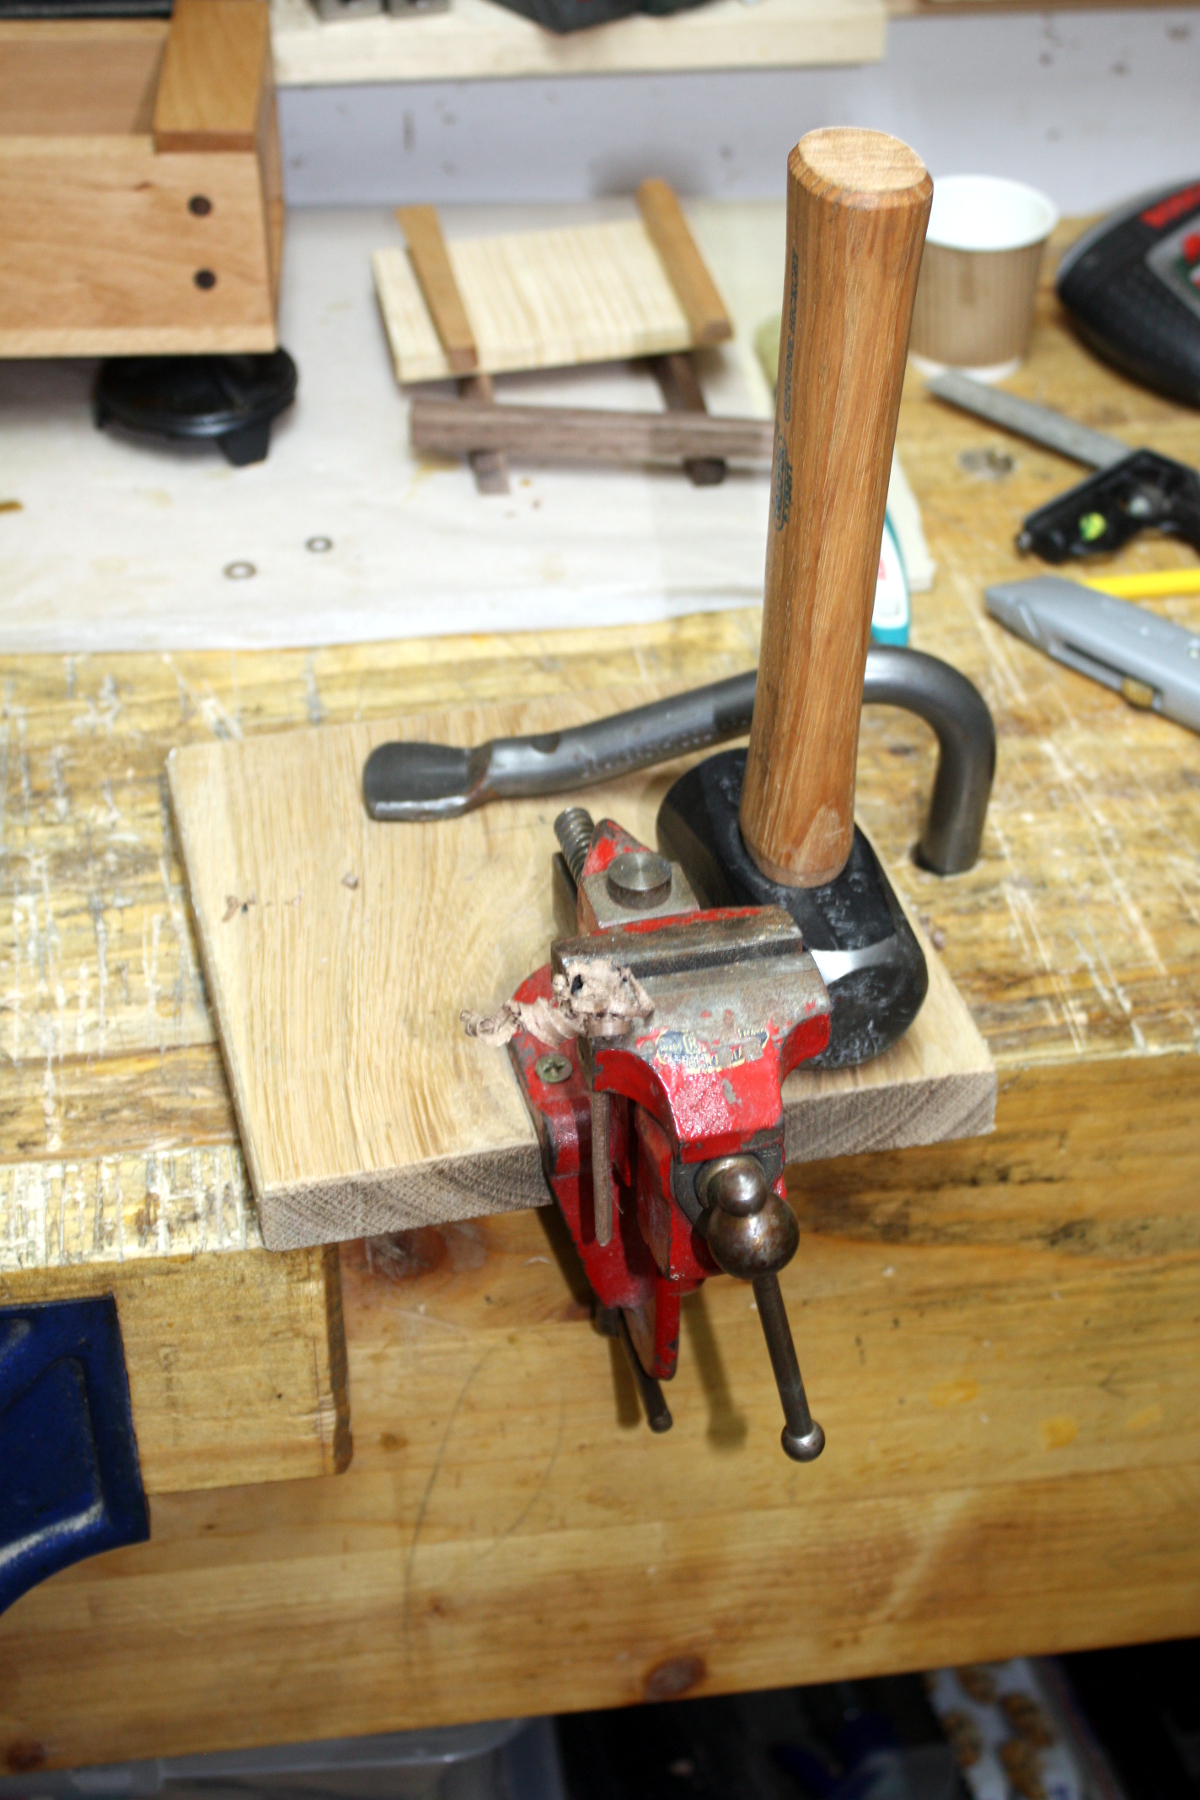
Tappy-tap-tap…

Also, the Record Imp earns its pay again! I had no other way to hold those washers well. Trying to use the dowel plate would have been awkward at best. Now just work down through the sizes, running through the washers a few times to get a reasonable surface finish before dropping down a size.

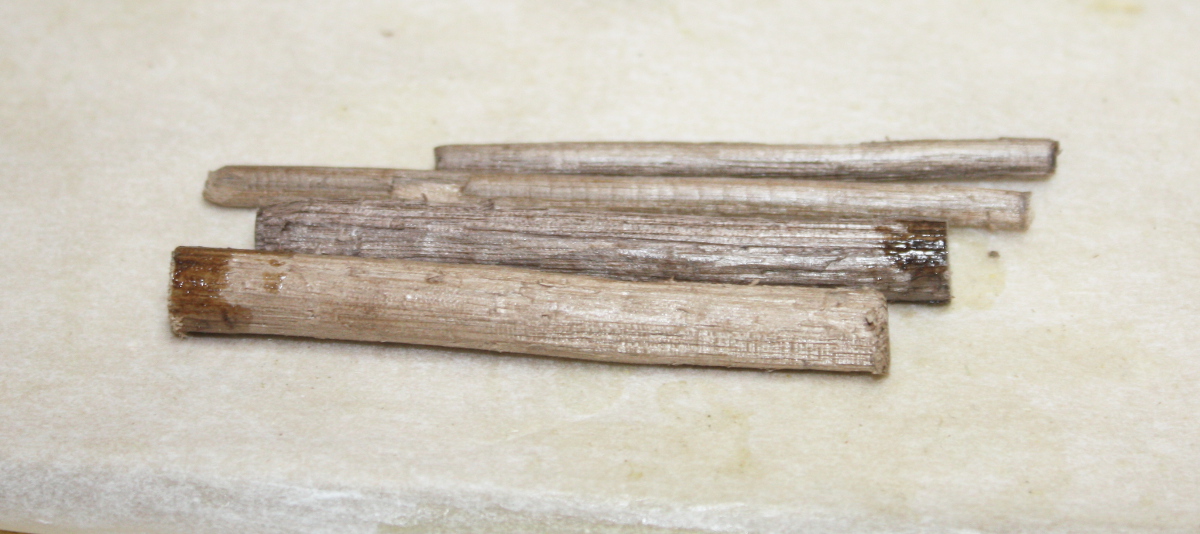
End result; not too bad. Mind you I broke three getting those two made – belting something that size through a too-small opening with a lump hammer is kindof a delicate task. If your alignment is off, the peg shatters.

Worked though.

Now, wipe off the excess glue with a damp rag and wait for an hour for it to set up enough and then…

Flush-cut saw, chisel, and then a pass with the #04 to get a smooth surface on both sides of the lid and on the end caps. The lid is a tad more delicate, but…

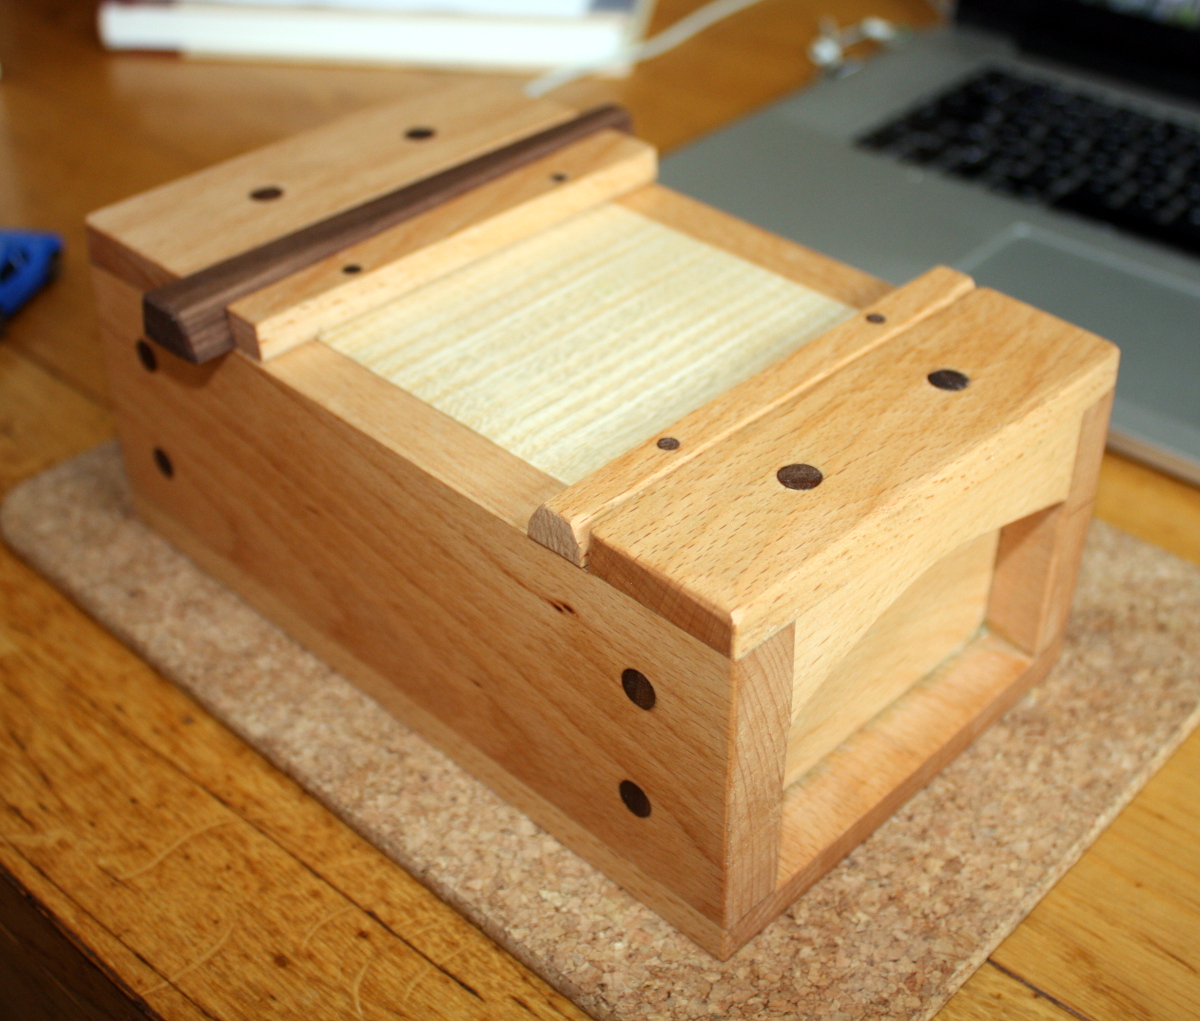
Not too bad. And repainted that first coat of finish over the reworked parts.

I rather think that the danish oil works well on that rippled sycamore. It dulls the whiteness, but the figure really does pop.

And some CA glue and felt to line the base and that’s it all complete. Just left it overnight for the finish to dry a bit more, then on Sunday morning while herself is off at a fun-run (don’t ask, I don’t know why those two words are beside one another, it makes no sense to me either), brought it into the house, buffed it up and gave it a light coat of beeswax paste (that’s beeswax mixed with turps) and buffed that as well.


And because you can’t give a box without some contents…


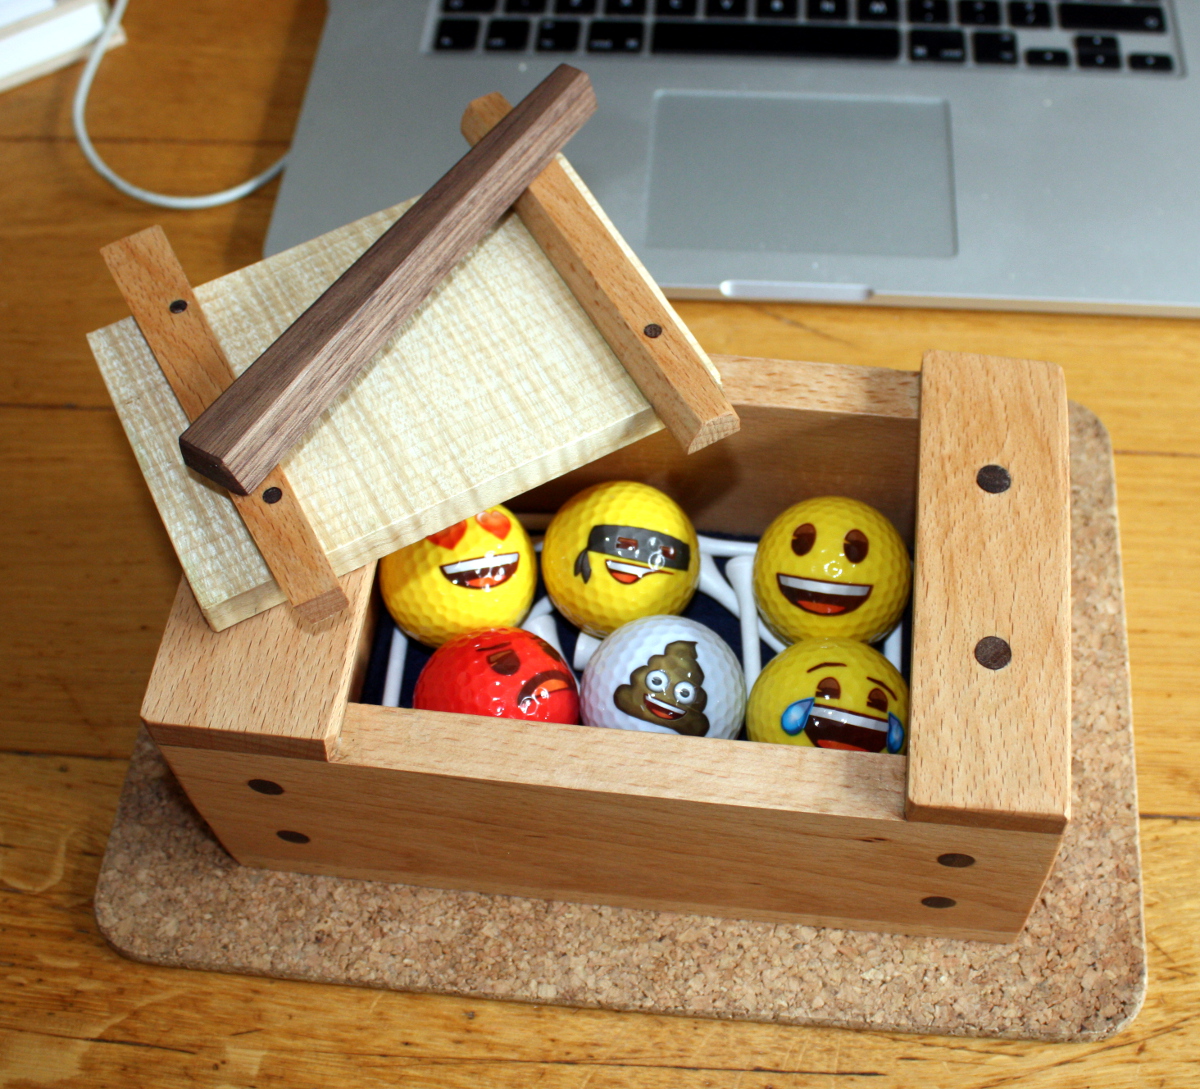
Happy Fathers Day Dad!


16
Dec 17

Post partum prepping

So, table delivered (yes, the recipient liked it). BTW, if you were wondering, it was a build-along to Richard Maguire’s video series:
In case you were thinking of buying that series, it’s well worth the money.

Today though (and yesterday) was all about cleaning down from the build (and carting away two rubbish bags full of shavings – not being able to burn wood here is a pain) and doing the dozen little jobs that needed doing like sharpening the wooden skew rebate plane I have here; going to use that in a build soon. And every plane had to get a light sanding with fine paper on the tops of the cheeks of their sides for surface rust (the -3C nights came with water vapour condensing on the cast iron) and then a fresh coat of wax. And other small jobs like that which had been backing up. I still have one more of those – building a japanese saw bench hook. I’m using a normal bench hook at the moment but for pull work, it can be a tad awkward because you have to hold the work to the fence. You can use a normal european bench hook if you hook it to the far side of the bench; but I think it’s a bit nicer if you attach the fence to the baseboard and drill through both and glue a dowel through both and down a few inches below the baseboard. The dowels then go in the bench dog holes and that’s your bench hook. Parts are set for that (I’m not sure I have enough dowel stock though) and I’ll get to it probably tomorrow.

The rest of my time has been spent on stock prep. Bit of resawing and flattening and ripping yesterday and prepping some blanks for bandsaw boxes. So walking into the shed today it all looks fine…

…and then you turn to the right to look at the staging area…

Ah. Right. So that’s four more side tables (or at least the raw material rough-cut for them) and then on top of that all the finishing jars and glues and screws and my plastic box of off-cuts. Those are only the bits I could use for things by the way (I’m resisting the packrat urge to keep every scrap of wood I cut off a larger piece on the grounds that There. Is. No. Room. In. Here), so resawn pieces that could be used to make small boxes or chunks that could become bandsaw blanks (not many of those left, I picked through the box on Friday to make up some blanks), or the cores from bandsaw boxes (which can get used for things like feet or drawer pulls or whatever).

Tucked behind the plastic box are the panel gauge and the dovetail alignment board, and on top of the box is where I stash all the component parts of builds in progress (and a lot of sandpaper at the moment because I haven’t found a place for it). So there’s five glued-up blanks, and the component parts for six other projects in the pre-joinery stage.

Blanks drying outside along with a bandsaw box that’s almost ready.

Two coats of danish oil in; going to do a coat or two of shellac yet and attach the hardware (it stands vertically and you use it to hang necklaces) and some felt in various spots. First box made using the new sander. It’s not that it makes it better so much as it makes it easier to do some things because you’re not worried that trying them will immediately remove a finger. More photos later.

And this is a quick test of a Paul Sellers idea for a project to do with the kids:

He made his using a razor-sharp chisel; I won’t be doing that with Calum 😀 The project works just fine with saw and bench plane 😀 With a bit of luck, that’ll keep him occupied for the guts of an hour and he can make one for his teacher.

And then I have two more projects to prep for, one in beech and one in poplar. This phase always seems to make me long for a powered planer thicknesser, can’t think why…

Can you tell what it is yet?