A few hours in the shed today that felt productive (it’s a false positive; it was just that a few end stages happened at the same time). Started off with the final fettling of the carcass for the locker and then smoothed all the interior surfaces and rounded the corners I won’t be able to readily reach after glueup.
20 minutes with #04 and card scraper and we’re ready to glue up.
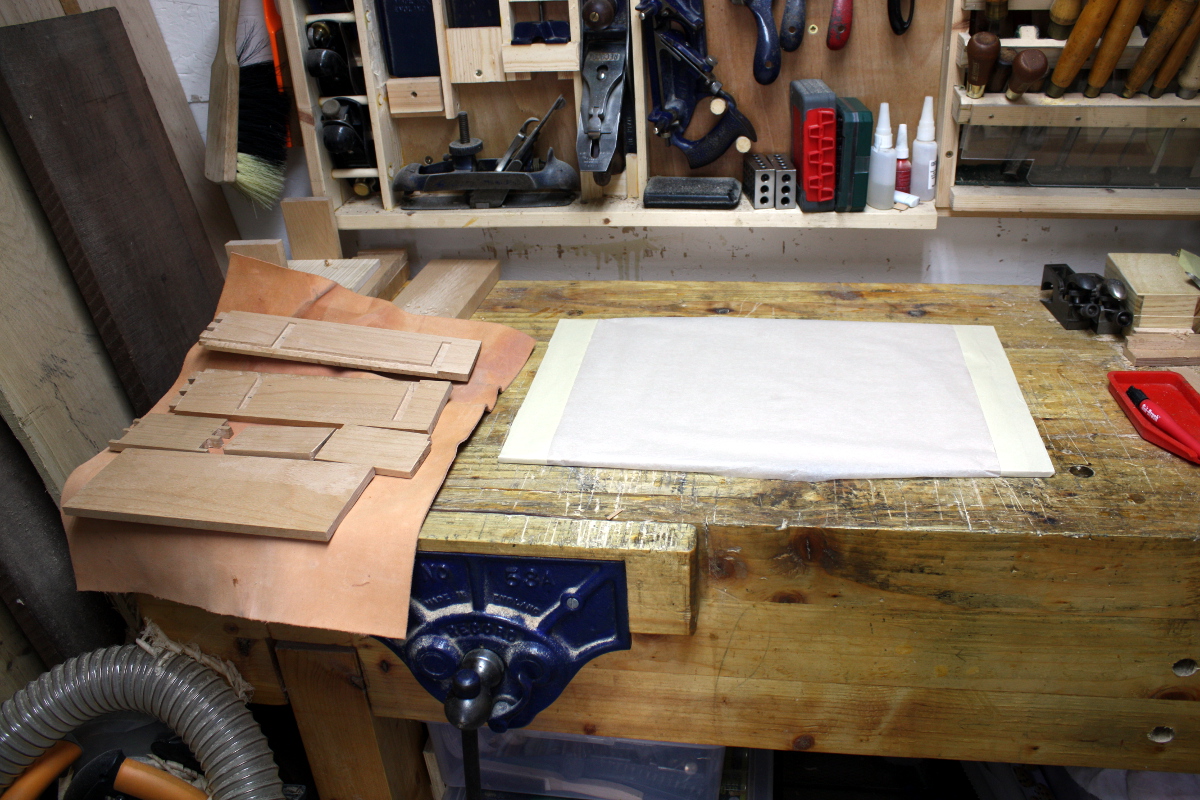
Prepped an mdf surface to assemble on…
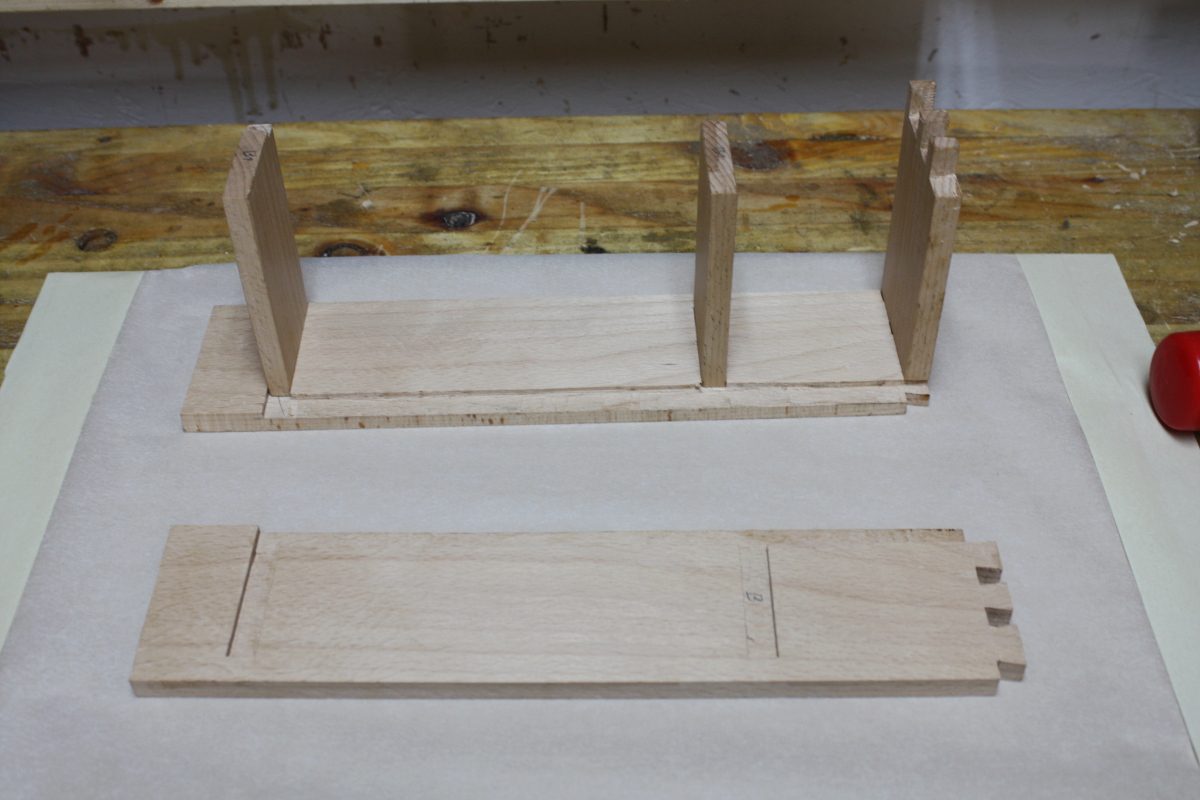
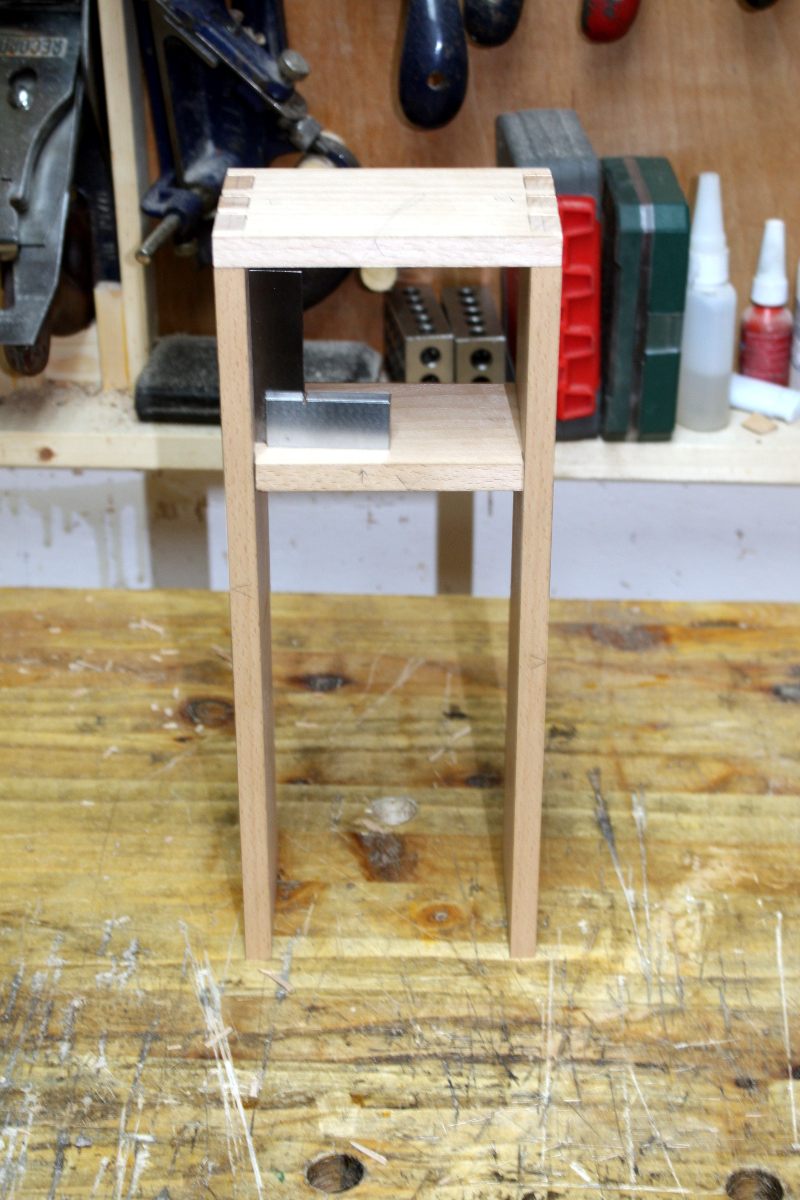
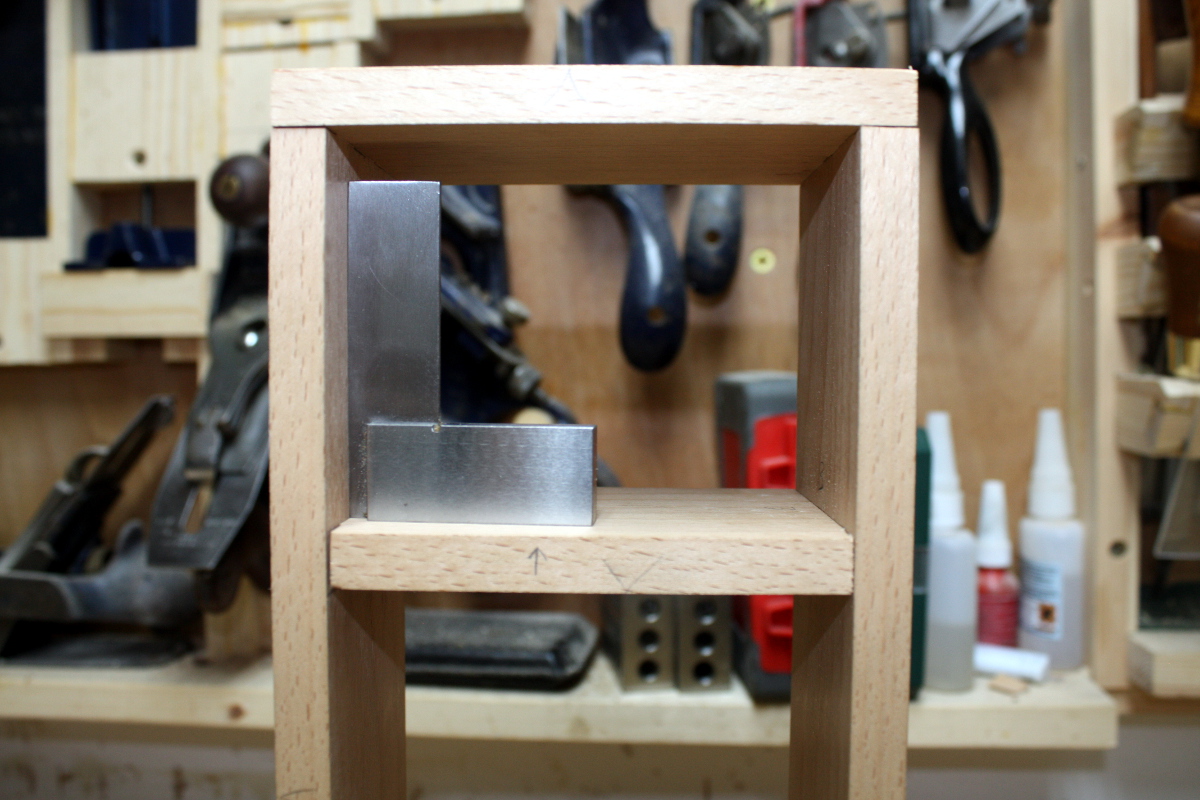
Final dry run…
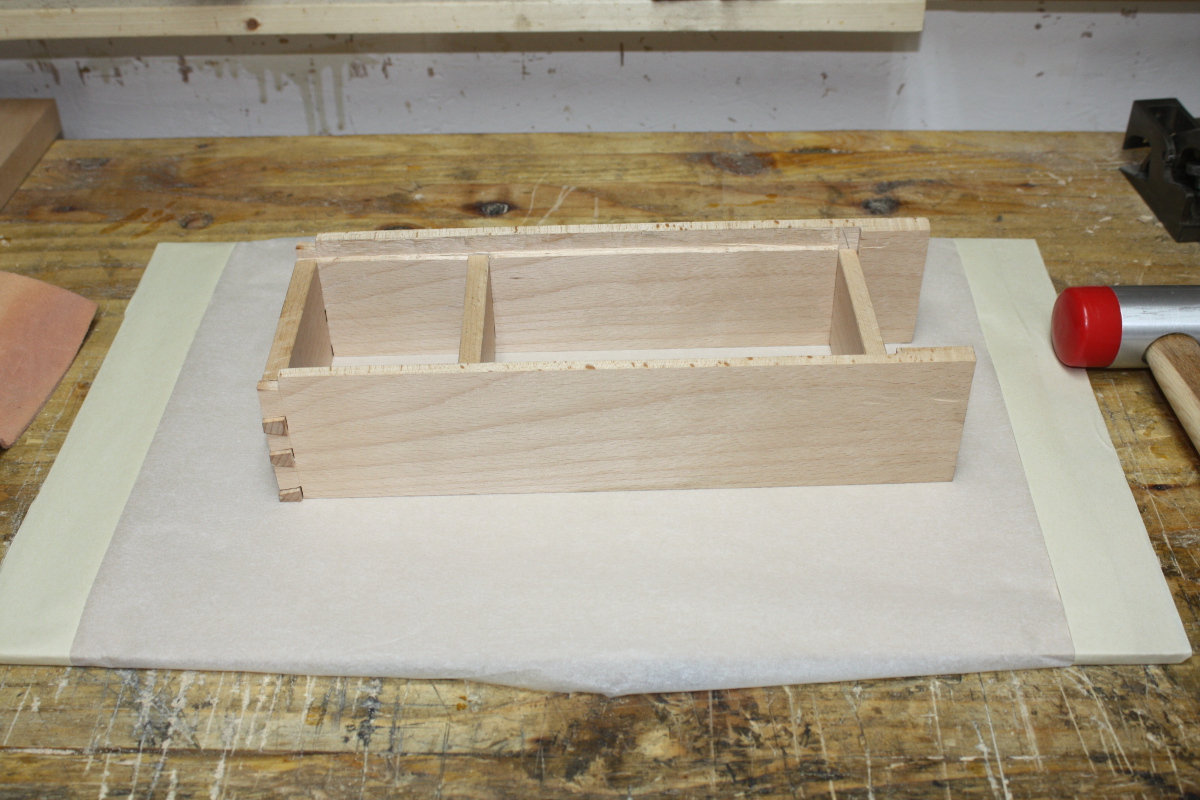
Okay, looks good, knock it apart and start the glue-up.
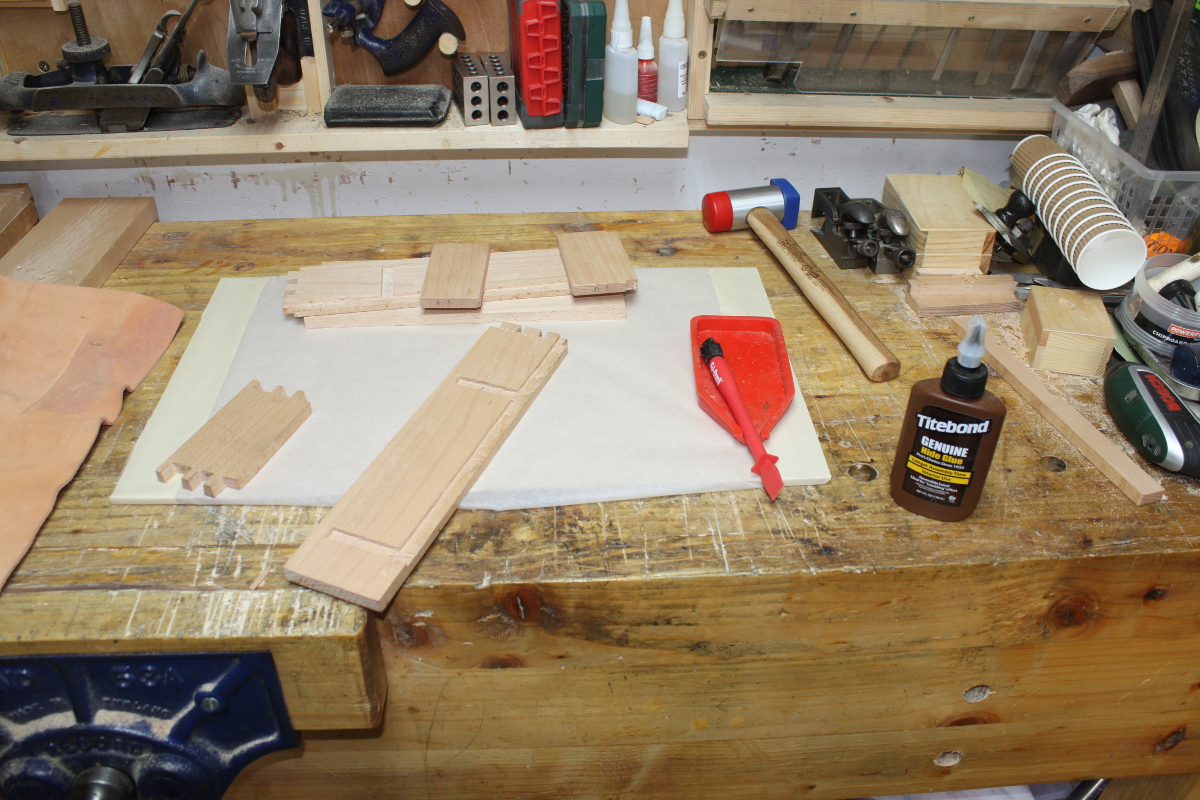
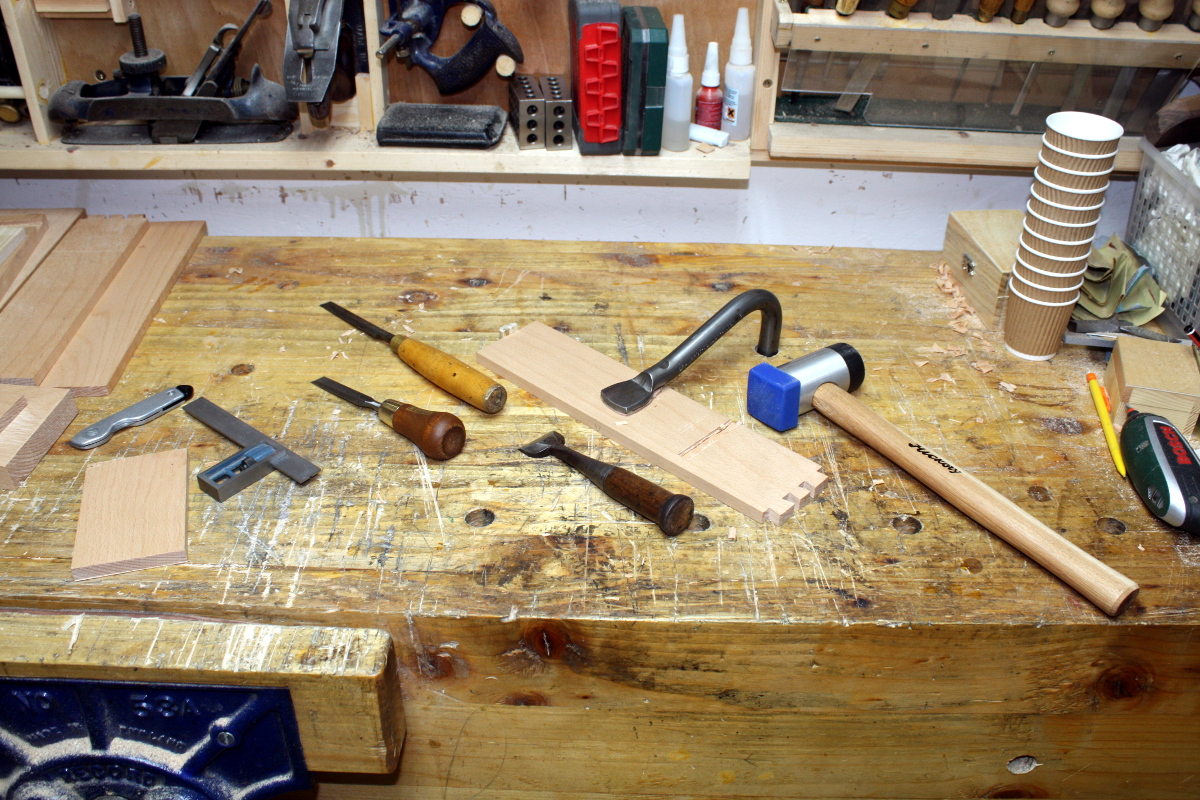
Mise en place is as important in woodworking as it is in the kitchen…

And that’s the carcass glued up and left to cure (the back’s not glued on yet).
Then it was time to fix the bandsaw. I got some 120XL037 belts from RS (they didn’t have 124XL037, but the motor’s on an adjustable mount so I should be able to get away with it…)
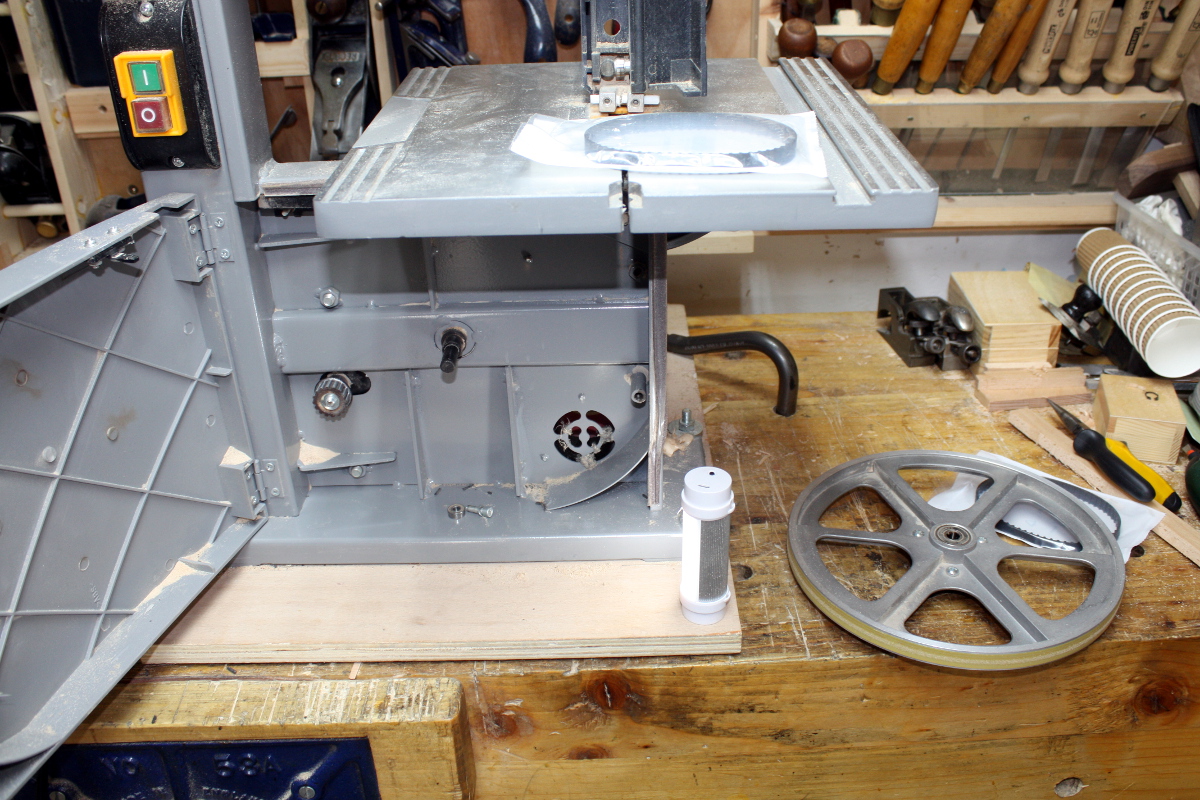
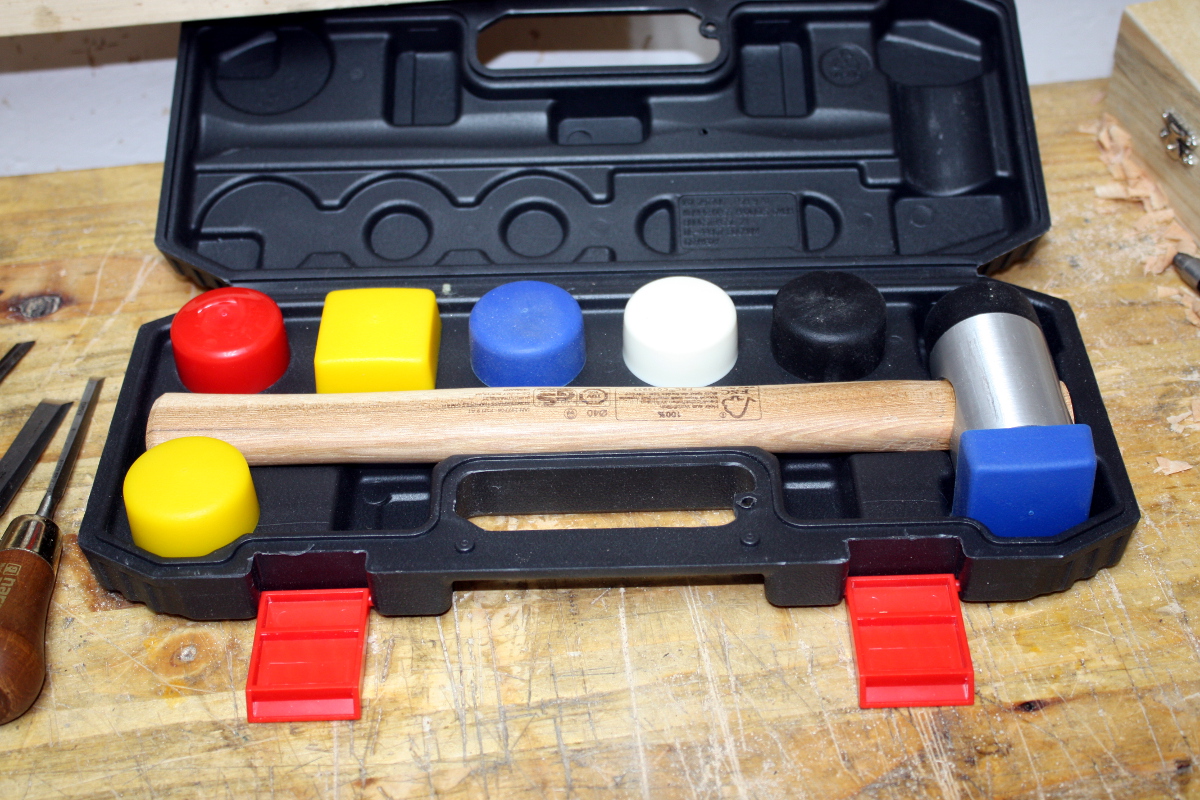
Found there’s a tool I could use…

Circlips are a bit of a pain without the appropriate pliers. Bit fiddly. But managed not to break it which was good.
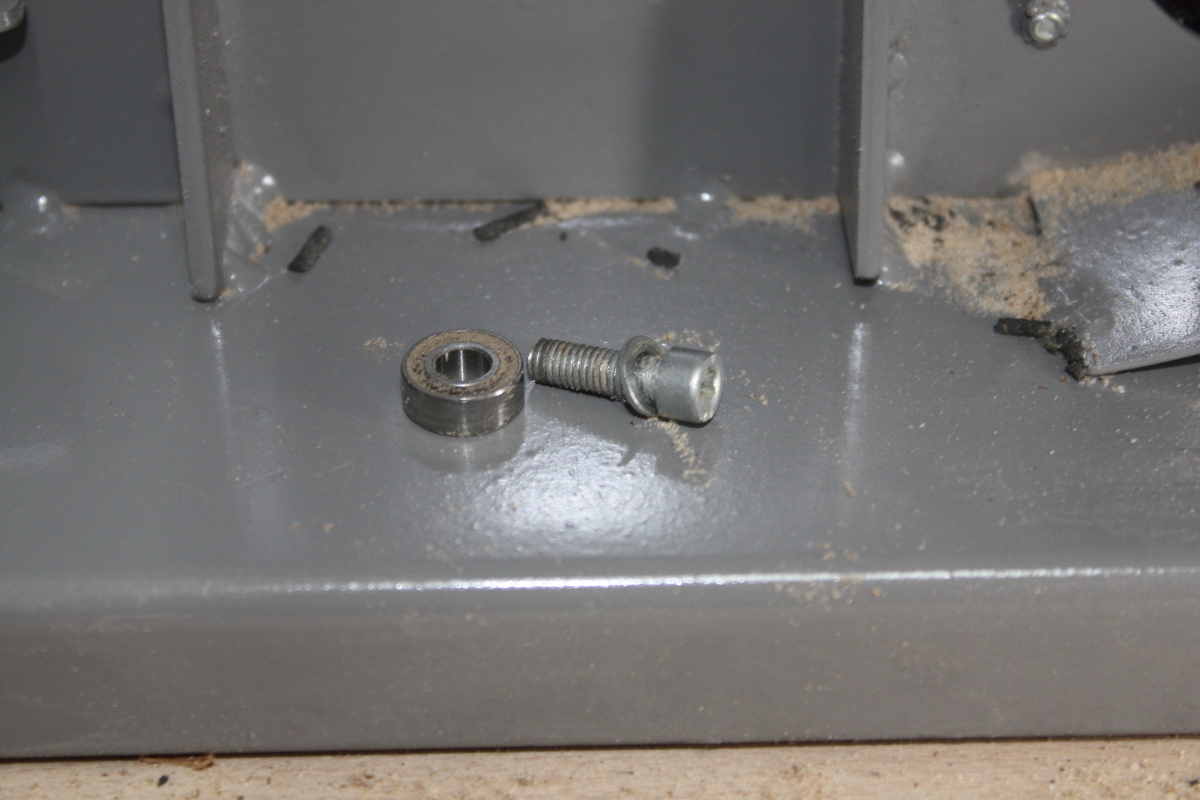
Then found these on the floor with all the sawdust and the teeth from the last belt. Took me a minute to recognise the lower thrust bearing from the bandsaw…
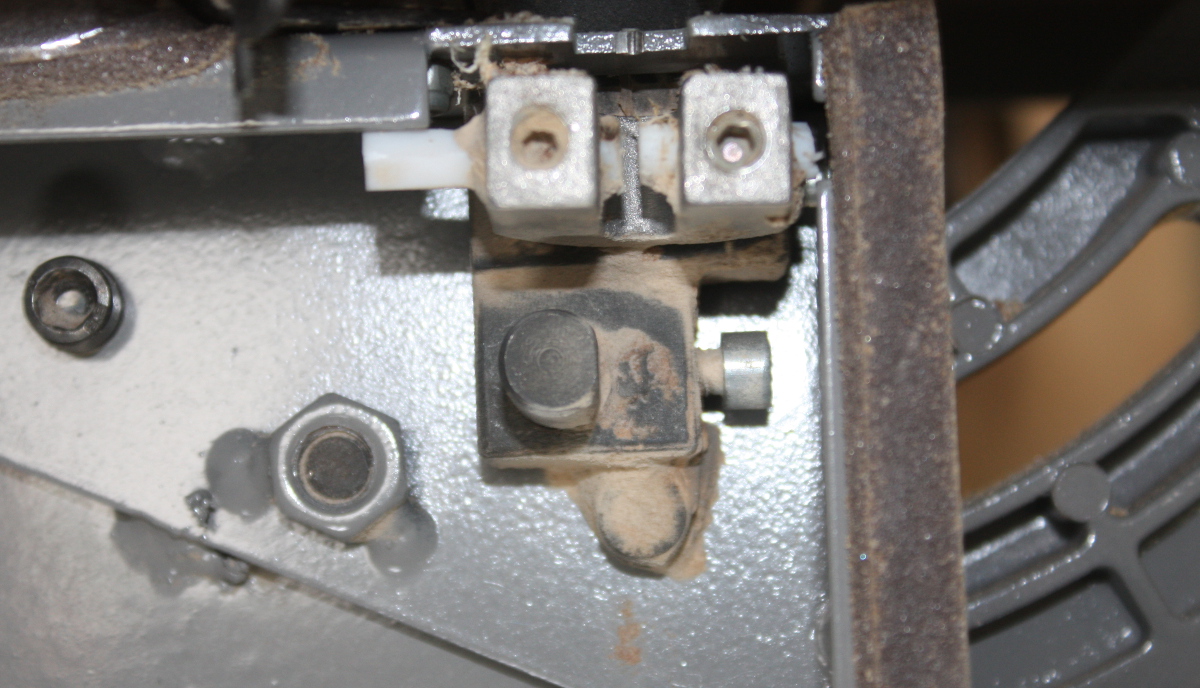
Must have come off during the resawing. That’s not exactly reassuring. Remounted them, and added it to the list of things to check.
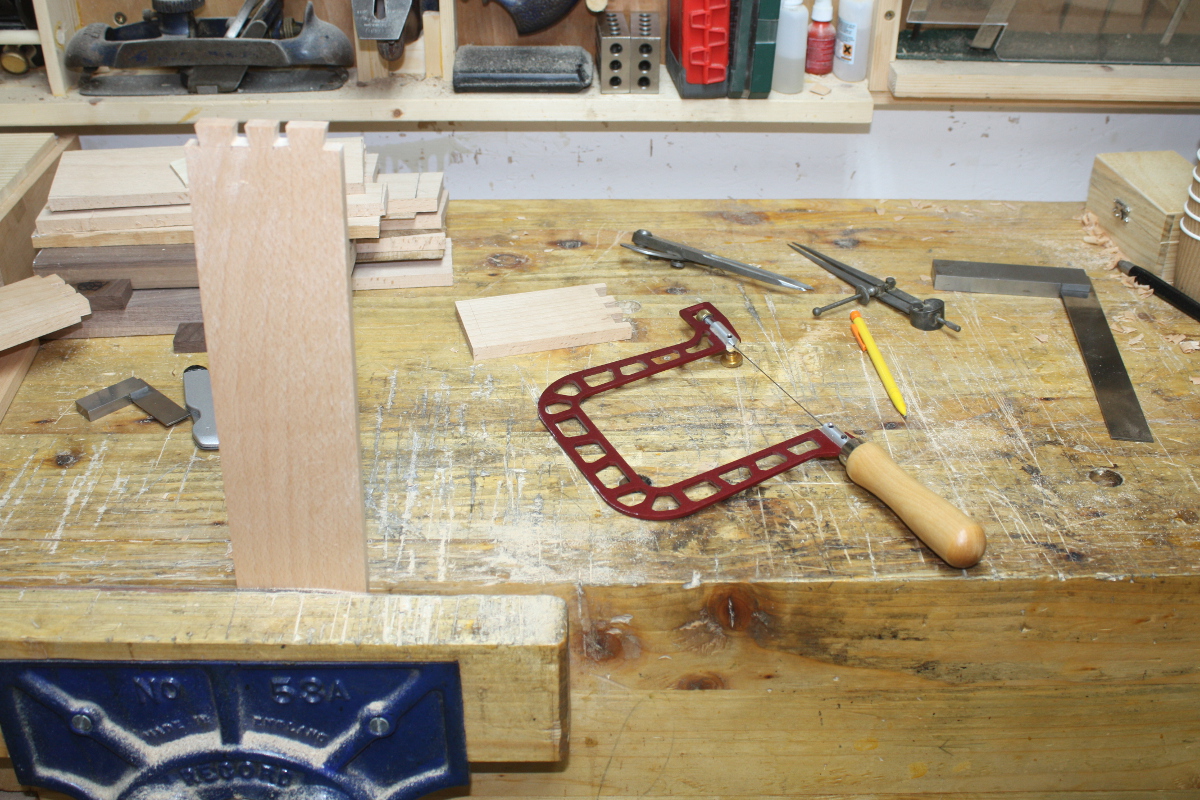
Fitted the belt, put the wheel back on and tensioned the belt and locked the motor in place, put the blade back on and tensioned that and got everything all set up, then ripped down about five feet of beech from 150mm wide to half that (I’m planning on making a few small boxes and things with that), planed edges on all of the ripped sections (1×1′, 2×2′) so I could resaw them (hence the 73mm width, it’s the max for the saw), set up the fence for one board to resaw it to 1/4″ and 3/4″ pieces and resawed that down to size. The japanese toolbox idea I was playing with needed to have new edge pieces cut. I had tried to cut housing joints by saw and, well…
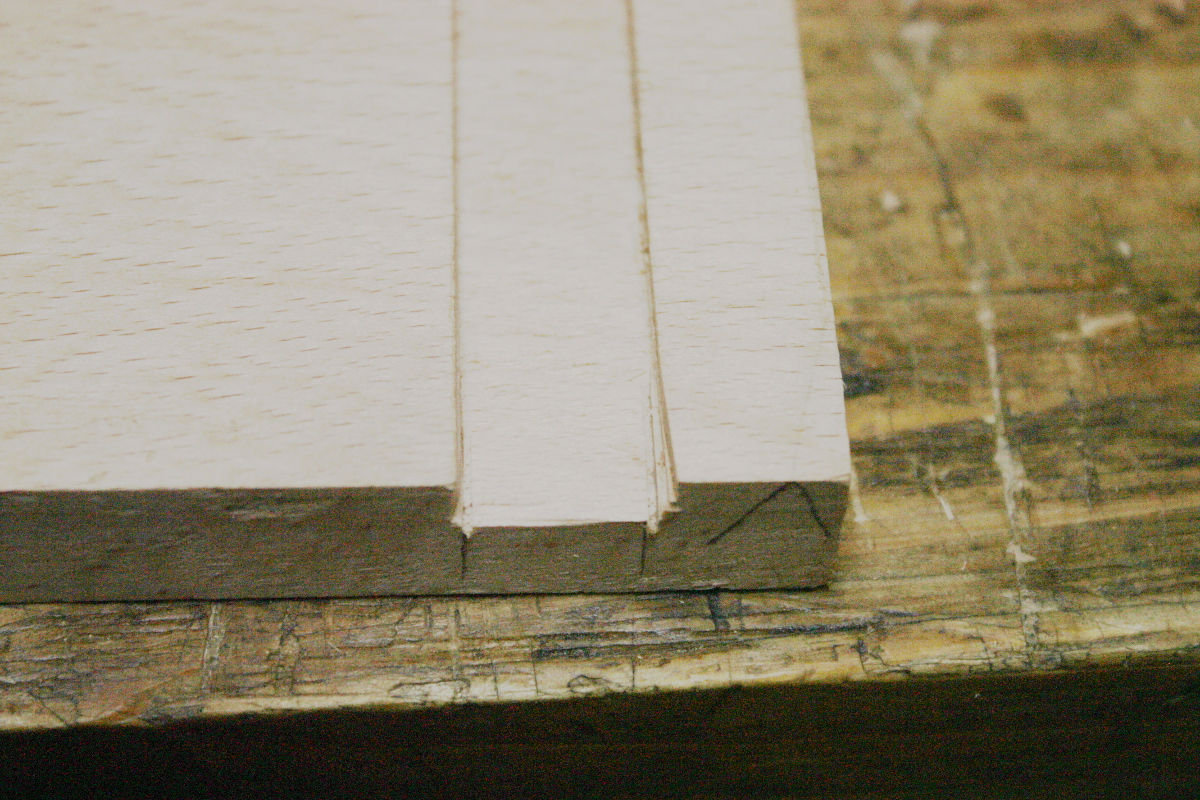
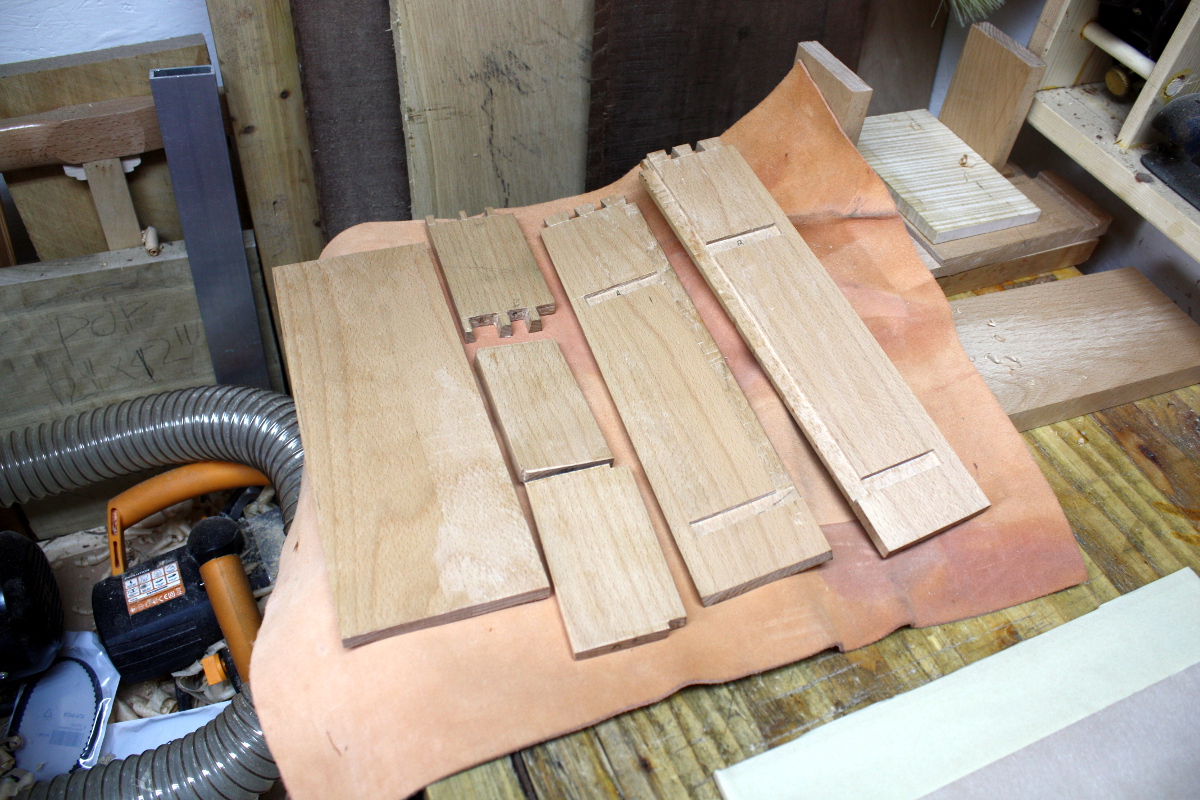
Yeah, don’t do that. Left a massive gap I couldn’t have hidden. I’ll probably slice off the bits with the joints and use the center section for the lid components or the handles.
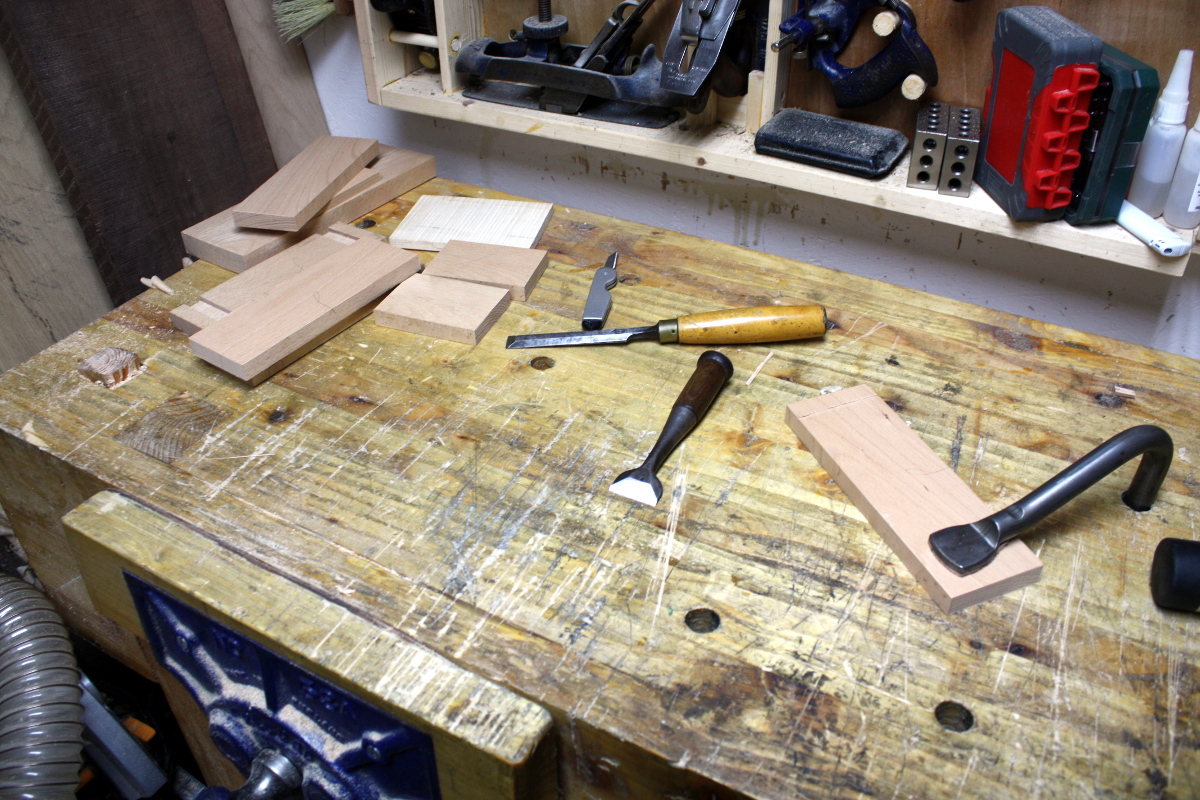
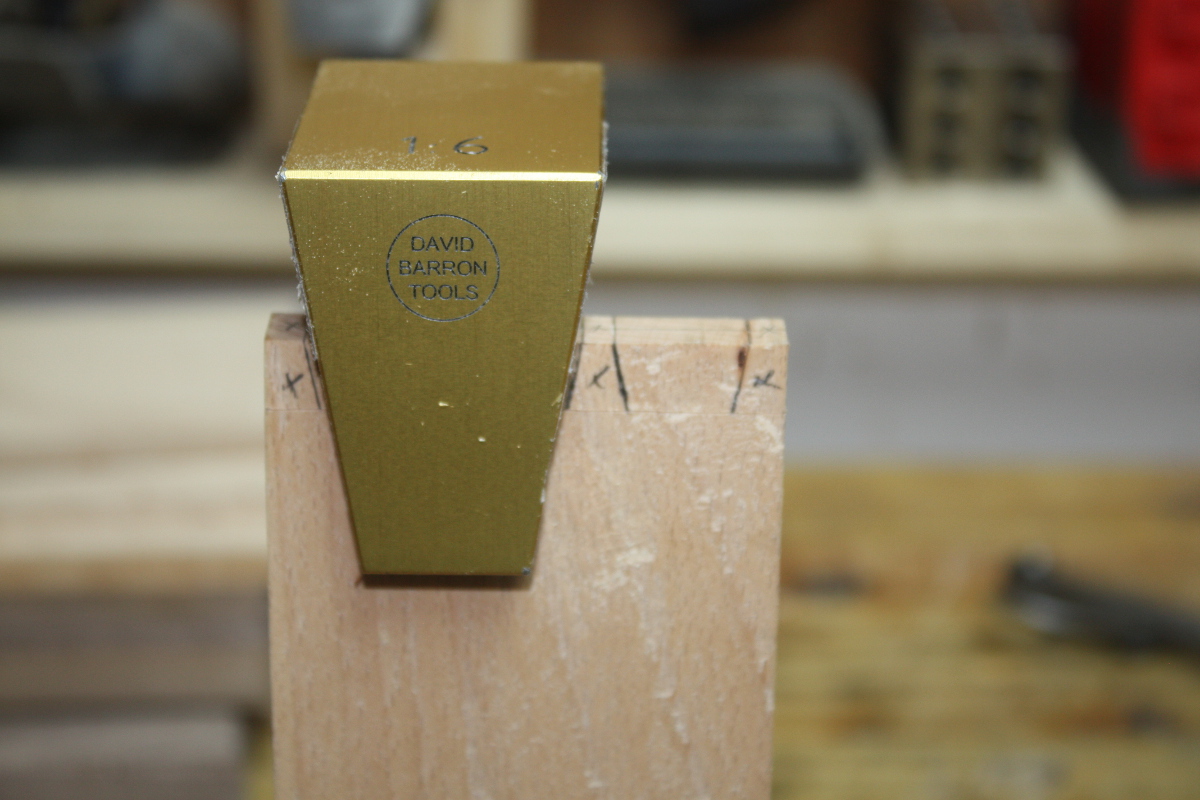
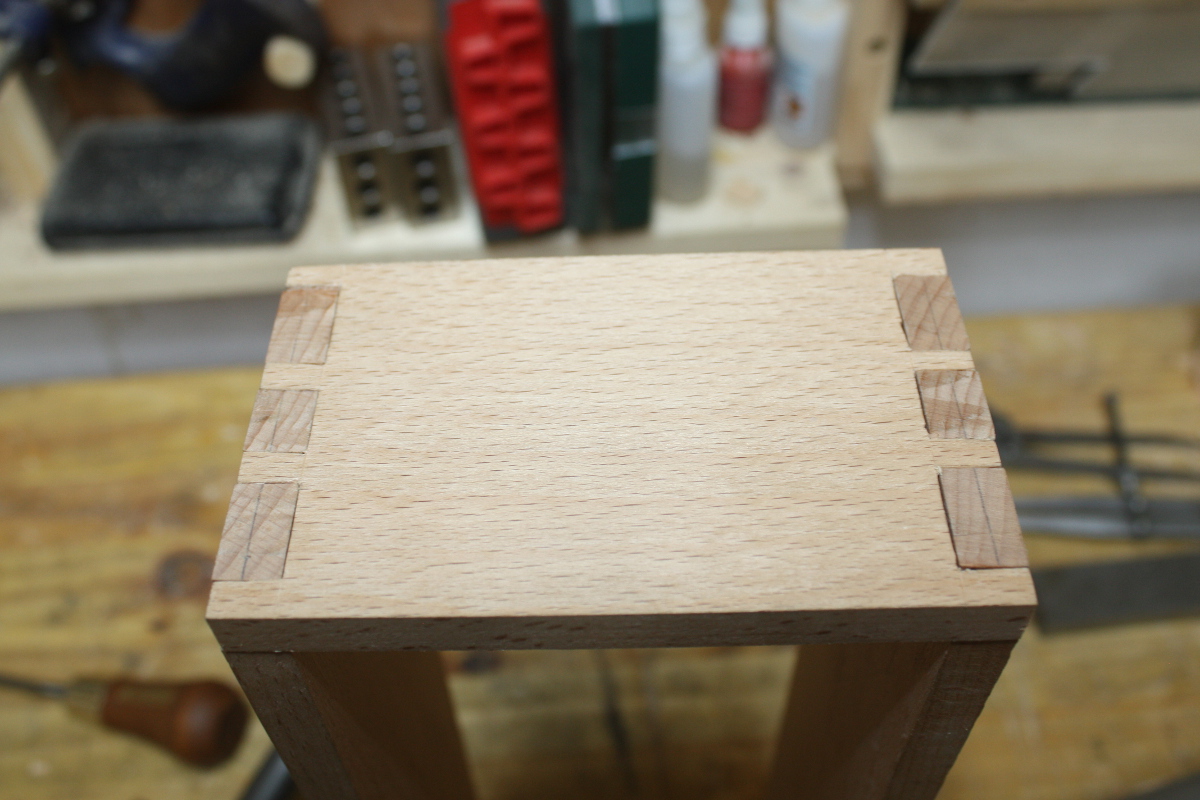
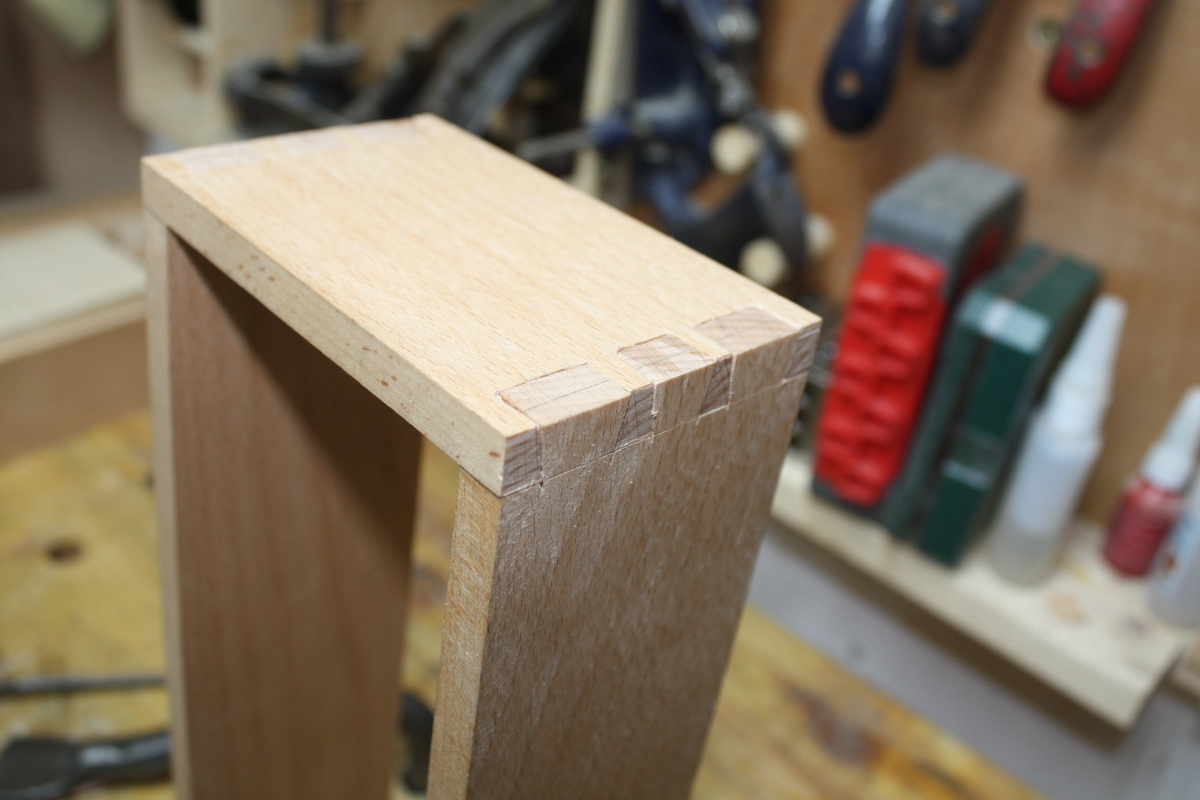
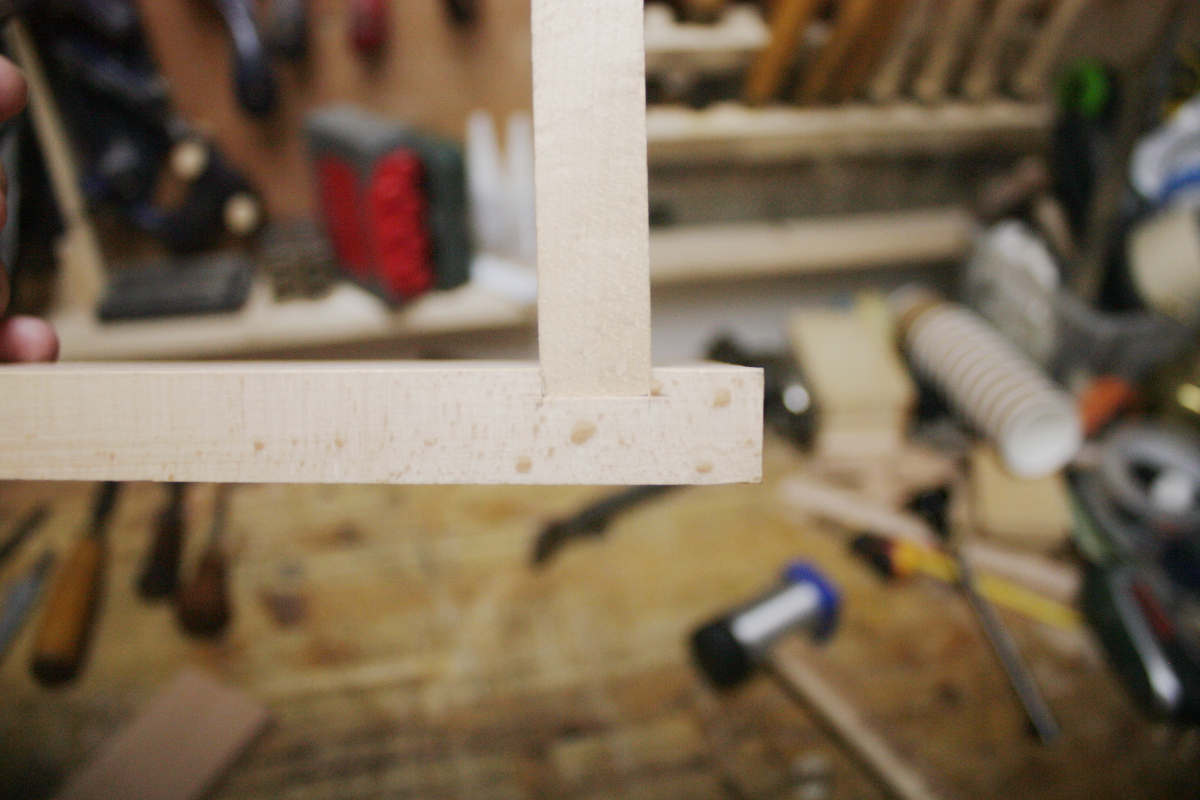
First, cut new housing joints on the new pieces (after planing, of course). Usual procedure – knifewall, chop down, pare to wall, chop, pare, chop, pare until we’re to depth, then mark off the other side off the piece to fit, and repeat.
Went faster than before; I’m getting used to working in beech (and enjoying it). And I might have figured out how to do a reasonable housing joint.
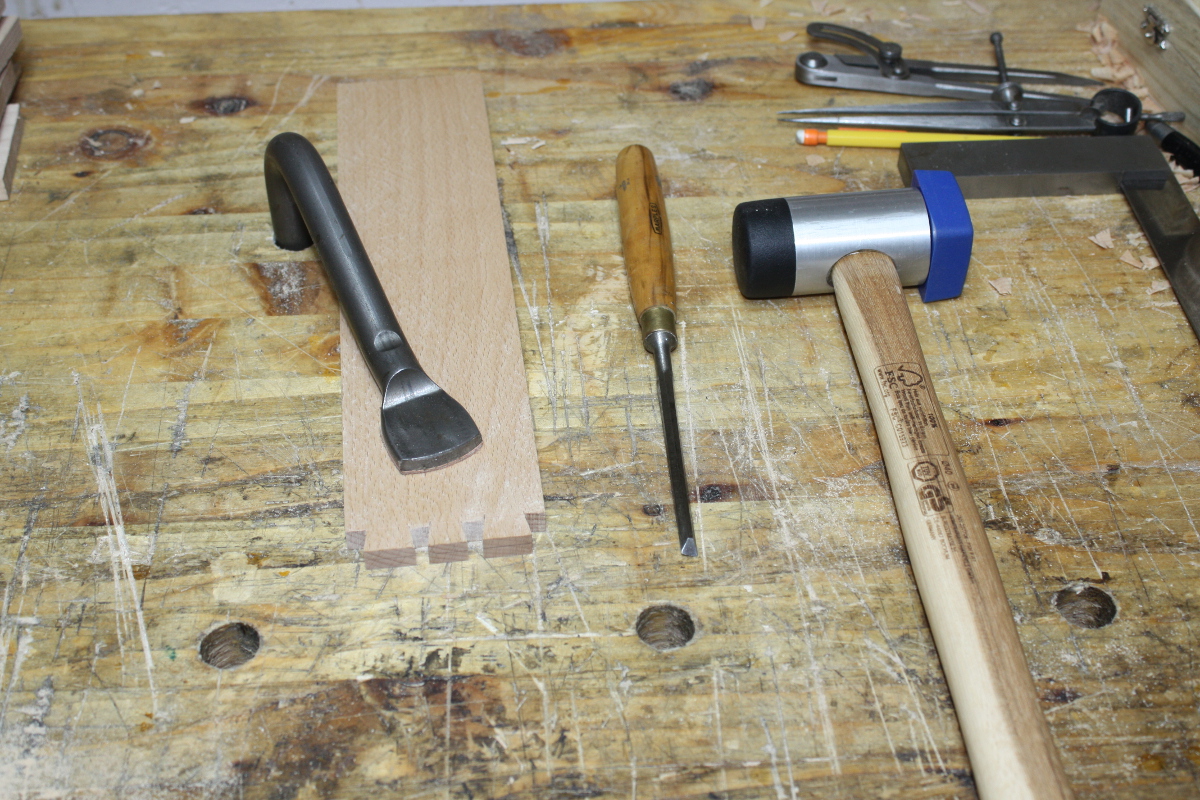
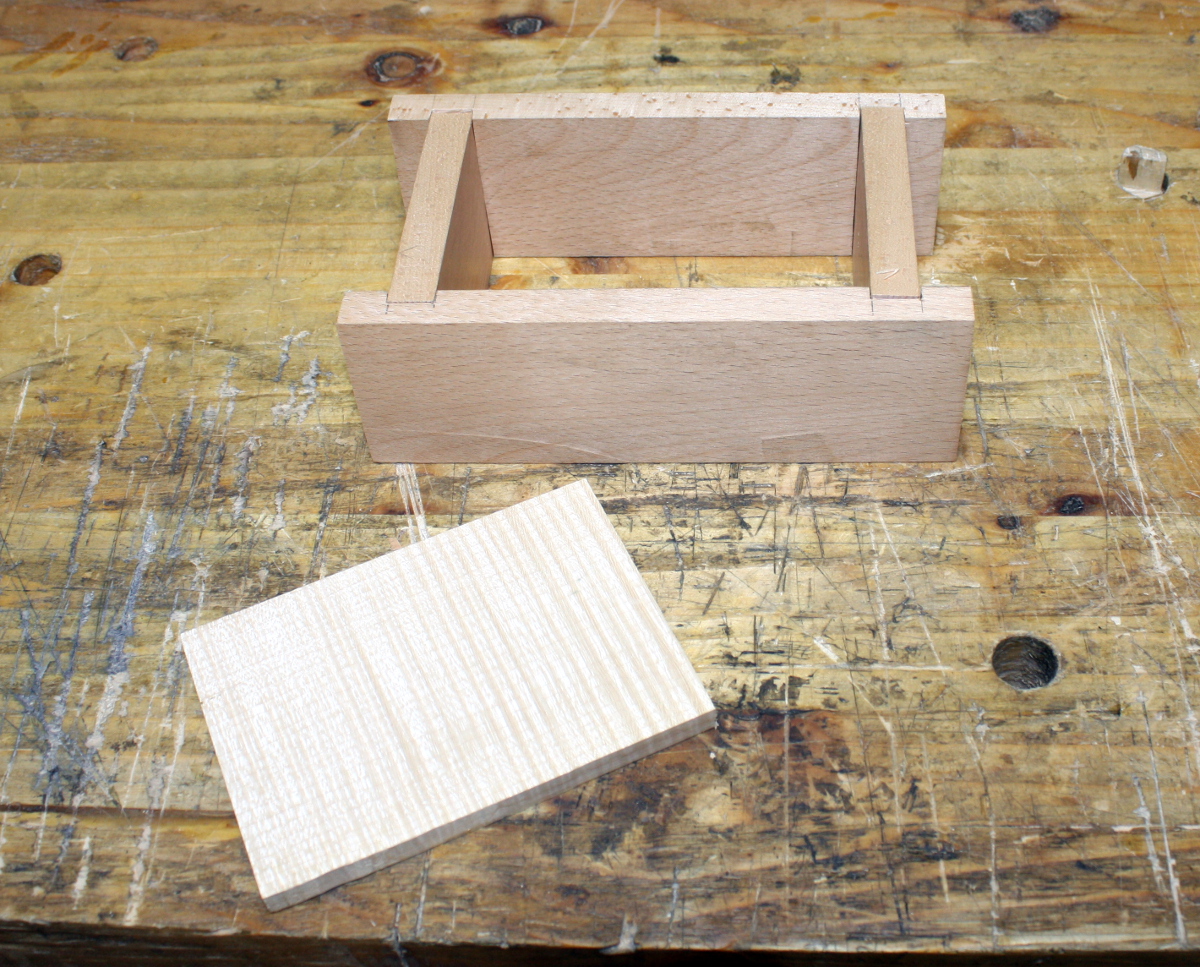
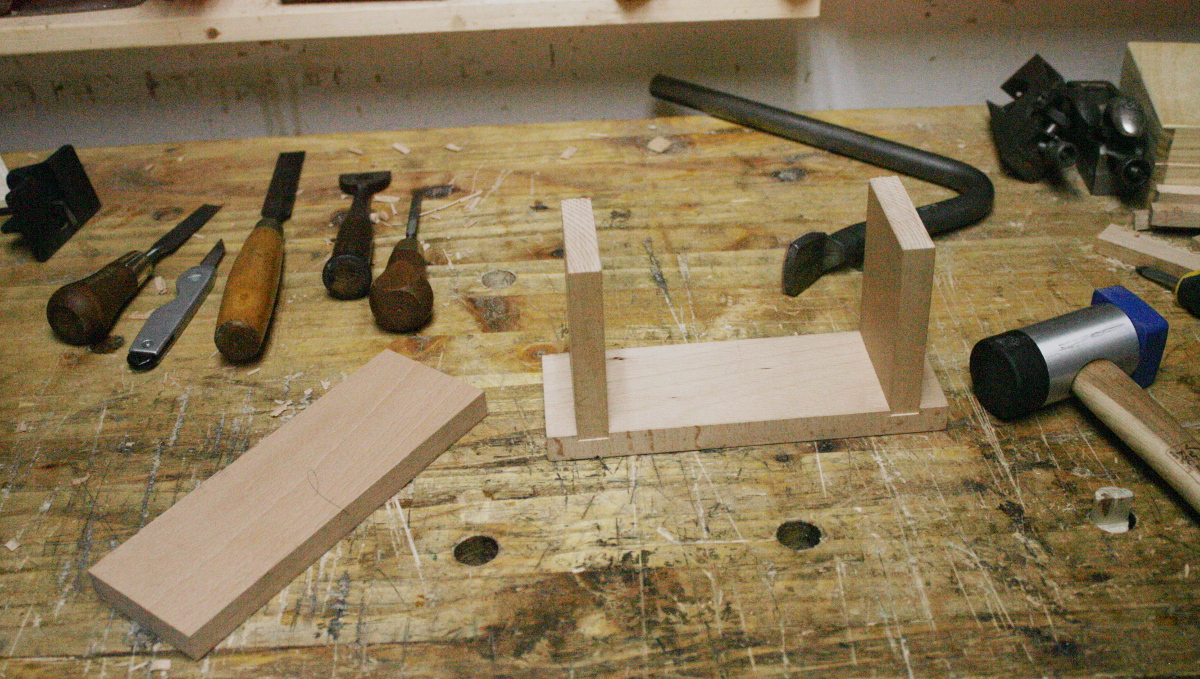
And it wasn’t too late, so I cut the joints on the far side as well.
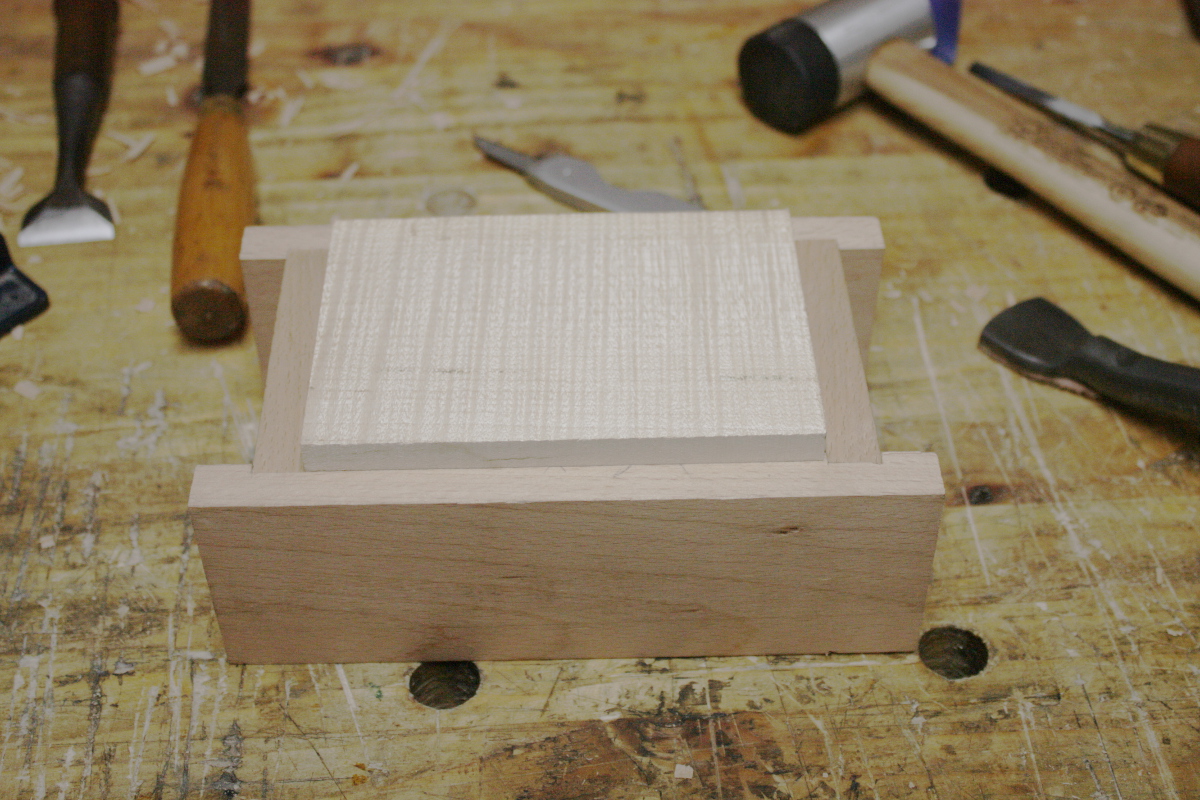
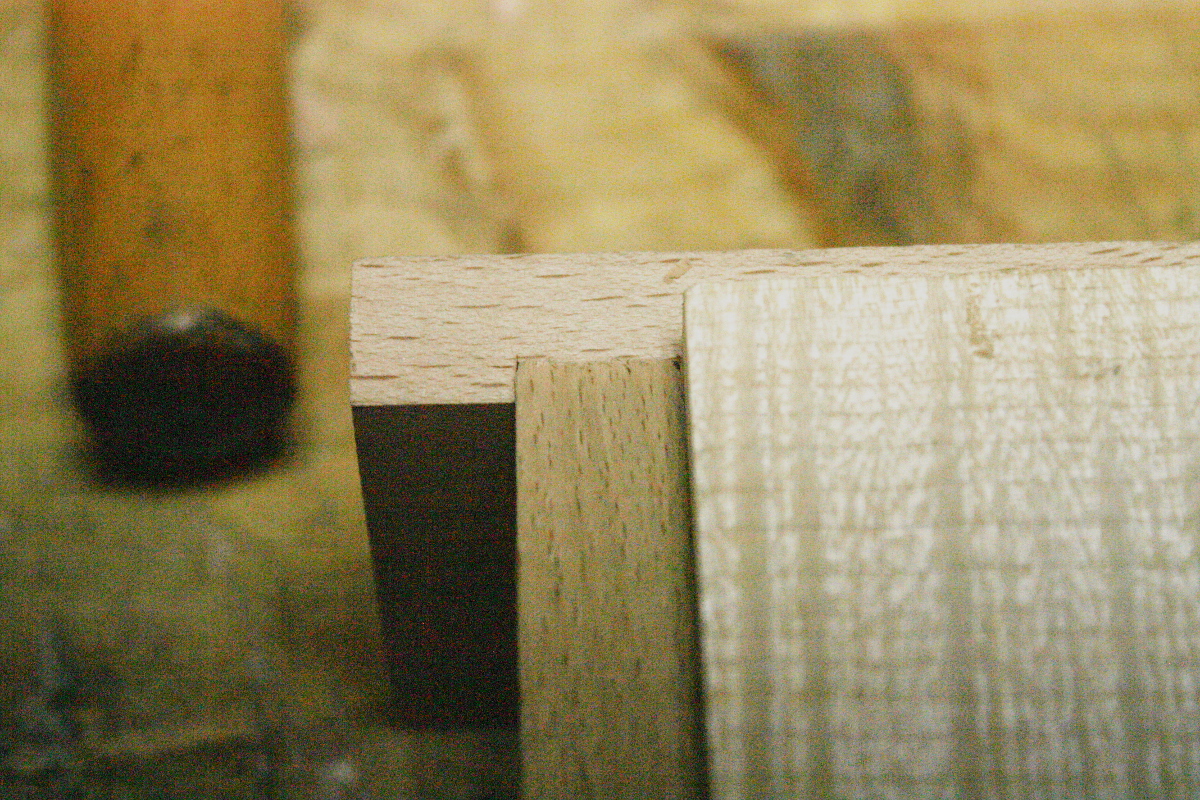
Right. I’ll fettle it tomorrow (just to get the reference faces all coplanar) and glue it up, then maybe drill for the dowel pins (won’t use nails on this one), and make some pegs for them from some walnut scraps I have handy that are too short for any other use.

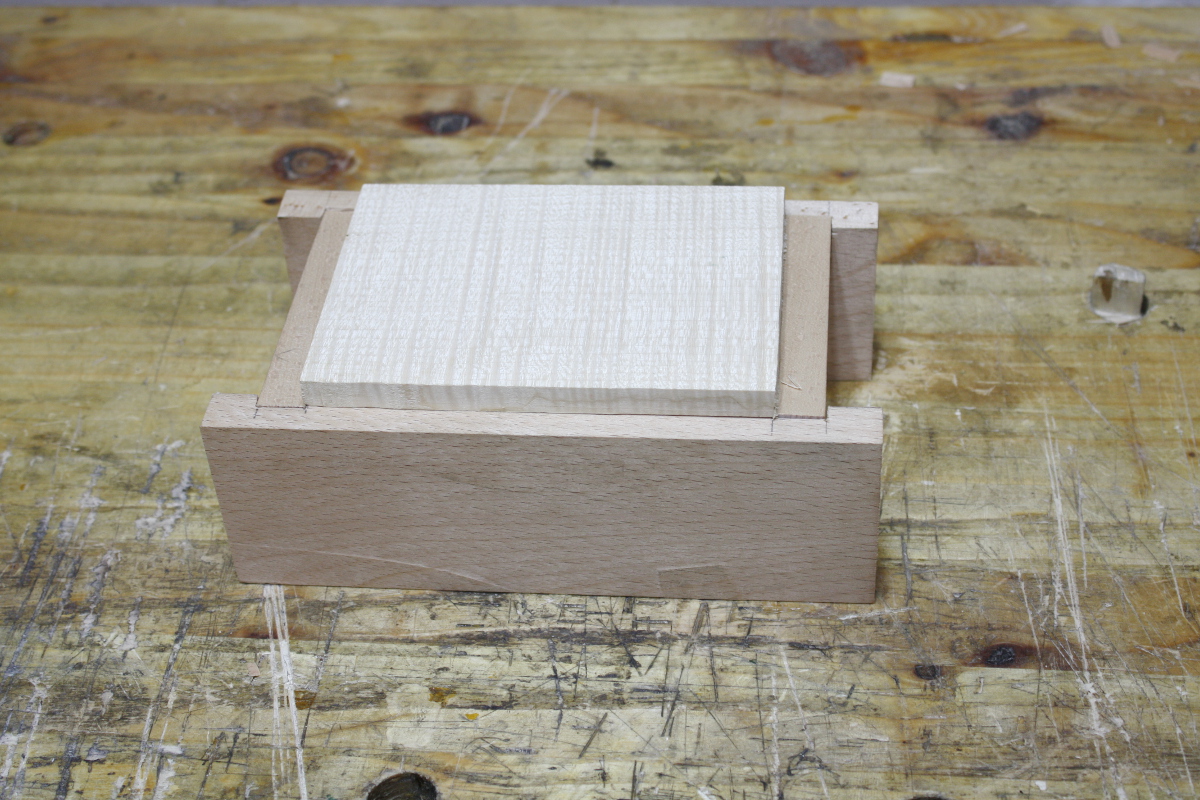
Definitely enough material there for the lid and handle pieces.
Last job for the evening, glue on the back panel for the locker.

Fiddly but not too bad, it was so fettled that I really could have let the glue hold it in place. But if you have the clamps, might as well cinch it up (the C-clamps aren’t actually tightened down very much at all here, just snugged up to hold the back panel in while the f-clamps get tightened to get the edges in contact).
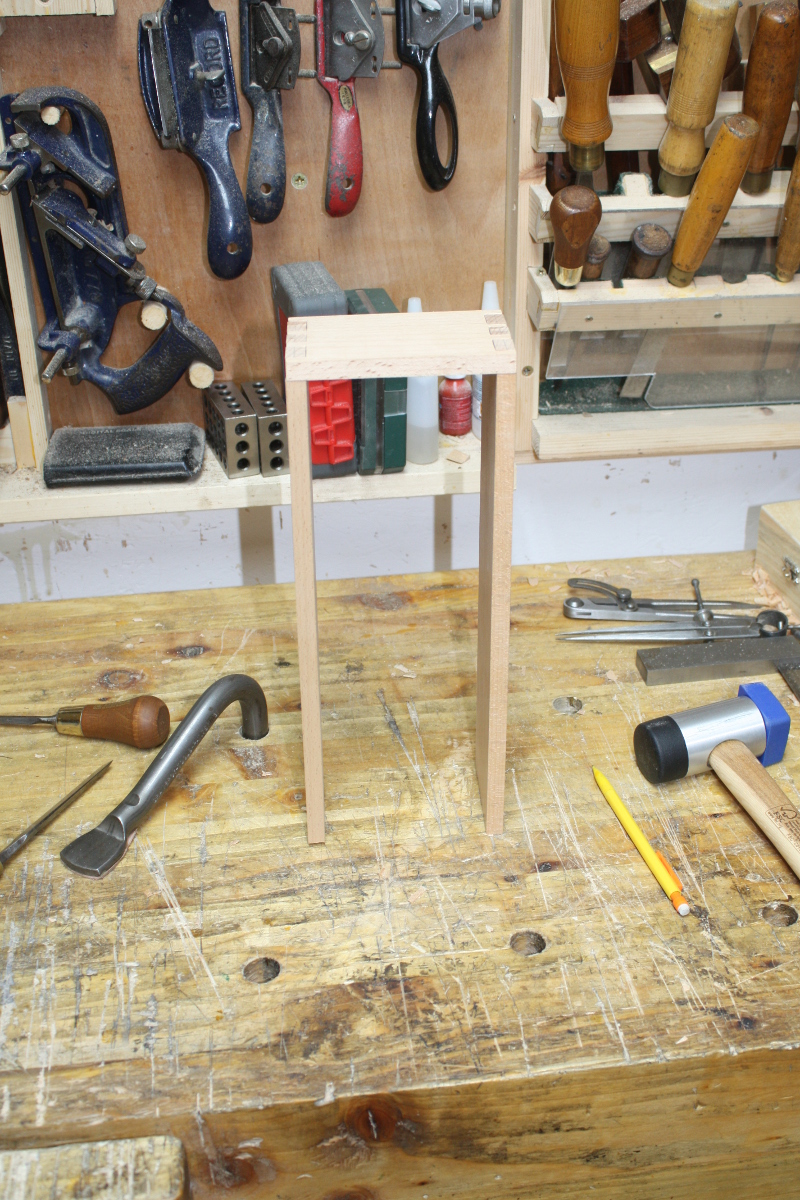
It’s not looking terrible, even if I’m saying so myself. Still need to level the legs, but that’ll do for later on. And I still haven’t the door sorted out yet, I’m thinking about how to decorate the piece of beech I have planed and set aside for the job.
I mean, what’s the point of practicing stringing if you don’t do any? 😀
Also, how the hell do you finish beech so it looks good?
To the forums!