27
Nov 16

Steaming cracks

Well, that didn’t go as well as I’d hoped.

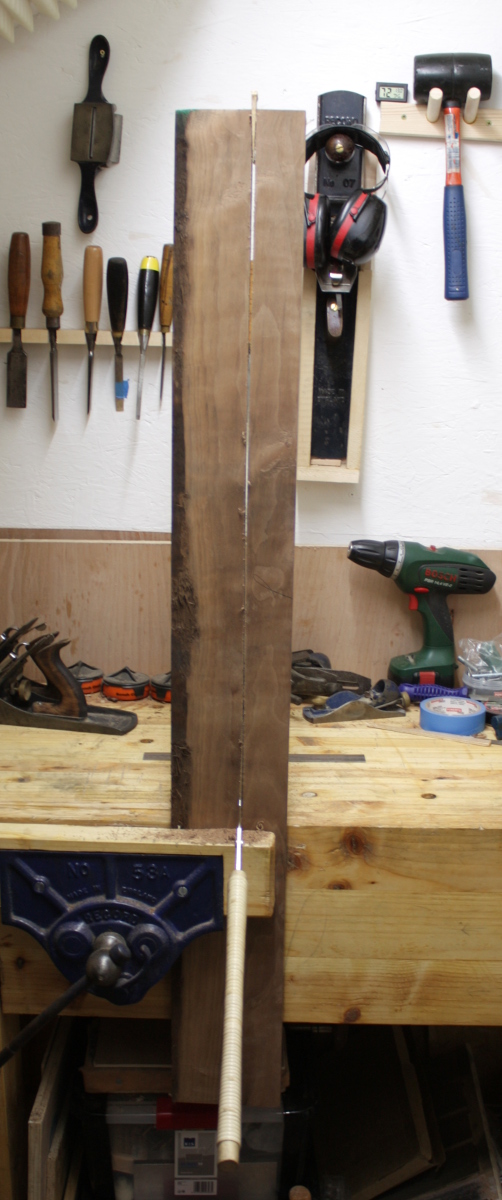
The steaming jig was ready, the drying form was ready. all the shopping and other stuff was done yesterday, so this morning I finished planing up the two candidates for uprights so they matched perfectly in size, rigged up a wide compression strap from three narrower ones (thanks addresspal for losing my order for a wider one) and then into the plastic tubing one went, and in went the tube from the wallpaper stripper and away we went.

img_9941a

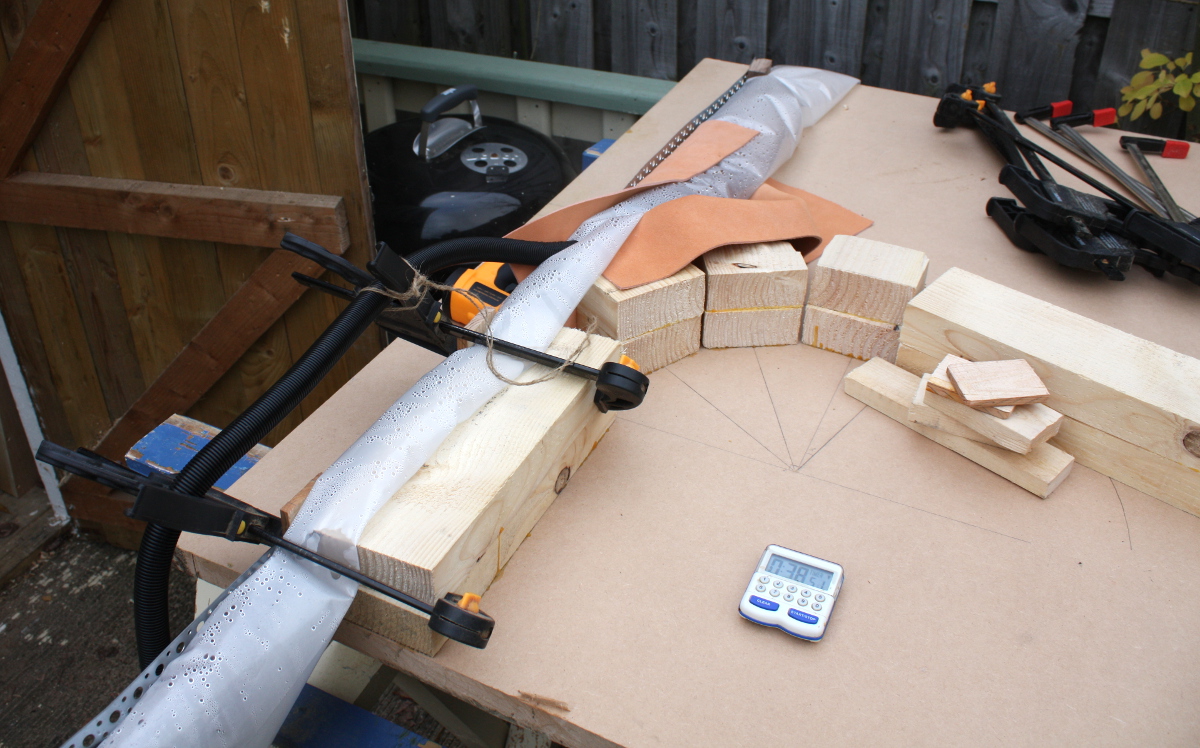
It got steaming pretty quickly, but it was a rather chilly breezy day today (down around 10 degrees or so air temperature at this point) which was depressing the temperature a bit every time the wind breathed wrong.

img_9944a

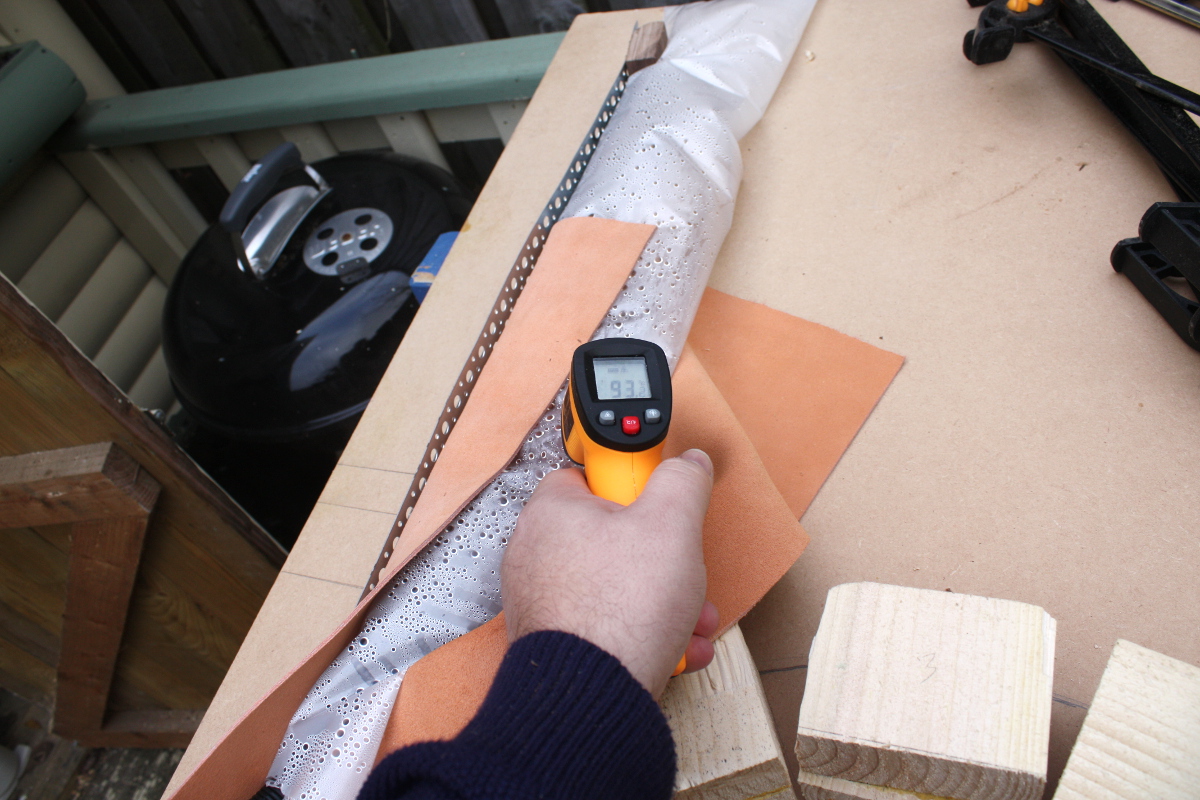
Some insulation was needed, so the airing cupboard got raided for towels.

img_9946a

And then it was just a case of waiting while the wood steamed, and refilling the tank of the wallpaper stripper about 45 minutes in before it ran out.

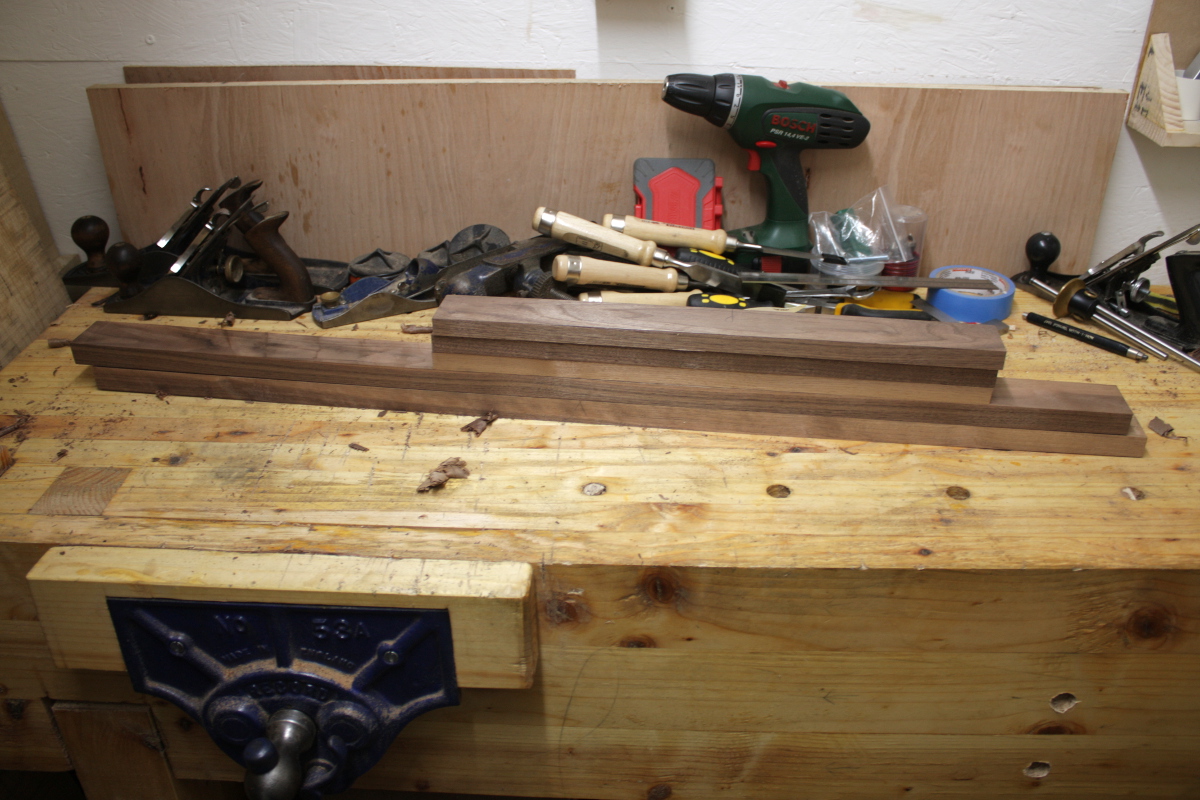
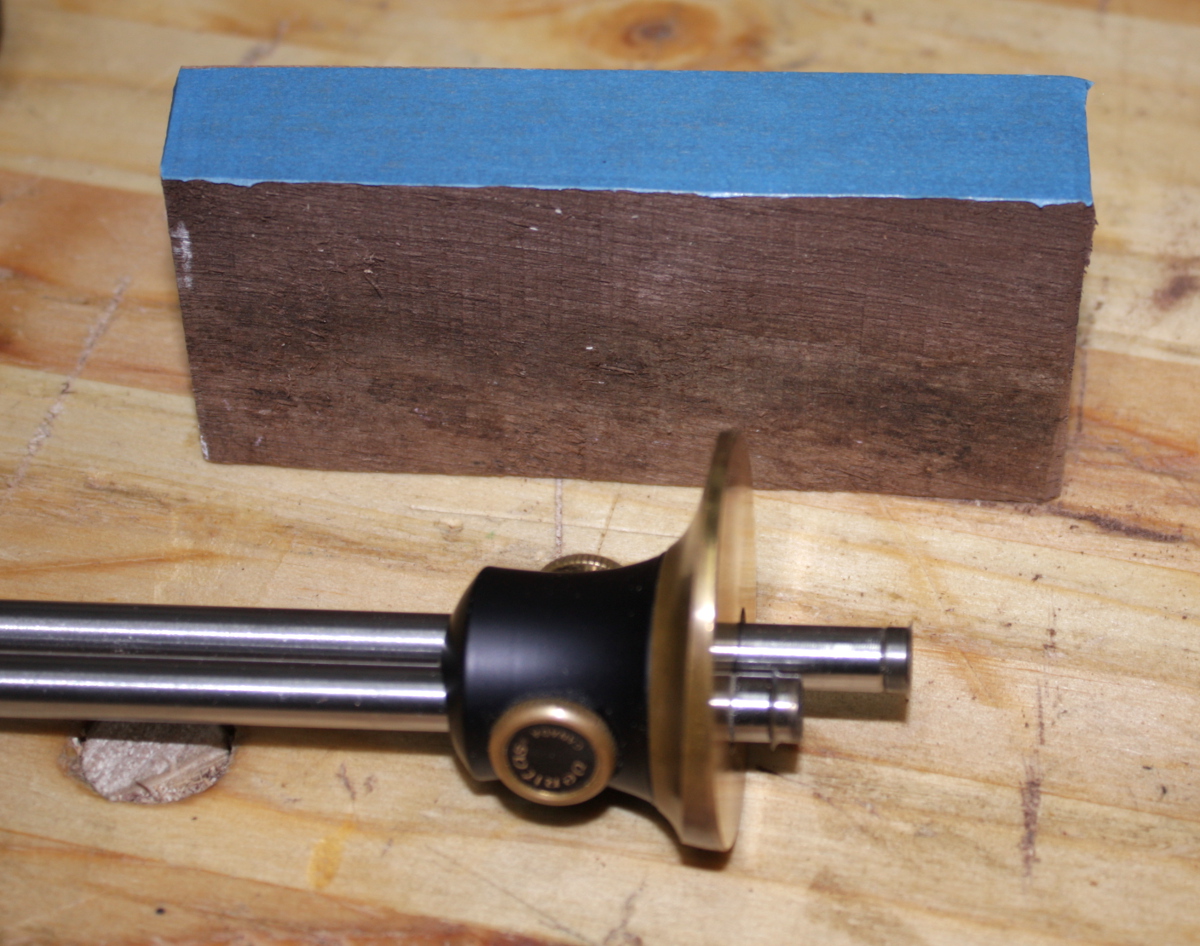
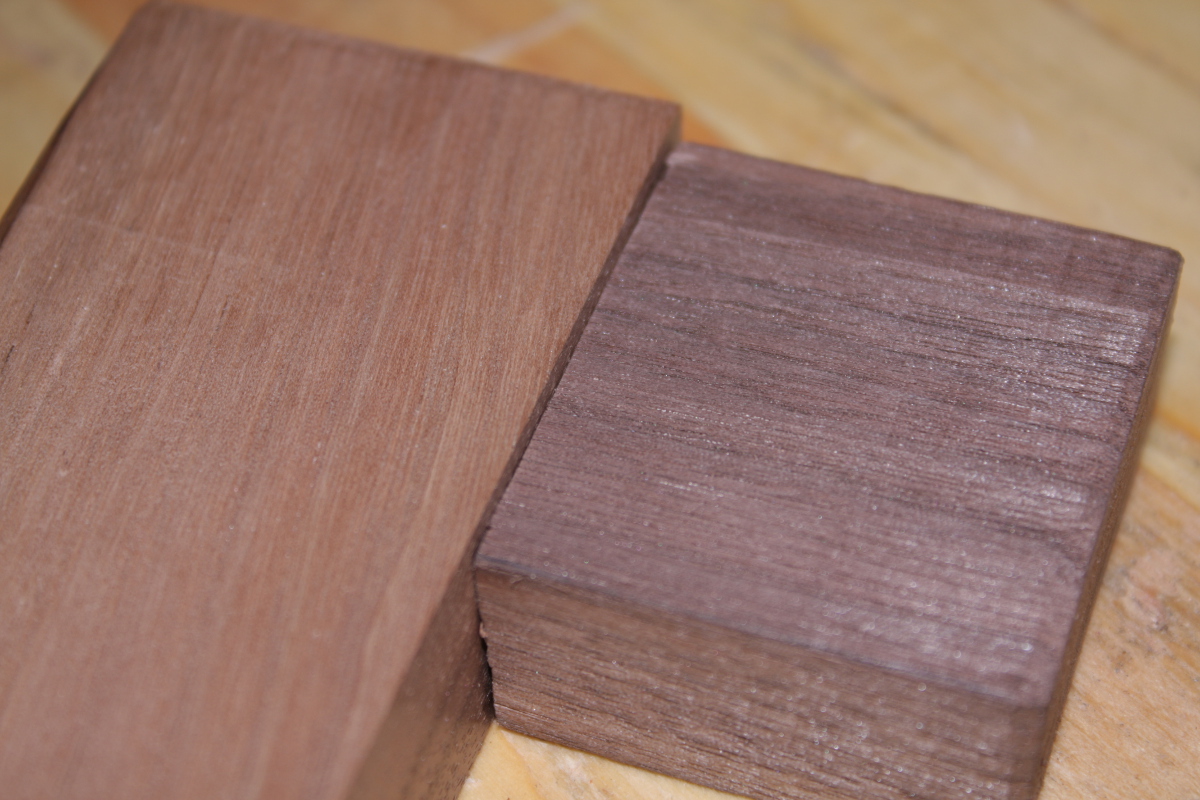
While waiting, I worked on the platform for the mattress. First up, double-check that the components matched in size.

img_9948a

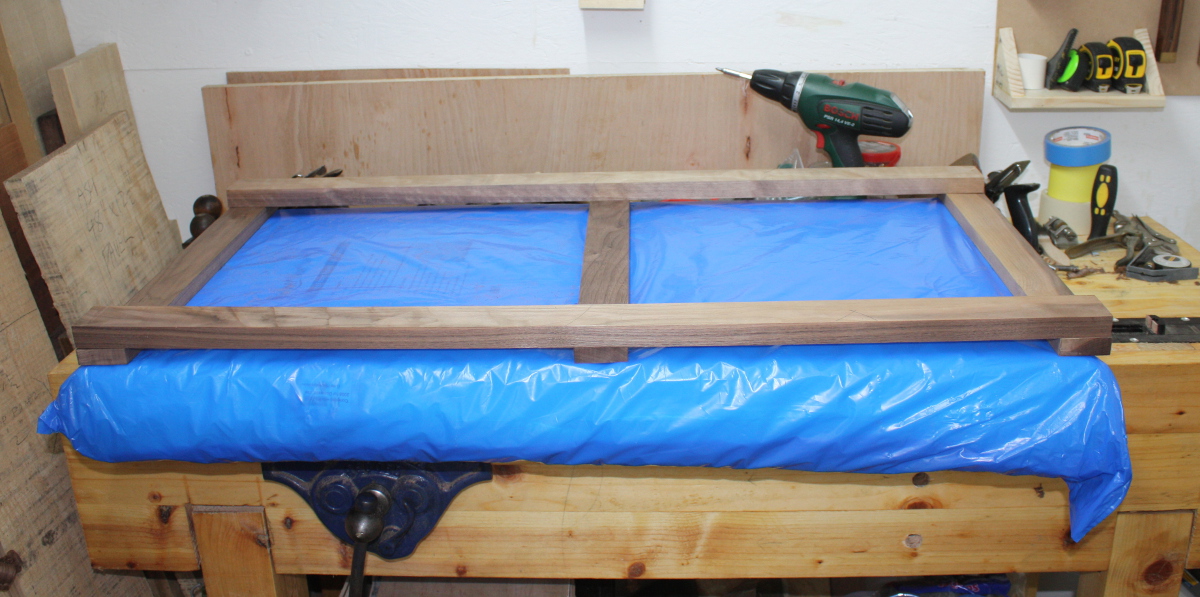
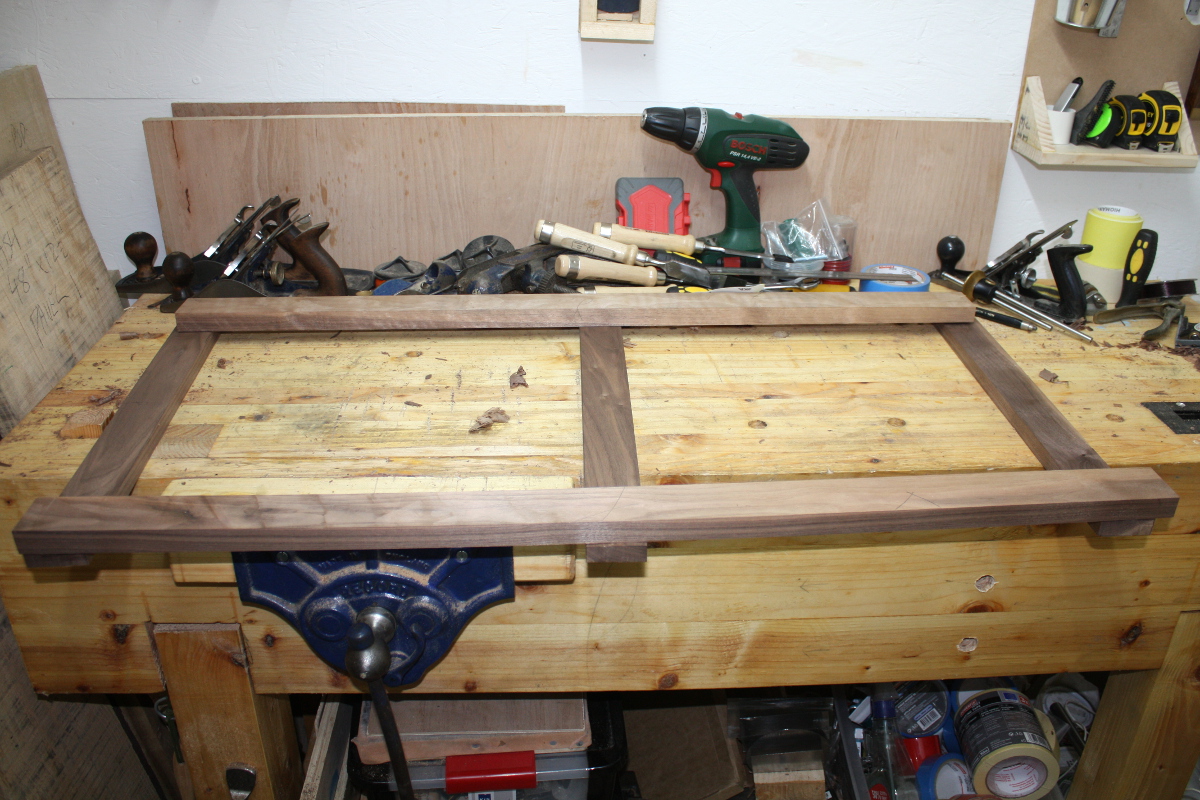
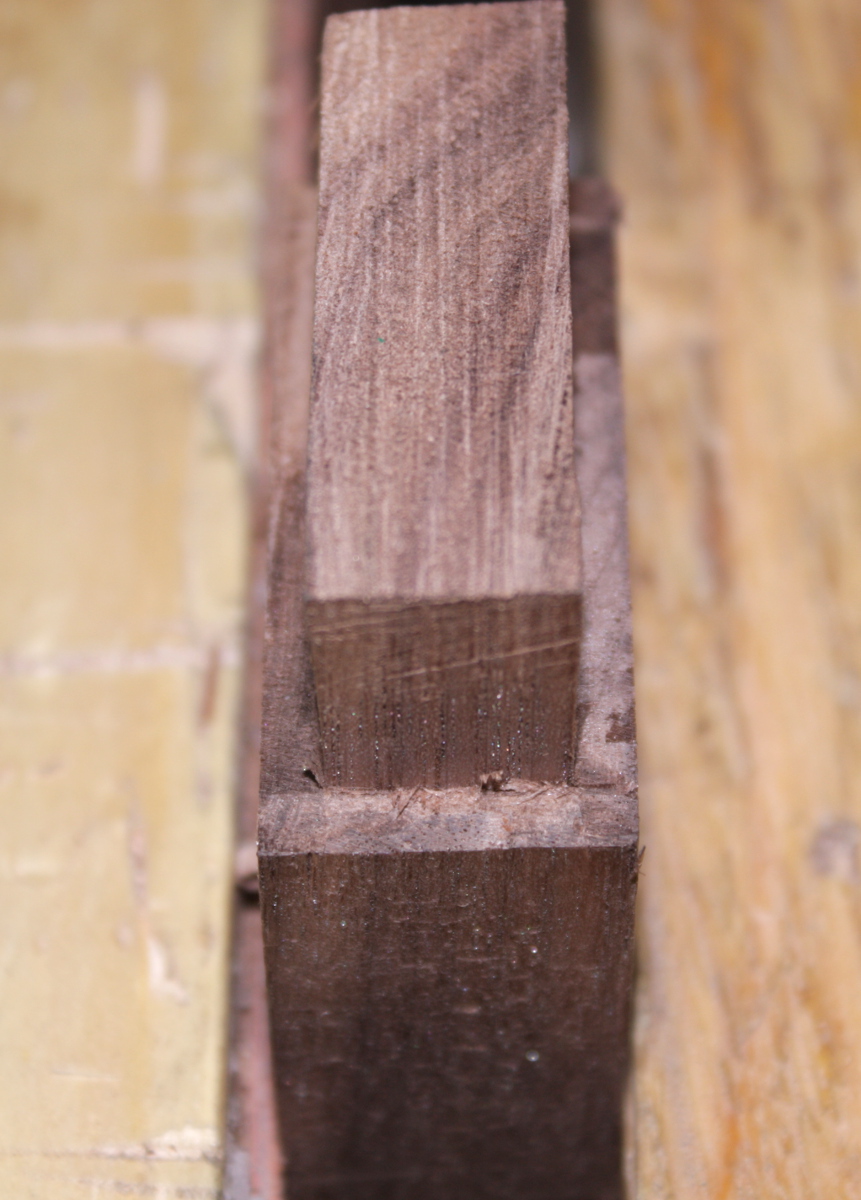
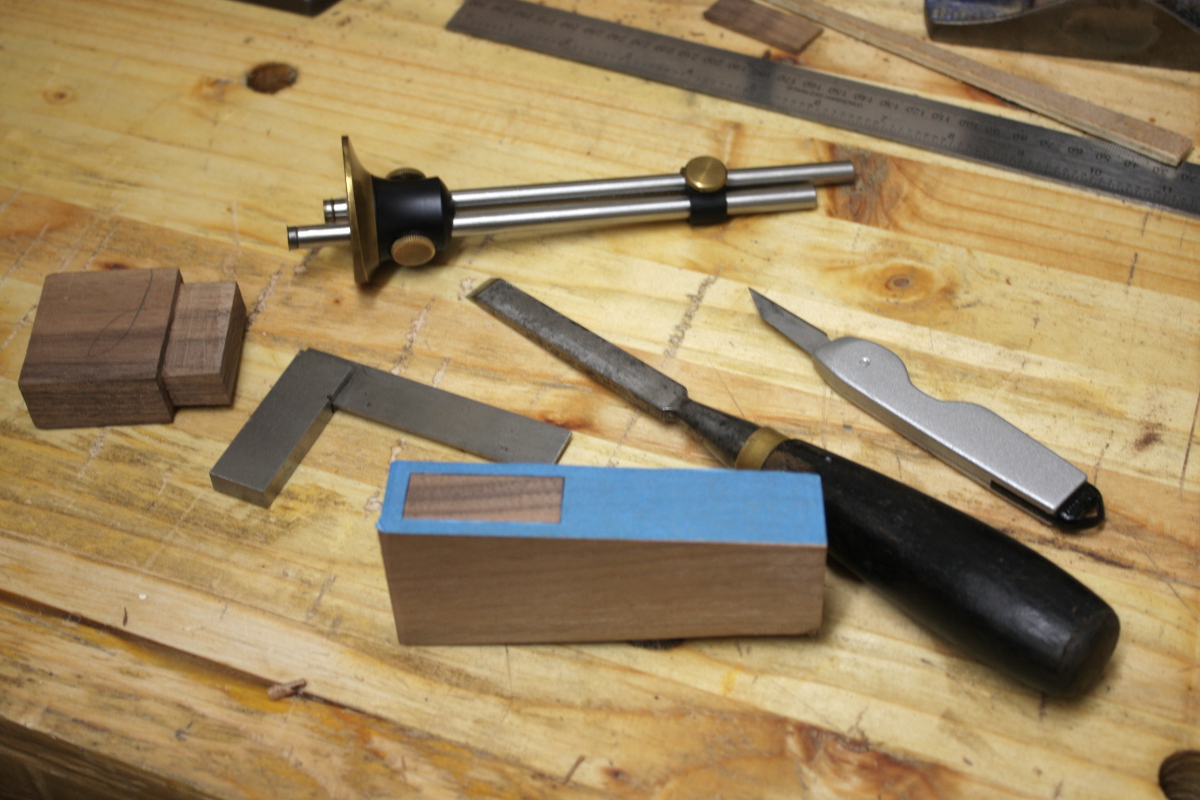
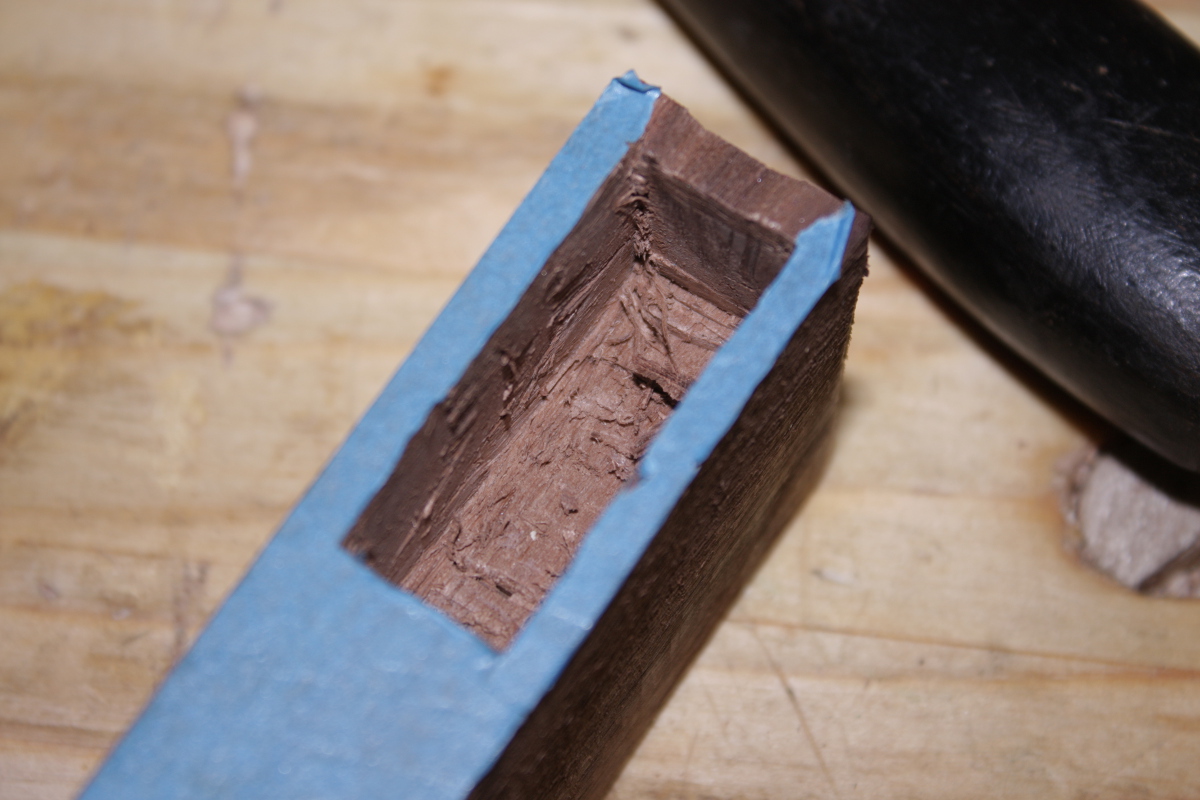
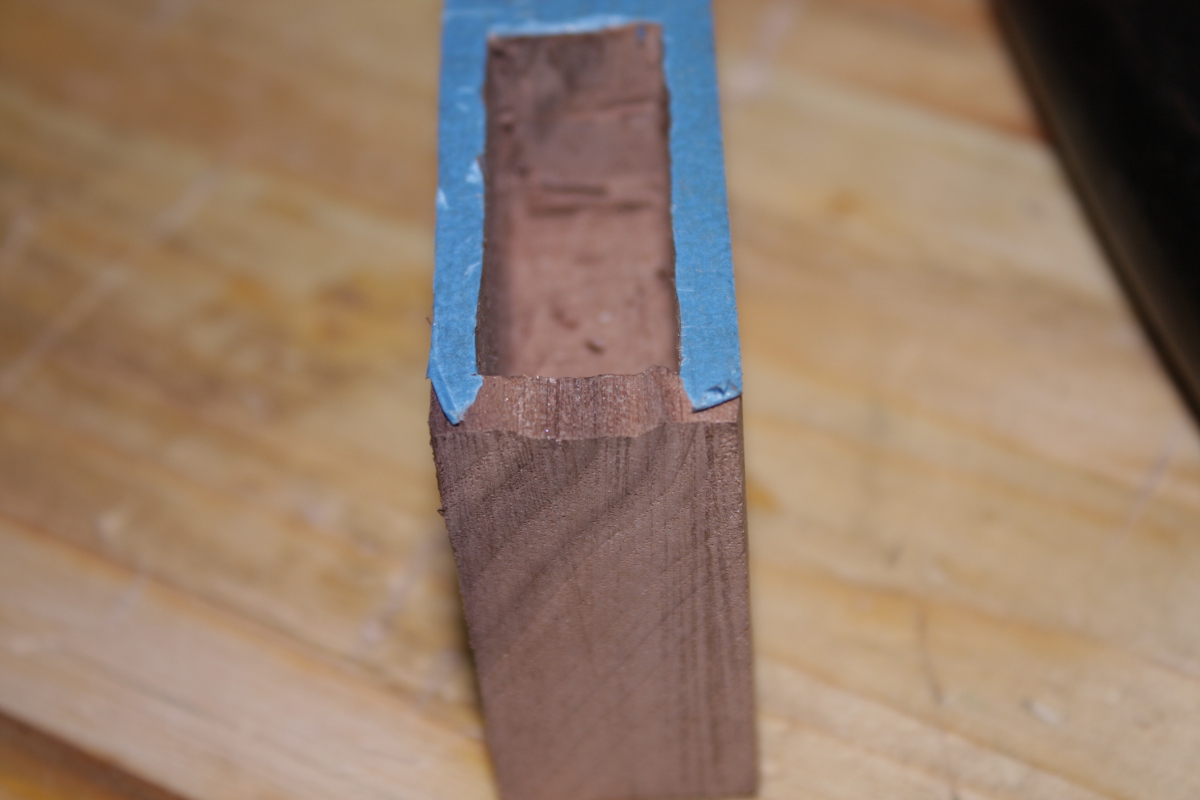
Yup, all good. Then took the crossmembers, left the middle one aside for now, cut the other two shorter by about an inch, marked up for a half-inch wide mortice and tenon joint at each corner, and got chopping and sawing. I tried that method where you clamp a board in the face vice and put the board you’re morticing on the benchtop and clamp that to the board in the vice, and it works better than the method where you clamp the moticee board in the vice (morticee board? the thing you’re chopping holes in).
img_9958a

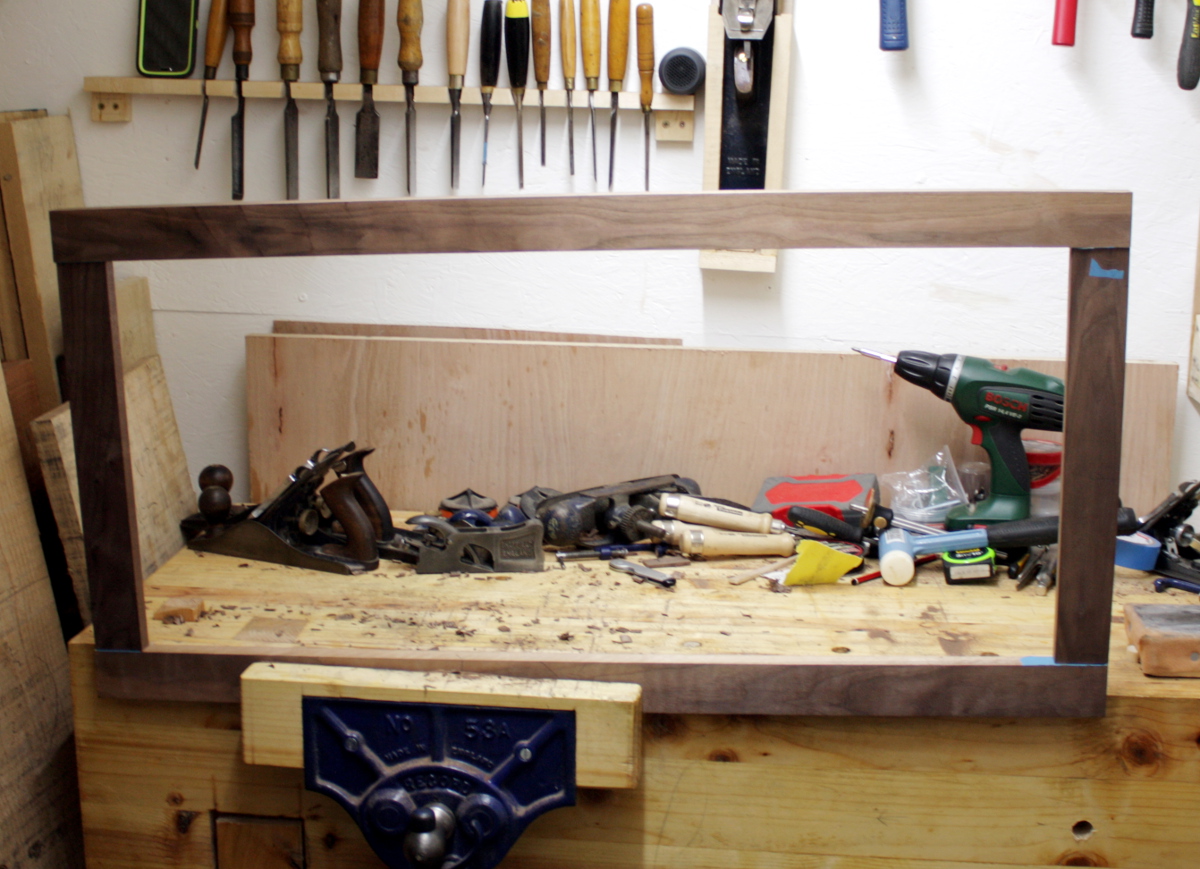
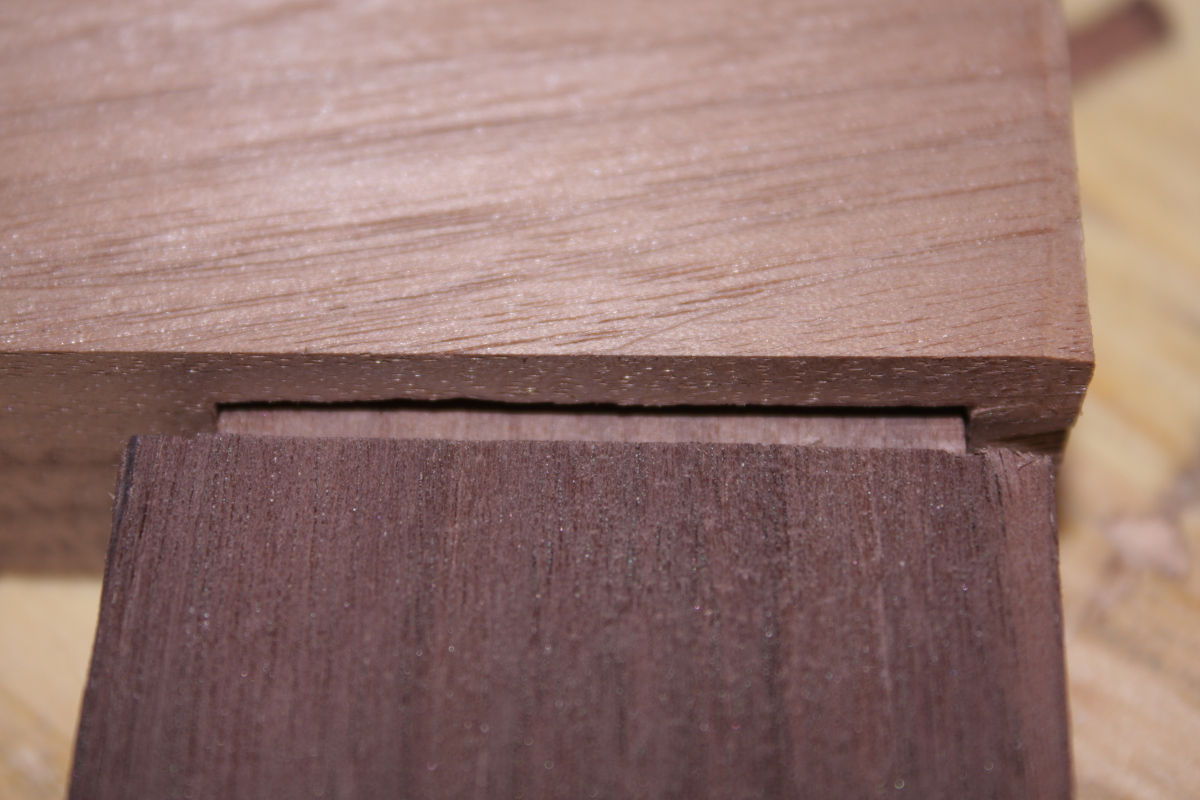
It didn’t turn out too badly. I’m tempted to drawbore these, or at least pin them, but I think the glue will hold them when I glue up. I checked the fit against the mattress again at this point and yup, it’s a solid match. Grand.

Now the downer. Continue reading →


25
Nov 16

Platforming

On with the crib, after a few days of sourcing wood and shed hardware…

img_9920a

You wouldn’t think Kendo and carpentry had much in common, but then you try rip cuts with a ryoba…

That’s the last walnut board to be planed and ripped for the frame for a little while might be one or two more to do yet, but I want to get some components made up and get moving on it. So I’m starting with the most independent part of the design, the platform for the mattress.

Measured off three walnut cross pieces, the two walnut long pieces, I need to think about whether there should be more ash cross pieces (I’m leaning heavily towards yes), and there’s another pair of cross pieces to go under the platform to secure it to the frame, but they can wait for now.

Lots of planing to thickness (using a scrub plane on walnut is vaguely wrong somehow) and getting the components square where they need to be and within a mm of each other’s dimensions.

img_9933a

Then laying it out and I think I either need a bigger bench or to tidy the last of the tools off the one I have 😀

img_9932a

They’ll be mortice&tenon joints, not half-laps, I just wanted to get a feel for the size of the thing first. I’ll check again before cutting the joints by laying it out on the mattress itself (just to be sure). Once the pieces for this start coming together, it’ll be relatively fast compared to the stock preparation.

One thing that’s changed in the last few days is that I got a measurement of the mattress height that this will match (sidecar cots’ mattresses are at the same height as the mattress of the bed mommy is in) and it’s much lower than I’d thought (I was using my bed as a rough guideline) which means that the steambent piece can be a single length of walnut from the ground to the rear crossrail, instead of there being a leg, a complicated scarf joint and then the steambent part. That makes things easier, but I might want to use a longer length of walnut for those parts just to be sure I have enough margin. I’ll bend one of the shorter lengths I have now, see how that goes and if it’s not long enough, I’ll prep and use the longer lengths.

Also, I took a plane to that giant sapele board’s smaller bit (the original 8′ board was cut down to 5′ and 3′) and once you plane off the bandsaw marks, it’s magnificent…

img_9928a

I have got to think of a really good use for that 😀


15
Nov 16

Bucket list

Well, *I* think it’s listing a bit to the side. Might need another screw.

img_9875a

Still, it gets the pencils and marking knife and some smaller things up off the bench.

Finished prepping another 48″ length of walnut for the frame, but the waney edge on it meant it wasn’t useful as a 48″ length. So I guess it’s going to be one of the front legs and two feet of spare walnut. Oh well.

Then I figured it was high time to get some practice in for the joinery on account of having only cut joints in pine before now and having new tools to try.

img_9880a
img_9886a

Okay, all marked up for a half-inch tenon. This is the kind of joint we’ll have in the box section at the base of the frame, so large tenons would be a good thing and the shoulders don’t have to take very much strain at all, they’re mostly for alignment. An ash pin (as opposed to a drawbore) might be a pretty addition to it, just for contrast. Might test that later on. For now, sawing with the new japanese saw…

img_9890a

My sawing needs some work. Hmmm. But that saw’s lovely to use.

img_9893a img_9894a

Fair bit of cleanup needed here with a chisel or a shoulder plane (a lot of which is down to markup errors, some of which were linked to the offcut being an odd off-square shape). But it’s better than it was in pine when building the bench. Now, time for the mortice. I’ll use the blue tape trick…

img_9895a img_9896a

All marked up. This is the point where I realised that somehow, despite setting the gauge off the width of the chisel, the tenon is not a half-inch wide, but just over. I think pencilling in the lines might have distorted things slightly. That or the offcuts weren’t quite square 😀

Cut the mortice out with the firmer chisel using the Paul Sellers method.

img_9899a img_9900a

Holy crap, but walnut is fun to work in compared to pine. I was dreading doing twenty or so of these, but this was genuinely satisfying fun. And, one slip while cleaning out the bottom of the mortice aside, it was a pretty clean job.
img_9901a

img_9902a

And it fits nice and tightly, exactly as it’s supposed to. Granted, the pieces weren’t square so the shoulder line is a bit off on the other face, but nonetheless I’m happy with that.