…is done. Phew. The thicknessing, as I might have mentioned, is interminable donkey work, but it’s done. Even with a freshly sharpened scrub plane and using that chamfer-down-to-the-line-so-it’s-easier-to-see-what’s-left-to-come-off trick, it’s still a long-winded pain in the arse.
Yes, yes, very clever, shut up.
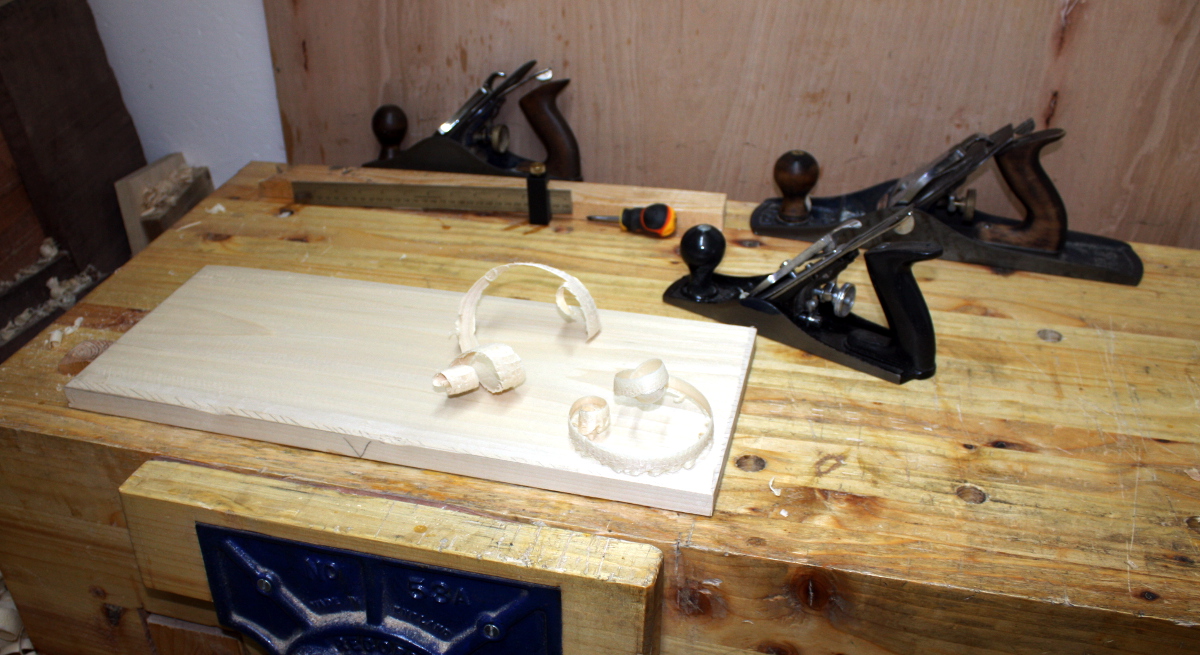
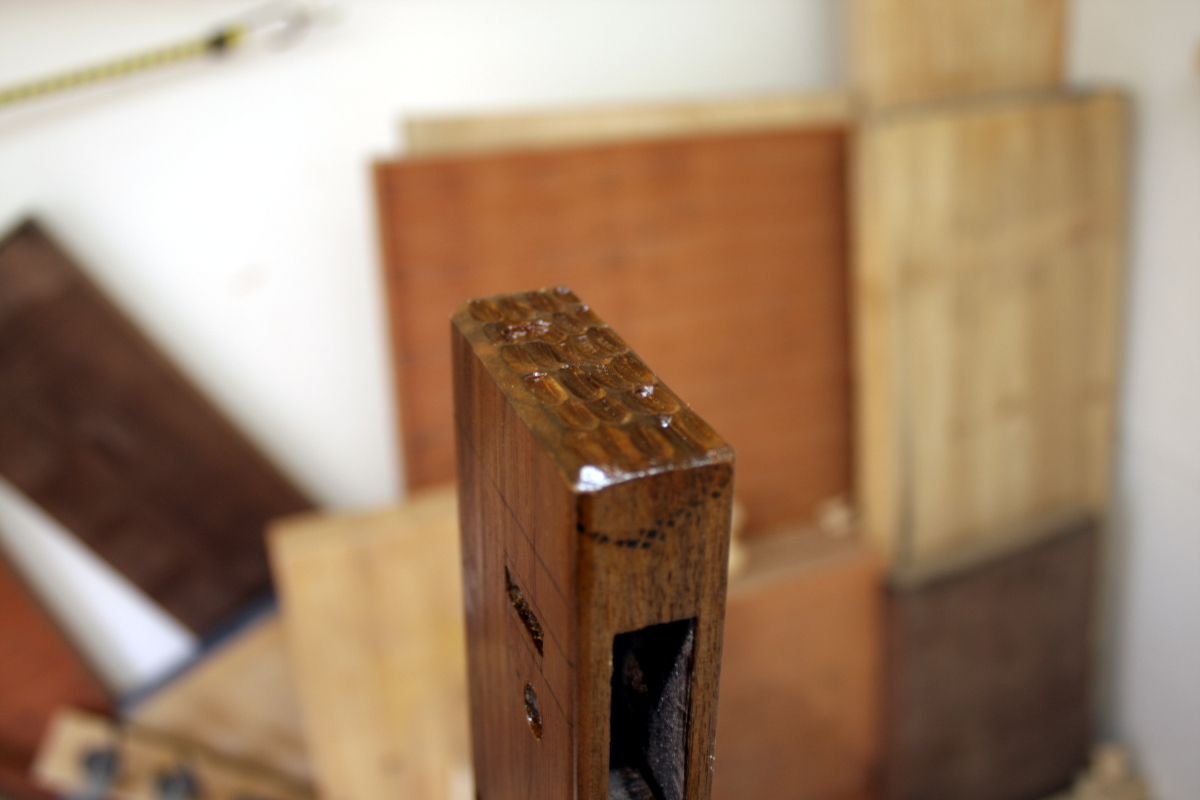
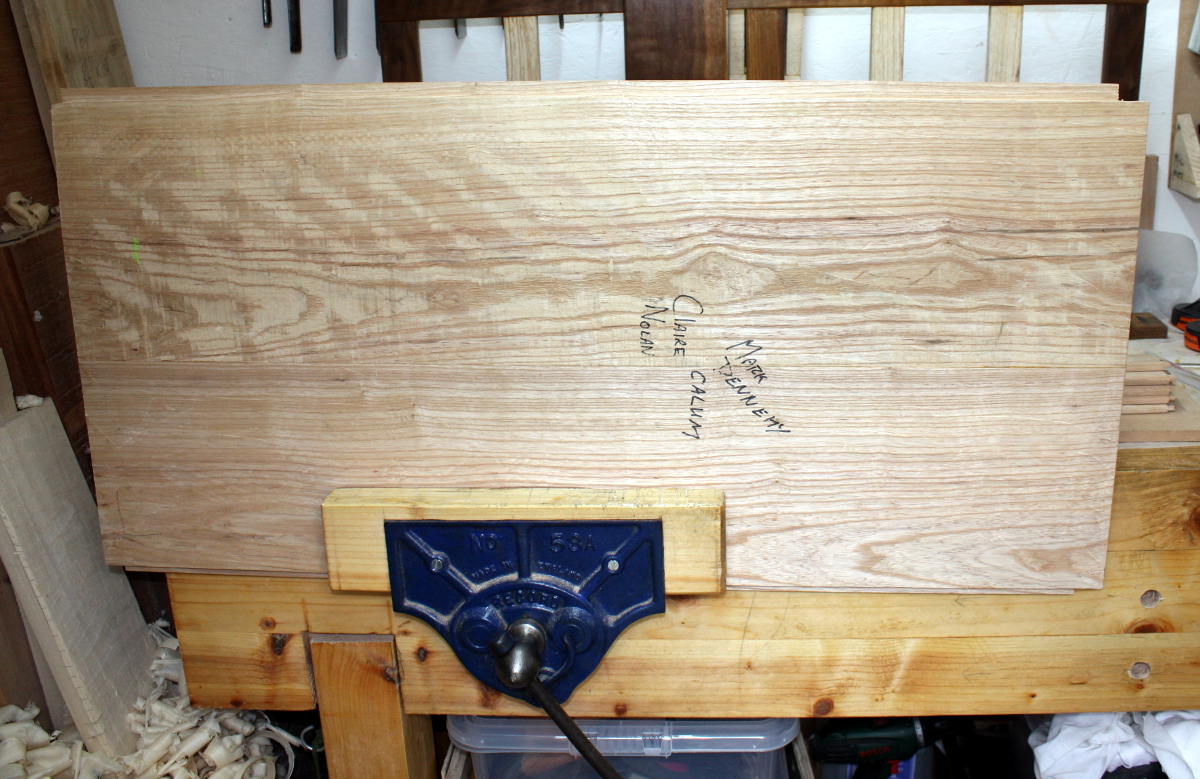
Back of the drawer was the easiest to do because of the shorter run, but it’s over-wide. Also, you see how it’s such a small, compact board? Yeah, well, take a quarter-inch thick board that size and turn it into even thick shavings and this is what happens: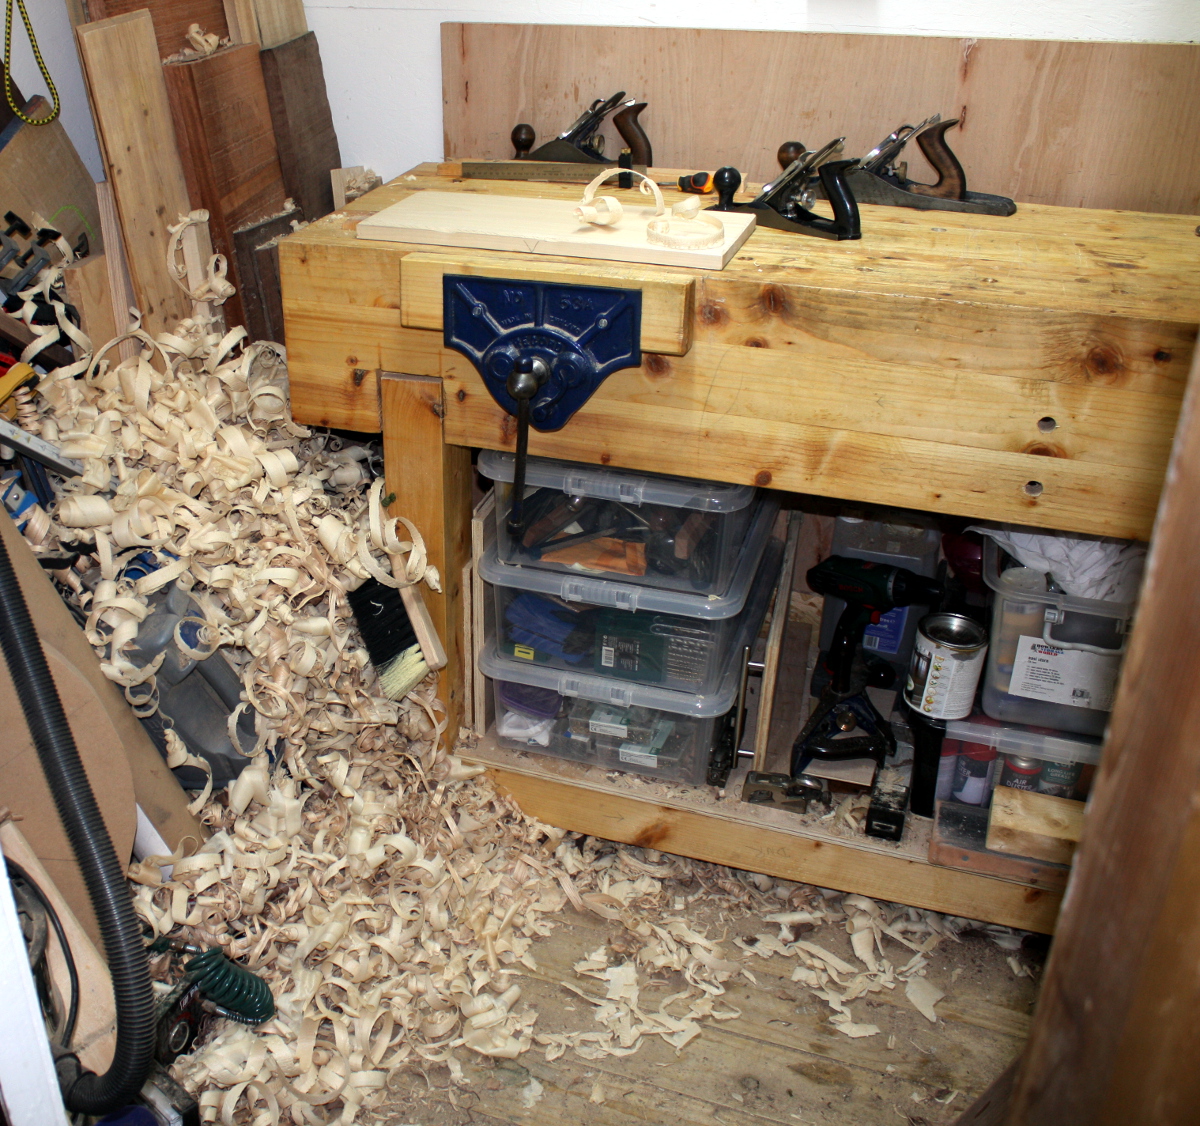
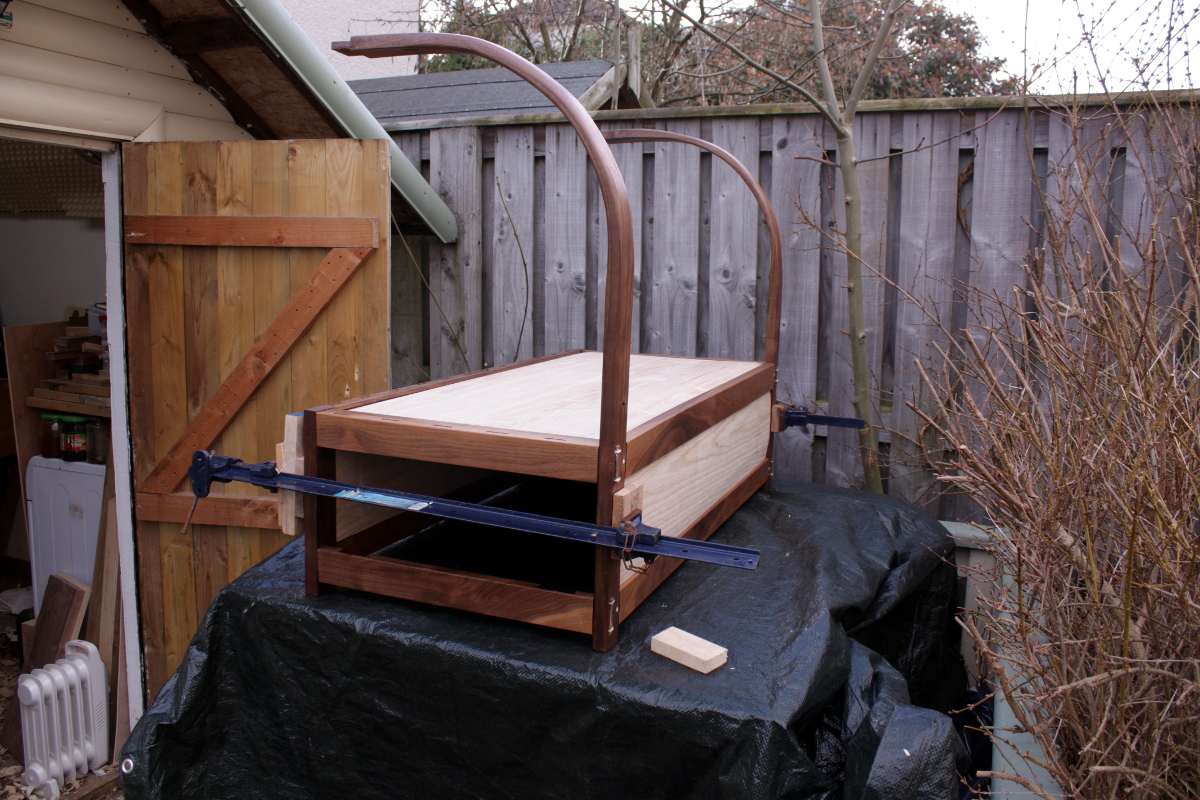
No time to clean it up yet, have to get the crib finished and then there’ll be a long tidyup afterwards and a clean-down. And a memorial service for one of my bench cookies, which managed to fall off where I’d perched it and in between the OSB sheeting lining the walls and the outside wall of the shed. It will now live there, buried in the wall, until the shed gets torn down because I’m not taking out the washing machine and taking off the wall to get back a five euro bench cookie I was planning on buying more of anyway. Farewell, little cookie, enjoy your new home.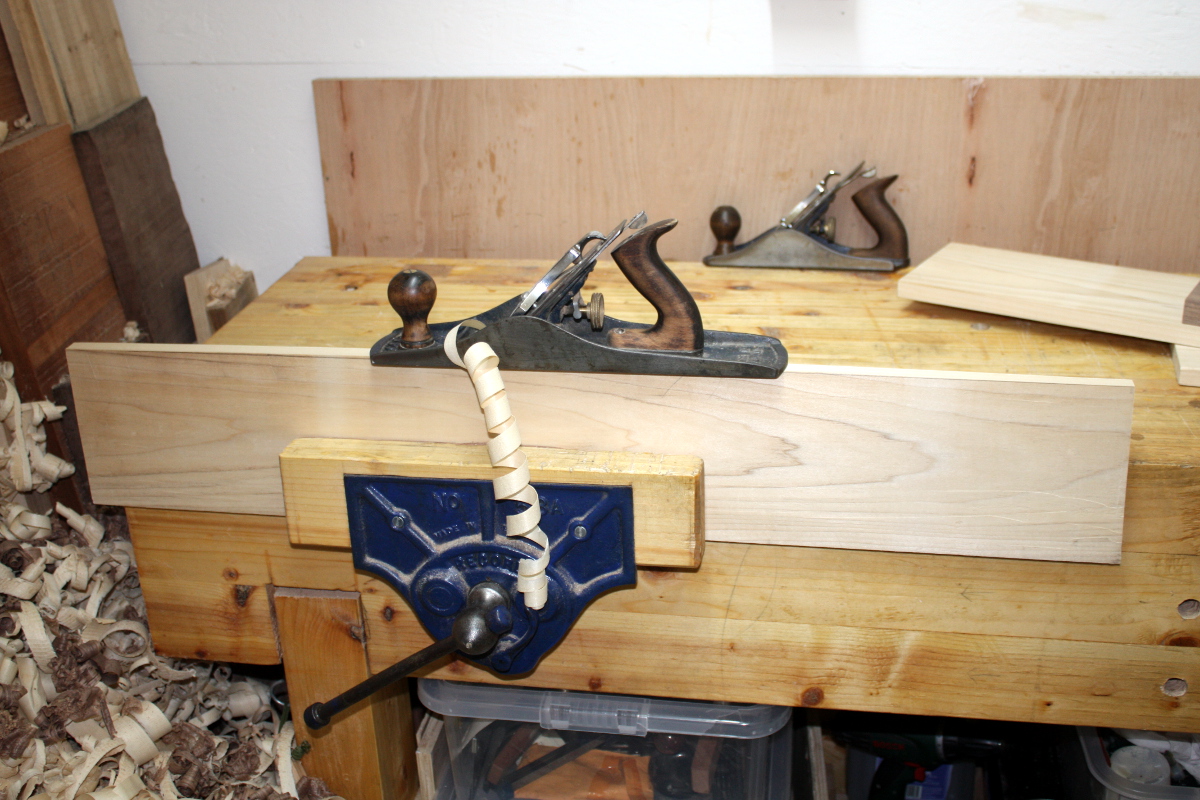
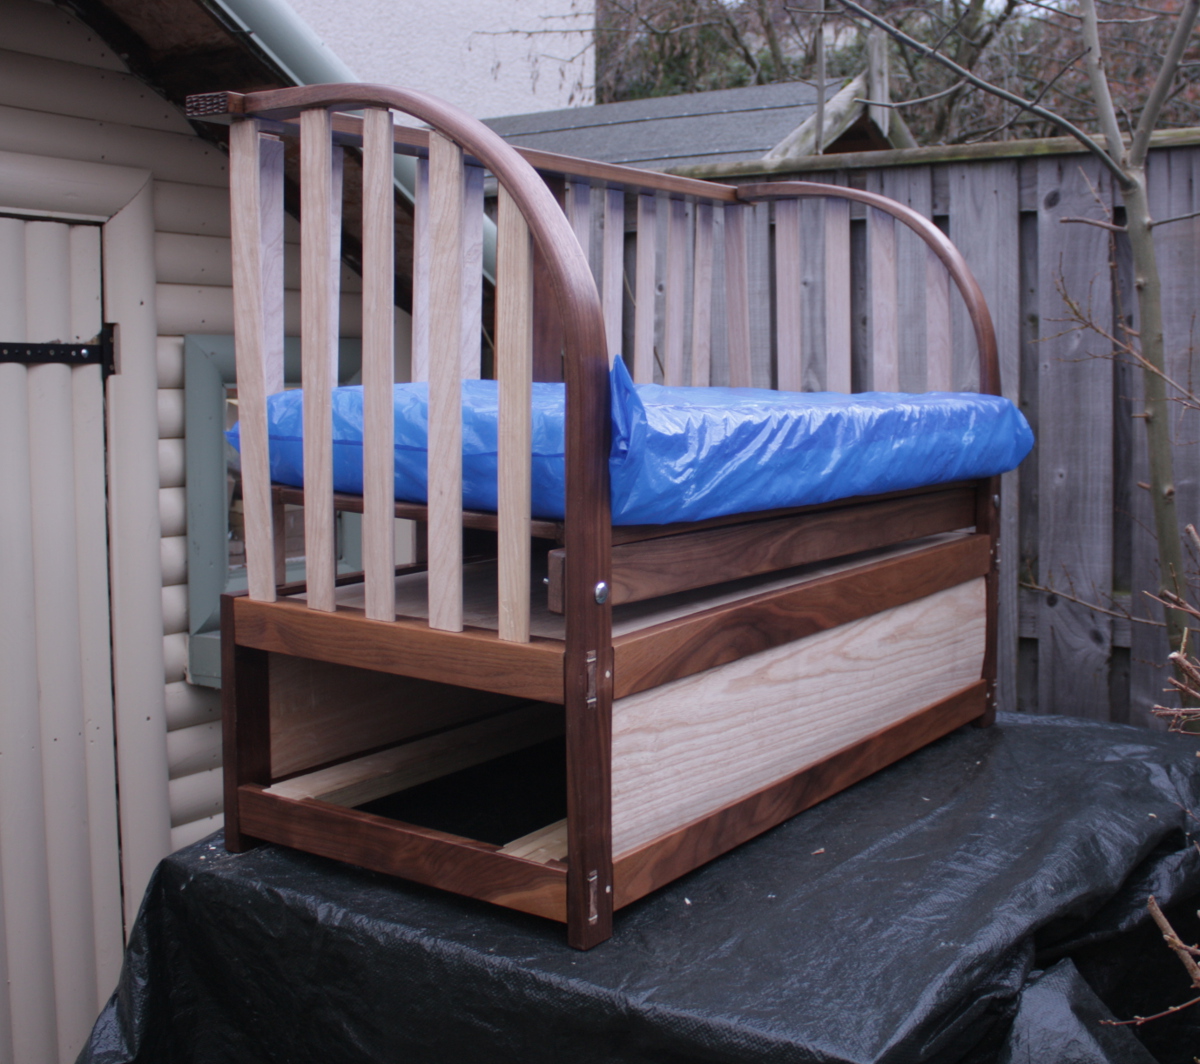
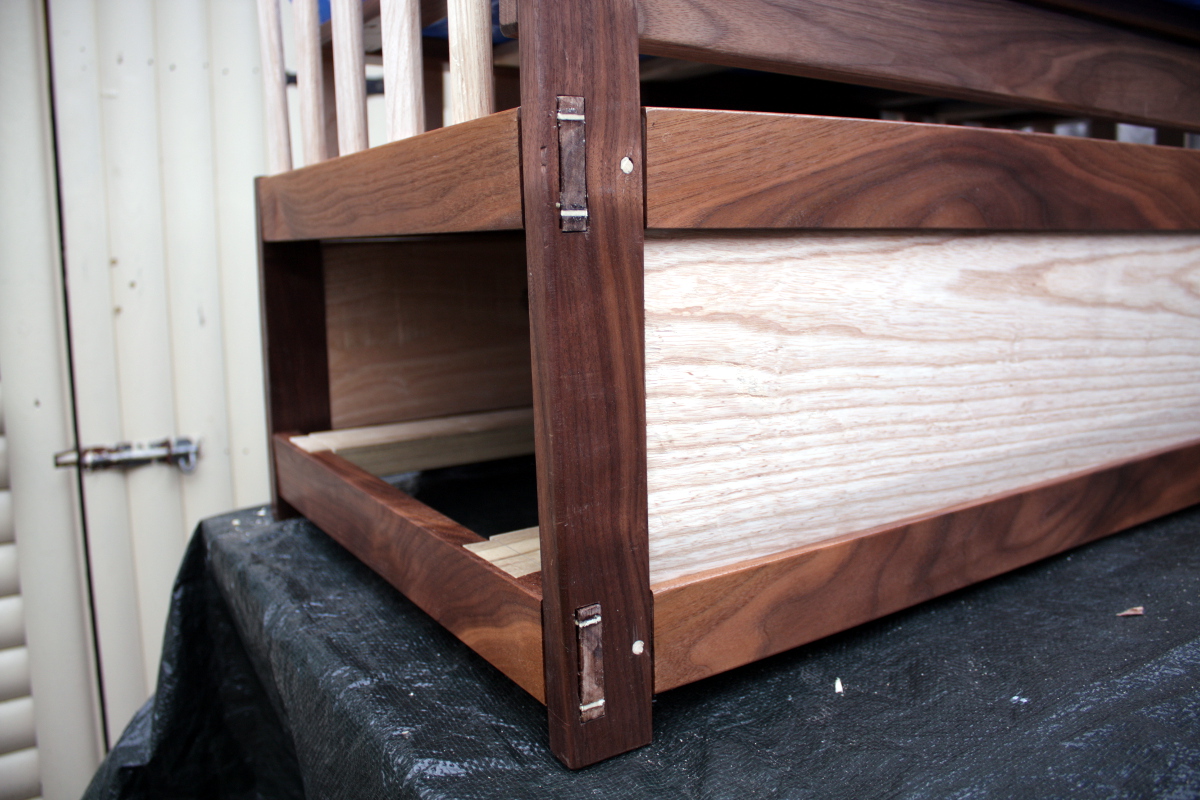
And after thicknessing, there was jointing (with the #7 after the #5½ did this initial trimming), and the front of the drawer was trimmed to size against the opening – it’s not a piston fit, but the drawer carcass is open on the bottom so meh, who cares; if this was an airtight box the piston fit would be awesome but here it’s just faffing about weeks after the delivery date has come and gone. And then when the drawer face fitted, the back and sides were trimmed to match and shot to square on the shooting board.
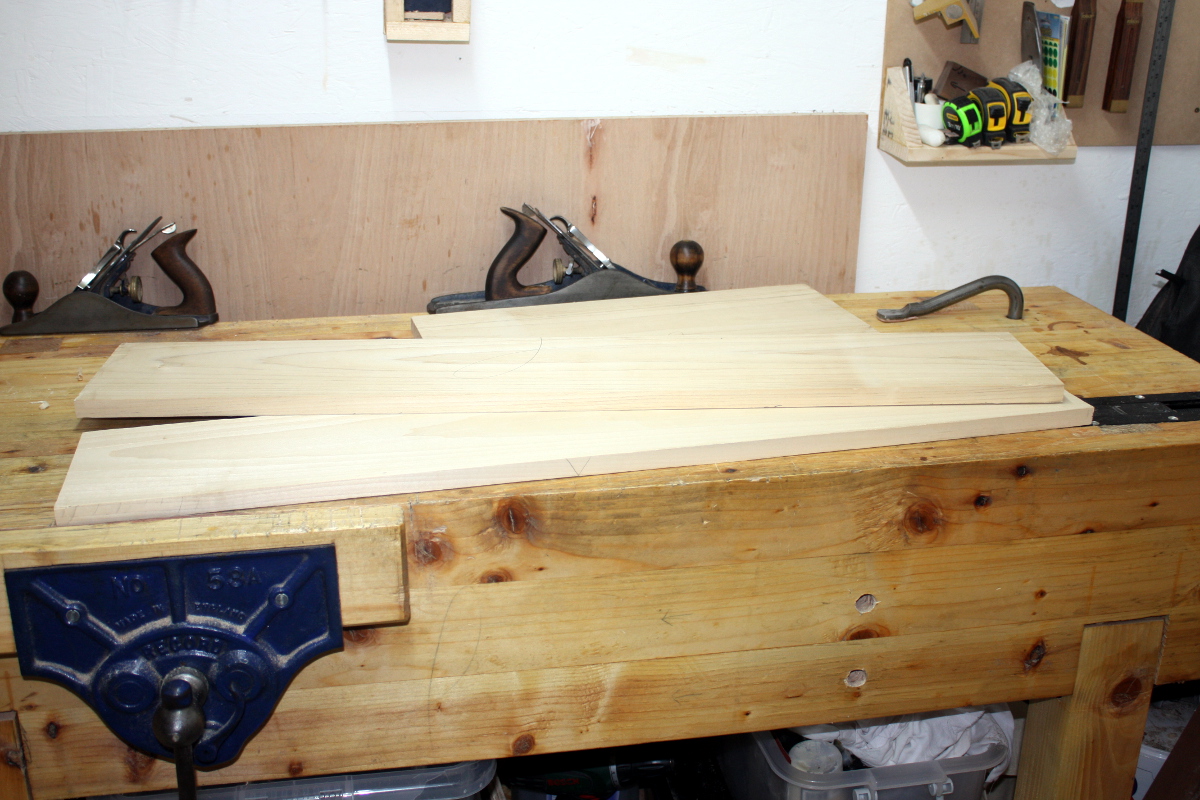
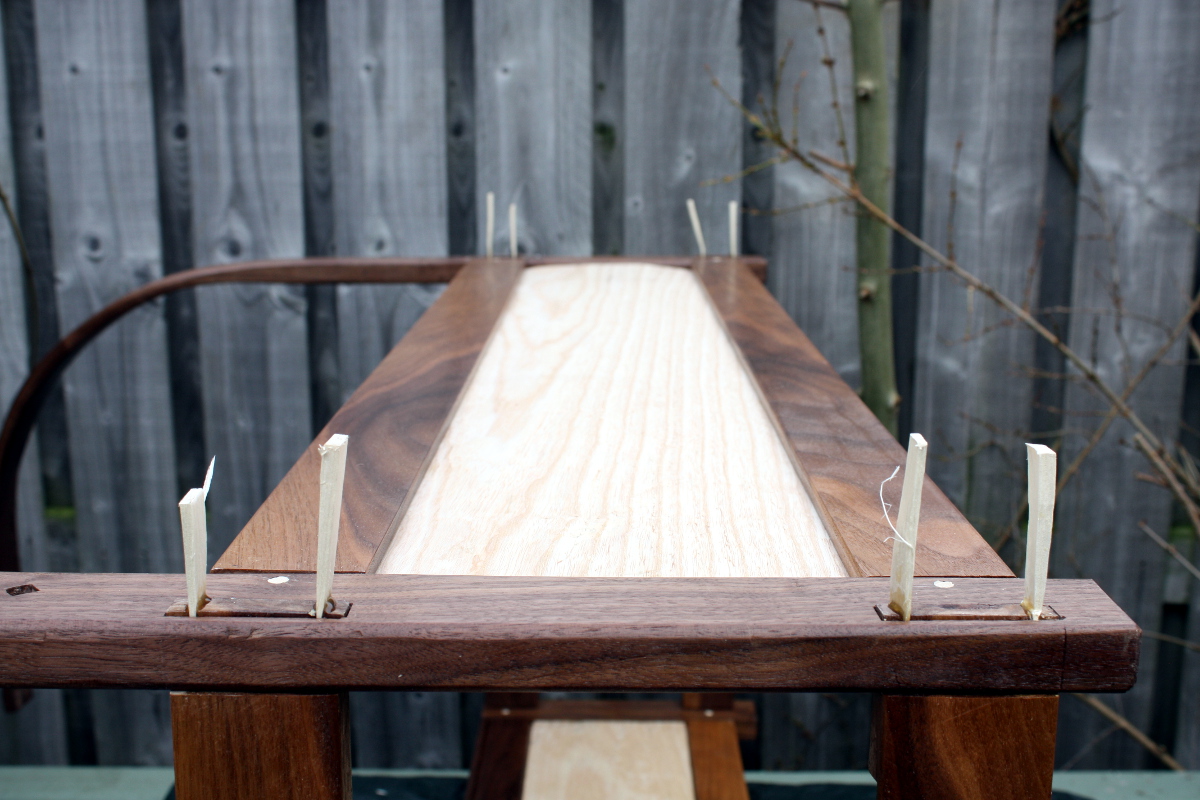
Back and sides, thicknessed down from 1″ to ¾” by hand, trimmed, squared and ready to do the actual joinery.
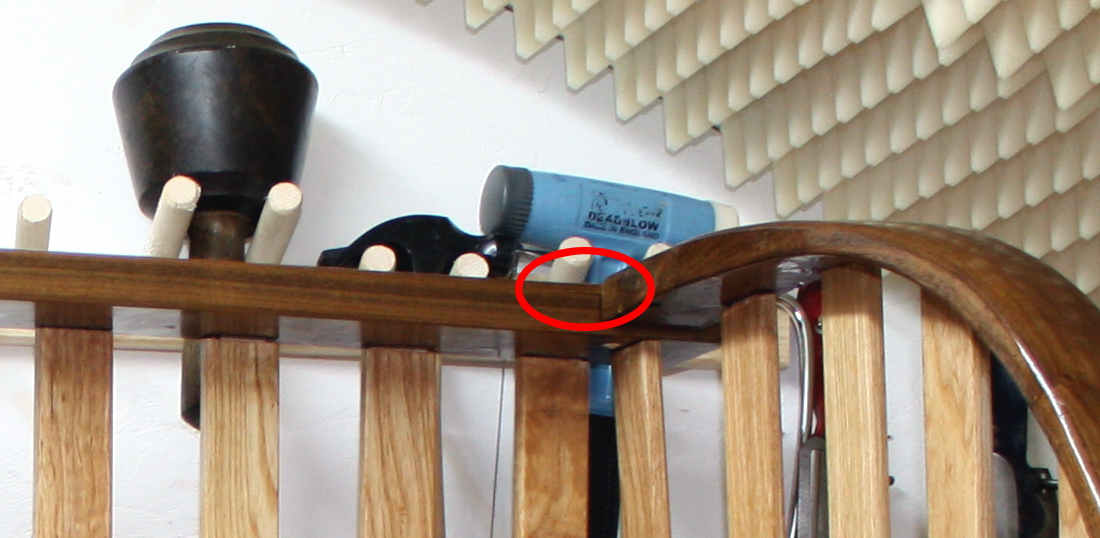
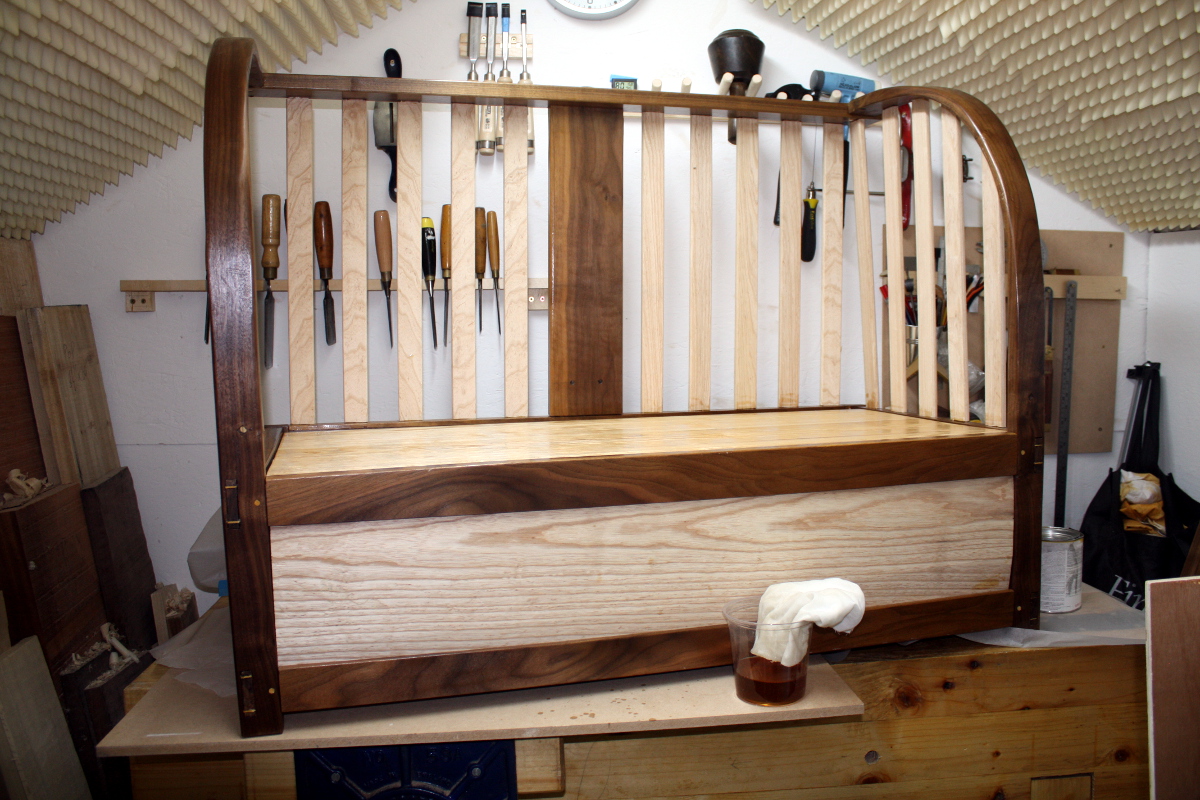
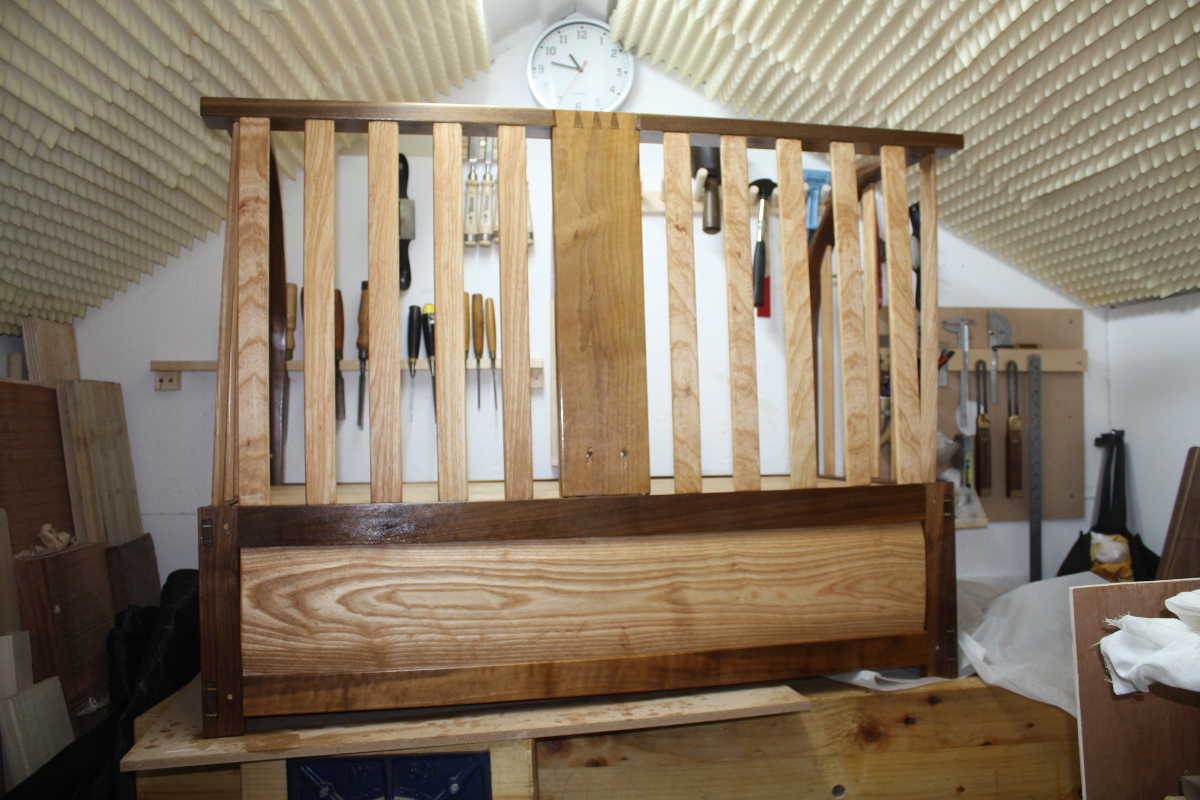
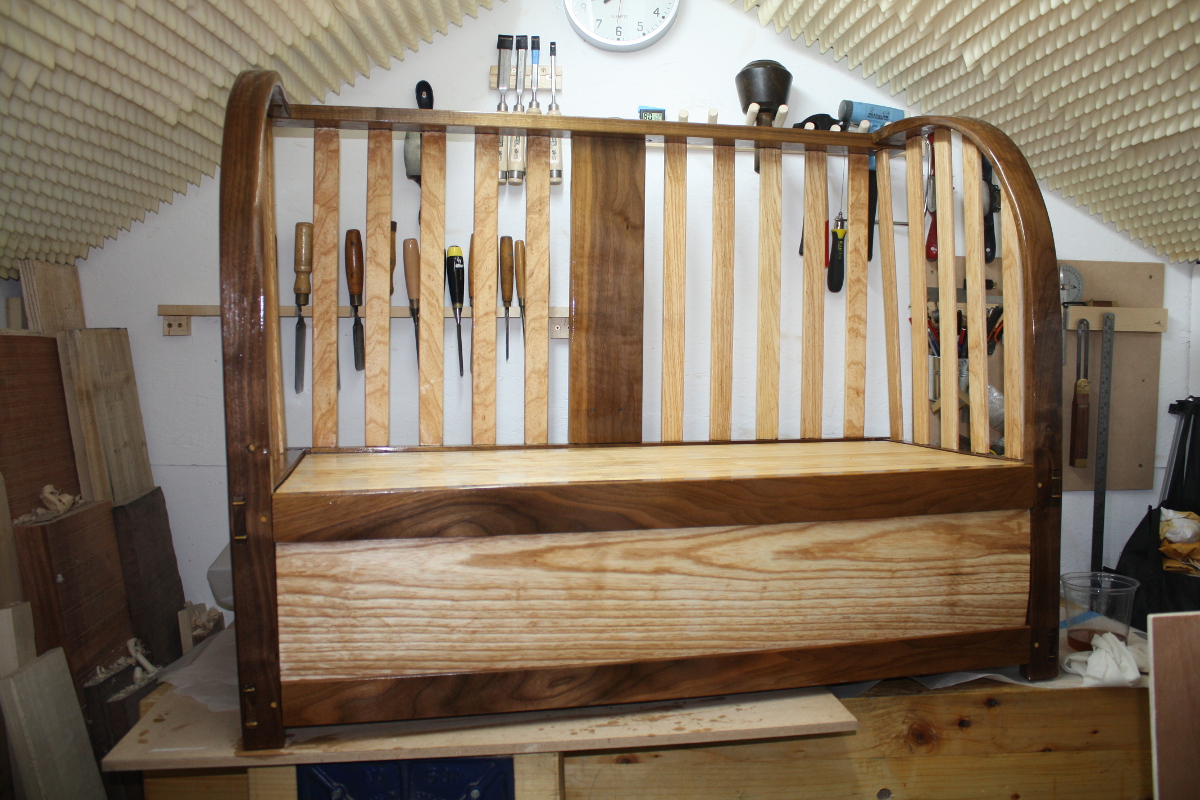
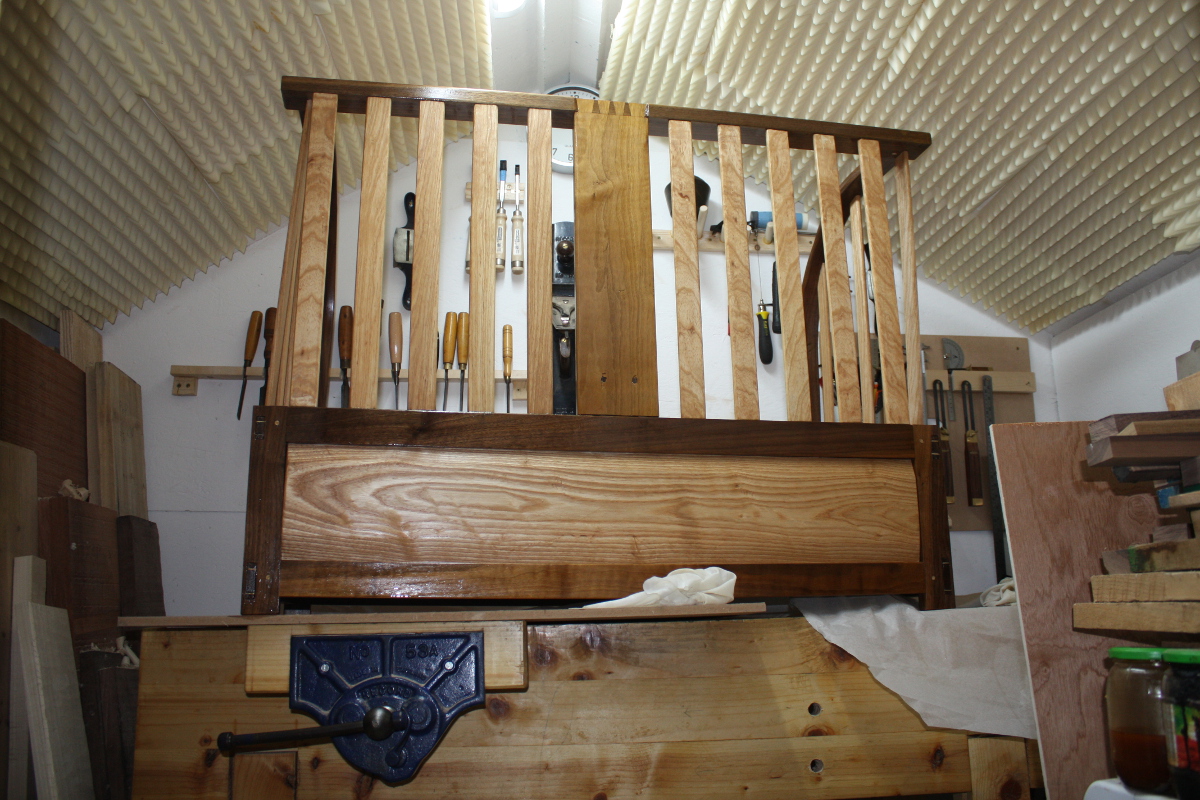
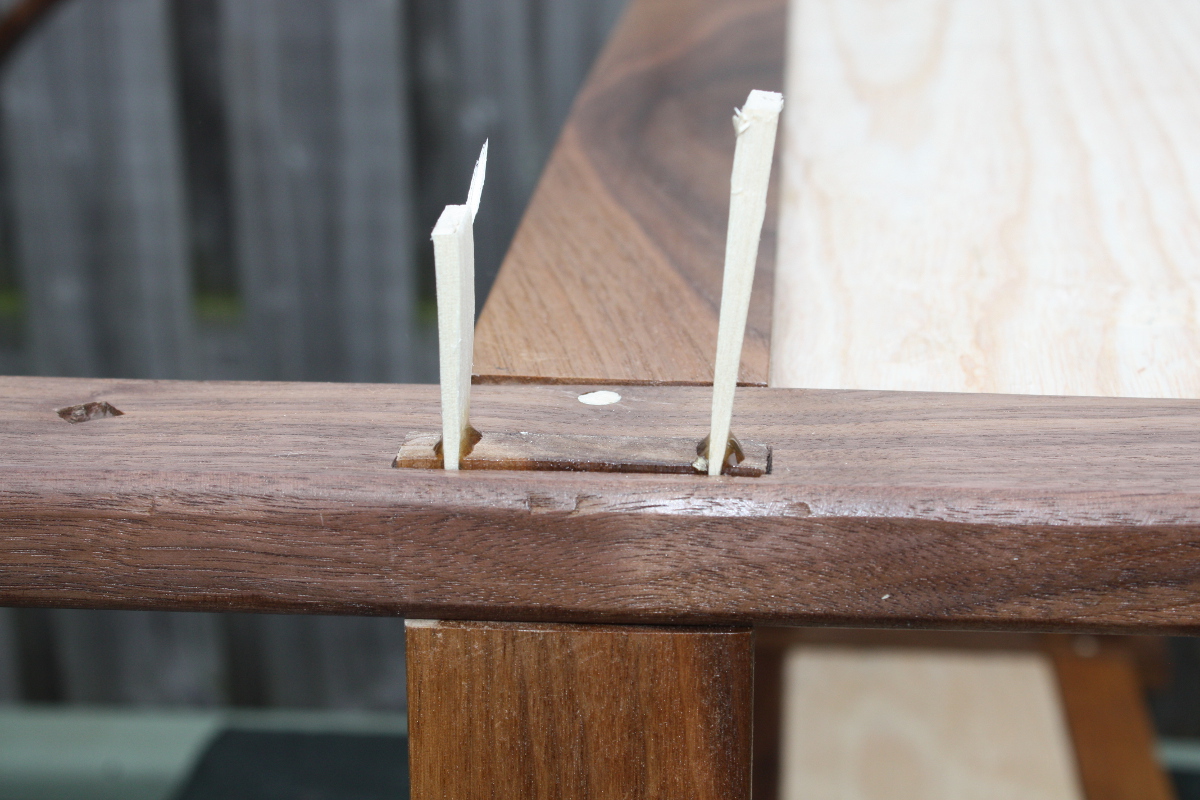
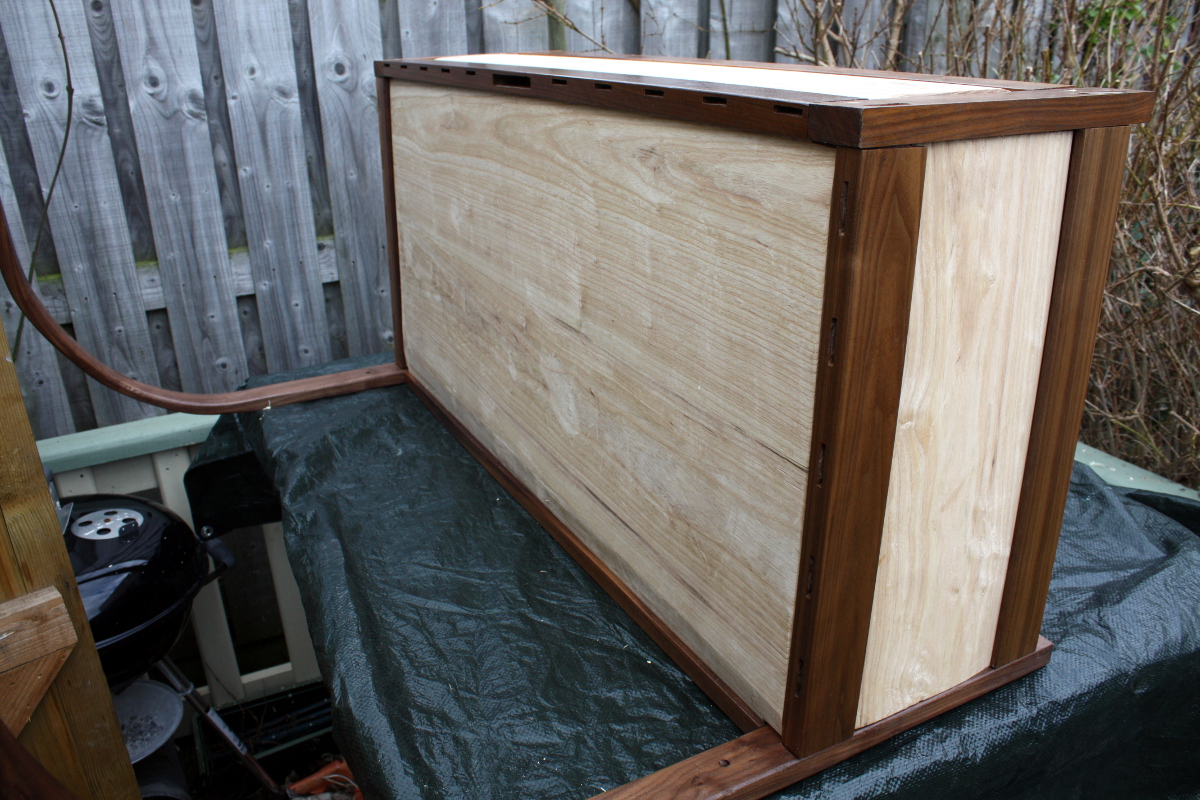
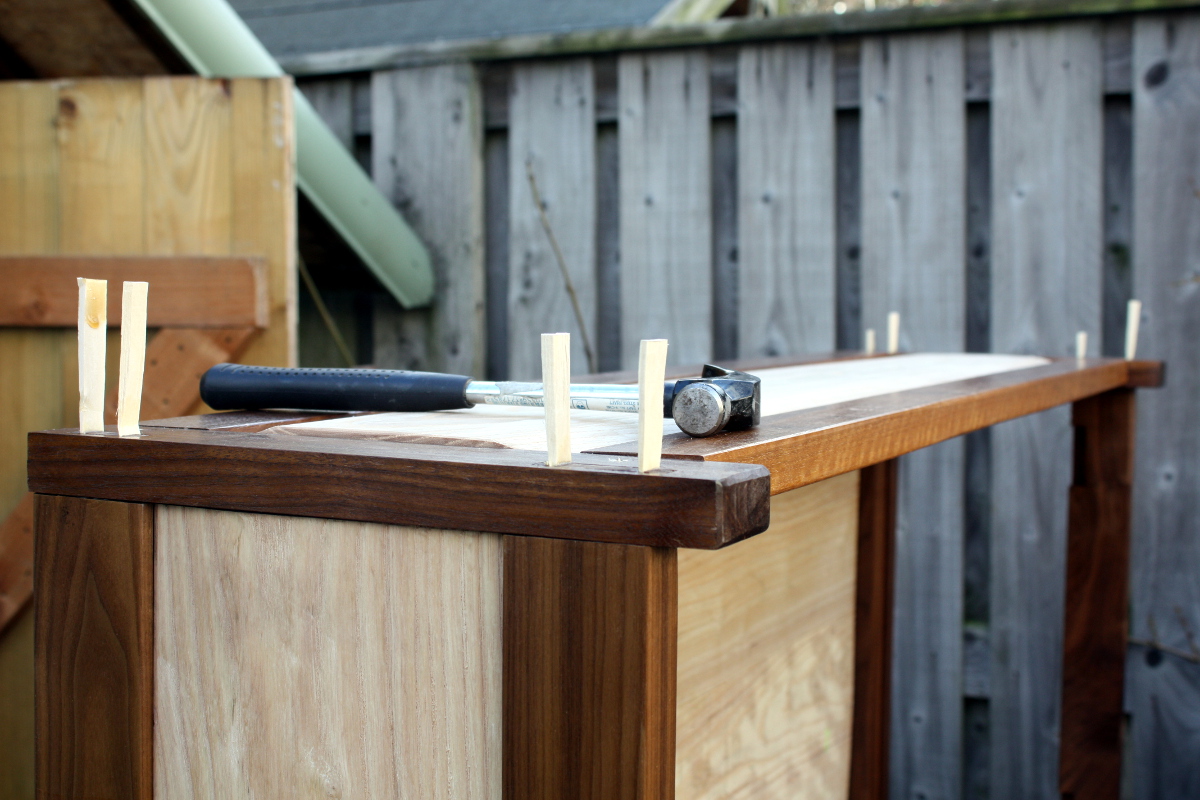
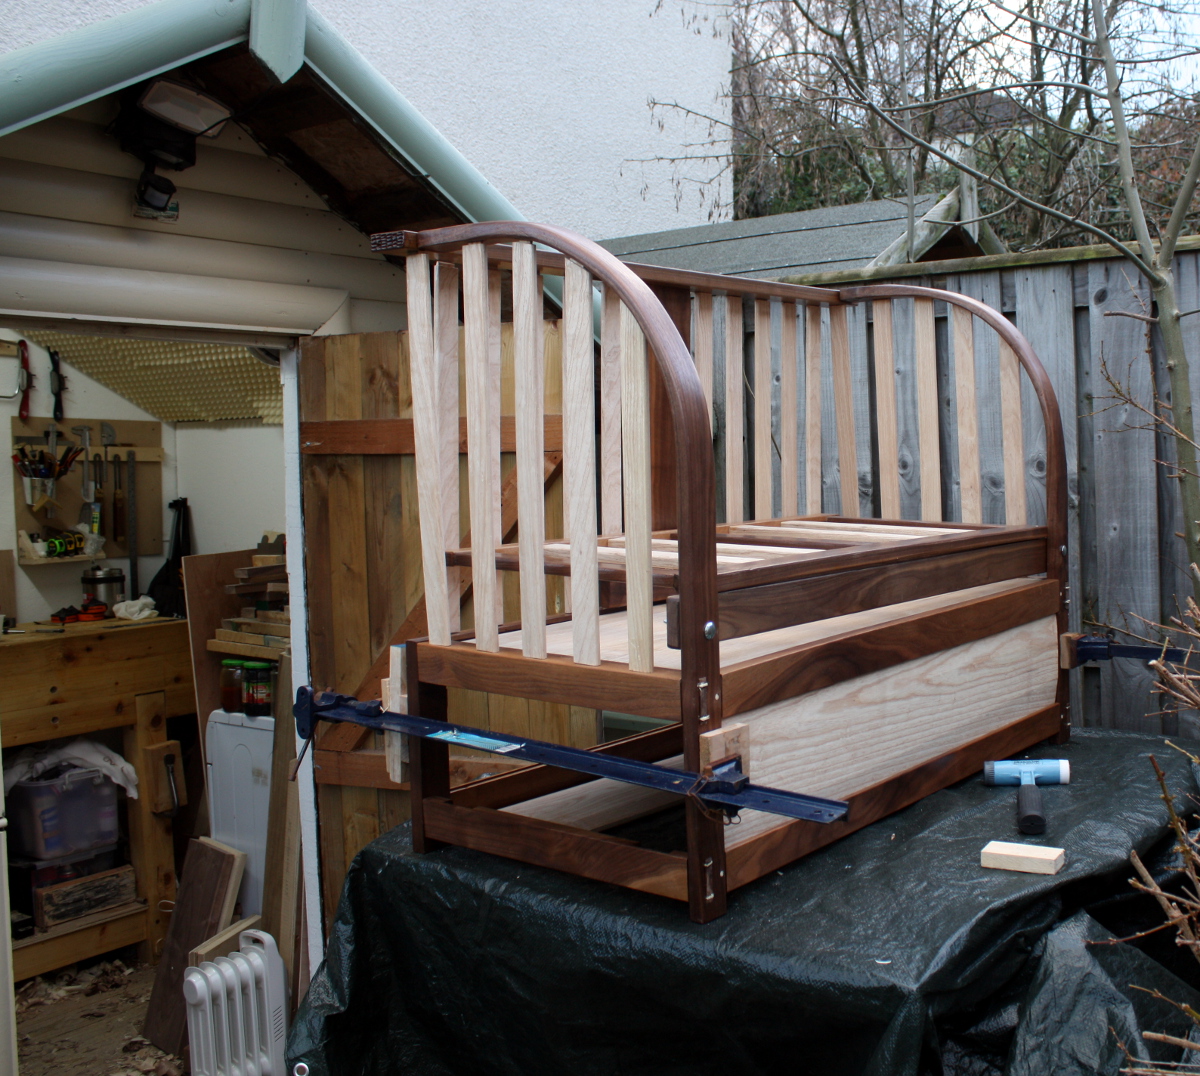
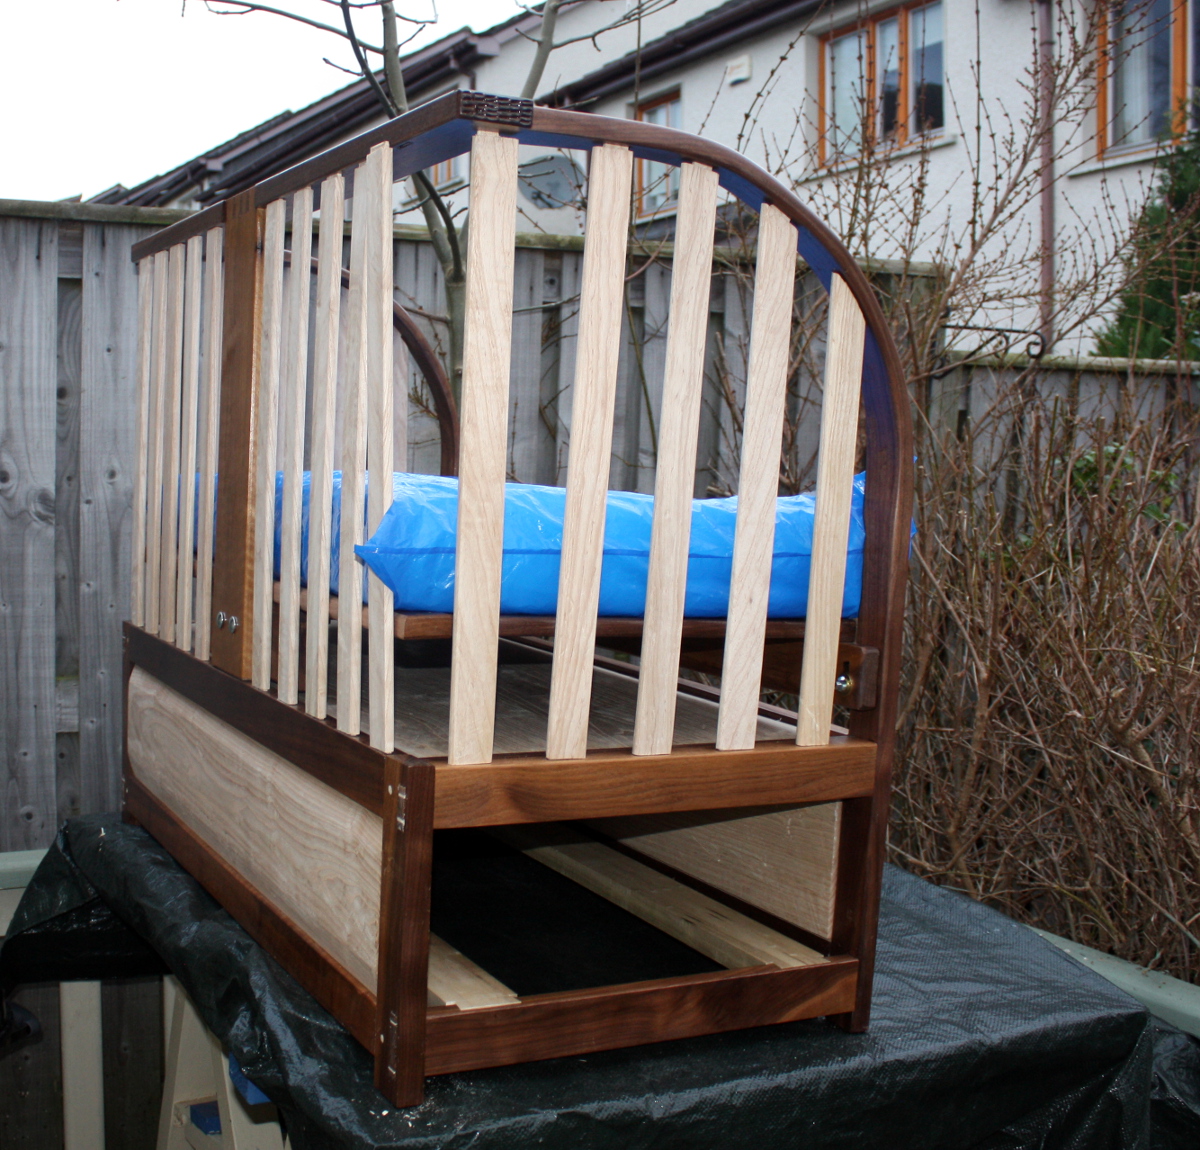
Oh, and over the last few days, I got three coats of osmo onto the rest of the crib, sanding down with steel wool between each coat. So that’s now all done with the exception of glueing in the runners for the drawer; I didn’t want to do those until I’ve finished making the drawer because I want to put in stop blocks on them so the drawer can’t be pushed in so far that the face is no longer flush with the frame. That’ll be easier with the runners still removable. And I’d like to add in a few small wedges to the frame and panel setup to stabilise it just a bit, it’s a little rattle-y right now.
And I was wondering about the top panel and shrinkage; depending on how dry the room it’s going into can get, it might just be possible that it could shrink enough to fall out of the frame. It’s unlikely — it’d have to go into a relative humidity of 40% or lower according to the shrinkulator but just to be safe I might add in a glue block or four.
To-Do List:
- Make a drawer
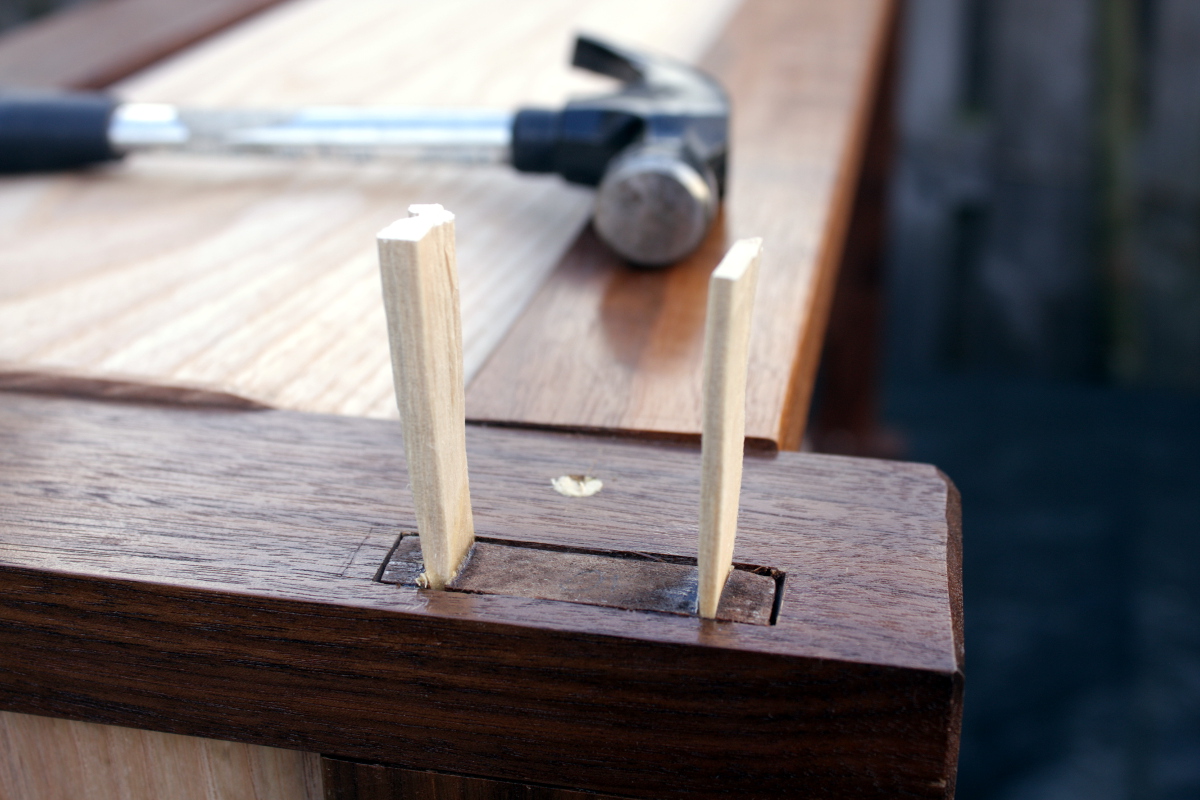
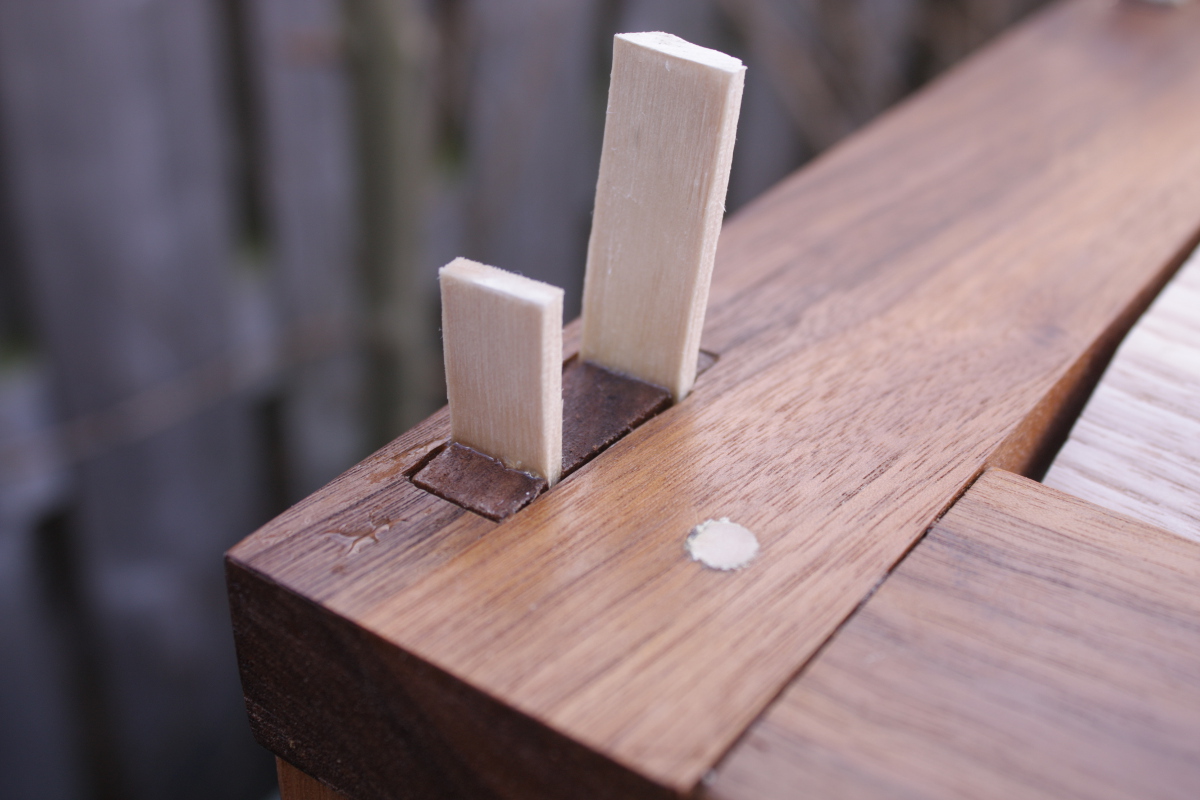
Thickness the boards for the drawer.Cut the drawer front to size.Cut the drawer back and sides to size.- Cut dovetails for drawer.
- Groove drawer with #43 for plywood base.
- Maybe add runners underneath the drawer?
Finish plane drawer front- Finish drawer front with shellac.
- Paint drawer sides with milk paint.
- Assemble drawer.
Last minute fettling and foostering.- Even more last minute fettling and foostering.
Finish entire assembly with several coats of Osmo wood wax.- Close door of shed, lock it, walk away and never do another project with a deadline ever again.