09
Oct 16

Magic trick

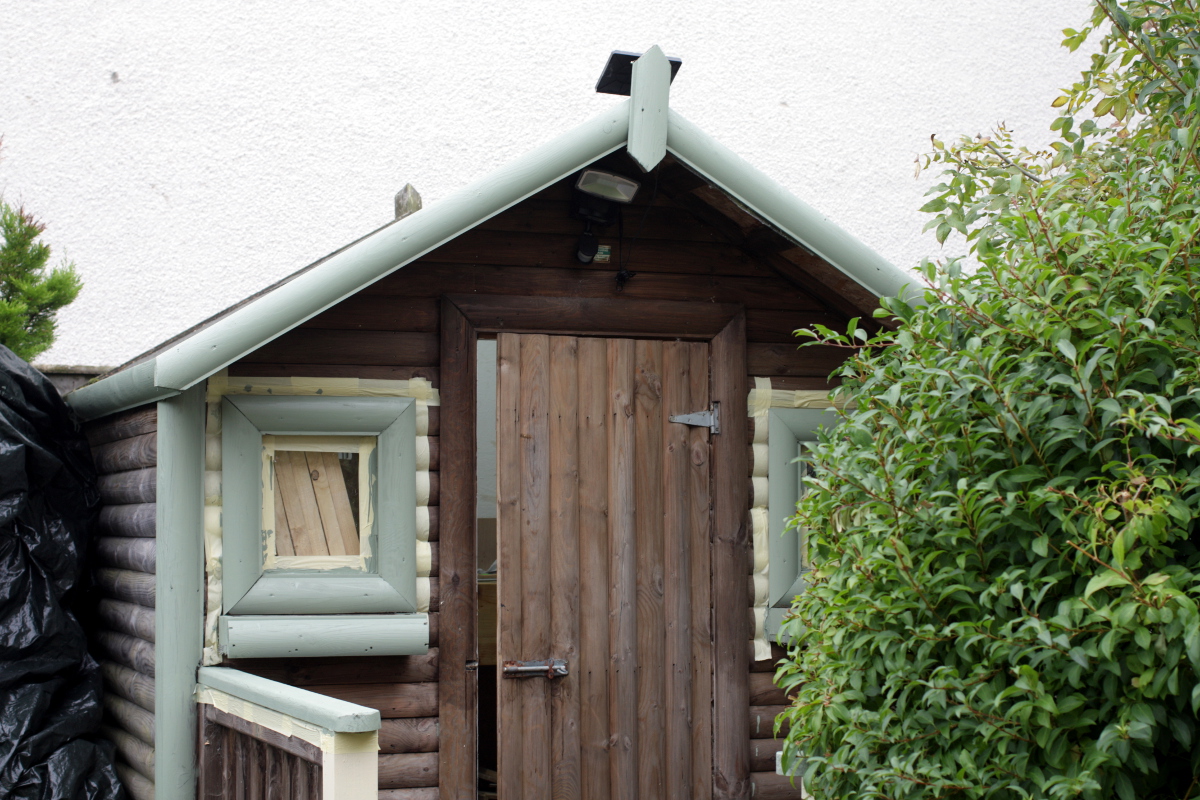
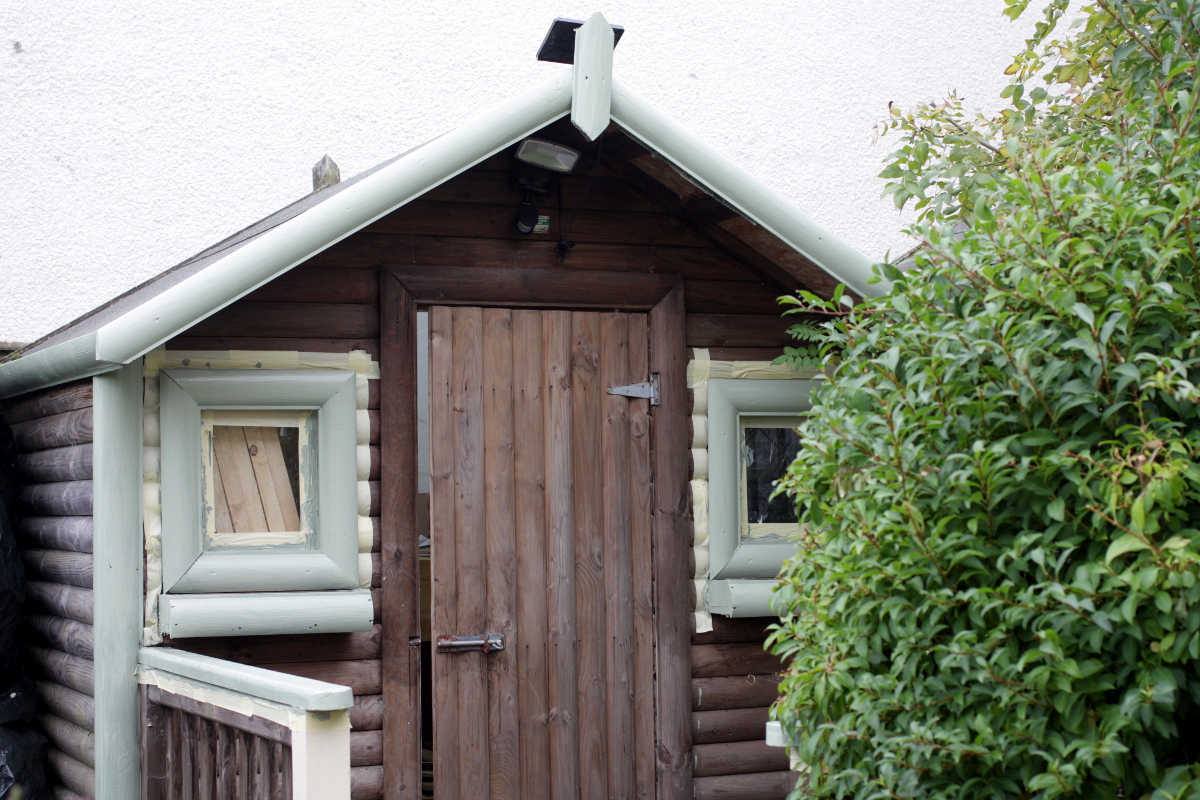
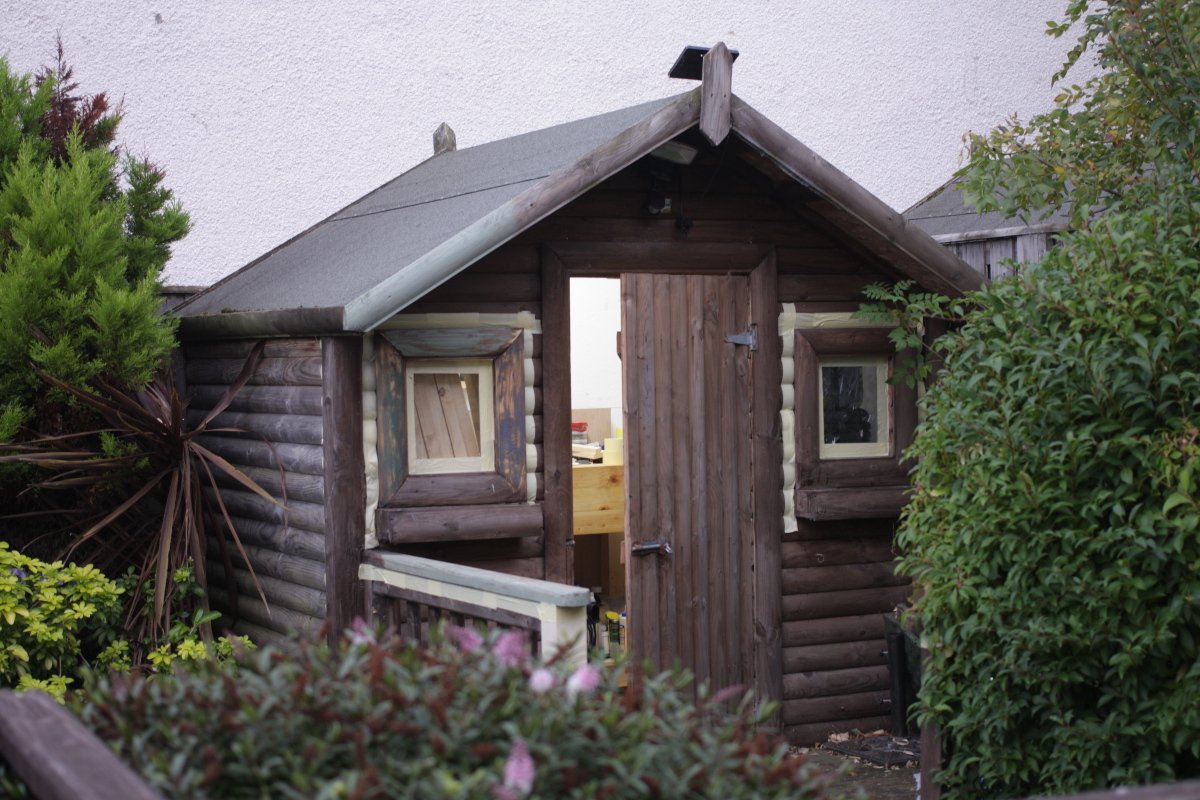
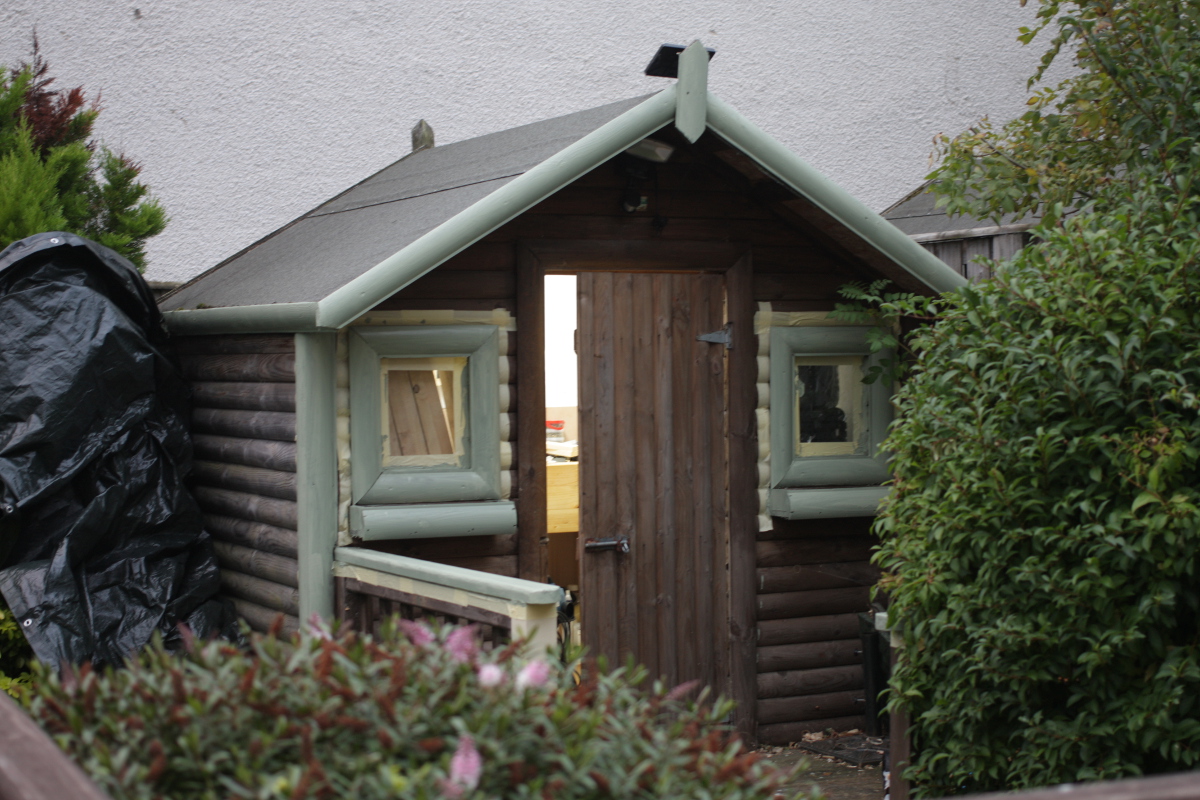
That point where the first coat of paint or finish goes on is such a dramatic change in the thing being finished, it really does seem like a magic trick of some sort. Even if it’s a cack-handed sort of affair. Today was two of those moments. First off, with the shed, which took quite a bit longer than your average david copperfield affair, eating two hours to get it done. Mostly because all of the funny things people tell you about painting while you’re stuck in a bush are pretty close to the truth. Still, it doesn’t look horrible:

img_9468a

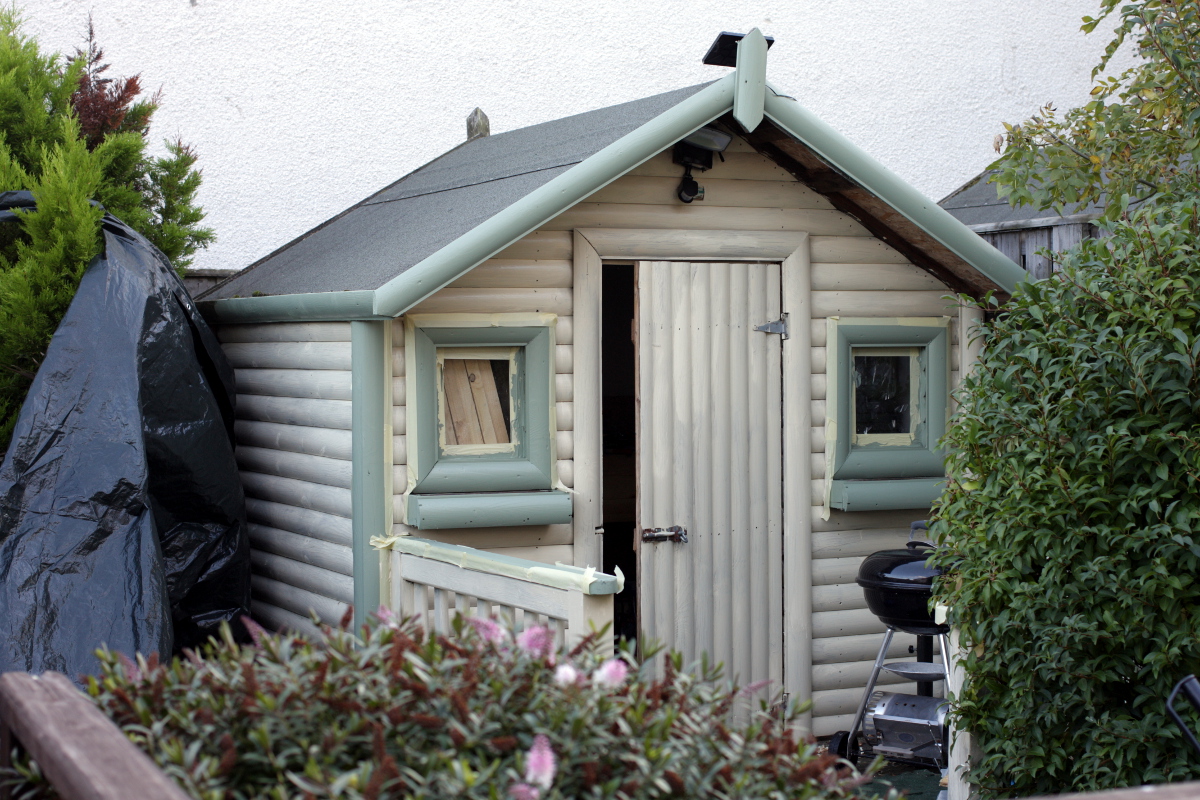
Okay, the tarp on the bush to the left looks horrible, but that’s how I’m keeping it from being a pine needle finish. Plus, it makes painting from within the bush a bit easier. Second coat in the next day or two, and then off comes the masking tape and the spiders can move back in to cover the whole thing in webs again…

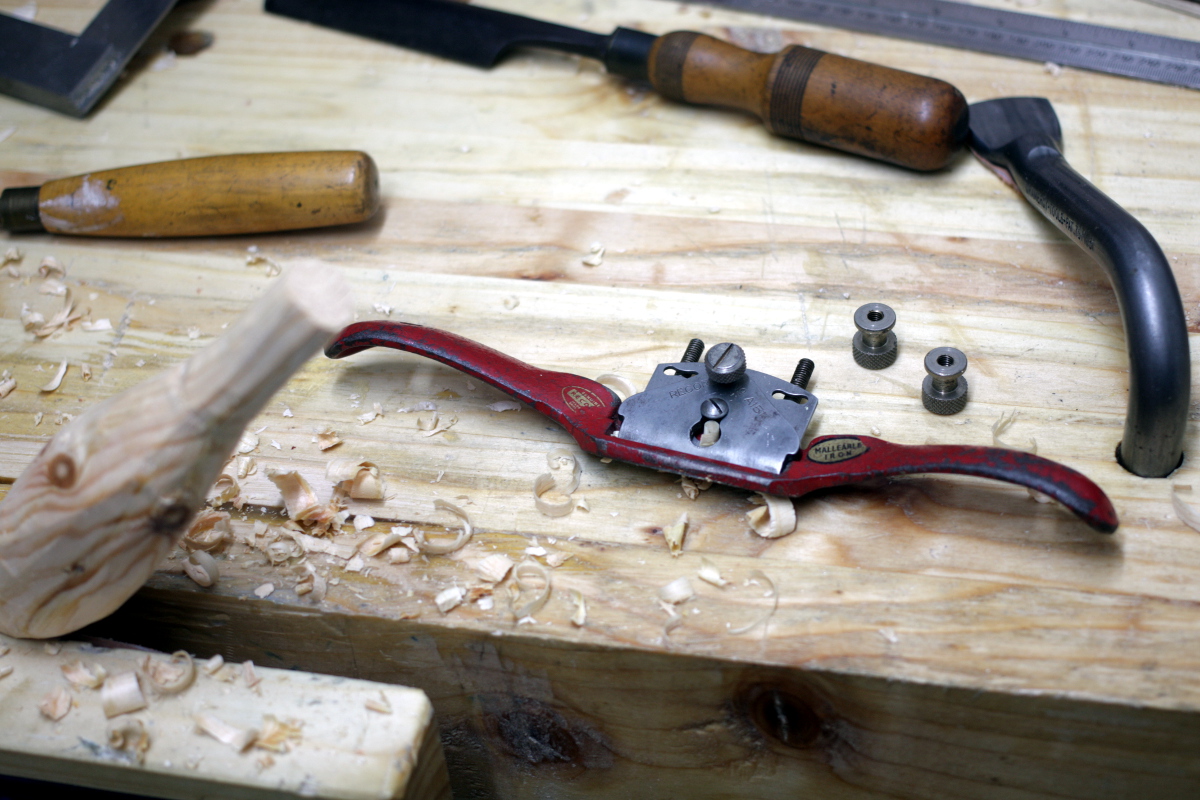
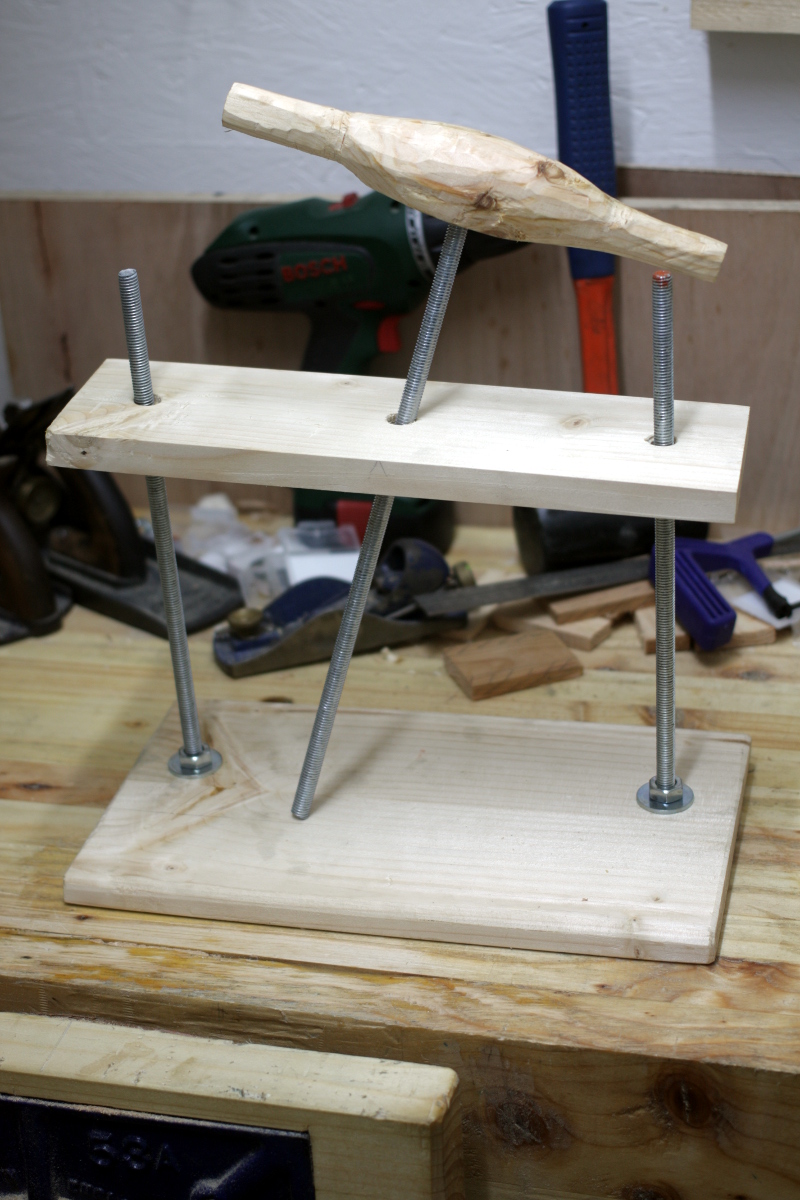
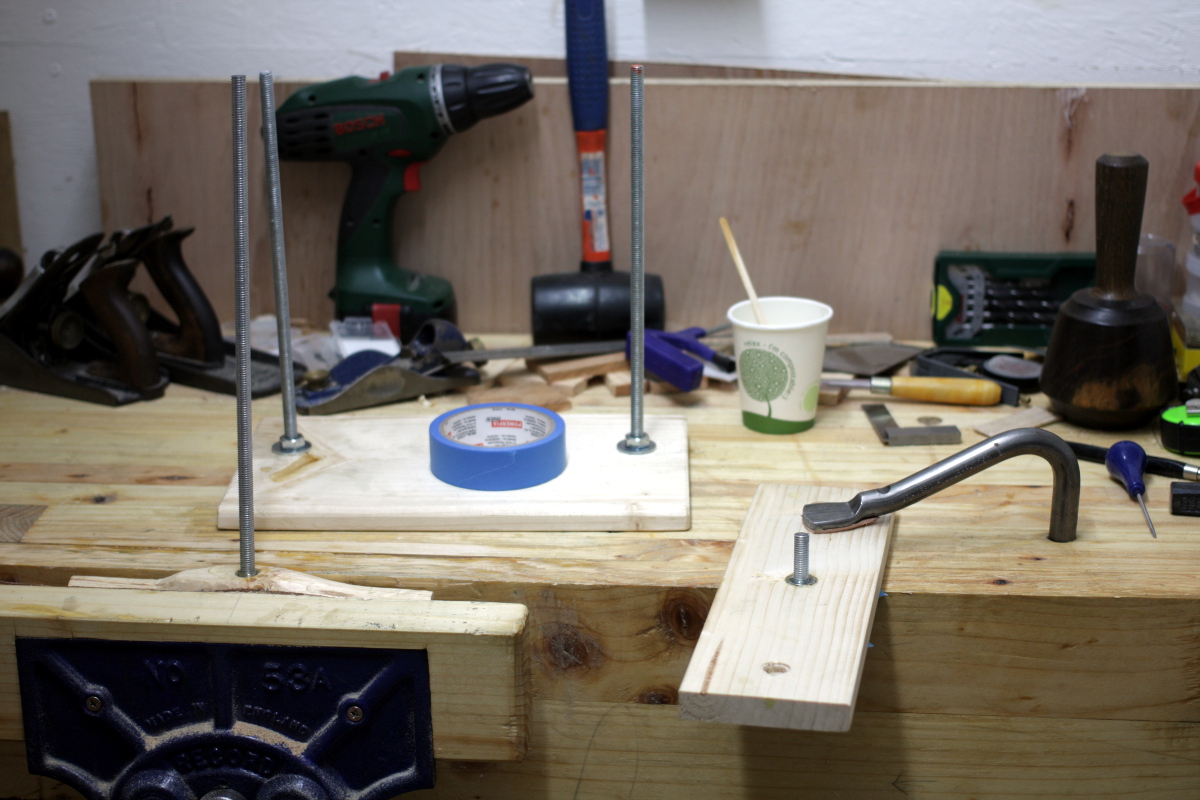
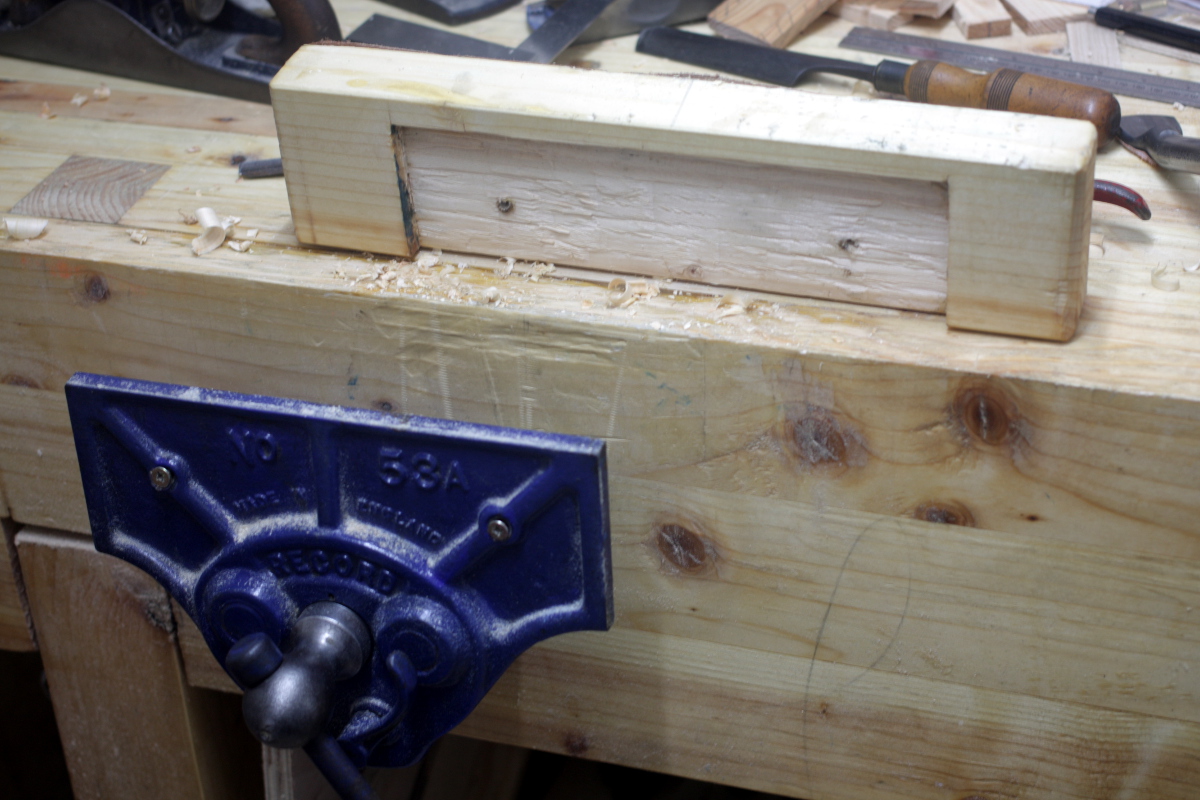
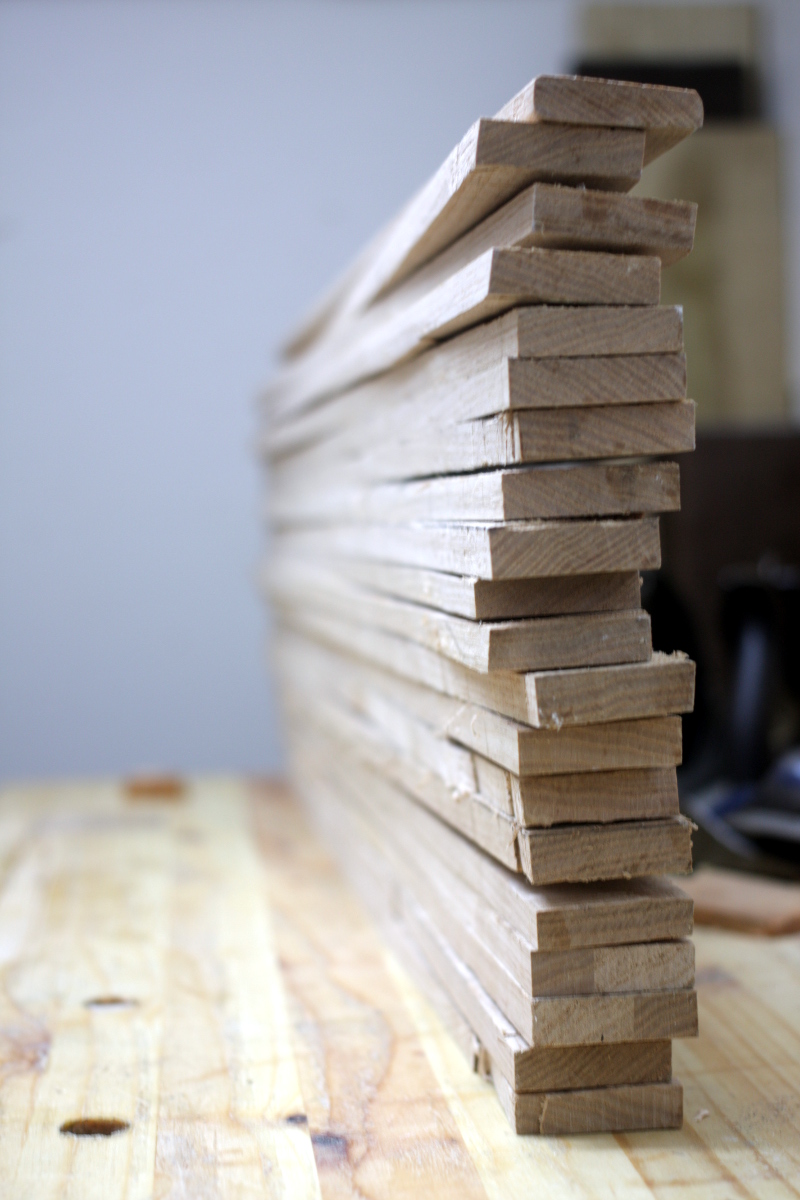
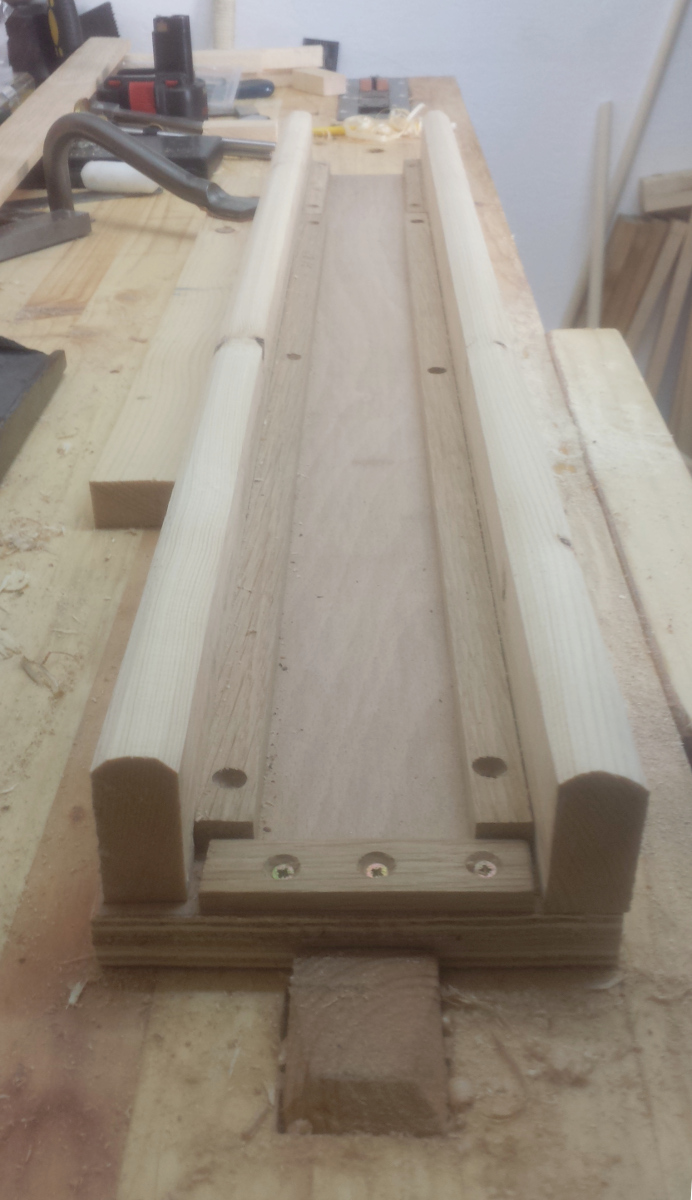
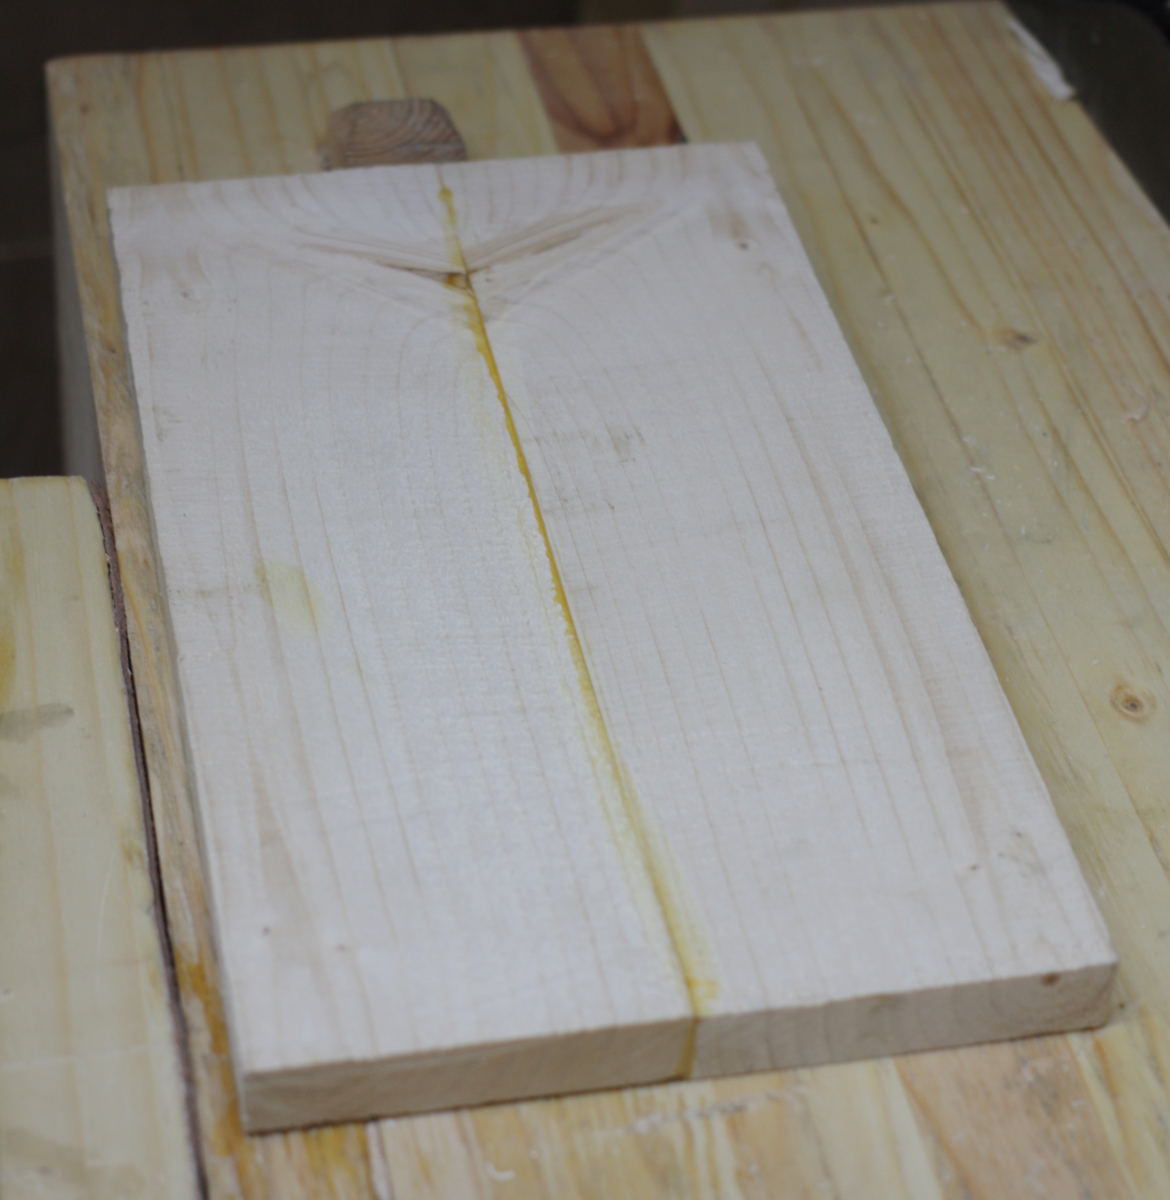
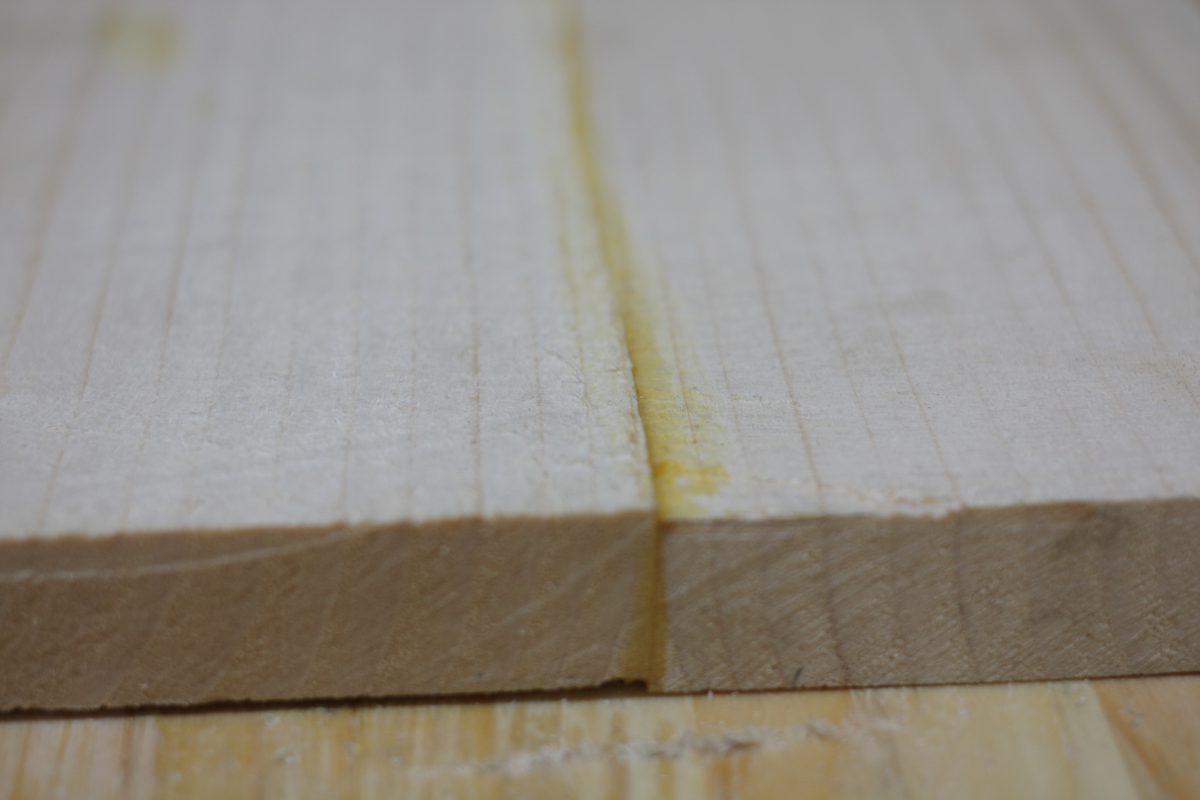
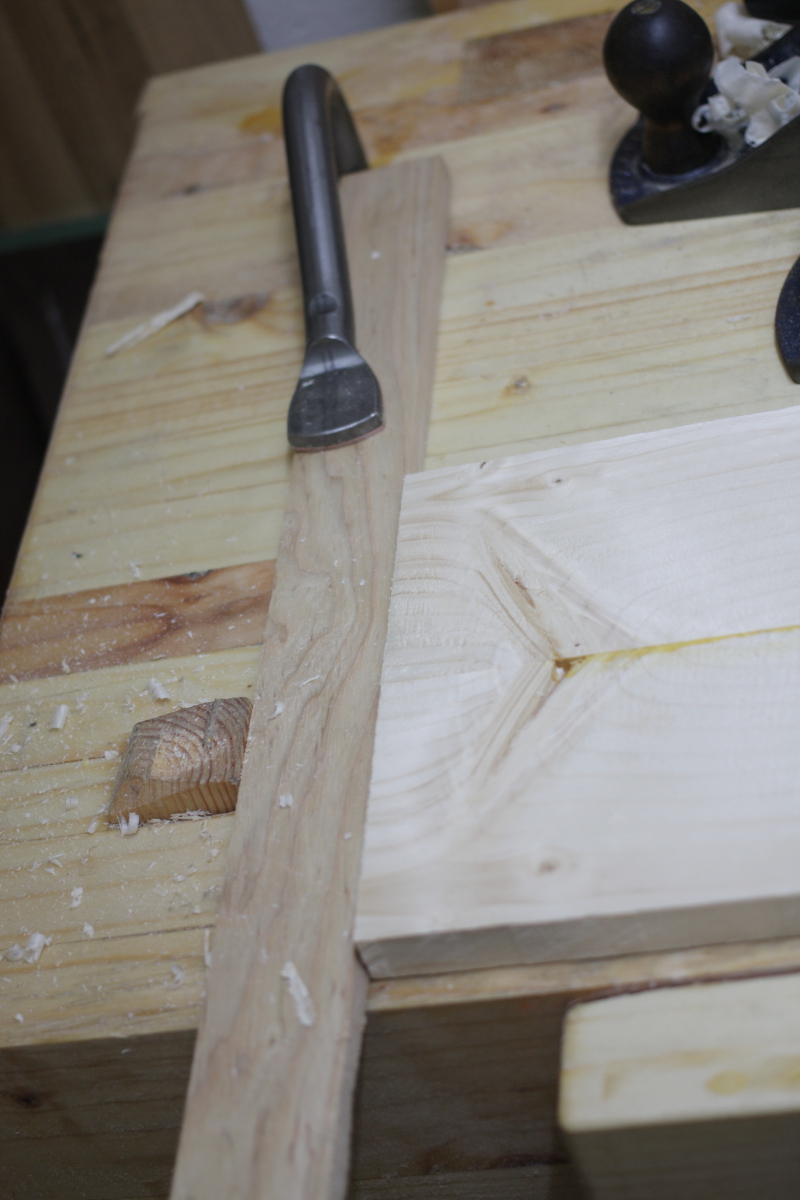
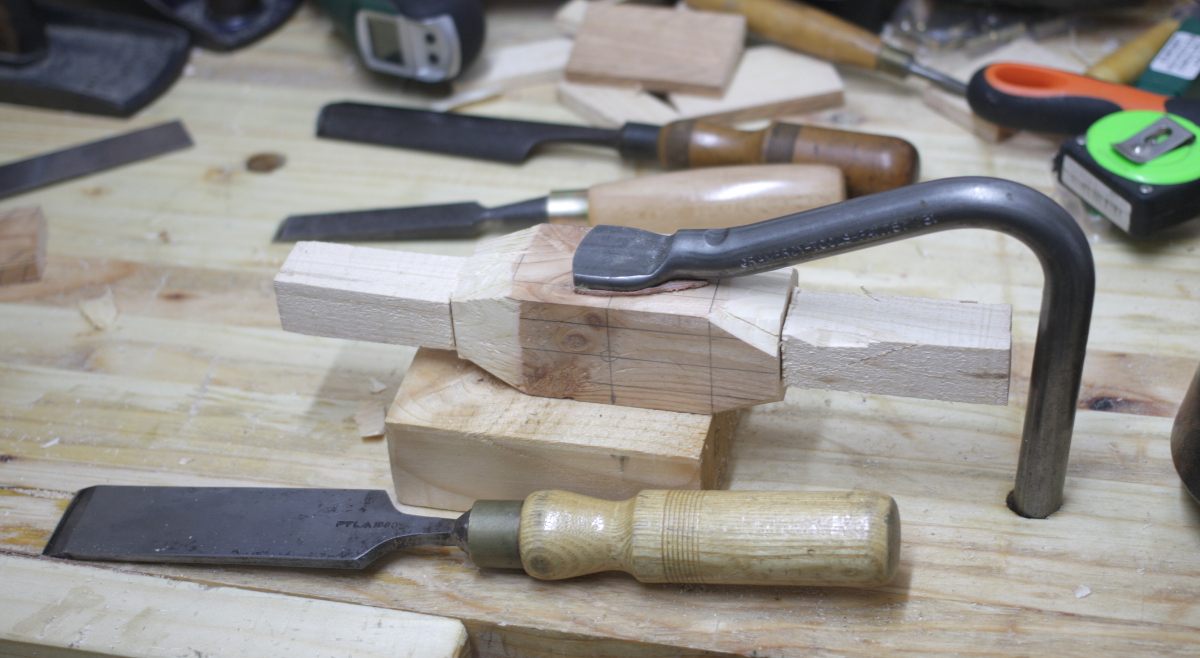
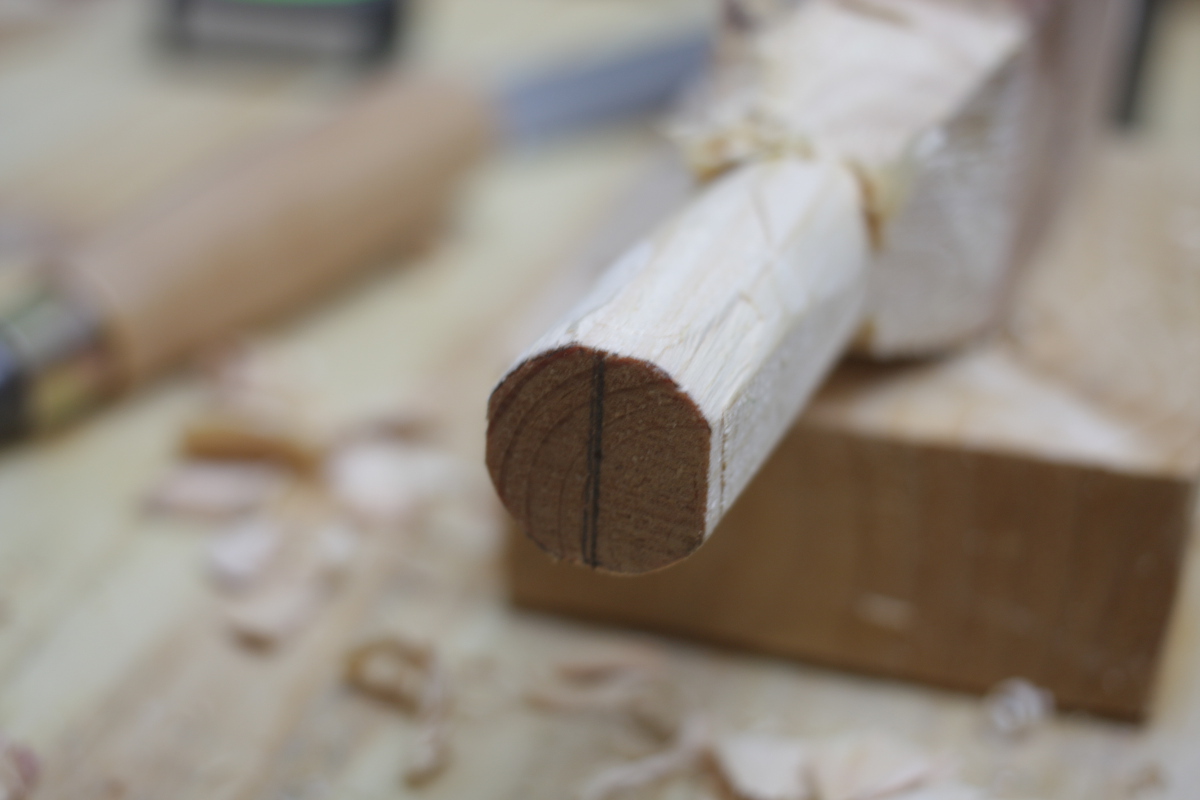
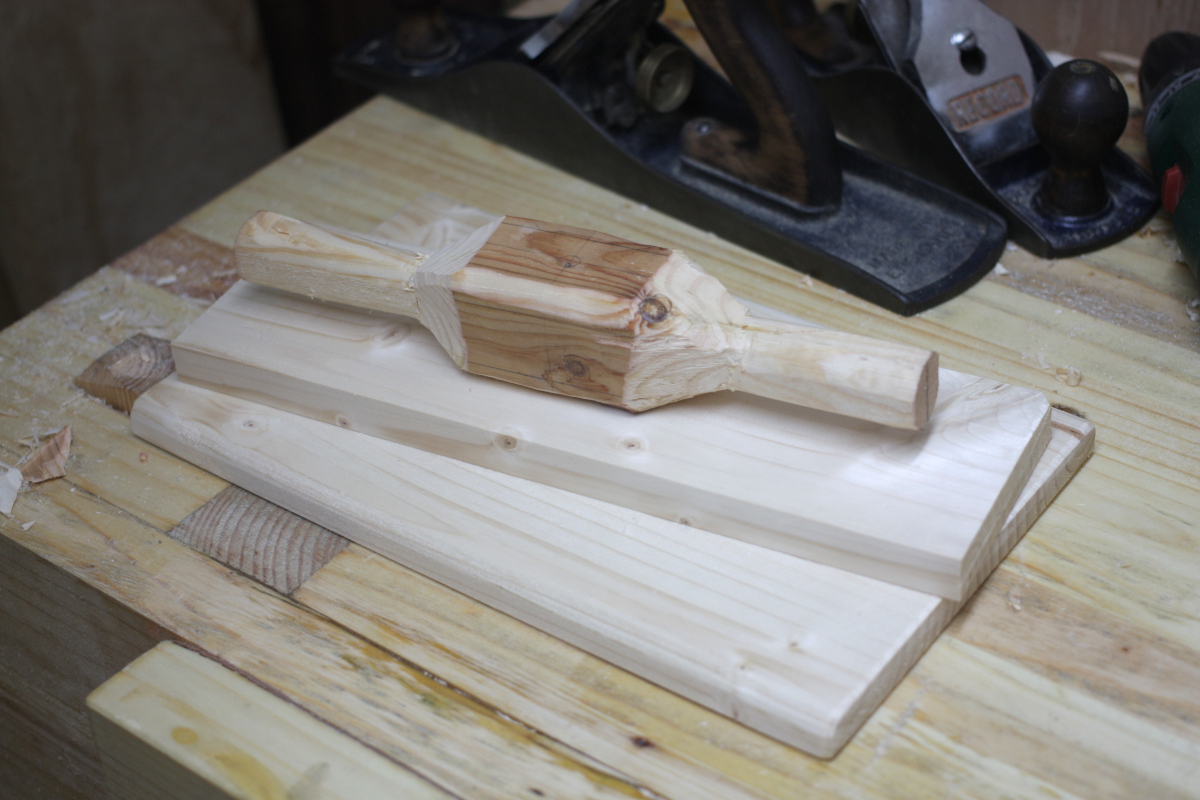
Second up was the cheese press. I’m not hugely happy with the main nut on the crossbar for this, I think there will be more epoxy and a few small wedges employed, but at least it’s in an out-of-sight area; but I wanted to get the shellac on first today as all that’s left is bitwork after that really. I removed the metalwork and took the #4½ with its new 40° angle bevel and the cap iron crowded right up on the cutting edge, and smoothed the planks off. There’s something terribly gratifying about getting wispy-thin shavings after trying a slightly new way of setting up a plane. I think this one counts as a success. I did some last bits of whittling as well on the handle just taking off the absolute worst bits. I’m not happy with it at all really, but at least I learned how not to use a spokeshave.

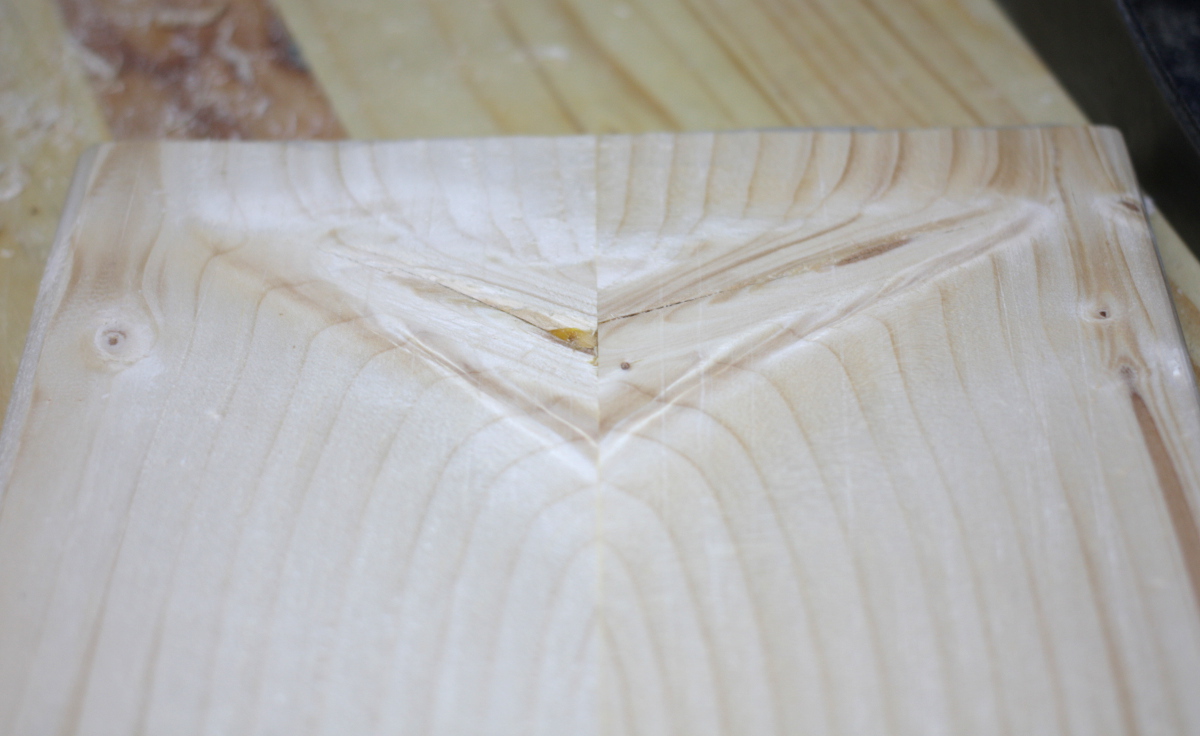
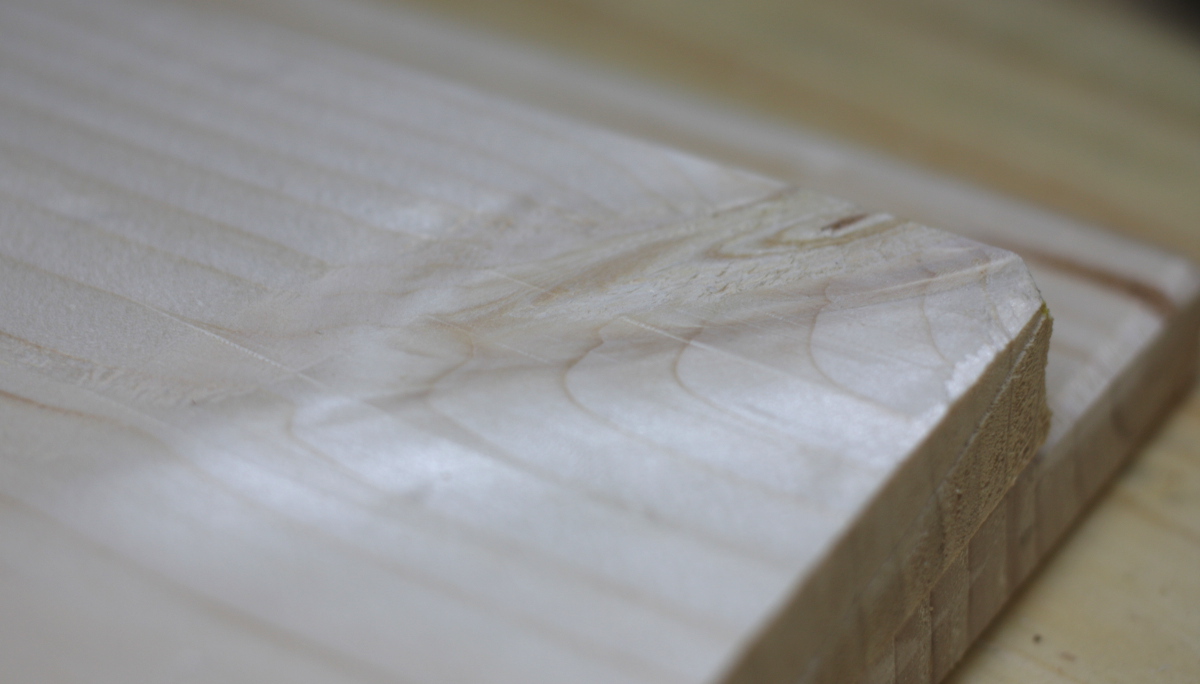
Then on to the shellac. I’ve had some button shellac sitting in isopropyl alcohol for a few weeks now as another experiment, so I used that. One coat, wait 30 minutes, sand back with old beat-up 120 grit sandpaper (I didn’t have any 400 grit sandpaper. Something to sort out for when I finish the crib). Four coats in total.

shellac1

shellac2

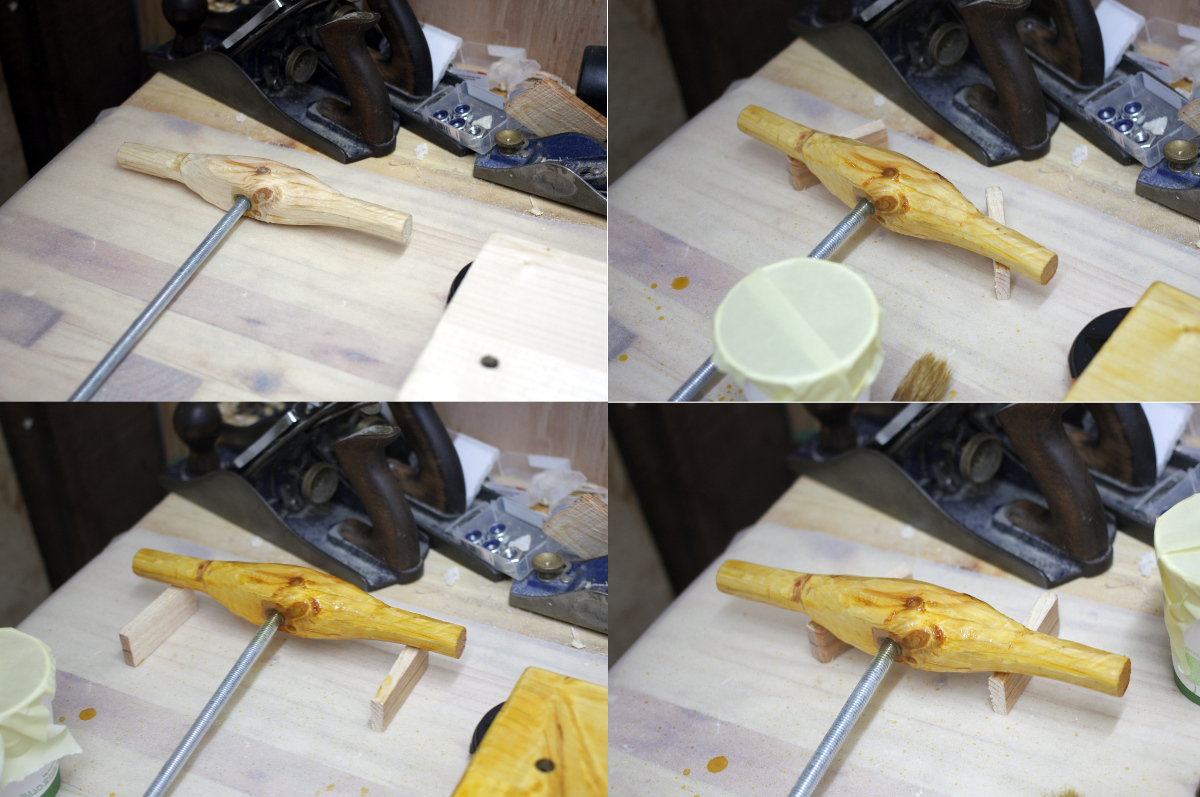
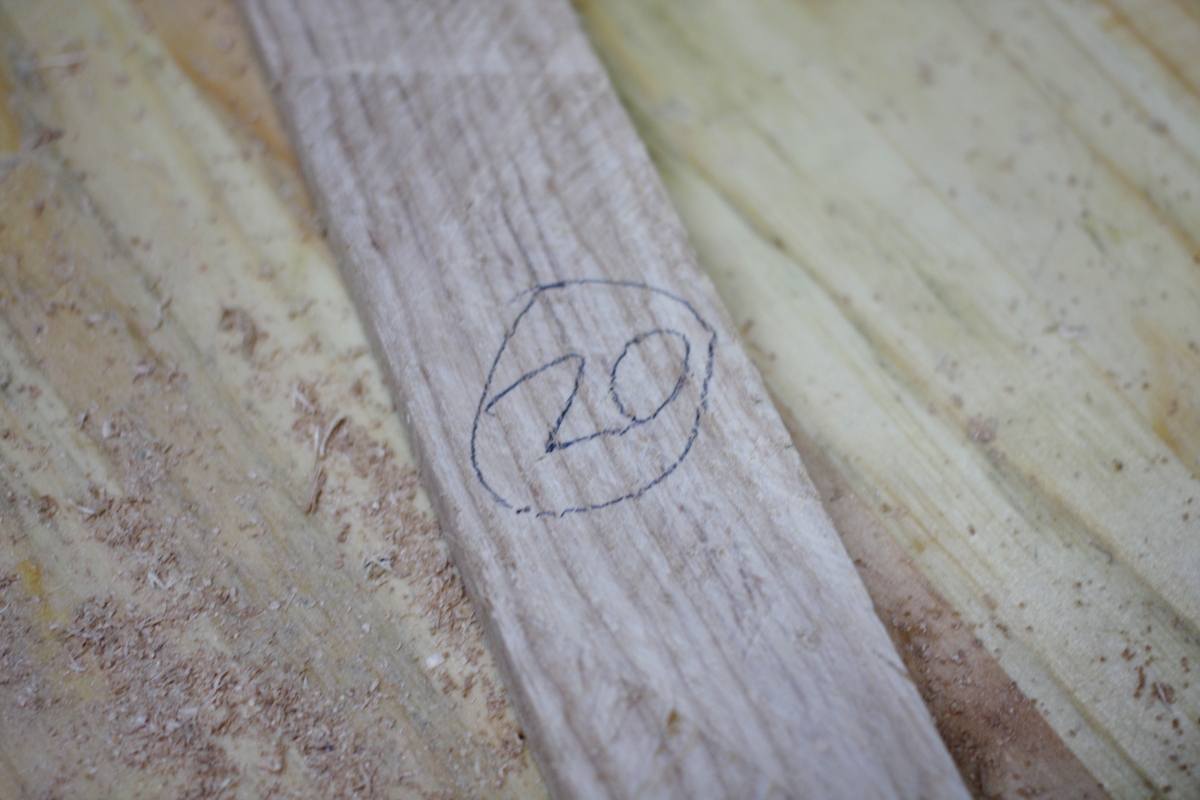
Clockwise from top left for each of those for each successive coat.

Tomorrow once it’s fully cured, I’ll hit the surface with 000 steel wool, then use the same wool to apply some briwax and then I’ll buff that out and that’ll be the finish done. I’ll drive the wedges to secure the center nut at the same time, add the metal hardware back in and assemble it and that’ll be that.

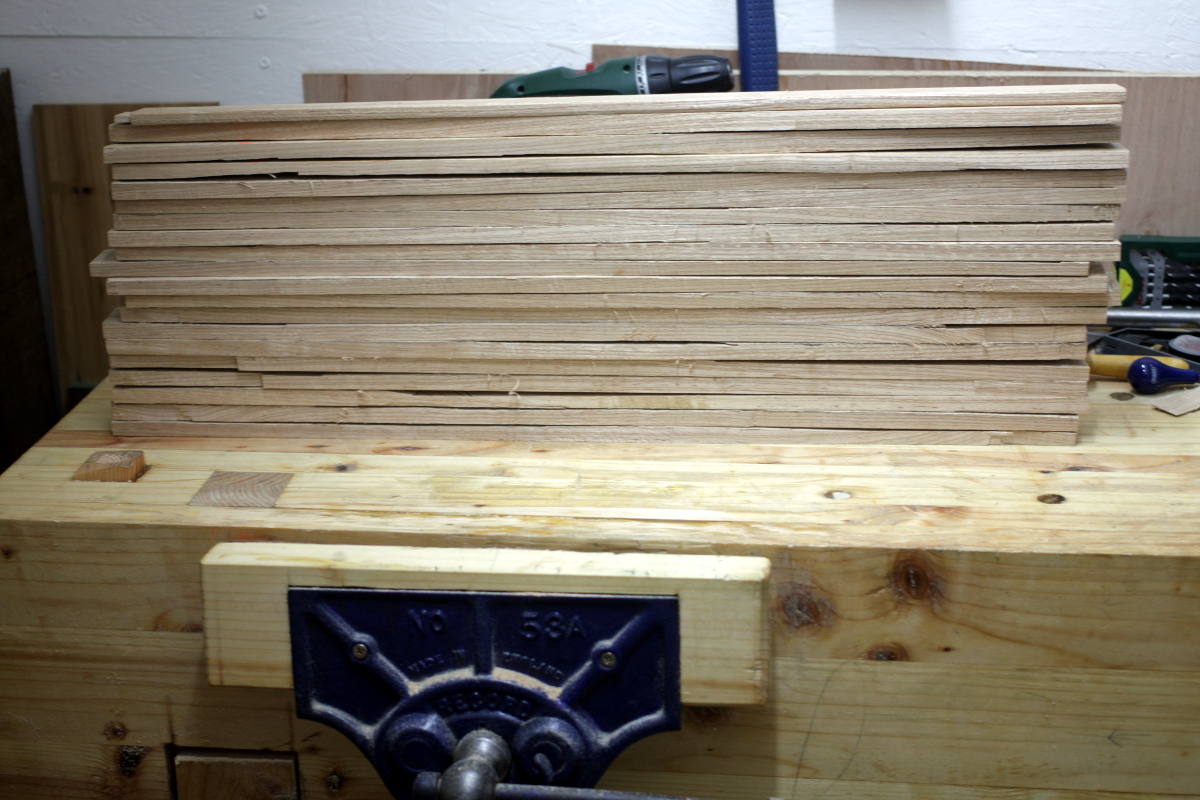
No work on the crib today, but the planing begins in earnest after the last bits of the cheese press are completed…


08
Oct 16

Twenty

So the early start plan kinda went to pot because of other duties, but I did manage to get to woodies and get another tin of the willow colour of paint to do the second coat on the shed. And then, annoyingly, got the second coat out of the remainder of the first tin. Gah. Oh well, I’ll find something for it. Meanwhile the shed’s looking okay, but I didn’t manage to get the first coat of the cream colour on it, so that might make getting everything finished tomorrow a bit of fun.

img_9443a

img_9449a

Can’t say that it looks like a massive difference with the second coat, especially as the colour darkens very noticeably on drying, but this stuff really does need the second coat when you look at it close up.

Then on to getting the cheese press done. I picked up the needed bits of threaded rod and such at woodies while getting the paint.

img_9456a

The threaded rod will get cut into 1′ long sections to form the two side supports and the main screw and the various washers and nuts will secure it (the hooks are for my bench brush which is in need of a better home than hanging on the quick-release of the vice).

img_9457a

The more difficult part of this has been getting a 2×2 chunk of wood down to something that vaguely looks like a handle if you squint and are blind. I was able to saw out a big chunk of the waste, and carve the basic shape very roughly with the gouges, but trying to get it even close to smooth was being a pain so out came the spokeshave, which promptly tore the crap out of the surface no matter how I twiddled with it. So I took a tip from Richard Maguire’s spoon rack series, took off the adjustment knobs completely, and set it by keeping the base flat on the bench and letting gravity put the blade in contact with the bench, then tightening the clamping screw. And it worked like a charm. It went from biting and skipping and destroying the face of the wood to looking like an actual woodworking tool being used by someone who was competent. Not sure how it managed that last bit, but I wasn’t complaining much. Before long I had an ugly lump-shaped chunk of tree branch and figured I should stop before I broke it too badly.

img_9466a

Some butterfly nuts on the two side supports to cinch the crossbar on to the top of the cheese vessel, and a chunk of wood on the bottom of the screw to push against a plate in the cheese vessel and that’s your cheese press, more or less. First, some nuts needed epoxying and there was a small void to fill on the face of the board.

img_9467a

Tomorrow I’ll clean up the boards and get them flat and shellac them, add the block on the end of the screw and I think that’ll be it finished. It’s not a very fancy thing after all. I’d like to put some springs on the side bits of threaded rod, but I couldn’t find any. Oh well, easy retrofit.

Of course, that last spokeshave session had a casualty…

img_9459a

I know I said I’d make a hardwood vice face later on, but I think it might be sooner than I thought. I re-screwed it on, but I don’t want to glue it and I’m not sure those two screws are going to last. I’ll have to think about this one.

First though, on to resawing ash for slats. One or two of the resawing boards tonight were pains in the fundament with the blade wandering out of nowhere, but I was able to use the disston to get the line back on track and finish the cut without losing a board. Which let me write a very nice number indeed…

img_9462a

20 slats out of three boards, with another three definitely unusable and another one as a very marginal call (ie. use it if we really need just one). That’s all the original plan called for. I don’t doubt I might find I need another two or four more, but I’ll try not to 😀

img_9464a

img_9465a

In case anyone was wondering, yes, you can resaw 1″ thick 8″ wide ash boards by hand, and it’s not actually the most strenuous job in the world… but it’s not a lot of fun either really, and it can be finicky keeping the blade from wandering. As soon as I’m able to house it, I’m going to get a bandsaw.

Now, for the coming week, it’s planing in the thicknessing jig to get those 20 slats all down to size…

2016-09-25-12-20-38a


07
Oct 16

Untitled

So the weekend weather is forecast to be dry, and since I was stuck working from home because of the luas breaking down this morning:

luasbreakdown

I thought I might as well get a head-start on the shedwork by painting it. We’ve been planning to do that for a while and painted some parts to test what we thought of the colours and decided on a colourscheme, so I took out the sander, removed enough of the test swatches to get a good key for the paint and got out the masking tape.

img_9398a

It’s not a bad little shed, but it’s a bit dingy. After a decade, the wood preservative stuff is just not really going to cut it for much longer, so a decent coat of paint should give it an extra year or two. So on with the first coat for the trim parts (trim’s really the wrong word I think, there’s such a small wall to trim ratio).

img_9405a

Looks better already. Pain in the fundament keeping those bushes on the left wall off the left wall while painting, mind you. Not looking forward to that bit.

Then after dinner, went out to look at the new toys that arrived in the post.

img_9410a

The chisel was an accidental win on ebay, I already had a set of three that would do, but had forgotten a bid on this and it won. Hey, for a fiver, I’ll take that.

img_9415a img_9416a

Bevel’s clean, no nicks on the edge, back could stand five minutes of lapping on the stones, but I don’t think I’ll even need the 80-grit paper for this one. Nice.
The saw file is equally nice, and needed if I’m going to sharpen these saws properly. Thing about a saw file is, it isn’t a triangular file, it only looks like one. Look closely at those “corners” and you discover they’re just very narrow flat edges with teeth:

img_9419aApparently it’s become quite hard to get really good saw files anymore, on a worldwide basis, which is a bit worrying as it’s not a tool to use itself, but as a support tool for a pretty basic tool – the saw. If you can’t sharpen a saw anymore and you’ve lost the industry for making the tooling you need to do that, then you’ve lost the ability to make a decent saw, and that’s a pretty basic tool for a civilisation to lose…

img_9422a

And then there’s these guys. See, I already have a countersink bit set, they’re the ones that look like this guy:

img_9423a

So if you’re buying a countersink bit, don’t buy one of these, they’re awful. They vibrate all over the place when you’re using them – power drill, eggbeater, brace, makes no odds – and they make a horrible mess of the wood. I suspect mine are cheap and unsharpened, but still, I paid about as much for them as I did for the new ones, and the new ones don’t vibrate at all. And as to the finish… well, here’s the old one:

img_9427a

And here’s the new one:

img_9424a

Same hole, different sides of the same scrap, in the same drill chuck at the same speed and pressure. Utterly night and day. The newer ones cut clean and burnish at the same time, smoothly without fuss. The older ones, it was like I had a hammer action on the drill and it was turned on, and it didn’t so much deburr as burr. Those bits are for the bin, and the new ones are very recommended in their place.

Then on to the cheese press. I took the base out of the clamps and had a look at it.

img_9428a

And then noticed I’d let one end get misaligned by a mm or so during clamp-up. Bother.

img_9429a

So, out with sid, and after a moment of pondering, got one of the slats from the cot that I rejected and used it as a thin batten for a planing stop.

img_9431a

I gave the board a few swipes with sid and that mm was gone in less than twenty seconds. I then switched to the jack and got that top face with the figure flat, squared an edge and got the other face flat and parallel, and then rounded over the edges. Then I did the same for one of the other resawn boards that will form the top clamp. And found I had some nice grain pieces to show off.

img_9434a

img_9433a

Then I considered the handle for the screw. 

img_9435aWorkholding was nice and easy, and then it was a lot of paring with chisel and gouge (Hey Daniel! I made something with that birthday present! 🙂 ). It’s not overly complex – and it’s not done yet either – but it looks like it’ll do the job.

img_9436a

I left it there for the press for now, I need some metal bits from woodies or chadwicks tomorrow to finish it off and then there’s the actual finish to do (I have some shellac I’ve been looking to experiment with, or I could try using the soap finish I’ve been reading about. Choices, choices…)

img_9438a

I did get some crib work done tonight as well – I now have 14 slats down, six to go – but the resaw was a pain and nothing seemed to go easy, so I knocked off at that point rather than make a mess out of a nice piece of ash because I was tired.