06
May 19

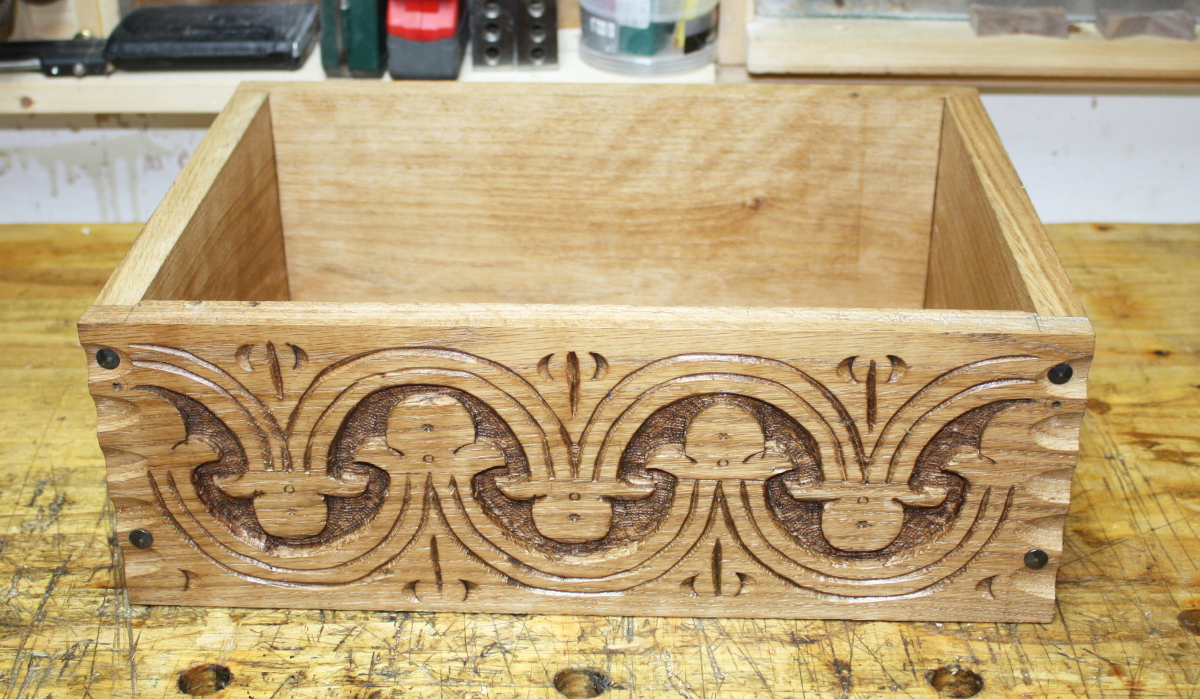
Finished!

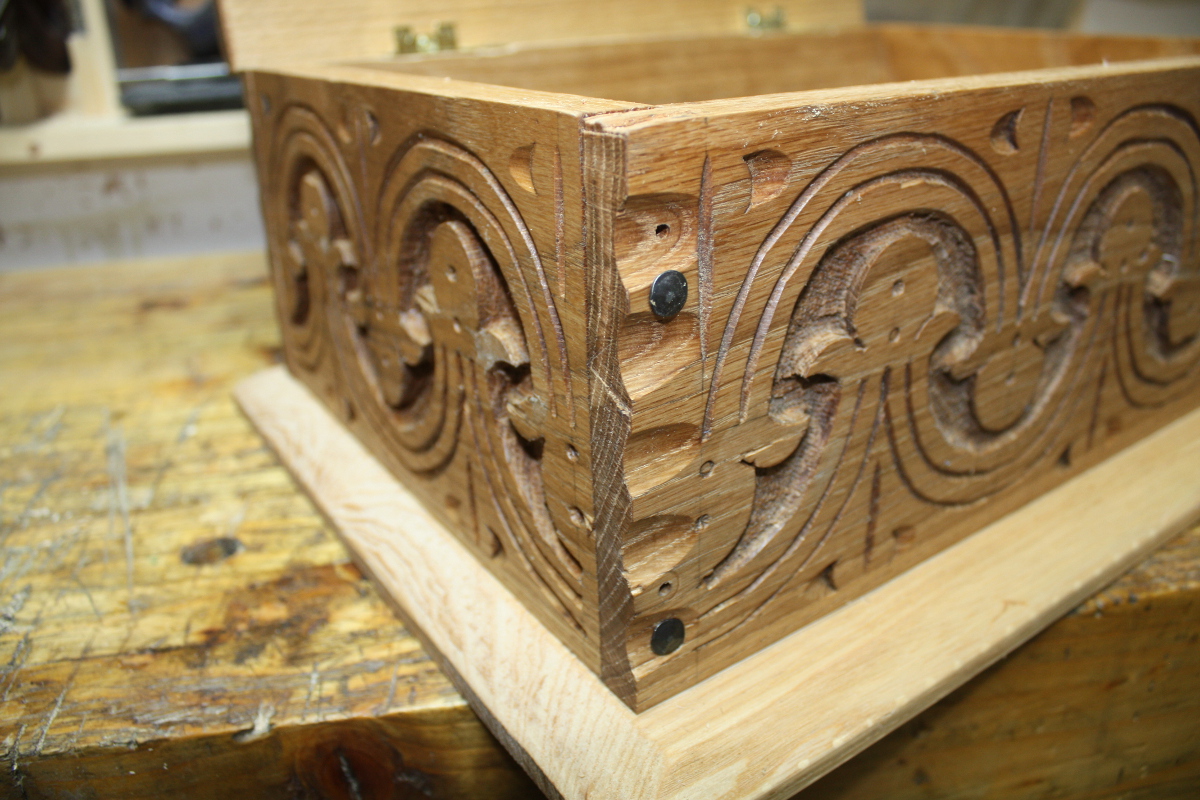
Adding the hinges actually worked this time. I have no idea why. I morticed them the same way I usually do, though I did take more time with the fitting to the lid and setting up for workholding with shims and such. I still think I have particularly cheap hardware to work with though – one set of Brusso hinges probably costs more than my entire little stock of hinges and hardware. And I think they’re all too shiny as well; a 17thC style oak box should have black or at most bronze hardware; and really a forged or cast iron set would be ideal. But this is faux-17thC so I can get away with blue murder 😀
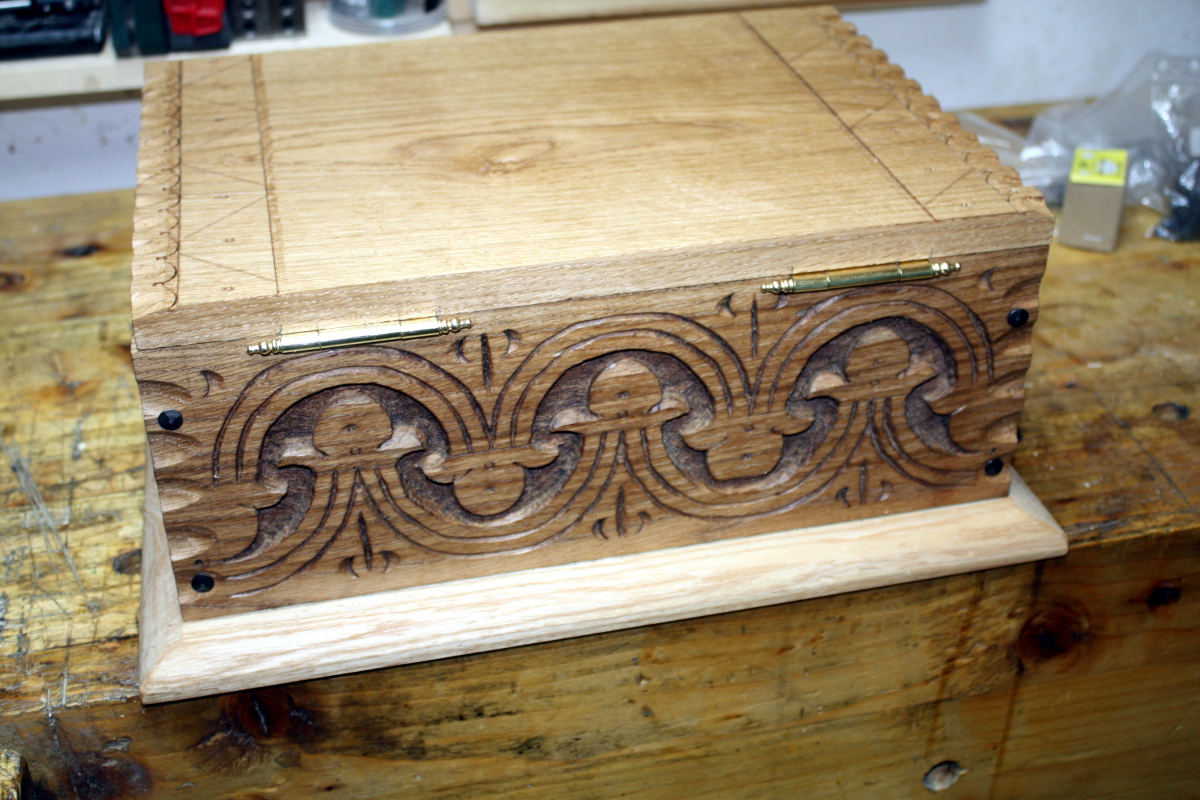
Honestly, they’re garish. But they’re all I have and the deadline for delivery was over a week ago – the baby this is intended to hold blankets for was born ten days ago now. One of these days I’ll get these projects done on time or convince someone to delay a deadline for once 😀
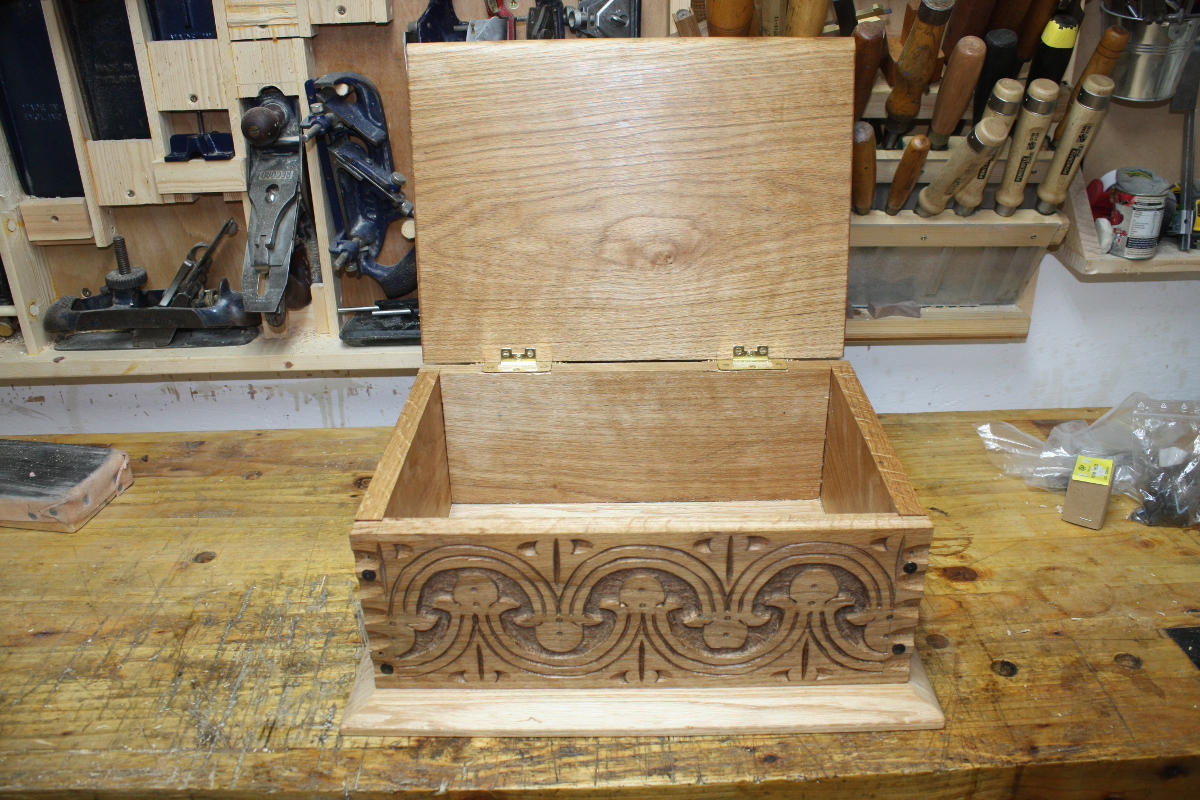
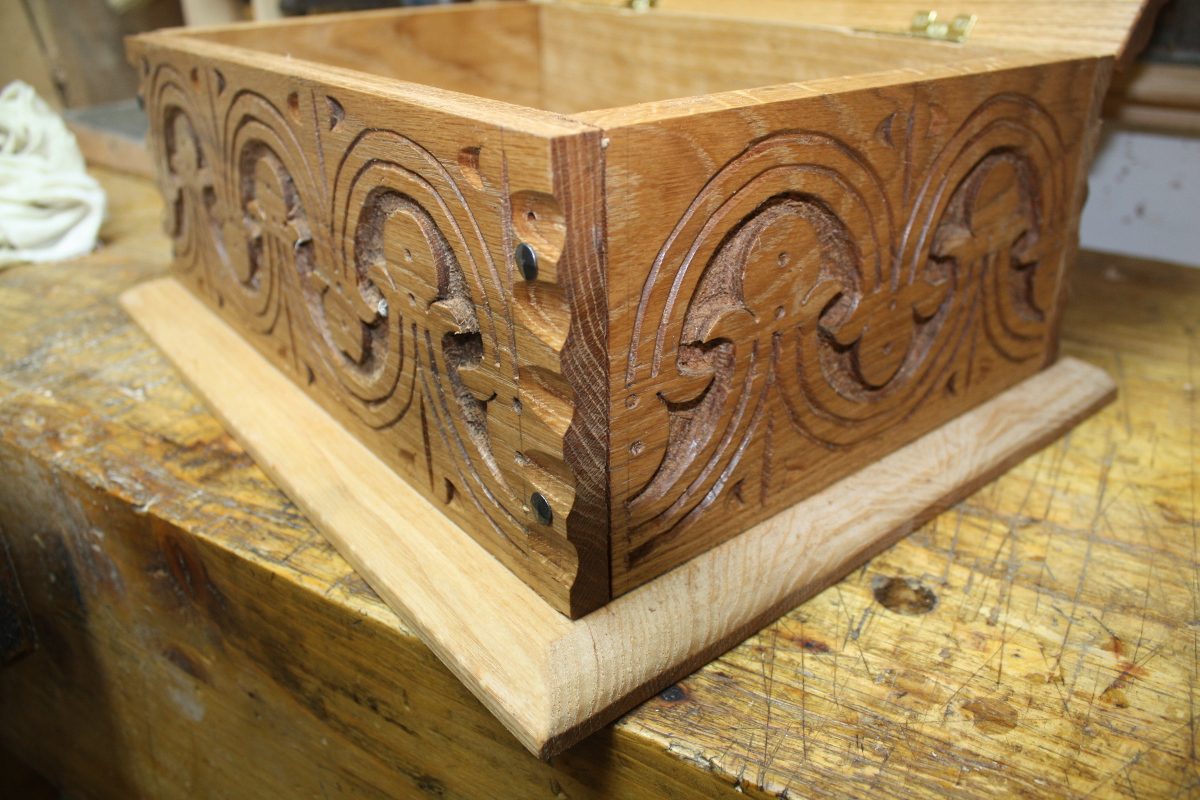
They’re not as jarring from the front, happily. But they still clash with the other ironware.
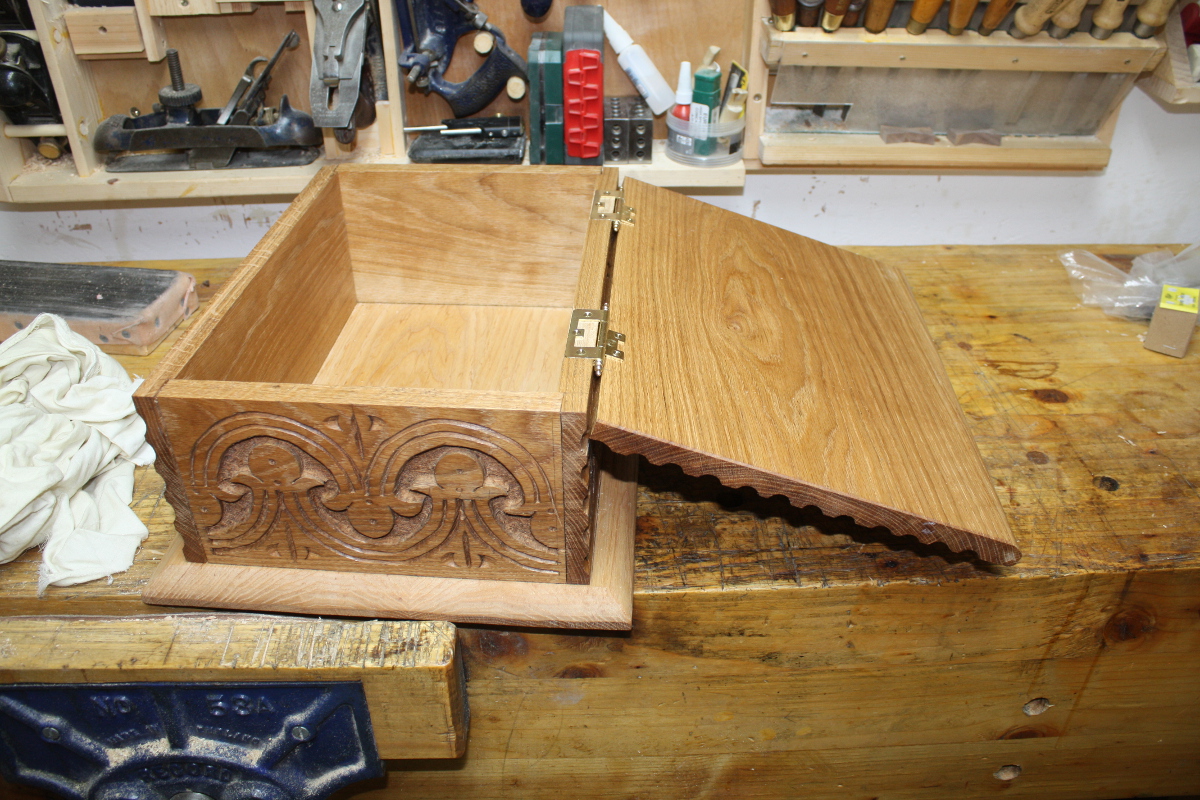
I really need to use a stay on these I think, but I don’t have one to hand. I foresee a small spending spree in the near future…

But for now, this project is done. Faux-17thC carved oak box with oak lid and ash base, finished with a simple coat of boiled linseed oil. Sized to hold mothercare cellular blankets that have been folded while you’re half-dead from exhaustion dealing with a newborn and two older siblings.
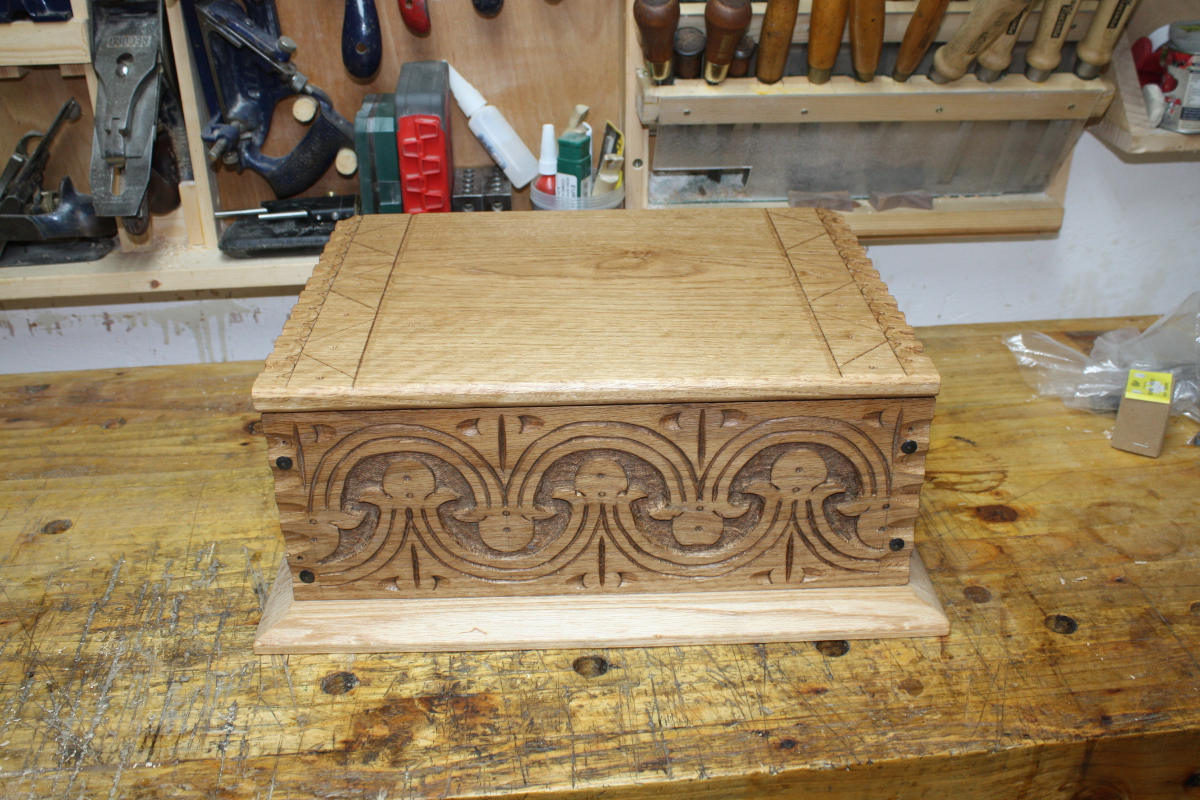
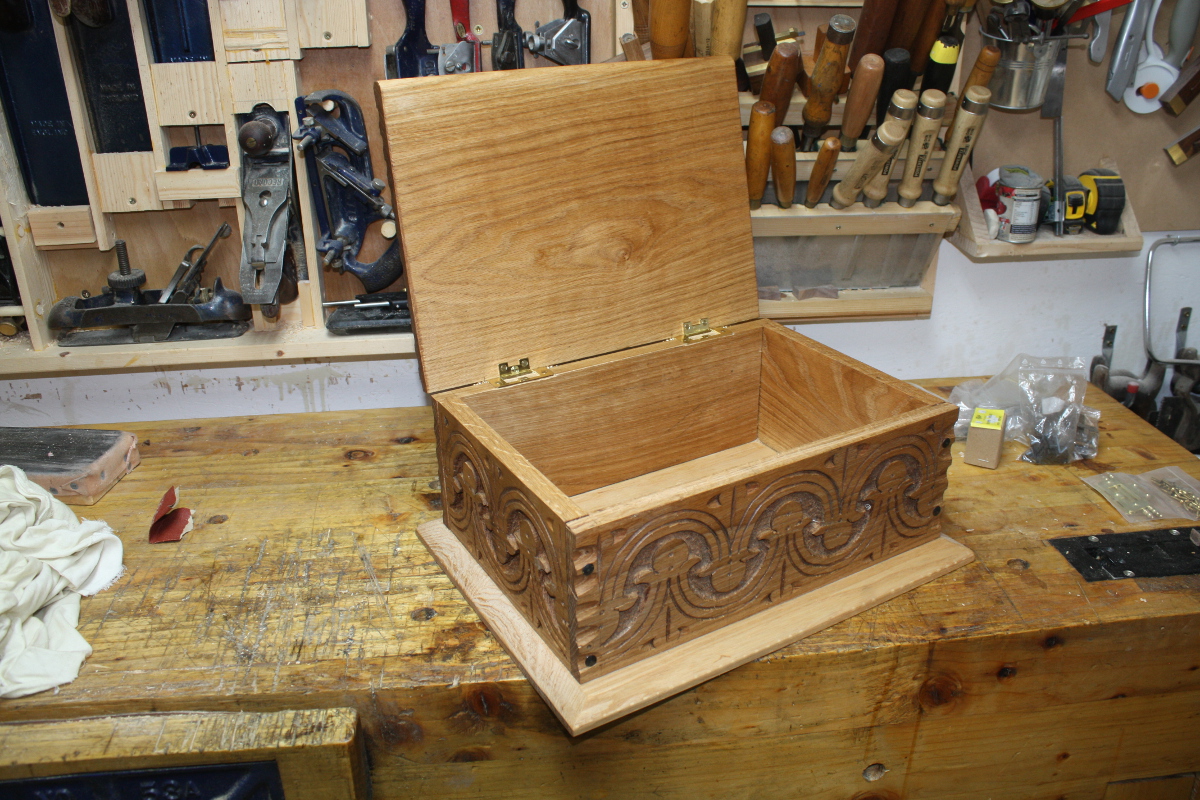
Even herself was impressed, so it must look okay 😀

Next up, cleaning down the last few bits remaining from this build, and then back to the inlay and decoration work for Calum’s desk/shelf unit. Primary school starts this autumn, so I only have a few months and at the rate I’m getting to the shed these days, that’s a tight deadline 😀
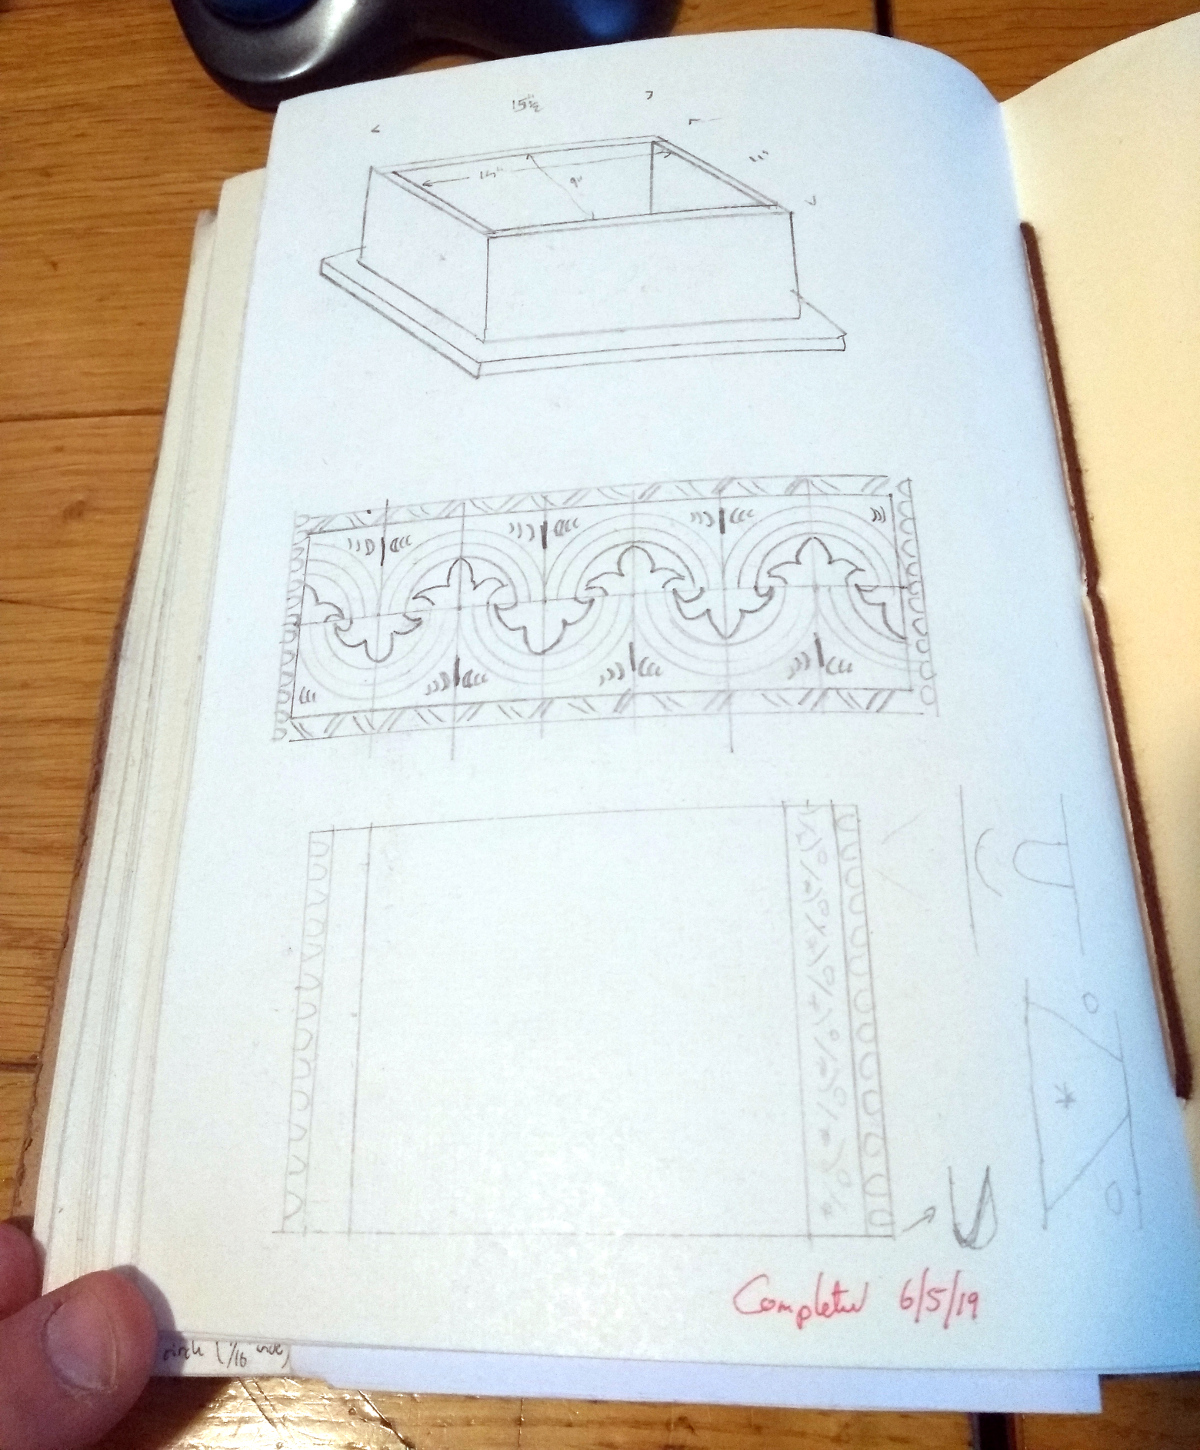
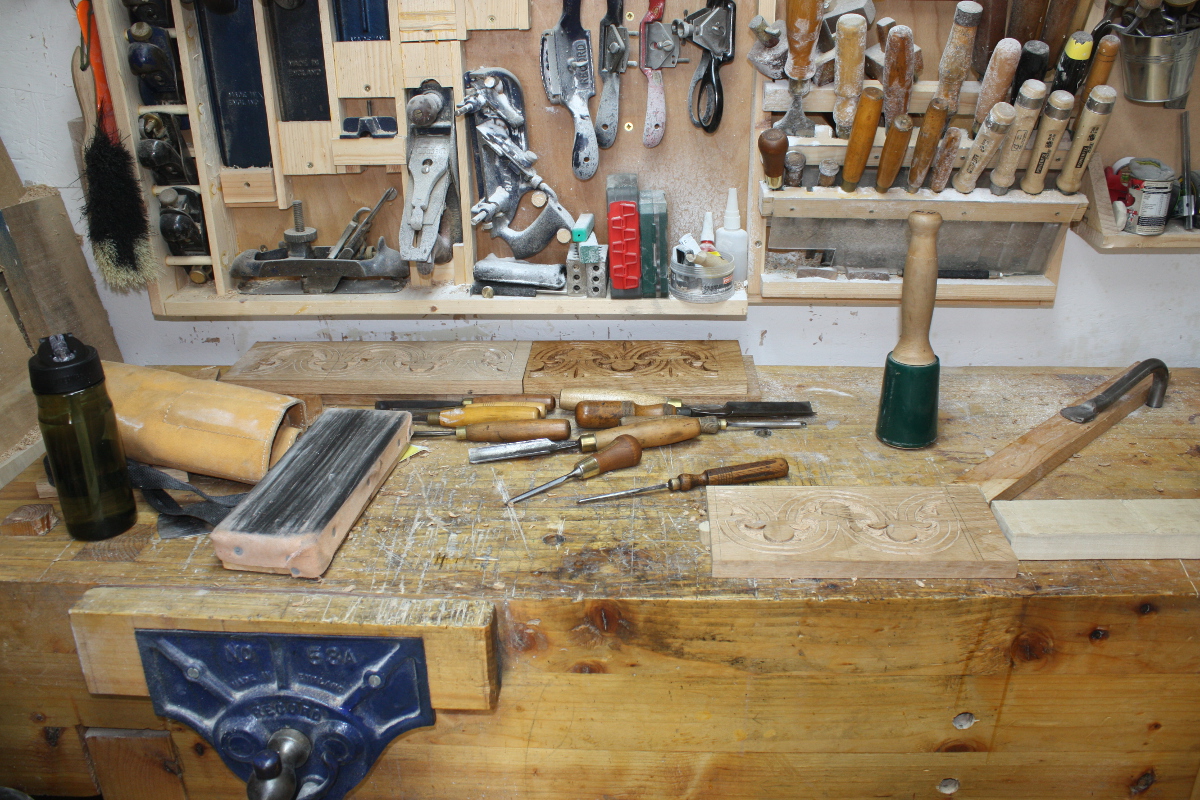
original plans

22
Apr 19

All sides now…

So, four day weekend so almost six hours in the shed 😀
Got the last of the background removal done…

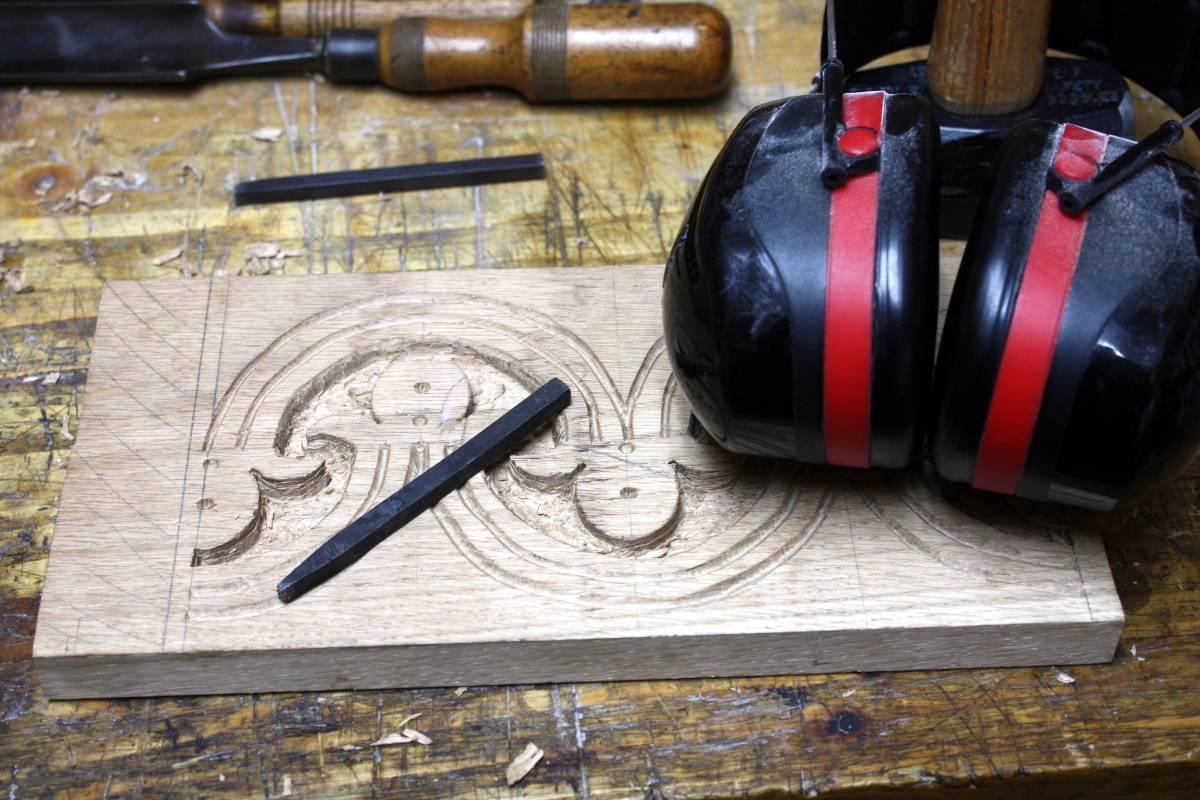
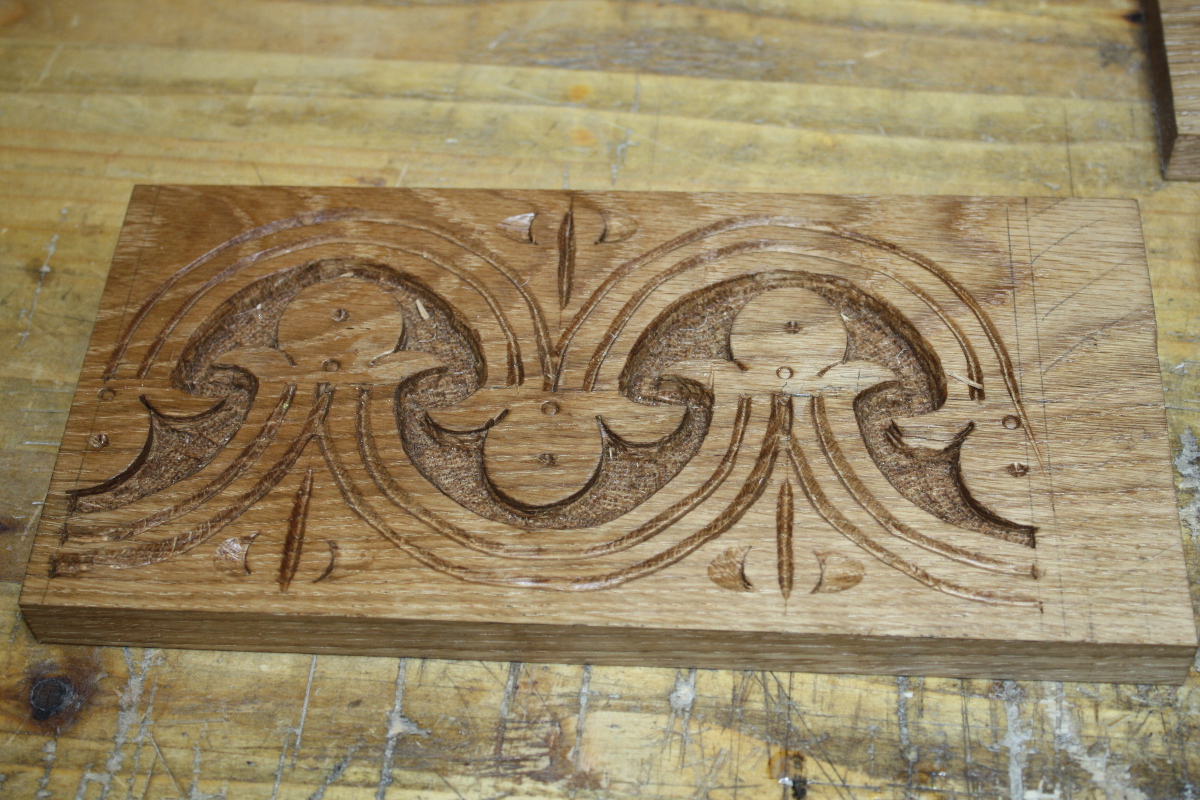
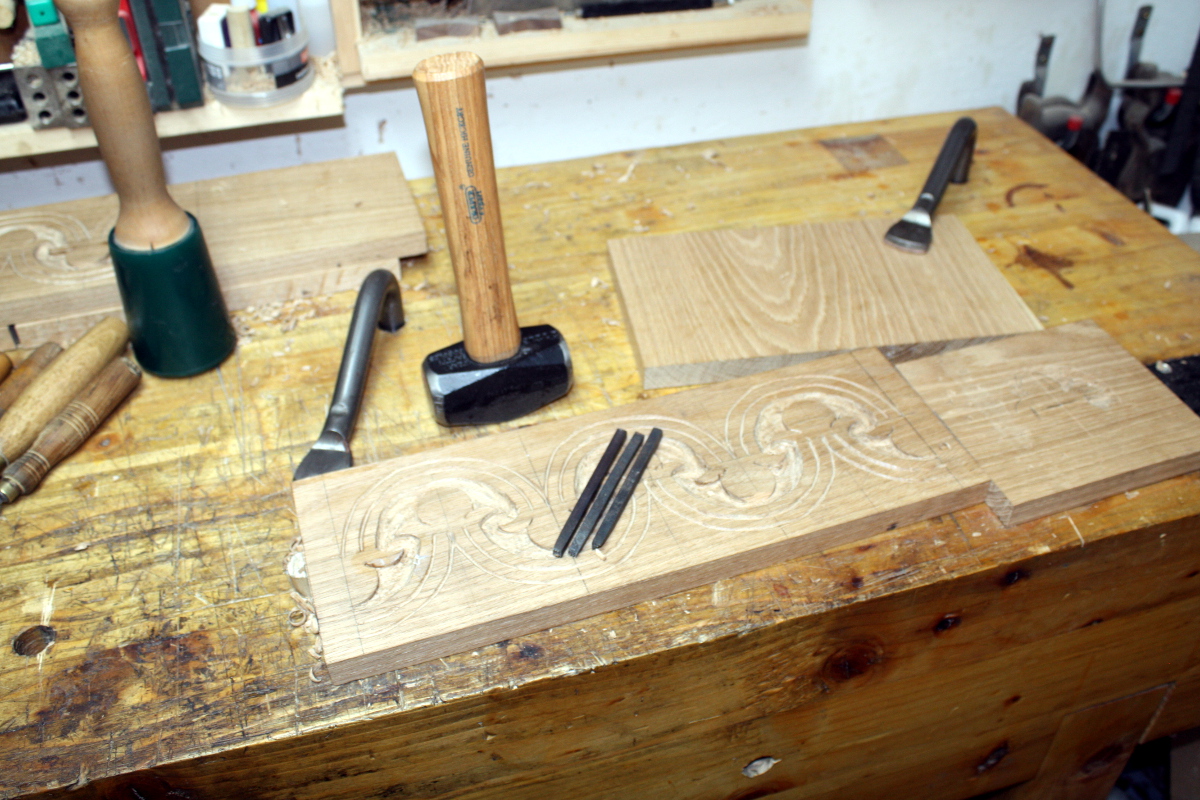
Mix of hand pressure on the gouges and whacking the everloving stuffing out of them with a mallet, and trying to get the background down about 4-5mm or so relatively uniformly across the background. Then to eliminate the unevenness, stippling!

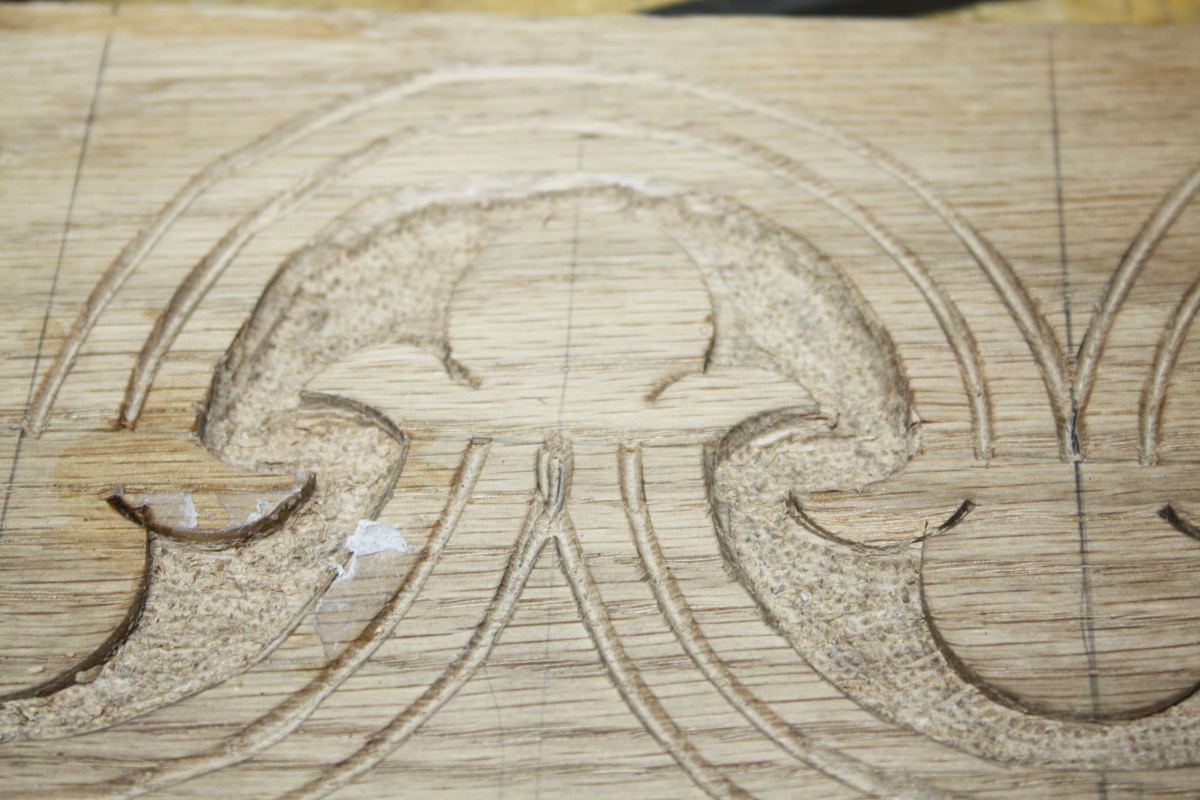
Basically, lots of spikes on the end of a punch, and thwack it with a lump hammer lots and lots of times until…

And then just douse it in boiled linseed oil to show it all up. There are some decorative punches as well, just five or six on the panel.

BTW, Peter Follansbee makes all this look easy. This is a LIE. HE LIES. The git 😀

Front, back, and both sides now carved and all bar the front wiped down with BLO. Next up, cutting off the excess length on the boards that I was using for workholding; and then scalloping out the edges of the front and back boards and drilling pilot holes for nails.

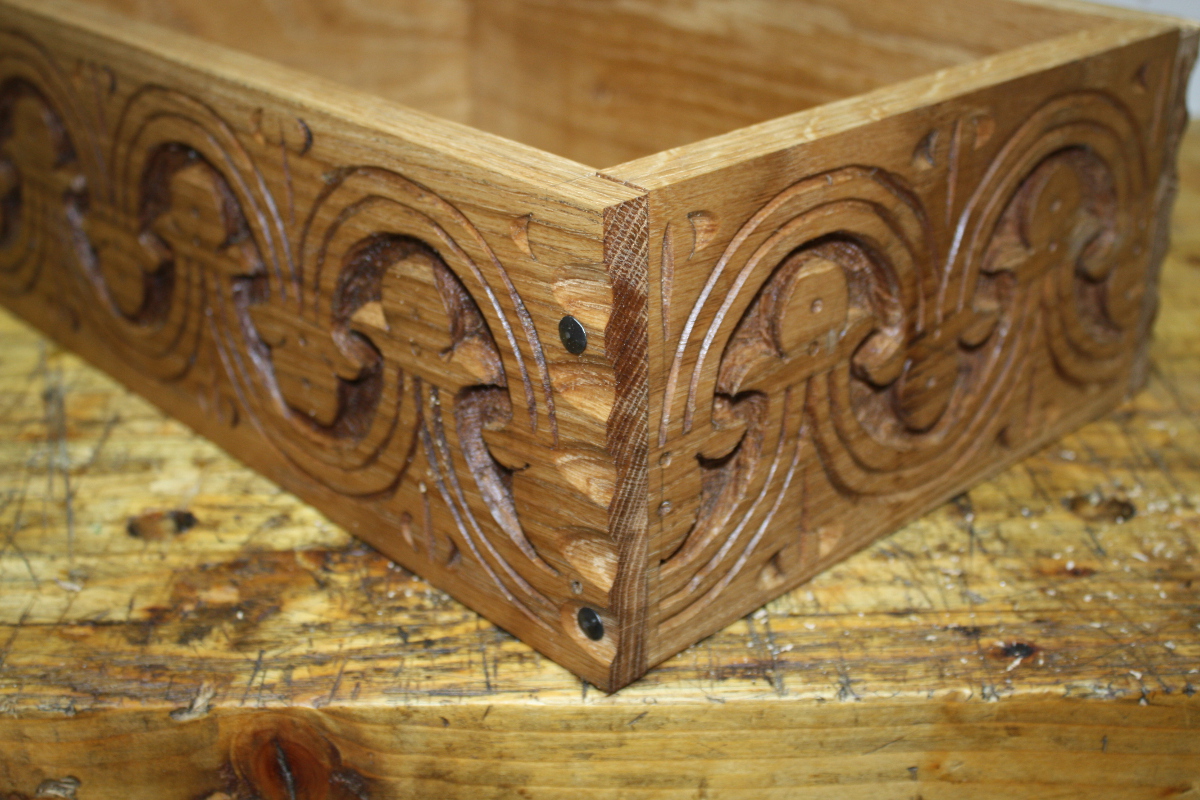
That done, marked out the front and back boards for a shallow rebate to locate the side boards (the joinery on these boxes is not normally very complex). Saw the shoulder, then stand the boards on end in the vice, hold your breath, stick the chisel in the line and split off the cheeks. A heart attack or two later and a bit of paring and fettling, then drive some cut nails home and…

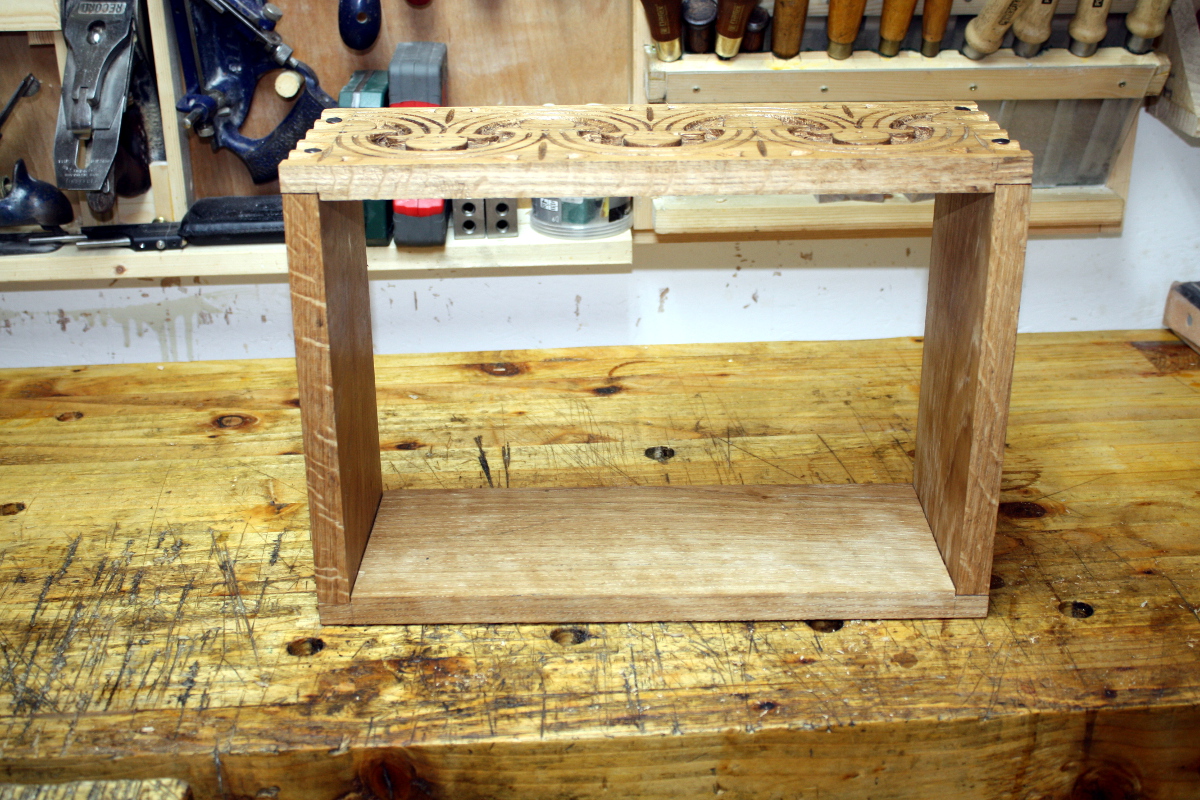
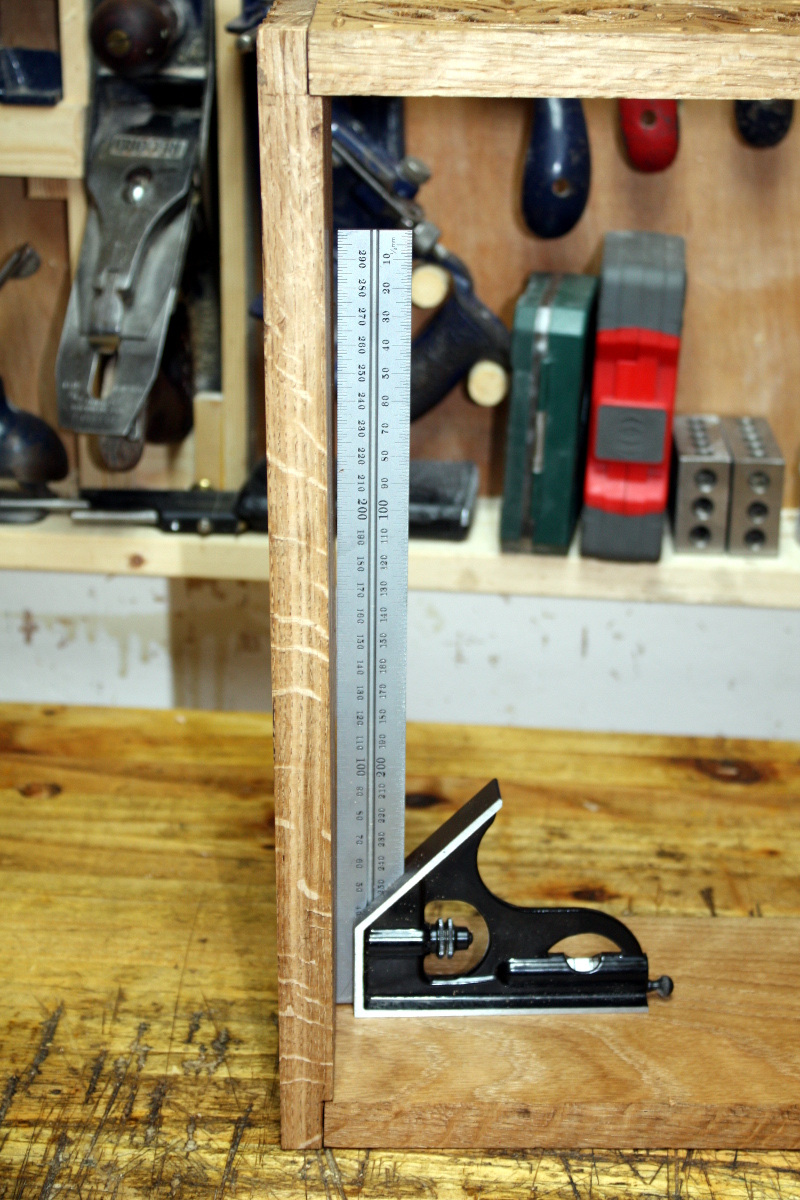
It’s not bad, it’s a little out of square:

It’s only out of square by about 3mm overall though (corner-to-corner). That’s not too bad and the base will pull it into square (you can readily rack it to square with very light finger pressure right now).

And I did manage to get the flow of the carving to look continuous, which was nice.

So not too bad overall (I might wind up disassembling it and reassembling it with a touch of glue and the nails to close up the < 1mm gaps before final assembly).

Next up, either the lid or the base. I haven’t made up my mind yet. Mind you, the way work’s been going, I may not get back to the shed till next April…


03
Mar 19

Chop, chop, swear, pare, swear more, stamp, stamp…

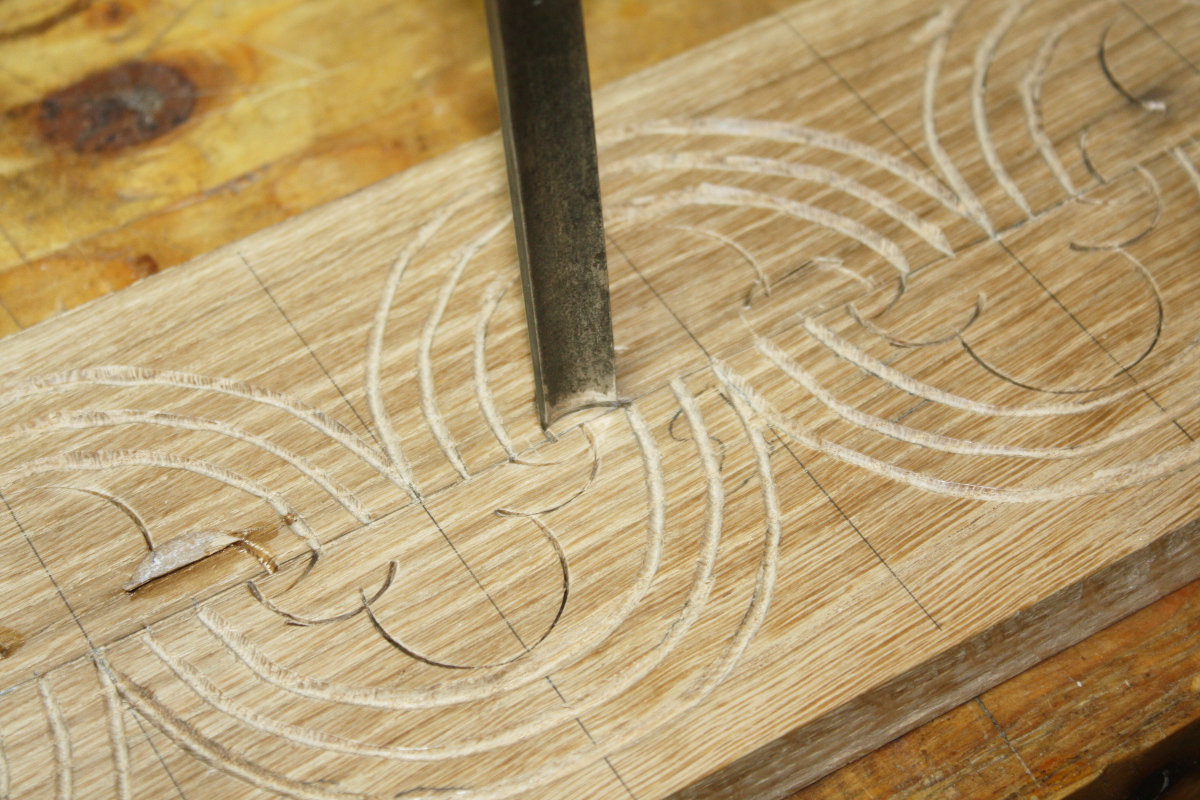
The title is annoyingly descriptive of the process, but on we go. Unwrapped the boards, and discovered silicone will stick to CA glue and oak…

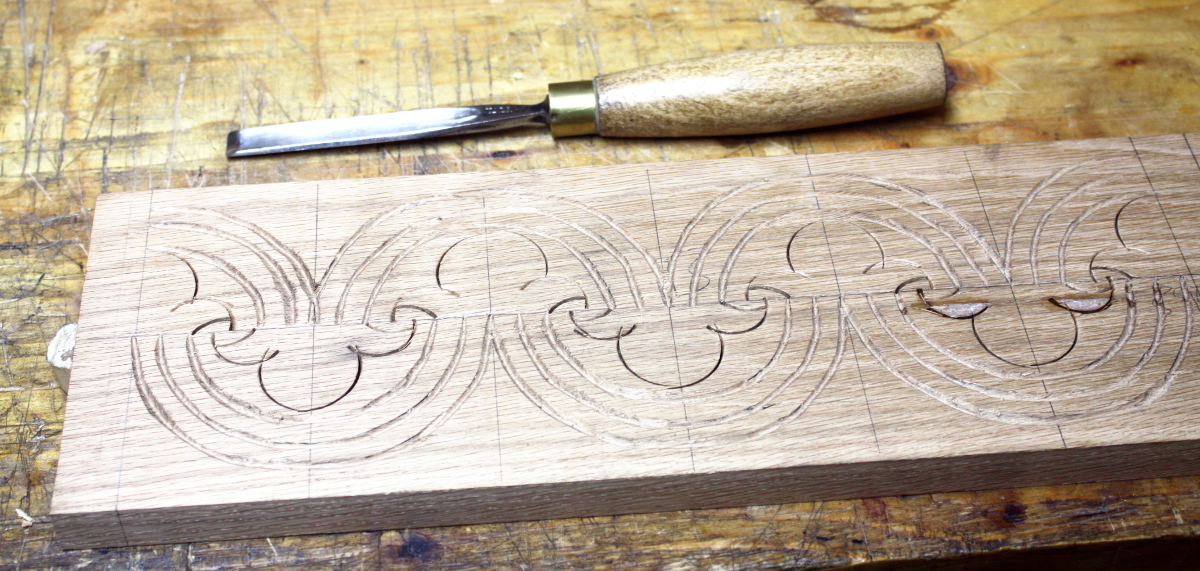
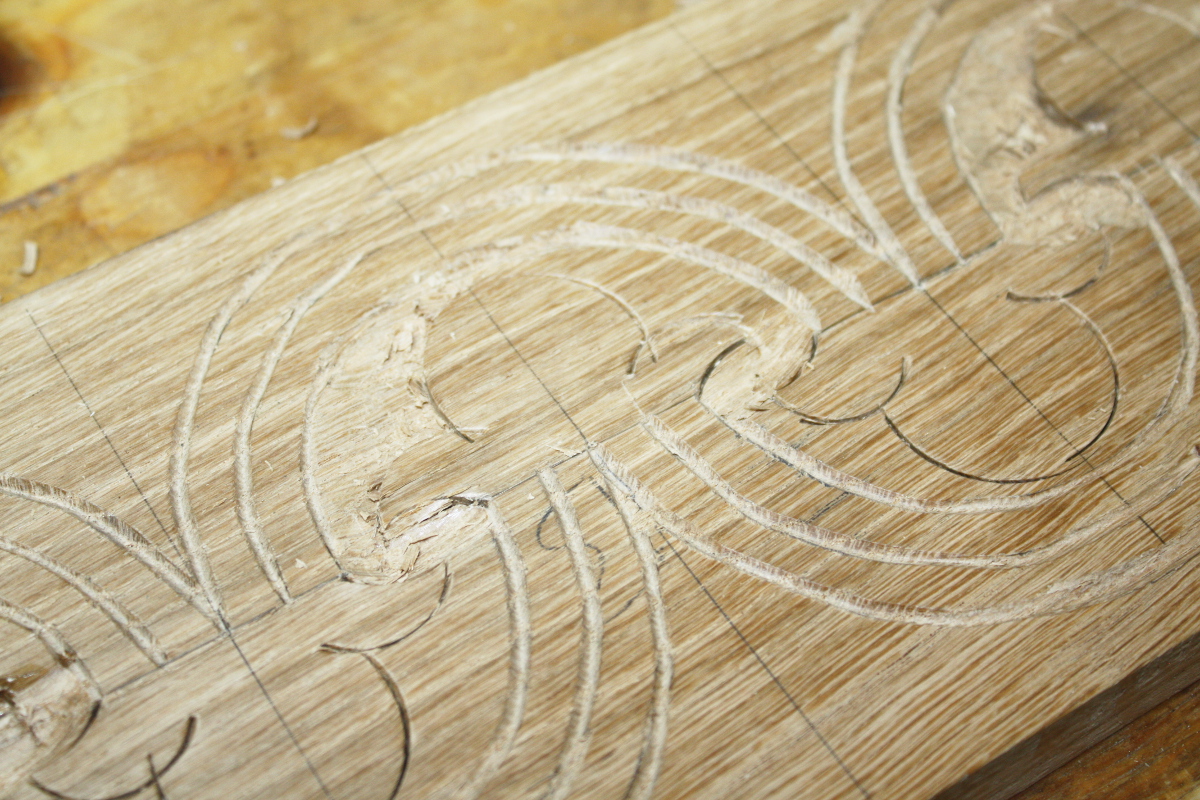
Chopped the last line of the outline with a third gouge (this one was in-canel, so I chipped out waaaaay too many pieces on the back of the box before getting to grips with it).

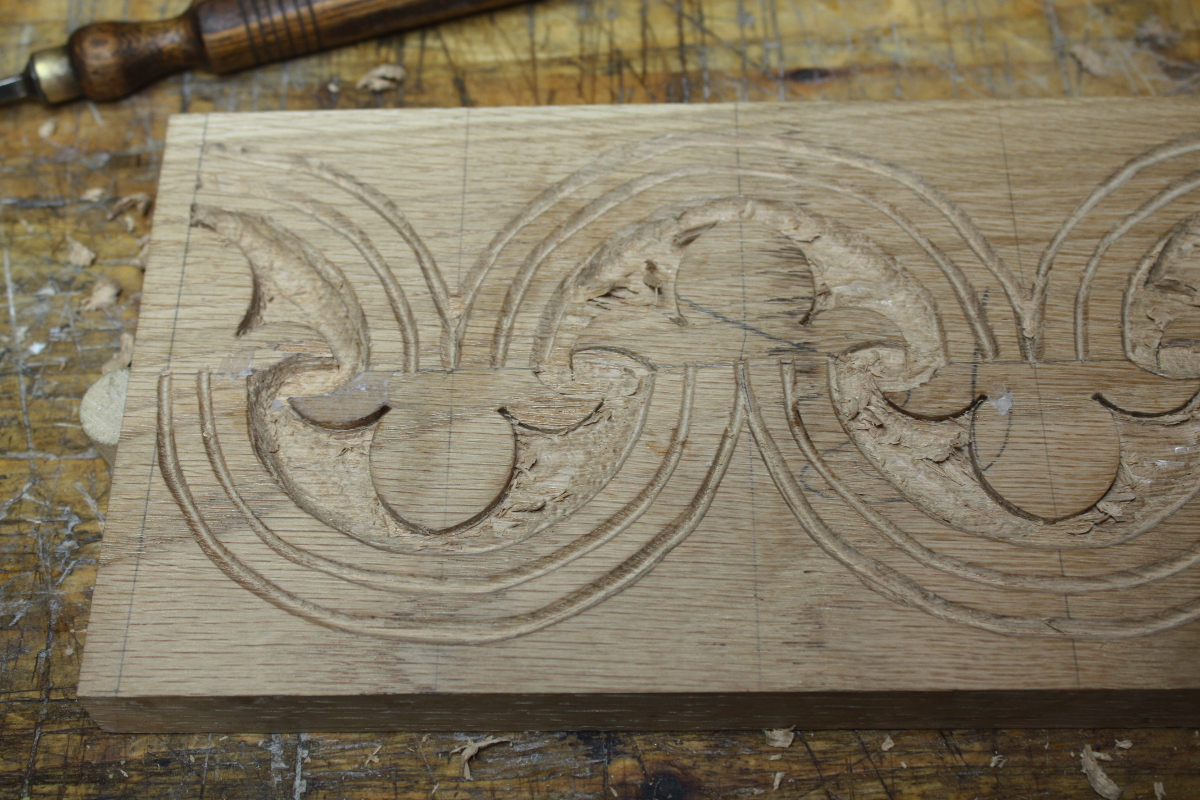
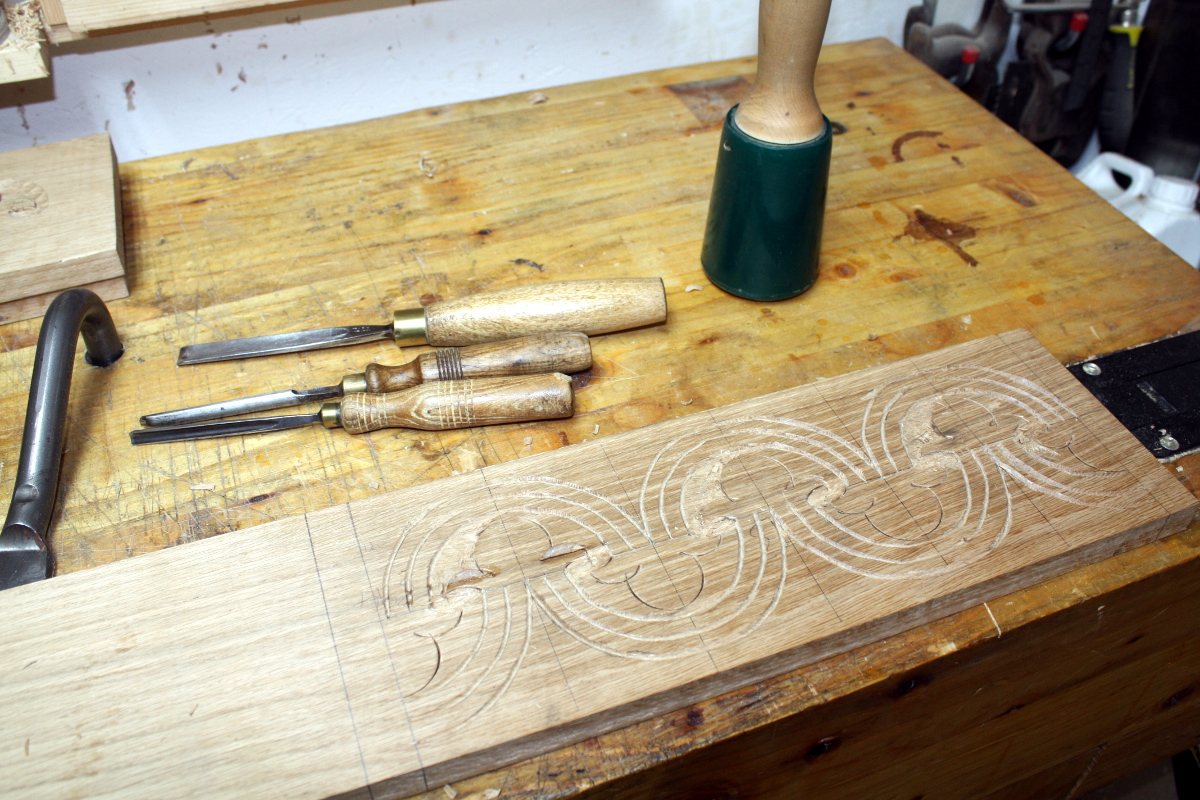
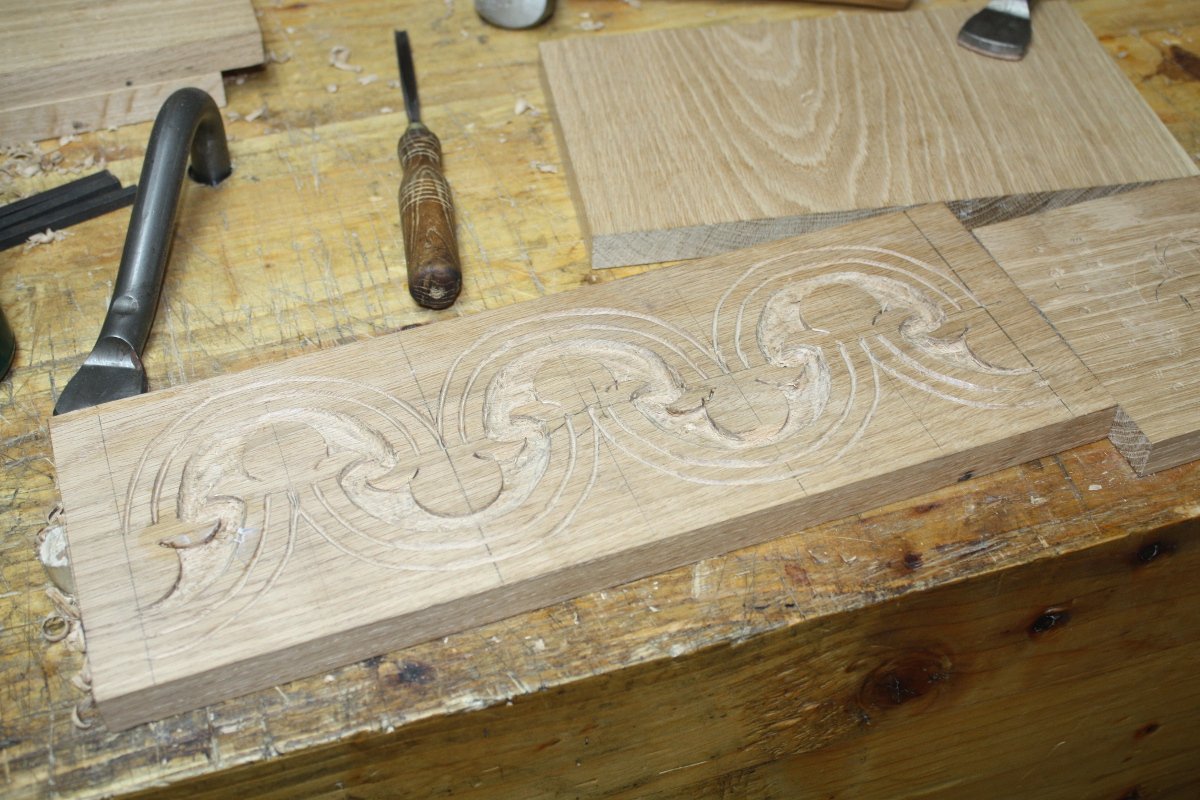
It looks a bit confused because you have a few lines crossing but those areas are going away so that’s okay. Now out with a shallow gouge to remove the backdrop and I know it’s what Follansbee’s tutorials say is the right tool but it was next to useless for this design for me. I don’t know if it was because the design is small compared to his norm and it’d be better on a larger pattern, but I stopped using it almost immediately and resorted to two smaller gouges with tighter sweeps. I think I need to start stalking ebay for gouges and V-tools again, this shouldn’t be this hard.

Chip, chip chip. The surface keeps chipping with even the slightest slip. I get the feeling this is down to material as well – Follansbee rives out green oak and lets it dry for only a week or four; I’m using flatsawn kiln-dried oak.

One of these days, when I have a bigger shed and a way to handle forty pounds of wood shavings, I’ll find a source for oak logs and then we’ll see how badly I can muck this up…

I thought taking down the background would be the simple part of this, and that the V-tool and outline would be far harder. Not that I got either of those right, but they were a lot less work. Three hours, I got the front and back boards done, but not the sides. I figured I’d do those on Sunday and I dug out the punches for stippling the background because that should be simple enough…

And actually, this part wasn’t too bad. Before I do the stippling for the other sides I want to refile the teeth on the end of the punches though, they’re getting a little dull (not from this, they’re just old).

It does make a difference. The chipping and the colour (which isn’t great, the oak looks kinda grubby, I think it’s picking up sweat from my hands, and I need to clean that up at the end) did give me a neat idea for something to do with this and I might carve another scrap piece of oak to test that idea out, more on that later.

The idea was to finish all this up on Sunday, after doing the weekly shopping run, but Freya had other ideas…


Yeah, nope. I’ll get to it later…