So, four day weekend so almost six hours in the shed 😀
Got the last of the background removal done…
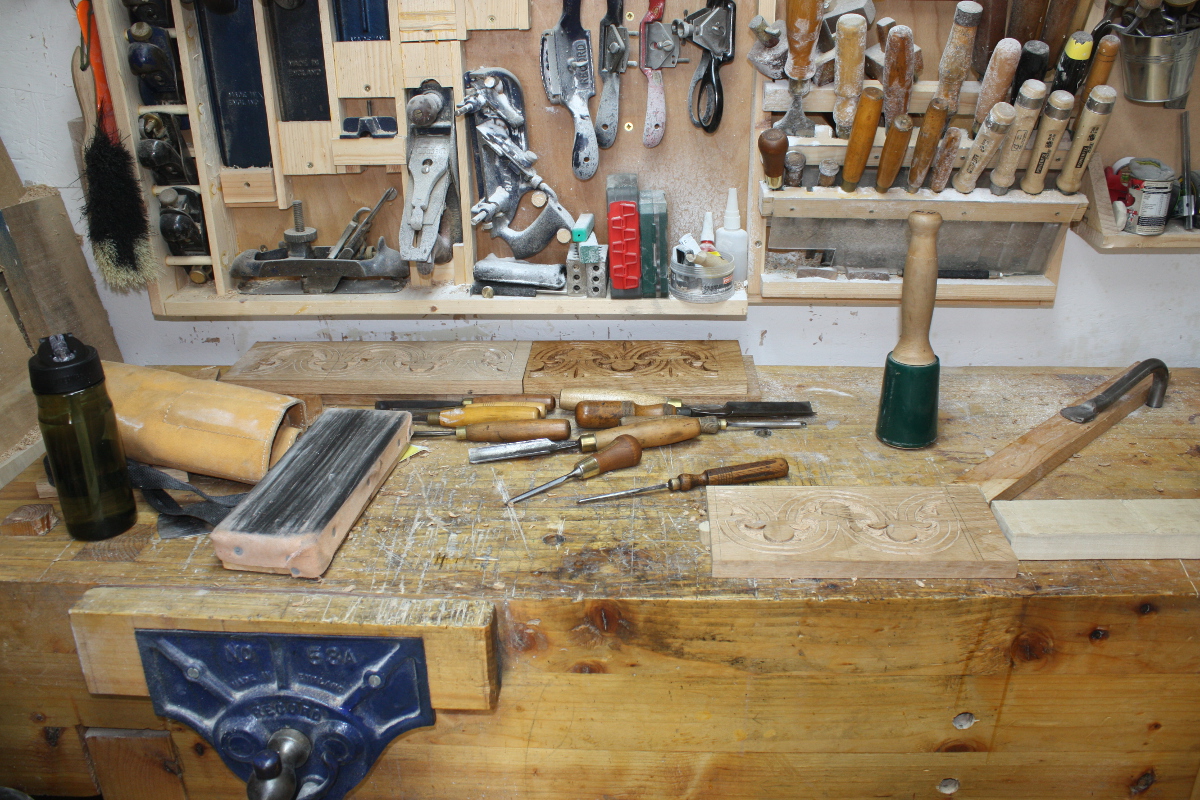
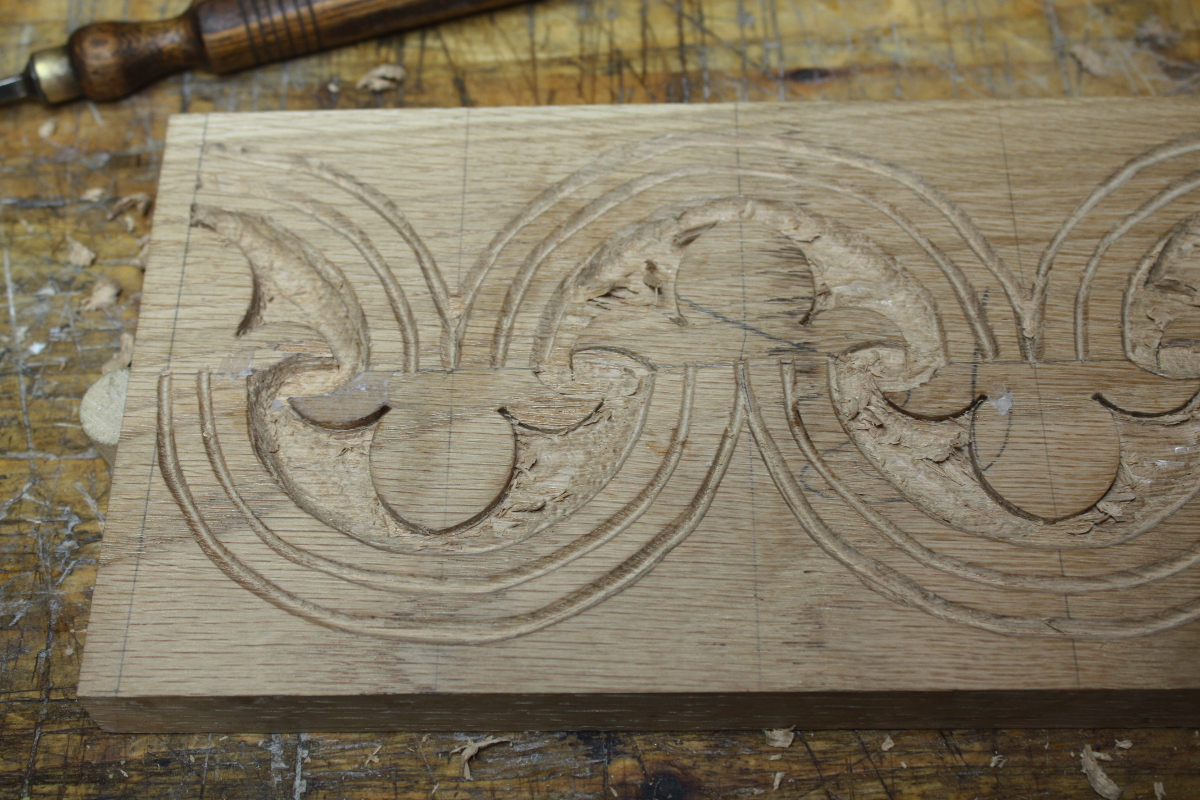
Mix of hand pressure on the gouges and whacking the everloving stuffing out of them with a mallet, and trying to get the background down about 4-5mm or so relatively uniformly across the background. Then to eliminate the unevenness, stippling!
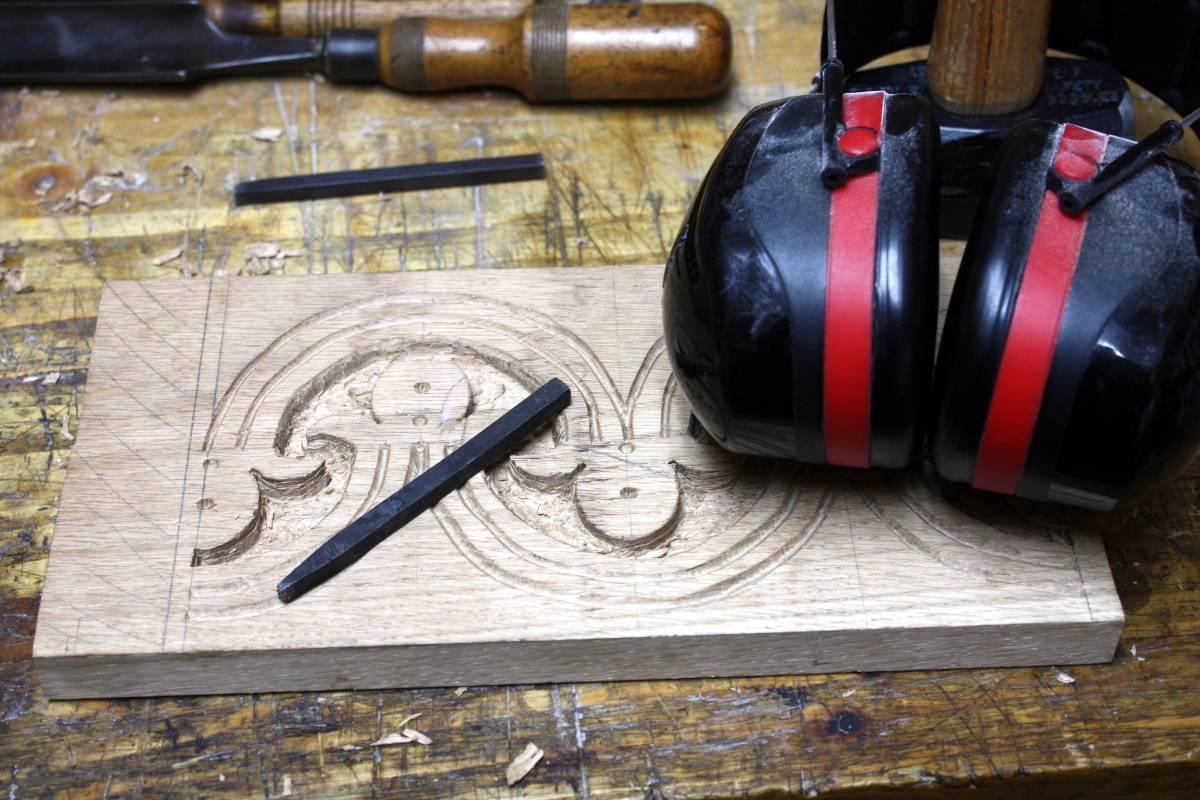
Basically, lots of spikes on the end of a punch, and thwack it with a lump hammer lots and lots of times until…
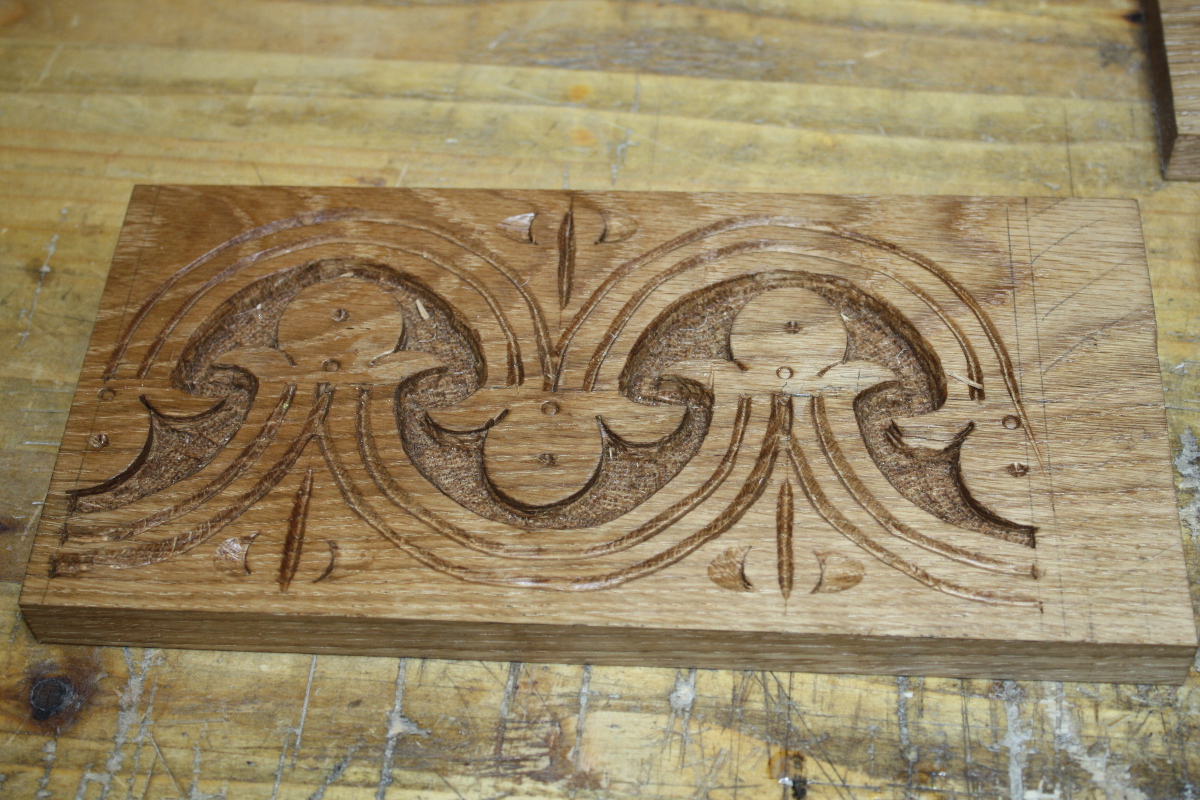
And then just douse it in boiled linseed oil to show it all up. There are some decorative punches as well, just five or six on the panel.
BTW, Peter Follansbee makes all this look easy. This is a LIE. HE LIES. The git 😀

Front, back, and both sides now carved and all bar the front wiped down with BLO. Next up, cutting off the excess length on the boards that I was using for workholding; and then scalloping out the edges of the front and back boards and drilling pilot holes for nails.
That done, marked out the front and back boards for a shallow rebate to locate the side boards (the joinery on these boxes is not normally very complex). Saw the shoulder, then stand the boards on end in the vice, hold your breath, stick the chisel in the line and split off the cheeks. A heart attack or two later and a bit of paring and fettling, then drive some cut nails home and…
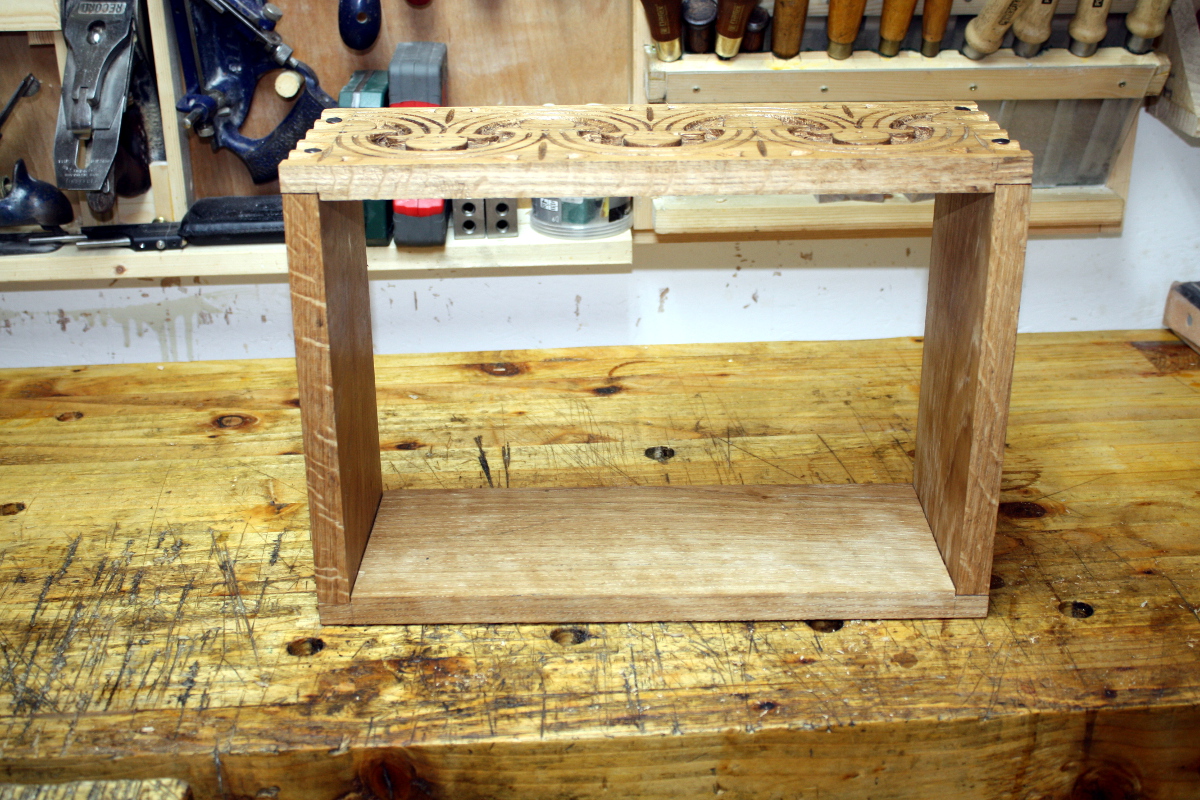
It’s not bad, it’s a little out of square:
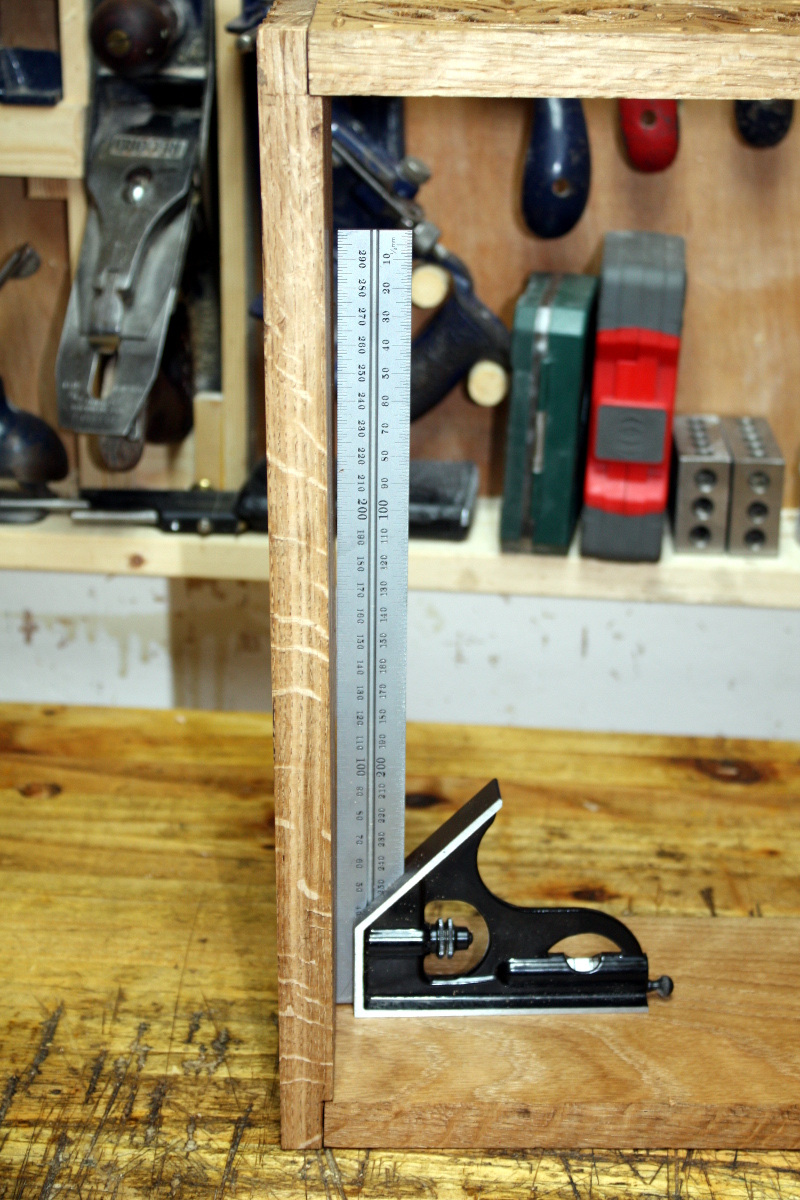
It’s only out of square by about 3mm overall though (corner-to-corner). That’s not too bad and the base will pull it into square (you can readily rack it to square with very light finger pressure right now).
And I did manage to get the flow of the carving to look continuous, which was nice.
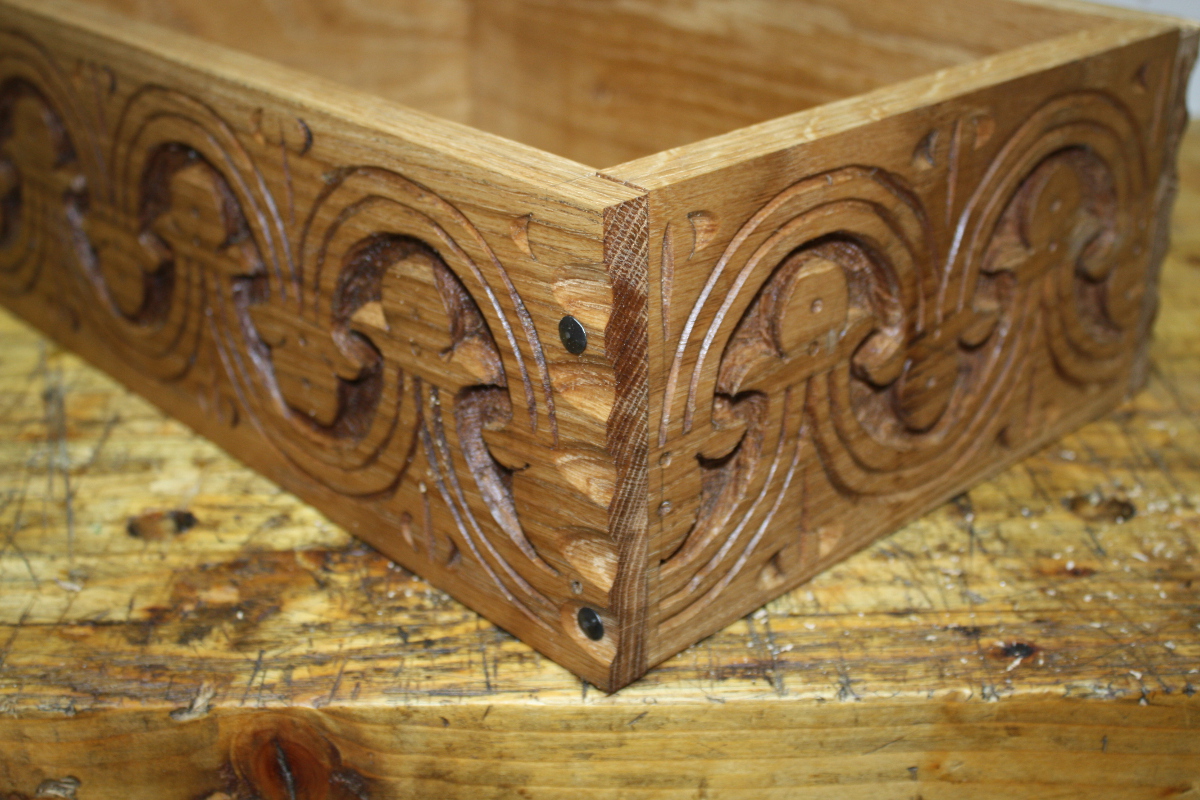
So not too bad overall (I might wind up disassembling it and reassembling it with a touch of glue and the nails to close up the < 1mm gaps before final assembly).
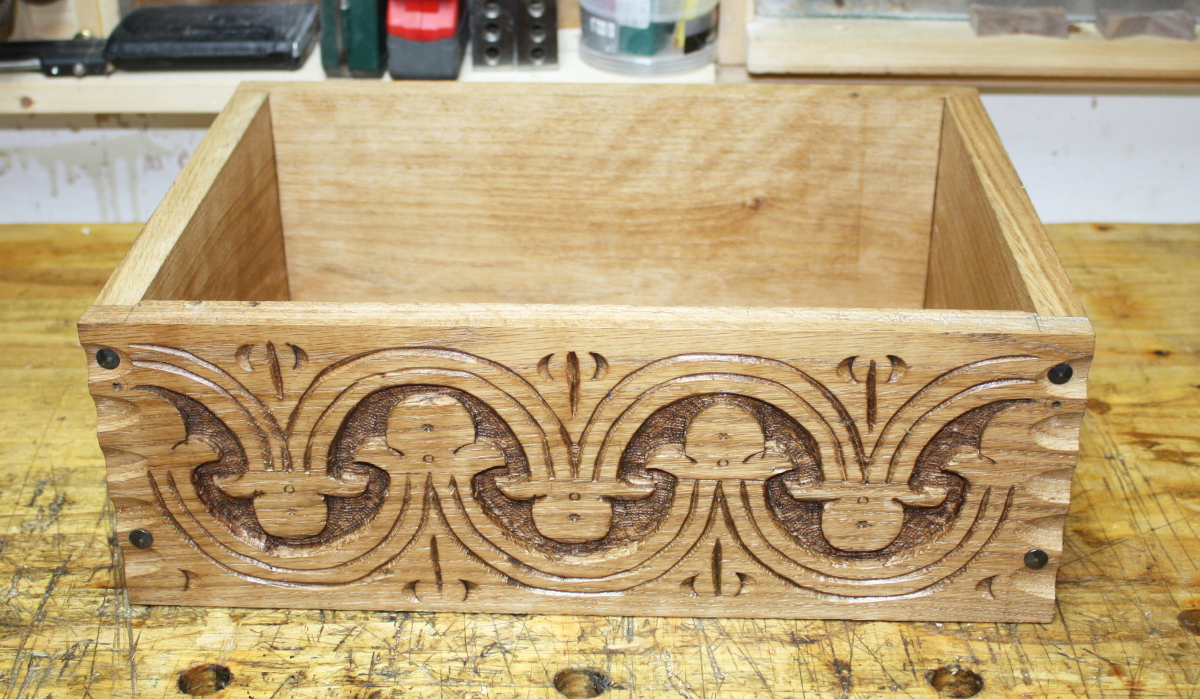
Next up, either the lid or the base. I haven’t made up my mind yet. Mind you, the way work’s been going, I may not get back to the shed till next April…
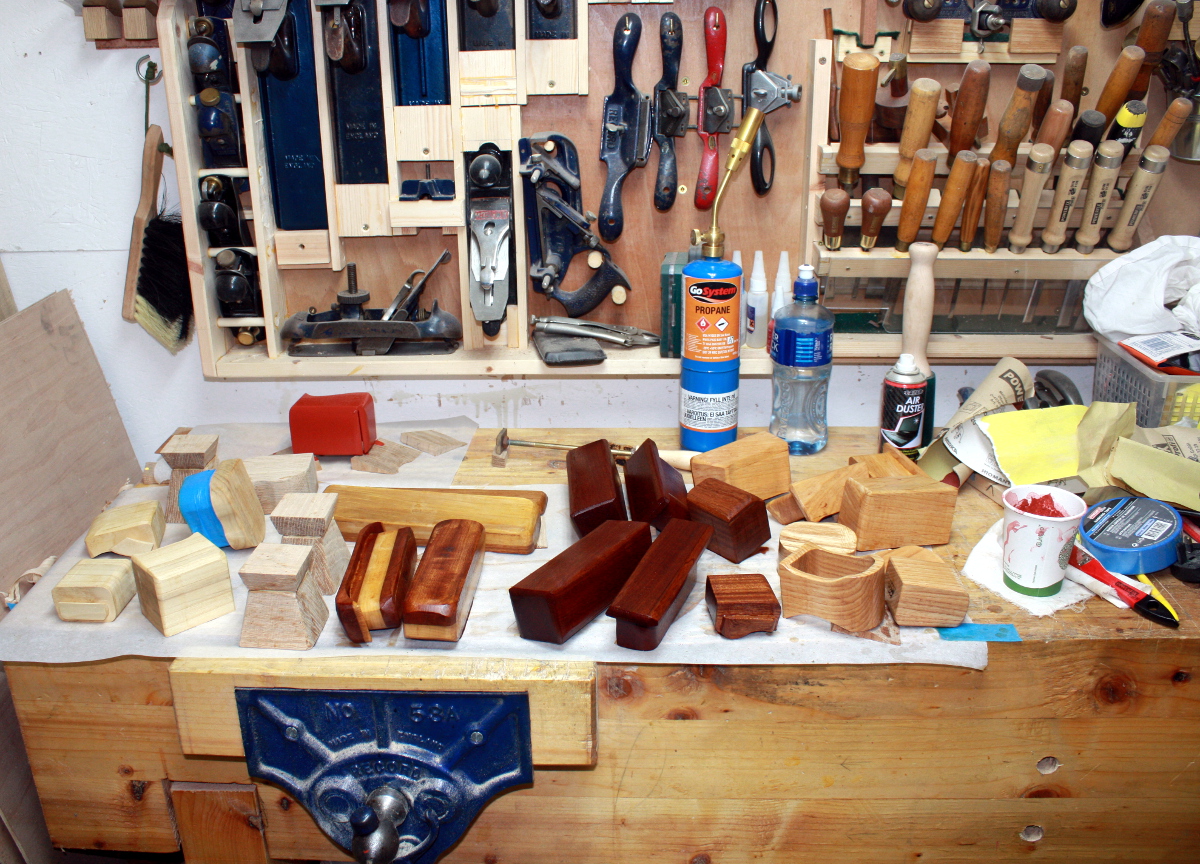 All the major work is done now, everything’s glued up (though the last of the oak boxes is still curing really) and the prep finishing is either done or in train…
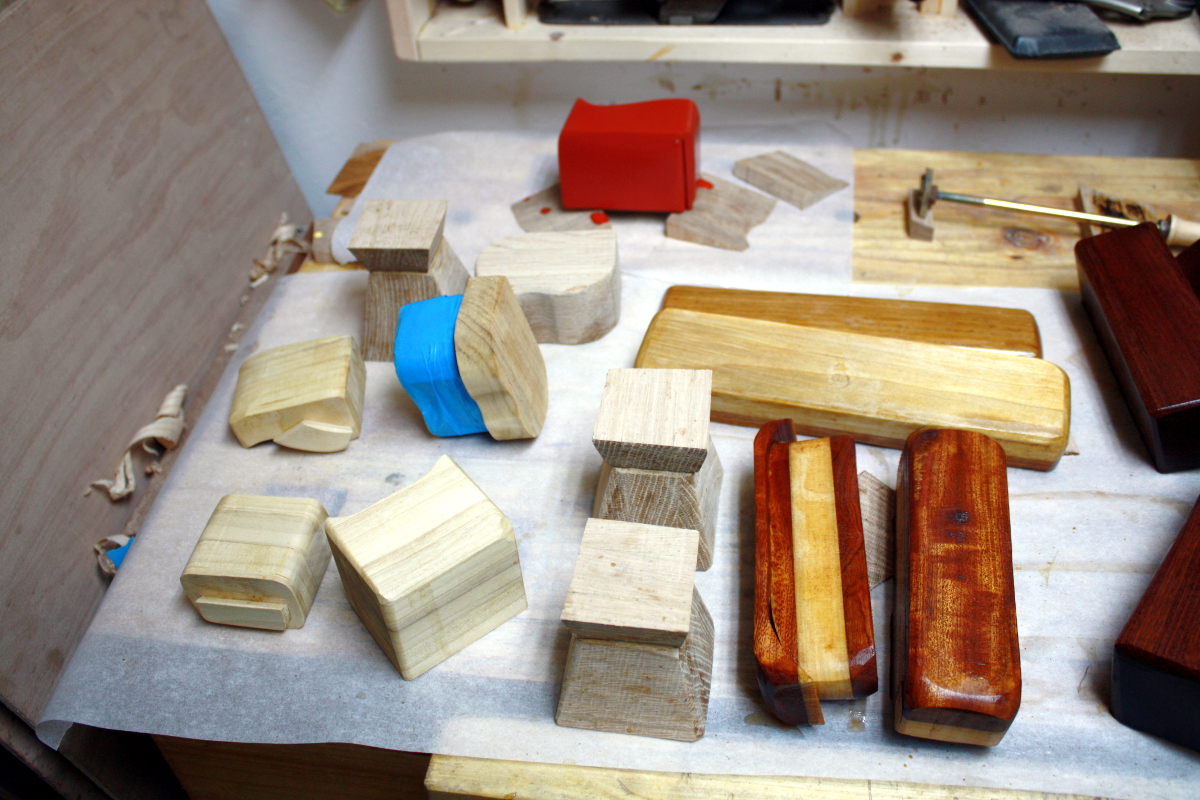 The poplar boxes have all had a coat of sanding sealer here (again, just blonde shellac cut down from a 2# cut to a half-pound cut), and the outer box of one has been test-finished with red milk paint (more on that in a moment). The oak boxes have all been given a coat of the oak tea (with surfactant) and they got another early this morning. The poplar drawer front on the oak-and-poplar box got a coat of sanding sealer.
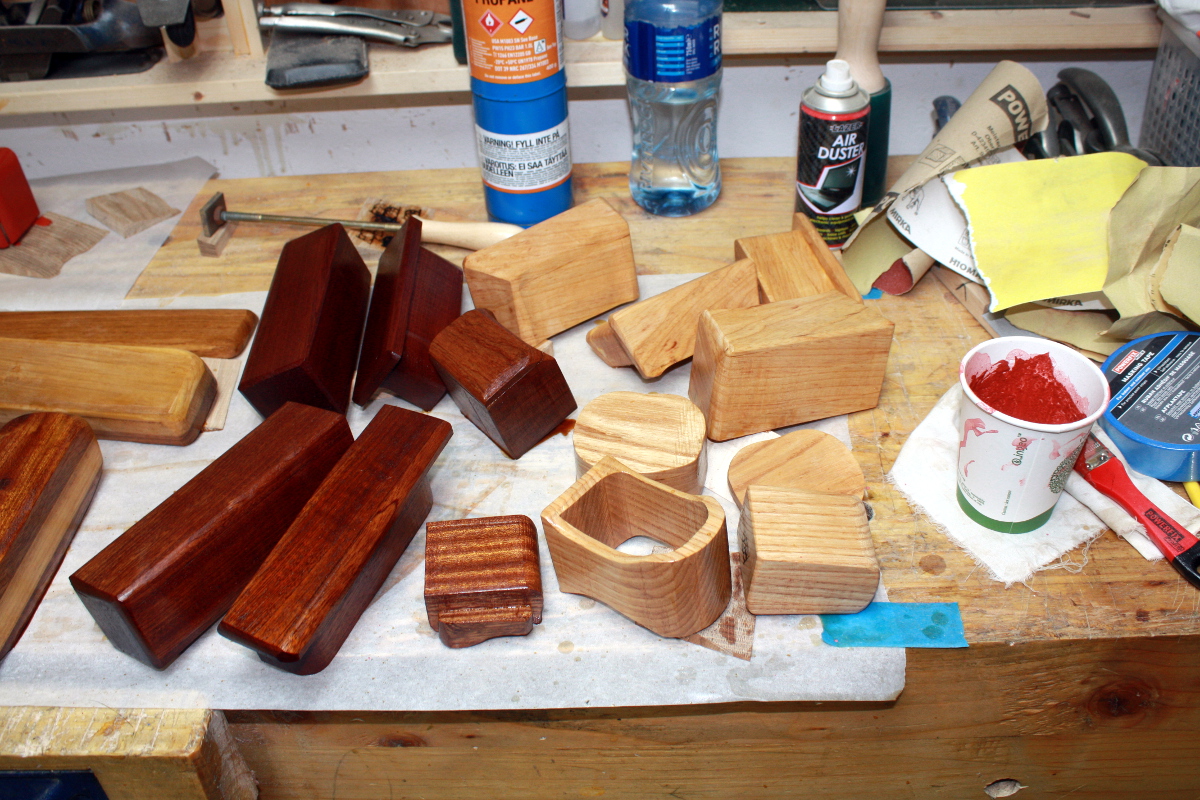 The oak-and-poplar pencil box, the sapele boxes and the ash boxes all got another coat of danish oil and after the excess was wiped off and it had had a while to set up, they all got a coat of shellac (blond 2# shellac for the ash boxes; garnet #2 shellac for the sapele and the oak&poplar boxes). Tonight they’ll get a quick light sanding from worn 240grit paper and we’ll see if they need another coat or if I’ll go straight to poly (I wouldn’t for furniture, but these are quickly-made trinkets…).
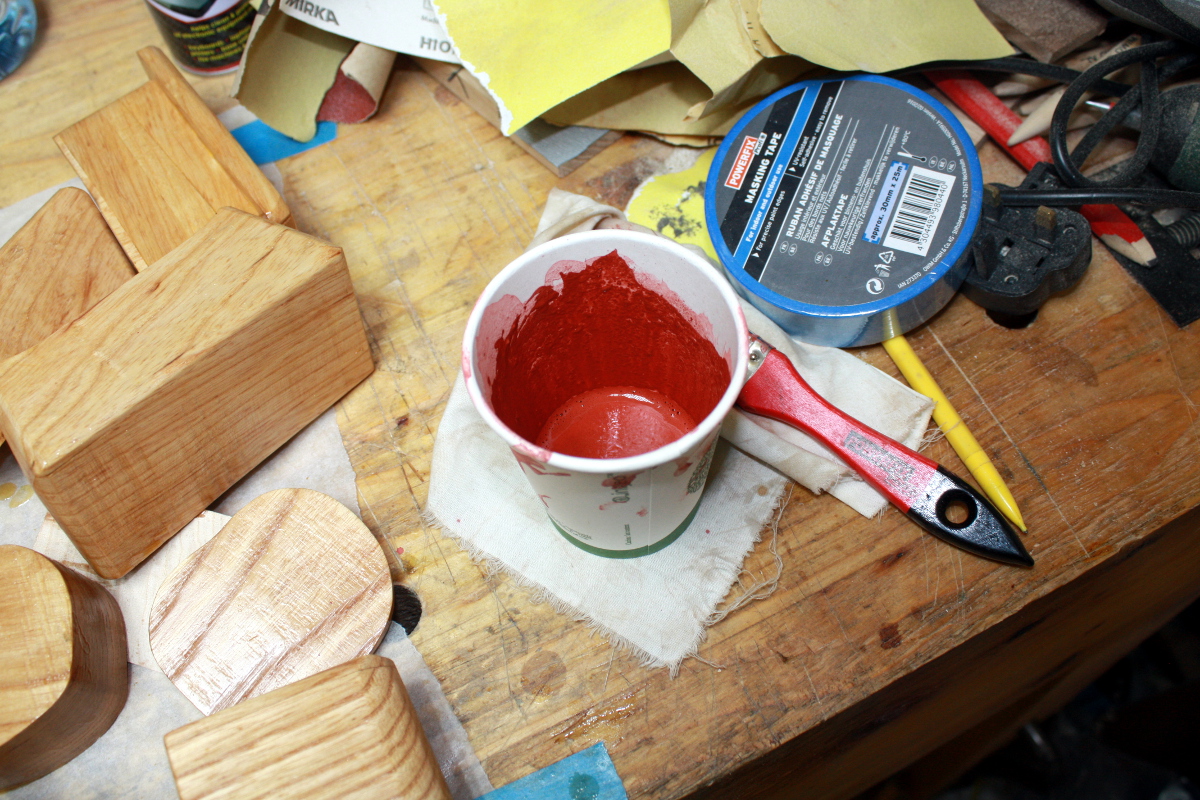
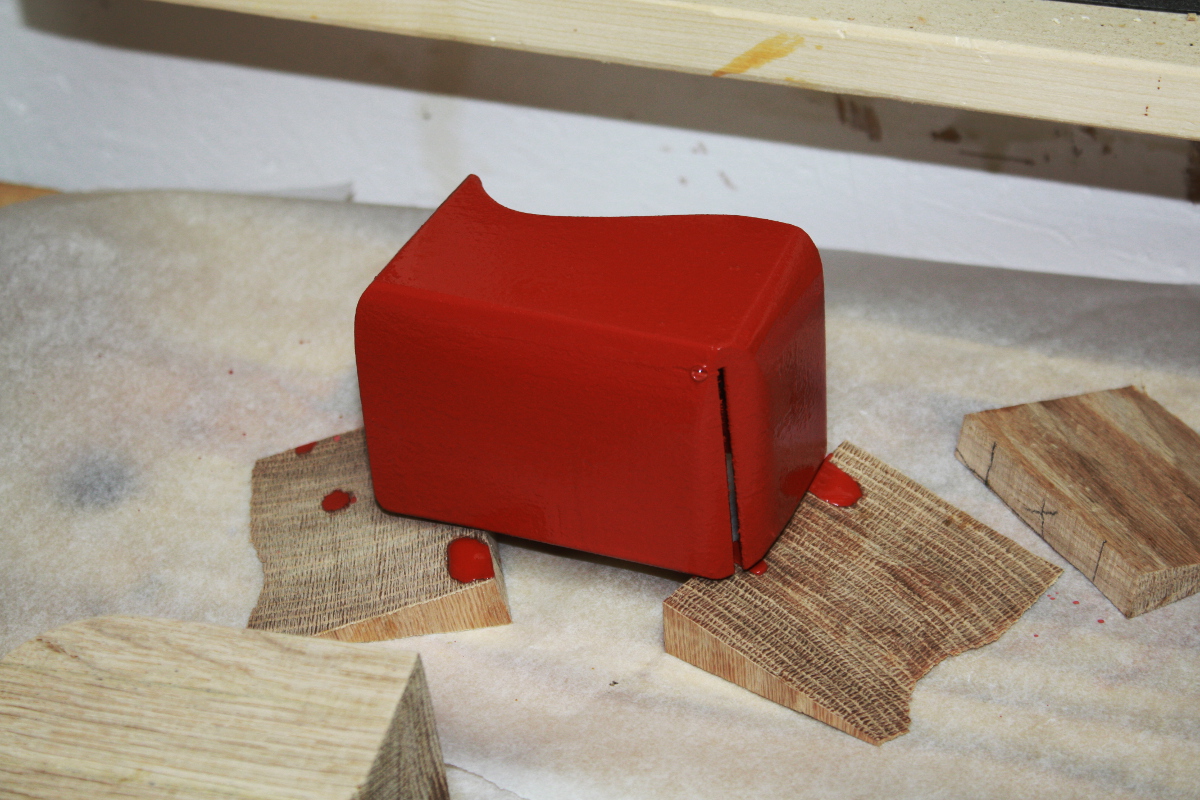 Haven’t messed with colour enhance filters here, I promise. There’s white balancing and that’s all (and the white wall and the parchment paper give a decent white sample for the filter to latch onto) so the colour’s pretty true – it really is that jarring when wet. It dries to a chalky light pink, but when you put a topcoat on it, it darkens up again. We’ll see how well it copes, it got a spray of poly this morning and I think it’ll need another tonight.